
Stutopia
-
Posts
9,727 -
Joined
-
Last visited
Content Type
Profiles
Forums
Events
Gallery
Store
Everything posted by Stutopia
-

Home project - Raspberry Pi3 into Playstation1
Stutopia replied to mattross1313's topic in Off Topic Discussion
The thing is, after I installed retropie and the games I spent a lot of time just playing them that I should’ve spent building. Who can resist those classics??!? Thanks for the reminder to crack on. -
We’ve turned into a right old group of sensible old b*****ds Part of the appeal of my BRZ was the lower speed fun, I think you’ve nailed it though Nic, something for the track is where you can really cut loose. It’s only a matter of time before every car has a mandatory black box that grasses up you to the Feds anyway...
-
That last one is a bit much on overtaking lane.
-
Gorgeous, shouldn’t it be in Zeds for sale though
-
[SOLD]Centre Console Cubby / Instrument Panel Cluster Lid
Stutopia replied to DeeJayDready's topic in 350z Parts For Sale
Sold - thread locked -
Yeah. Someone just needs to submit them to me!
-
Sounds good, I’m onboard in principle.
-
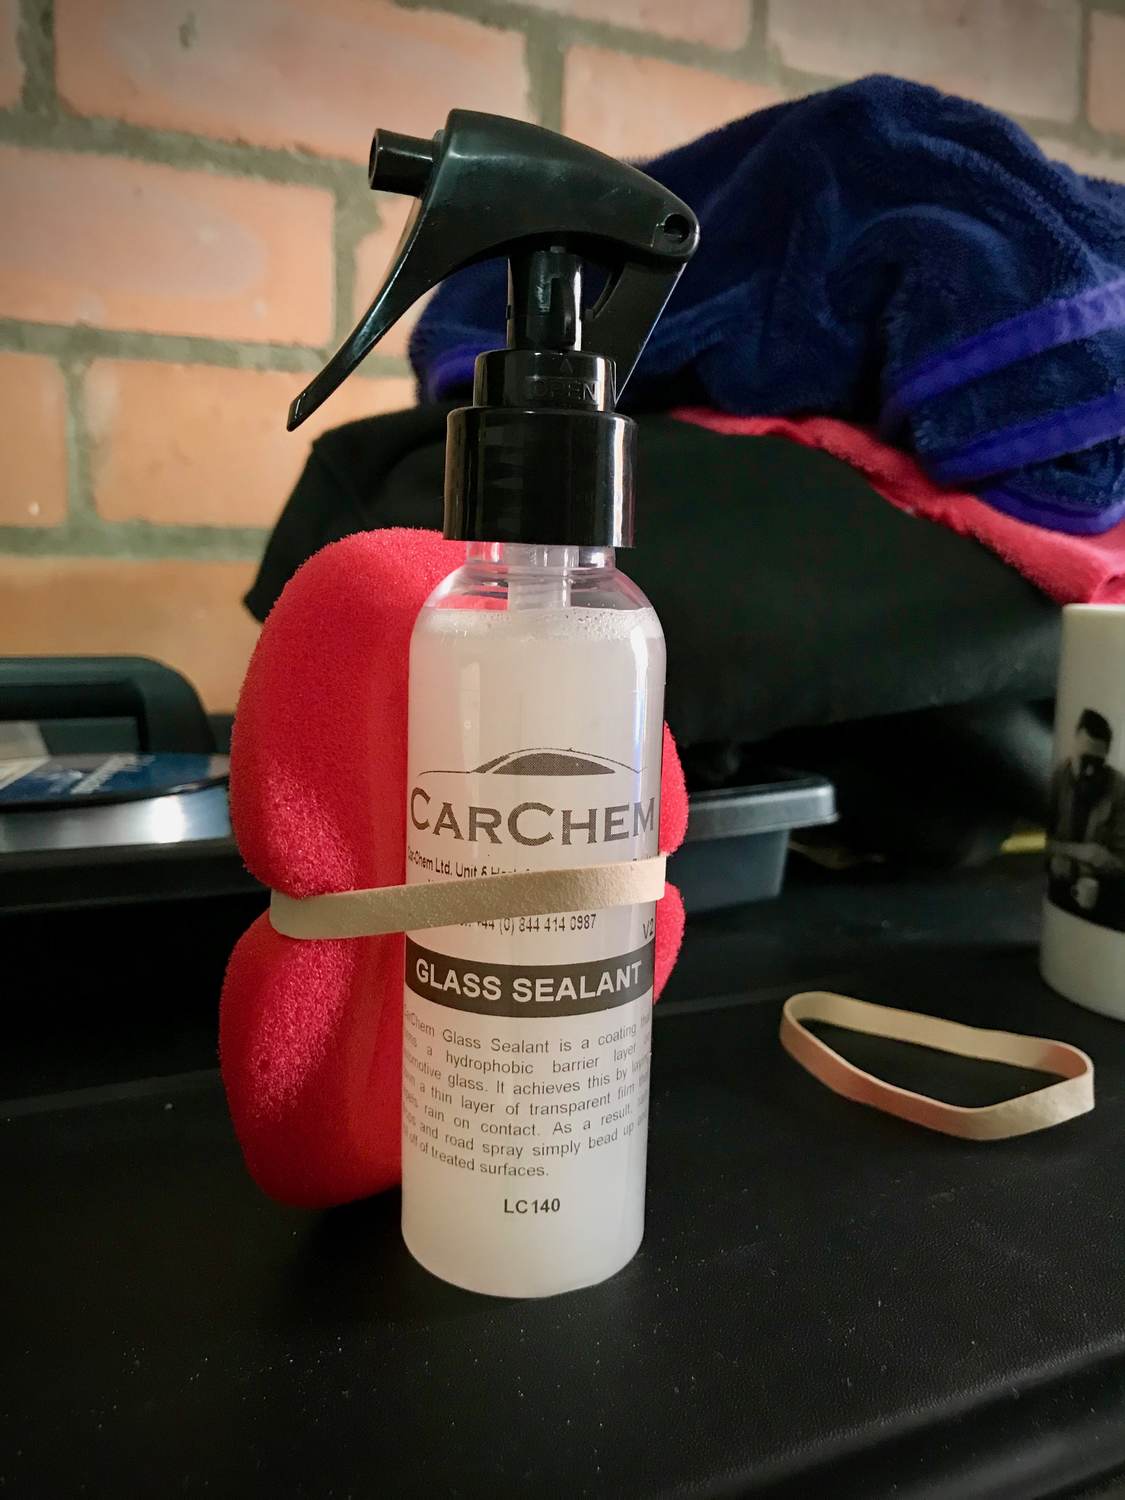
The gloves are very good mate, nice and strong. I’ll report back on the glass sealant when I get some rain, it can’t be long!
-
Car looks superb mate, it’s a credit to you.
-
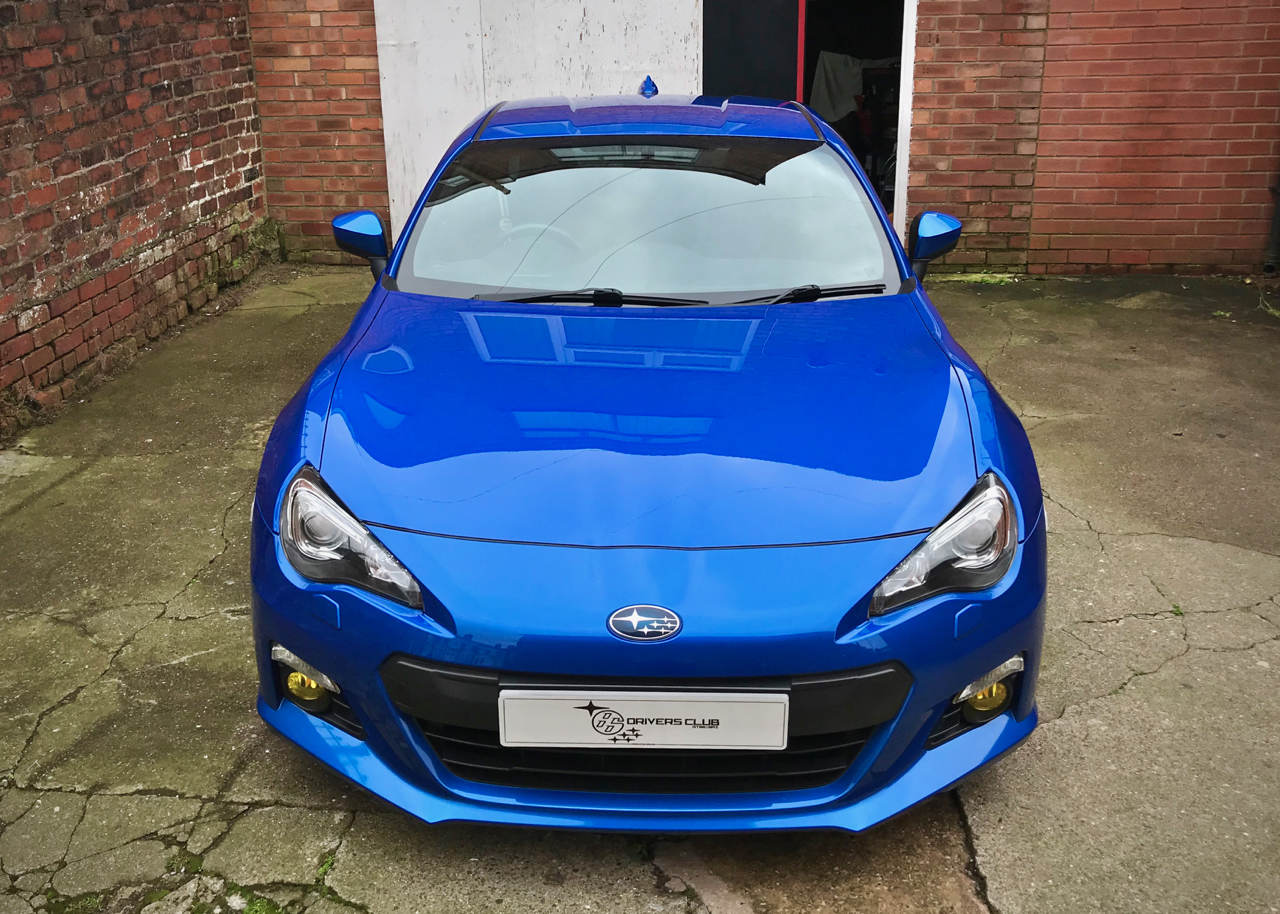
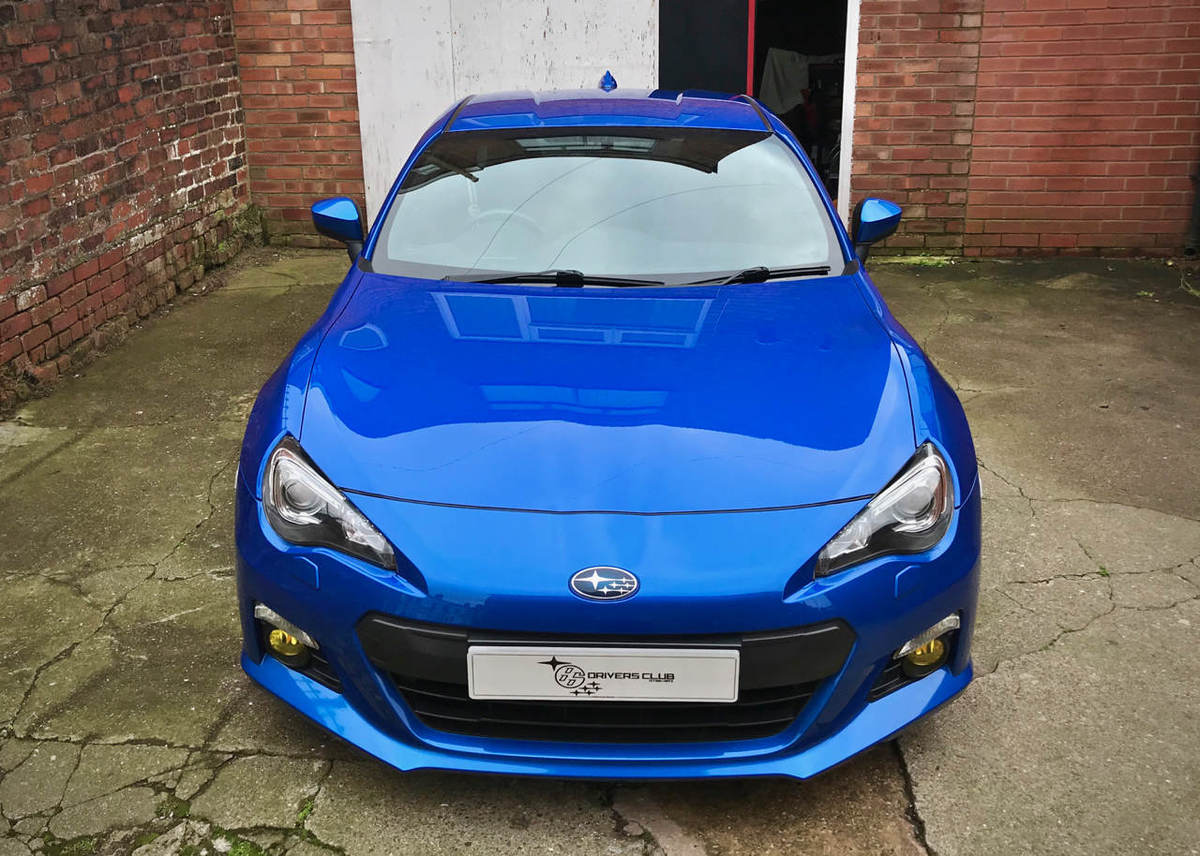
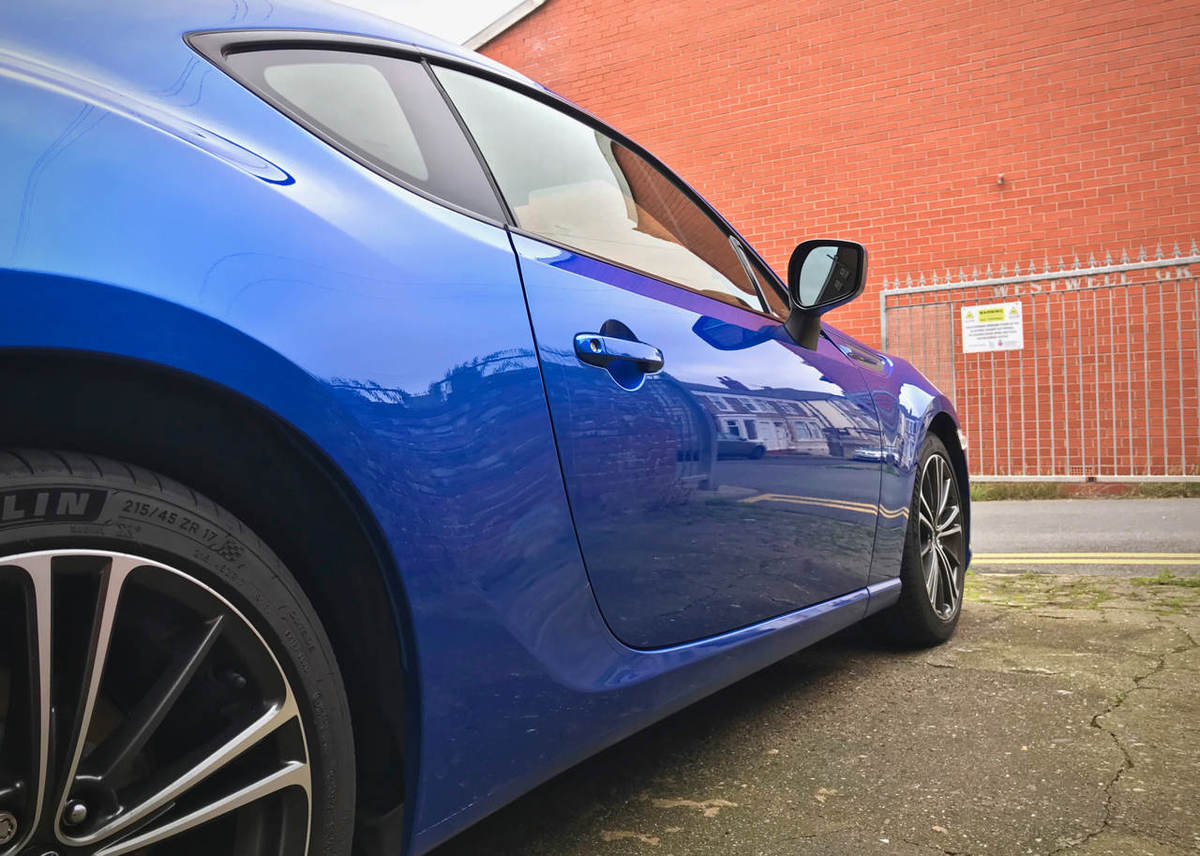
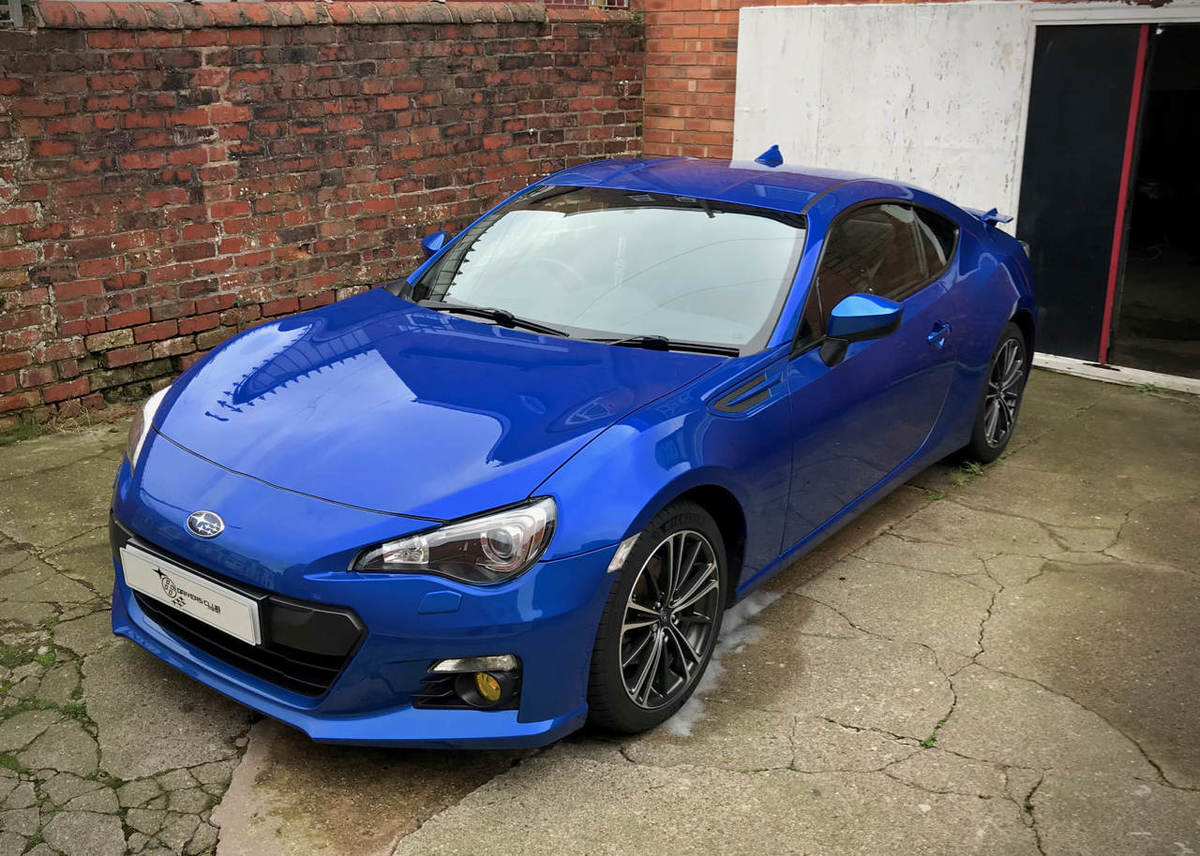
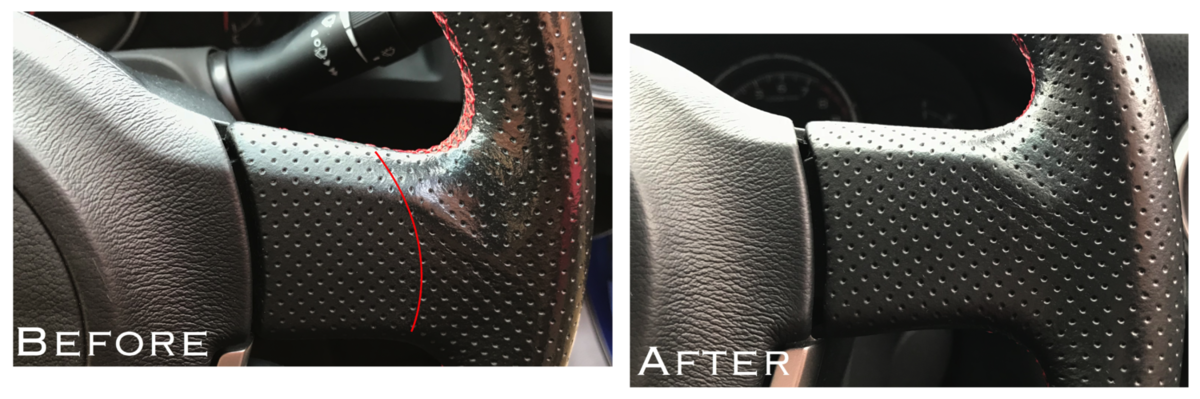
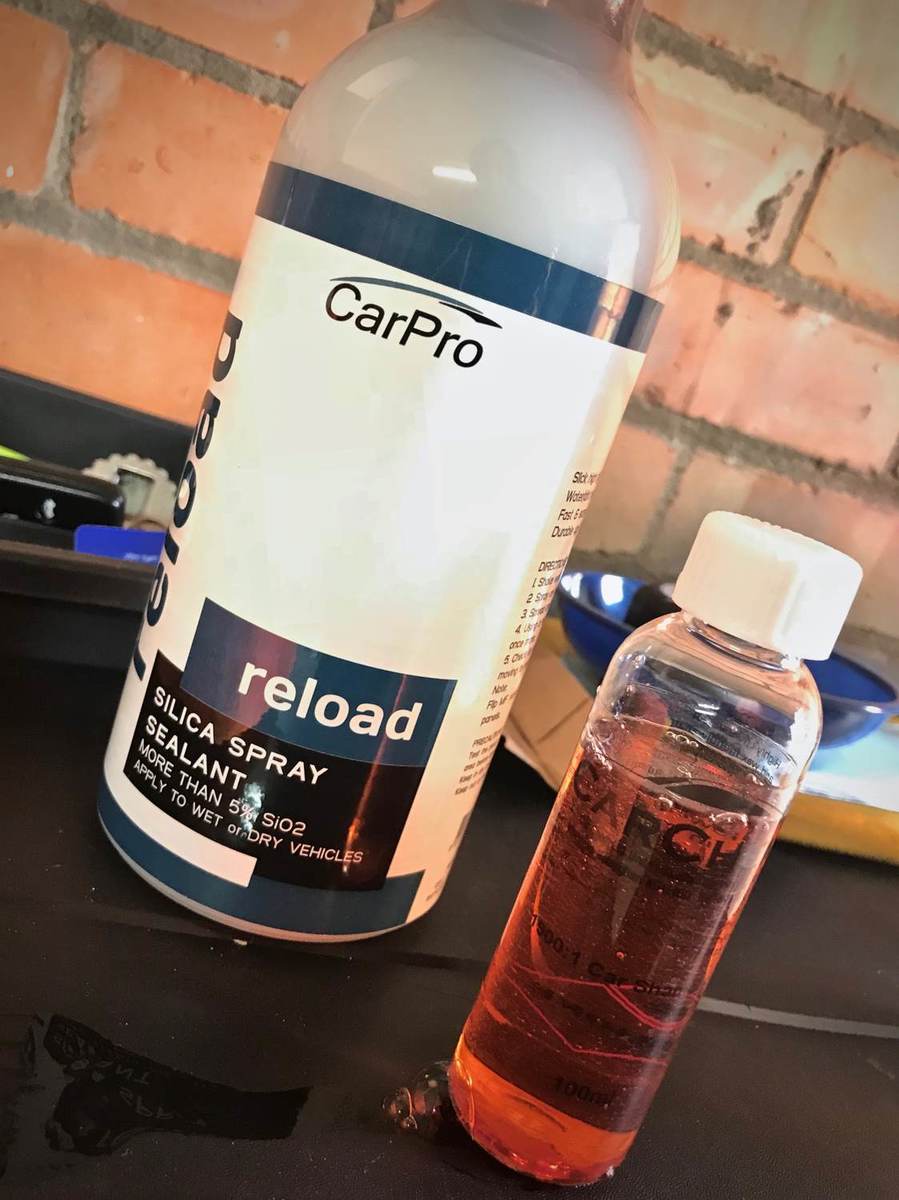
I've pounded some motorway mileage in the last couple of weeks; this meant two things, one, she was ready for a wash and, two, I got a whopper of a stone chip. £25 excess later I had a marginally smaller looking stone chip and the guy even threw in some bonnet and roof scratches for free. Imagine my horror at wandering out to pay the man, only to see him wiping down the top 12 inches of the bonnet with a wad of paper towel. How you get glass cleaner so far from the glass will remain a mystery, I'm just glad he didn't give the whole car a wipe down. Now you might think I'm being a little bit fussy about the use of paper towels, so watch this and see just how they generate swirls. Watch at 1080p for the full horror. So, yeah, thanks for that Remember kids, if you do need to get someone out to work on your windscreen, supervise the bugger at all times. In better news, G1en of Wax and Shine of this very parish generously included a few CarChem samples when I made a recent order. So today I had a play with CarChem's shampoo and also the glass sealant. This was technically my second go with the shampoo, I tried it a couple of weeks back at the recommend dilution of a couple of cap fulls in my wash big bucket and it wasn't quite as lush and soapy as I like, today I went crazy and used four capfuls for a big bucket and it was brilliant. Slick and lubey and bubbly. Some people on here will tell you science has proven that bubbles don't matter, but that's rubbish, bubble lives matter. The Car Chem glass sealant was an absolute doddle to use, after the recommended 7 minutes time sat on the glass it buffed off incredibly easily. Time, technically rain, will tell if the 7 minutes was long enough to cure in today's slightly chilly conditions. It buffed off with such ease, compared to other glass sealants I've used, that I really hope this is a winner in the hydrophobicity stakes. Last but not least, having a ceramic coating in place I decided to pick up a LSP that should hopefully bolster the protection, CarPro Reload - pretty expensive for a litre in my book, but it does seem to go a long way, so hopefully it will pay off in the long run. Nothing really struck me about this on first use, it went on and off easy and left a pleasing gloss. It appears to be streak free and leaves a nice slippy surface, we'll see what it does a dirt repellent as the weather deteriorates. At least one of the previous owners was a bit of a greasemonger, leaving me with a shiny outer steering wheel. You can see in the before image below the tide mark between nice matt leather and the grim shiny stuff. After two good goes at it with a horsehair brush and quite a quantity of Auto Glym Leather cleaner, it is looking better, but not as clean as I'd like. I don't get much of a boner about AG products, but I don't mind the leather cleaner or the engine degreaser. Hopefully another double blast next weekend might do the trick. If you've got any recommendations for getting leather back to good as new, please do let me know.

-
Welcome along.
-
Can’t make it, but BR is brilliant, enjoy!
-
A flat chest?
-
What a stunner, welcome along.
-
What’s the best thing about winter? Not the snow, nope, not even Christmas, yeah you guessed it, it’s the annual forum calendar. Which means this is the start of the annual calender photo hunt. In 2018 it’d be nice to keep the seasonal theme going, with the occasional autumnal snap or a snowy scene mixed in with the spring and summer sunshiiiiners. Last year’s Halloween number, up on your walls right now, is a cast iron classic seasonal example. To give everyone the best chance at getting an image in one of the calendars, we will take submissions straight away. The club calendar runs Feb to Feb so there's still time to shoot your winning image, all you got to do is get out there with your Zed and your camera. It goes without saying that we can't make this work without members photos, please submit your images, all you need to do is follow the rules below: All pictures must be landscape aspect ratio (ideally 6x4). Amateur pictures only, unless you are the professional photographer. No watermarks. High Resolution images only (usually at least a few MBs in size), this is imperative for printing. A maximum of four photos submitted per member. If you've only got one or two, that's fine too. Please don’t submit photos that have been featured in previous Calendars, these should be 2017 shots. Entries MUST meet the rules or face rejection. Winning photos will be chosen by the Team, there is no forum vote, this keeps it a nice surprise when you get to open the envelope after the inevitable Christmas hangover. There is no need to register your interest for buying calendars just yet, we'll post that up once details emerge, this is just to start submissions early and hopefully inspire you to get out and take some photos. Please PM me for my email address, so you can send me your Zed photos. If if you’d like to register your interest to buy a calendar, please check out https://www.350z-uk.com/topic/118891-club-calendar-2018-feeler-thread/ Thanks in advance. The Team.
-
I’d very much like to try and get something set up for us with you next year for more tuition days and possibly at a trackday too
-
Let us know how much you love the tyres, shame about the OEM wheels, they're rather smart.
-
I am fairly confident that I can say we had a superb day, mainly a day of spinning, cone battering, with an occasional drift in there too. Certainly no shortage of fun. I’m also a bit more respectful of the skills of the regular drifters, particularly anyone who can do it in a clockwise direction!
-
Nice write up Dan. I put some time on the CAT Drifting tuition day on these yesterday. Having previously enjoyed oversteering with them on the steering pad at Millbrook in heavy rain, I was impressed at how much more abuse I had to give them in the dry to break free. Much more aggressive inputs to oversteer and downright idiotic provocation to generate (several) full on spins. Feedback from the fans in the stand was that they’re quite chirpy at understeer.
-
Nice choice, might finally tame that back end
-
Nice work mate, looks OEM+ At least with the repainting you can do the scratches on the gear surround section at the same time, nice consistent finish all over.
-
I’m feeling Dr Leather wipes at the minute, they clean well and smell manly, but they’re more maintenance than repair. I’ve heard some retailers use shoe polish, but never braved it myself. If you want to really give it ago, there’s kits out there like https://www.furnitureclinic.co.uk/How_To_Restore_A_Leather_Car_Interior
-
Free - Invidia Gemini Passenger Y section 350Z
Stutopia replied to nrenz123's topic in 350z Parts For Sale
Approved as it’s free. -
Tablet installation build thread...(Brainiac)
Stutopia replied to SmoggyPauly's topic in I.C.E & Electronics
Looks mint, nice install. Keep us posted.