rabbitstew
-
Posts
4,960 -
Joined
-
Last visited
Content Type
Profiles
Forums
Events
Gallery
Store
Everything posted by rabbitstew
-
Totally agree. My 997 turbo came with a brand new set of P-Zeros on it. They lasted 14,000 miles and the car handled shockingly with them. I swapped them out for MPS4S`s and the difference was staggering. Night & Day. I could now "feel" the road and the grip is unreal. To top it up, I've done over twice the mileage the P-Zero`s lasted and they still have loads of tread left on them.
-
Did it come with the glue? As some of the reviews on there say it didnt? For the money I might get one just to repair my tyres as/when.
-
Cheers! yes, they appear to be made out of plastic. Maybe that's why they are only £25!
-
Ah, good point, it may well do thinking of it. Maybe colour scheme & style of wheels can help that. Go for an old Ford colour etc.
-
Just to clarify for potential buyers - does that incl. P&P?
-
Good idea on finding a better shell. That Ford Pop I used to own was similarly missing the bottom 5 inches all around from rot. I do wonder though if your Pop will end up looking more like a scaled up Legends car, rather than a Ford Pop when its finished?
-
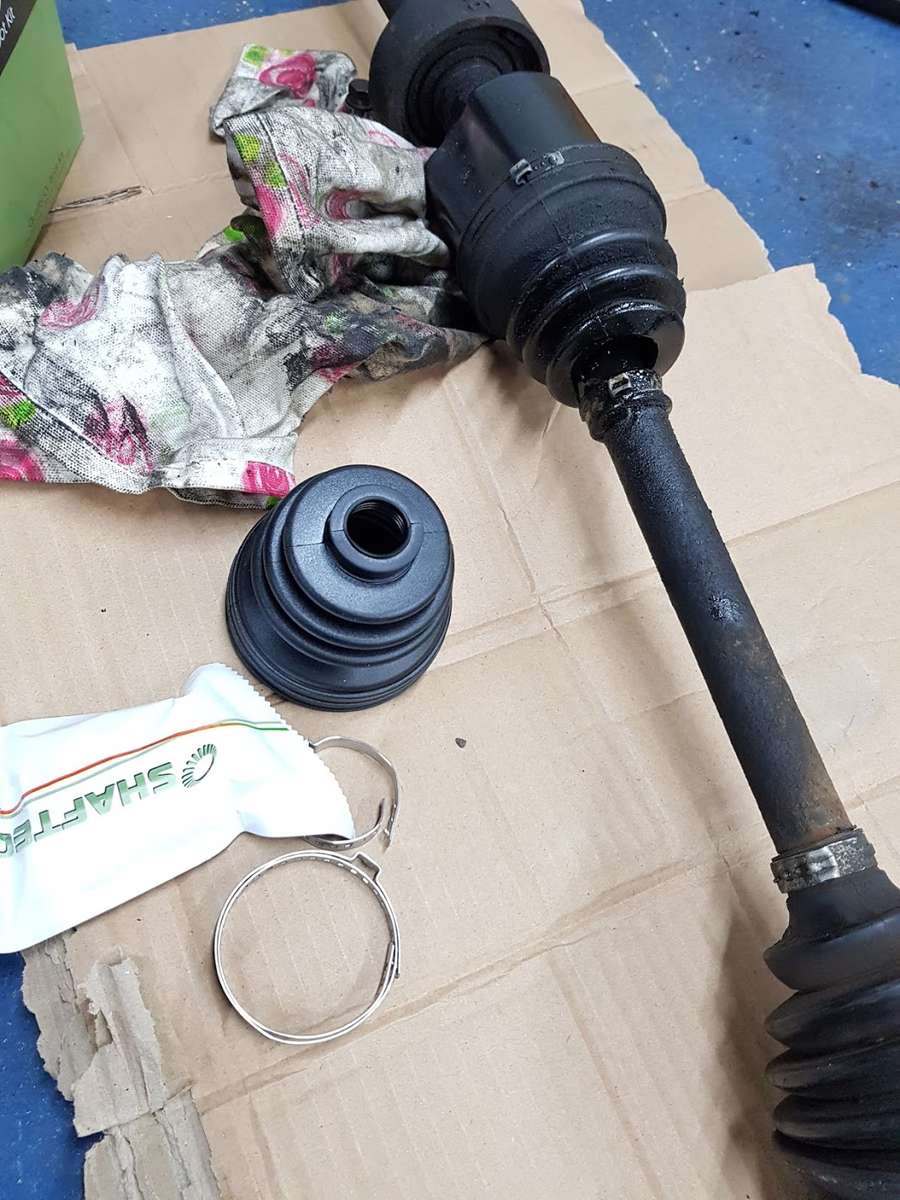
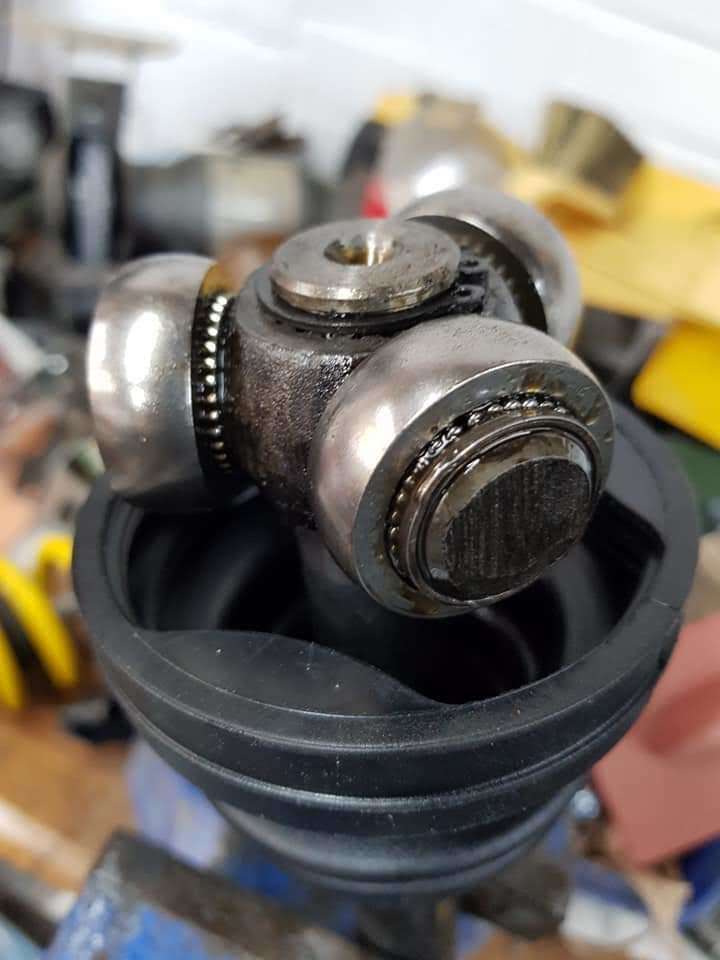
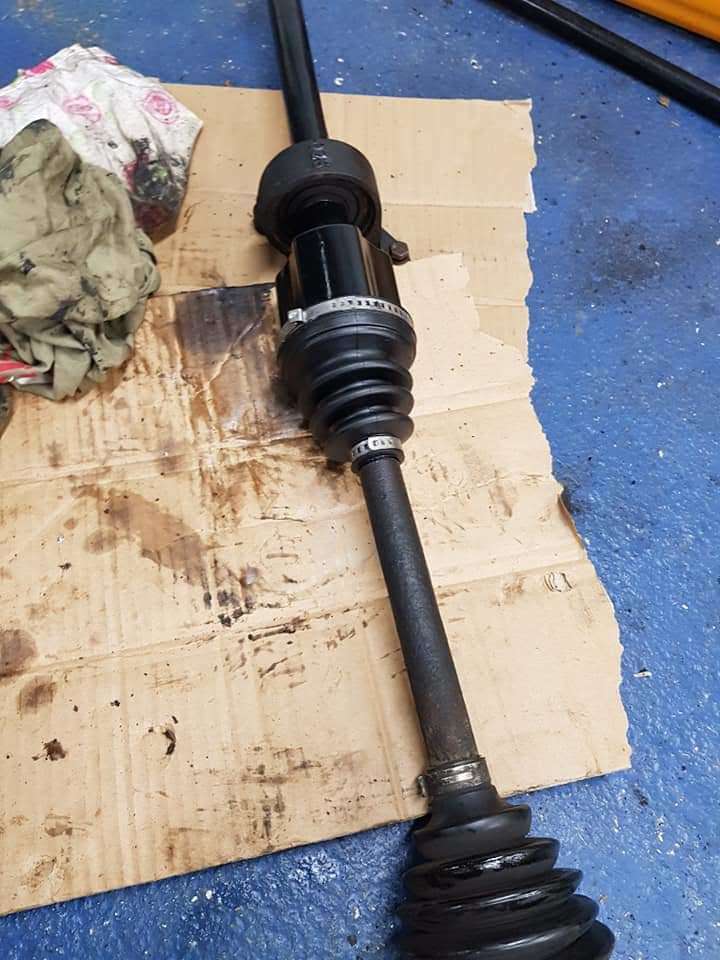
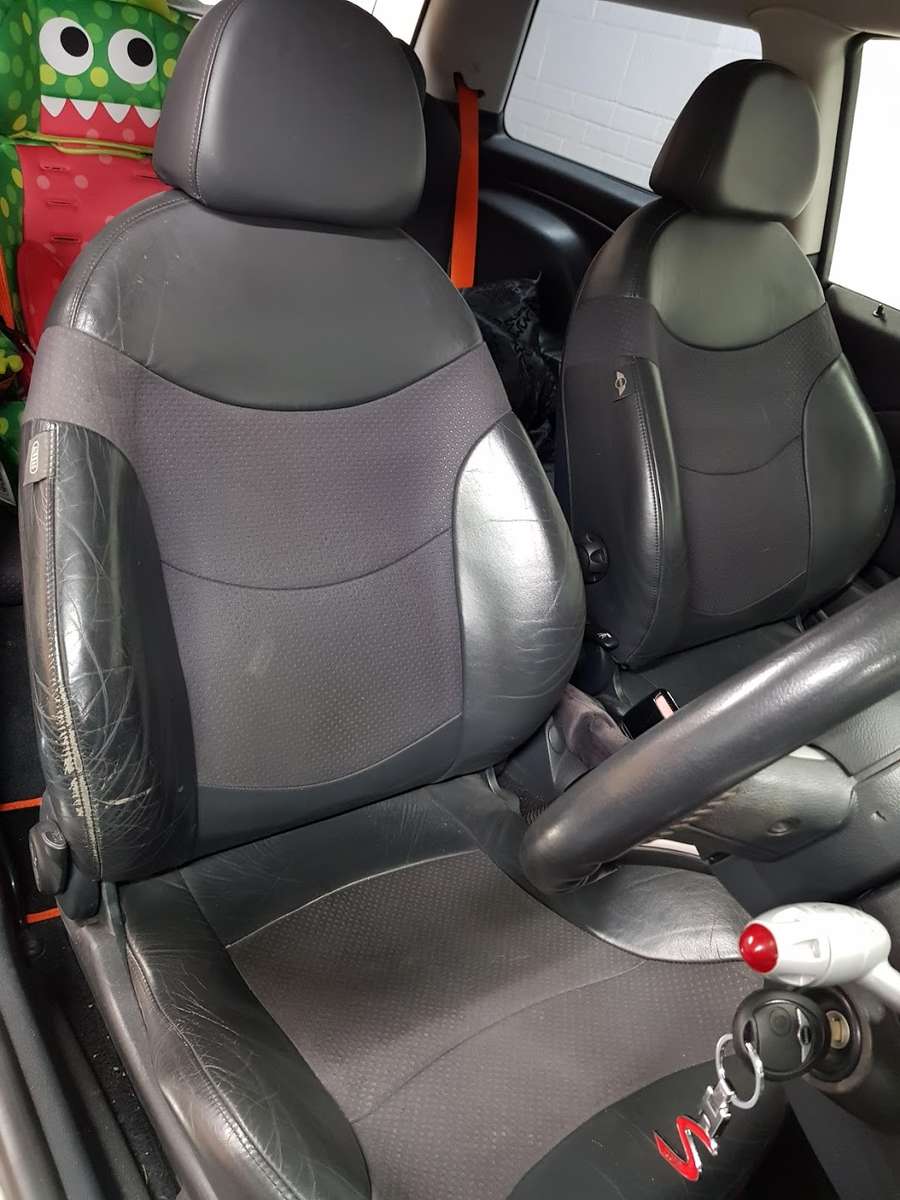
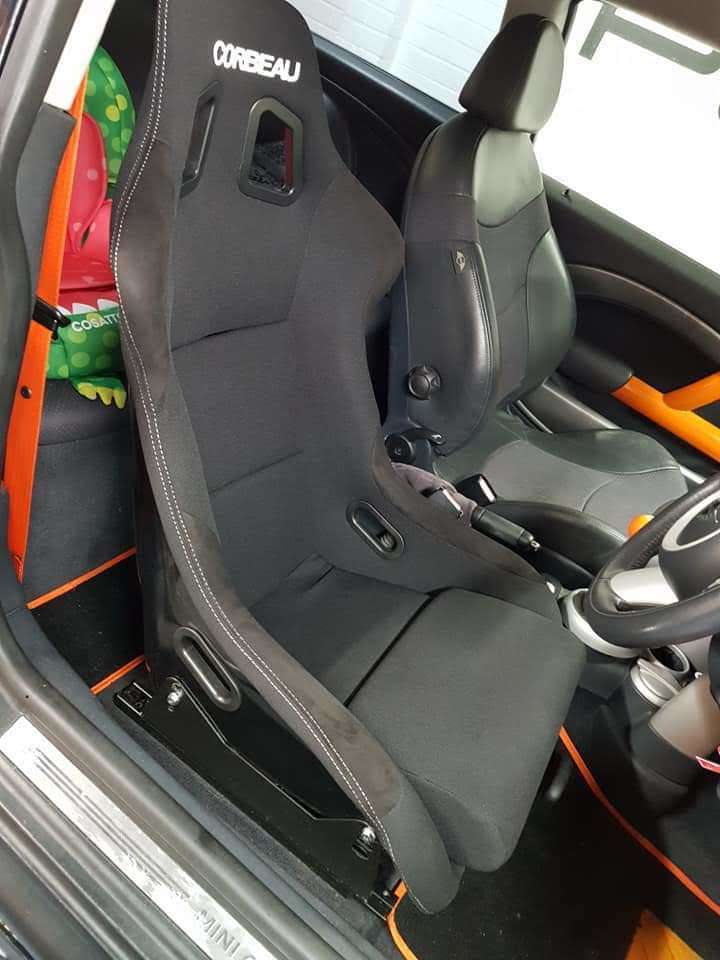
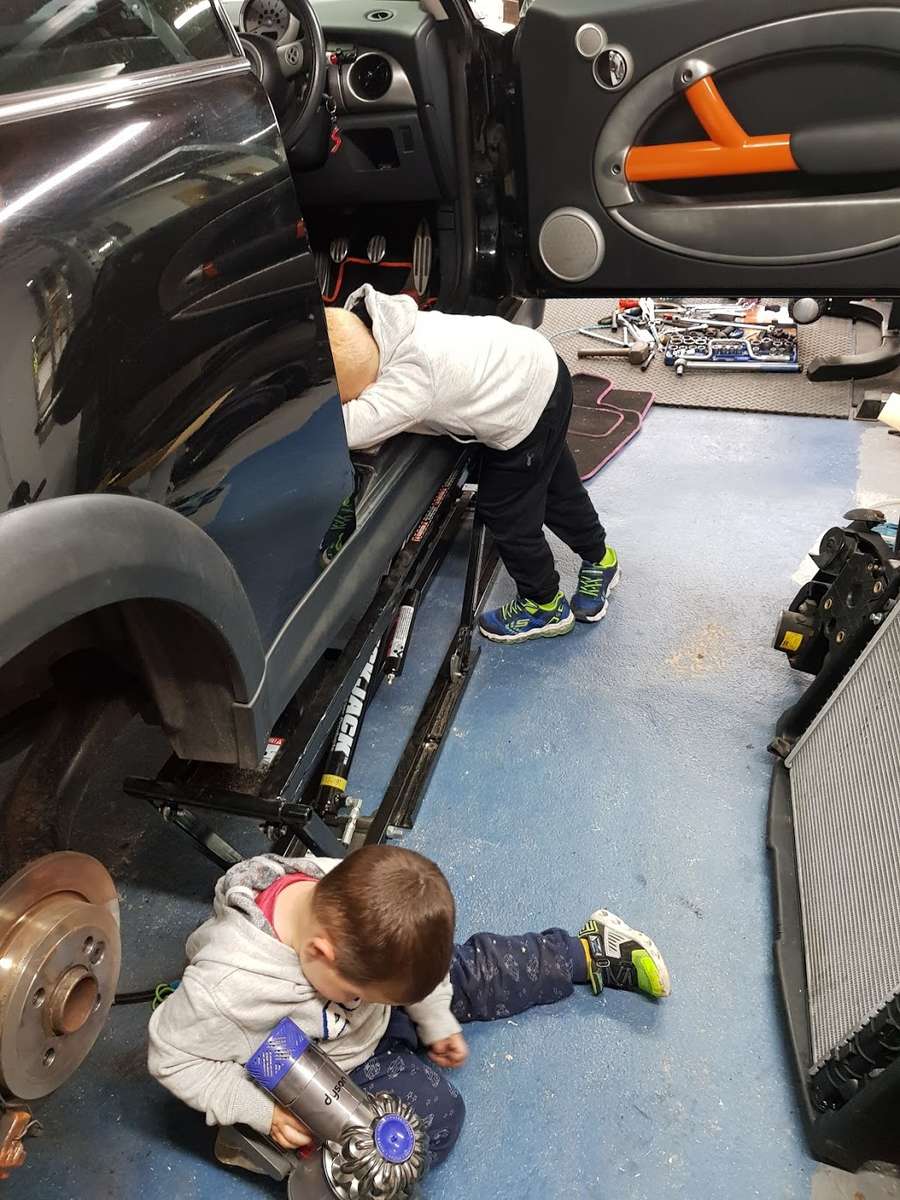
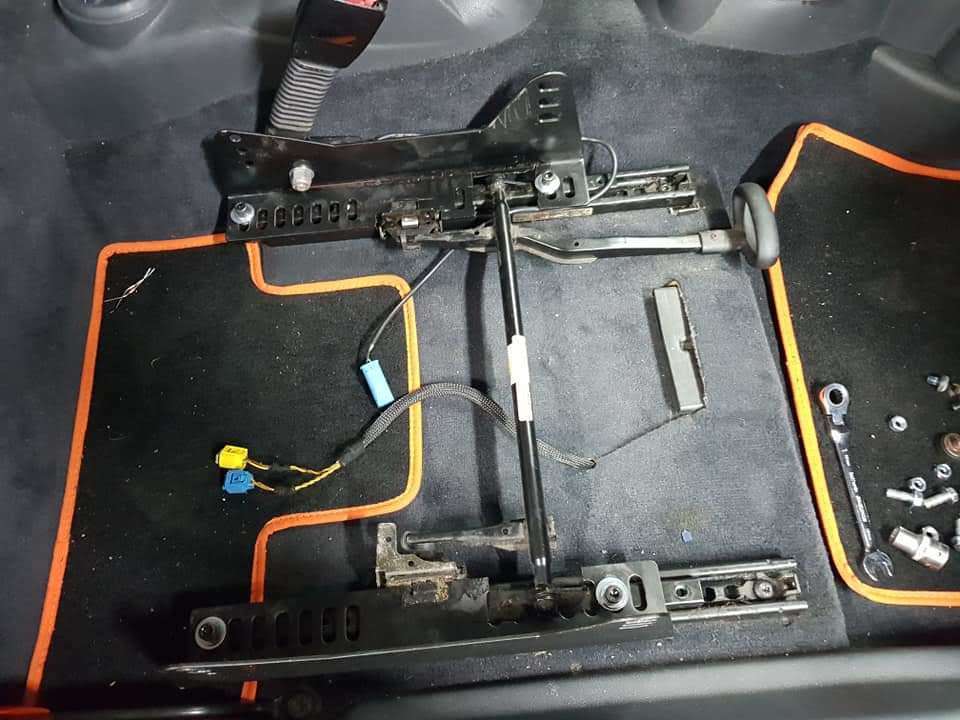
Got a couple of hours in the garage over the weekend. Firstly I swapped the inner drive shaft gaiter for a new one as the old one was split. Its a right messy job when this happens as the gaiter is packed with grease, which proceeds to be flung out all over the underside of your car/engine. Pretty easy job to to. You just remove this circlip, knock the end bearing thing off (carefully so not to damage them), then the old gaiter can slide off, and new one slides straight on. You then repack it with grease and clamp up the metal retaining clips. All done ready to put back on the car... Looking back, really I should have replaced all of them whilst I had the driveshafts off the car, but its not a hard job to do if any of the others go in the future and the others seem in good condition from what I can see. I then re-attached the steering column to the steering rack. This was very easy to do as I had good access from above being as the exhaust manifold is off. I refitted the drive shafts, connected hubs to lower arms, connected the steering arms to the hub, and re-attached power steering fan. Basically all the running gear is now back on. I then decided to change the drivers seat.. from this... to this.... with the help of a couple of little helpers... It was actually a pretty easy job. You basically remove the original seat - 4 bolts, then remove the original seat slider from the original seat. Then chop bits out of the new seat mounts so they then bolt straight to the original sliders... like so... I am keeping stock seat belts, so I reused the original seat belt buckle. These have those explosive auto tension things in case of accident which is the blue plug. The yellow one is for the seat airbag, which the new seat doesn't have, so i used a 3.9ohm resister I soldered across the wires - which apparently should stop the air bag warning light coming on. (fingers crossed!) I was actually quite surprised at how heavy the stock seats are, this is quite a weight saving. Okay, so StormWhite will have a stroke at me throwing money on things not strictly needed, and I did debate whether to get it or not as it will push me over budget. But the original seats offer little cornering support and the new bucket seat was only £200 incl. mounts so pretty cheap. Not only that I can always reuse this new seat in future cars if I want and besides... it looks loads better! As the car will be used to ferry kids to school etc, I have to retain the rear seats for the children's seats, and therefore need to keep the original passenger seat so I can tilt it forward so they can climb into the back etc. Otherwise I would probably strip the back seats all out and replace the passenger seat also to save some weight. So, not bad for a couple of hours work. Next on the list will be to fit this new clutch slave cylinder, power bleed the system and hopefully regain a normal clutch pedal...

-
Man, I had forgotten about having 10th generation copies of "research material", usually German, dubbed over with hilariously bad voice-over and having to spend ages adjusting the tracking.
-
Something satisfying about making a garage bigger/better. My advise would be to make it as big as possible at the start as it soon fills up. I bought a shed the same size as a single garage to free up space in my garage. Even then there wasnt enough spare room in the garage. So I then had the garage extended so its now something like 5m x 12m. Plenty of room I thought... but no, my car is still sitting on the drive. LED lights are awesome, but expensive. I fitted like 12 5ft strip lights in mine and they weren't cheap, (I wired the garage up myself so no labour costs) but the difference in light is amazing.
-

BMW demand full payment from Youtuber
rabbitstew replied to GranTurismoEra's topic in Off Topic Discussion
You can get quite a bit from youtube. The brother in law sticks the occasional video up and he did one which was picked up by mainstream media and therefore suddenly he got lots of hits. He earnt enough to restore a project car he was working on. Really I should have video`d the work I did on my project car / bikes and produced some "how to" guides for youtube. doh! -
A few years back charity shops and places wouldnt even take VHS tapes as worthless when you can buy DVD`s for a quid. I did have a USB device I used once to transfer some of my home movies to .avi on my PC, worked quite well.
-
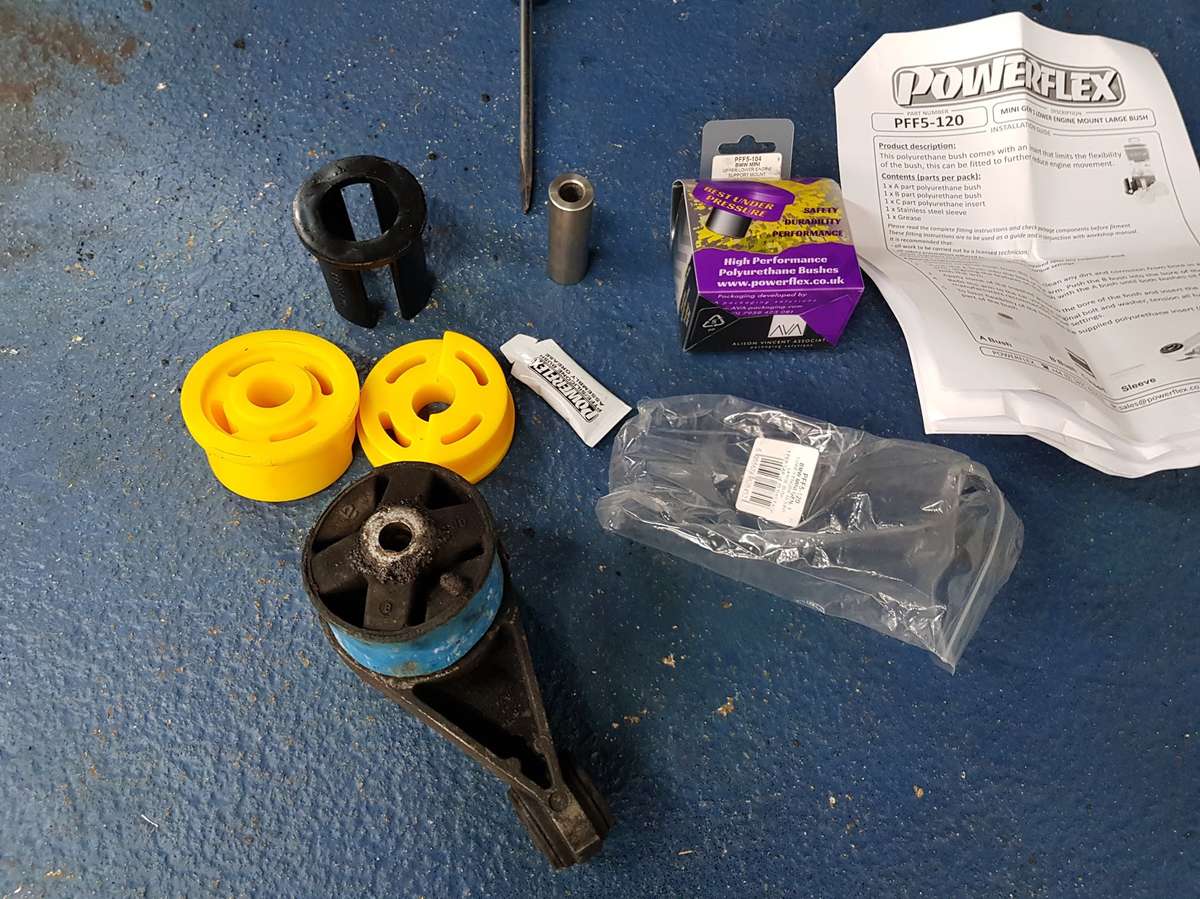
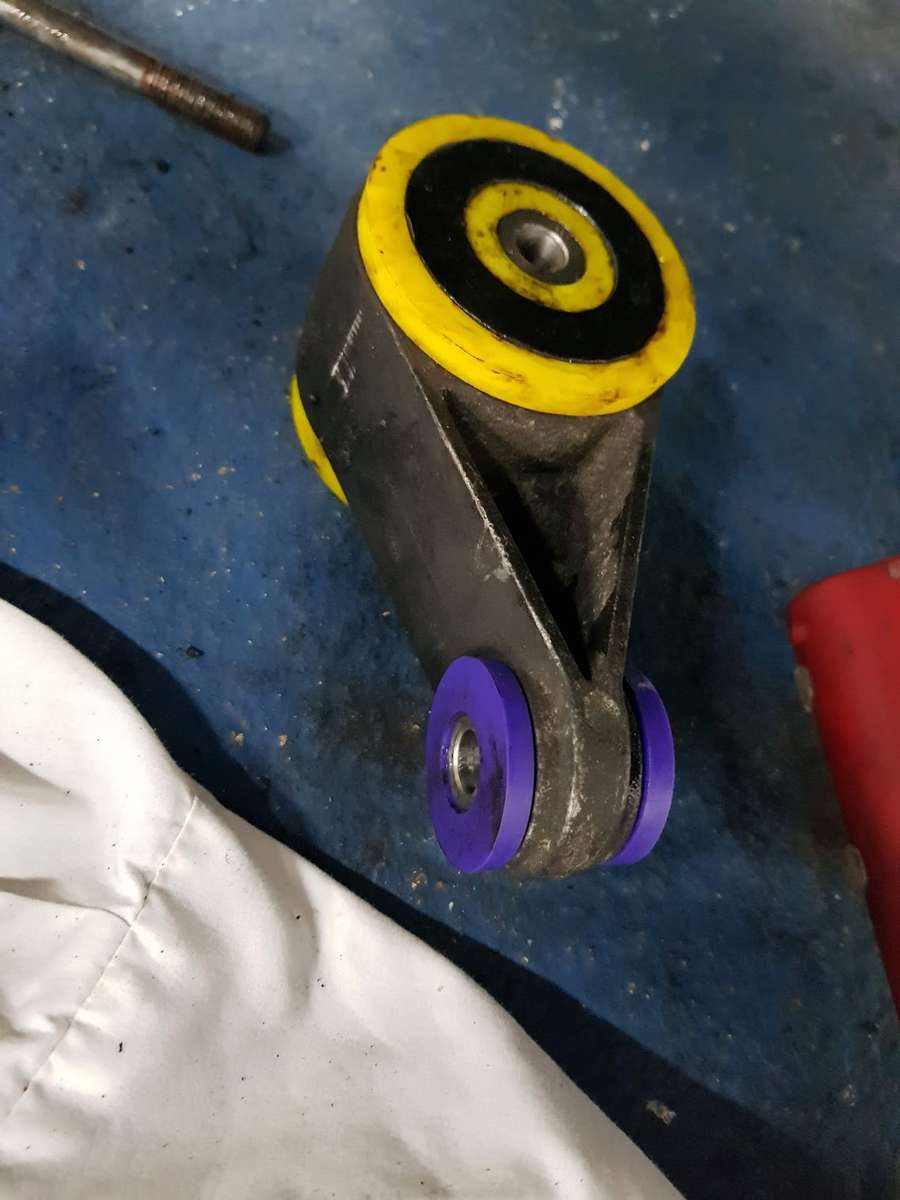
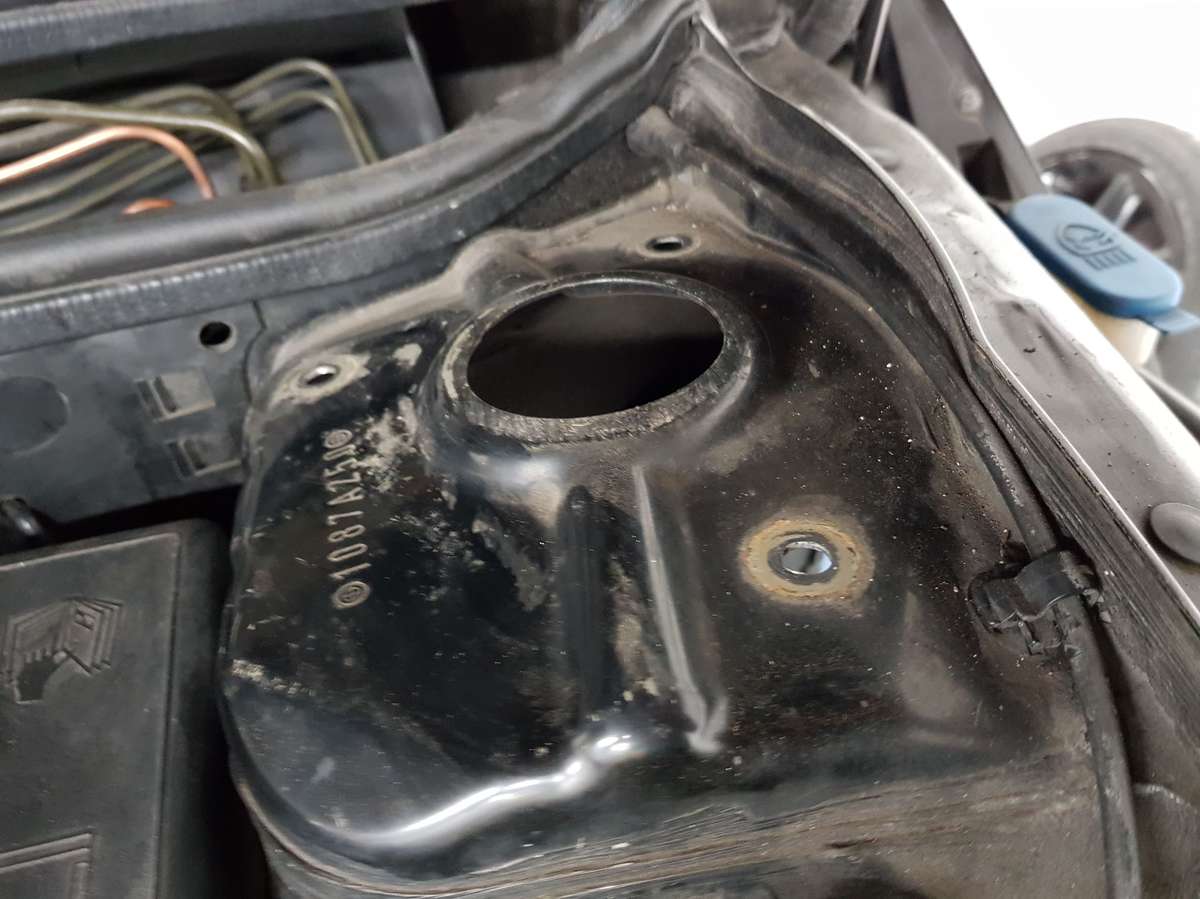
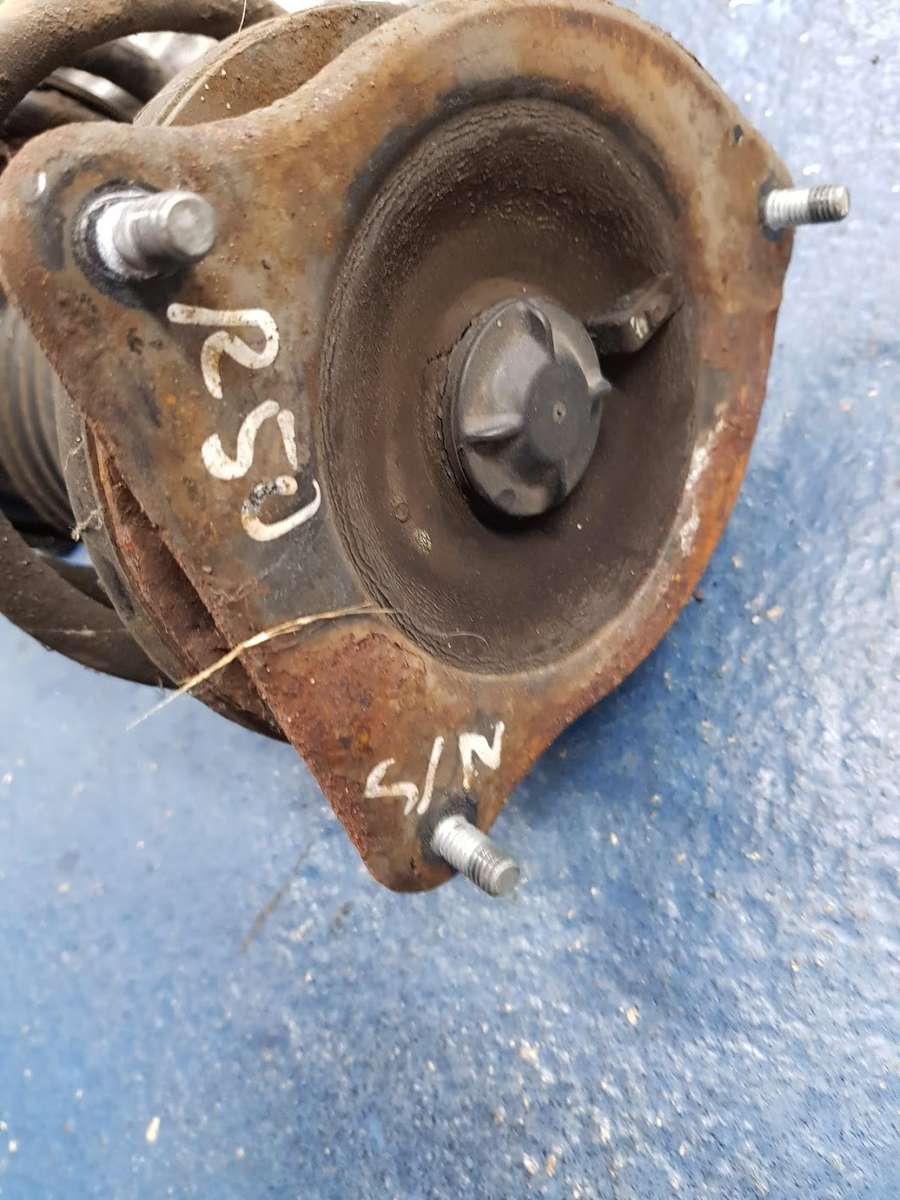
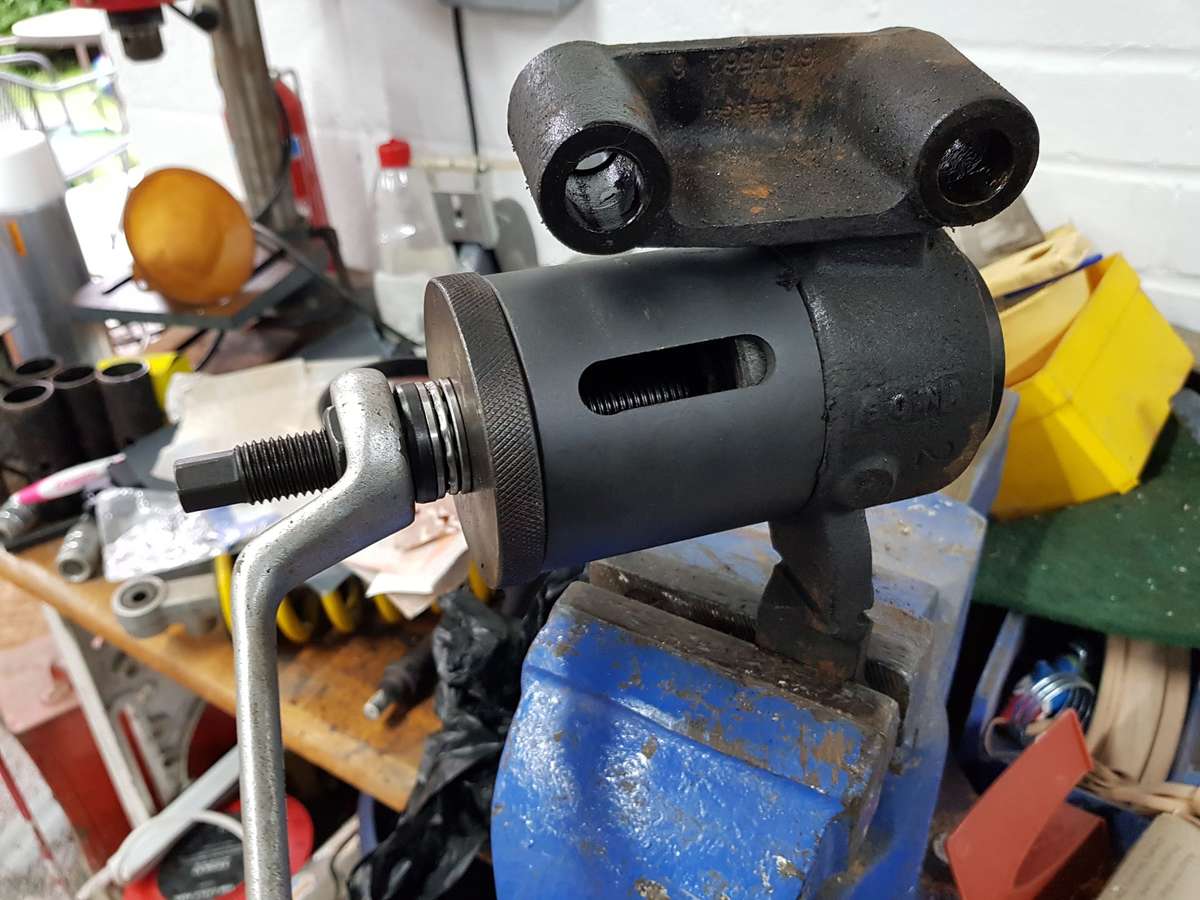
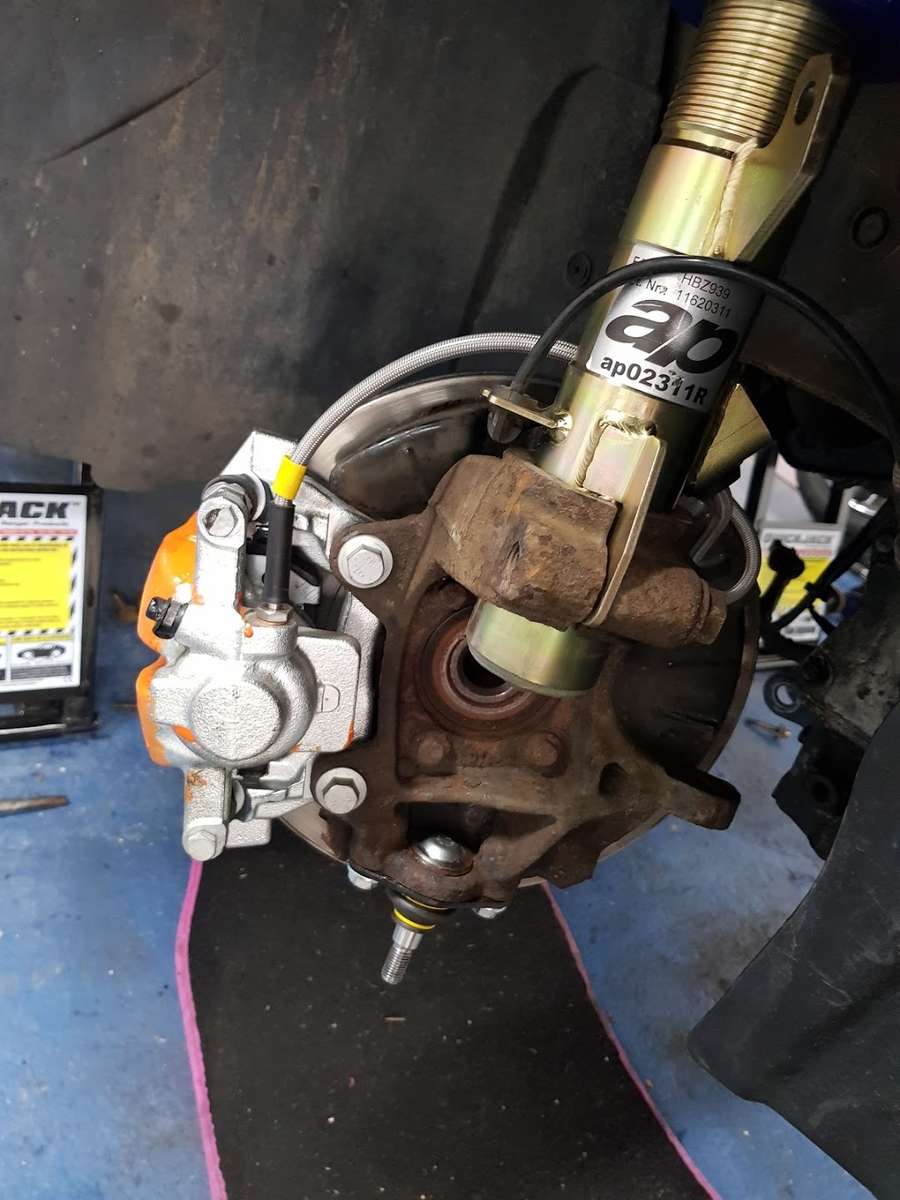
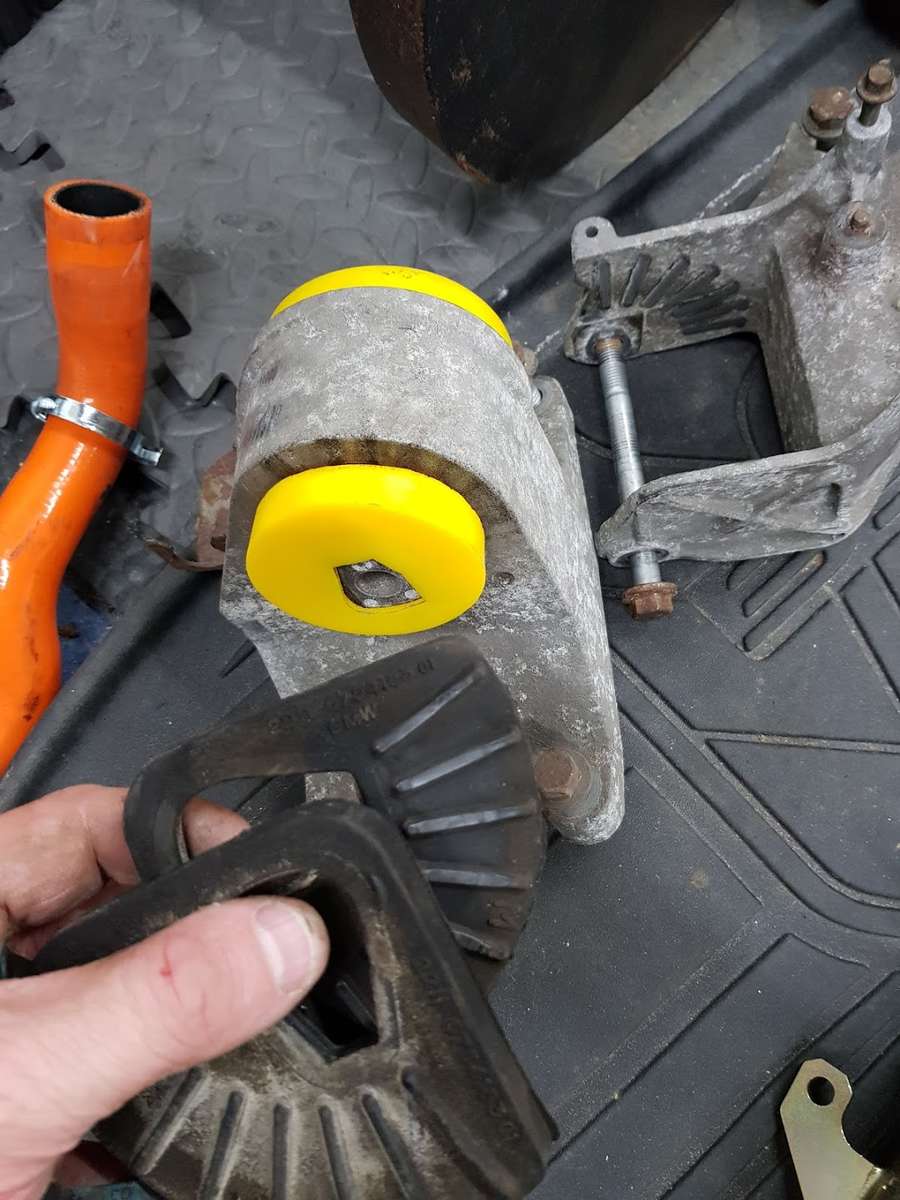
So now the wife & kids are back this last week has been a bit different and virtually zero progress on the Mini as I just haven't had any spare time. I did however manage to polybush the lower engine mount before fitting that back on... That was surprisingly easy. I was expecting the old bushing to be hard to get out, but a bit of heat and it pressed straight out using a large socket in a vice. New ones just push in by hand. The bushing comes with 2 big yellow inserts, and an optional black insert to make things even stiffer. I have no idea if that optional extra insert will be too much for the road or not, but hey ho, I have used it anyway. Besides that, I re-attached the passengers side drive shaft, and dropped the passengers side suspension strut out as I hadn't done that one yet. Now if you remember, its this passenger side I thought had been in a shunt before. Besides the strut tower being obviously mushroomed & bent... You can see on the old shock how bowed the top mount is... That's definitely has some sort of heavy bang. And finally, tell tale evidence that this shock has been replaced at some point with one from a breakers.. Now that says R50 which is the basic Mini One. I am not sure if there is any difference between the struts & springs on a Mini One & a Mini Cooper S, but that could be another factor as to why this car never handled well. Old strut stripped (again, thank god for the impact gun in getting that top nut undone :thumbs:), spring top plate transferred to the new coil over and we should be in a position to refit once I smash that bent strut tower flat again using a lump hammer. That just leaves... fit quickshifter refit exhaust, refit starter heat shield refit manifold heat shield refit coil pack change drivers side inner CV joint boot refit drivers side drive shaft refill gearbox with oil refit power steering motor fan reconnect outer ball joints reconnect steering tie rods reconnect steering column to rack reconnect drop links all around check everything torqued up refit radiator, flush coolant system out, refill, fit a/c condenser, front slam panel, connect lights, bumper, set suspension geo best I can, refit wheels... and that's just the stuff I can remember lol! I have also bought a new clutch slave cylinder as they are only £25. It will give me peace of mind as I think the seals in the other one might be knackered and is easy to fit whilst I have got the car in bits. Sounds a lot, but its only about a days work I expect. If only I could get a whole day in the garage that is!
-
BMW demand full payment from Youtuber
rabbitstew replied to GranTurismoEra's topic in Off Topic Discussion
Exactly this. I was bought up with the "if you want something then save up for it" mentality, and I have always paid cash for all my cars. When I was a lad if I couldn't afford a certain car I didn't get it. As simple as that. But nowadays I see so many kids having just passed their test jumping into brand new cars on PCP deals. And you get these "influencers" or "muppets" on youtube trying to look successful with "their" flash cars when in reality they have either hired, leased or PCP`d them. And its not just them, rappers etc.. are notorious for it. It doesn't help that getting PCP/finance/etc is so easy these days. My wife got a car a few weeks back, on finance, and she doesn't even have a job. How she was going to pay it back was not a concern to the sales person as long as they got their commission from selling the finance package. -
I need to do mine at some point, make the car look a right state. Wasnt sure whether to reapply some new stuff or not - following your comment above I will have to have a think about it.
-
I never used to bother. Made sure I had a tow rope in the car and used to call a mate with a towbar up if I needed a tow. But this last few years ive been with RAC. I use my Tesco clubcard points to get 75% off, so £30 worth of Tesco points gets me £120 worth of RAC cover. Loads cheaper. Also, always check the cashback sites as they always offer huge cashbacks on breakdown cover.
-
Jesus, at this rate you will have it finished before I get my mini back off the ramps!
-
Indeed, good call on off-loading the 200sx.
-
Good work. I don't know what it is about zeds, but when I swapped the exhaust over on mine at 20,000 miles & 4 years old the underside of my zed looked like it had been dragged out of the sea, it was mega rusty. I was quite shocked as the 174,000 mile 11 year old golf it replaced still looked brand new underneath.
-
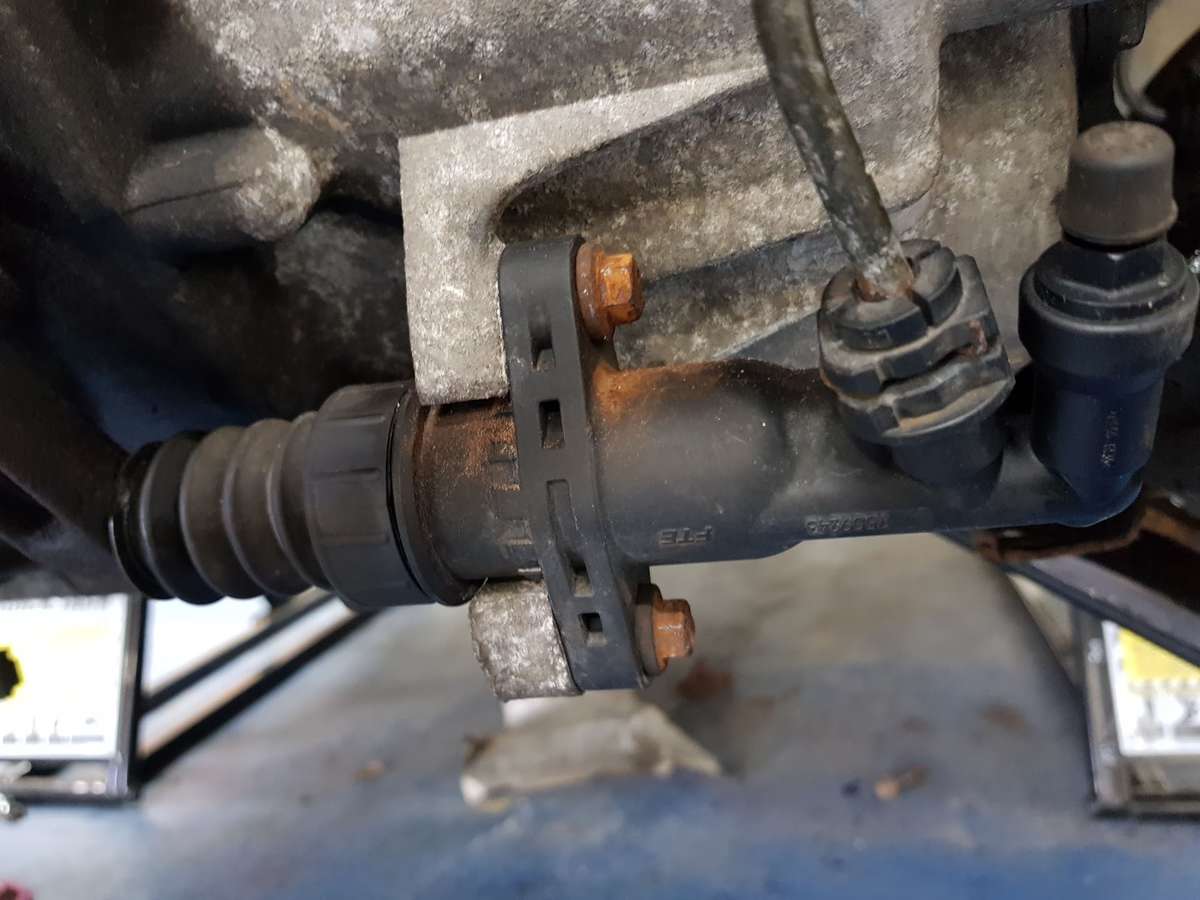
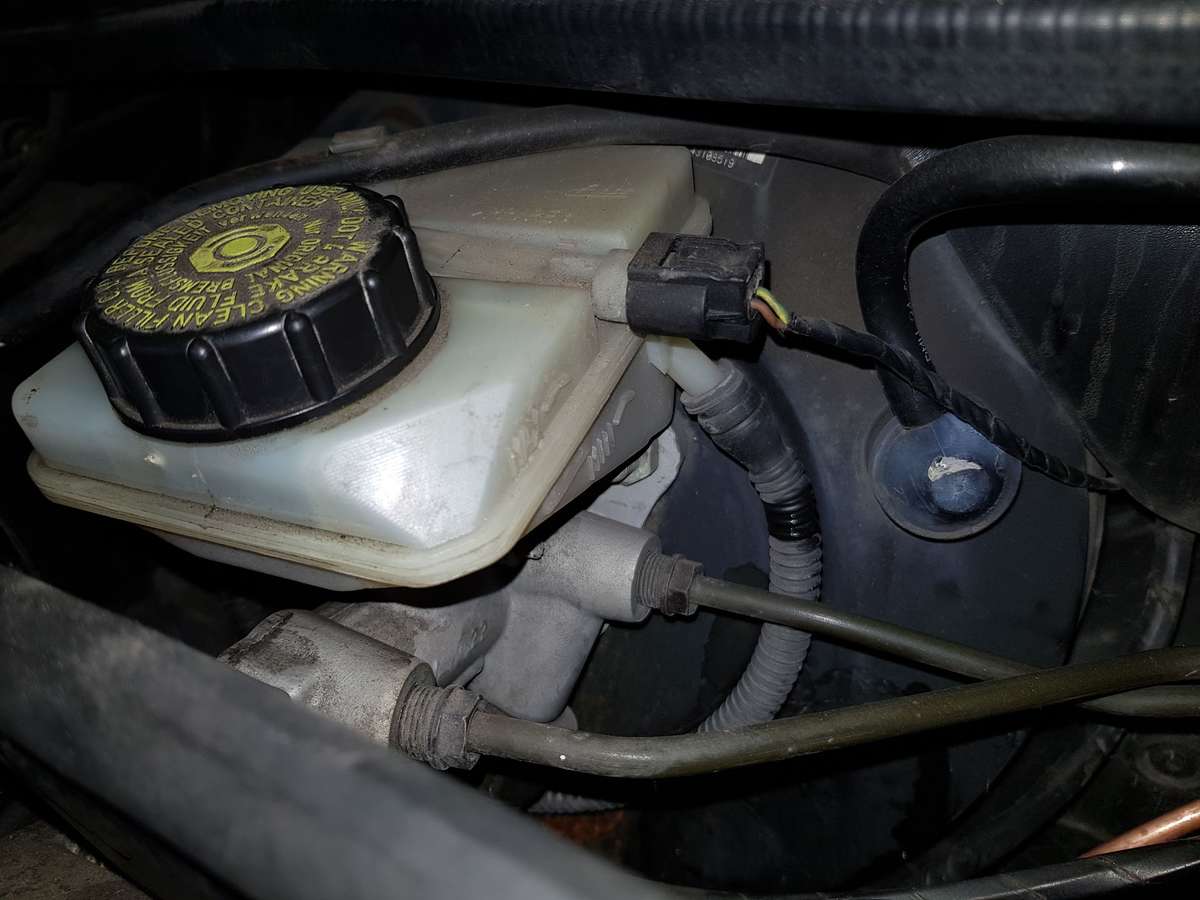
Saturday I had the morning spare, taking advantage of the wife & kids being on holiday, so back in the garage I reluctantly went to try and finish this clutch. The clutch alignment tool (£7) made it easy to fit the clutch plate & pressure plate to the flywheel, all buttoned up nicely. New release bearing fitted to the throw arm - simple clip off/on. Then the "simple" task of refitting the gearbox to the engine. I really dont know why they dont make gearboxes with a flat bottom to make it easy just to lift it in place with a trolley jack. All the guides I read said you need 2 or 3 people man handling it to get it into position - and they were right. But it was just me in the garage using a variety of chains, ratchet straps and trolley jacks as well as brute strength. Easily the hardest thing I've done on this car so far. It was so awkward. In the end I managed to get one of the lower mounting holes lined up - bunged a bolt in it, then managed to rotate the box a bit and shove it in. Then before it could move I bunged some more bolts in and hey presto it was back in place. Albeit something like 2 hours or more later.... Next job was to get that stubern wishbone bush out and fit the other polybush then get it back on the subframe. In the end it stripped the threads off my wheel bearing puller. Amazing. So I ended up sawing through it with a hack saw and using a cold chisel & lump hammer got it out. Here's the subframe ready to go back in... I was expecting this to be a bit awkward, but it wasnt, I used a couple of trolley jacks to wheel it under the engine/gearbox, then raise it up. Once I got the back bolts in, I could man handle it a bit and get the front mounting bolts in. Garage is looking a bit better now with bits back on the car... The passengers side lower ball joint was another nightmare to get out. Lots and lots of heat and the cold chisel & lump hammer and it finally came out. You can see the difference below between old & new. Again, these things cost like £10 each, so makes sense just to do it whilst I'm there. So then I tried the clutch pedal and it dropped straight to the boards and stayed there. Sigh. Another "Why didnt I just pay someone to do this" moment. Its a hydraulic clutch so pretty straight forward. The only bit I had touched on that was the slave cylinder which you have to remove in order to get the gearbox off. The clutch slave cylinder, you have to keep compressed when you take it off, and I did using some cable ties, but it was always in the way and so popped out a couple of times. So I assumed some air had got in. Luckily its easy to get to on the bottom front of the gearbox... It uses the same reservoir as the brakes. So I reconnect the pressure bleeder and start bleeding the slave cylinder. These are a weird design. You can see the bleed nipple on the far right, then the hydraulic feed pipe next to it. So, when you try to bleed it, air can get trapped to the left of the feed pipe. So you need to compress the piston fully before you bleed. I cracked open the bleed nipple and dones of air came out, then fluid. Phew. But then a shed ton of air started coming out. I soon realised that the reservoir is a bit of another weird design. The clutch fluid feed from it is much higher than the brake feed, so you need to make sure its totally full of fluid else air can get in... You can see the metal pipe going off to the brakes, and the one above it which must be for the clutch. Bled them through and pedal seems to have some pressure. It feels exceptionally light now, suspiciously light, but I set my phone up to video what the slave was doing whilst i pressed the pedal and I can clearly see the piston moving in / out. Only way I will know is when I try it out on the road. I have read new clutches can feel very light initially, but firm up after a few weeks of use? So that`s it for this weekend, and I am pretty pleased with progress I made. Have a few things still to do, but its on the home stretch!
-
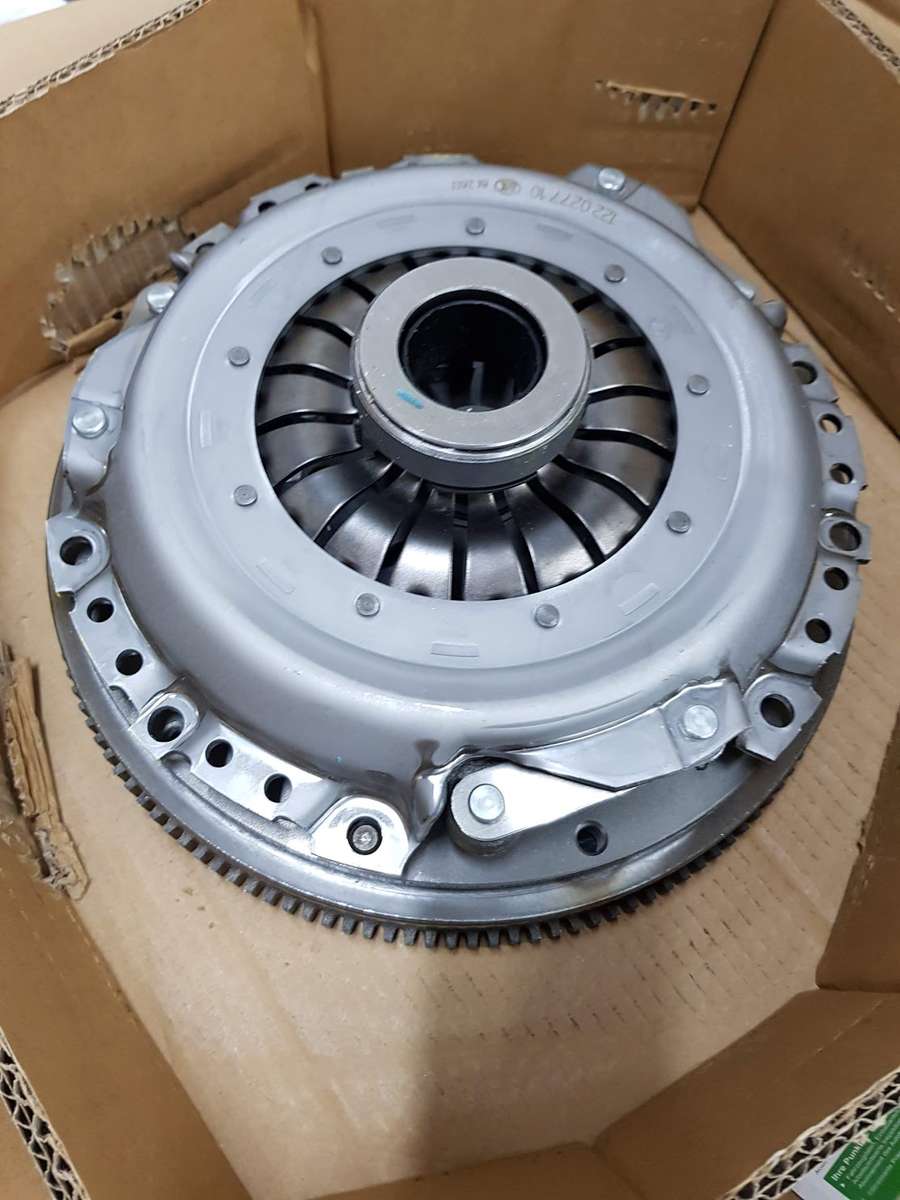
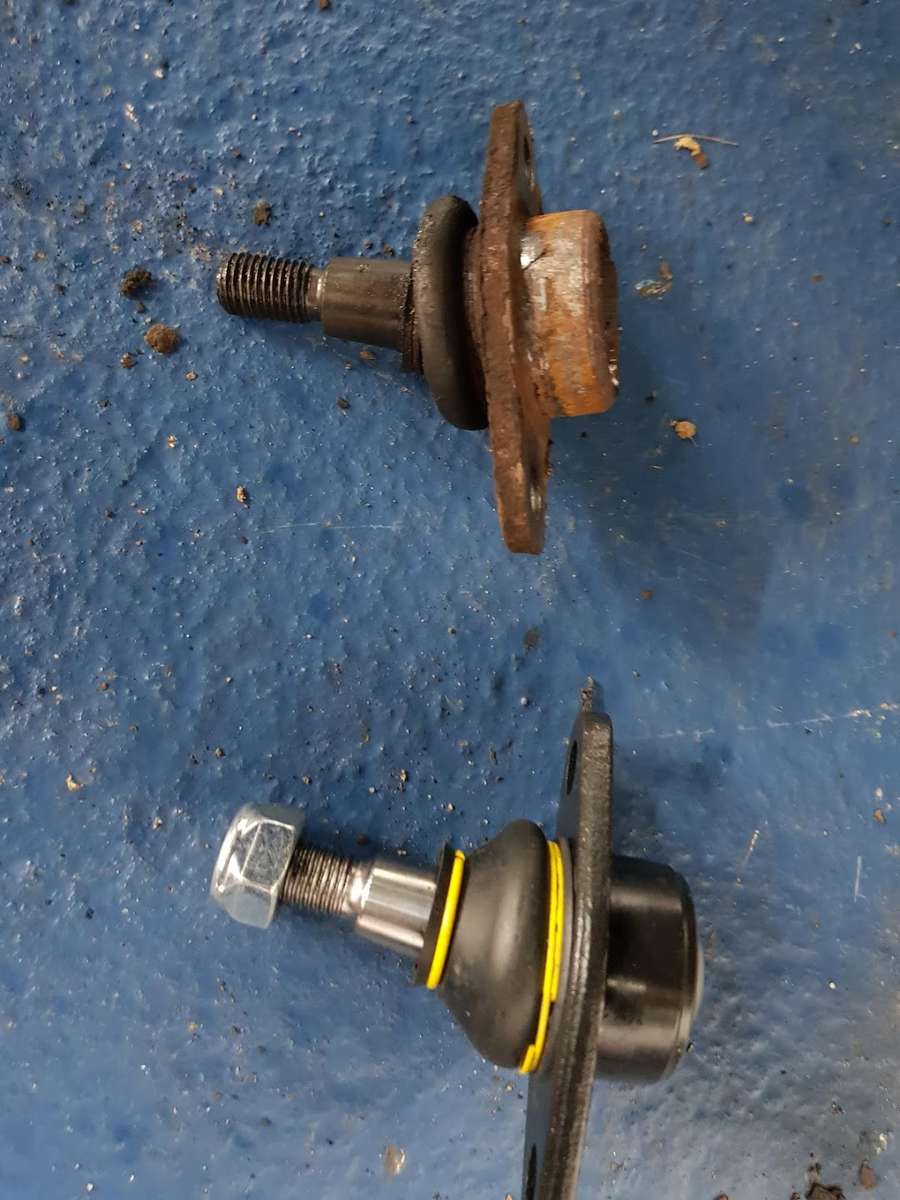
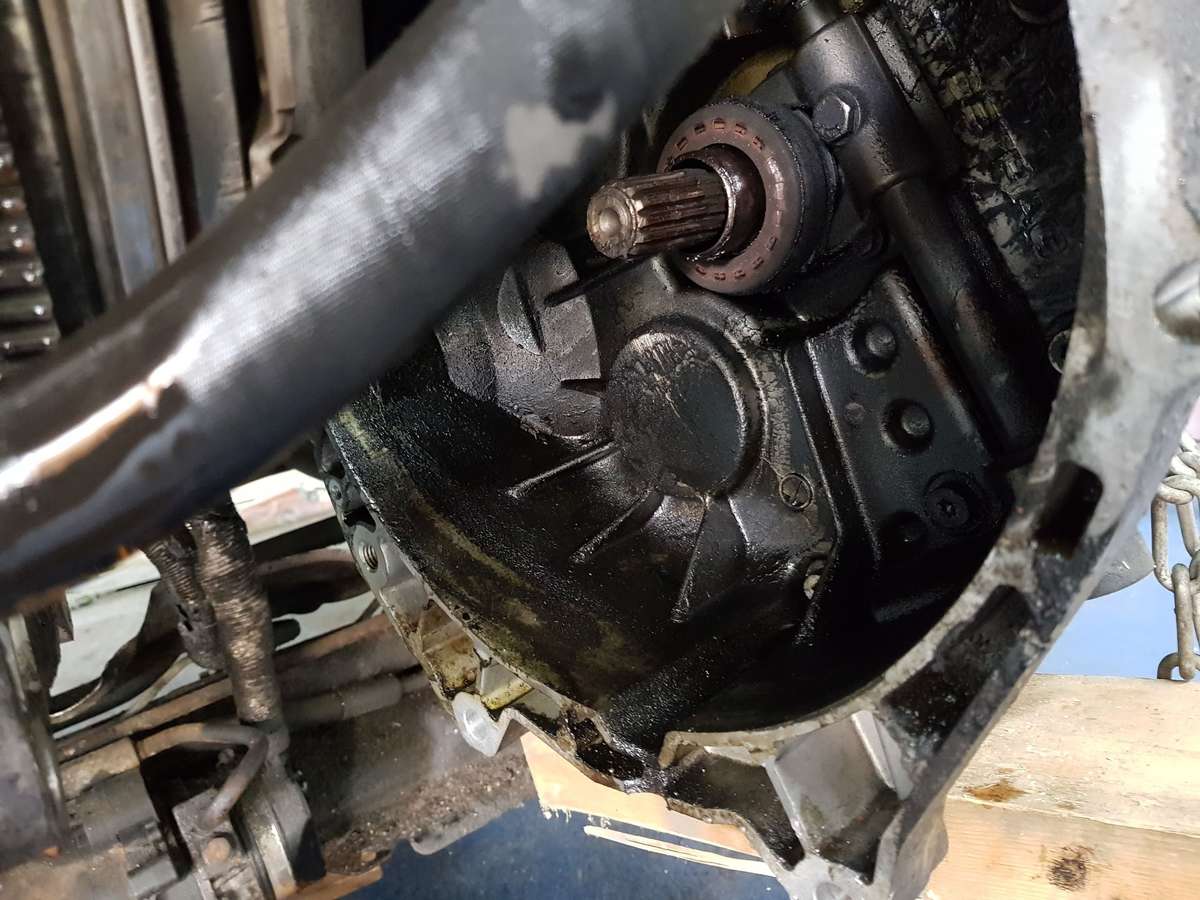
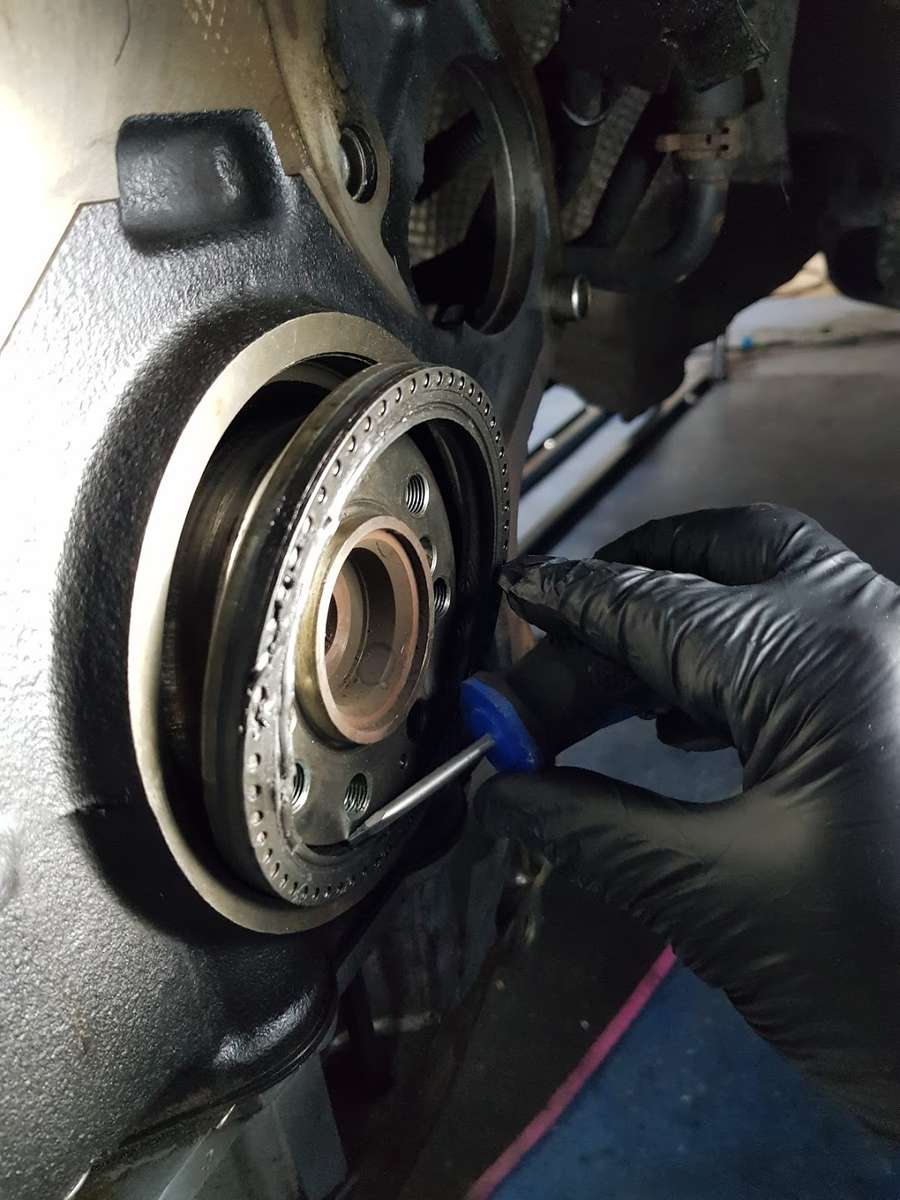
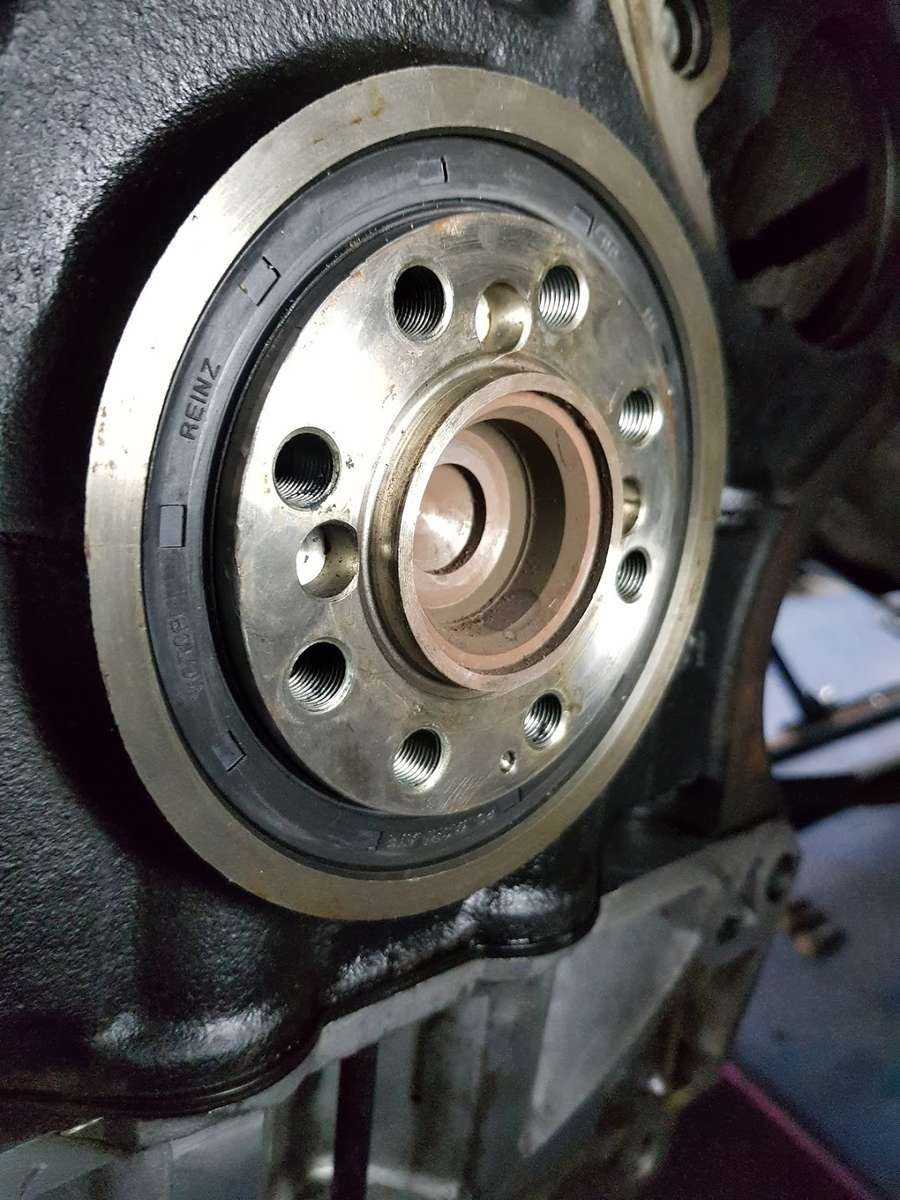
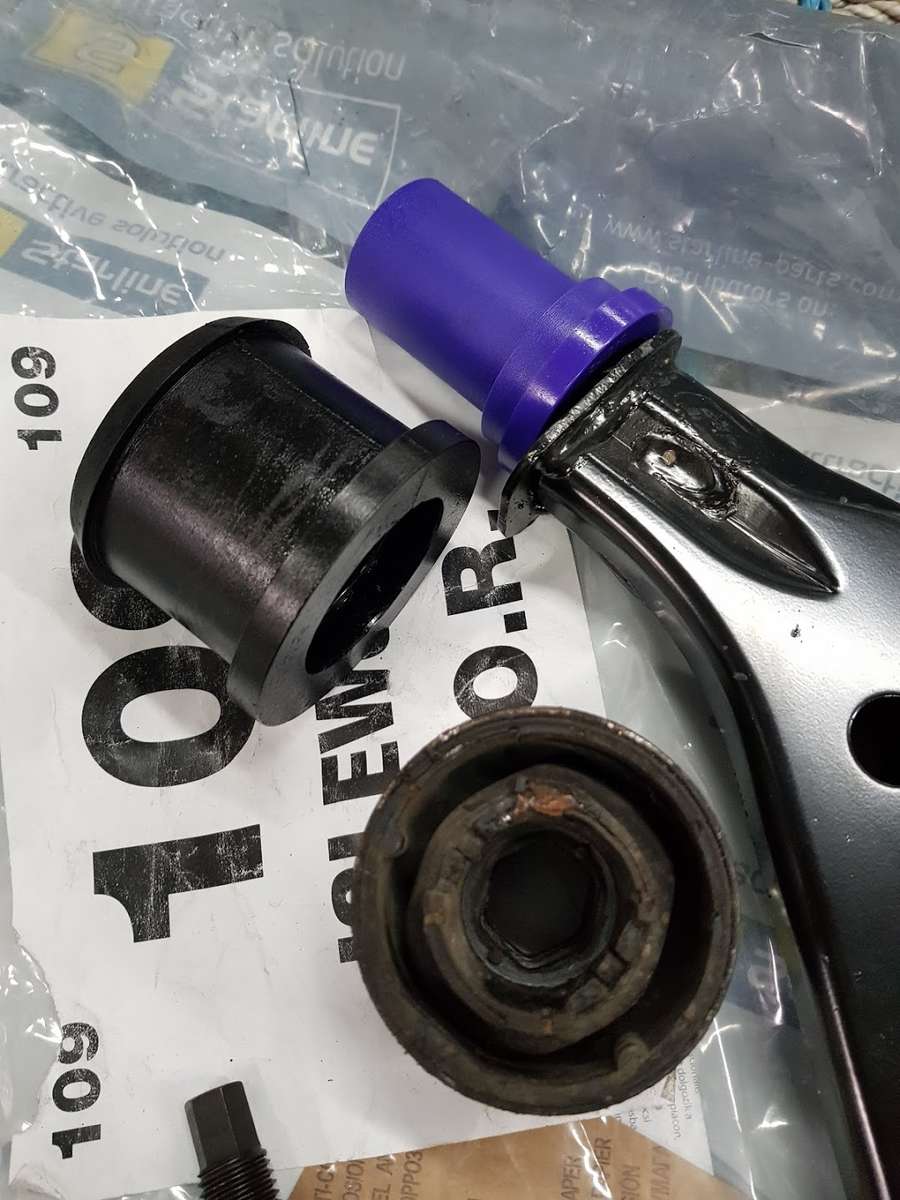
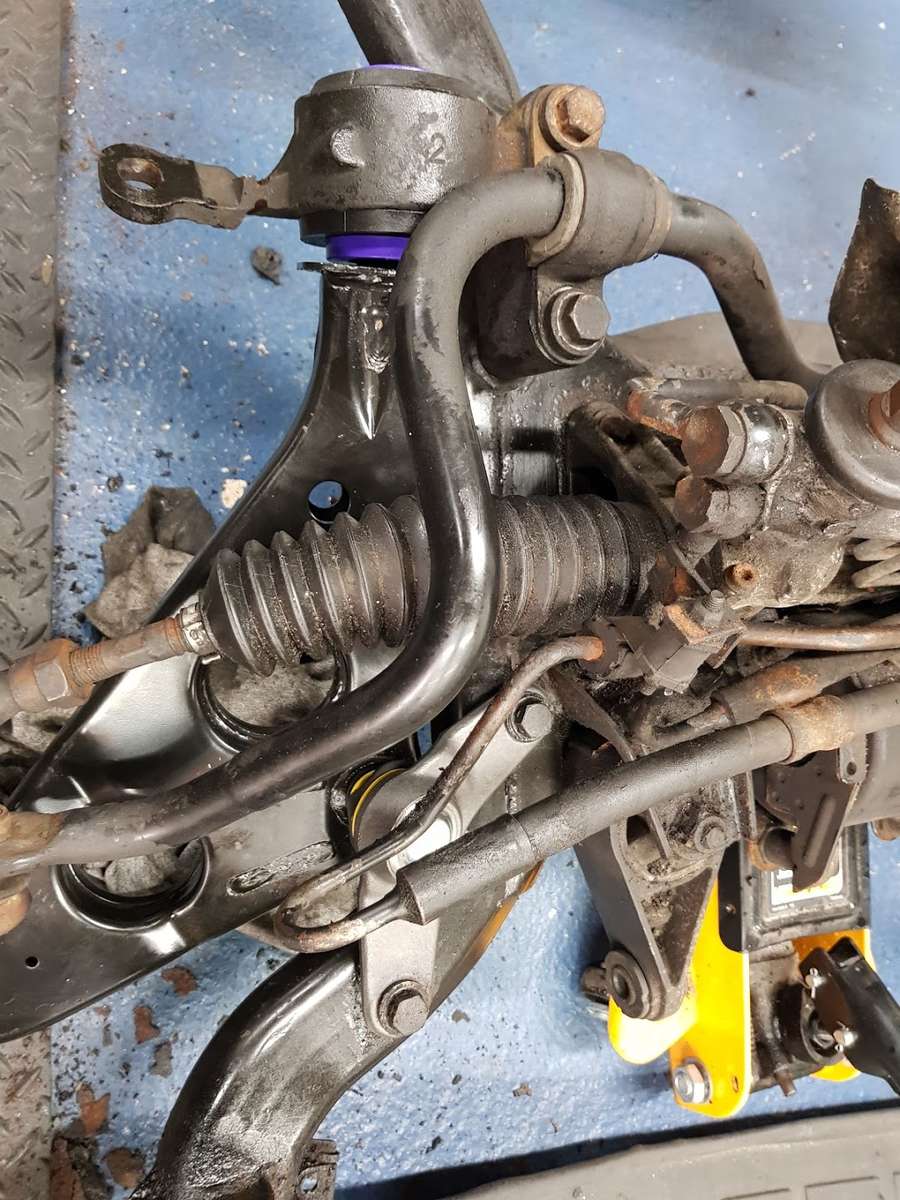
So the clutch. First of all if anyone else is seriously thinking of doing this job on a Mini, DON'T!!!!!!! My local Mini specialist wanted £300 labour to do this... please, just hand them the money. But, hey ho, this is all about "on the cheap" and so I have saved myself £300. But, the stress... So, the engine brace arrived, got it setup to support the engine and gearbox nicely, then dropped the front subframe. Had 4 mega seized bolts which took some messing about with the blow torch, but they came out in the end.. Subframe dropped, means we can now get the gearbox off.. Straight away... look how oily it is inside.... That cant be good and probably why the clutch is slipping. The actual clutch plate didn't look too bad tbh, but its probably contaminated. So the culprit for this oil is usually the crankshaft main oil seal, so I get the old one out... And install a new one. The trick with the new one is to use a screwdriver and get the inner lip in first, rotate it by hand until that inner lip is in, then you can push/hammer (gently) it in. I found an off cut off a black soil waste pipe from my house build was ideal to hammer the new seal home... So seal replaced, now I can bolt on the flywheel. I went for a stock dual mass one in the end. The other option is a lightweight flywheel which makes the engine rev quicker but is a bit more jumpy. I also read some bad reviews on the single mass, so went with original. Flywheel all bolted up using new bolts.... At this point I realised I needed a clutch alignment tool to fit the clutch plate & basket. So that stopped play.... well... nearly, so whilst waiting I removed the old wishbones from the front subframe. So much easier off the car. Pressed the old inner bush out... And poly bushed them.... Again, if your on a budget then don't bother, but these had been an MOT advisory for the last 4 years so needed doing, and whilst the subframe is off the car for the clutch, then its a no brainer. I fitted new inner & outer ball joints at the same time. Again, not really needed, but at something like £10 each it really makes sense to do these whilst you can... And I fitted the new poly bushed wishbone back on the subframe... So all in all, a pretty productive day. But in true tradition of things not going smoothly, I tried the same on the other side and the old wishbone bush will not press out. This is the side which must have been left in a ditch or something, as everything on the passenger side has been a nightmare so far. I've done loads of wheel bearings before just pressing them out in a vice, but this passenger side bush is not shifting, even with lots of heat, scaffolding pole and abuse. So will have a think and attack it in the morning.


-
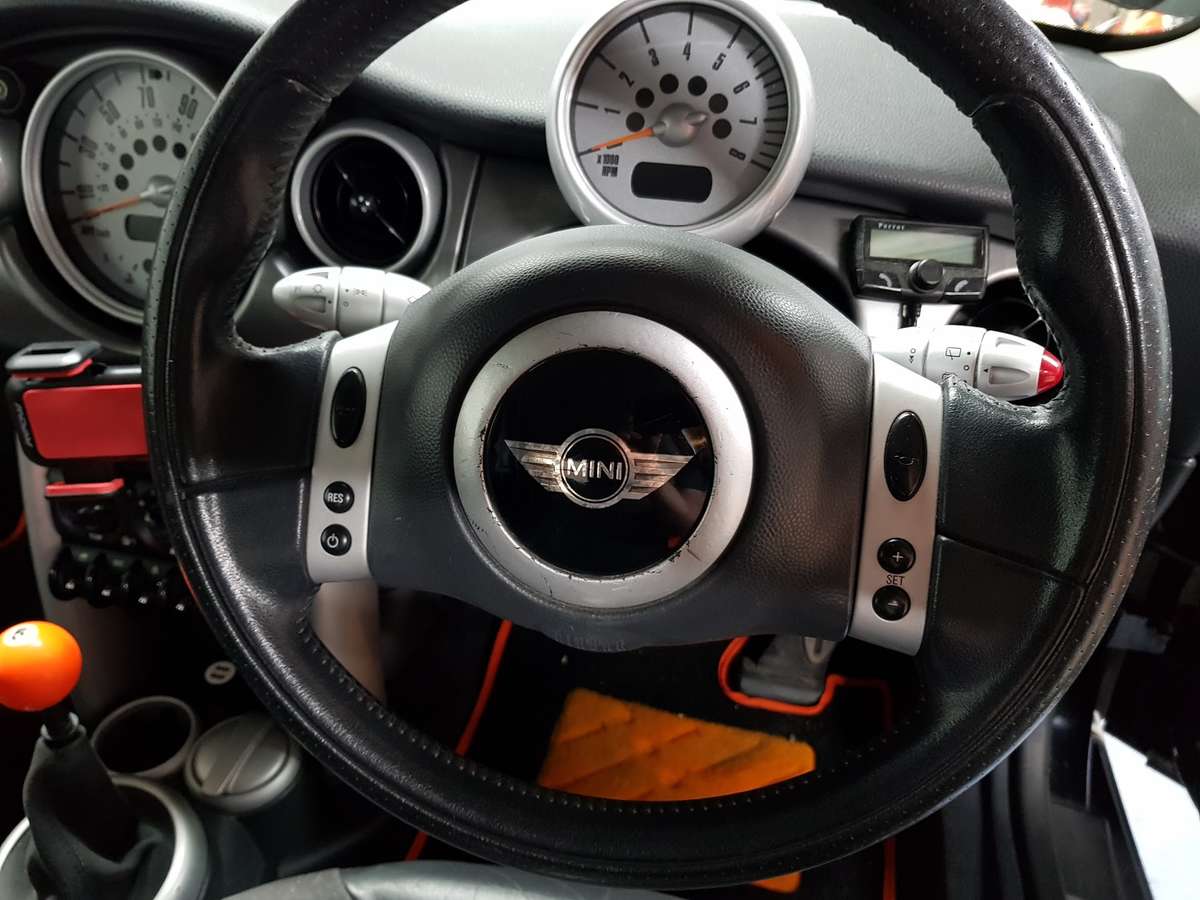
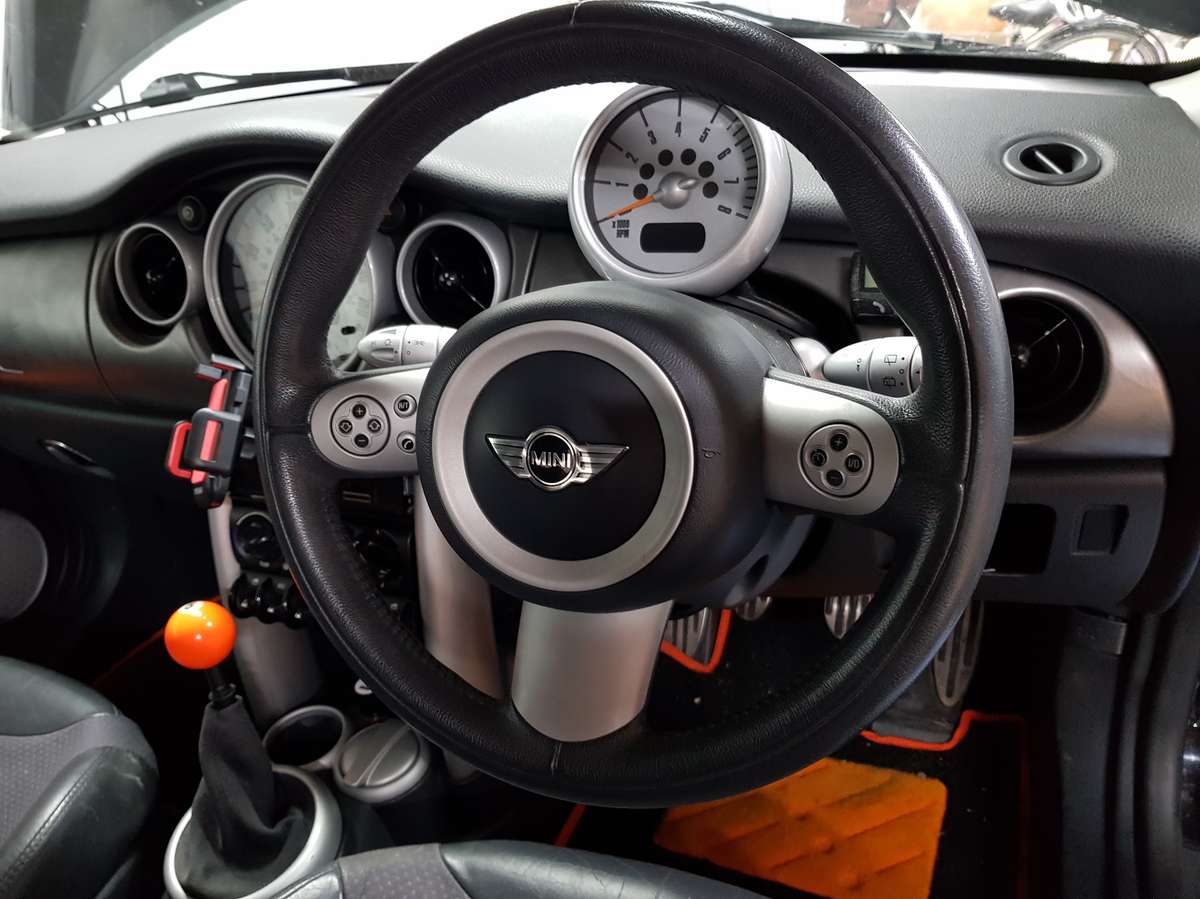
So whilst I'm waiting for the engine brace to arrive, I cracked on with a couple of other jobs. Firstly, the gen 1 steering wheel on these not only looks rubbish, but this one is seriously worn after 100,000 miles. I looked at the options and the cheapest option by far was to swap it for a facelift steering wheel, which looks much more modern and is a straight swap. Another plus point is its cheap. So, before... And £99 later.... 100% better. So, okay, for those on a budget, the old wheel worked perfectly fine, but for £99 I think its transformed the interior. Also, whilst I was at it, I took the top gearbox mount off and poly bushed it... Upgrading the engine mounts on my 911 totally transformed the car, so I am looking forward to seeing what difference these make. Doorbell just gone, engine brace his here... time to crack on with this clutch replacement!
-
A yellow GT4!!!! Awesome! Good find there! Welcome!
-
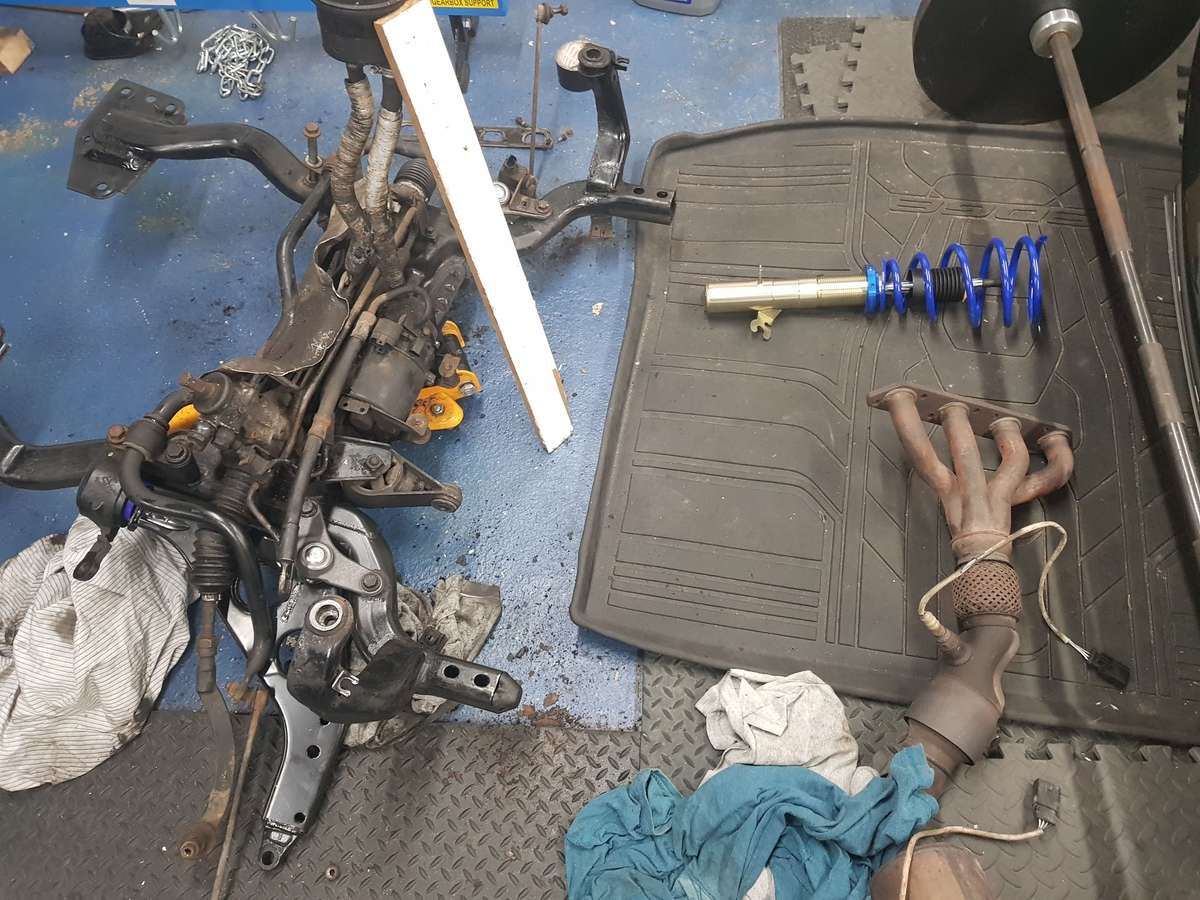
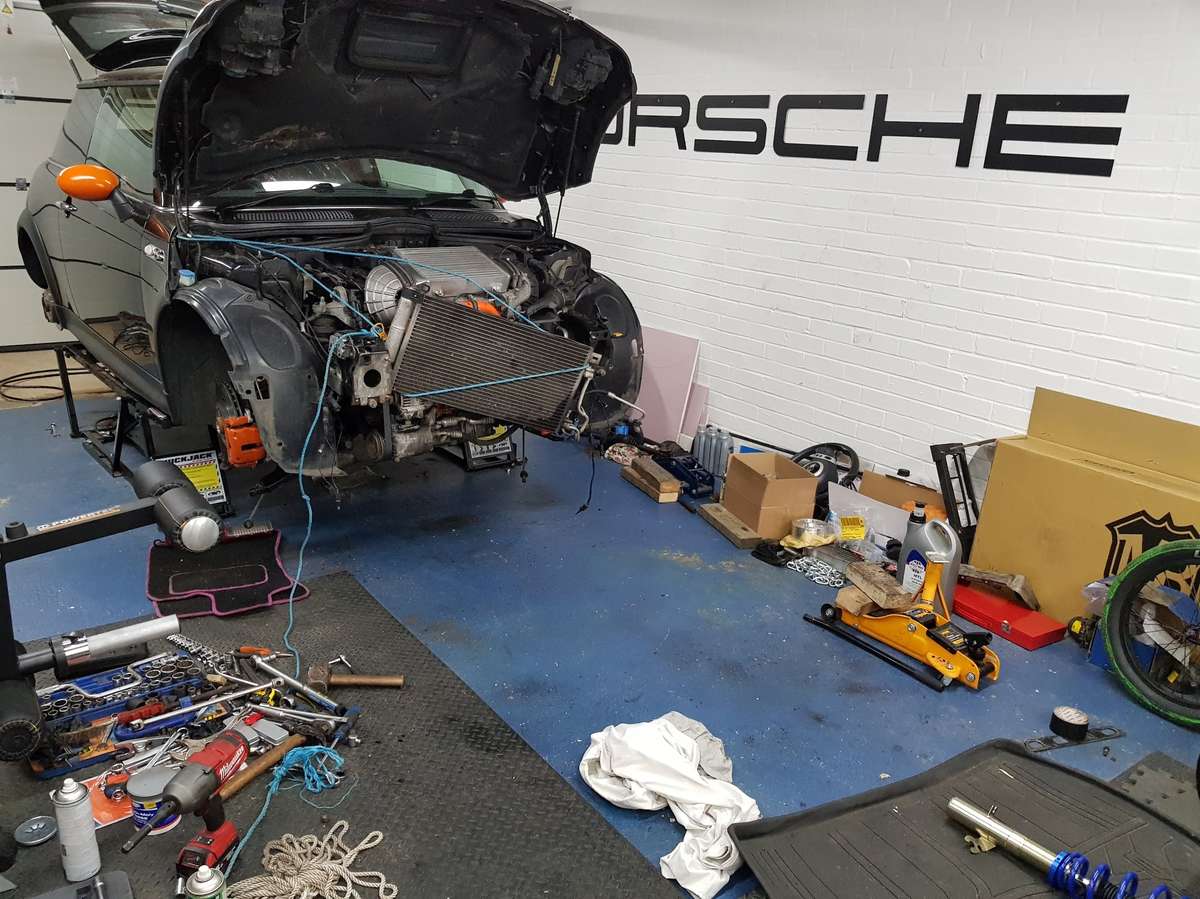
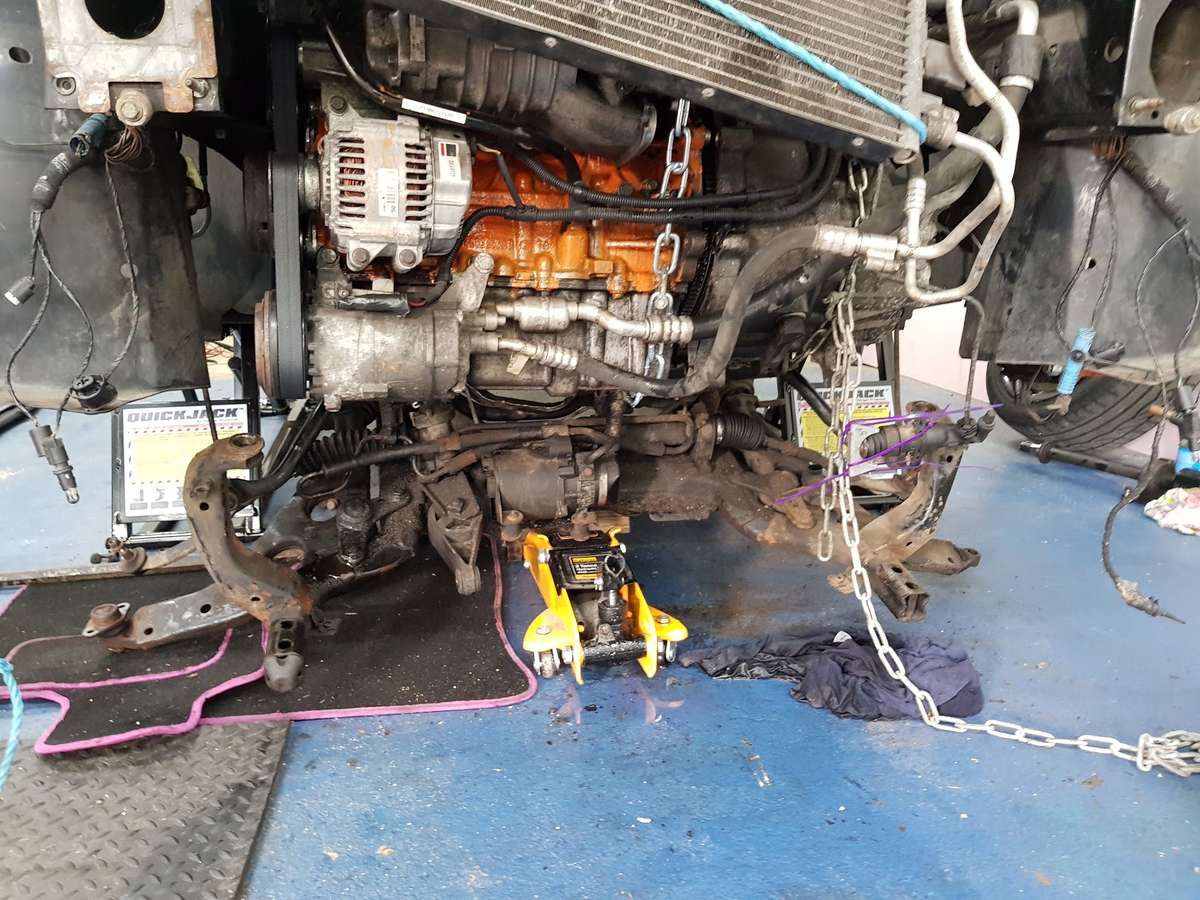
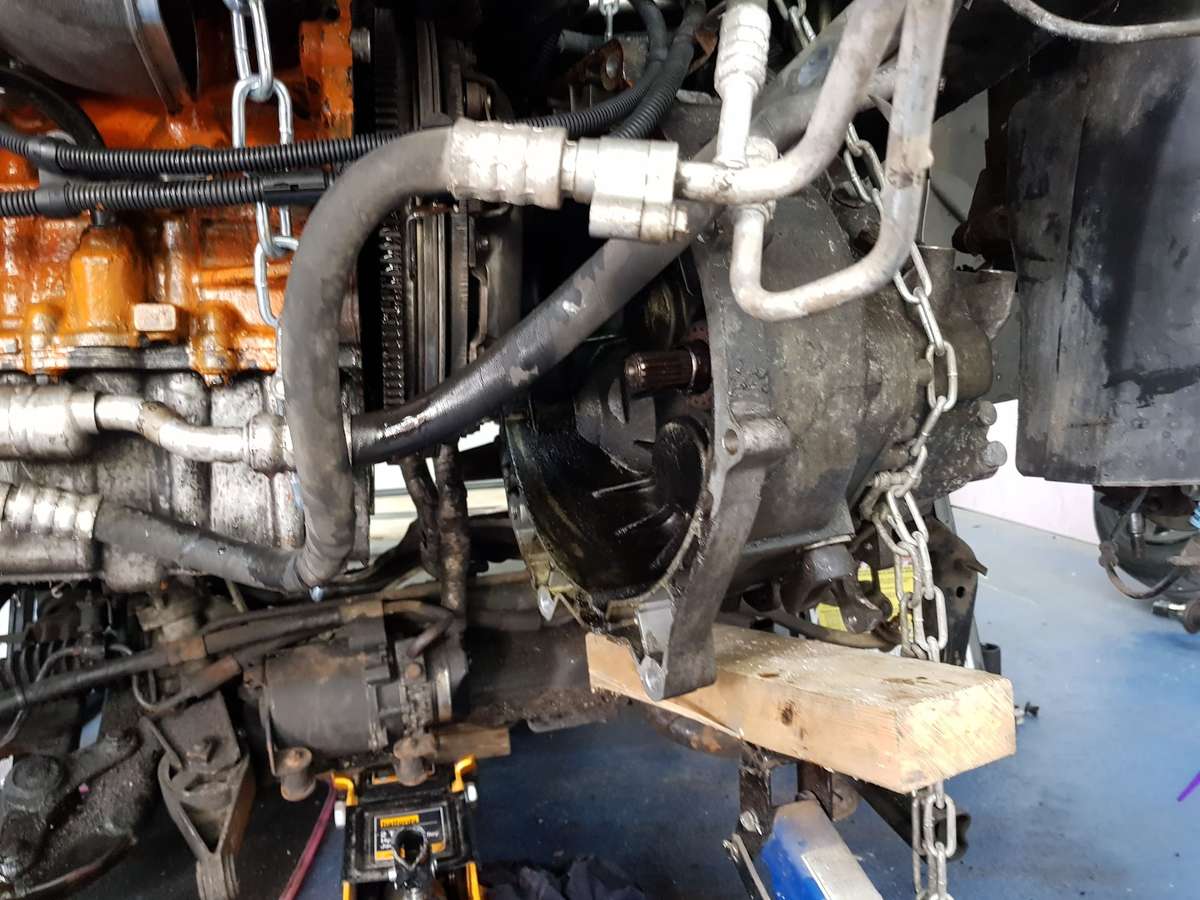
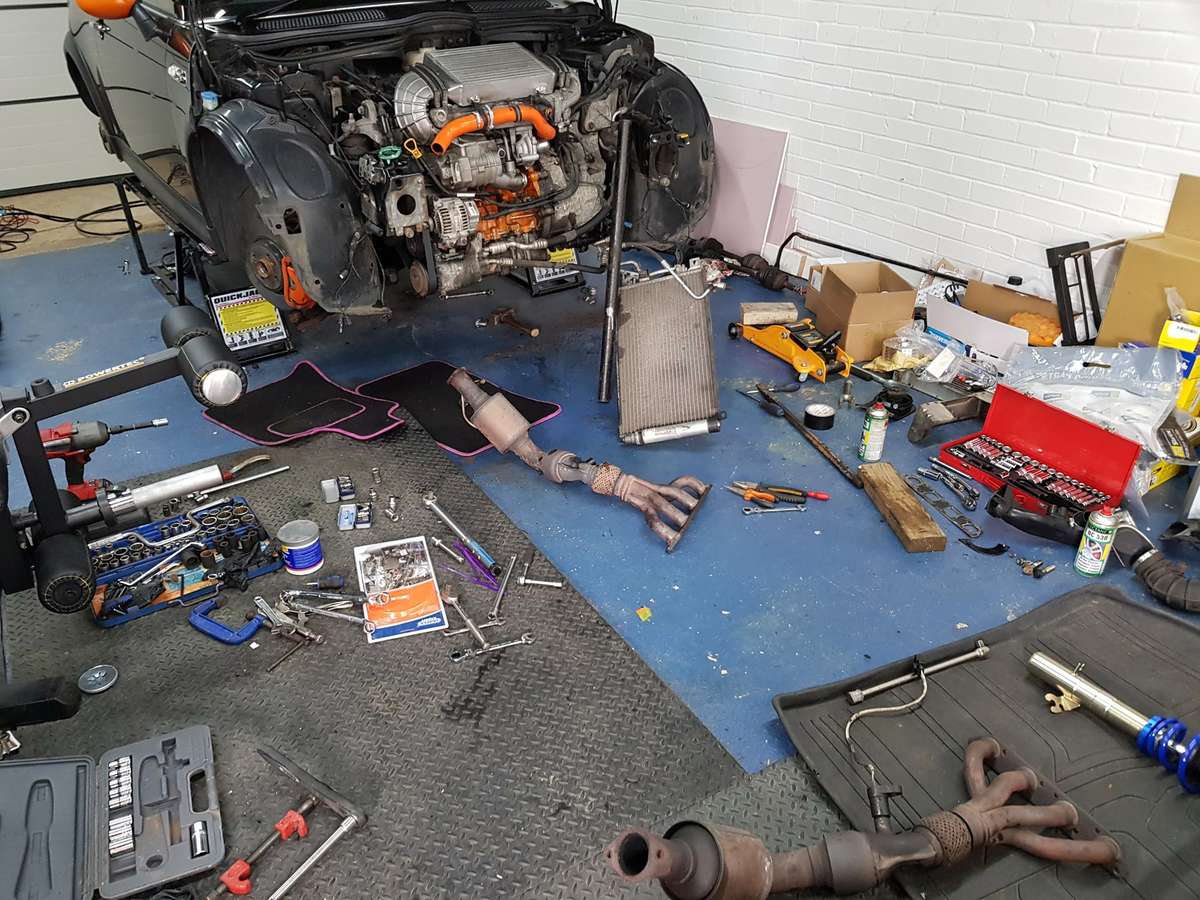
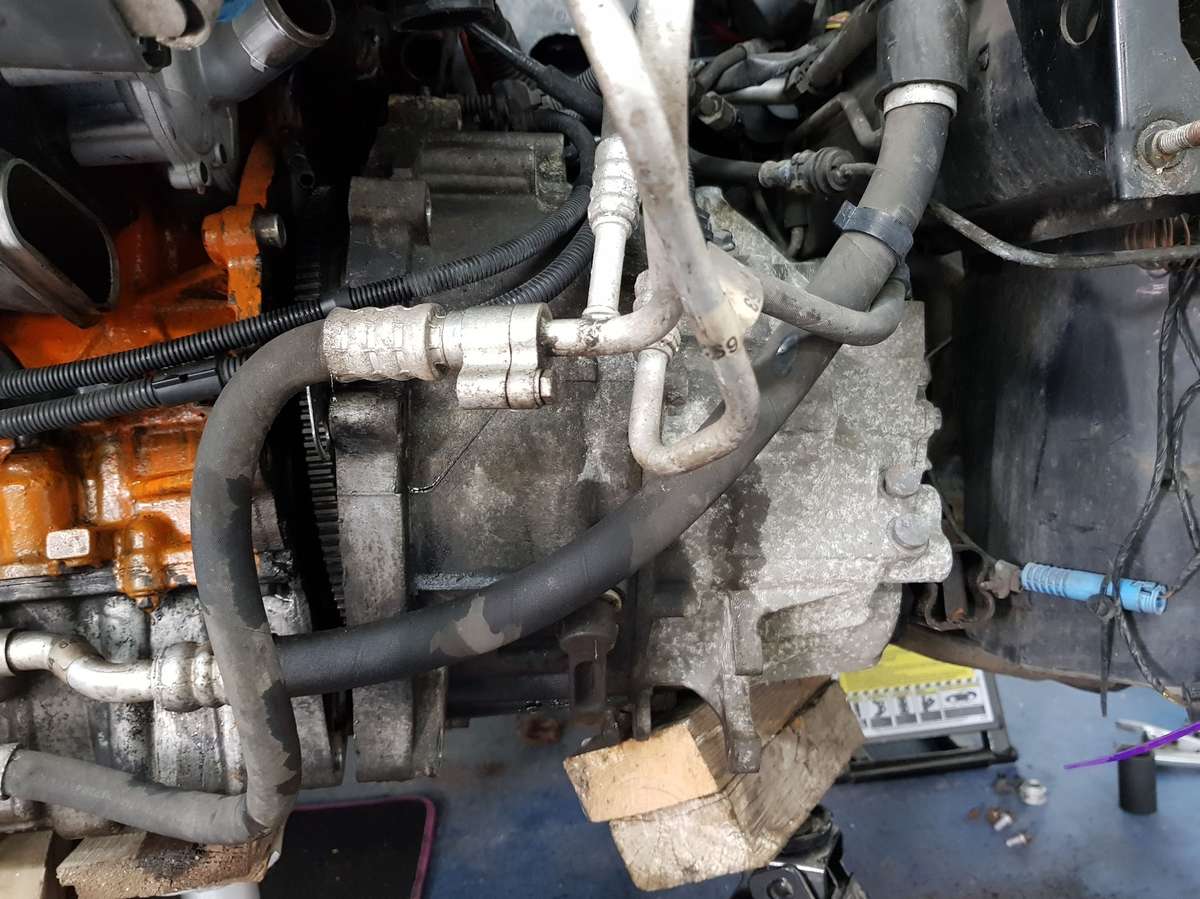
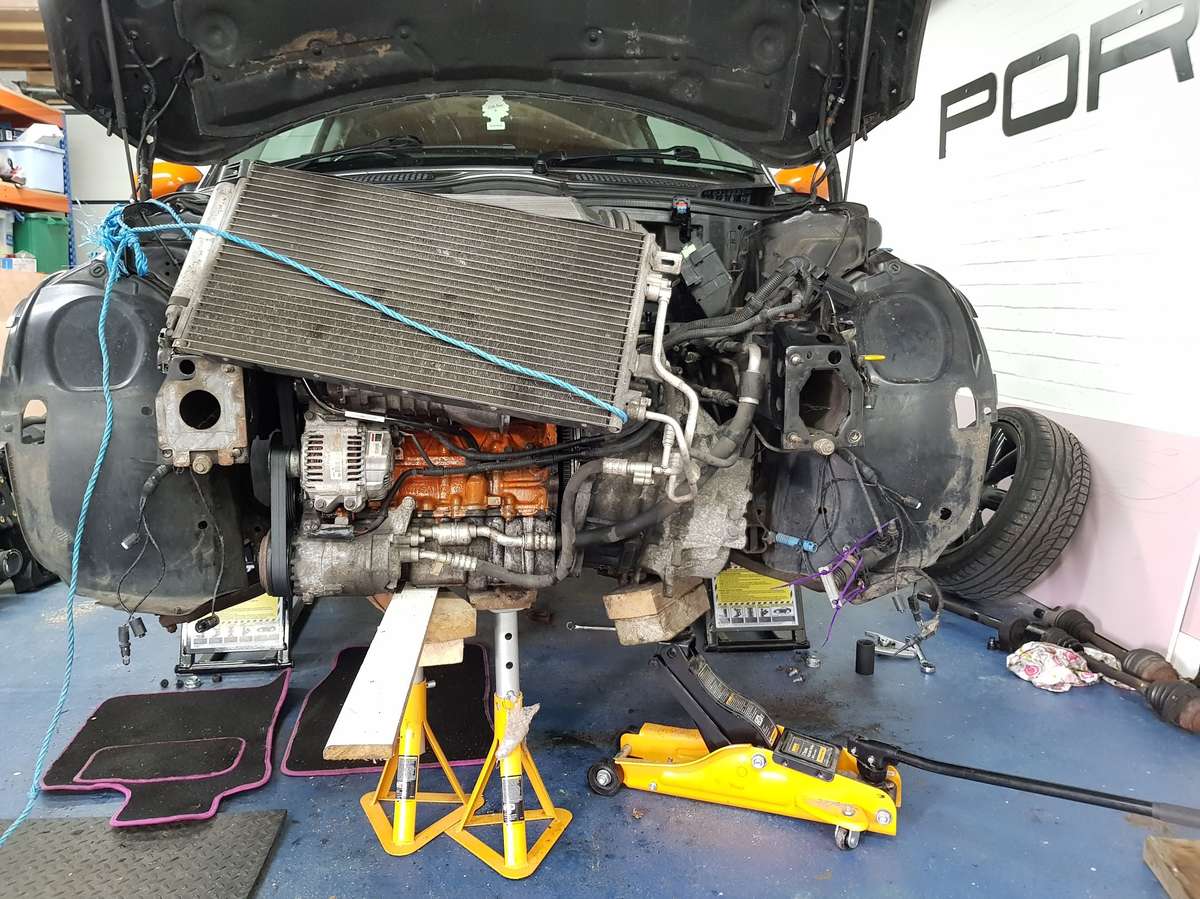
so true!!!! Saturday I started stripping the front end of the car back down again. Bit of a pain as I had all this stuff off the other week. You live & learn, maybe I should have just done the clutch back then, but I didn't know then it was slipping and being on a tight budget, didn't want to spend more than I had to. But on the plus side, as id done it before, it didn't take me long. I had done plenty of research and the general consensus is that you have to drop the front subframe in order to get the gearbox out. However, I found a guide which said you didn't. I then set about the long task of stripping everything off to get ready to drop the gearbox. This is an easy enough process using basic socket set, but so long and fiddly. At this point praise be to the person who invented the impact wrench. I honestly don't know how I managed without one. It whips off even the hardest nuts in seconds. The 200fb / lb torqued up axle nuts flew off and the axles came out easy enough, but the axle support bracket on the drivers side was so fiddly to get to which was a pain. You also have to take the starter motor off also, but you cant actually get to it as the exhaust manifold is in the way. Fortunately I needed to take the manifold off anyway as I am replacing it which made access to the starter easy. Now, this is another "whilst you are there" job, and people say replace the starter whilst its off. I am in 2 minds about doing this. A new one is £75 so not a lot, but it all adds up ££££ and this original one is working fine. I will have to have a think about it... More amazing was that the rusty old manifold bolts came undone without sheering off in the head. I am still in shock about that. And the manifold dropped out from under the car fine. Lambda sensors swapped to the new one ready to go back on. Everything off ready to start dropping the gear box... Garage looks like a bomb has hit it. The flexi joint on the old manifold was properly knackered, no wonder it was blowing. Hopefully the new one will solve that issue. I had to take all the throttle body off as well as the air intake & airbox etc... (sigh...) so took the opportunity to clean the oily throttle body out. It wasn't too bad, but as its off the car I may as well. Was busy Sunday, so Monday comes around and back in the garage. Time to get the gearbox off. Undo the 7 bolts holding it on, get some axle stands under the engine, a trolley jack under the gearbox and.... The guide I was following was clearly a load of b*ll*cks. There is no way this is coming out without dropping that subframe. You can see the flywheel now and the box / engine is separated, but you can also just see in the bottom right the box is hitting the subframe. (insert numerous swear words here). At this point in time I was was now thinking maybe the £300 the local mini specialist would have charged me would have been money well spent. I really am not enjoying this job. Not only do I still have tons to do, I still need to put the ****ing thing all back together again. Argh. So then I started looking at what I need to do to drop the front subframe. Fortunately it appears I have already done 99.9 of that already which is a bonus, I just need to disconnect the steering, undo about 8 bolts, undo lower engine mount.... and there we have an issue. I had to remove the top right transmission mount already to free the box up, and don't fancy leaving the engine hanging on one mount perched on an axle stand whilst I'm rolling about under it undoing subframe bolts, so i need to get an engine support beam which goes across the strut towers to hold the engine. I did look at making a DIY one, but they aren't expensive so one ordered, should be here mid week. But it means that's stopped play atm. So poor old mini will have to stay like this until it arrives... There are other bits I could be working on. I just tried undoing the rear control arm bolts and they are virtually in-accessable and rusted / seized up so they will be a nightmare. I also need to re-tackle the fuel filter seal.... aaaaarrrrrgggggghhh. Its times like this I hate working on cars. Its not all plain sailing, so s*d that for a game of soldiers, time for a beer instead I think!
-
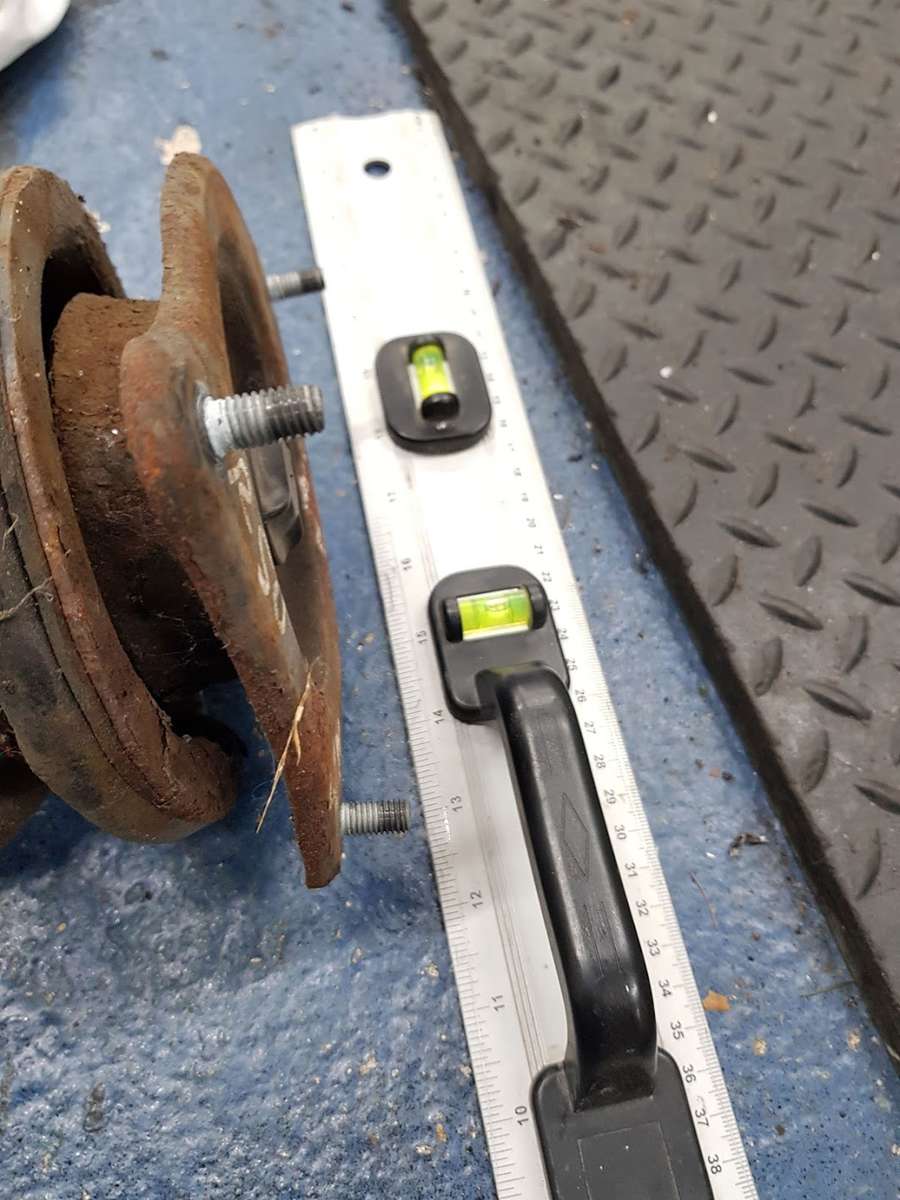
One big problem with buying a car like this though which needs a lot of work doing to it straight away is that you don't actually know if the cars any good or not as you haven't been driving it around for weeks. And that's a bit of a risk as you may end up finding that the gearbox is knackered or something expensive after you have spent all the time/money servicing & fixing the bits you know need replacing. Fortunately (or not) the only bits which came to light after I started driving it were the exhaust manifold blowing & the slipping clutch. My only other concern is will the car still handle badly after I set the new suspension up. If it does, then that may mean the accident it had at some point in its life may have bent the shell - but I cant see that being the case as it looks straight enough to me. I may get the tape measure out at the weekend and do some checking. Hopefully I wont find one side of the car is 2 foot shorter than the other! The zed would be loads more expensive. That's the beauty of these early Mini`s, bits are so cheap. For example, the new clutch kit was £75! There is also pretty much zero depreciation on them now, and I actually think they will start to go up in value over the next few years.
-
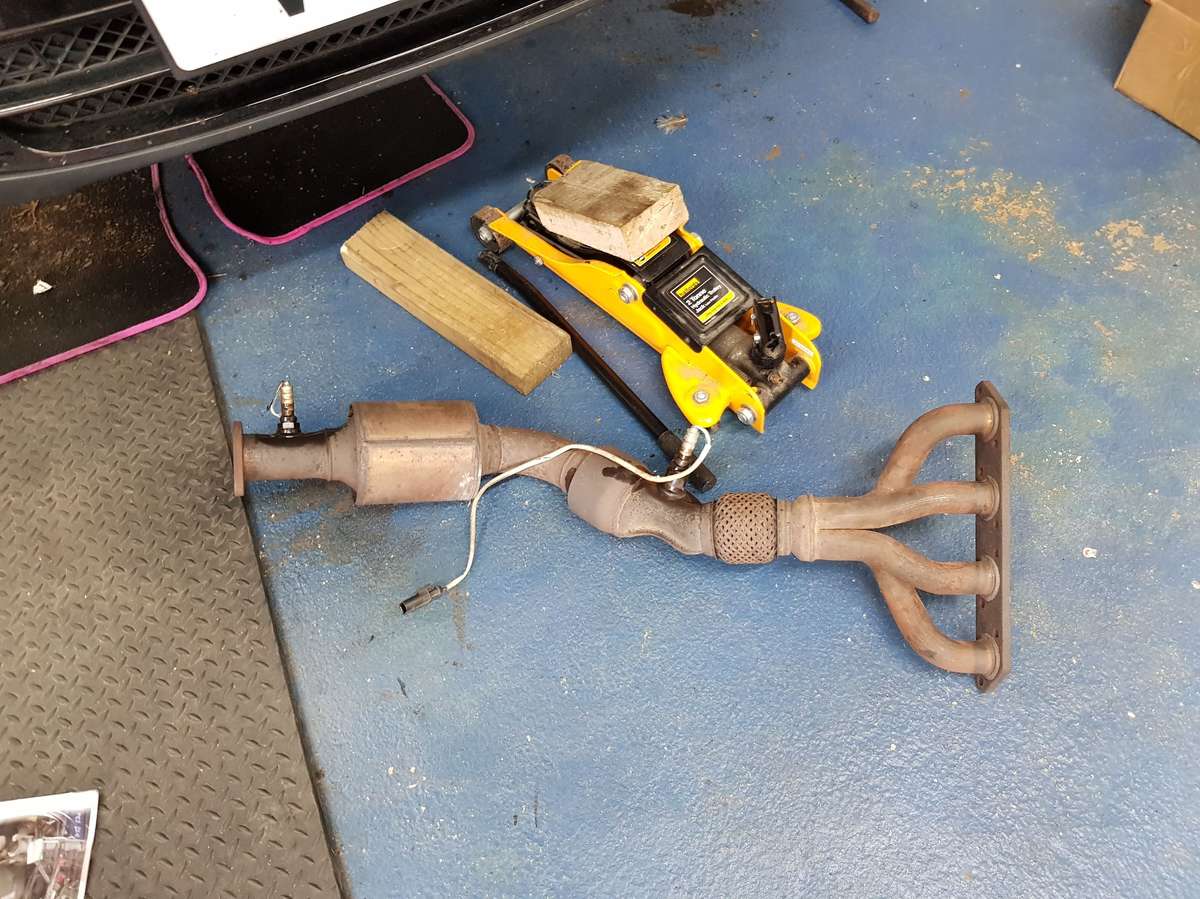
theres a place near me which converts these from supercharger to turbo, a bloke on one of the mini forums is having his done atm. Price is about £12,000 for the conversion. Good job im not doing that eh else someone would have a stroke! Not much to report this week, except the 2nd hand £30 exhaust manifold has arrived and looks okay. Wont know until its fitted, and the new clutch has arrived ready to fit. Hopefully can make a start on these over the weekend..