

Azurez33
-
Posts
790 -
Joined
-
Last visited
Content Type
Profiles
Forums
Events
Gallery
Store
Everything posted by Azurez33
-
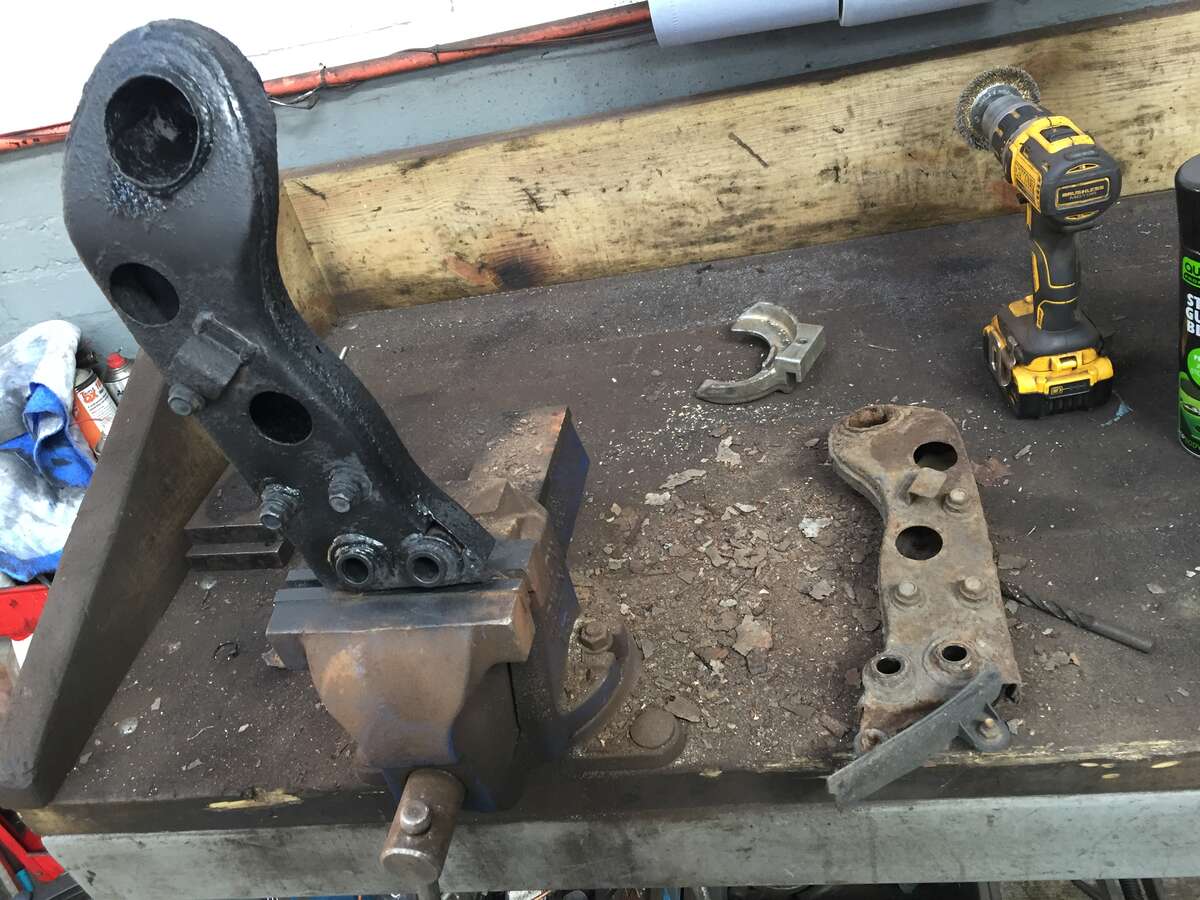
Yeah so the panel has 4 studs in total and they fix by the 4 nuts through the kidney braces so yeah you’d have four nuts left over
-
The w brace has four bolts to the kidney braces I believe, the kidney braces have two bolts to the body and there’s two nuts for the fuel tank panel
-
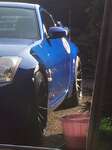
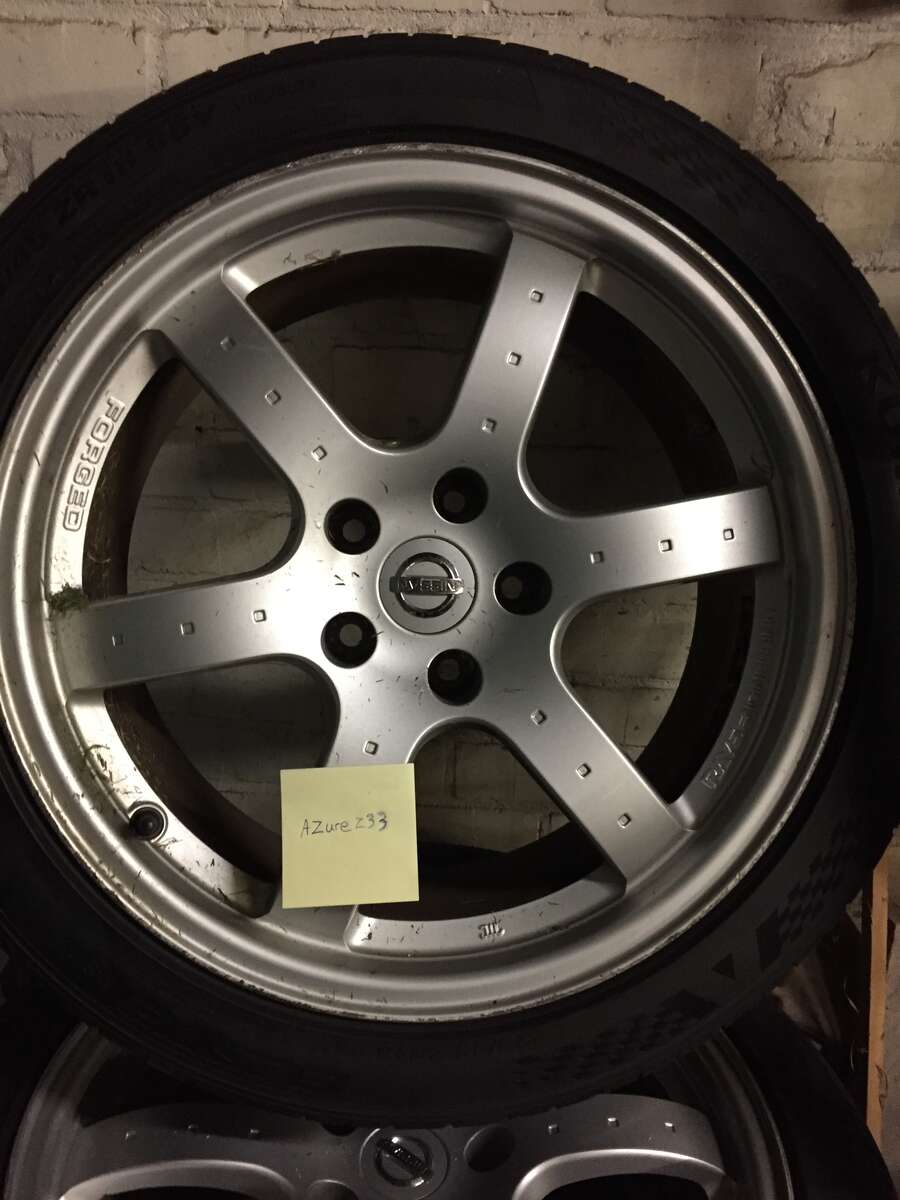
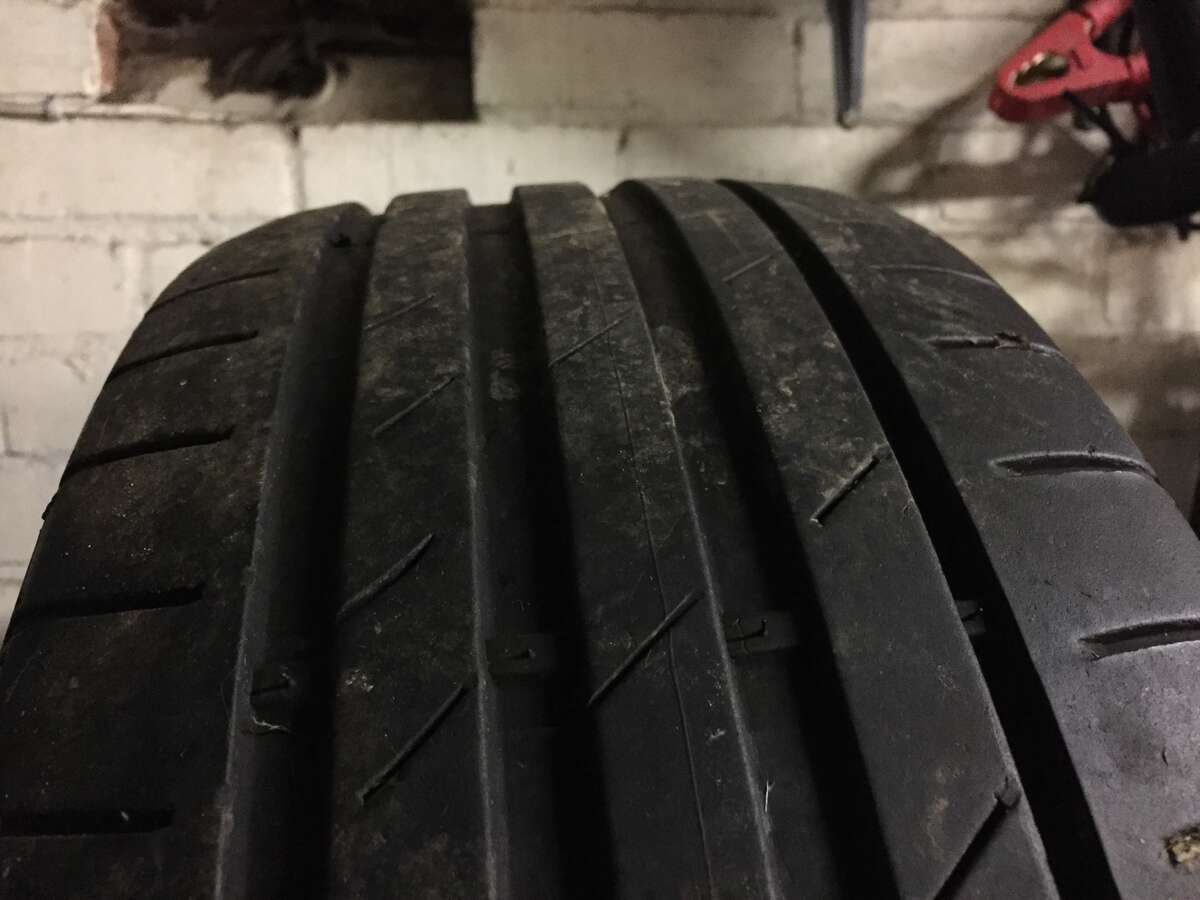
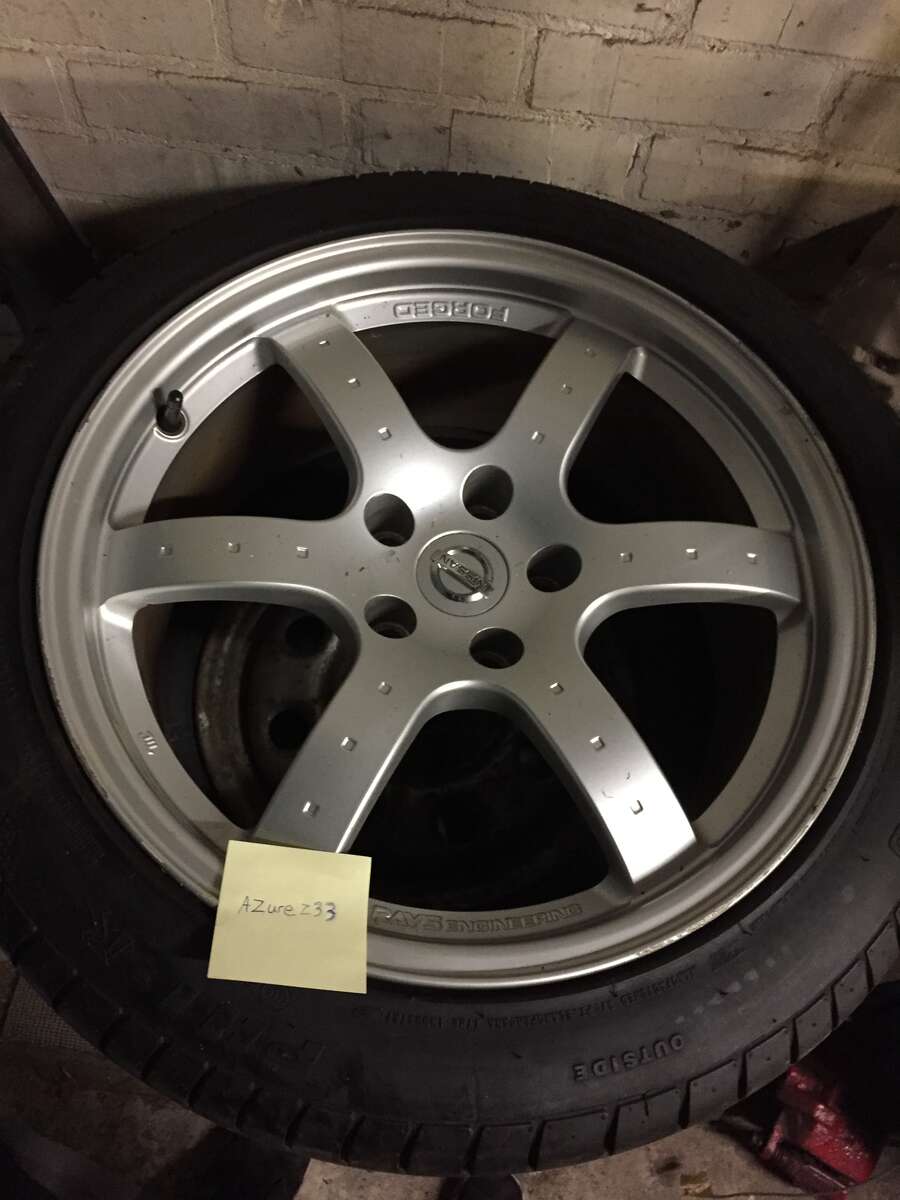
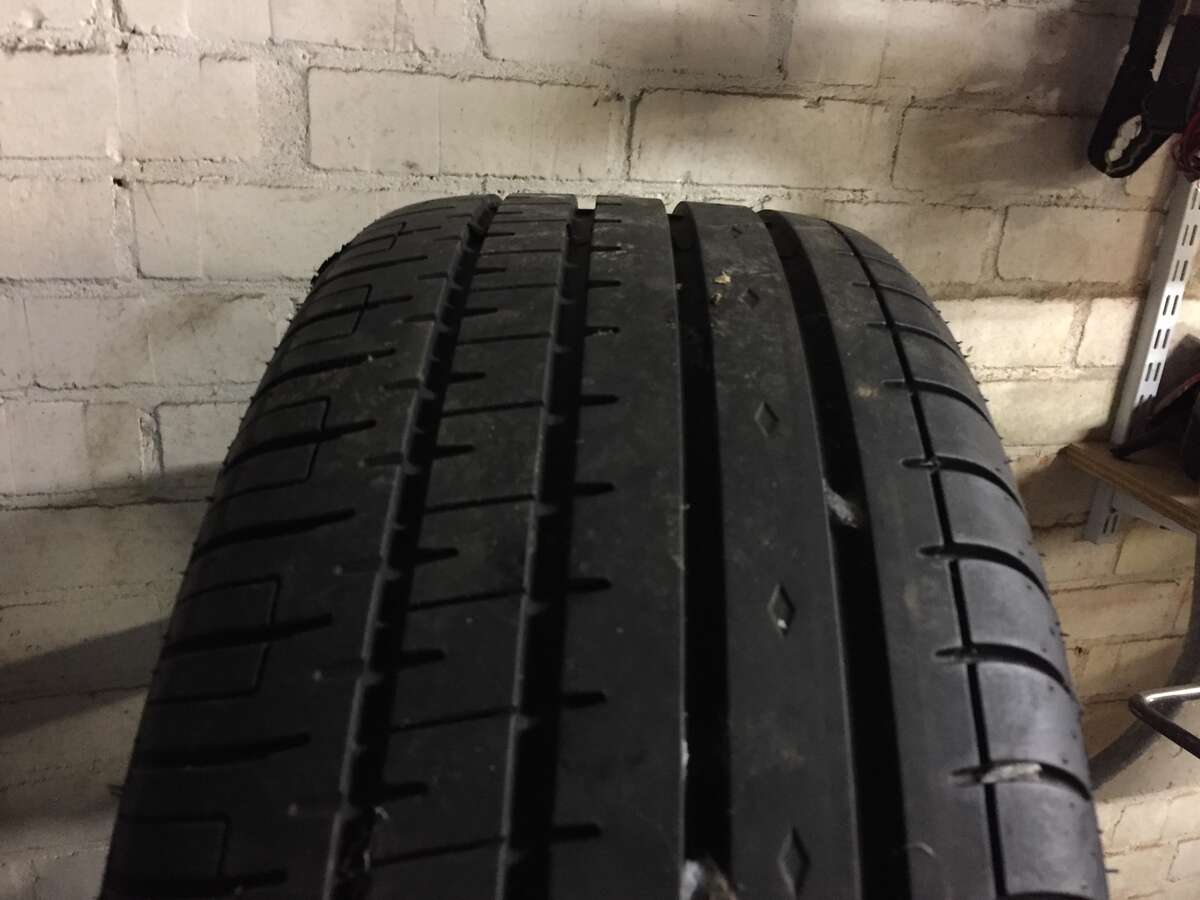
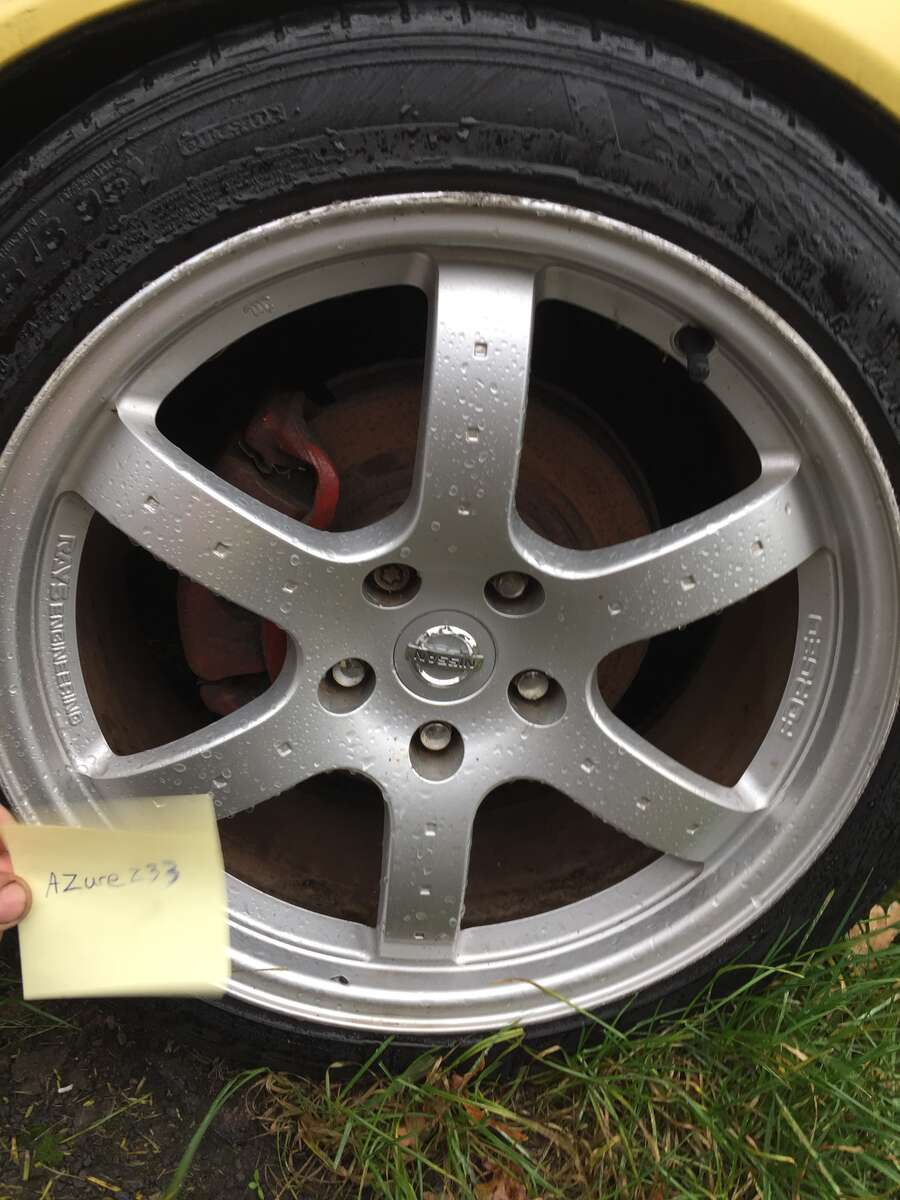
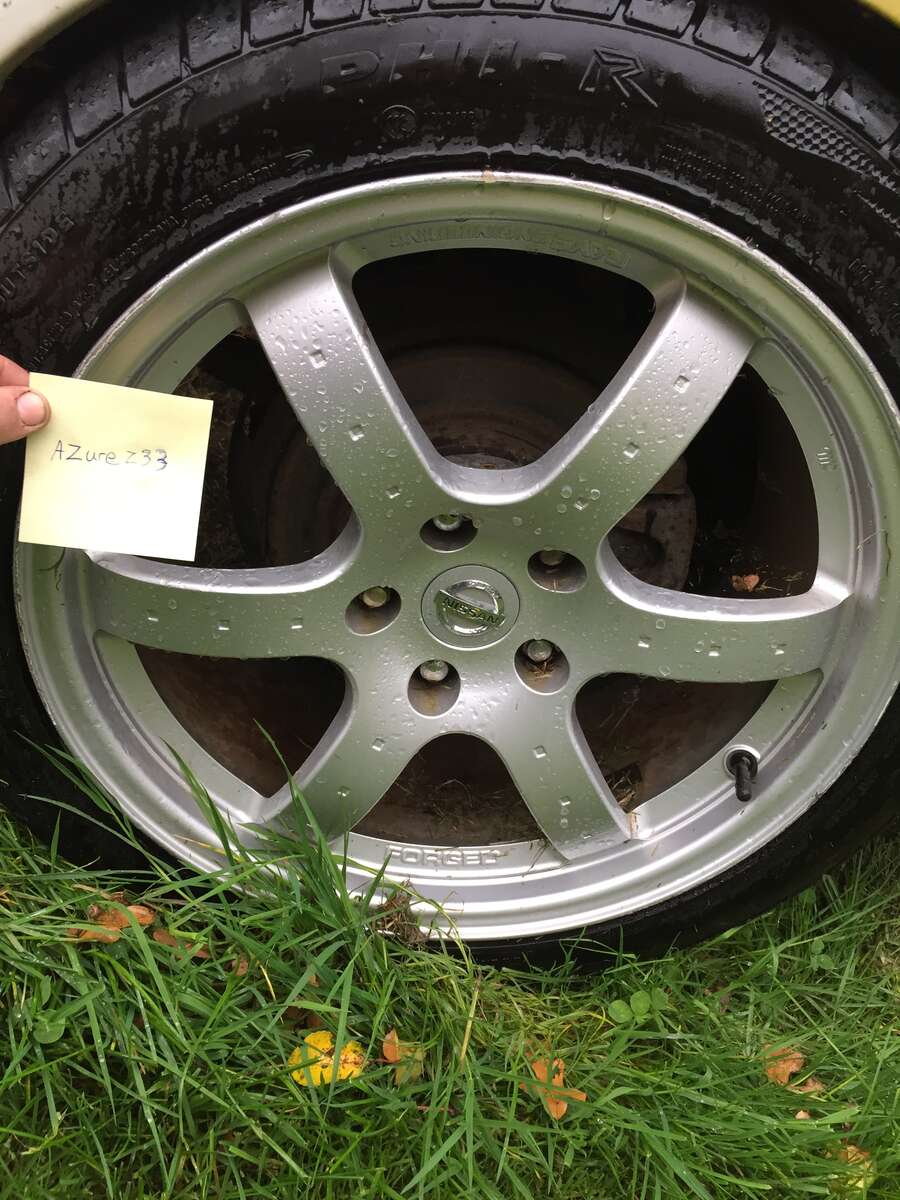
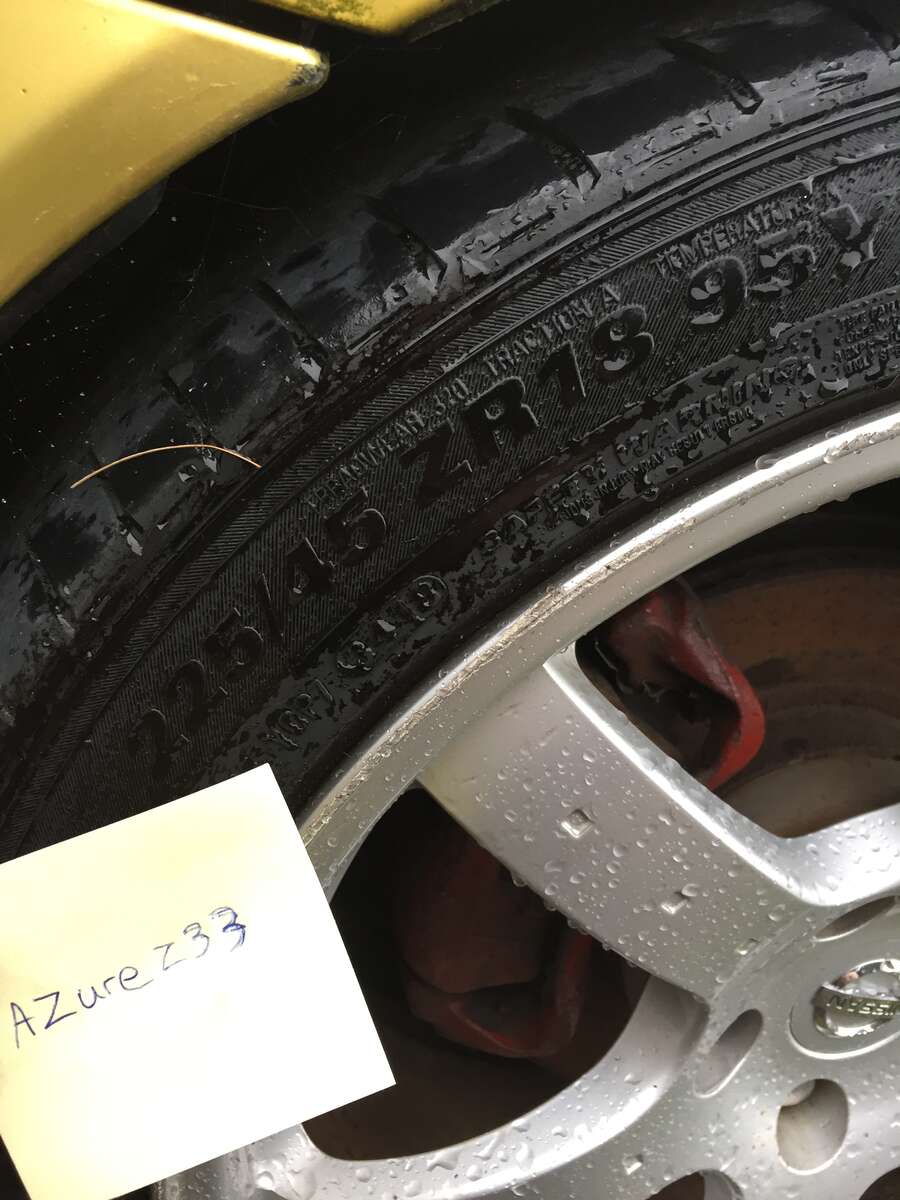
For sale set of 4 rays oem 350z alloys with tyres, 2x kuhmo and 2x accelera 225/45/18, All tyres have a good amount of tread, two of the alloys are currently on a project car so sorry for the worse pictures, all alloys are in pretty good condition minor curbing and I’ve never had them on a running car, asking for £400, postage is £41.99 from a company called paisley freight. ( will update the post with accurate tread depths as soon as I can)
-
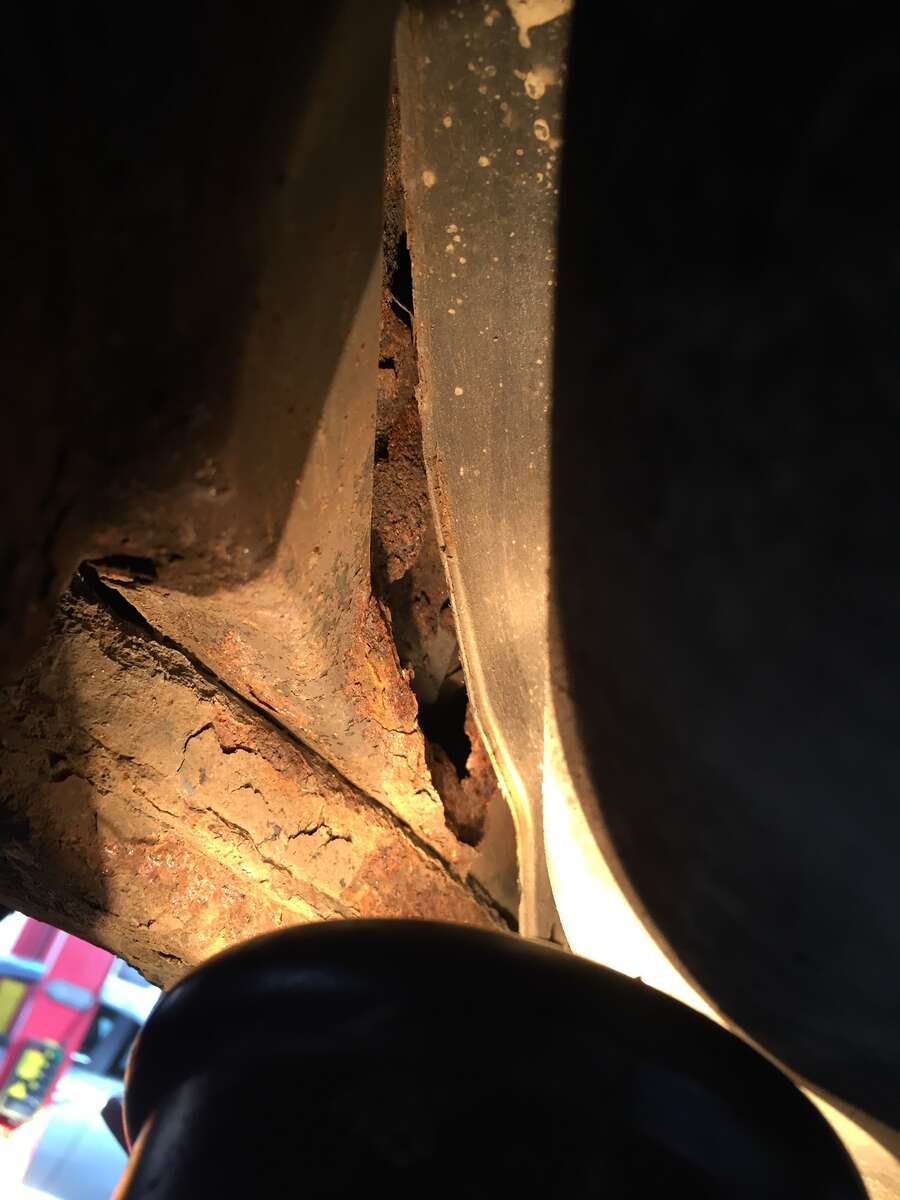
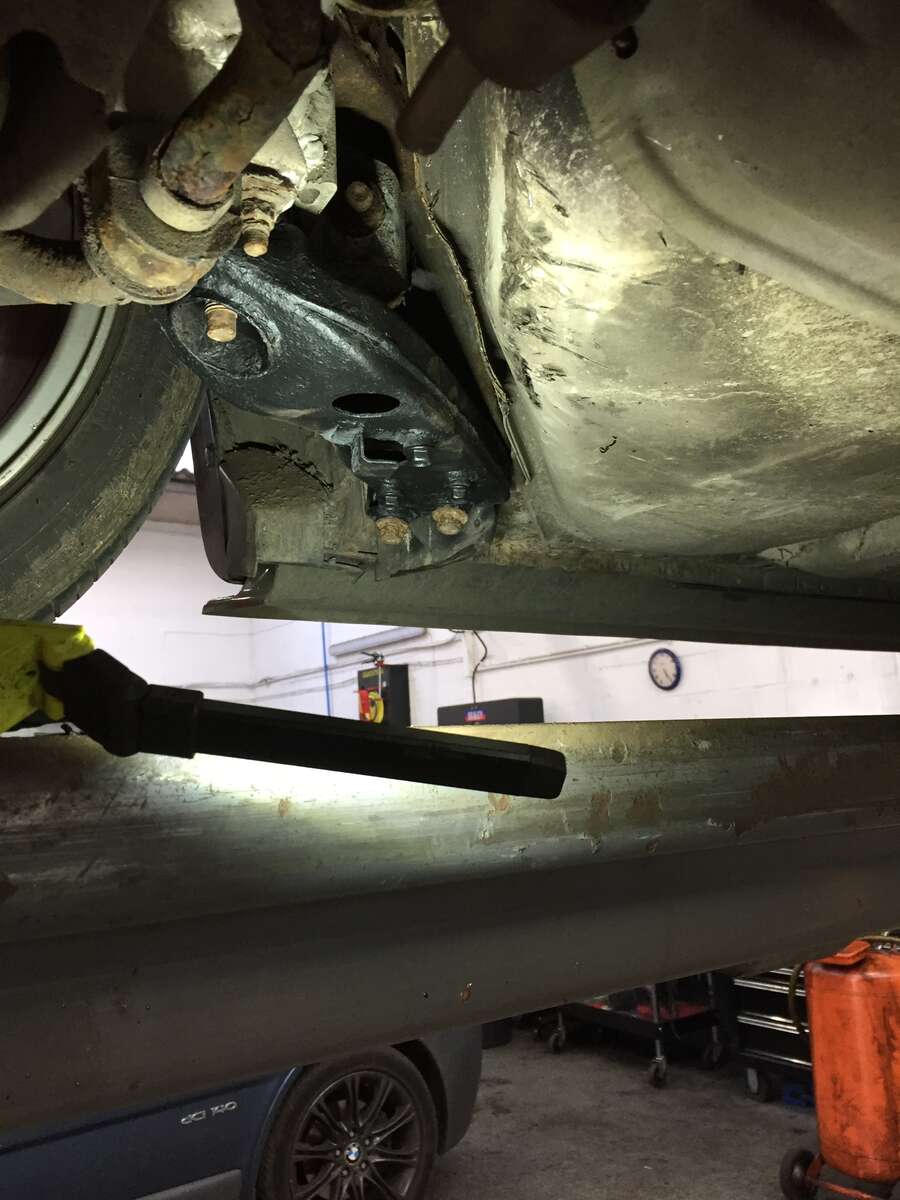
Rear arches, w brace, kidney braces and fuel tank panel/guard, por-15 I’ve been told, hammerite is also fairly good and easy to get hold of
-
This whole thread is just spot on FairPlay Lewis you know what your doing looks amazing good work!
-
Where are you based mate?
-
Haha no worries mate I was the same but then @ZMANALEX gave me the guidance and saved a massive pain in the butt
-
New member in Northern Ireland
Azurez33 replied to ConnorP's topic in Introductions & Welcome Messages
Hello and welcome, if you venture into the modifications area of the forums and the wheels section has a massive topic on wheels and clearances -
Rust won’t have spread any further just that panel and the braces usually go badly like that as zmanalex warned me! The brace and kidney braces are a fail the panel above it isn’t because it’s bolted to the body
-
Yes that’s the W brace the two kidney braces and the panel that goes behind the fuel tank, all are easy enough to remove and shouldn’t be bank breaking to replace I did one recently
-
Lower suspension arms (aftermarket or oem equivalents )
Azurez33 replied to Azurez33's topic in Suspension
Hope this helps somebody Todays victim was @Monkey1983 -
Lower suspension arms (aftermarket or oem equivalents )
Azurez33 replied to Azurez33's topic in Suspension
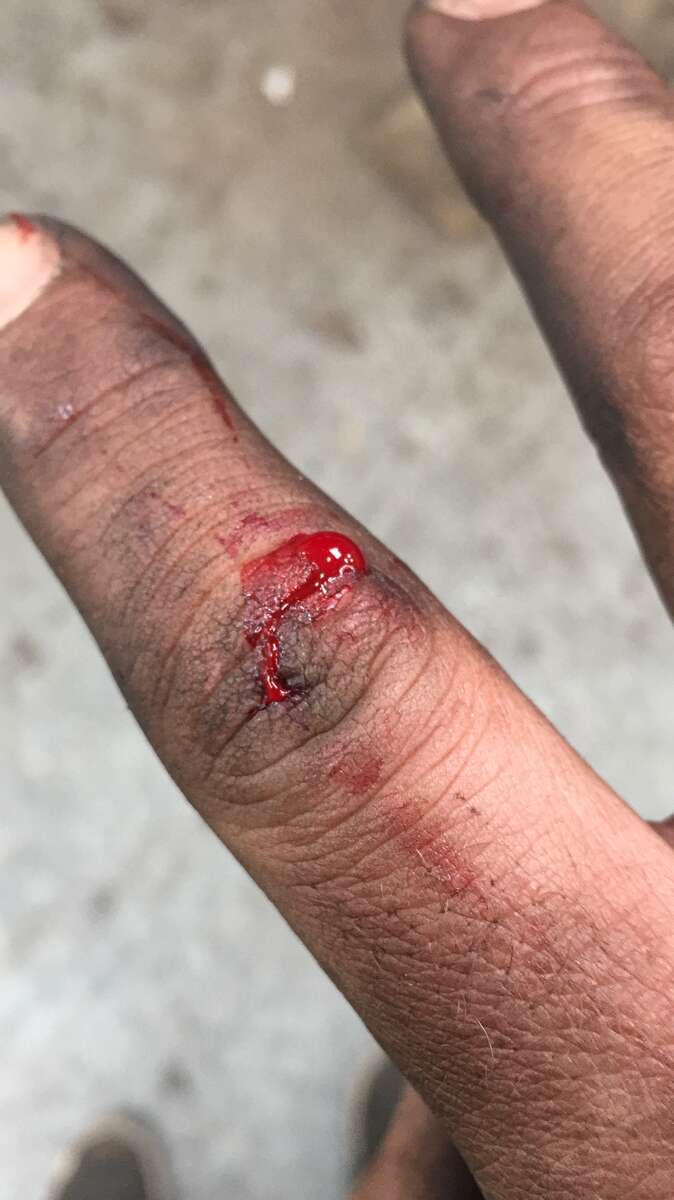
Drop the washer in and check it fits inside the recess, then offer up the arm out your bolts on hold the arm up so it’s at about 45 degrees the prime the inner bush ( you don’t have to but I’ve been taught it’s better and prolongs the life of the bush) right the bolts up seat the balljoint in the arm and tighten that nut up with the washer sat underneath! Should tightened up really well and now unlike me you don’t have to go home crying to the mrs because you’ve had a bad day working on your bloody shed that she told you is a money pit! Zhou can tell her to swivel because you’ve planned and overcame and she can keep her opinions to herself because she drives some German halfbreed! Just make sure to protect your knuckles unlike this idiot here! (Sorry if you’re a bit squirmy )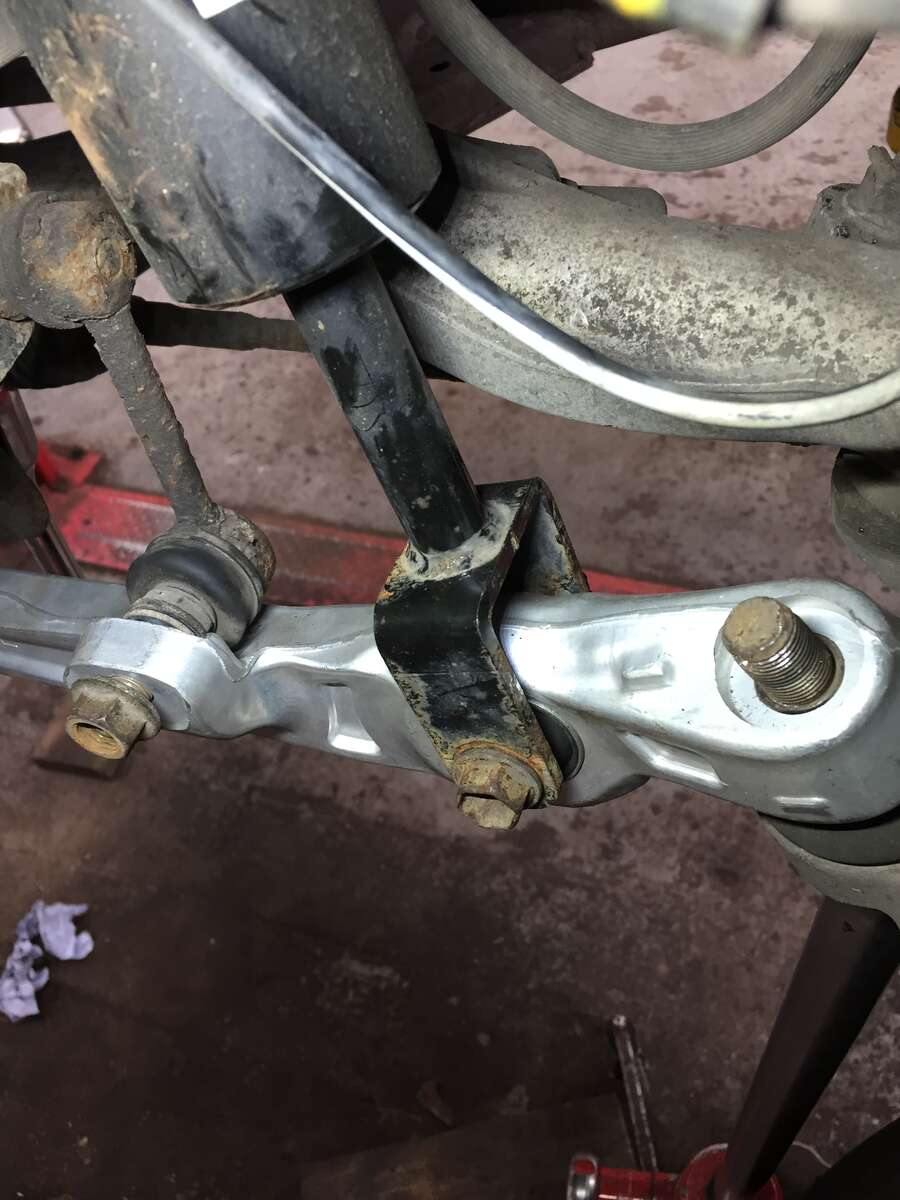
-
Lower suspension arms (aftermarket or oem equivalents )
Azurez33 replied to Azurez33's topic in Suspension
If you make a washer to fill in the difference your troubles will be no more! i asked my boss to use his lathe to cut down a boron washer as it’s much stronger than the tinfoil washers I have in the garage, granted it will take a bit of time but if you prepare you can adapt and overcome bear grylls style! also after opening these washers up I checked they fit well, bare in mind they don’t need to be snug, the balljoints tapered and not going anywhere and the nut has a built in washer anyway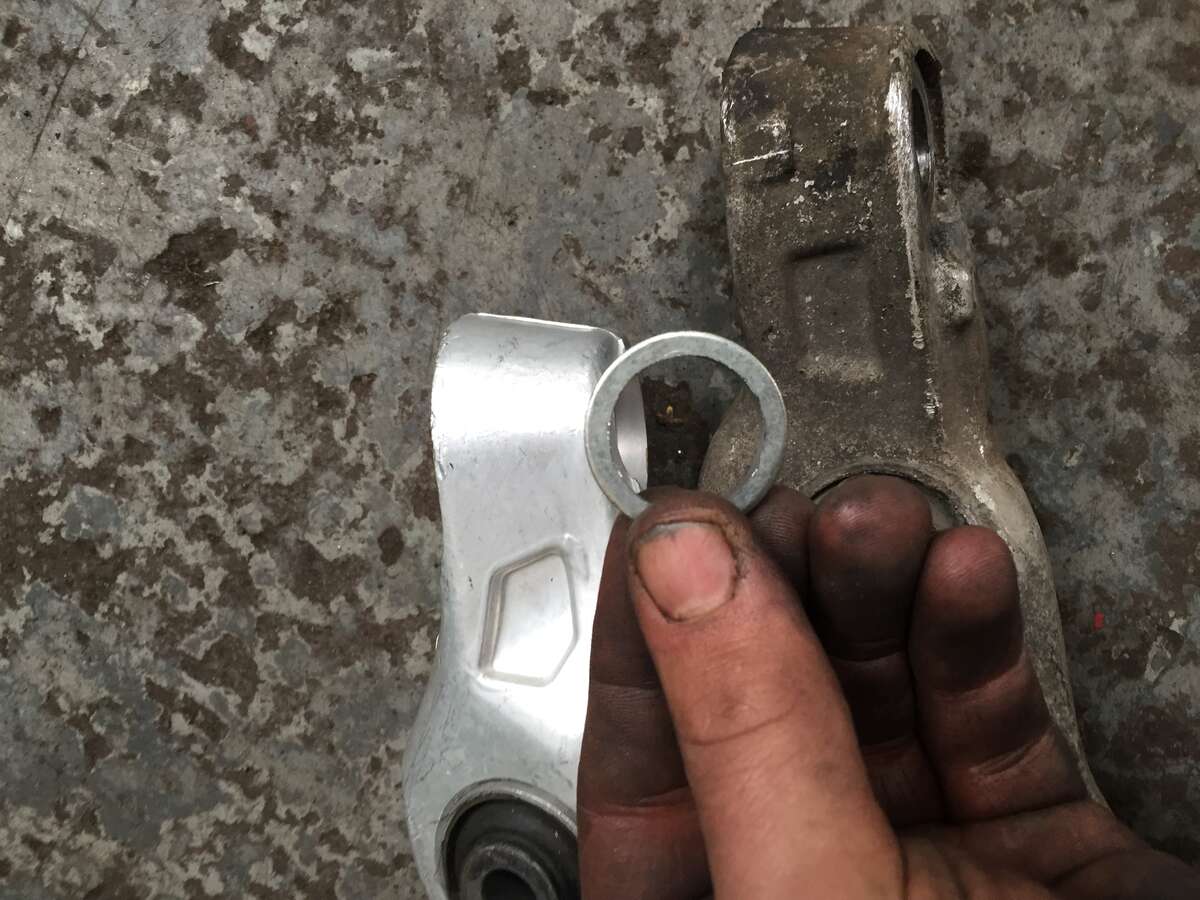
-
Lower suspension arms (aftermarket or oem equivalents )
Azurez33 replied to Azurez33's topic in Suspension
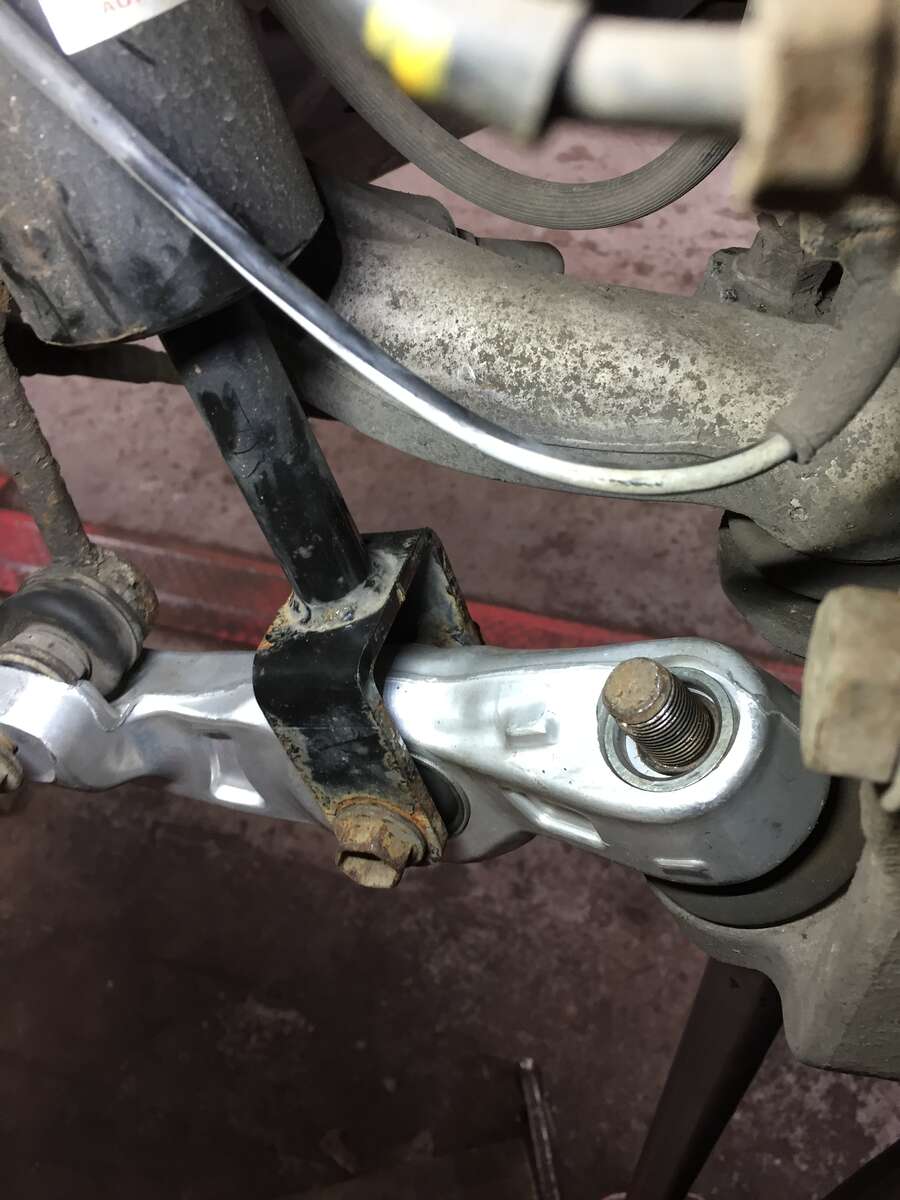
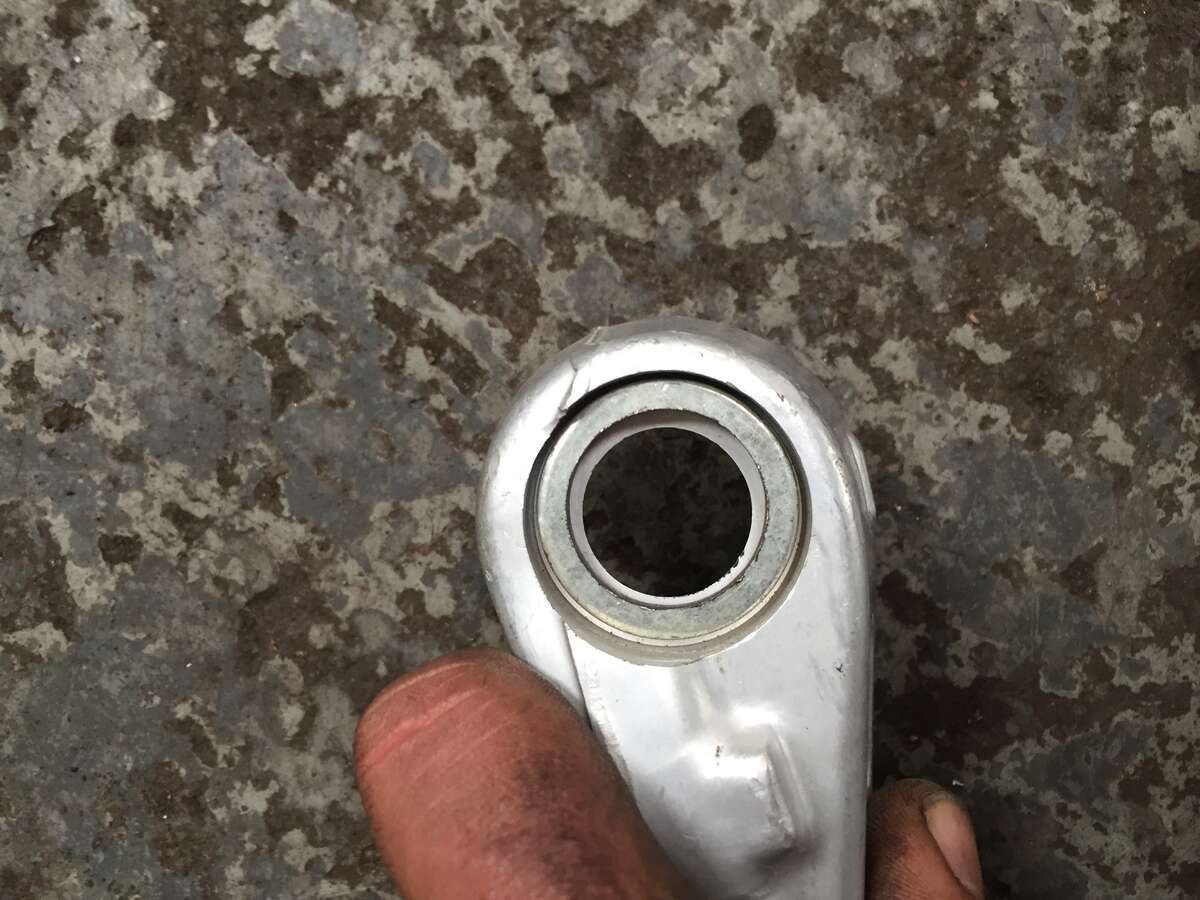
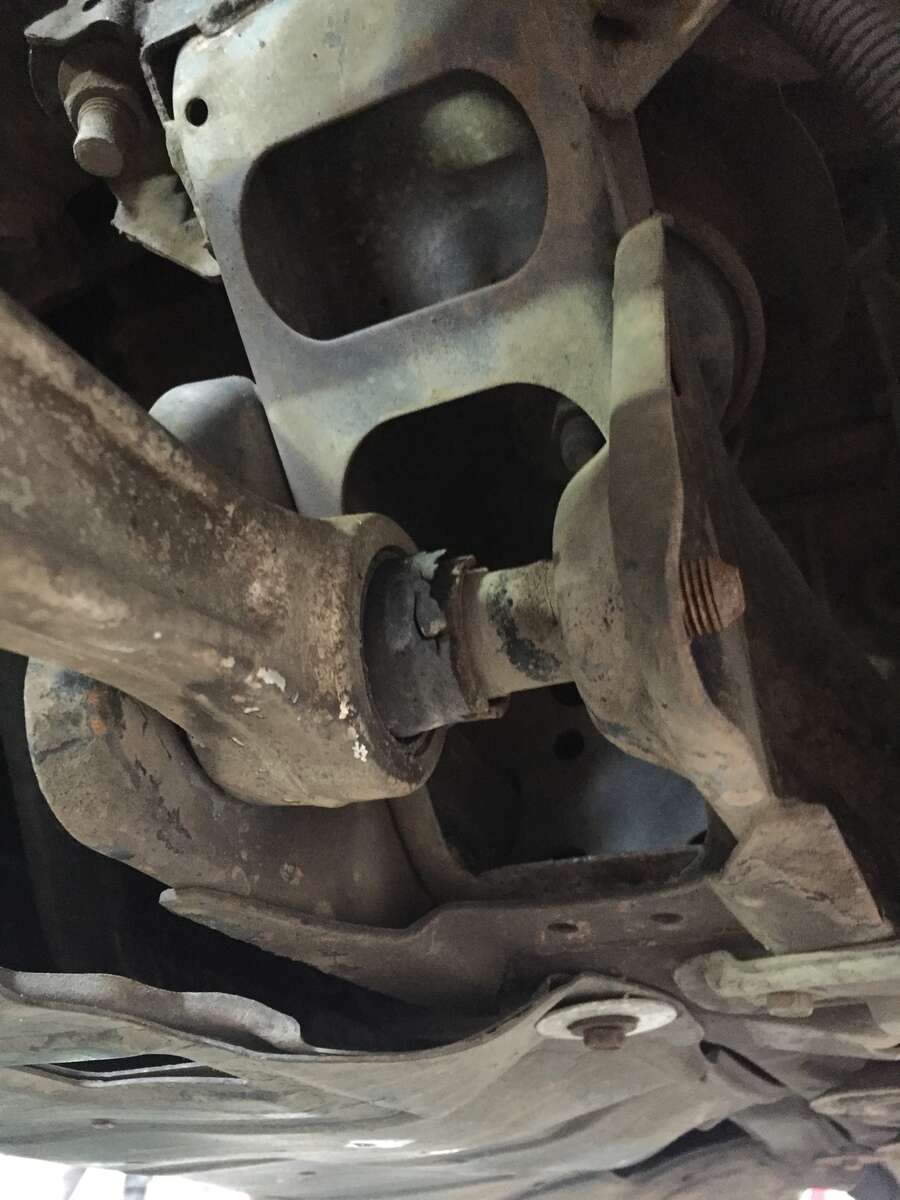
Before even considering to fit the new arm check it to the old one as you’d be surprised with what companies get away with sending out especially the cheaper ones, as seen in the picture (sorry I didn’t get my uni degree for taking @&@ pics) the recess in the new arm is about 4/5mm larger than the oem, this will cause you a massive ball ache as it’s done for me in the past, the nut will bottom out and not tighten up correctly and then the arm will knock like a jehovas witness. I don’t know why or for what reason but I’ve 6 sets of these arms now and most have been the same when bought offline! But fear not because I’ve suffered so you don’t have to!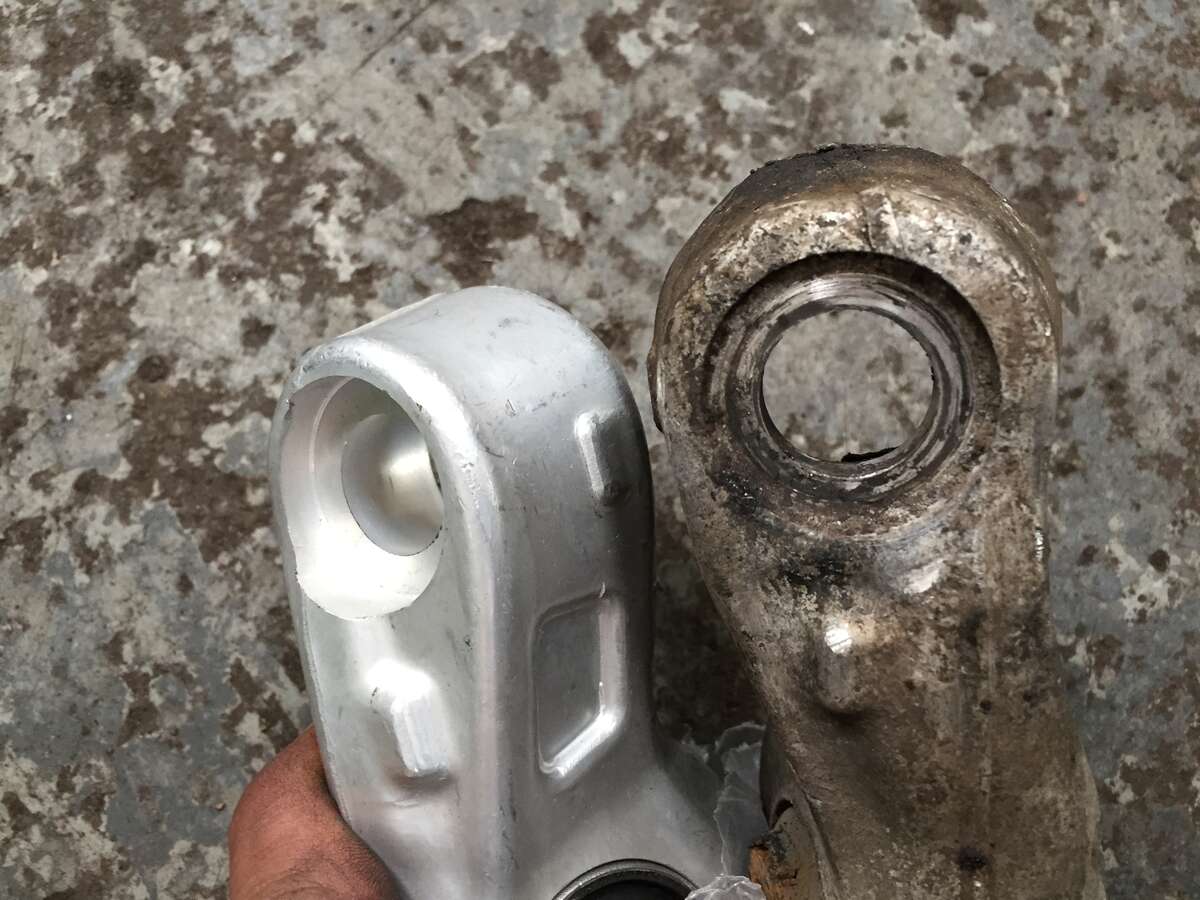
-
Lower suspension arms (aftermarket or oem equivalents )
Azurez33 replied to Azurez33's topic in Suspension
-
Lower suspension arms (aftermarket or oem equivalents )
Azurez33 replied to Azurez33's topic in Suspension
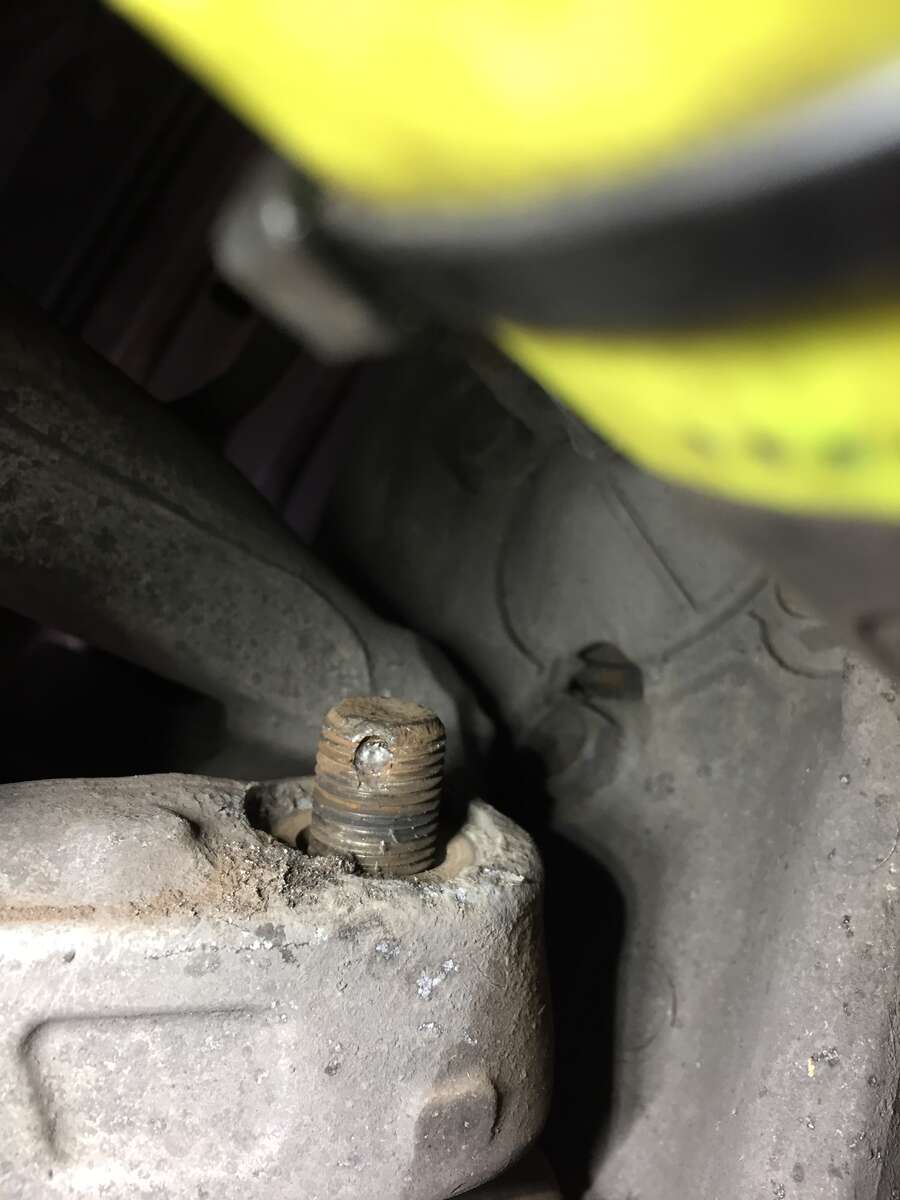
So don’t be afraid if you can’t get the pin out you can always get a new one after, so after got the balljoint nut off and the rest of the pin out, release the pressure off the balljoint and it should pop out next undo the 17mm nut and bolt for the shocker, the 17mm nut and 5mm Alan key for the a/r link and then 19mm nut and bolt for the inner bush congratulations the old one is now out yay but no time to celebrate -
Lower suspension arms (aftermarket or oem equivalents )
Azurez33 replied to Azurez33's topic in Suspension
-
Lower suspension arms (aftermarket or oem equivalents )
Azurez33 replied to Azurez33's topic in Suspension
Always start by trying to undo the balljoint first as that way you can keep the pressure on it to undo the nut, if you’re doing it on your driveway place a jack or stand underneath the balljoint and lower the car onto the stand or raise the jack underneath to increase the pressure to stop it from turning when undoing the nut, if like me the split pin decided to make thing interested you’ve got a few options, clip the excess of split pin and just undo the nut because the split pin will be made out of a way softer metal and won’t damage the thread (nut is a 22mm) and then either drill it out carefully or use a punch and hammer! Or a combination of both, or you can waste your time trying to pry the split pin out which you may aswell just send it to a garage to save your time, I always opt for cut the tails wizz the nut off then drill and tap out takes 5 mins -
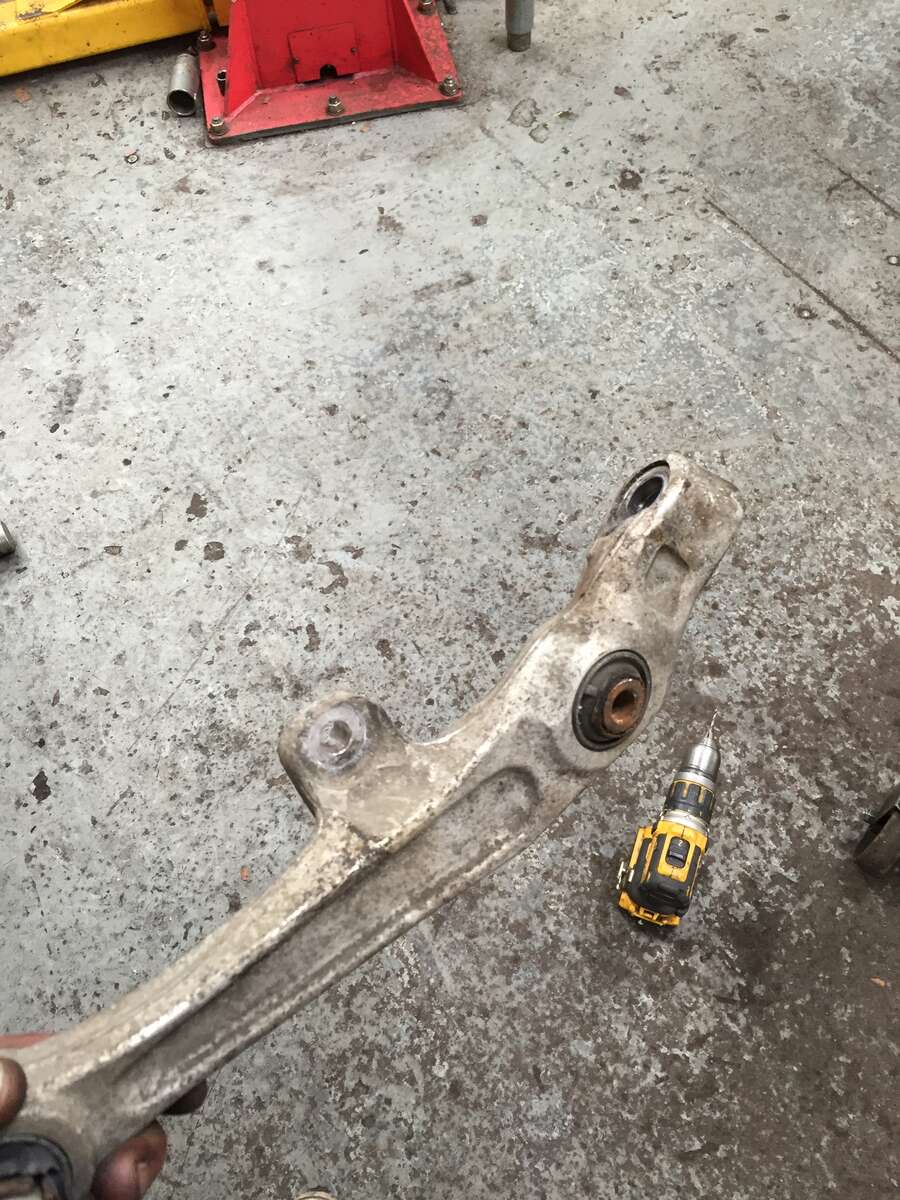
So I’ve seen a few topics on here where people have mentioned about needing or doing their lower suspension arms, some people say they’re easy and if you’re like me unlucky or you’ve been done by the parts manufacturers here a little guide/ illustration to show you what to look out for and to show why they can be an absolute pain So here’s your typical inner bush really giving up on trying to keep it together....
-
Hi mate welcome from Worcester
-
Hi Mate, as jack said 2 pumps one for headlights one for screen, has the car been sat for a while? We get so many customers saying the washes don’t work and that’s usually because the screenwash additive goops up and blocks the gauze in the motor, can you hear the motor working? buzzing behind the arch liner? if so no need to check the fuse but by the sounds of it it’s really weak, might be worth checking all the pipes for blockages or kinks like jack said, sometimes the actual pipe gets shut in the bonnet so it bottle necks it, if the pipes all seem fine and clear get a needle and or blower and blow through the actual jets themselves, hope this helps
-
Yes please chap I’ll pm you
-
You still got those diftworks wheel nuts chap? cheers
-
Definitely not for me
-
Bottom one is definitely for the fob for some reason mind was blank looking at it

