

ballistic
-
Posts
387 -
Joined
-
Last visited
Content Type
Profiles
Forums
Events
Gallery
Store
Everything posted by ballistic
-
i have that JWT 1200 KG with lightened flywheel on mine. Bearable is subjective, but yes theres clutch chatter from the single mass, its a similar sound to when your throw out/release bearing is going. Its loud enough to notice, especially if your car is quiet/stock. Doesnt bother me at all though. (my car isnt stock) Its not huge but i think it made it a little more responsive. Its a great clutch with loads of clamping force and serviceable/replaceable parts. Also it retains the OE clutch feel and doesnt make it any heavier. You can buy them with dual mass just fyi
-
Ive actually gone for these to on my 350z. I havnt installed them yet. Are they as good as people say then?
-
At that price point the best ones ive experianced are the Miester Rs.
-
Glad youre getting it back on the road again
-
Do it. A boosted VQ is a fun time
-
Abbey Motorsport more testing the the 350Z
ballistic replied to Mark@Abbey m/s's topic in Abbey Motorsport
Wish him well awesome pics etc. What head gasket is that? -
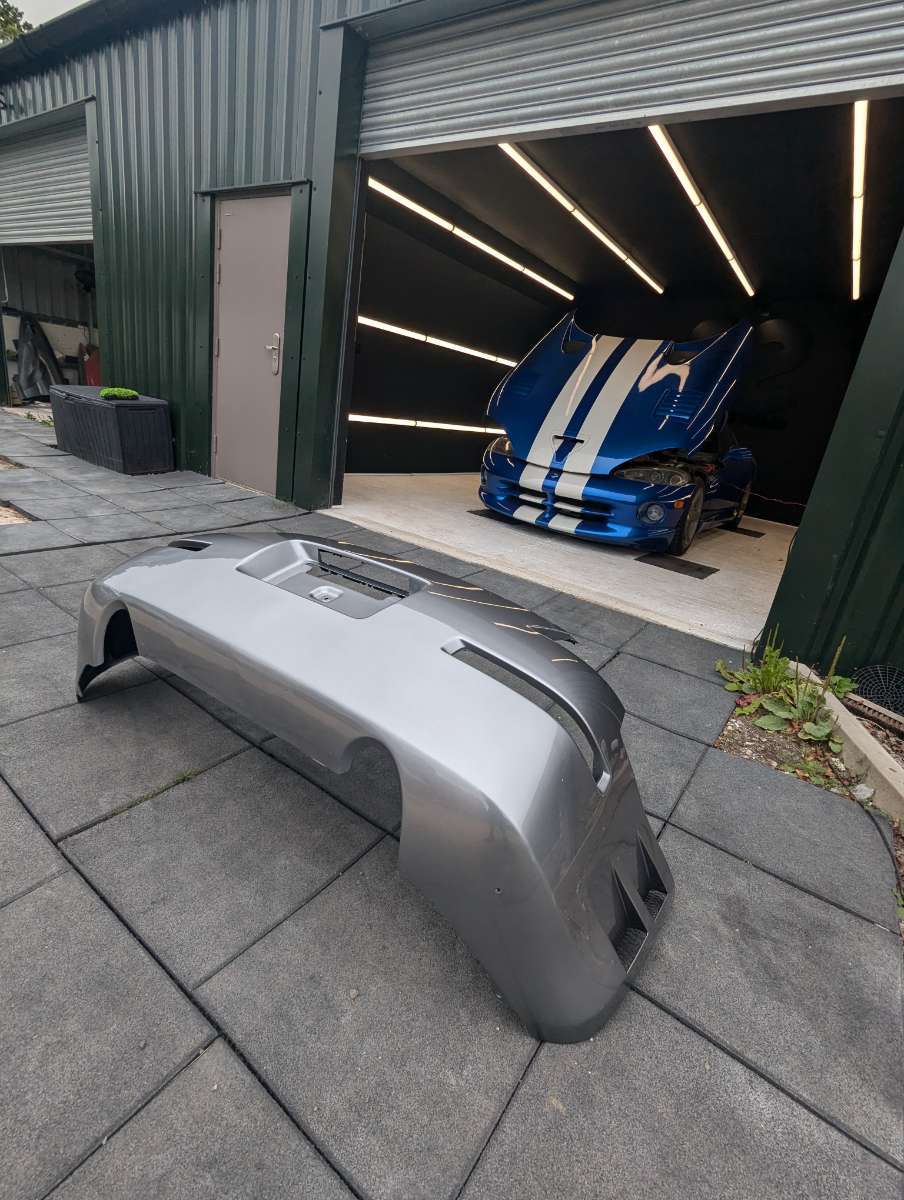
Your garage is badass bro!
-
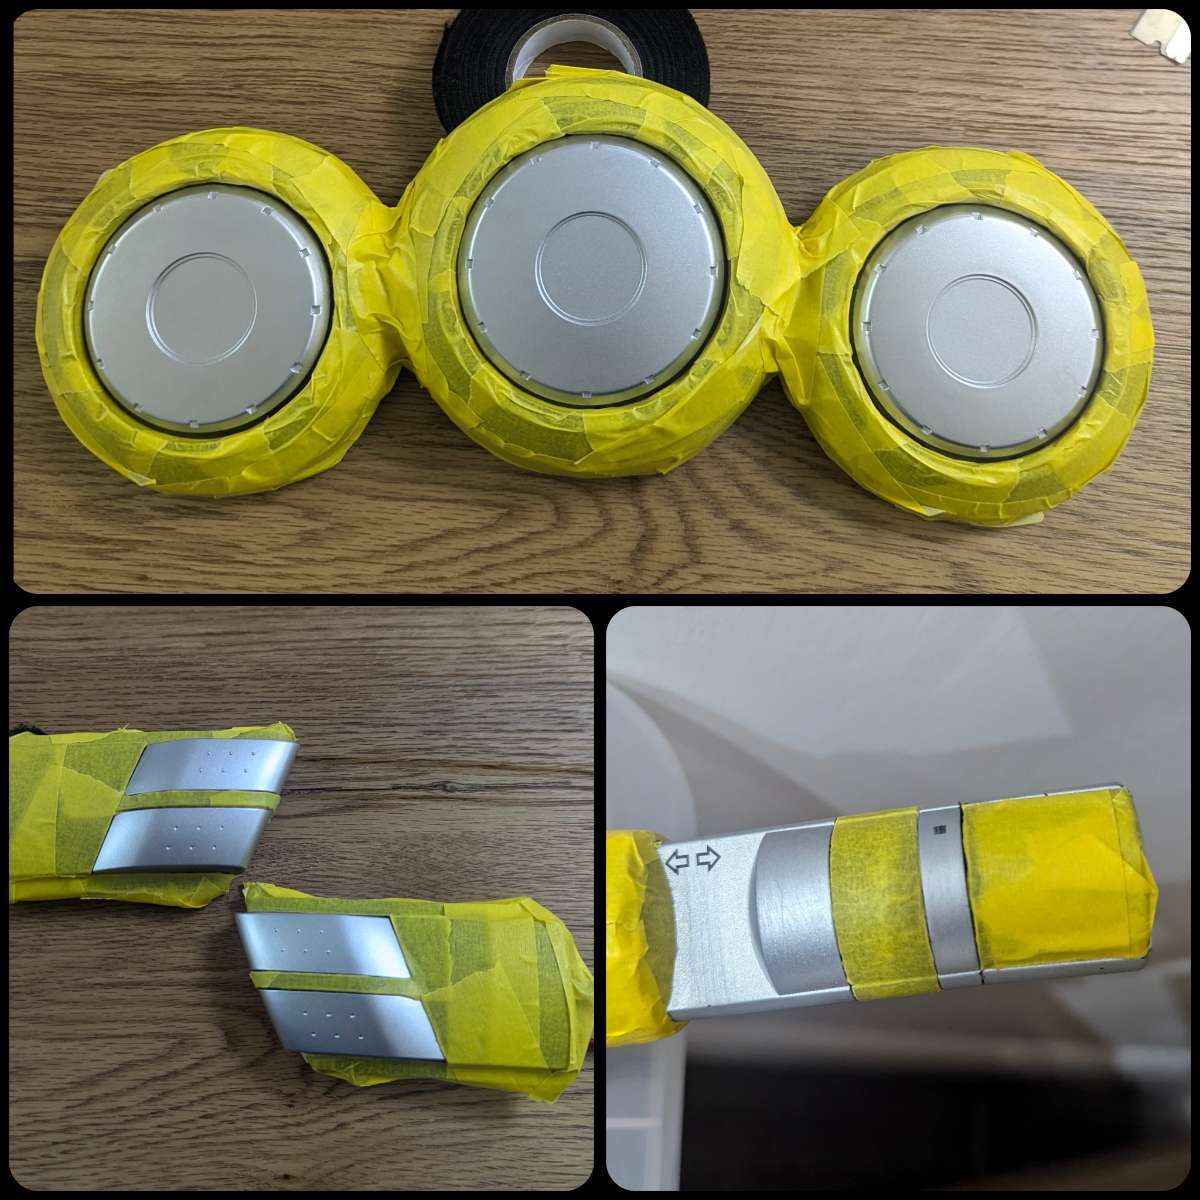
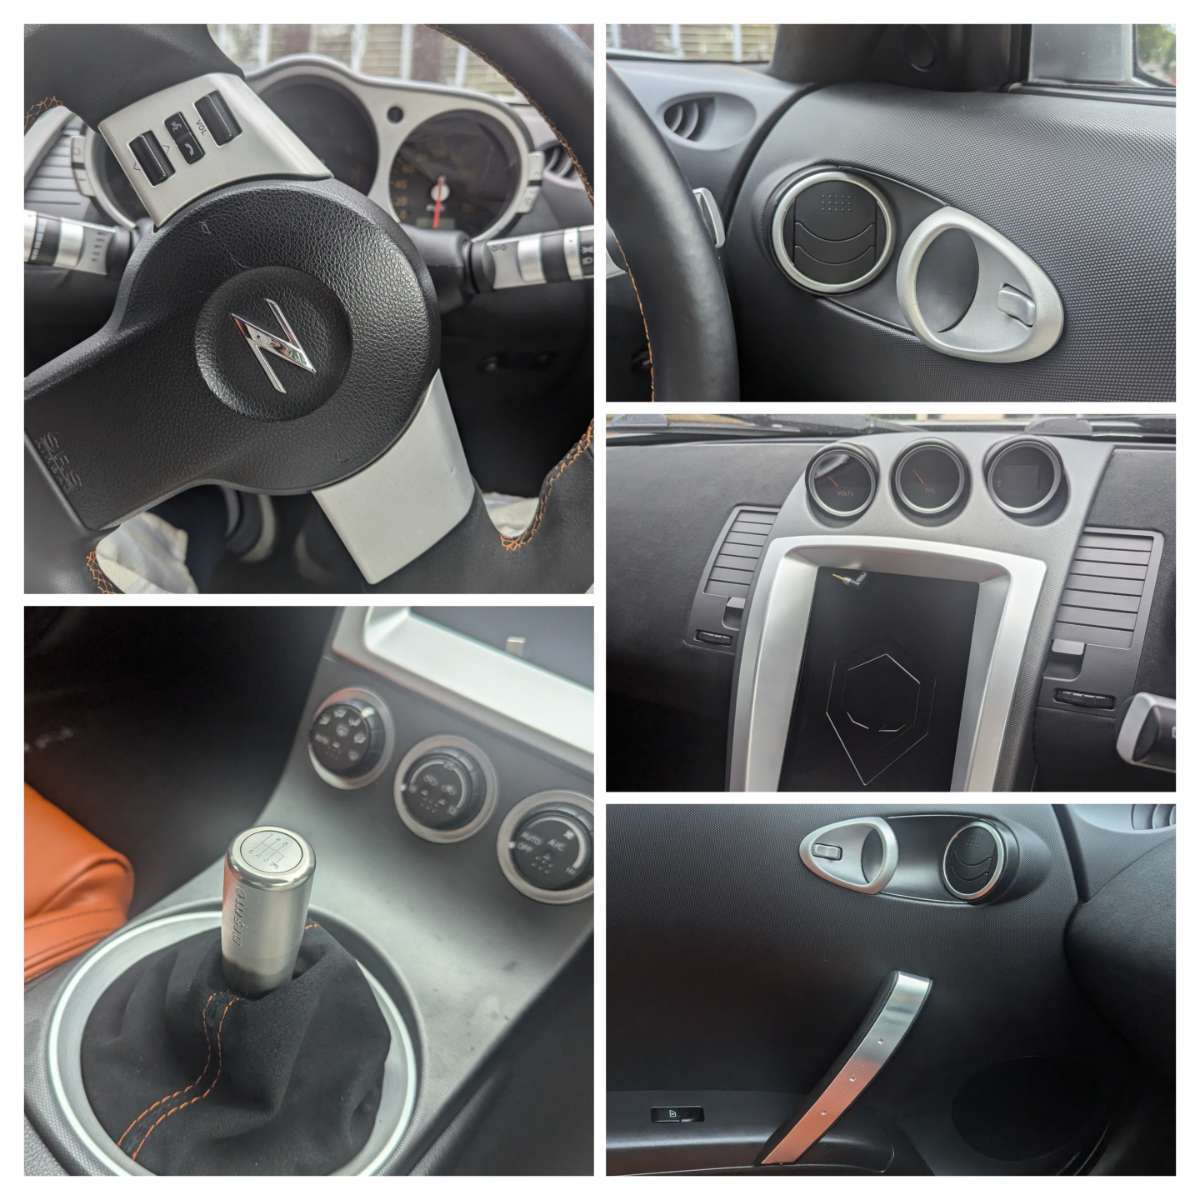
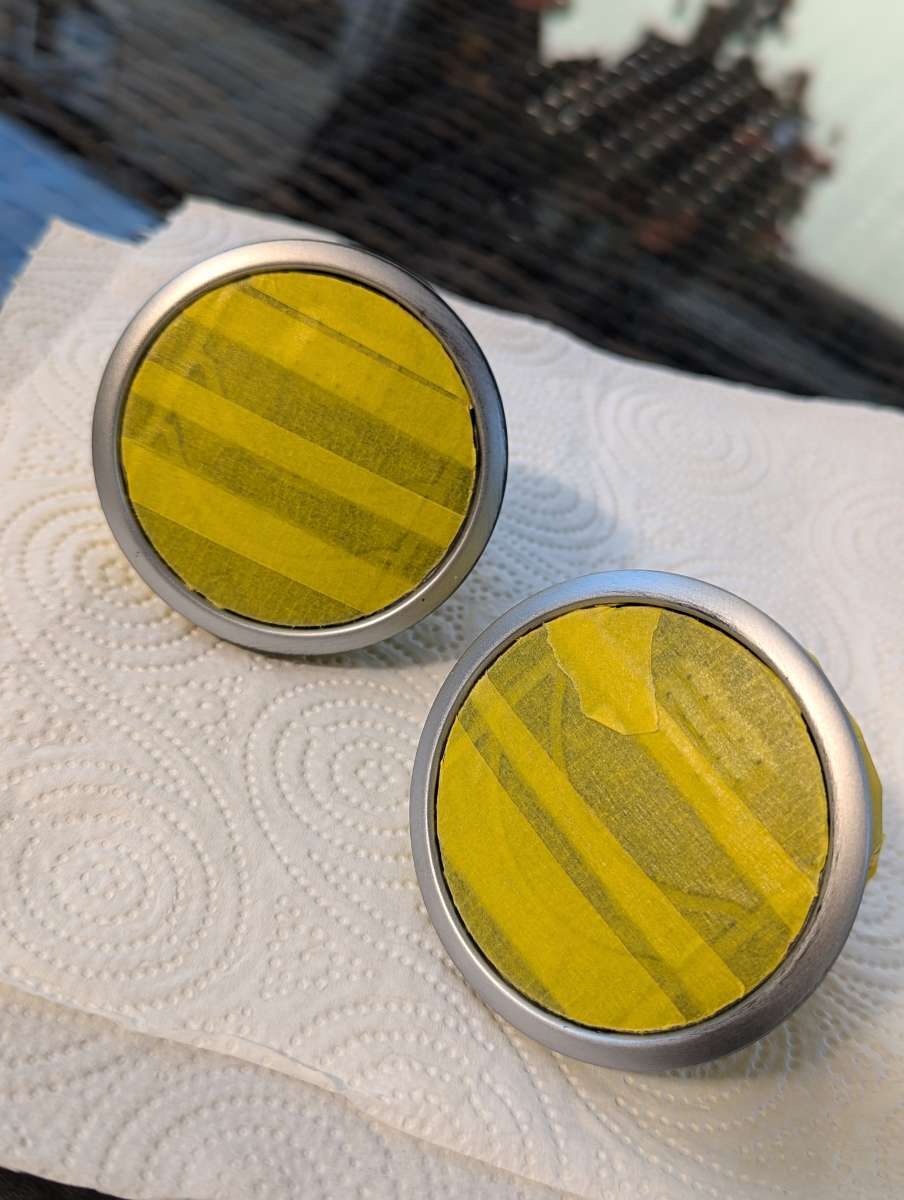
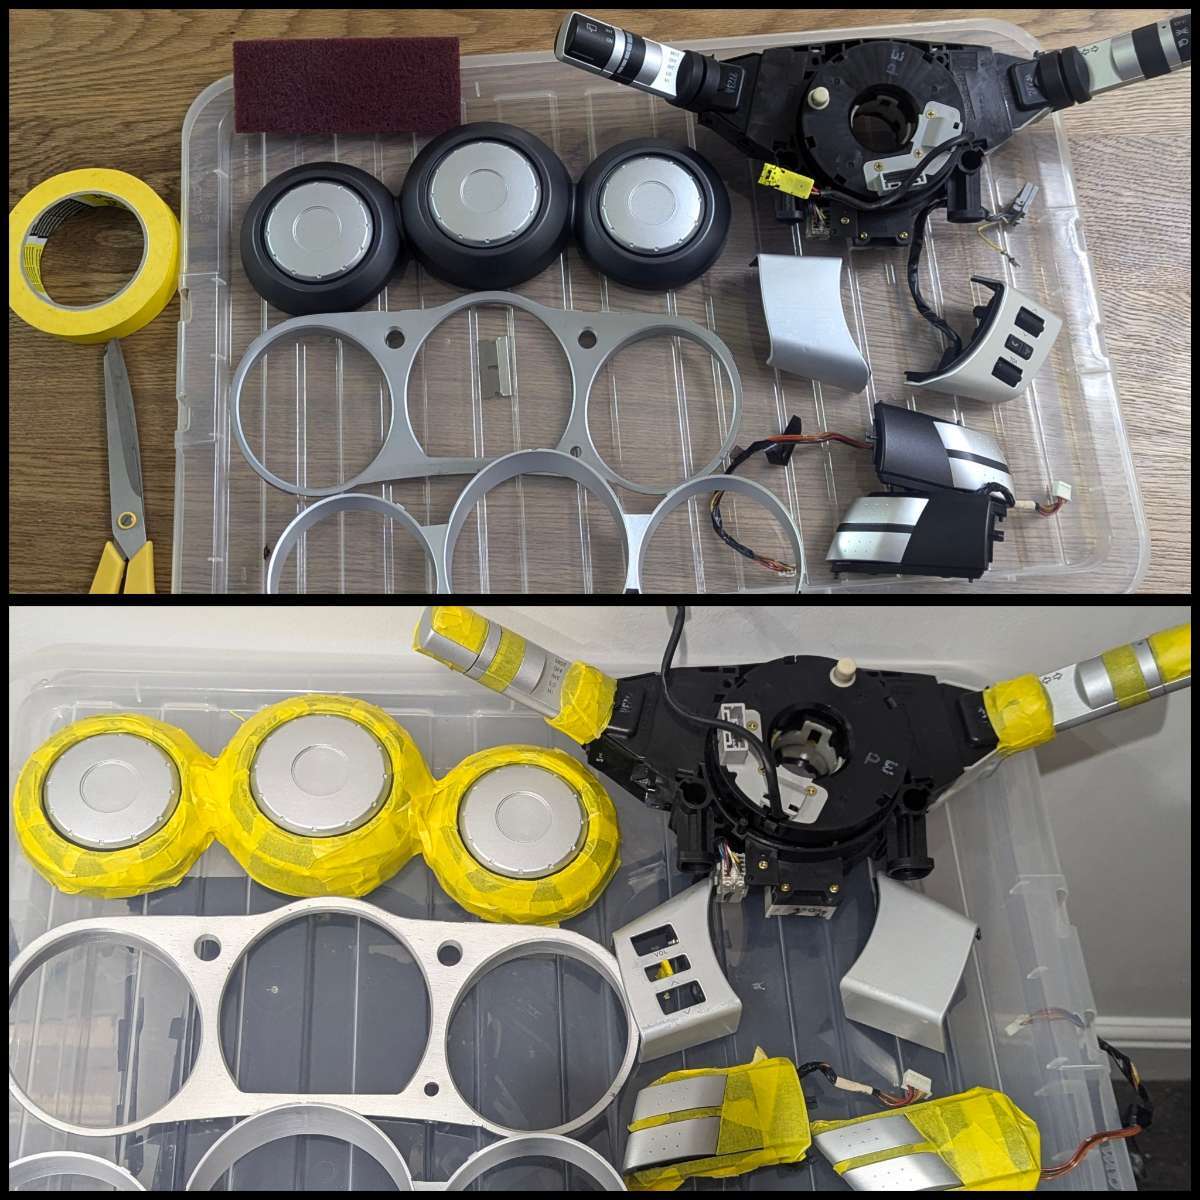
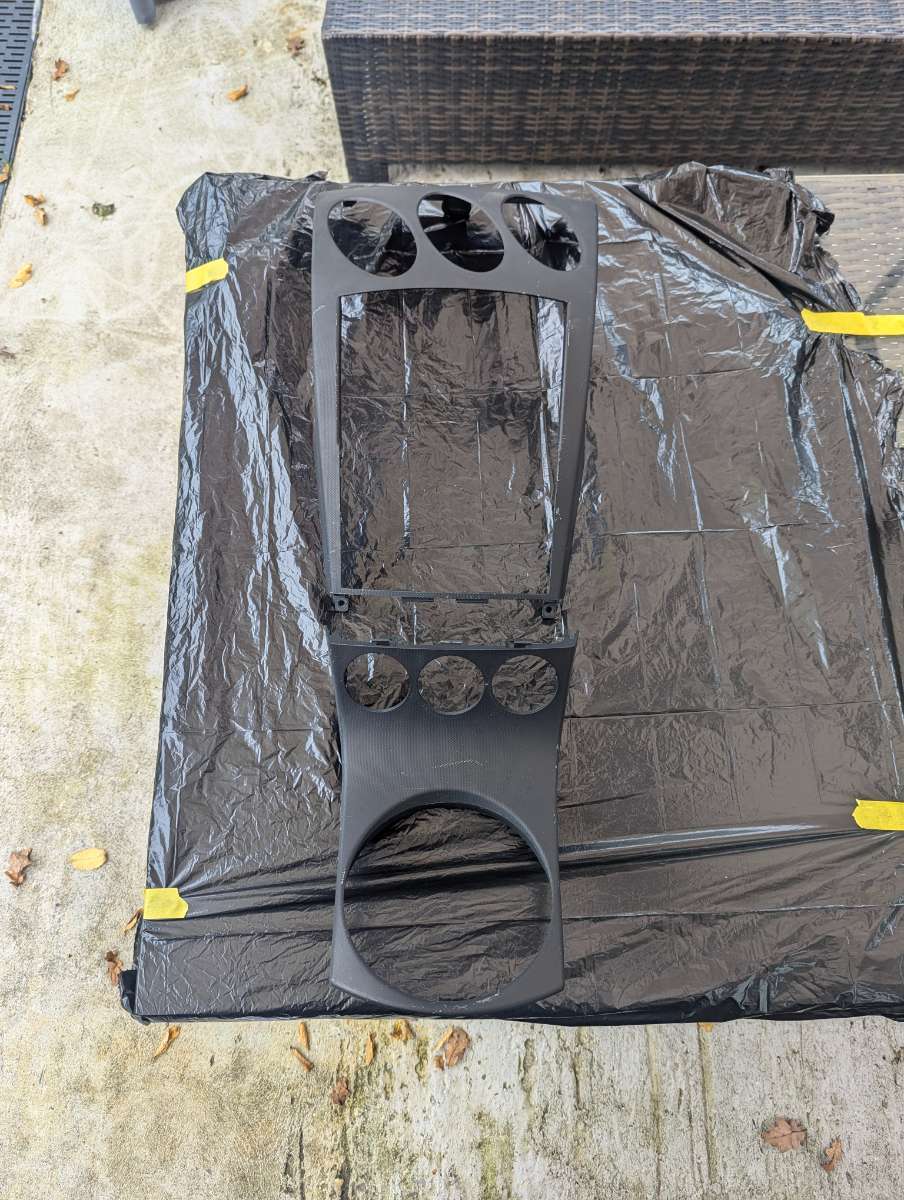
Next I had the big idea of changing the colour of all the silver trim in the interior... I dunno why, I guess I like the punishment 😅 Here's most of the bits that will need doing: Steering wheel button surrounds Indicator stalks Main cluster dials facia plate Buttons on either side of the main cluster Heater vent surrounds Door handles (including lock buttons) Rings on centre gauges Rectangle bezel that goes over my tablet install Rings around heater controls Big silver ring around the shifter boot Handbrake button 🙃 The trim piece on the back of the gauge cluster you can only see when looking from the outside... So I got to stripping the interior, carefully! Then it was onto prepping and masking, scuffing all pieces and cleaning with IPA. No going back now 🫣 Masking took an age as it had to be perfect and there were many difficult areas to cover, but any mistakes would mean unsightly overspray or silver not being covered. Next step will be paint!
-
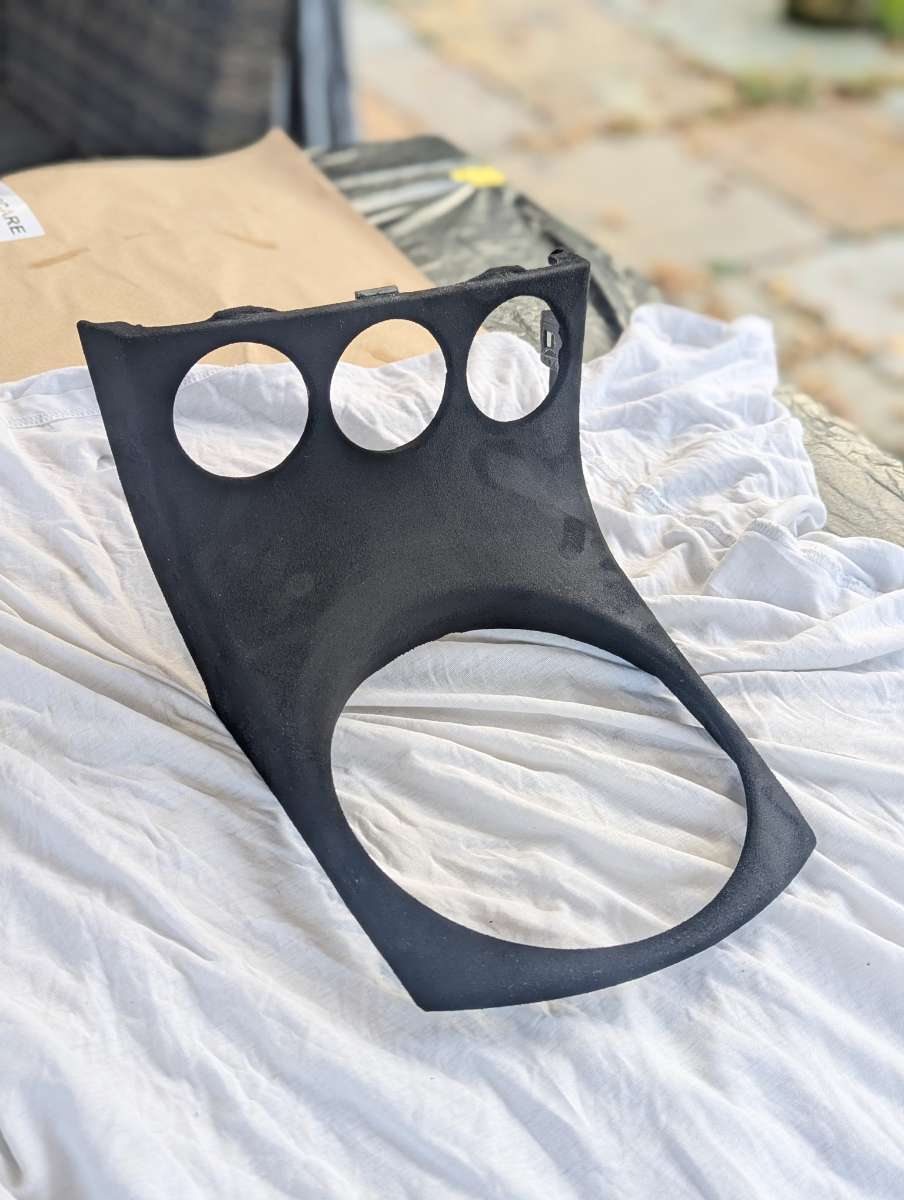
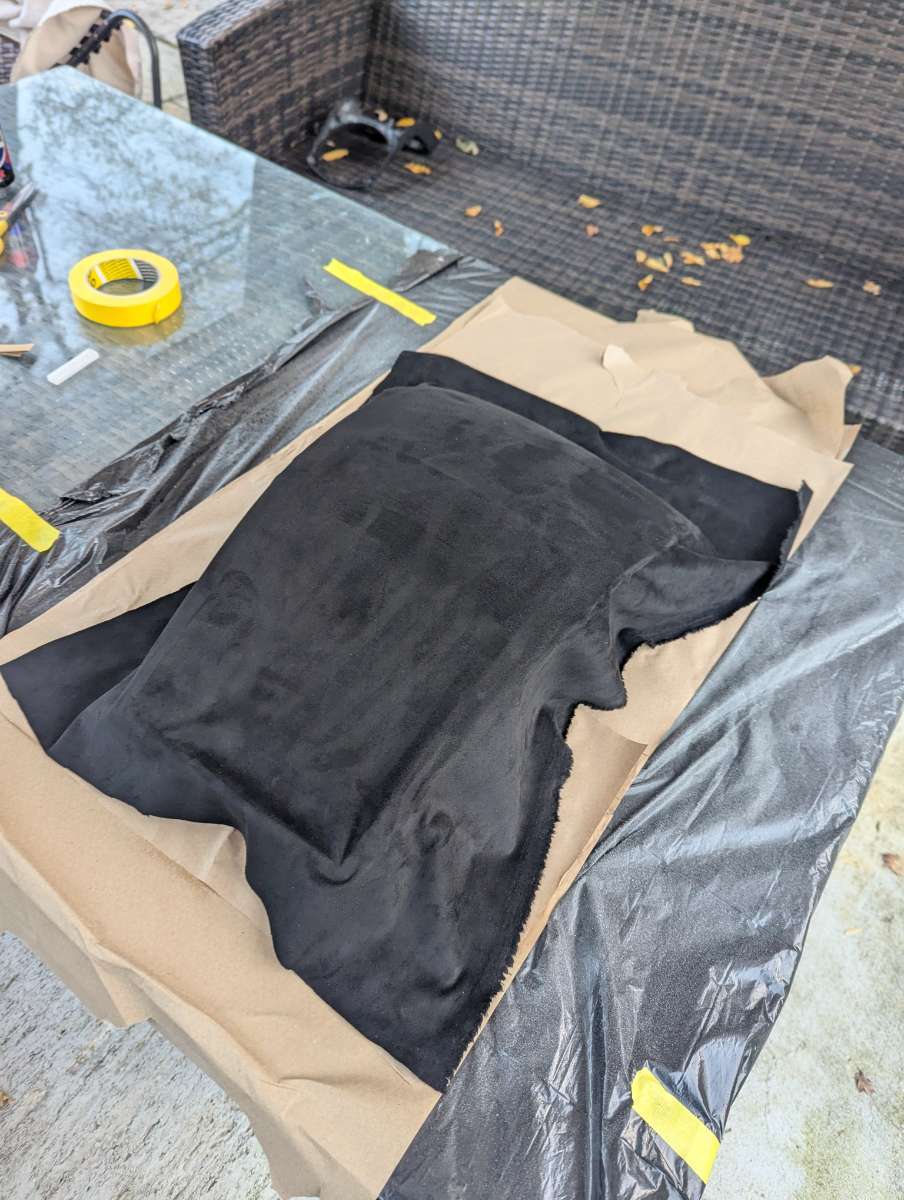
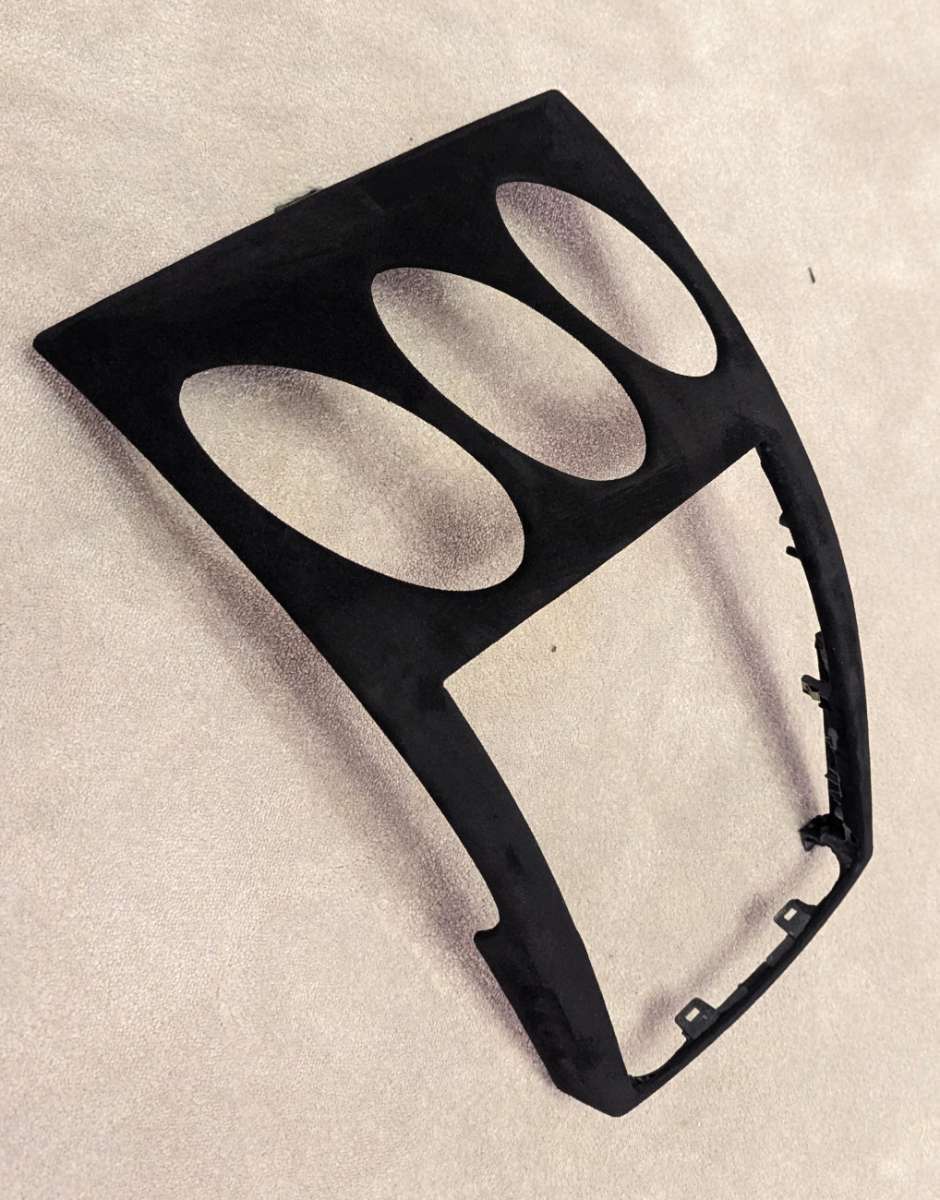
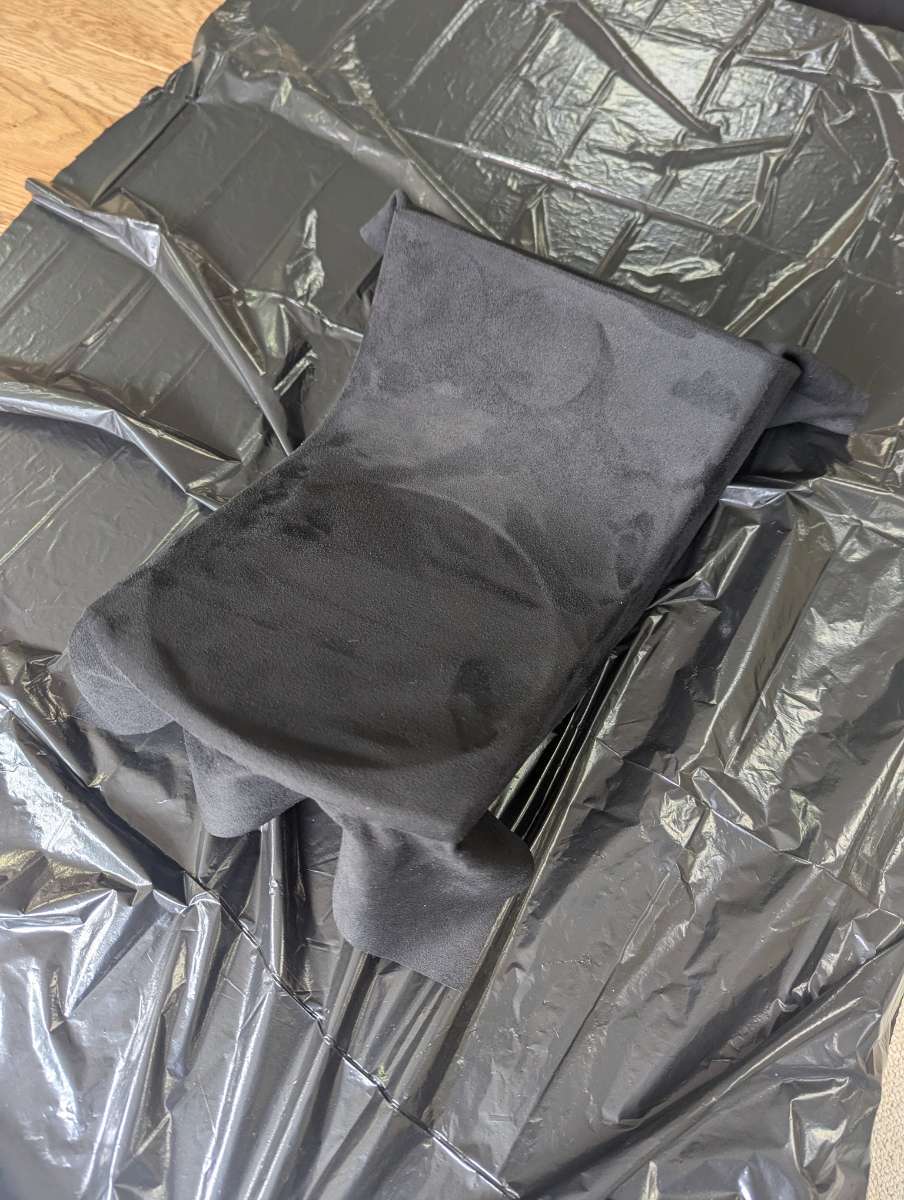
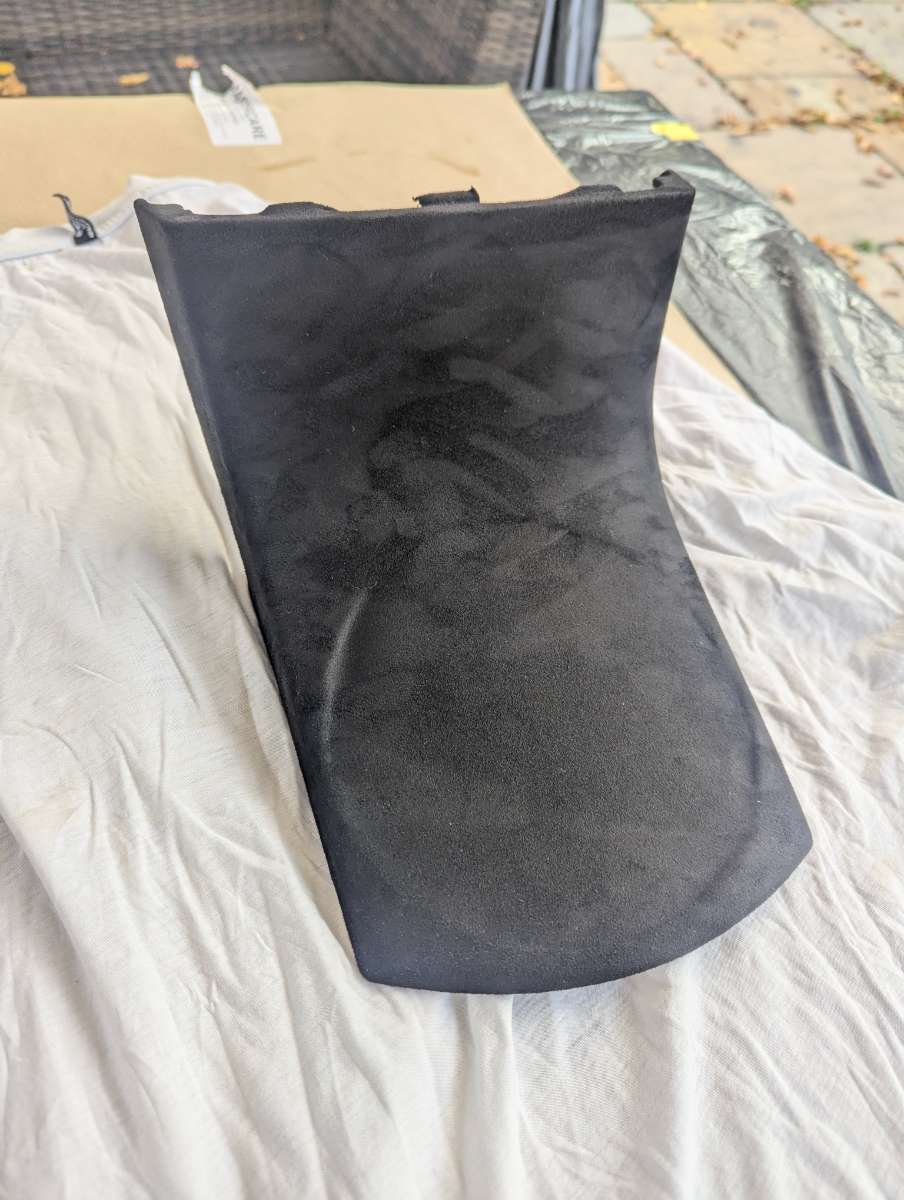
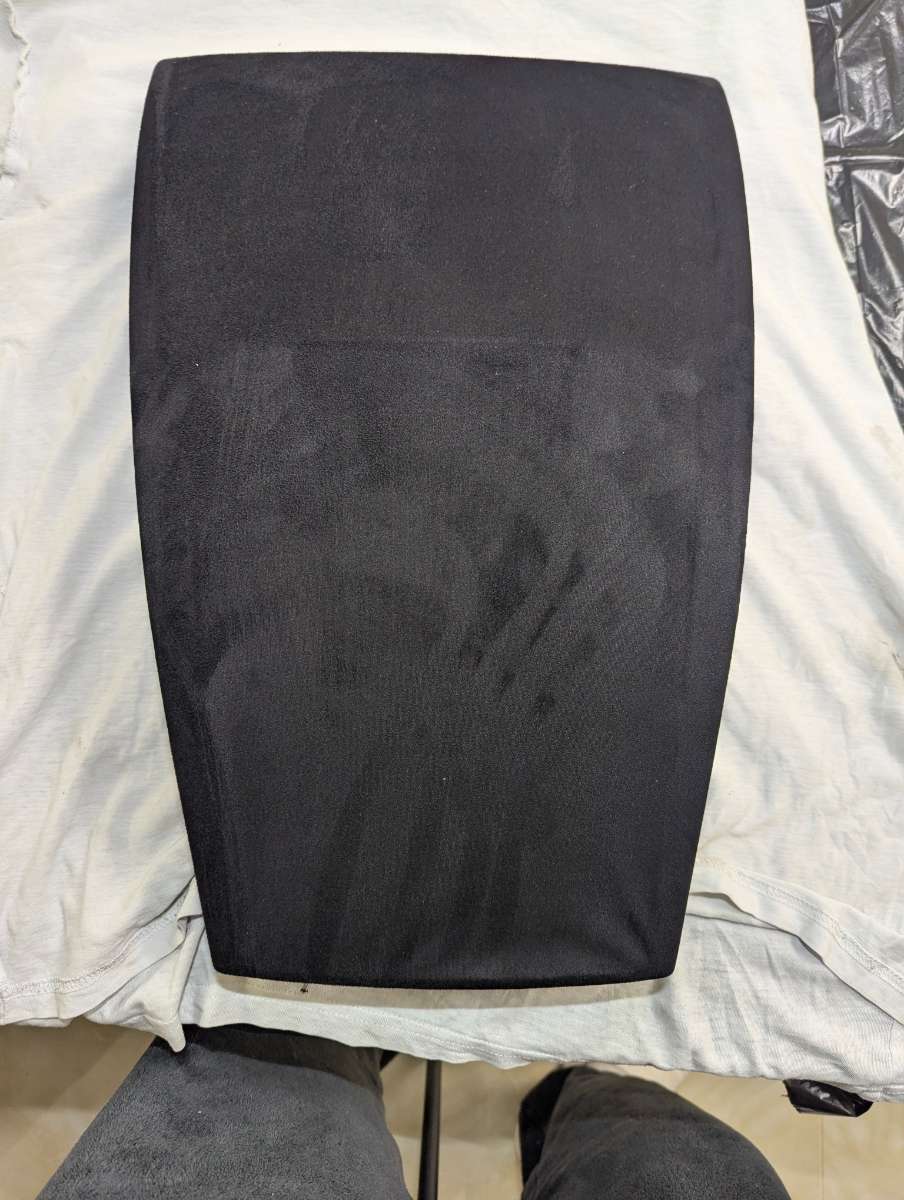
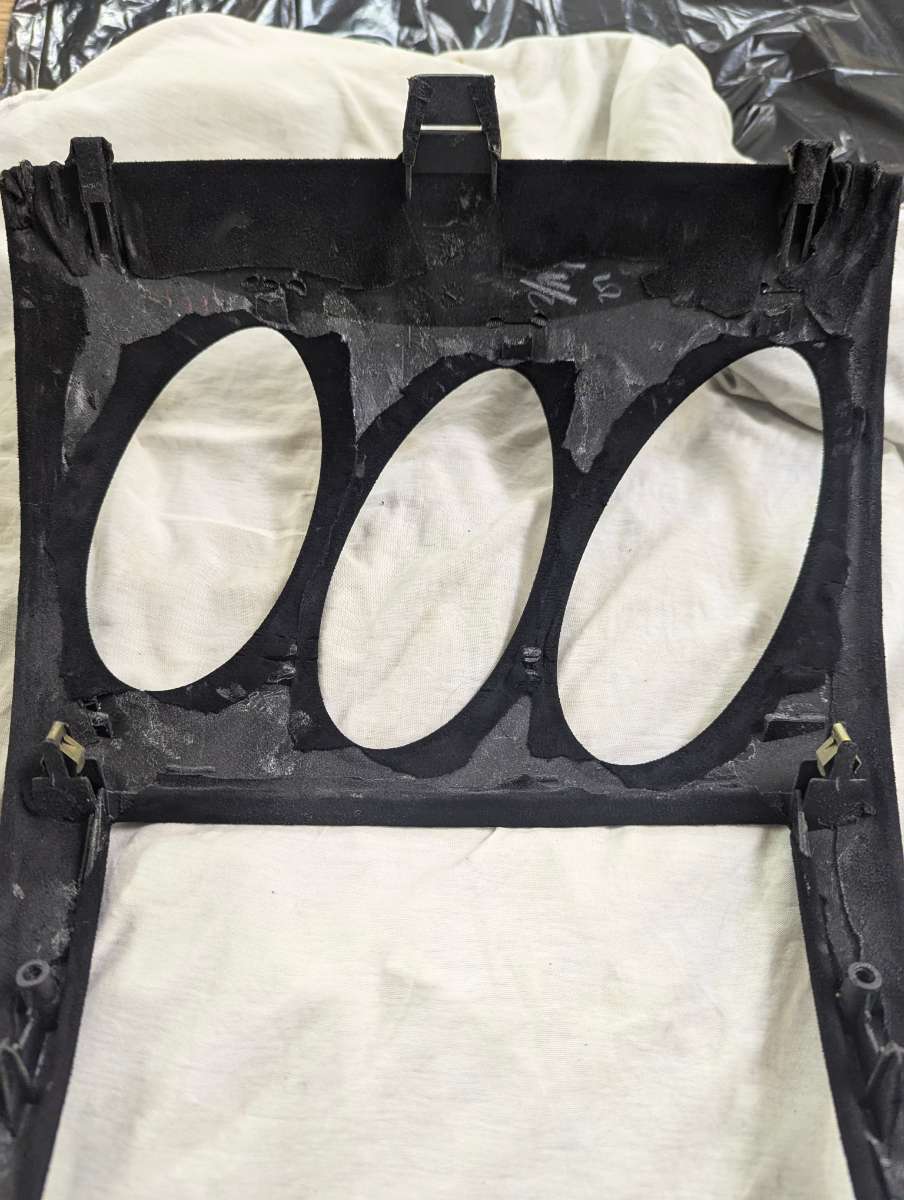
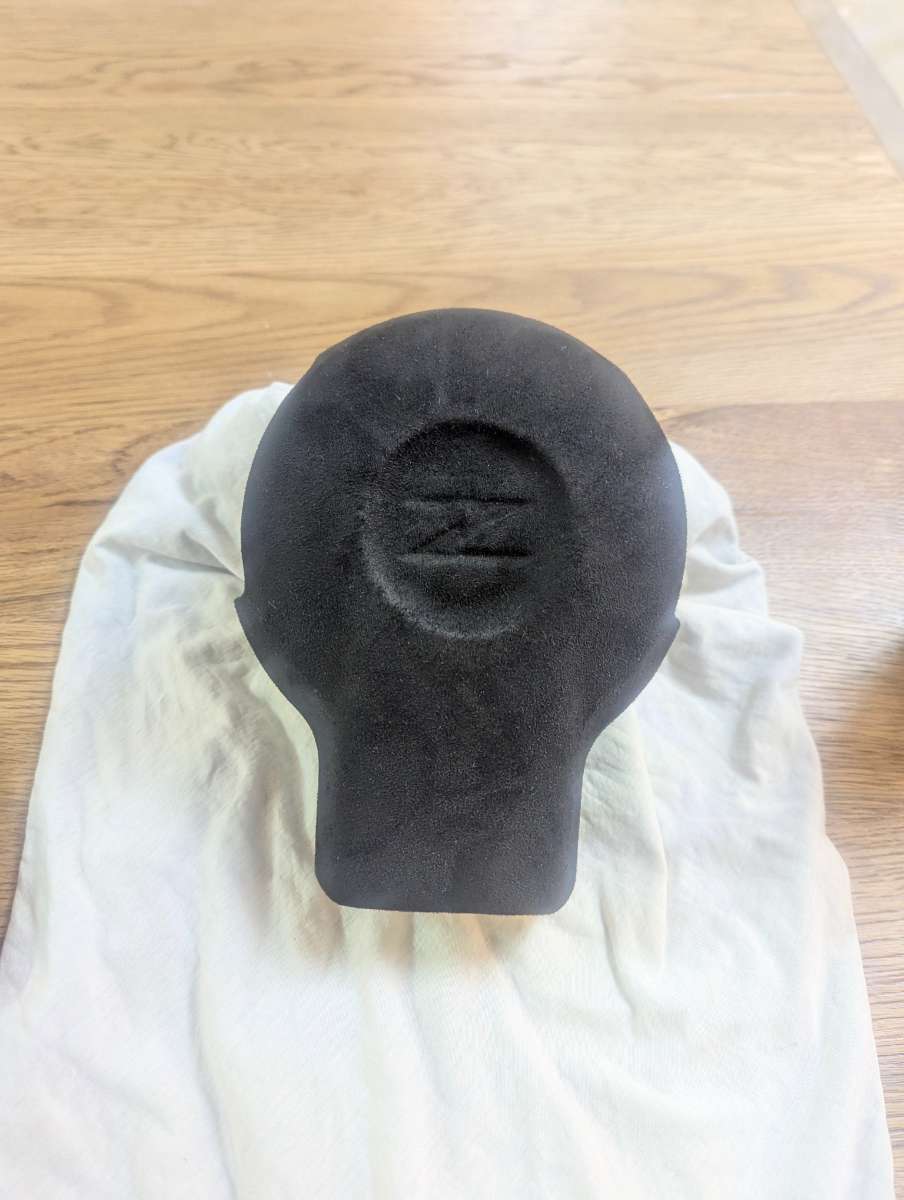
Ok with large exterior changes recently I turned my attention back to the interior. After having wrapped the dash in Alcantara, including A pillars and door armrests. I went back and forth on what to do with the centre waterfall area on the dash. Wrap it? Paint it? Hydro dip? 😕 With the success of my earlier Alcantara wrapping and how much i liked the finish I decided to give it a bash on this piece too, I knew it would be my hardest piece as it's much more intricate and has many cut-outs etc, pretty intimidating. 🫠 Gave it a proper clean and prep for adhesive: Apply adhesive, Cut out material and lay over piece and smooth down, removing any creases Cut off main large excess material and work over all corners and edges, carefully applying more adhesive in those areas without getting it on the face of the fabric, fun times. This is the most fiddly, messiest and most time consuming step. Now for the trickier piece lol... This is how the underside looks Finished: I also did the airbag/centre part of the steering wheel, don't worry it's just on the cover 😅 This a very tricky and time consuming job, with lots that can go wrong lol. But I'm very pleased I went this route. It looks fantastic imho. Very premium and sporty.
-
That bronze and blue is a hot combo man. looks great. I follow you on insta btw Stuggerz right? Im Ballistic350 on there
-
Oh man a blast from the glory days of the forum. Wish it was still like that. Where does everyone post Zed stuff these days? facebook?
-
How low do you have to be on fuel for it to be an issue?
-
The legendary finger test! Youve done loads of little snagging bits and general tidying. nice work.
-
Epic journey. I love those Quadrifoglios, and that colour is great. Hope you have a great ownership
-
-
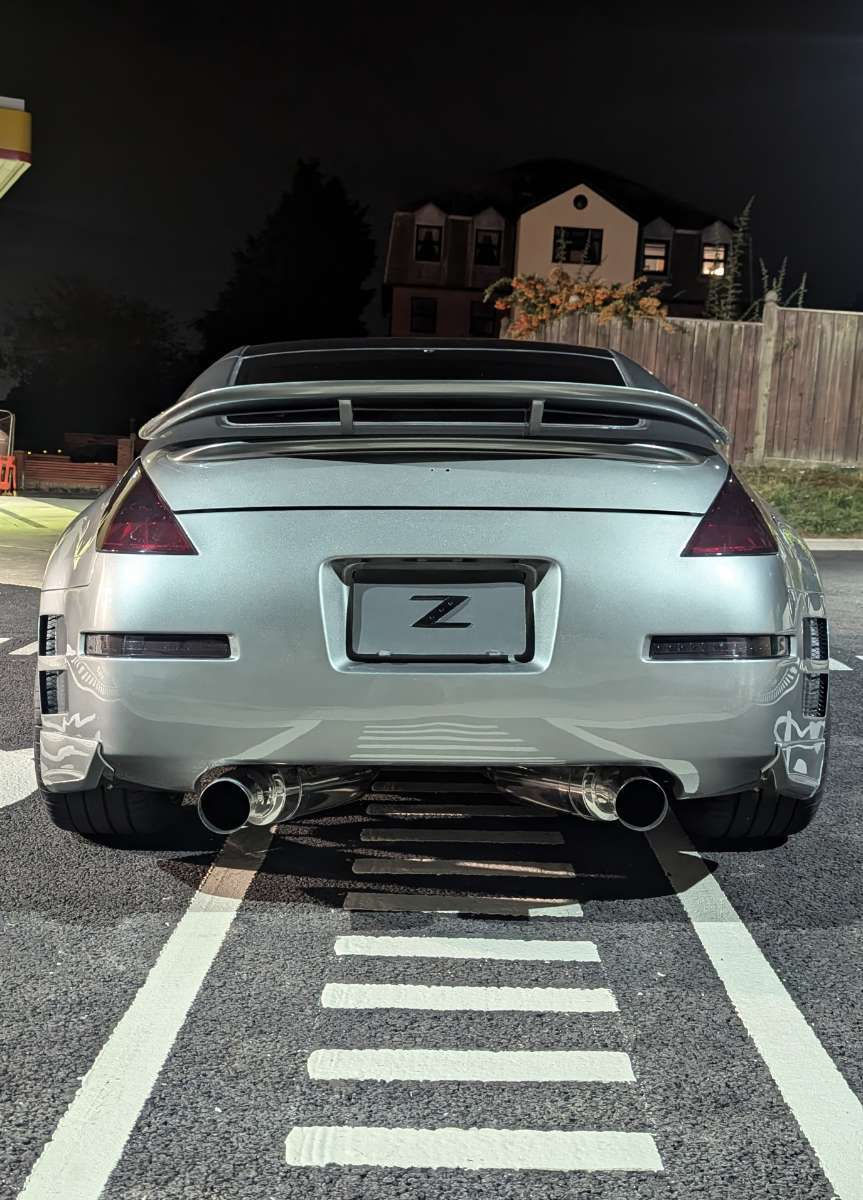
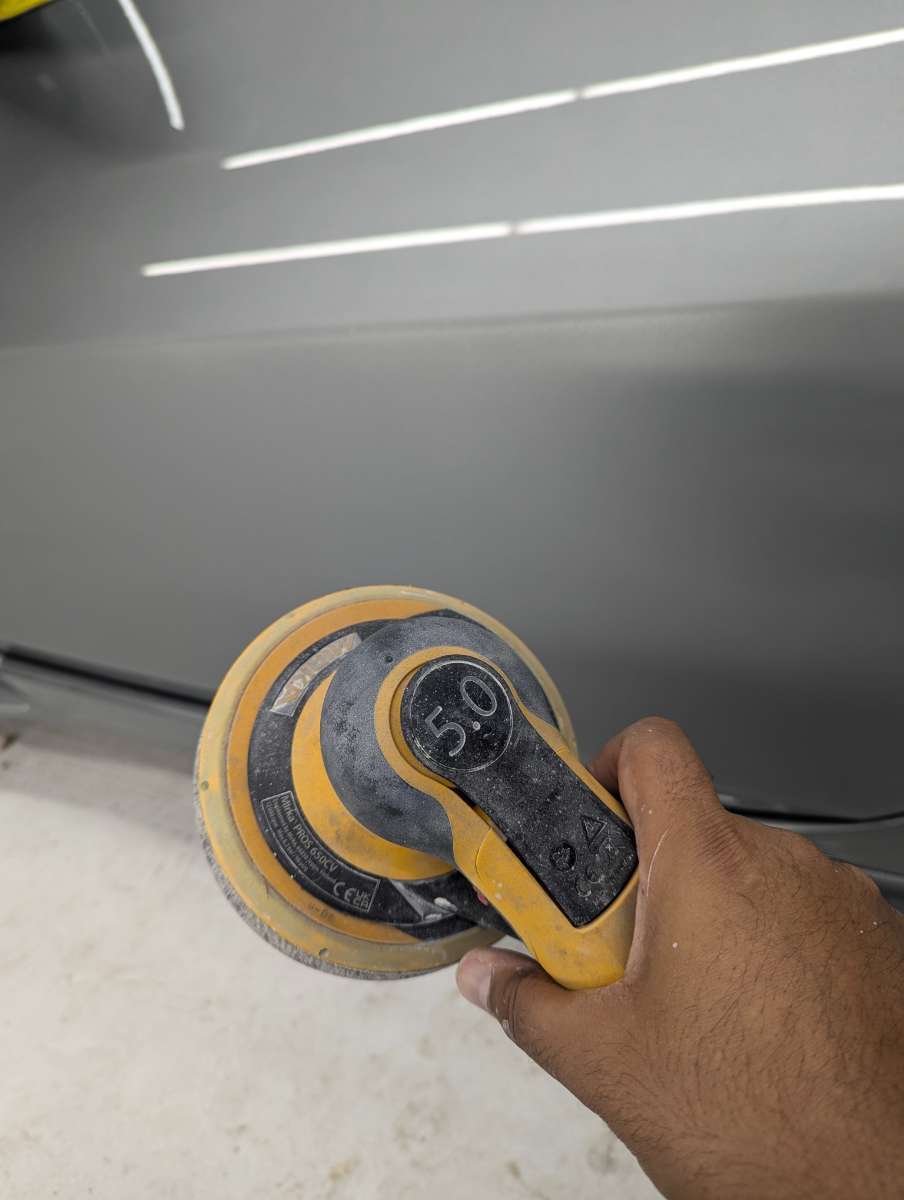
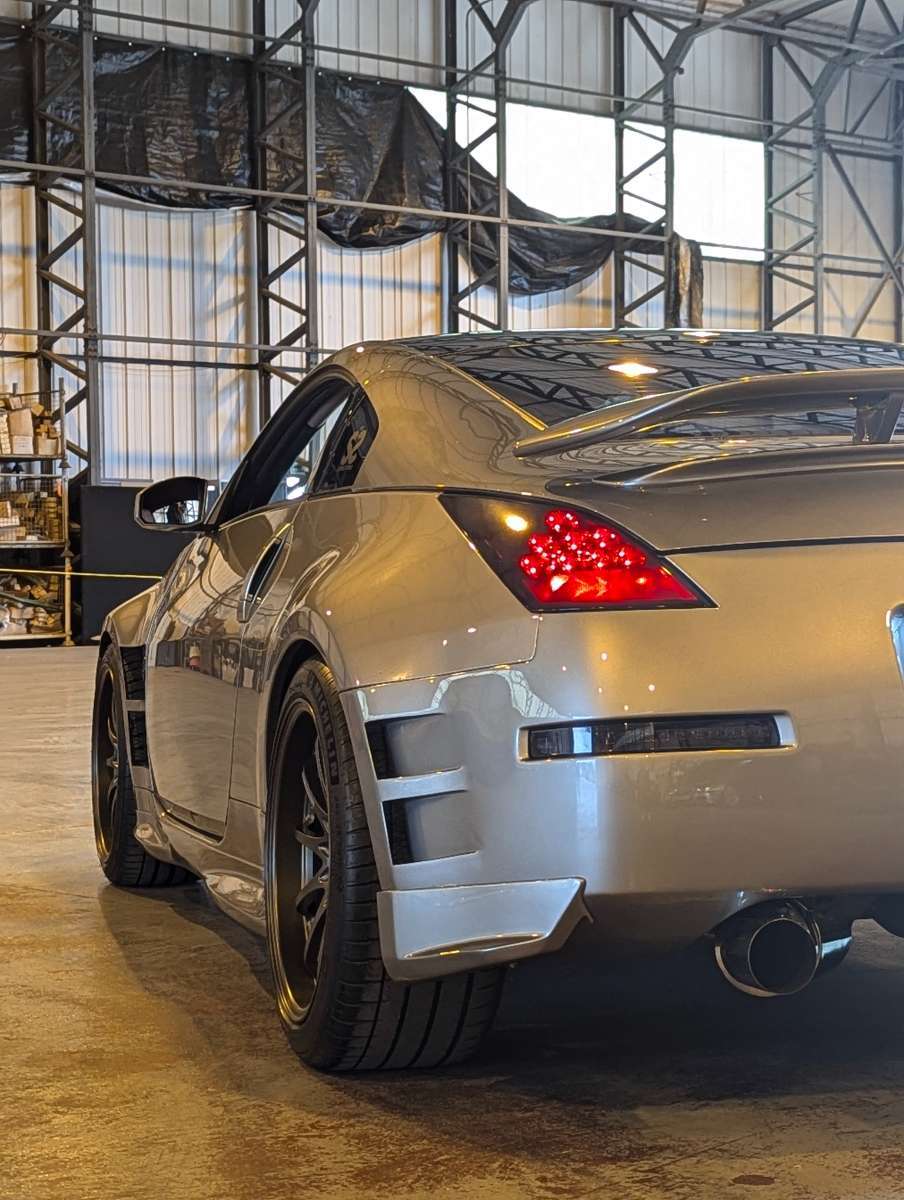
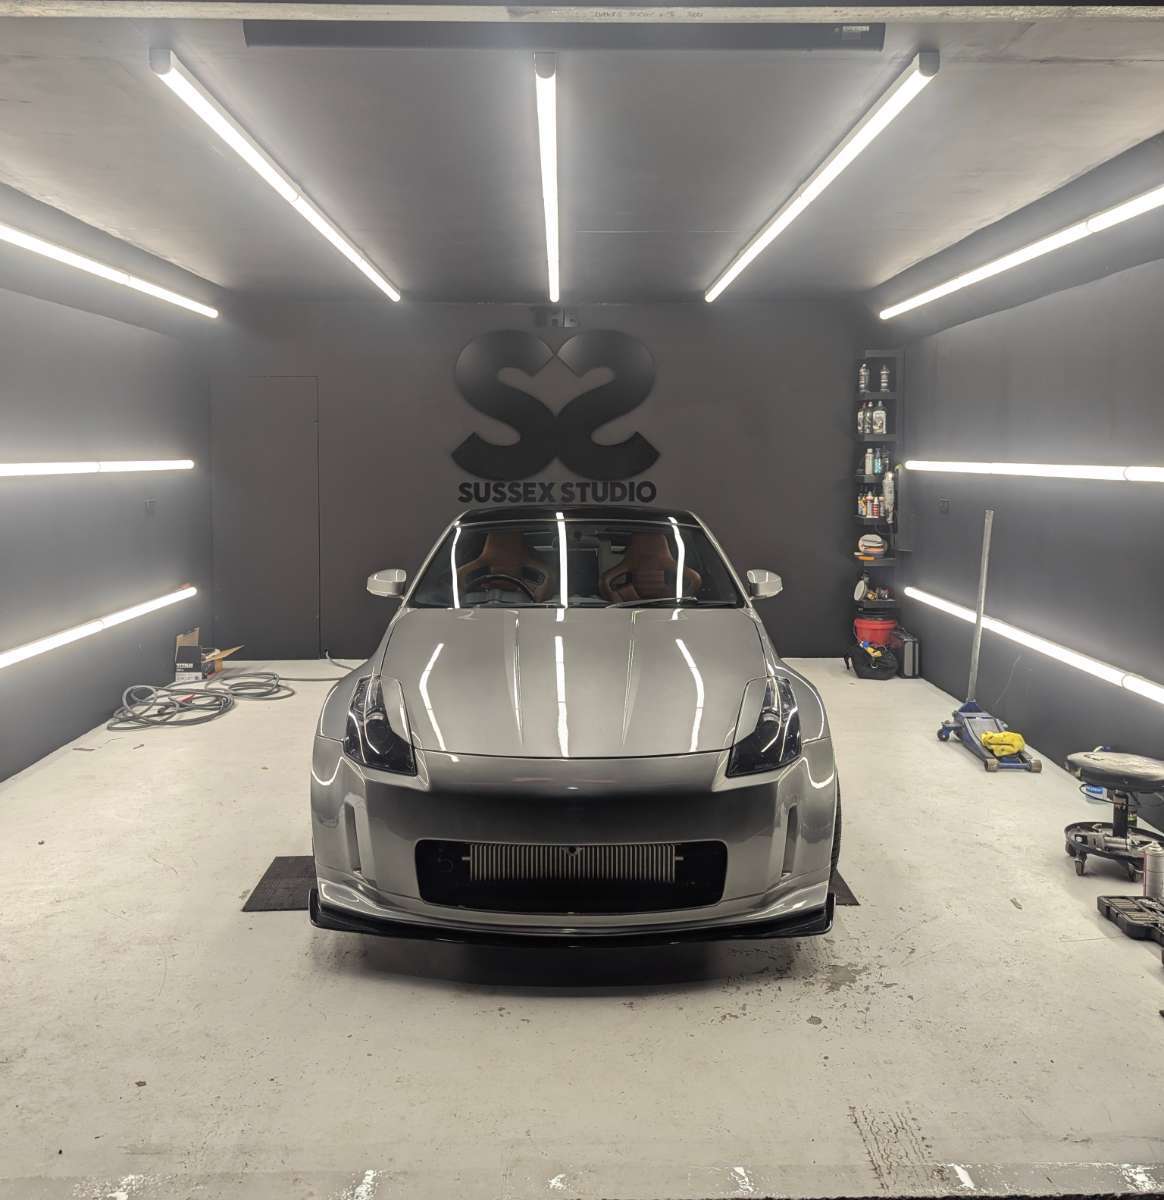
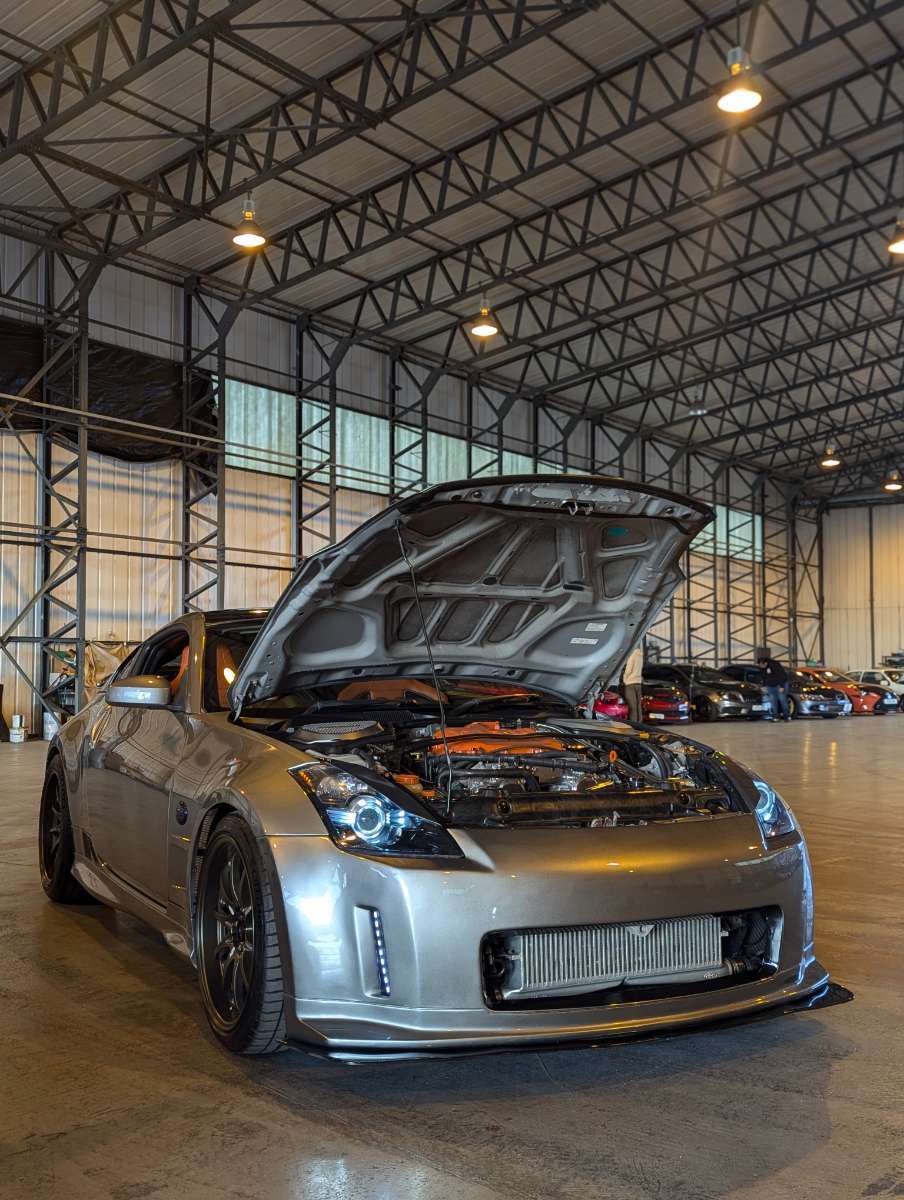
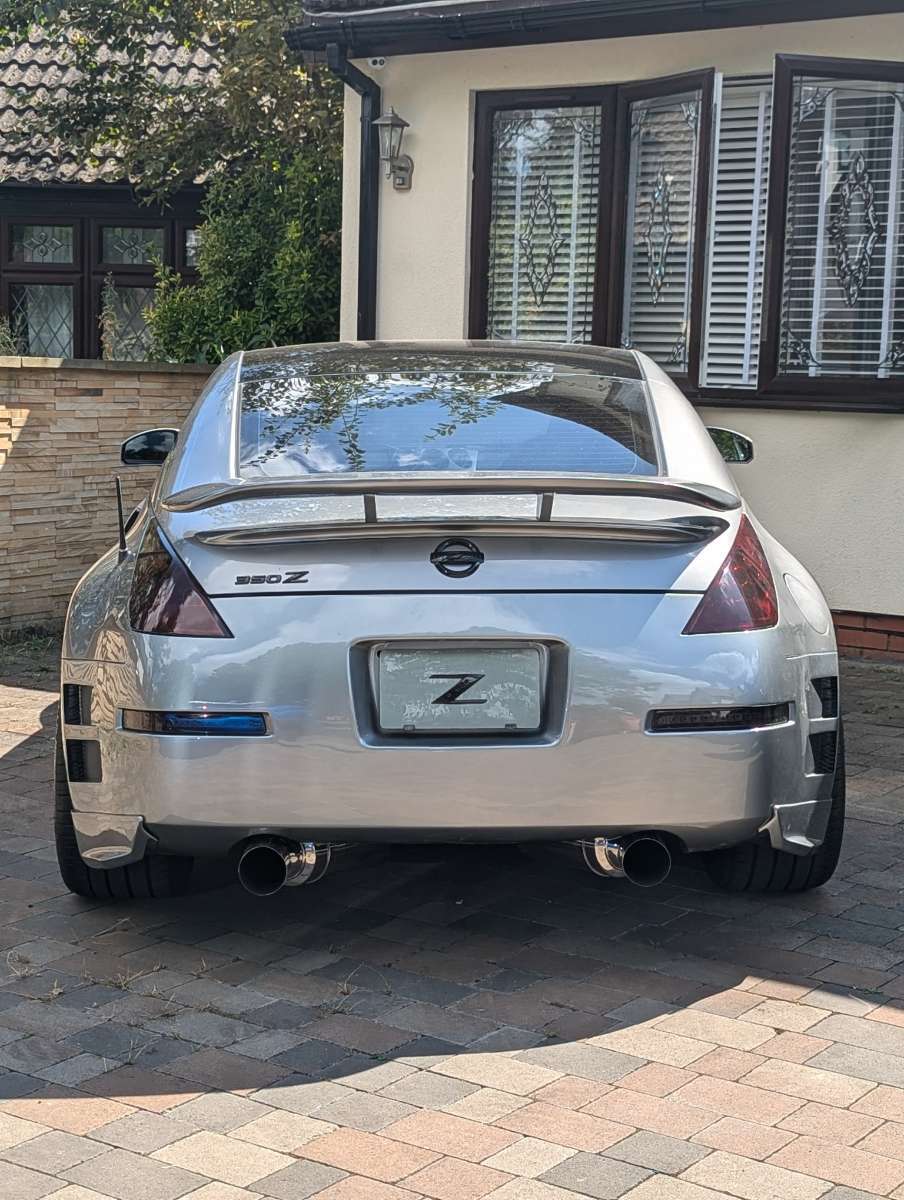
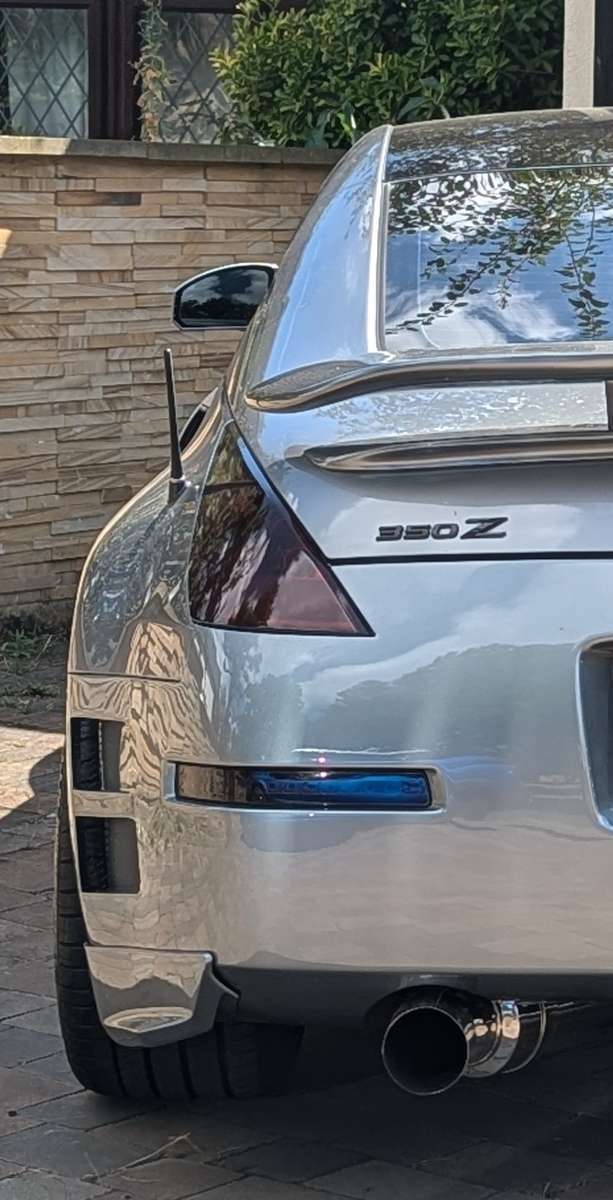
(Following directly on from my last post) So there was nothing for it, we decided on a full shell respray to get it perfect: While we were at it we deleted the aerial It came out looking great but we wasn't quite finished yet A couple weeks later we spent a full day cutting and polishing the new paint, and I mean a FULL day. Exhausting Finally ready to leave And the finished product The only thing that wasn't painted is the bonnet as I have plans for that. Overall I'm extremely pleased. We removed all the dents and imperfections and it's basically flawless now. And one colour. Anyone who knows me, knows I take care of the paint as best I can, now I have a clean canvas to work with. Big thanks to Sussex Studio!


-
Sorry just saw this. No im over in NE london/Essex area
-
G1en's 95% race car 5% stickers Zed build
ballistic replied to G1en's topic in Member Build Projects
This is awesome stuff! Impressive results too. GL next season -
Do you know where one could procure such a thing? 😊
-
ive tried a few of the generic google search ones and they didnt really work for me, had to return them
-
I've never found a good answer for this. Would like to be able to buy a JOBD reader too. Hope someone can help
-
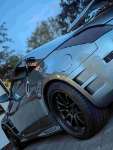
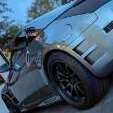
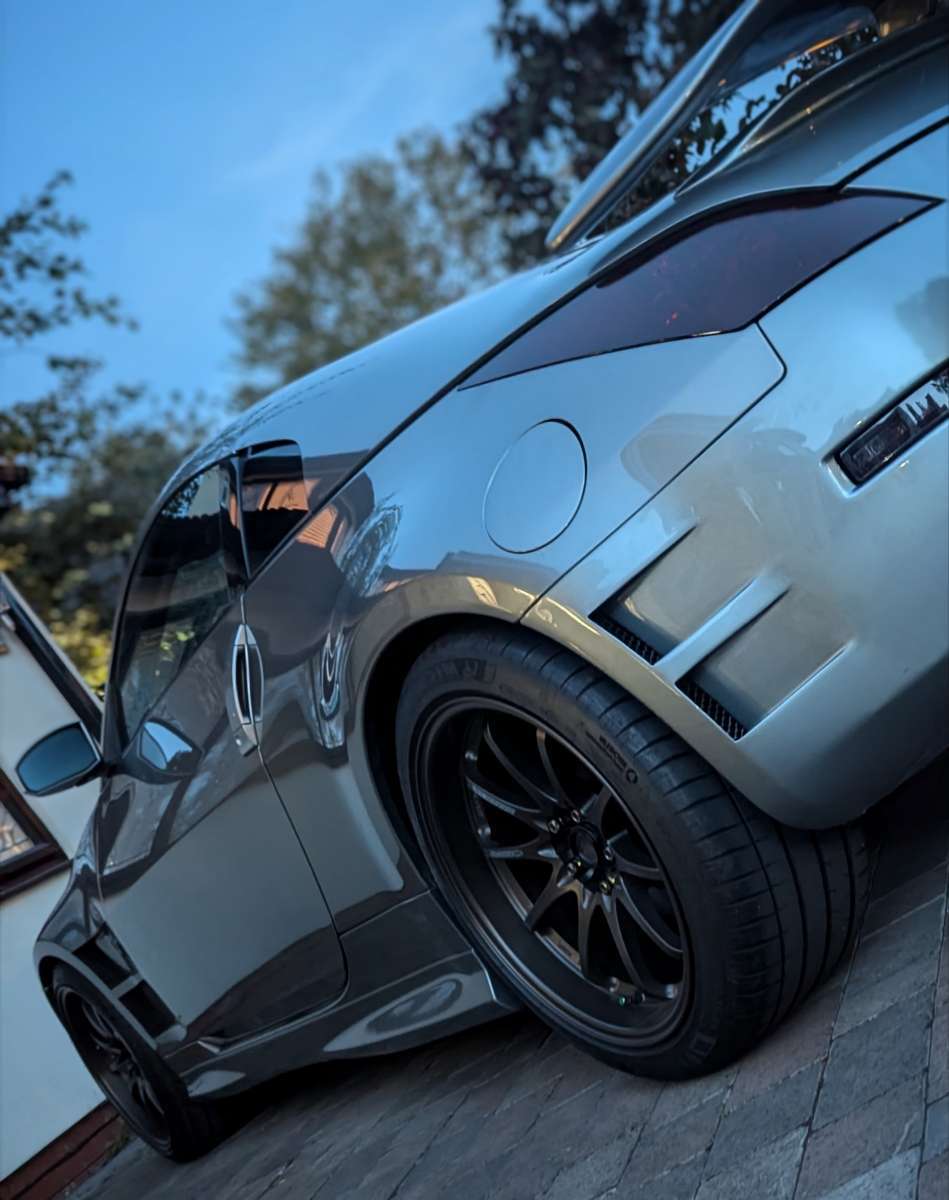
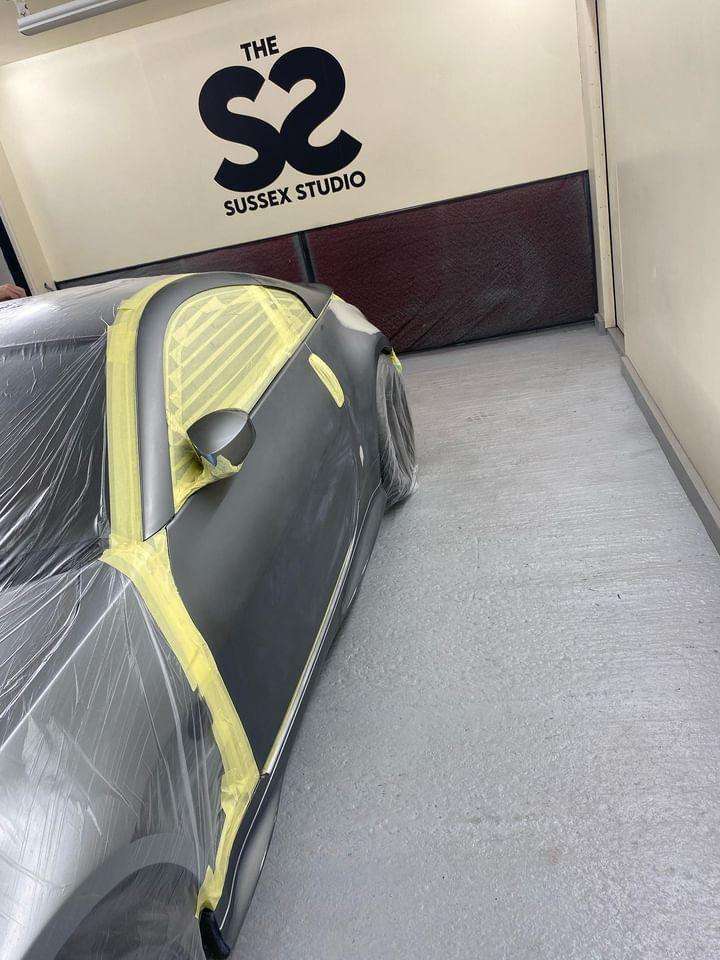
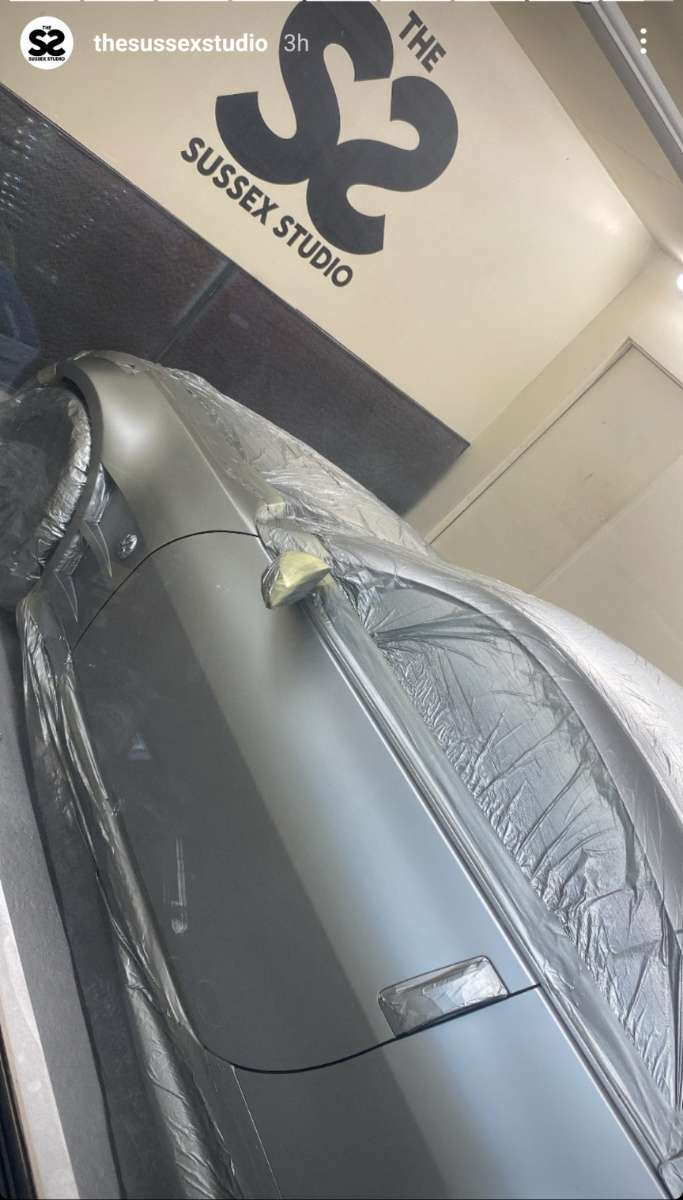
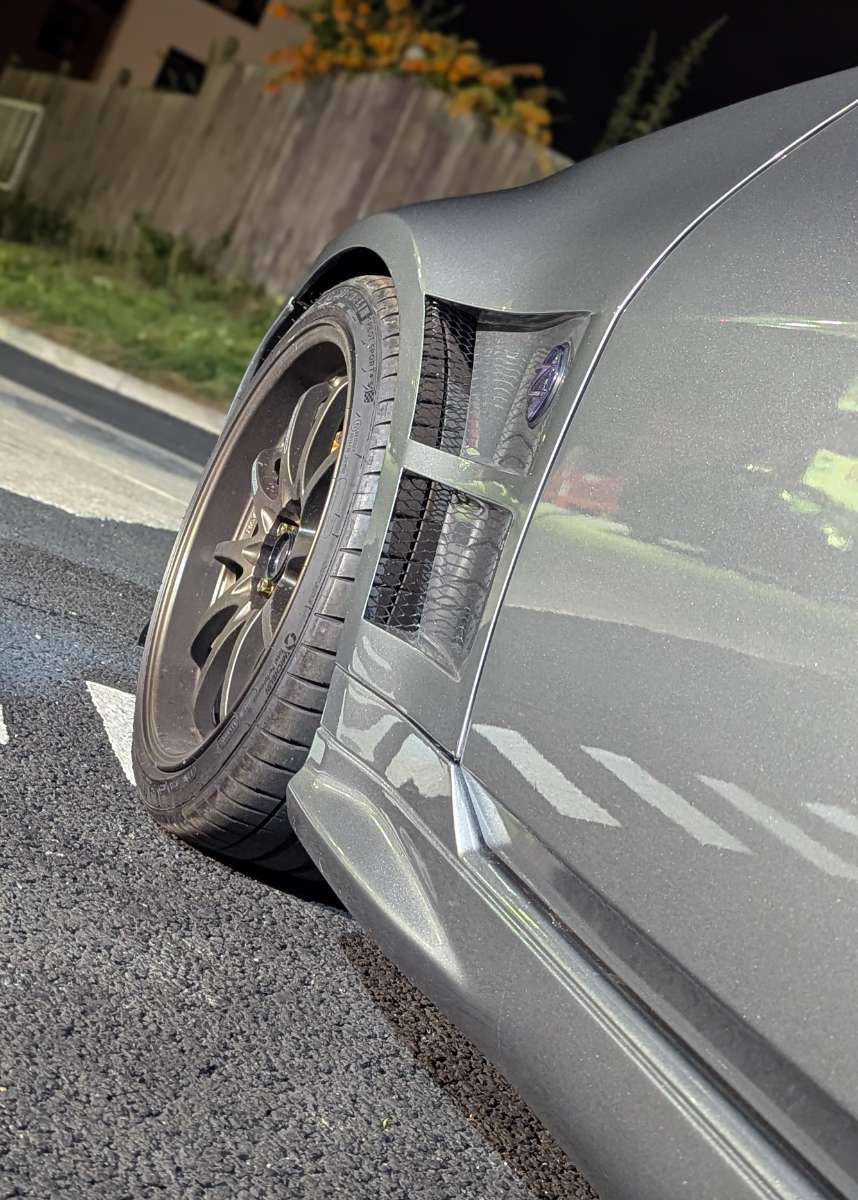
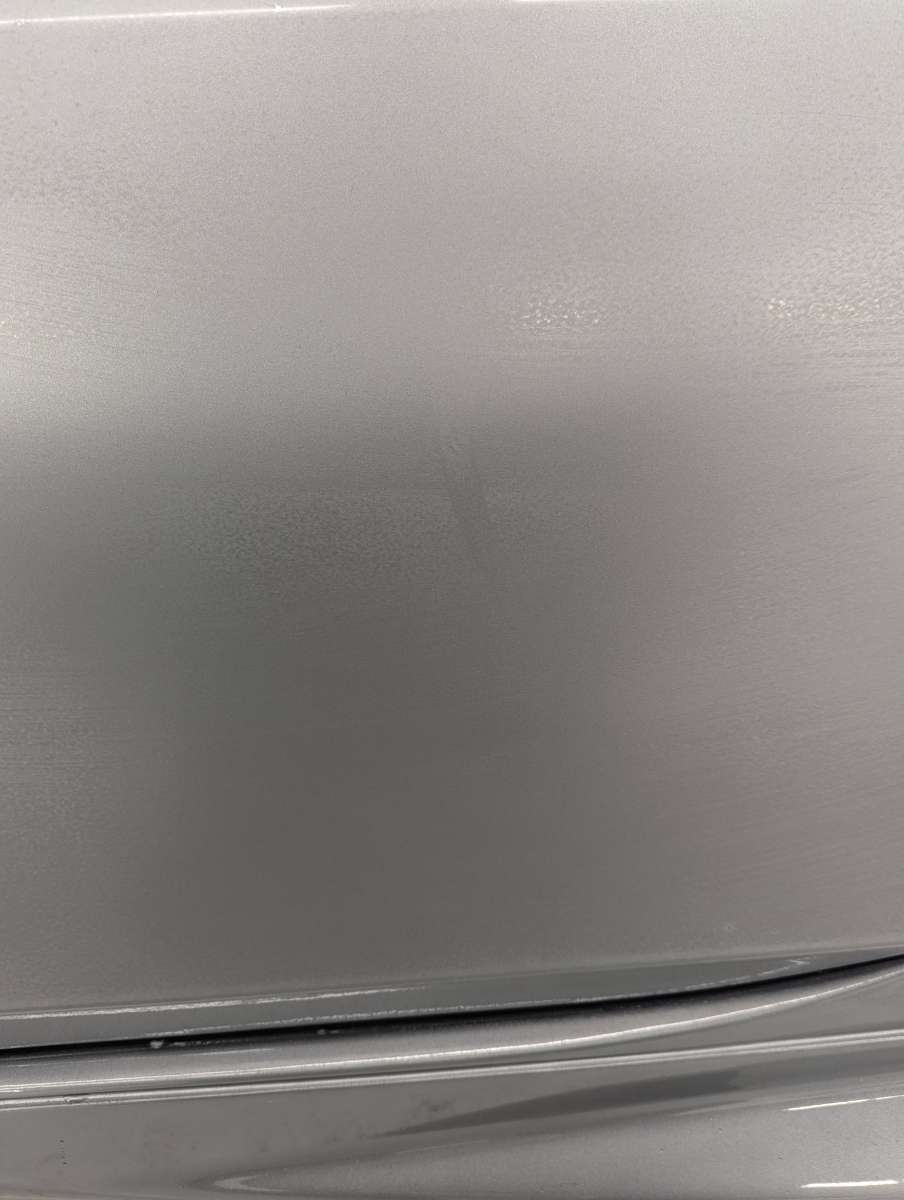
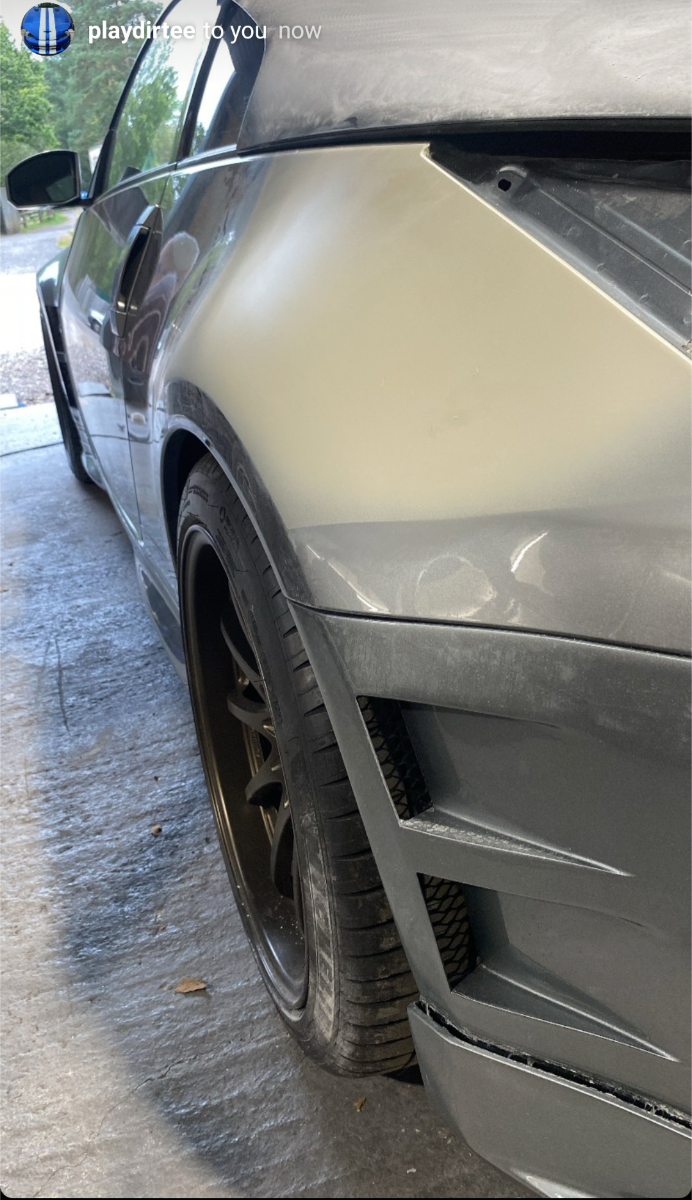
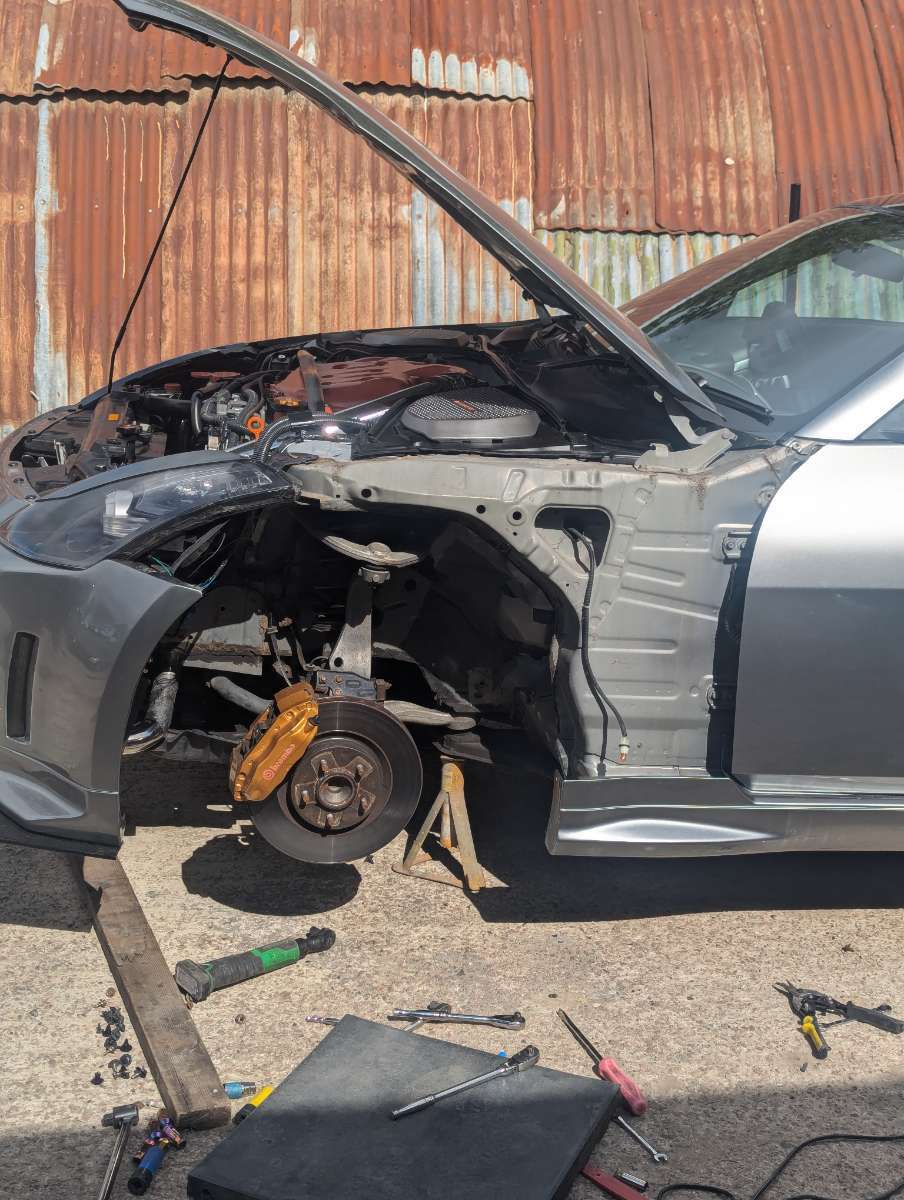
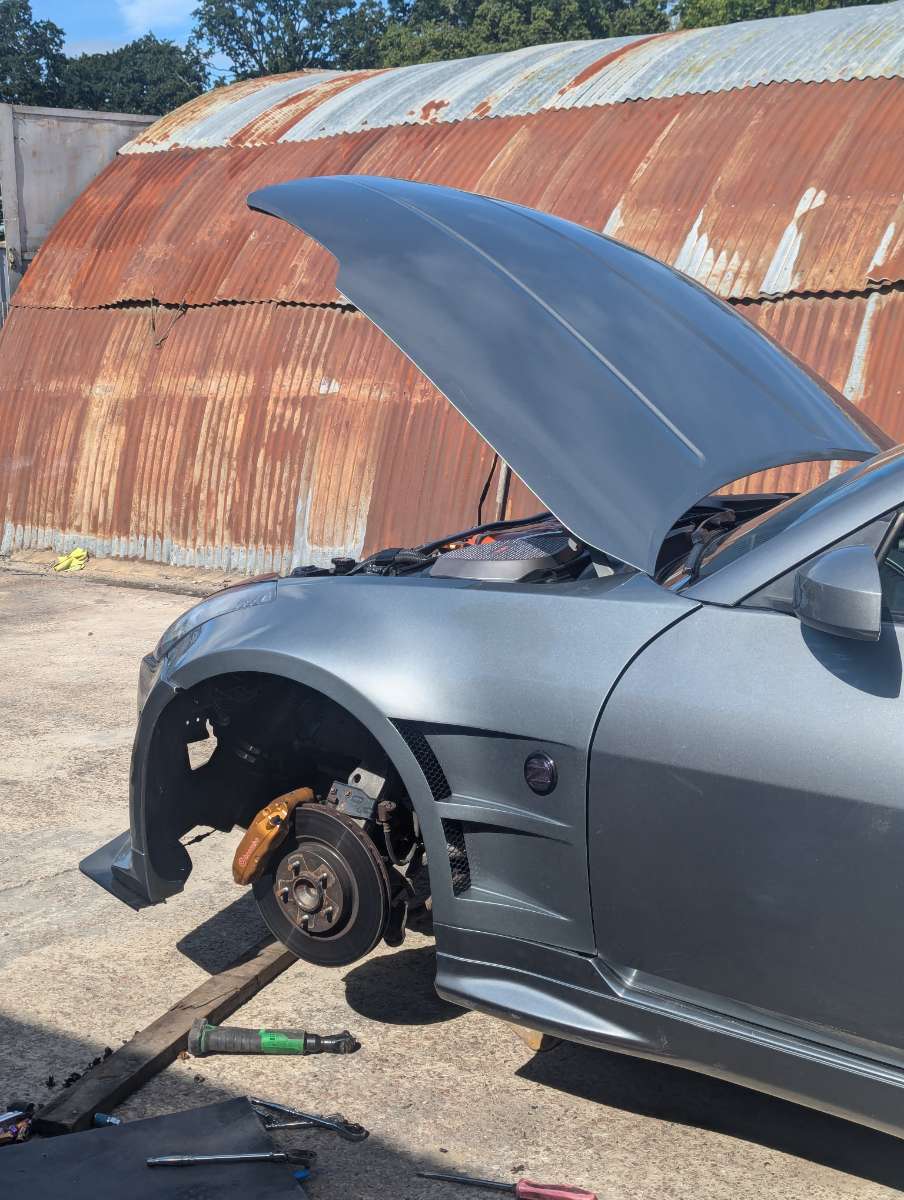
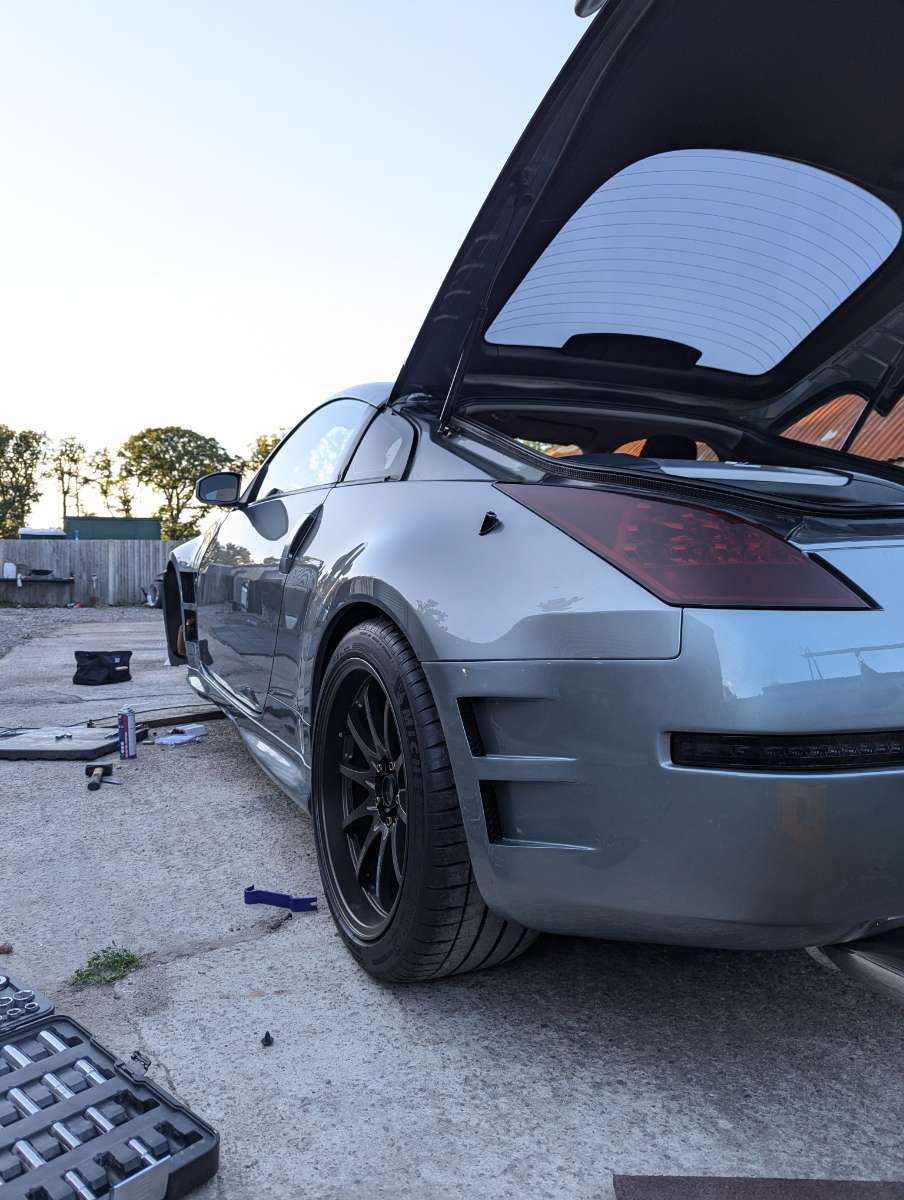
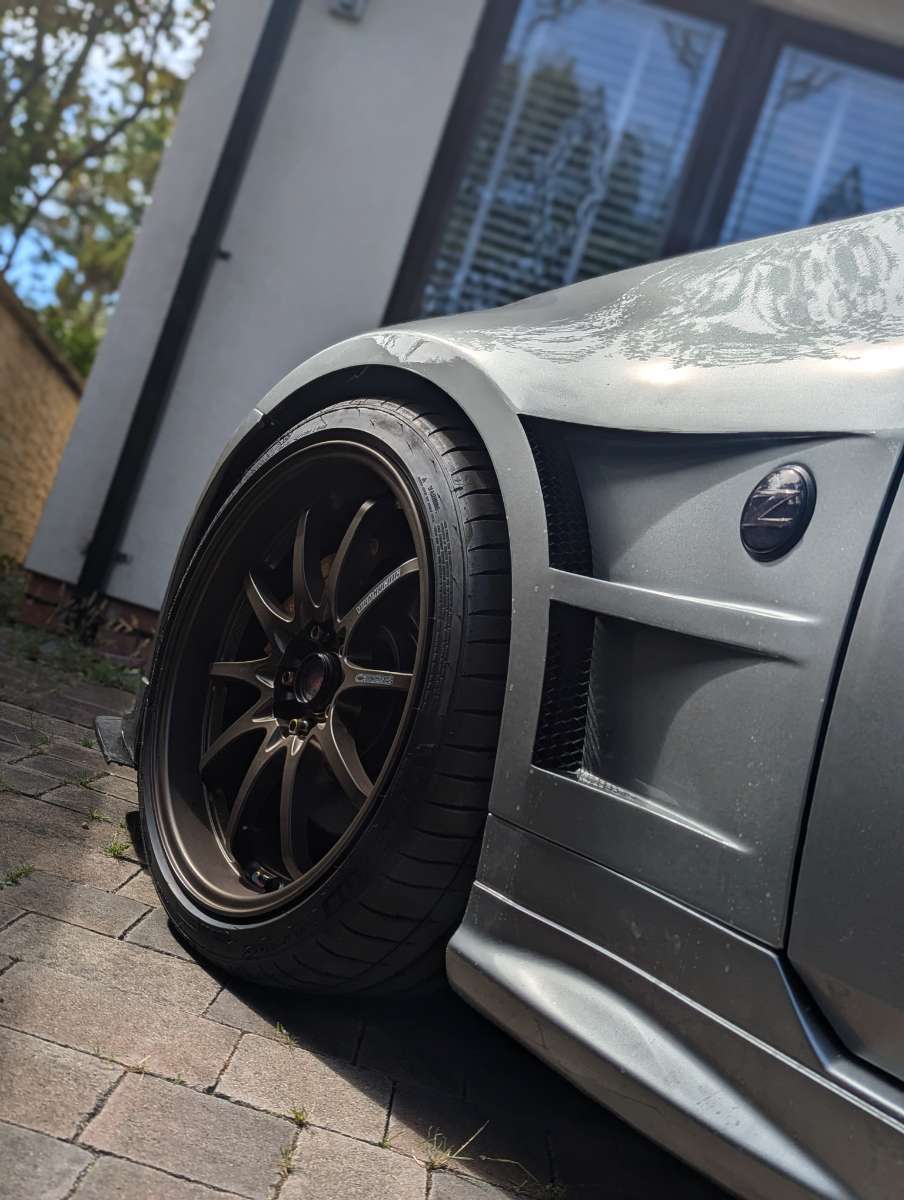
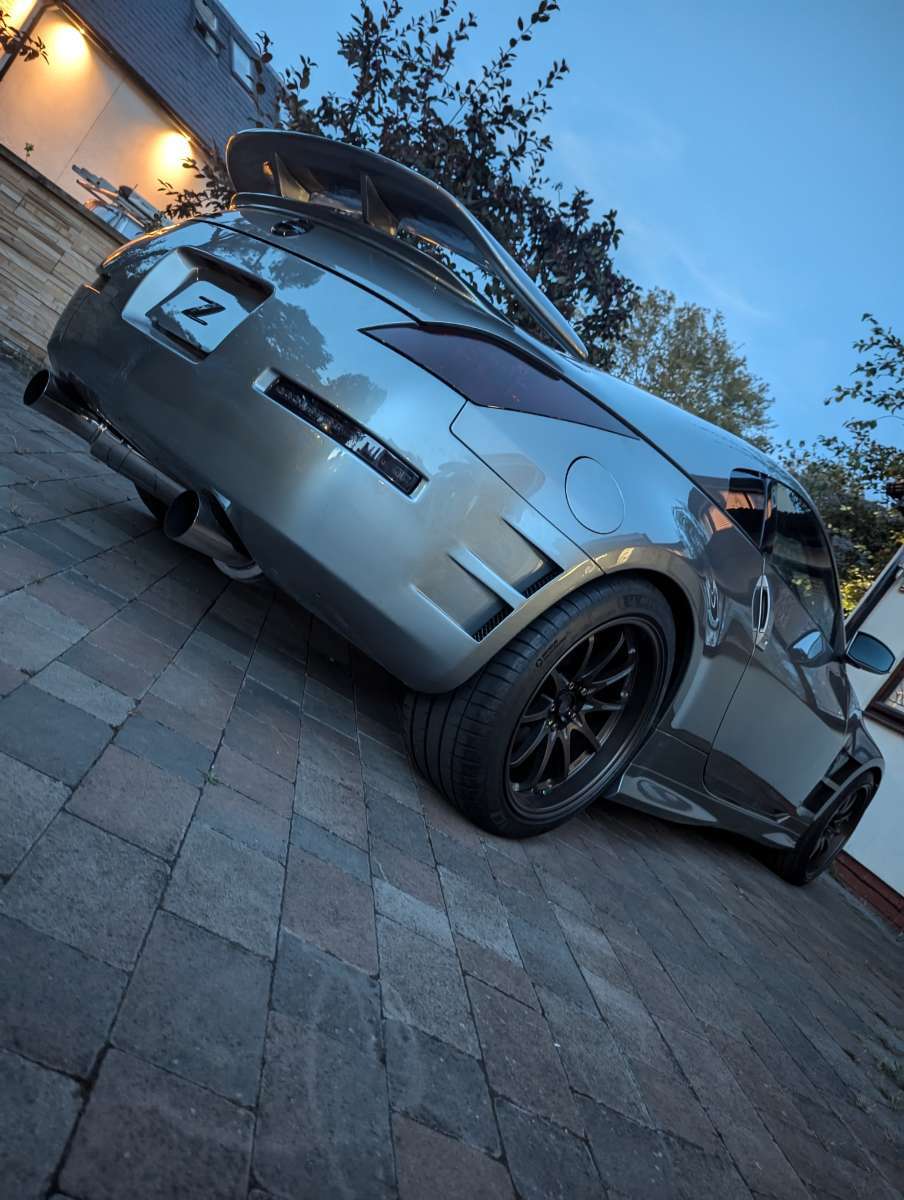
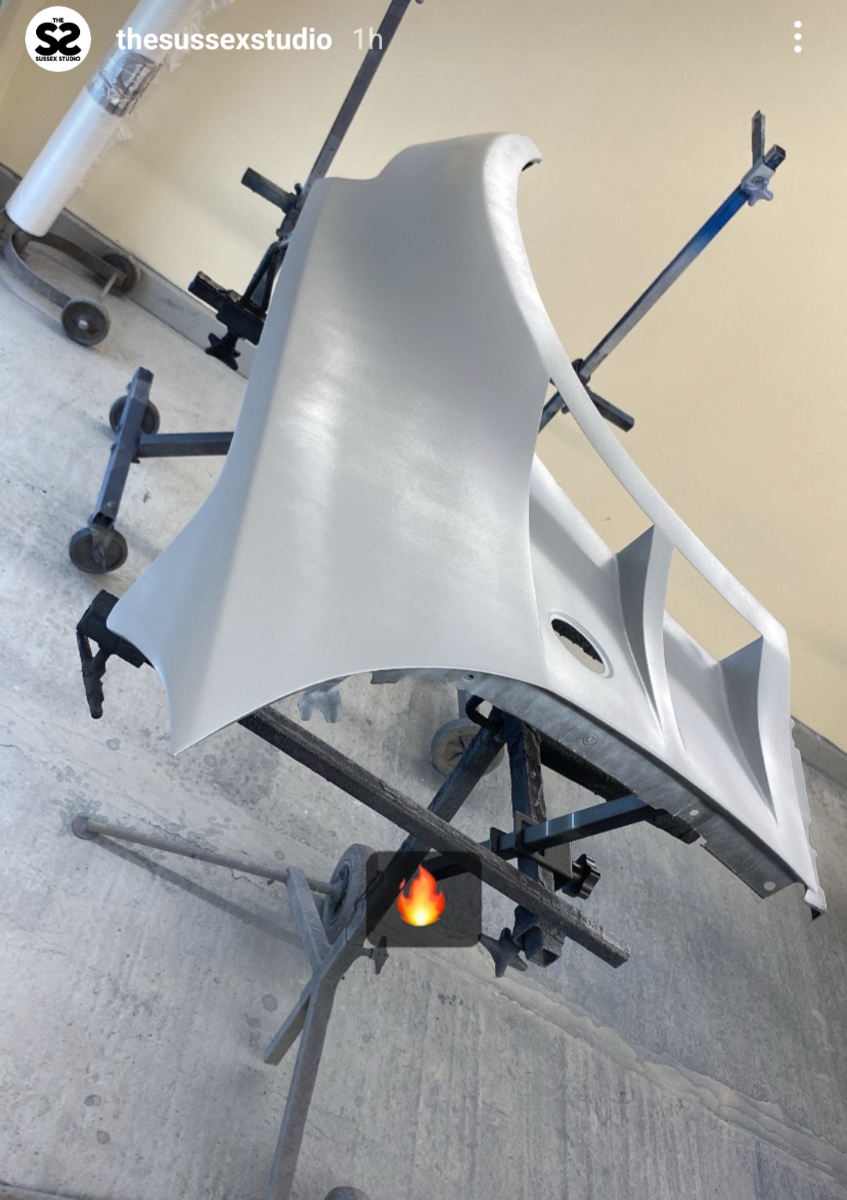
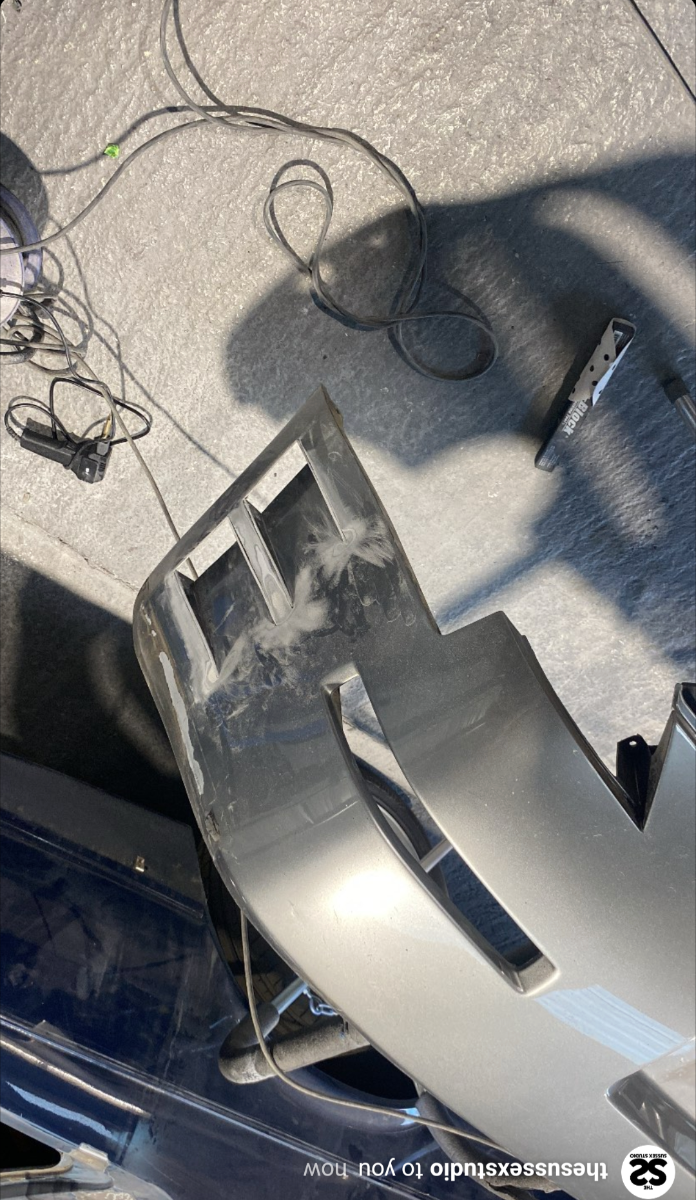
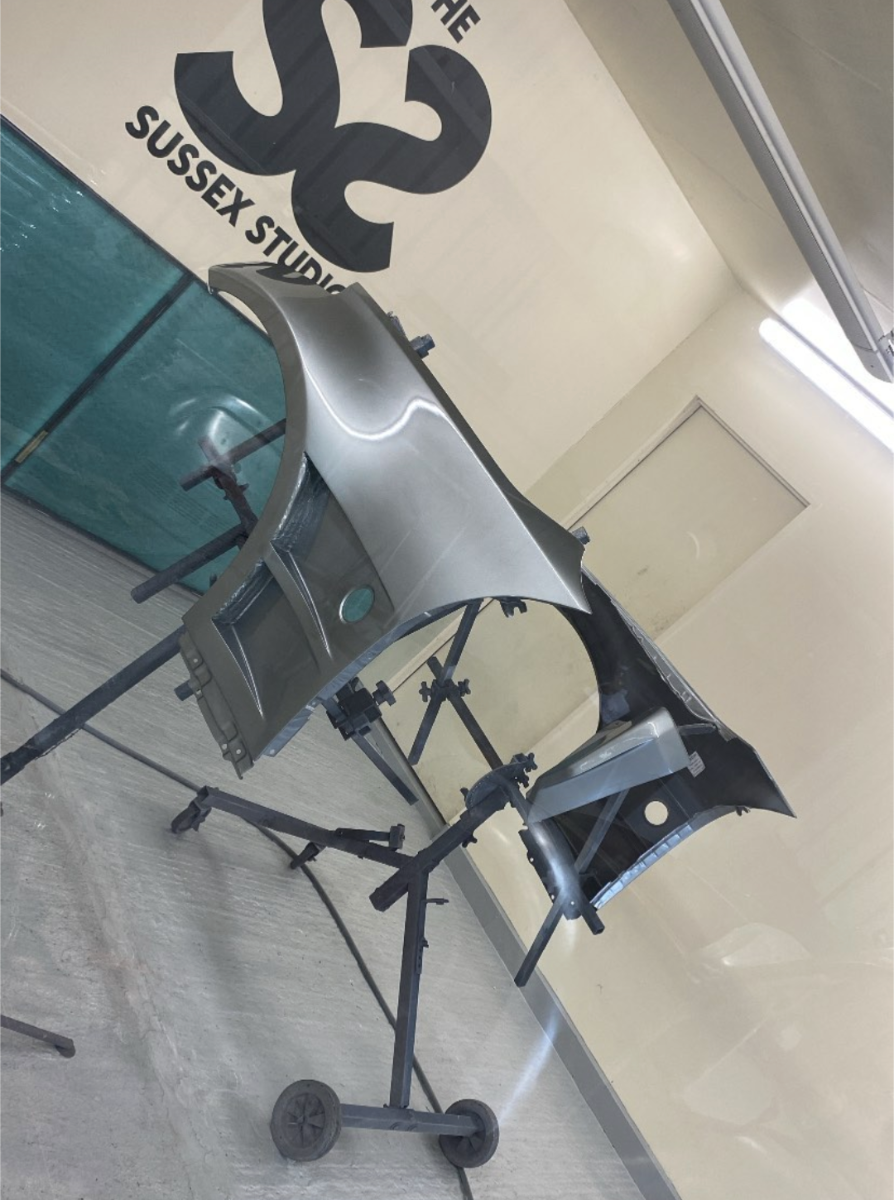
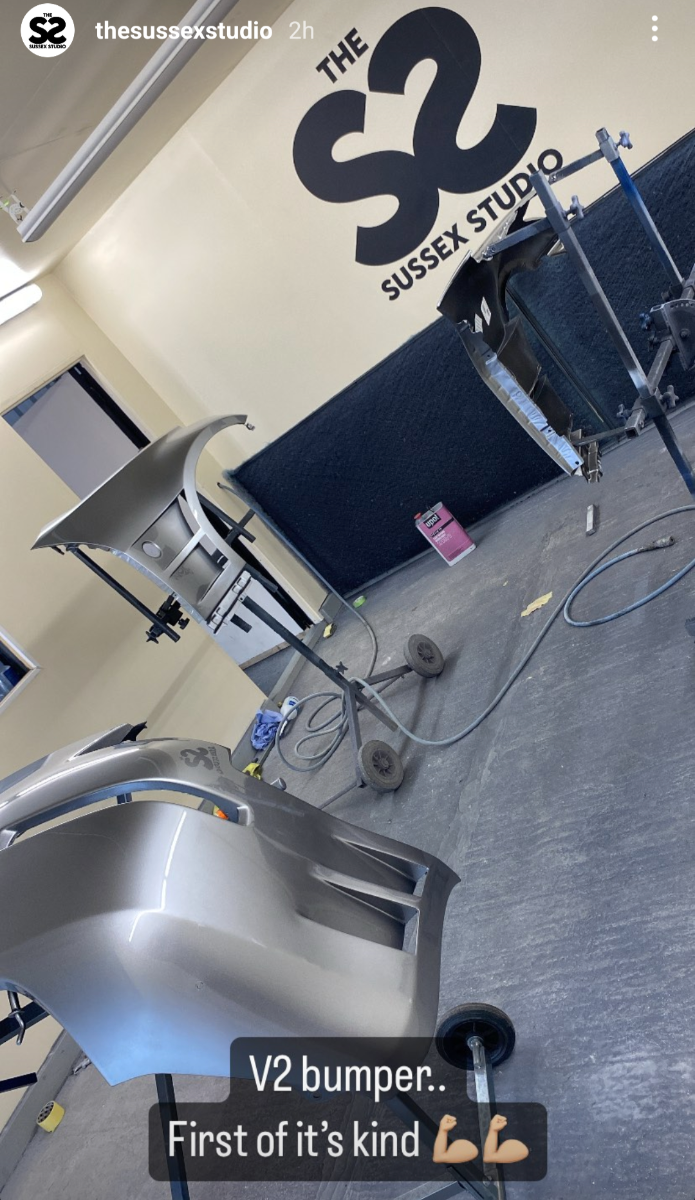
Custom vents For a long time now I have had some ideas for bodywork modifications I wanted on my Zed but I couldn't find a place that sells something I want. I also didn't want carbon and poor fitting FRP parts. I happened to come across a place called Sussex Studio recently and after some chatting and sending photoshops of what I want it seemed I had found the right place for what I had in mind. So they got to work: These are OE metal wings customized with vents. All welded and ready for paint And similar vents were put into my JDM style bumper. Once painted it was on to fitting This was an absolute nightmare as the bookshop who fitted my nismo skirts decided to use tiger seal and try as we might we couldn't get to the bolts for the wing. Eventually after hours we got there Then it was time to redo the bumper tuck and refit the nismo spats Im extremely pleased with how this came out and looks amazing, just how I'd imagined. However, anyone who knows gunmetal paint WV2 knows it's almost impossible to get a good match. Neither myself nor the body shop were happy with the match despite their best attempts. So we needed to do something about the paint...

- 121 replies
-
- 10
-

-
Love a TVR T350. v cool
-
What time does she talk about the Zed? I remember her review on release, she loved it and i think she even bought one herself. 5th gear days
-
I cant lie, it never gets old surprising the unsuspecting.
