

ballistic
-
Posts
387 -
Joined
-
Last visited
Content Type
Profiles
Forums
Events
Gallery
Store
Everything posted by ballistic
-
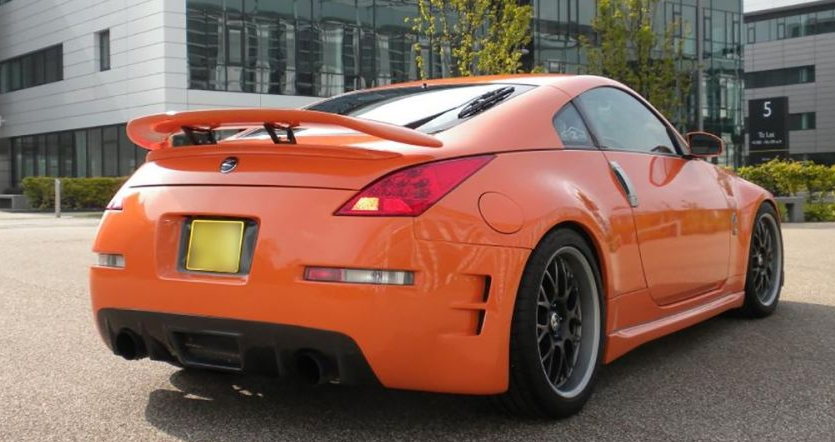
Same, i have the N1 spats. Out of all the spoilers ive looked at (ive spent time on it lol) i like the N2 style the most. But like you say, its a matter of finding one that fits well too. Tarmac sportz to a Strosek Style one for about £250. You need to get the boot lip part in addition which is an easy used find on ebay. https://www.tarmacsportz.co.uk/tarmac-sportz-nissan-350z-03-09-frp-strosek-style-rear-spoiler.html
-
That bumper really goes with the 'pointier' styling of the 370. ^
-
Ive got some bits of the dash that i was thinking of wrapping in Alacantara anyway. If i go ahead with that it may tie in with the flocked A pillar. Not sure if i can do the headlining though. I would imagine its at least £300 or so to get it done. Really depends on the material too. Seems we've got more similar ideas as im also keeping an eye out for spoilers. Either V2. Although trying to find one with good fitment... or maybe the strosek style? If you've got other mods on the back then i like V2, if not then the duckbill
-
Just re-read your post and realized you installed an oil cooler lol. Must pay attention. Yea thats the only ones i found that are made for a Zed. All the universal ones ive tried dont have a good fit for me. Still not sure if i will go for it. Maybe he will give a discount for a couple orders lol
-
Nice! Mines on the other side. Im considering an A pillar pod too. Have you found one that fits nicely?
-
yea that angle really shows off the front arch and the way it continues into the front bumper Do you happen to have a guide on those skirts? i have a plastic/double glazing shop near me. thinking of asking if they can cut me some stuff to a provided template
-
Any pics? Look forward to reading about it mate!
-
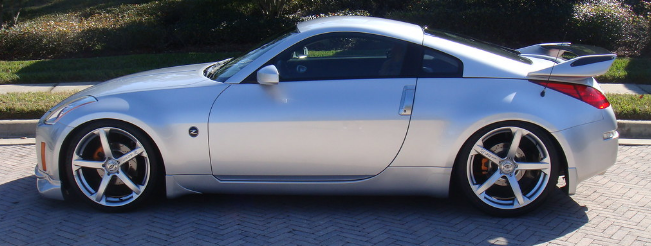
Taken by an admirer at a car meet
-
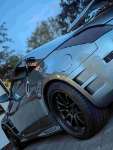
Looking lovely. Nice fitment. Im still loving mine too, its on axle stands at the moment while the bumpers away. Getting withdrawal symptoms. You made those skirts yourself right?
-
@Ian Boost gauge used to be in the volt meter slot. But had a problem with the old triple cluster so replaced them recently and felt like moving in to the A pillar. @ZMANALEX Nice setup. Is it possible to splice the AEM AFR into the existing wideband sensors? What bank do you have it reading? Also, got a build thread? Got another pod on the way, hope this one works.
-
Anything been going on over the summer @Ian. Still going for Skyline? or more mods on this?
-
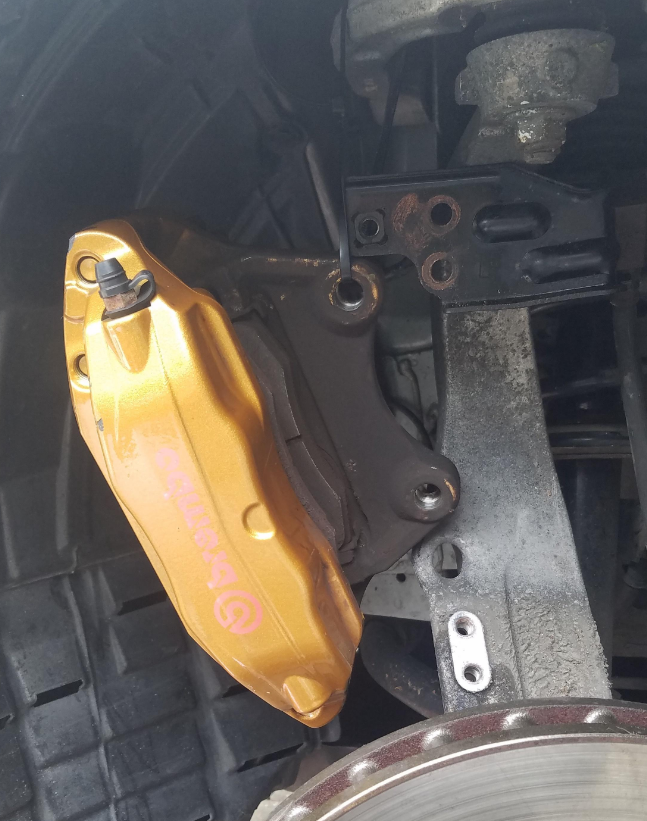
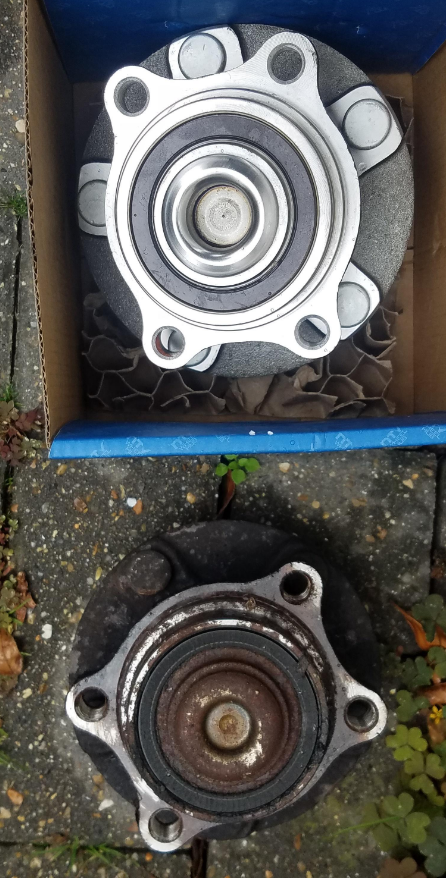
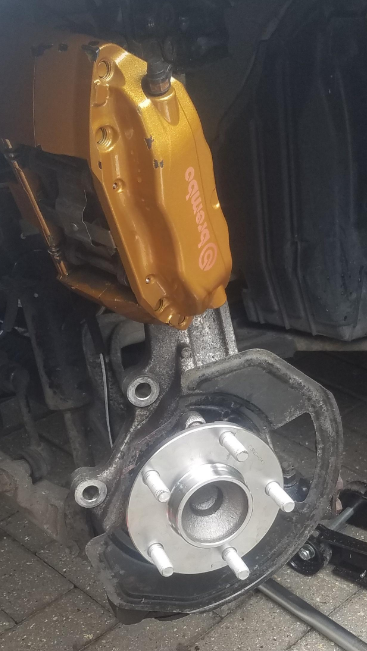
Had wubwubwub noise that sped up with vehicle speed. I diagnosed it as passenger wheel bearing by jacking the car and spinning the wheels. Fitted new one courtesy of Zman of course. Just tie the caliper out of the way. 2 caliper bolts and 4 hub bolts. The bottom one is tricky, but unwinding a little lock allows you to get a socket on it Not a particularly difficult job. No more horrible noise
-
Fair enough @ZMANALEX So far ive been sent a LHD one (advertised as rhd), a horrible Farbon finished one. Had to send em back Hope for better luck on the next one. Might get a twin pod as they seem easier to get and an additional gauge, any recommendations?
-
just ordered a generic one. Found this guy though https://www.southcoastflocking.com/product-page/nissan-350z-pillar-pod
-
Got any underbody rust protection tips?
ballistic replied to ballistic's topic in Paint & Protection
I only have the time available. so gotta do what i can. Thanks for the tips. Archs and sills seem a priority then. Will hit the kidneys and whatever else i can. -
I was hoping to find one for the Z, so far ive only found LHD ones. The universal ones are a last resort
-
Been looking around for the above. Havnt found anything. So, anyone got one or know where i can find one? Would appreciate it
-
Got any underbody rust protection tips?
ballistic replied to ballistic's topic in Paint & Protection
Thanks @zelda, im not sure how this didnt pop up during my searches. Took some tips away I have about 4 hours on the lift. I could go back the next day if needed, but thats about it. I only wish i could do what he does in the vid. -
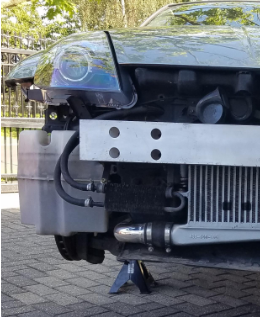
Going to have the car up on the lift in a few days. Wanted to do some protection while im under there. Its reasonably clean for its age and mostly just surface rust. But i want to take some steps to keep it that way. I am planning to clean away any surface rust and use Bilt Hamber SC-50 for cavities. And for exposed metal surfaces (such as W brace) i will use BH Dynax-UC or maybe BH Electrox, not sure which is more appropriate. Just wondering if others who have done this have any tips for areas to look out for, or must do's while im under there? Or any advice on products etc
-
Thought i would give it a few days and see what happens. Still playing up. Sometimes they spring into life after driving a while. The exact same symptoms people describe resolving with a air con controller replacement.
-
Bumpelstiltskin
-
thanks guys. checked every fuse and rechecked the ac controller. No success yet. @marzman ribbons on both the old and new are fine. Going to replace my passenger hub tomorrow. After i will have a look at earths and take out the cluster and have a look.
-
Thanks for finding out i appreciate the help, ive checked all fuses. No problems there. what other air con unit can be a problem?
-
As mentioned its intermittent, so i doubted its down to a fuse. But i checked em anyway. No luck Do you remember which fuse it was? It could be that the second air con controller is also faulty. unlikely though. If its an earth, im not sure where to start
-
just the crazy cluster

