Keyser
-
Posts
9,959 -
Joined
-
Last visited
Content Type
Profiles
Forums
Events
Gallery
Store
Everything posted by Keyser
-
Thanks Sam About the coffee machine Yes folks it's gone to a good home Couple of minor points to note - an @Beb won't fit in the back But it does fit on my drive Other points - its now 69K and BP share price has gone up a few points Keyser
-
I had an uprated transmission mount in my 350 definitely increased cabin noise
-
Did you switch to a lightened flywheel and replace a dual mass one? The lightened ones are more noisy and make the car rev quicker. Keyser
-
So time for a garage extension then? Looking forwards to the water feature though
-
Bit early for that mate Give me another 3 years and we can ask her
-
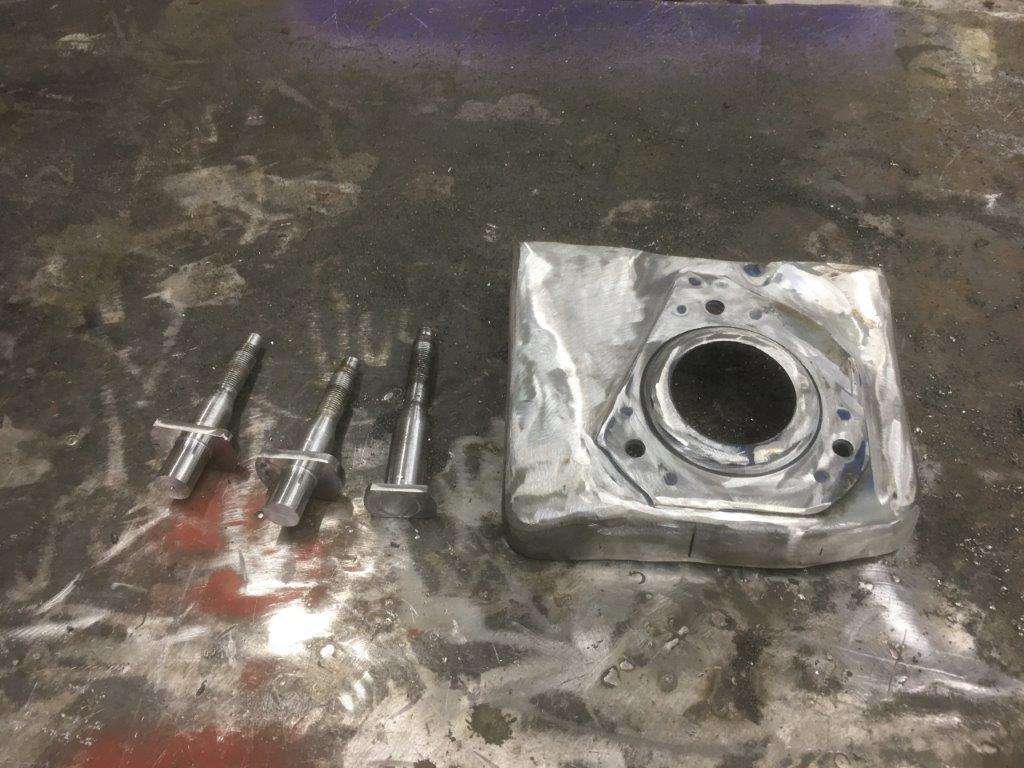
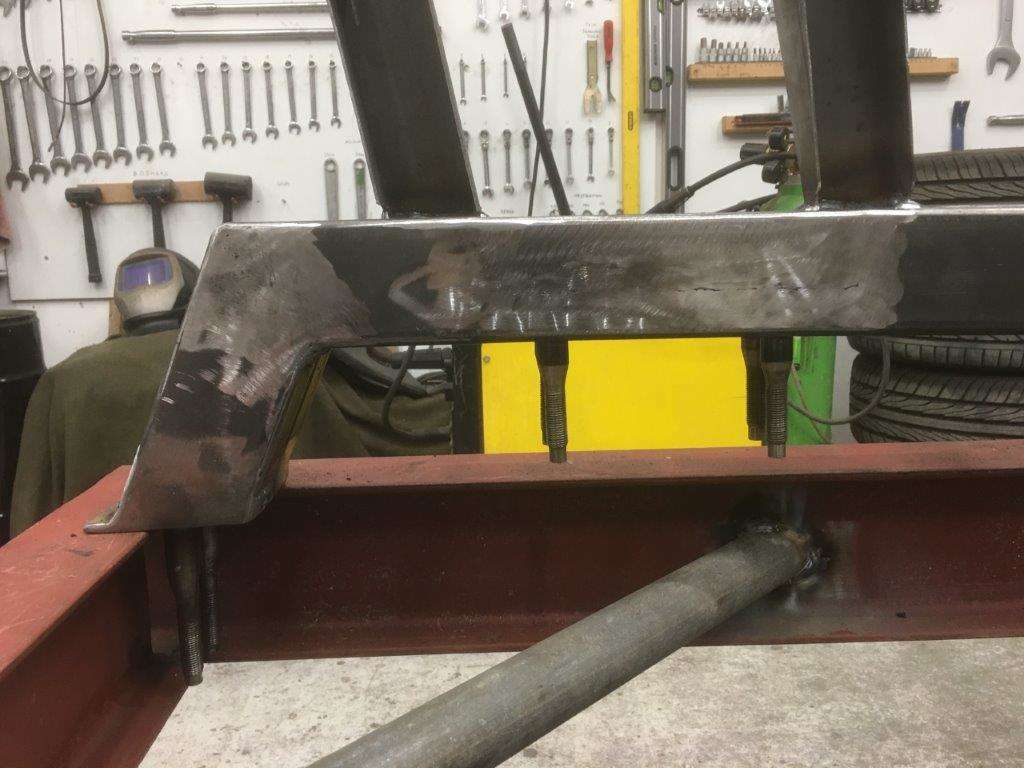
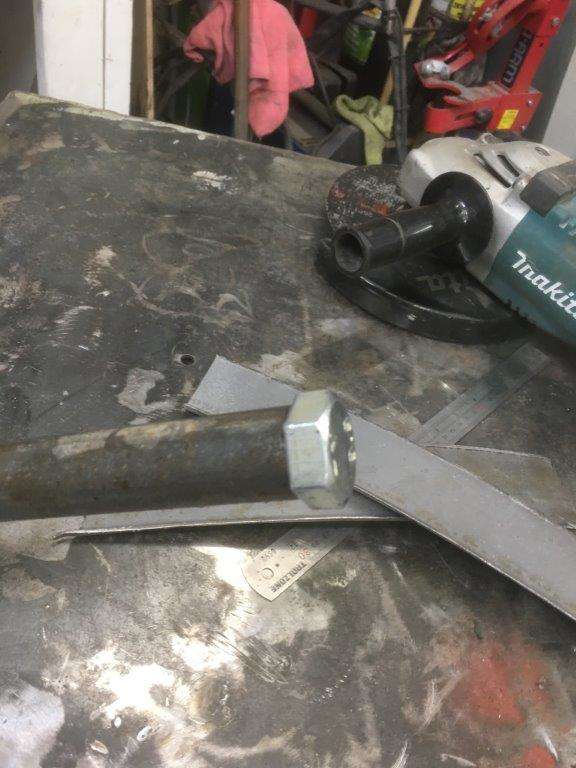
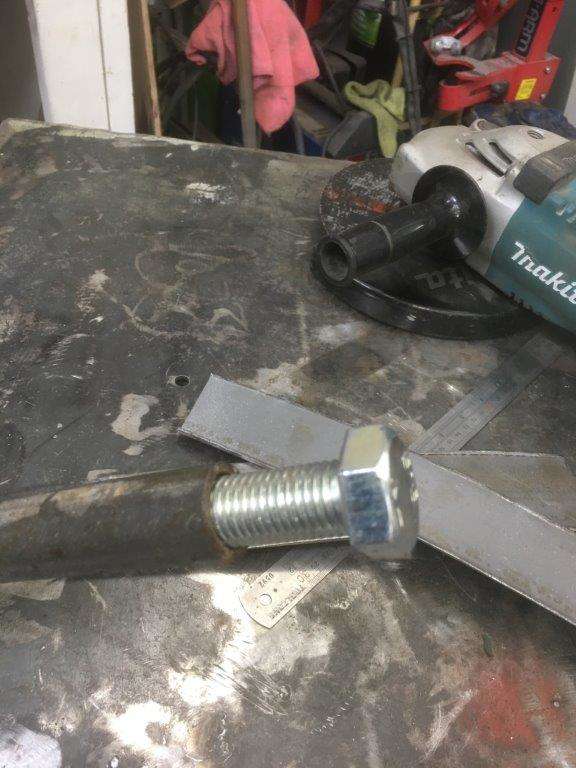
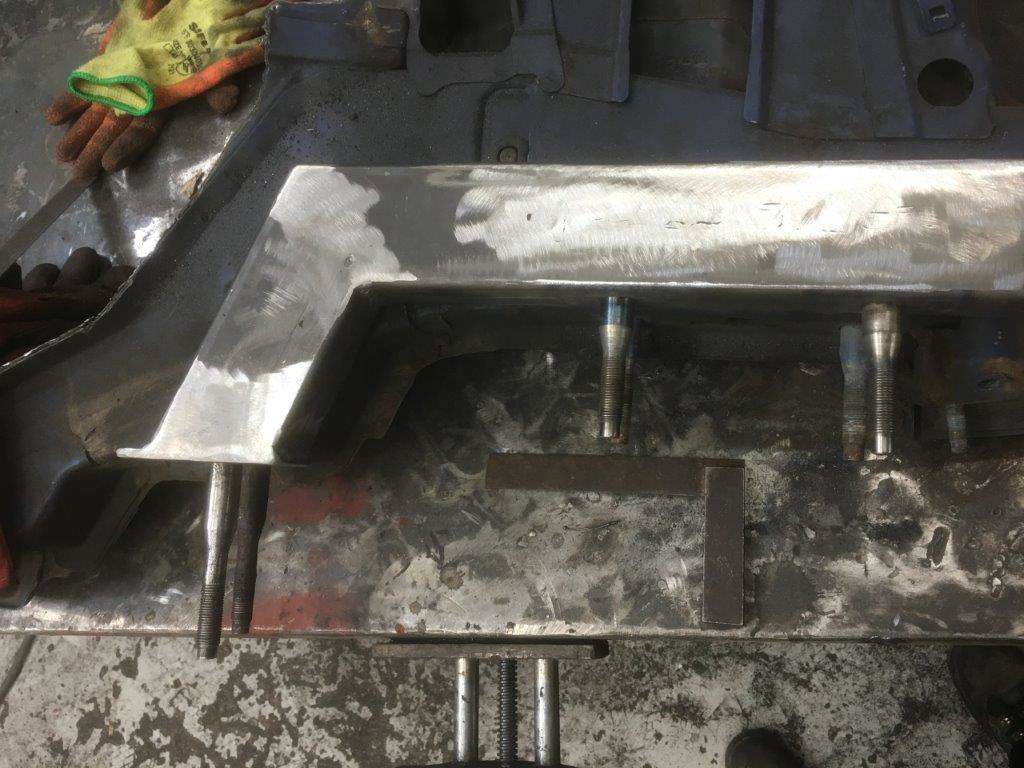
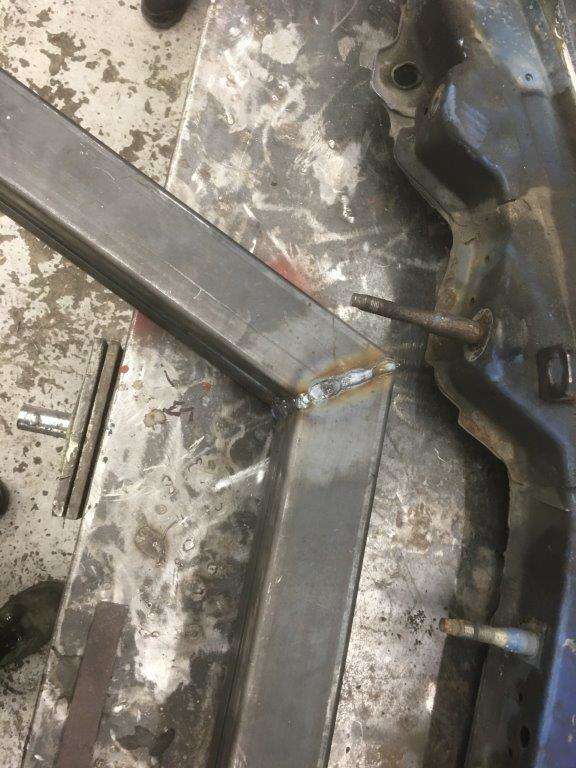
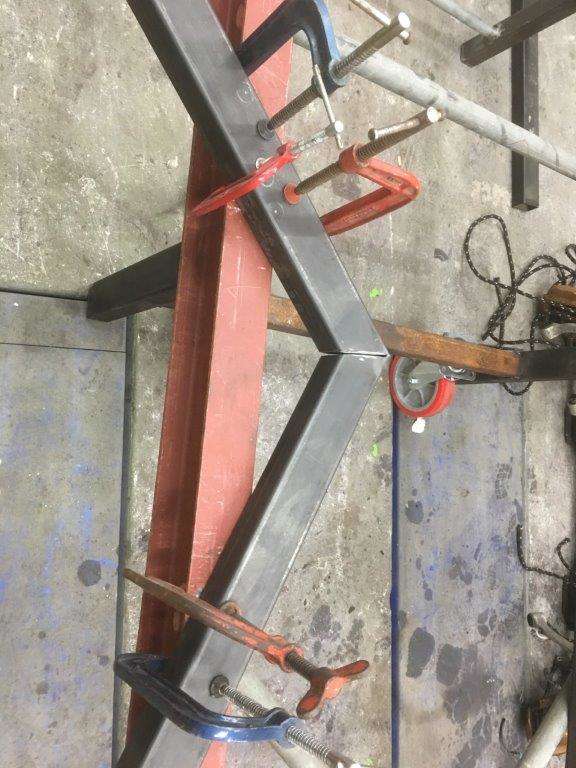
So first job for the Jig is to help me get the second front chassis rail identical to the one I made yesterday, It's great Then 2 hours to get these bits Out of this Clamp the two sides together Mark it up and weld in the first pin Add the next two pins and see if the match O yes Angles and hieght are good too Only problem is I didn't clamp the rail while I welded in the last 2 pins! I paid the price - it heat warped Not a major drama I'll either heat it with the oxy or just put a relief cut in straighten it and weld it back up again. It happened behind the cross-member mounts so it's just a bit more faffing to get it right. Then tested the moveable Jig - by moving it That's it for the weekend, Off shopping for a new chop saw now as the bearings started to go in mine today - The cost never ends!! Keyser Maximum Effort

-
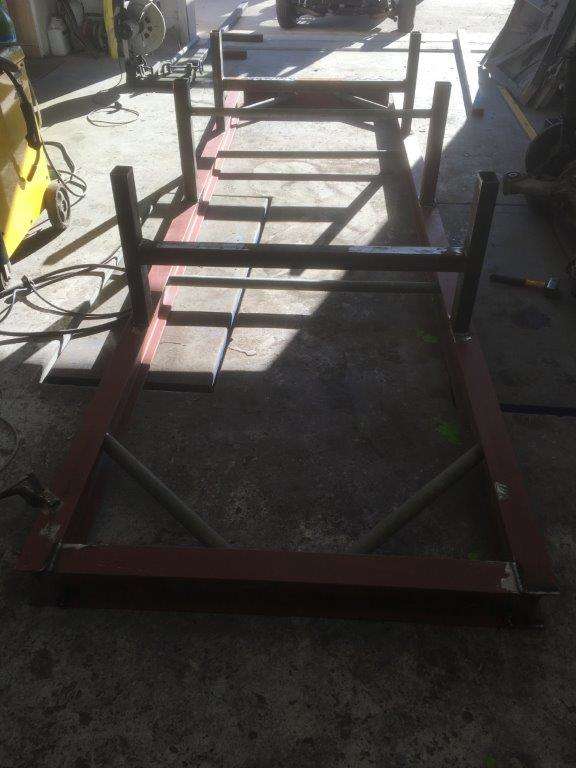
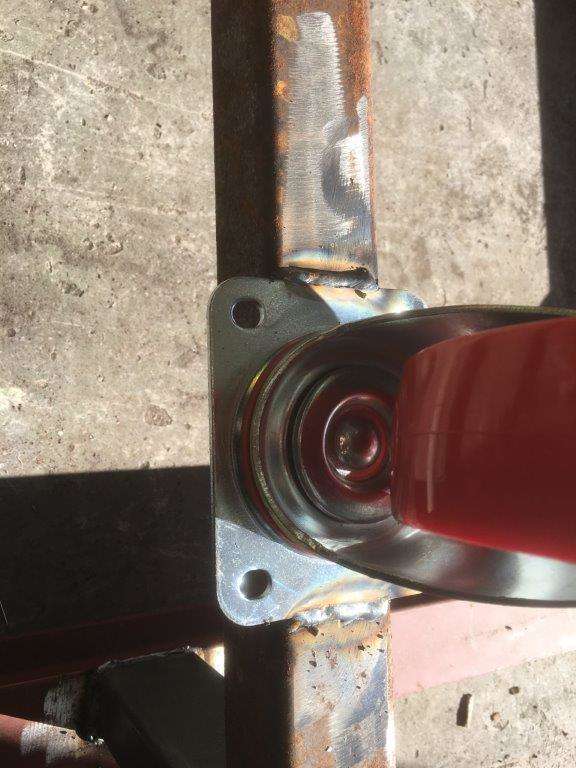
Evening lords n ladies, So what did we do today then? You may be surprised to learn I've been in the Zed Shed - or maybe not ?? As I said the last bits arrived to finish the Jig today I also purchased a 25mm drill bit Using said 25mm bit I made these out of the strongest piece of angle iron I had, The new arrivals Then to improve the welding a Mask service was in order and what do you know Add some old pipe and the steel I cut off the box yesterday, test fit Feet Fitted Now it is on wheels with a load rating of 1.2 Tons But can be levelled in any location Just need some cross members - I have a cunning plan that involves dropping in to see a mate next week to sort those. More in a mo ..................................
-
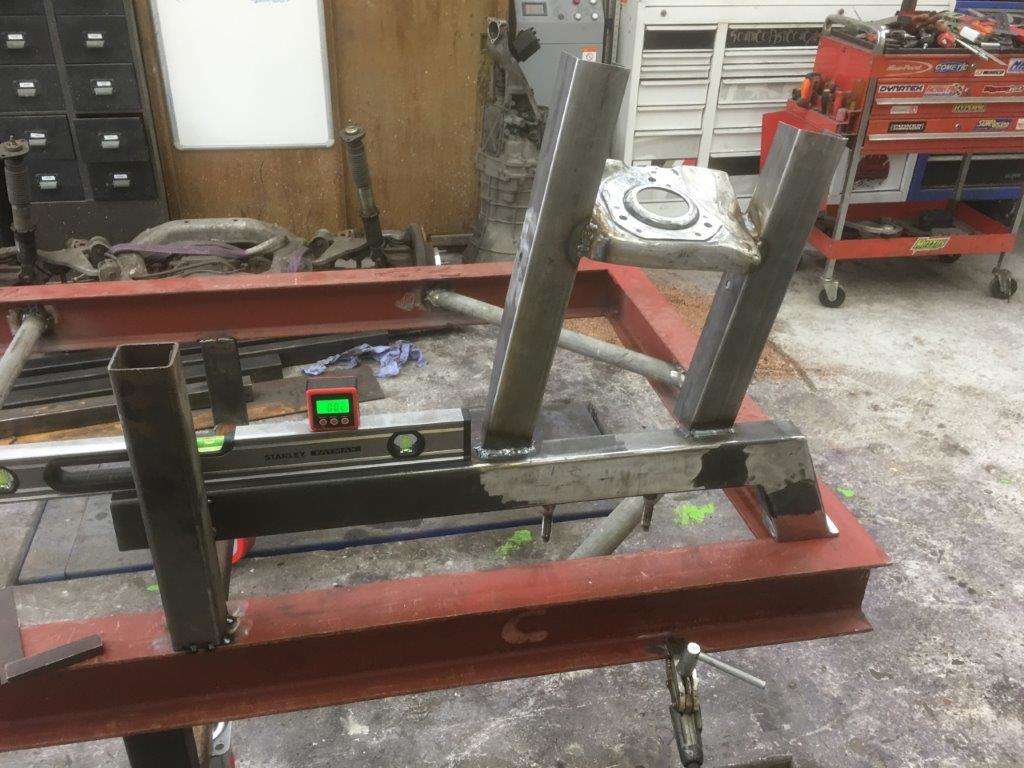
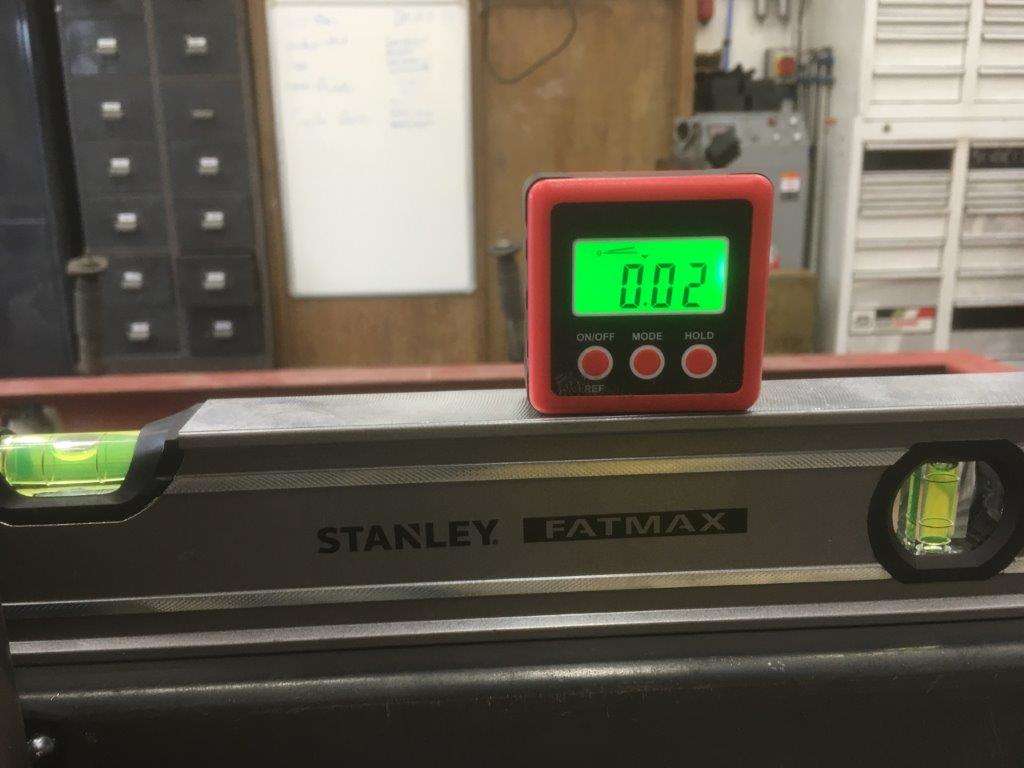
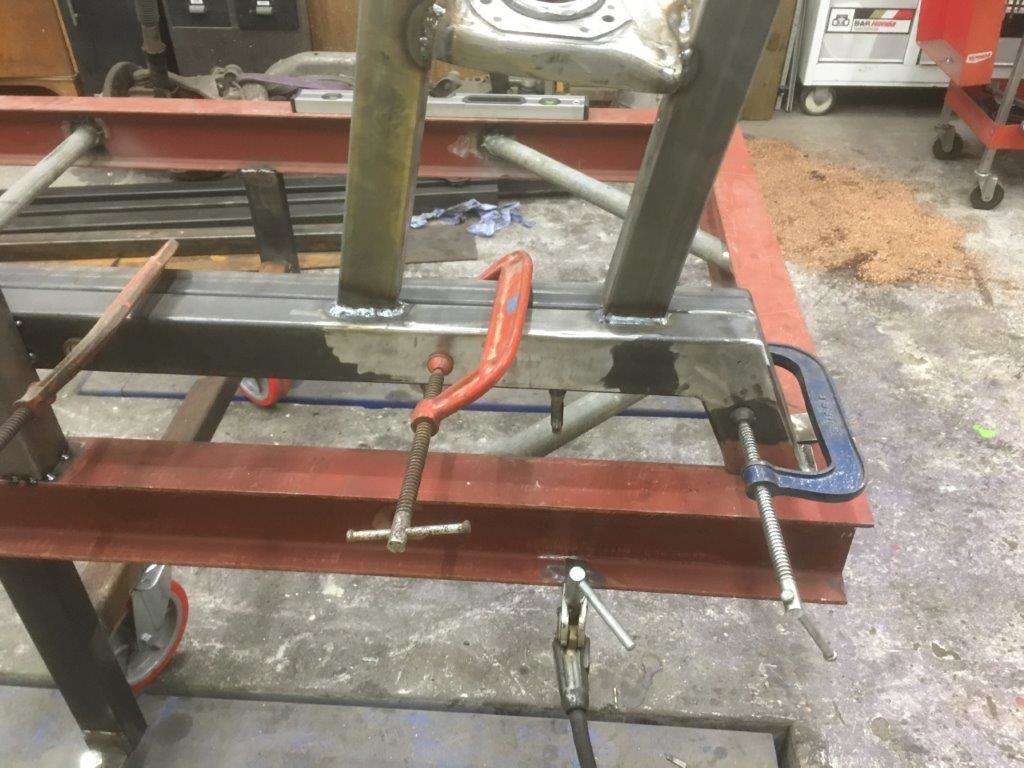
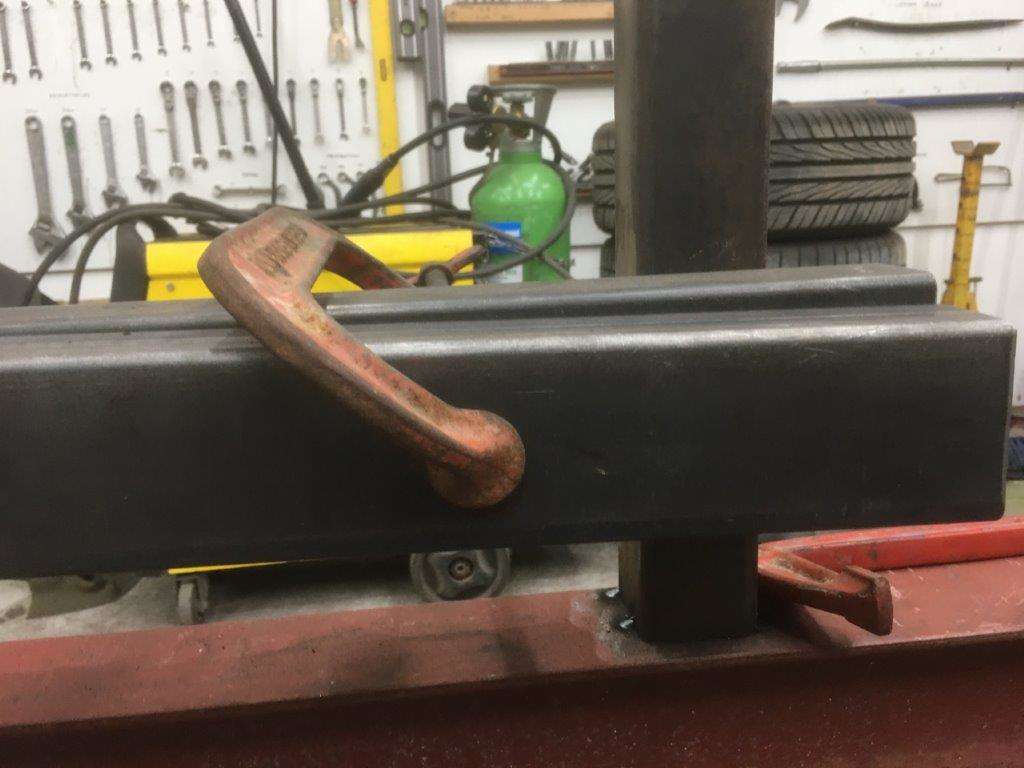
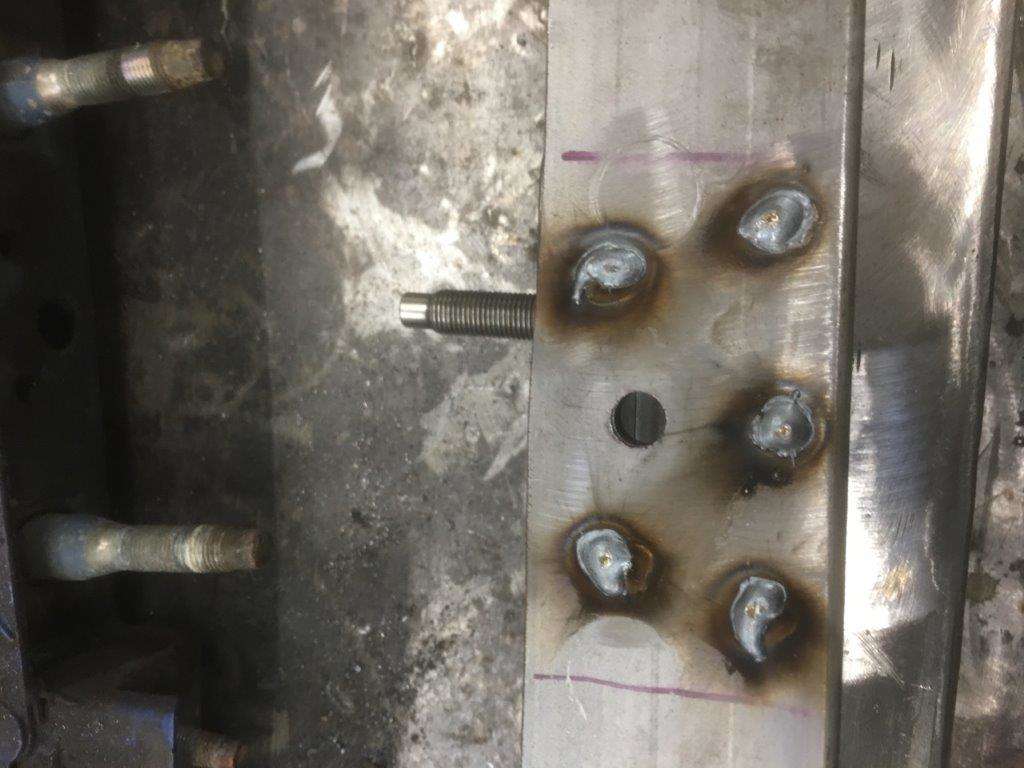
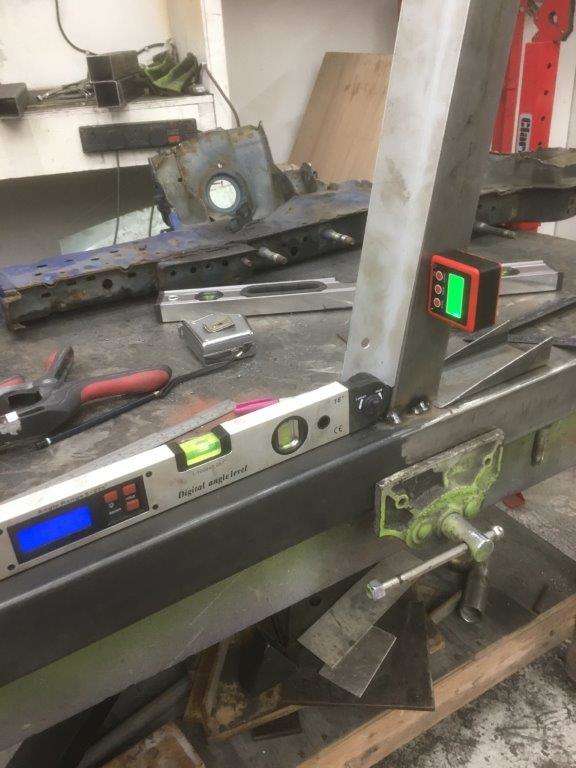
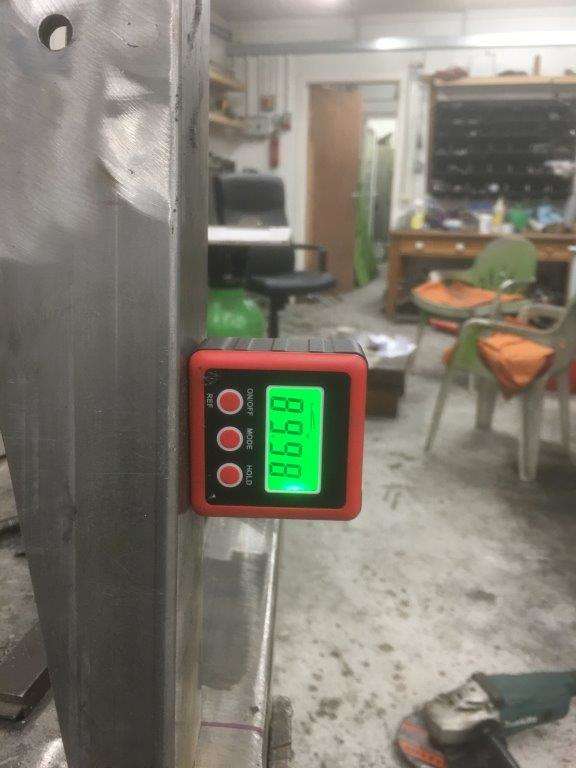
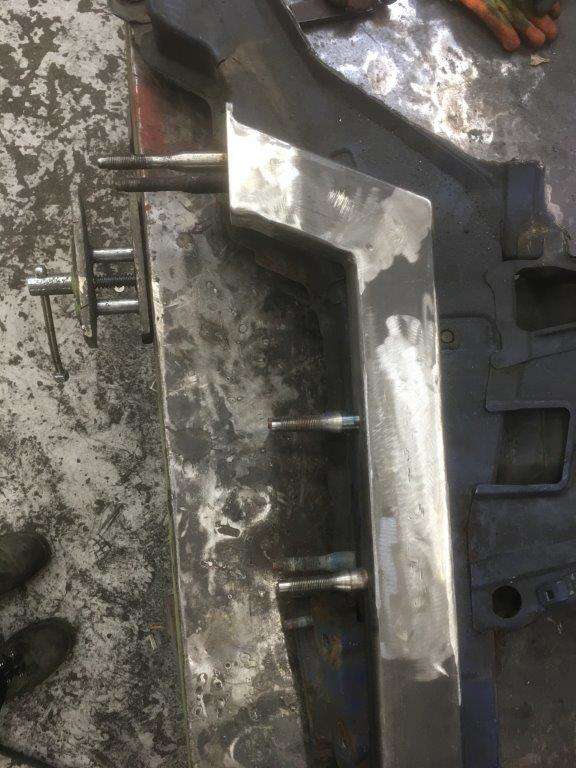
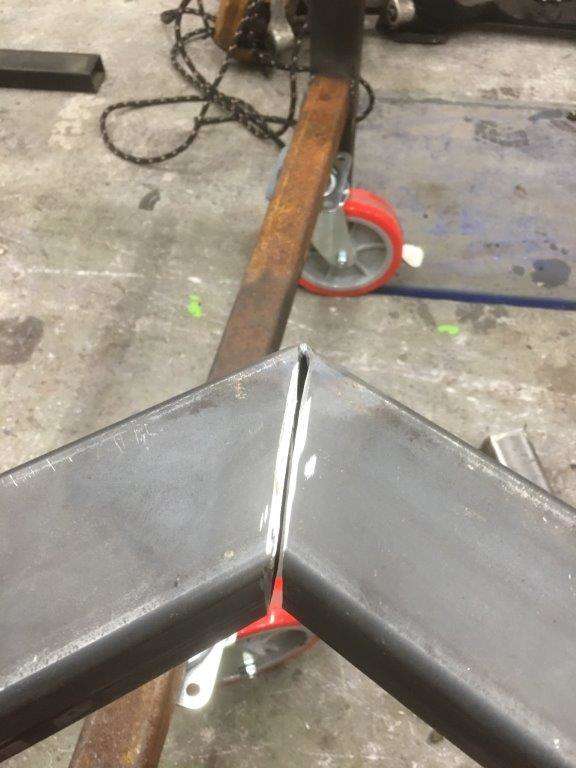
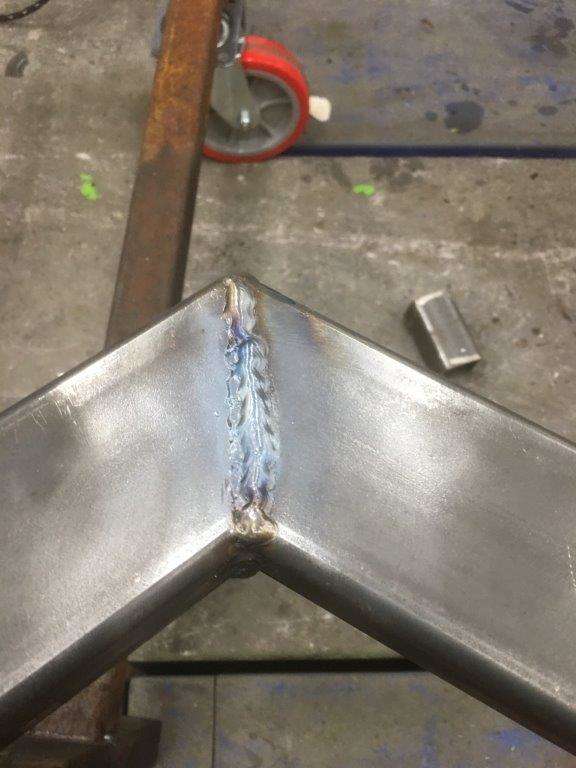
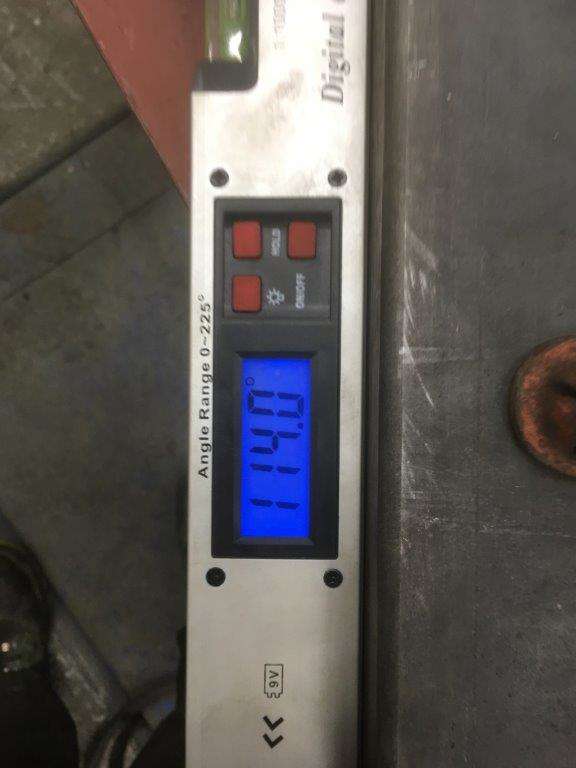
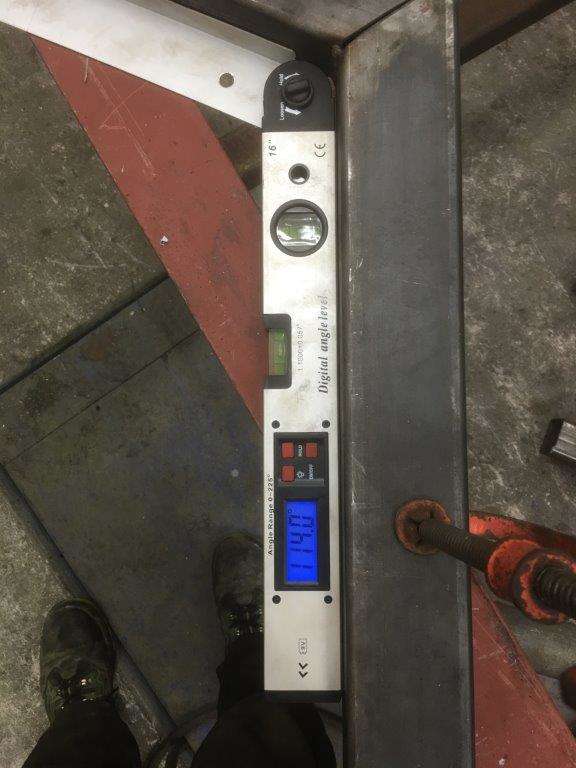
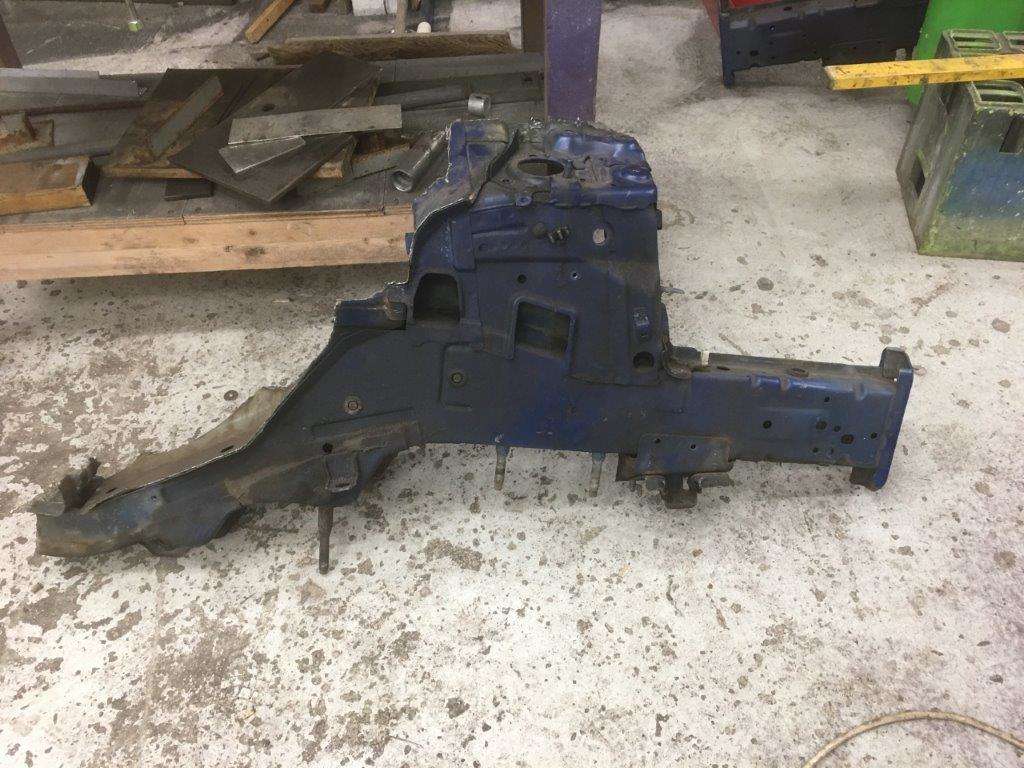
For my next trick I would like to replicate this ...... Yer that looks easy NOT!! O well onwards 2 bits of 60x60x2mm box First cut angle cut A 6mm spacer plate as 60mm - side walls 2x2mm = 56mm and I need 50mm holes for spot welds Clamps welds Gives us - test fit Yayyy Then a shed load of measuring and angle checking Can I live with the 0.02 degrees it is out? YES The next bit was a bit involved so I didn't take many photos but after a lot more measuring angle checking, re-checking and even getting the long suffering Mrs Keyser out to the Zed Shed to assist in the line up we eventually got it all together by 9:50pm Why couldn't Nissan jut build everything square ? They probably spent millions on R&D and taking into account ackerman angles and bump steer they thought that the top plate should sit at a 4.5 degree front to rear slope with a 15 degree inside to outside angle while sitting between to arms that are at 102 degrees from the chassis rail Any way today I get to do it all again for the other side and hopefully finish the chassis table / Jig as the last bits arrived yesterday afternoon I should also point out that after that piece of engineering I'm feeling pretty smug. During The War - I was smug git as well Keyser Maximum Effort


-
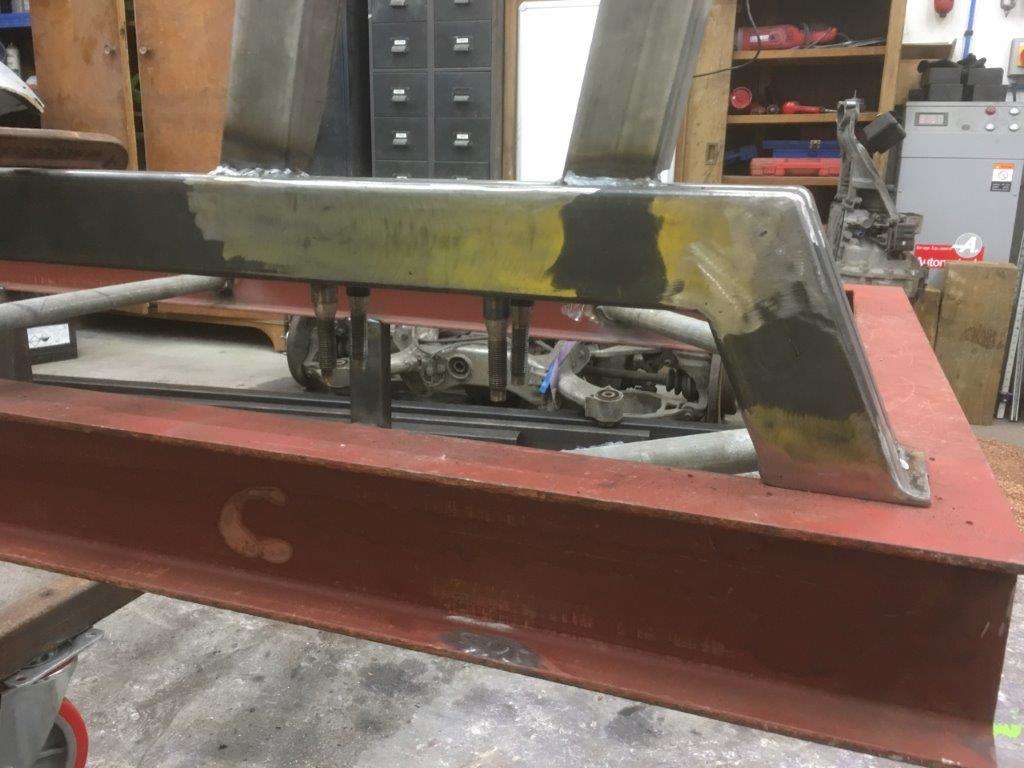
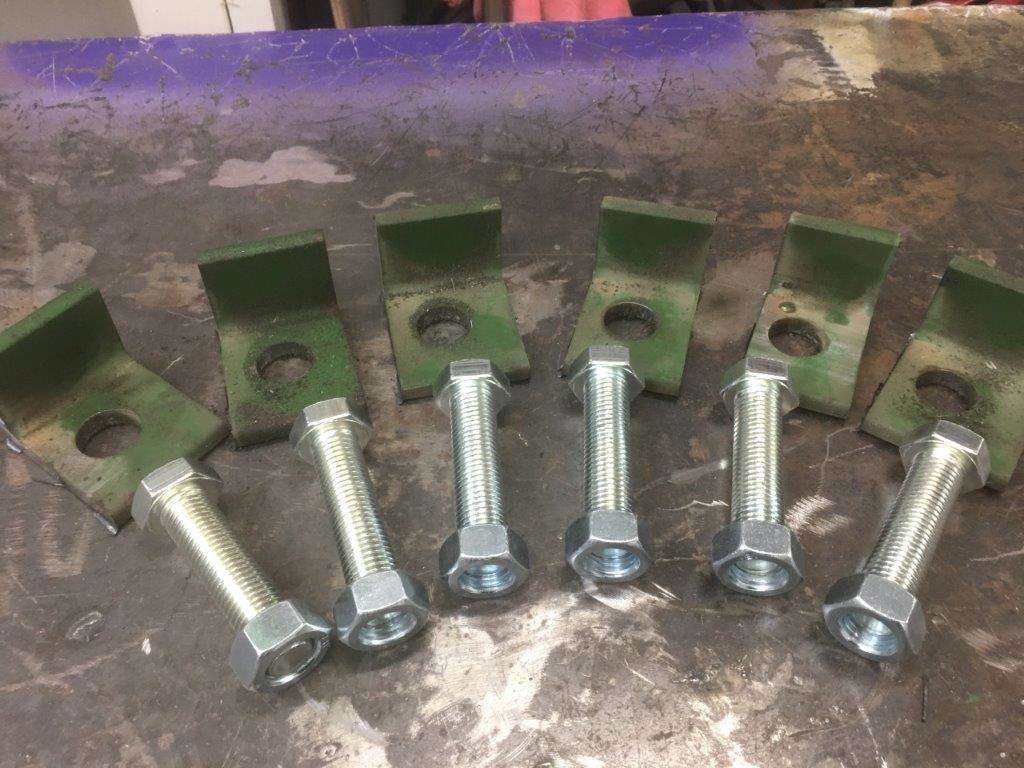
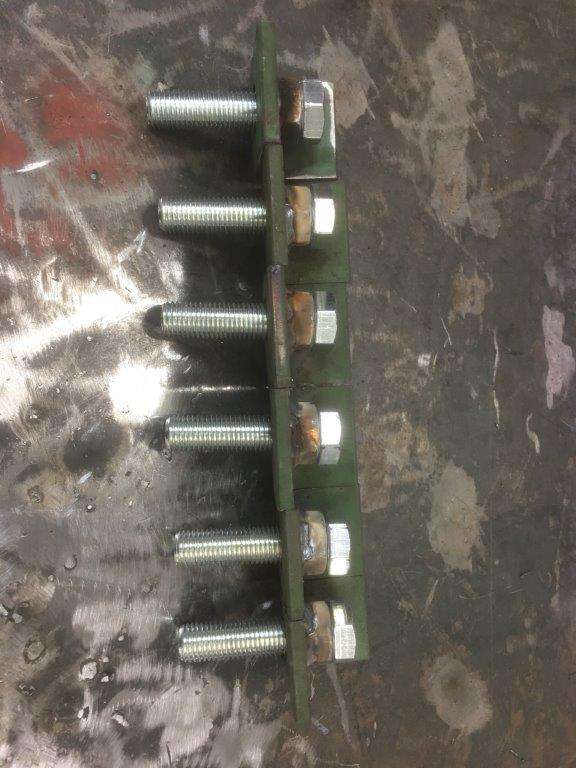
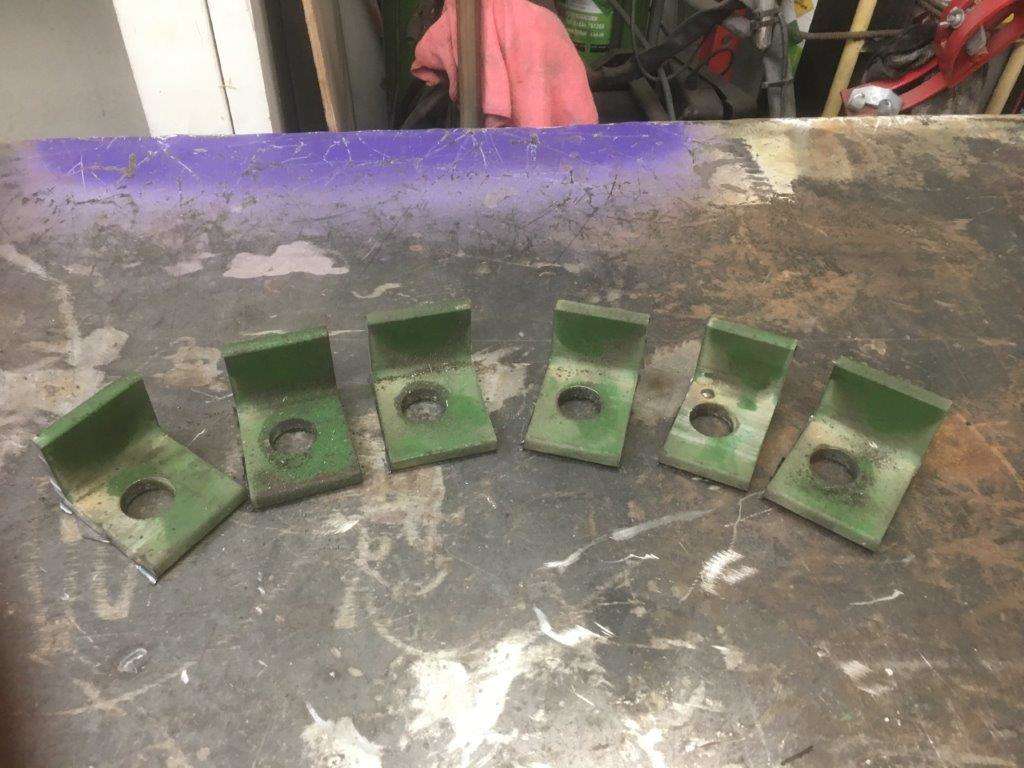
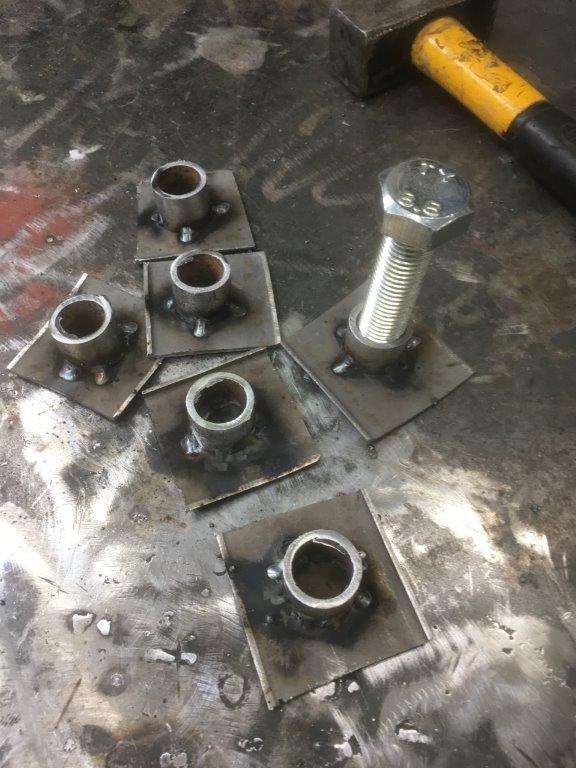
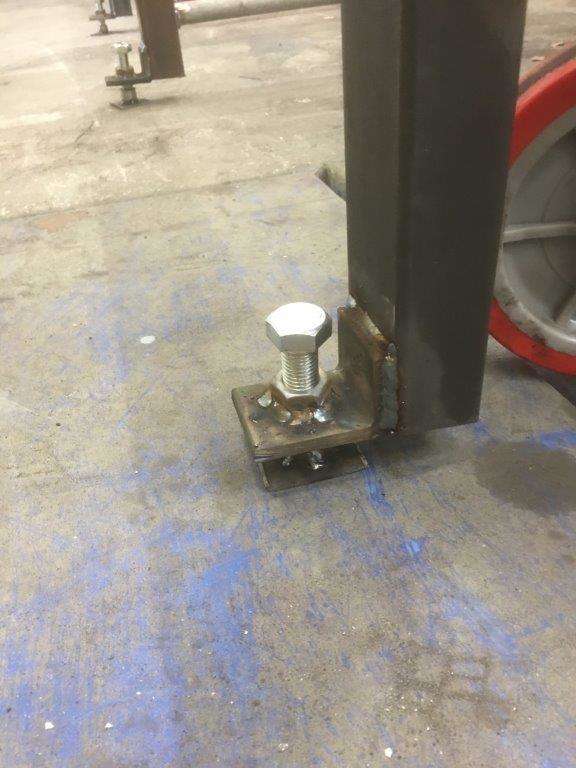
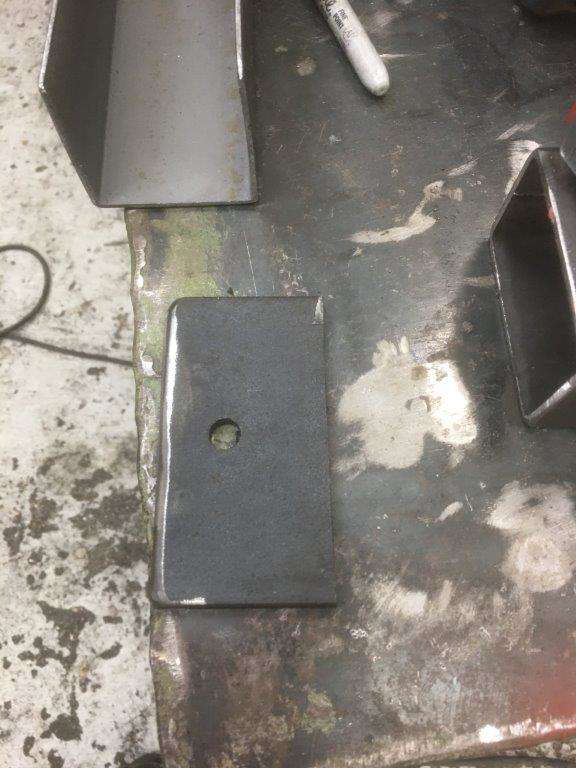
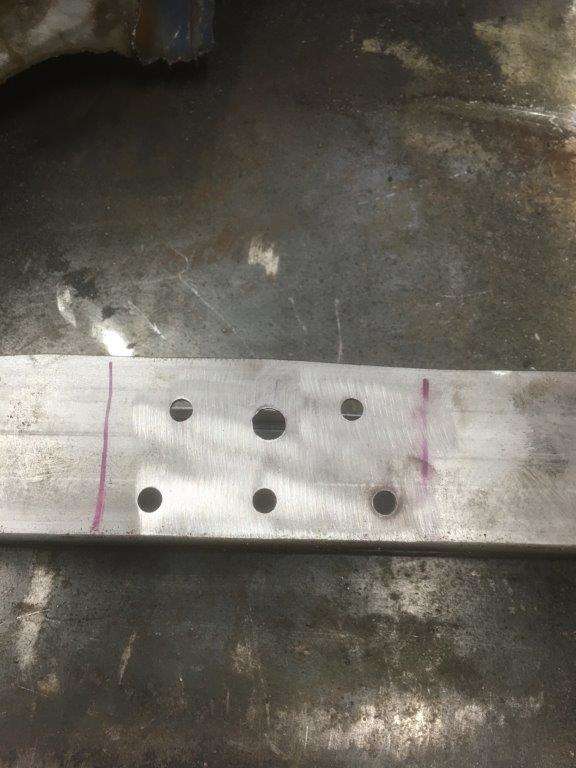
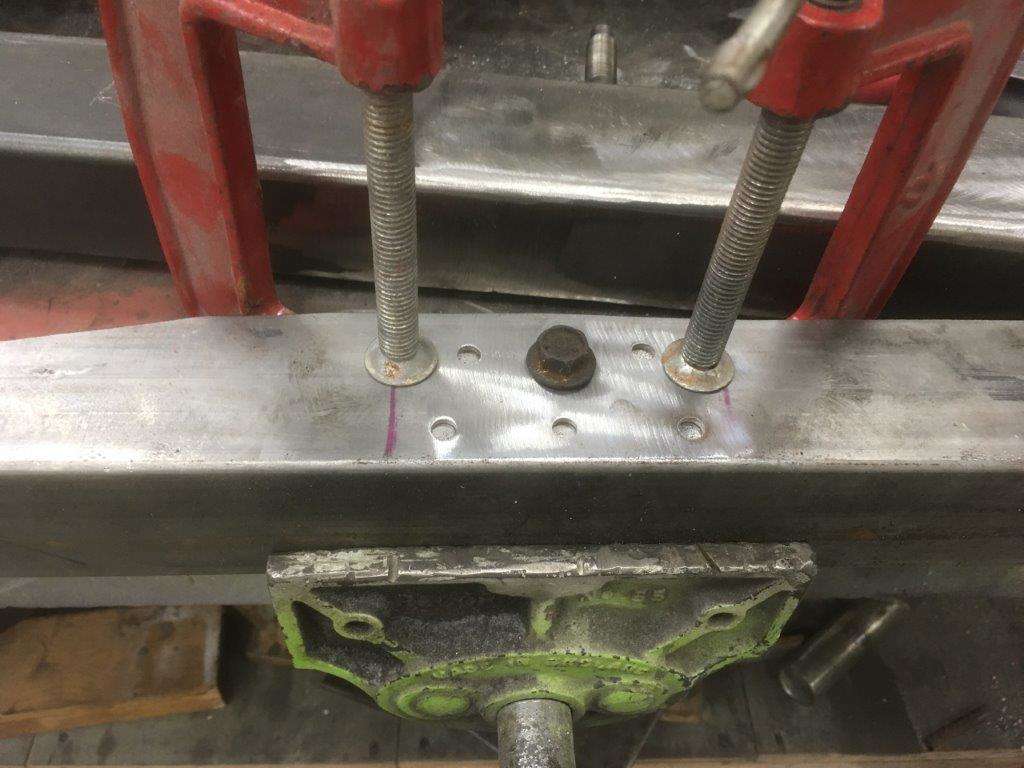
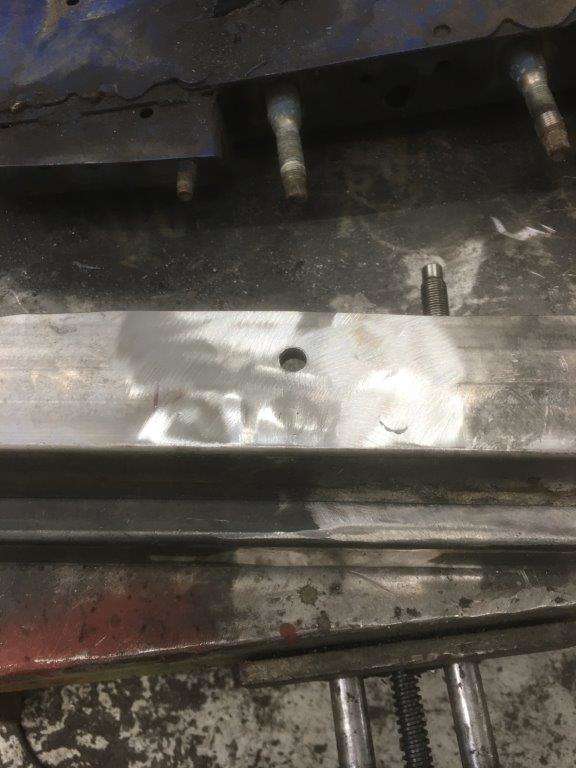
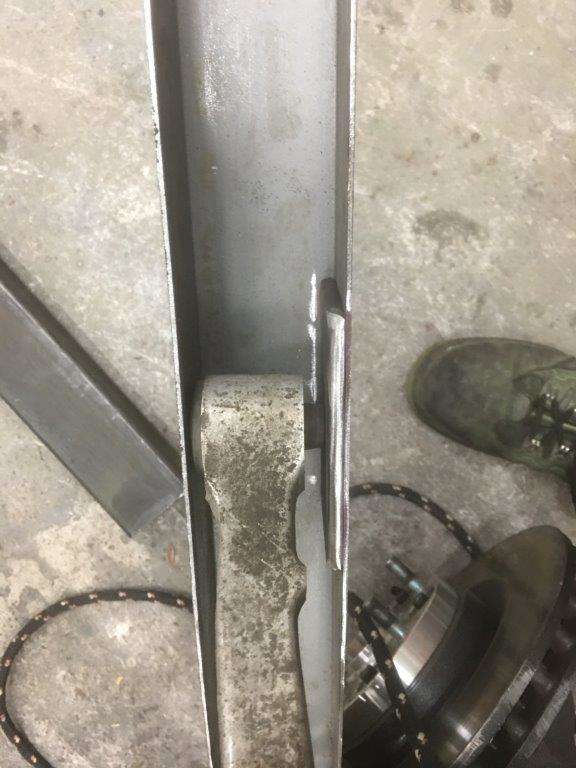
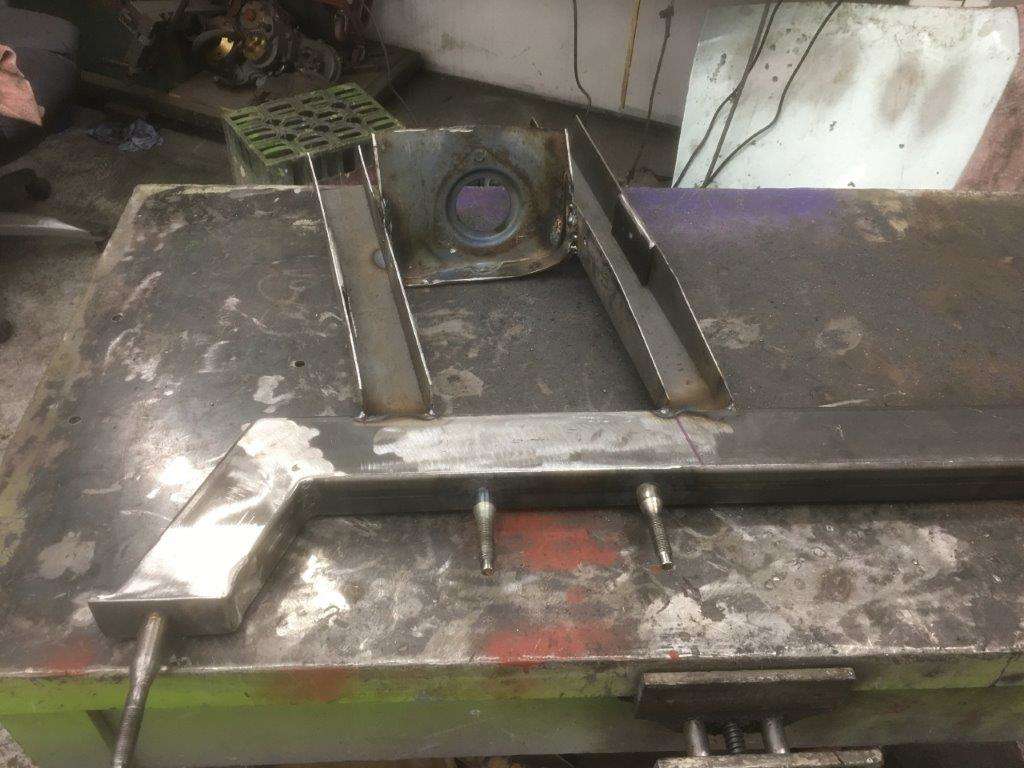
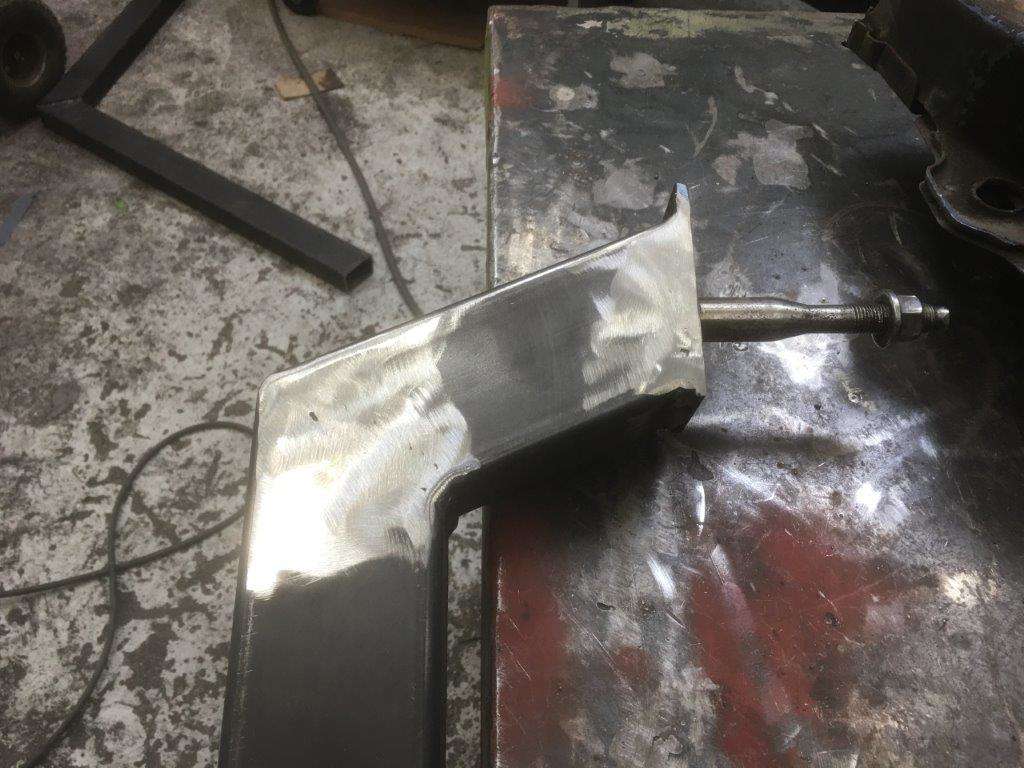
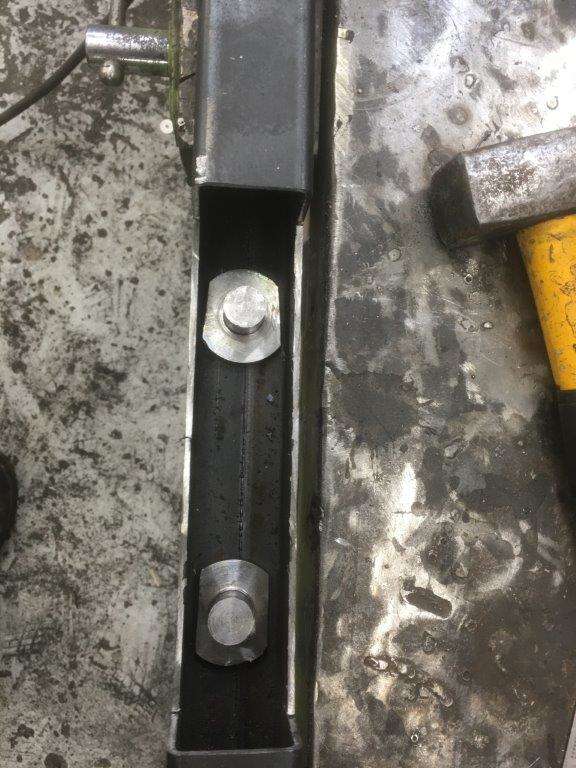
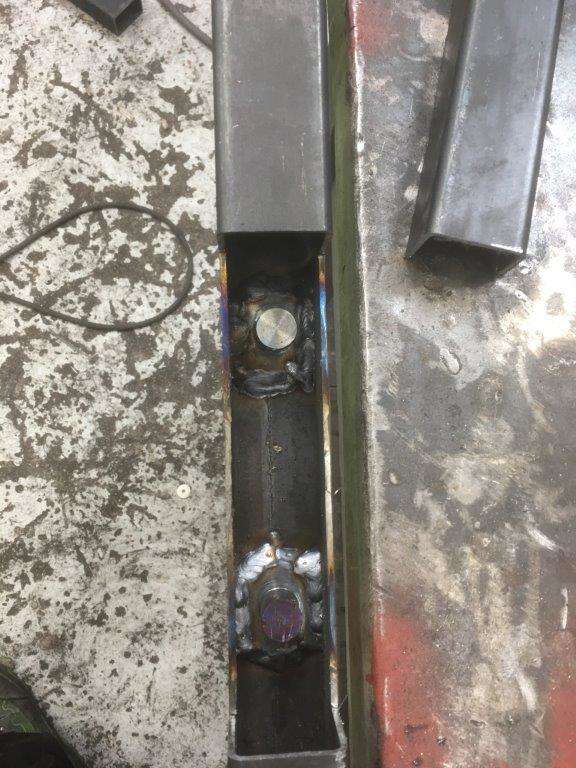
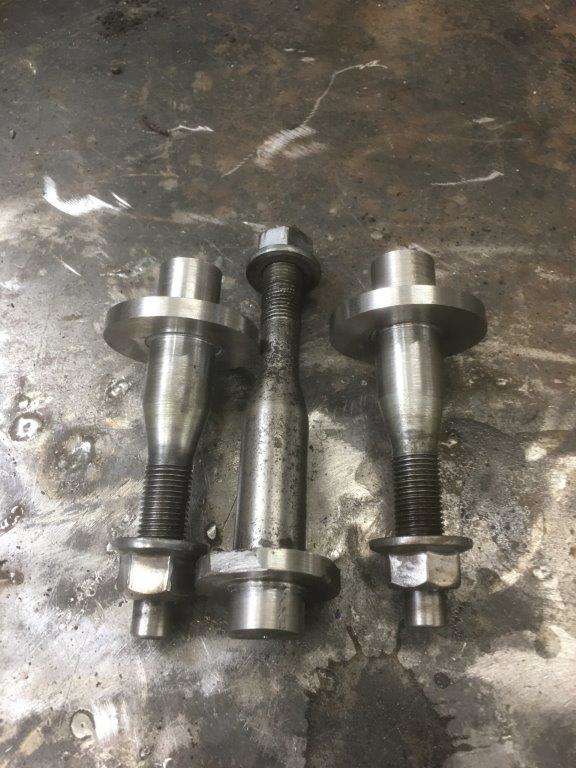
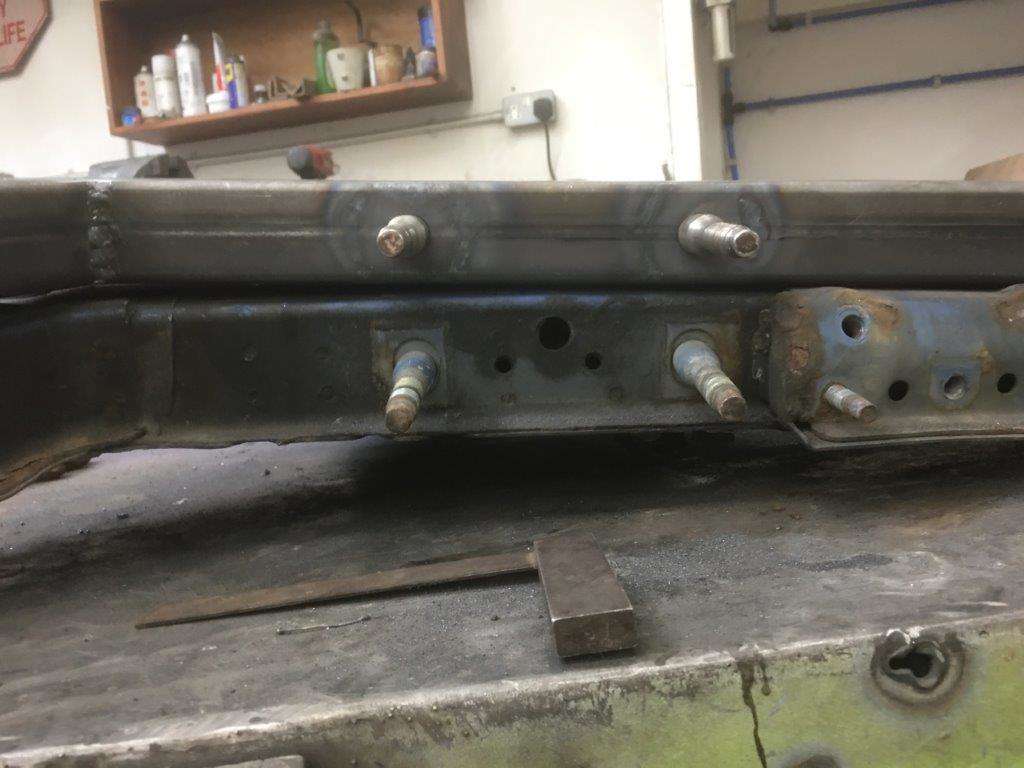
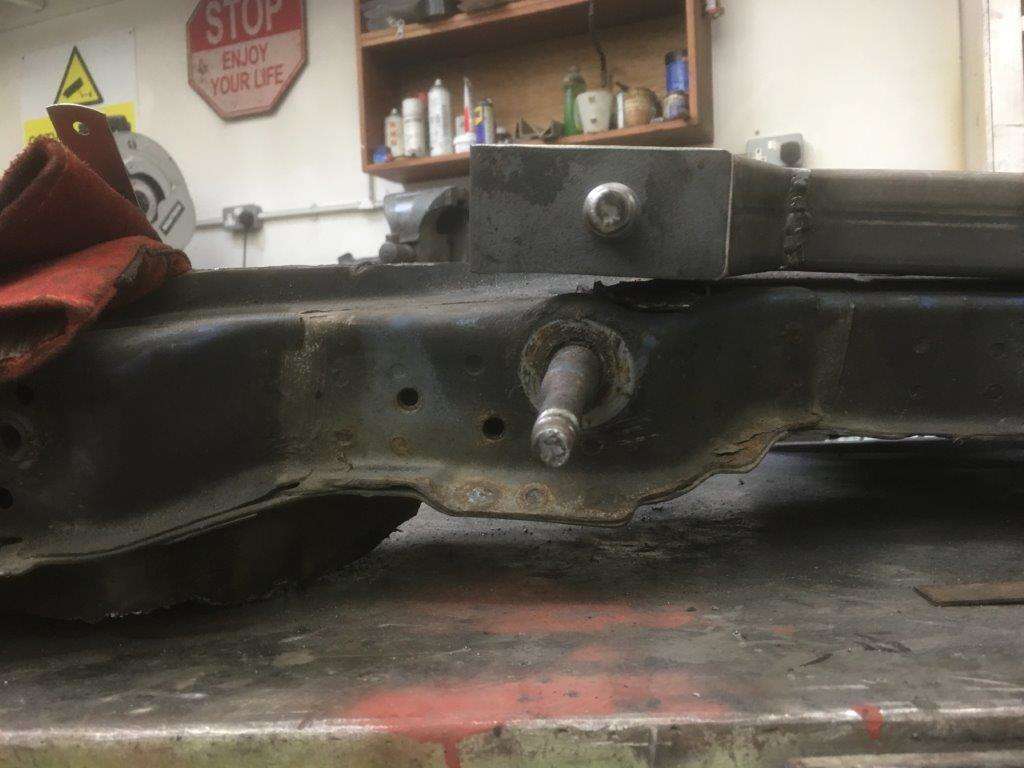
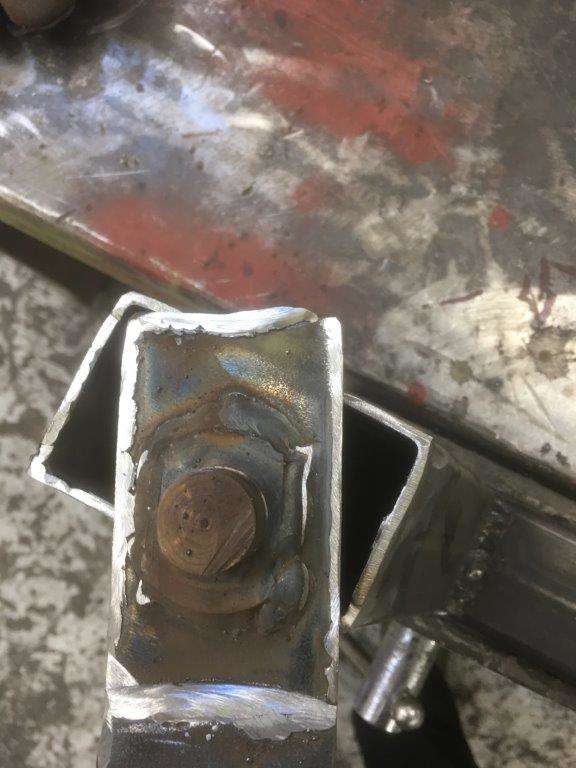
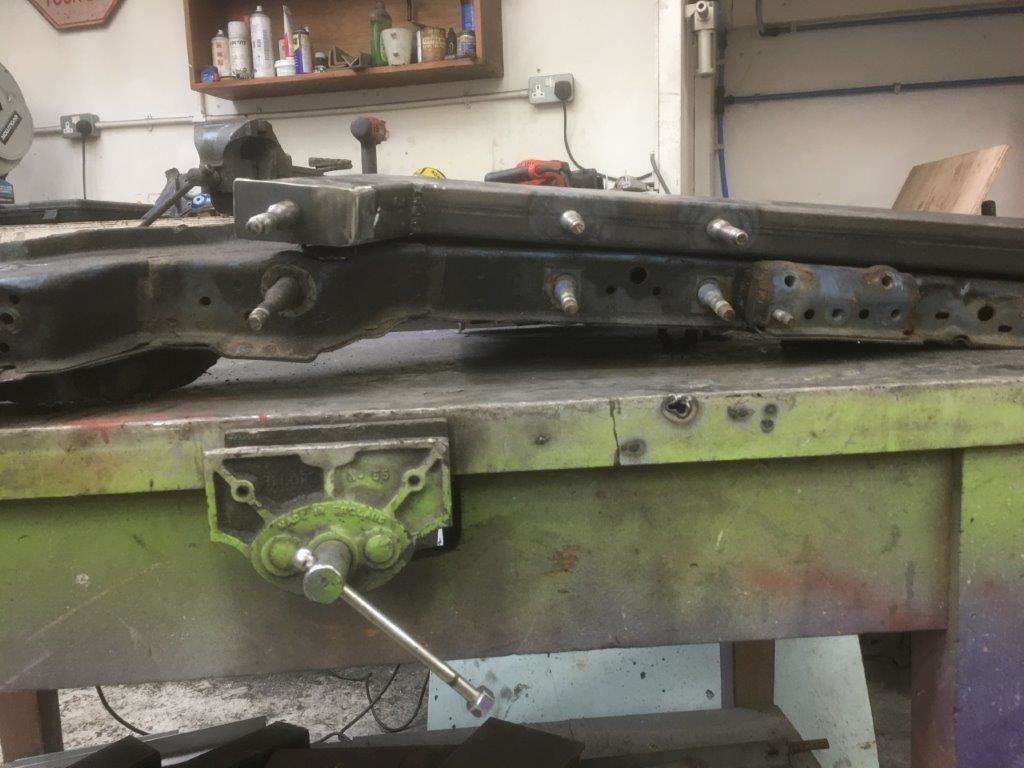
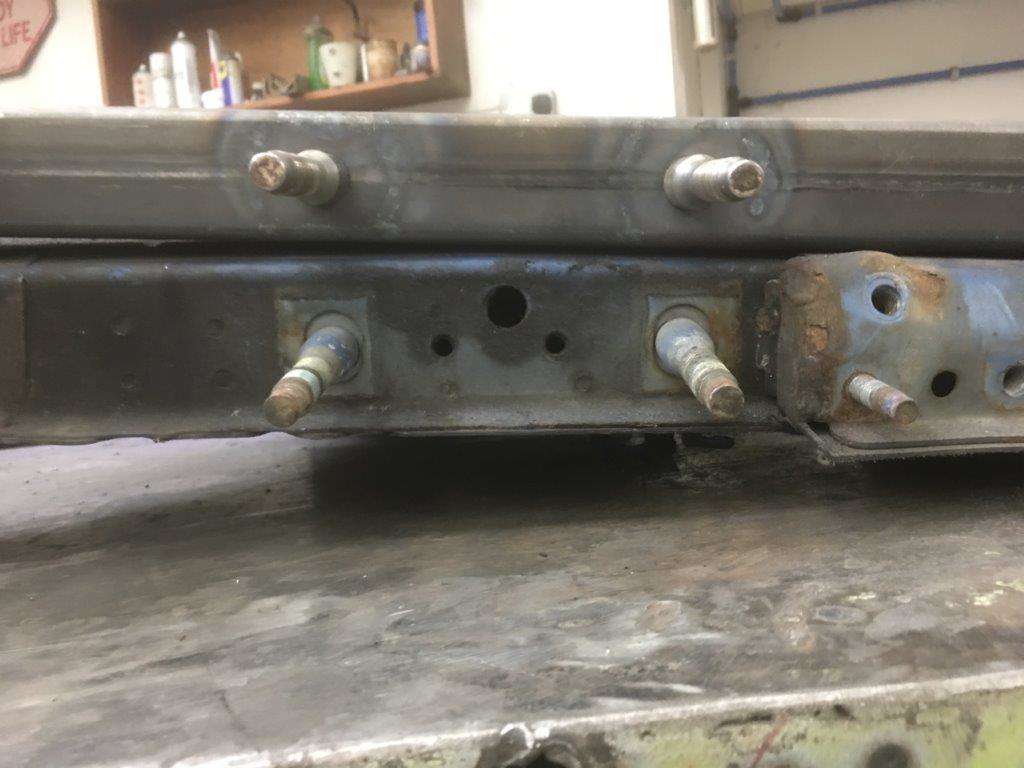
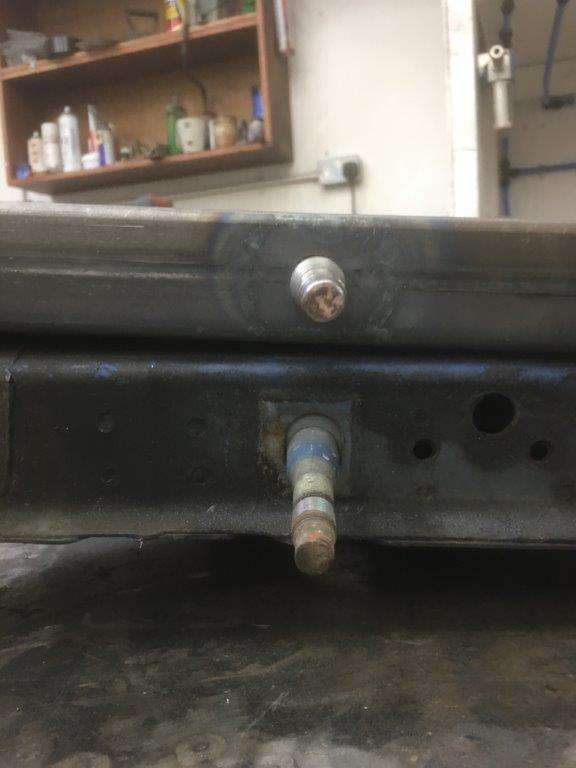
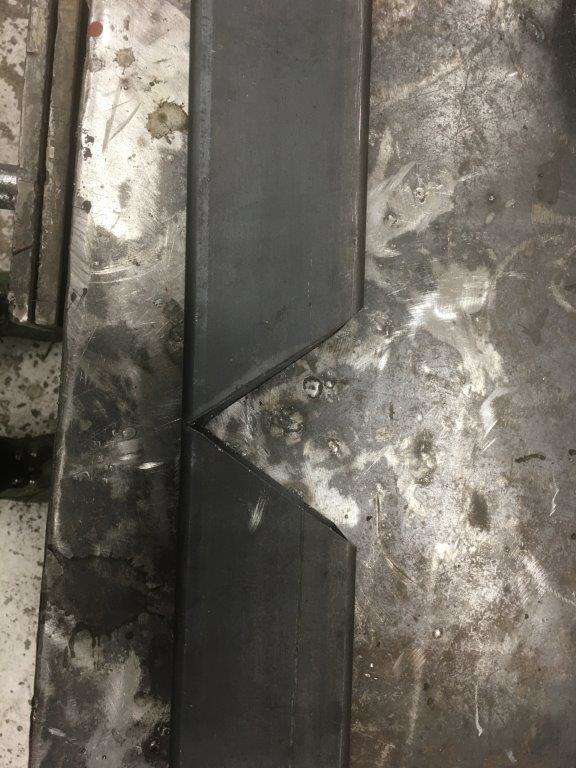
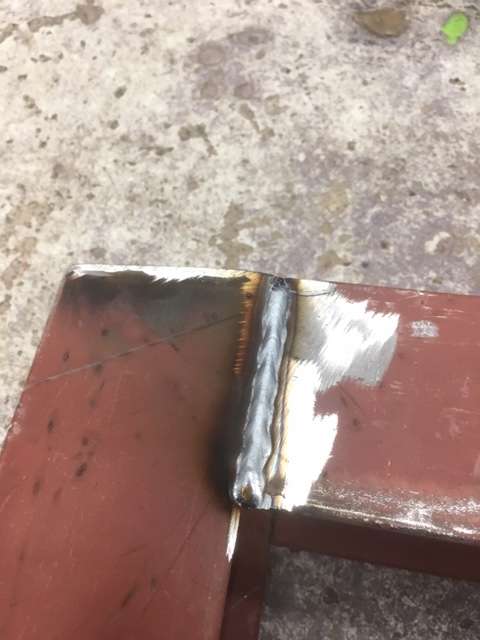
Morning all, I see a few confused reactions to my last post, maybe this will help or maybe it won't Saturday morning (after a 7:30AM call out which meant on the way back I could grab some extra bits of metal ) I started by cutting out and cleaning up the mounting pins. then the same as the rears started mounting them in the box section, Check for square Lots of measurements taken and noted in case it works and I need to build the other side as well. welded Cleaned and we have Awesome aye?? Well actually no it's pants Cross member mounts - Lovely, but banana arm mount - How the F%*@ did that happen?? I Checked the notes sheets, I double checked the measurements on the original and realised I'm a muppet!!!! When I measured the the distance from banana arm pin to the rear cross-member pin I measured inside face to inside face due to the height difference, I usually always always measure centre to centre! When I transferred the measurements to my replica I read my notes and marked the measurement BUT I forgot to add the 10mm for the 20mm diameter pin when I centre punched it This means I am 10mm short between the mountings, I mean it's only 10mm and I happen to have eccentric mounts in the suspension from the previous owner so it will probably be OK to get the tracking and camber back in after it's all put together and that relies on me finishing it Yer right like I'm going to settle for that option so cut it off and try again, Now a stroke of luck - well if doing the same job twice can be lucky!? I left an overhang on the back edge of the plate to help with mounting the next piece of the new chassis so I was able to simply turn the plate round get the right distance this time and weld it back on again. The end result ....................... Spot on alignment Right that's the easy bit done more in just a mo ...............................

-
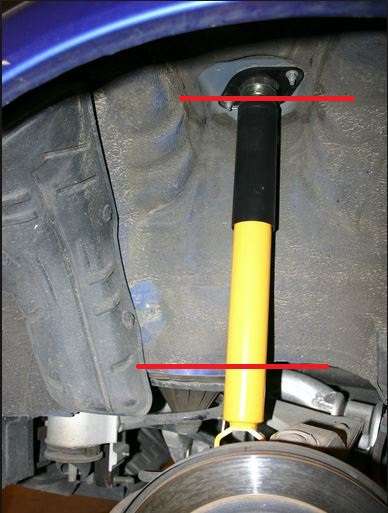
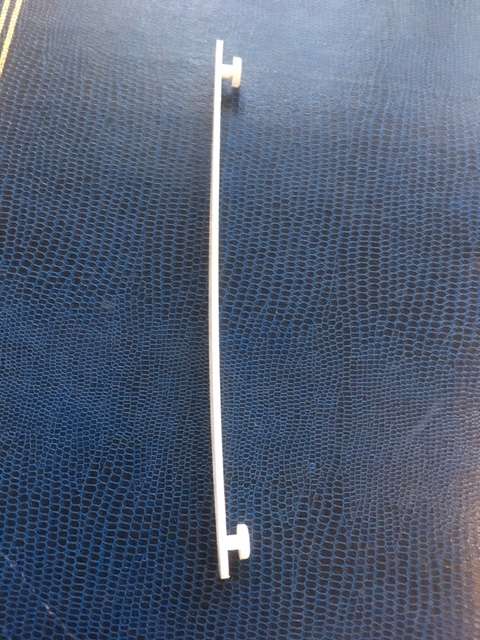
Just got back in - A picture should help Distance between the 2 red lines so top of spring carrier to shock mount Thanks
-
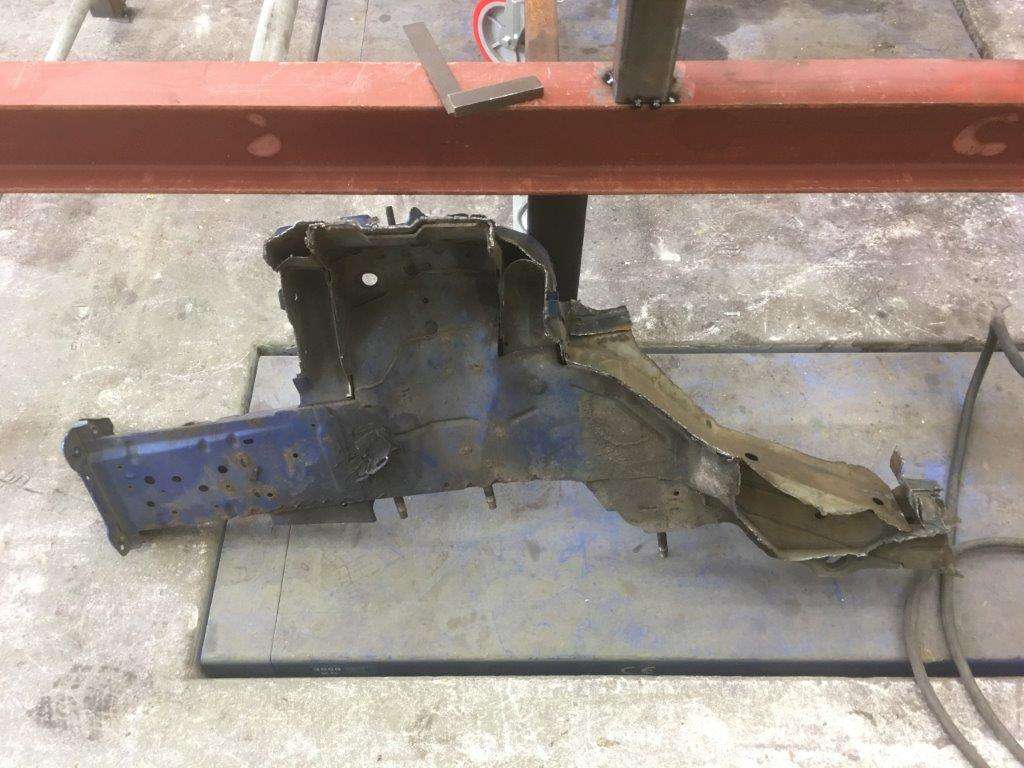
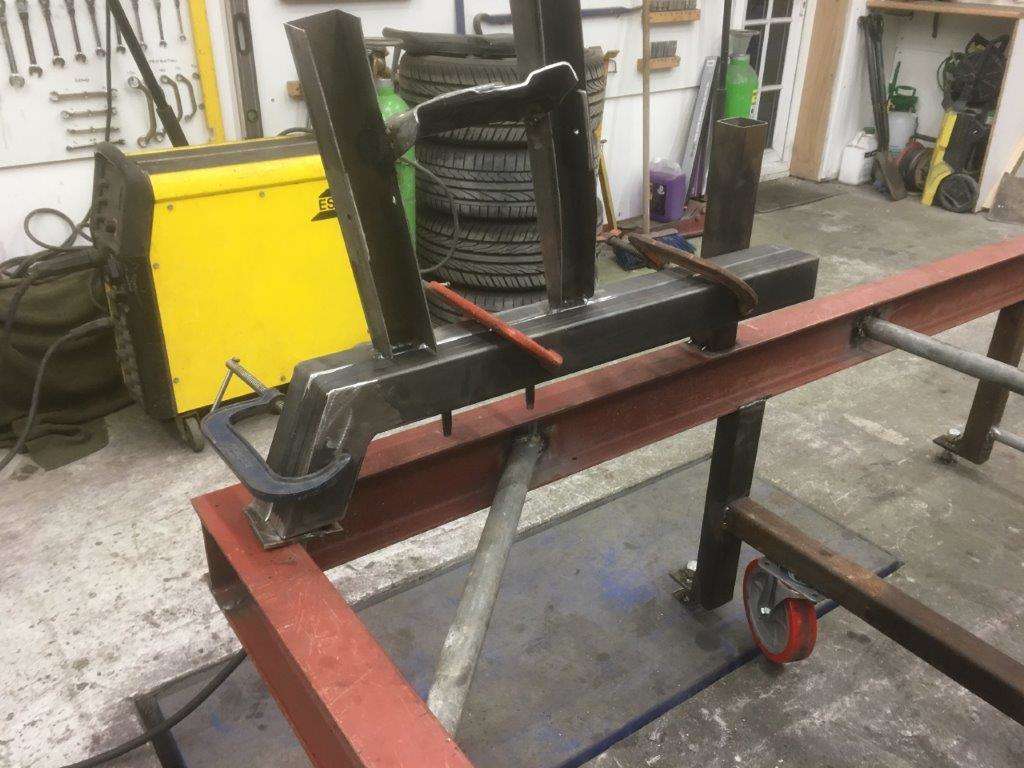
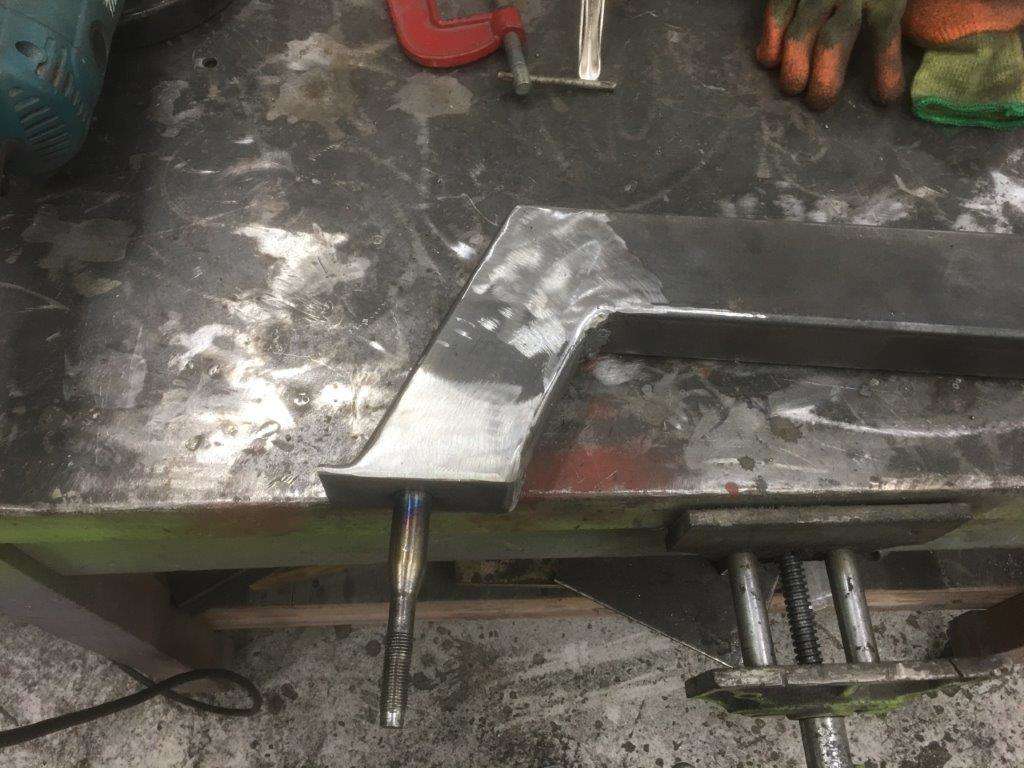
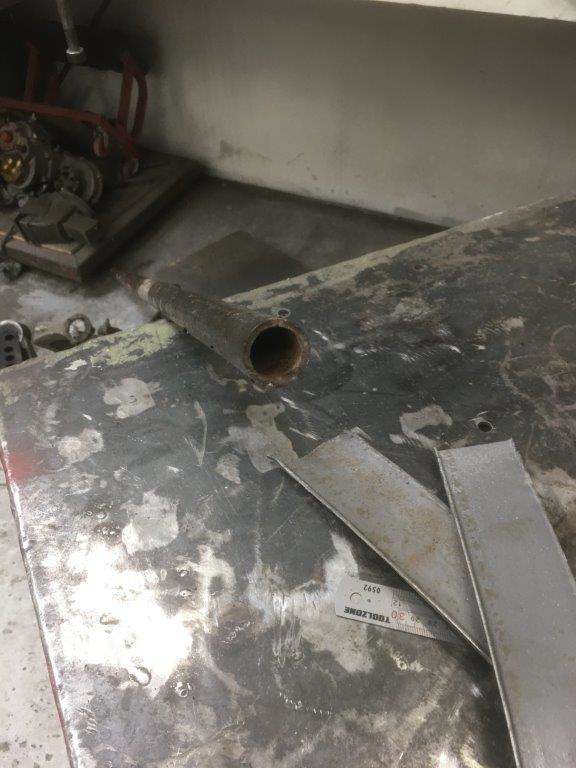
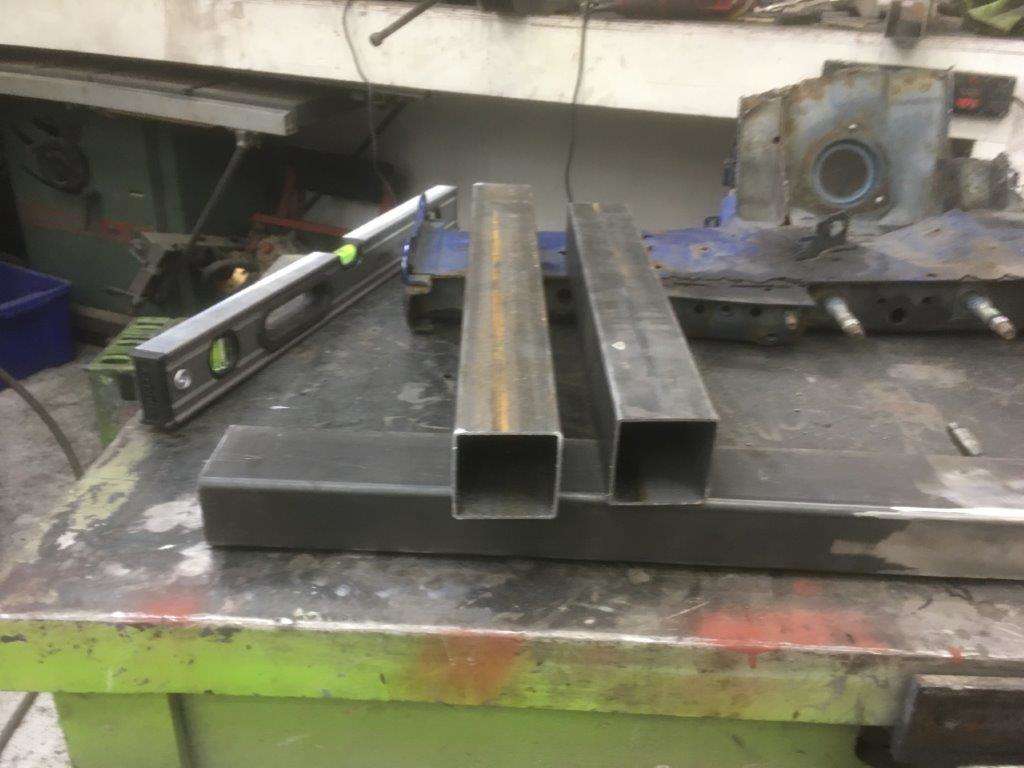
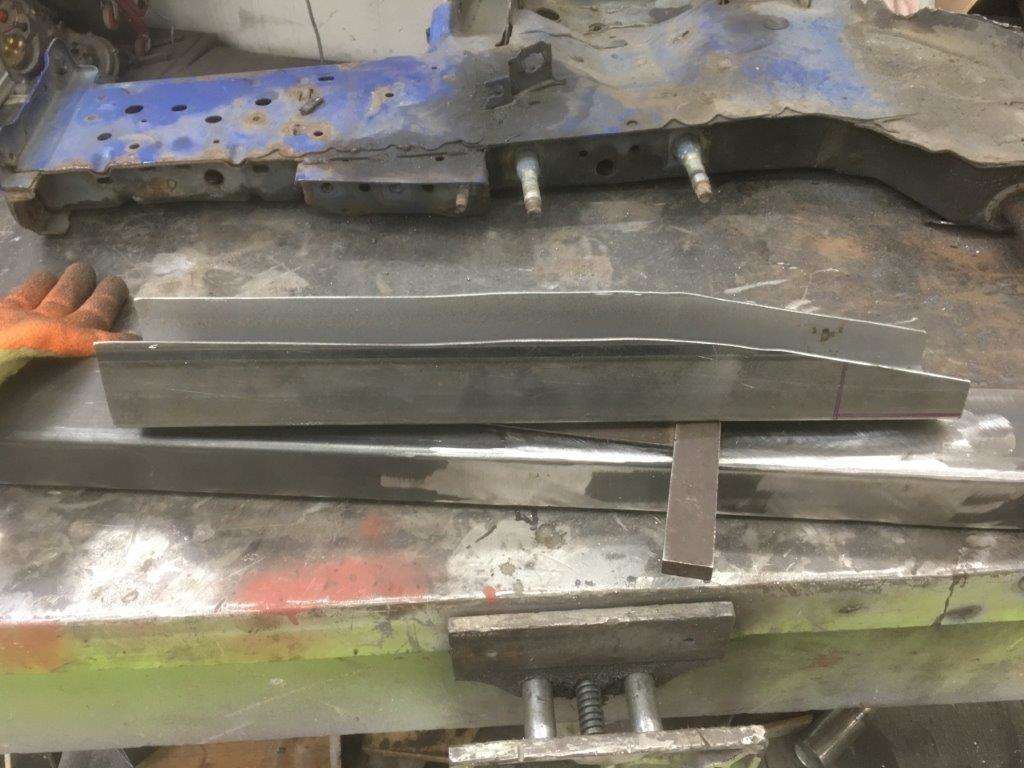
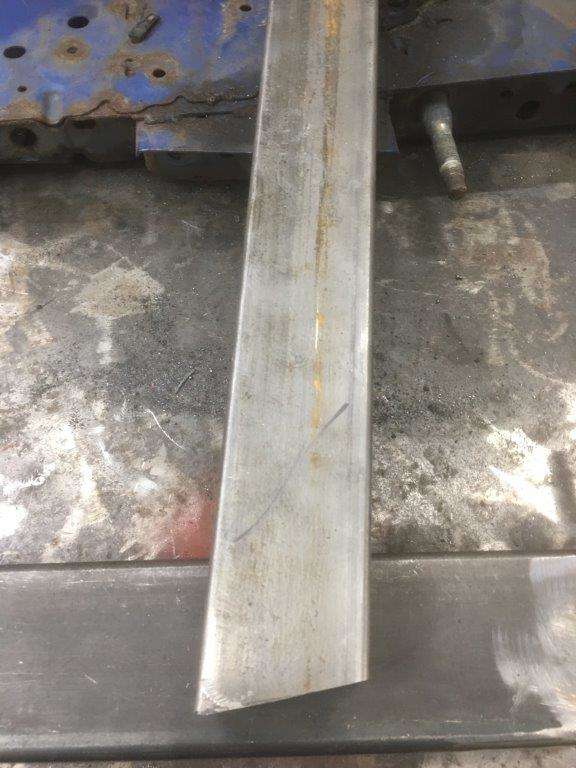
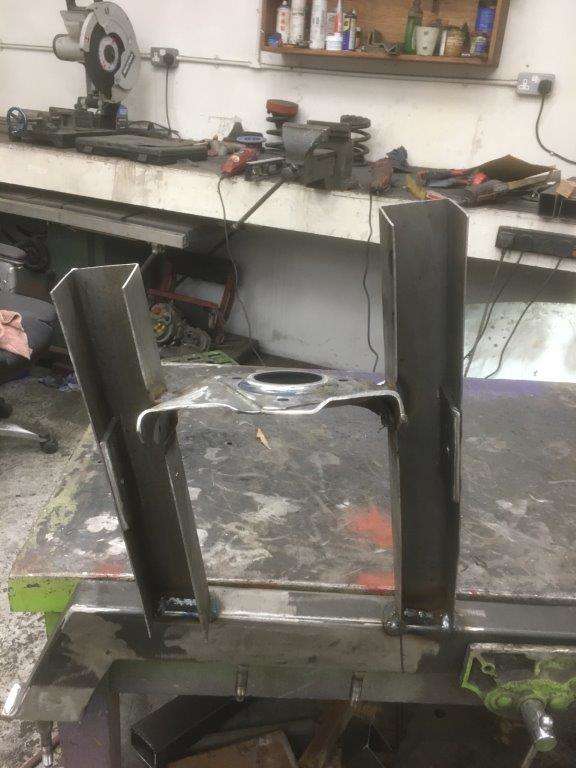
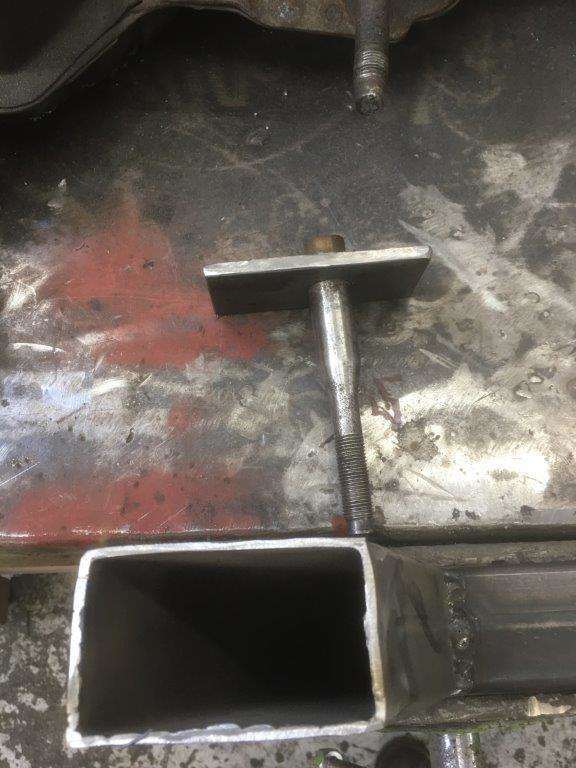
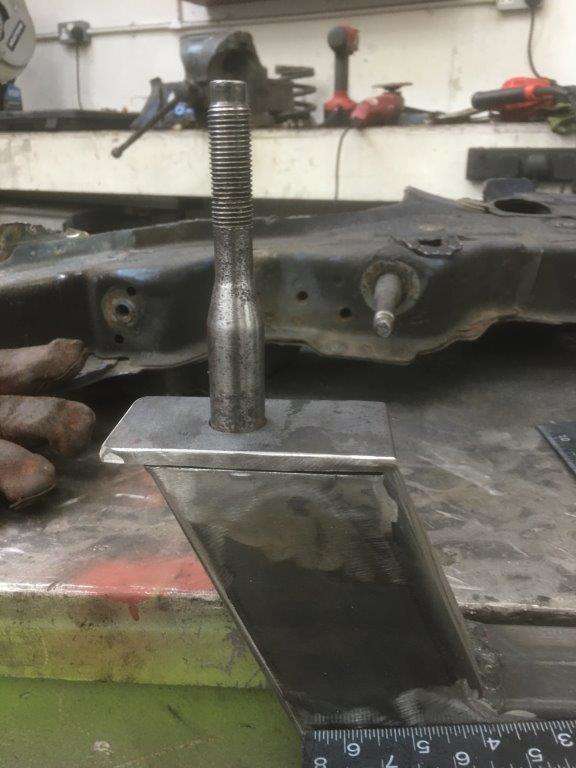
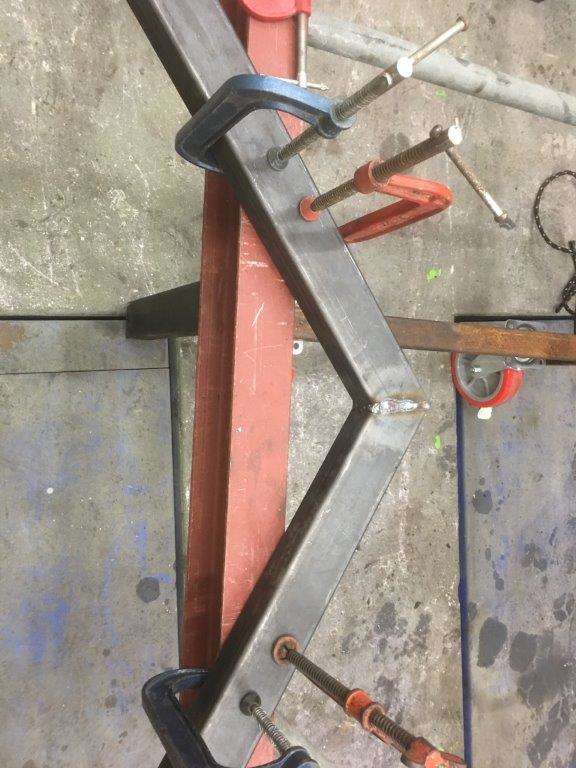
I have spent a lot of time this afternoon measuring bits taking notes doing calculations an trying to see if what I want is possible, I think it is but I can't prove it and I can't easily mock it up in fact it would be just as hard to mock it up as actually build it. So I'm going to build it You will have to bare with me the next few updates may be a total fail and end up in the scrap pile and back to plan ..................... Errr I think its back to plan G but I get confused. Any way its all good fun so here goes, Right I'm sure you all recognise this, Yes I kept that as well. Now try and replicate it Length of 50 x 75 x 3mm wall box section with a pie cut Clamped Angle check Prepared welded and repeat to give 2 Can you see where I'm going with this? Hopefully it will work and hopefully it will be worth the effort, that's as far as I got today but should get a couple of hours in on it tomorrow Keyser Maximum Effort
-
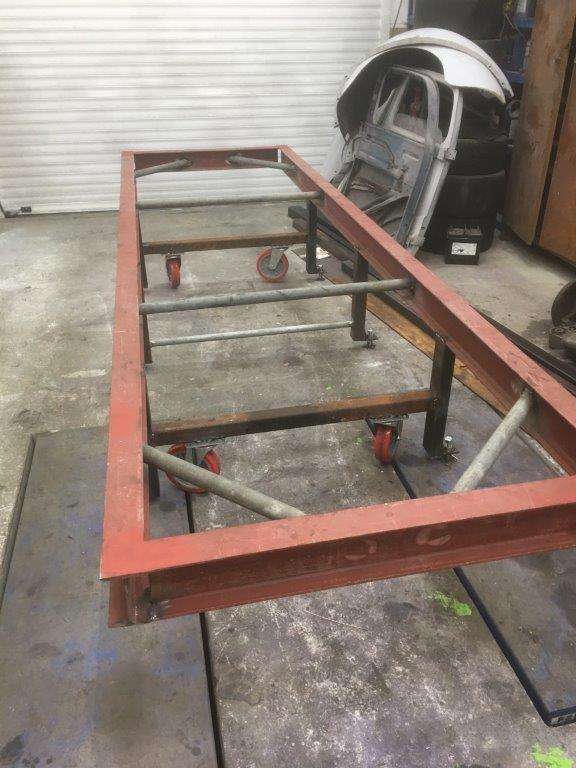
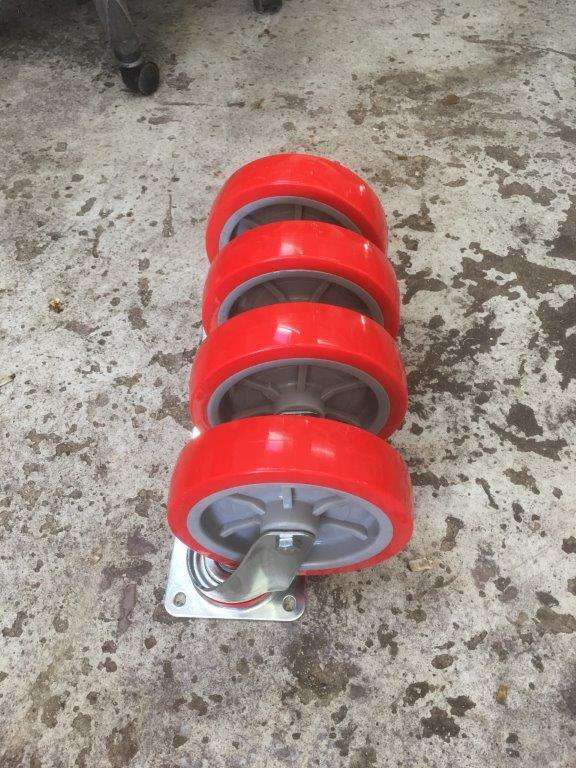
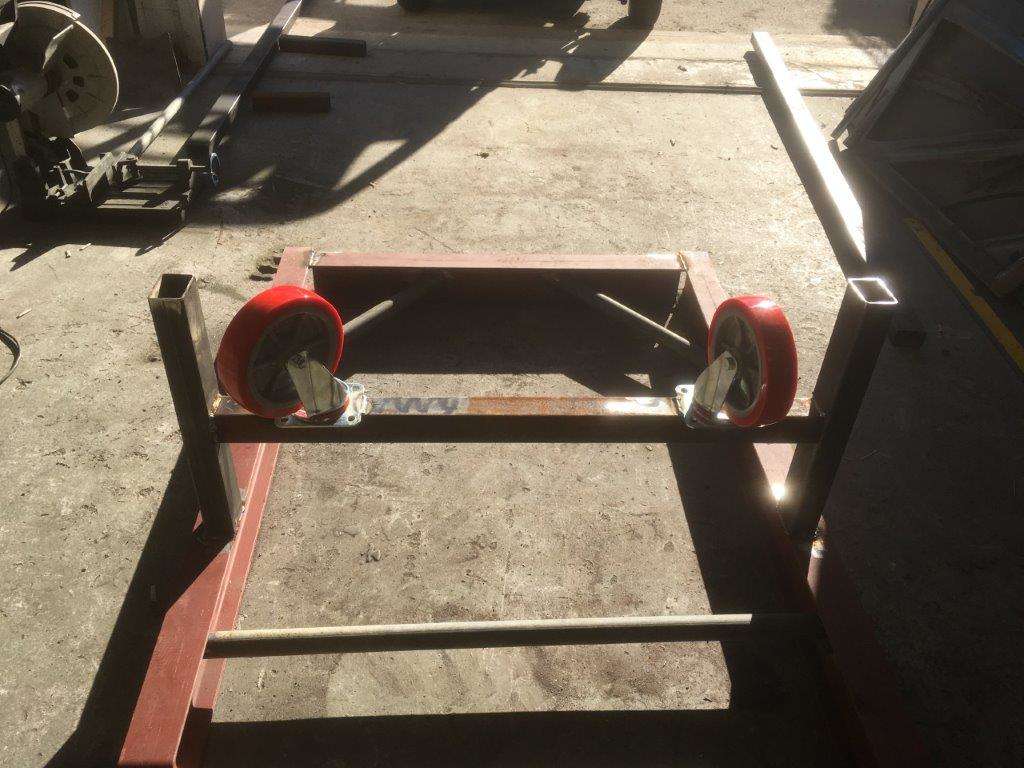
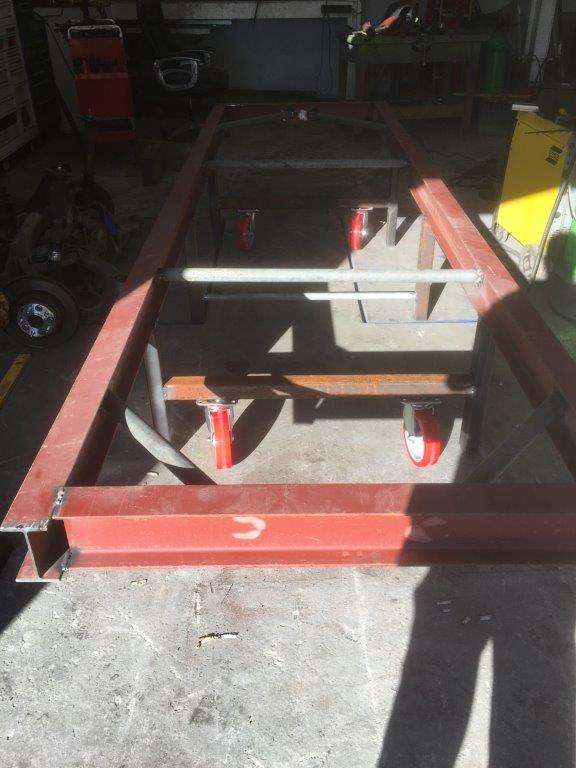
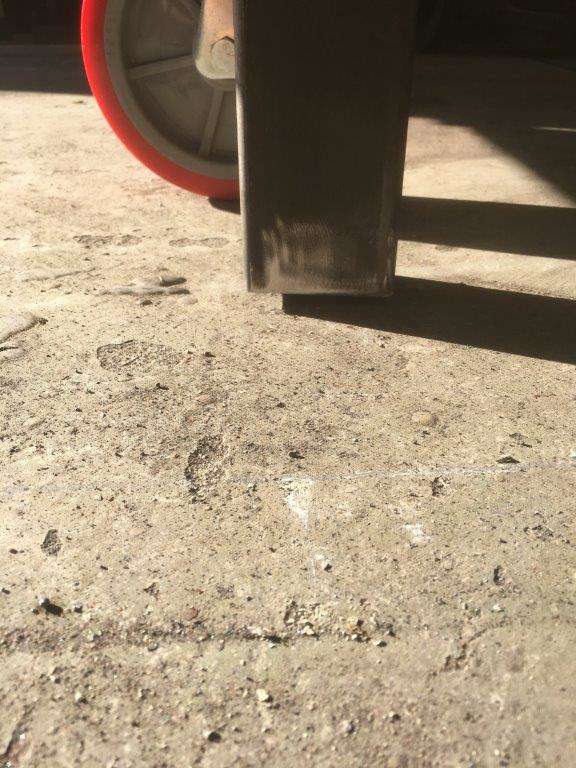
Ahh you may mock but I joined the Army at a very young age - and During The War I witnessed many strange things not least of all a real officers tea party in one of the 'Stans' Aaaaaaaand back to the build So I spent a few late evenings this week getting ahead on a job that the client wanted sorted by end of play Friday - Signed of at 10AM this morning giving me the afternoon of and as these had arrived - I thought I'd crack on this afternoon, Got some legs sorted out with cross bars for the wheels That all went wheelie well so I flipped it back over to test the deliberate mistake Yes it was deliberate the legs don't reach the floor I'm not actually happy with it I gave it 10mm clearance when on the wheels and it's fairly close but its not enough, I will just have to cut a bit off them when I do the final bit. However the parts I need to finish haven't arrived yet so I left that there for now and moved onto .............................


-
The other bit you need I assume is this - No idea I reused mine and even had this one in the Zed Shed from another strip down they are quite robust and can be reused. The pic may help with a part number but you could for a pre loved set.
-
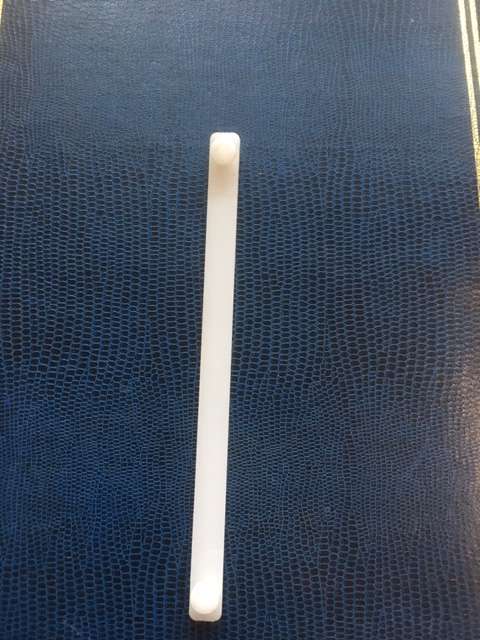
No sooner said than done My eBay history does not go back far enough but................... For a lot of the wiring I replaced with these (not sure if they are the exact same ones but close) and riveted them on https://www.ebay.co.uk/itm/Cable-Tie-Cradles-Cable-Tie-Base-Cradle-Saddles-Fixing-Cable-Tie-Saddle-Bases/132739248112?_trkparms=aid%3D555018%26algo%3DPL.SIM%26ao%3D1%26asc%3D20140122125356%26meid%3D5d7650bd557f4150967803052a8f8fd3%26pid%3D100005%26rk%3D3%26rkt%3D12%26sd%3D192093252509%26itm%3D132739248112&_trksid=p2047675.c100005.m1851 And the other ones (from a BMW ) Were something like this https://www.ebay.co.uk/itm/BMW-Cable-Wiring-Harness-Loom-Zip-Tie-Holder-Clip-61136912200/292744235449?epid=16024175397&hash=item4428ea89b9:g:fA4AAOSw8JZbqrdp:rk:69:pf:0 I didn't pay that much for them though and you need to find out the hole size they fit, although I actually got some generic ones and drilled the correct size hole for them in some places but I did almost bare shell the car
-
I don't think its aluminium I think its steel, not that it matters, as for the other clips I got some that would do the job from eBay, I assume you mean the plastic clips that snap into a hole and have a zip tie top to hold the wire down. I got some that snap in but they have a loop on top so you can put a zip tie through it - and if you remove the zip tie the loop remains intact so can be reused. I'll see if I can find them but it was 4 or 5 years ago!
-
That would be awesome if you could please I think I can wait until the weekend I doubt I'll be even close to needing by then - I just forgot to take that one measurement Thanks
-
Due to interest I may do a time lapse of the build and see what it comes out like - just for fun at least you lot will watch it if I post it up
-
Don't you remember standing in the rain on top of wall while we winched a 400KG RSJ in the air mate? Then trying to finesse it onto the steel box section upright??? I have total faith that my winch wire will snap before the RSJ or your block work even groans I think the maximum load I will lift will be well inside the tolerance of the roof - but I may be wrong Hopefully not though!!!! I have no intention of even lifting the whole lot it's original purpose was to lift the body on and off the chassis but it's already helped with the rear subframe and now my new chassis table so it's proving it's worth If it all goes horribly wrong you will have more to do than just my new steps next time you are round
-
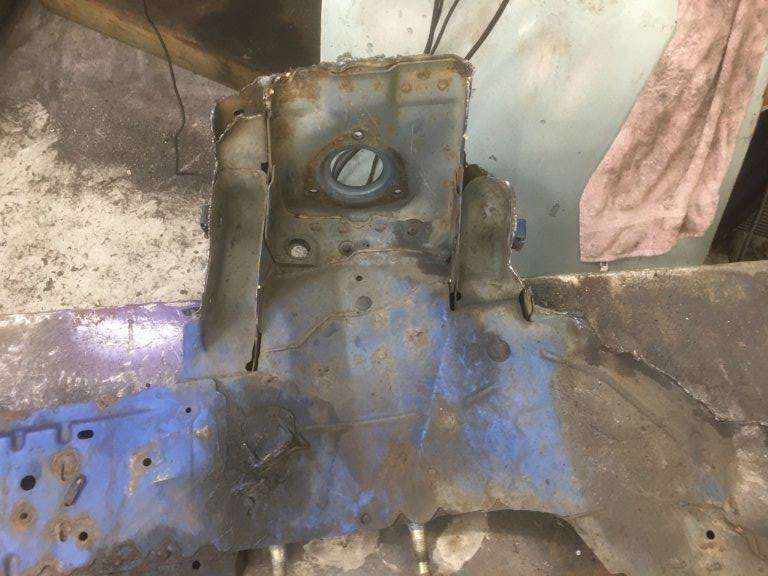
The 2 white zip ties hanging off the front of the rear subframe hold what I would describe as a dust shield, its a half moon shaped piece of metal that goes from the front subframe mounting blocks - thats the 2 normally rusty lumps of metal on either end of the W brace and the front subframe bolts pass through. I have no Idea what it does other than stop dirt getting up above the subframe though. Hope that helps a bit
-
bump
-
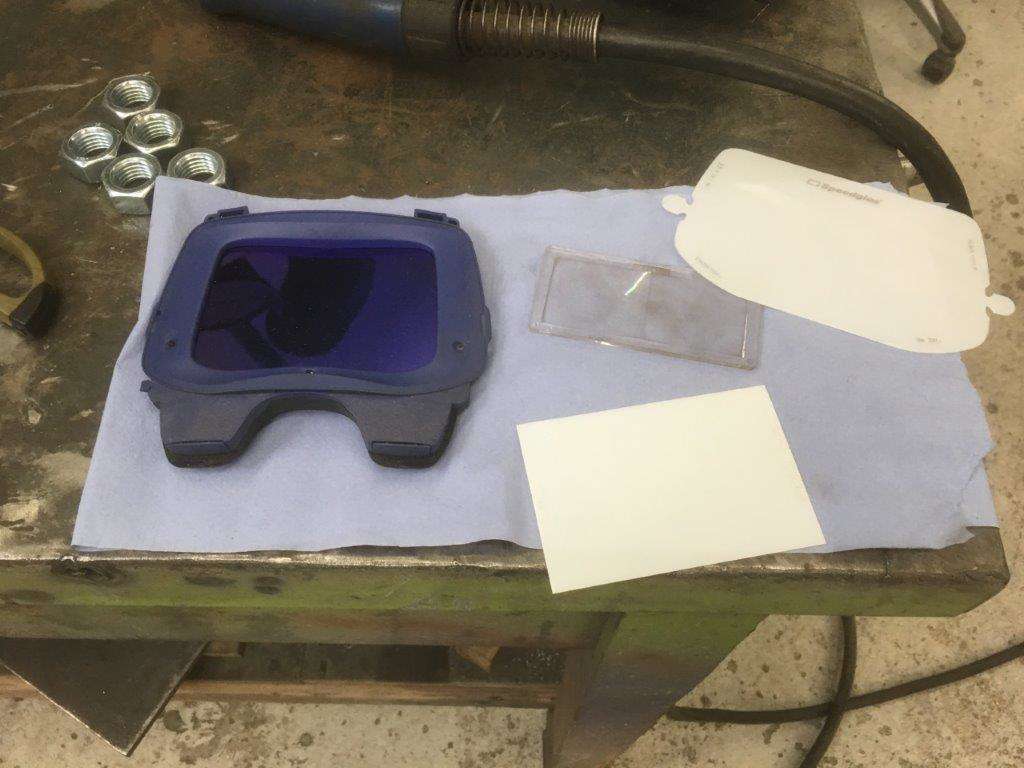
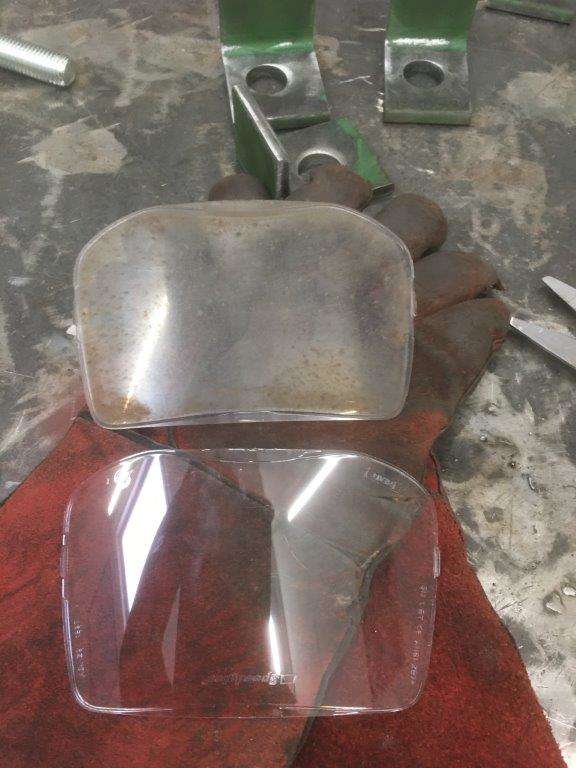
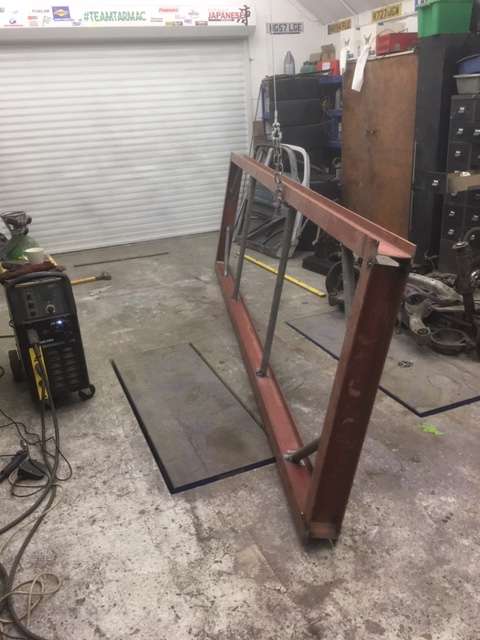
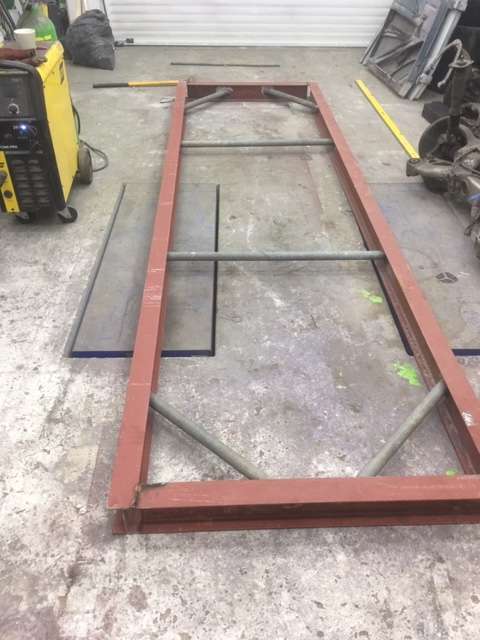
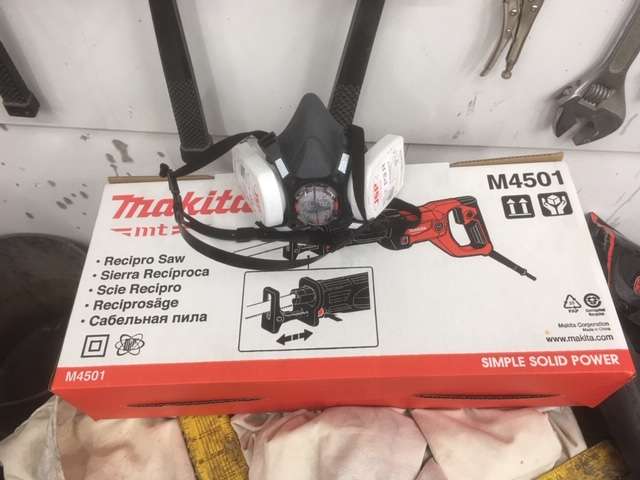
Pull up a sandbag and plug in a prick through I have a story for you, During the war we often came across these bleeding smart arses, I can tell you these war dodgers thought they knew it all but they knew nothing! Let me tell you the likes of @Jetpilot and @mattross1313 were all mouth and no trousers, but when the hordes came over the hill we showed 'em a thing or two, They found out where the term "Friendly Fire" came from Anyway thought I'd update you guys n gals on how little you can get done in an hour an a half! Not much Heavy lift required .................. no problem new winch to the recue turned it over to get to the bottom and finish welding the new (old bits of scaffolding) supports in place Prepared the corners and more welding Legs next, was going for 4 then 6 but think I'll up it to 8 - don't want it sagging!! Also got some new toys Reciprocating saw as I broke mine and a mask - all the grinding and sanding down rust is making a very dusty work space and I have the doors shut so I annoy the neighbours less I use the paper disposable ones but they steam up my glasses, don't fit well and last about 5 minutes! so I thought I'd try something a bit more industrial, first impression is really good, comfy enough and does not steam up my glasses That's your lot until Friday night at the earliest as I'm out on Thursday nights so saviour it Keyser AKA Uncle Albert Maximum Effort

-
350z parts List Updated 28/11/20 in first post
Keyser replied to Keyser's topic in Breaking For Spares (350z & 370z)
No worries thanks for letting me know -
We used to read the same magazines, I was the same but never had time to do any builds until my kids were grown up a bit and the house was sorted, but better late than never aye
-
Thanks guys I appreciate both the positive comments and enthusiasm, but I'm not really up there with the Project Binky and other amazing youtubers! I'm happy boring you lot with my exploits and I have a thread going on rods n sods hopefully to get input from guys that have done similar before, although it seems that putting modern suspension / running gear in is less heard of and dare I say may even be frowned upon - not sure how they are taking me at the moment But stay tuned and hopefully I can provide some entertainment over the winter and see where this leads us - possibly an awesome build but probably another unfinished project on eBay Keyser