

andybp
-
Posts
1,355 -
Joined
-
Last visited
Content Type
Profiles
Forums
Events
Gallery
Store
Posts posted by andybp
-
-
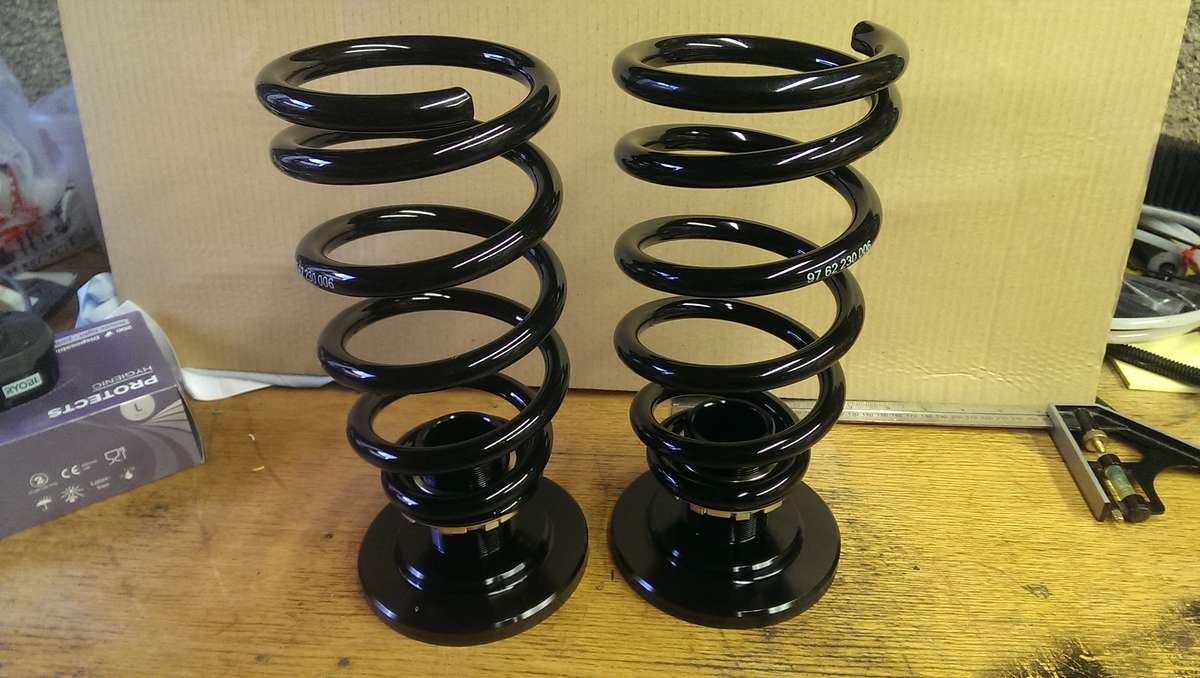
i think they are 6kg rear 8kg front were they bc coilovers as they are 230mm rear
")
-
 1
1
-
-
I would love to to take the pi** but you have given me no ammunition so I will say well done good to see you back on track
I know how hard it can be to stay motivated with these big projects and this is pretty damn big I think you've earned a crayon or 2 as a treat
")
-
 3
3
-
-
2 hours ago, Keyser said:
I'd explain it to you on you're level but I ate all the crayons

I'd apologize for being mean but you know I wouldn't mean it
-
1
-
-
2 hours ago, Keyser said:
Best post ever mate

Absolutely in stitches brilliant just brilliant - Now can you send me a copy?
Yea but who's the really odd looking crayon eater on the lathe
-
3
-
-
intakes balanced, still tuning
-
"That's over 500HP per ton by my calculations
 "
"
are you taking your body weight into that calculation

sorry couldn't help myself
-
4
-
-
37 minutes ago, bladerider said:
Apologies for such vagueness,
Im not fully familiar with 350z yet - just bought one as a track toy.
But I bet your fuel rail issues are because they developed the kits on older 60mm Bosch style injectors whereas the ones in your photo's look like the newer, shorter 48mm long ones - perhaps your car is a facelift and thats something thats been overlooked.
Apologies again if Im teaching you to suck eggs or barking up the wrong tree, Im new to zeds but not Jap engines lol
J.
All input welcome here
not sure about the injectors, but I've modified the rails now so not an issue any more
-
1
-
-
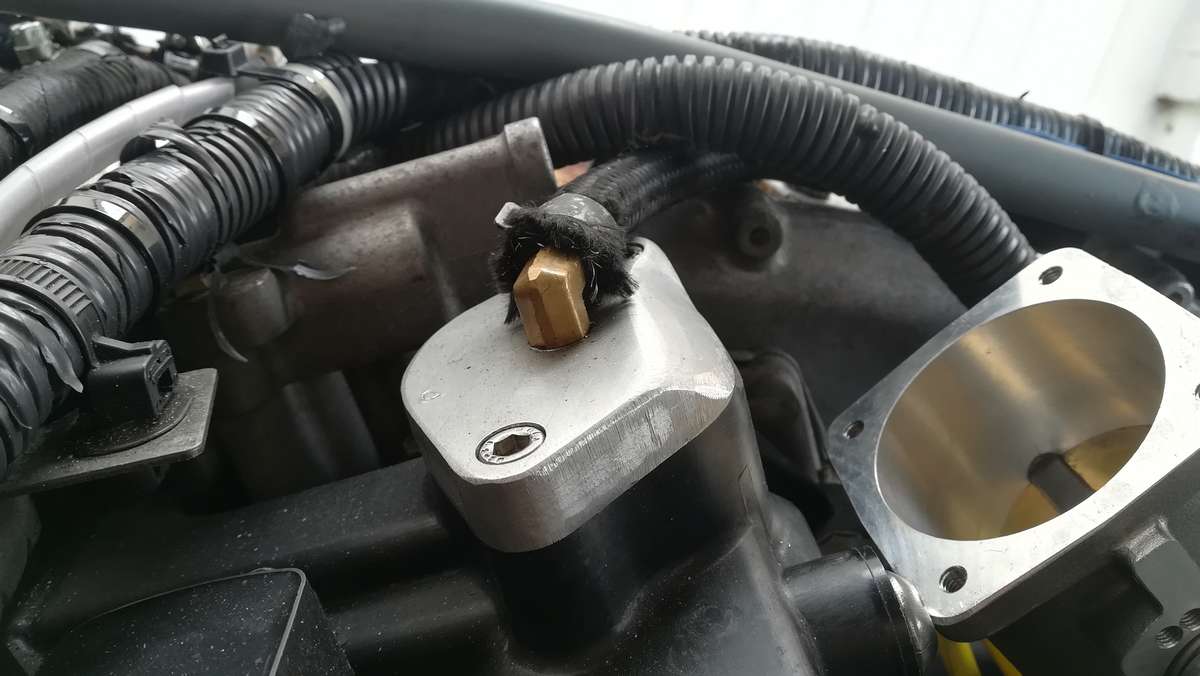
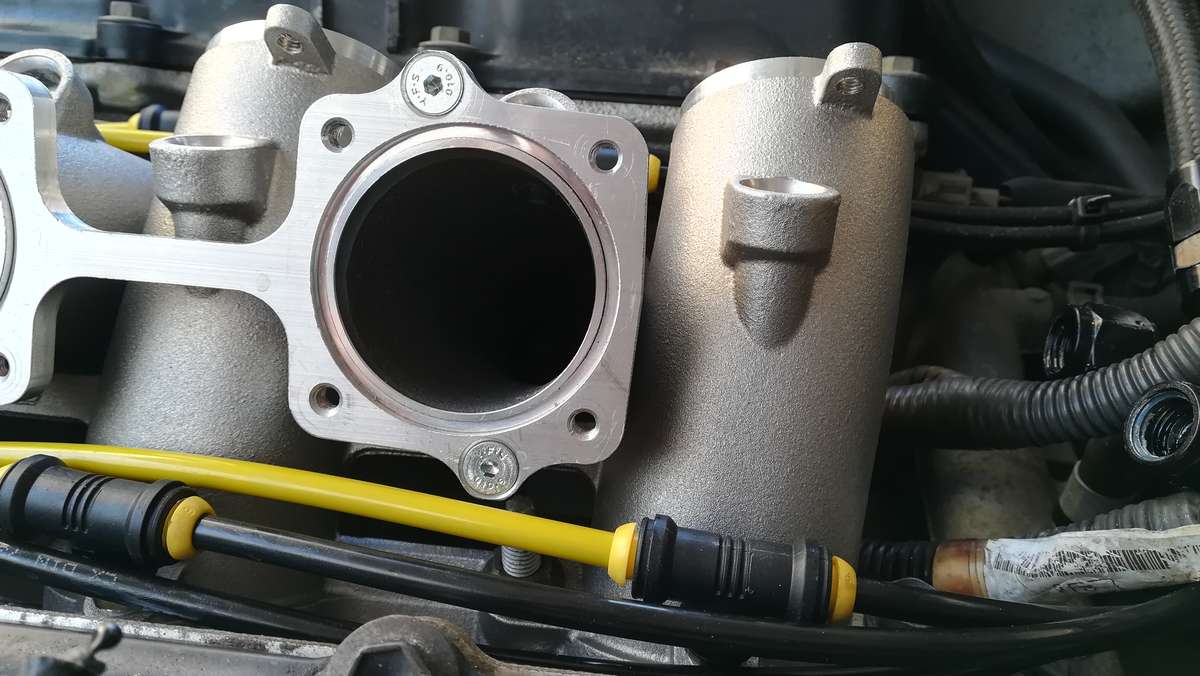
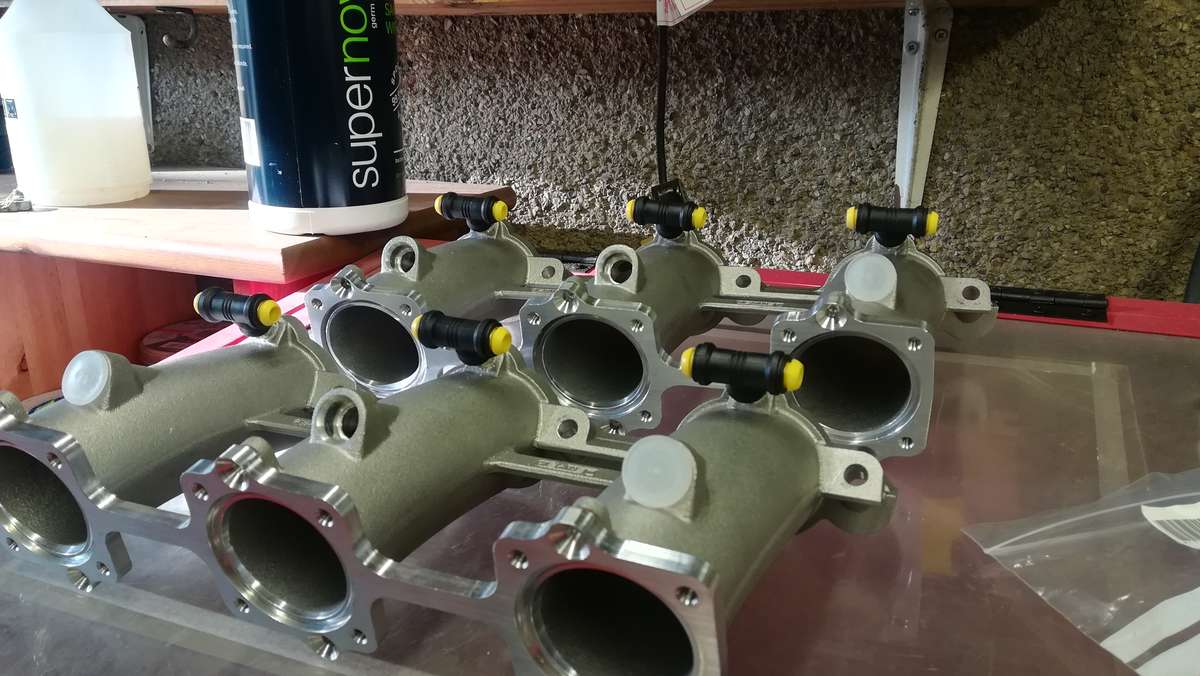
These are the insulating spacers I made to try to help with the heat issues
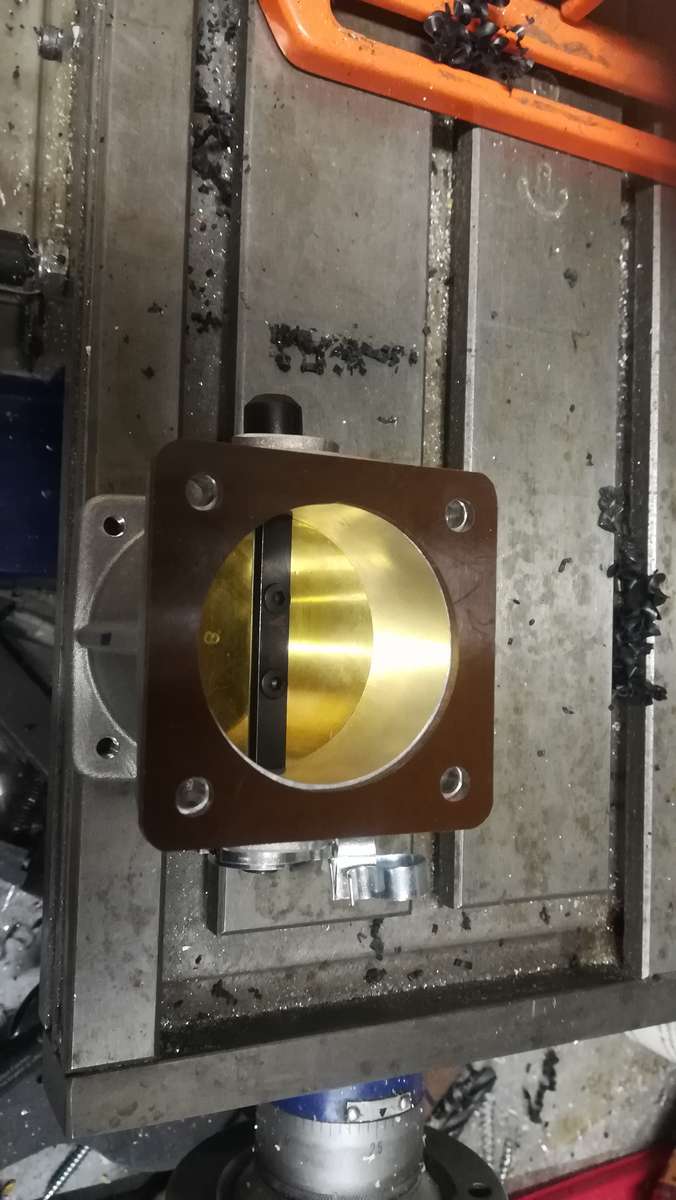
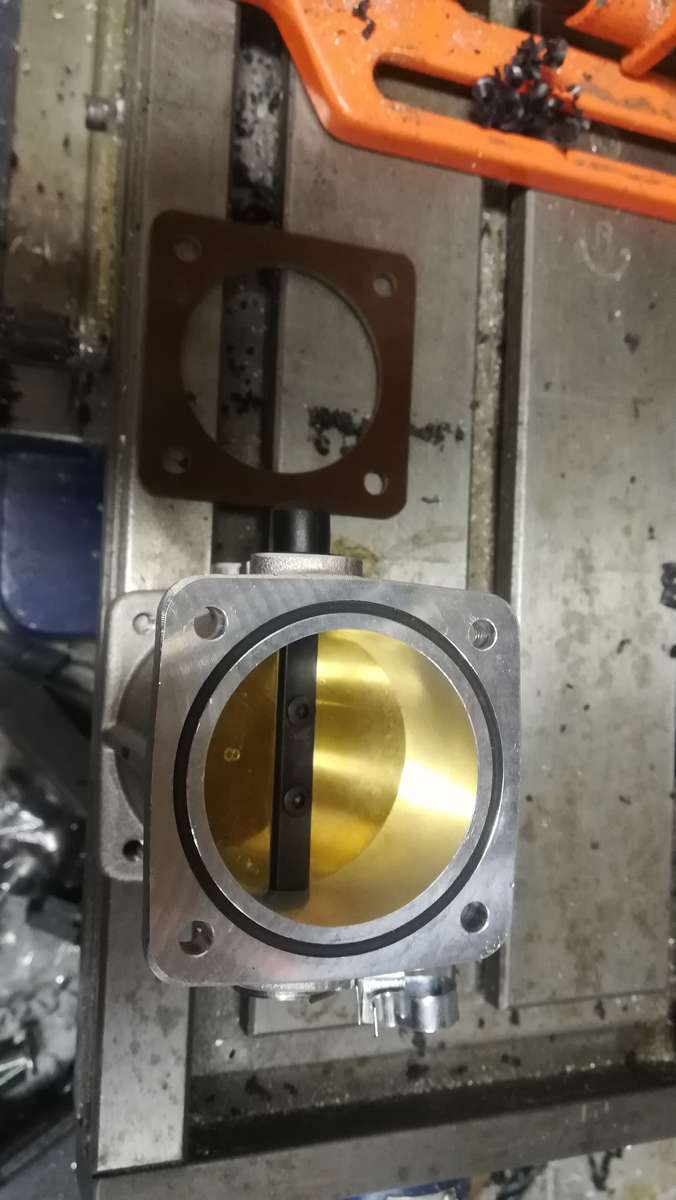
also treated it to new manifold to head gaskets
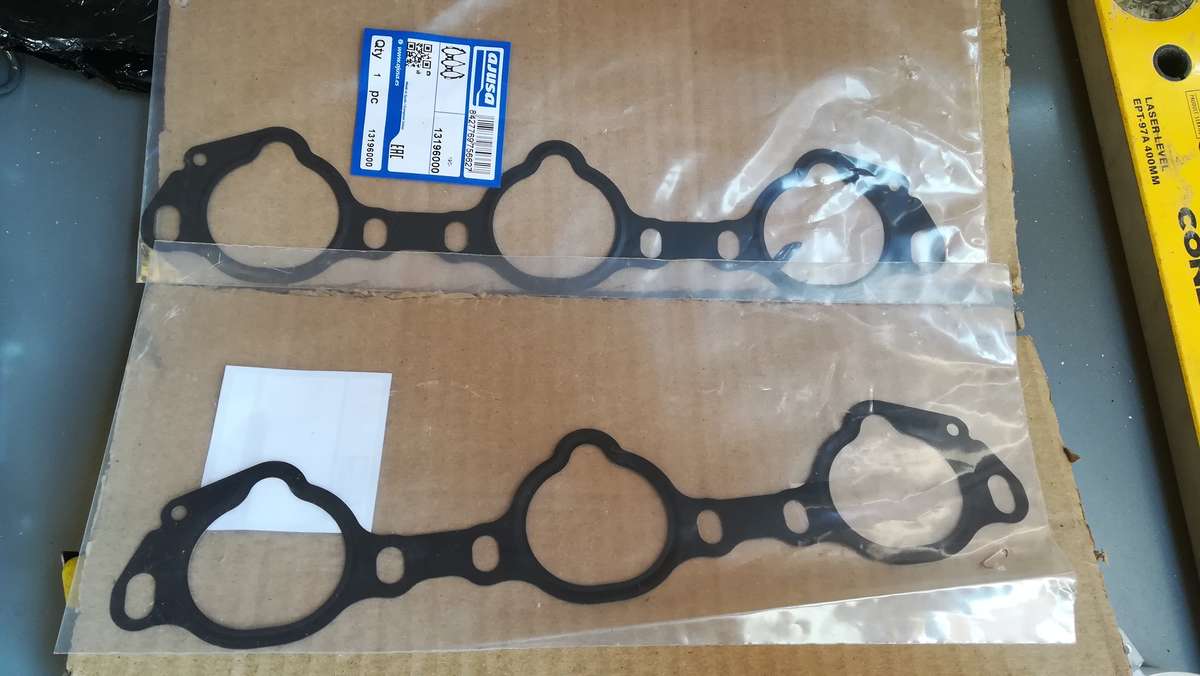
unlike the OBX setup there was no additional work to be done before installation it seems Jenvey know how to drill and tap holes all the way through and countersink as required to the right depth ( OBX take note)
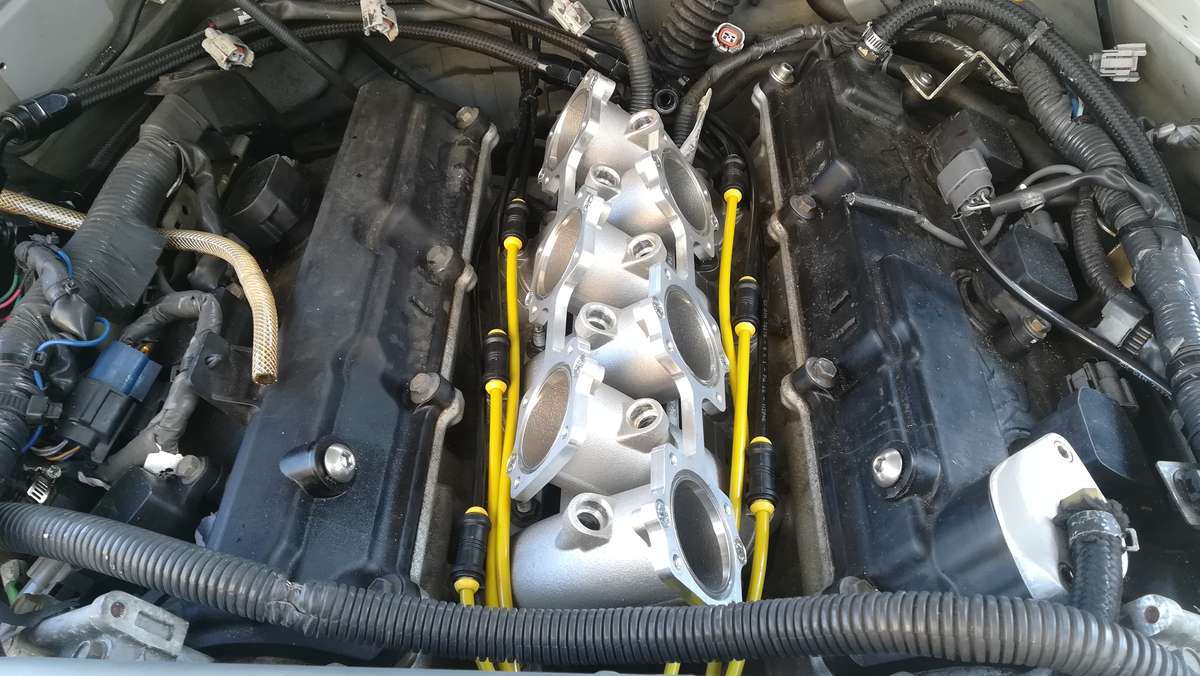
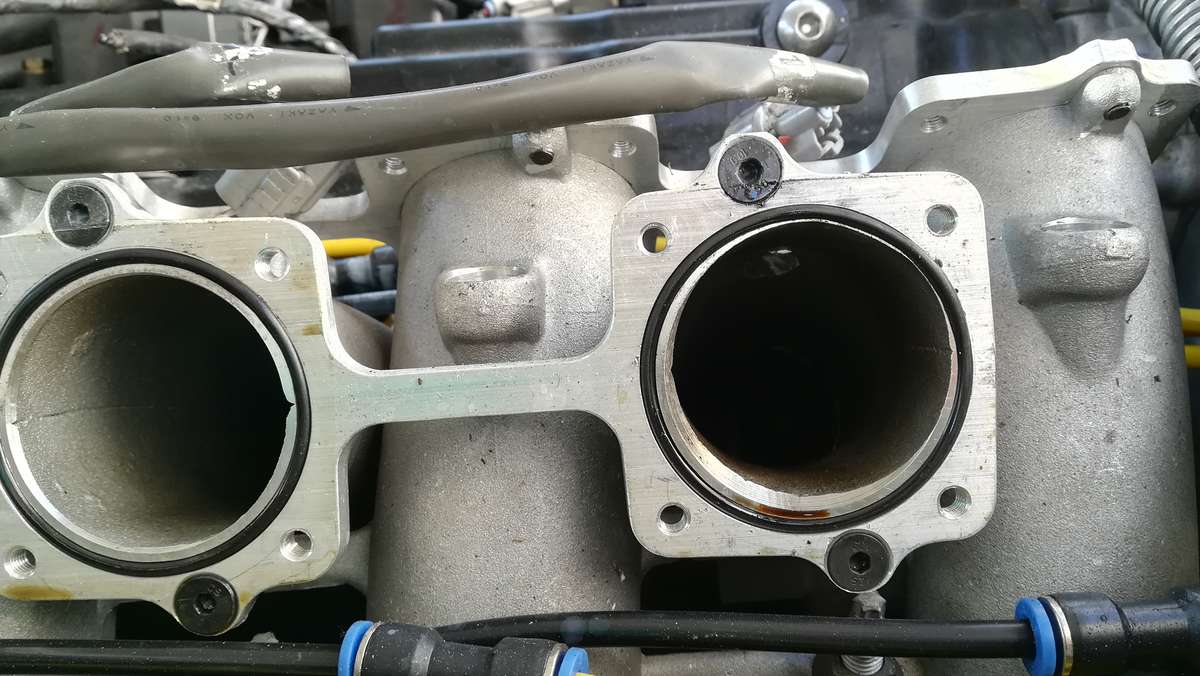
here is the manifold installed with vacuum pipework and fittings
and this is how it stands now
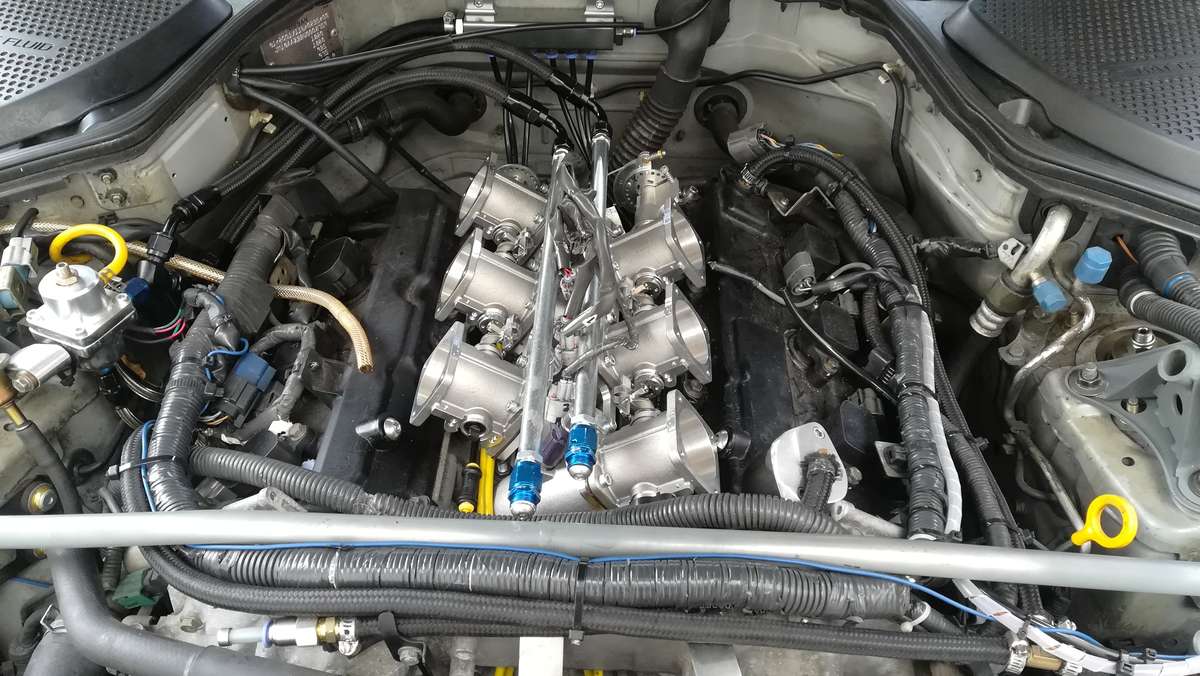
I have had it running but I need to balance the Throttle Bodies and sort out the accelerator cable
there were two things I had to do which I wasn't expecting one was shave a bit more off my filler cap nothing major
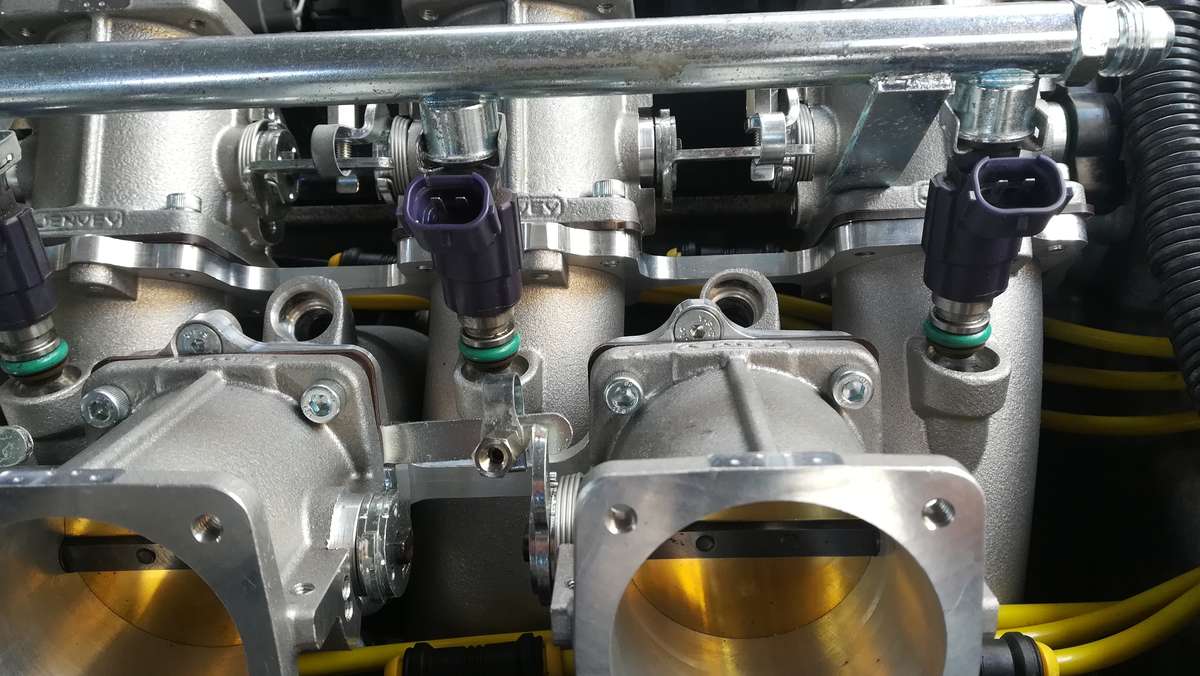
the other I wasn't expecting, the fuel rails didn't fit
as per the OBX supplied rails the fuel injectors would have to be 15-20 mm longer was there a VQ fitted with much longer injectors ? I have 3 sets original UK , JAP import and GTR all the same length look at the picture not even close
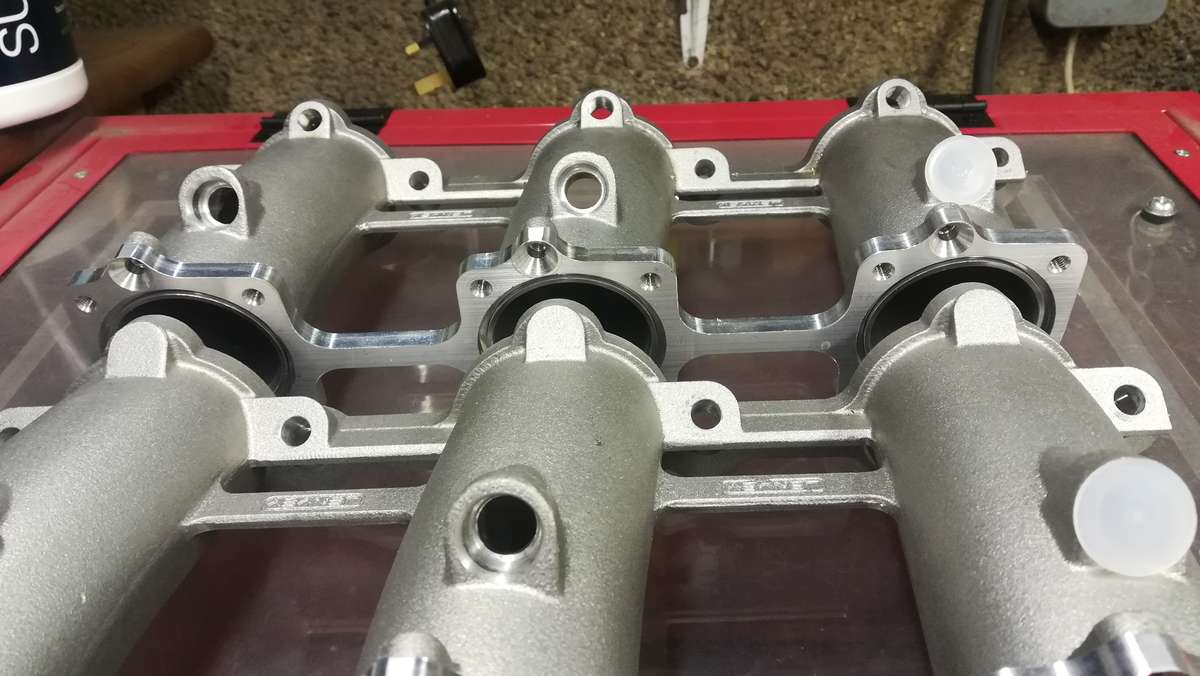
had to cut the mounting brackets to make them fit all ok now
and before I go here's a couple of pictures that showcases the difference between the Jenvey and OBX ones
-
2
-
-
I'm not sure where to start with this so here goes
Just as the weathers getting reasonable and I can carry on with this project someone on here (Reeco) decides to sell a set of new Jenvey ITB's at not much more than I paid for my knock off OBX ones so just out of curiosity I had to have them

At first glance they are identical but looking closer the Jenvey ones are far superior.
The castings are better and of better quality aluminium with no impurities unlike the OBX ones
The machining is more accurate, I haven't had to finish tapping holes or countersinking and everything lines up without me re-drilling holes
The throttle bodies themselves open and close more smoothly
The supplied fuel rails will also fit unlike the OBX ones
After the initial fitting issues of the OBX ones were sorted the only thing they still occasionally do wrong is not closing fully causing it to idle a couple of hundred rpm faster than it should; on a track car this wouldn't get noticed on a road car it's a little irritating but not a big deal it's also doing it less with use
So without a doubt the Jenvey ones are better but are they worth £1400 more than I paid for the OBX ones an extra £600-700 on a road car I'd say yes but not £1400
but that's just my opinion
But now I do have a set of Jenvey ones for near OBX money I'm already preparing to swap them over
I've already drilled and tapped the manifolds for the vacuum system and also made some insulating spacers to go between the manifolds and the throttle bodies to help overcome some of the temperature issues with the current setup
-
2
-
1
-
-
It's taken you long enough to make your mind up
But seriously good luck with this It's been a pleasure
-
1
-
-
29 minutes ago, Keyser said:
How do I do it?
I can add photos, delete complete album, but how do I delete a picture from "My Albums"
Help please
are you just trying to get rid of the evidence of your blurry photo's

-
1
-
-
doing an awesome job Jake keep it up
-
1
-
-
9 hours ago, Keyser said:
OK It is now call Project Elrond
Ref Legolas are you not getting confused with Smeagol
Either way it still only counts as one
Not sure if I'm Gandalf or Gimli
Definitely Gimli
-
1
-
-
8 hours ago, Keyser said:
Hi All

Overdue update

As i Have far too many projects and you lot seem to like seeing my antics I thought I'd just keep them all together
I have done a bit on the pop I'm just not showing you lot yet as you will no doubt think I have lost the plot (spoiler - I have)
Slowing down the Pop project is phase 1 of a top secrete project that @andybp is helping me out with

However Phase 1 was completed when this arrived -
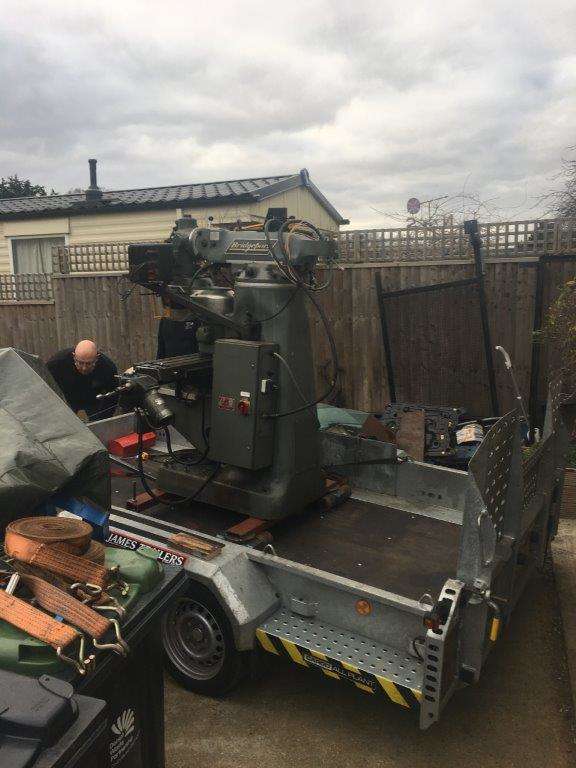
Out with the old
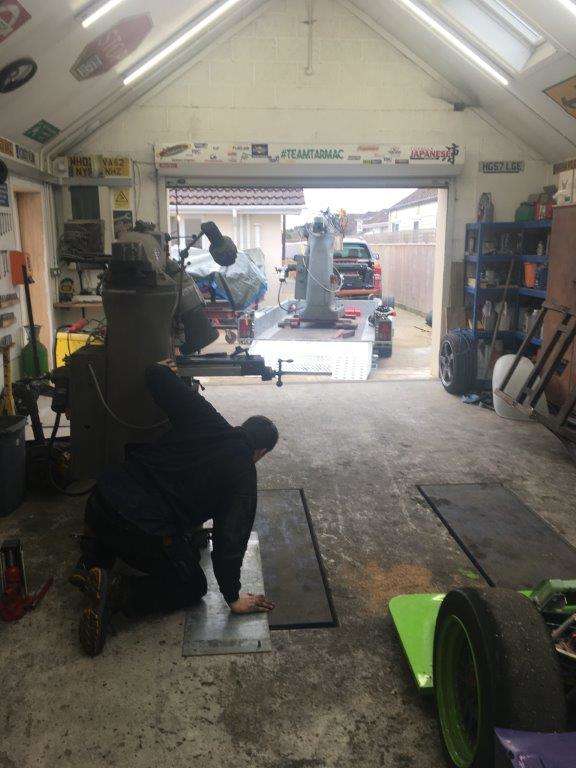
In with the new
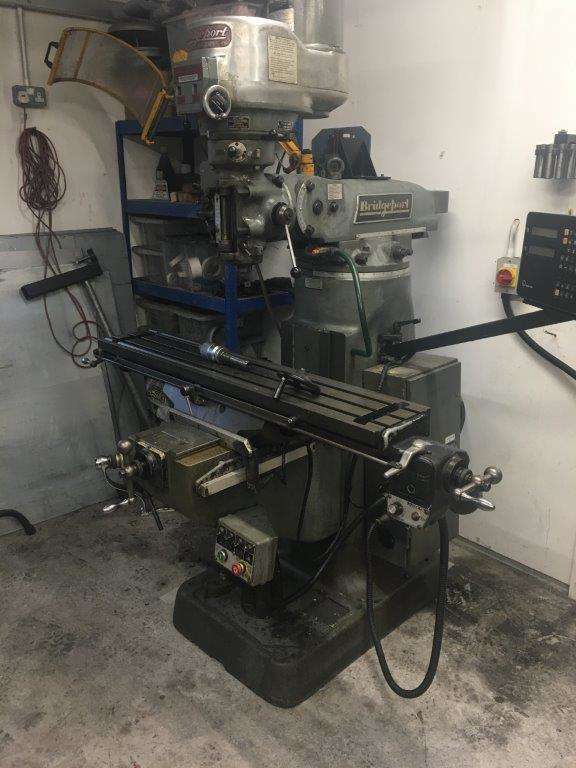
Spot the difference? No nor can I
My Milling machine motor bearings are dying and the bed transverse feed is so worn it wobbles, The parts just for the motor were over £700 and then the bed would need work, I ended up chatting with a guy local to me that sells engineering equipment as well as servicing them he offered me a part exchange on mine which cost less than the parts (let alone labour) to repair mine.
So that was a no brainer and I did the deal - just need to get it wired back in and I'm good to go
Keyser
Maximum Effort
If it's a TOP SECRET project do we get to call it project Elrond, And if we do I want to be called Legolas from now on cos he was a pretty boy like me
-
Hey did you just throw me under the bus ?
Using my name along with words like slowing the project down.
And after I offered you humanitarian aid as well
-
and good luck to your neighbours
-
1
-
-
How the other half live
actually after eating all that the other 3/4
-
2
-
-
yea come on pull your finger out or did you have too many mince pies and just can't move yet

-
I ran mine like that for a while, just put a cone filter on the end of the intercooler, meant I didn't have to keep putting the car back together to use it
-
46 minutes ago, Ekona said:
Very chilled out at work thanks mate, I didn’t really know what to expect not having worked an Xmas day at the prison before but it was relaxed and genuinely decent. Started the day with a non-alcoholic Buck’s Fizz as I brought in some OJ and Shloer so that made it feel a bit more normal at least!
Hope you had a good day too fella
If it's any consolation this is only the third Christmas day I've had off in 17 yrs since I started my current job I'm back at work tomorrow at 7:30 am straight into standby until 7:30 next morning then at work for the rest of the week off sat then standby sun to mon It's a 24 hr a day industry if you stop flushing I can stop working
-
1
-
-
Happy Xmas everyone
-
1
-
-
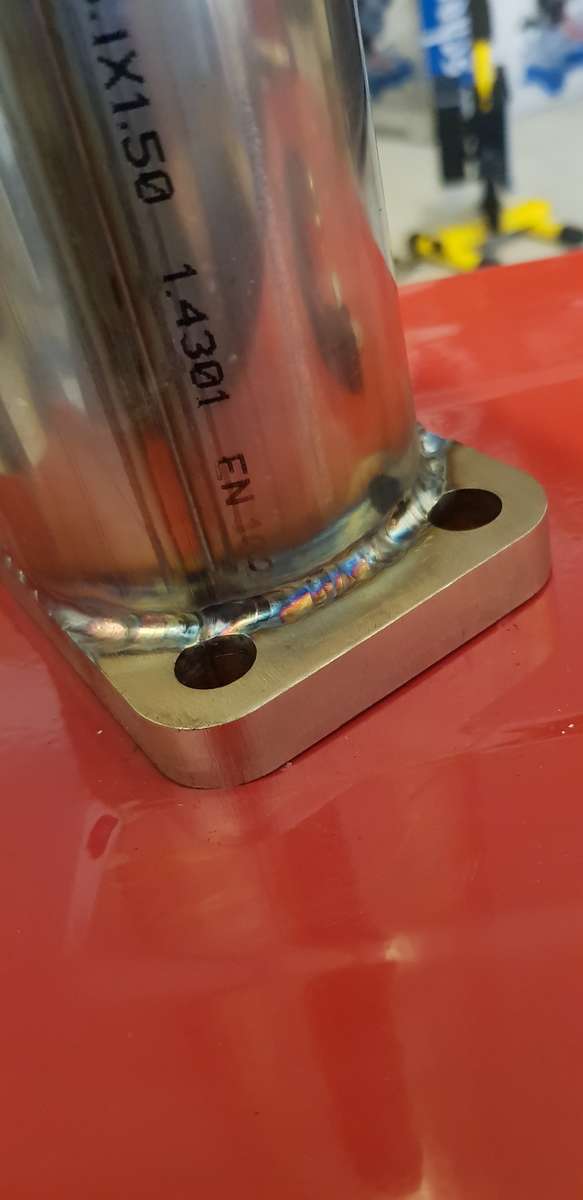
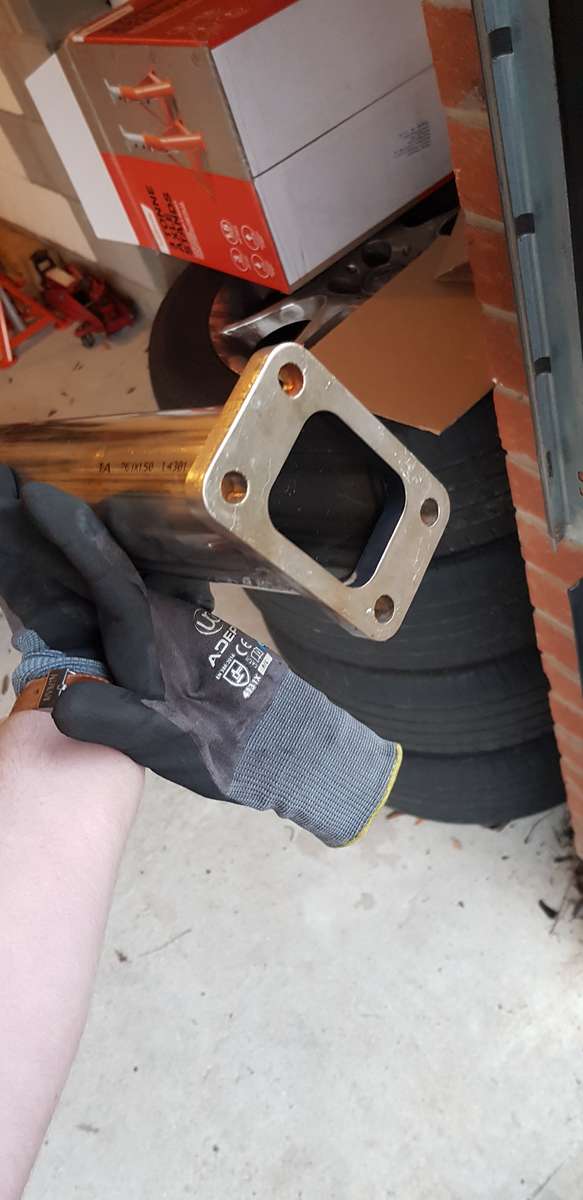
20 hours ago, Jake.Lowther said:
Made a start on welding up the pipe from the exhaust to the exhaust side of the turbo. Still on my first bottle of Argon with no previous experience I think it's confident to say I'm a natural when it comes to Tig welding
I'm glad you're so good, I know who to come to now
now get back to work
-
1
-
-
look pretty much identical to my japspeed ones
-
Happy Birthday Chris
Now get back to work
-
1
-
DIY Air Ride Suspension
in Suspension
Posted
Ok so it's been a mad year work wise barely had time to scratch my ....
but I've managed to get a bit done this weekend .
Even though it was on rubber mounts and no different to the audi version the compressor was really noisy to the point where I was considering putting the springs back on so I took a look at what the big manufacturers (BMW/Audi) do and after some measuring I bought a complete second hand BMW X5 compressor and housing
I wasn't worried about the state of the compressor as I have my one which is the same which I swapped with the standard BMW one as I didn't know it's condition with some modifications to the wiring and the exhaust valve setup I put it back in the acoustic housing
the standard fixing for the spare wheel was removed
and the new complete X5 housing fitted in it's place
I don't have any pictures but the spare fits to the BMW housing with the standard Nissan fixing bur it sits 1/2" too high which is not an issueas I will have to alter stuff to hide the tank anyway
so to the important bit I turned the ignition on and the compressor should have started as the tank was empty but absolutely nothing happened, I've done something stupid I thought to myself then the car started to go up, turns out I just couldn't hear it at all it's gone from death rattle to silent you've got to love those Germans
also I'm still working my way through the suspension changing the standard bushes for poly as the extra suspension travel is knocking the standard bushes out
these are the second hand upper rear arms I've just done media blasted old bushes out new bushes in