


Keyser
-
Posts
9,958 -
Joined
-
Last visited
Content Type
Profiles
Forums
Events
Gallery
Store
Posts posted by Keyser
-
-
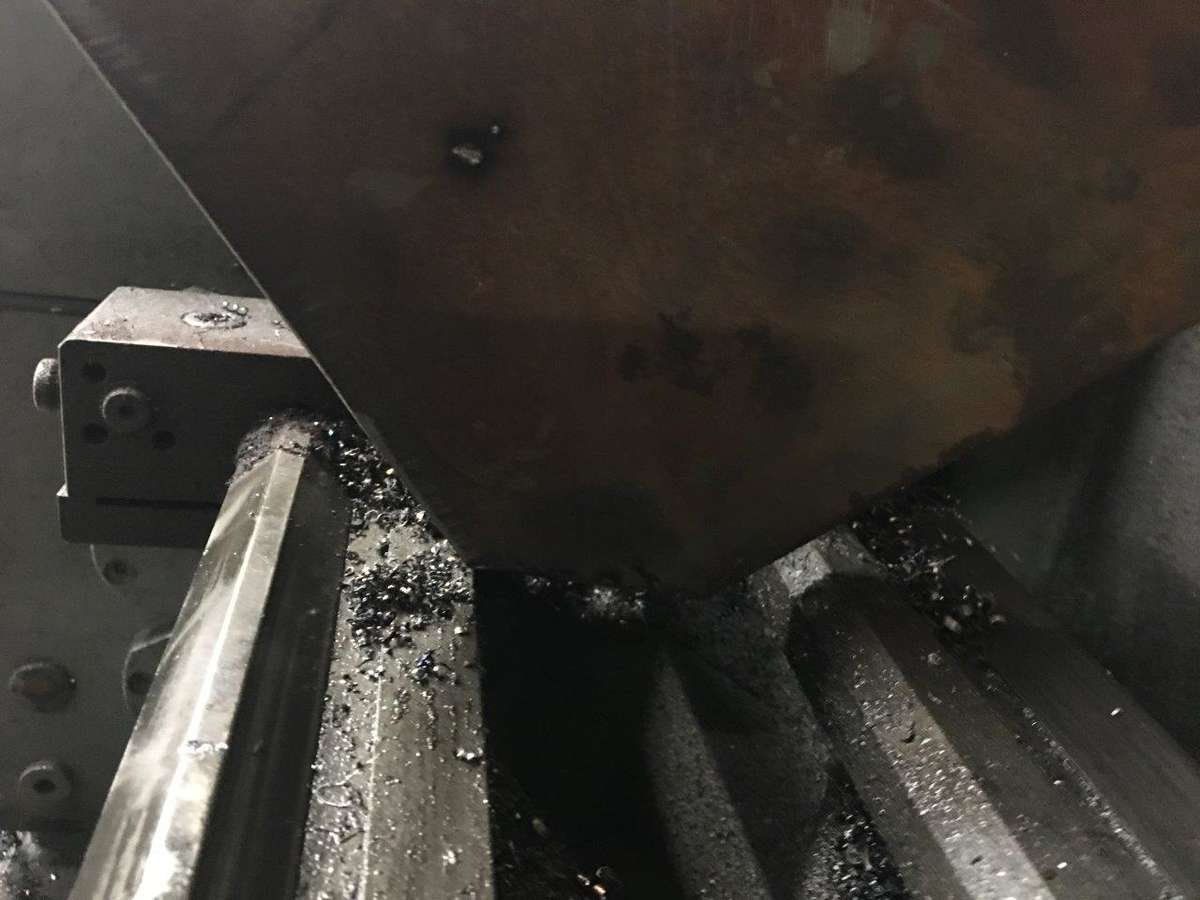
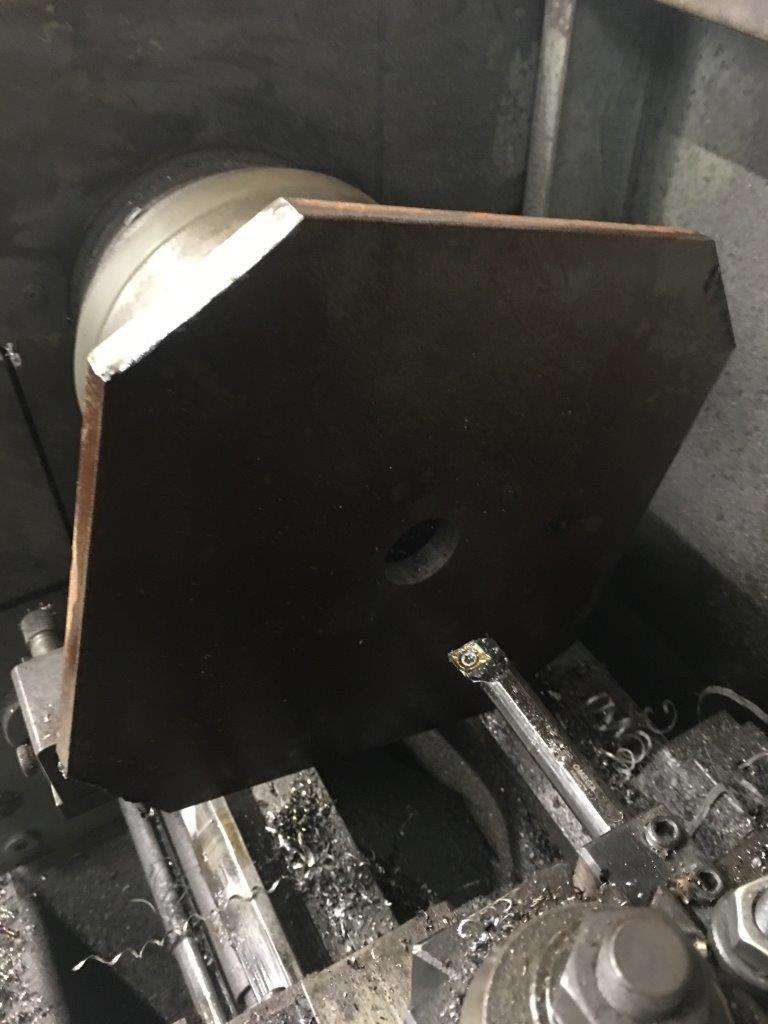
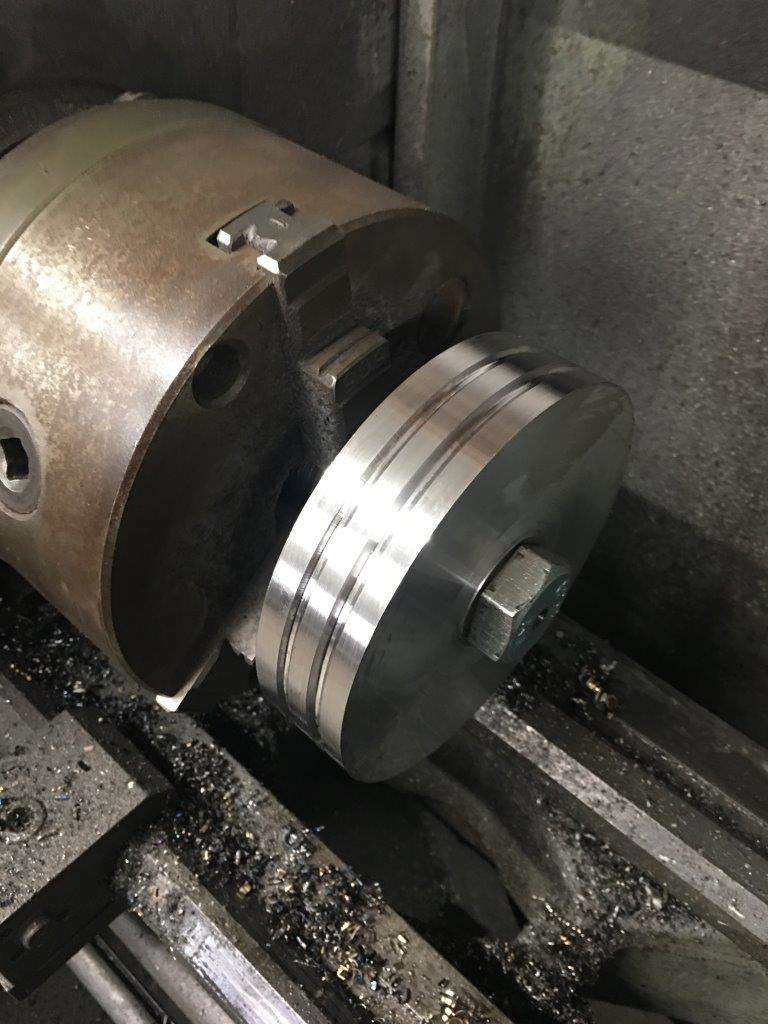
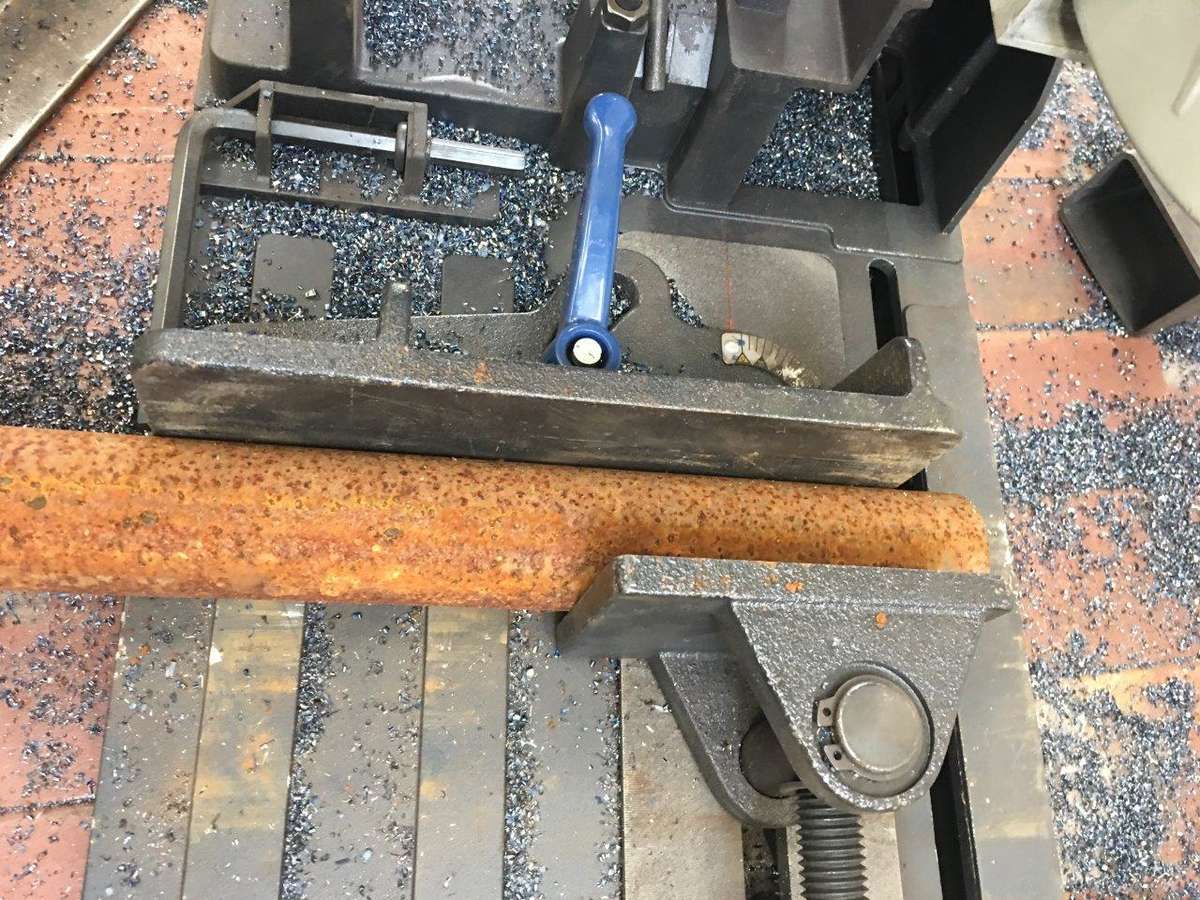
OK so now we have a die we need to mount it -
Mounting plate with a bit of tube to hold it -
cut
weld together

mount in lathe
it's a tight fit!
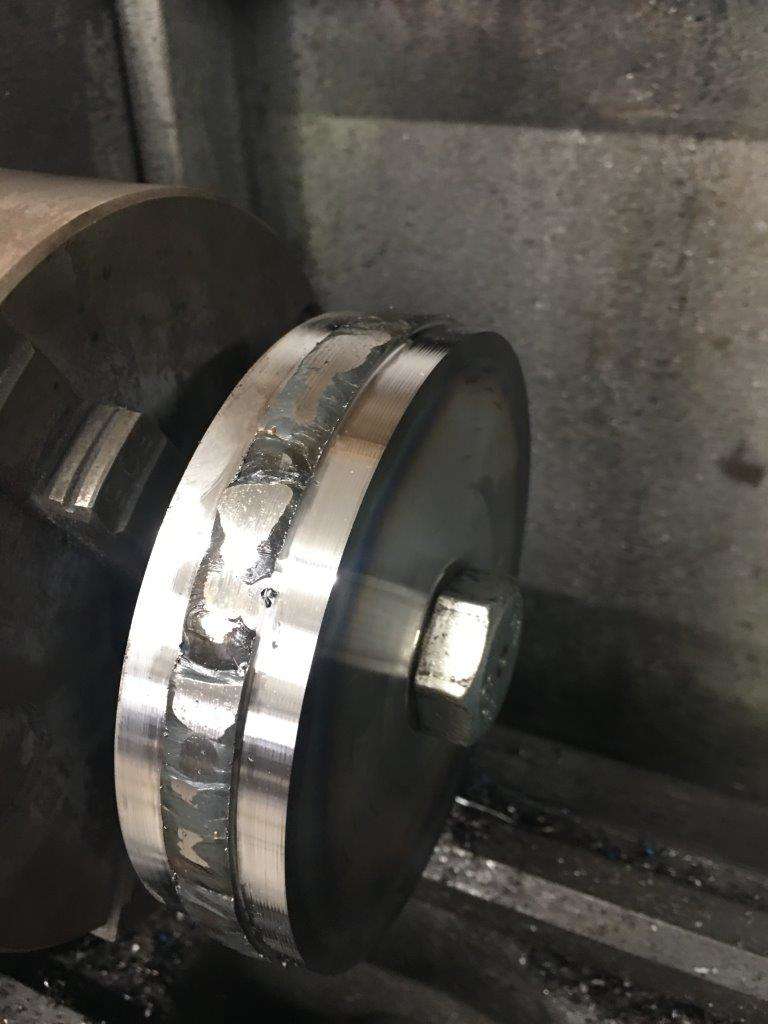
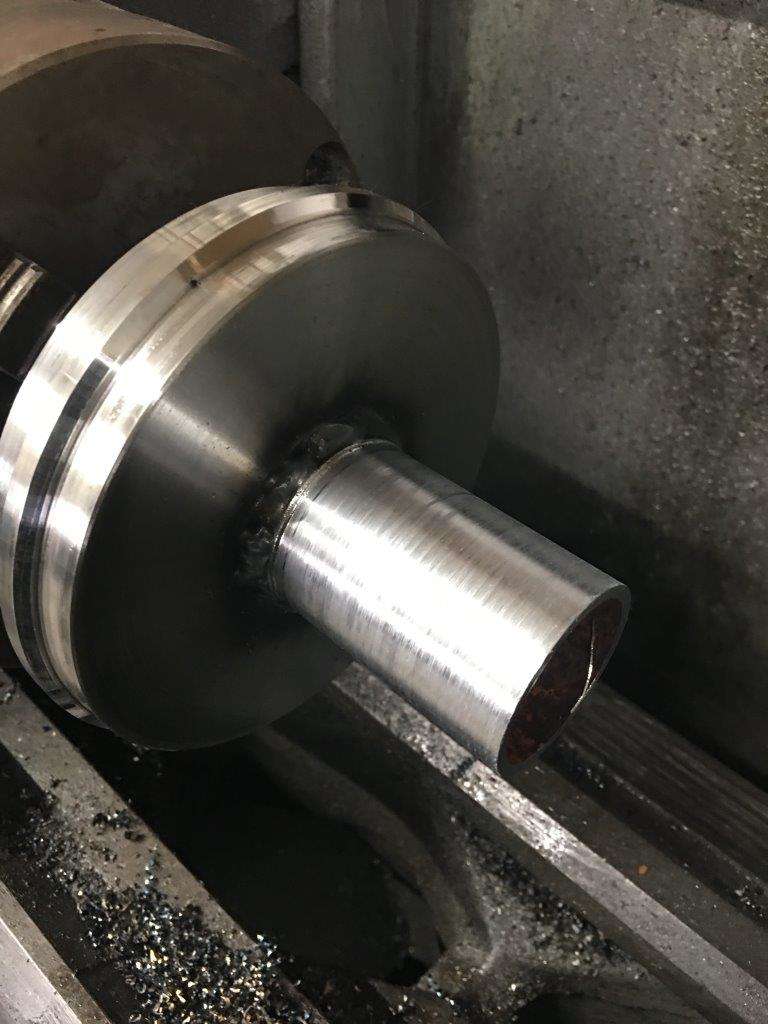
pilot drill
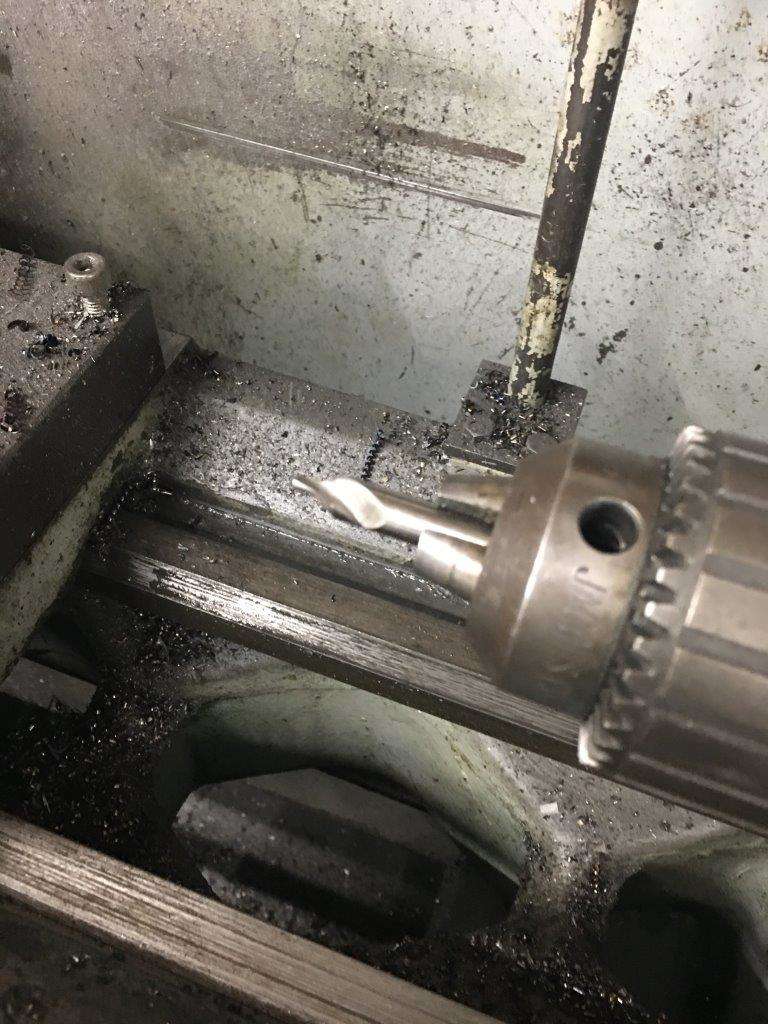
drill
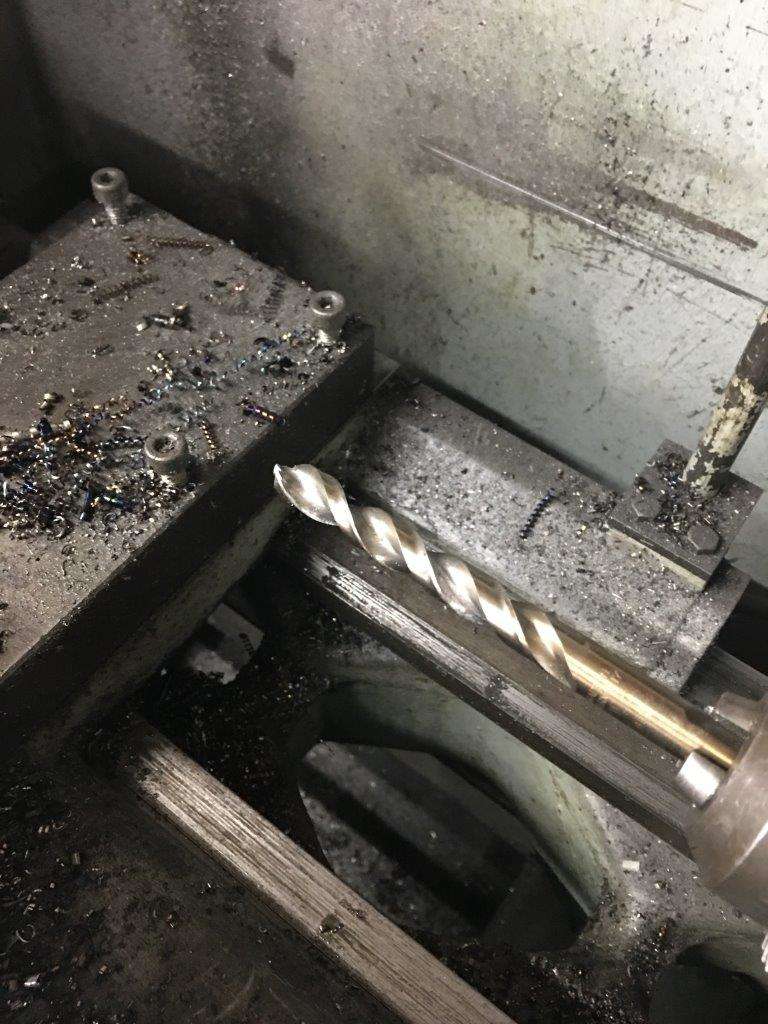
bigger drill
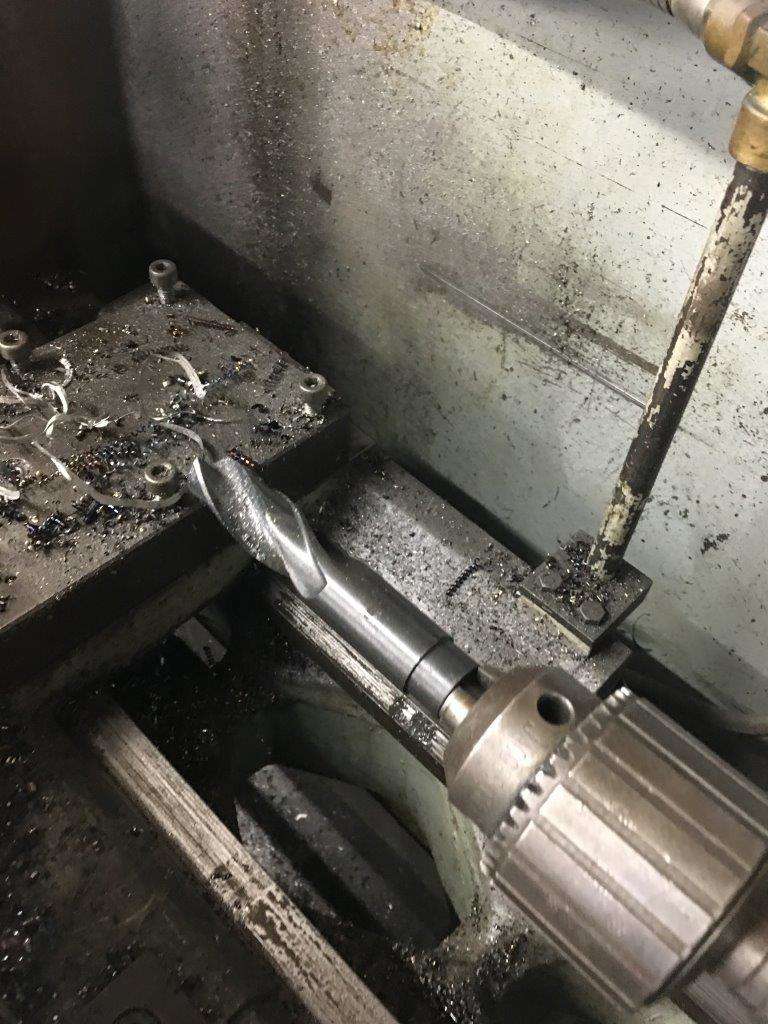
bore to 30mm
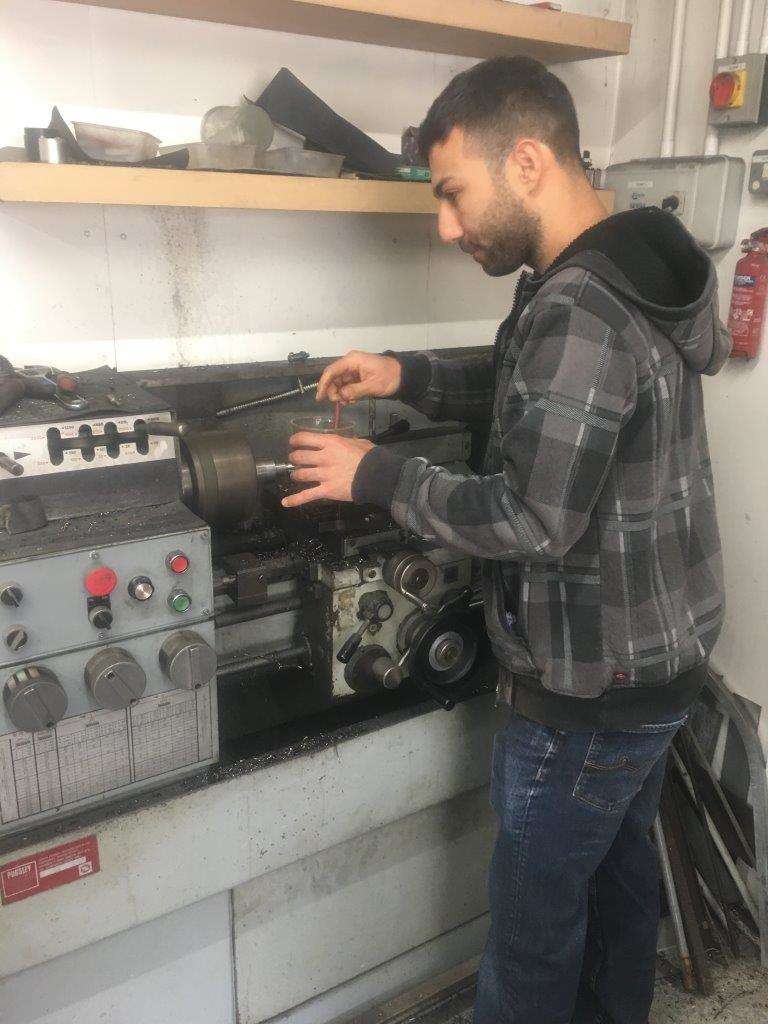
Beb in action on the lathe - I'm training him up as a replacement to my old tool @buster
remove tube
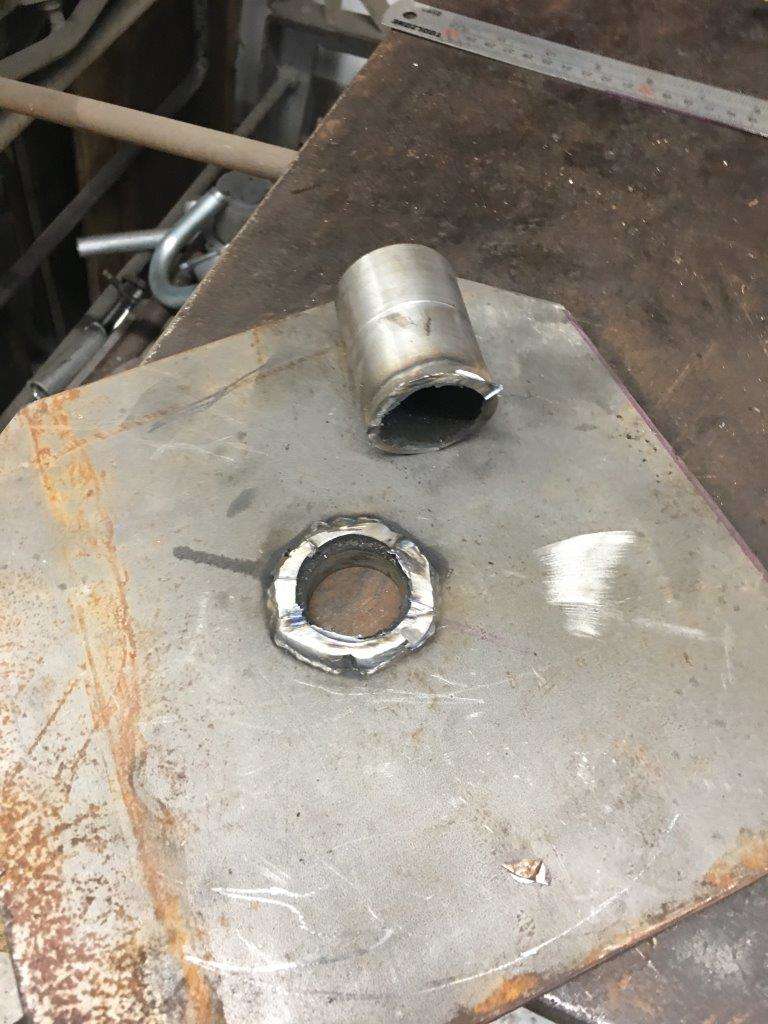
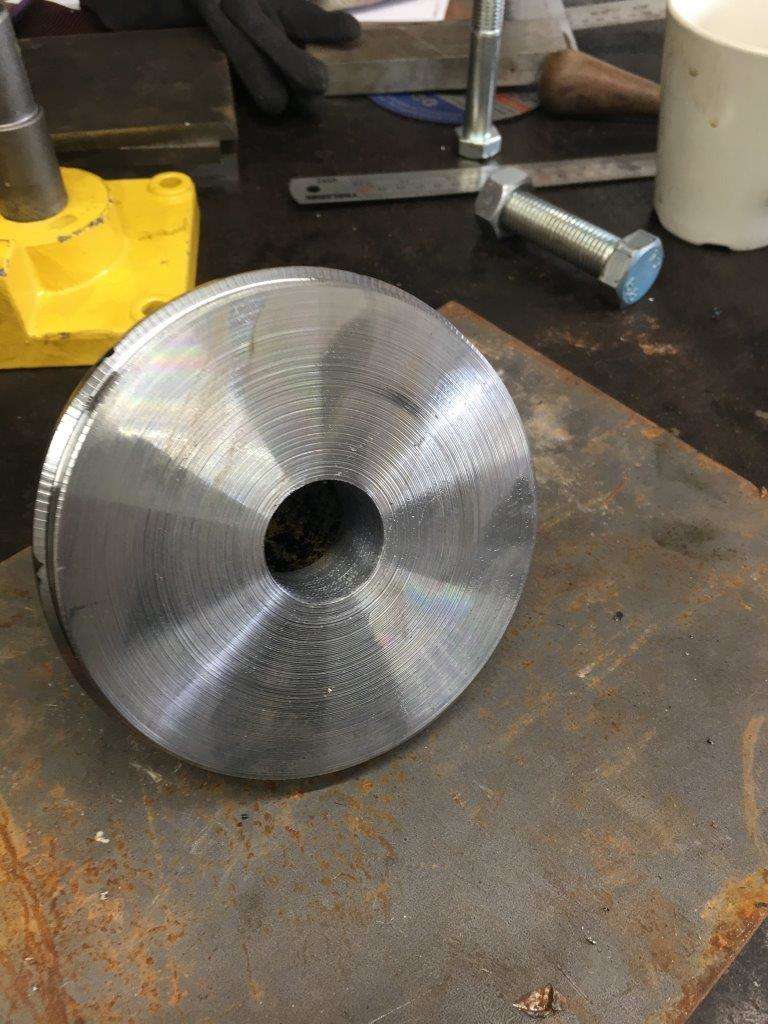
move to milling machine
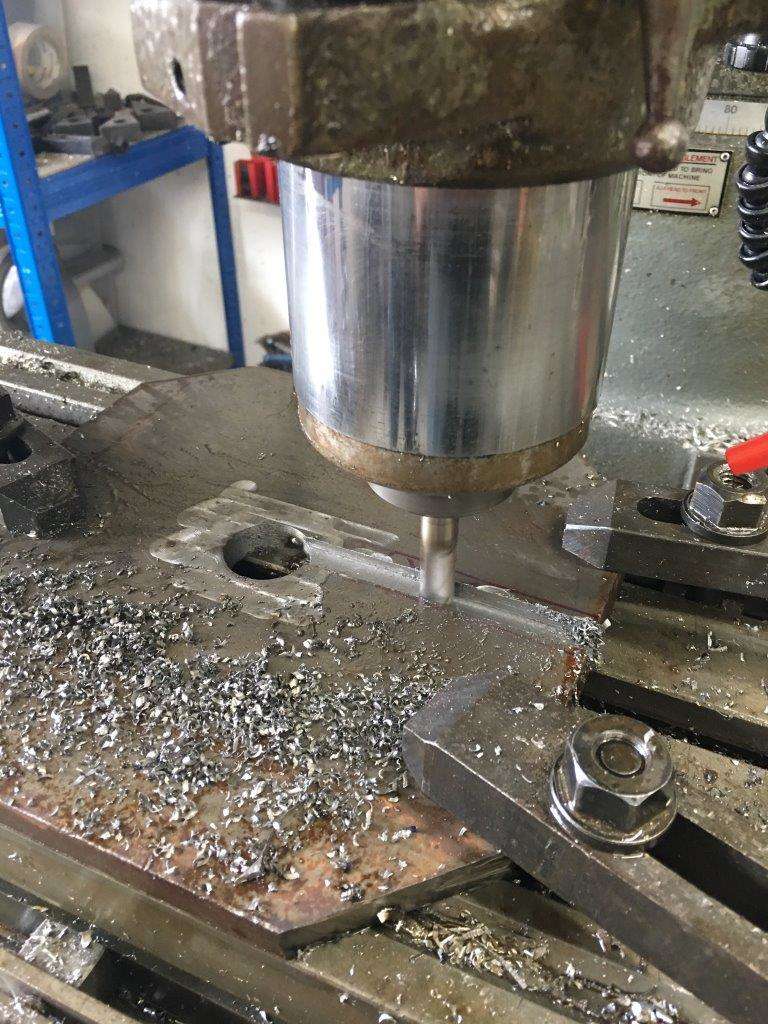
we end up with -
A lot of time consuming effort is going into this

More coming
-
 4
4
-
-
Now for something more fun??? - Adults should not read on - this is for (big) kids only.
This all started when @Beb invited me along for an evenings entertainment "Go Quading" along with some motorised scooters thrown in, these guys are insane, they have what is basically a kids scooter with an engine on the back, there are a few with electrical power including Beb's scary fast long board, brakes are an optional extra which most did not have
They do 20 + MPH - I know your thinking that's not that fast - It is when you are sitting on an old style school chair on a go-kart track
It is epic fun - so what does a Go Quad look like? -
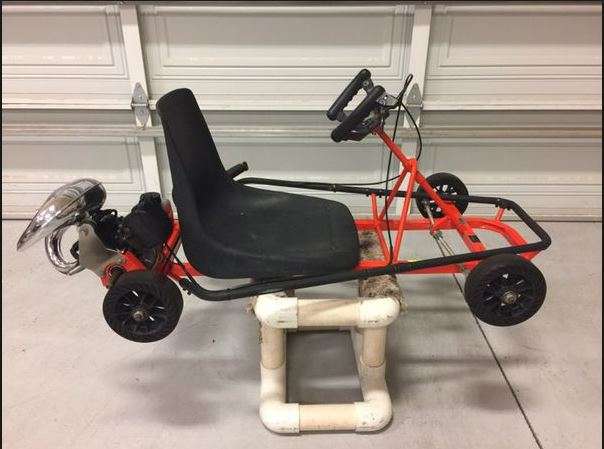
Great aren't they
")
Now Beb has an idea to modify one and convert it to electrical power - I don't think it's because he is eco friendly I think it's more to do with how fast electric vehicles can go think Tesla S
To that end he wanted me to copy the frame so we can start from scratch (yes I'm building one for me as well) and add battery packs and a motor.
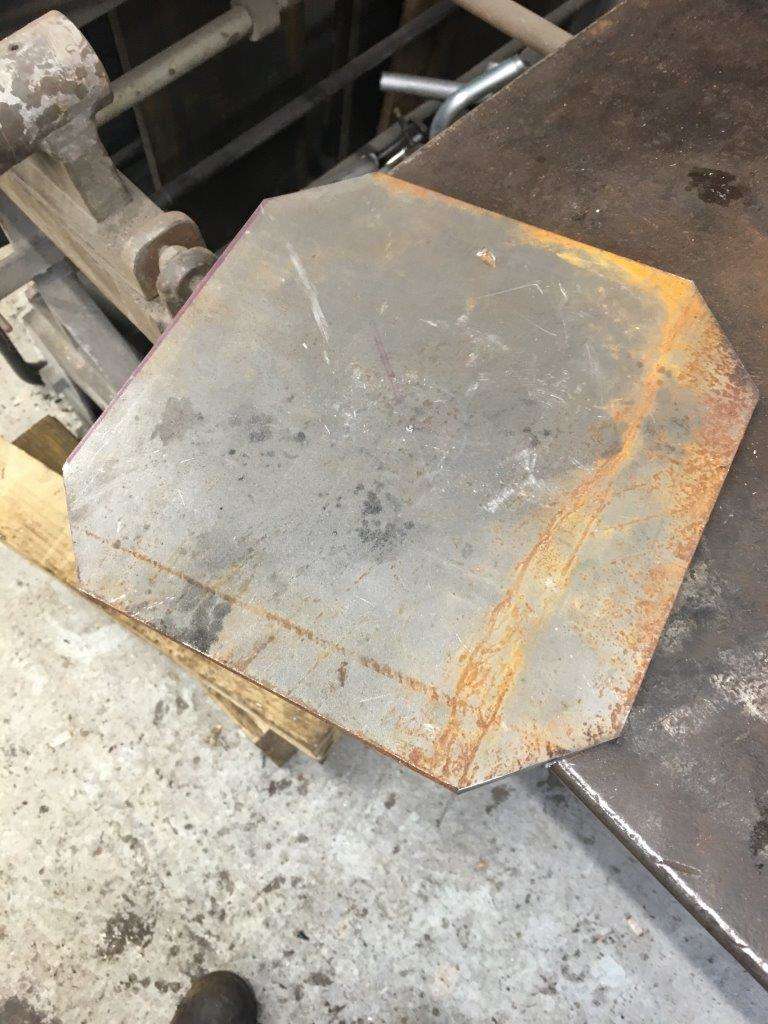
So I took a few measurements and went about building a die to bend box section
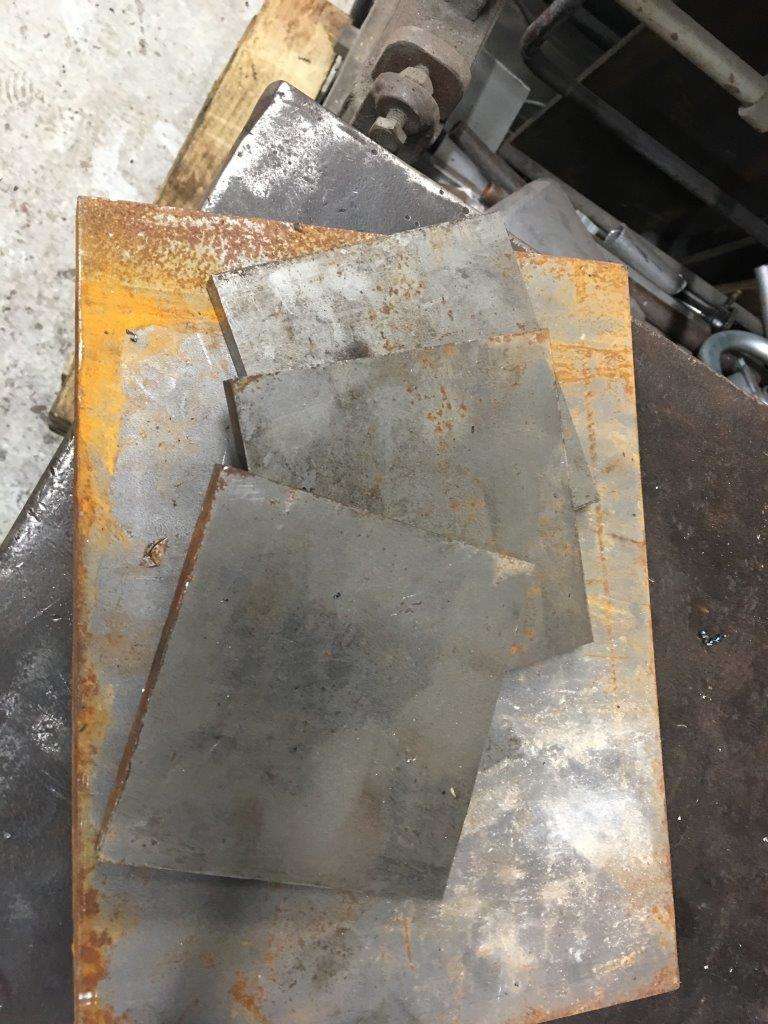
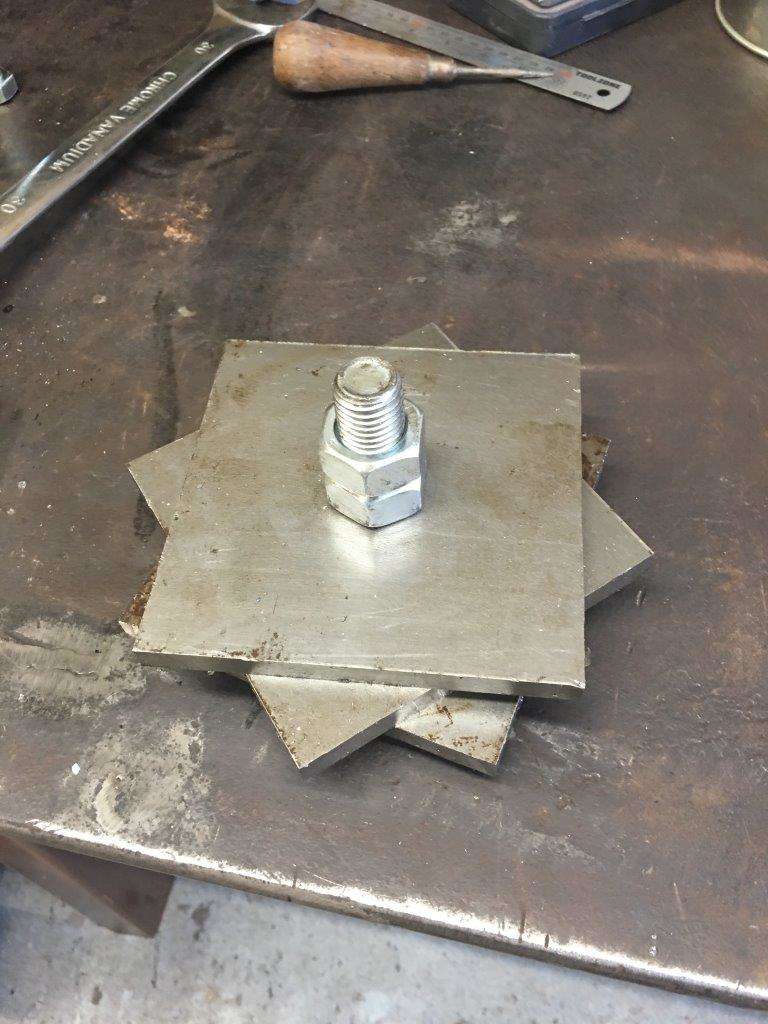
no round bar big enough so take three bits of plate
drill and bolt
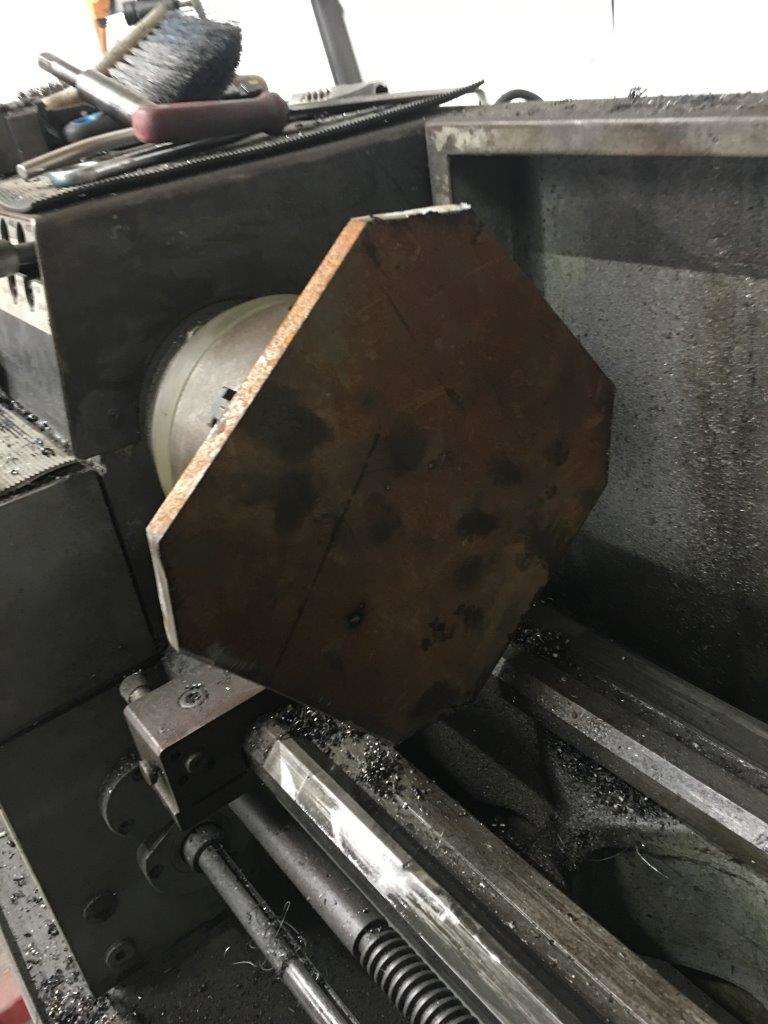
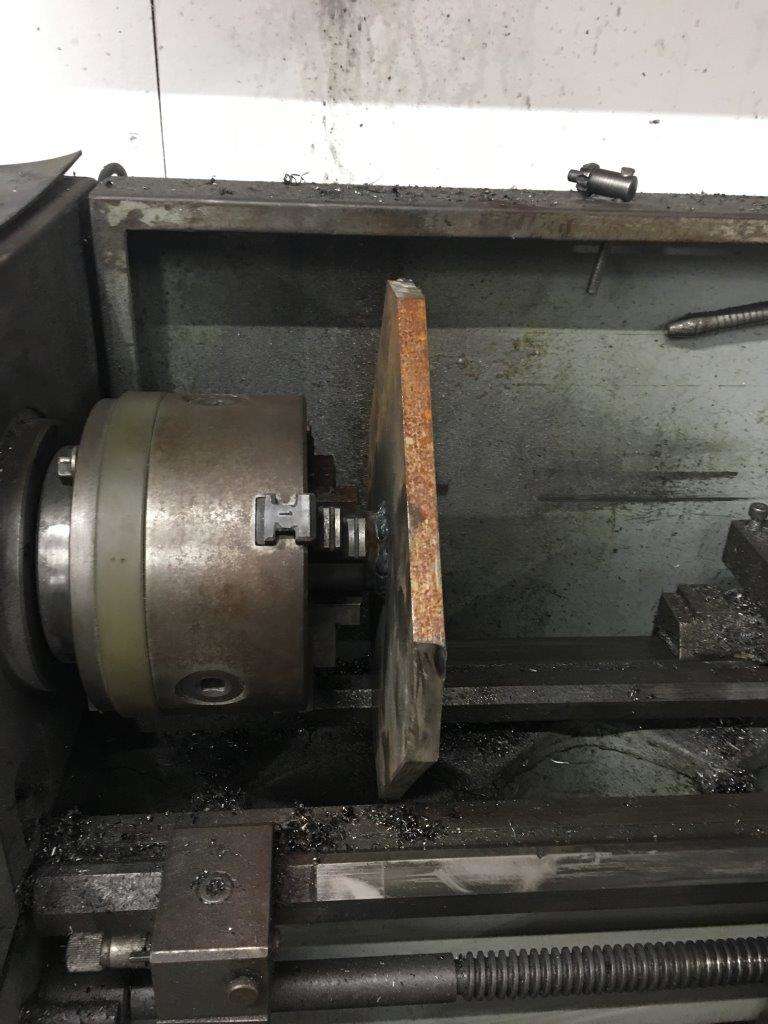
Attach to the lathe and machine -
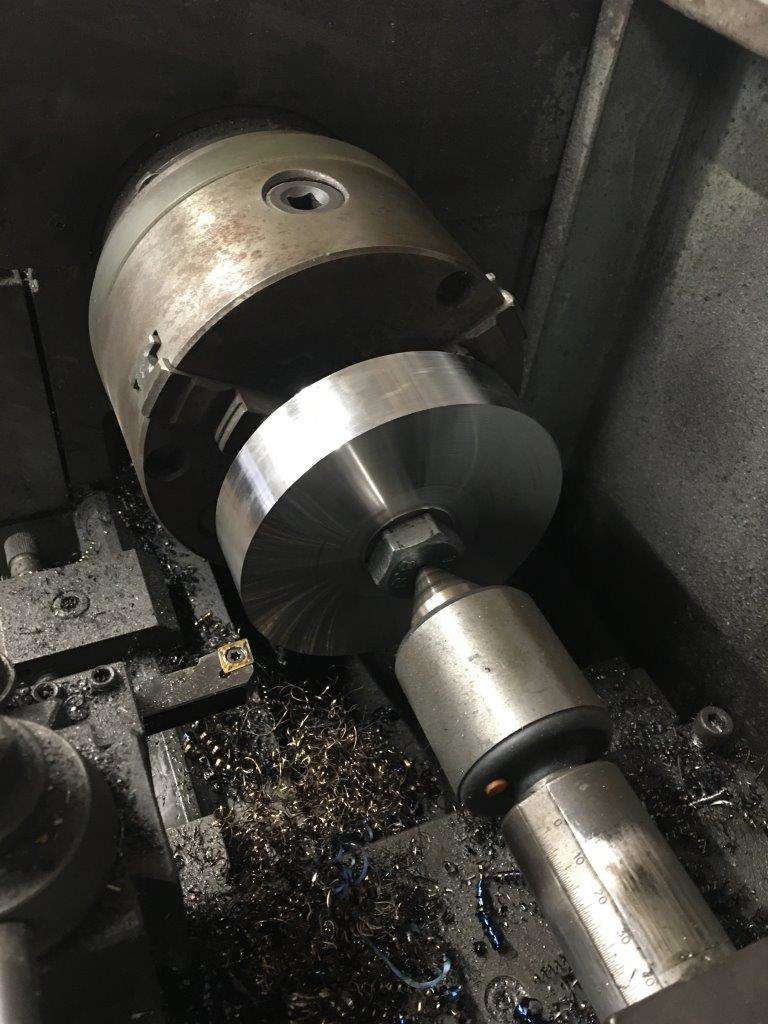
weld together
machine some more
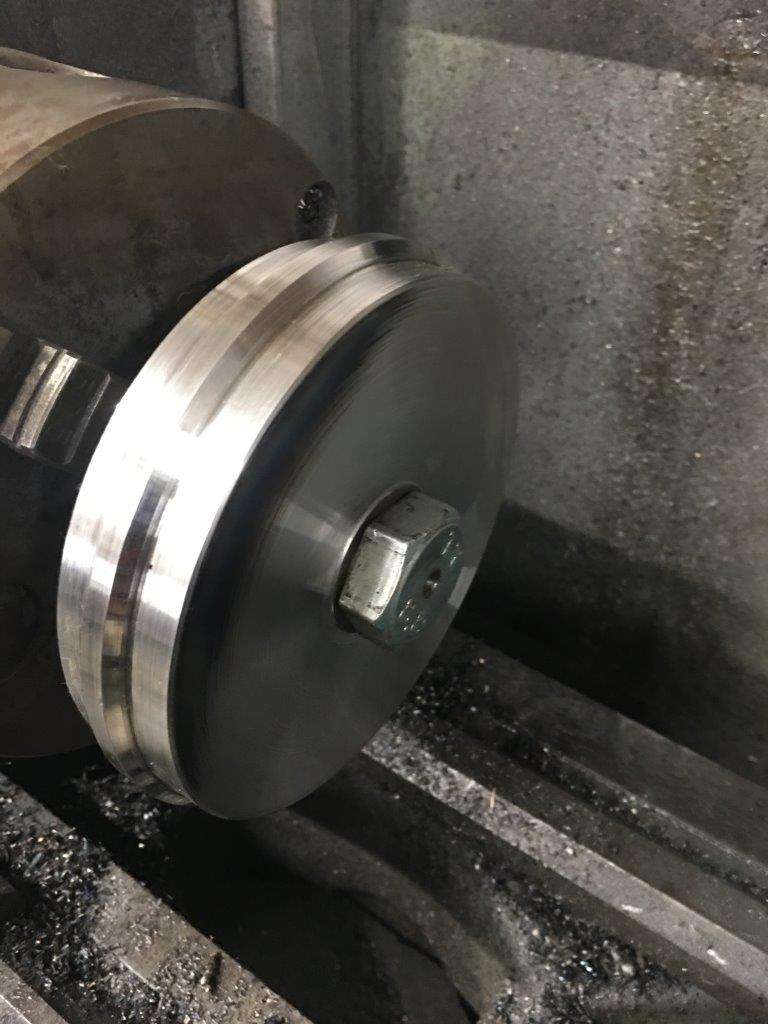
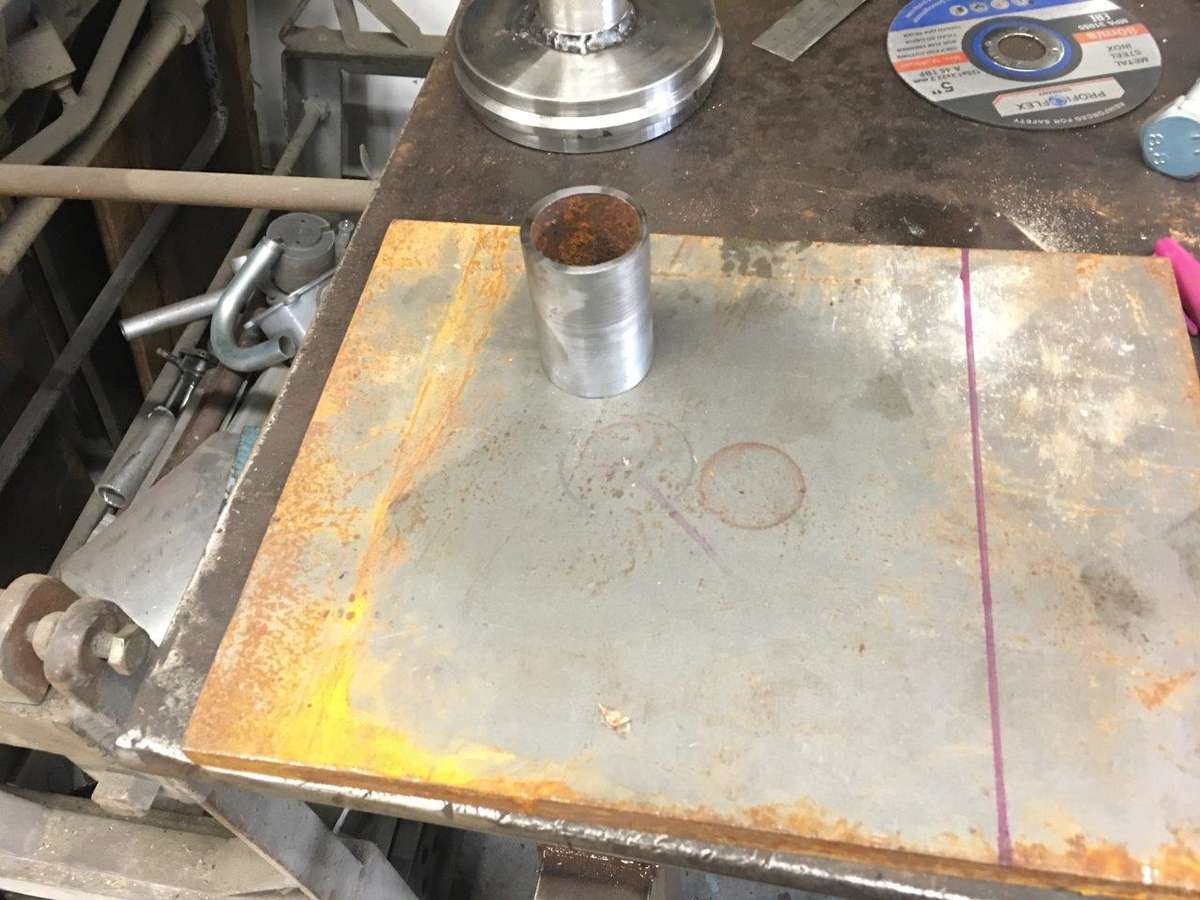
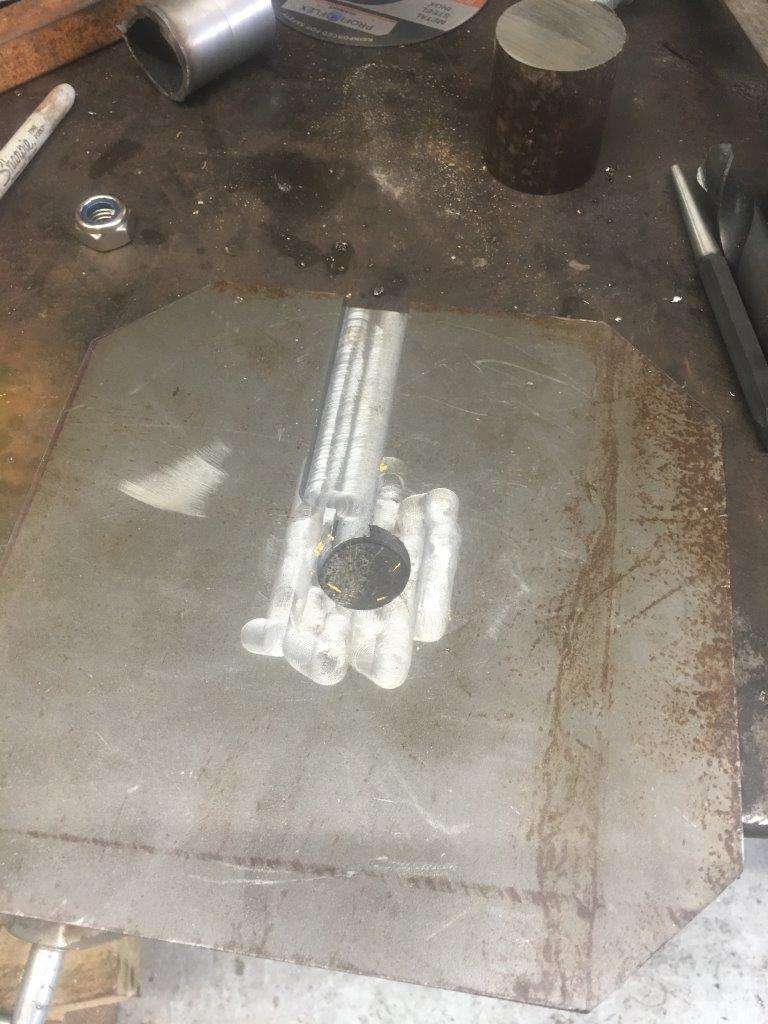
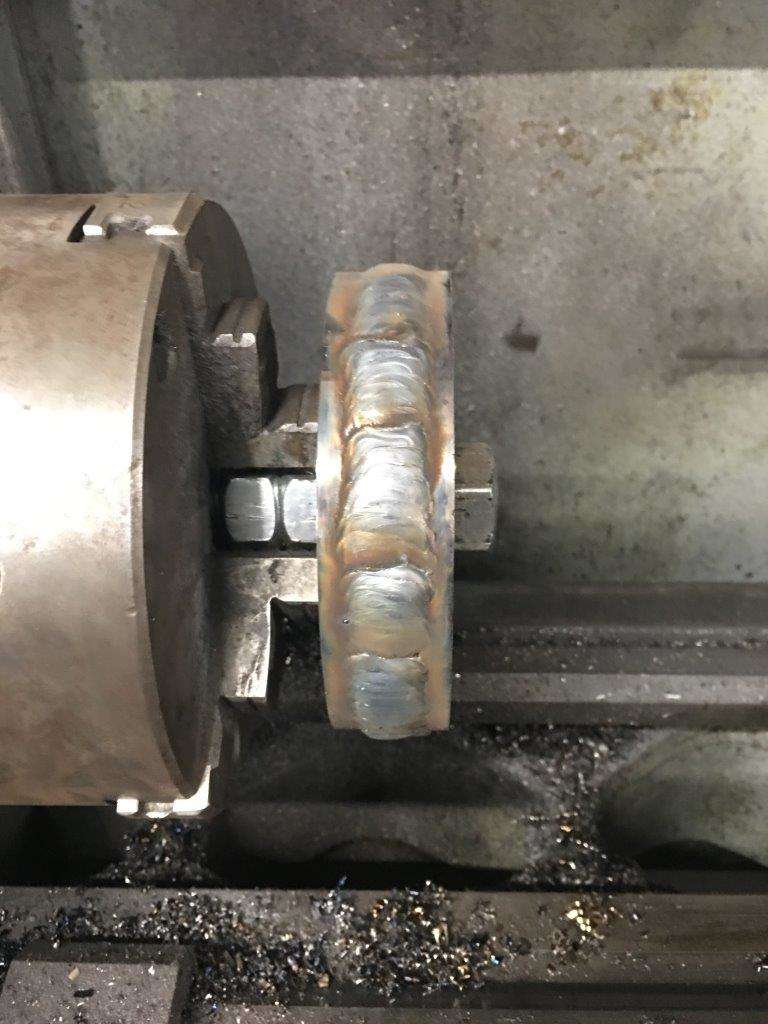
I need a 30mm bore but dont have anything big enough to drill it or hold it so metal tube
clean it up

weld it to the die
and bore to 30mm

more in a mo ............................
-
1
-
-
7 minutes ago, veeg33 said:
The oil drum needs a refurb --> another side project
") ??
??
That's no ordinary oil drum that's an incinerator
-
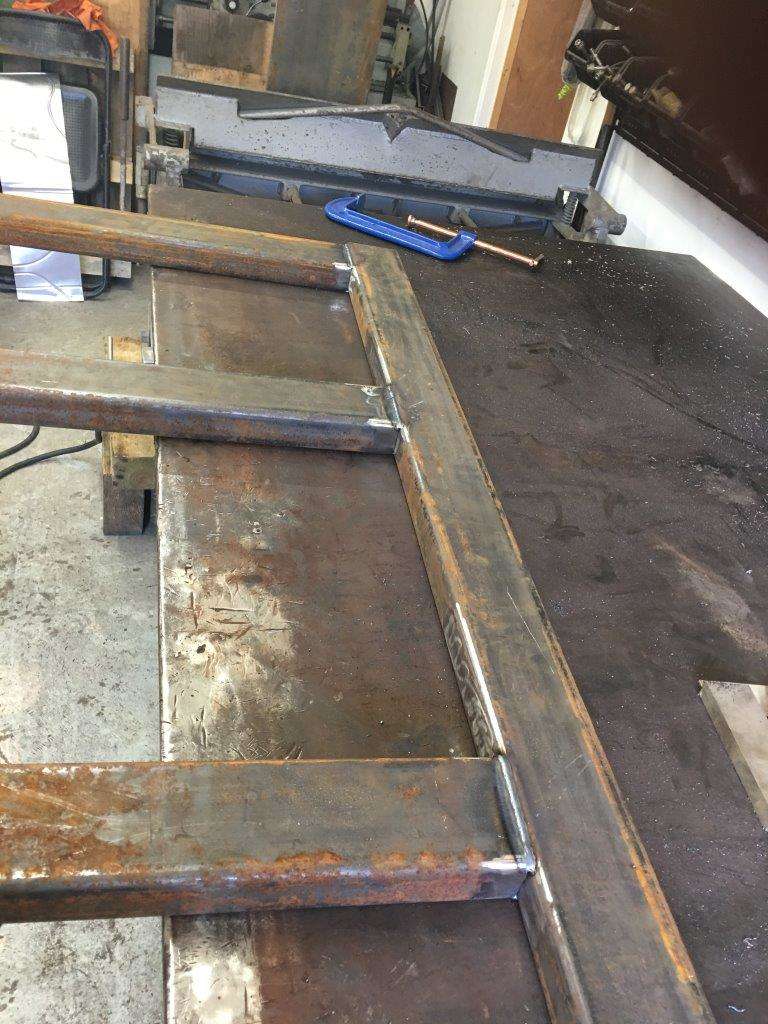
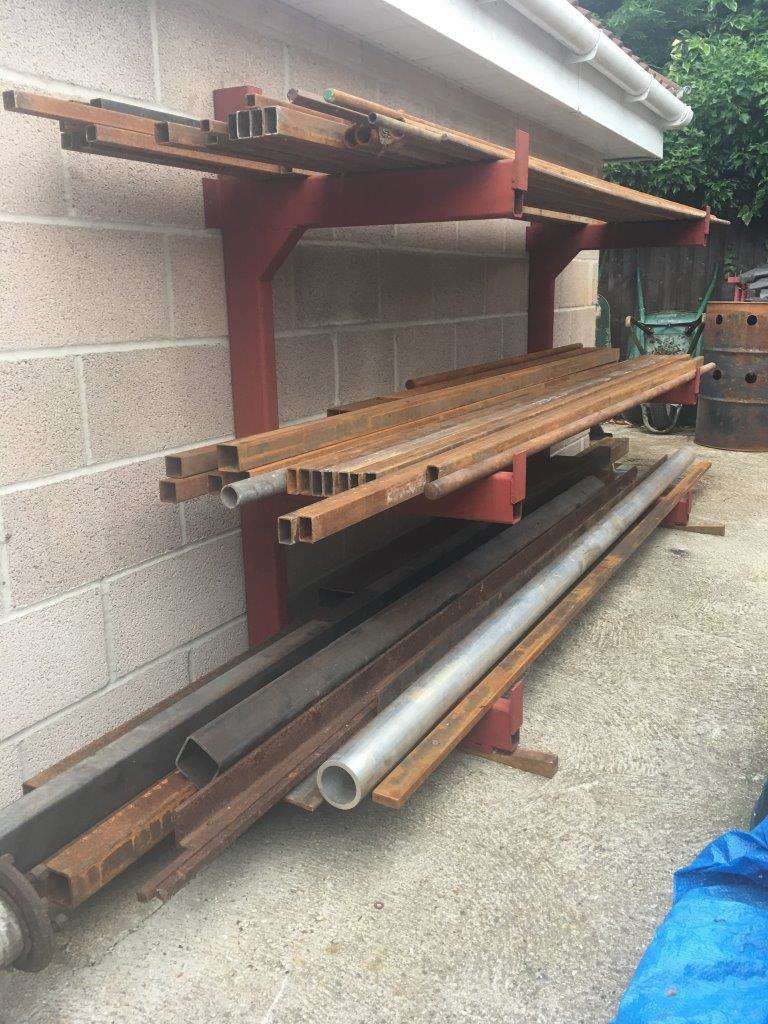
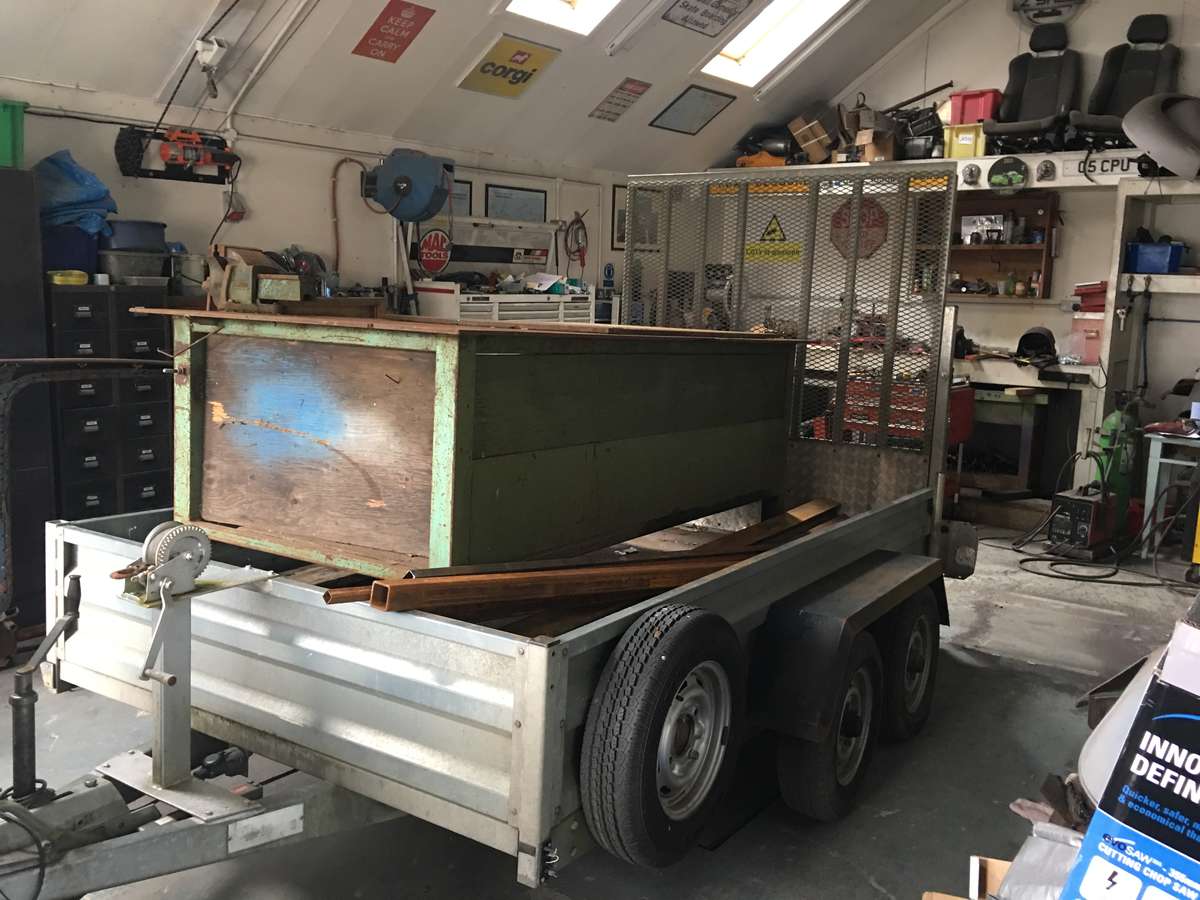
Next job on the list was to tidy the spare metal, starting with a few lengths cut into pretty shapes ..........

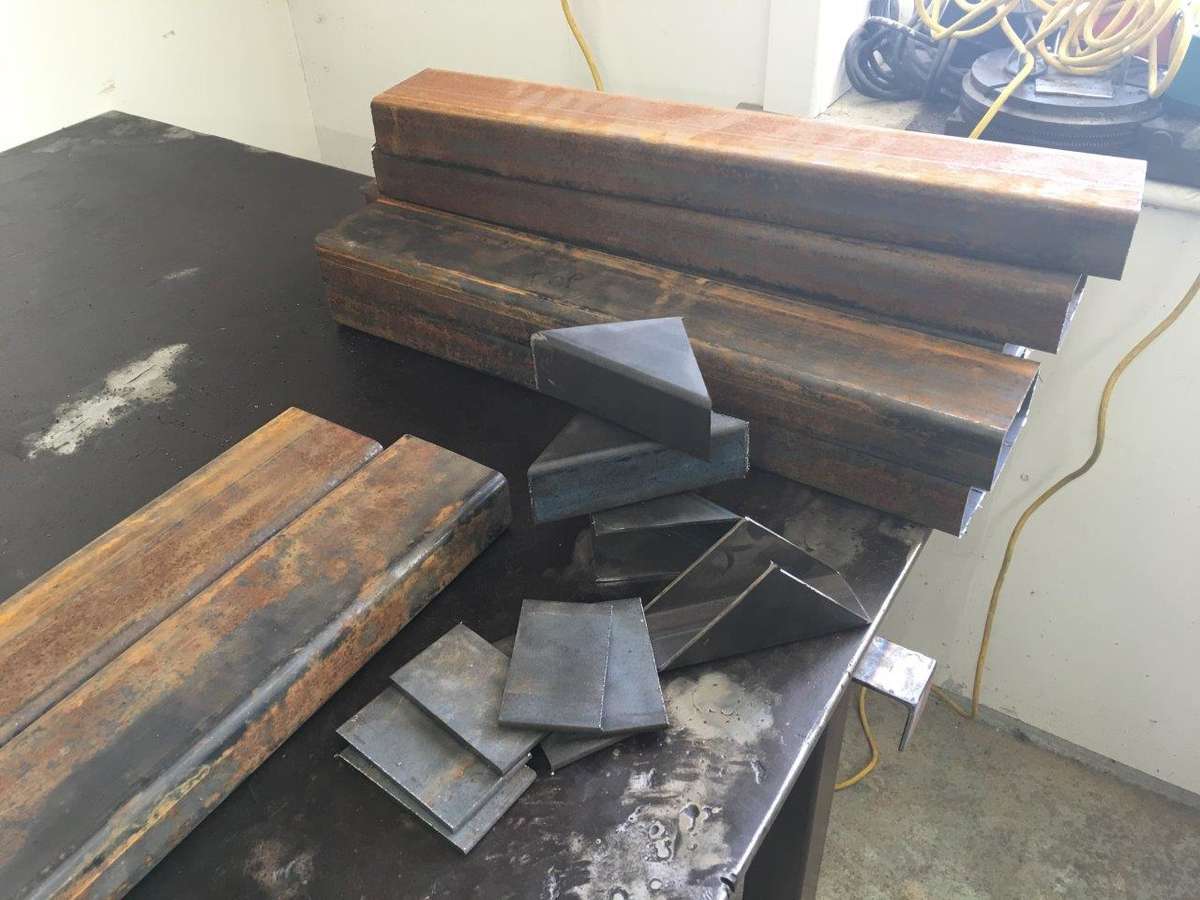
Bit of setting out
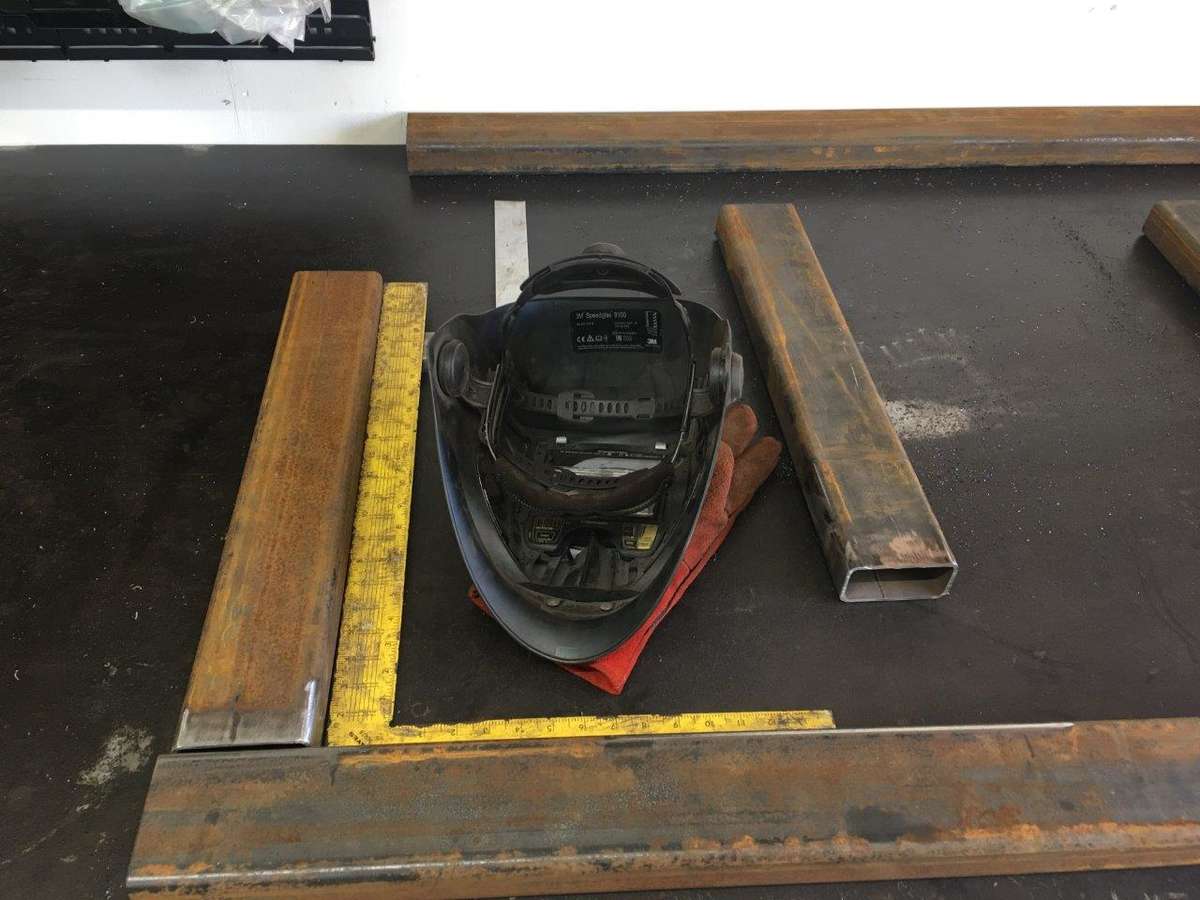
Bit of welding
Bit more metal
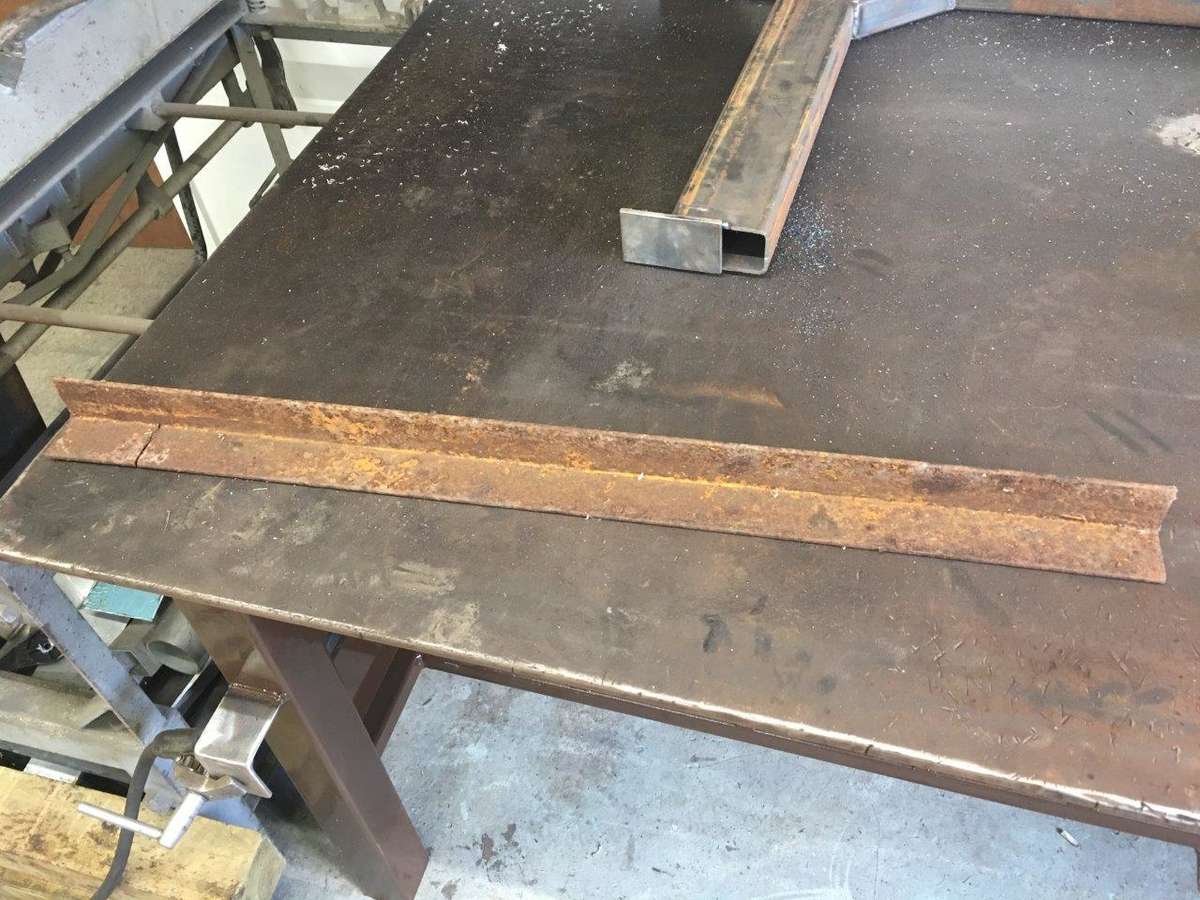
cleaned and cut up
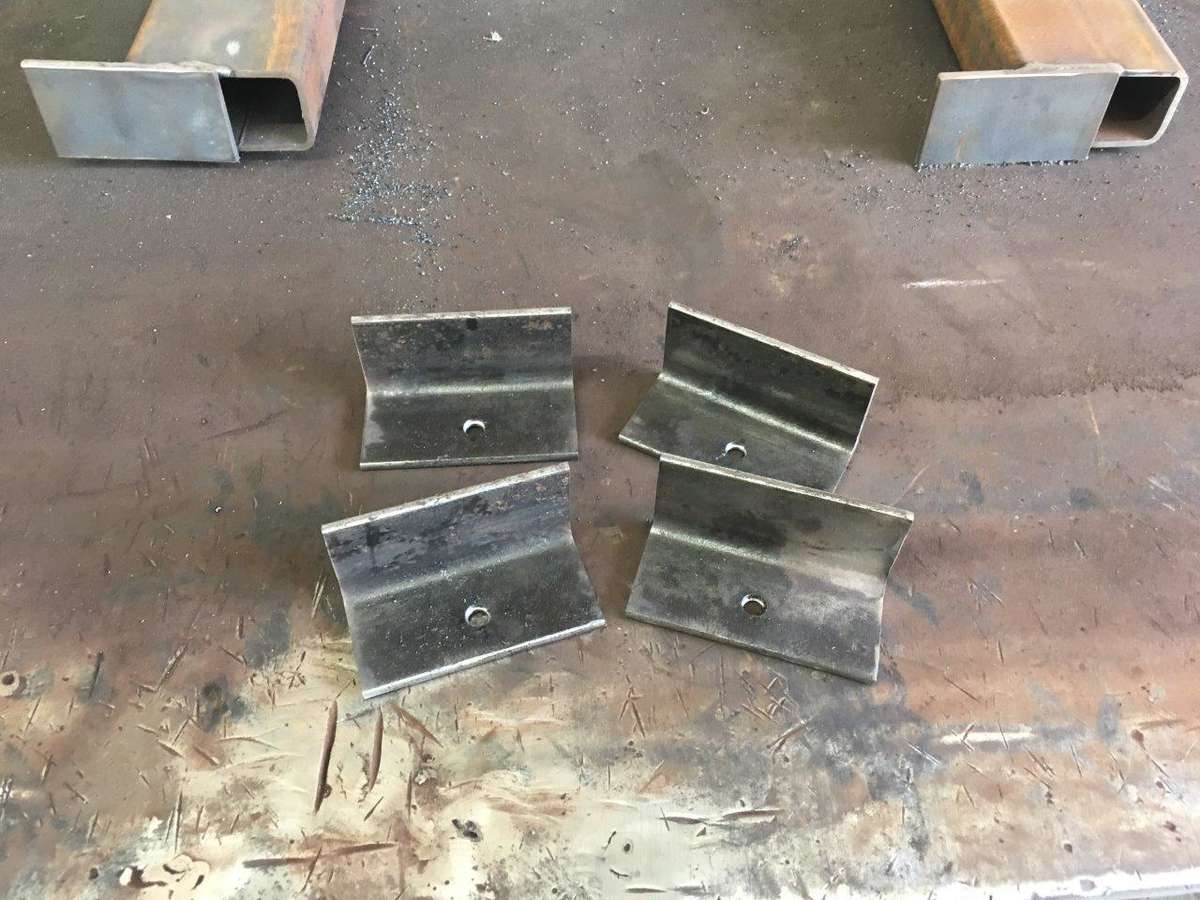
Some gussets welded in for strength
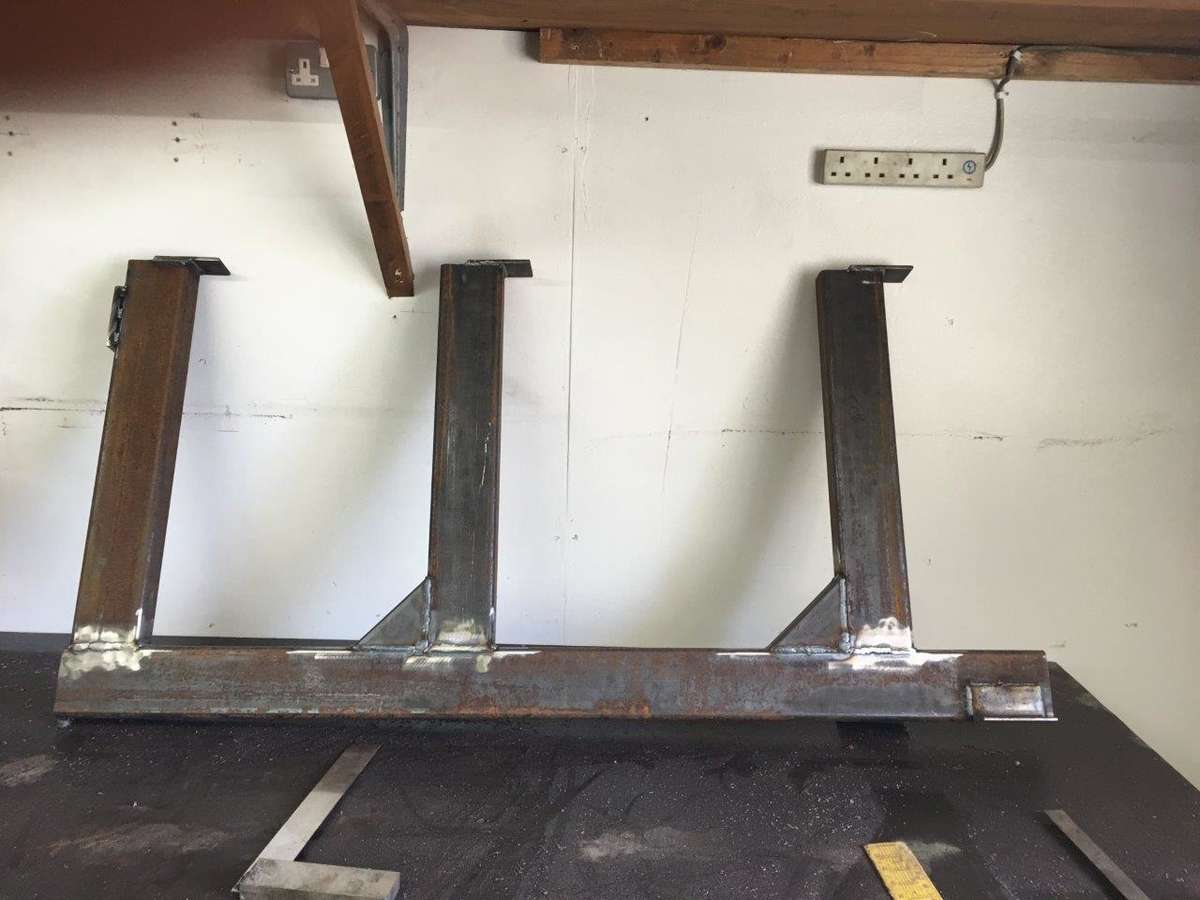
Then do it all again for the second rack
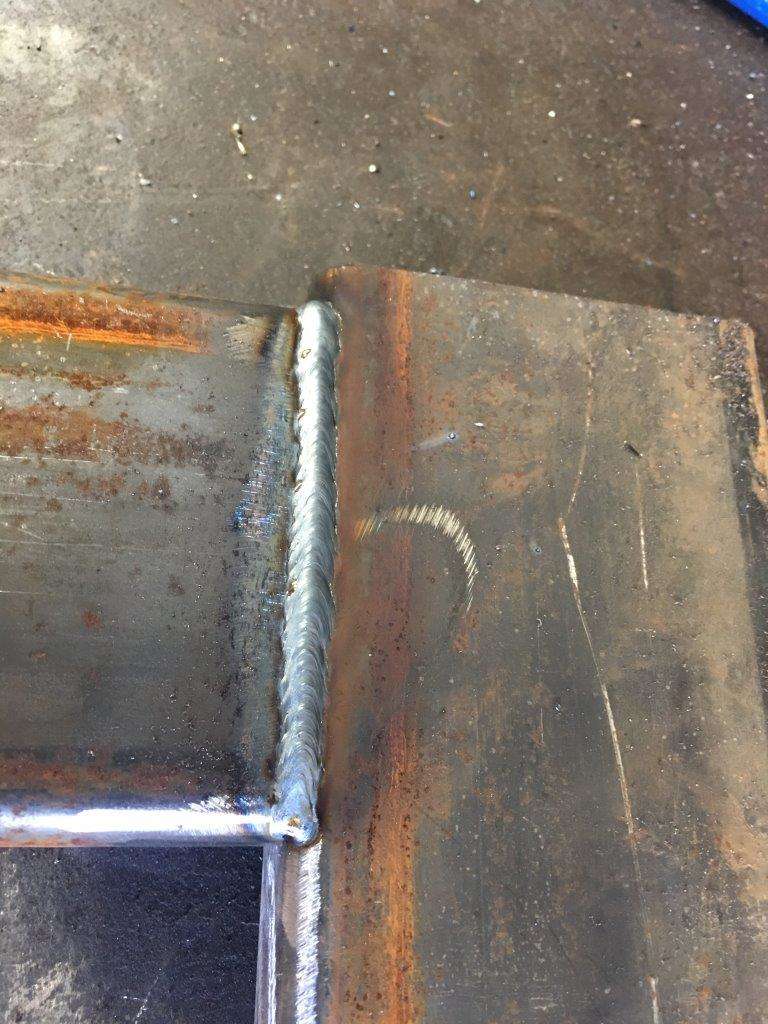
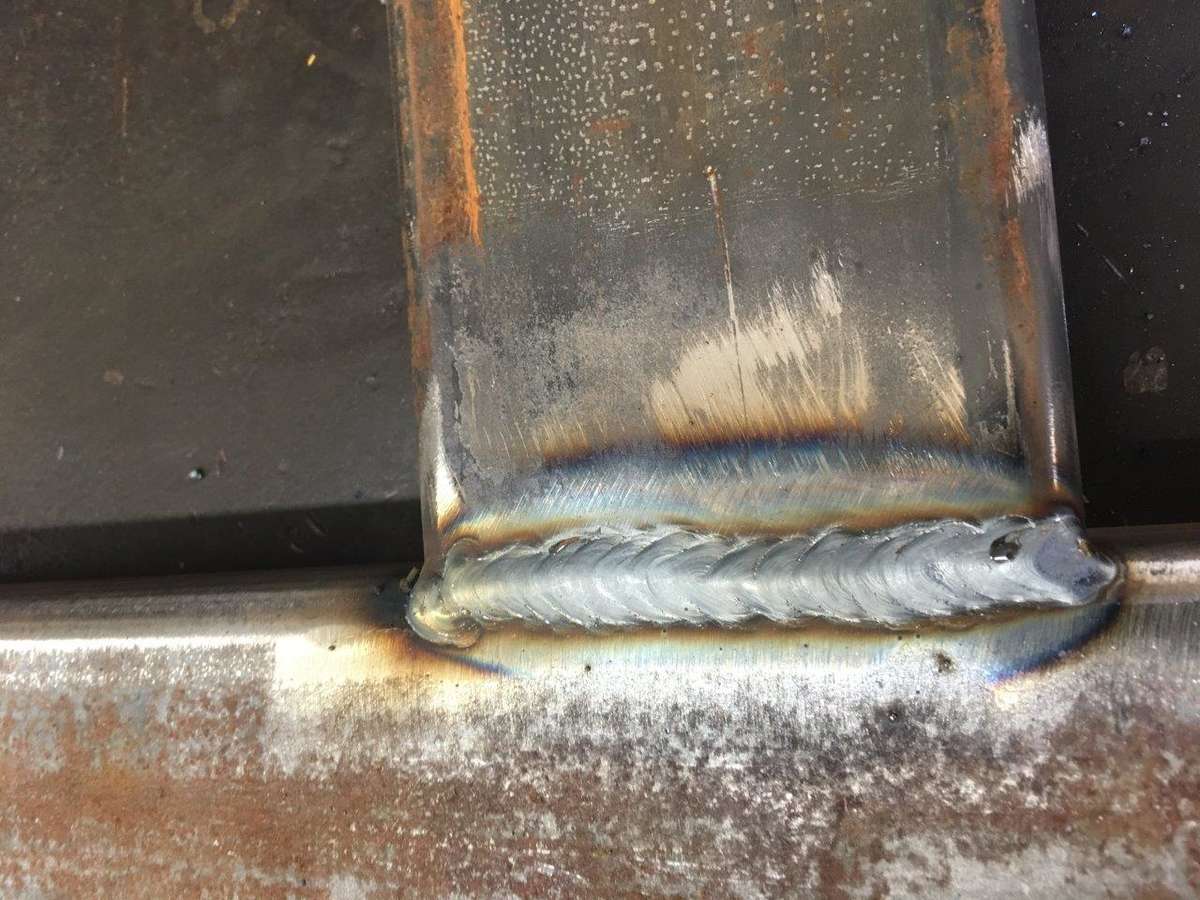
Nice weld
Bit of primer and installed for immediate use
And that's not all we we've been up to, something more "fun" next
Keyser Maximum Effort
-
1
-
-
O I added new earth points for the welder as well
Had to stop for breakfast though, courtesy of my 2 daughters as they took me out for fathers day
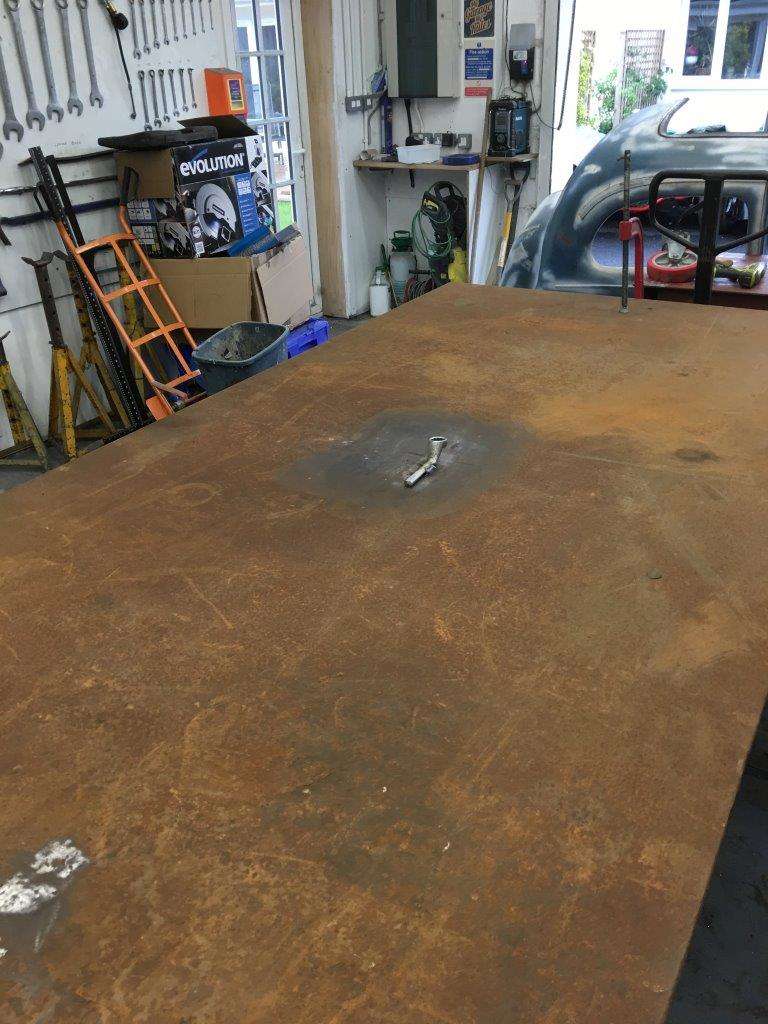
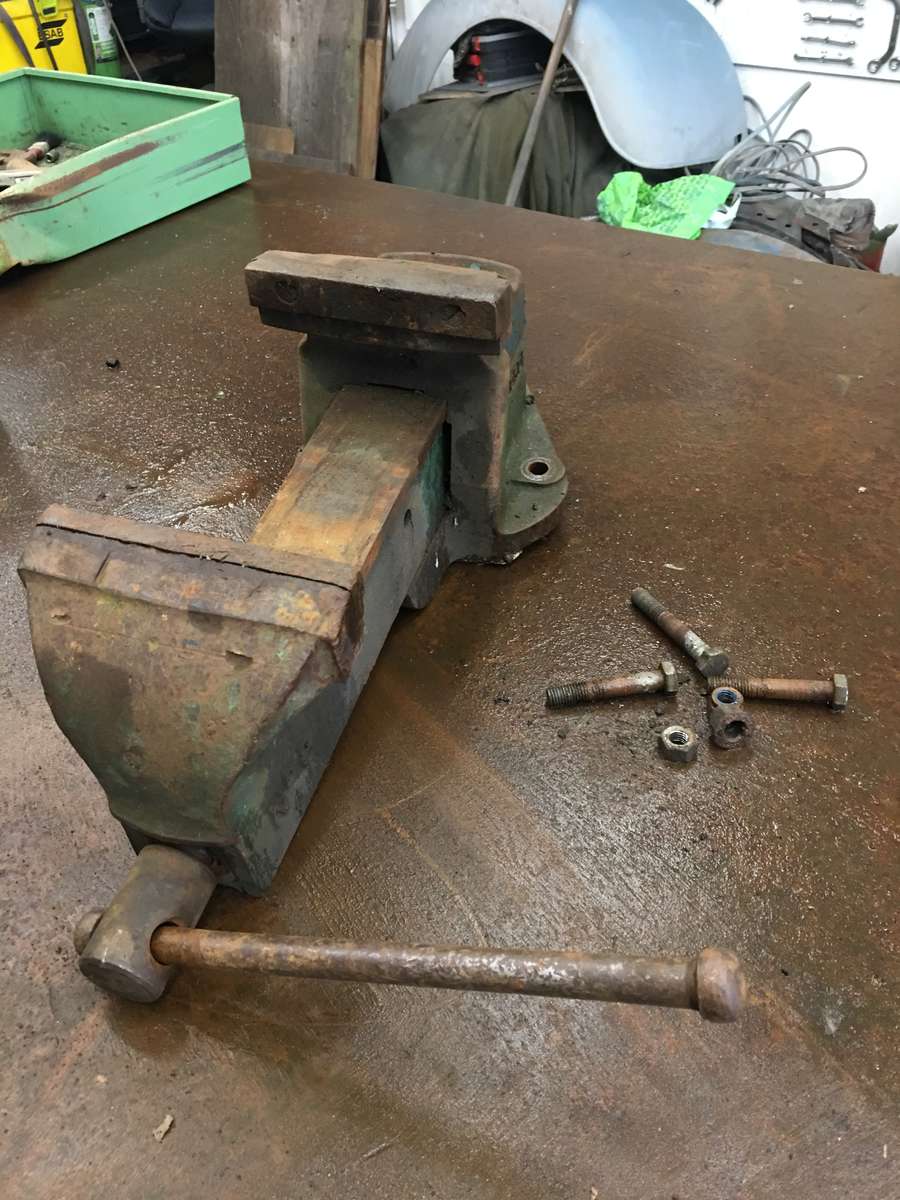
Upon my return from a great day out and far to much yummy food I welded up a few holes in the top
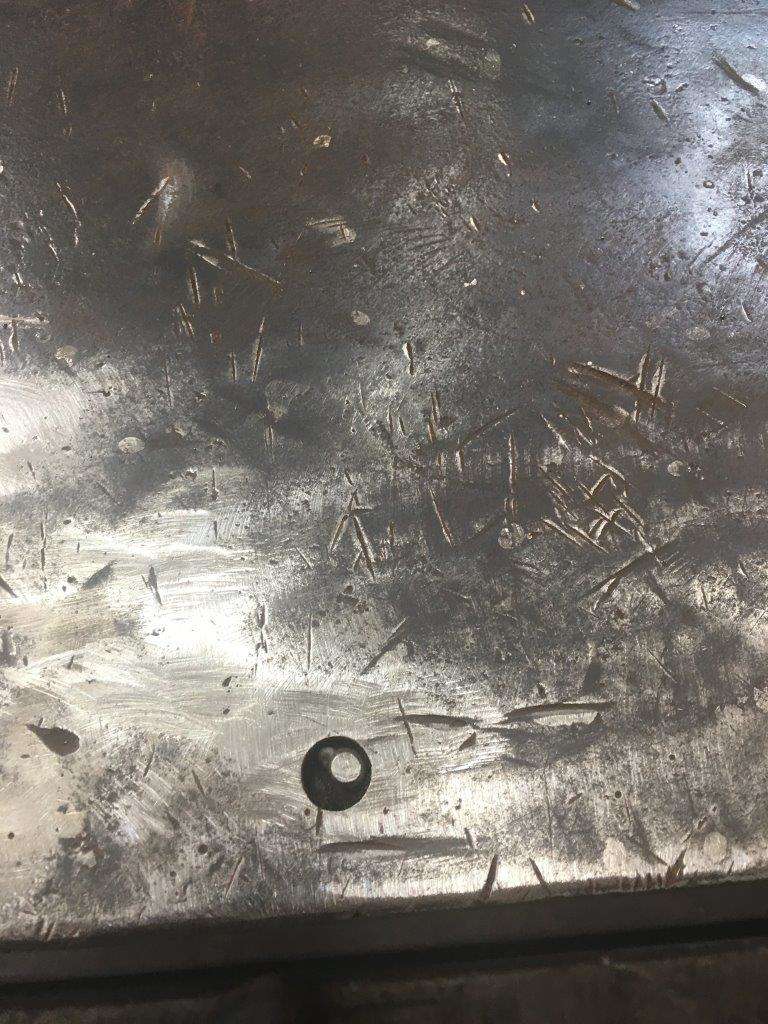
and where the vice was attached
The top was then oiled to slow down the rust.
I then took 2 castor wheels I had
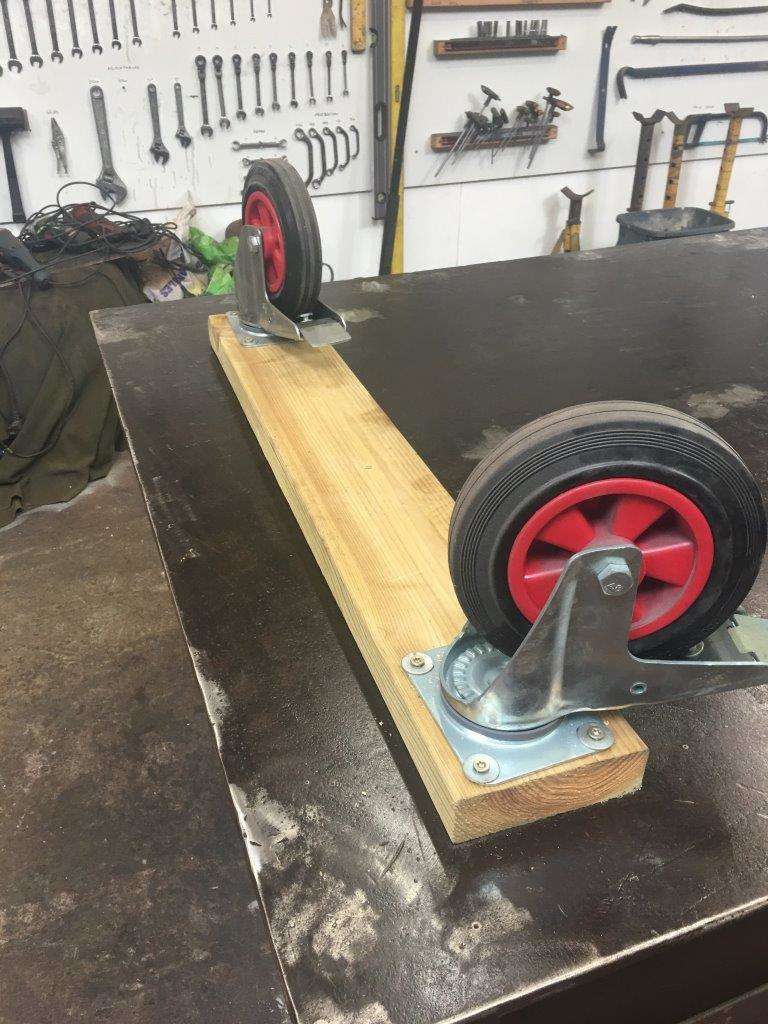
made an anti flip over bar
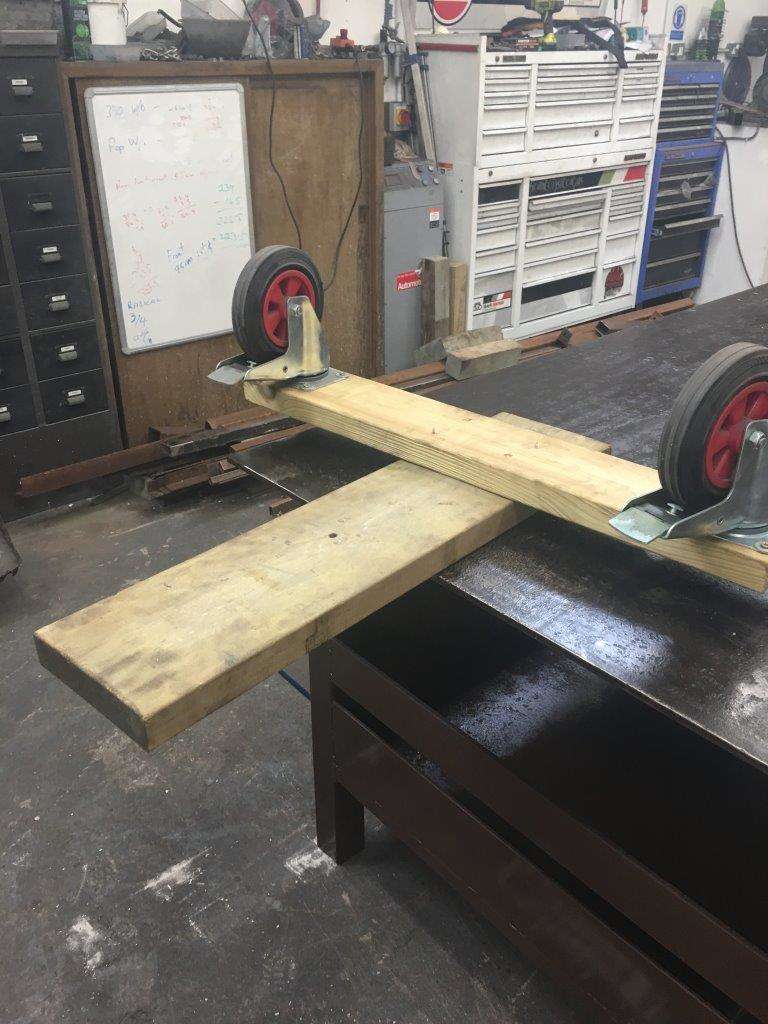
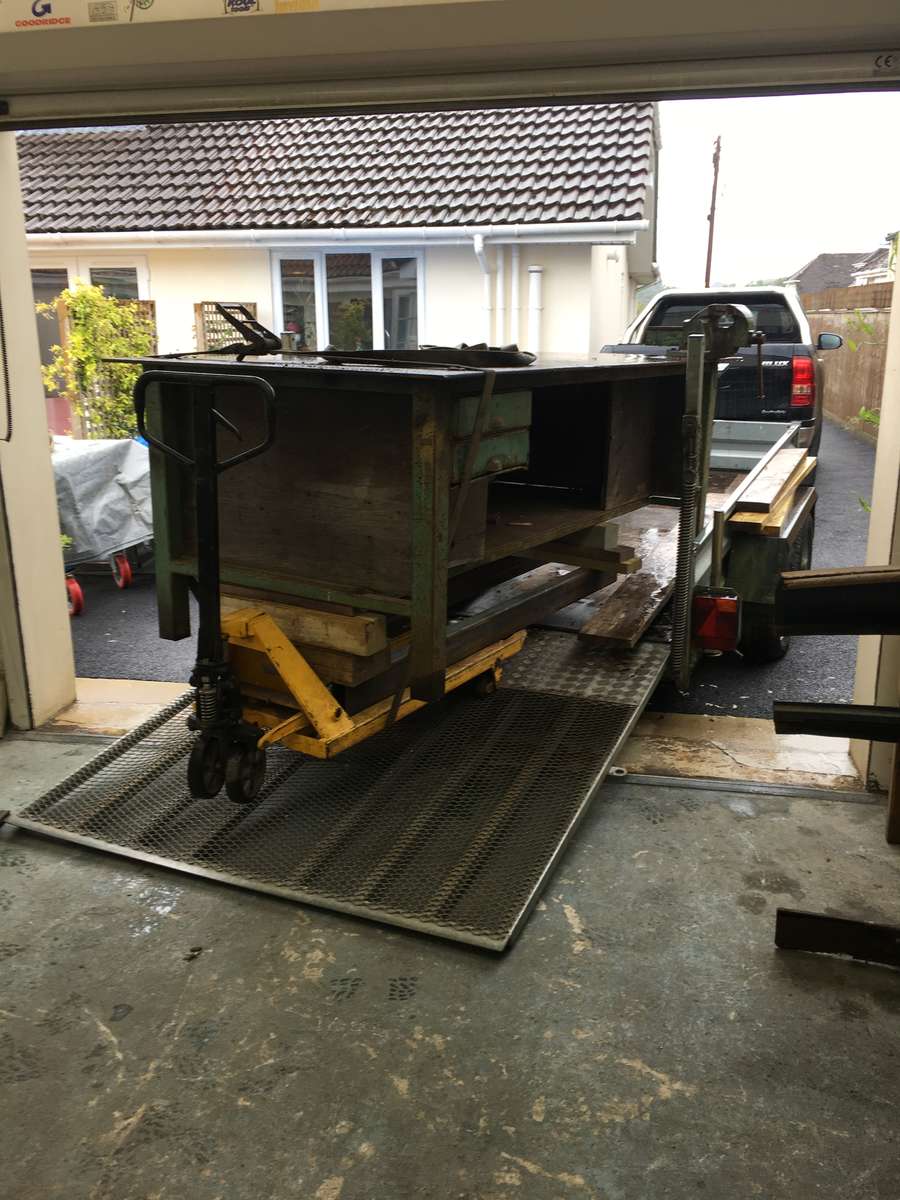
stuck those under one end and my pallet truck under the other
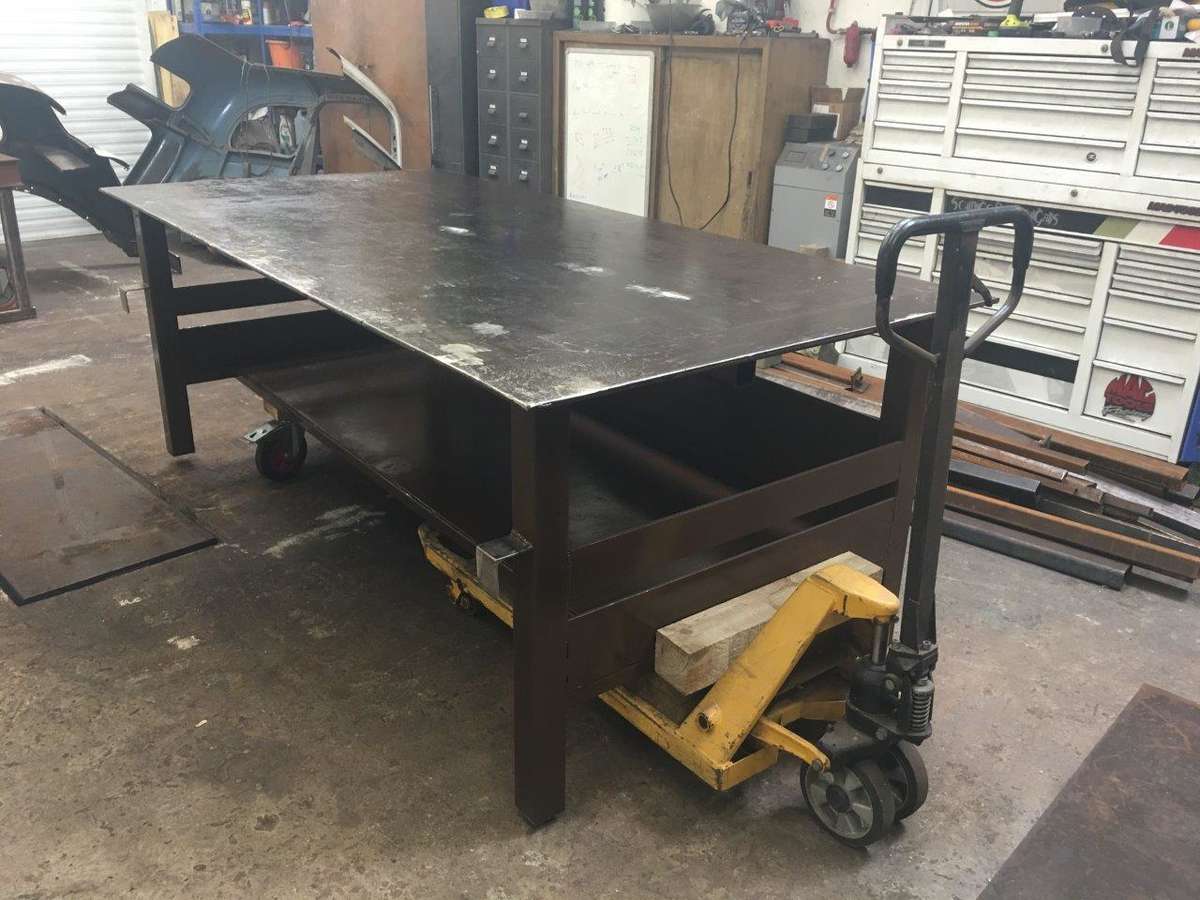
One man job to drag it through into the machine shop and to its permanent* home

* Did I say permanent home? - Well sort of but I have decided to give the Zed Shed II a make over, scheduled to start next week. I have run out of space
So a bit of a reorganisation is required, I'll keep you posted.
More soon ....................
Keyser Maximum Effort
-
6
-
-
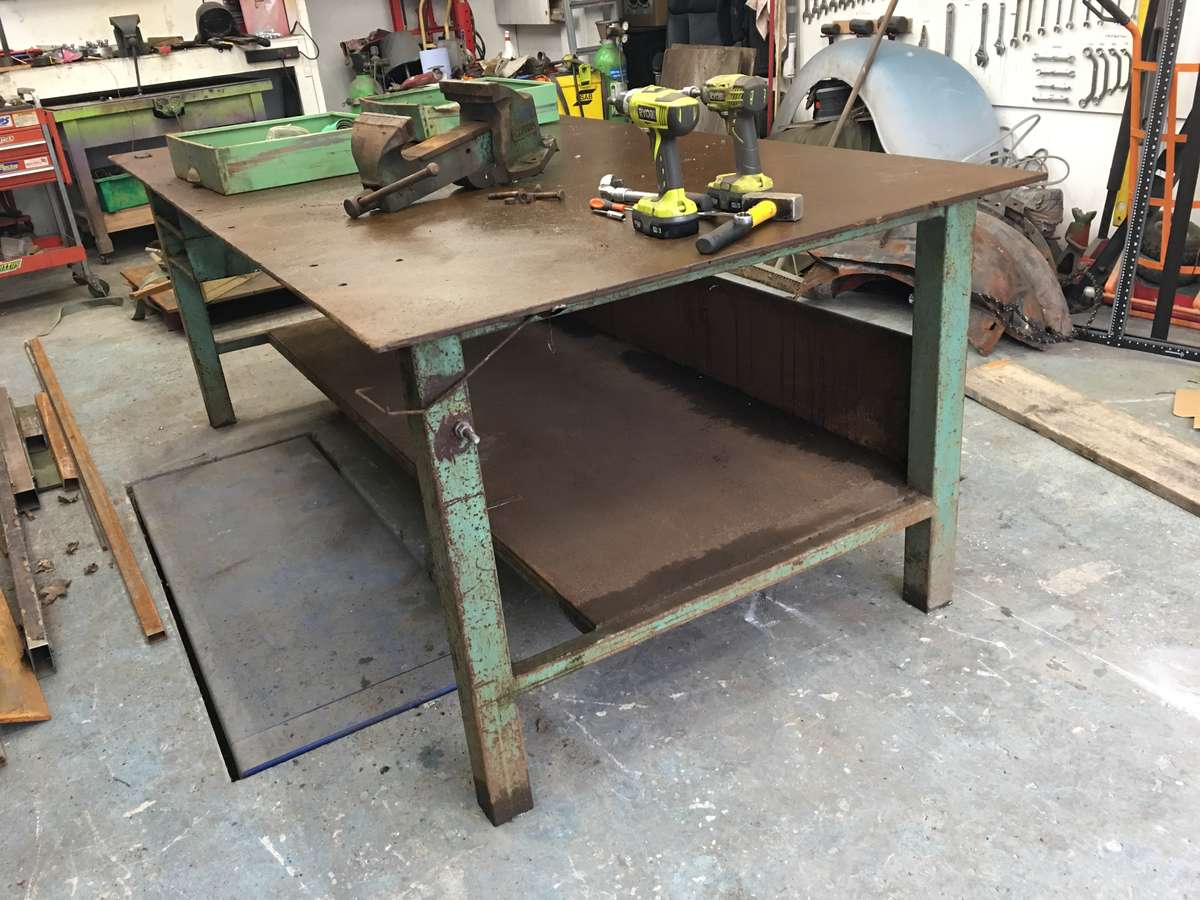
Bit more tinkerings going on, Radical engine is with Big CC Racing (again) to have a look at the gearbox and assess the damage - not looking forwards to that report

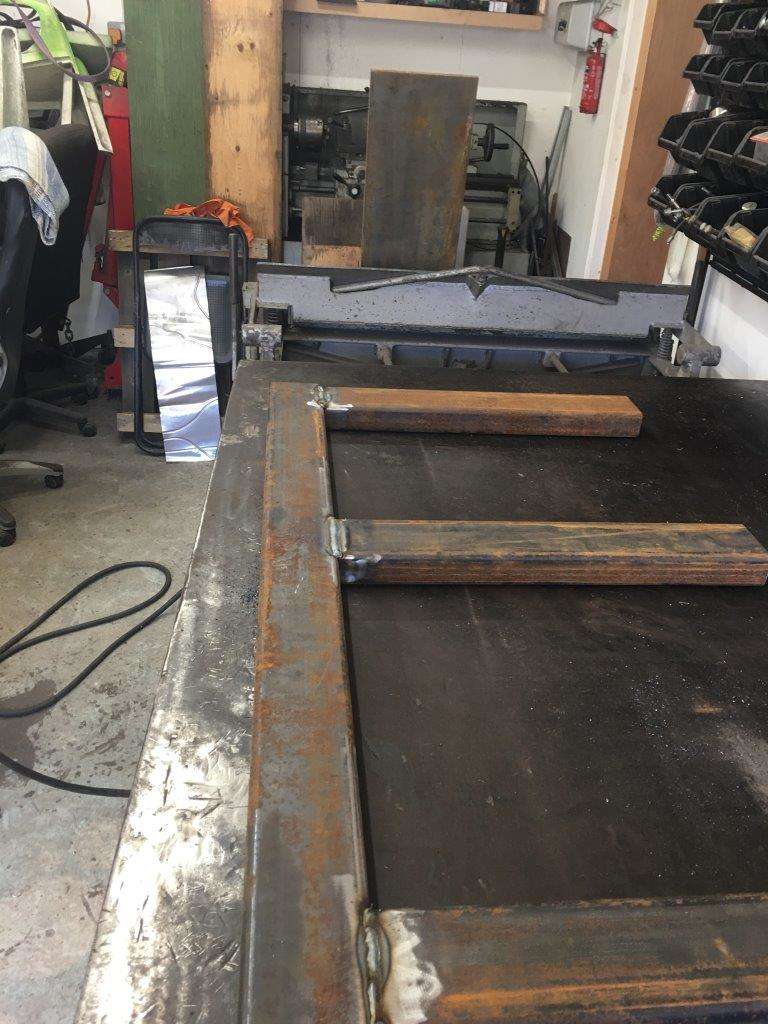
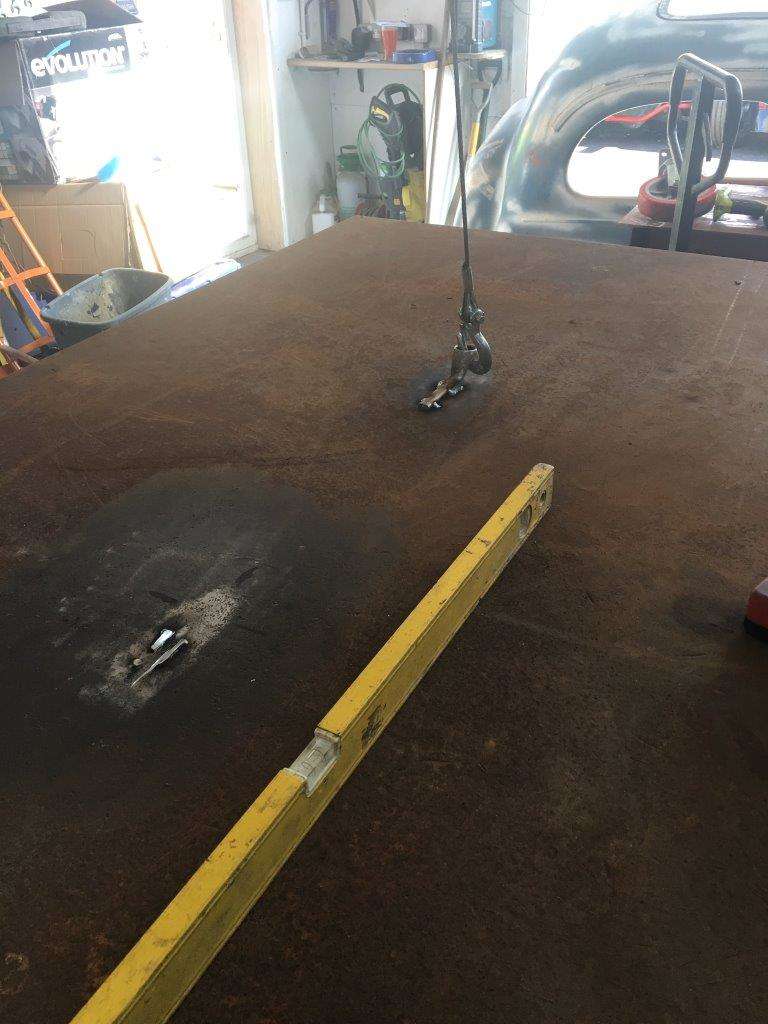
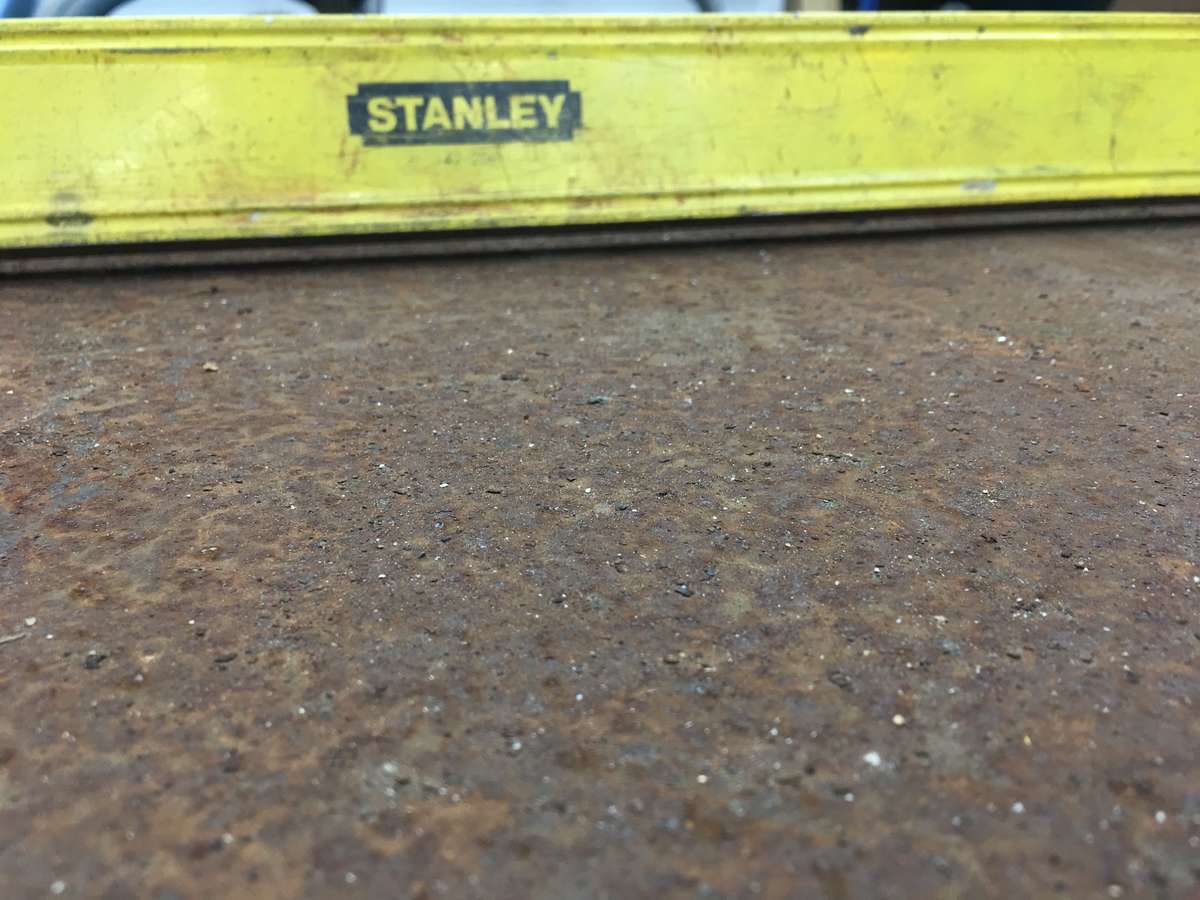
Meanwhile back at the Zed Shed II I finished the welding table that I just happened to end up with, if you keep up with this thread you will remember that it had a small sag in the middle,
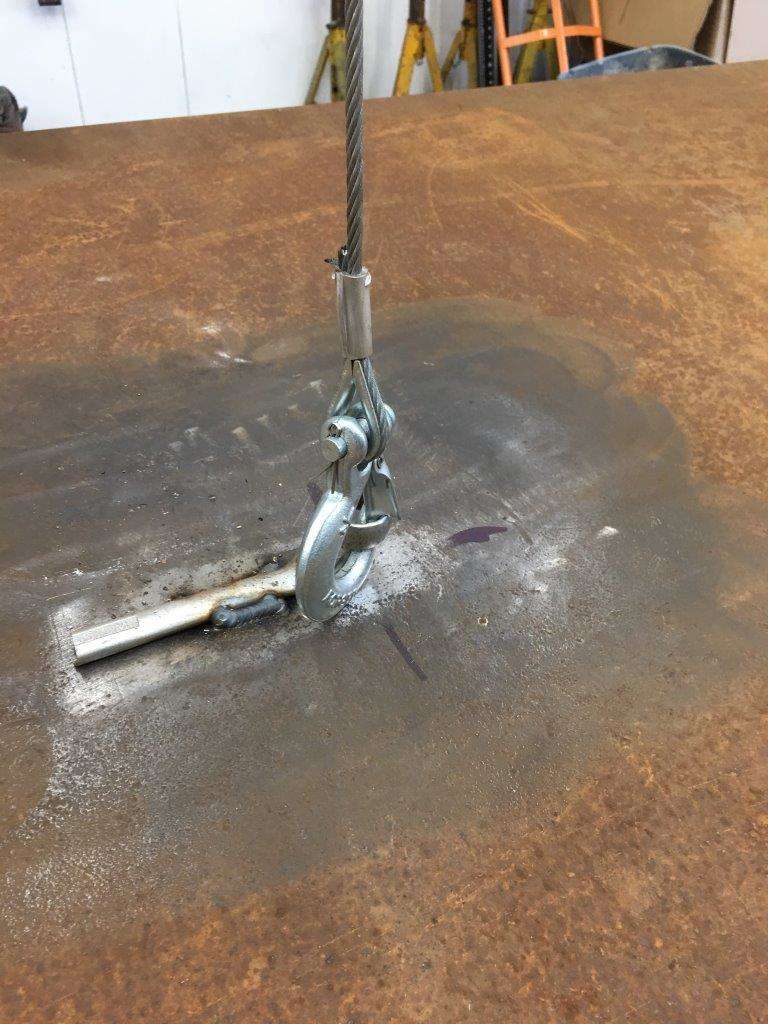
So I found a small piece of steel
wedged it in place
added a hook (read old broken spanner)
then used my winch and the tables weight to help pull out the sag
had to work my way down the table welding the support bar underneath as i went
Got most of it out so flipped the table over and finished the welding
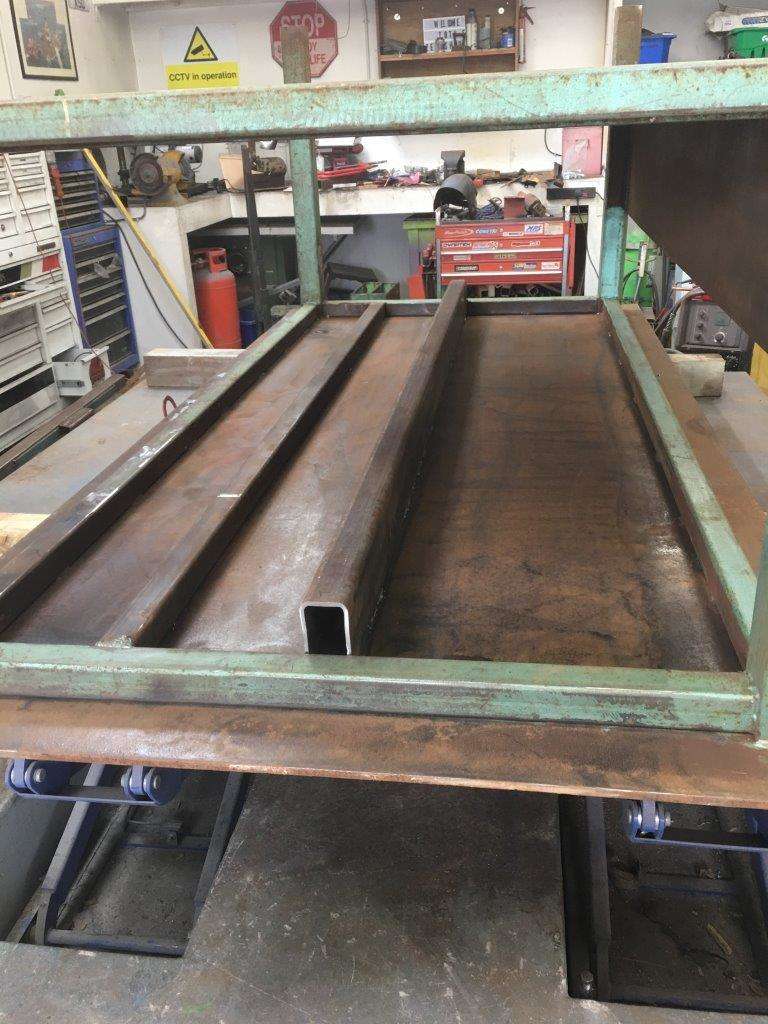
used my adjustable "table" to lift it

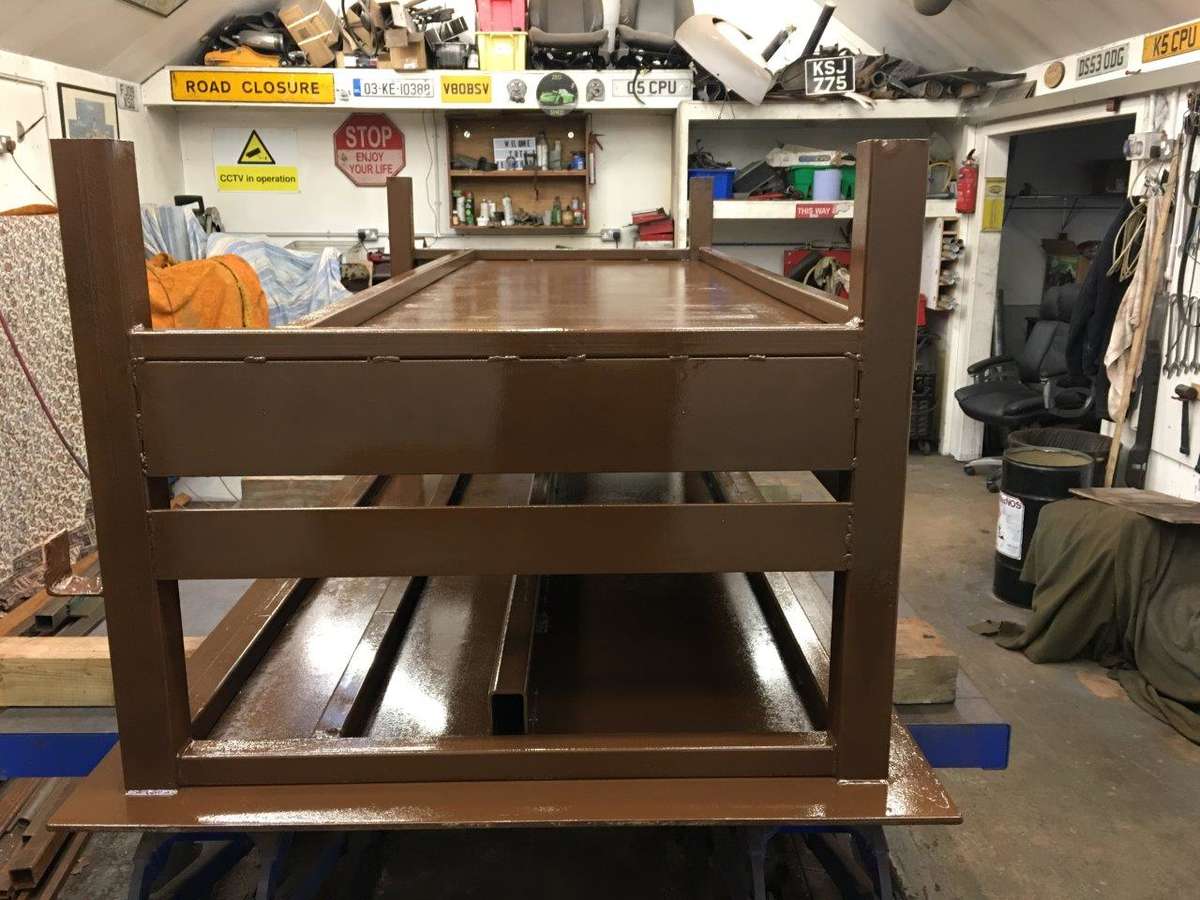
then wire-brushed the hole thing down added some end panels and I still had some of that lovely brown hammerite paint left (hey it's free)
Now to move it ......................................
-
2
-
-
-
Nice to see a bot more progress mate
I've been busy breaking my toys so I'll be back in the Shed rebuilding them soon
Keep it coming
-
1
-
-
Nice work mate
Amazing how all the little bits add up though, not saying you overspent, hopefully you will have a fun and reliable run about for a while, it just makes me wonder how much I've spent on my fleet of toys
-
1
-
-
2 hours ago, Andy_Muxlow said:
Chris, Sarah and I hope to be able to come down to this event also, but with everything going on here we will have to make the decision nearer to the time if that's ok my good friend?
No worries mate - Hope you can make it though
-
1
-
-
Congrats mate
-
1
-
-
Just read this
Been there done that (the stresses of moving house that is) - I heard of a very similar thing I can vouch for the validity of the tail, They actually went into the lender to tell them, This was 1 week before completion, the lender said it would require the offer being re-assessed, delays etc etc so the lenders rep gave them some "off the record" advice - If you don't tell us we won't know - Completion came and went the wife started a new job 2 weeks later, never missed a payment lender earned huge amounts of money from setup fees and interest, they moved into their new house and life went on and no one got hurt.
Not saying it's right but it happens
@nowhereboy Hope you get it all sorted mate
-
3
-
-
I've been so busy I haven't updated you lot for ages, Loads going on.
The Pop is pretty much on the back burner until the winter again now, The Radical was out for another run on track and OMG it was awesome!!!!!
I took some ballast to balance out the car in the form of @Beb He hasn't been out in the Radical since 2017 when it was Pre-Turbo and summed it up perfectly for me when we came in from a session and the comment was "F**k Me that's fast"!
Now the last time I was out with Beb we had a small rain shower and I took the opportunity to demonstrate how little grip slicks give in wet conditions and spun us off on Camp corner, it was a very sedate spin ending up with us in the infield covered in grass
So taking things to the next level this time out. The paddle / Power shift system developed a fault and gear selection became difficult and approaching Camp corner at a little over the 100mph mark gear selection suddenly became impossible.
I pulled for a down shift - Stayed in 5th
I pulled for a down shift again - Stayed in 5th
I eased off and turned in for the apex a little late due to the gear selection issue
One more attempt at a downshift and we got neutral !!**?????
Gave up on the gears and in my head I was going to coast round the corner and get off the track
just on the apex the gearbox gave us 2nd - about 80mph give or take!!!
Rear wheels locked and this was a proper tank slapper, Caught the slide - went the other way, caught it again (hand slipped off steering wheel) went the other way, frantically grabbed the wheel and we stopped about 18" away from the Pit wall
Limped back to pit lane and was offered a loo roll by the marshals
it was hysterical - I did shout back that clean underwear was also in order
So the Radical is in and the engine out - apparently we only have 6th gear now - oppsee - so new gearbox needed, possibly a race box if funds stretch that far.
Also cracked the manifold which is due to vibration and weight
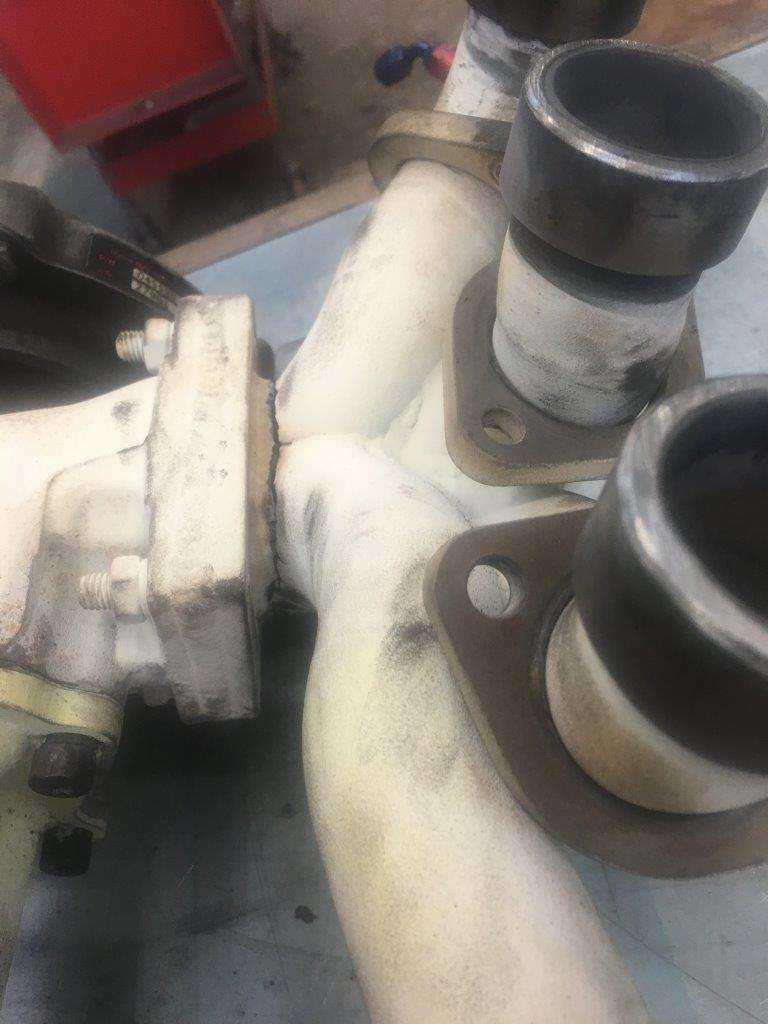
That will be welded and we are looking into Turbo mounts and possible turbo relocation due to heat (our big enemy in this car)
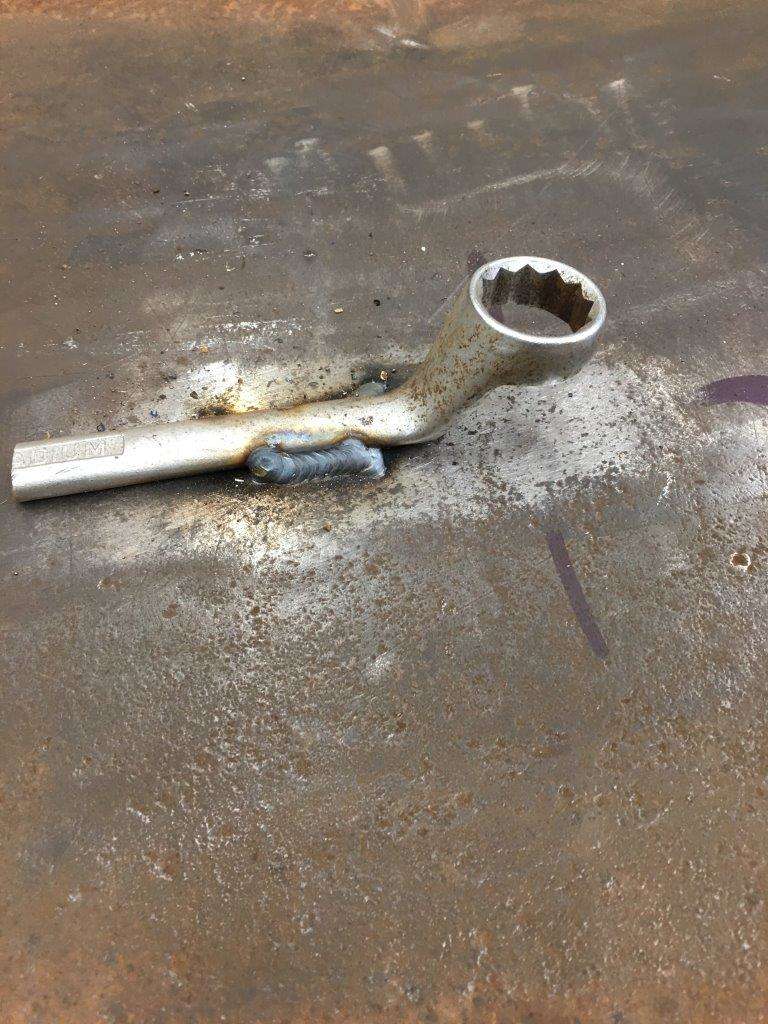
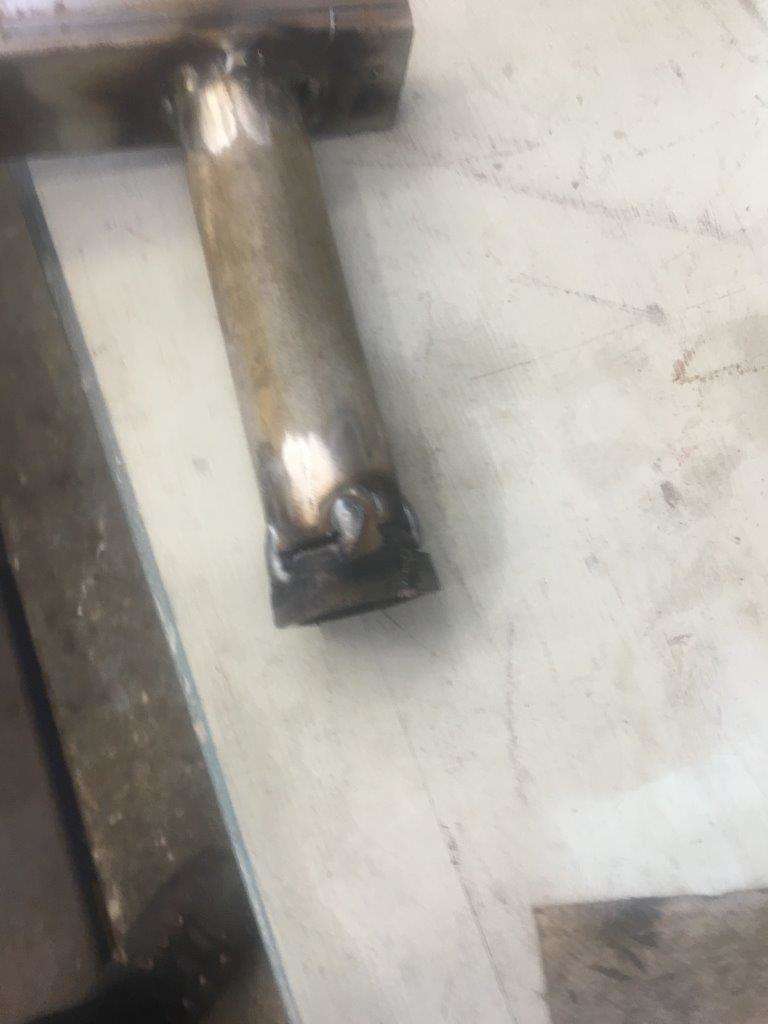
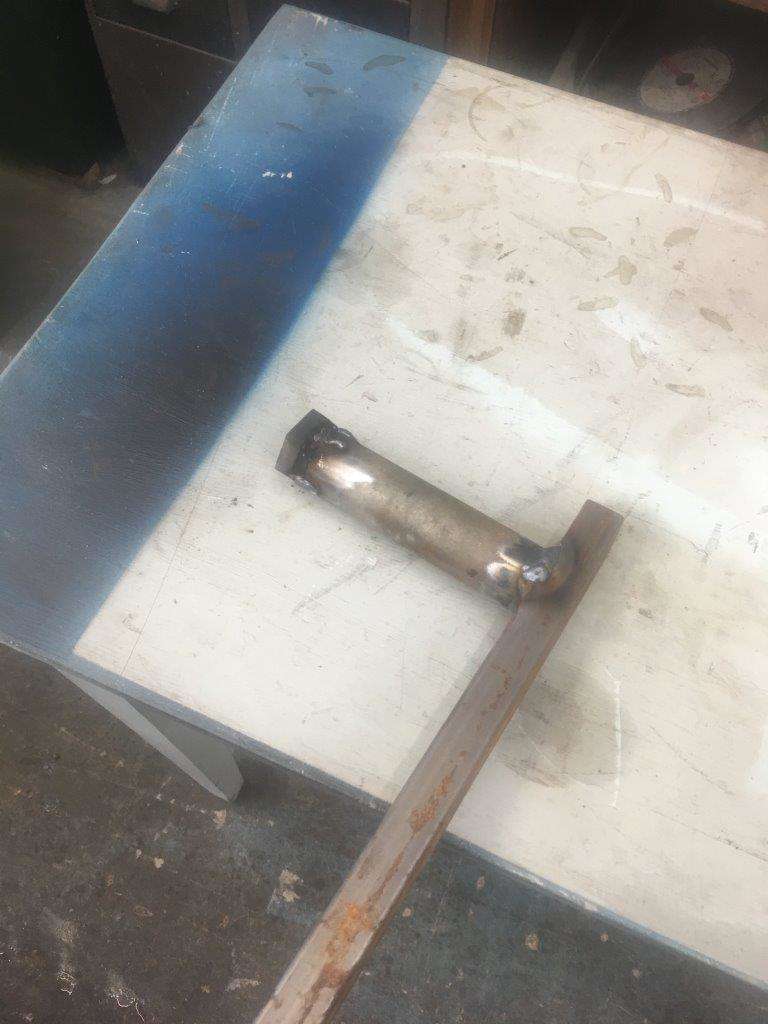
Then taking the "sprocket" off the modified nut broke

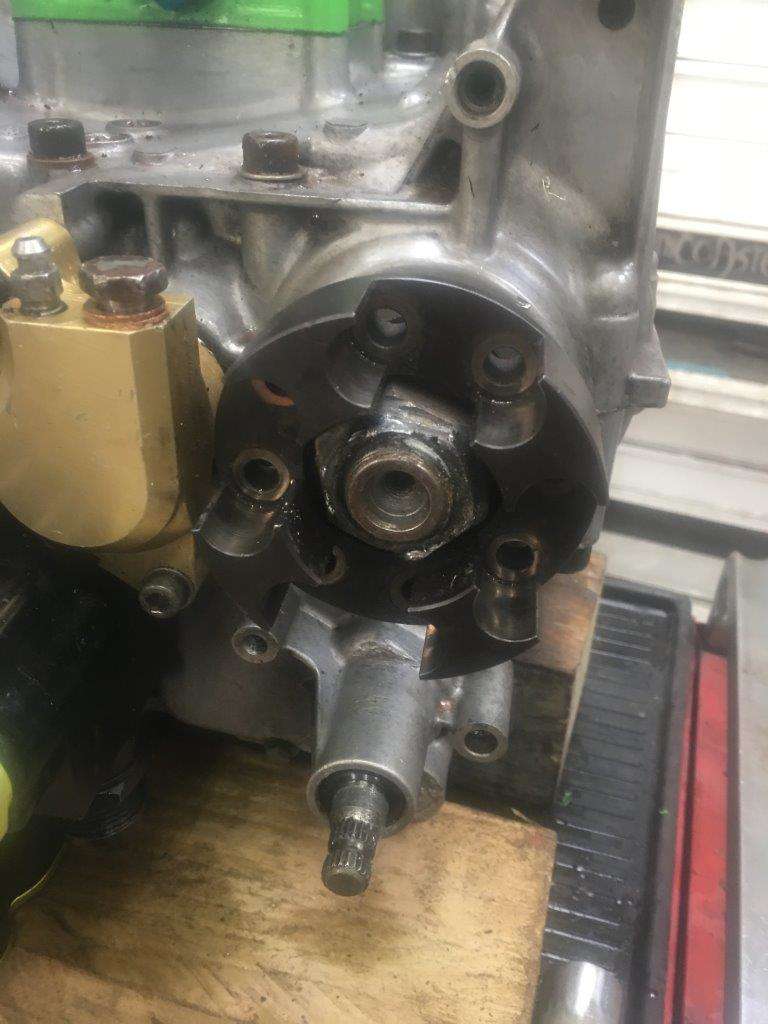
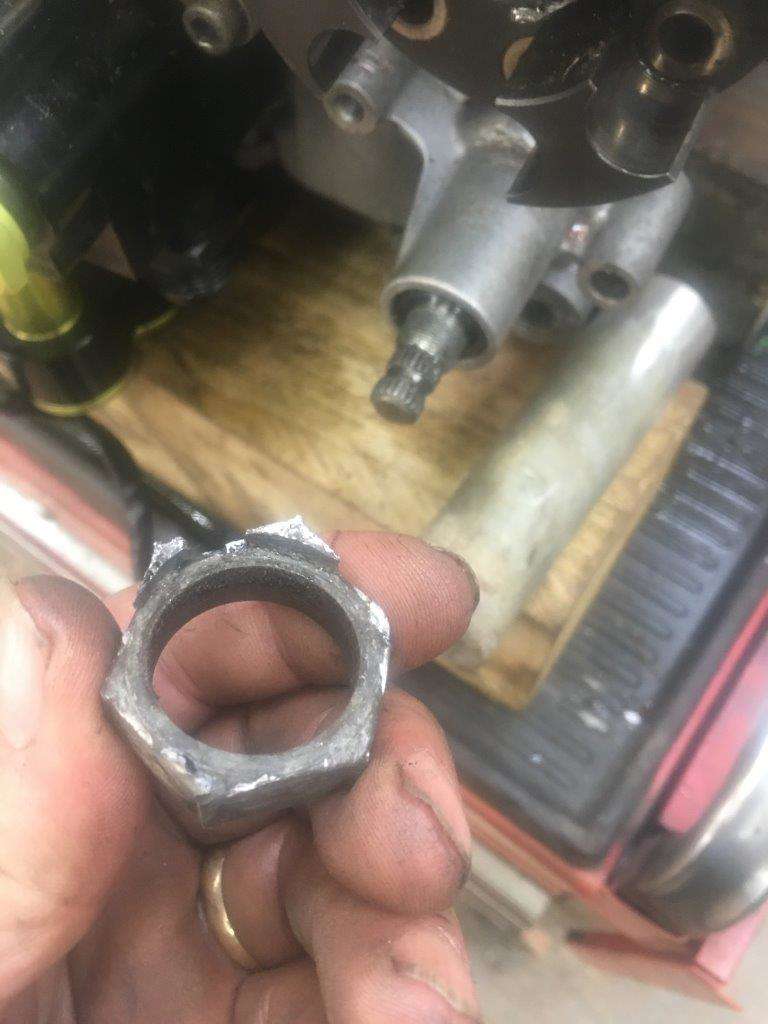
So a special tool had to be made and welded to the last bit of nut to remove it -
More soon (I promise)
Keyser Maximum Effort
-
7
-
-
On 27/06/2019 at 17:23, Foo56 said:
What year is it? I’m after interior plastics (low centre console section/door & vent trim pieces) for my Hr.
Its a 54 so probably to early for you?
Door cards are here and some interior trim.
-
On 24/06/2019 at 14:58, Mike D said:
Hi do you have the OSF air duct its the plastic part fitted to the radiator core support?
Thanks
Mike
Sorry missed this - I will look but don't think it is there.
-
On 25/06/2019 at 09:59, coldel said:
What time do you fire up the bbq Chris?
We are very laid back people usually start showing up around 12 midday and we go from there
-
3
-
-
You gonna insulate the roof Ian?
I would them metal ones condensate and drip ..... just a thought
EDIT: Although that may not be metal is it that fibre stuff??
Looking good though
-
Can I park on the end of you lot?
If not I'll just be Billy no mates (as usual)
-
Check your engine earths - especially the one on the top front above the power steering pump - its the end earth point for the coil loom.
It's only a 10mm bolt into the front cover but the ally corrodes take it out check the wire for damage give it a clean and put it back on.
There is also any earth to chassis on that side make sure it's good.
May not be it but won't do an harm
Good luck
-
1
-
-
Hi all,
The annual BBQ and celebration of my eldest daughters birthday is set for Saturday the 3rd August, so clear your calenders load up the camping chairs and head on over
Resident BBQ Chef @Beb will be cooking all kinds of strange things as usual
BYOB drivers are expected not to drink!!!
Place limited(ish)
Get ya name down if you fancy coming along.
1. Keyser
-
A DC motor will run backwards if the polarity is reversed so the polarity must be reversed, I would guess you put the caps on backwards but I have never actually stripped and refurb'd the fan motors so I don't know that for sure, just seems the only simple thing to reverse the polarity.
-
2
-
-
10 hours ago, rabbitstew said:
Dread to think how much that weighs!
A Lot
-
Quick update -
The table is in the garage

First job was to get the other table top or steel plate off, not sure why they loaded it with a fork lift, all you need is an @Beb to lift it off
(Sorry Beb I forgot to Photoshop the cable out

At this point Beb had to leave so I ended up at this point with the table -
The rest was far to dangerous (stupid) to take pics but the end result was ........
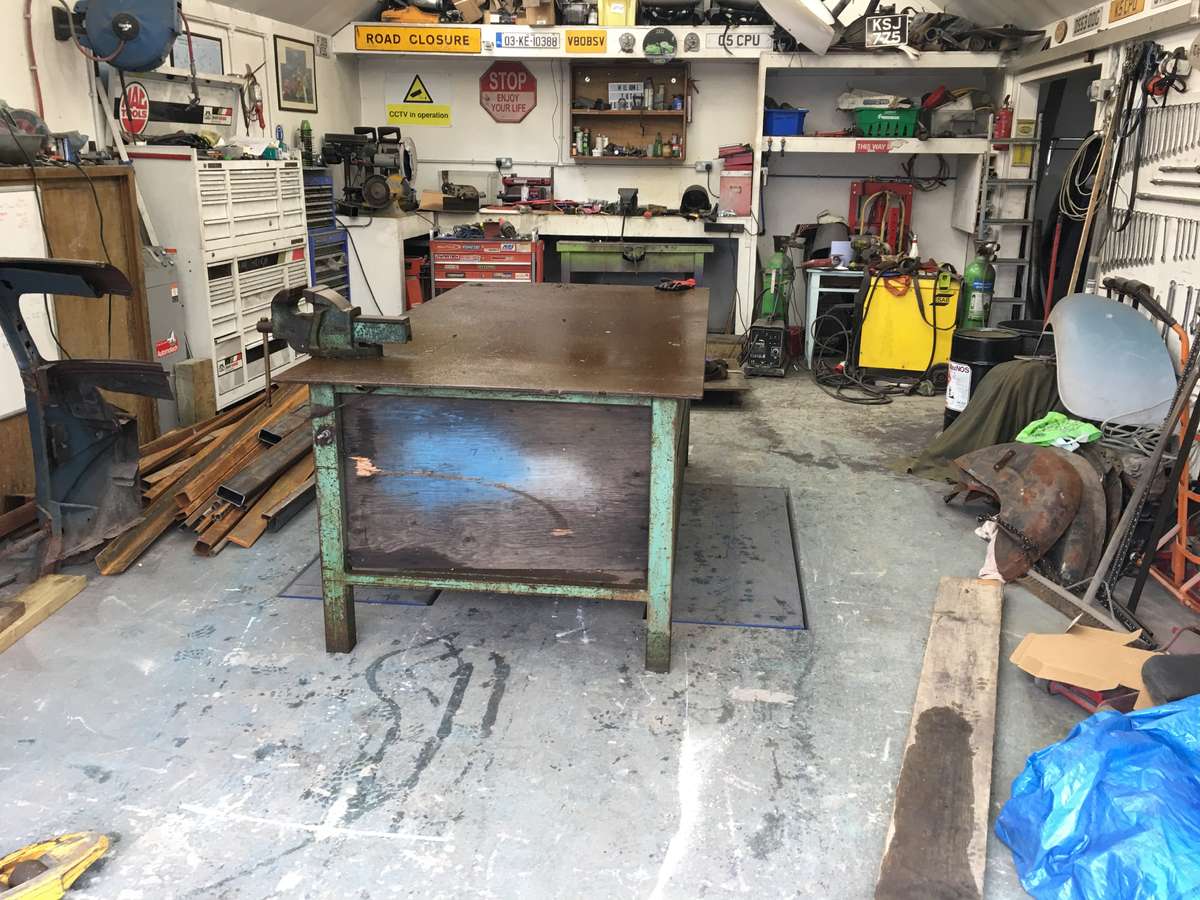
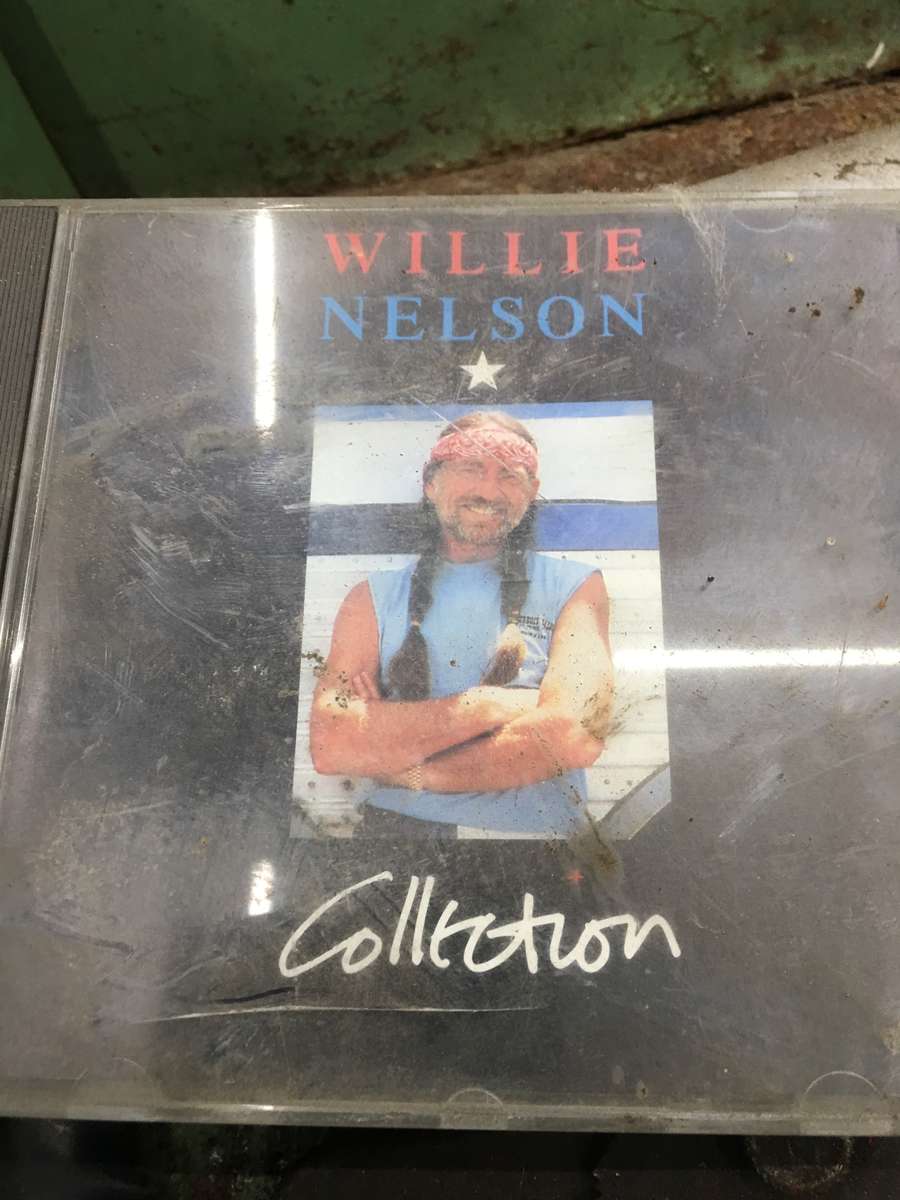
started to strip it down starting with the draws

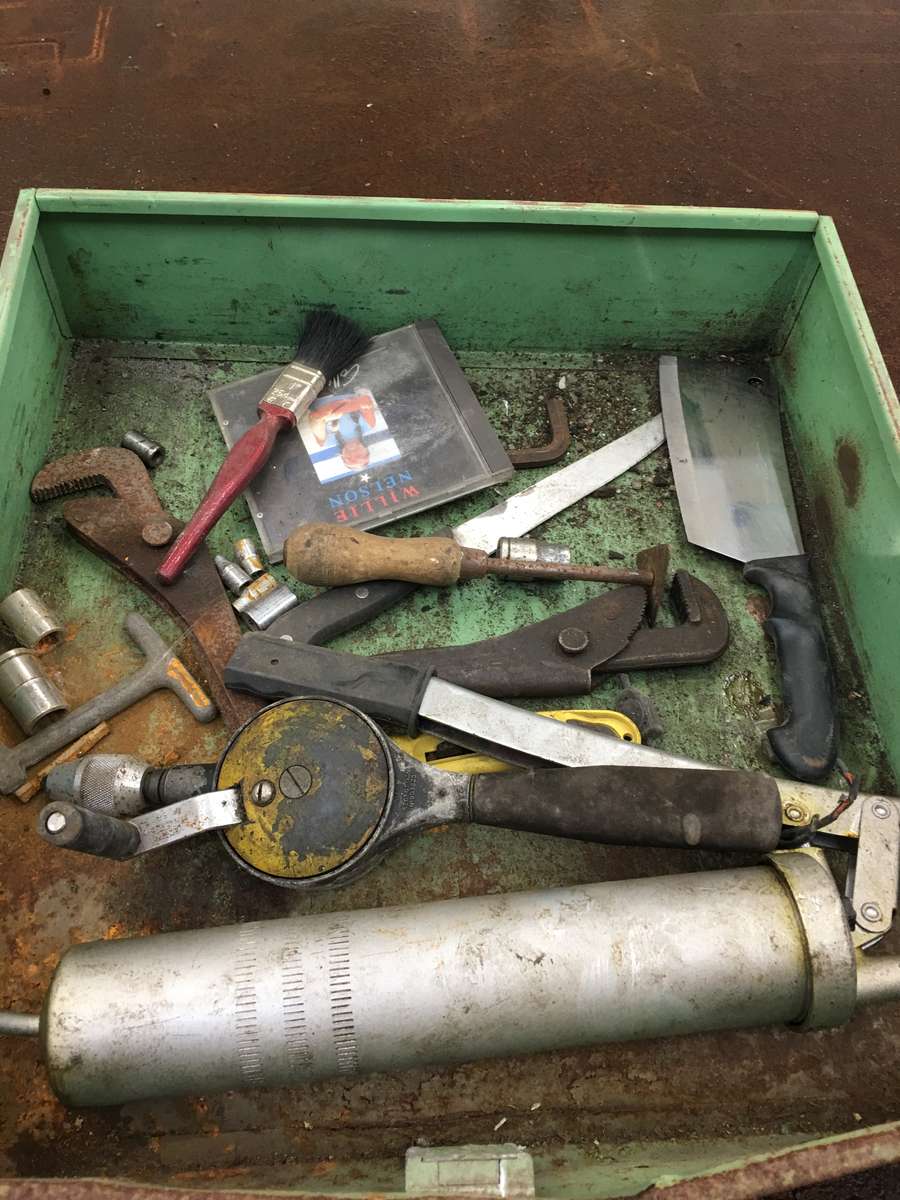
Don't think they have been opened in a while

But it did have a CD
took the old wooden side off
and the vice
Next thing to do is see if I can sort the slight sag in the top
longways
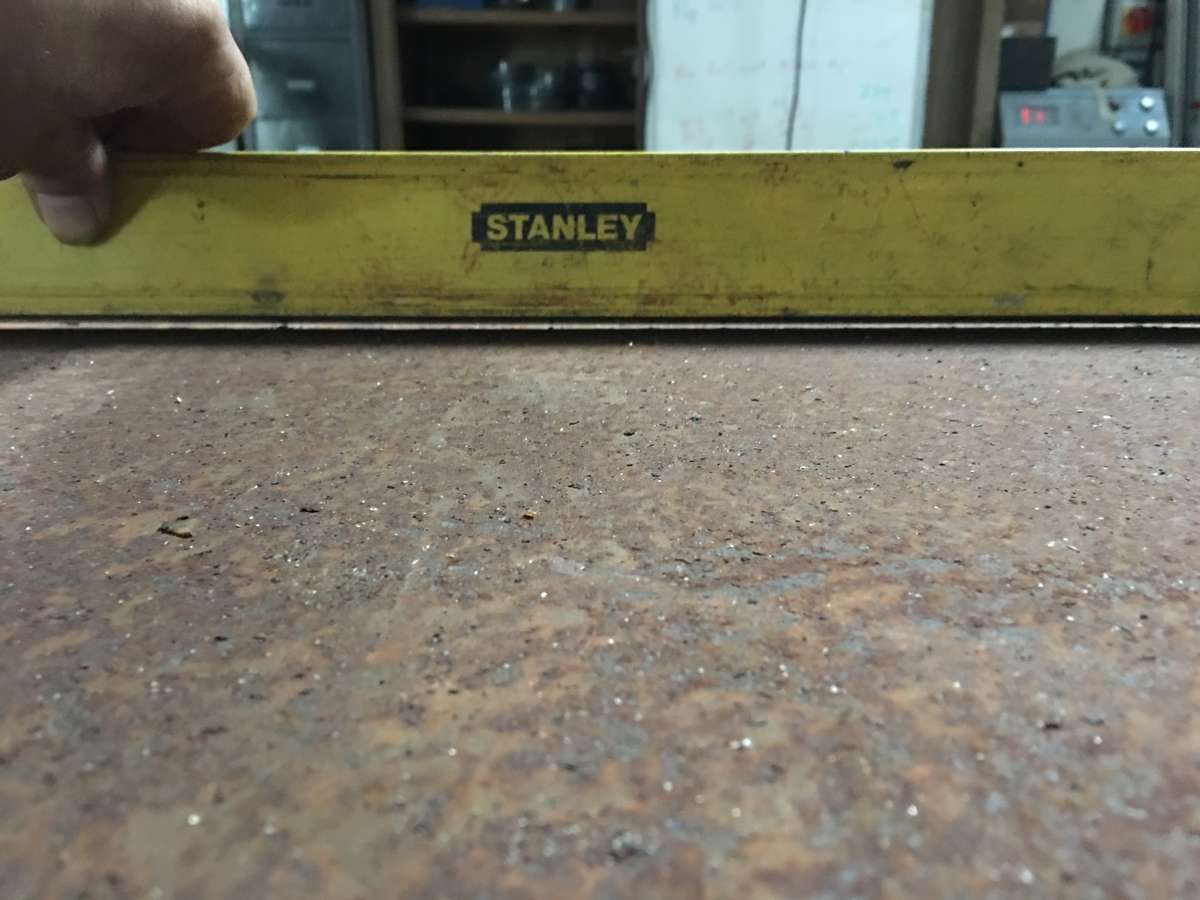
front to back
More on that soon but this is evening work so only a couple of hours a night.
Keyser Maximum Effort
-
3
-
-
Very cool
 along
along 
Zed Shed Antics - Something will happen!
in Other Cars
Posted · Edited by Keyser
All that was done to mount the die onto my tube bending machine
like so
back to the mill to round it up
we added a roller and we ended up with this lot
added a metal holder
fits together like so ...........
metal goes fits
On to testing
first attempt
Pretty darn good don't ya think?
Yer so did I but @Beb Has CDO - it's like OCD but the letters are alphabetical as they should be
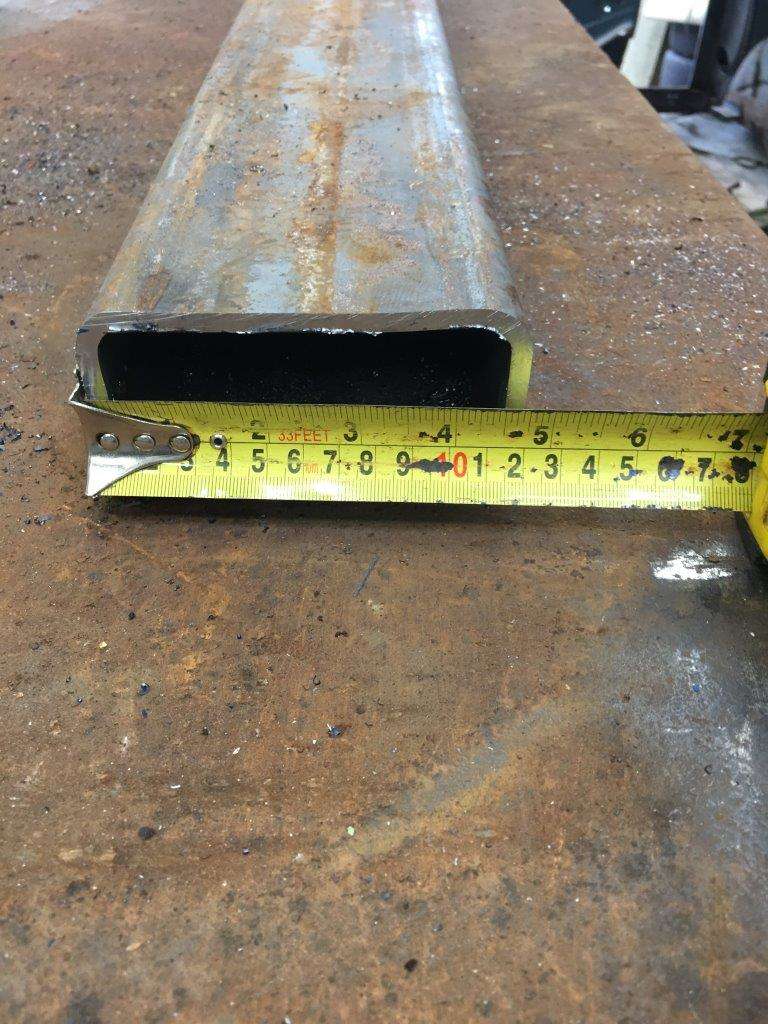
When you bend Box the side walls expand at the side, the ridge on the die forces the middle to pus in to prevent it kinking out and the outside stretches
Hard to see in the pics but it does, Now I spent a lot of time researching tube / box bending, what is happening is to be expected, one of the reasons that the frame we are copying has less distortion in the side walls is because they are using 1.2mm side wall we are using 3mm side wall - more metal more bulge, all that metal has to go somewhere!!
The newer Go Quads have a thicker side wall no doubt as everyone increases the engine size etc they need more strength, you will notice in the newer (and faster green) ones they suffer distortion
You notice the front corner has distortion - But Beb wants flat and I love a challenge so stay tuned for the Version 2 bender followed by the version 2 die and more ........................
Keyser Maxiumum Effort