


TheRedEye
-
Posts
22 -
Joined
-
Last visited
Content Type
Profiles
Forums
Events
Gallery
Store
Everything posted by TheRedEye
-
Not the usual topic of water ingress into the boot well, by the spare wheel (lots of discussion on that). In my case I had rain collecting inside the actual boot lid. I would only notice this when I opened the boot and water would pour out from under the top trim pieces above the rear glass either side of the high brake light, and it would fall over the rear console where the speaker and rear glove box are. After a heavy rain there could be as much as 1/2 litre. Anyway, after checking all the boot and window seals, I found the cause - it was rolling off the back window to the rear OEM spoiler and getting in along the front edge of this, and then down through the bolt and clip holes that secure the spoiler. There was a gap between the spoiler and lid, enough to get a slim credit card into. When I removed all of the trim on the upper lid it was wet on the inside. 2 fixes. The proper one is to remove the spoiler and old sealing tape, then replace with new tape and re-install. For a quicker fix I masked off the leading edge of the spoiler and the boot lid leaving just a few mill gap where the spoiler meets the lid. Clear outdoor sealant along the whole edge and then pushed into the gap with a finger. Once the masking is removed this filled the gap perfectly without being visible and solved the leak. It's also solved the condensation issue on the rear screen as it's dry as a bone now. Hope this helps someone else
-
Random/ multiple misfire after battery change
TheRedEye replied to TheRedEye's topic in 350Z Technical
Thanks for the advice. Looks like I've cured it (fingers crossed anyway). I replaced the PCV valve as the old one was a little overdue, worth doing anyway for a few pounds. I also fully recharged the battery, re-seated it and cleaned all the connections. I also checked all the coil pack connections were true then cleared the engine codes. Started first time and has run sweetly ever since. While I can't be certain, I think it was down to the battery disconnecting when I hit a pothole (my fault it was not properly fixed in place), which cause a total temporary loss of electrics while the engine was in cycle. That could easily throw it into a bit of a wobble. I'm back to pissing off the neighbours with my 6am starts 🙂 -
Random/ multiple misfire after battery change
TheRedEye replied to TheRedEye's topic in 350Z Technical
Hi, yes I did - should have said that's where I got the 'random / multiple misfire' - P0300. It didn't flag any particular cylinder. Rather than removing various parts off the top to get at the coilpacks, is there somewhere at the other end of each loom where they all meet and can be unplugged one at a time? I've struggled to find a diagram of for this so don't know where to look. -
Hi community. I recently developed a misfire after a routine battery replacement. 2004 350z GT (UK). Hadn't driven the car for a while due to bad weather, and dropped in a battery, identical new replacement for my old one. The first time I drove, after about 5 mins I slowed for some traffic lights and when nearly stopped the car tried to stall. I caught it, but then the amber engine warning light came on and I had a fairly consistent misfire. This persisted then one next drive. Following that I went to start it and had zero juice - the battery terminals were not properly connected and had slipped. Reconnected, started and the same misfire. I've read the posts about checking vacuum hoses and coil packs, which I will do. Just wondering if anyone thinks or knows whether it could be because of an electrical supply issue following the battery change? This is the only change, and the car has always been serviced and run sweet as a nut until now. Many thanks for your advice.
-
Hi I've experienced and overheating issue for the first time, and have read through the various posts on this topic - I just want to double check my understanding is correct before committing to further action. Any guidance will be welcome. '54 plate 350z GT, always well serviced and I don't drive it hard. On a 20min urban journey the Mishimoto fans kicked in after just 5 mins (not running A/C) and the temp gauge rose to over the horizontal for the first time in my 3 years with the car. I put the heater fans on full blast in the cabin and they blew hot. I kept the car moving at low revs scooping in loads of cold air through the rad. The needle would rise further when in traffic but not into the red. I know the car and know this is not normal, especially given the outside air temp was in single figures. Once stopped I checked the following: 1 - Top hose was very hot 2 - Bottom hose was cold at the rad end and warm next to the thermostat 3 - No coolant leaks 4 - Coolant reserve tank was about 1 inch above the top fill line Once the car was cold I checked 1 - Coolant level was bang on top fill line (I check this and all fluids monthly anyway) 2 - Coolant had no sign of oil 3 - Oil had no sign of water (no cottage cheese) 4 - Rad top filler was full with coolant 5 - Fans do turn I think my next steps therefore are. 1. Coolant bleed in case there is an air lock. 2. Thermostat replacement if the bleed has no affect. Does that sound right or is there something else I should check before starting work? Many thanks
-
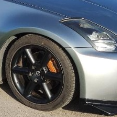
Glad I found this thread as I've had a similar problem. Gone to swap out the tan wheel for OEM black one and found that one of the T30 tamper-proof Torx bolts was already stripped (previous owner) so no hope of getting it out the conventional way. I did get it done this way. 1. Sprayed the bolt with WD40 Specialist Fast Release Penetrant, then waited 10 mins. 2. Used a handheld Dremel type tool (Draper brand I think) with a small cutting disk and created a groove across the centre of the bolt head. 3. Then used a sturdy flat head screwdriver with spanner block for added leverage to release. Needed care and the right amount of pressure but once the 1st 1/4 turn was done it was easy. 4. Fitted new wheel with new bolts - this should be standard practice anyway as the OEM nissan bolts are soft as putty so don't seem to last being torqued / untorqued multiple times. I hope this helps someone else.
-
Spot on! £5 inc p&p?? 🤪 PM me for cost / postage details if that's ok Alex. Thanks
-
Hi. Yes, non sat nav, as per the photo. I only need the top lid but understand they will probably come as a unit. Thanks
-
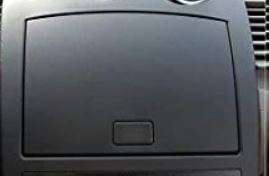
Hi. Sorry for the slow reply, I've been away. It's a UK RHD coupe 54 plate. Since I've had it there has been no sat nav, just an aftermarket double din touchscreen stereo. Like the unit in the photo, the cubby release button in the type you push in, not the one you push down. Does that help? Thanks
-
Hi again. How did I know you'd come up trumps for the left upper strut cover!? The final piece of the jigsaw for me will also be the cover for the front centre cubby. Mine is scratched to hell but I've had no luck sourcing a half decent one for a '54 plate pre-facelift model. If you have one can you quote me for both parts please? Thanks
-
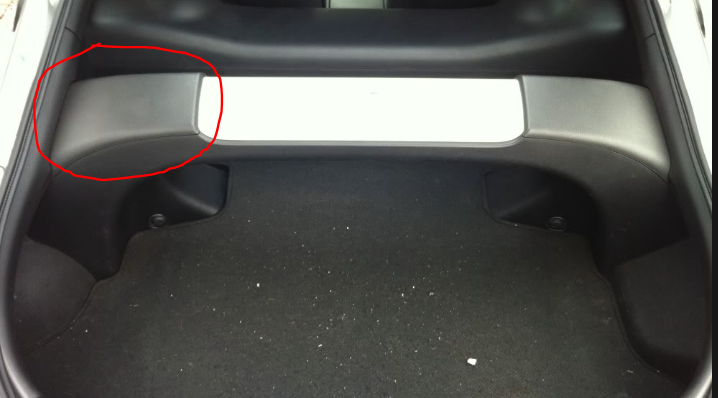
Hi. I'm just after the upper left trim panel for the rear strut bar cover (as highlighted below). I've searched fleabay and there are only right hand side ones or one that is over-priced when you take into consideration they want £10 postage! Can anyone help? It does need to be in good unscratched condition as I'm preparing to take the car to shows. Thanks
-
Seat swap - different power and airbag connectors! argh
TheRedEye replied to TheRedEye's topic in I.C.E & Electronics
gutted - I've put lots of effort in getting these low mileage seats looking mint. I'm not a quitter so I'm going to persevere. I'll have the car loom plugs in a few days, and see if there is a way I can replace my current plugs with these to get the basics working - airbags, seatbelt, and power movement for the passenger seats. I'm not bothered about the heated seats (never used it anyway) or any of the other features the roadster seats have. I'm sure there will be some wiring diagrams knocking about I can use to start with. -
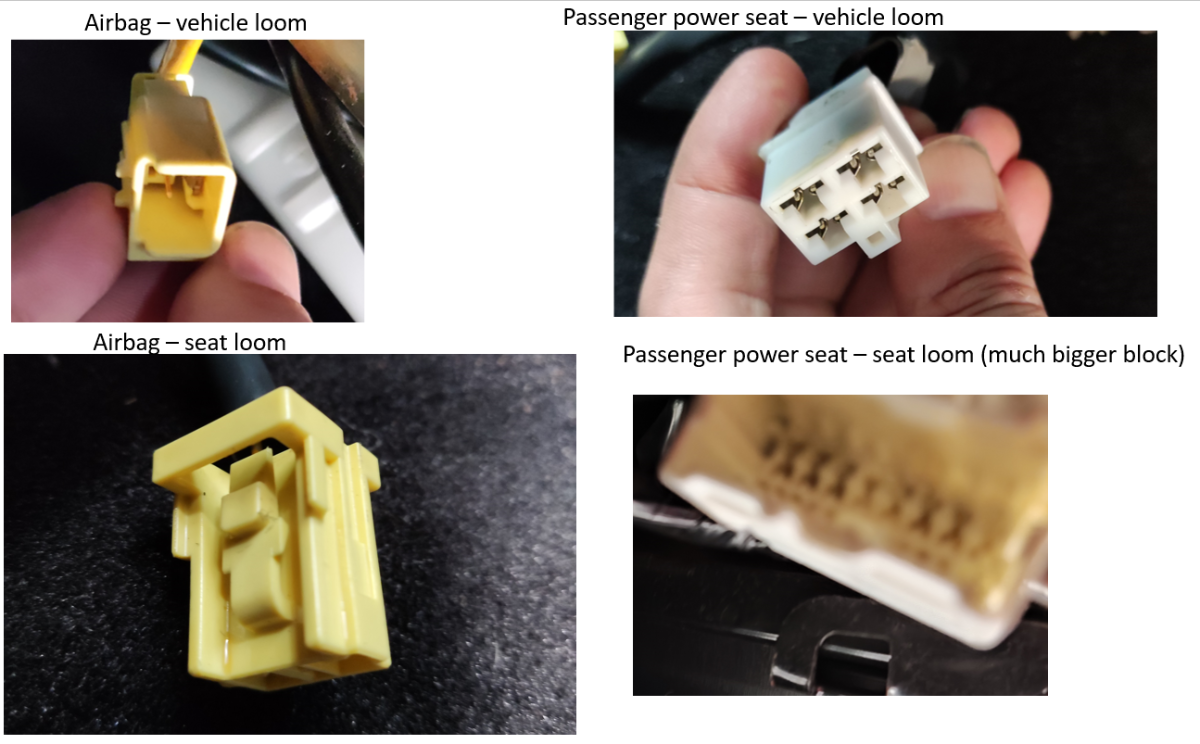
Hi I've just done a seat swap, putting black leather heated seats from an 08 convertible into a 05 coupe which had tan leather heated seats. The seats went in fine (same mountings) and the power connector for the driver seat was a match. However, the airbag connectors for both seats are different (smaller block on the seat loom), and so is the power connector for the passenger seat (much larger block on the seat loom). I noticed that the passenger seat has no manual controls for reclining, it's all powered which would explain the need for a larger block. Does anyone know if there is a conversion kit / adaptors, or any way I can get these matching and connected? I have searched the forum but can't find an answer. If you can help that would be great.
-
New unleaded petrol coming soon - Zed compatible
TheRedEye replied to W8BGS's topic in Off Topic Discussion
I've done a bit of research on this over the last few weeks. The government website indicates that 350z and 370z are compatible although I would like some manufacturer confirmation of this! I'm not ever sticking anything less than 97 in my Z regardless. The main issue is that the new fuel eats certain rubber and plastics so those with modified cars will need to check their components will be ok. There is also noise that it's a pain for petrol stations to stock old (E5) and new variants (E10) as once a tank and pump has moved to the new one it can't run the old. Suggestions are that many will simply switch to the new fuel only leaving us with far fewer places to fill up a year or so down the line. -
Hi. Following up on this old thread - I need some help please. I have a pre-facelift 54 plate 350z with old style side indicator bulbs (not LED). I bought a set of black closed units (https://www.ebay.co.uk/itm/224182057737) before I realised mine were not LED. Different connectors and I believe I would need to do a few electrical mods to make these work - unless anyone knows differently An alternative route appears to buy smoked lenses and a suitable canbus error free LED bulb. Does anyone know if this would be a straight swap and what fitment LED bulb would mean I could use the same bulb holder to mount inside the lenses? It seems it should be so easy but there are so many options I guess it would be easy to get it wrong. Many thanks
-
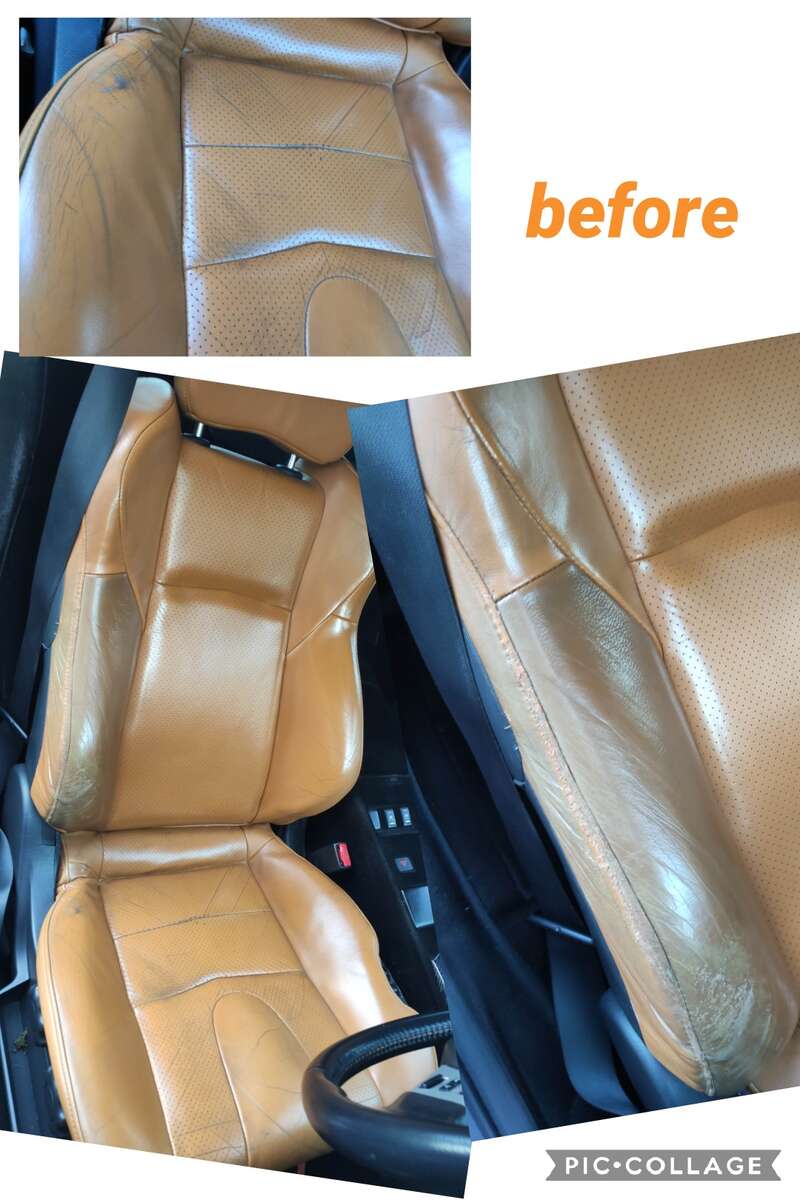
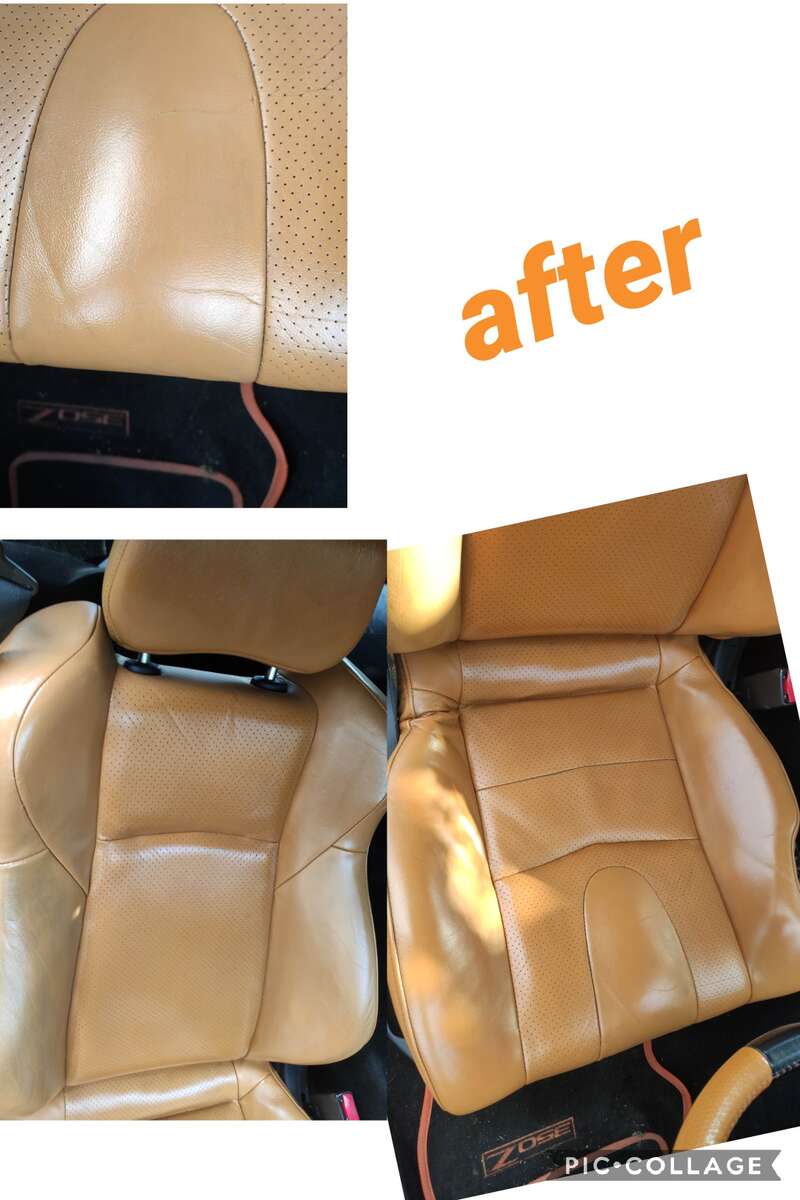
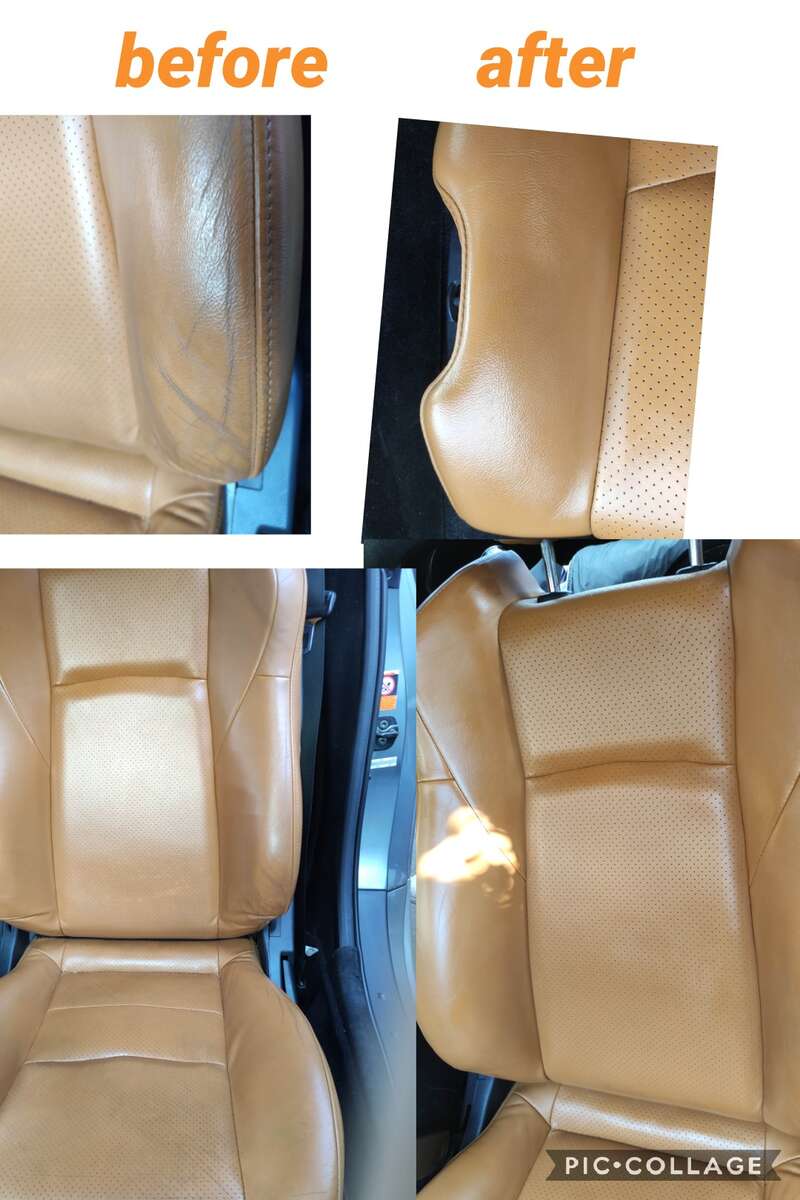
cleaning an restoring faded tan Leather seats
TheRedEye replied to TheRedEye's topic in Car Detailing
Just wanted to provide an update as it's some 8 months since I reconditioned the tan seats. They still look fantastic! Car us used about twice weekly for long and short journeys and the leather has held up brilliantly - I've not had to re-touch once. Pretty impressed with that especially considering we've had a mix of snow and baking hot weather that I thought would put the finish to the test. -
OK that's great, I wasn't expecting that. Any idea where to get hold of an new OEM one? They seems to be hard to come by. All I can find are the aluminium ones at around £200 a go
-
Hi I've done some research but drawing a blank on this. My 54 plate 350z has a Nismo N2 front bumper installed like this but without the canards (https://www.meduza.co.uk/nissan-350z-z33-nismo-n2-style-front-bumper-with-canards/). However there is no front undertray and I'm sure a stock one won't fit. I'm really struggling to find out where I can source one that will, plastic will do - as long as it will fit I don't care! Anyone out there have any clues? Thanks
-
cleaning an restoring faded tan Leather seats
TheRedEye replied to TheRedEye's topic in Car Detailing
https://www.amazon.co.uk/Scratch-Doctor-Leather-Colourant-Recolour/dp/B009JC4AD8 this is the scratch doctor all in one stuff I've used on a few cars. lots of colours to pick from and you get 2 bottles for about £7. it has lasted well on my other projects. here's a car seat sofa I build for my son from a 100k miles Mazda seat. it ended up looking new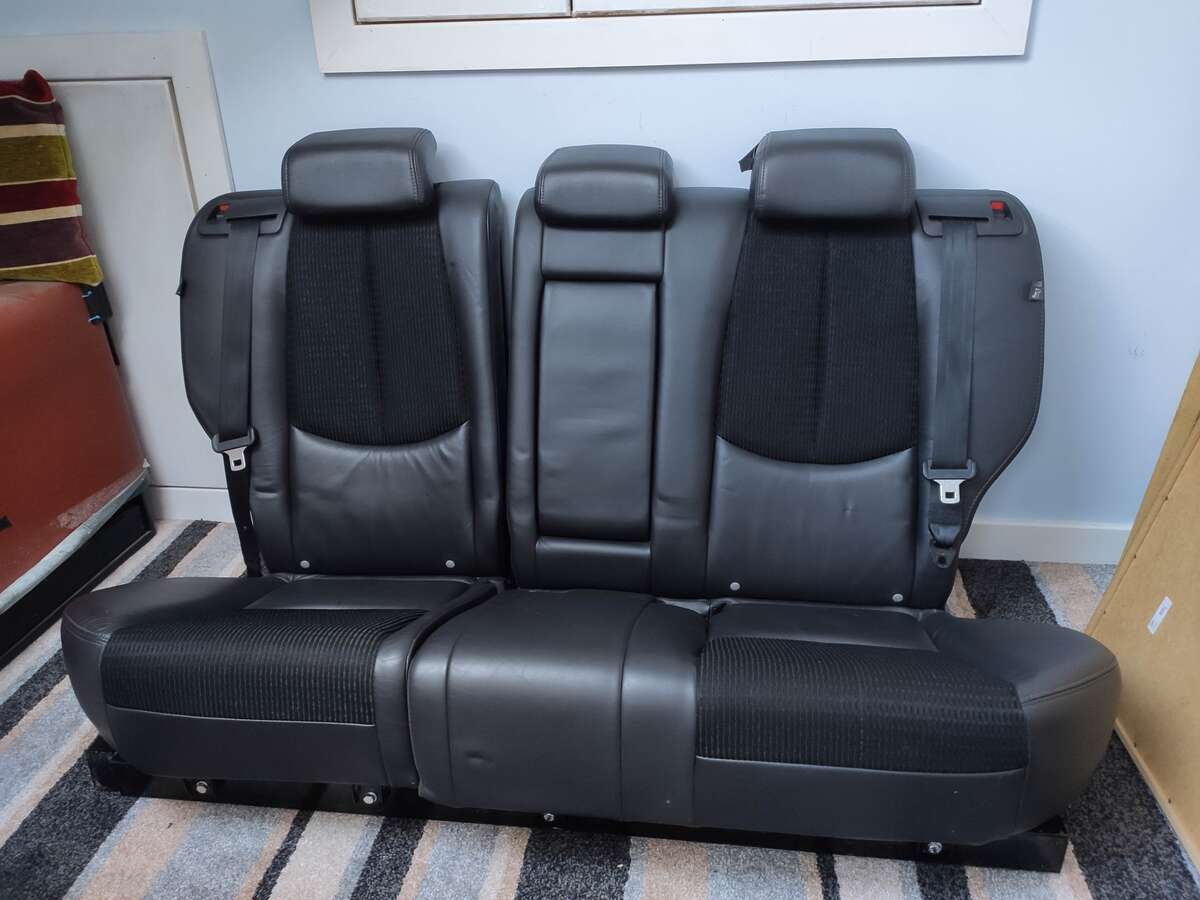
-
so then next job on my list was to bring some life back into the tan leather seats on my 54 plate 350z. While not destroyed they were tired, with creases, fades, surface cracks and discolouration. I've done other leather seats before. here's what I did. 1. vacuum all over 2. clean with Autoglym leather cleaner using a brush for leather shoes. this lifted shed loads of dirt and grime . 3. wipe down with damp chamois. 4. dry with paper towel 5. multiple thin layers of Scratch Doctor leather all in one (tan). applied with small pore sponge and dried with hairdryer on low heat. 6. 24h later, treated with leather balm. I'm really happy with the results, 16 year old seats that have done 140k miles.
-
here you go...
-
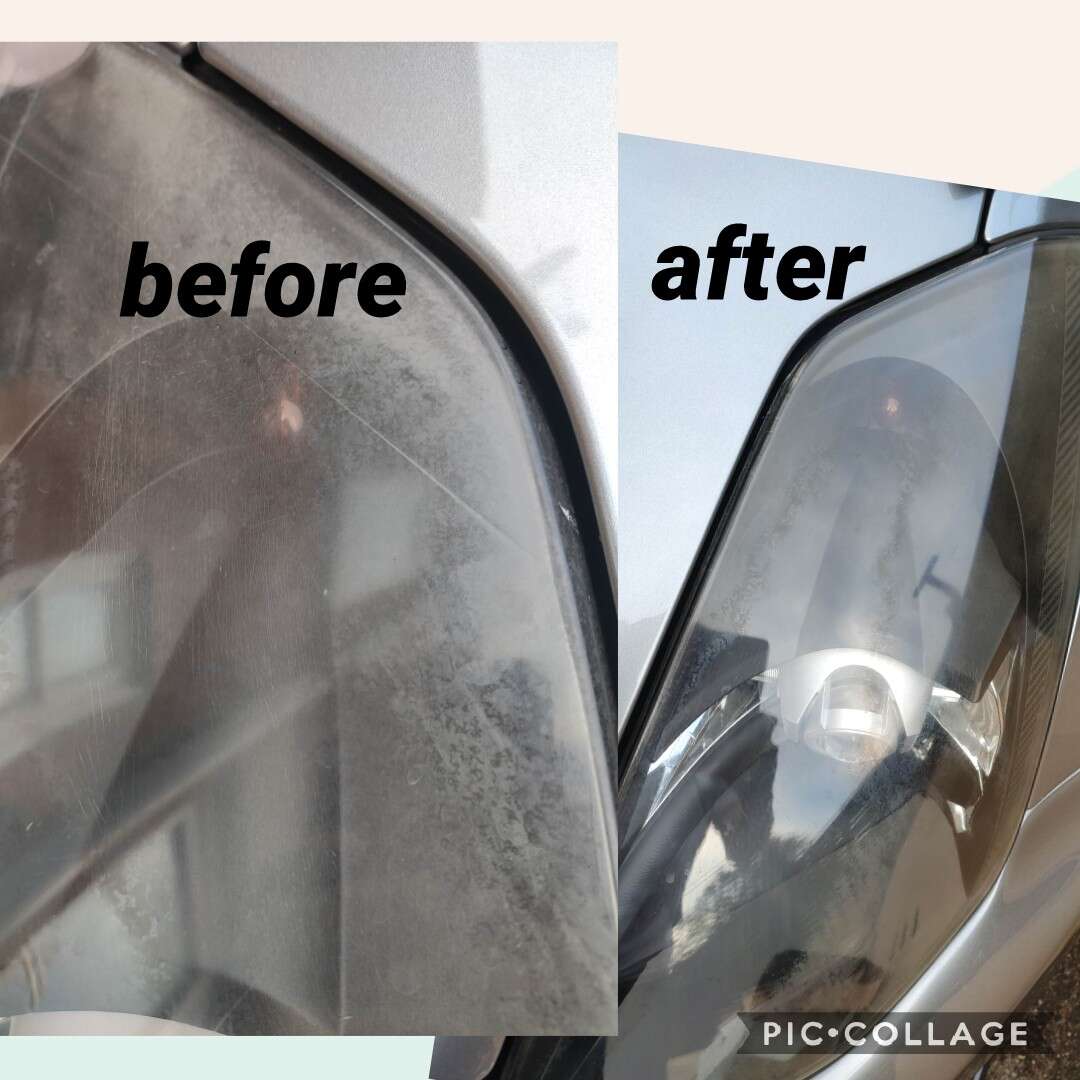
I had the same issue with my lights, cloudy and scratched. tried the toothpaste trick but tbh it just cleaned them up (and made them smell minty!). but then tried a gentle rub with some Poorboys swirl remover medium abrasive using a sponge applicator. finished off with super resin polish. while not perfect there is a huge improvement for 5 minutes work.
-
I like this. mine has a kind of flocked finish which has not aged well and is cracking off. was looking for a simple and clean finish I can do myself.
-
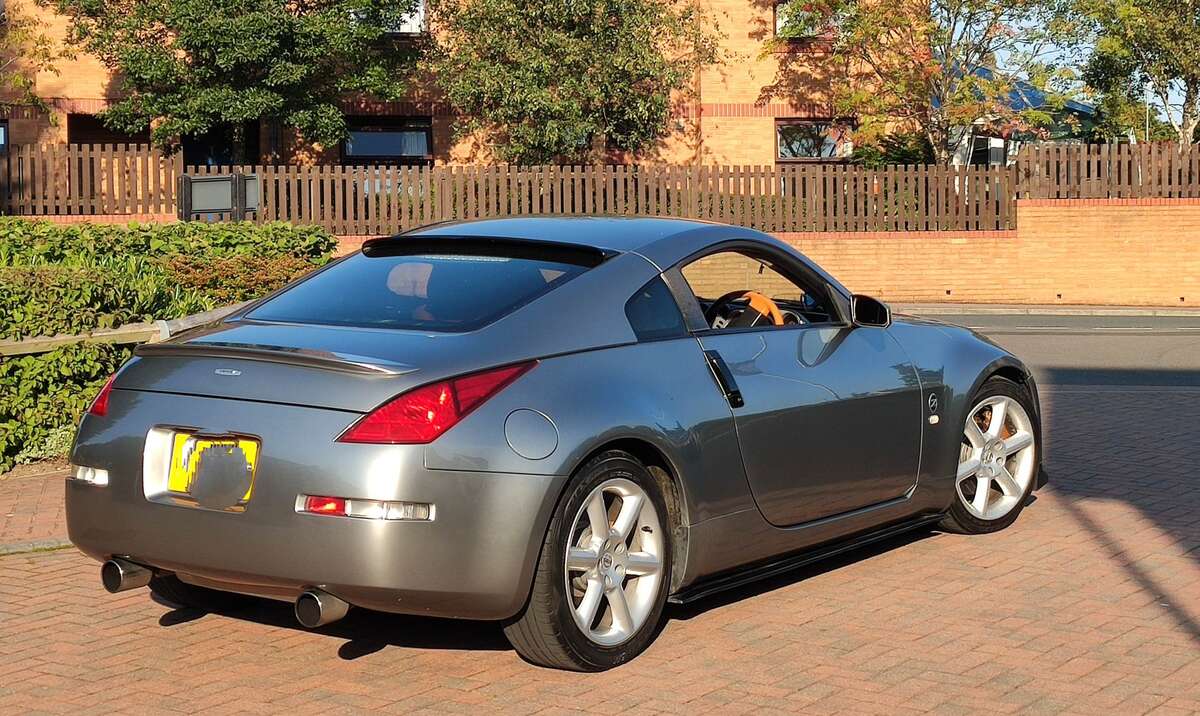
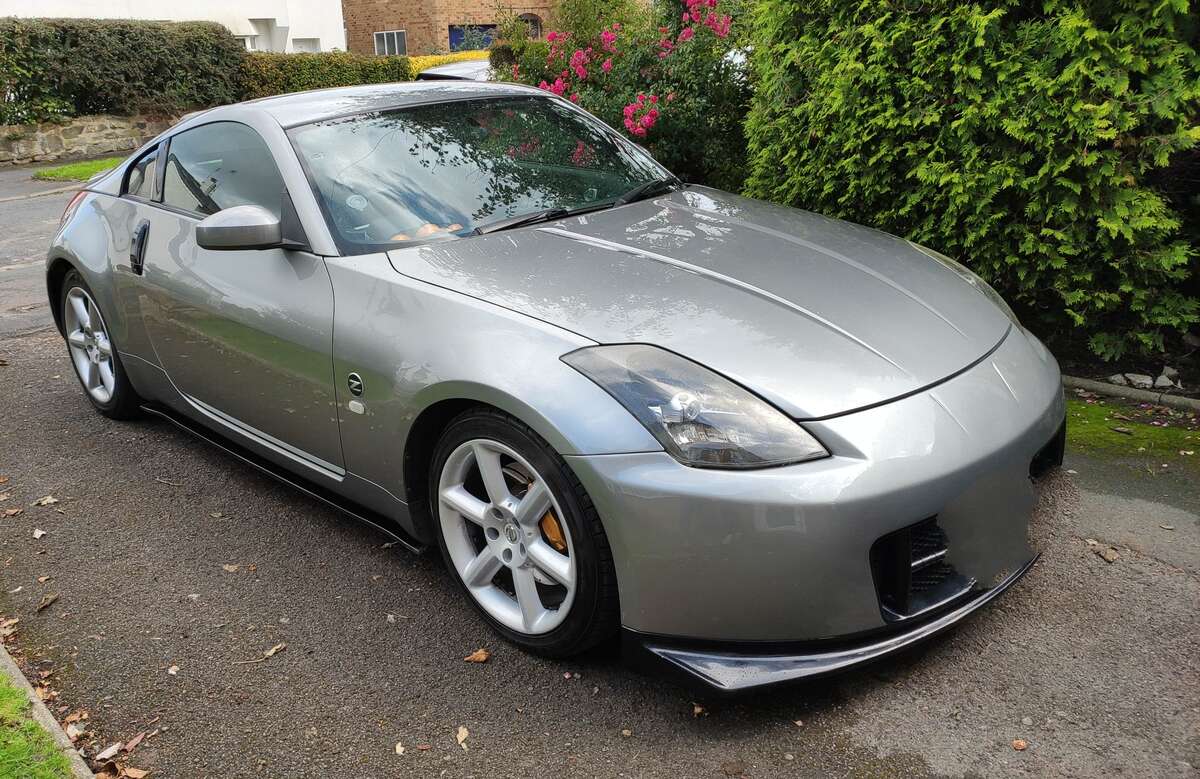
hi. just joined and picked up my first Z, a 54 plate. I'm an ex amateur racing driver (hot hatches) and driving my slightly modded Z brings back happy memories. I'll be making changes to the interior to make it tasteful again so will no doubt be scouring the message boards for some sound advice!
