Nismoandy
-
Posts
317 -
Joined
-
Last visited
Content Type
Profiles
Forums
Events
Gallery
Store
Everything posted by Nismoandy
-
I would love to go as not only will you have time attack drifting on a fantastic circuit it's a great day out get your name down PAYCO Sam PatmorE Bunning Nismoandy
-
Thanks for your best wishes much appreciated . I still am waiting for the rest of the wiring loom. But hopefully in 3 weeks time I'll have all of the wiring when I get a chance next week I will update the progress on the bit's and pieces, tidy up etc
-
Well done Steve great job fab design for the discerning members
-
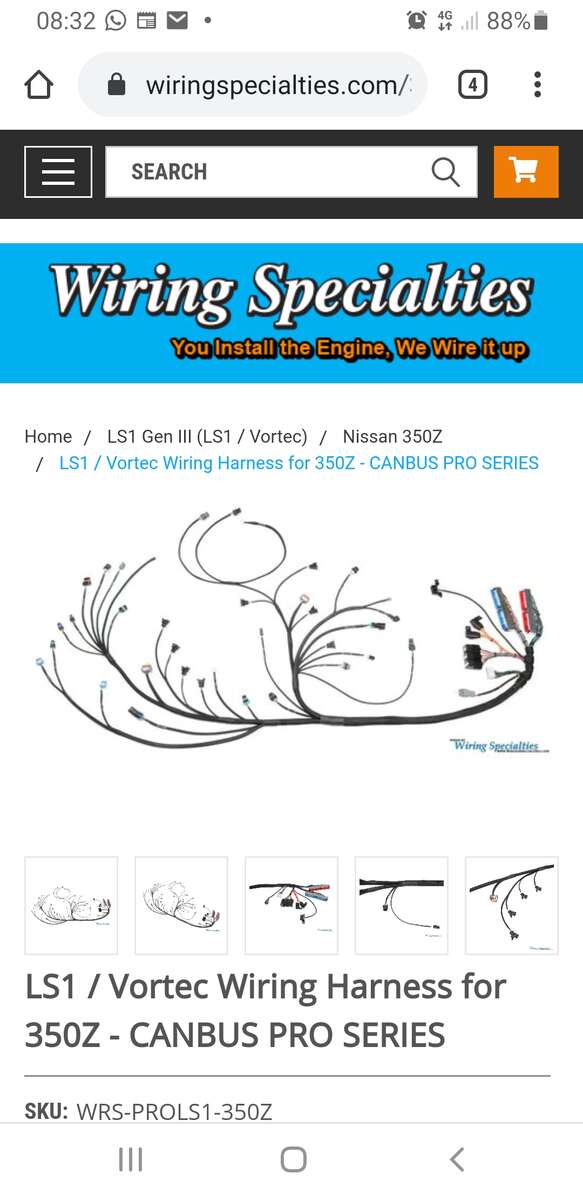
I have had the order for the wiring loom ecu etc,for a while I have continuing with the build I haven't chased up my order with them, Wiring specialities supply a fantastic product won I'll share with you once it's installed using all of your factory instruments and adding a couple of cool features, but because of the pandemic there's a back log of orders and I won't receive mine for two months , so that means a bit of a go slow for the build although I would like to push on i will go over what I have done and make sure that it's OK.
-
sorry I double up
-
Yes pretty much as you say, the Nissan ecu will run everything around the engine ,and a separate ecu will run and translate the LS engine
-
Onto the next stage now with the wiring , this is stage where there's not a lot to show you but here's a couple of photos to give you a rough idea and it will take a while to complete so I probably won't post for couple of weeks ( just a note to everyone this part of the wiring loom has now been updated with a different version from wiring specialists)

-
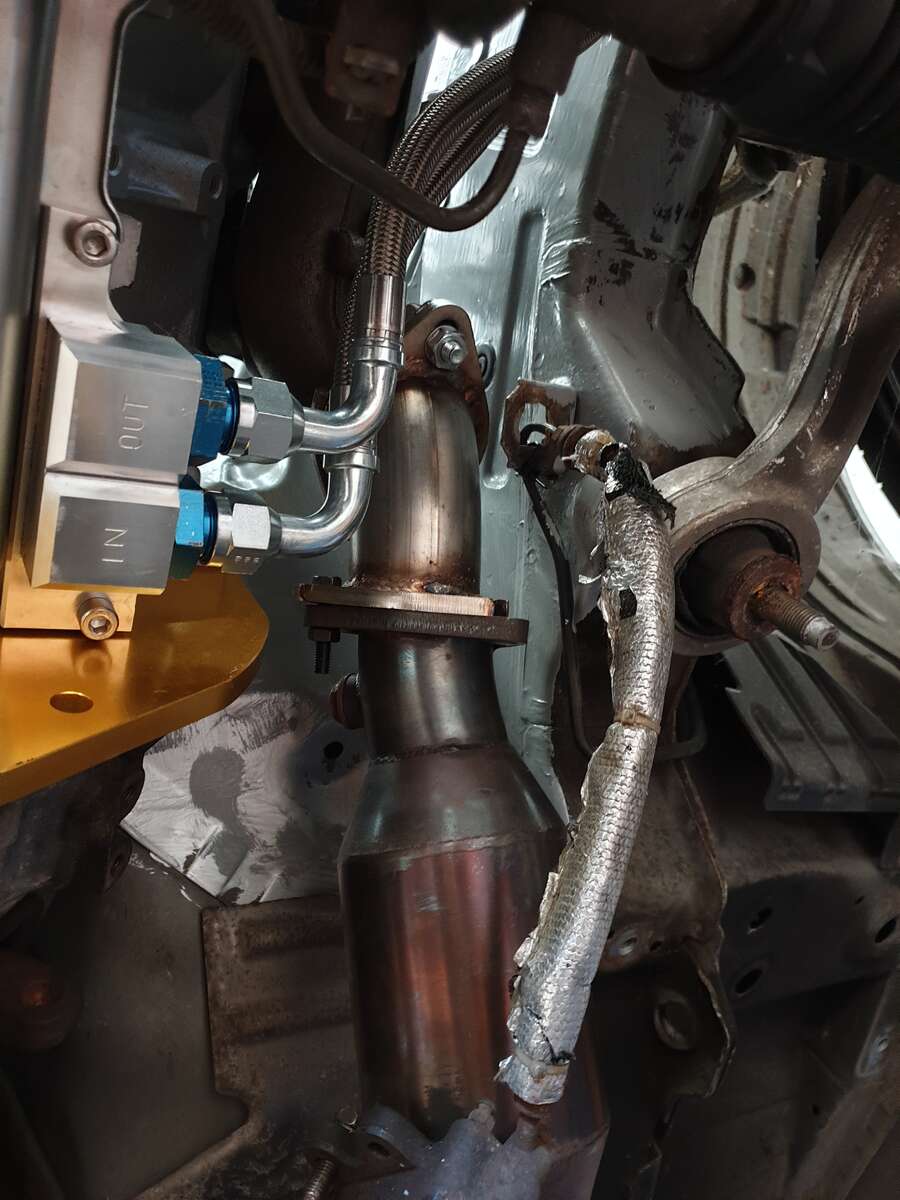
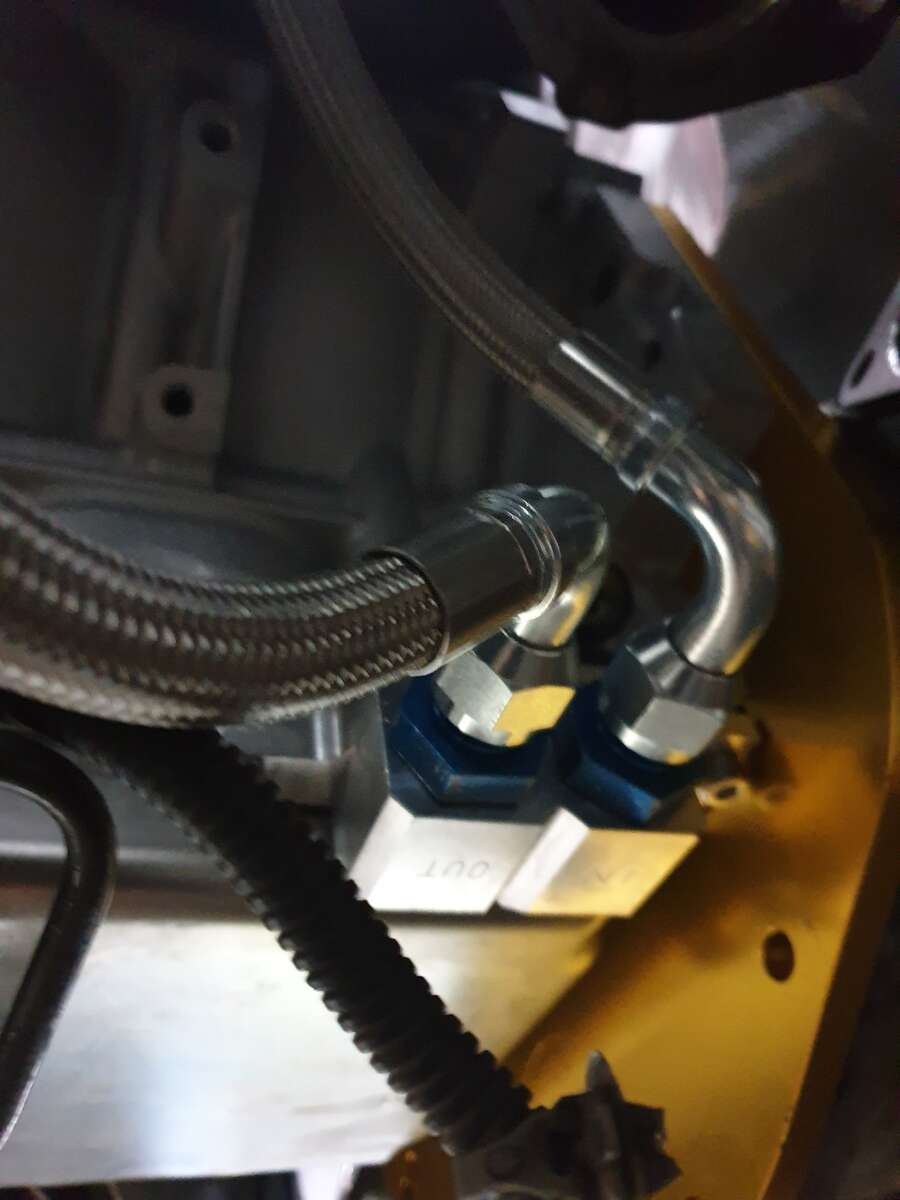
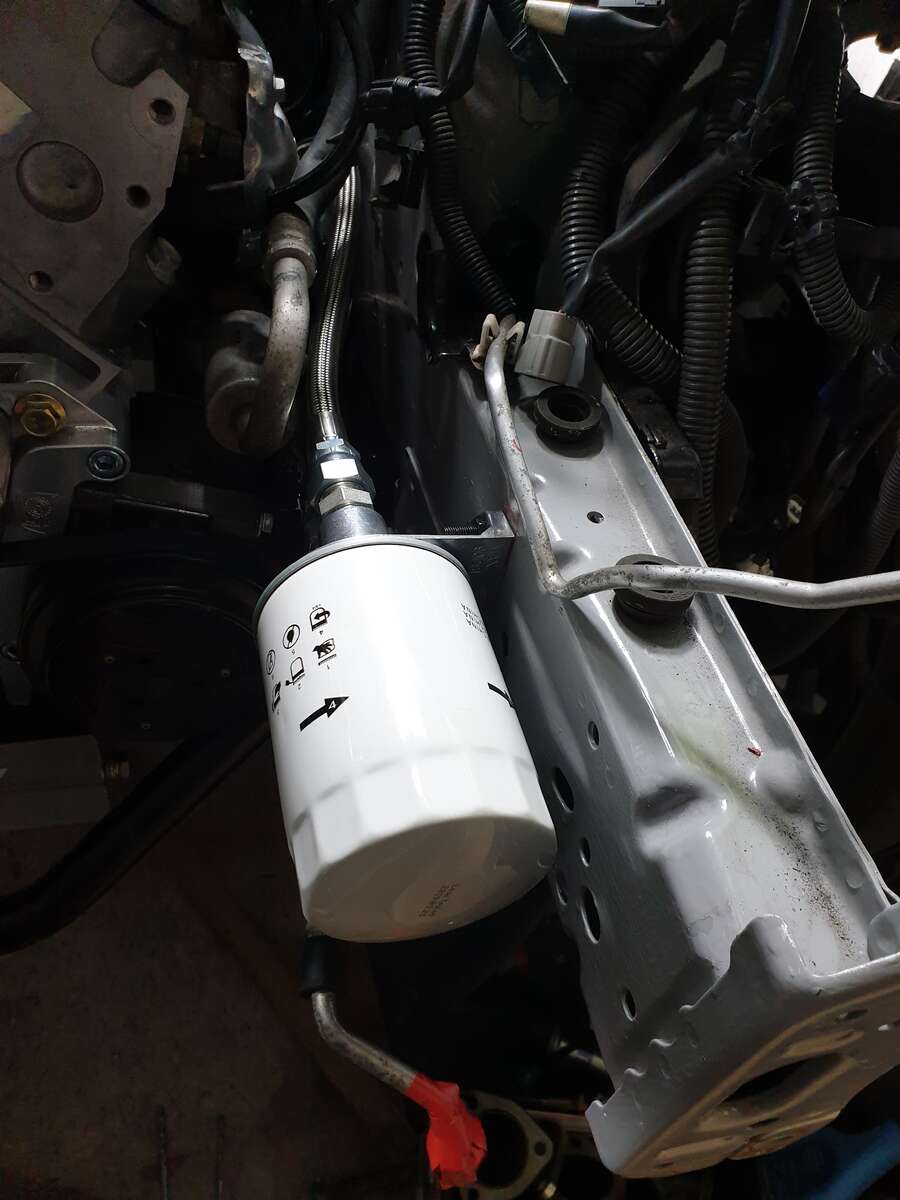
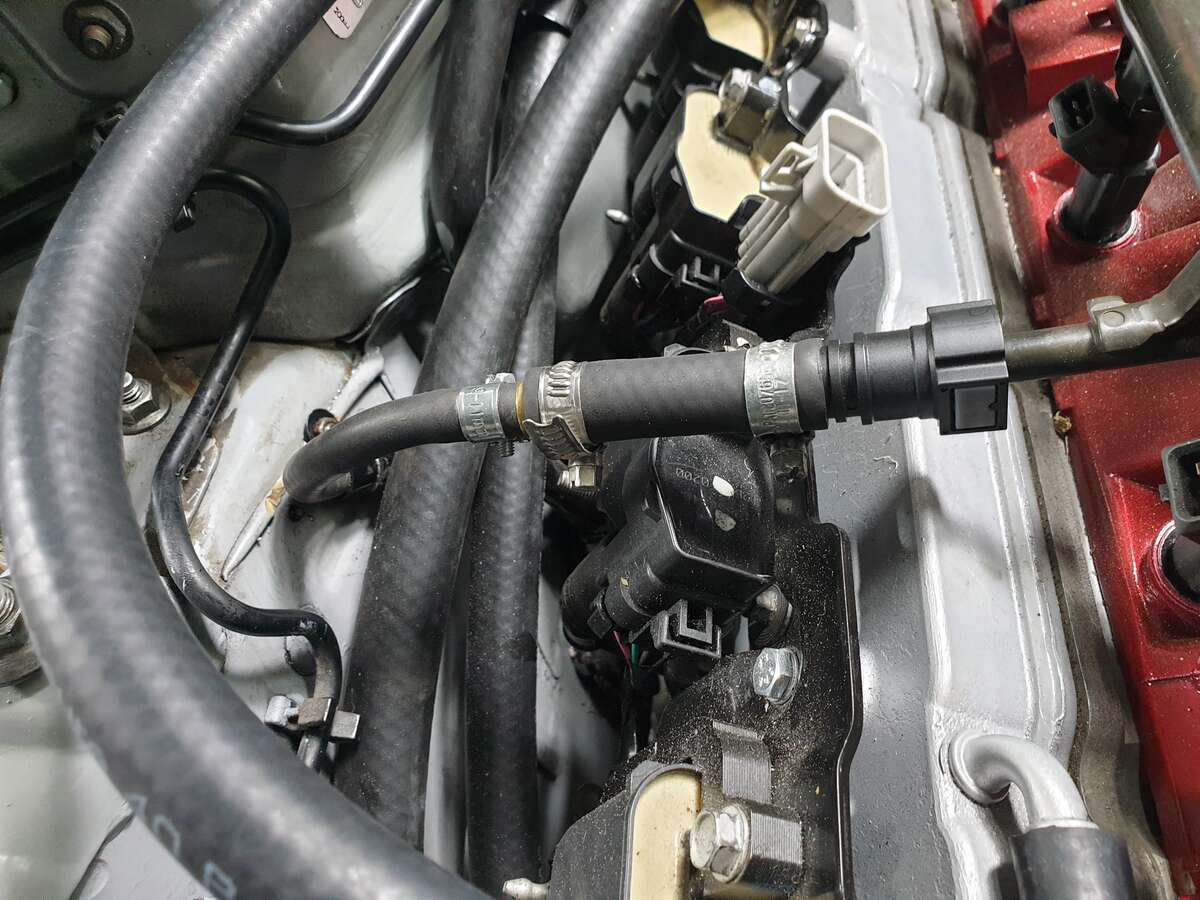
Installed the oil filter relocation kit from sikky . Also Connected the fuel pipe to Ls fuel rail, Surprisingly, a standard Nissan click on fuel connection works
-
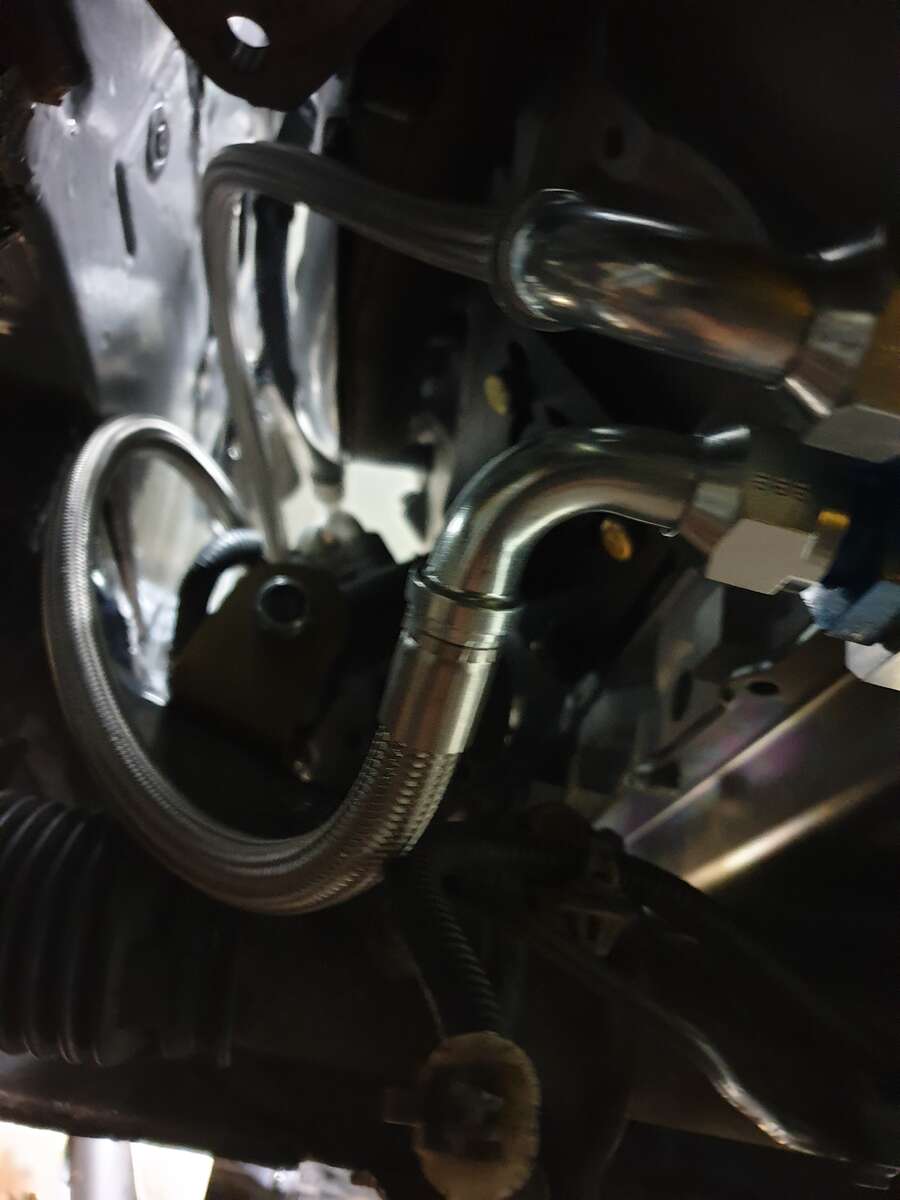
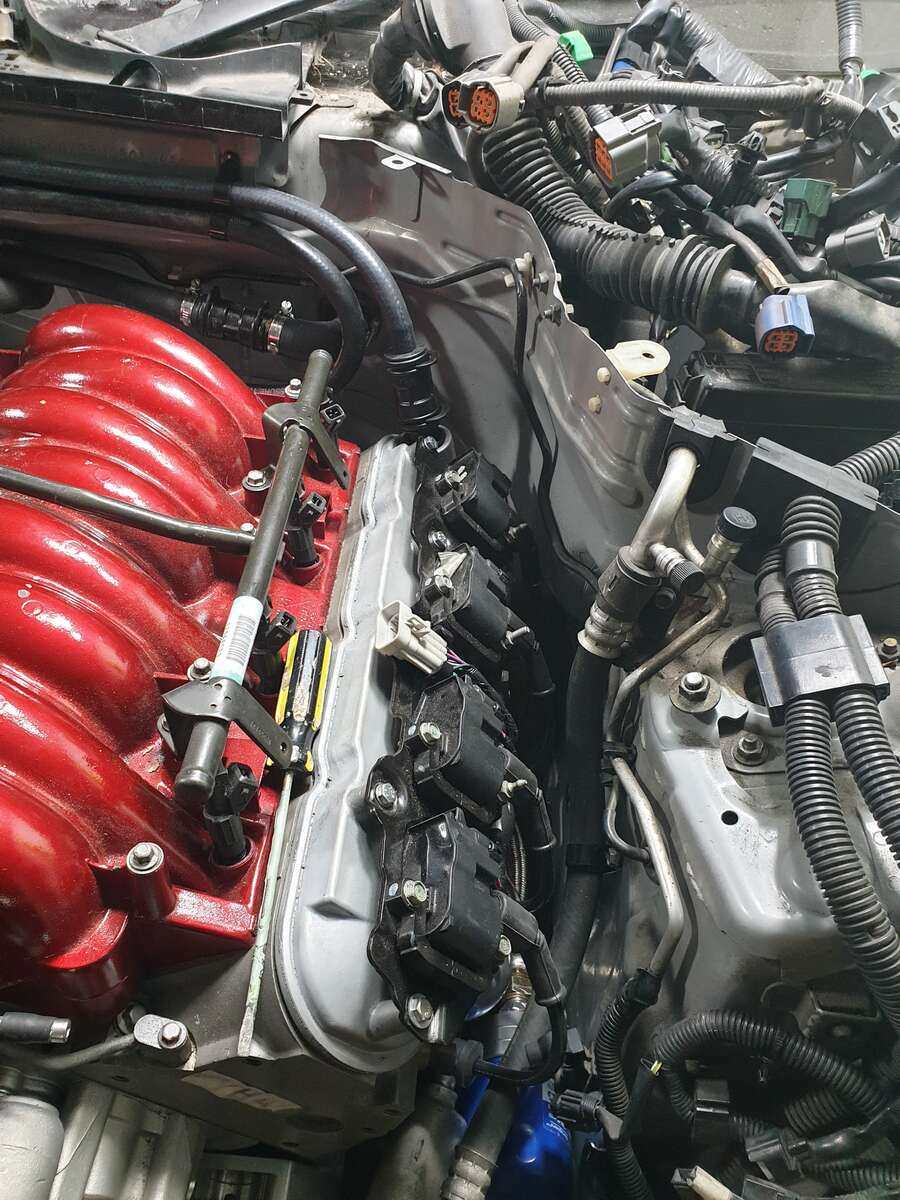
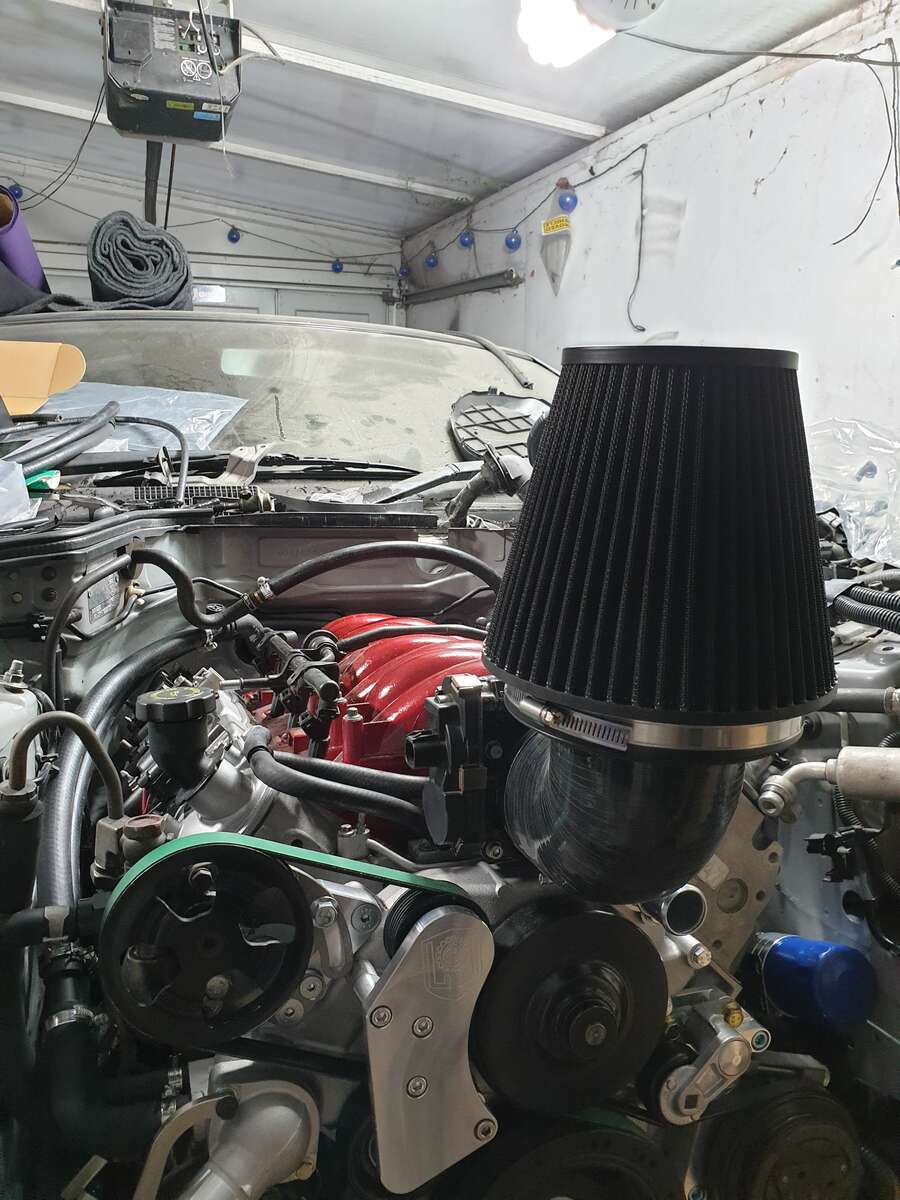
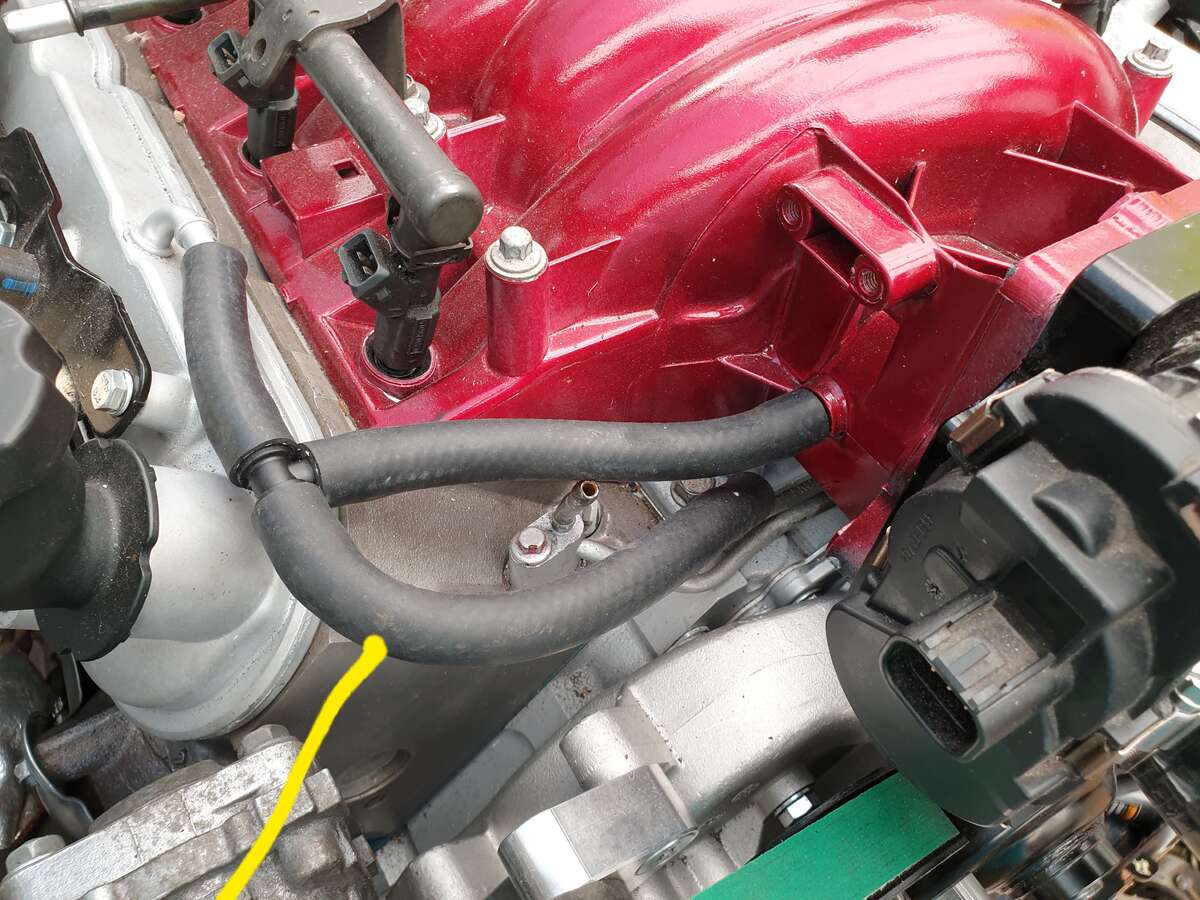
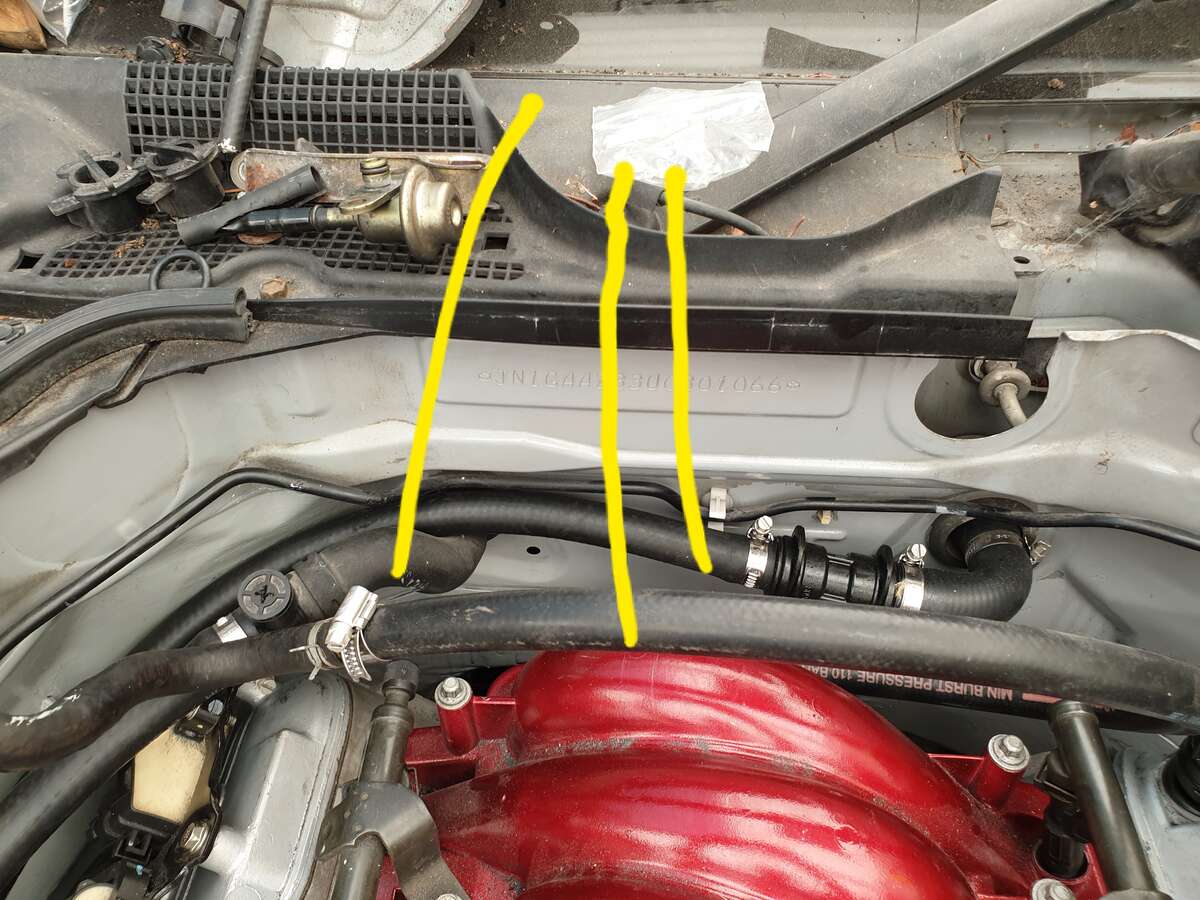
Been tidying up the pipe runs and in some places secured them , so as they can not to rub on anything that might damage them . Also I was mucking with the air filter .
-
Yes I'll be there
-
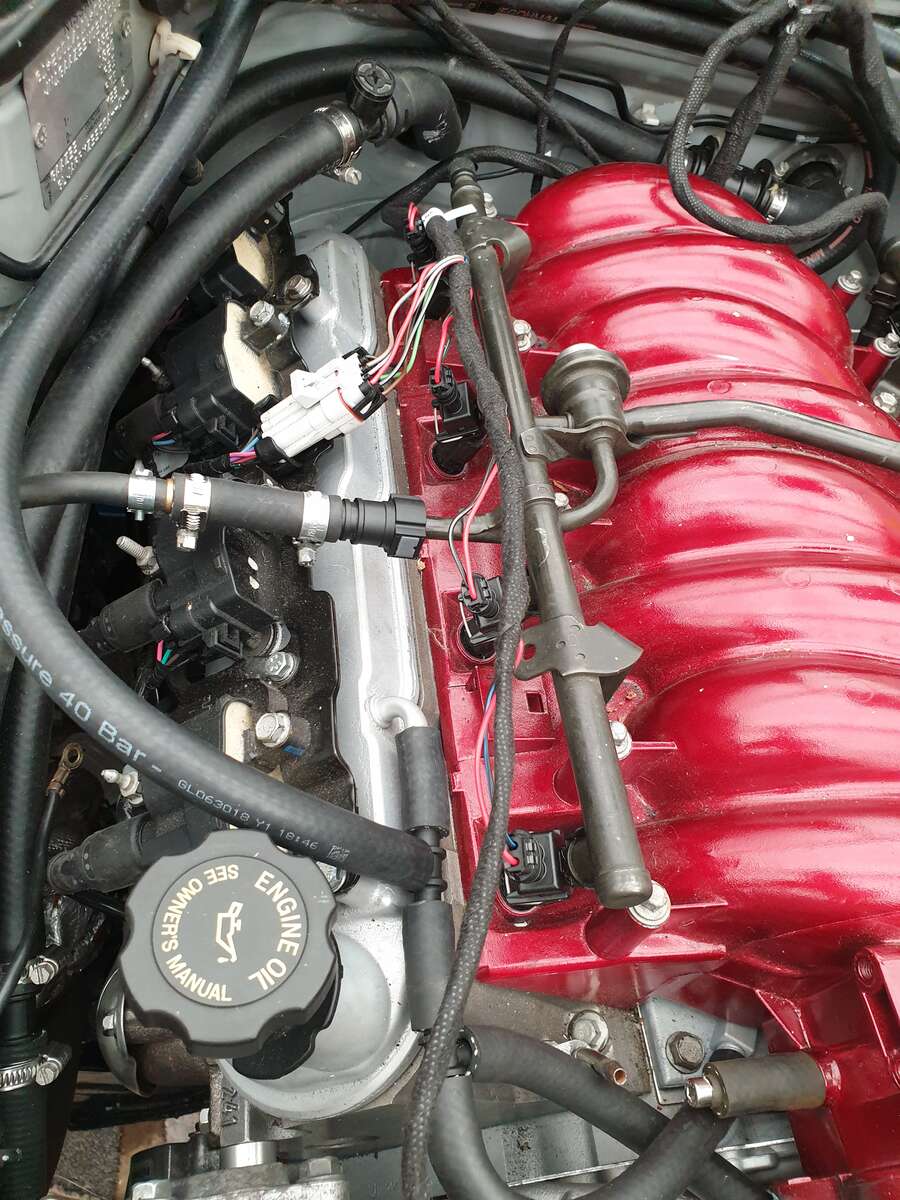
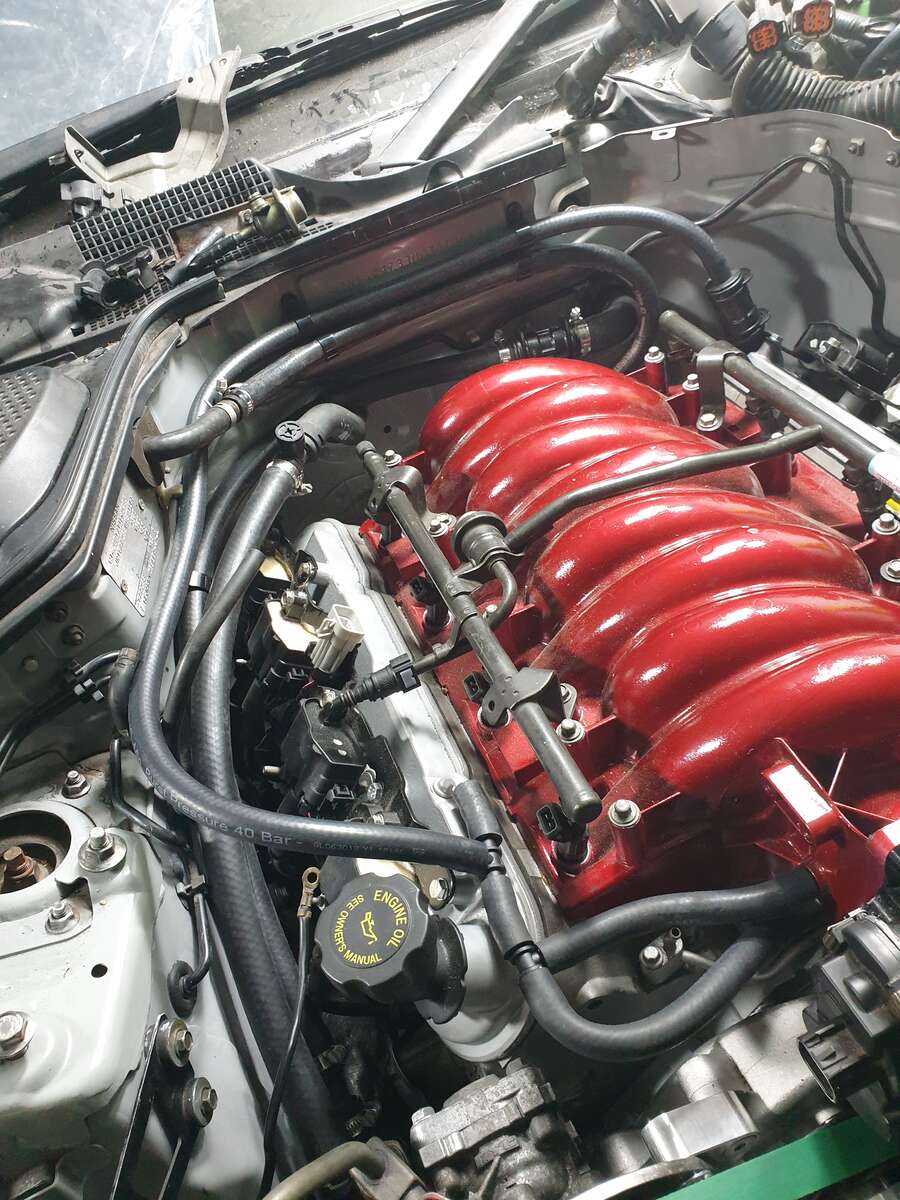
Small update the vacuum pipes and water pipes installed and just waiting on a few more parts to carry on
-
So the wiring, is a stand-alone, so the ecu and engine wiring is completely separate to the ECU in 350z, lighs etc so yes Wiring Specialities loom ,quite amazing stuff to be honest I will try to explain when once we have some progress on the wiring but I'm no expert. Ps. (I'm expect the dashboard to light up like a Christmas tree)who said wiring wasn't fun. The exhaust manifold and starter motor and steering rack which is positioned on the driver side has been a challenge as there is not much room for clearance on all three items to work properly without interfering with each other it would have been better if the starter motor had been positioned on the passenger side but the kit does not allow for this. I have managed to find and enough room for this to work without interferences with each other. I will try me best to put some photos to show when I have finished install.

-
Quite a lot of the mechanical side of the build has been done. The prop shaft is going to be installed just a photo to show the difference in length of the the original 350z carbon fibre to the new shorter prop shaft. I have purchased water pipes and vacuum lines ,and intend to get them install in around two weeks time but first I will be tackling the wiring, with some help as I hate wiring

-
Hi Andy me to ,but mostly it will make the installation a bit easier as i can reuse the power steering and air conditioning line's from the car which is a big bonus
-
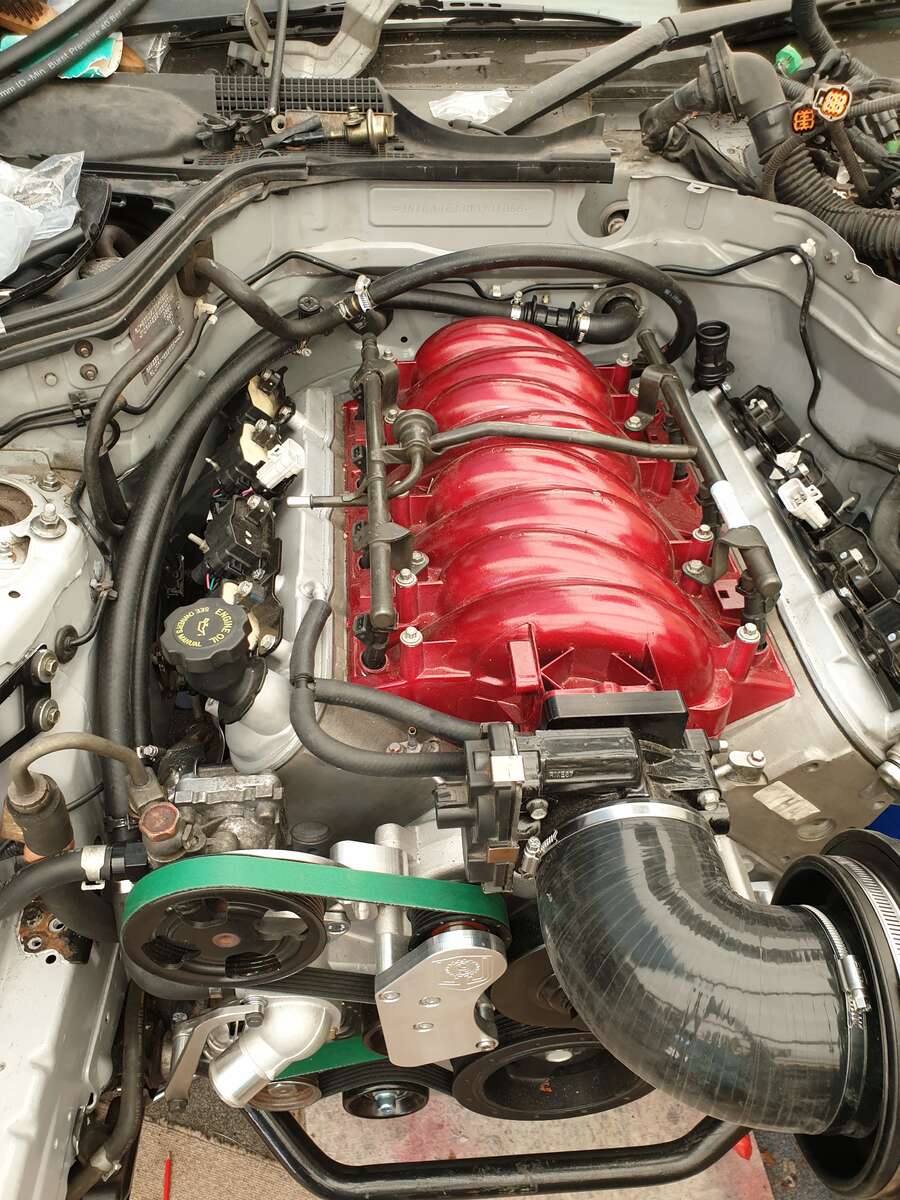
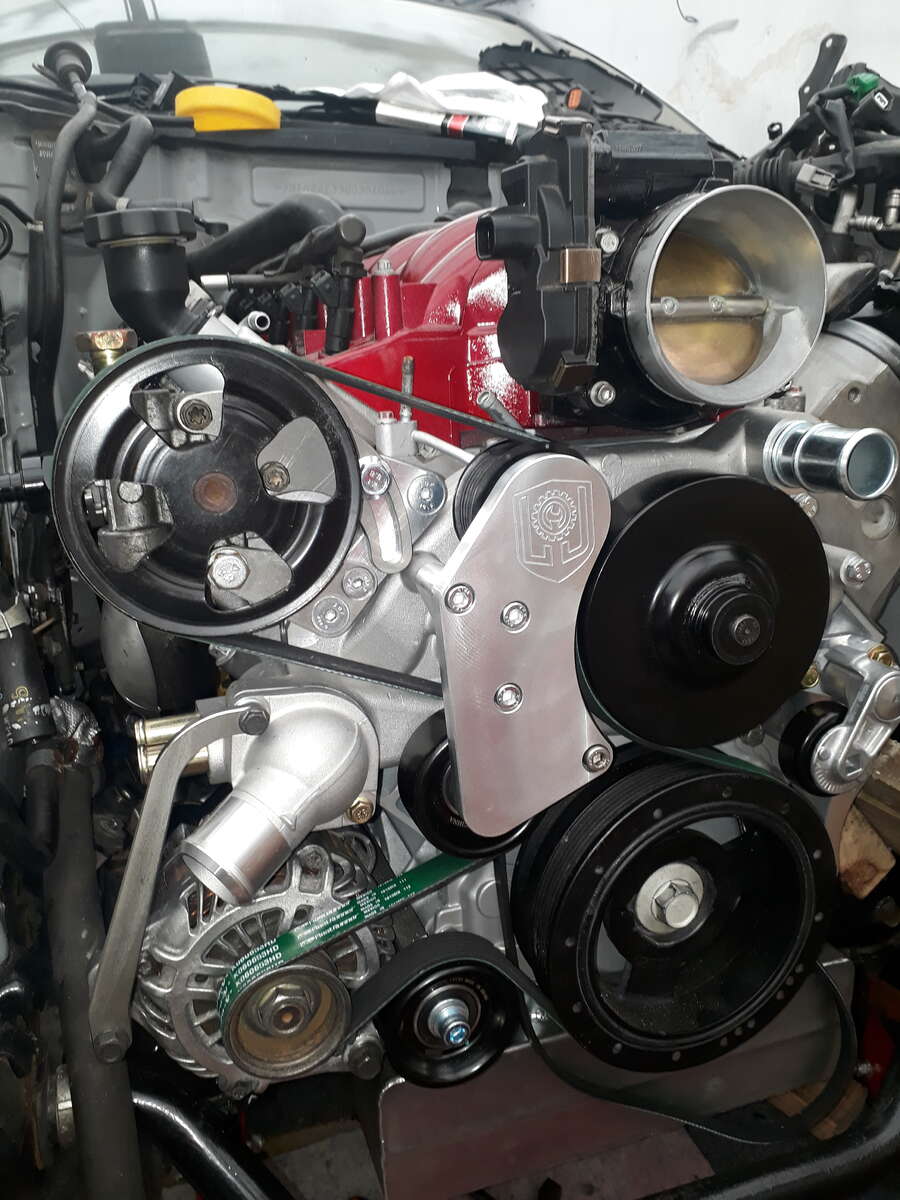
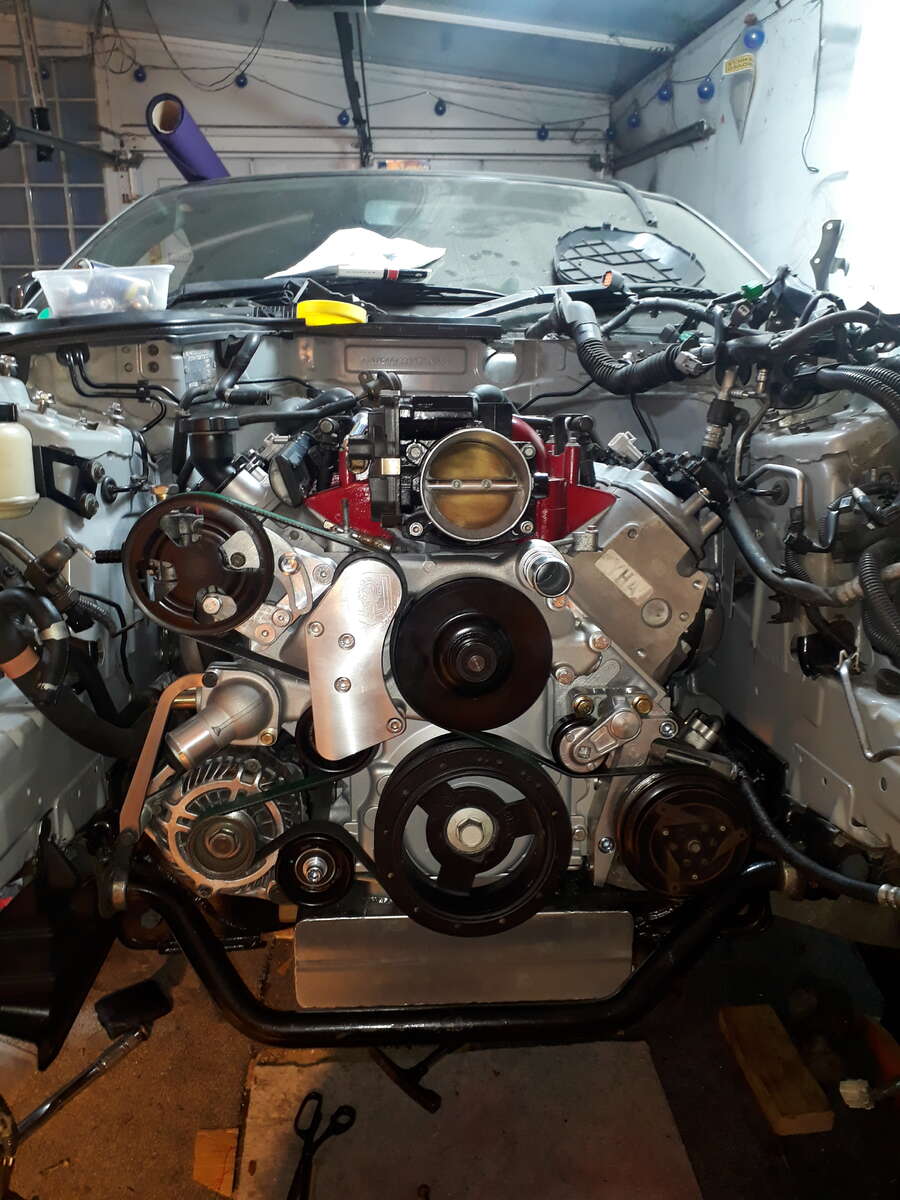
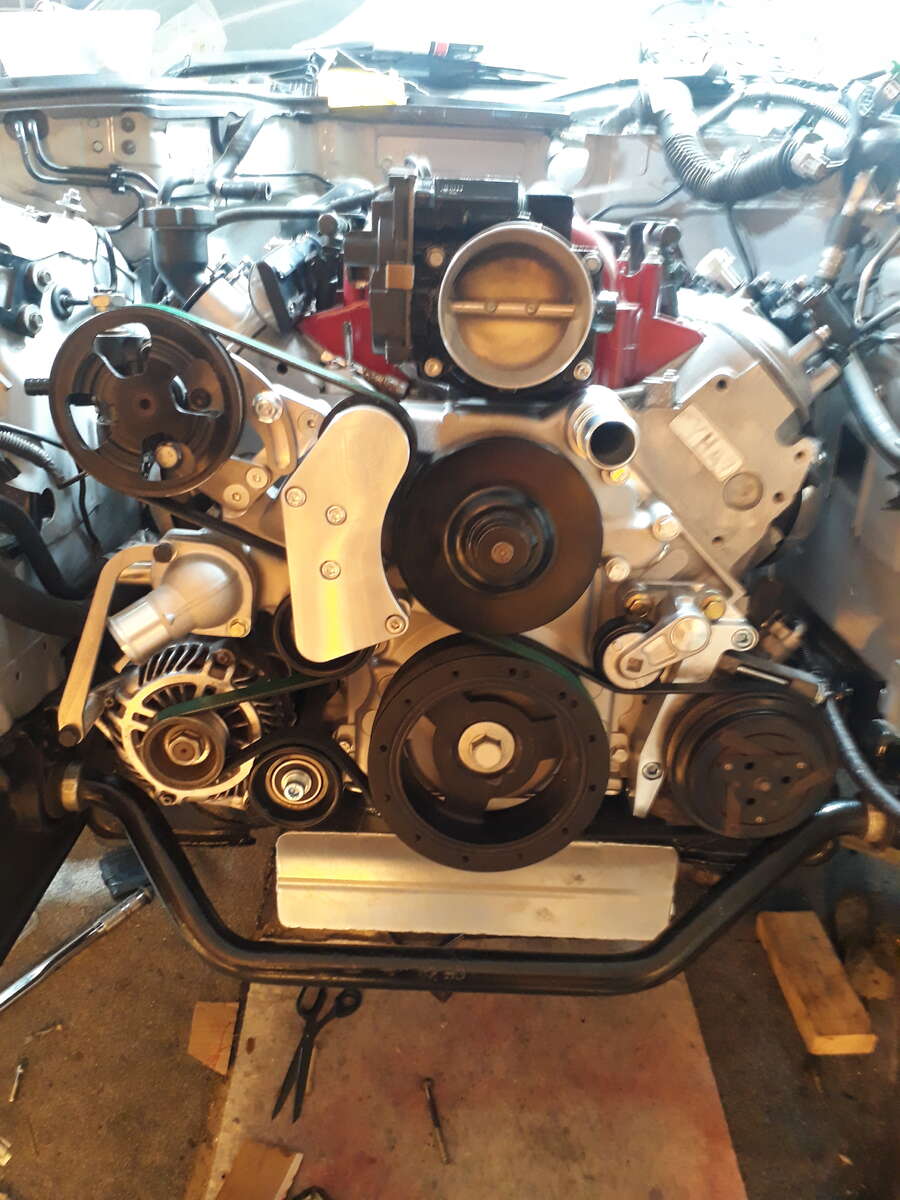
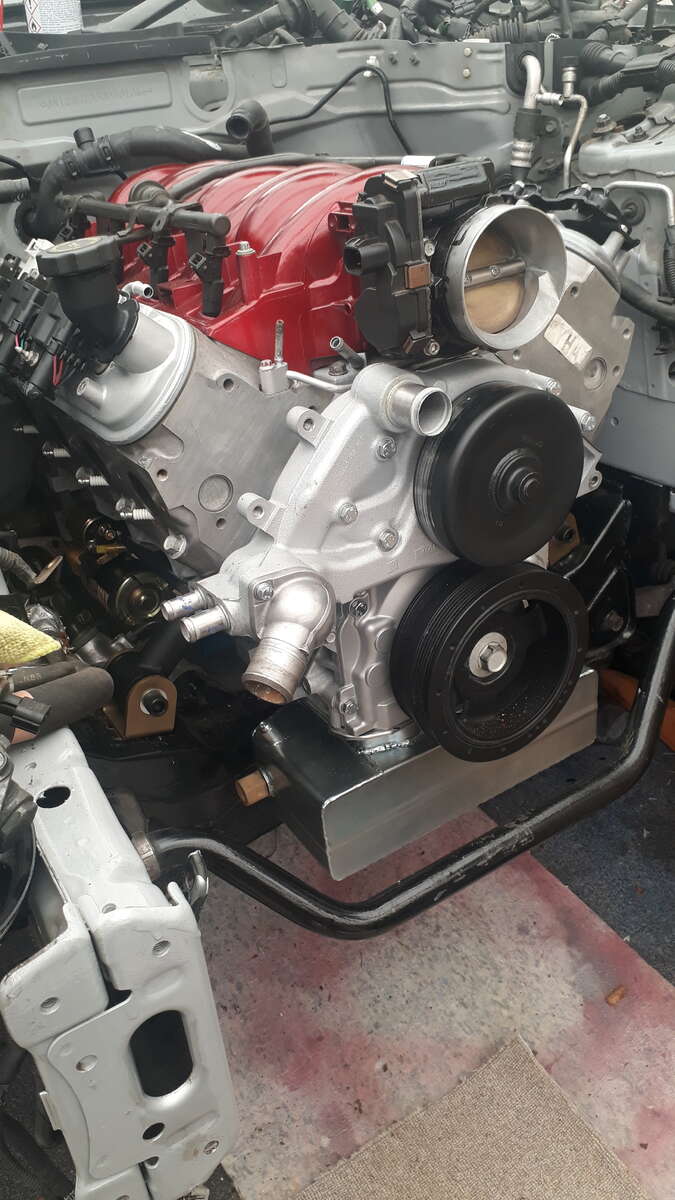
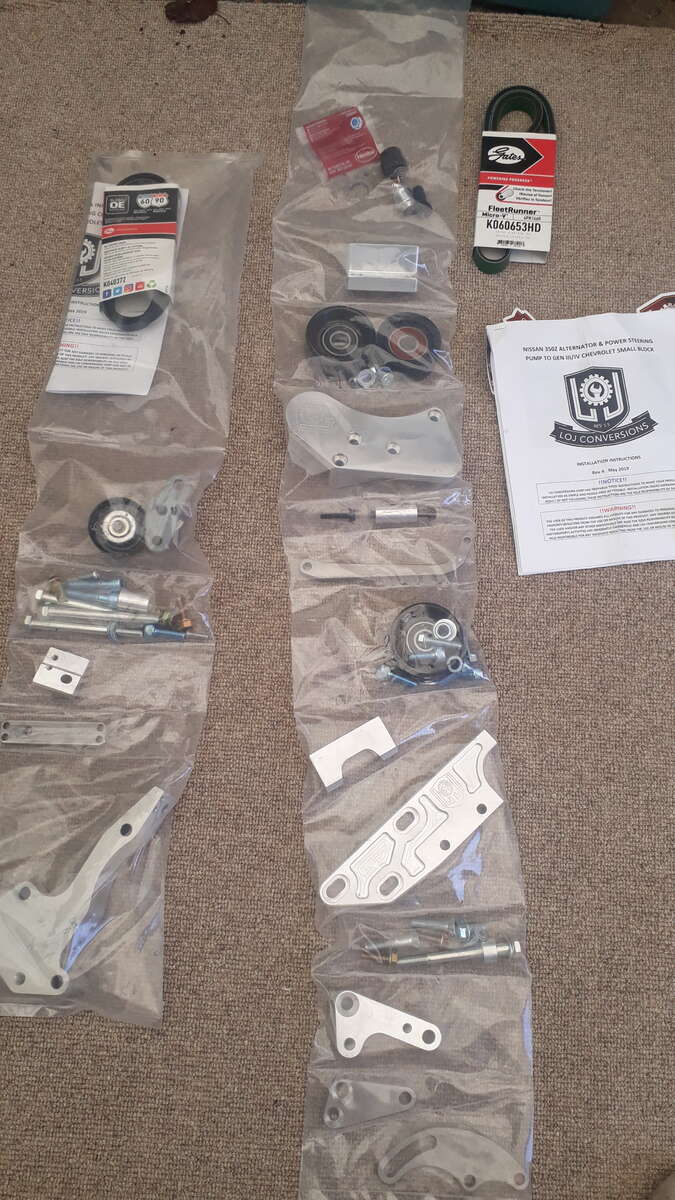
Now you can see the difference between the installation and all the parts installed on the front of the engine
-
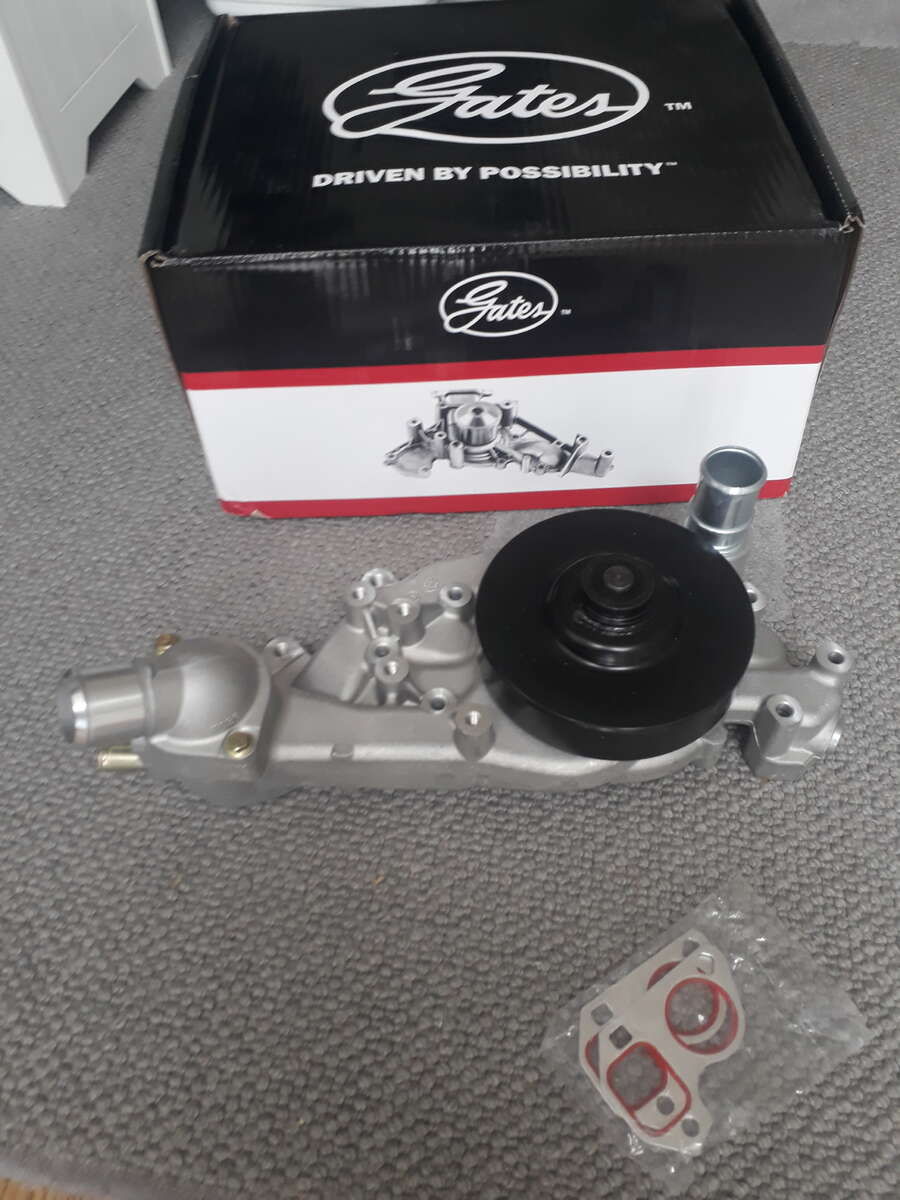
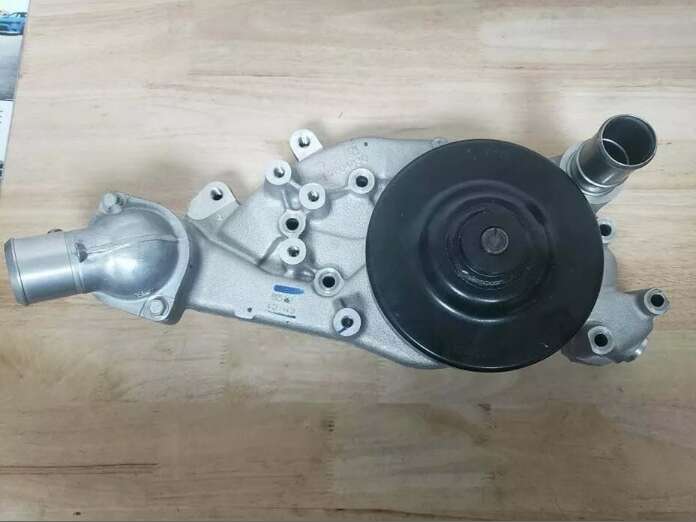
Quite a bit of progress over the last few days. Received the water pump from USA and removed the existing one replaced with new one and then started to build all the mounts for power steering pump and air conditioning pump. When we was putting the air conditioning pump we had to slightly adjust the engine mount for better clearance for the air con pump apart from that reasonably straightforward. Top photo of new pump below existing pump on the engine
-
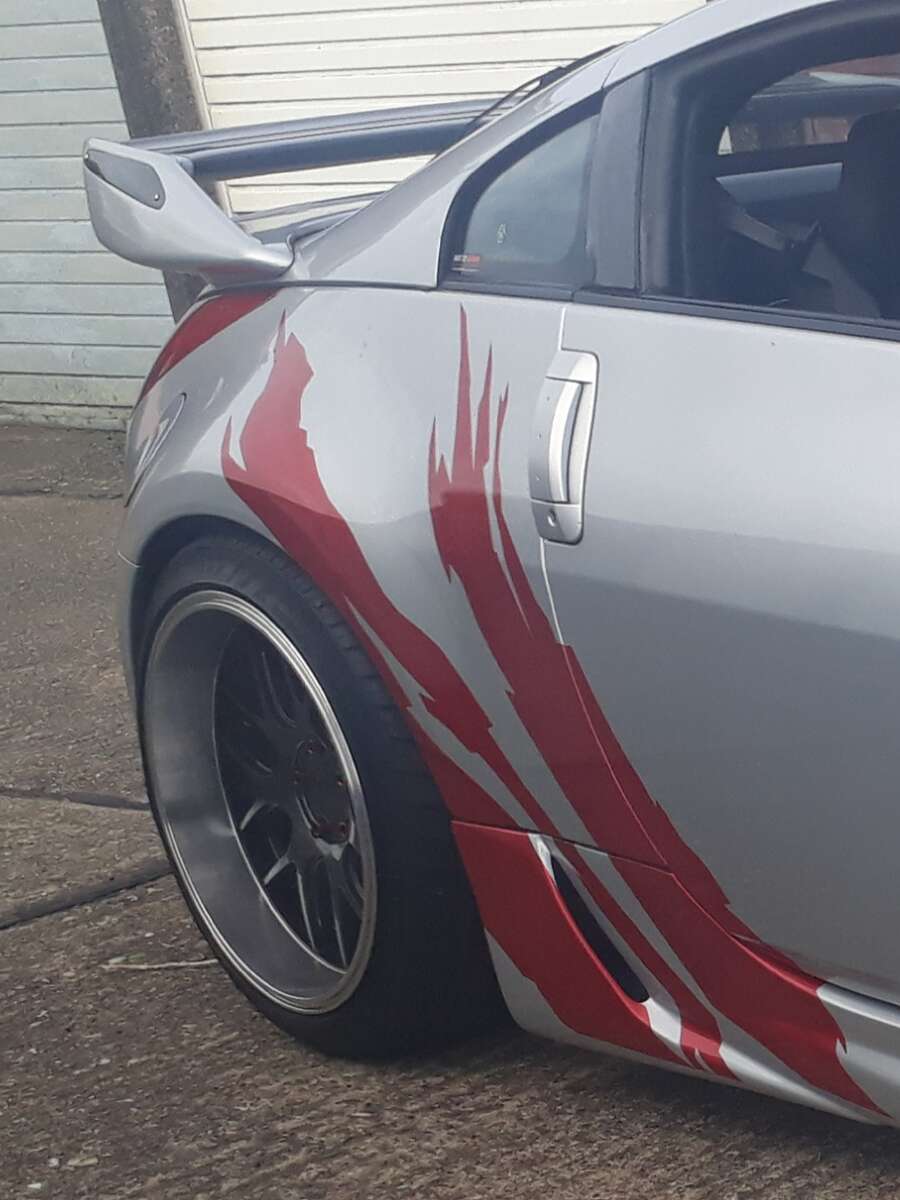
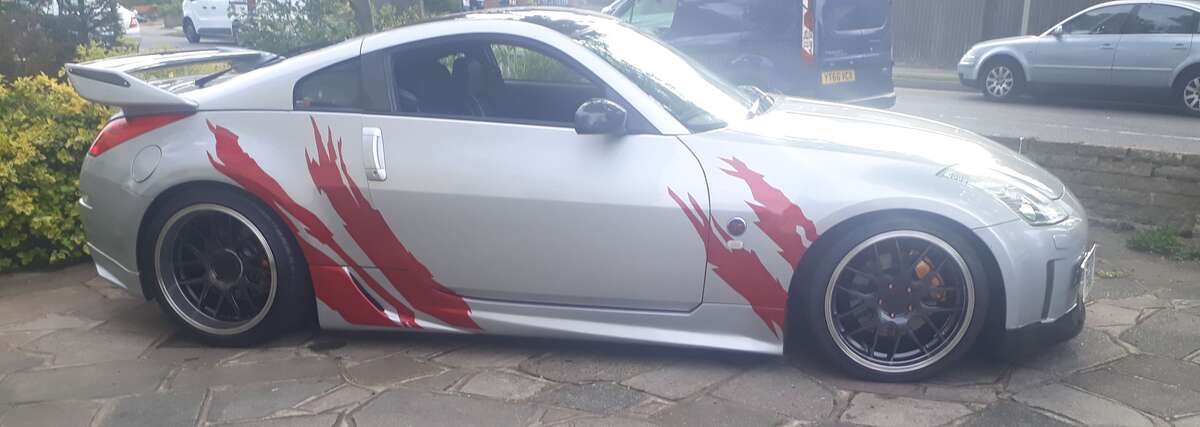
I have had the pleasure of of having Steve put some graphs on the car some time ago and he's done obviously a fantastic job. This won't be everyone's cup of tea but I love it

-
Thanks allways good to have more information,and different ways to solve any problems that you encounter
-
The installation of the alternator power steering pump and air conditioning pump are all from the Nissan 350z and reused on this Ls1 engine. The kit comes from L. O. J . With very good instructions for the installation I'm waiting for the water pump so as I can install the rest . All of the accessories are roughly in the same position as they would be on the 350Z Nissan so that you can reuse the lines for the AC and the power steering pump

-
Have been waiting for water pump. Still am, but I have been fabricating the exhaust manifold hook up to catalytic converters not quite finished yet but nearly there. Also installed the 350z alternator .
-
Been busy, a slight problem with the water pump , it is situated at the front of the engine,it is the wrong type for my needs. I need one which is normal found on the LS 3 engine . This is so that I can use the Nissen power steering pump,Alternator and air conditioning pump . Photo to show differences between the two, the water pumps on the engine is wrong one, below that is the correct one. Some day's you really don't feel like your getting anywhere fast.

-
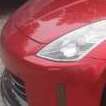
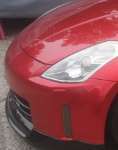
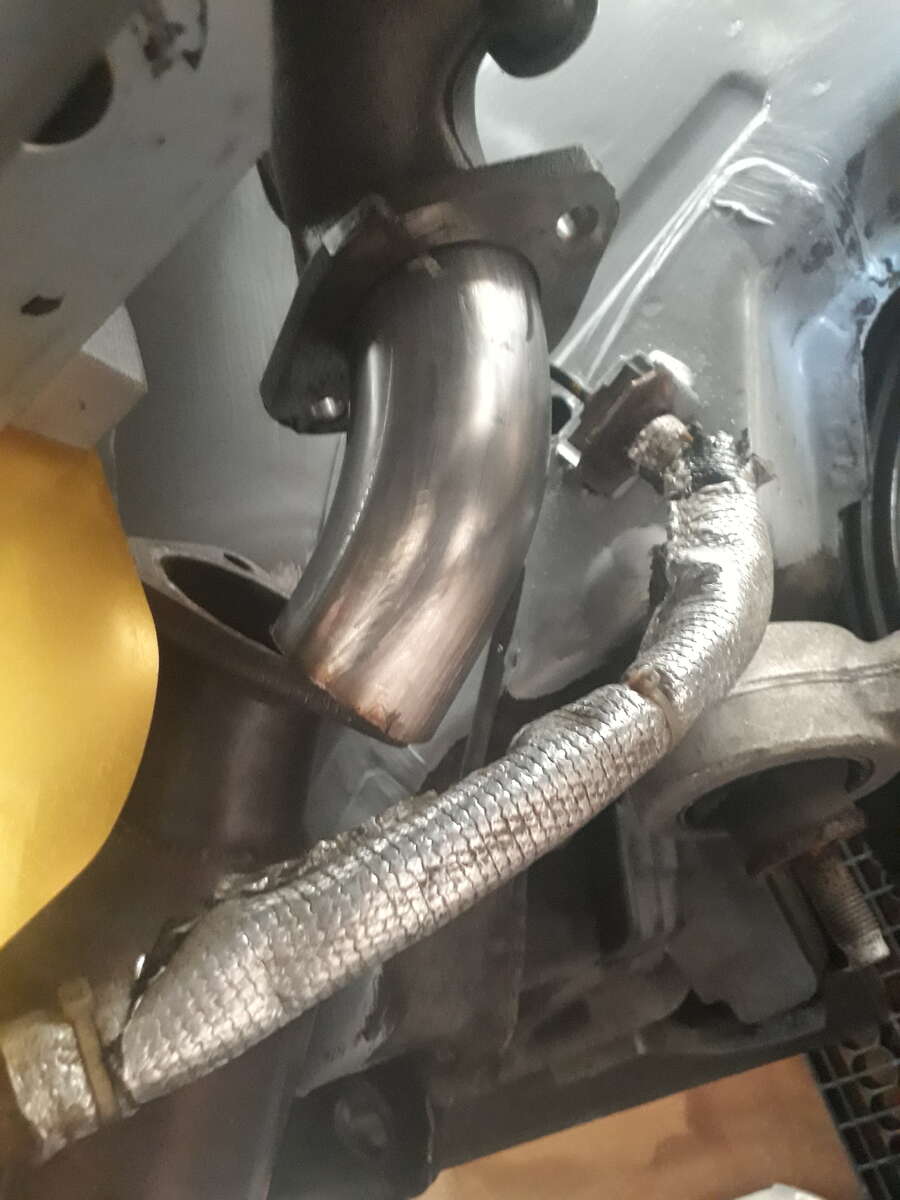
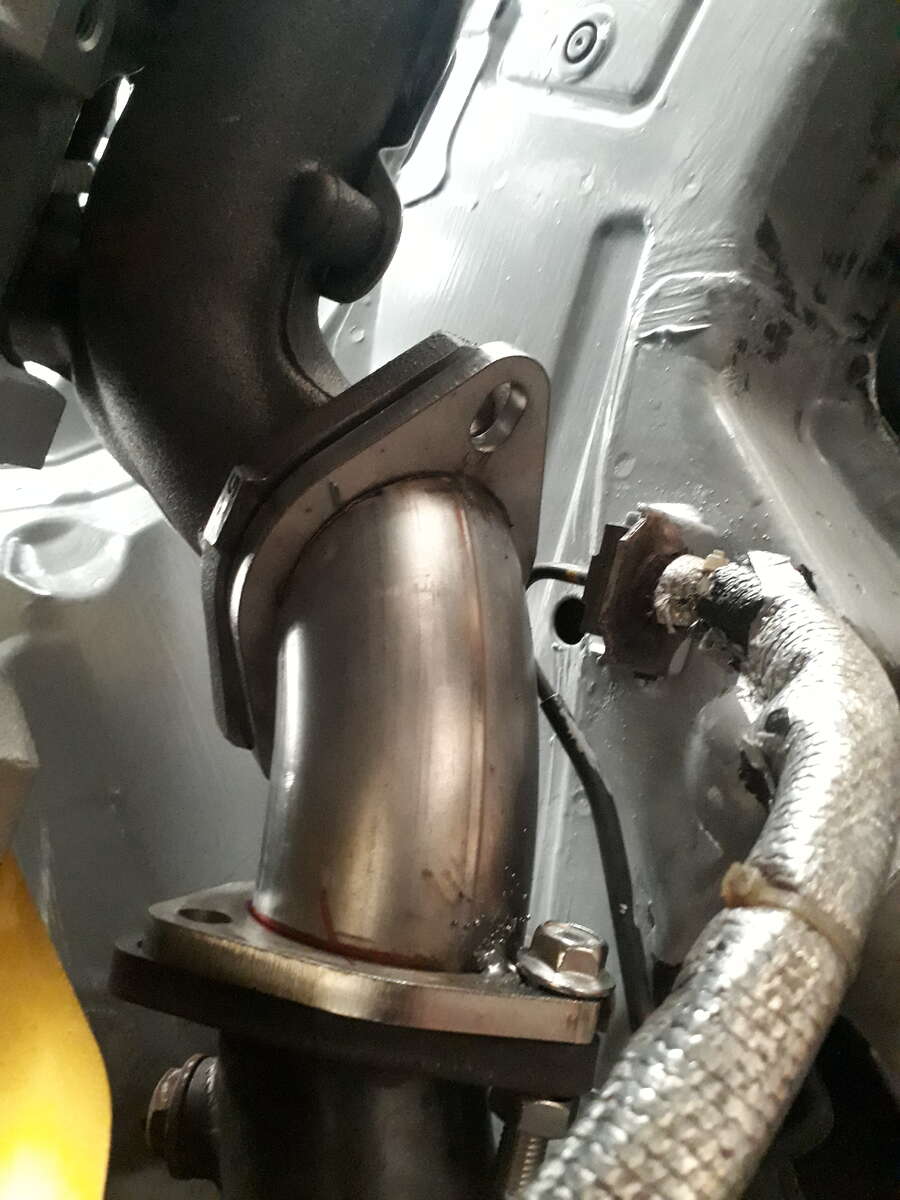
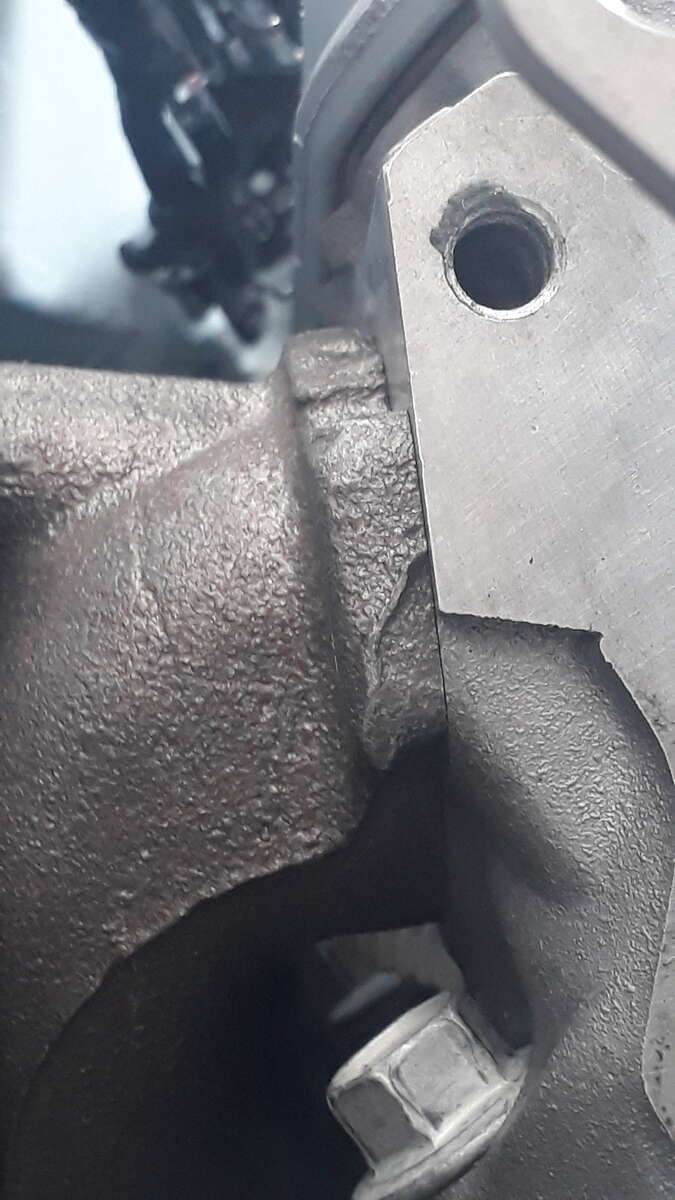
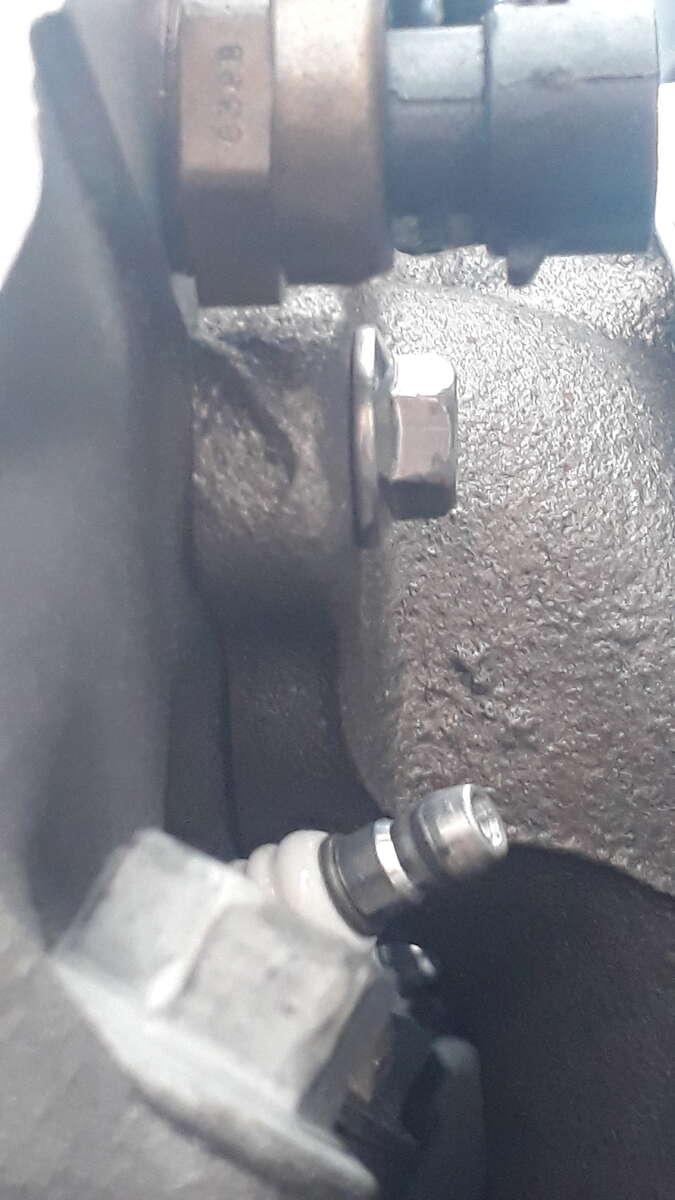
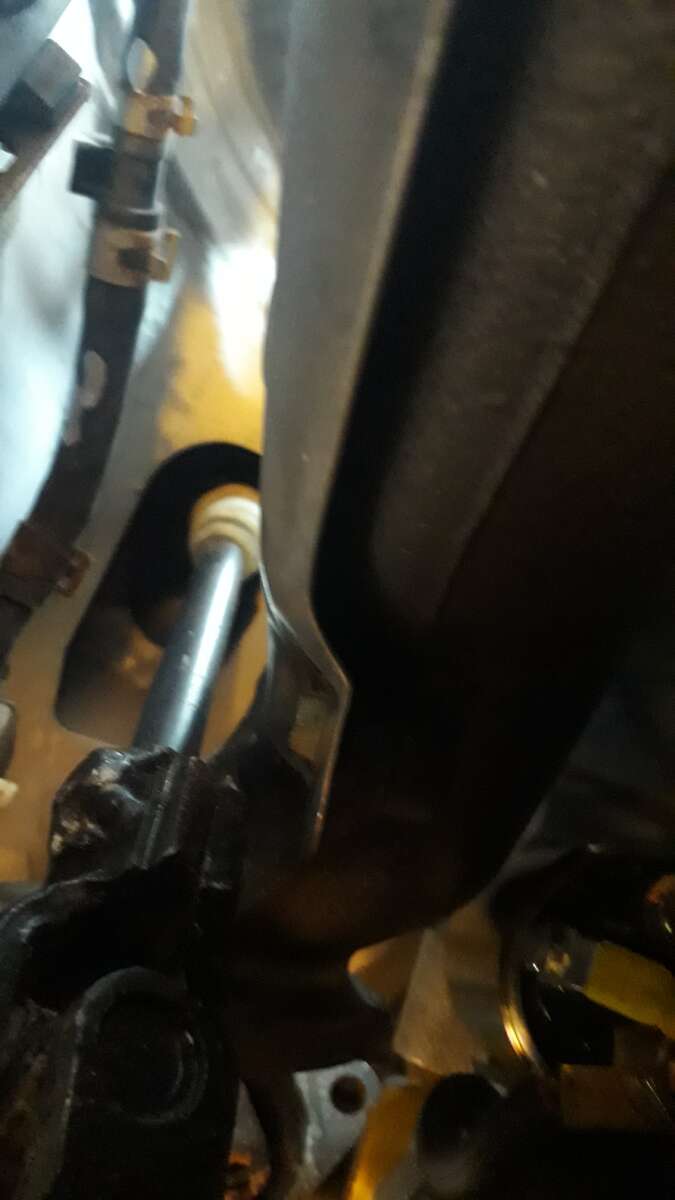
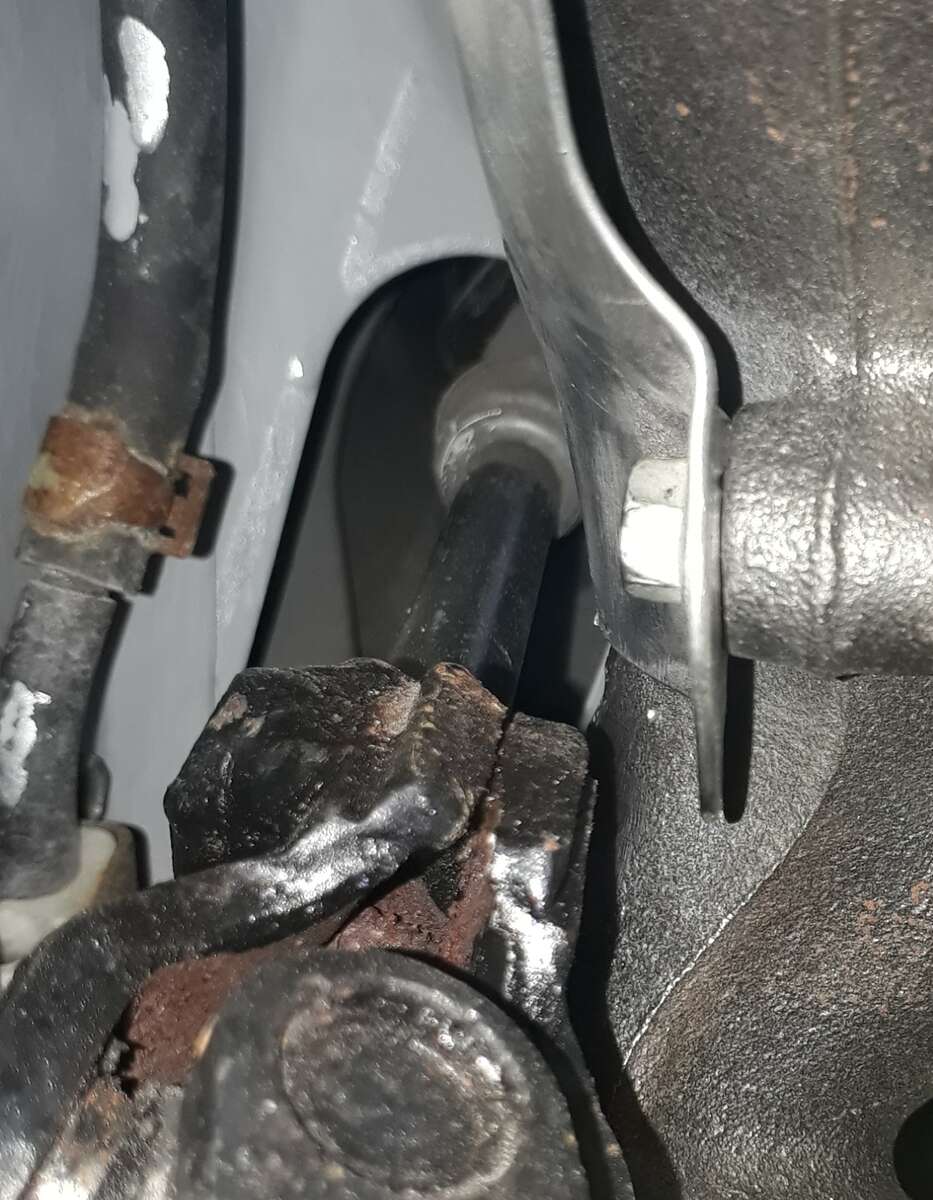
The gap on the starter motor will be improved once I put the exhaust manifold gasket on give us about 1.5mm extra clearance. The way I atained the extra clearance on the steering column is. The exhaust manifold face where it is attaches to the engine has been (milled) machined taking 2mm From The Bottom graduating to 0mm at the top. Thus giving you an angle on the manifold so it pulls it away from the steering column allowing for more room. The first photo show's the stock manifold passenger side with no angle, and bellow that a second photo drivers side showing a small angle allowing clearance . This is enough room for the steering colum but will still need to slim down the original universal joint
-
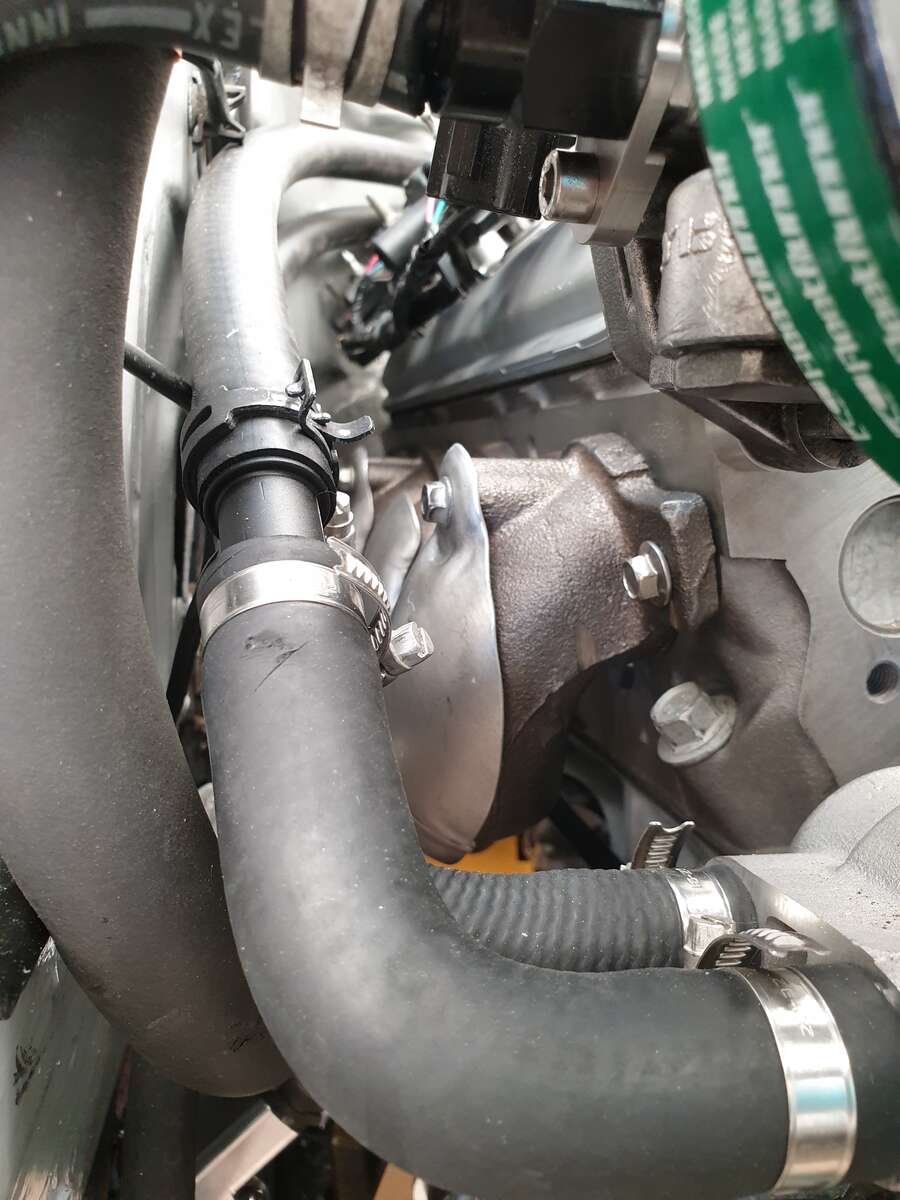
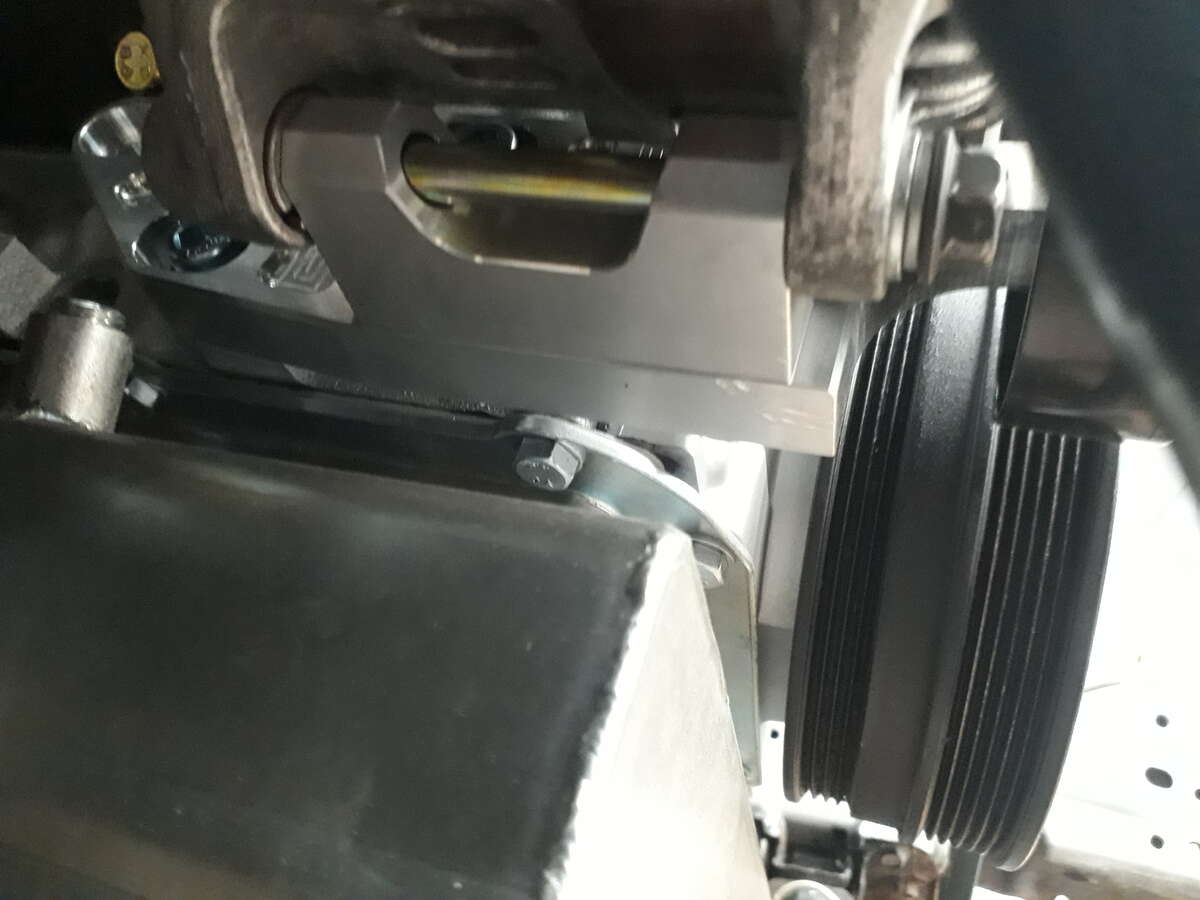
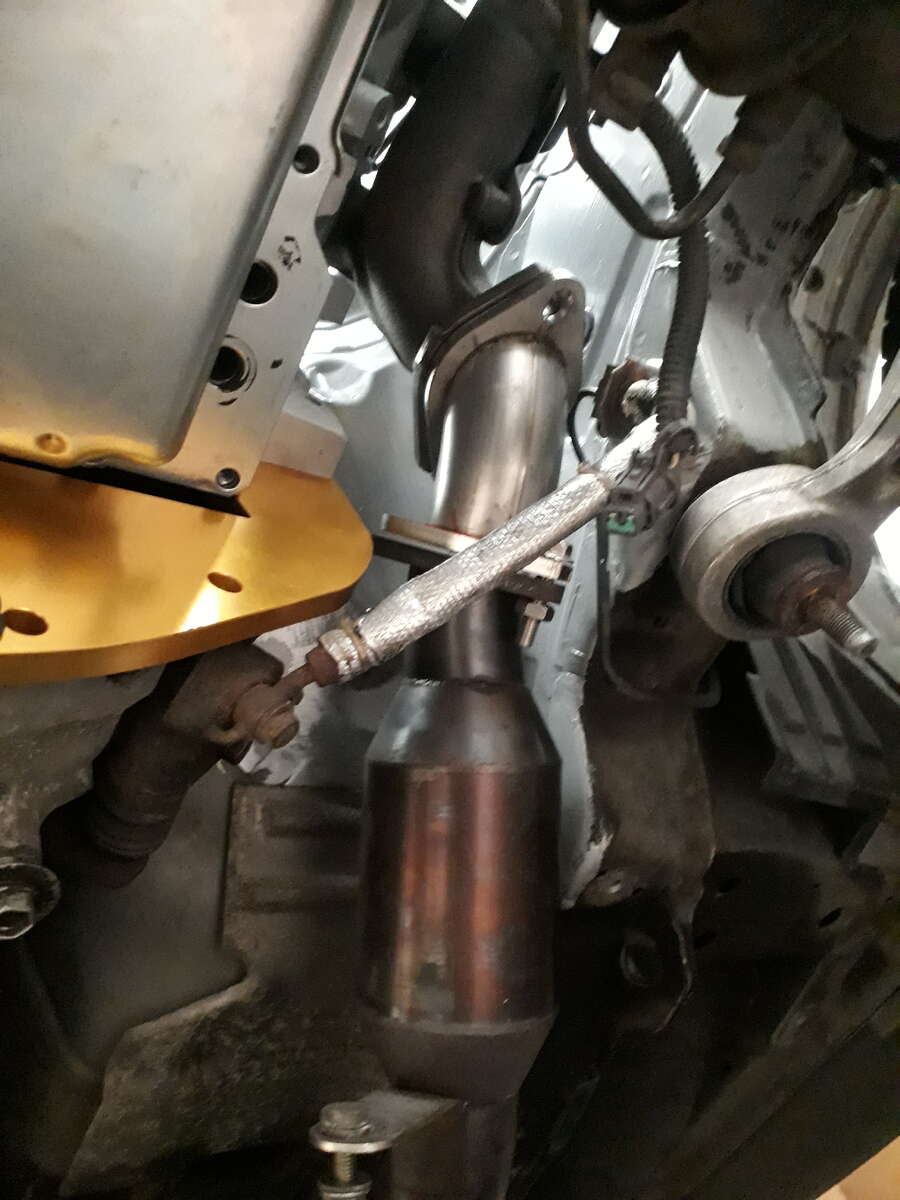
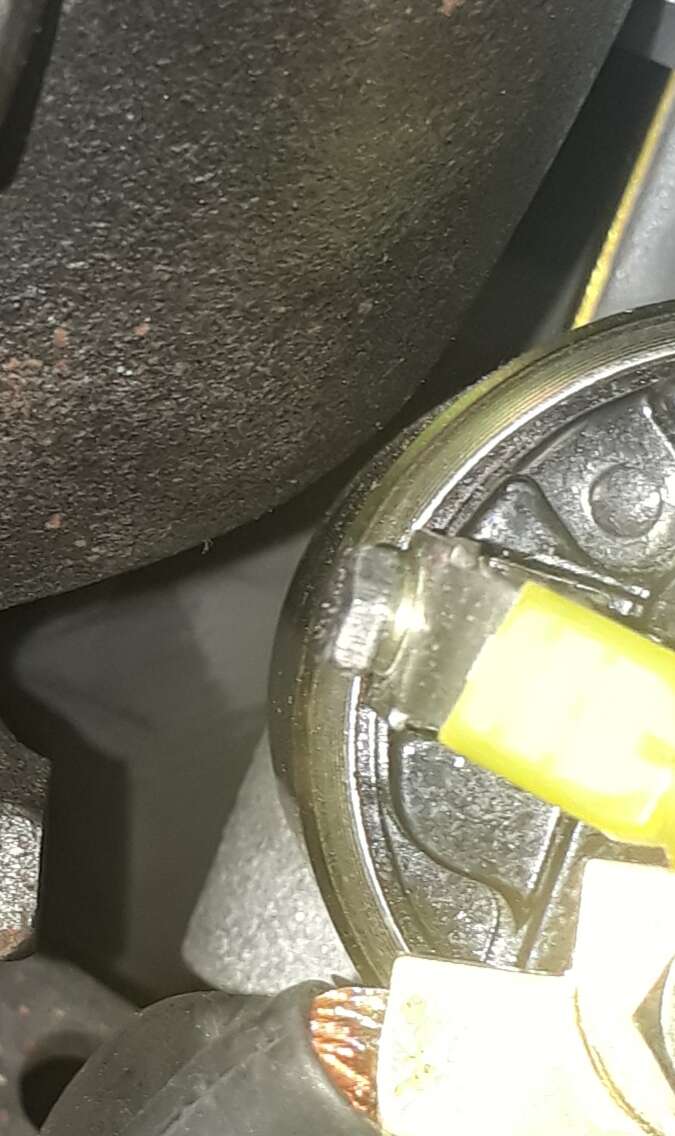
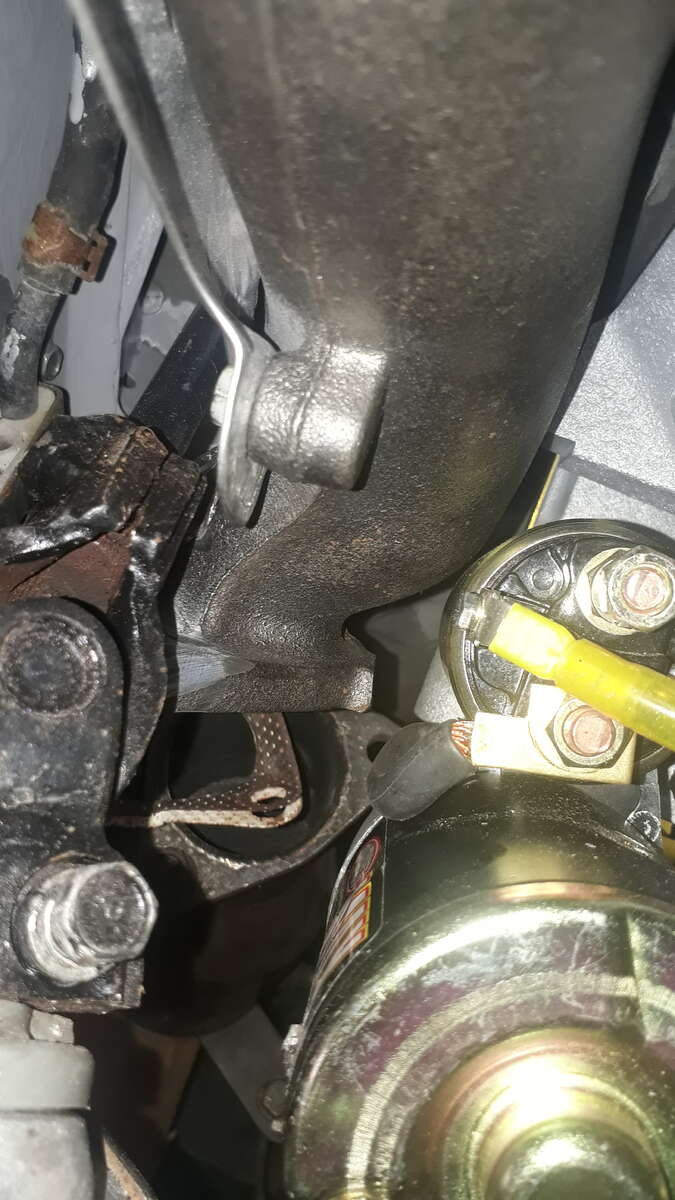
The other side of the exhaust is the starter motor and there's not much clearance there also ,a photo of starter motor clearance, it is extremely tight but we can improve on this clearance
-
It's been a week or so from the last update. I have sorted out the exhaust manifold for clearance to the steering colum and starter motor etc ,using a stock 2.5" cast iron GM manifold so it can be replicated for any one else contemplating this approach. The above photo is very little clearance and the universe joint hits the manifold. Now the photo below shows improved gap .
-
In the next update I will sort out the the steering rack and universal joint from the exhaust manifold