-
Posts
369 -
Joined
-
Last visited
Content Type
Profiles
Forums
Events
Gallery
Store
Posts posted by dErZ
-
-
Welcome dood

-
Peeps are welcome to mine to clean their cars. I've got snow foam

-
Ive noticed there are alot of us about in Camberley/Deepcut and the surrounding area.
Was wondering if anyone else nearby fancied getting something planned? (although not the next few weeks seeing as the weather is starting to look like snow :S)
UPDATE-
Ok the general consensus is pretty good and the 4th November seems to be good with people.
Date: 4th November
Location: Camberley area exact location to follow
Confirmed
1. Kamamakazii (Elliott)
2. dErZ(Chris) 1st outing so be easy on me.
-
If you dont need your car as a daily why dont you refurb them yourself? I did 3 of my wheels last week and they turned out great

-
Ill come along

-
Thanks Husky I have edited the post.
-
As I was bored I thought id have a go and making my own clear led bumper reflectors and for the princely sum of just over £20 im well chuffed.
This guide will not teach you about Ohms law or LEDS but will give you enough info to be able to complete the task.
Please read all the steps first before commencing the work. It would also be adviseable to create a mock circuit minus the reflector so that you can hone your soldering and cabling skills. Just use a 9v battery to test.
I take no responsibility if you hurt yourself or others doing this mod. Partake at your own risk.
Parts required
Clear reflectors see ebay http://www.ebay.co.uk/itm/120993803105?ssPageName=STRK:MEWNX:IT&_trksid=p3984.m1497.l2649
I have a preface lift 350z so I ordered the relevant reflector.
£17.48
5mm Leds and 560 ohm resistors
See ebay
£2.45
Automotive electrical cables see ebay http://www.ebay.co.uk/itm/150916400060?ssPageName=STRK:MEWNX:IT&_trksid=p3984.m1497.l2649
£3.95
Soldering iron and solder
Cable stripper
Drill and drill bits 2.5/5mm
Clear sealant
Superglue
9v battery
Step 1
Mark rear of reflectors with the spacing you want for your LEDS.
Step 2
Drill pilot holes with 2.5mm drill bit BE CAREFUL not to go through the outer part of the reflector.
Step 3
Enlarge pilot holes to 5mm BE CAREFUL not to go through the outer part of the reflector.
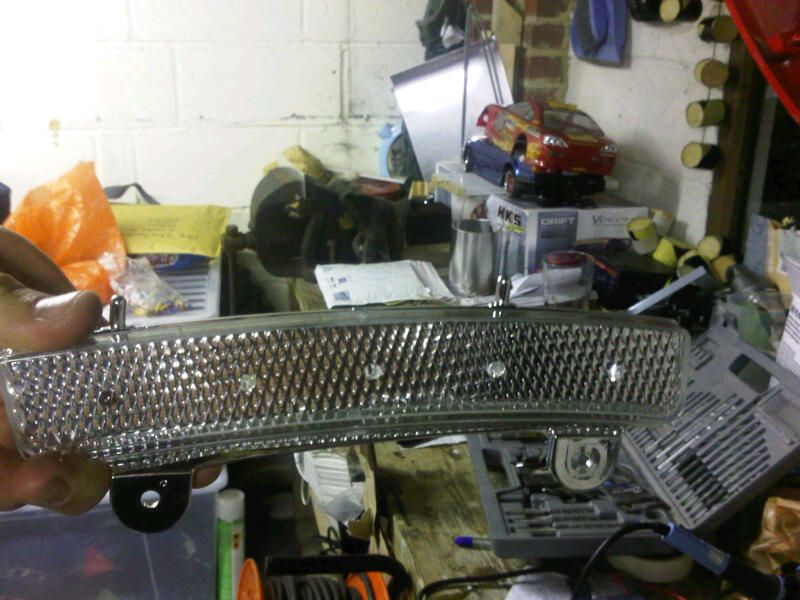
Step 4
Test fit LEDS.
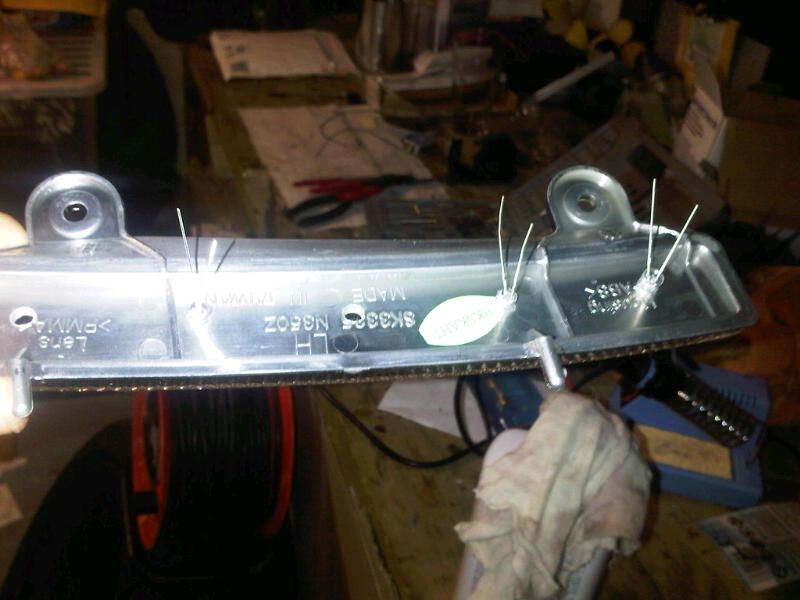
Step 5
LEDs have 2 legs a long one and a short one (Anode and Cathode) the longer one is the positive side and the shorter is the negative. (You will also notice that inside the LED the negative side has a larger piece of metal than the positive)
So now you have to bend the positive and negative legs outwards (see picture to understand how I did it)
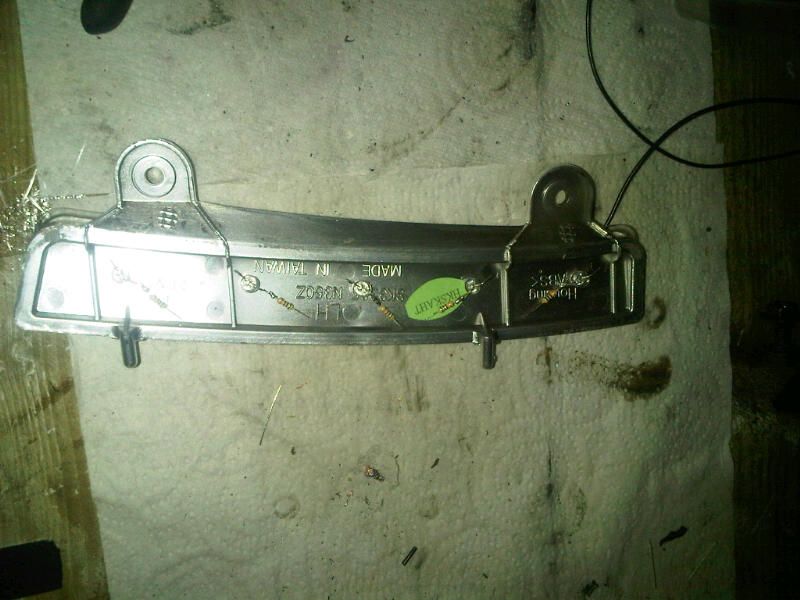
Step 6
The resistors need to be snipped to fit inside the reflector. You need 1 resistor for each LED. Solder the resistor to the positive leg of the LED.
Step 7
Do the above 5 times for each reflector.
Step 8
You now need to wire up the LEDs and resistors to a positive and negative cables. (you can strip the cable so that all you can see the core of it, this would be much easier to solder to than the way I did it!!) I used lengths of cable just longer than the reflector as I didn’t know how long it needed to be to splice into the car. You can always extend the cable later on.
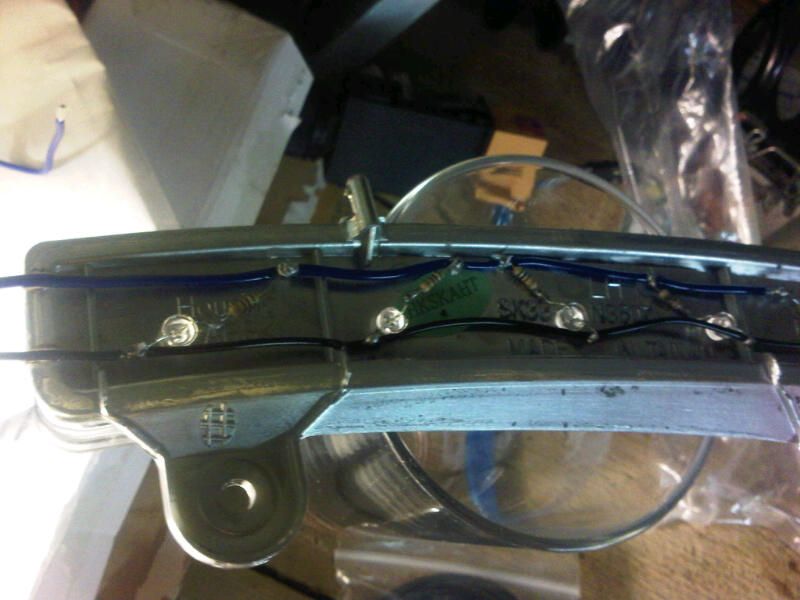
Step 9
Test with a 9v battery
Step 10
Create a small recess for the 12v cable to sit in, I just used the solder iron to create a semicircular indentation where the cables exited the reflector.
Step 11
If any of the bulbs are loose put a tiny drop of superglue on them, this isn’t really necessary as the sealant should hold them in place
Step 12
Fill the recess with sealant making sure that all components are covered. Let it cure to the manufactors specifications.
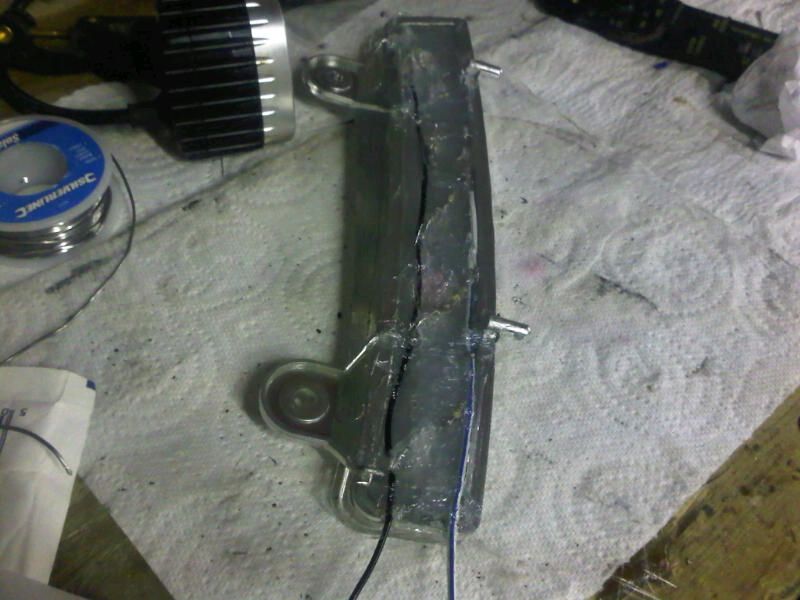
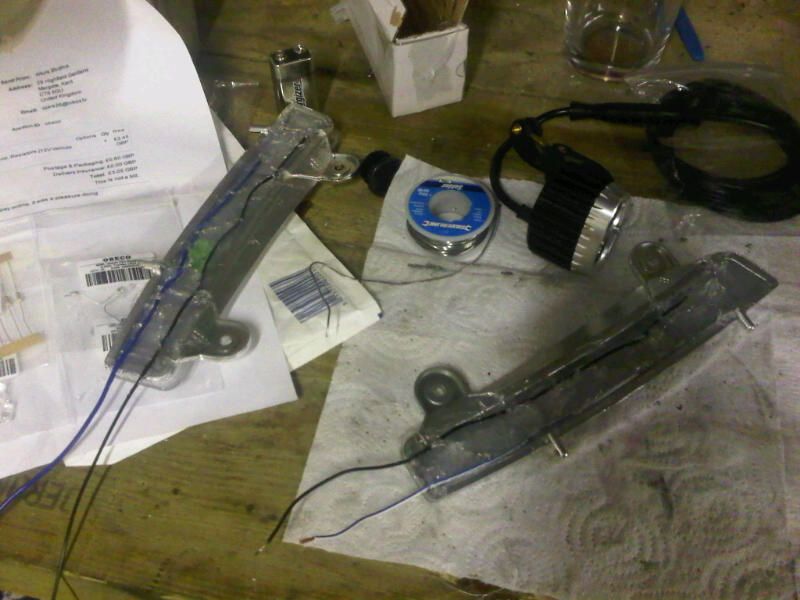
Step 13
Follow Jeps tut on how to remove the bumper and install the LED reflectors(http://www.350z-uk.com/topic/62778-led-front-reflectorsidelight-installation/) I spliced my positive and negative connections to the green/white and black cables that power the side lights. I also, while the bumper was off fitted some LED side lights.
Step 14
Enjoy how awesome it looks!
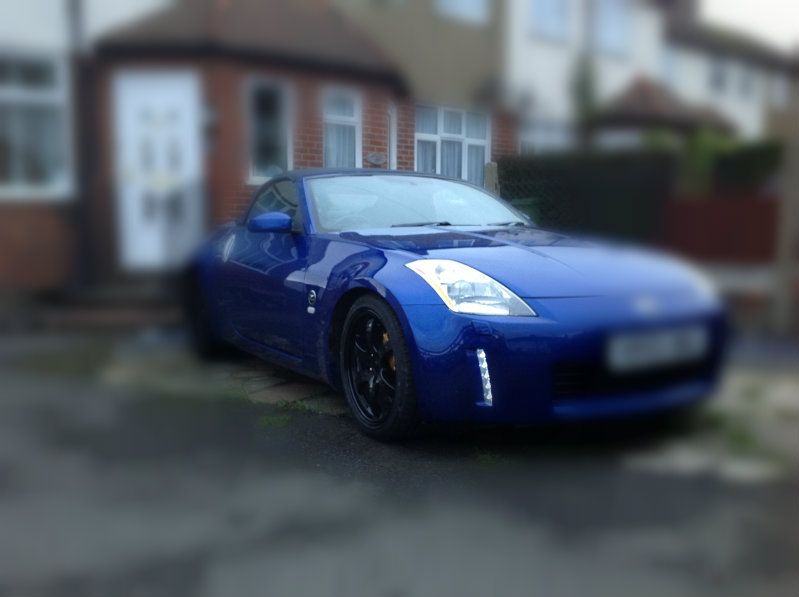
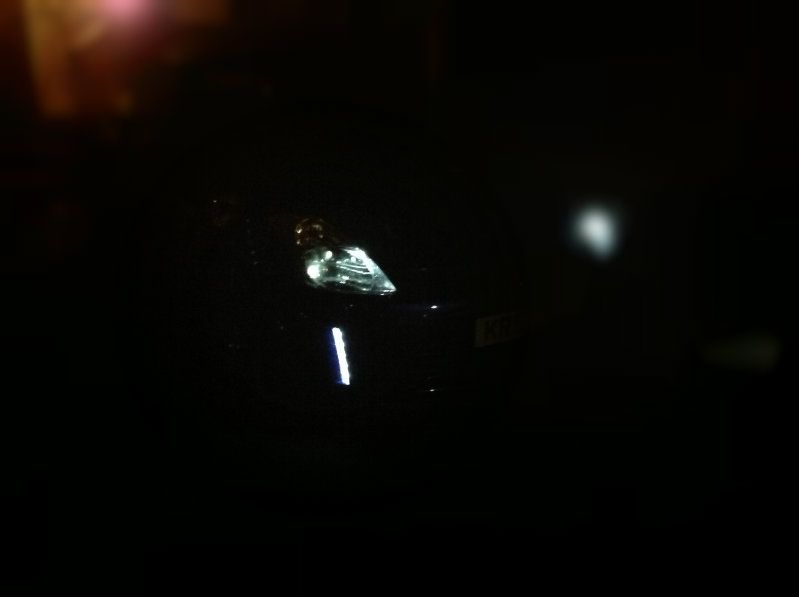
-
 1
1
-
-
Mate, I can help remove your trim. I did the Bose hack the other day

-
Night time pix of home made DRL's
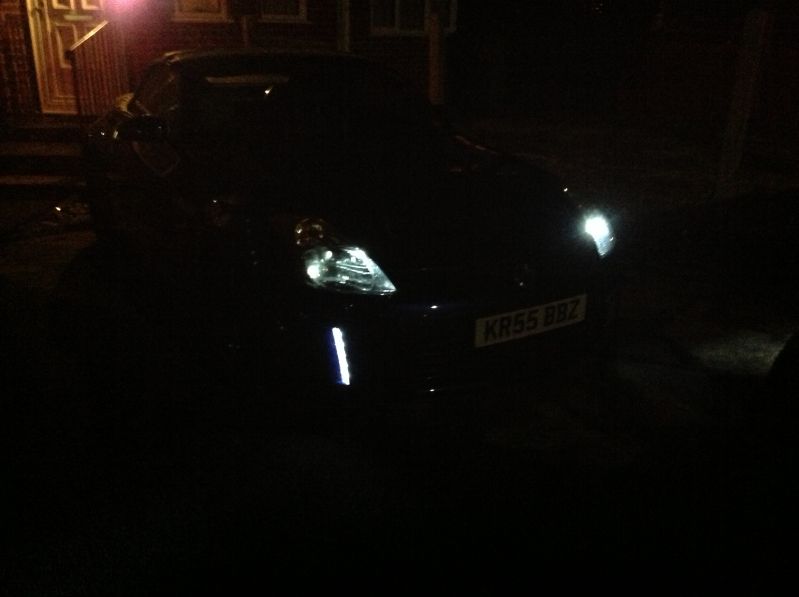
-
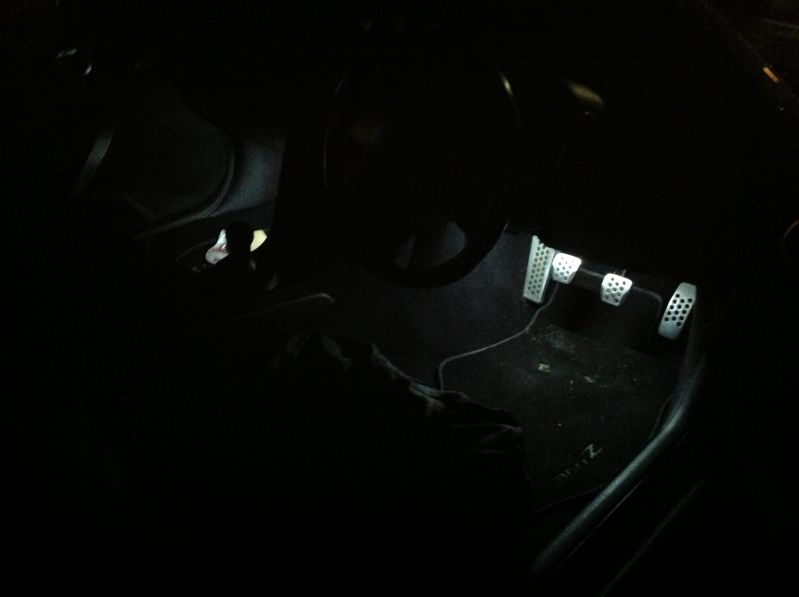
Footwell lighting
-
Thanks to Jep for posting this 'how to'
-
The footwell lighting was very simple to do. It's hard to get a decent pix though.
-
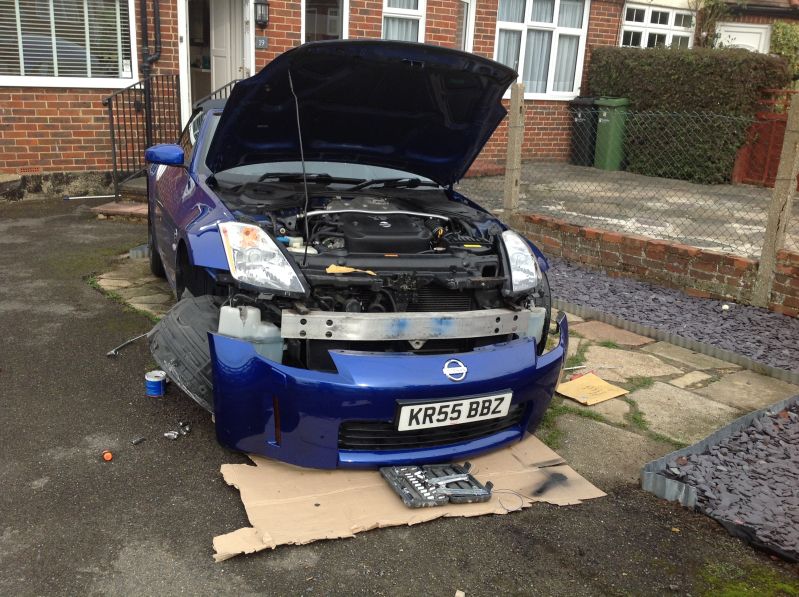
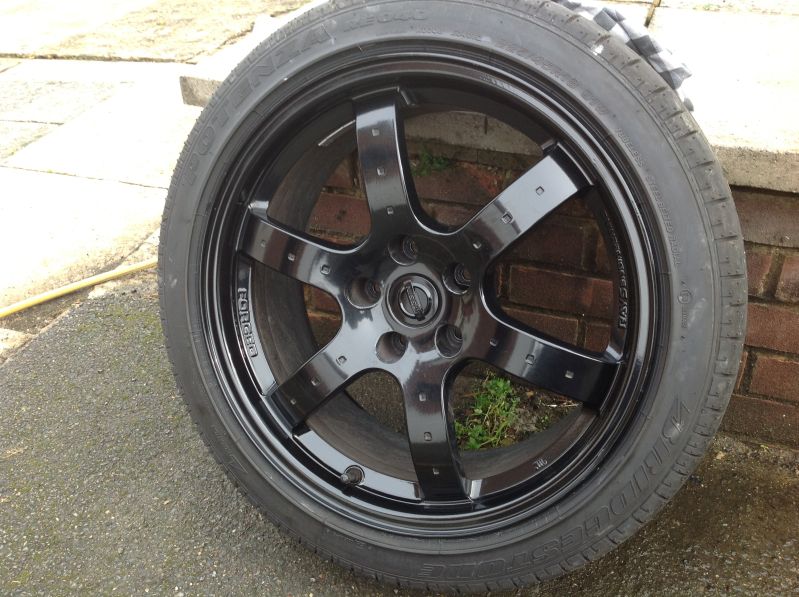
Well this week I've refurb'd 3 wheels, purchased some clear bumper reflectors and put LEDs in them. Took an age to remove and fit the bumper!


-
 1
1
-
-
I've had an odd issue where when I drop my roof (windows automatically go down) then the drivers window won't go back up on the button(passengers one is fine). I have to slam the door a couple of times and then it'll work. How can I test the switch? If that's fine then ill give this a go http://my350z.com/forum/maintenance-and-repair/459628-window-motor-repair-they-can-be-fixed-2.html
I've purchased the bushes just need to grow some balls and fit them...
-
Lubed my roof up today

-
Can you advise a price for both door handles please.
-
Hi Parsnip, Not sure if the motors are interchangeable.
PM sent.

-
That's an awesome reservoir!
I've got an Orange 5 and a single speed OnOne Inbred

Usually ride Surrey hills or go to Afan or north Wales
-
 cheers Hayden
-
Hopefully seeing Wasso on the weekend so will have a listen

-
Cheers everyone, I'll inspect the welds and then take it from there

A neighbour has scorpion exhausts on his Z and they sound nice. What I like about my current setup is its silent on the motorway and nice and raspy when you give it the beans.
-
The car has Berk hfc's, stiller Y pipe, K&N panel filter, '06 velocity stack and soon a plenum spacer. Is it worth changing the back box before getting uprev'd? I'm sure I read somewhere the standard back box is good for 400 ponies.
-
Tez you should try the 'how to' before buying a new one.
I want a spare motor Incase I break it

-
Awesome mate
 if yr getting a new one see zmanalex as from memory he sells them for £189 which is half the price from nissan.


jpeg upload ?
in Testing Forum
Posted
My sig test