


jumping350
-
Posts
3,334 -
Joined
-
Last visited
Content Type
Profiles
Forums
Events
Gallery
Store
Posts posted by jumping350
-
-
Awesome buddy! Great feeling when it turns over and you hear the noise

That is also one bling looking engine bay some great mods in there, love the catch can and plenum

-
Thanks guys, actually looking at the front end alone brings a smile to my face
 driving it ....cannot wait
Still got a few little bits to sort but that's the major things done now, I also forgot about the oil temp gauge
 so wiring all that in and running it to drivers area is now also added to the list!
May have to wait till after Christmas for dyno but will see how much progress I make and how bad the weather is
-
But...I wasnt finished there!!
Having done my build for nearly two years

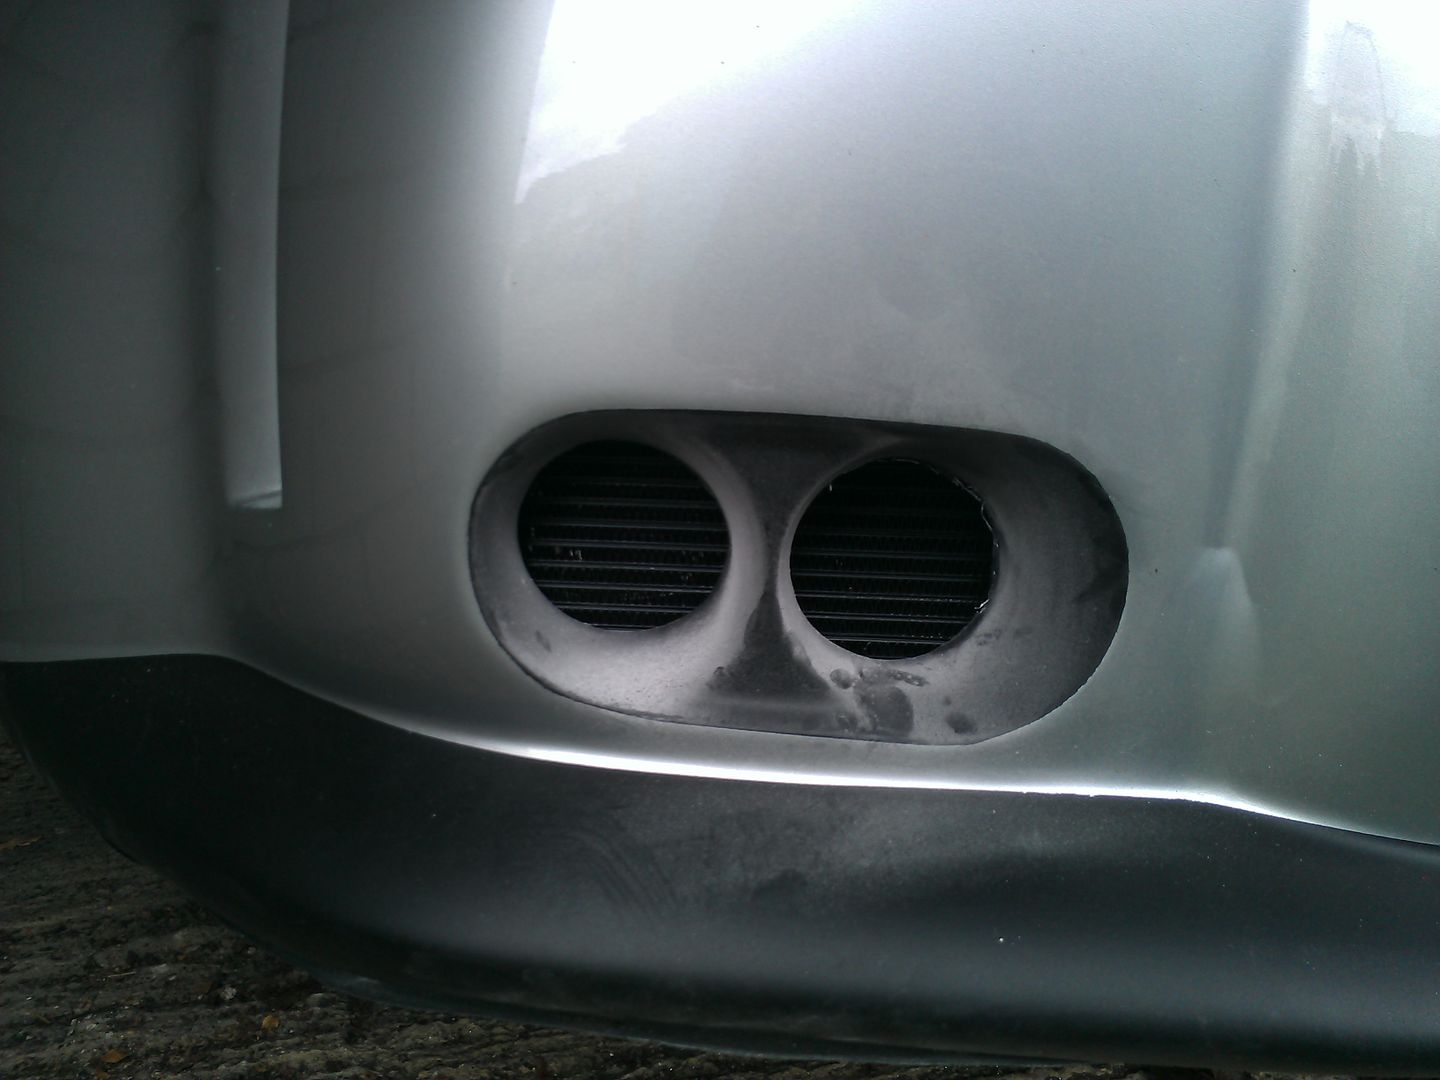
 Ive read about a bit! Some suggest its not the greatest place for the filter to go as its right behind the bumper and the Veilside is even worse because its kind of housed in there with no direct air flow.
So what to do? yes, make a CAI for my CAI
I got this stuff which is really strong and looks cool
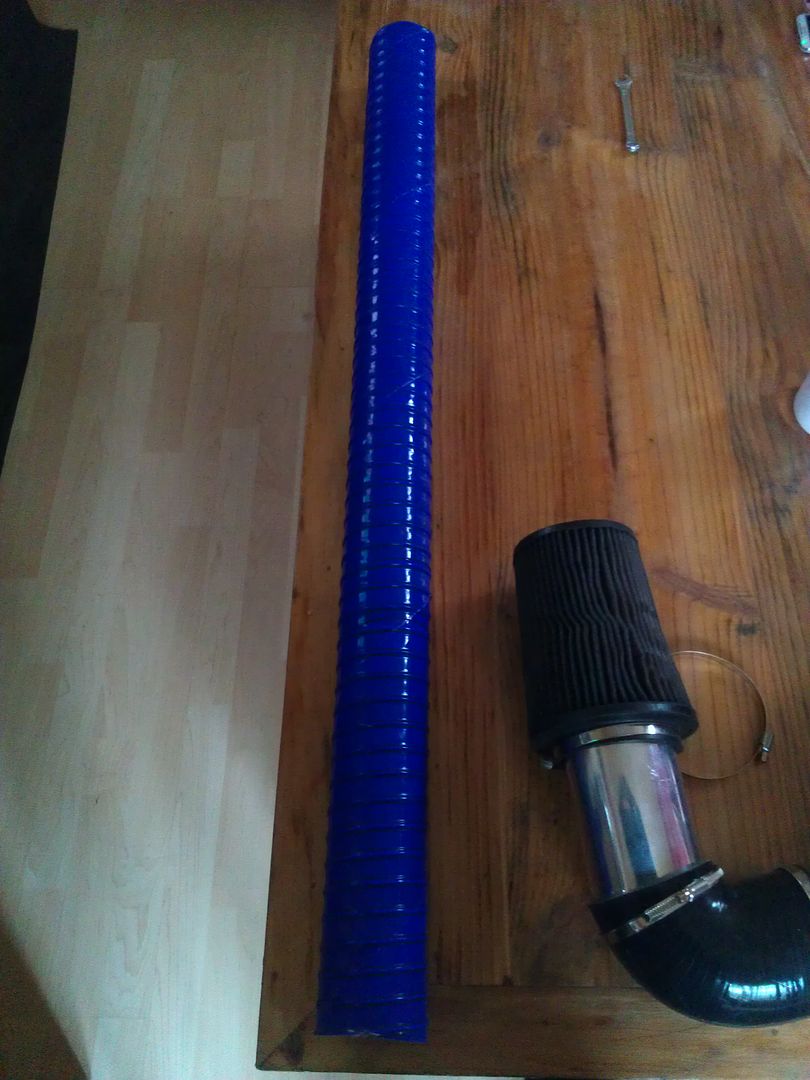
It magically bends most ways and retains its shape all the time
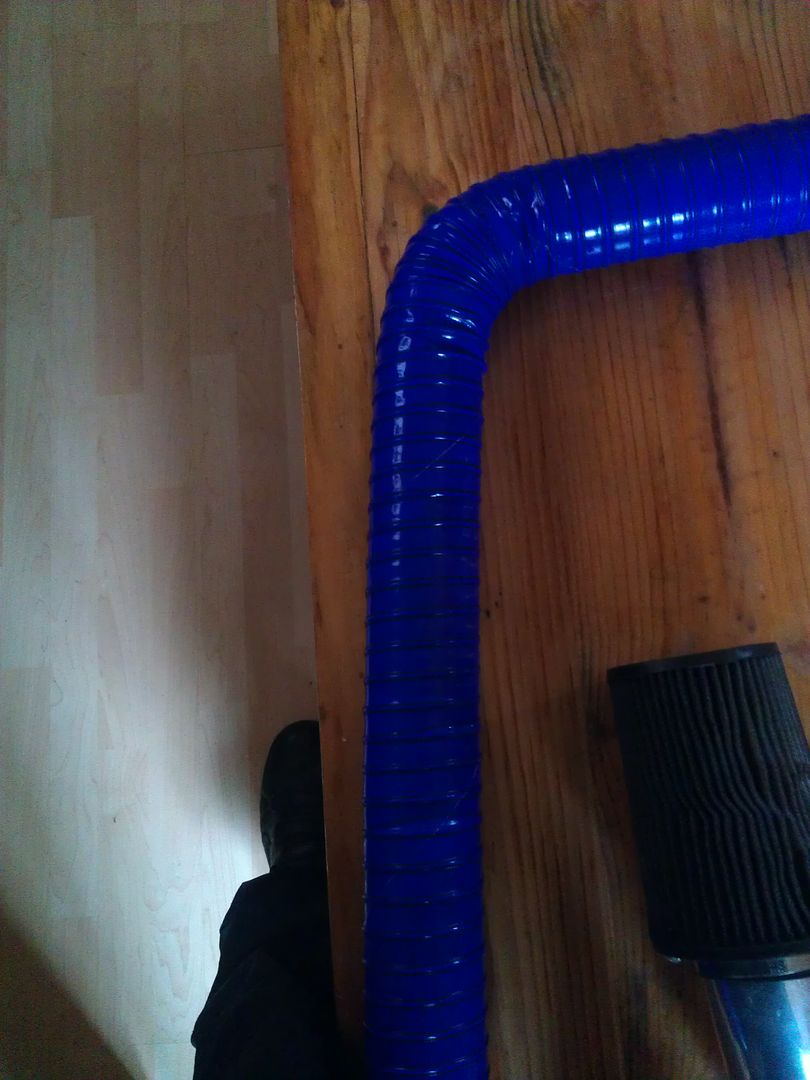
So I begun to route it through any gap I could find that went near the filter
Pretty much spot on if you ask me

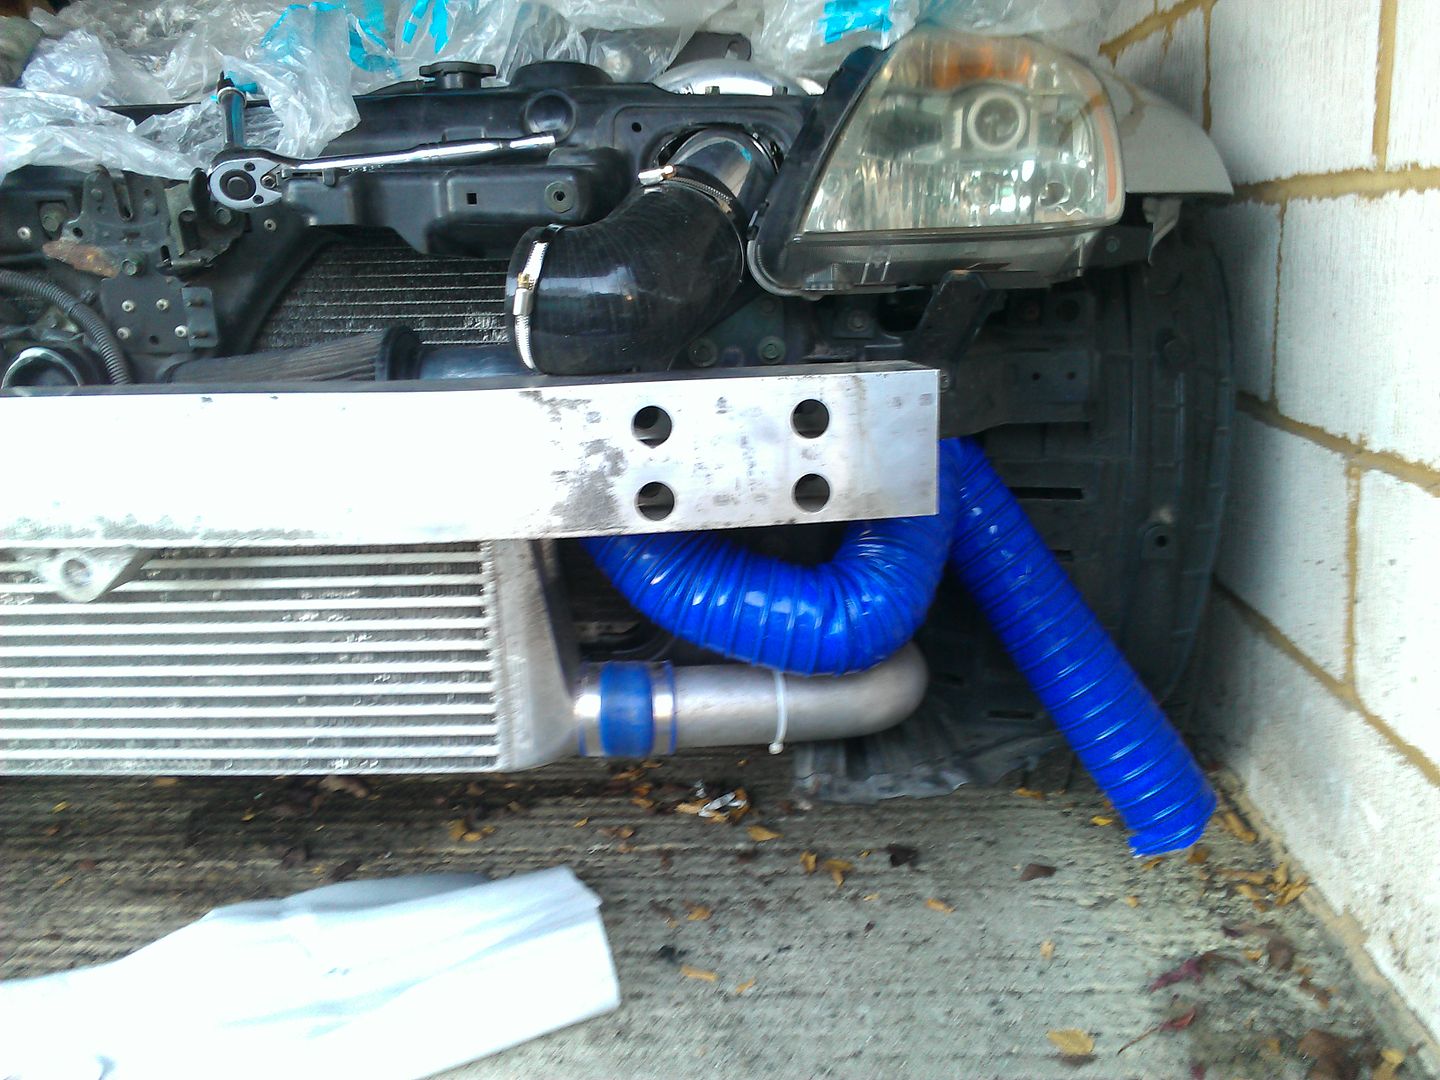
Started to put everything back together again!! and finished routing piping
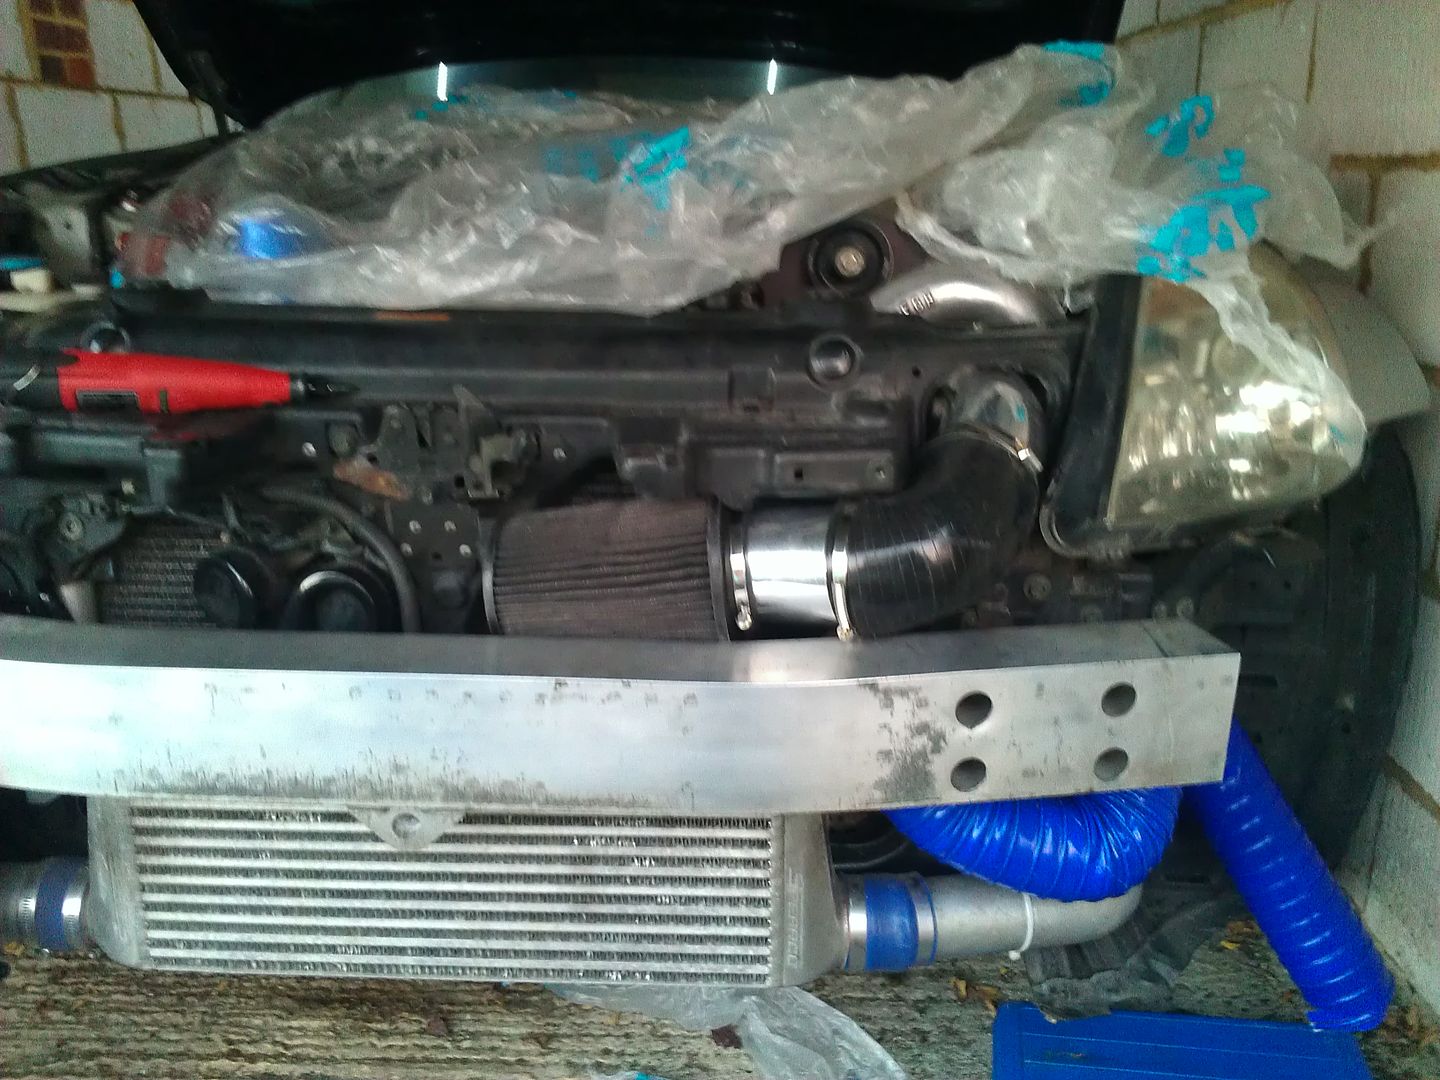
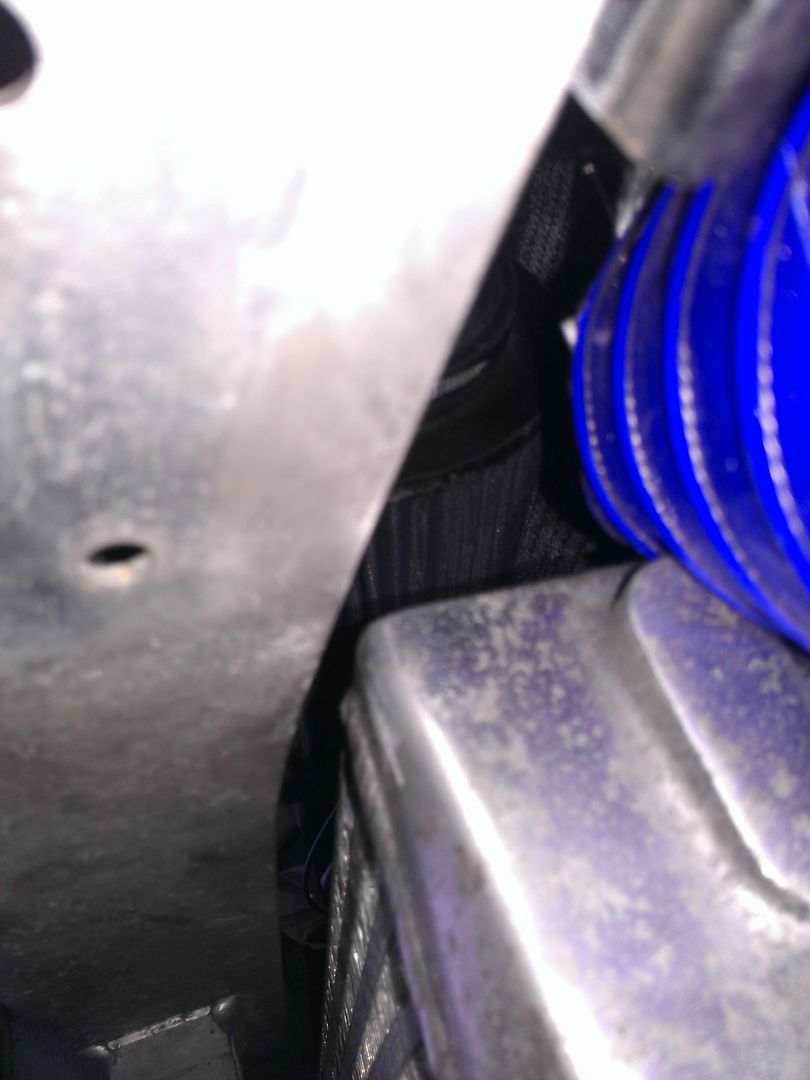
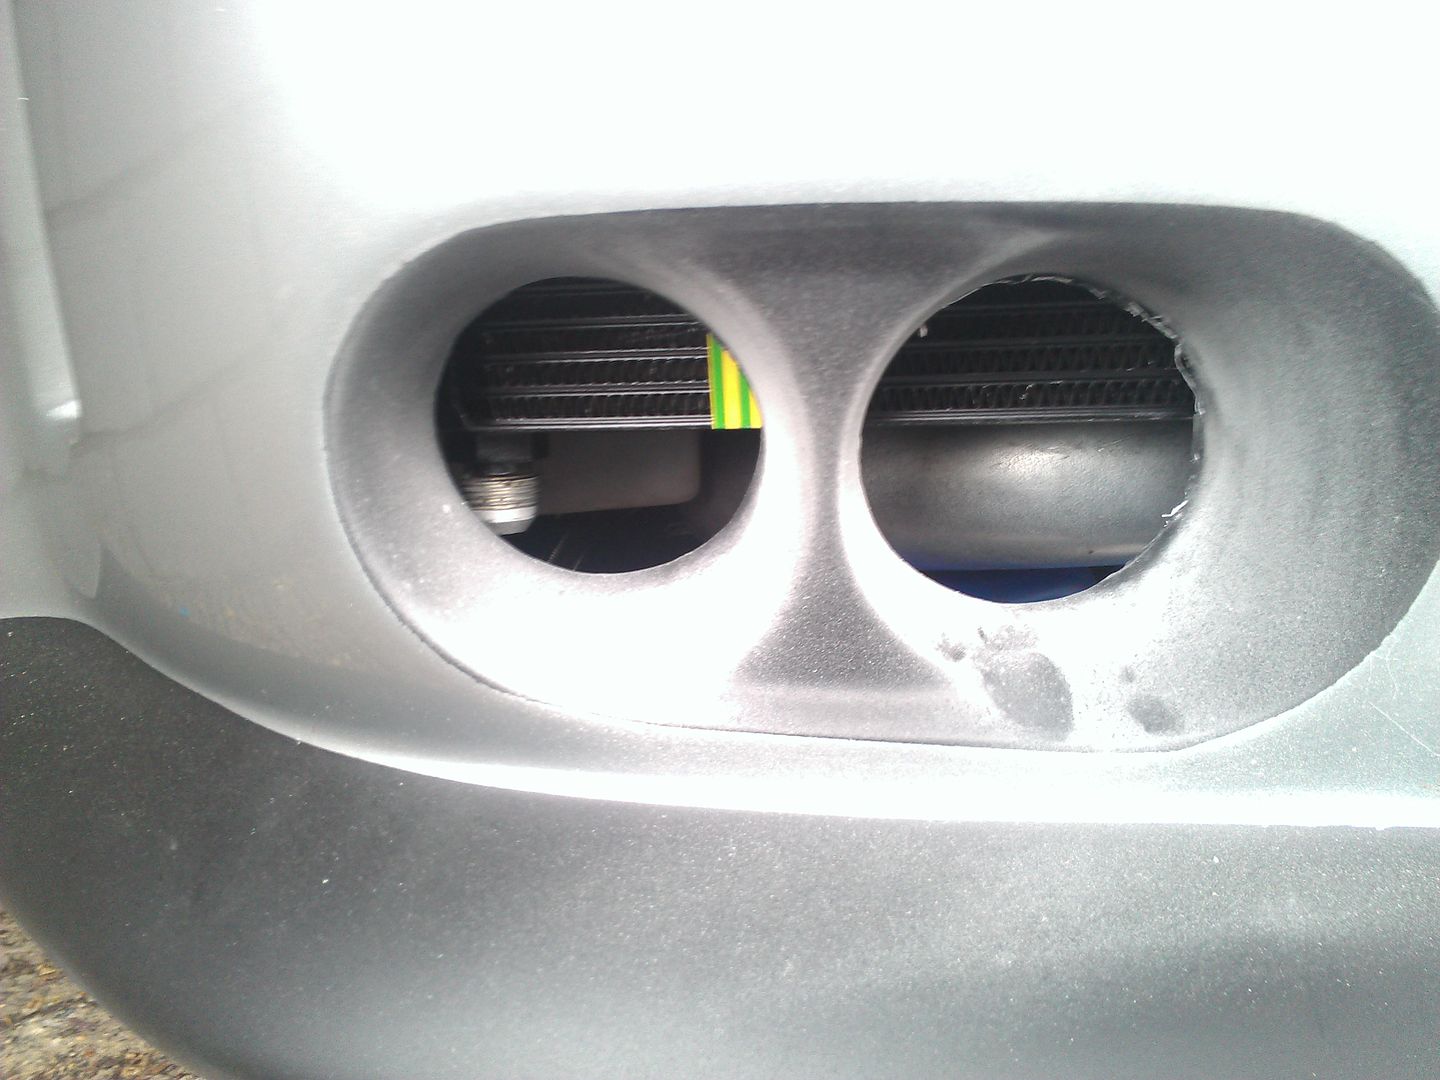
I made sure the diameter of the piping was big enough to fit over the right hand side hole of the Veilside bumper when it goes back on and routed the piping so it sits right in front and can secure over holes neatly. Just cable tied for now until I can get some more clips
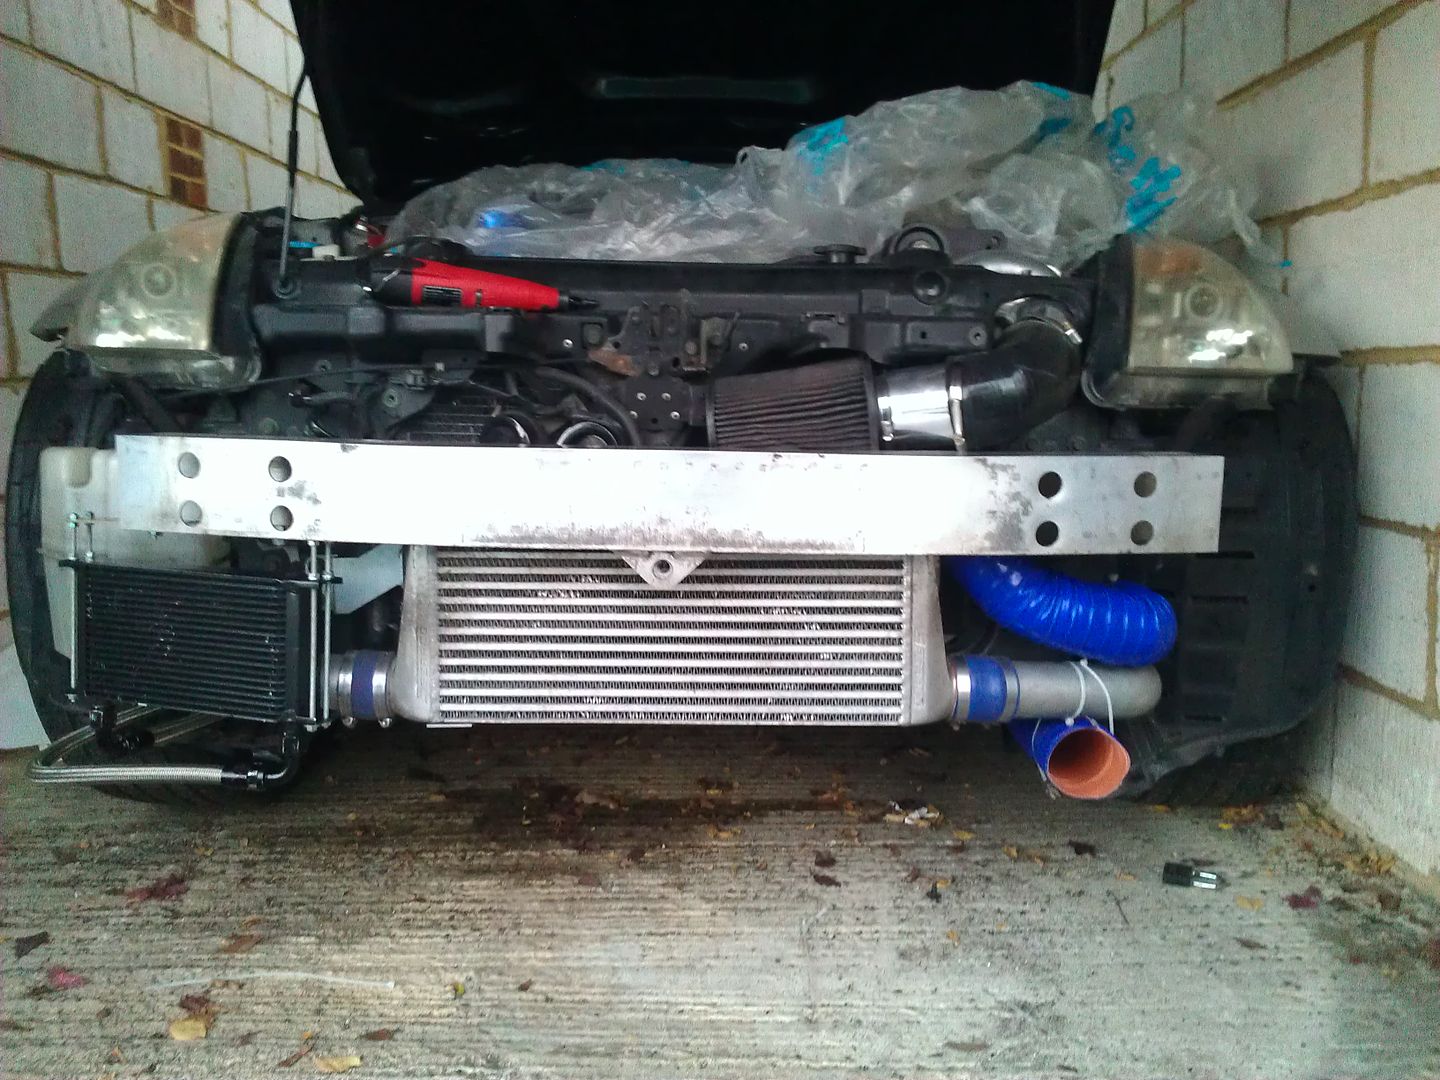
The finished article!! Quite a busy front end now but at least all the holes in my bumper serve a purpose now
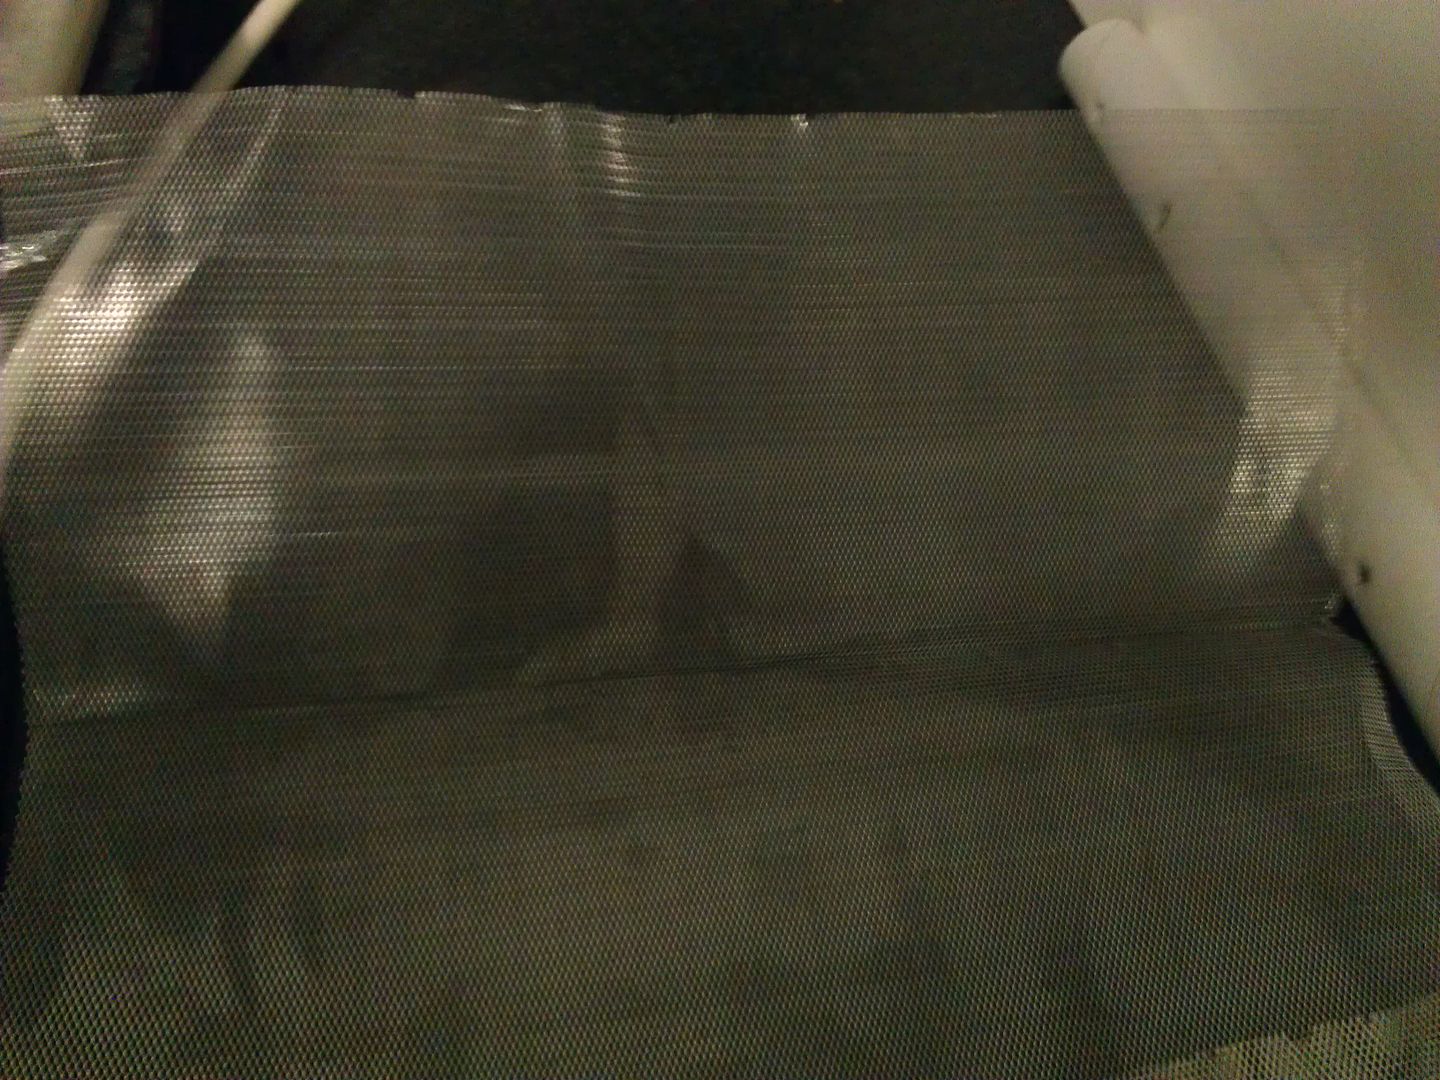
I also have bought some of this fine modeling mesh (im spraying it black) which is really easy to shape/glue snuggly around all 4 holes to stop debris etc coming through which il do over the weekend
After the bumper bits, sorting out bracket for number plate and filling with oil and turning over to make sure shes ok,, she will be off to Jez
-
 3
3
-
-
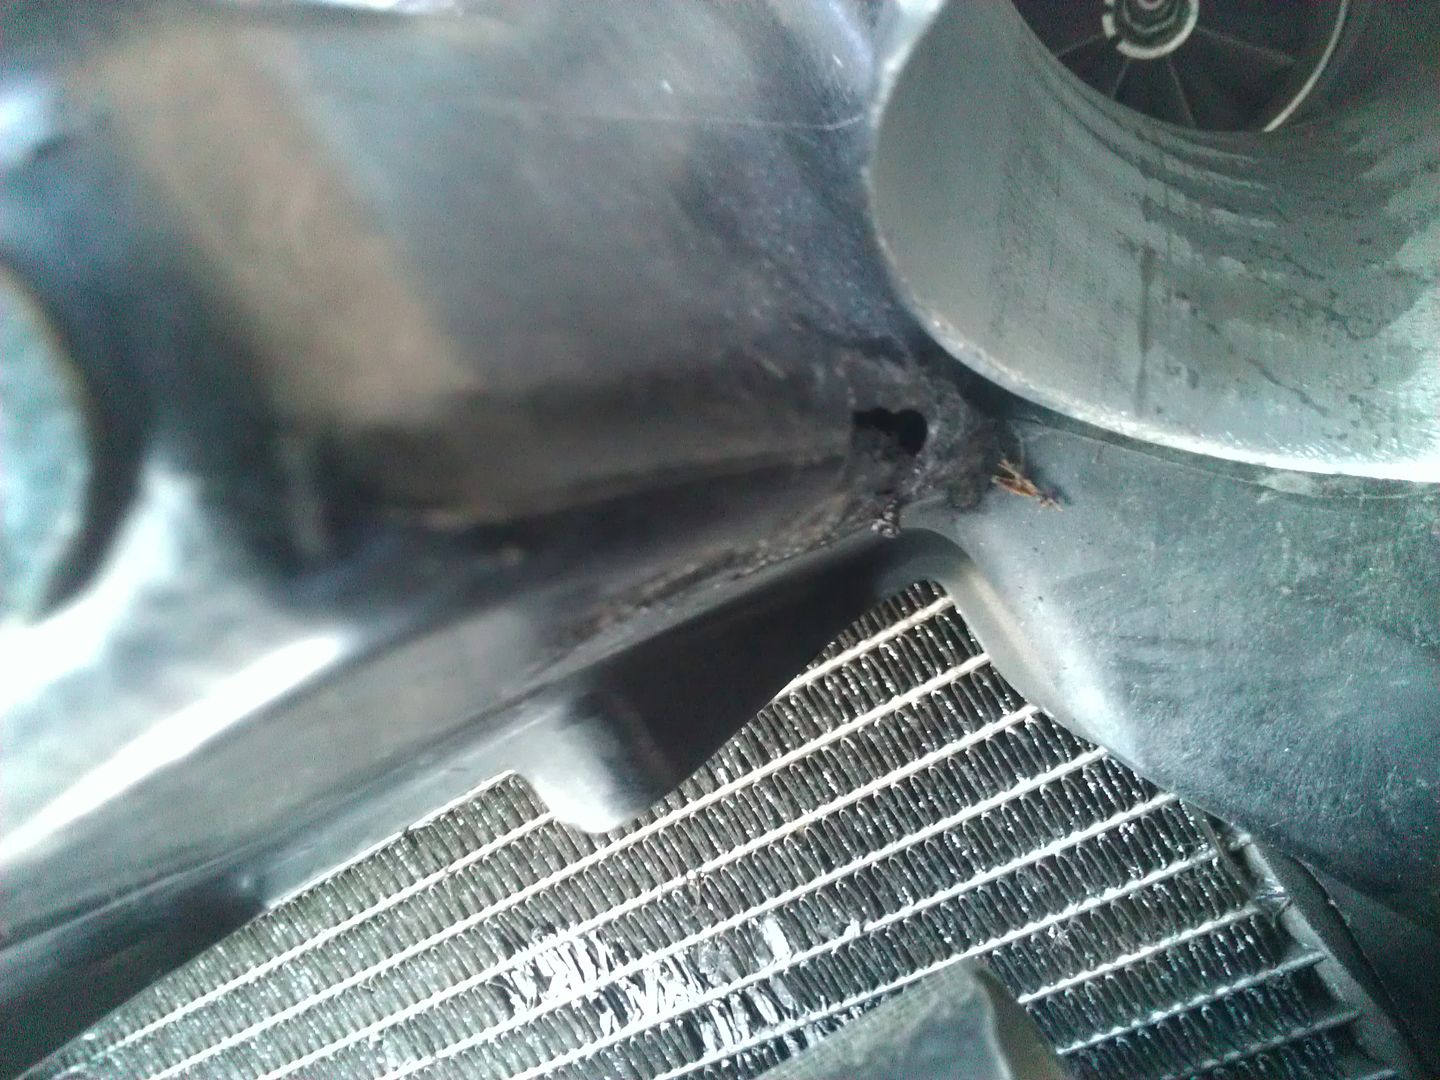
Today I feel I hit a milestone
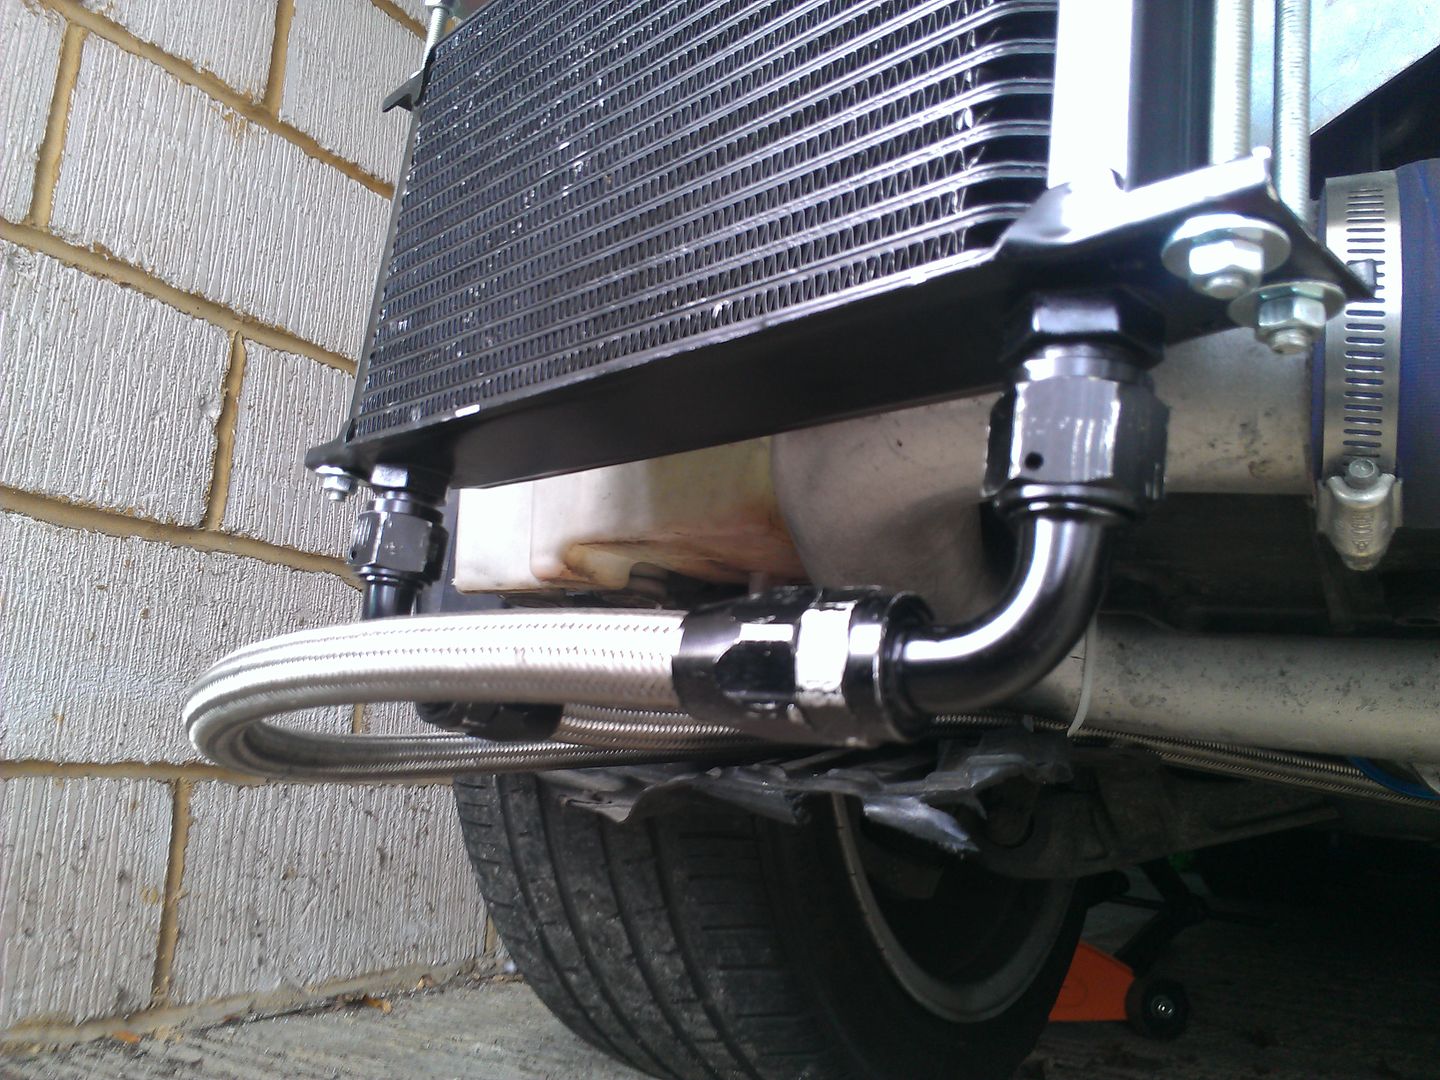
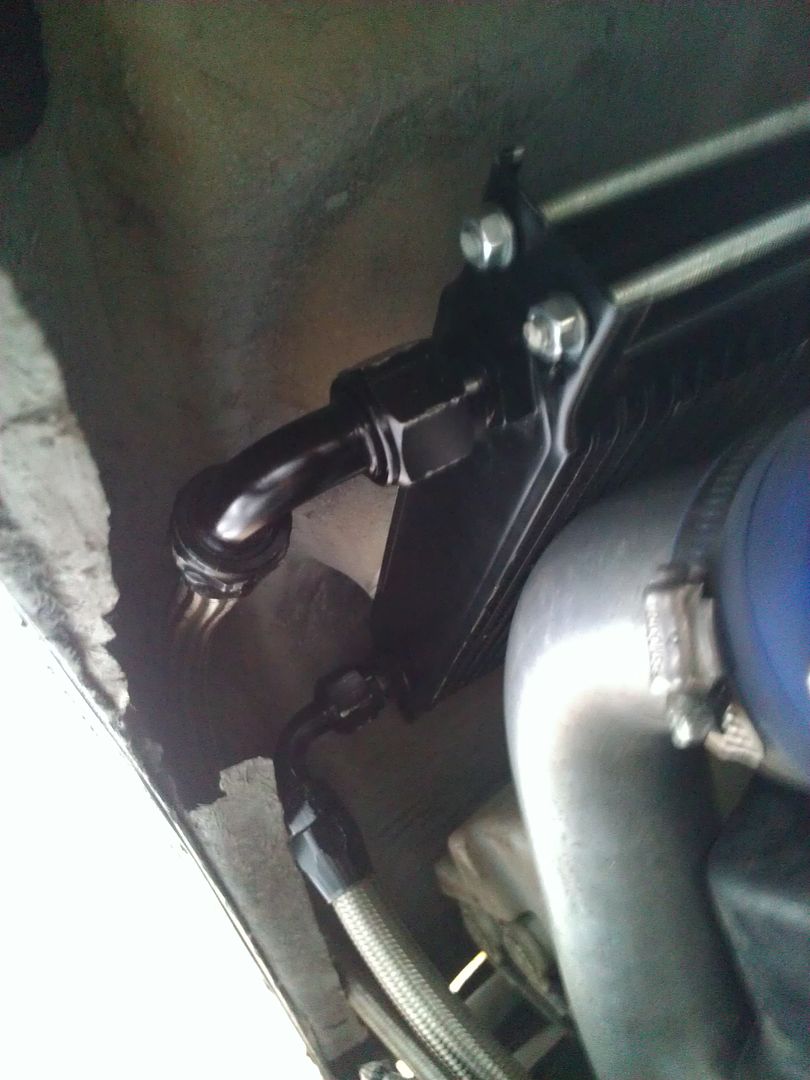
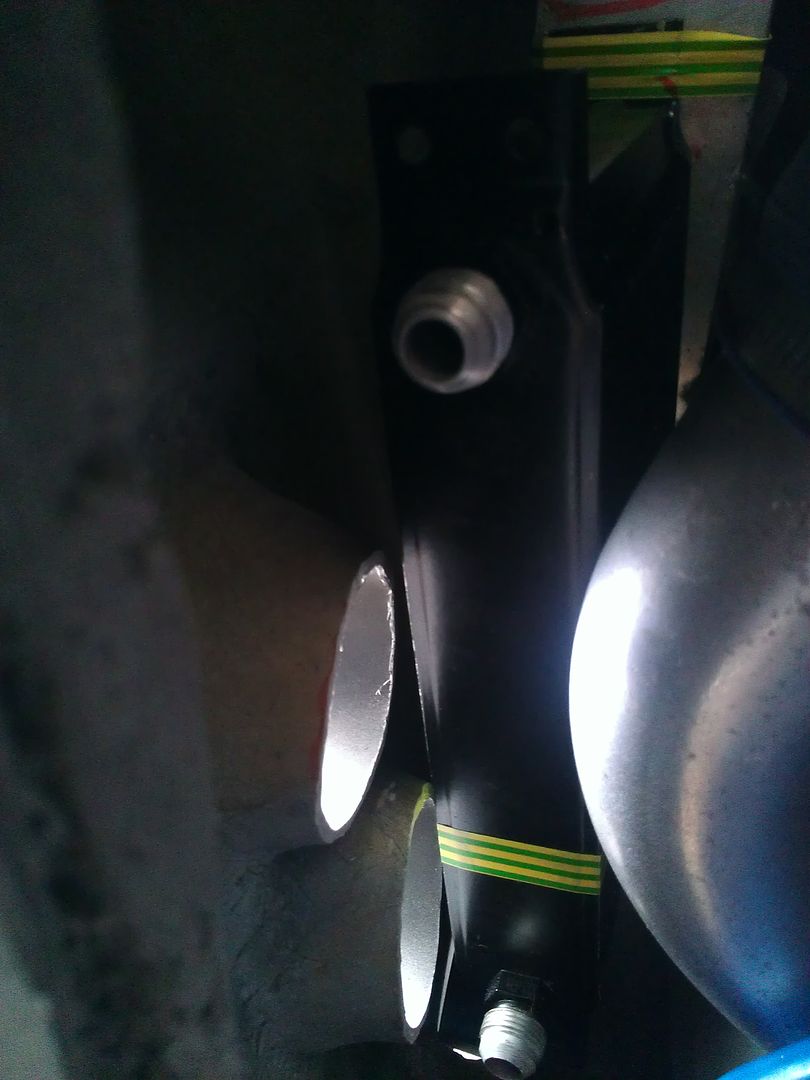
Finished off oil cooler, all nuts thread locked and everything tight and in place..its rock solid
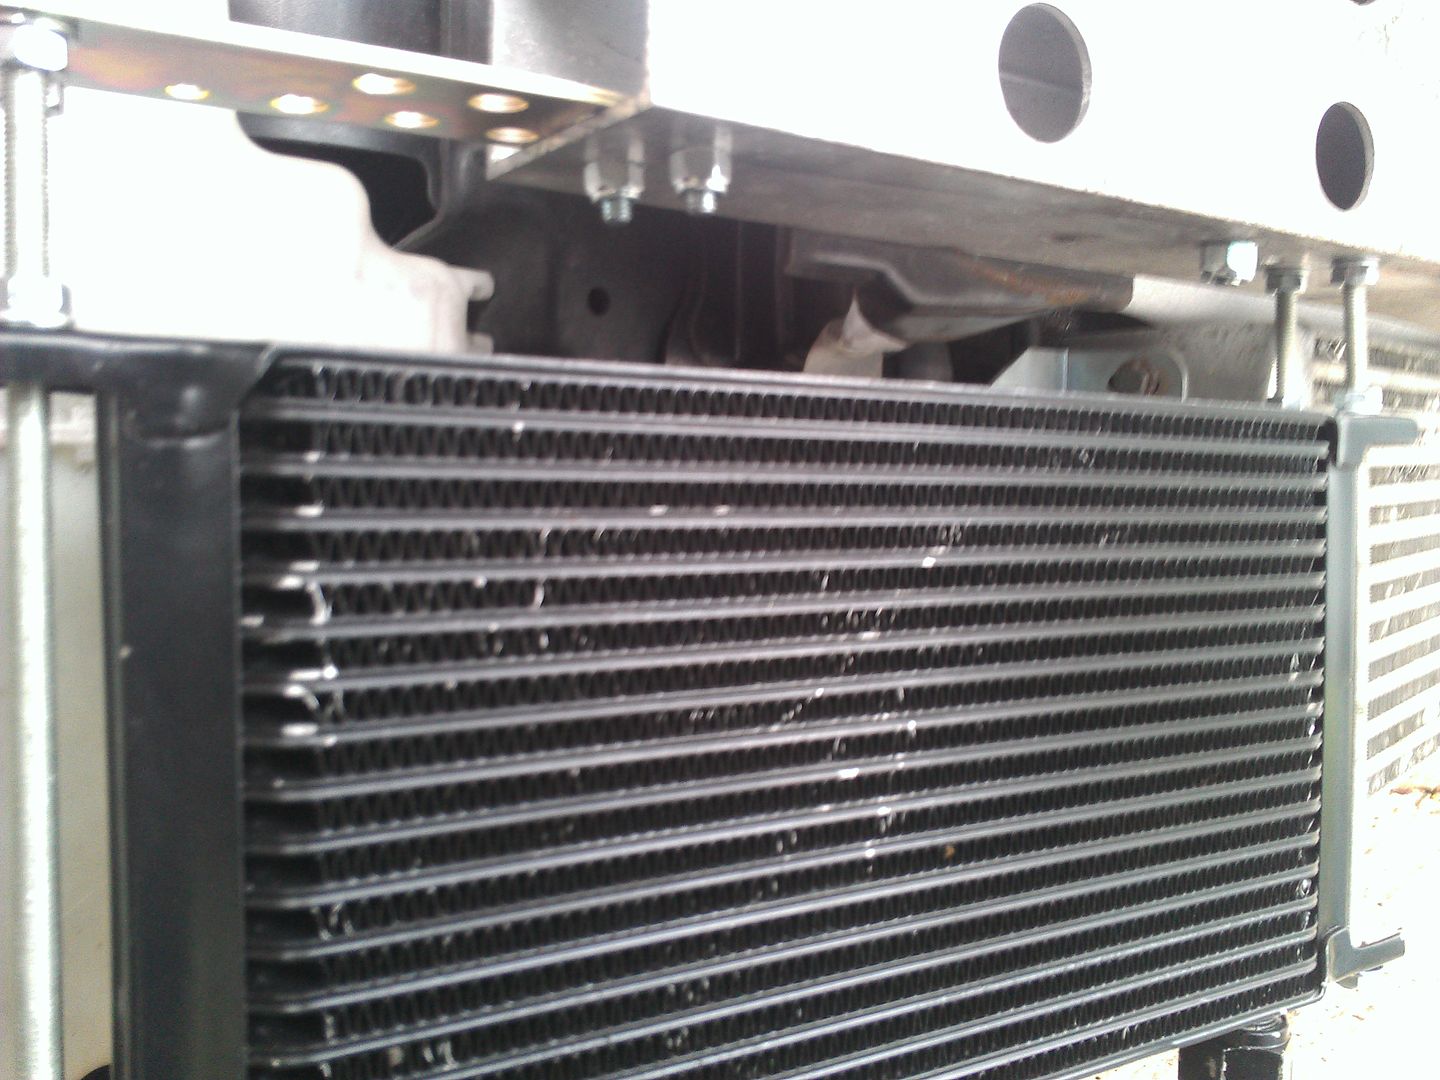
Braided lines tightened...now just need to fill her with oil
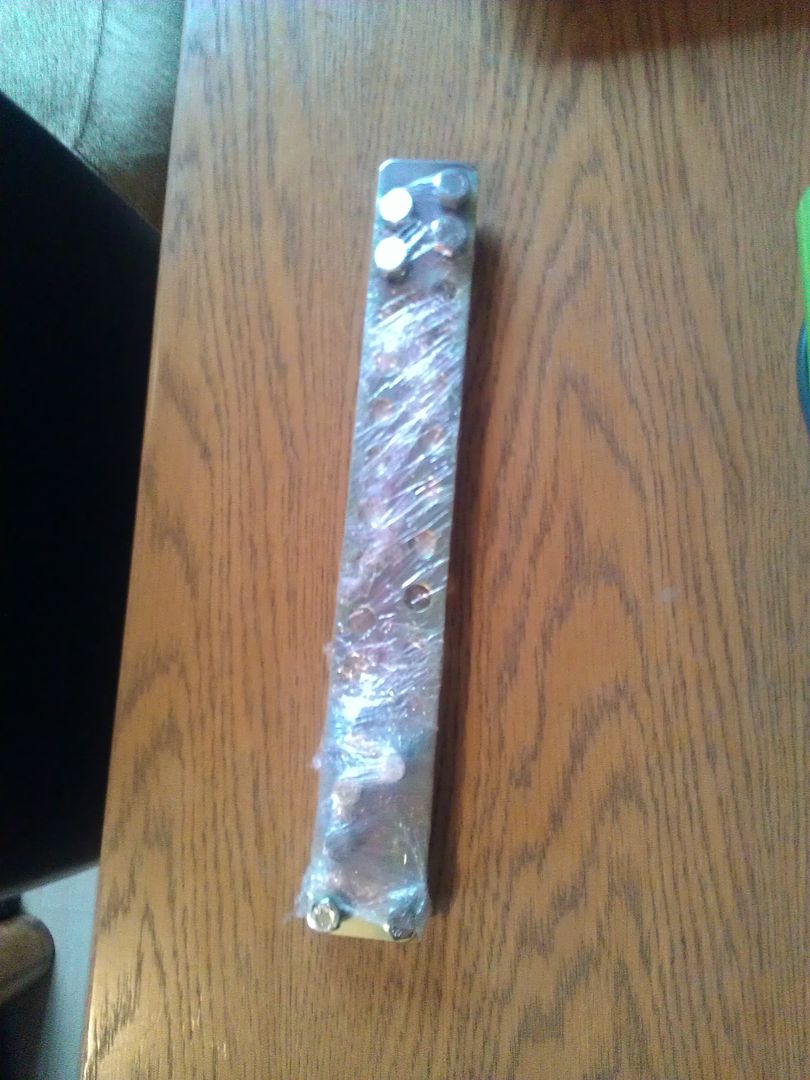
Next task the CAI for the Vortech, started out with these and sized them up and got enough jubilee clips for the cause
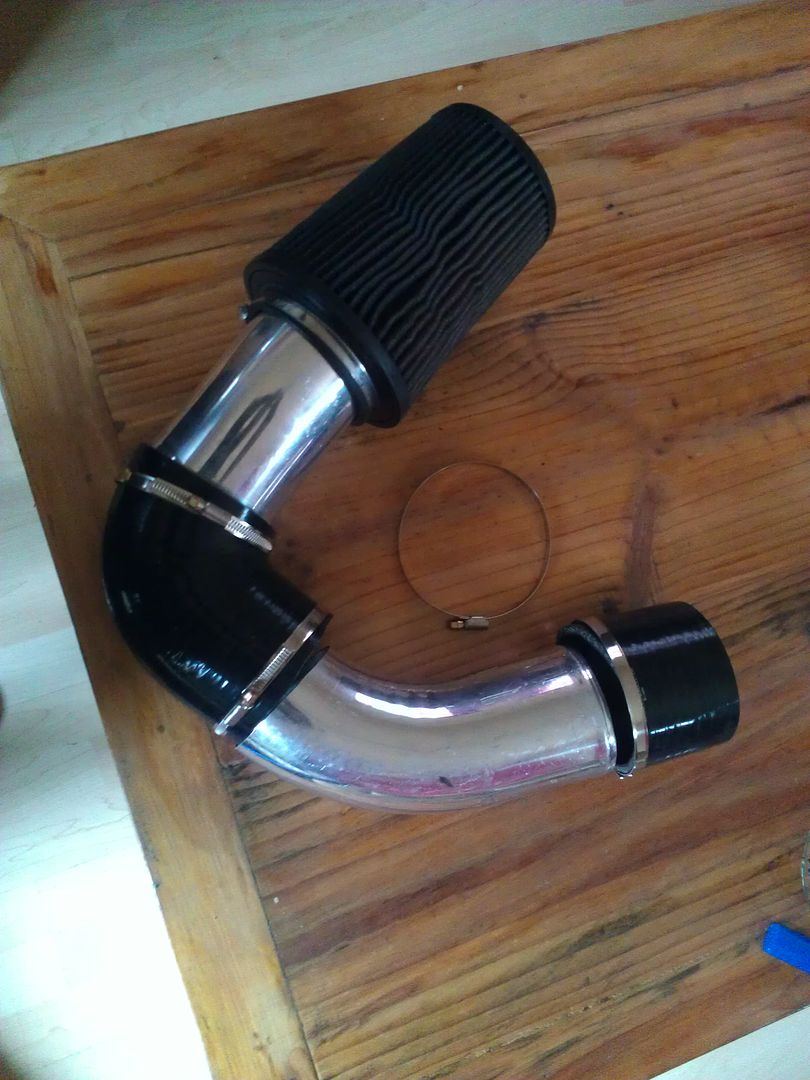
The dremeling was long, a process of grind, check, grind, check, charge dremel come back and same all over again until I got the stupid pipe in!

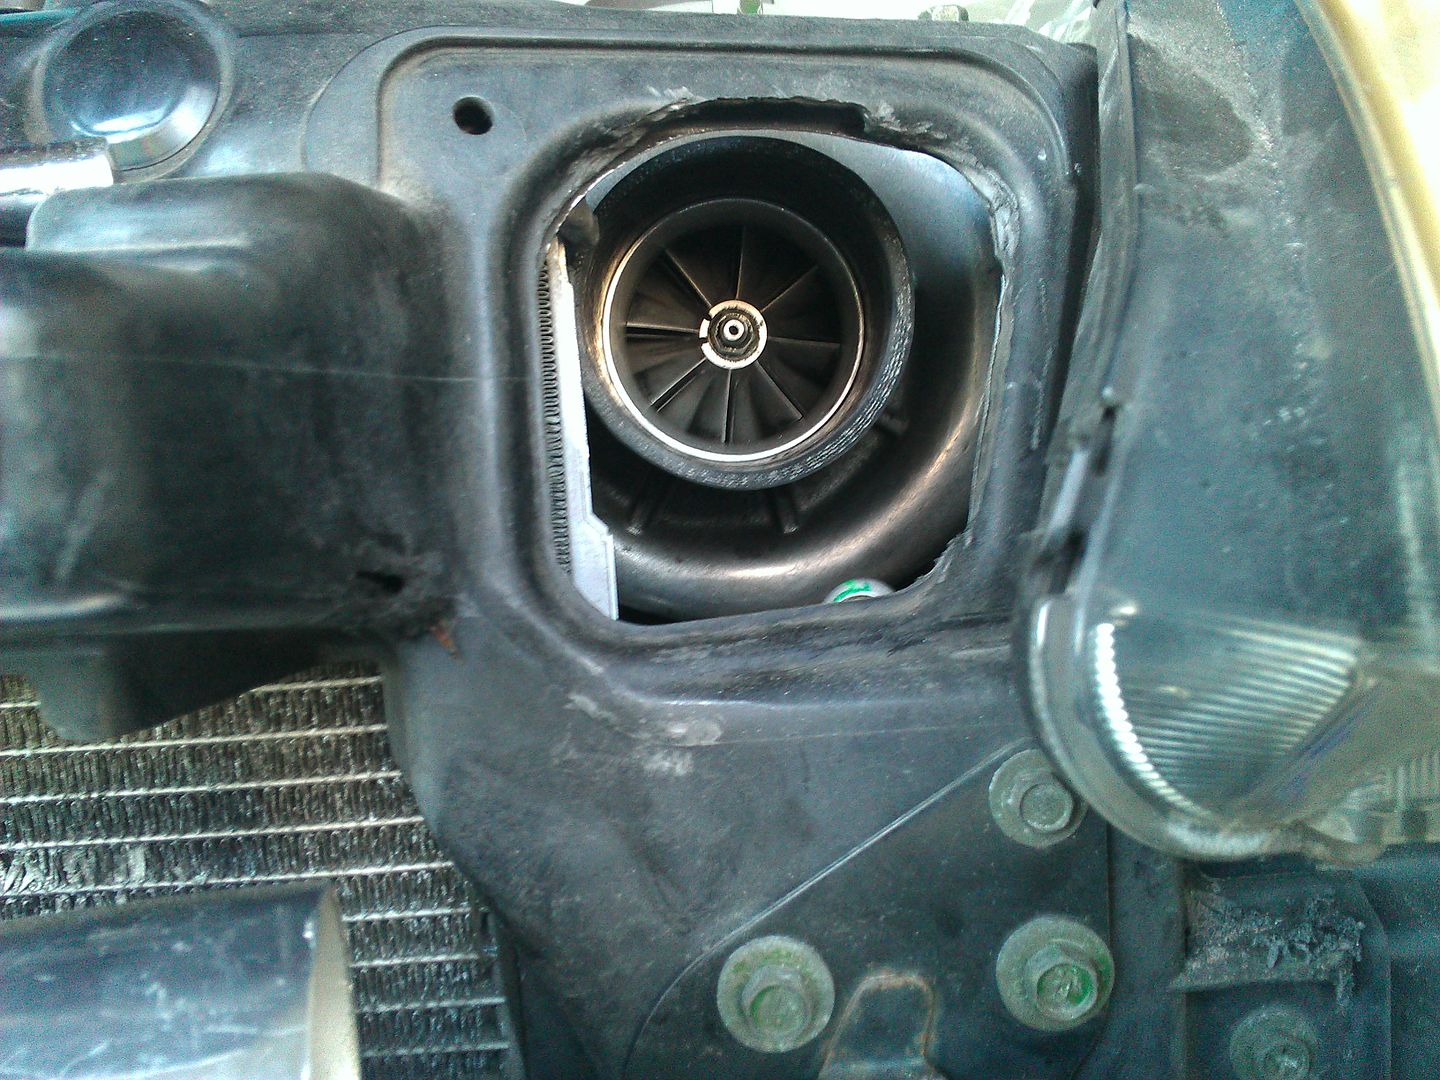
Turbinetastic
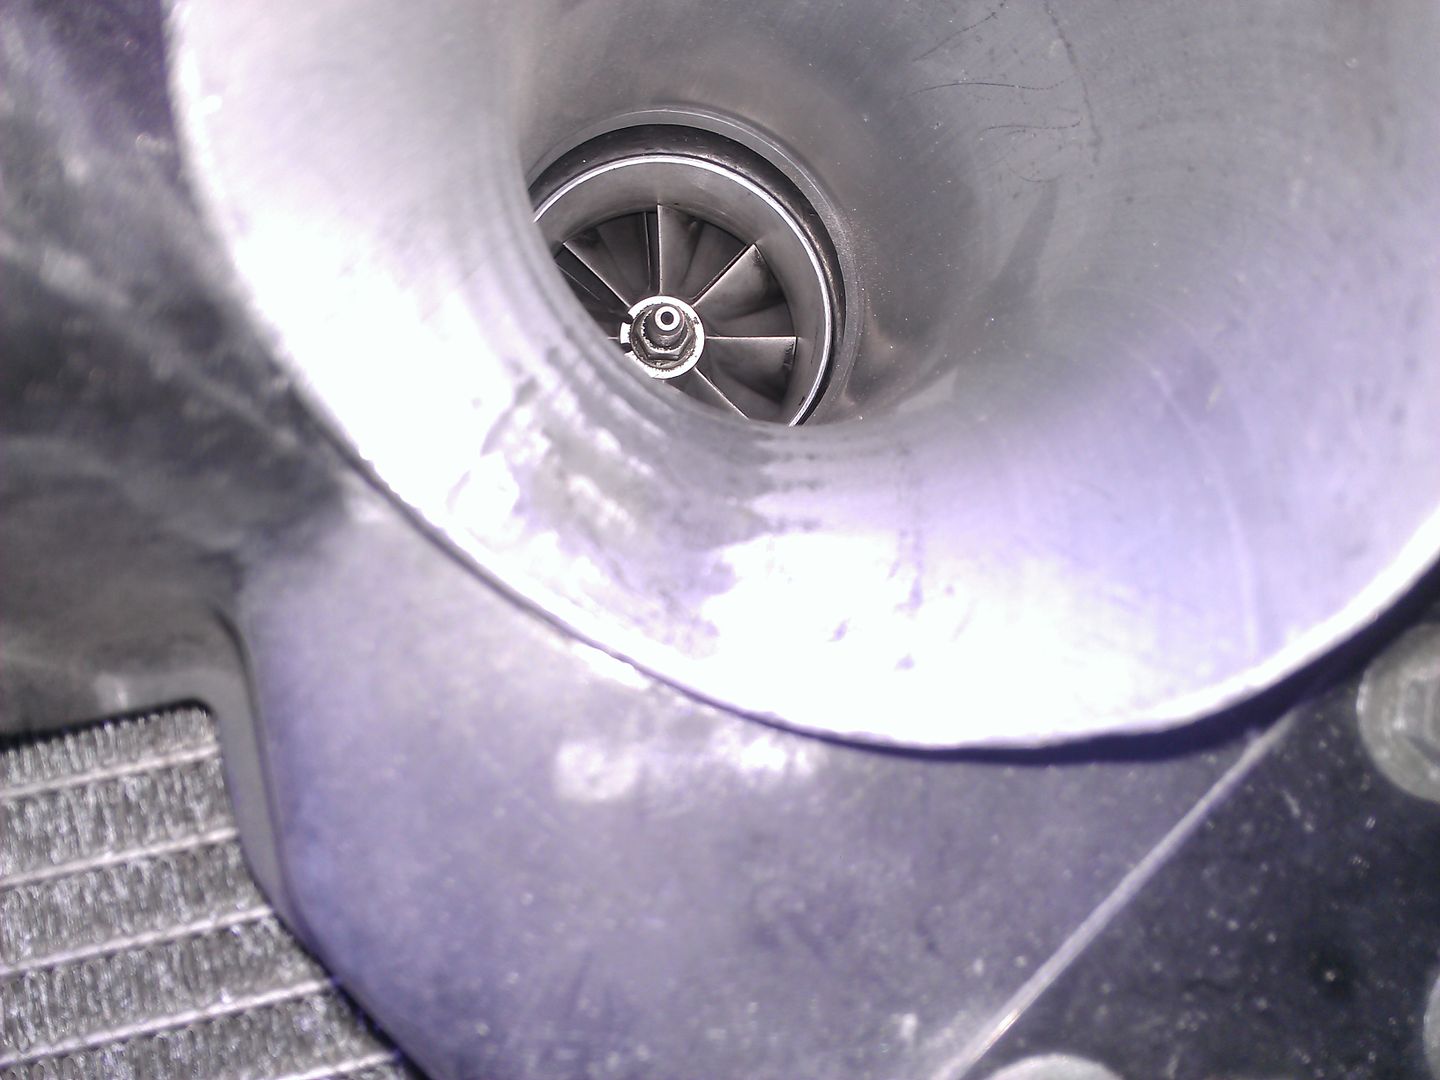
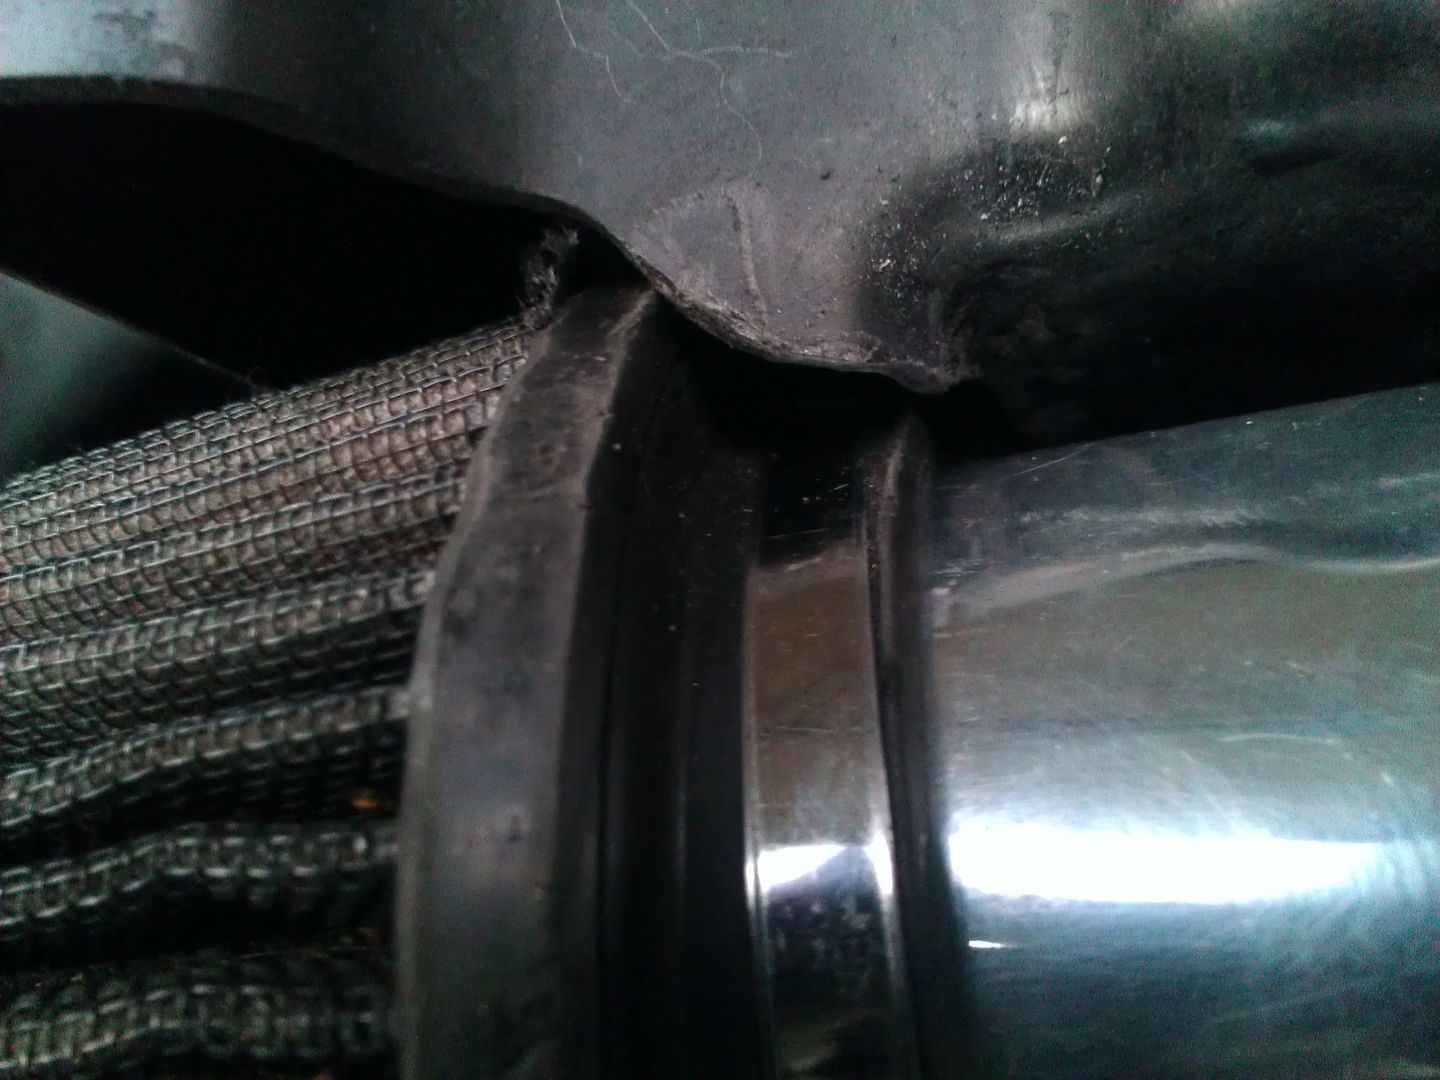
But alas this was not enough, it need wiggle room in various places so the silicone hose could fit around it which the trusty dremel came out again
Eventually got it to this point and everything would... I hope fit
After much wrestling and swearing and dremeling I finally got the 90 degree elbow in place
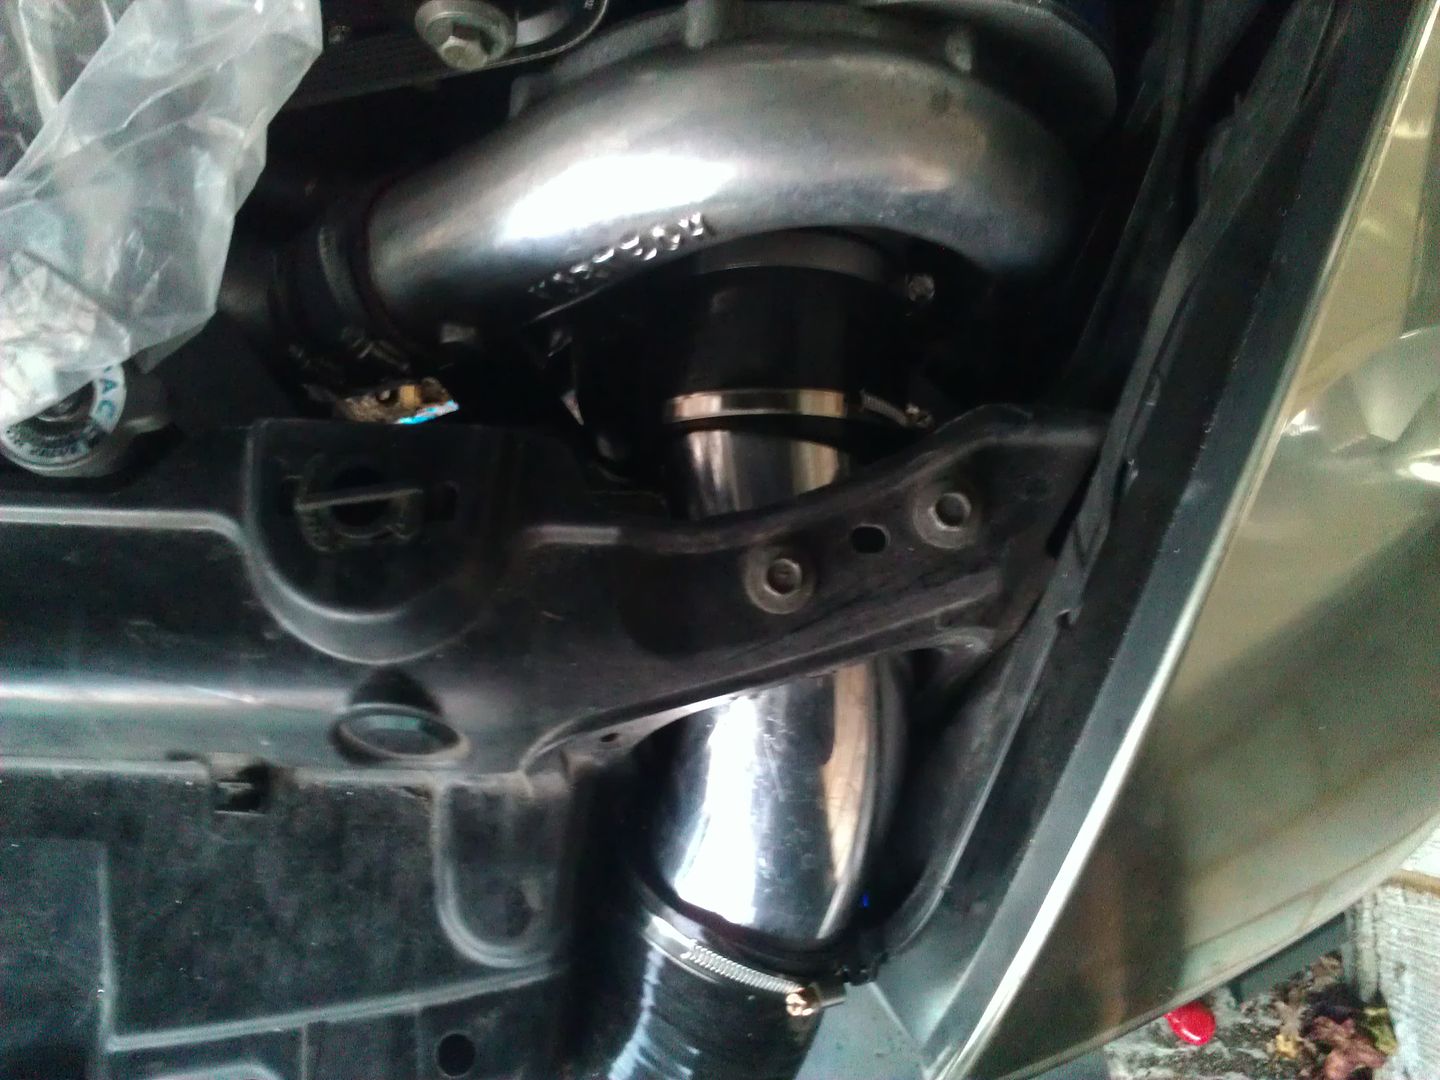
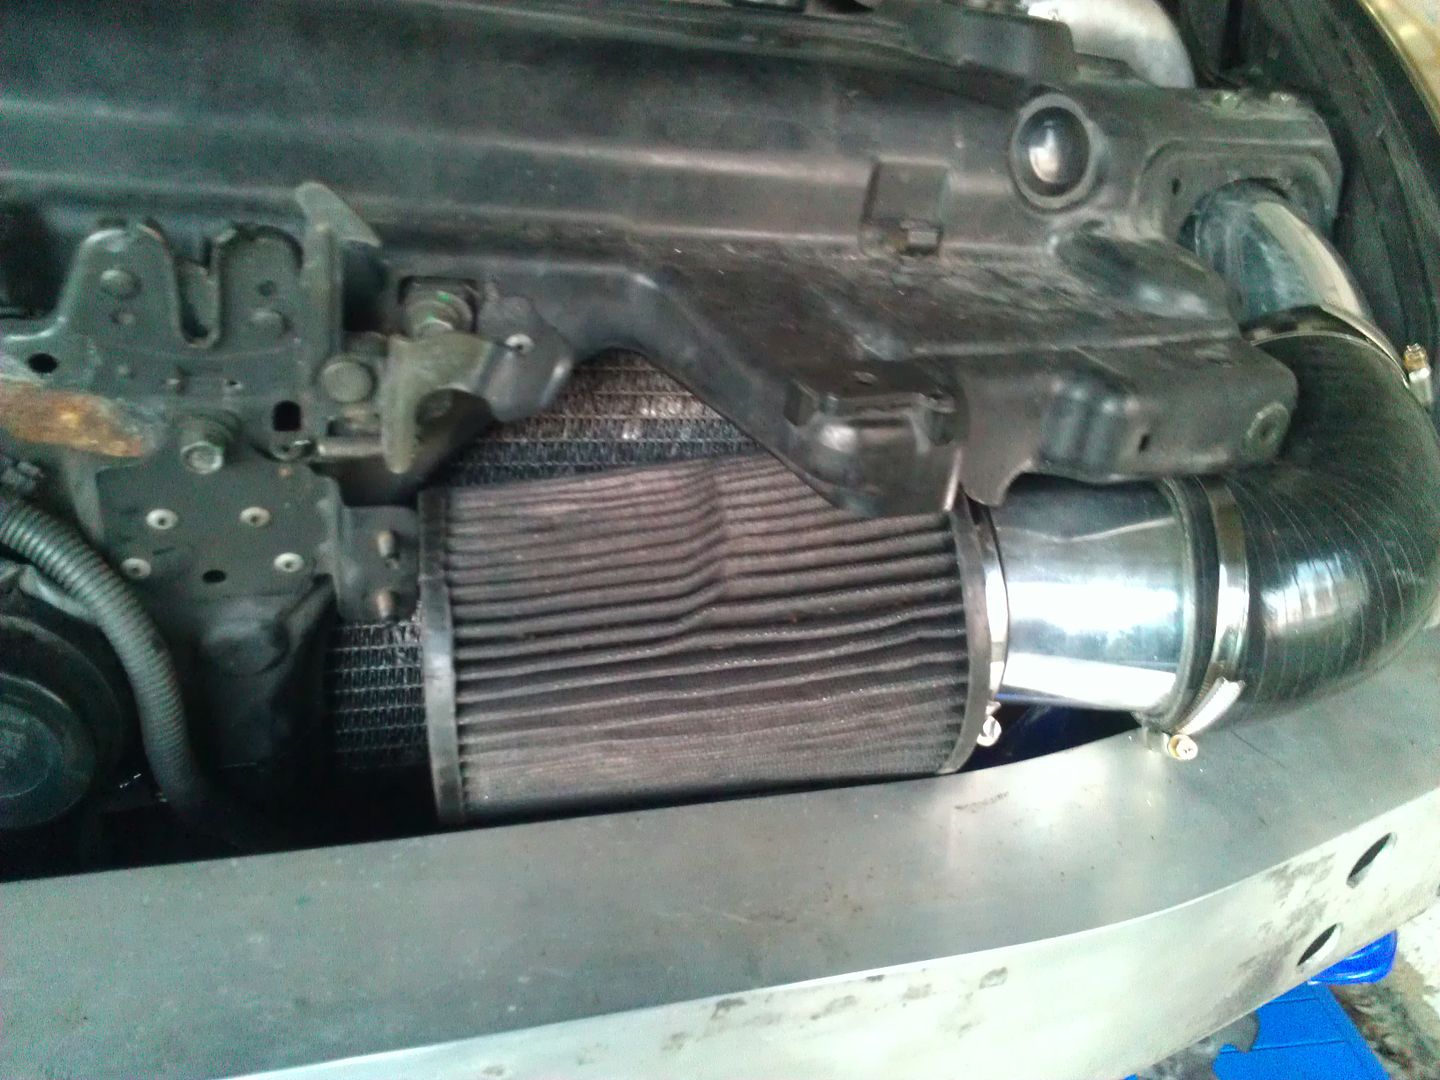
I had to remove the crash bar to get the gigantic filter behind it which was fun seeing as I had just permanently mounted the oil cooler

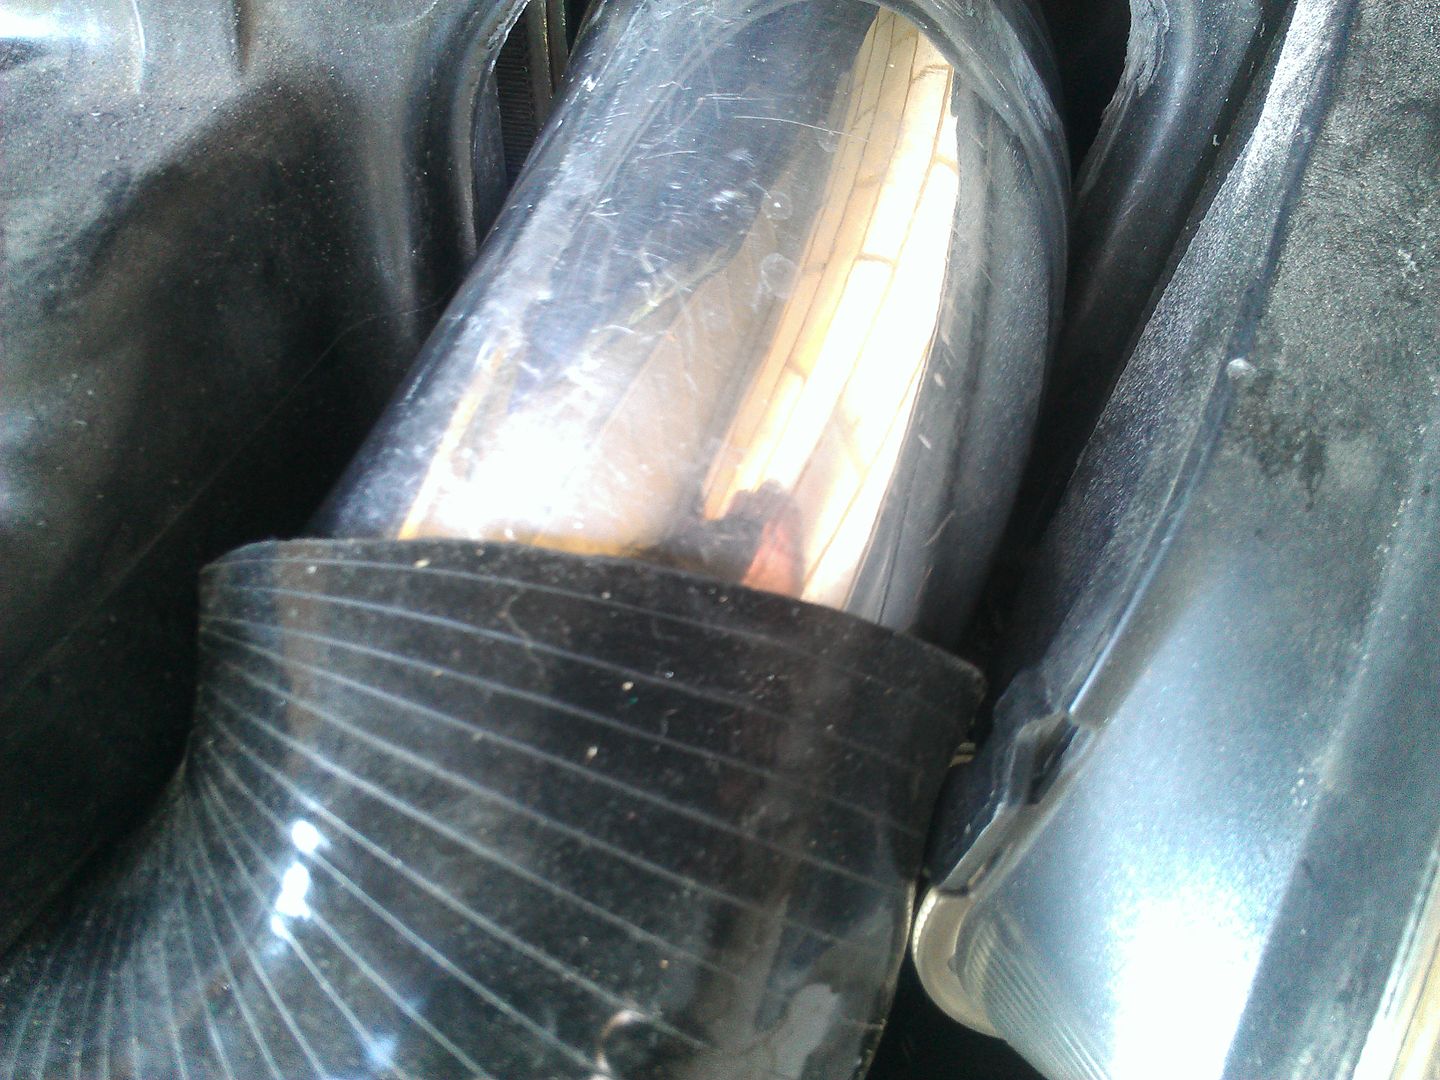
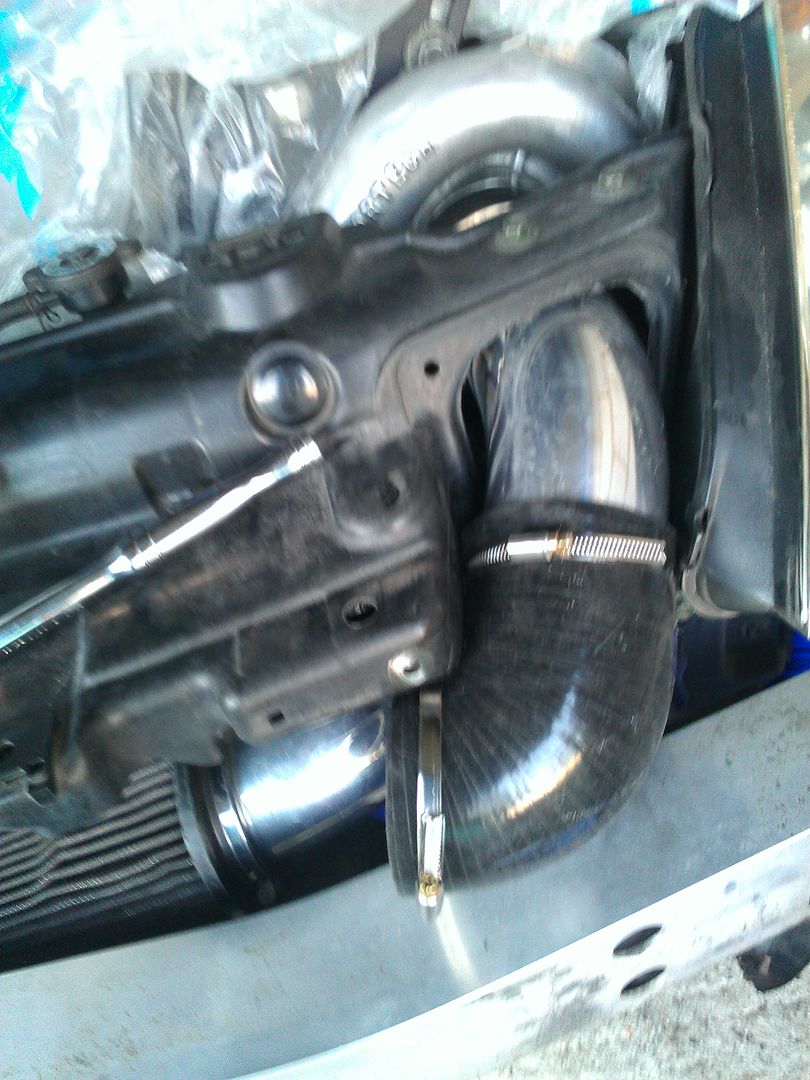
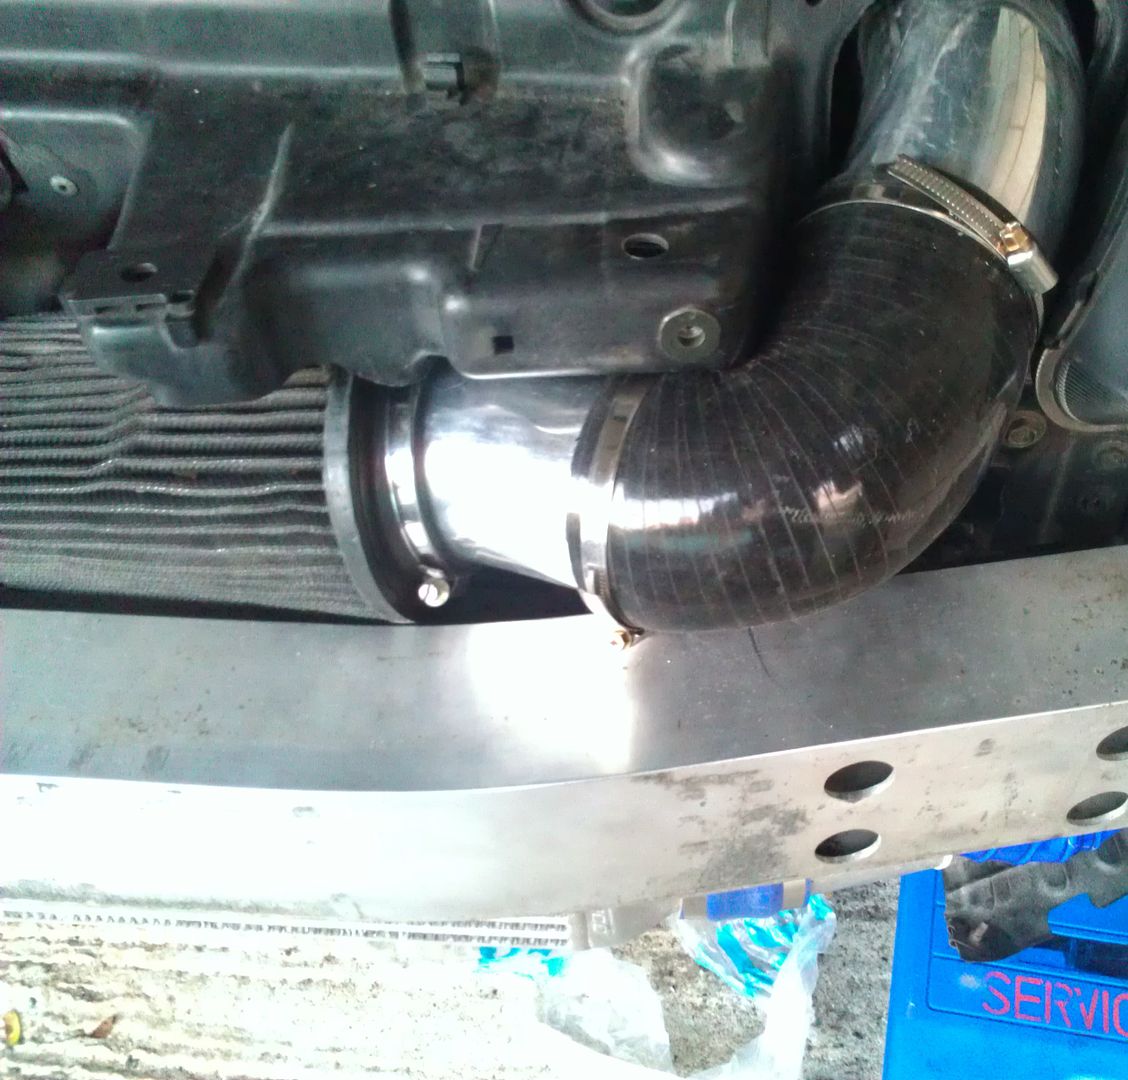
Then much more dremeling to get the last pipe in place and the air filter to fit properly but a snug fit
Finally in place and ready to be tightened in position
-
haha I was just about to PM you Chris as I remembered you still had stock, welcome to the one piece charge pipe crew
-
Great progress, how many oil coolers do you have?
 Im struggling sorting my one out
 -
1
-
-
taking shape nicely already
-
Similar to what Veilside had seen and this one didnt even have a flame kit I dont think
-
1
-
-
Good shout, and good price to, I remember people talking about drilling out swirl jets etc so I just gave mine to Bennett to do
-
New Wheels
in Wheels
Epic car and wheels
B)-
1
-
-
Thanks Buddy, I have one of those
on the final straight now -
Only just seen this! Thanks for the Birthday Love guys, spent most of it at work and went out and suffered heavily today
Got a few cool pressies this year
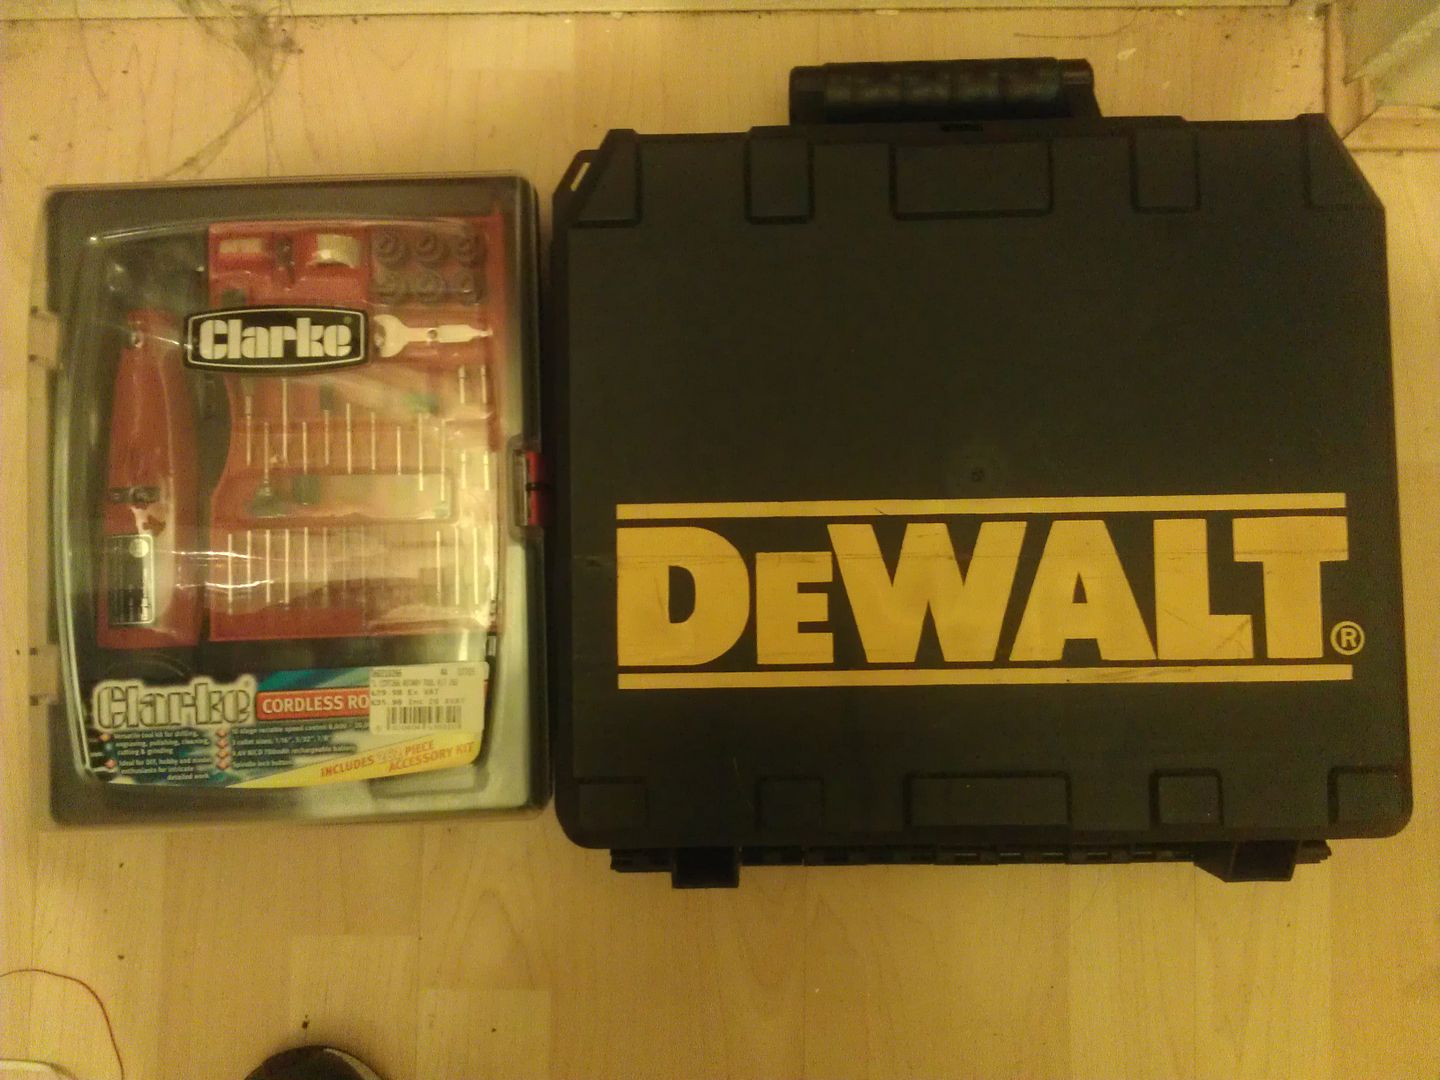
Most importantly being the cordless Dremel my misses and neighbour chipped in to get after witnessing me on Sunday trying to figure out how to get a 50 metre extension lead across the road and a bit to my garage to Dremel that stupid hole for the supercharger
I believe they came to the cordless conclusion after I waited for the neighbours across the road to go out and attempted to chuck the plug over there fence across the garden and over the fence on the other side it was never going to make it I just need to find out what Dremel bit Dunks used to do his out of the 250 piece kit I got
-
1
-
-
Awesome Dunks, I was there not long ago and brings back awesome memories, good to have another charged zed joining the clan, I bet you get it tuned before me im a nightmare
Also the rest of your zed looks great some well put together mods there
-
1
-
-
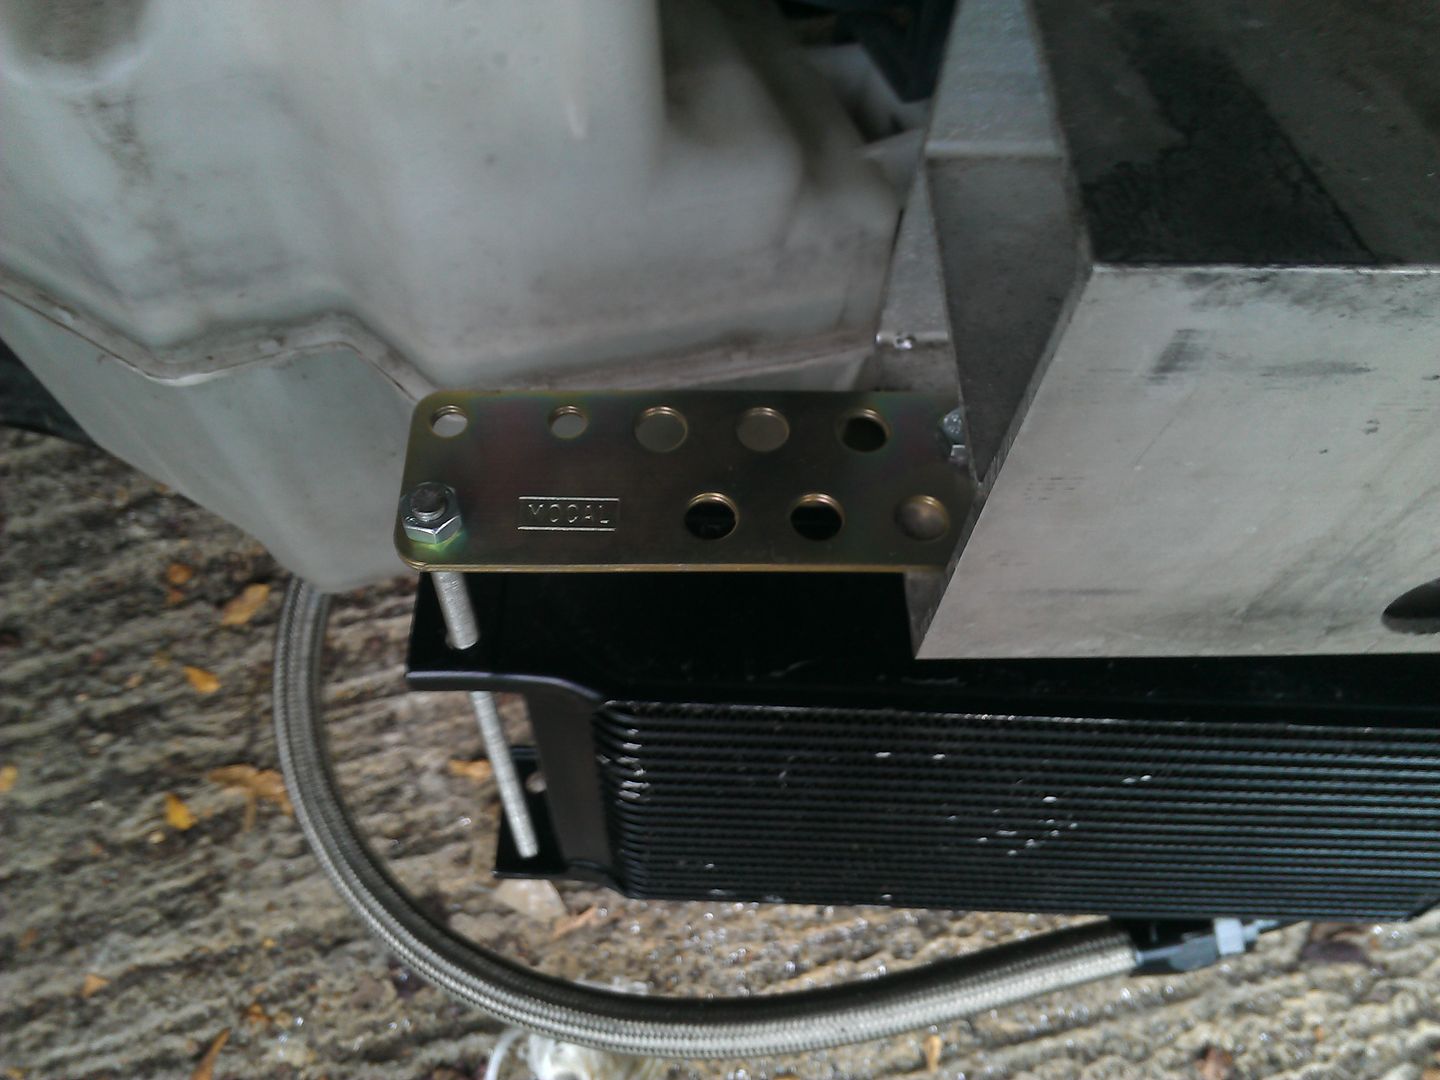
No worries will PM you Bennett, it was much easier with the bracket especially with the holes already drilled, I took a punt praying the holes matched the oil cooler mounts and they did, other wise that would be another part in the pile of 'send it back as it doesnt fit or wont work '
Im nearly there just got to dremel that stupid hole out for CAI which is doing my nut in, can you send me those pics?
-
Good idea, il take a look at some mesh now, want something flexble enough so I can mould round the hole if possible, ive got a sneaky idea for the other two holes now aswell

-
1
-
-
Thanks Stu, there is not a lot of room at all!
Well at the moment there is a couple of mm to spare but may shave off a bit more just to be on the safe side but the crash bar stops the bumper going back any further anyway. Will also shave off the area around where the lines connect, am going to fabricate some sort of blank off plates for the holes in case its a very cold day and I need to drive the zed.
Still haven't sorted the number plate out either or where its going
-
Exhibit A from a couple of years back
http://www.350z-uk.com/topic/64713-look-what-a-firework-done/
Crappy fireworks
-
Headed out today while I had some time to measure up and fit oil cooler
rough mock up with some holes drilled already,

Took a while to get the Mocal mount in the right place and the holes marked out properly on the crash bar
Then routed and connected oil lines

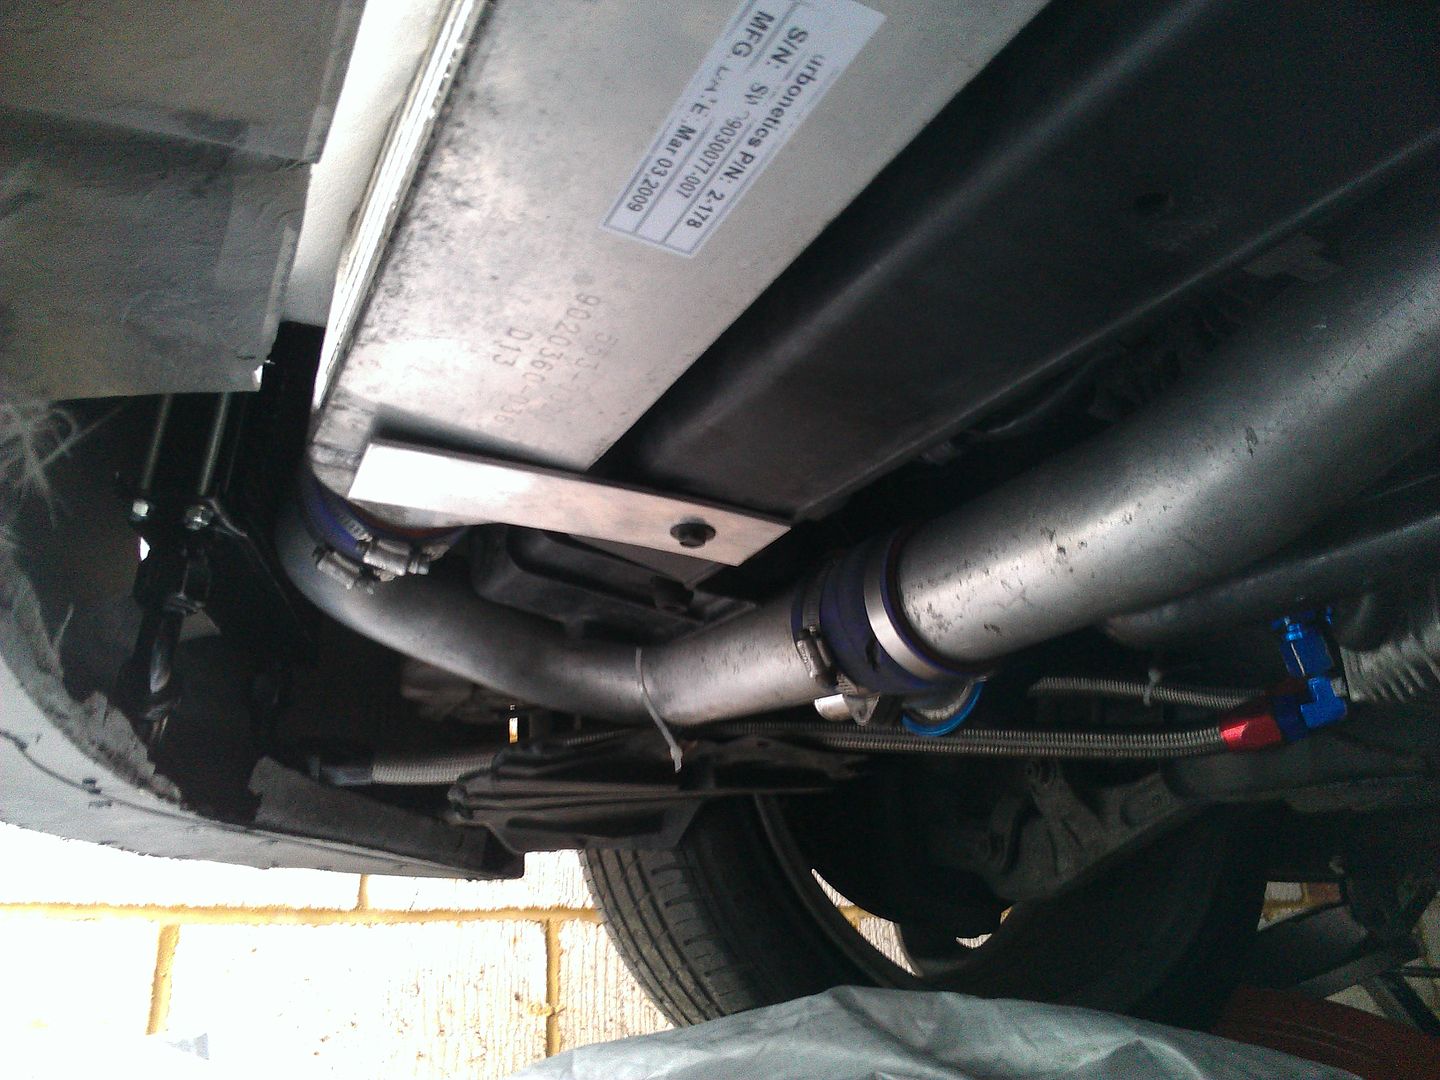
All bolted up, i still need to cut one more threaded bar and am short about 9 washers and nuts but at least thats the easy bit
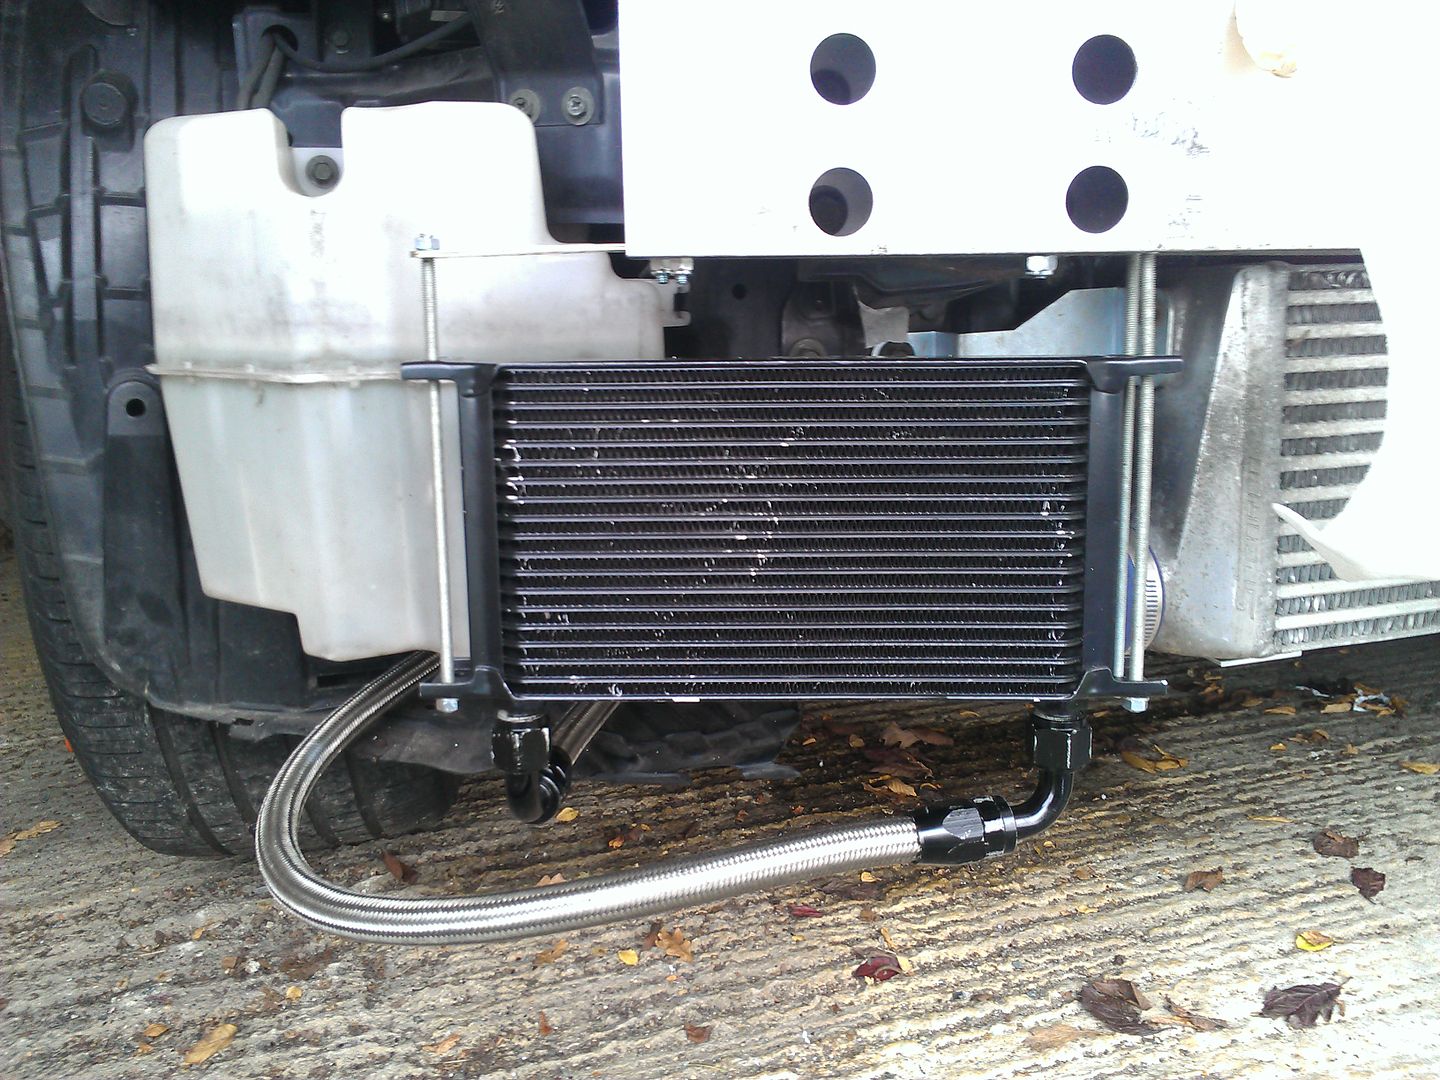
Bumper back on and lines fit nicely inside bumper and round
Setup back to sandwich plate
After all the faffing around....oil cooler bang in front of Veilside holes
-
I was tempted by this but the zed has a very long front and pretty sure I would just ground out before my front wheel was even near the ramp because of my front bumper, didnt want to wast the money trying to find out, you maybe ok with standard bumper but not sure
-
This is so true and just when you think you know it all something else will come up.likewise with Andybp if you can do a lot yourself its cuts the costs down dramatically, I know my final figure is a lot healthier from doing a lot myself or with help of others, do plenty of reading if you are going to go down this route, you really have to fully understand everything before hand to make an informed decision on which way you are going to go
Tell me about it, im nearly there though now then im touching nothing
Thats a decent price nissanman312 though being a 370 im not surprised by cost of kit
-
likewise with Andybp if you can do a lot yourself its cuts the costs down dramatically, I know my final figure is a lot healthier from doing a lot myself or with help of others, do plenty of reading if you are going to go down this route, you really have to fully understand everything before hand to make an informed decision on which way you are going to go
-
1
-
-
I think its the cheap chinese knock offs that are the problem a few people have said dont buy any that dont have a UK 3 pin plug on it as standard.
Not sure about balance but would imagine its similar to snowboarding...
Though you could end up like below
-
4
-
-
looks awesome I always wanted a black zed like that
-
like a glove!!
ive made enough room so I can mount the oil cooler lower down and directly in front of the holes as at the moment it is sitting a bit higher
To help with the **** angled mountings I bought these mounts to help the situation
nearly ready for permanent mounting


Jumping350 Build - Reborn 17/4/2018
in Member Build Projects
Posted · Edited by jumping350
Trial fitted bumper back on and made sure everything cleared
Induction pipe hooked up
Just need to sort the mesh out and clean it