PlanGT
-
Posts
24 -
Joined
-
Last visited
Recent Profile Visitors
1,709 profile views


PlanGT's Achievements
Z Hopeful (2/7)
33
Reputation
-
Hi all, I've previously added Molyslip when doing a gearbox oil service, as was recommended on many older threads. It seems the product got discontinued in 2024 and is no longer for sale apart from a few sellers on eBay that still have old stock. What's the go-to alternative these days? Any particular recommendations for Zed boxes? Thanks
- 1 reply
-
- 1
-

-
Hi all, The rear brake dust shields on my Zed have seen much better days, which I imagine is common for these cars. A couple of questions if anyone could offer advice: -Are these covers required for anything to function or can they just be removed like I've done with other cars? -If they are required, does anyone know of a cheap option to replace these? I've seen the price for new OEM ones 😬 I've had a search but it mostly seems to be people discussing whether they impede brake cooling for track use. Thanks in advance!
-
Looks like a bit of a rats nest of wiring. Nice work on being able to get the steering wheel controls back working! 😎
-
Welcome, love a blue zed 👌
-
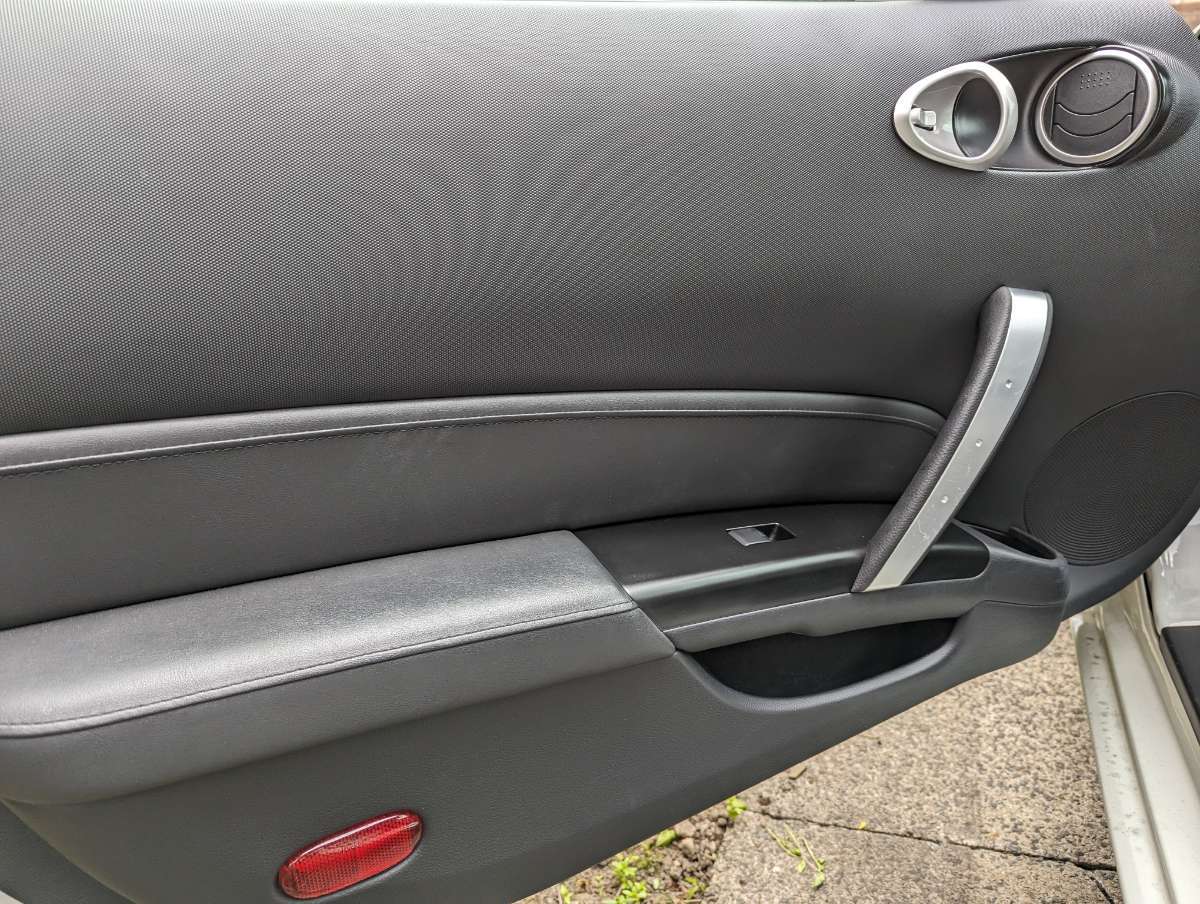
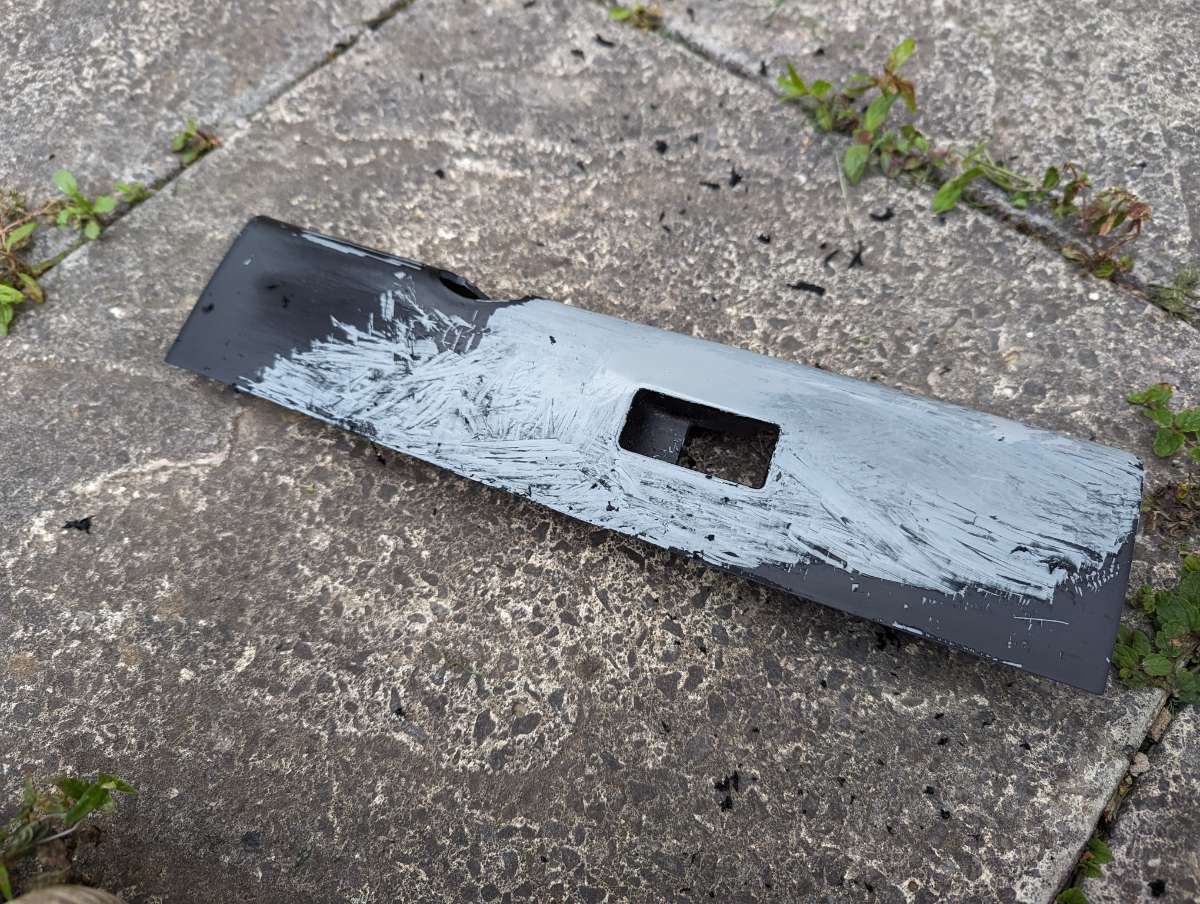
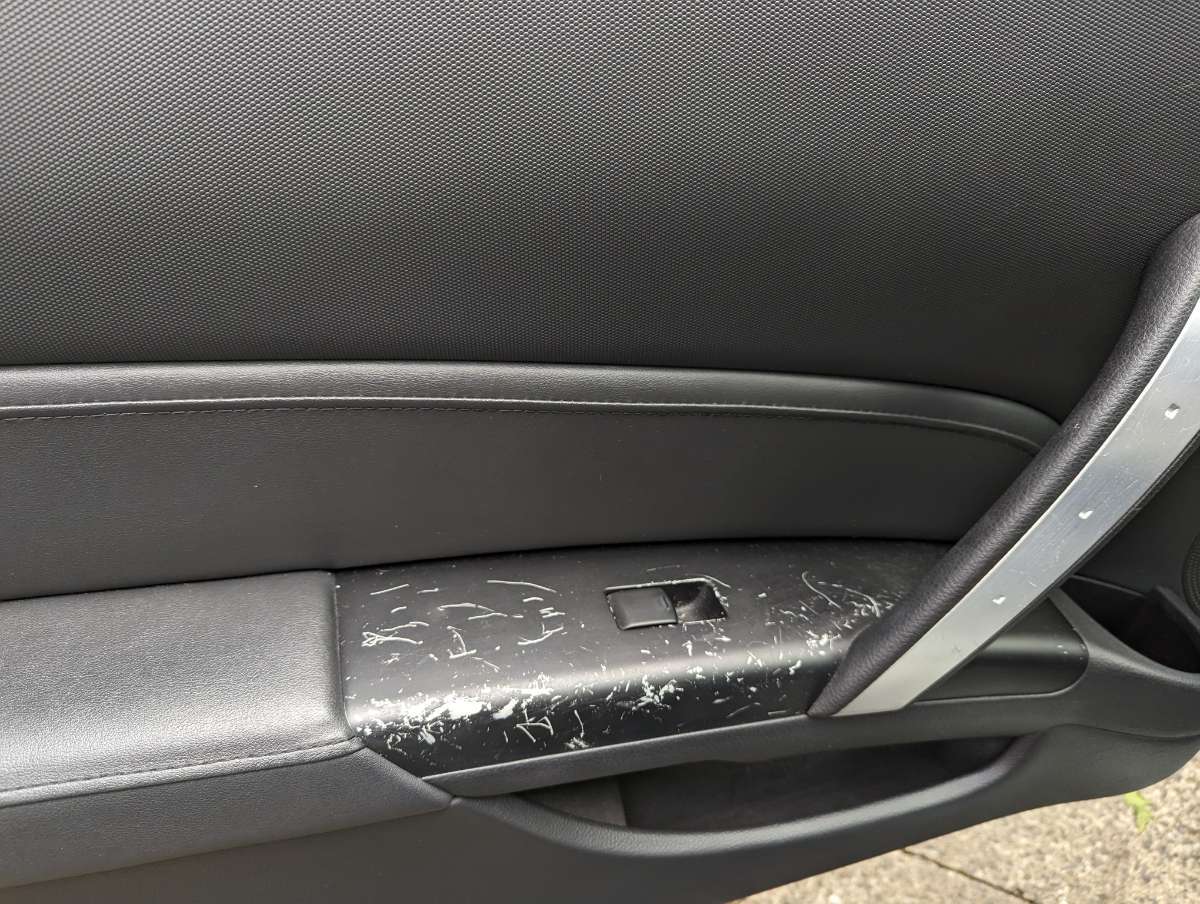
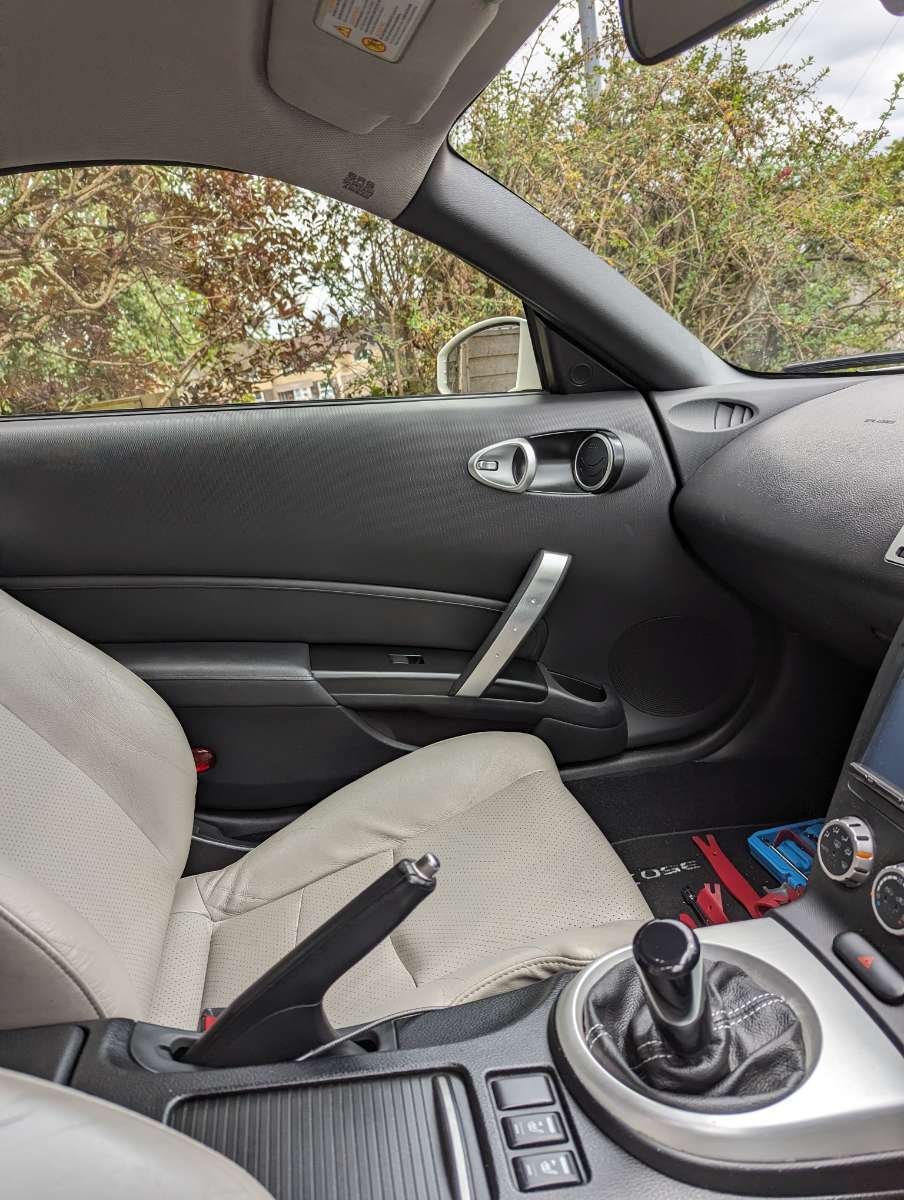
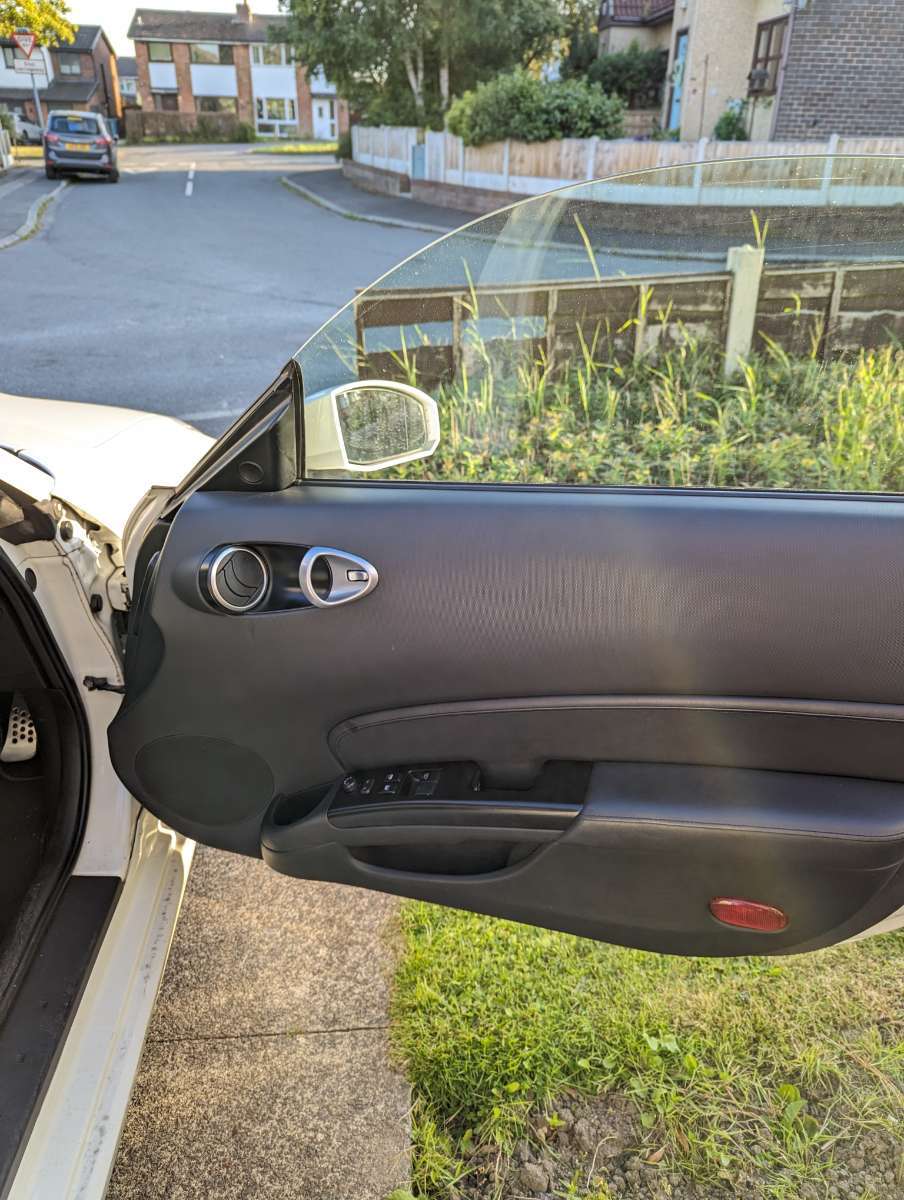
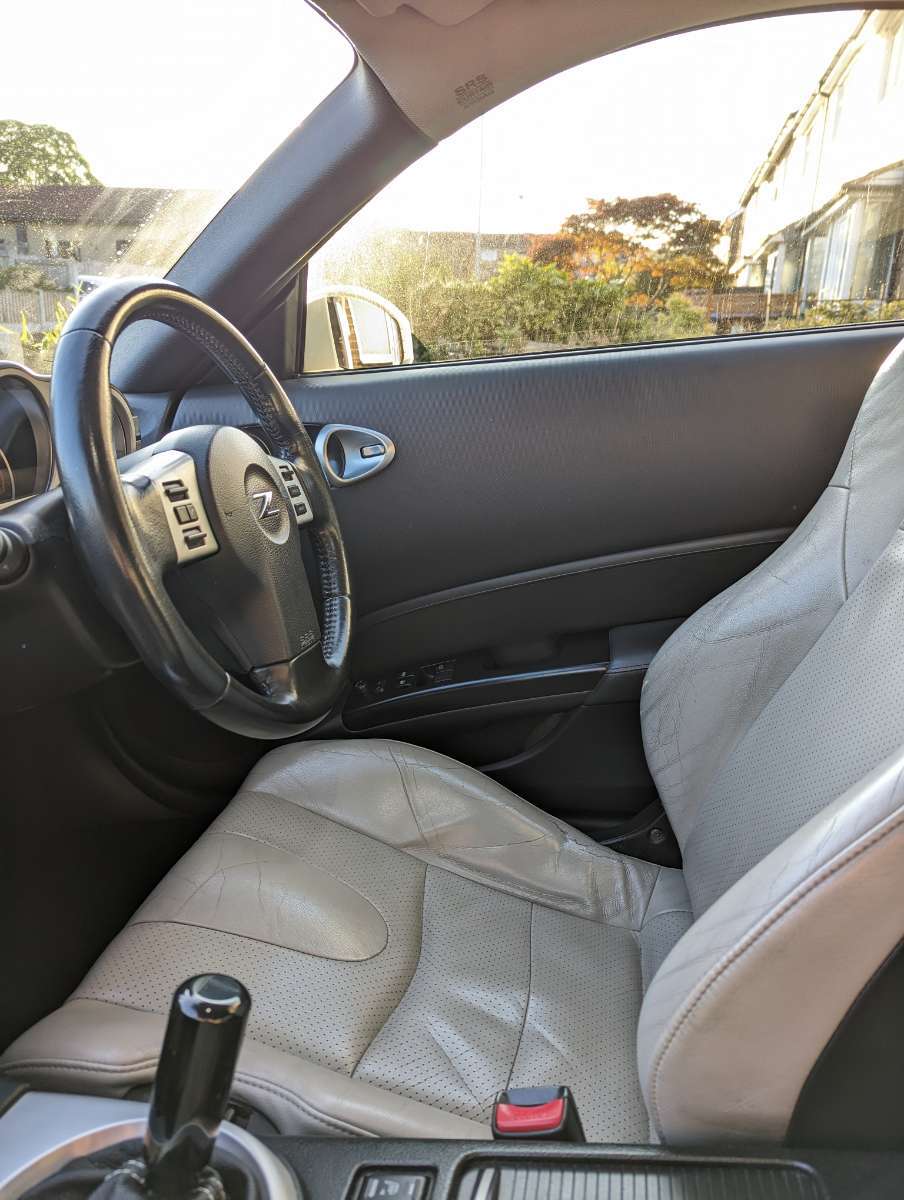
So today's job was to give the interior door handles and vent surrounds a lick of satin black paint as they were looking very scratched up. A couple of hours of a job, right? I'm not sure if this is the factory Nissan stuff or someone has used a plastidip type product in the past but it was absolutely awful to try and remove. I tried some light solvents, sanding (which just immediately clogged the paper) then ended up using a plastic razor blade to scrape it. It was like trying to remove wax crayon! The driver's side handle was inconsistent and sections were absolutely rock solid, hampering things further. I'm sure a more experienced Zed owner will know the secret sauce to getting this stuff off 👀 In my inexperience, I thought the white colour was down to bare plastic - it turned out to be a primer which only on the drivers side, reacted with the adhesion promoter or primer I had used. So, back to square one but this time scraping wrinkled primer off. I got there in the end and whilst it's a massive improvement on how it looked previously, I'll probably be redoing this to get a neater finish. Before: Paint (crayon?) removal: Completed passenger side: Completed driver's side:

-
I have to admit I'm normally not a fan of these clear tail lights but I totally agree with you. They break up the red nicely and add definition. Definitely run them in my opinion. I always struggle to decide whether a change looks right when you're used to how it was. Fit the other clear, run them for a couple of weeks then look back at a picture of the red (realising you made the right choice ).
-
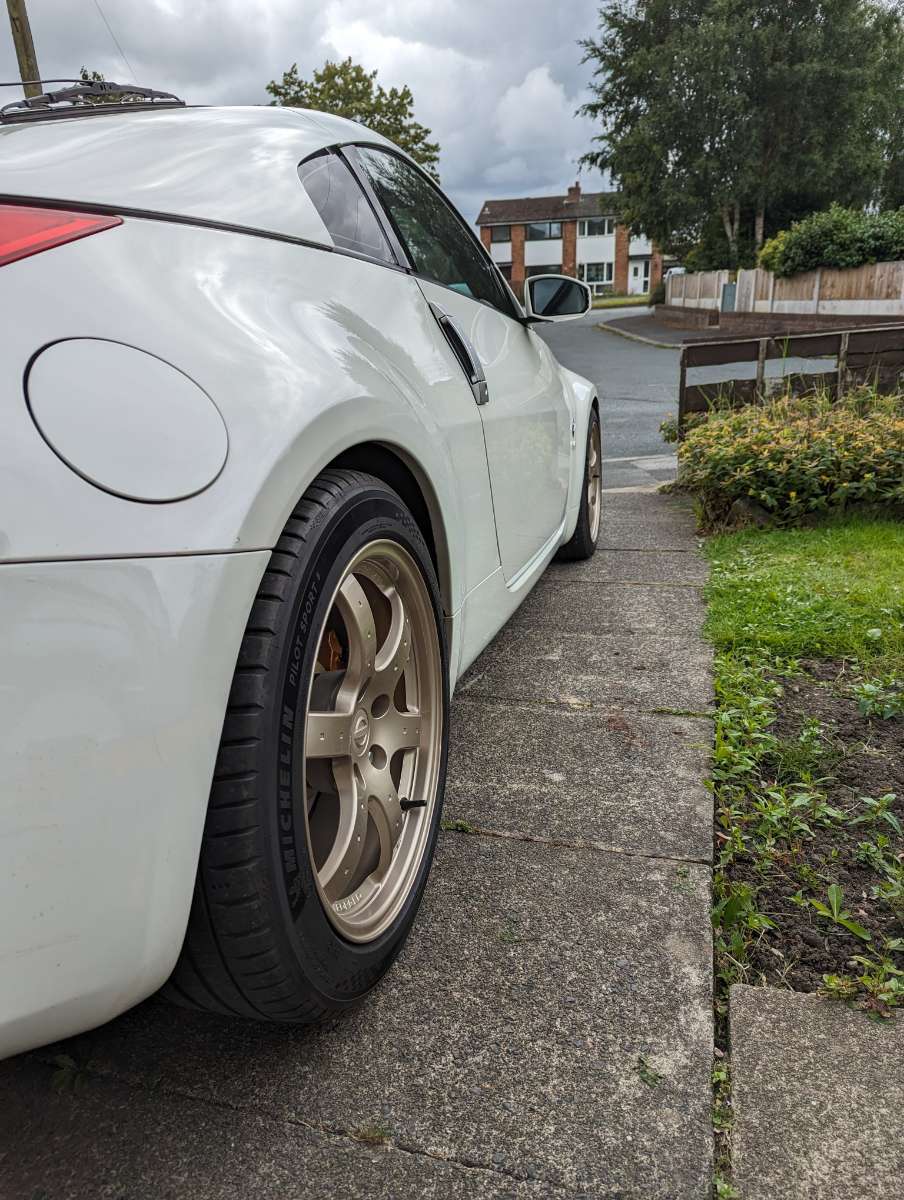
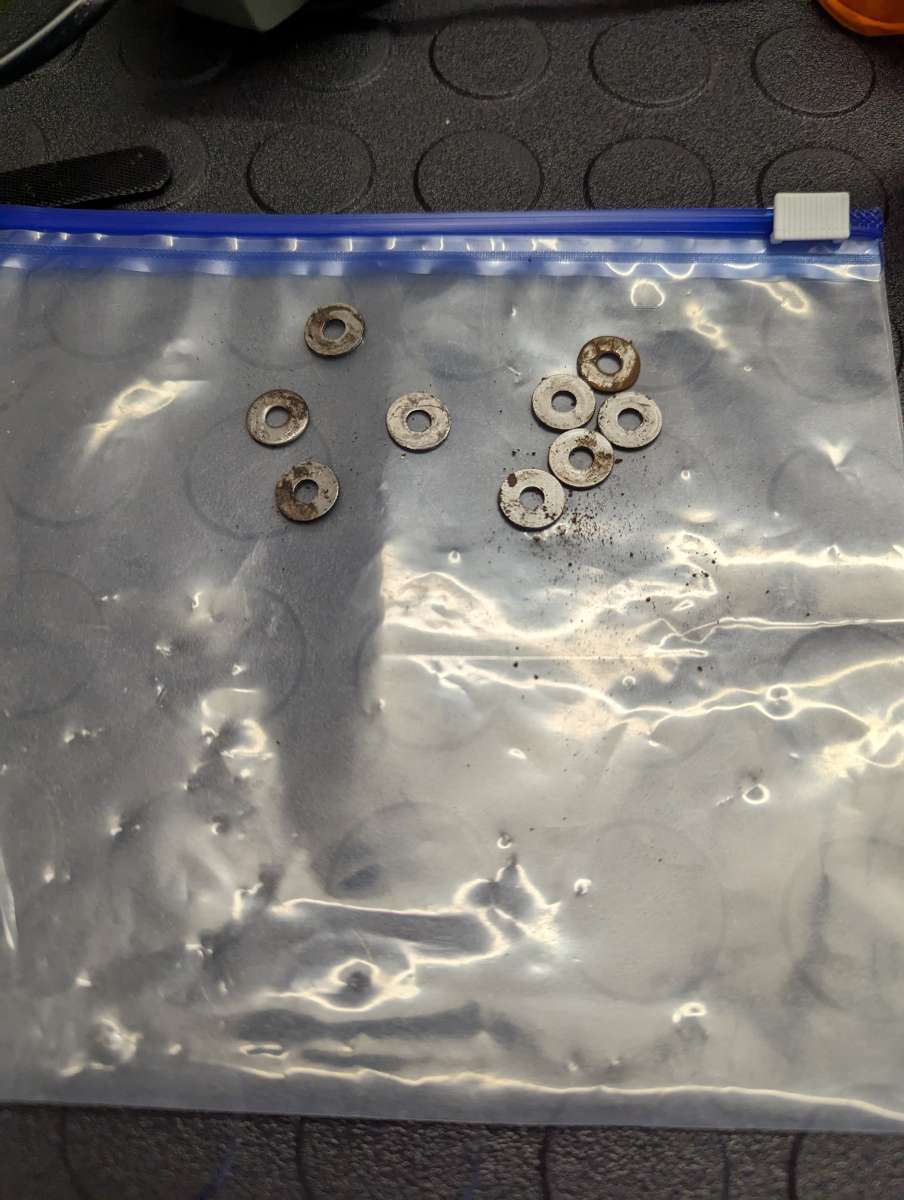
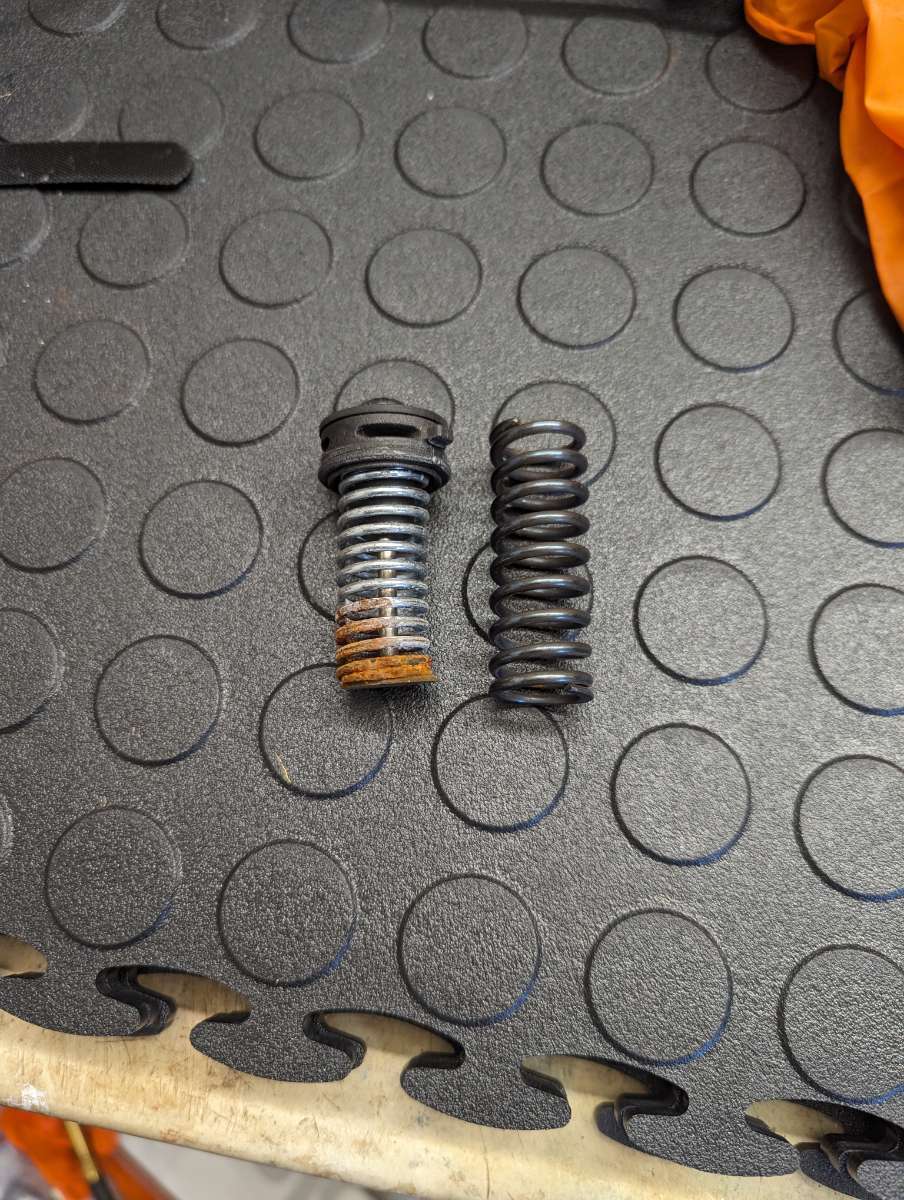
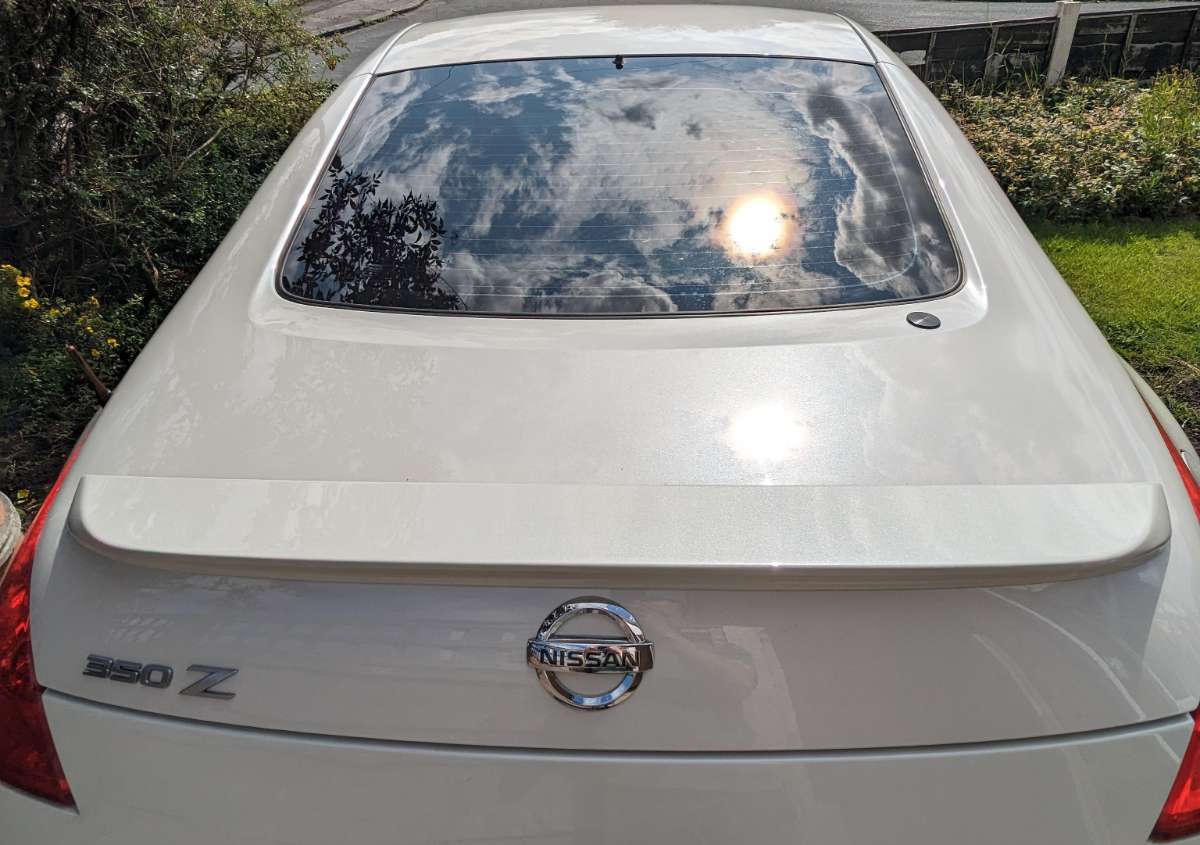
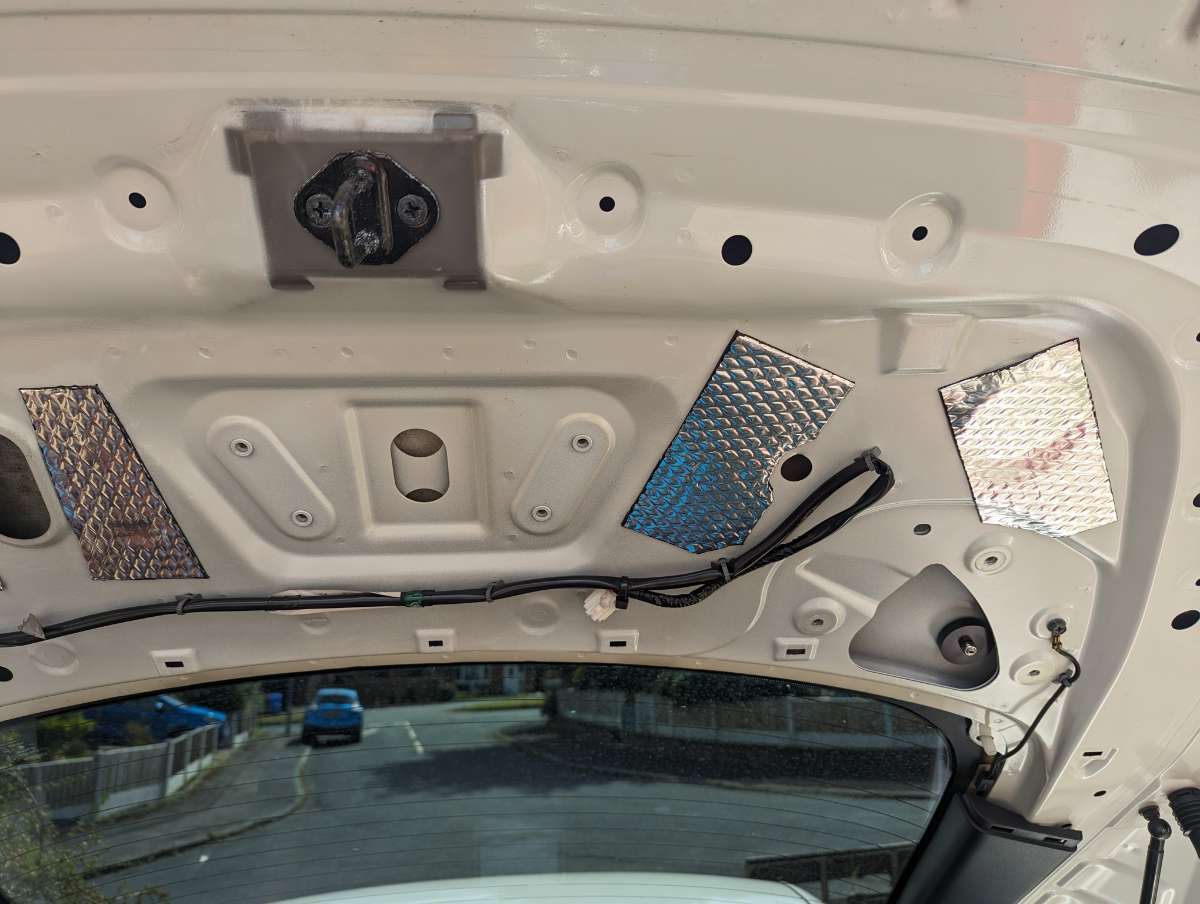
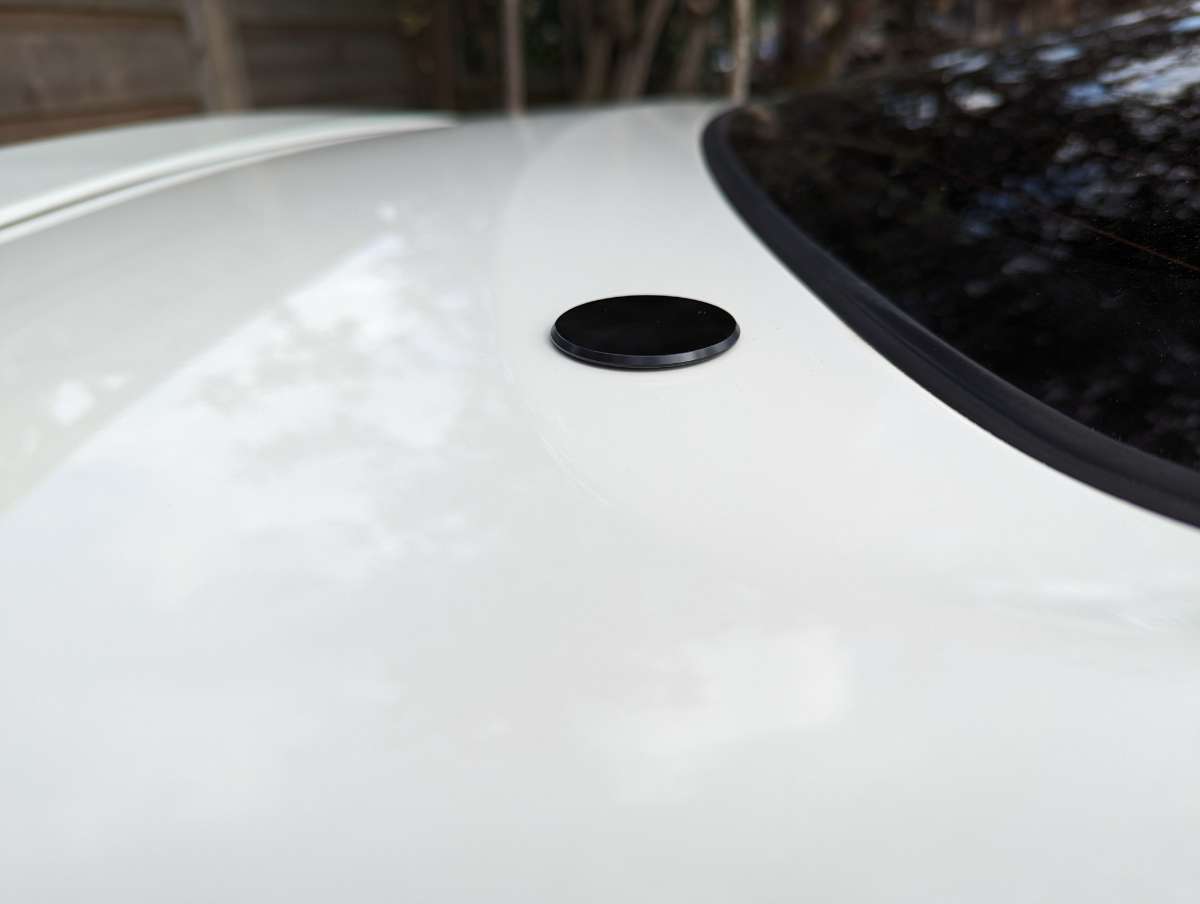
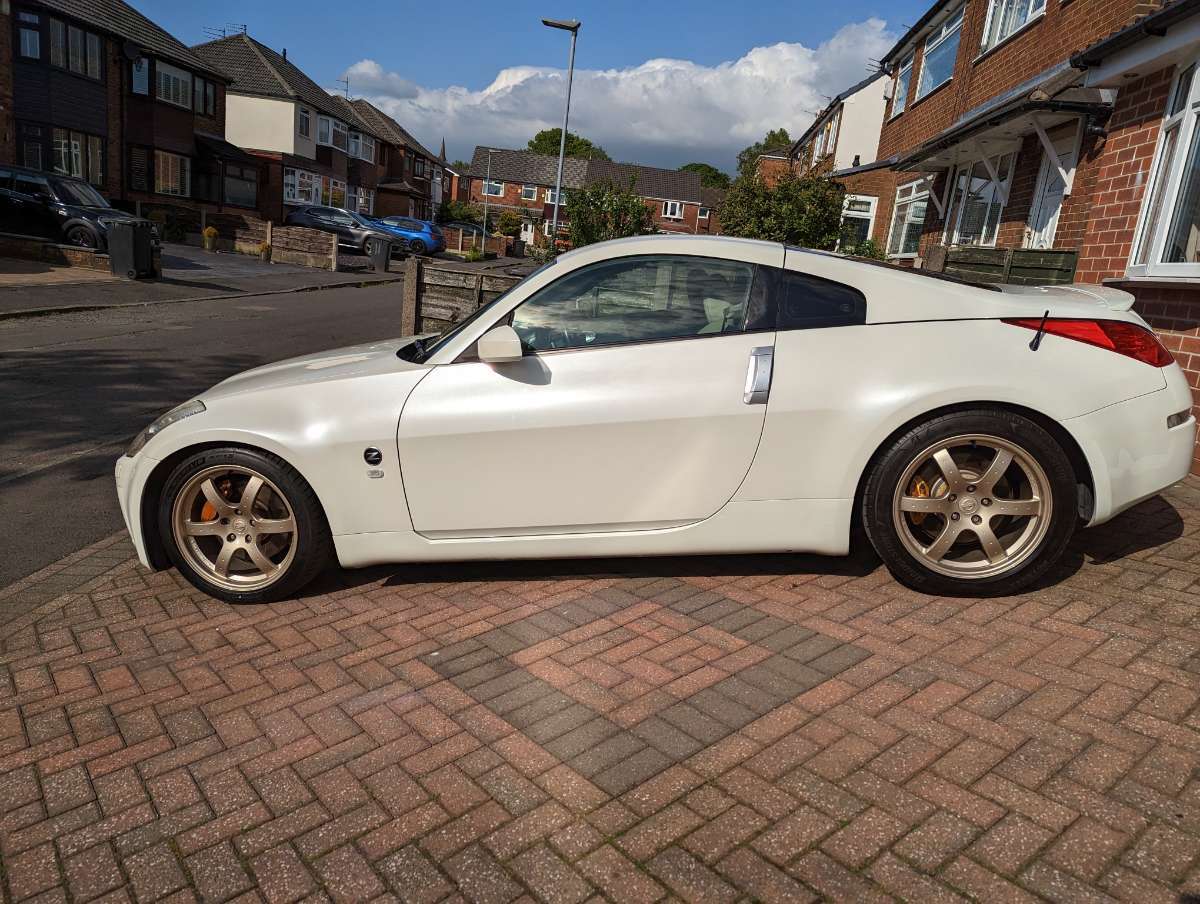
So... it's been a little while due to life forcing the Nissan to take a back seat. However yesterday saw a few bits done that I've been meaning to get around to for a while! First up, wheel spacers. After 2 and a half years of "encouragement" by @Stutopia and a number of other ex-Zed owners, I've finally gotten around to it 😅 I went with the tried and tested 25mm rear/ 20mm front for the standard RAYS. I'm very please with the resulting stance Next up, some heavy duty boot springs off eBay since the boot was failing to pop open. It would seem a previous owner had already put washers in in attempt to give them some more life... This was a bit of a faf of a job, since the circlips holding the spring in place were tiny. I got there in the end though so now the boot has a nice pop and much easier to open. The final job was a wiper delete kit which I've finally got around to fitting. I bought it off eBay a couple of years ago and I have to say I'm really impressed by the fit and finish of it. Ideally I'd have it colour coded but that's a job for another day! Kit + Before. After. Much cleaner look imo 😁 Of course, you have to get out an for evening drive to test your wiper delete is working as expected, right?


-
1. Stutopia x2 2. andy James x1 3. Willsy x1 4. HEADPHONES x1 5. Rodgeevans x1 6. KevT x1 7. Harrison140 x1 8. Loadmaster x1 9. Matay20 10. Woodzman x1 11. PlanGT x1
-
 PlanGT changed their profile photo
 -
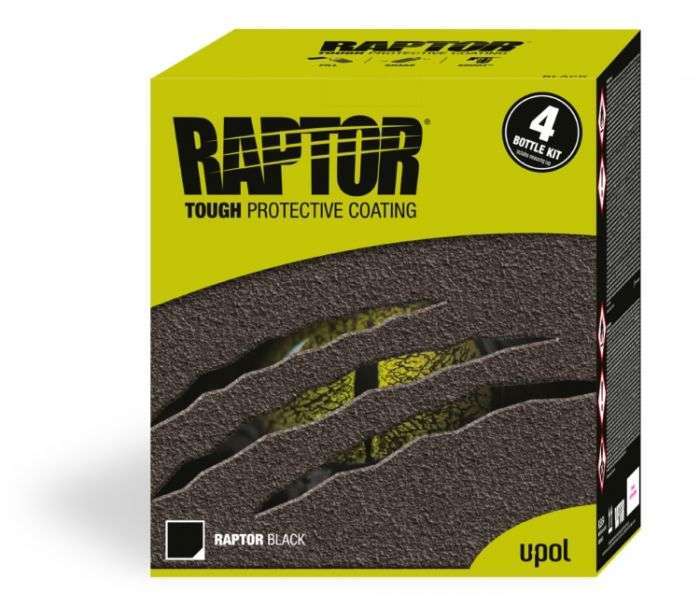
Only just caught this notification, sorry. I used Upol's Raptor product to give the arches some extra protection. I managed to get it on a deal at Halfords which was the cheapest I could find at the time. I'm by no means an expert, I did this with the help of a friend 😁 There's two options: -I think it's called Raptor XT, which is a 2 pack product where you need to mix in hardener. It's touch dry almost instantly and has good coverage. You have two application options - either use a roller or a spray gun (attached to an air compressor). I used the spray gun but if you do this you'll definitely want to cover all your paintwork. One you've mixed in the hardener you are time limited as you'd expect from that sort of product. -The second option is aerosols. I used these to spray on some areas that got mistakenly missed during the main application and for touch ups if needed. It's quick and easy to use as you'd expect from an aerosol. It seems like Halfords may have since stopped stocking this as I can't seem to find it on their website. Out of the two I'd definitely suggest using the 2 pack "XT" product. It seems way more durable over the aerosol which I have seen chip off where it doesn't quick bond properly. Just be aware that the official try time on the product is measured in days and I'm fairly sure it recommends a week before "heavy use". I also filled the frame rails with Bilt Hamber Dynax-S50. Ideally you're supposed to put a primer on before the raptor, but I think you can get away without it if you're time limited. I bought 4 bottles which was way too much for what I wanted - a total of two bottles was used on all 4 arches. This is the second car I've got Raptor on, my Mini was done a couple of years ago and I'm very happy with how it's held up. I've only had the 350 done a couple of months so can't speak for longer term durability just yet.
-
Thanks and yes I believe the colour is paint 😁 The caps are a little bit off in person but I can live with that!
-
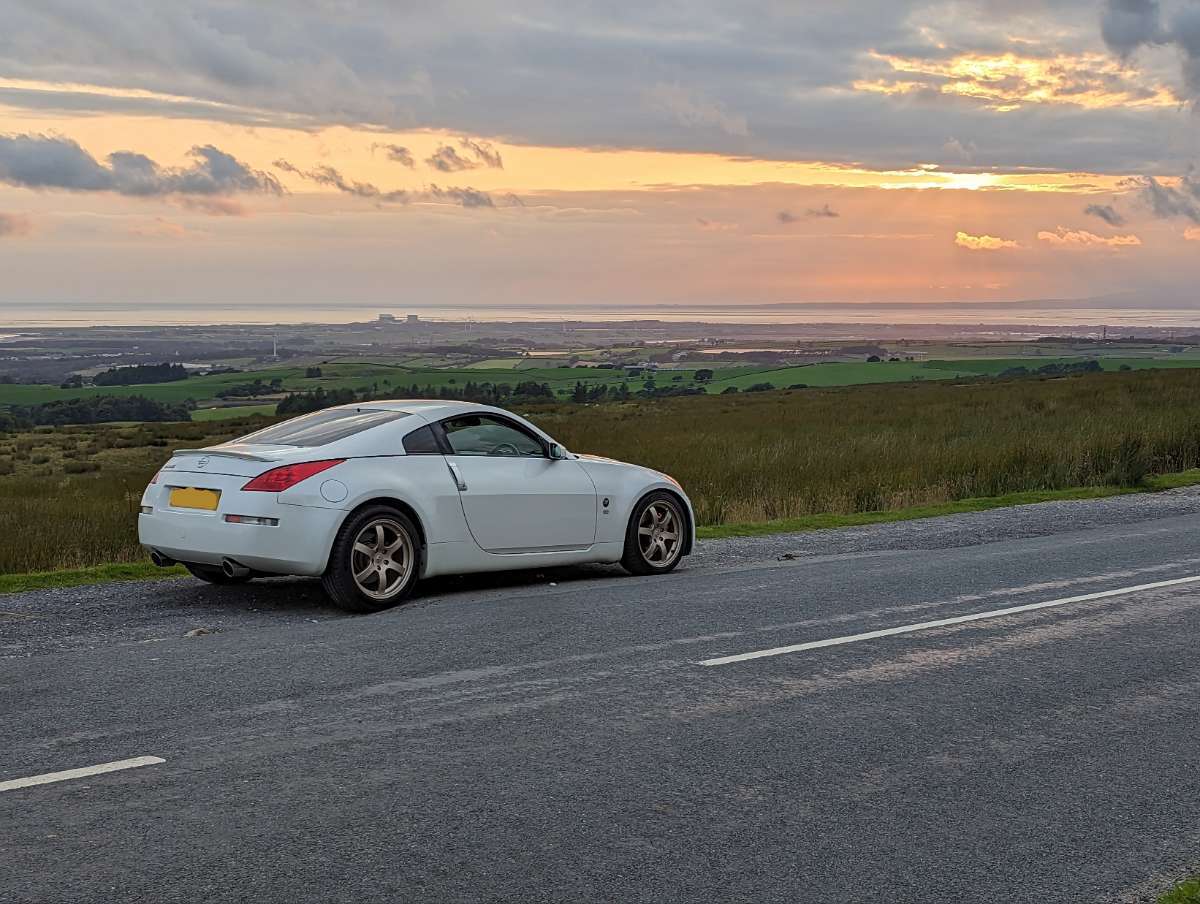
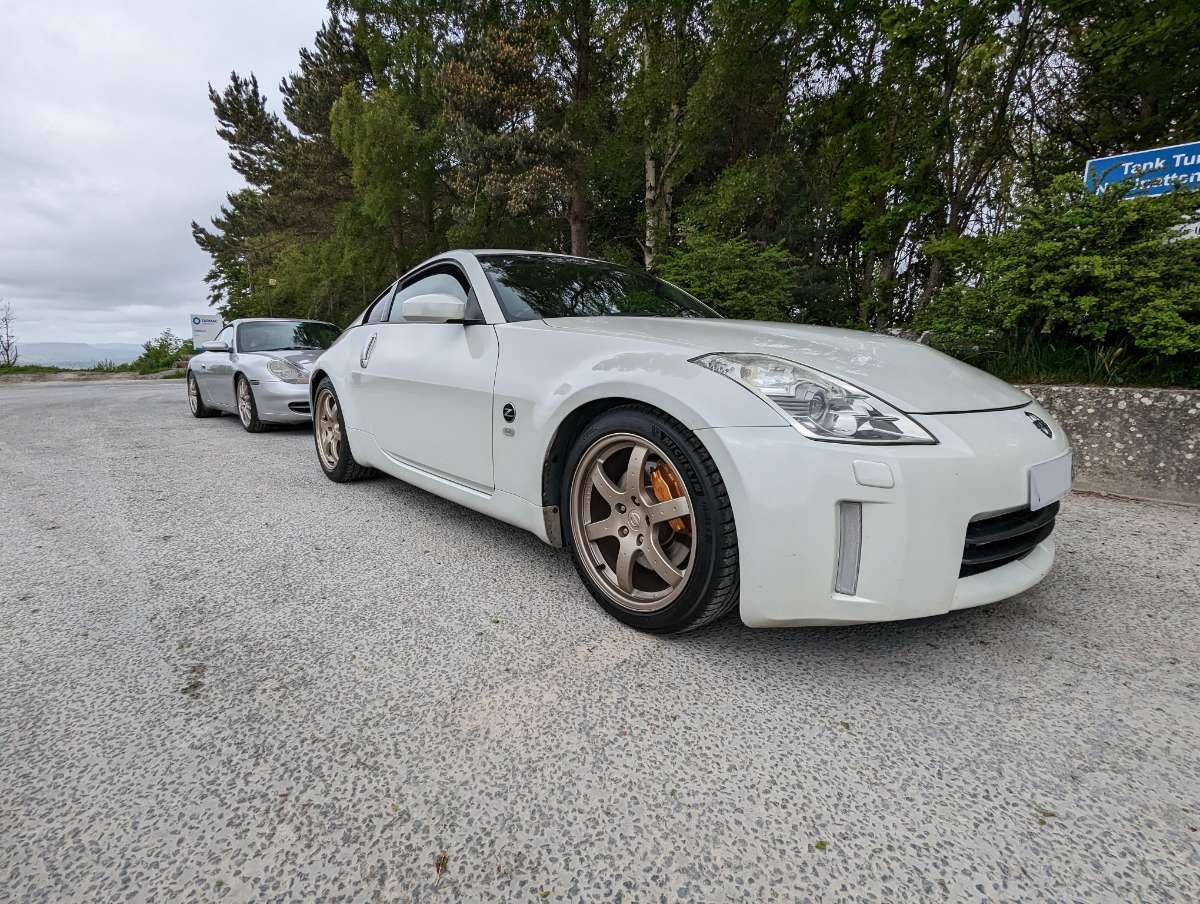
A few more bits done over the last couple of weeks. The black wheels are finally gone and I couldn't be happier with my colour choice 😁 Also added some clear JDM reflectors and a stubby aerial. Finally gave the whole car a 2 stage machine polish and wax which has really made the pearl white shine! A couple of pictures below from before and during a good drive out around Yorkshire Dales/ North Pennines over the weekend.
-
Excellent day all round! I'm definitely all about garage life now I've had a taste 🤣
-
After some further investigation I believe this was the wire I ended up splicing in to for ignition power. But this is again the InCarTec harness so maybe slightly different to what you have.
-
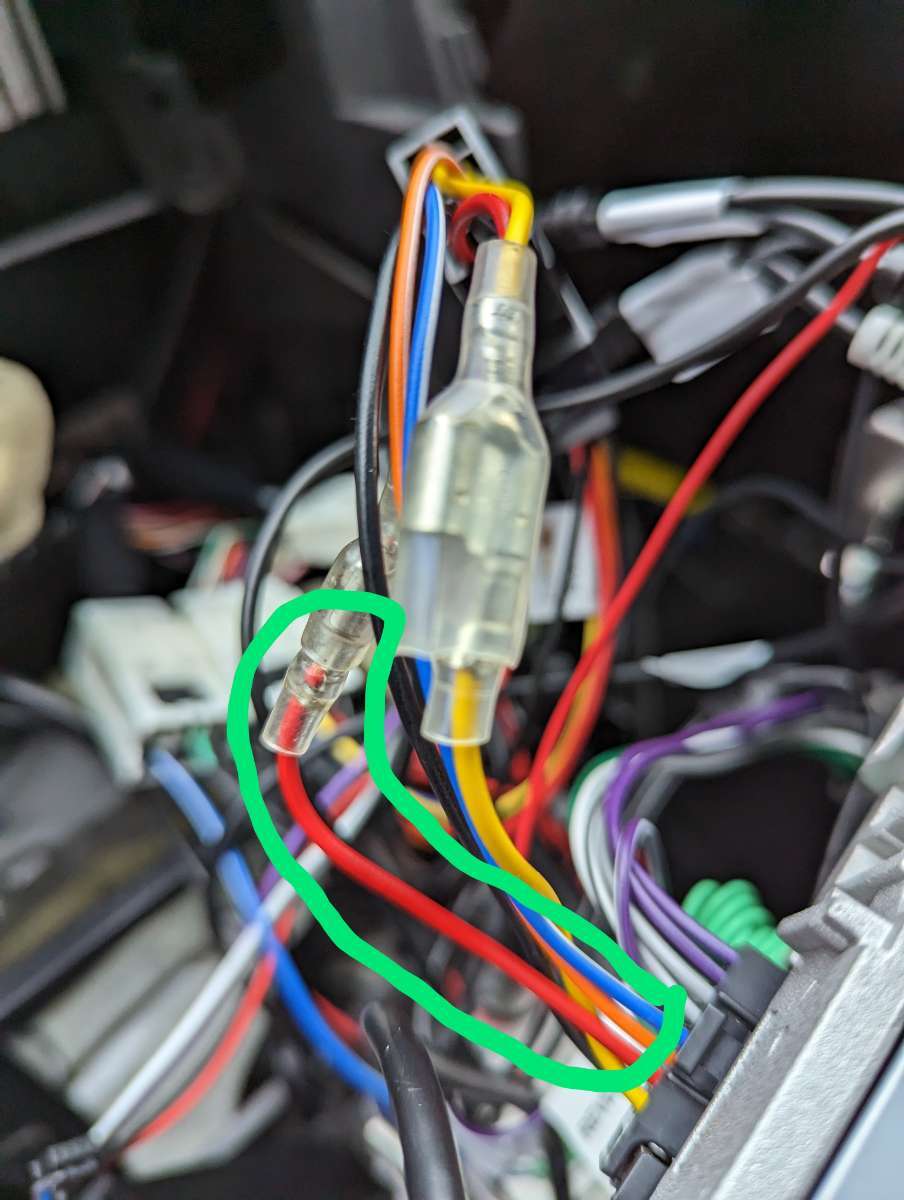
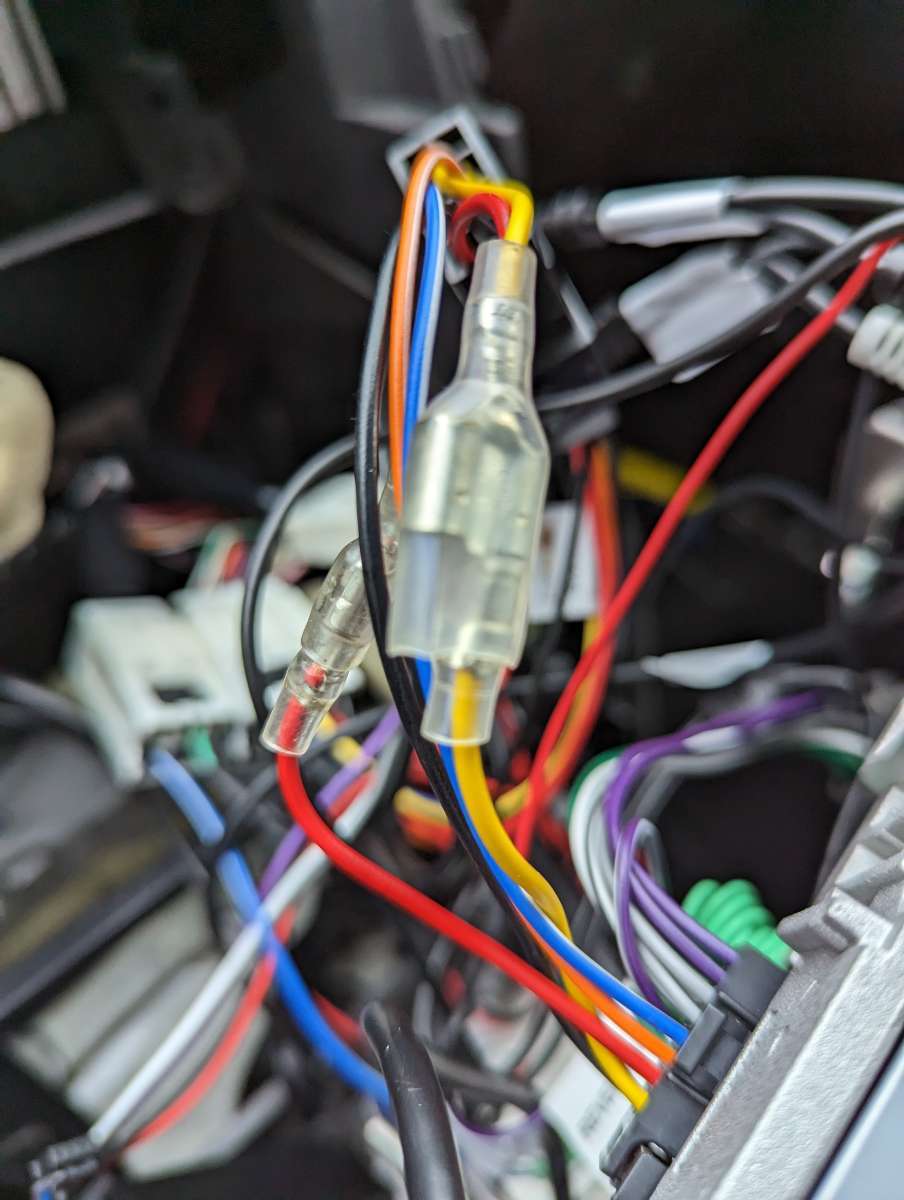
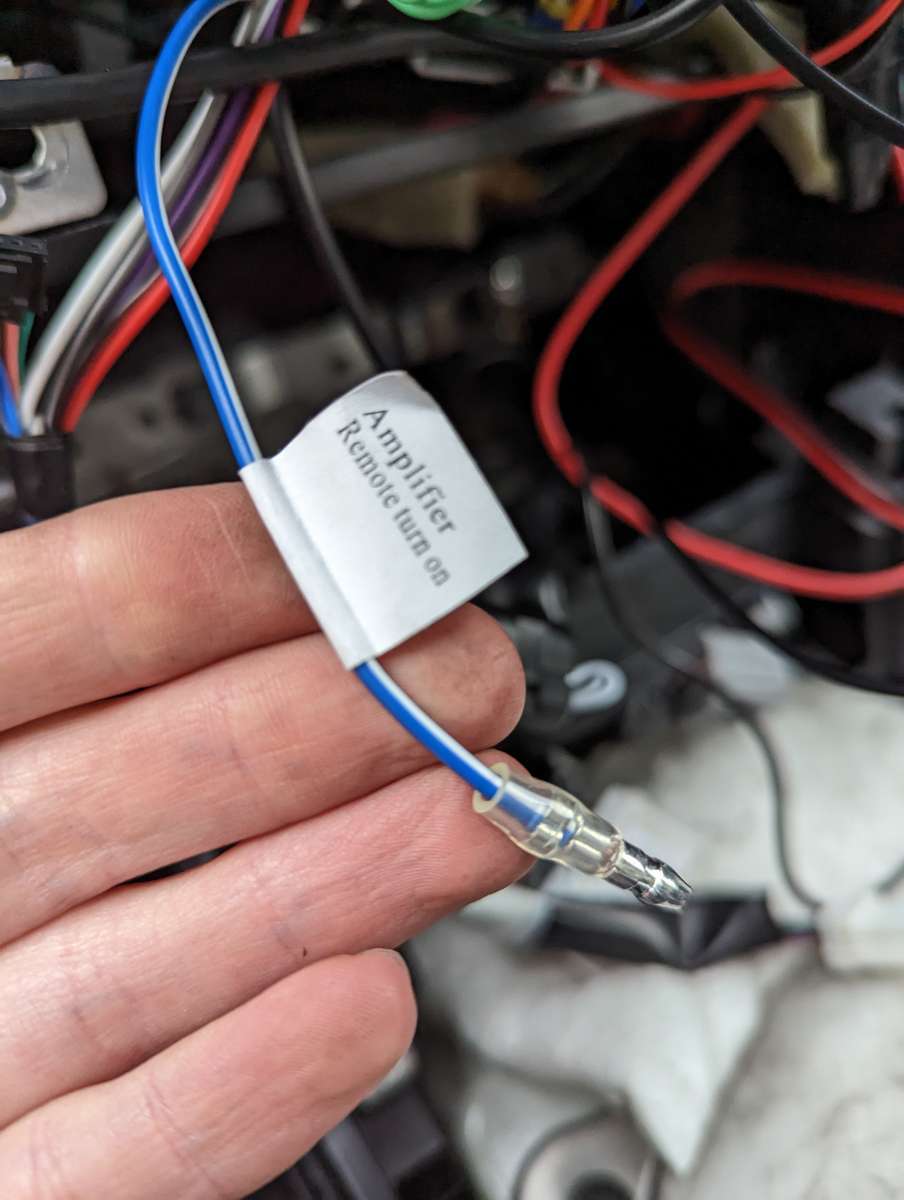
@Stutopia is correct, the first time we rigged everything we had no power to the Bose amp and no sound. On the InCarTec harness used, there was a blue and white cable labelled "Amplifier Remote turn on" with a bullet connector on the end. This needs to be connected to a power source that comes on with the ignition. Be careful as I recall there's an empty female bullet connector on a yellow cable which is live all the time - this will drain your battery if you use it (but would make things work...). Unfortunately I can't remember exactly which power wire we spliced into so a multimeter is your friend in this situation 😁 The cable that was not connect and the cause of no sound. This is the one that I believe was live all the time.
-
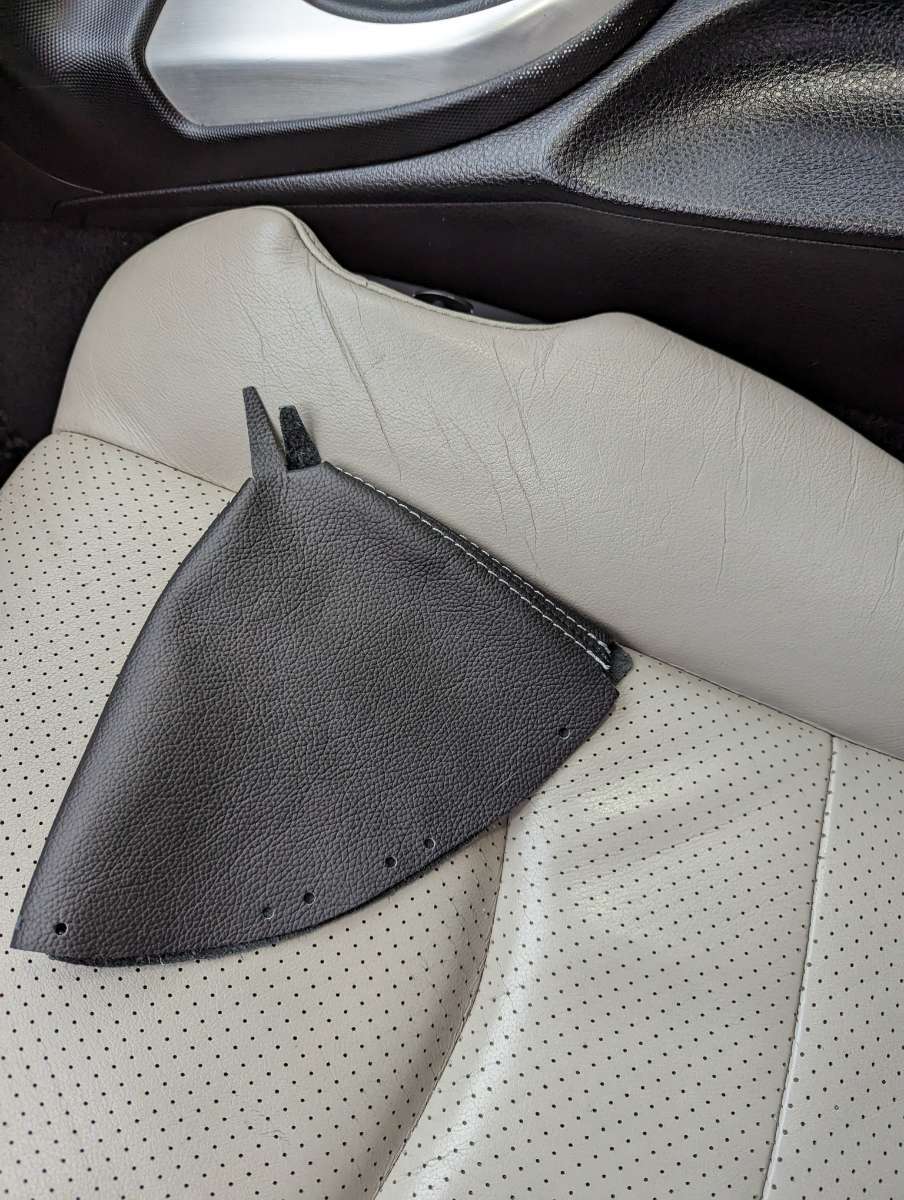
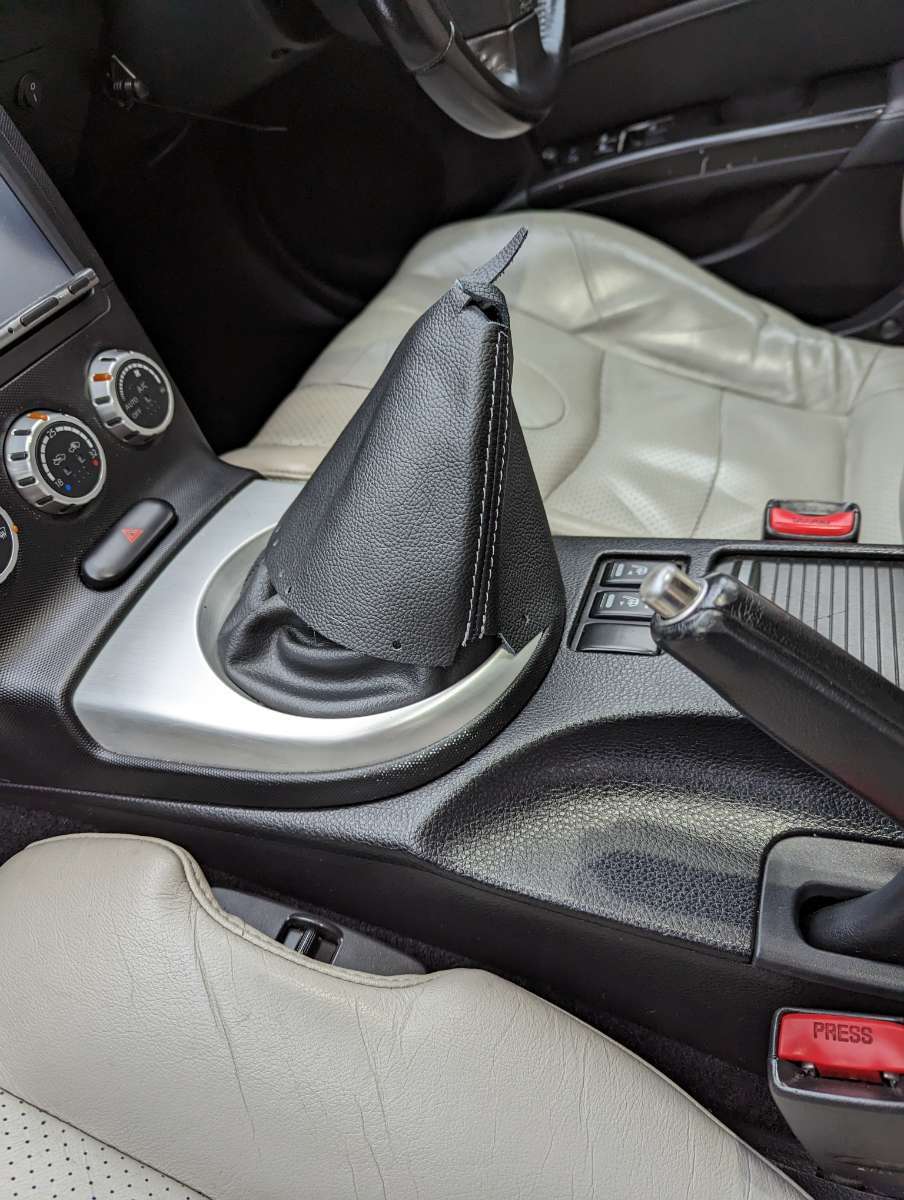
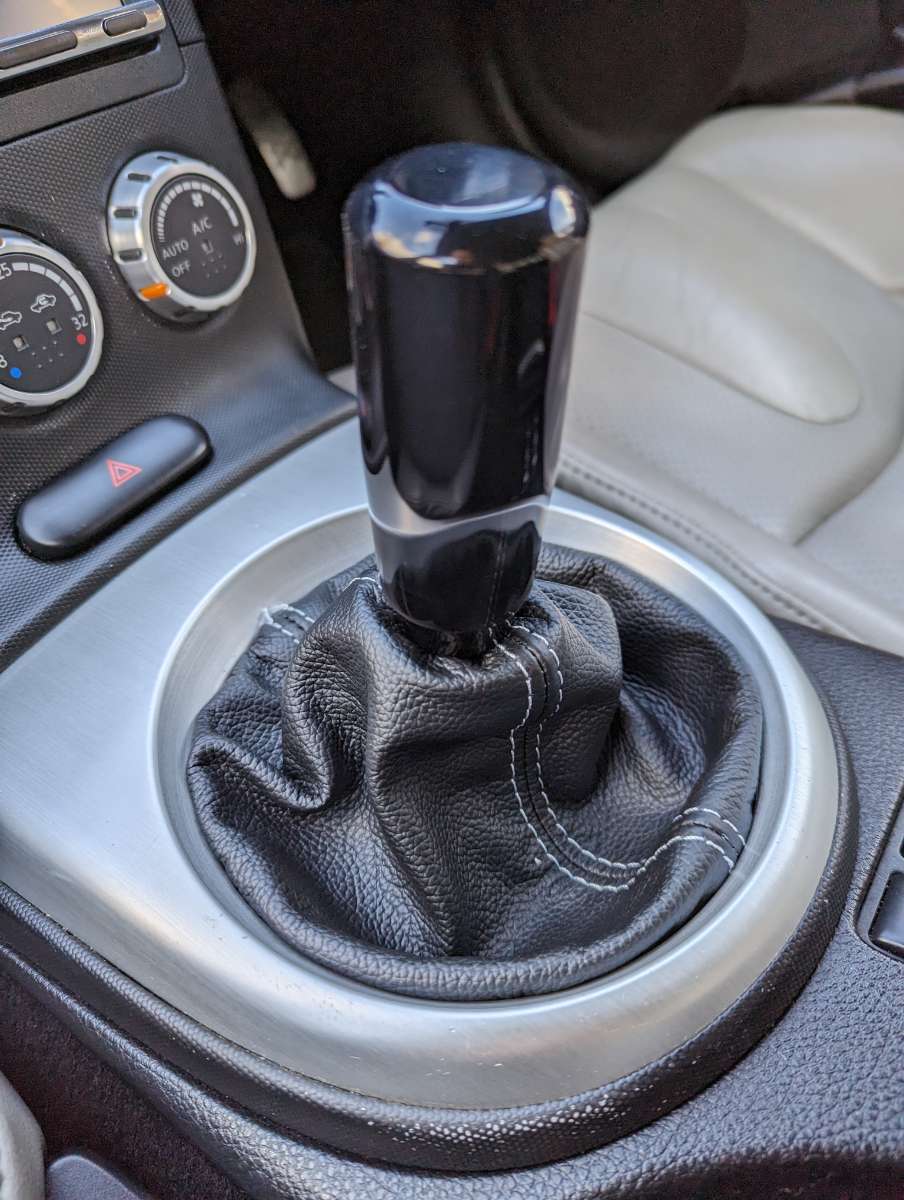
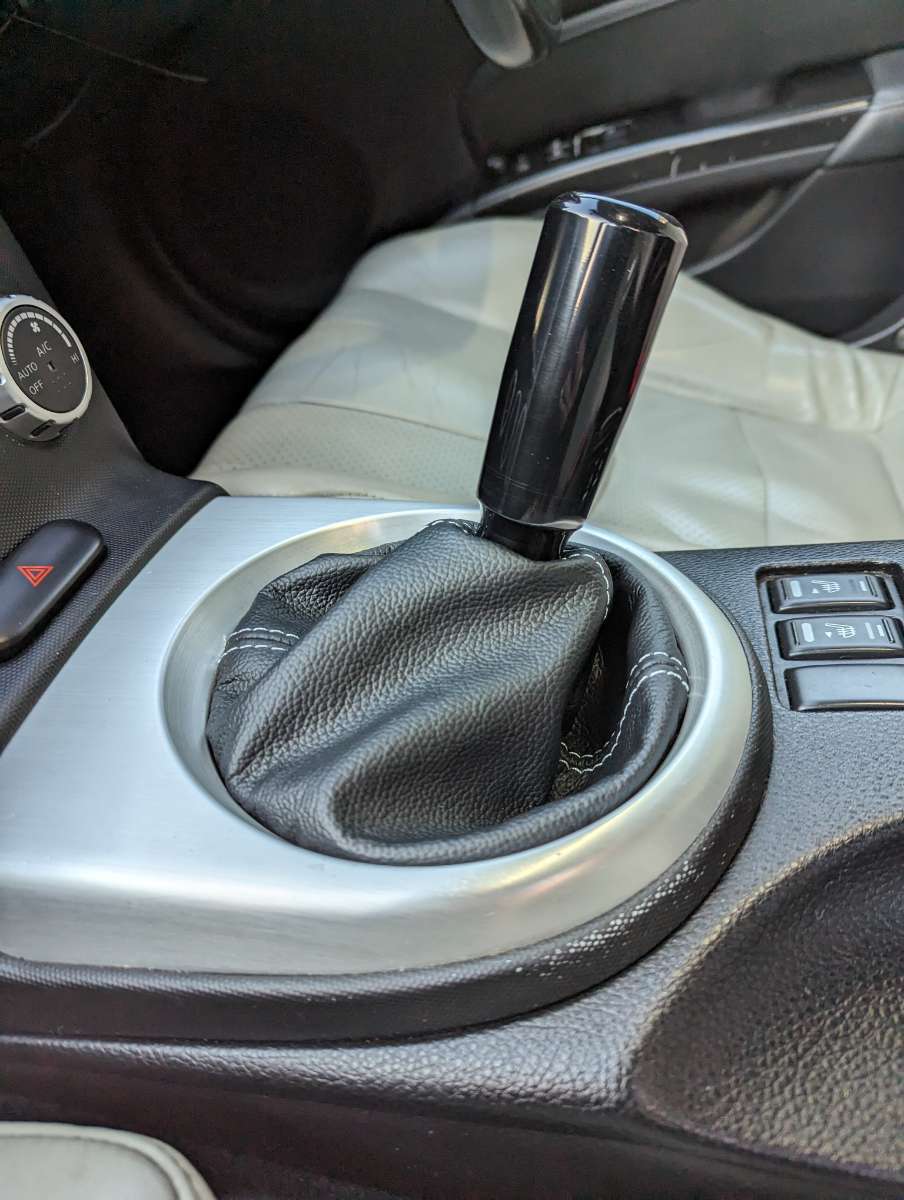
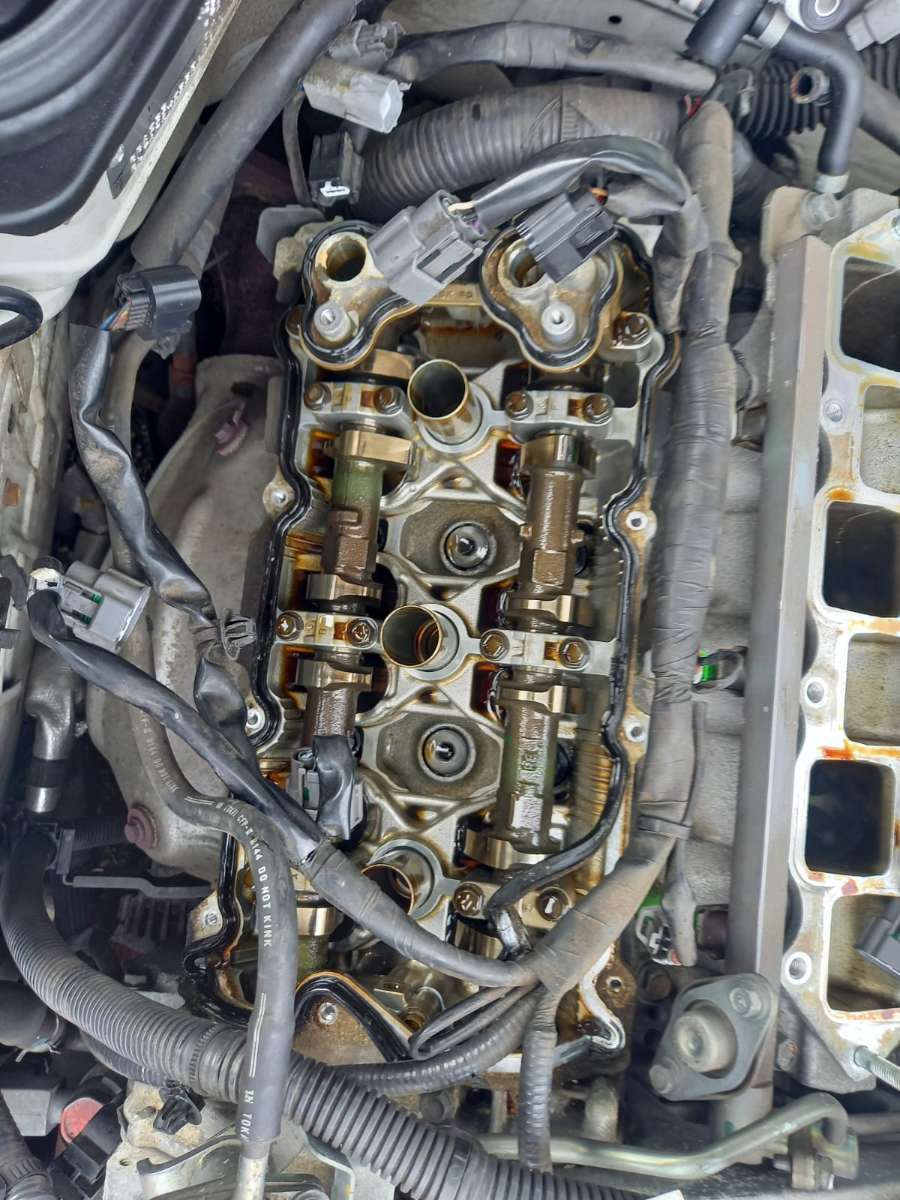
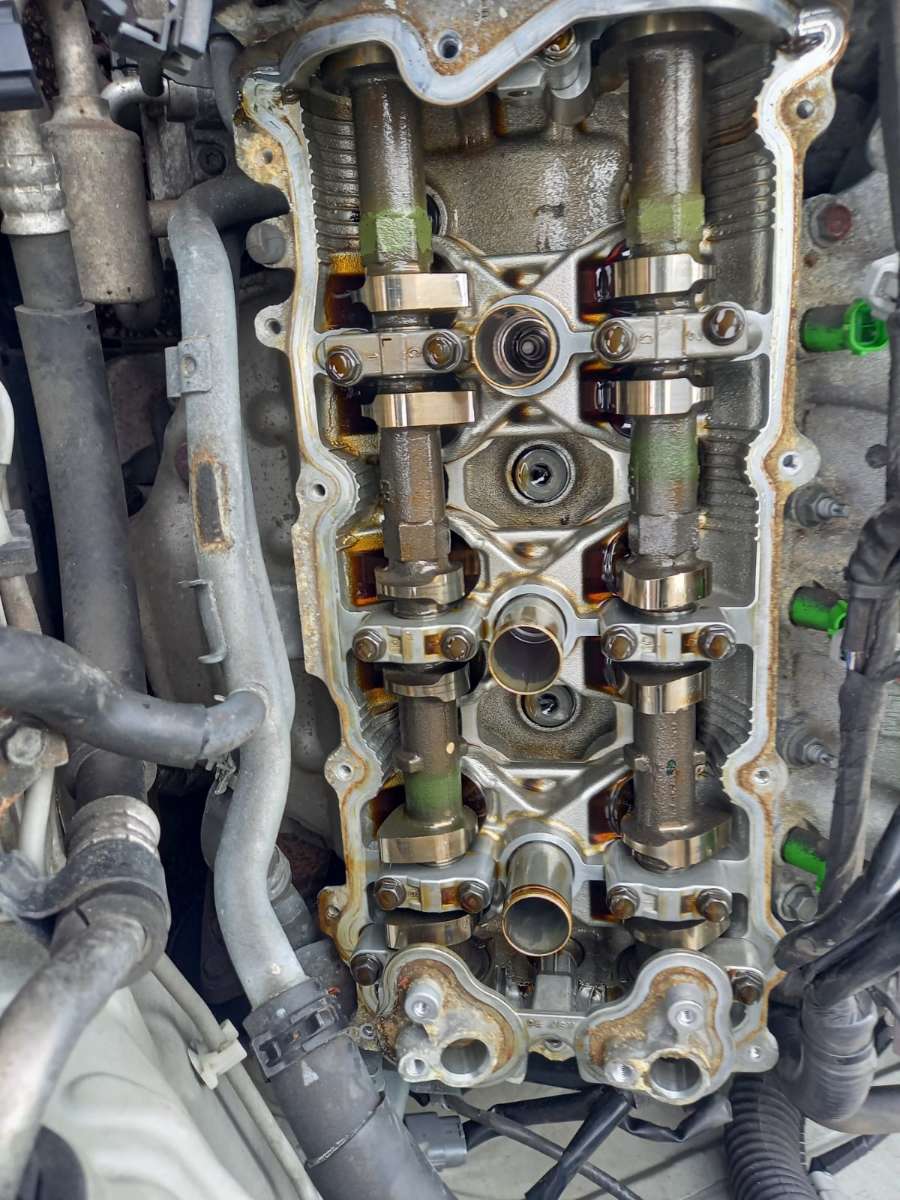
Little mod this weekend putting a new gaiter in with light grey stitching (in an attempt to match the seats which I may have got a little off... 😅). Excellent fit and finish on the product from J F Customs which is always nice Also new valve covers finally fitted (from @ZMANALEX) which should stop that pesky oil getting to the spark plug holes 🤞 No pictures of the new covers on as they were fitted by a mechanic. But inside the covers looks cleaner than expected!