


jumping350
-
Posts
3,334 -
Joined
-
Last visited
Content Type
Profiles
Forums
Events
Gallery
Store
Posts posted by jumping350
-
-
good to see your still plodding on mate and awesome you make most of the bits yourself

-
 1
1
-
-
does that body kit have a seperate rear diffuser that goes over oem?
-
Goes up every year without fail had a chat with the post office guy last month and asked has it ever gone down, he said in 20 years .............no
 I wouldn't mind if they actually used it to fix the roads
-
1
-
-
make sure you test it if you can somewhere just in case though
-
I saw this that might help
4. Difficult contaminants on 3m Vinyl
- Soften difficult contaminants such as bug splatter, bird droppings, tree sap and similar contaminants by soaking them for several minutes with very hot, soapy water. Rinse thoroughly and dry.
- If further cleaning is needed, test one of these products in an inconspicuous area to ensure no damage to the wrap film: Meguiar's Gold Classâ„¢ Bug and Tar Remover or 3Mâ„¢ Citrus Base Cleaner.
- Isopropyl alcohol (IPA) (two parts IPA to 1 part water) or denatured alcohol may also help.
- Spot clean the contaminants.
- Do not use rough scrubbing or abrasive tools, which will scratch the film.
- Wash and rinse off all residue immediately.
-
1
- Soften difficult contaminants such as bug splatter, bird droppings, tree sap and similar contaminants by soaking them for several minutes with very hot, soapy water. Rinse thoroughly and dry.
-
Bennets mug is ending up everywhere!
looking forward to the build
-
1
-
-
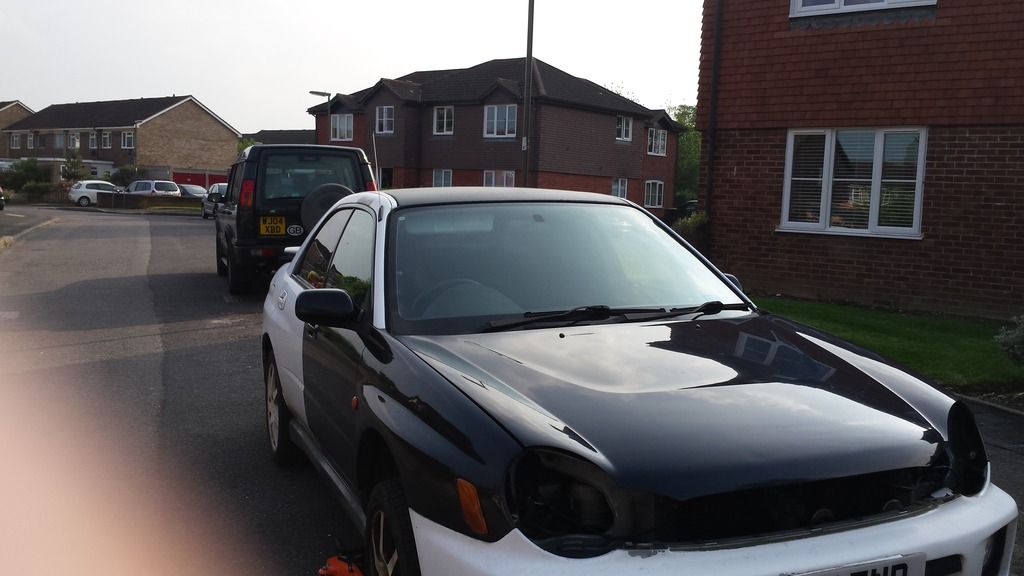
Pretty productive weekend though having fitted the front wings the day before I had to take them off again to get front doors off.
So Day 1 began with stripping everything down again
 I luckily had my foreman with me today to help
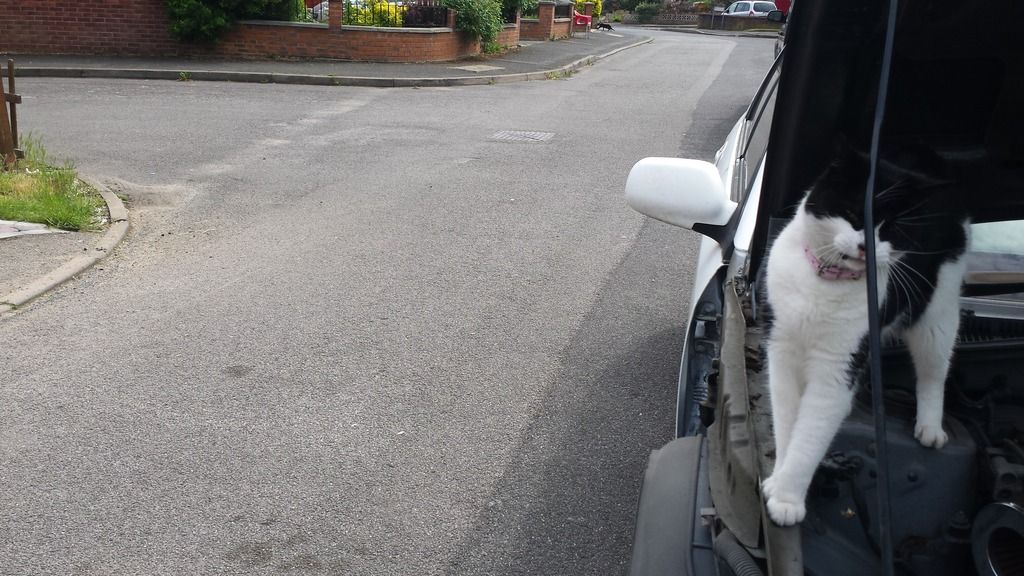
Soon had myself back to the point I was the day before and got the front doors and wings off on both sides
Doors were a bit of a pain to get aligned again properly but got one on (under the inspection of the foreman)
and then got the other one on
At this point someone had given up for the day
I was left alone to get the wings back on...starting to take shape now!
Then decided to trial fit my morette headlights whilst I was on a roll
End of Day 1
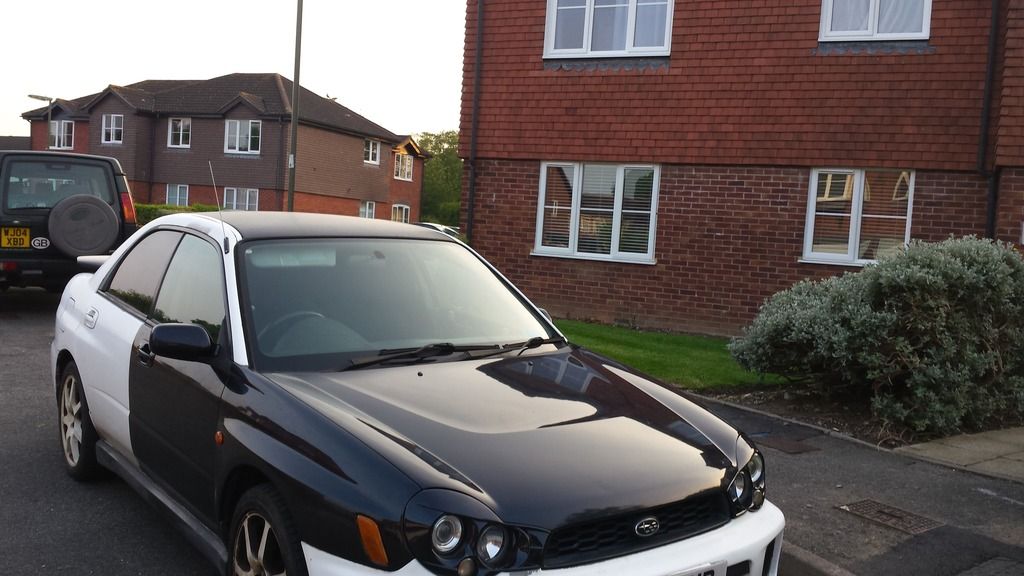
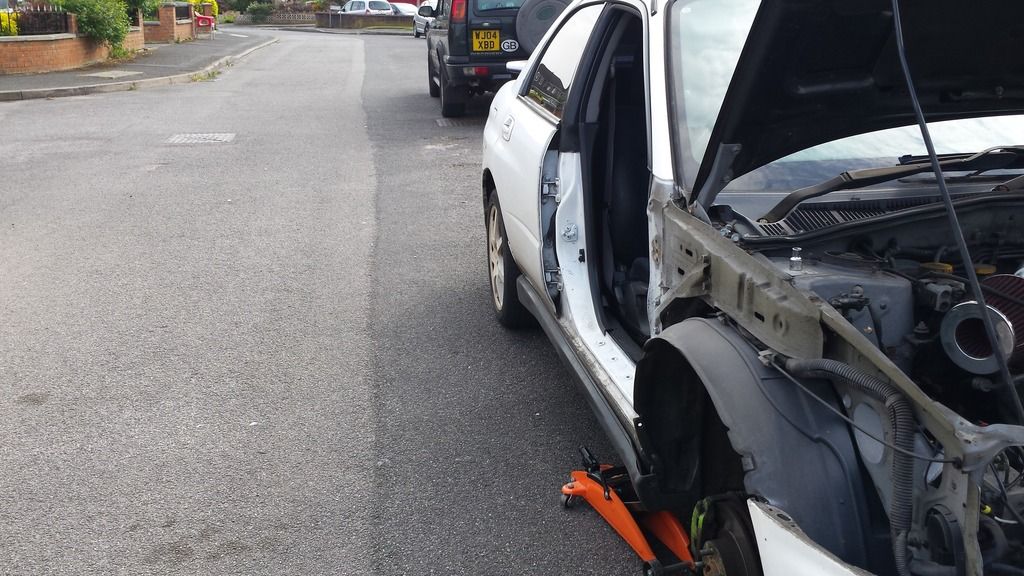
I was late on Day 2 and Foreman was not impressed
But generally got the rear doors on and blacked out front reflectors, rear badges. boot lock, got all windows working, wired up indicators and side lights on headlights (still need to do main beam) and generally put all plastics and bolts back in place
Car is about 65% done now
 next up is to cut a hole in the bonnet
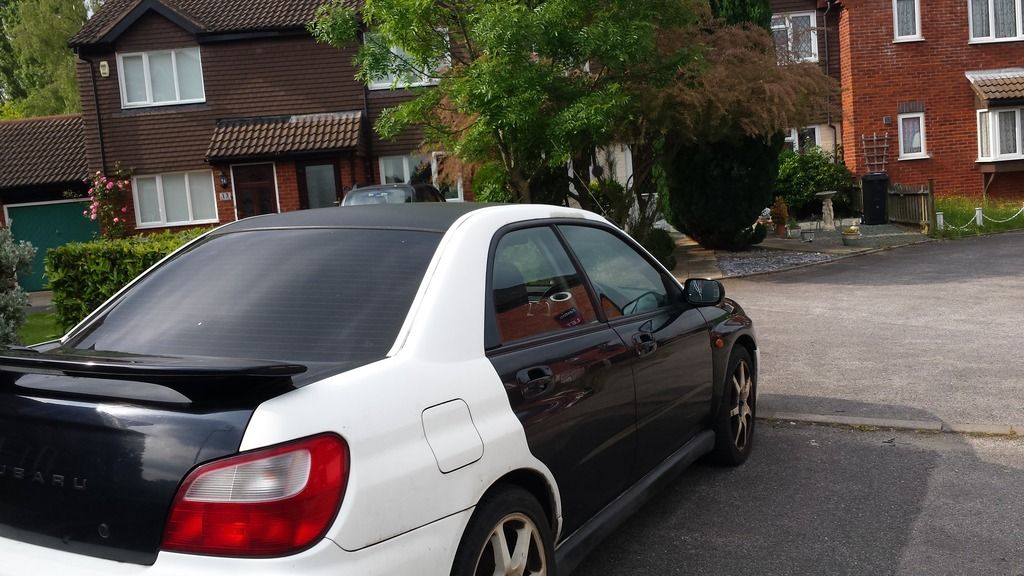
-
2
-
-
yeah there going black at some point GM stand out like anything!
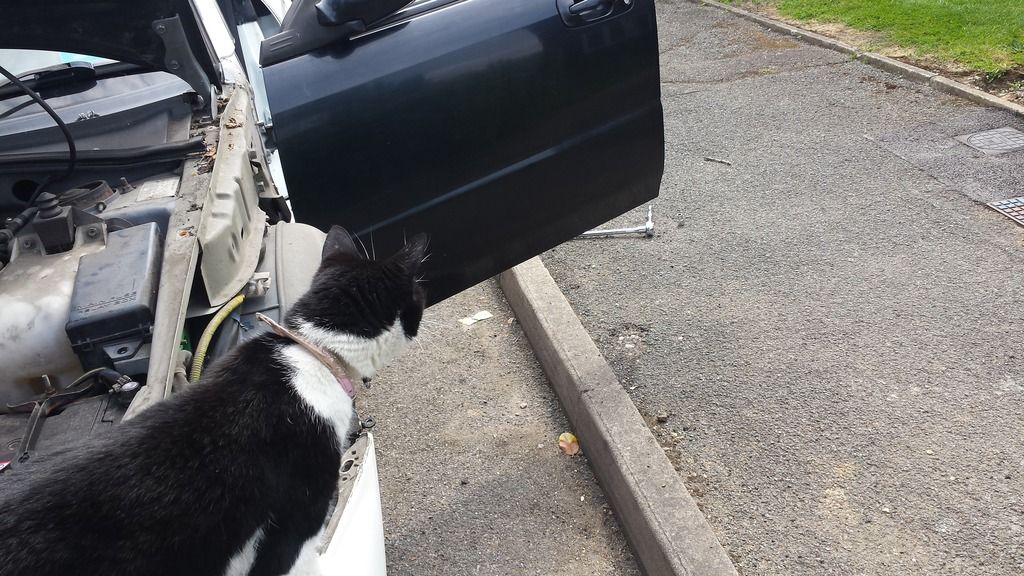
So ive made a boo boo and the front door hinges are behind the front wings.......which I have just bolted back on

Everything off again now to get the doors on
-
Made a bit of progress
Bit fiddly but got front wings off
One side in place
and then the other
and nearly a whole front end done!

I have shiny paint

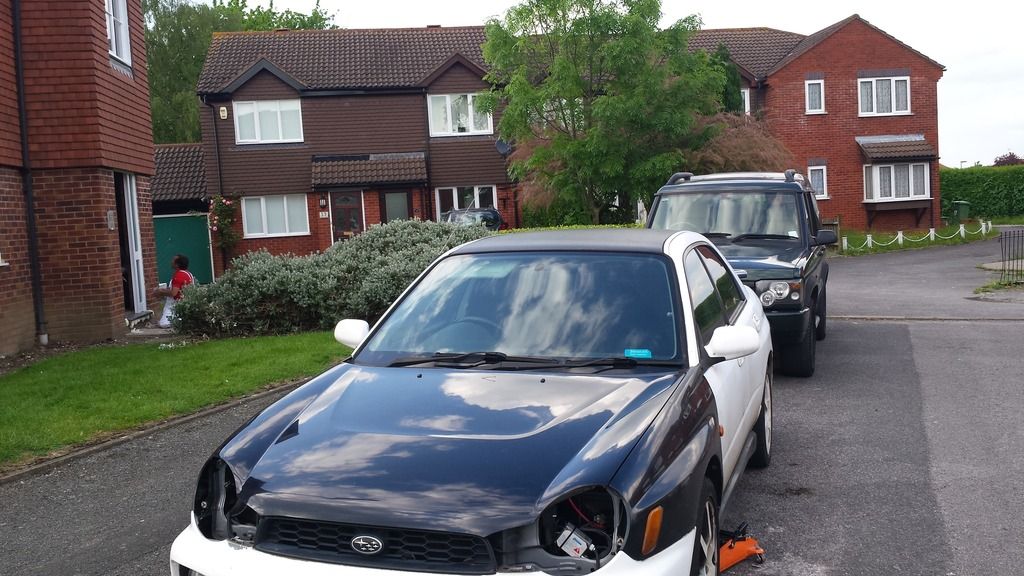
Next up doors to go on
-
I waited over a year and a half to get mine sorted and they still got it wrong! Doubt they will take any liability for anything so would be down to you to sort (but have a read of your agreement just to check)
As mentioned have a look if you can bodge it, I just fix all the problems myself now much easier that way
-
1
-
-
Ive always wanted one of those works bell shifters to see how they are looking forward to the install and review
-
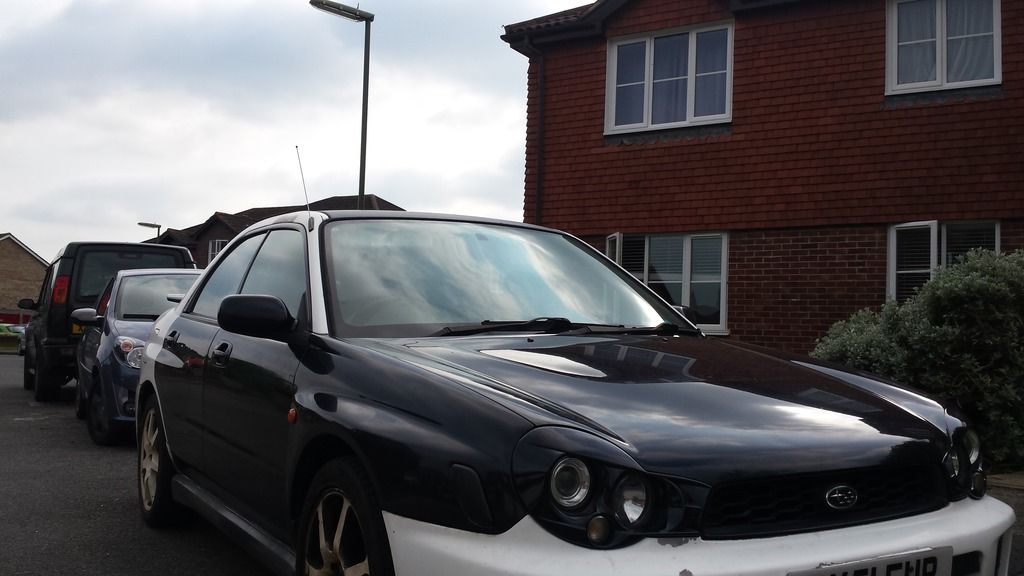
Not at all GM more pics the merrier and can give some inspiration,your old Scooby looks mint.
Dunks that is exactly how I want my car to look, that is awesome you should have kept it !!
Rotas go well on them , im annoyed as I have a spare set of Rotas for the Zed and the bloody stud pattern is different so cant even put them on Scooby (ive a square setup left)
-
Loving both of those Graham and the colour, Yours must if been a monster! I was thinking of those fog light covers you had also but there quite big,
There's loads of Bugeye wagons about in Surrey I see them everywhere
Also how long does anyone reckon the DVLA would take to change the colour on my V5?? dont want to change to many panels just yet
-
Ive seen a few pointing the other way but looks weird as im so used to seeing them the normal way, Ive seem some ludicrous numbers out of some of these scoobys on youtube but expect a lot of wonga has gone into them
-
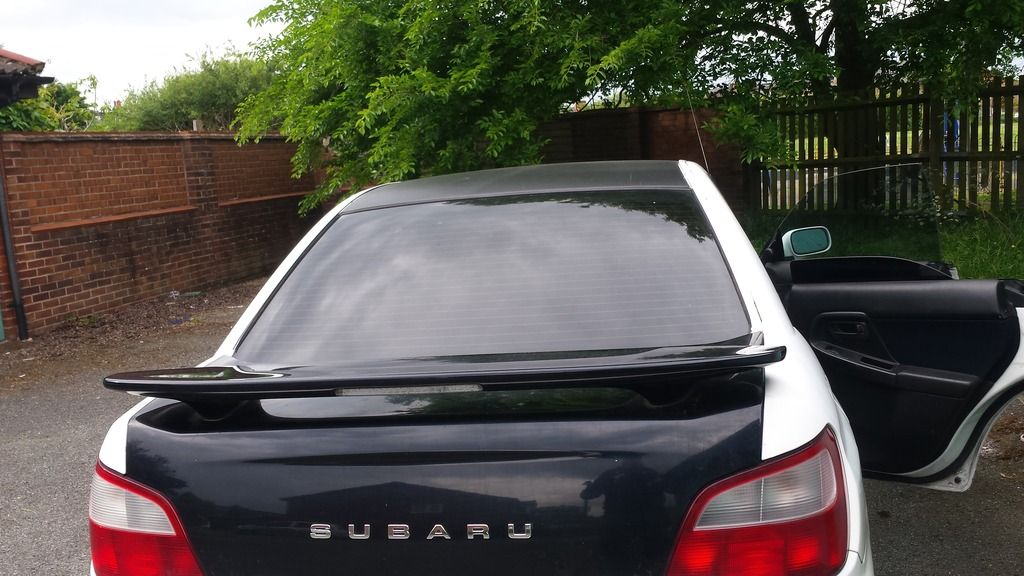
I might have to put rear wing back on depending what holes are left behind with that spoiler and where, would be easier to spray spoiler black then possibly having to fill and respray whole boot.
I do like that little spoiler in your pic though and would prefer it if it was smoothed just going with the easier options for now
I do like the scoop guess its just one of those signature things
At least I dont have to sand down the whole bloody car now
-
Not sure what the fuss is, this prepping and spraying malarky is easy..................
 :lol: Ok Ok I cheated!!
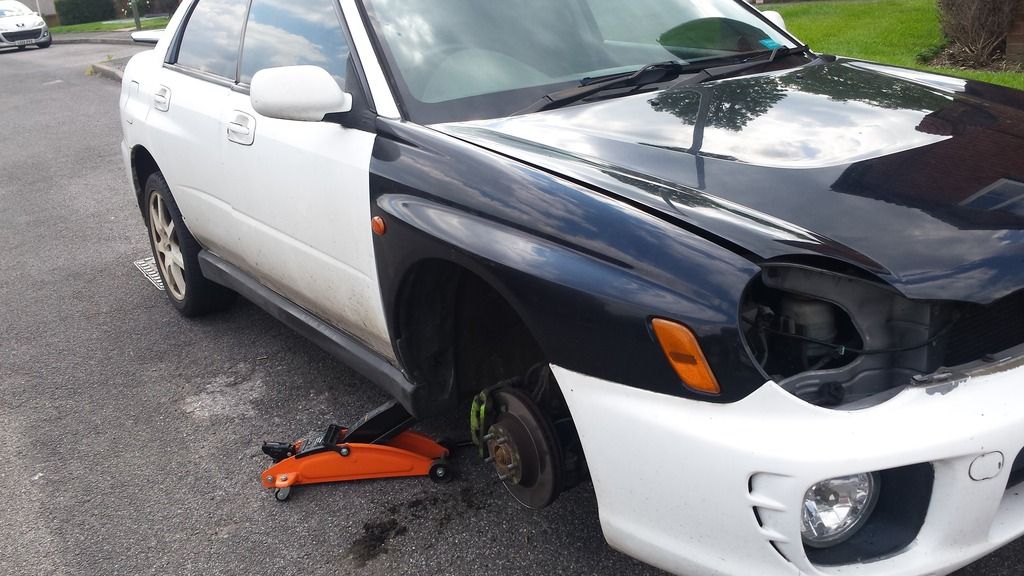
But found a much cheaper way of respraying the whole car....by buying all the panels off a breaking car in the colour I want

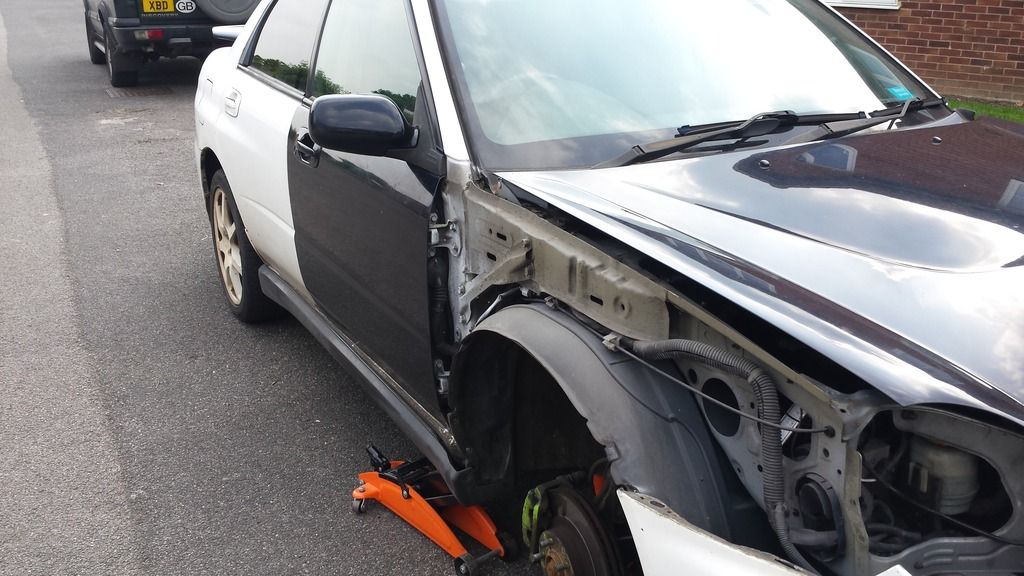
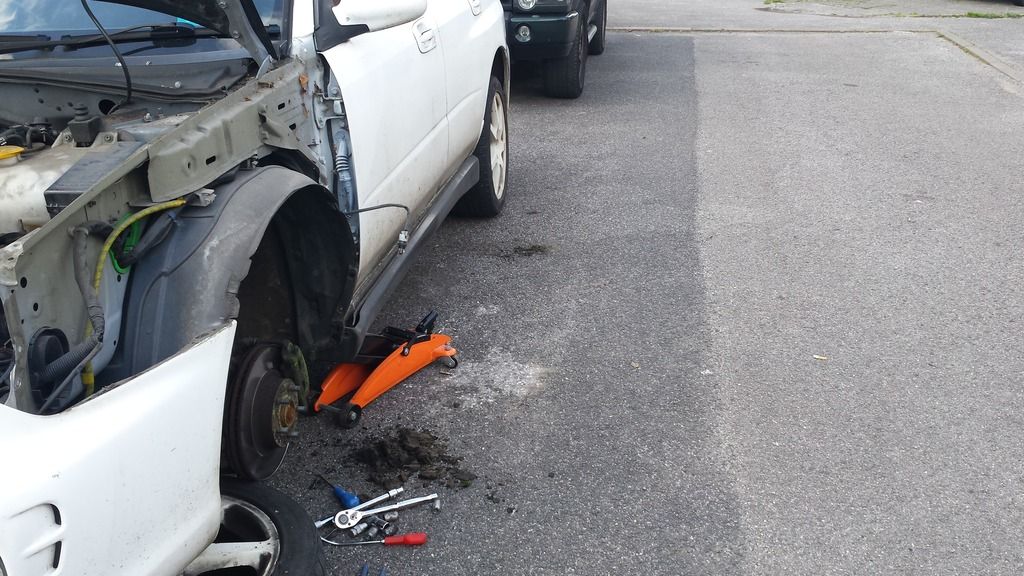
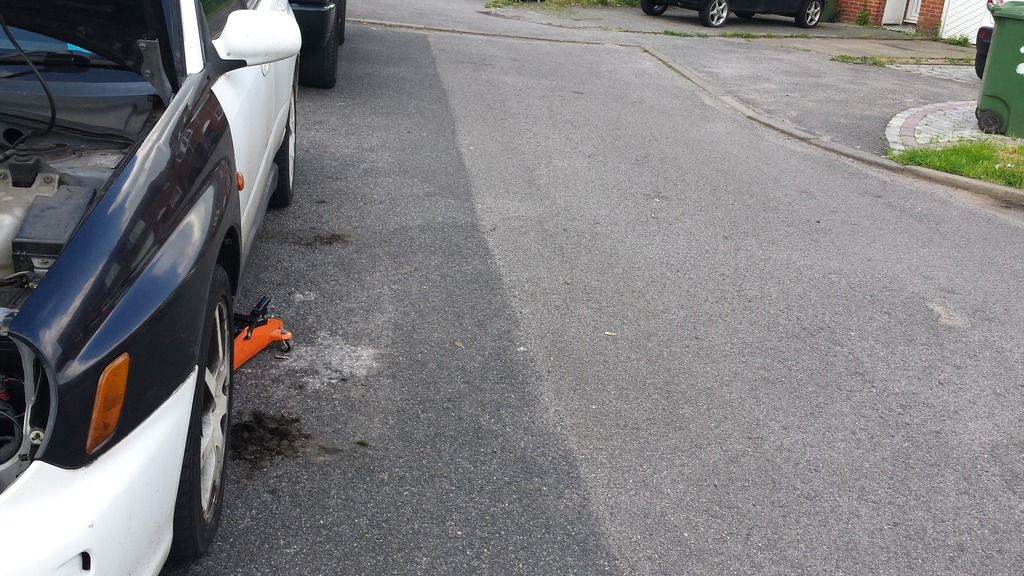
Got a total of 9 panels for a couple of hundred quid but had to strip the lot off car today

Managed to get all 4 doors with wing mirrors, the bonnet, the rear boot, rear bumper and both front wings, all the panels are straight and true with no dings or major scratches and just a bit filthy and can do with some buffing to bring it back to life.
So all I have to do now is prep rear quarters, front bumper, rear spoiler and scoop (will also have to cut hole for scoop as this came off standard car)
Even more of a touch none of my windows apart from one is working, so now can just swap doors and get all my windows back
-
Ive got one should just need normal gaskets that's all I have
-
My mates got a classic and hes always saying how ugly mine looks
I do like the hawkeyes also but as normal there are so many hawkeyes and blobeyes about I just wanted something different. Hopefully the lights and fog covers will make a significant difference to the front the rest of the car back is the same as the other models anyway.In two minds about stripping and tracking as need another car in case I get problems with the Zed at the track
I do love my Bugeye though its been an absolute trooper over the years and without it the zed would of never have got done
-
Couple of bits turned up already
Some fog light covers - which I had to grind the fixing tabs off as the wouldn't locate where there meant to, but a bolt will keep them in place now once sanded prepped sprayed and stickered
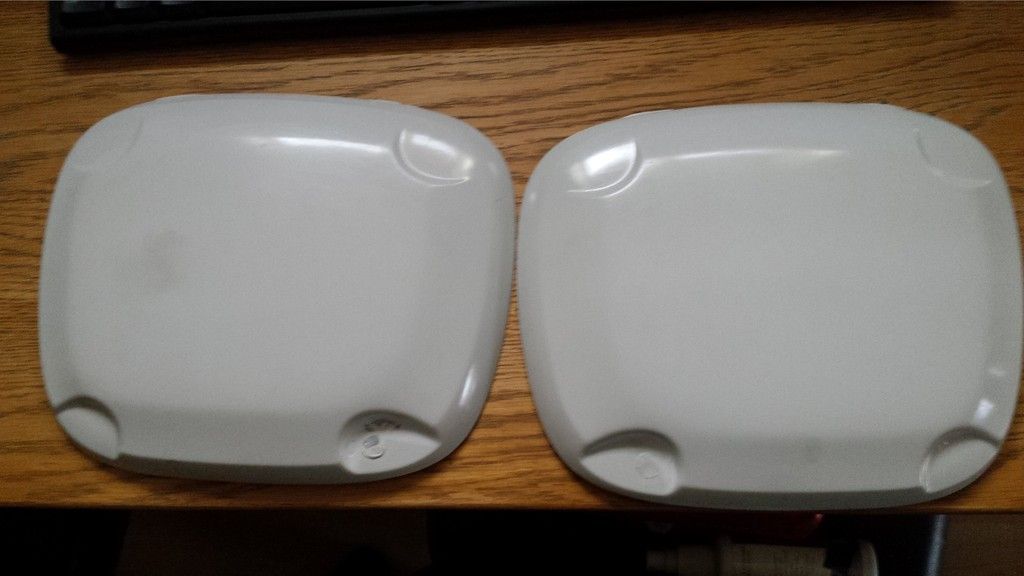
Some Morette headlights which I got for an absolute bargain but needs some work thankfully not with the wiring
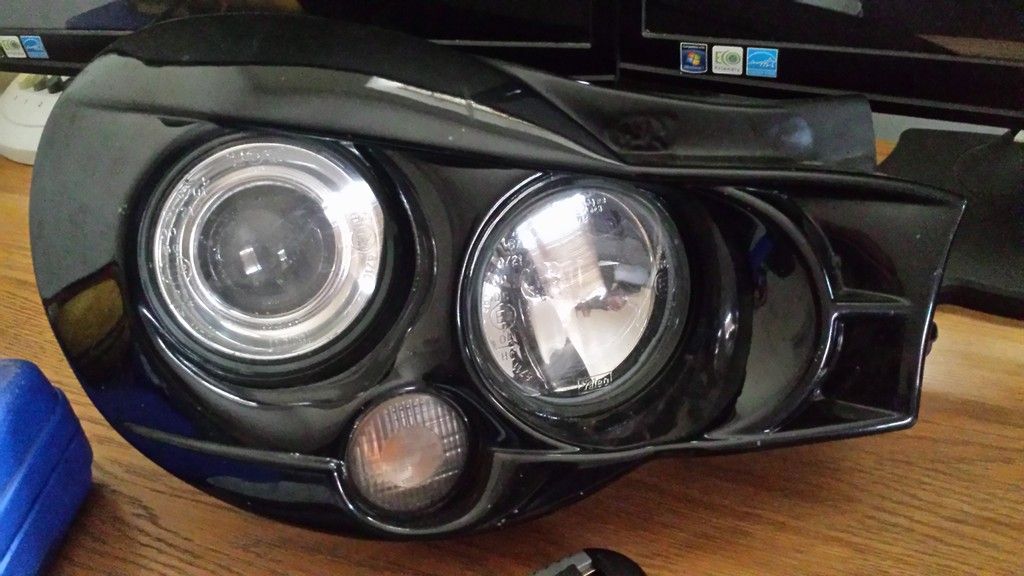
One off issues which previous owner couldn't sort was one of the lenses had gone off centre and he couldn't get it back in line (hence cheap price)
Excuse pics as also had some Bugs in lens which I didn't like (excuse the pun)
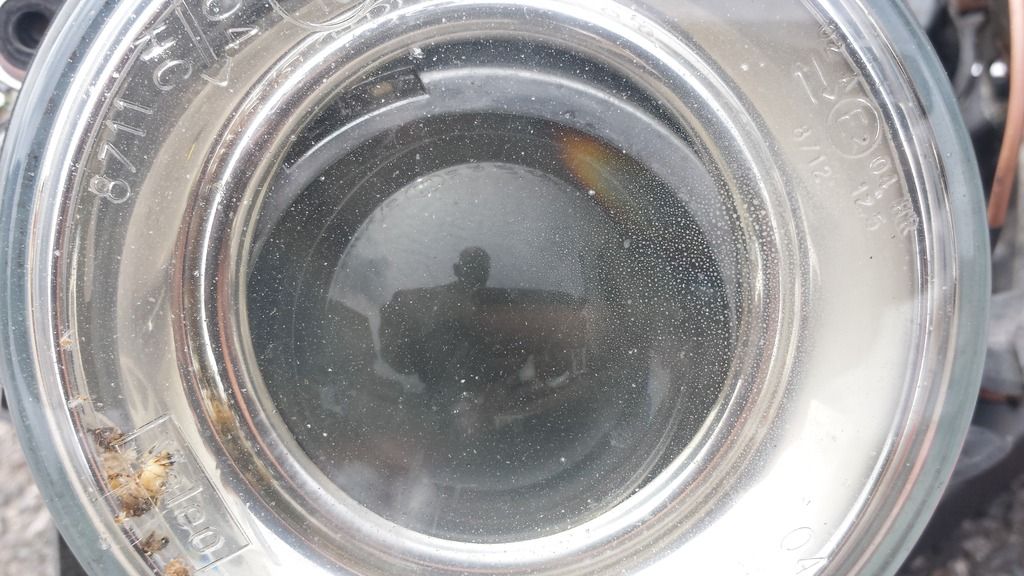
I started to strip the headlight back bit my bit
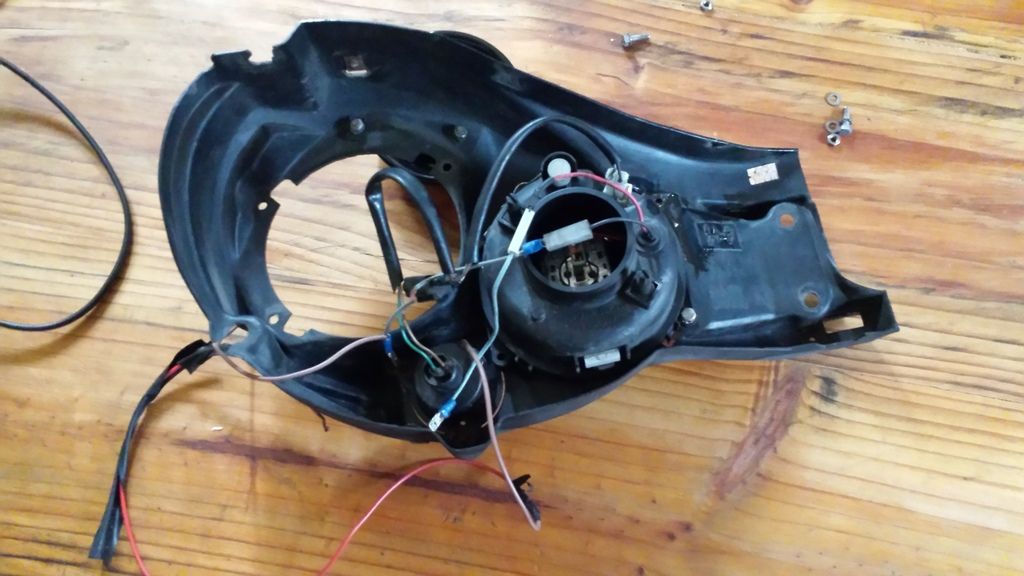
After much fiddling and prying I finally got the lens split and a housing bolt had rattled loose allowing lens to slip down, dab of thread lock and rebolted bit of a clean up and bug clearance and Voila!
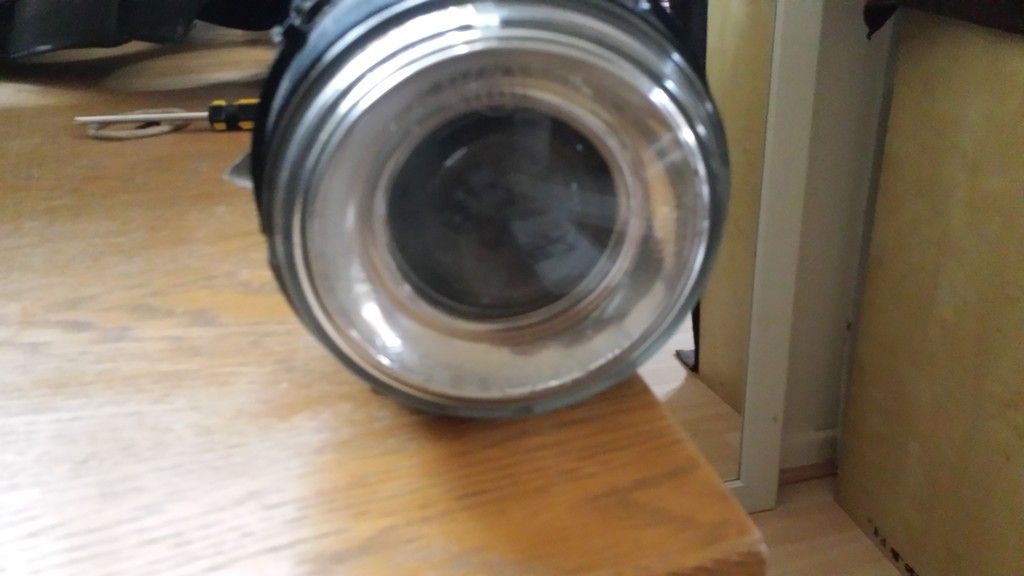
Siliconed back together and back in line and looking clean, a number of fixing tabs had also snapped off so have also used resin to re secure them all so just waiting for them to dry before rebuilding light
-
1
-
-
So thought I would throw this up here to track my progress and if anyone may find it interesting.
Since doing the Zed and it not blowing up on the Dyno, I have gained a bit more confidence to try more d.i.y modding (but not with the zed
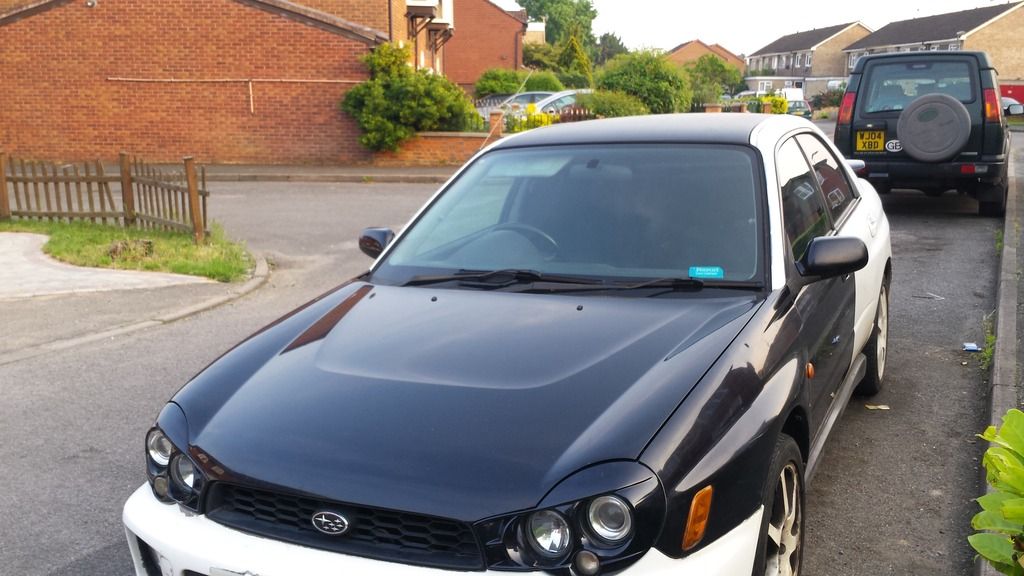
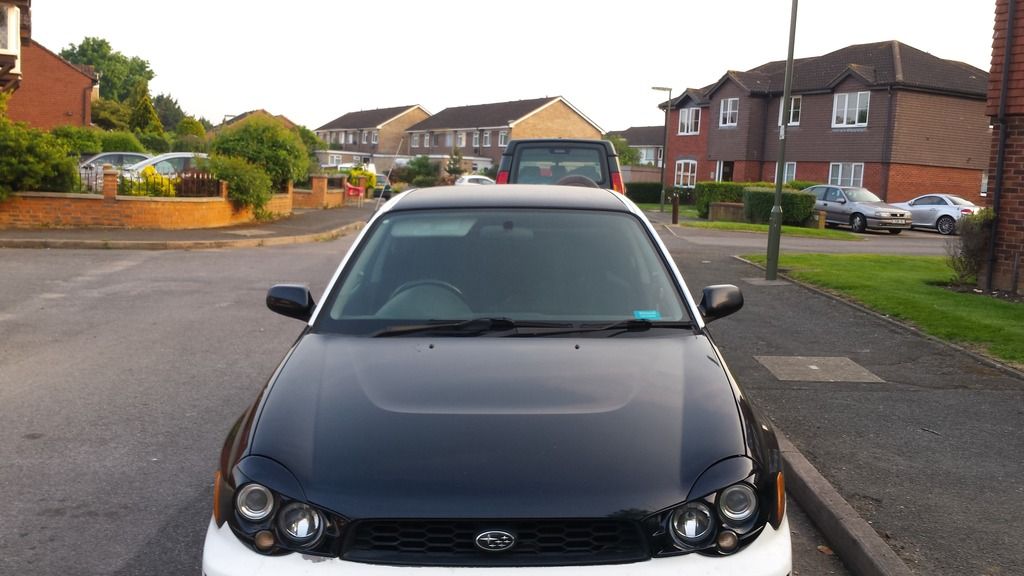
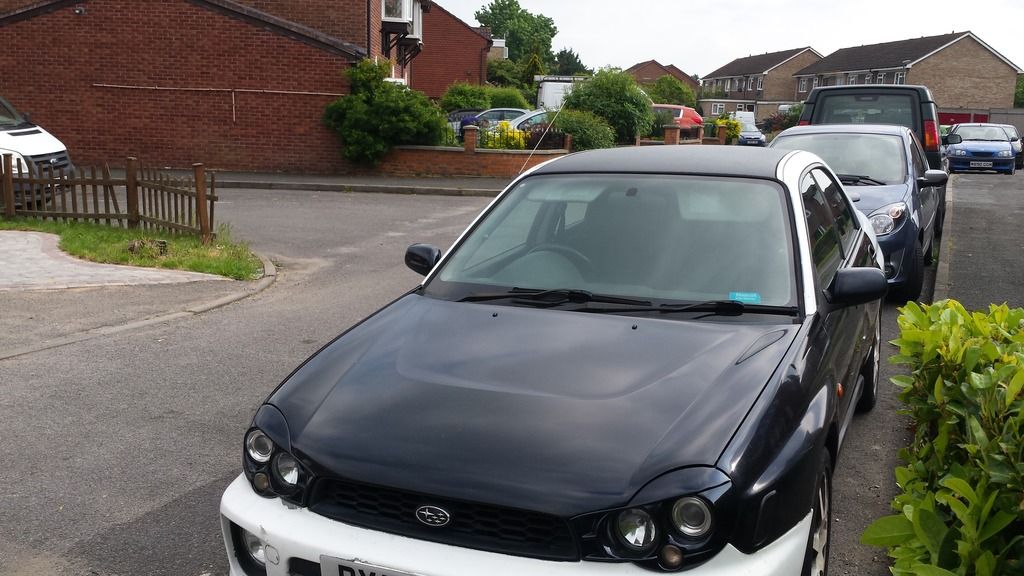
)Enter my battered daily driver of a Subaru!
This is how she is now (except crap more paint is peeling)
Im looking to do most thing diy to cut down on costs and also refurb bits and pieces along the way
I plan to make it aesthetically pleasing as the engine etc are all good, it just looks like s**te

Mod list:
New lights (as the ones on there are awful and very temperamental)
Remove Spoiler and smooth boot (as its causing a leak in the boot)
New Wheels (or maybe spray the ones I have)
Possible drop suspension (if I get new wheels and it looks awful)
Fog Light Covers (cos they are cool)
Fully sand and prep car for repainting (paint peeling on every panel)
Some gauges (I have no gauges)
Do something with the interior (its battered
)I thought about swapping it for one already done but car drives spot on and where is the fun in that! Also I paid sod all for car so not to fussed if things go majorly wrong I can just get back in the s/c zed and im sure il forget about it quick enough
Stay tuned some boxes have turned up already............

-
1
-
-
.edit (no worries answered my own question here)
-
I might have one of these knocking about il have a look and let you know
-
Love the fact that the receivers of funds name and the name at the bottom are completely different
-
Yep the whole car needs stripping back door shuts and all !!
Basically when the white paint comes off the underneath is immediately shiny silver (original colour) and the shine is the lacquer which means no keying and no primer before they sprayed the car white....brilliant! Its fubured based on the fact every single panel is peeling or chipped somewhere (and I haven't even crashed it
)I really cant see it staying true with just the edges being done as I guarantee the paint is crap also
Yeah going for a good brand for DA and start with the 380 (Thanks Ricky) il key the layer below and then primer ready for base coat
I see another build thread coming


350z - A Technical Education
in 350Z Technical
Posted · Edited by jumping350
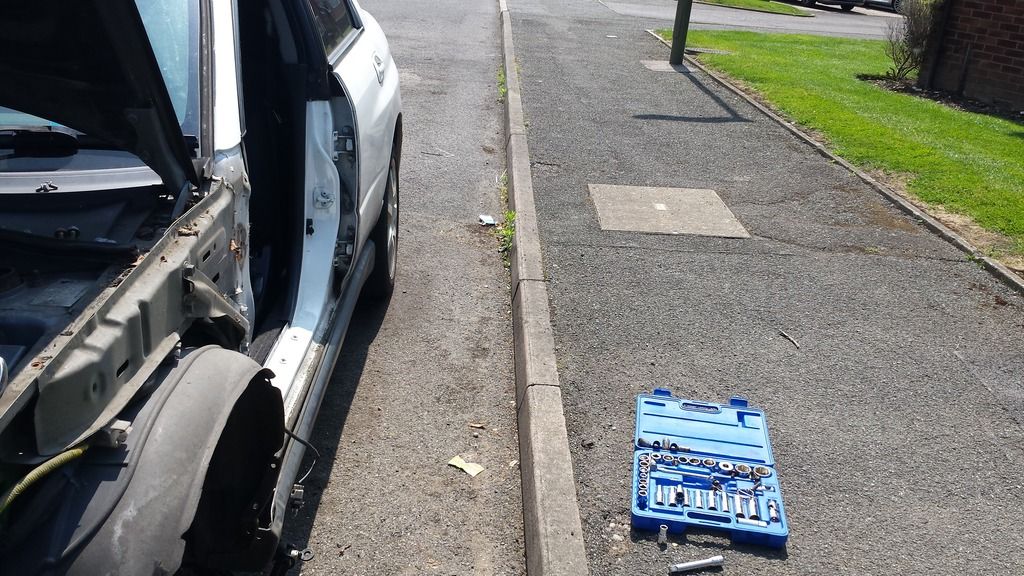
Only advice I can give from doing most things myself are....lots and lots of reading (there is a guide for everything on the net even cutting down a tree) and first save your money on courses and go buy a Halfords professional tool kit which will keep you sorted for most service jobs and basic mods.
Go park somewhere quiet flat and do it there until you get new place sorted, that's what I used to do or park in my mates drive and do it
Be prepared to buy tools, Ive found that 9 times out of 10 I couldnt do the job properly because didnt have right tools. Over 2 years of collecting now and have a full aresenal
In terms of messing up it will happen even with a multitude of courses under your belt..my theory is, its not a lambo and most parts on the zed are replaceable and found pretty easily (at cost of course) so this is why we have Zmanalex