


jumping350
-
Posts
3,334 -
Joined
-
Last visited
Content Type
Profiles
Forums
Events
Gallery
Store
Posts posted by jumping350
-
-
I usually unbolt all the mounts then take the rubbers off when off the car and bolt mounts back on, bit of a longer process but saves all the strain and swearing

-
Abbey Motorsport is closest to you Junction 6 M25
-
Thought I might update (even if it is to myself
 ) looks like it was a loose battery terminal so tightened it all up and no lights have come on since so fingers crossed.
Really good to have the zed back and loving the new founded power, and a stark reminder of the common zed problems as my drivers window did not go back up yesterday

-
looking great pal awesome fabrication skills as always

-
 1
1
-
-
So prior, up to and after the supercharge install including dyno and trip home car has been faultless and no lights show up.
Havent driven it for a month or so while I waited for scooby insurance to elapse so I could dual policy them both.
Anyway took it out last night for a cruise round the area and all is fine and no issues or hiccups.
Start it up today for one more trip around and back in garage till Monday and half way down the road all lights come up so abruptly abort mission and go back to garage.
P0350 Ignition signal has come up but car starts, idles and drives fine no misfires or unusual noises, lights came on when I was driving about 20mph at 2.5k warming car up
When I went to restart car again only check engine light on this time obviously storing the code
Any ideas?
-
il have my zed back soon and am bang in the middle of all areas mentioned so would pop along also
-
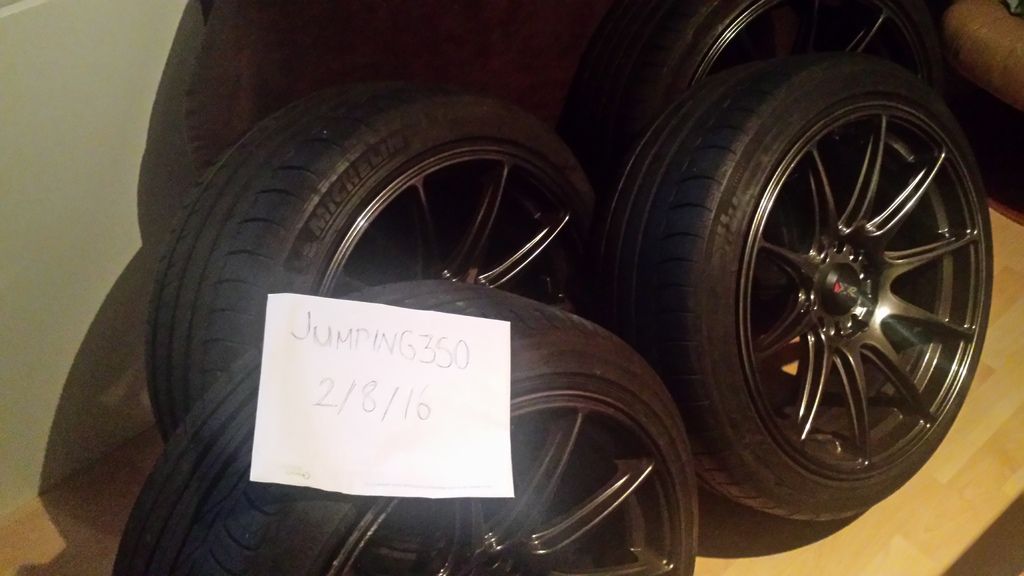
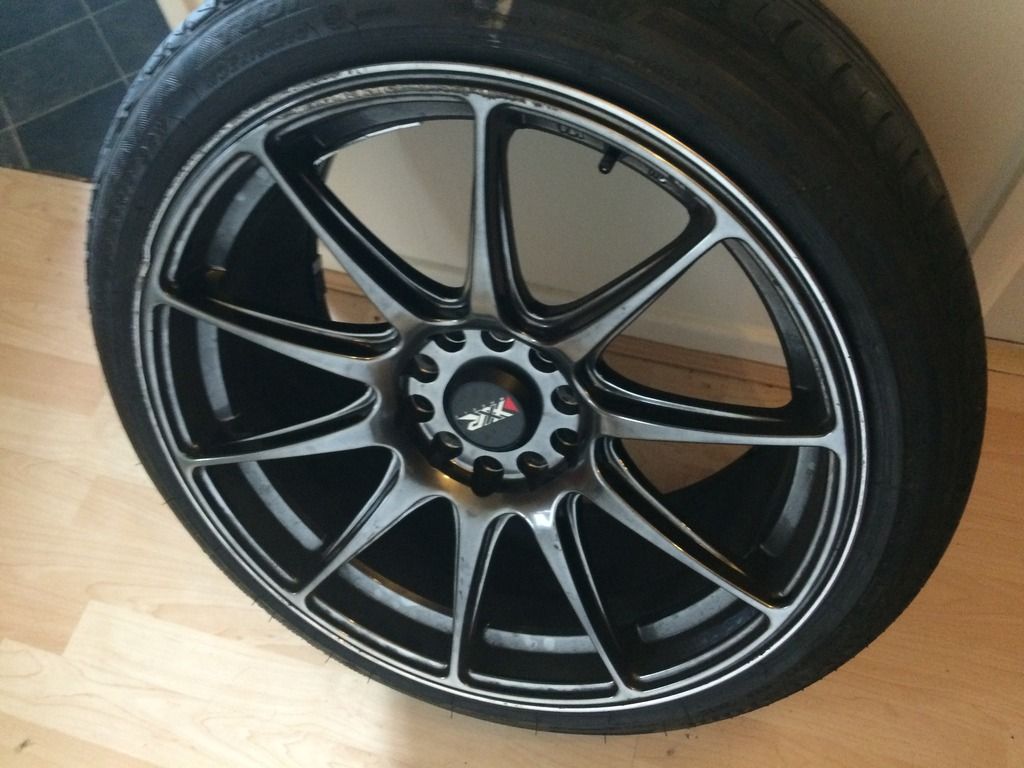
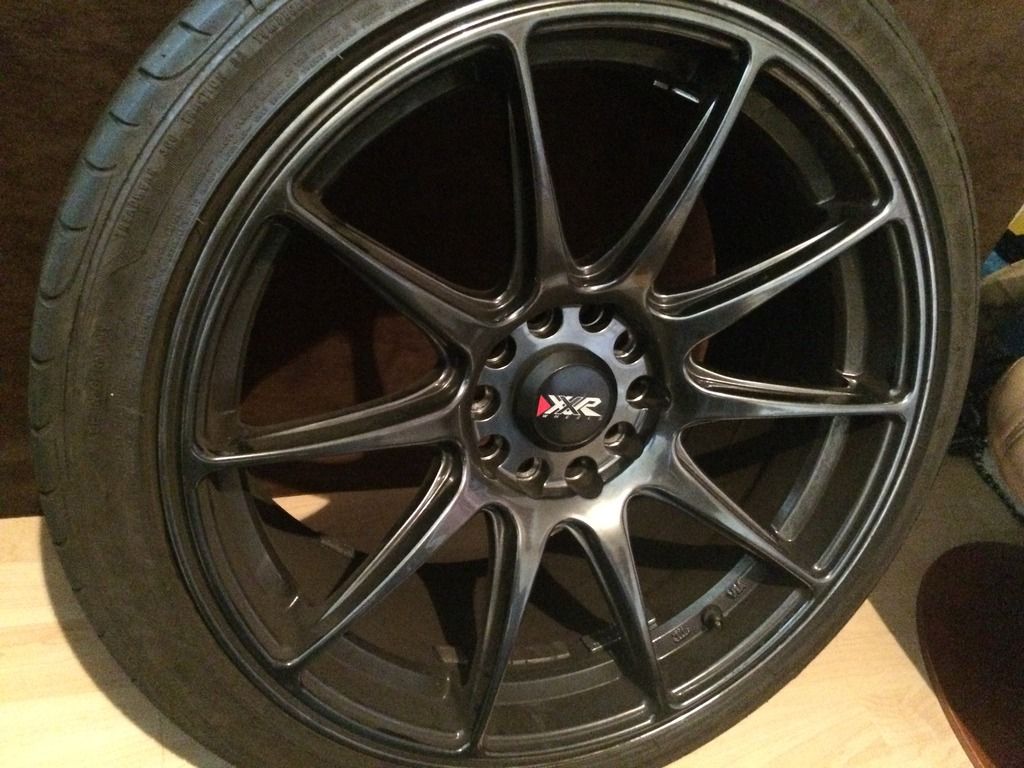
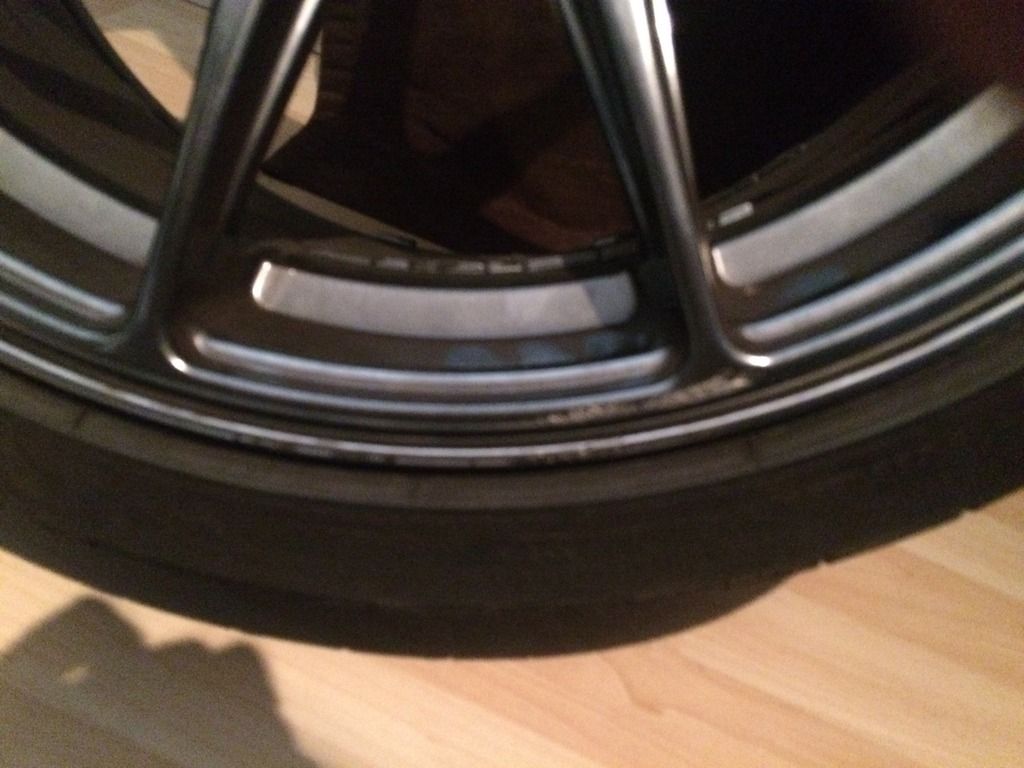
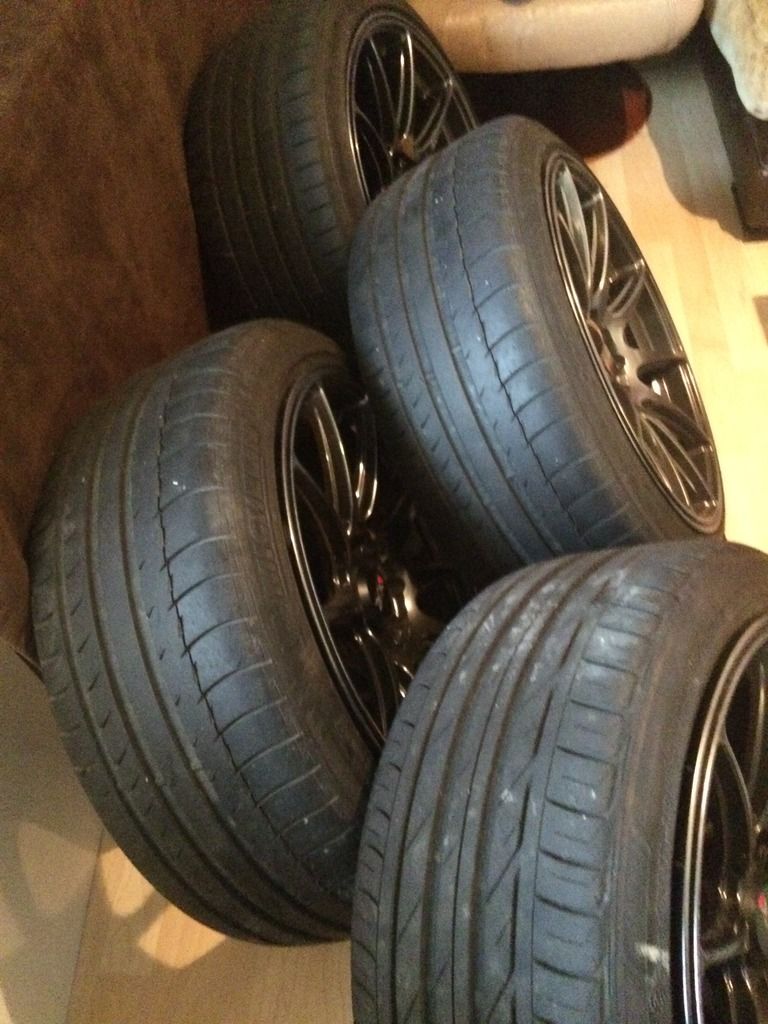
Bought these as multi fit 5x100 to go on my Scooby however the other stud pattern appears to be 5x112 or something else either way they dont fit, will have to pay postage to send them back so just seeing if anyone is interested in them before I go down that route and am more out of pocket!
The other pattern is 5x114.3 so will go on Zeds and other Jap cars of that PCD. ET is 35 I believe and I believe they are 9.5j all the way round having measured them. not sure if you can fit staggered tyres on square width rims to make them ok for the zed but im sure someone will tell me.
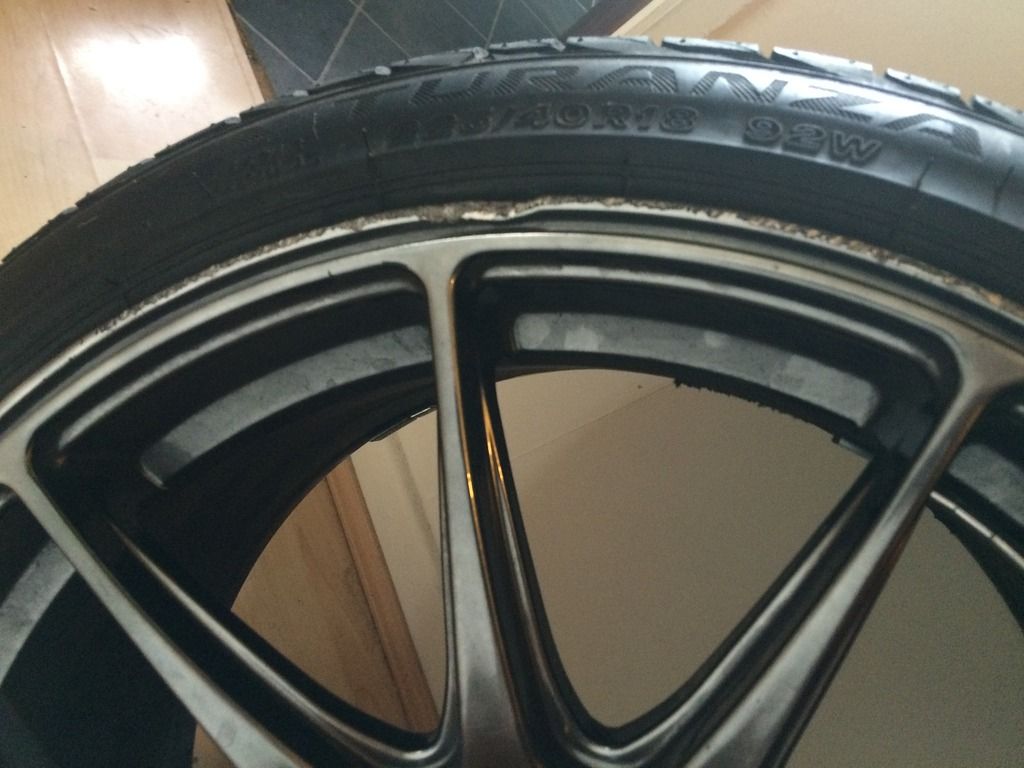
Tyres are 2x Michelin 1 x Bridgestone 1 x Goodyear with plenty of life left in all of them, one rim has a dink in it but can be sorted out and is on outer rim and wheel holds air fine light scrapes on one other wheel and few marks here and there all centre caps are present.
They came off a Subaru Blobeye and im really p***ed off they dont fit as they look awesome
Some of you have other cars and may have mates who maybe interested
£500 ono
Collected from Surrey
Maybe consider swap for some nice 5x100 wheels
-
+1 for Scholl...never used it
but im new to this also and thats what has been recommended to meActually while im here whats the difference between Scholl blue and Scholl black?
-
ive got some Fuchs pro race if interested and im in Surrey, drop me a PM if interested
-
In US apparently this games is being used to set people up to rob them
 pretty scary for a kids game
 -
Those are GT4 wheels
-
il take diffuser if its still around
-
Thats quality the other videos are funny to..one for the traders below
-
2
-
-
cheers mate still plenty of work to do but a step in the right direction
-
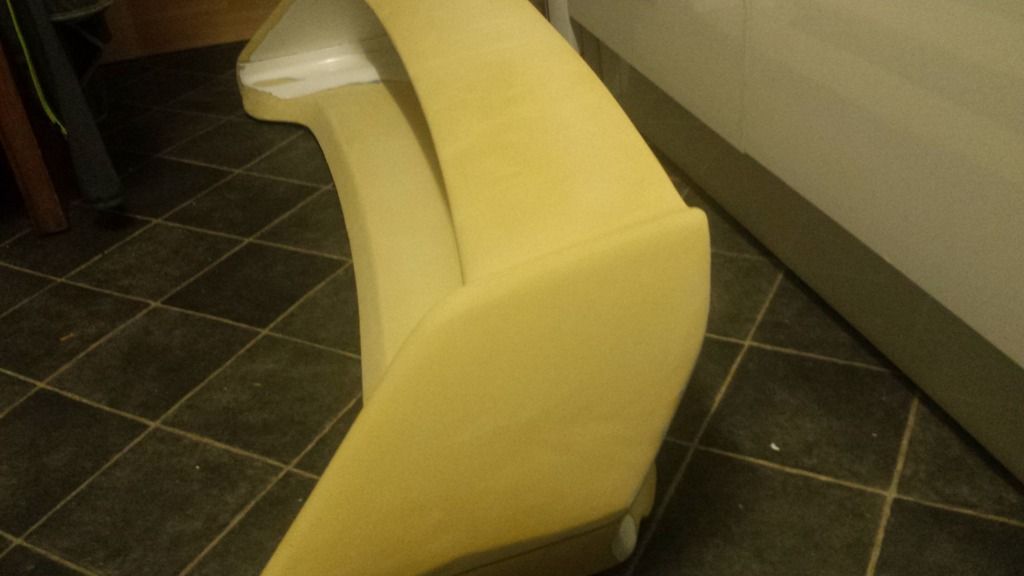
Small update and after messing around with the spoiler for a whole weekend I walked back past the car and took a second glance and realised it does look better without it
Il just prime the spoiler and sell it now when im ready.
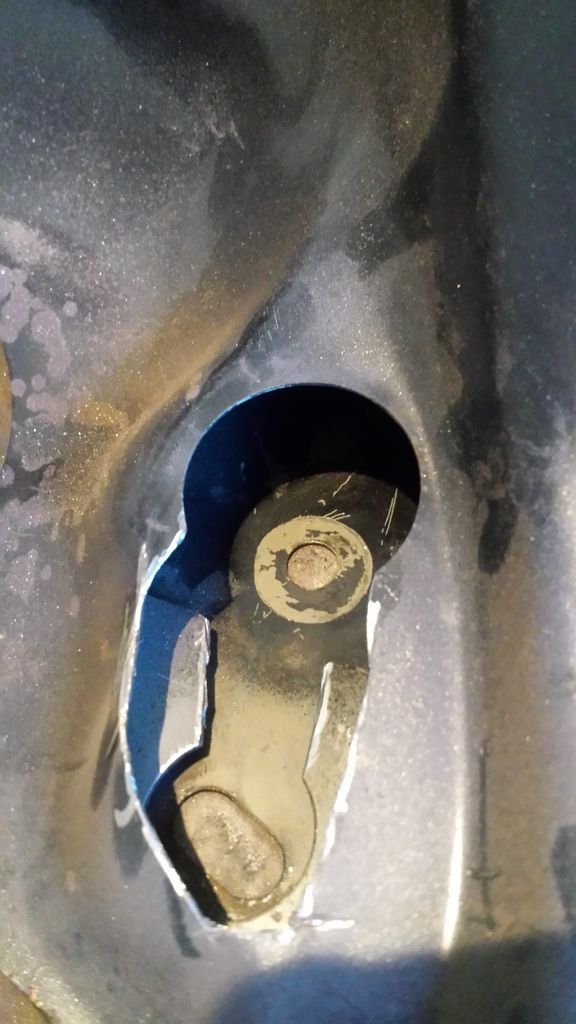
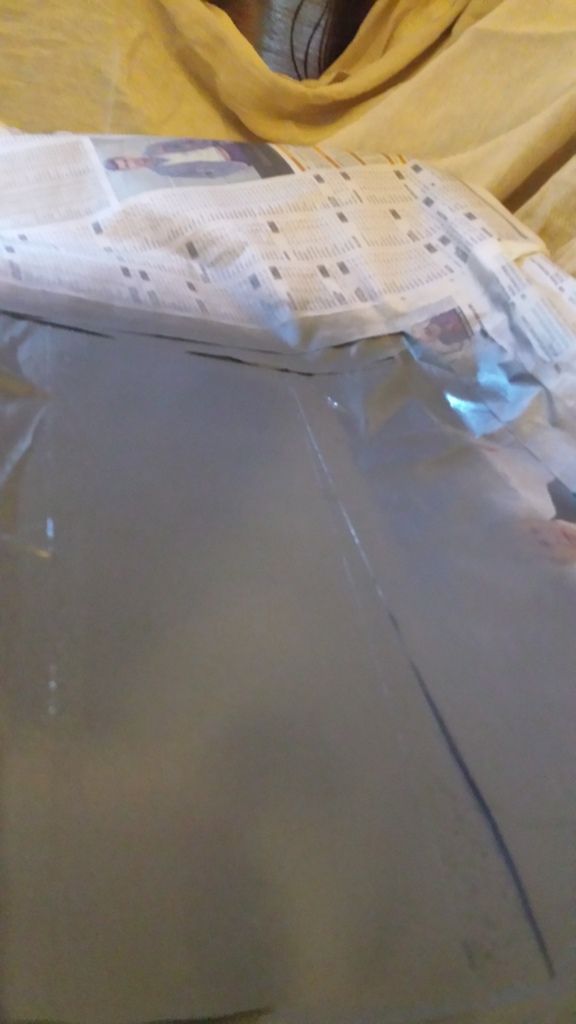
So removed old WRX spoiler and was left with 7 holes on the bootlid

I have done quite a bit of reading the last few weeks and decided to tackle the holes myself.
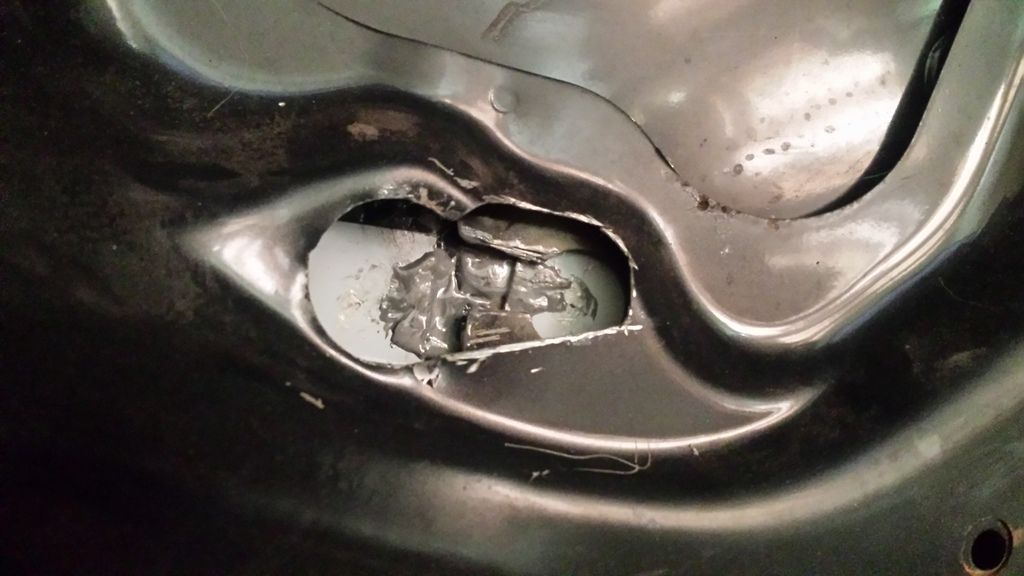
Started off cutting blanking plates for the hole
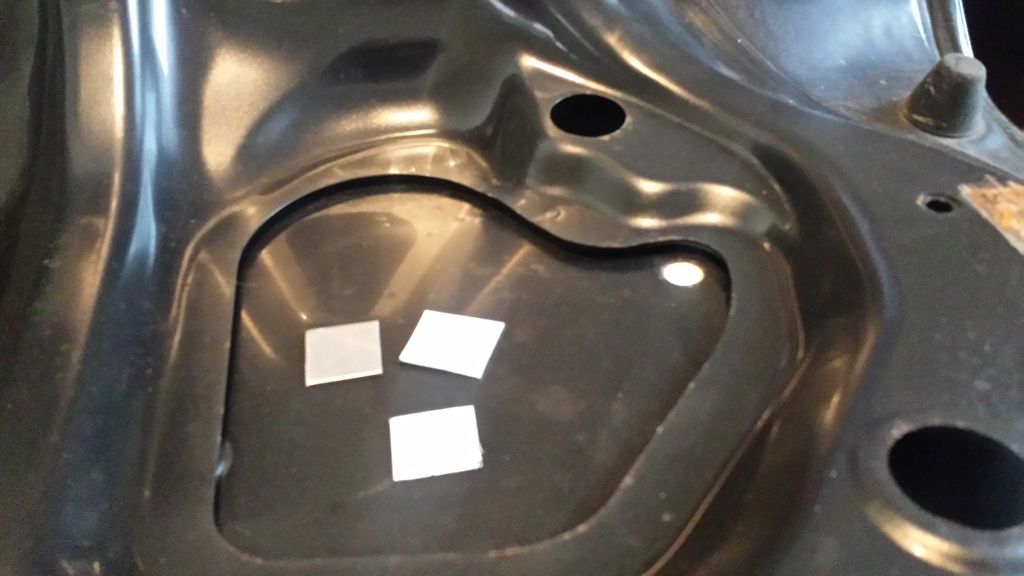
Where the big hole is at the top there is a hole on either side directly under the plate so had to cut that section out from inside to get to hole, I also had to cut part of the section below it out also or I would never of got the plate with enough surface in the gap.
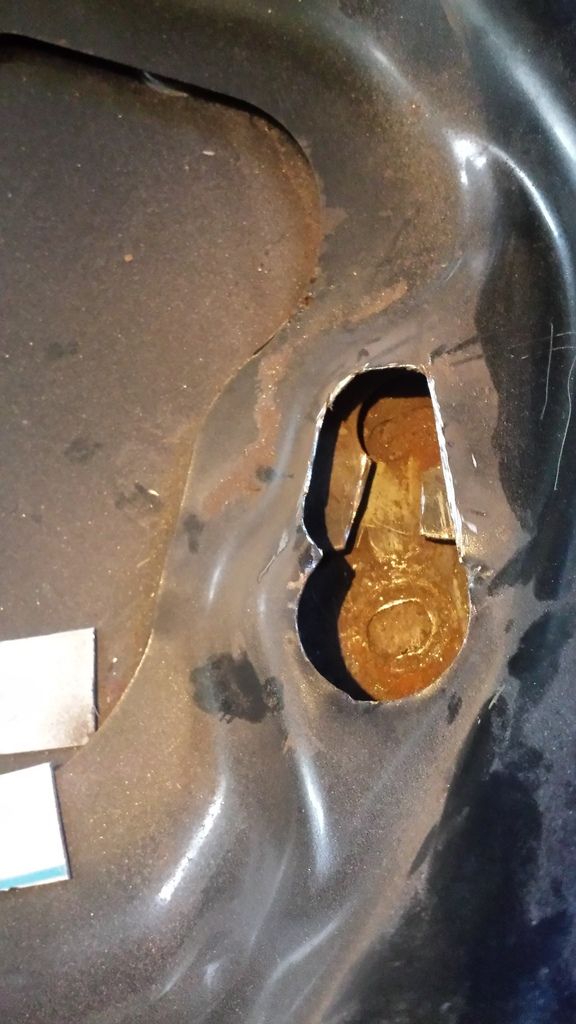
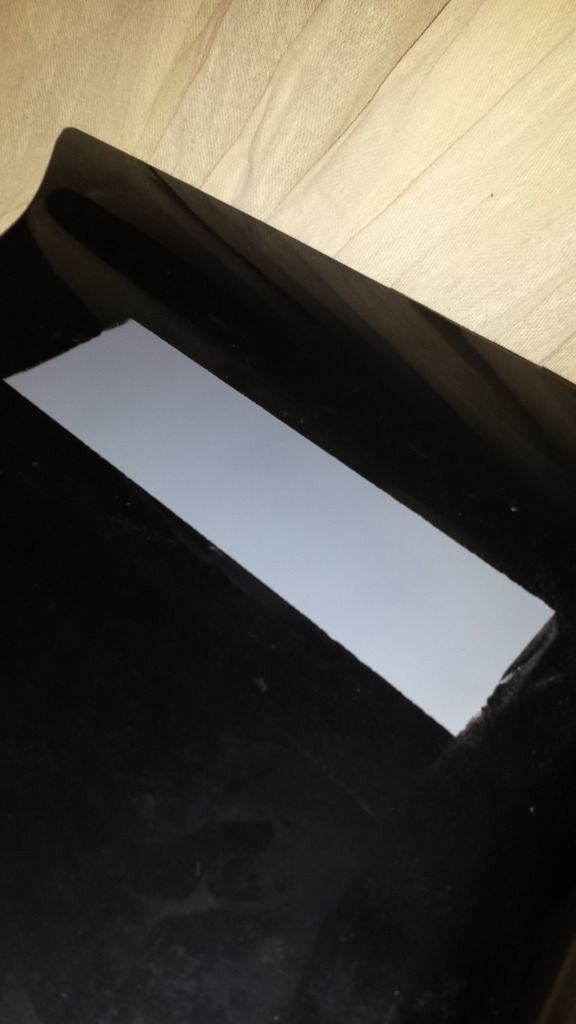
I then cleaned up the edges and got rid off the rust
I then JB Welded the plates directly under the hole (my JB Weld skills are pants ...but it aint budging)
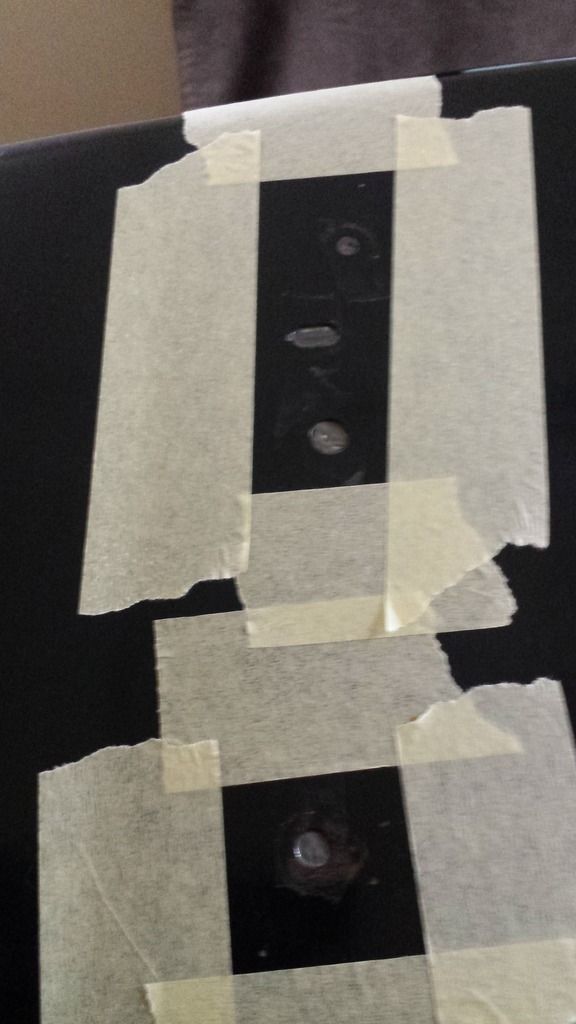
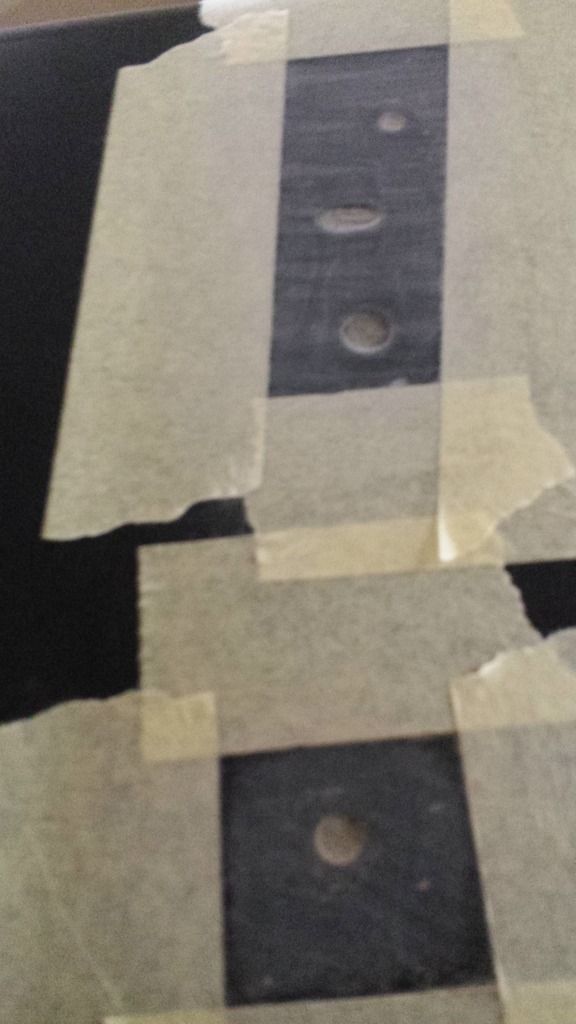
Once dried I was left with this so masked off the areas
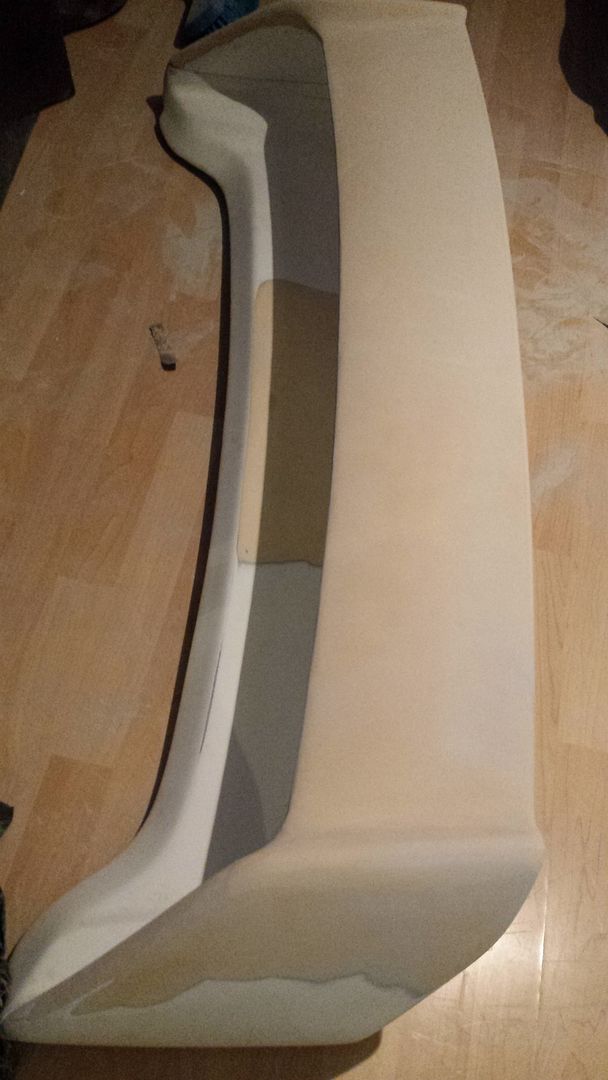
The point of no return! at this point I sh*t myself and scuffed the panel ready for filling
First layer of filler
After multiple layers of filling and sanding I ended up at this point
Masked off section again and went through the grades of sandpaper up to 600
Once happy with finish I masked off ready for primer
Mid way through primer process
and boo ya smoothed off spoiler holes
Next comes the interesting bit....trying to blend and match/laquer/buff the paint so it looks like nothing has happened...stay tuned
-
I think its a stillen type one on it not sure though
-
-
they went to japperformance as well which is near me how funny
-
on C4 now
-
Thanks mate some really useful info there im going to load up with the above products and then come back
good thing is once I get the hang of it with the scooby I will hopefully feel confident enough to do the zed (never been polished in my ownership)On a seperate note I have removed all the paint off the spoiler and now find myself hand sanding to get the bloody shape back
Nearly there though and hopefully by weekend a layer of primer to see how fubered it is
-
This is going to be fun
Thanks mate you are an absolute star but your not of the hook yet ...more questions
My DA is 150mm so will get that size or smaller backing plate if need be.
How many pads of each different cutting pad do you think i would need to do whole car?
Same question for light compound scratches how much to cover whole car? Maybe just 1kg of S20?
I like the clay towels Would 1 clay towel be enough for car?
This buffing game is hard work ! I could of twin turbo'd the car at this rate
-
I hope they all come here soon
Rather than start a new thread might as well state here what im confused about.
1, What pad shall I get to cut the old paint for getting rid of swirls and light marks
2. Whats the best product or what product to get to go on pad for removing swirls and light scratches
3. What pad shall I get after that to use?
4. What product do I get to use after swirl stuff
5.Any other recommendations of pads/products or processes after that to finish
6.Clay bars? what and when
So need to know above for old swirled marked paint and brand new sprayed paint
Any detailing gurus and links to certain products or pads would be greatly appreciated
-
Thanks mate im slowly getting there and have a real appreciation now for those who do it for a living as there patience must be unbelievable so easy to say sod it and try and speed things up.
The lights make a massive difference I think and at least modernize it by about a year
im more worried about the buffing and polishing afterwards theres so many products and options and pads I dont know where to start
-
Been a few weeks and all I can say is im glad i dont have to sand the whole car!
Started on spoiler and after many man hours sanding by hand and not getting anywhere I bought a DA using 80 grit and now the old paint has met its match!
Still a learning process as I keep nicking the spoiler so its going to need a load of filler afterwards now but am getting a good technique now and building confidence
and as of tonight
have actually painted and lacquered the fog light covers but there still drying so cant take a pic yet but more to follow soon including scoop and sanding the rear quarter panel on car


Removing Exhaust Hangers/Rubbers
in 350Z General
Posted
there buried deep in there somewhere and probably buried with crud, I remember having to use a ratchet spanner to get in there properly