

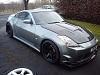
evilscorp
-
Posts
3,375 -
Joined
-
Last visited
Content Type
Profiles
Forums
Events
Gallery
Store
Posts posted by evilscorp
-
-
Dyna Tune- East Kilbride, TDi North (I think)-Cheshire, RS Tuning- Leeds, Then ABBY Motorsports and Horsham Developments Further down South, Is my geographical list of Uprev tuners that KNOW 350z's.
Other companies will have mixed results and I don't know or recomend any others for 350Z tuning on the OEM ECU.
Have a search on here but thats all I will say.
-
 1
1
-
-
2 hour drive, Early ferry and you could do it in a day.
-
East Kilbride, DynaTune Chris is your man.
-
Does anyone know which colour is the signal wire and which colour is the 8V+ on the rear diff ABS sensors, Nico forums workshop manual says they should be orange 8V+ and pink signal for the LH speed sensor and Brown/white 8V+ and Brown signal for the RH speed sensor.
Unfortunately my diff came off an unknown year UK car 2005 probably and the wires are brown and white for both sensors so not very helpful.
Just don't want to fry one of the sensors as I was hoping to keep one as a back up.
(200sx swap car so using a dekota digital to convert the signal from the 350z diff to the 200sx speedo.)
-
PaulT is making a widebody kit for himself, no CAD involved just lots of time and effort. He has a youtube imaginebuildrace if you want to check out the process he is doing.
-
2
-
-
Are you sure its for the correct gearbox? There were many improvements with the CD gearbox in its life span, quite possibly have the same part number but for a more recent box hence not fitting. What year model is the box?
-
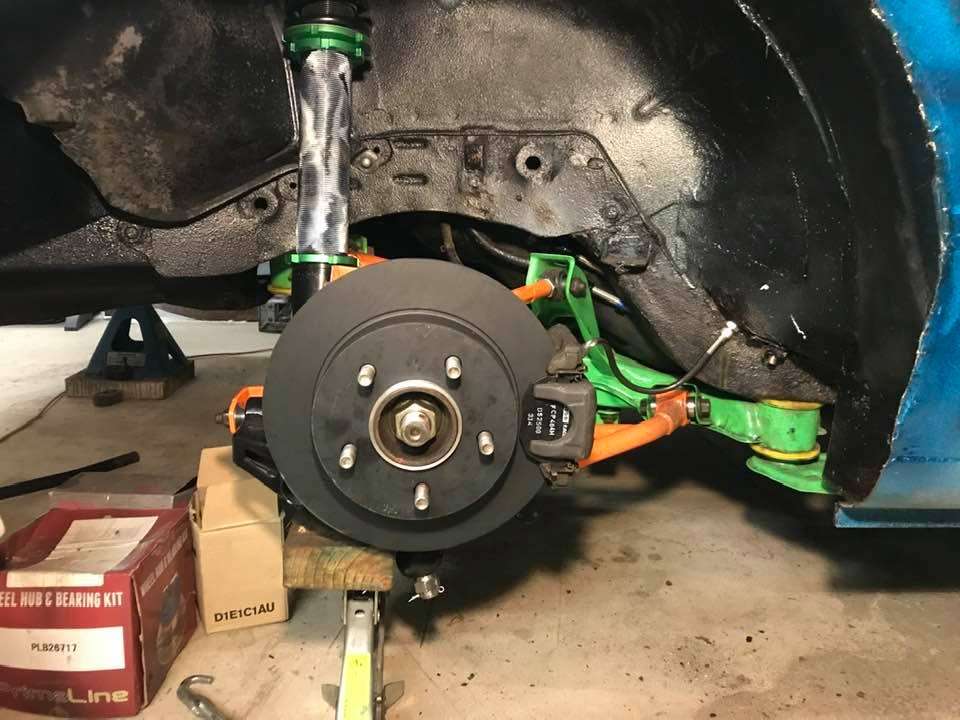
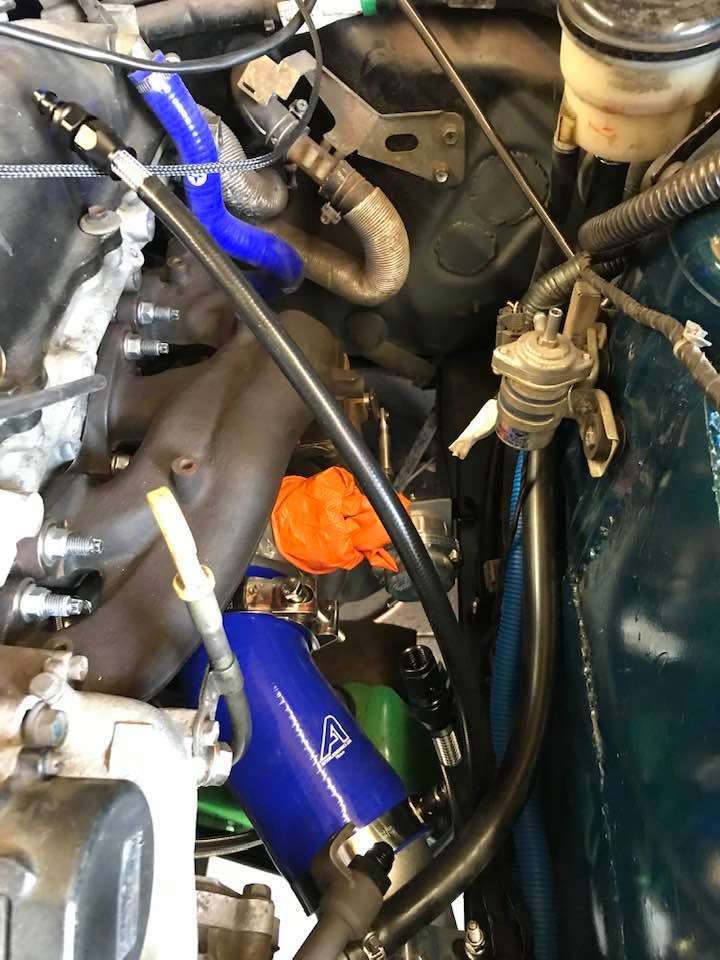
brake lines were a faf, had to swap the t joint(in car) for a different one as the fittings couldn't get tight without making the other side loose so had to go for all male one.
Suspect the power steering lines will leak from the rack housing as the fitting isn't quite as long as the original and don't think the o ring at the bottom has compressed. (Stupid overpriced chasebays are the only company that probably has the correct fitting.(no doubt wont sell it by itself.)

-
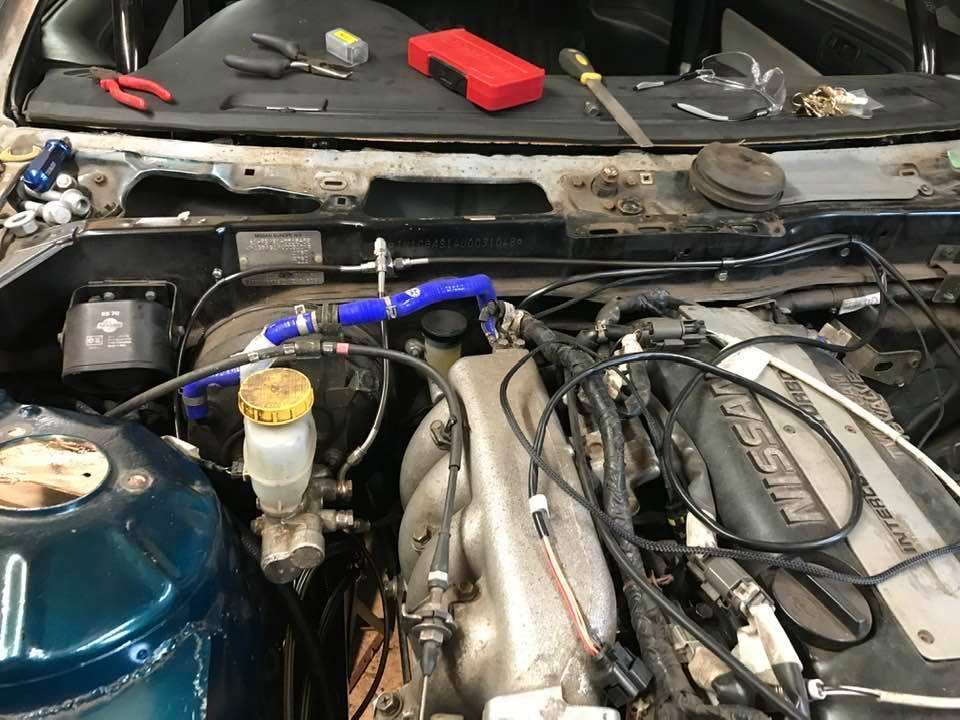
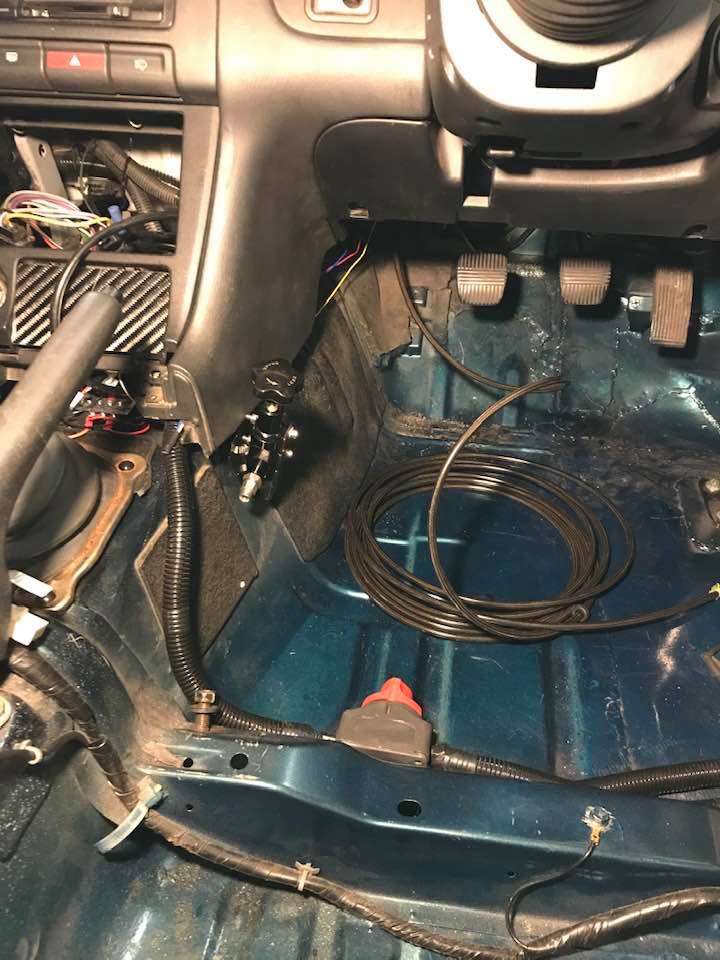
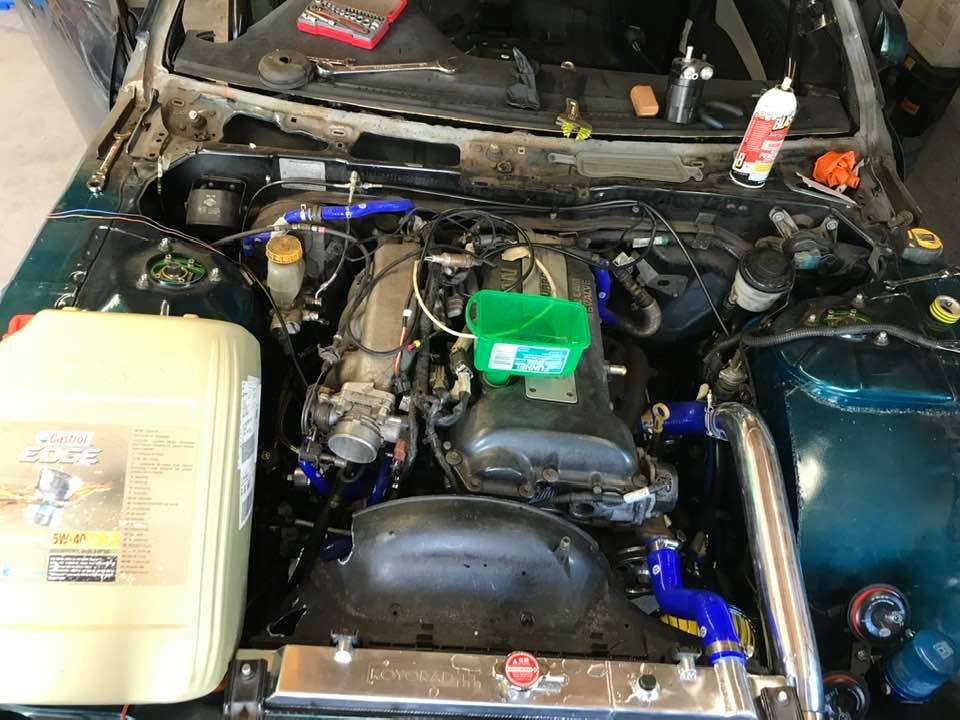
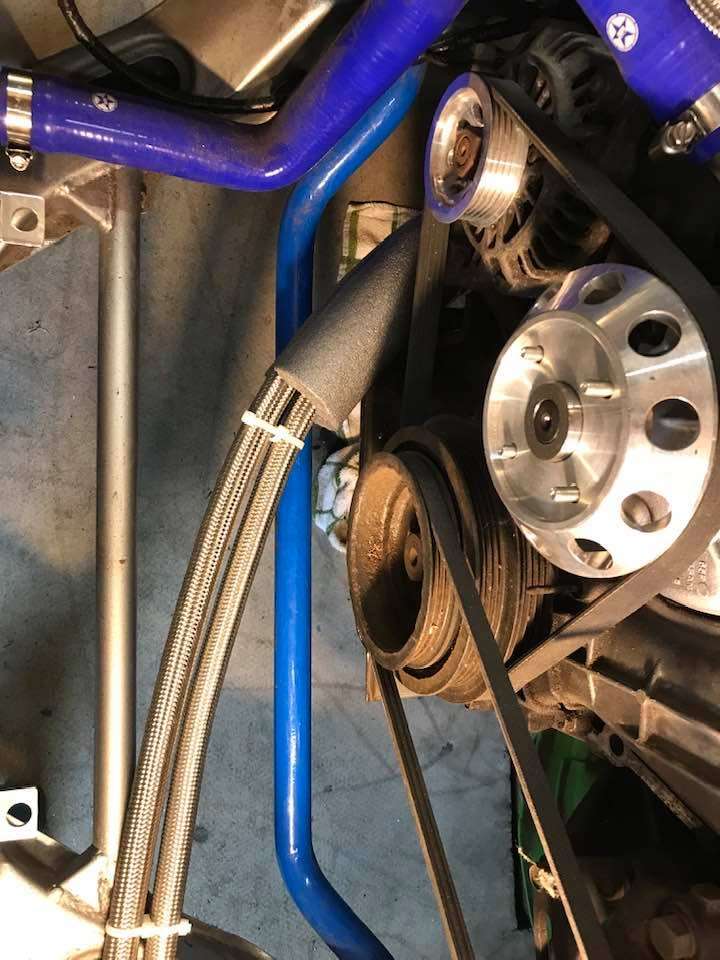
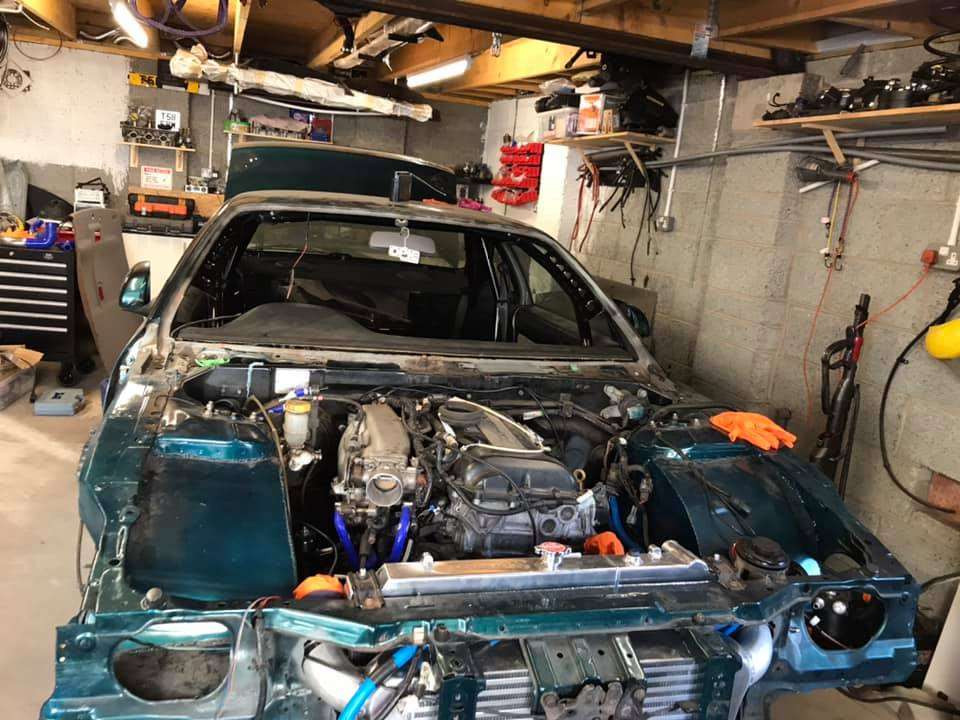
Quite a bit further on with this, just adding fluids for a start up to find all the leaks

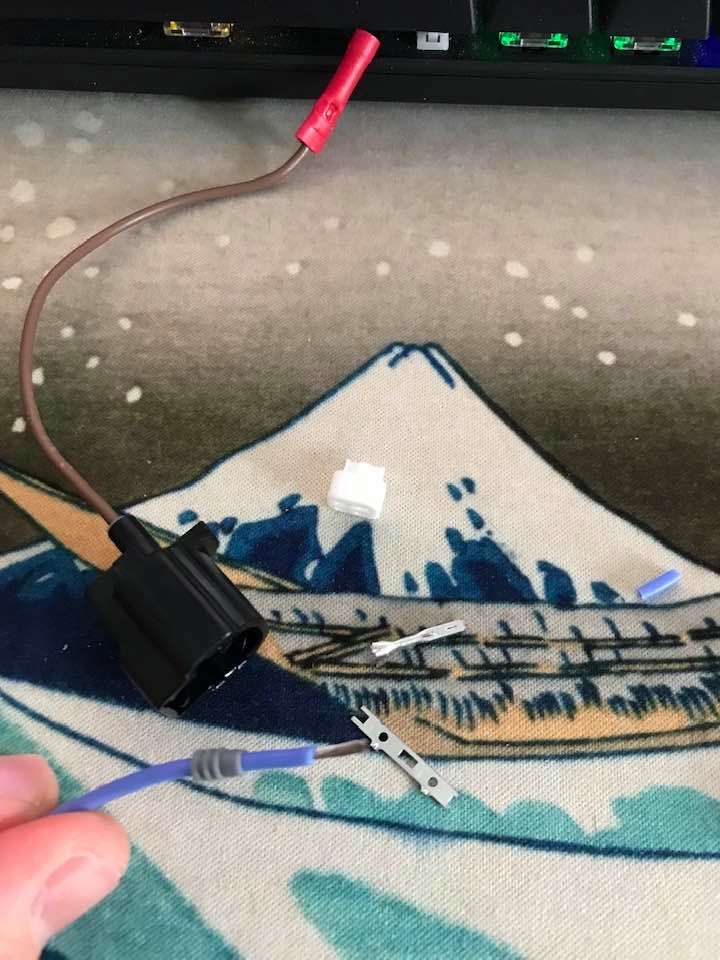
Got the correct sensor connector for wiring up the CD00* gearbox reverse switch so last one and worst to do is the speed sensor on the diff abs, still not got the correct connector so may end up getting a universal and cutting the oem


-
I can confirm as i've changed a couple of my 2003 JDM for UK ones without issue.
-
Been driving the car a bit but the belt slip I seem to be getting on a brand new belt is starting to get on my nervs.
I have a feeling my tensioner is corroded and in need of a replacement as its maxed out.
So I should be looking to fix the car.....
Instead I sold my daily driver Jimny (market value is totally over inflated at the moment, new commercial is due out soon so wont take much to throw seats in the back). Made 5K profit selling to a Suzuki dealer from down south, only for him to inflate the price 2-3K more. £16,000 new to £23,000 second hand??? who are these people buying second hand cars? everything seems overpriced.
So without a daily driver I needed something to replace it..... seems I have to wait till April/May 22 for it to arrive, and its ONLY a Yaris....
Maybe by the time it has increased 5K in value I will have the 200sx on the road and the 350z working perfectly. 😅
-
1
-
-
Wow , great build can't believe ive missed this, glad I came accross it as I have not seen the playdo valve piston gap done before.
Engine sounds great.
")
-
1
-
-
Took what I had invested (plus a bit) back in 2017 out last month, now its all profit/investment for me and will maybe buy or sell some coins every now and again, its a total gamble IMO and I have my doubts about the industry. I think the boat has sailed as the majority of my younger work mates are all going crazy for it so I don't expect as huge swings in the larger currencys.
-
2 hours ago, Ballwork said:
I've heard many bad reviews of these things. I really don't think I'd take the risk for a little faster revving. Supposedly if you have a lightened flywheel they're not too bad, but on a stock dual mass supposedly they effect the harmonics of the crank
otherway about, the dual mass helps remove harmonics so if you have neither then your more likely to get wear on your crank.
-
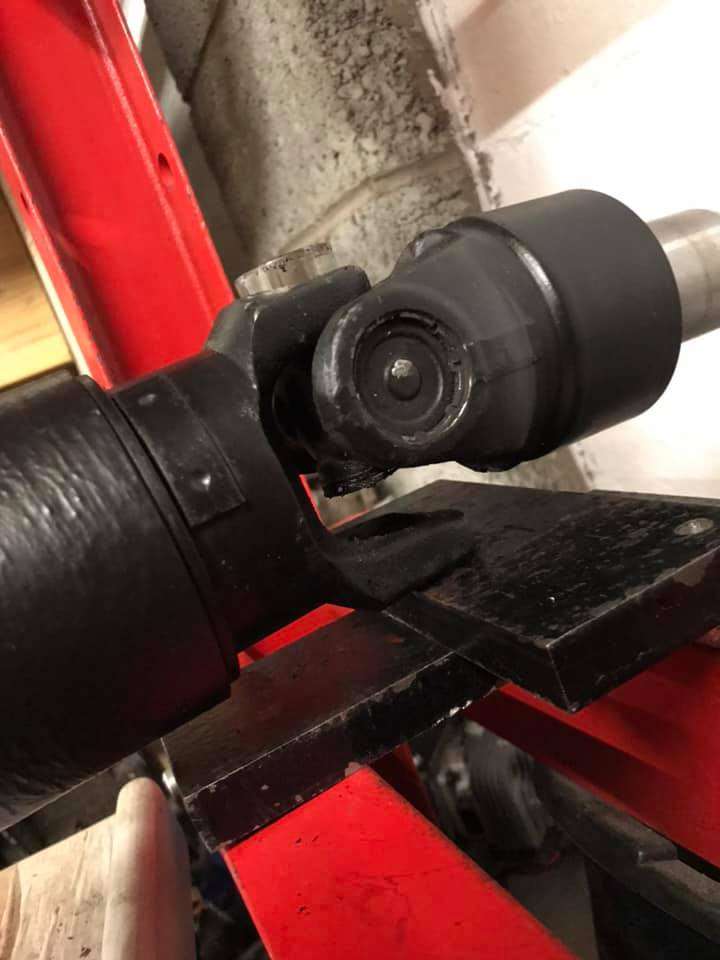
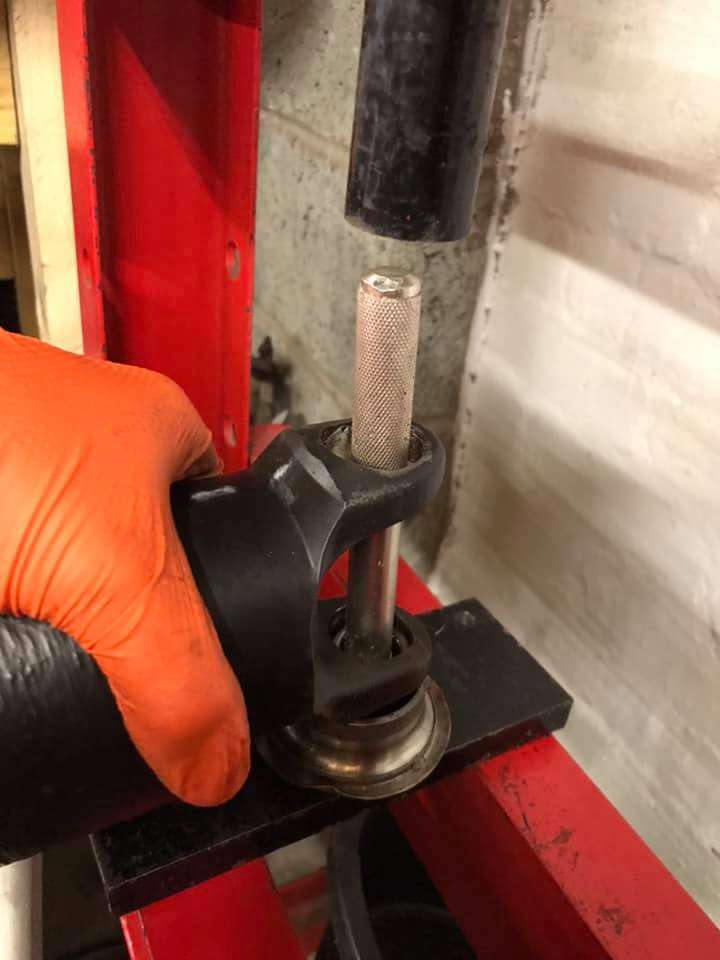
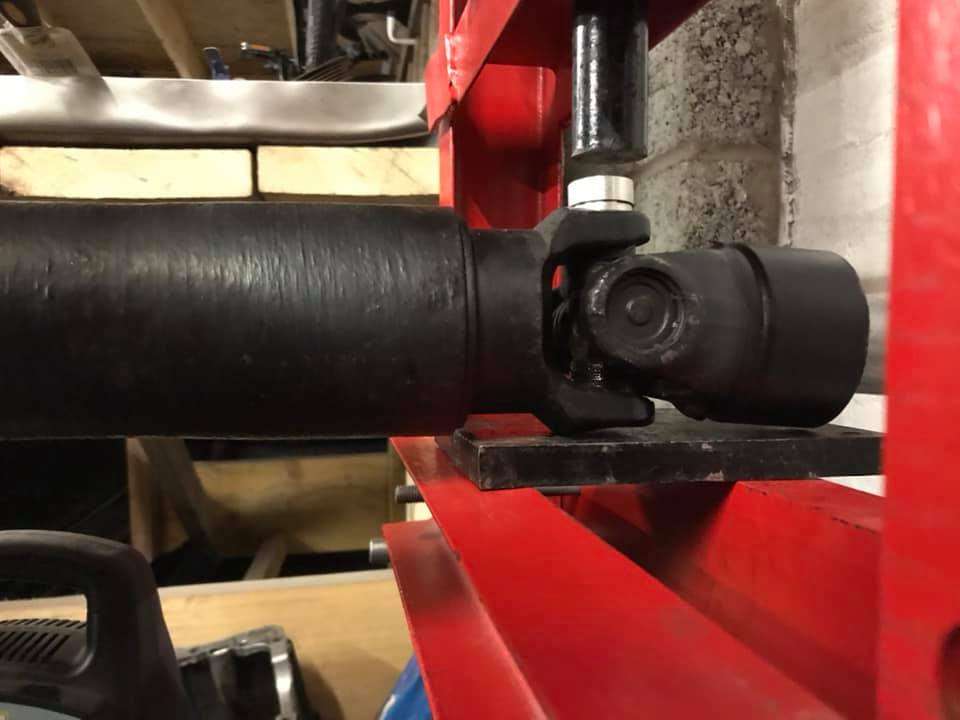
Wont be doing that again, nothing was easy.
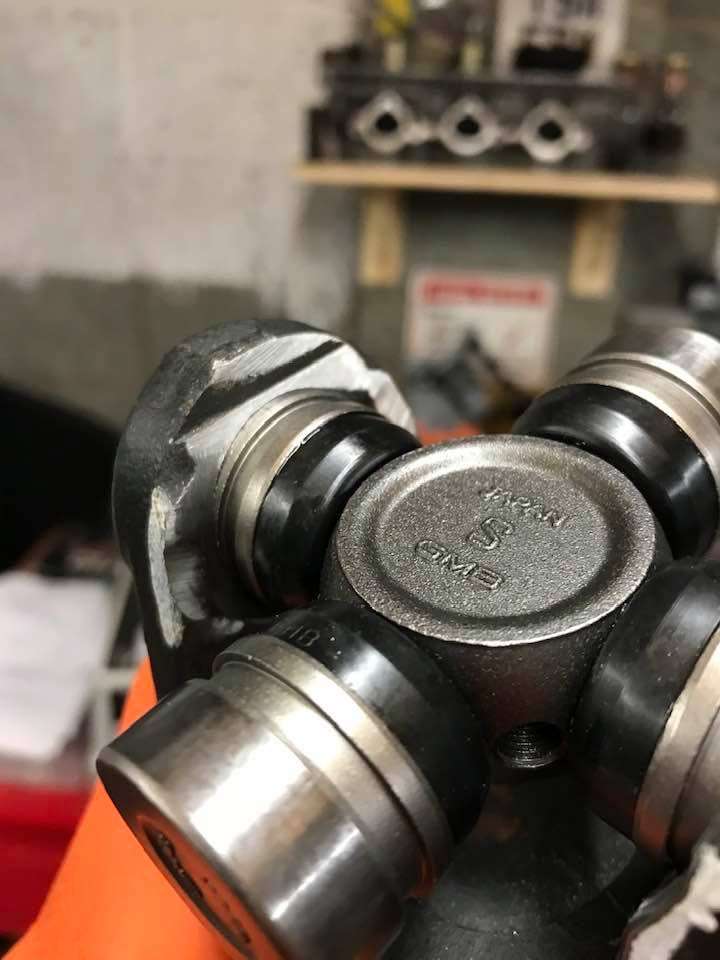
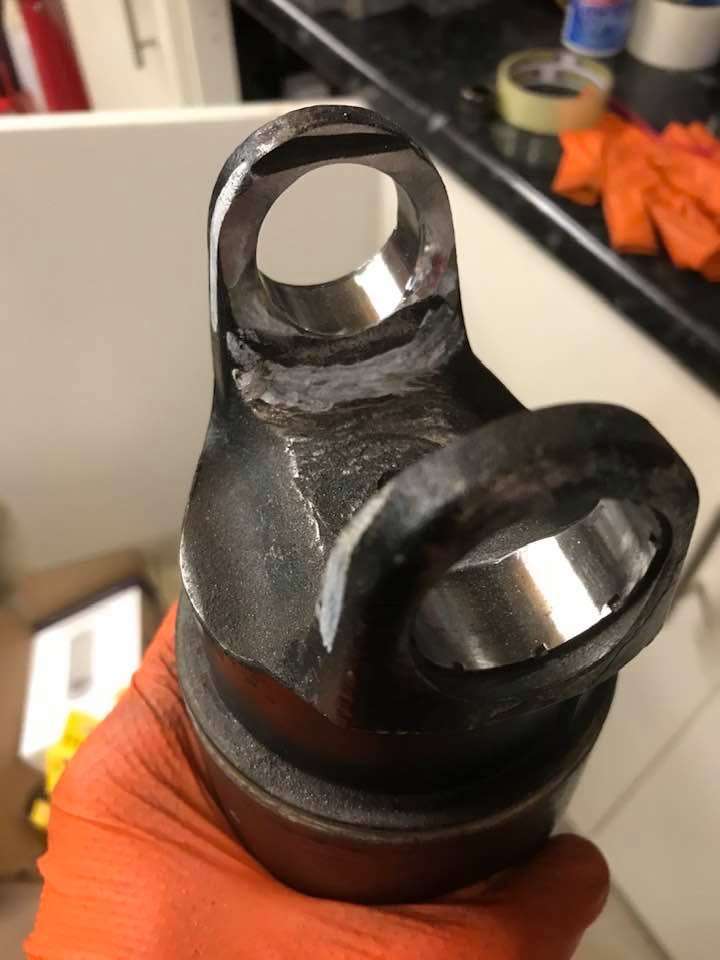
U joint needed the ear lobes on the couplers ground down as the snap rings wouldnt fit in.
Used seam sealer on the joint, then thought my new air hammer attachment would speed things up.... it didn't so went back to the hammer.
-
if its an external slave cylinder I would pull back the rubber boot and add some grease, i find once the slave is old the water gets in and it starts to squeak then fail.
-
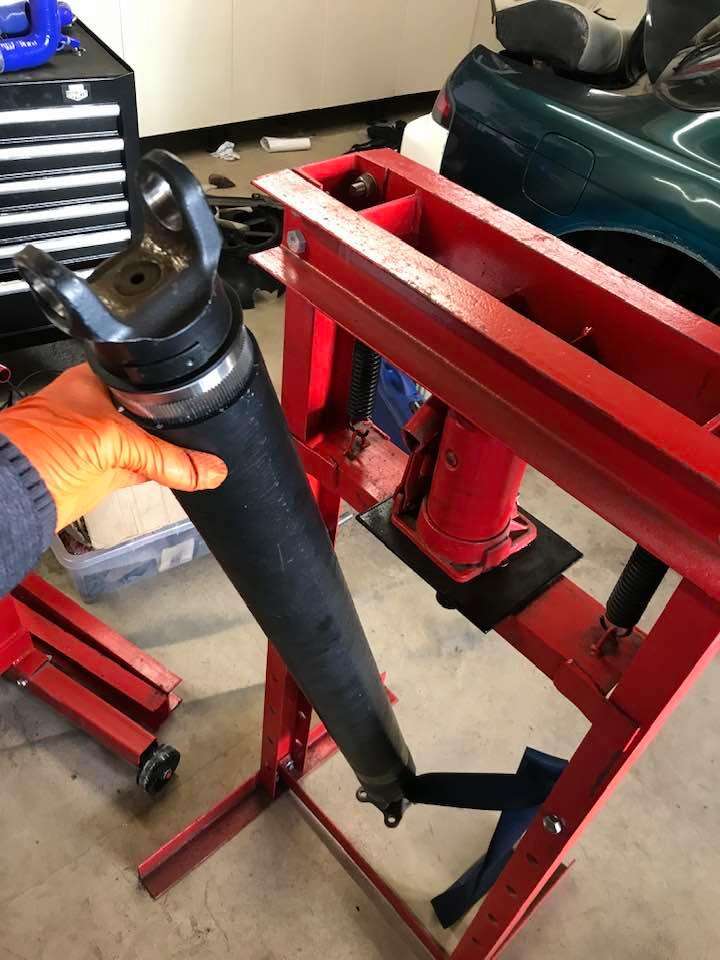
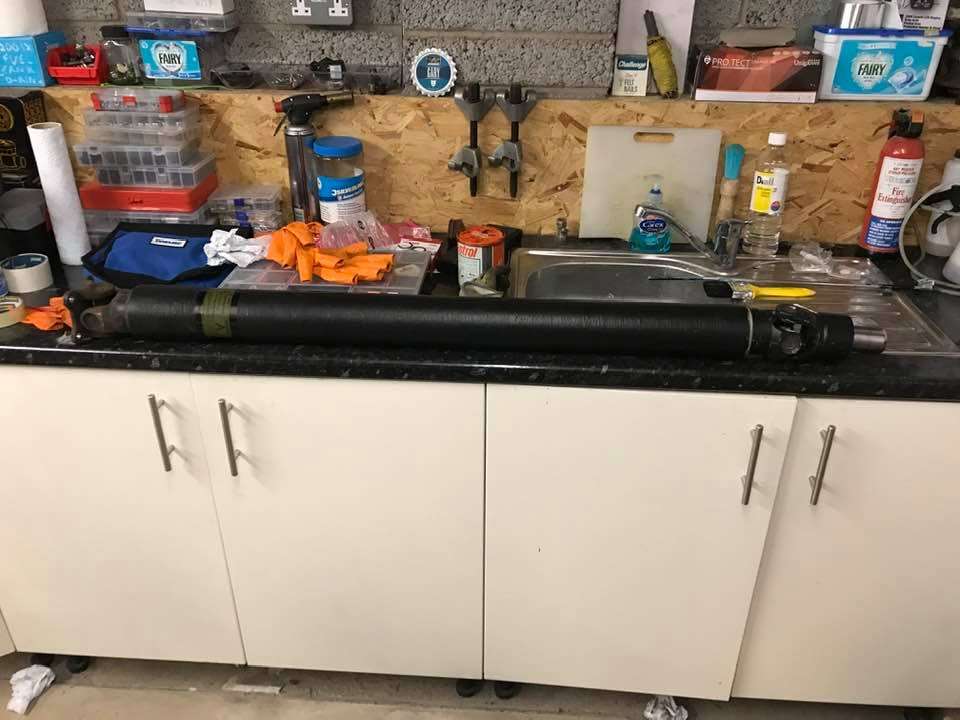
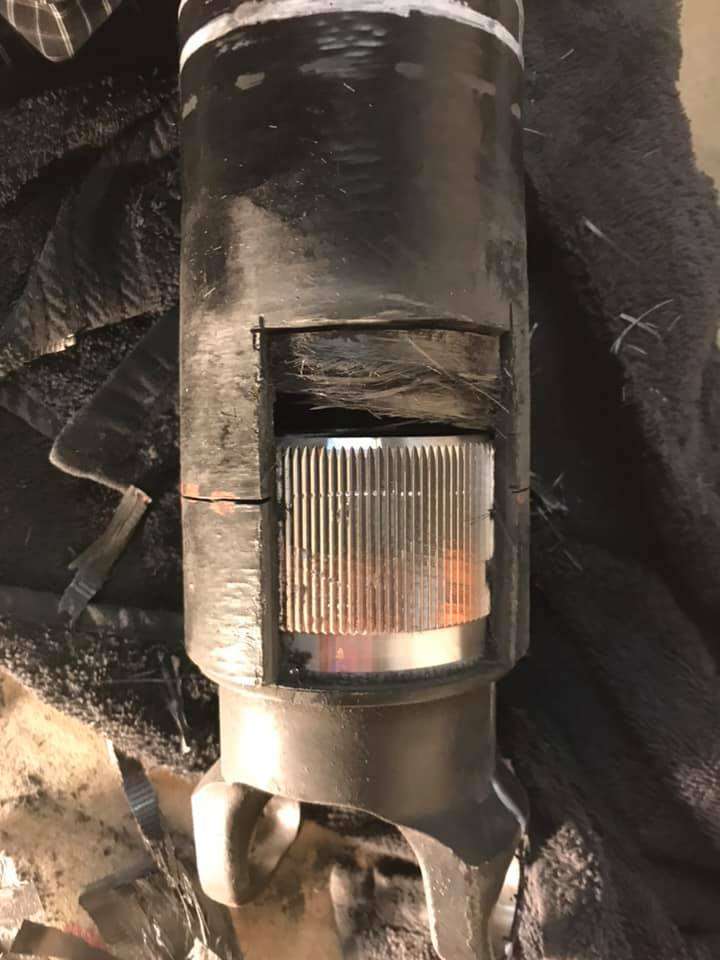
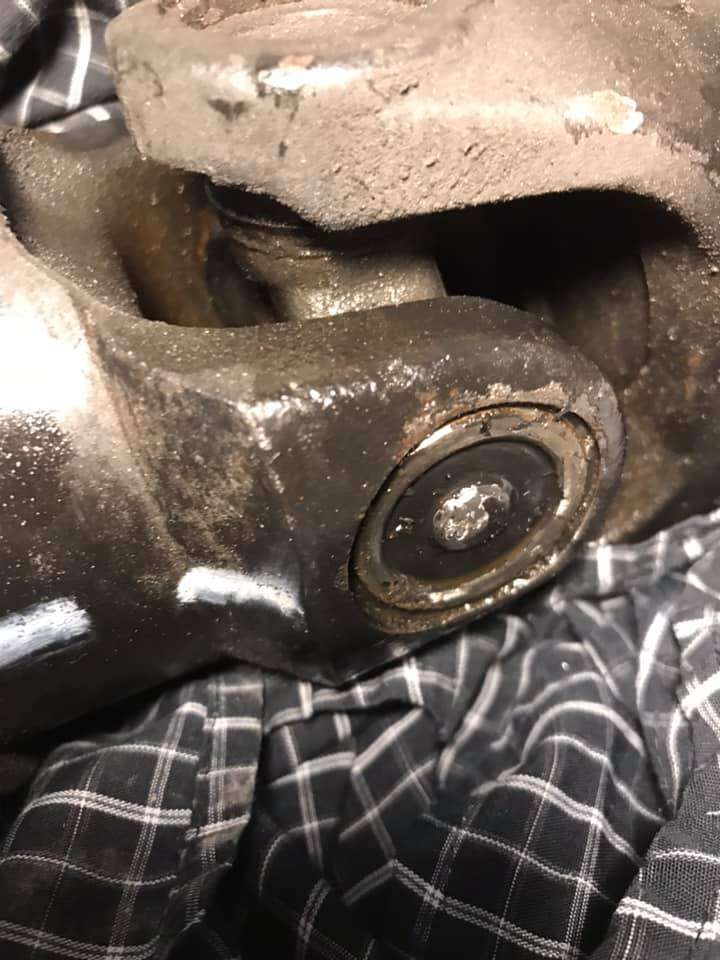
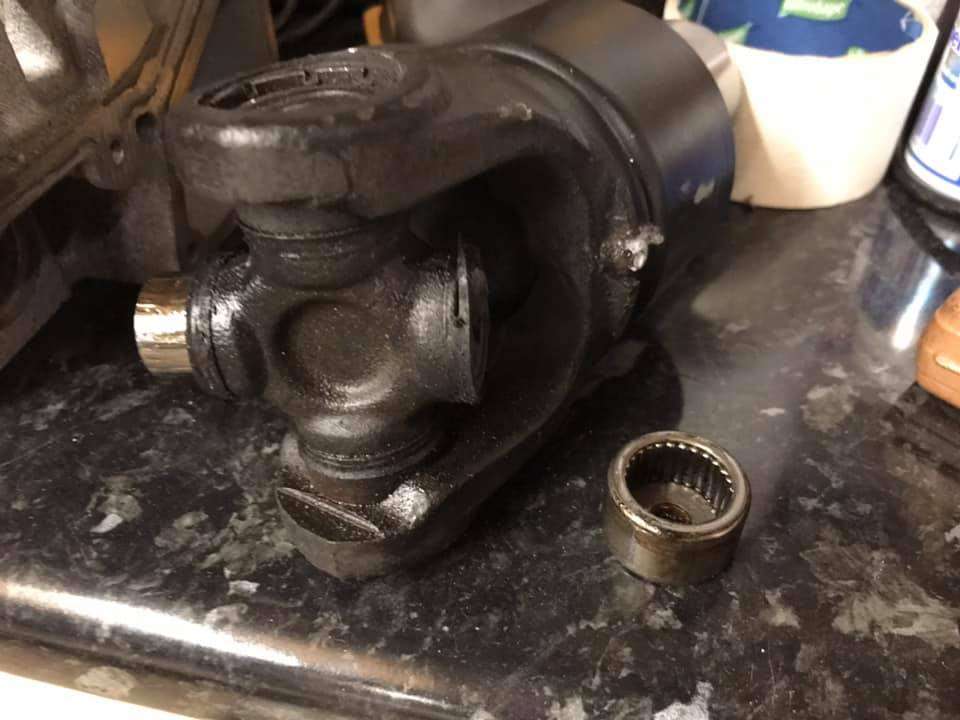
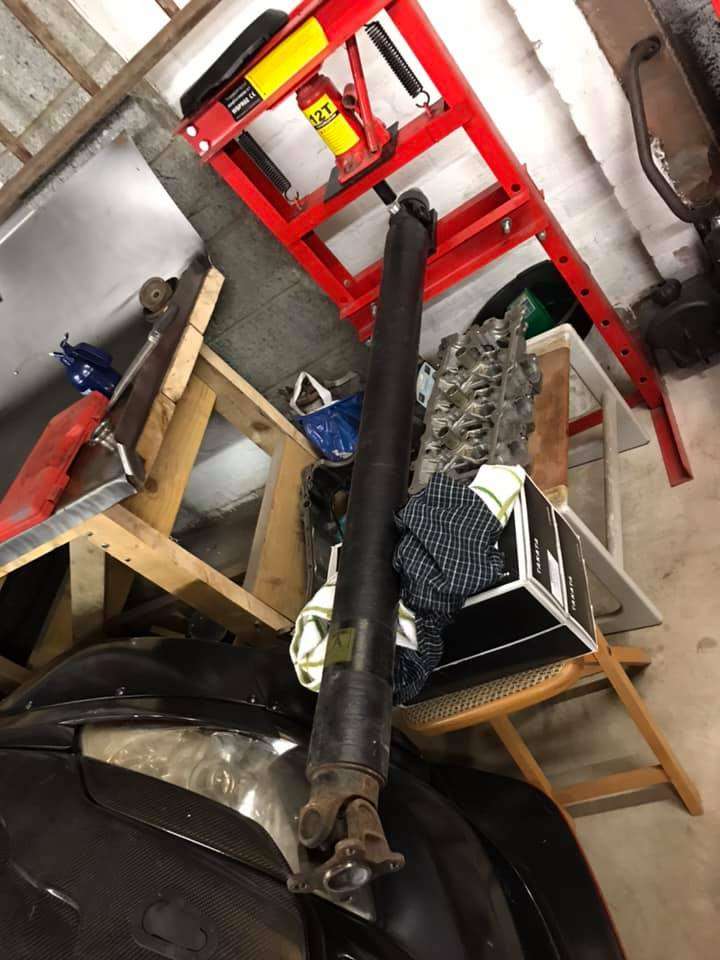
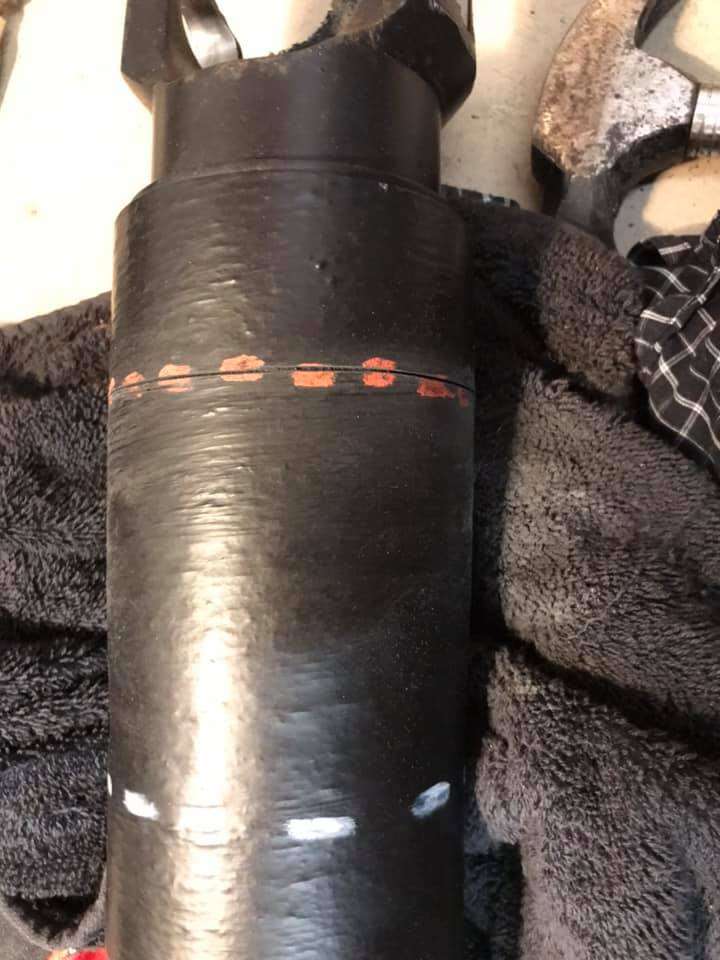
Thought i found a treasure map inside the propshaft, probably there to expand and give weight at speed so its staying... whatever it is lol.
Think they used seam sealer on the end to keep moisture out so probably do the same, was going to use a big o-ring but not sure now.
-
-
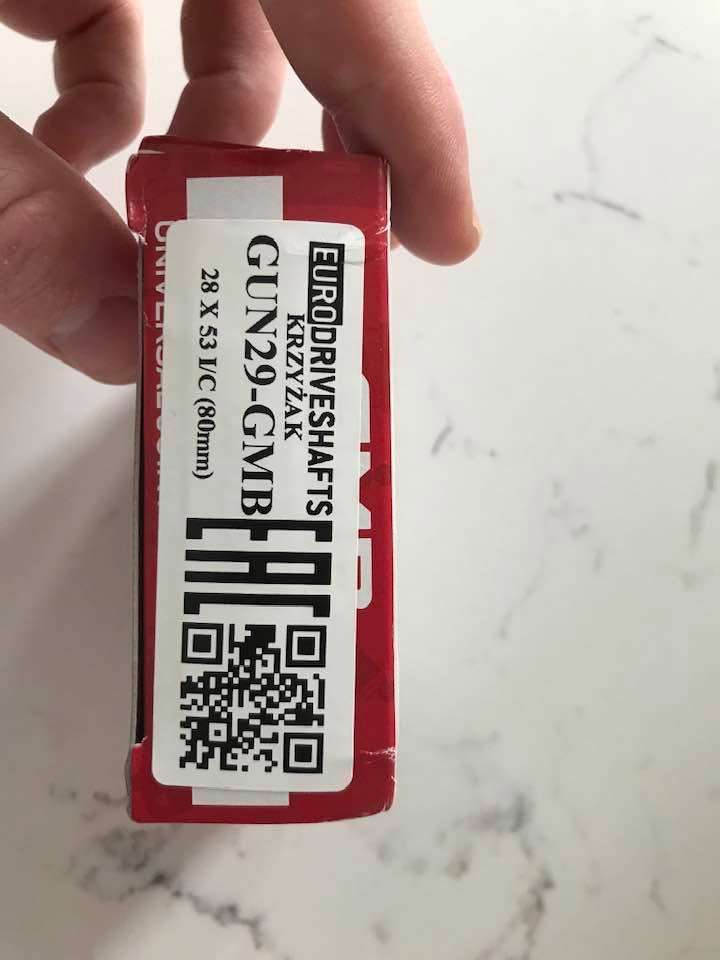
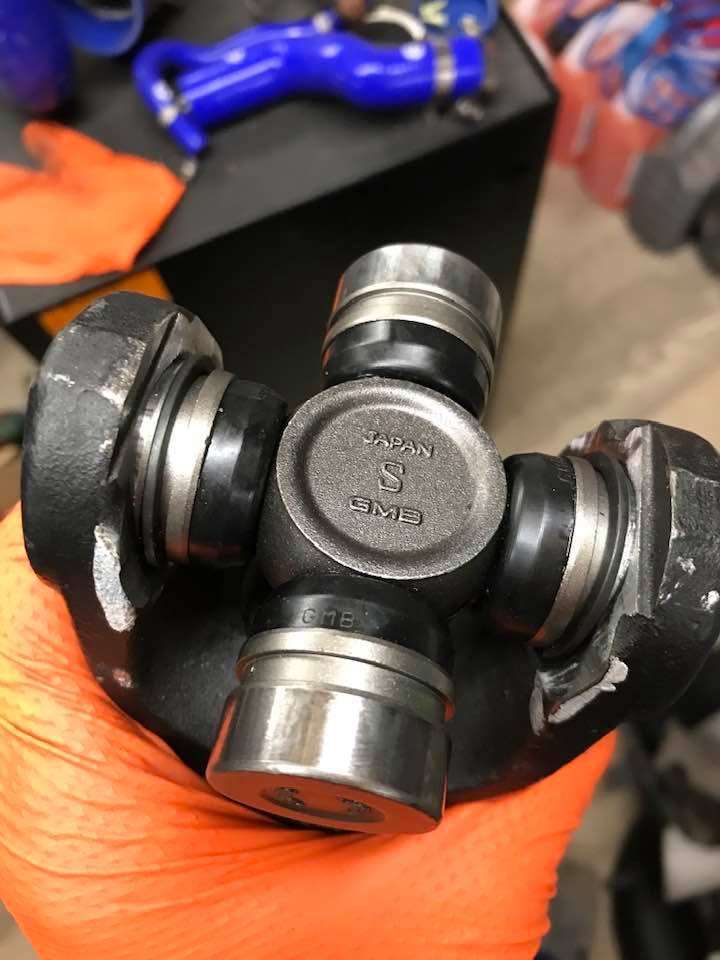
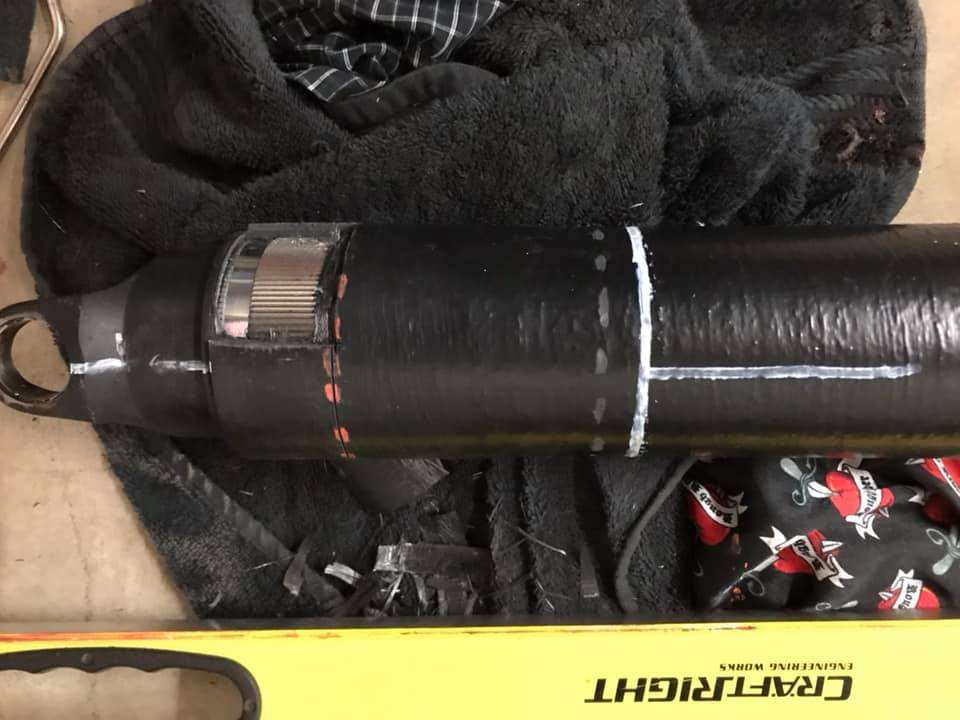
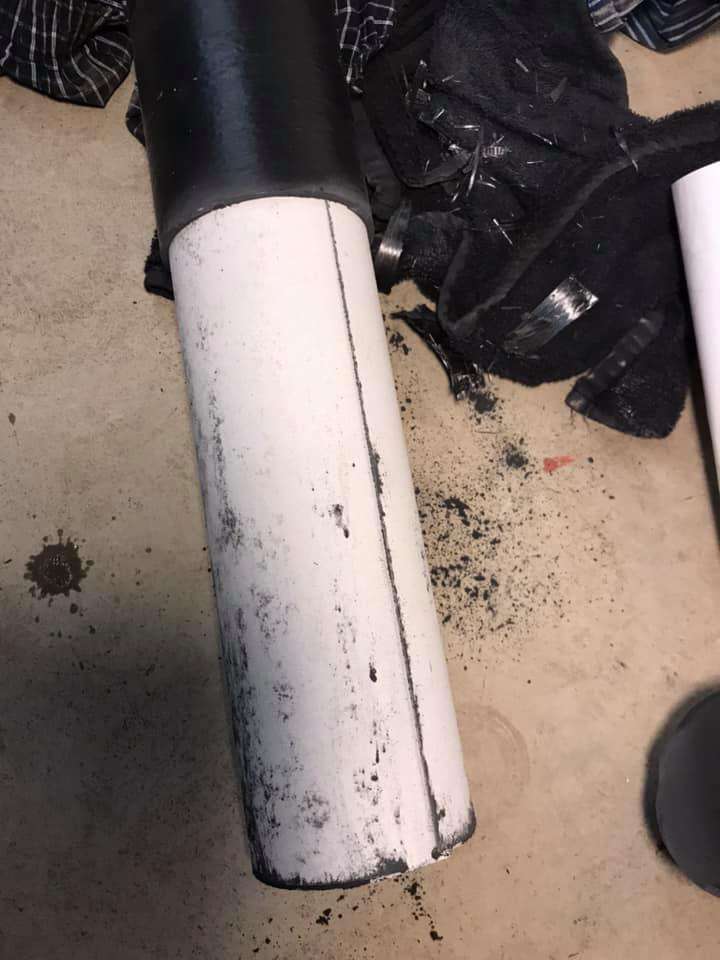
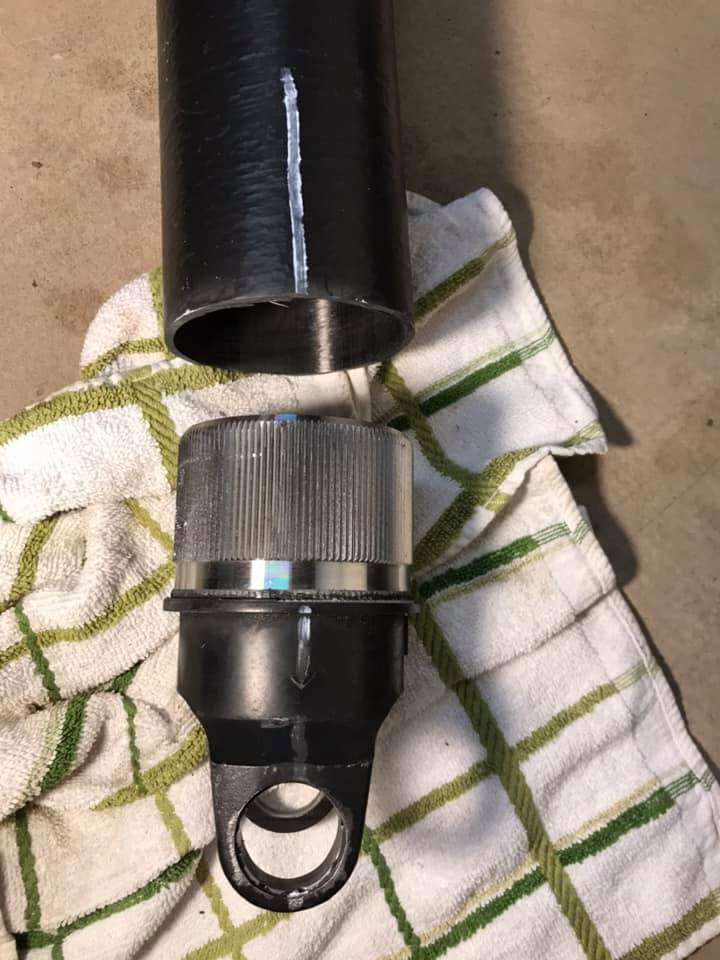
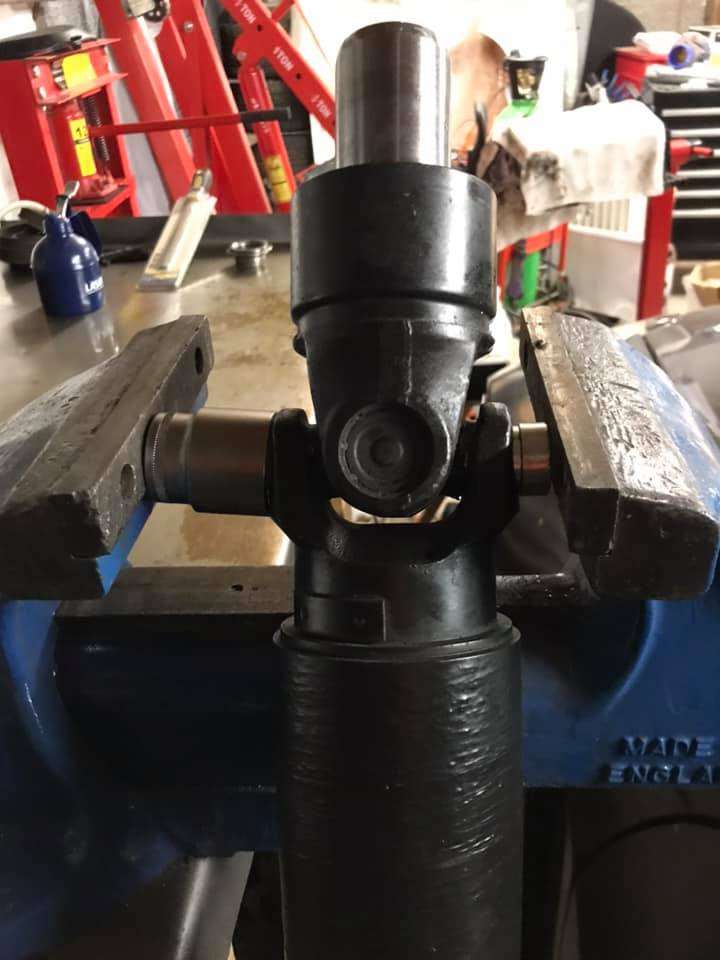
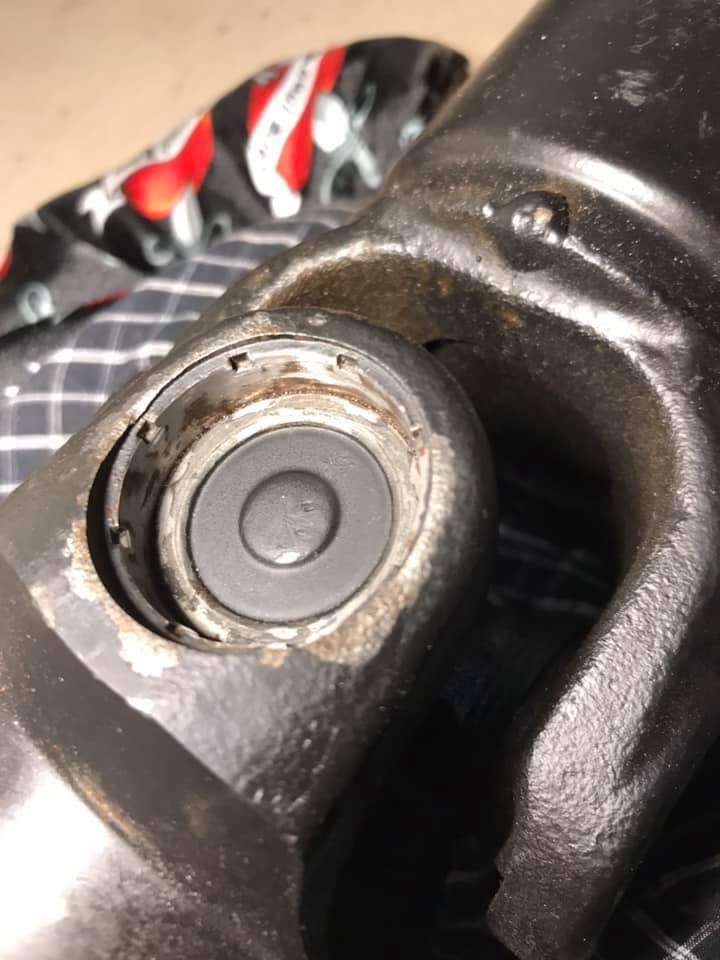
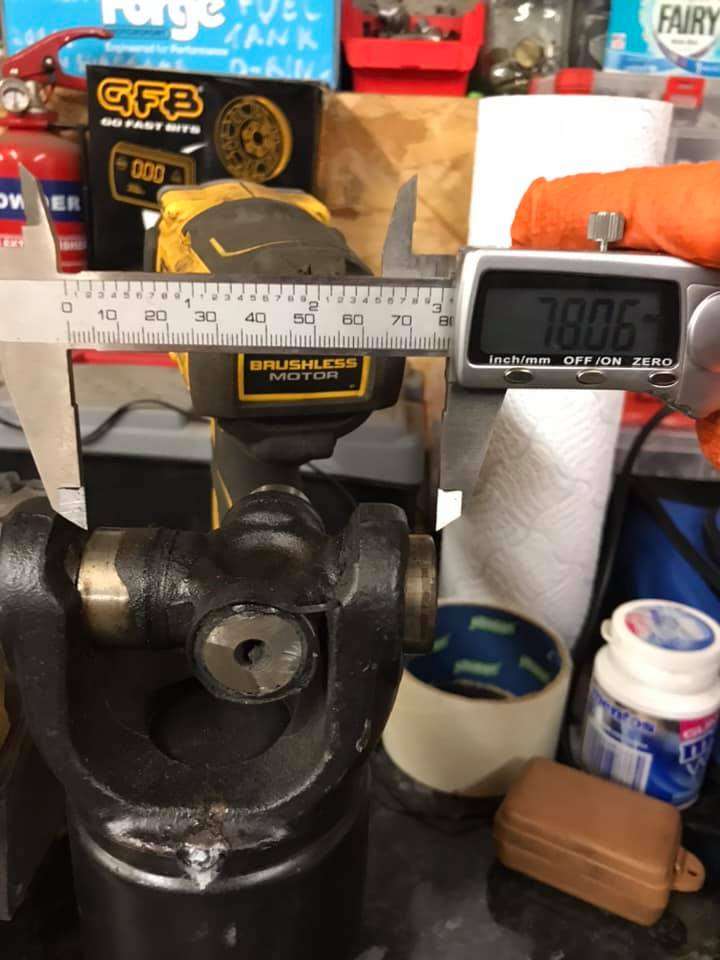
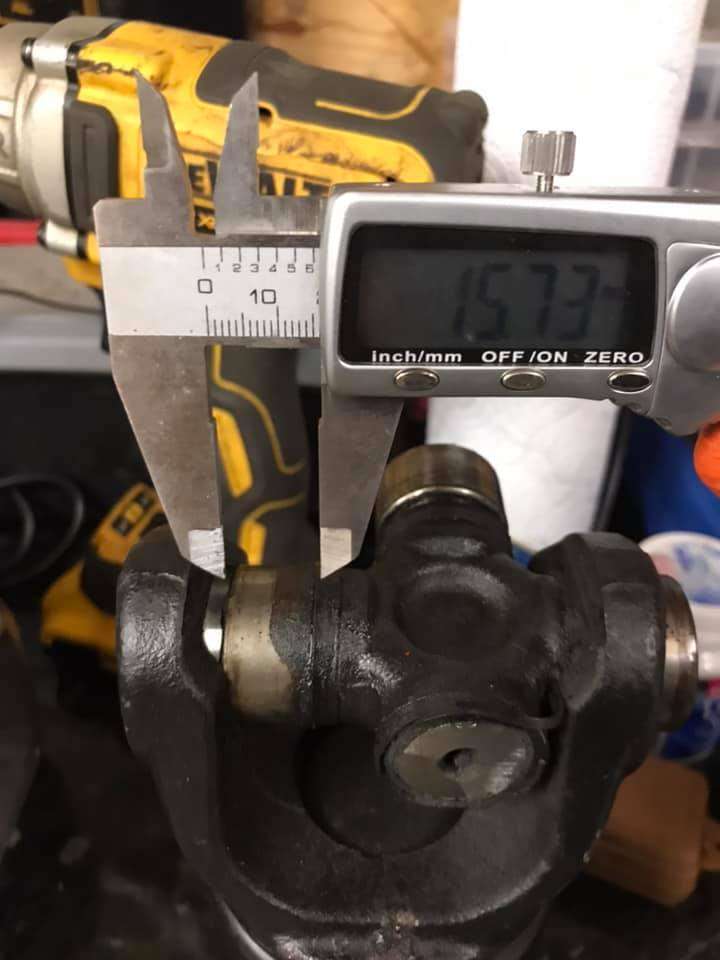
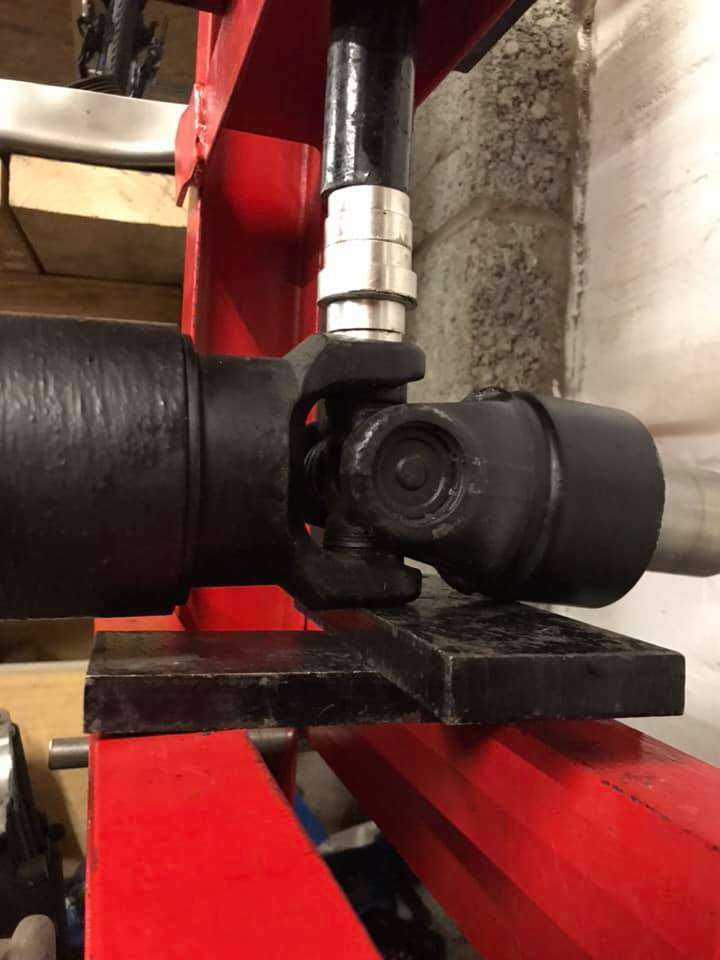
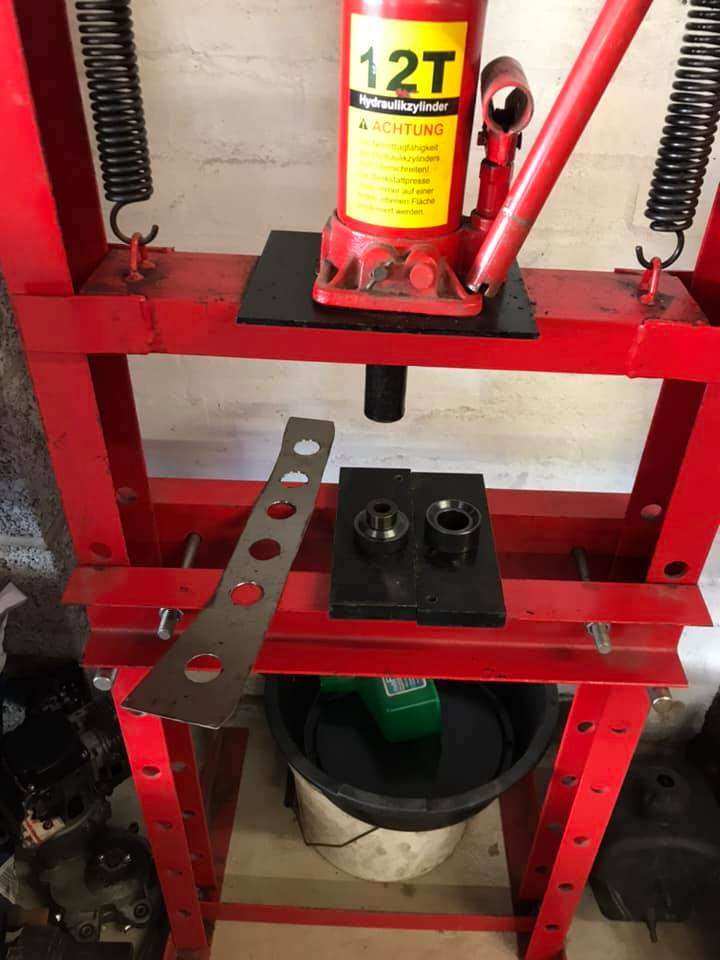
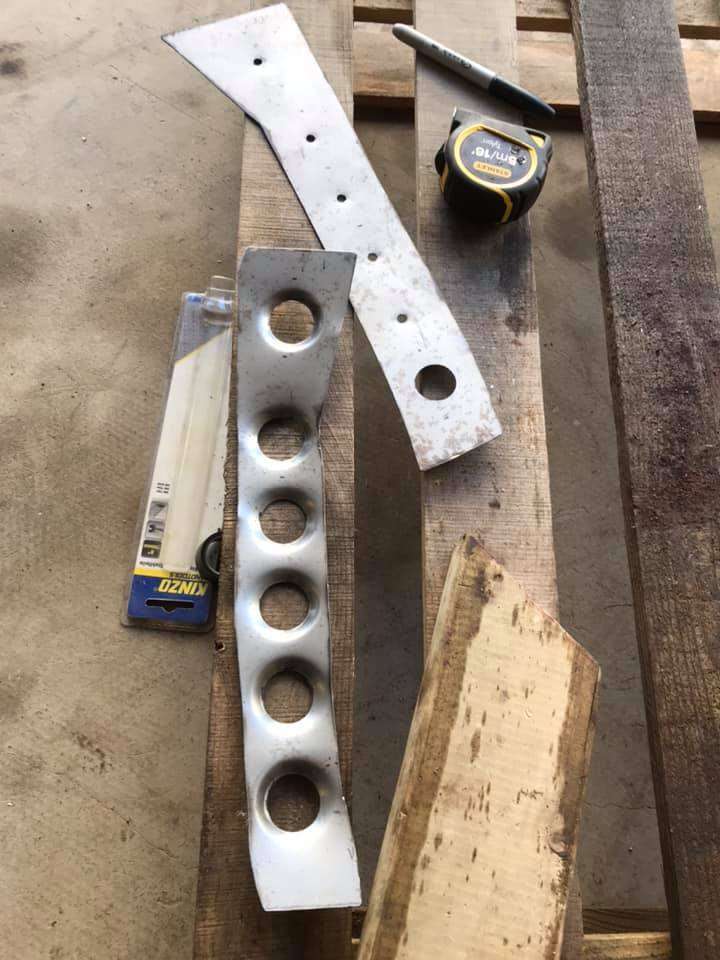
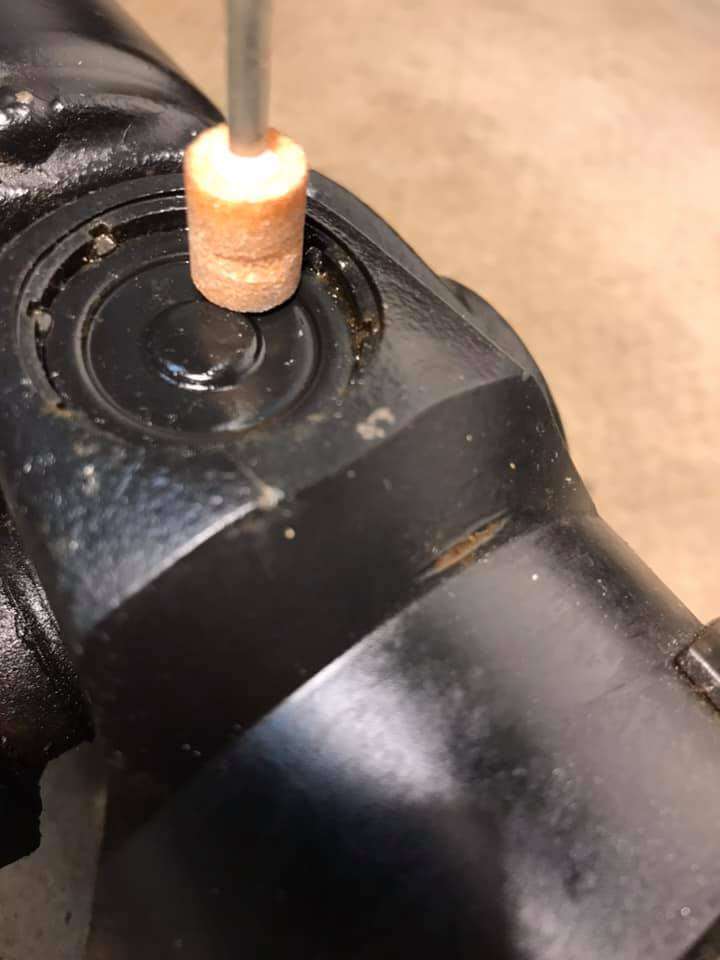
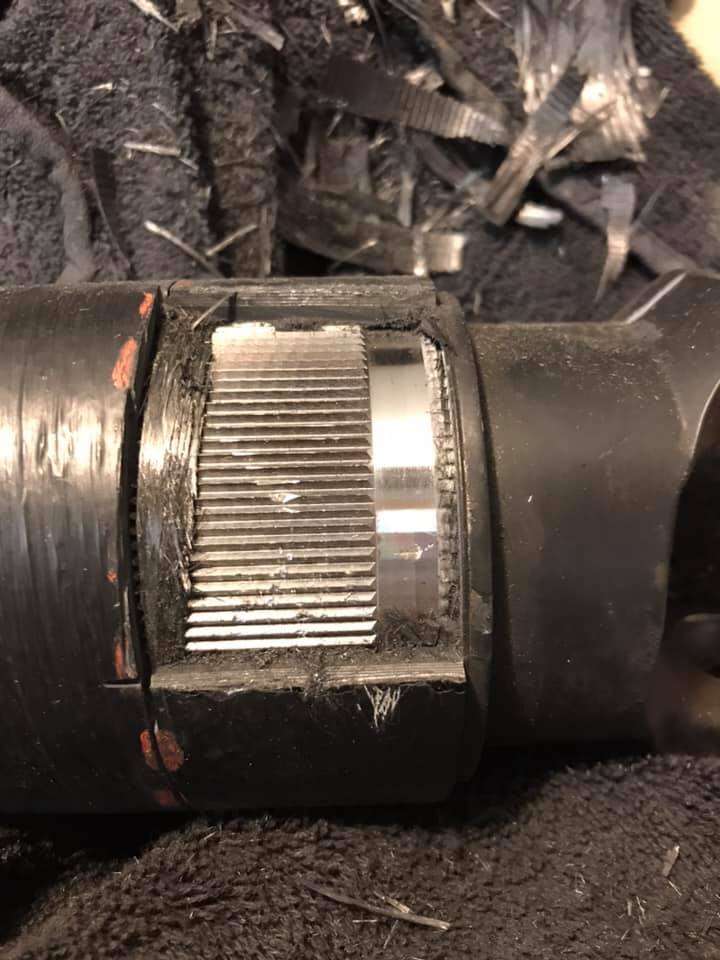
Might help someone one day but here are some sizes and the struggle that insued for u joints on 350z propshaft.
Tried multiple ways, all terrifing as the ears for the u joint are not flat/level.
Ended up using the press and shutting my eyes.
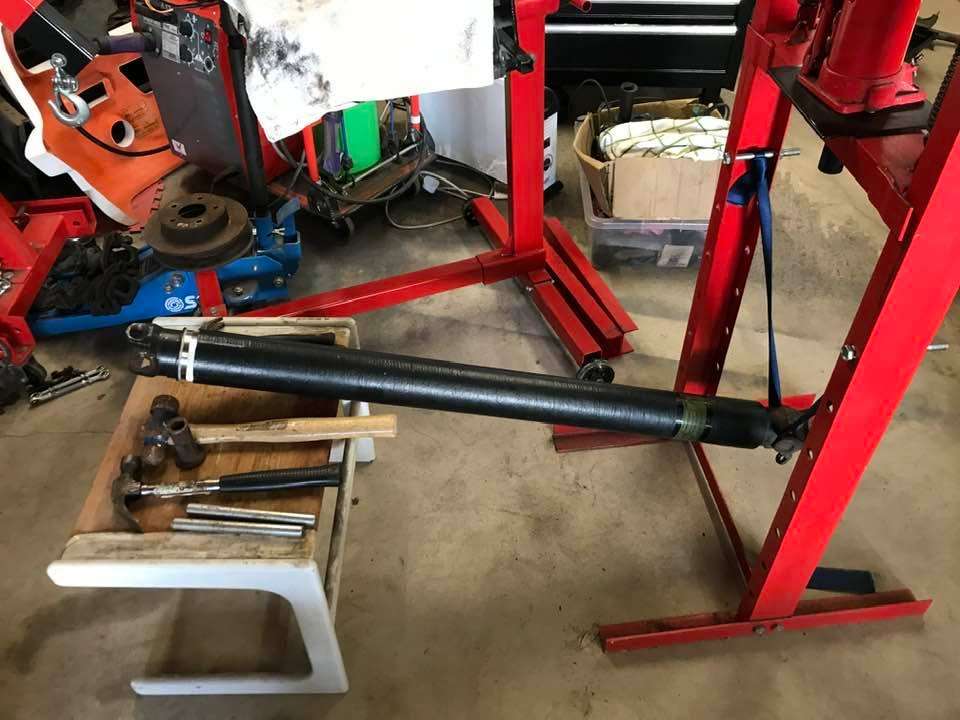
Also cut away a section of the carbon fiber propshaft to see if it was splined.
Found some picutres on Trigs escort build on their forum of the inside and he has just cut and pressed the shaft back on, I had intended to cut small sections and press it back in after a few goes but the mess the carbon makes is horrible so just going to cut the steel section completely free and hopefully press it in.
Need to find an old seatbelt now to go through the other u joint as I dont need to replace or hack that side up.


-
As always Zmanalex comes in with the goods. Cheers for the quick reply and conformation on how to do the job.
Didn't think about a grease top up U joint but I will look for one. (probably lucky if the car will do a few thousand miles a year but better to be serviceable.
-
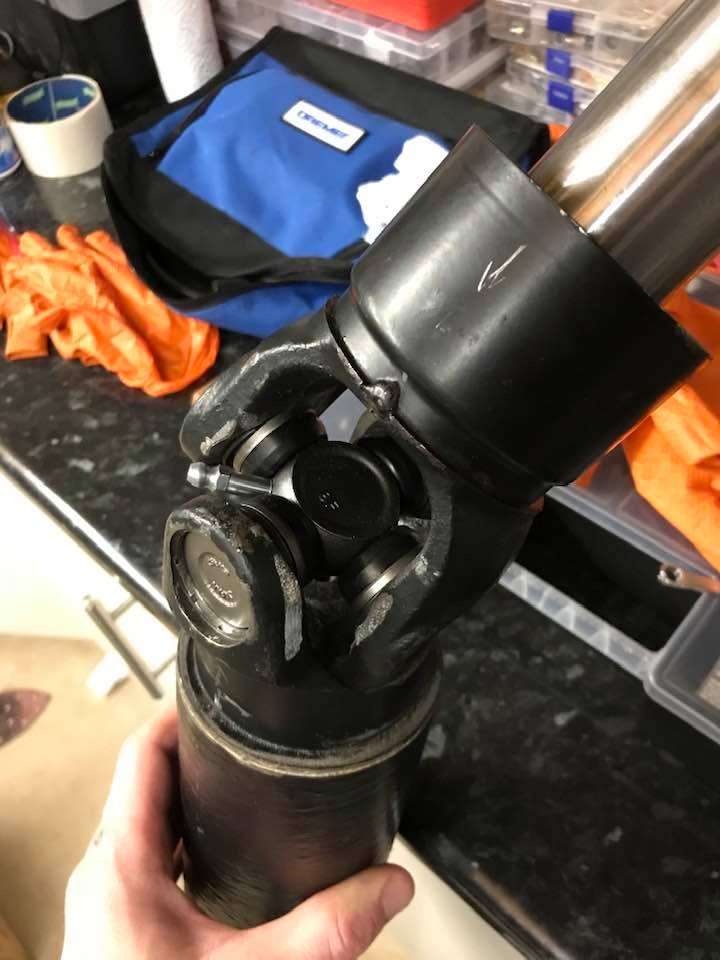
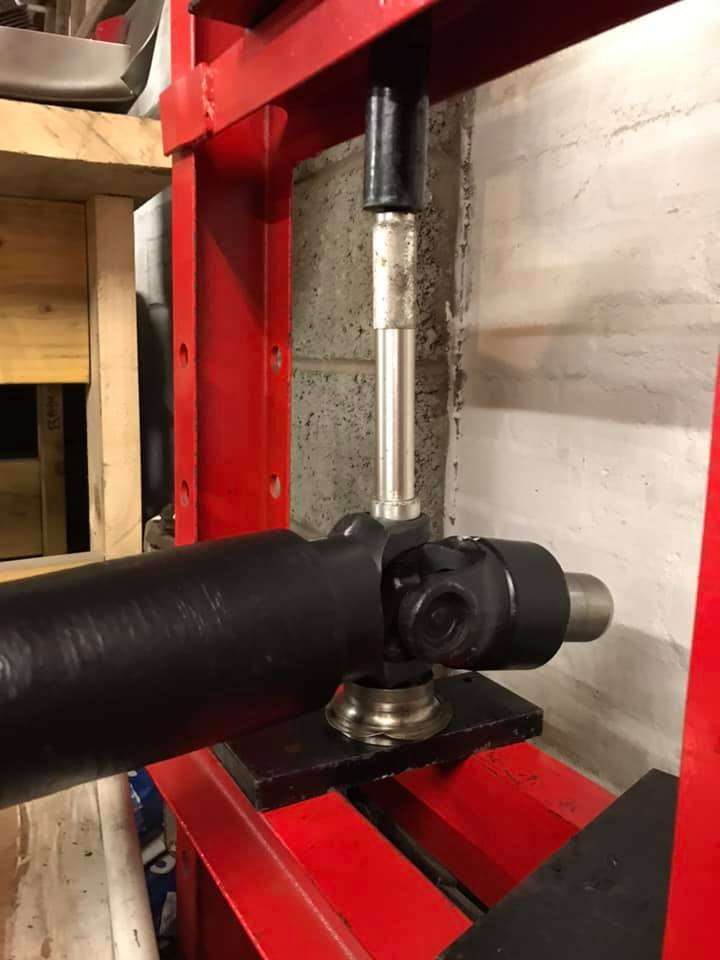
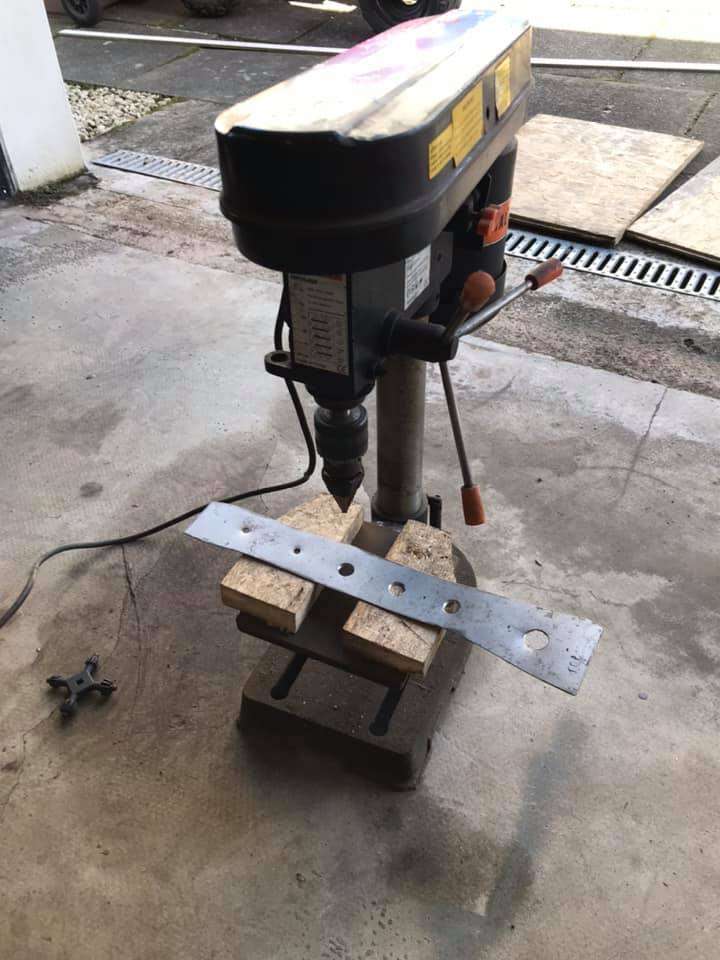
So didn't have much time today only half ass attempt.
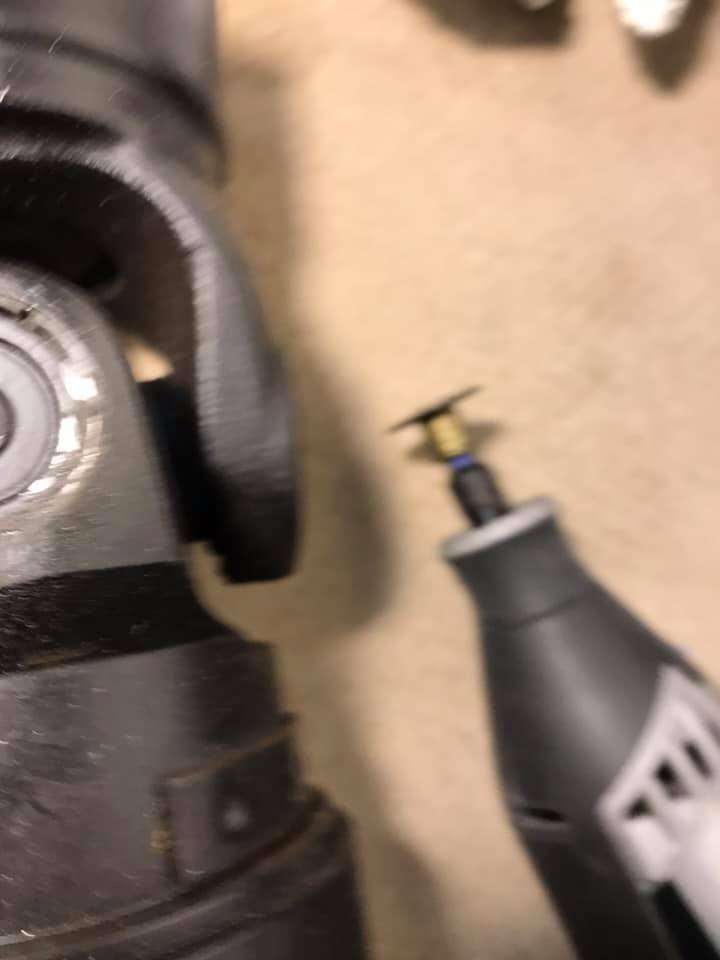
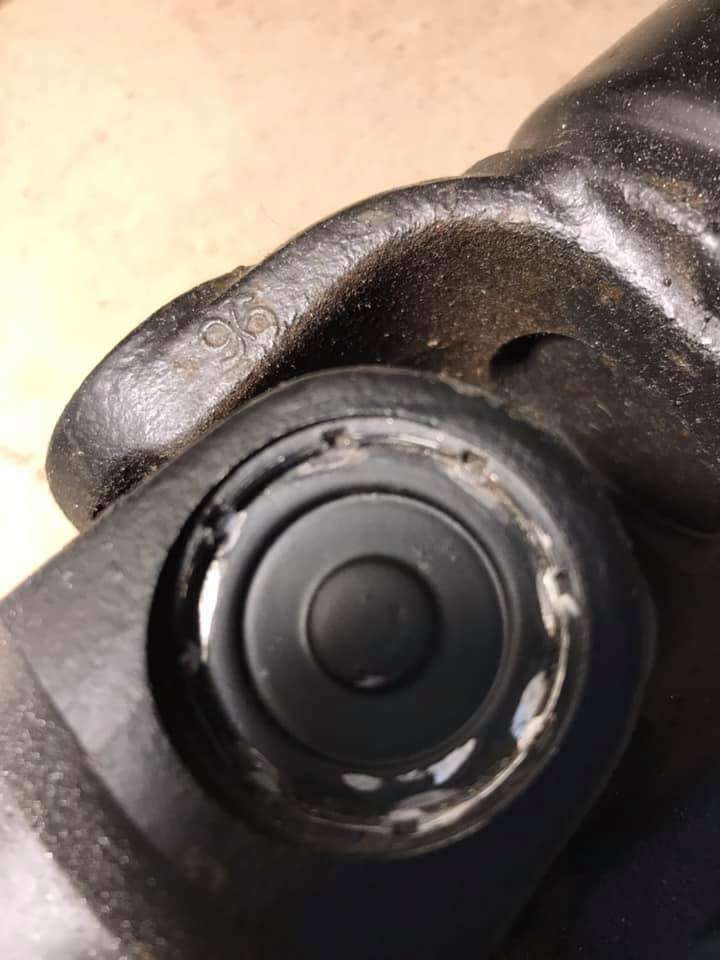
used the dremel and a tiny used cutting disc to wear down the pressed/staked tabs on one side, then put it in the press, its not flat or level so not ideal.
Started to press with the end of the joint supported 2nd last picture but I started to worry when I was putting a lot of force and not seeing or hearing anything.
Too late at night to be not 100% focused so sha@{+t it and desided to message Zemanalex for advice and wait till i am off again on tuesday, hopefully find a replacement part somewhere with internal snap rings as I dont fancy buying a staking machine/ tool.
-
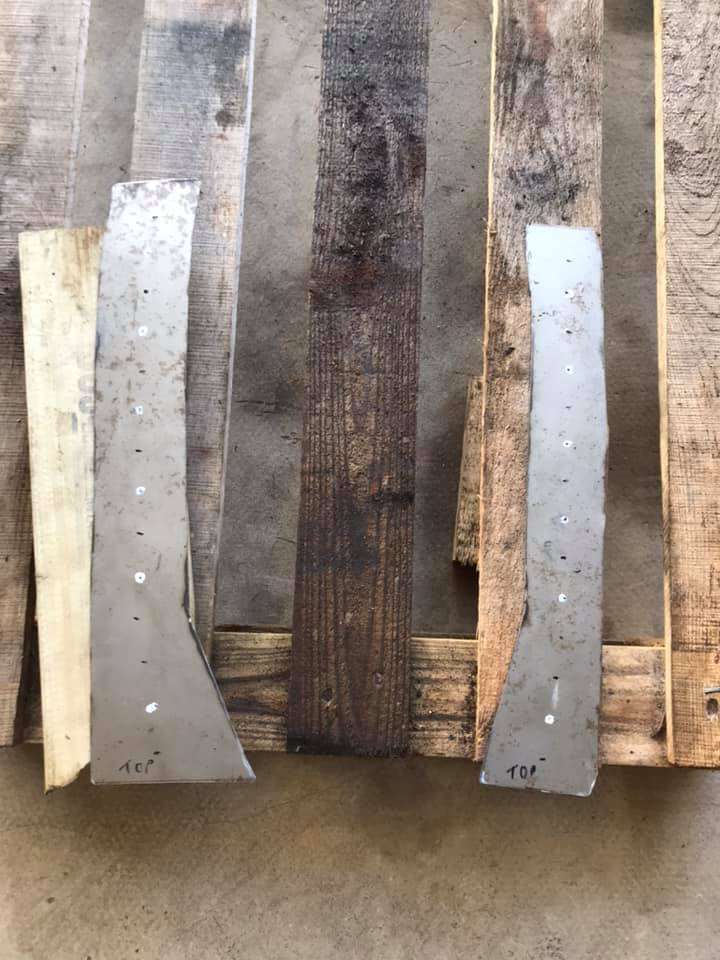
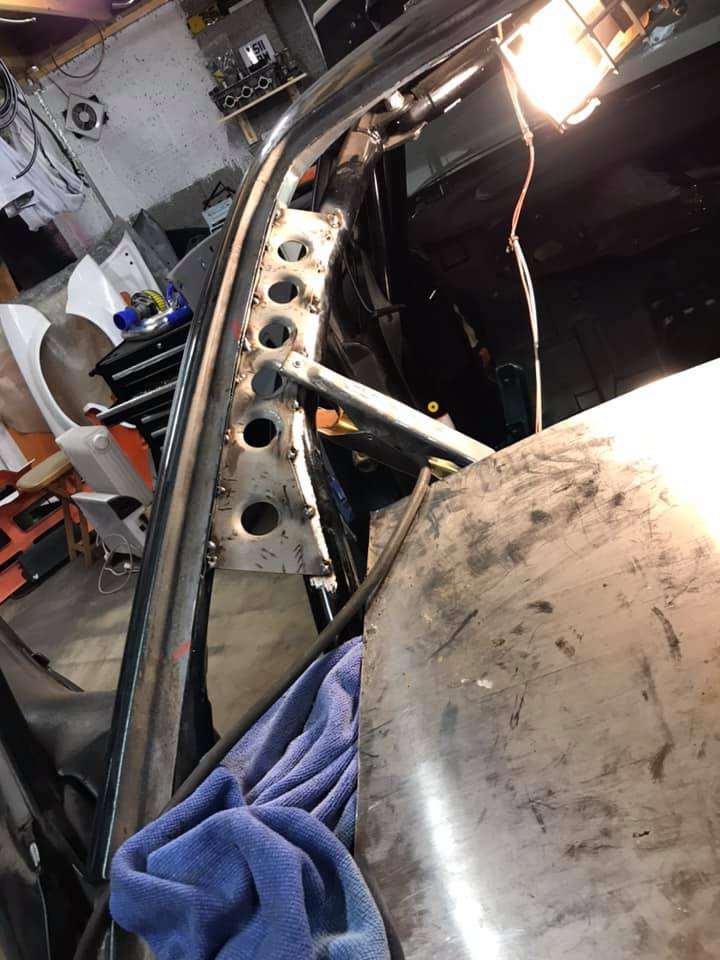
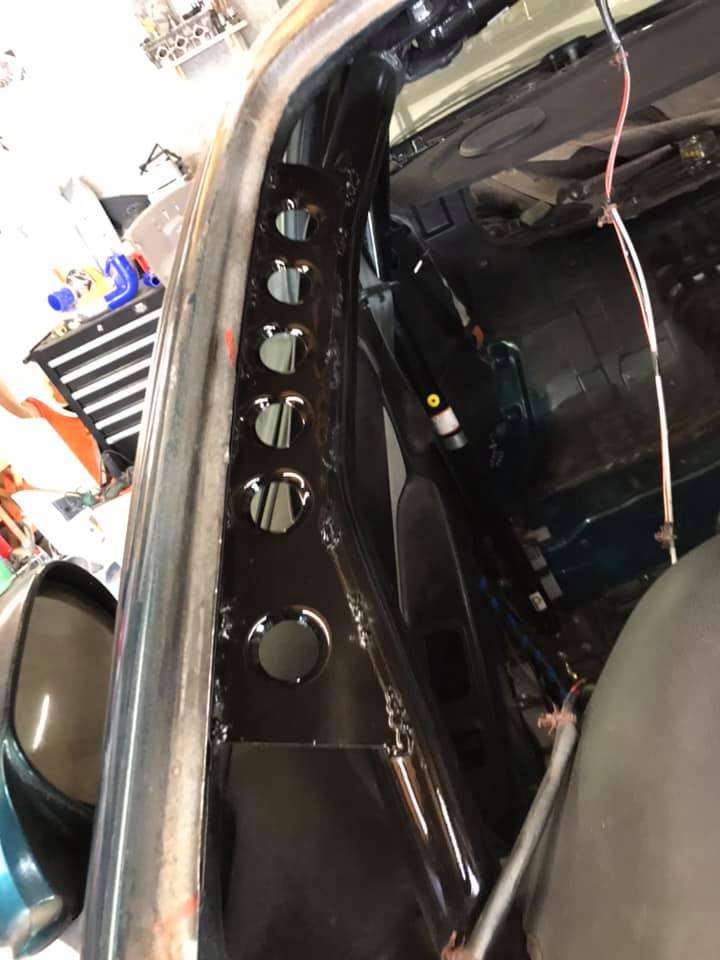
forgot to update an earlier acheivement of making some gussets for the a pillars.
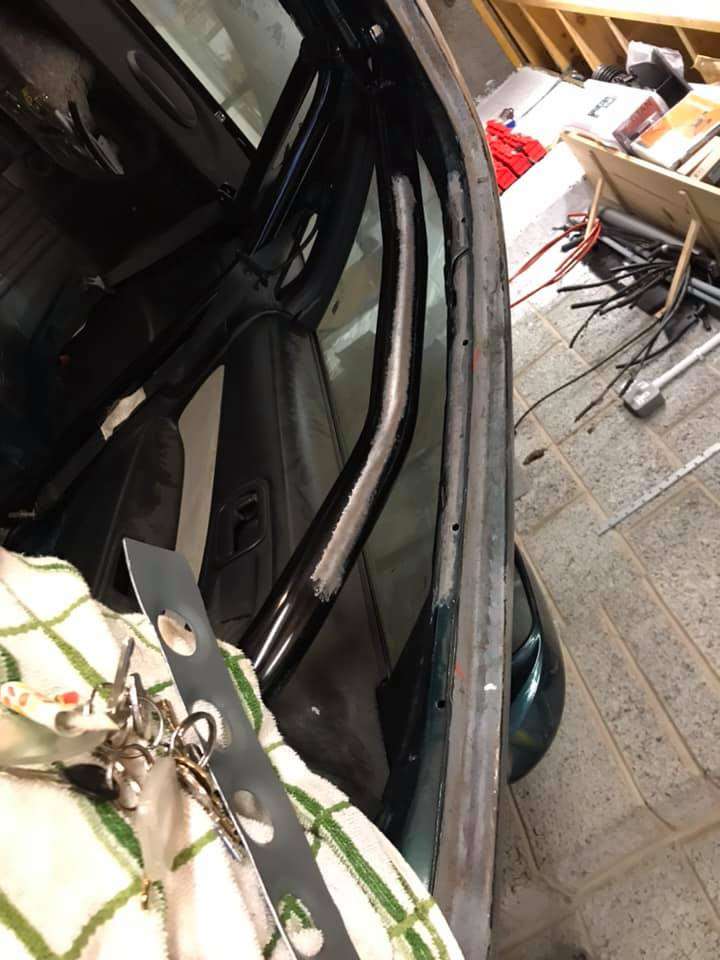
-
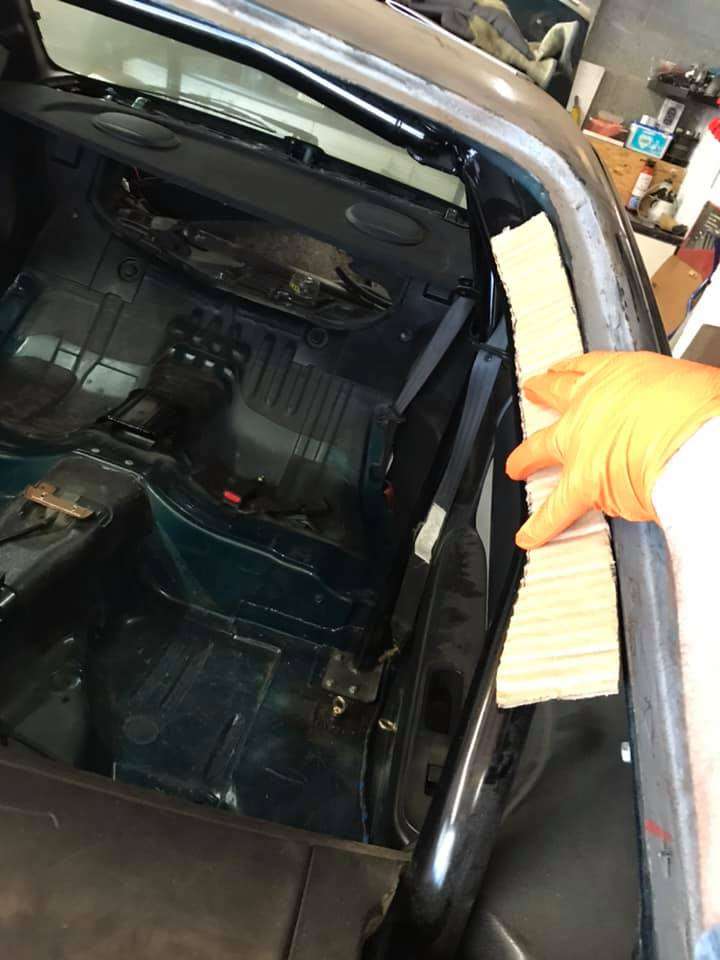
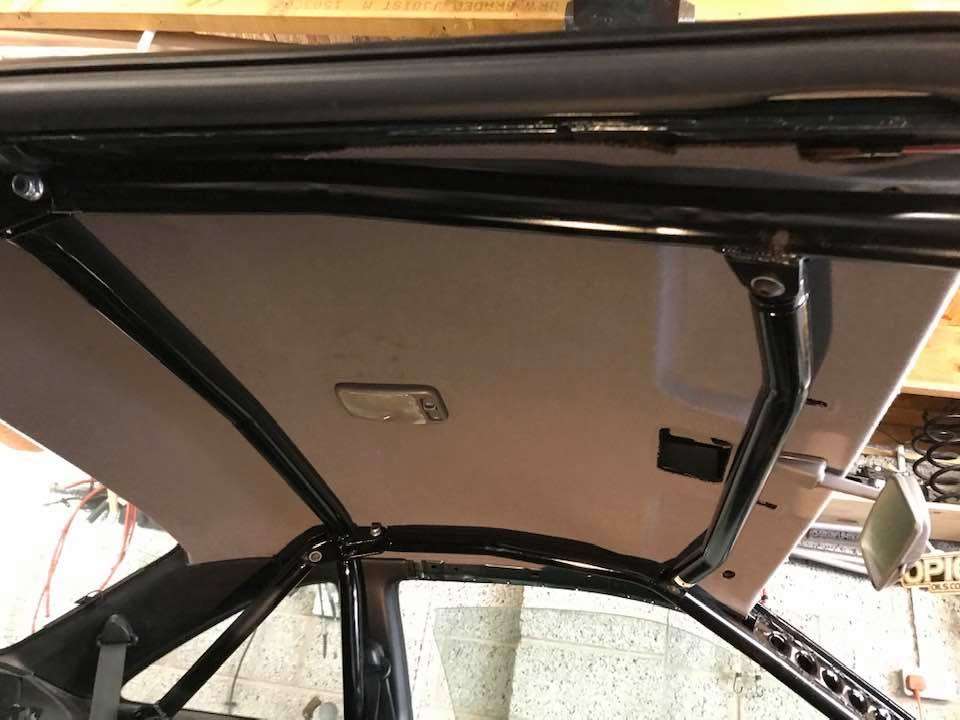
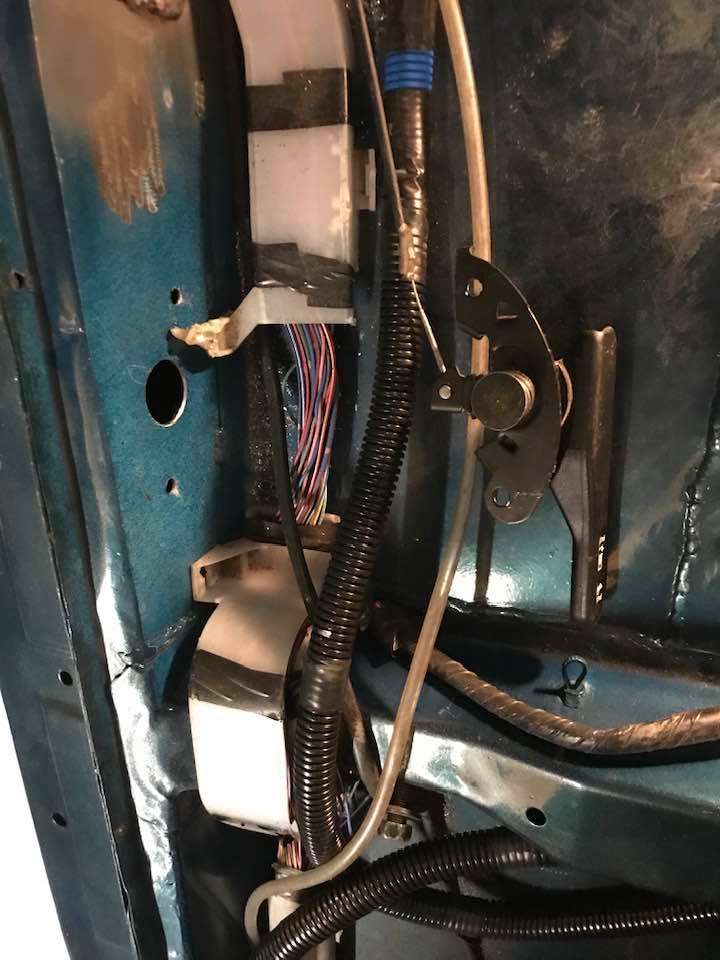
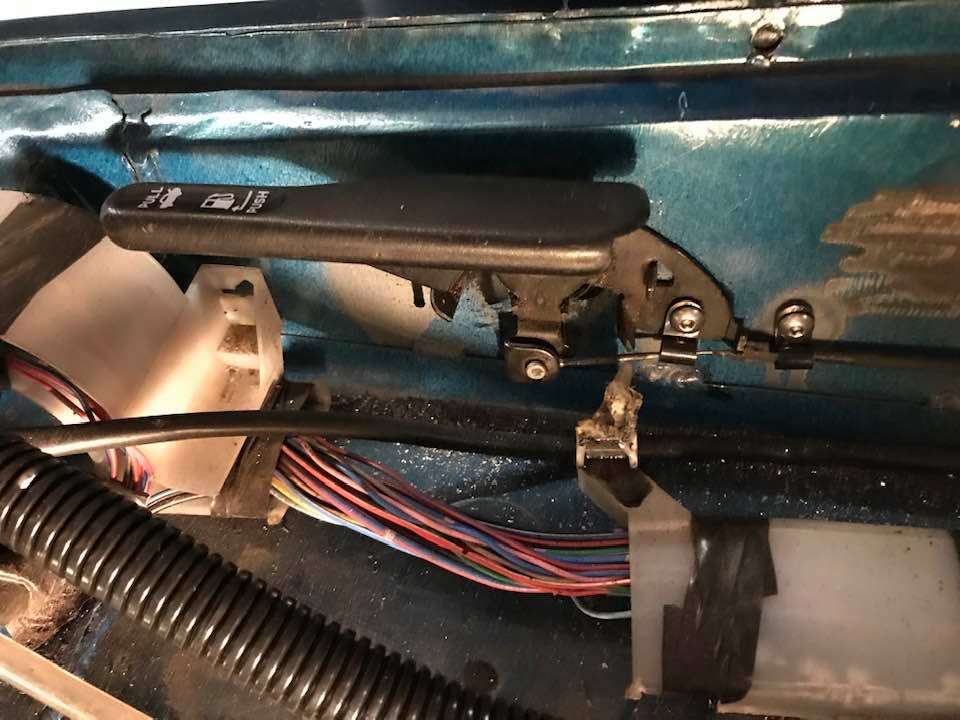
Spent more time than I wanted jamming the headliner back inplace. Only cut two small sections above the drivers side (roll cage) to get it to fit.
Also Mounted the petrol cap and boot release, a small tab or fixing for the end of the cable must have been damaged at some point so had to figure a way to keep it in place, two p clips seem to work.
-
Had a rake about but unfortunately my hole saws (without central drill bit) is 0.5mm too big and just doesnt quite fit in the hole so looks like I will have to individually grind off each tab at 90*.
Might start tomorrow unless I have anyother ideas through the night.
-
Wasted thread, think ive decided how to do it. lol.
Going to file/cut/grind (whatever is less invasive) one sides, 8 tabs off then use the press to push a die through the other side. Hopefully the cup should pop off at the filed side if not, I will then dremal grind the 8 better exposed tabs on the pushed side and then have to rigg something up to push the cross part the opposite way so it has enough space to be removed.
[SOLD]350Z Plated Differential - Kaaz 2-Way
in 350z Parts For Sale
Posted
Thats a steal IMO.