

taybo
-
Posts
205 -
Joined
-
Last visited
Content Type
Profiles
Forums
Events
Gallery
Store
Posts posted by taybo
-
-
Well today was tune up day at Horsham. Made 370 bhp and 350 ft/lb which is pretty spot on what I had hoped. Pleased as punch and can wait to try her out.
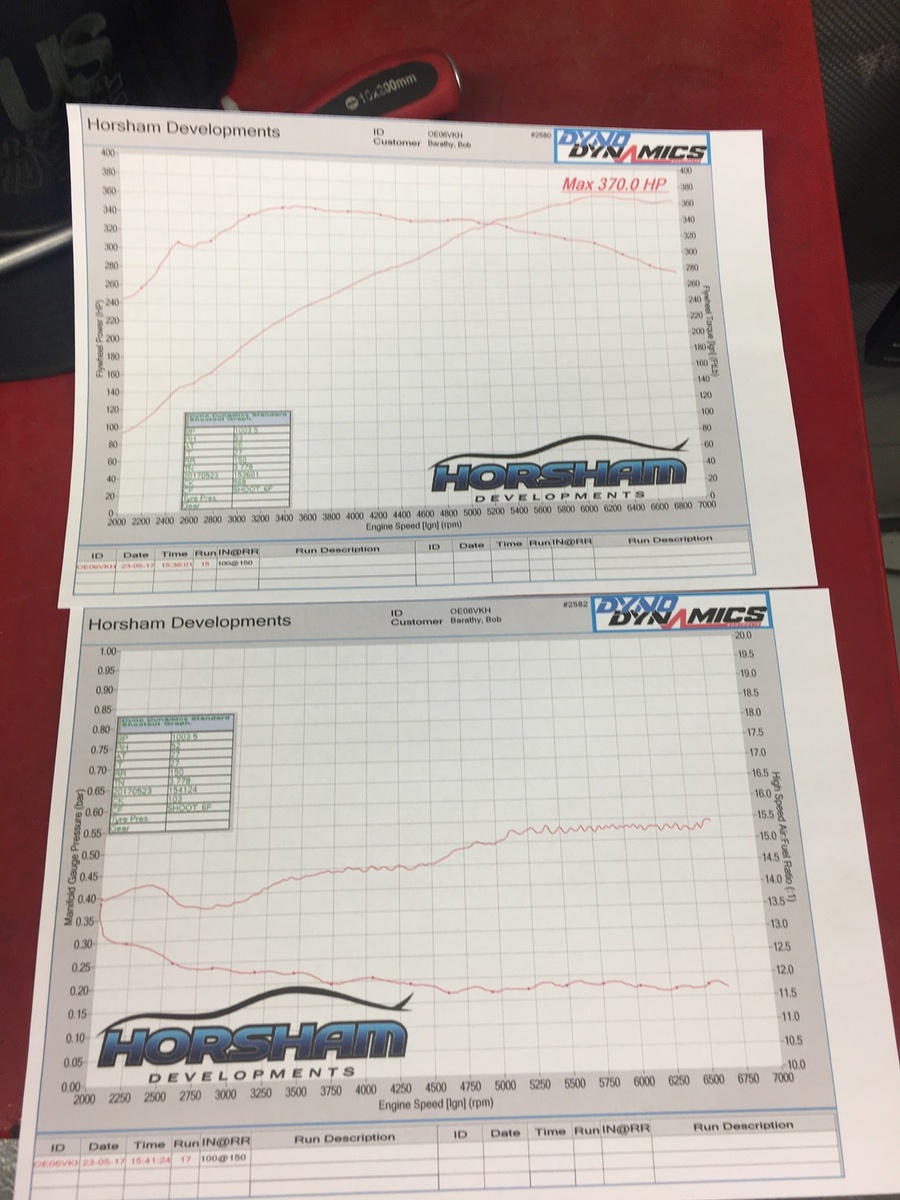
Many thanks to Jez for the tune up and sorting the couple of errors I had made! Just got to pick her up now!

-
 2
2
-
-
Horsham Dev should be able to sort you out.
-
I have mine fitted the same way as yours on the MK and it's a pain trying to make sure i get an accurate oil reading as the oil drains out of it. If you fit it the other way up the oil will stay in the oil cooler and be easier for you to get a proper oil level reading í ½í±â˜ºï¸. I know it sounds silly but it did my head in on the kit car haha.
Interesting point
-
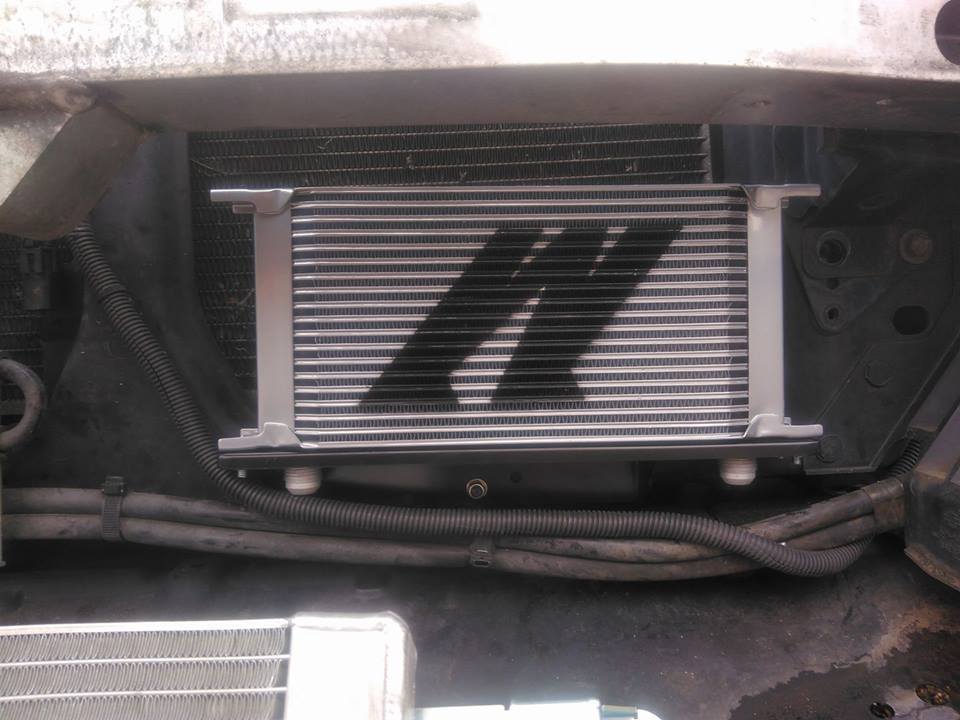
This is the 3rd Mishimoto oil cooler for the 350Z where either it's been fitted upside down, or the makers sprayed the logo upside down? Not that it matters on yours as it's hidden, it's just something my eagle eye notices
 .
.Well spotted
It was fitted as per the instruction video so definitely the right way round but I believe you can position them any way up and they should function the same.-
1
-
-
Great progress with it all mate, you have made it look like a very easy install!
Hasn't been too bad tbh. I'm no great mechanic by any means.
Fuel pump is now installed and I did the swirl jet and regulator mods as here: http://www.christurnbull.com/projects/automotive/walbro-gss342-installation-350z-g35-fx35-etc/
Remap is booked with Horsham for 23rd, so fingers crossed for decent results!
Oh and a bigs thanks to Blade for his help and pictures from his machine to guide me through the dodgy bits.

-
3
-
-
Sorry but I won't make it as my car is still off the road awaiting re-tune.
-
Where are you gonna mount the catch can? ive been thinking to fit one too but just havent gotten around to deciding which one to buy based on indecision of where to fit it :-0
Next to the power steering reservoir :-)
-
Start her up and all seems to be running okay, which is a huge relief!
Had trouble uploading a video to Photobucket so can only link it through FB.
Can't take it out until the tuning is done.
Things still to do:
Change fuel pump (waiting for o-ring)
Fit oil catch can
-
2
-
-
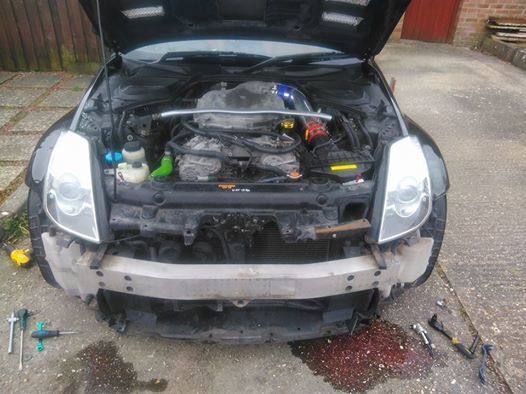
Vacuum pipes fitted along with throttle body, air intake etc.
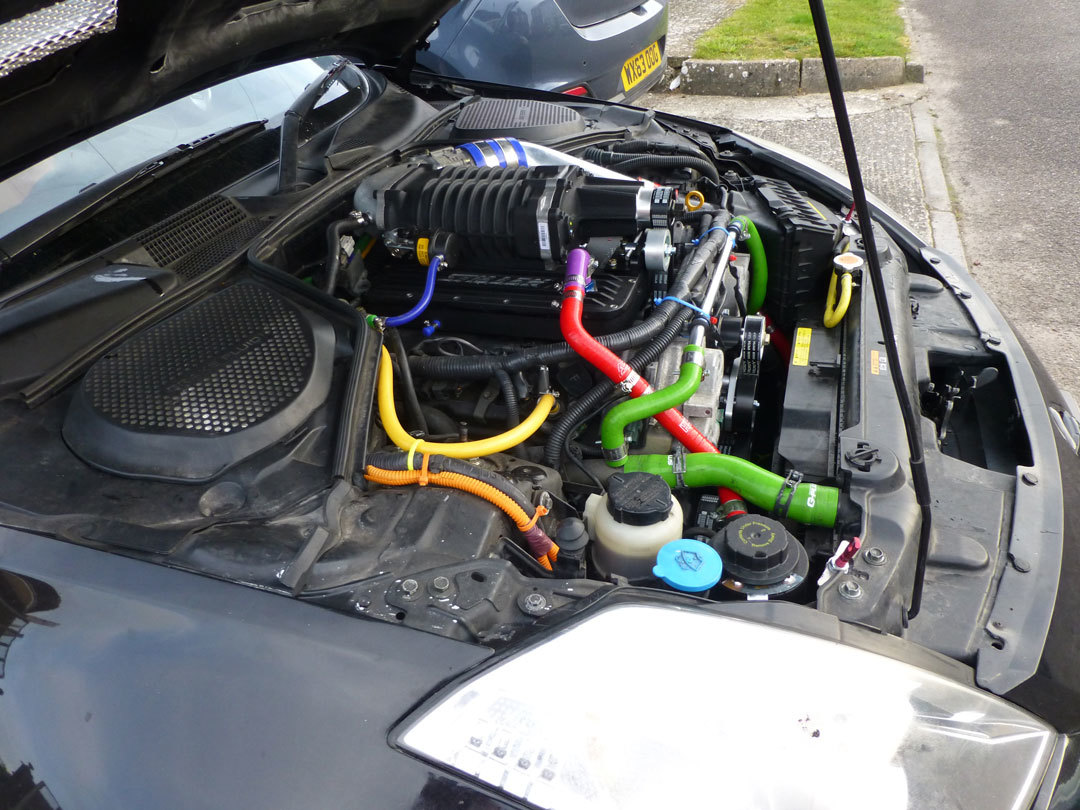
Nearly there!
-
4
-
-
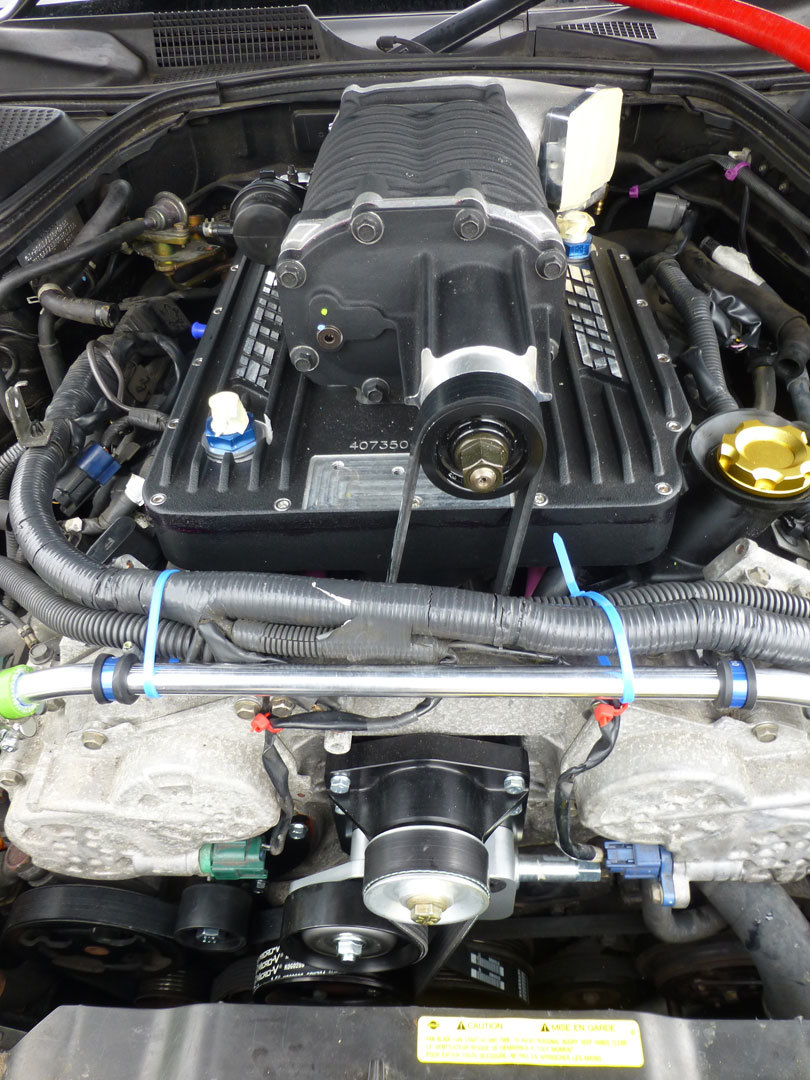
Tensioner and belt fitted.
Stillen lower plenum fitted
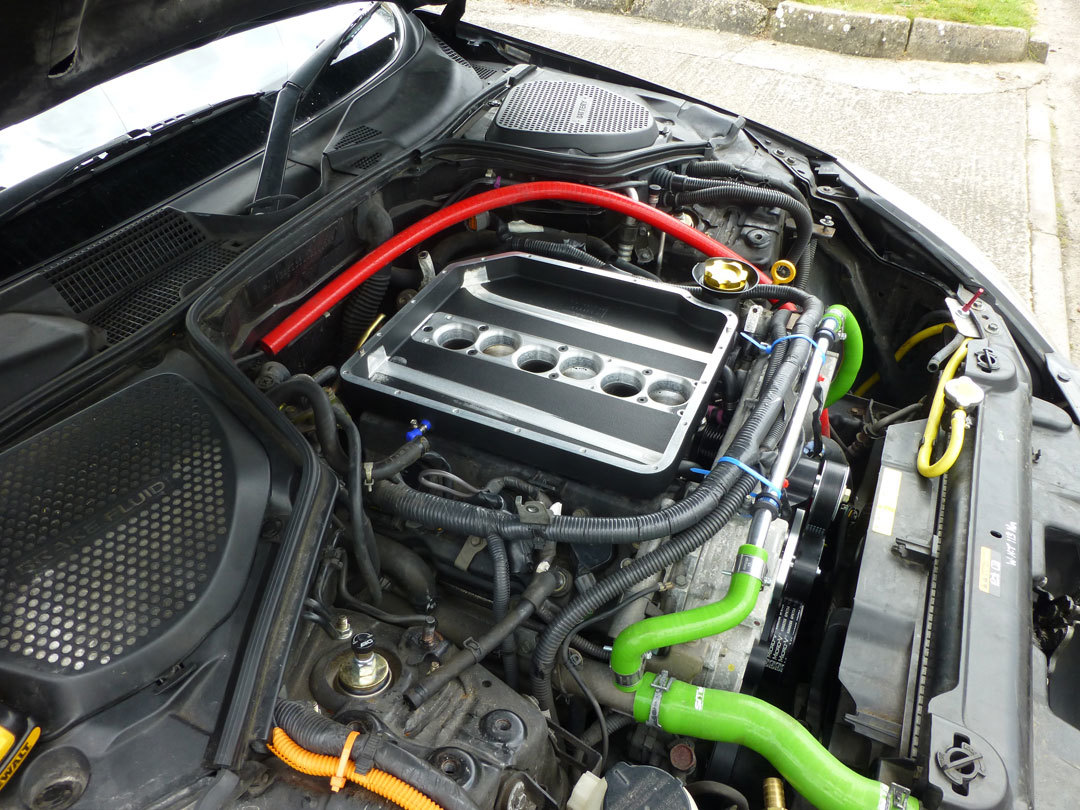
The big boy goes on, along with the top belt.
Some of the pipes didn't marry up with the new system, so need to be replaced.
-
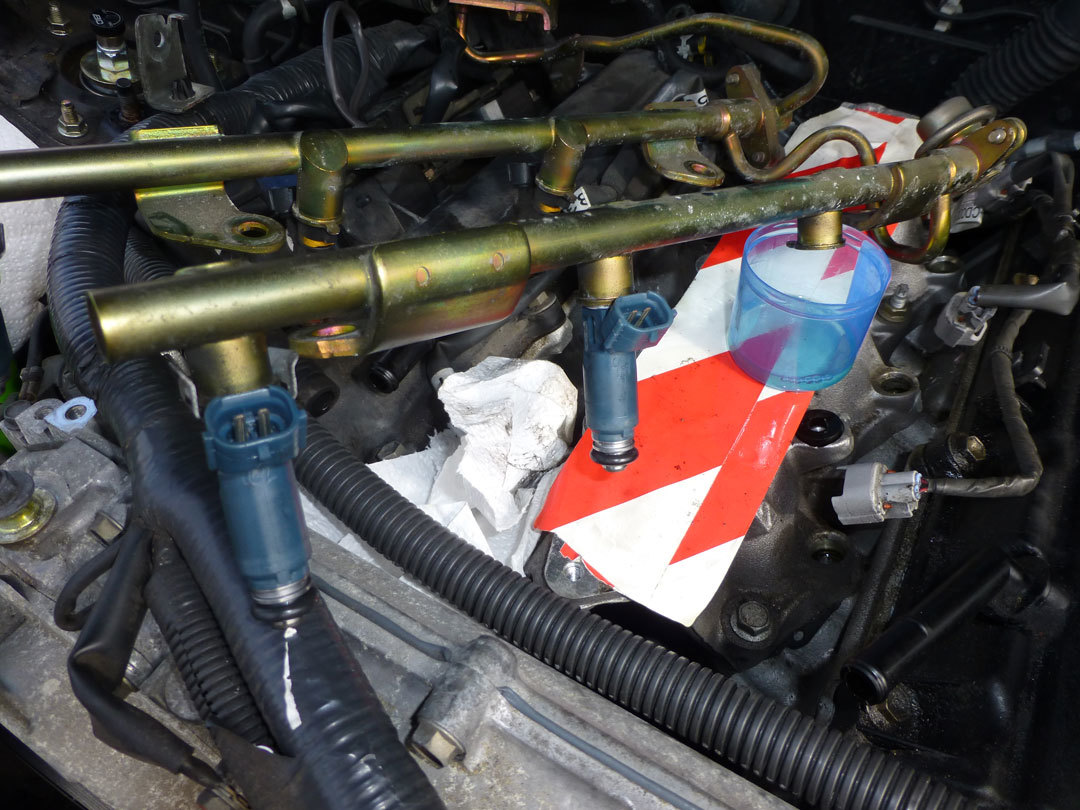
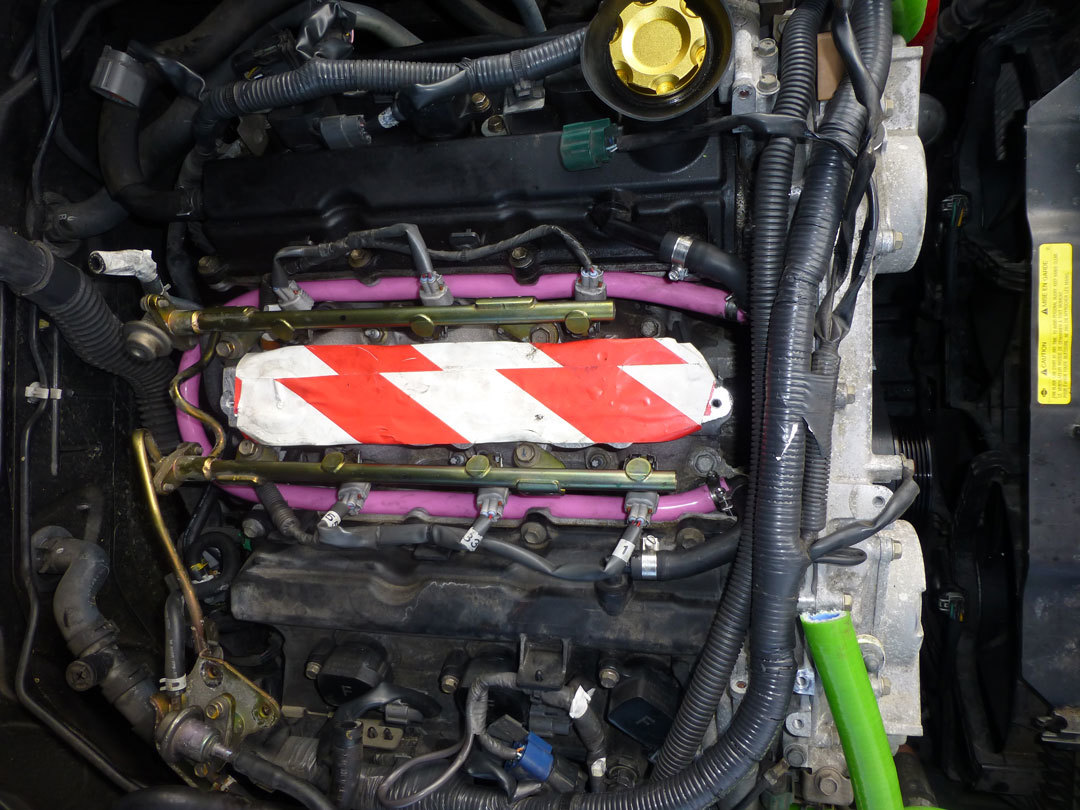
Upper and lower plenums removed. Taped up to stop and nasty bits dropping into the engine.

Spark plugs changed for one step colder then it's new DW600 injectors in. They proved to be a little difficult to fit and the bottom o-rings kept falling off, so proved to be a little fiddly.
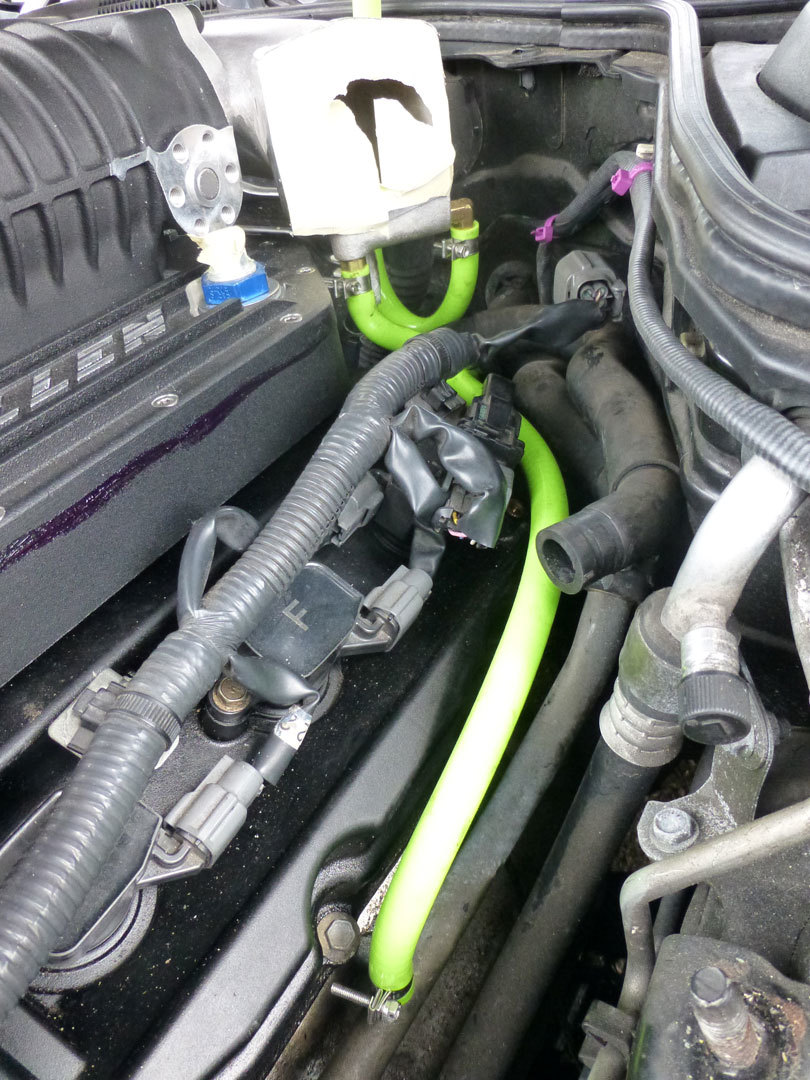
Re-routed crankcase breather hose past injectors and around the back to get it out of the way of where the main drive pulley will go.
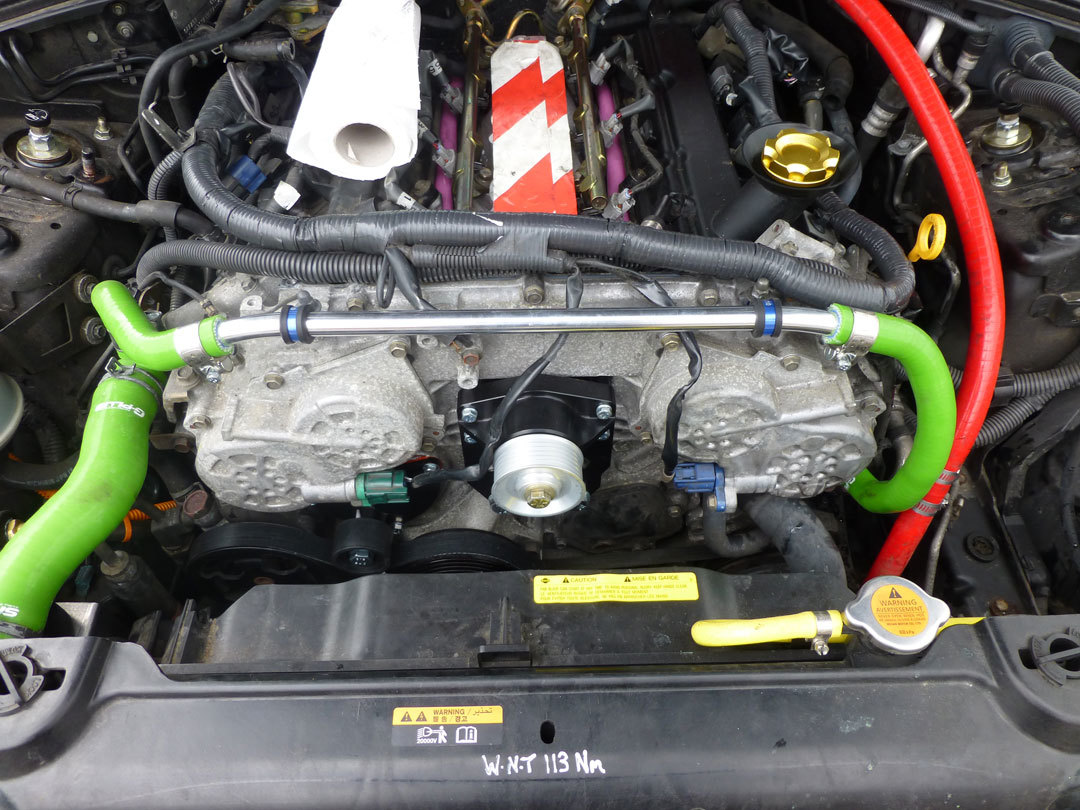
Main drive pulley fitted. Bypass hose/pipe fitted over the top of the engine. They recommend route was under the fan shroud, which was a bit nasty, so I used some aluminium tube.
-
Idler pulley fitted
-
2
-
-
1.) Kayjay0_7 - Deposit paid
2.) Olly350z - Deposit paid
3.) Spike4real - Deposit paid
4. Taybo - deposit paid
-
I got one of these for £500 and the thermal imaging is by FLIR
-
Are we good to go!?
-
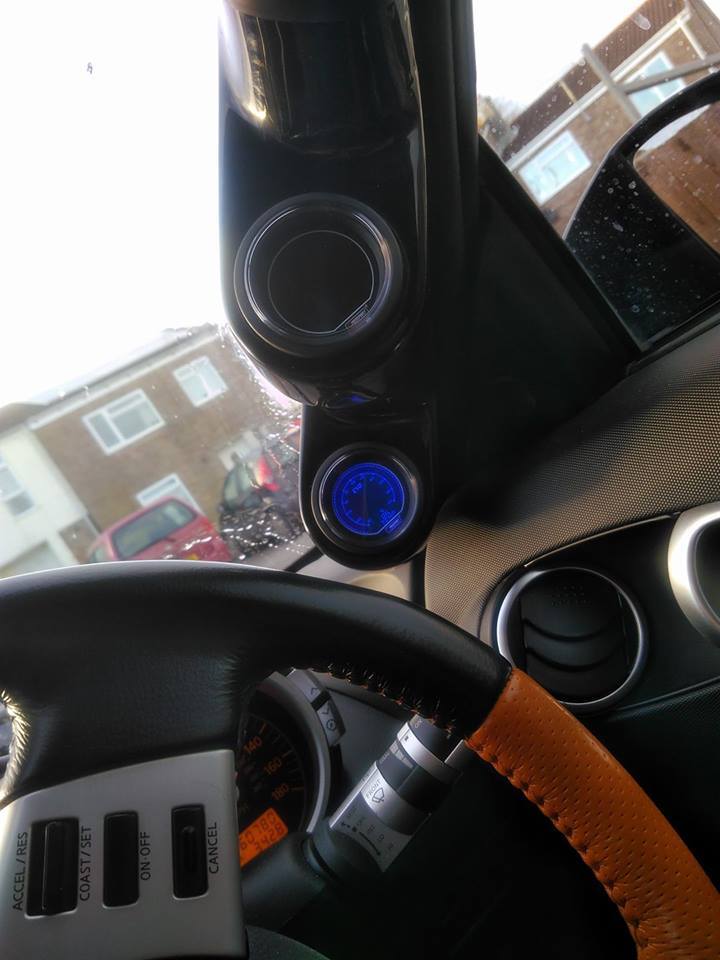
Sensor for the air/fuel gauge now fitted & connected up. Worked 1st time! (whew!).
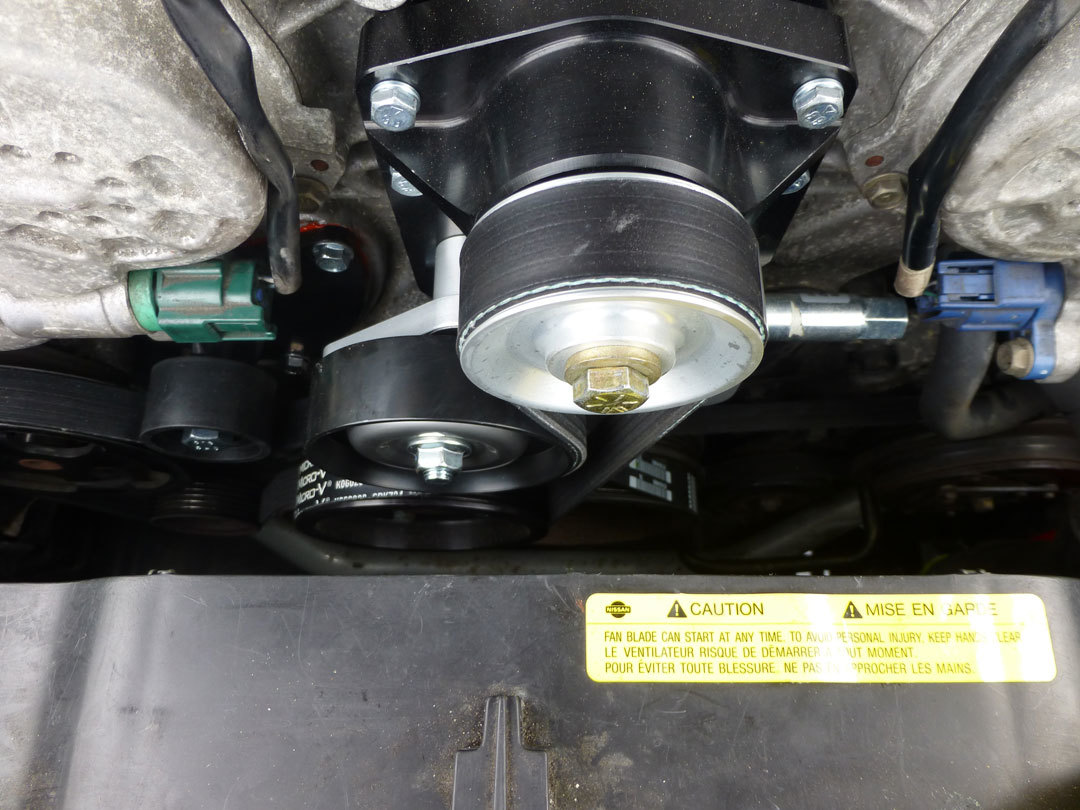
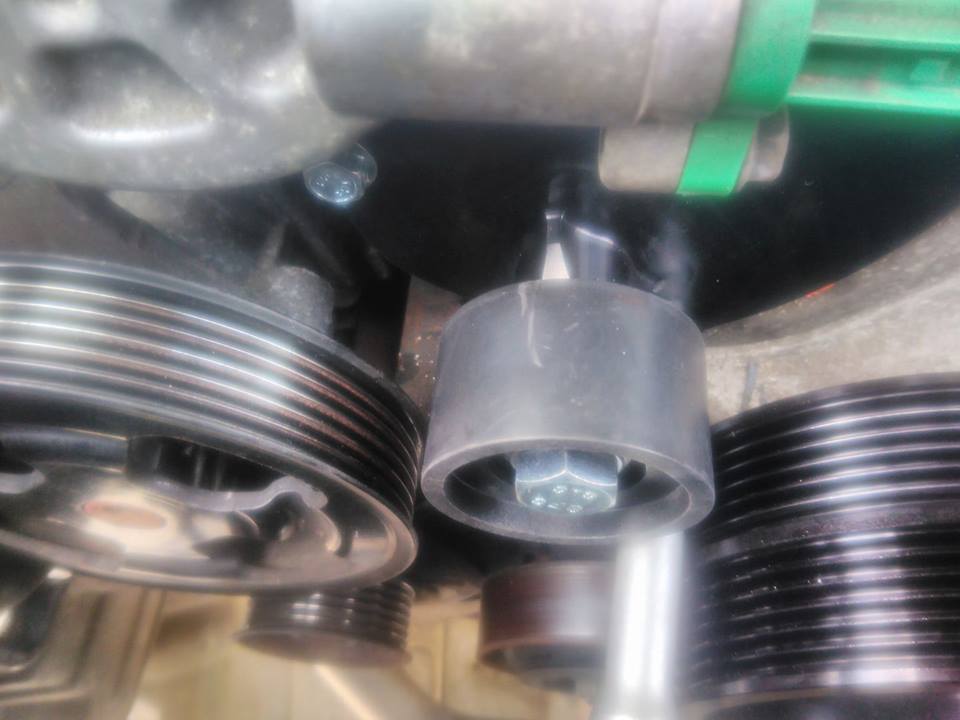
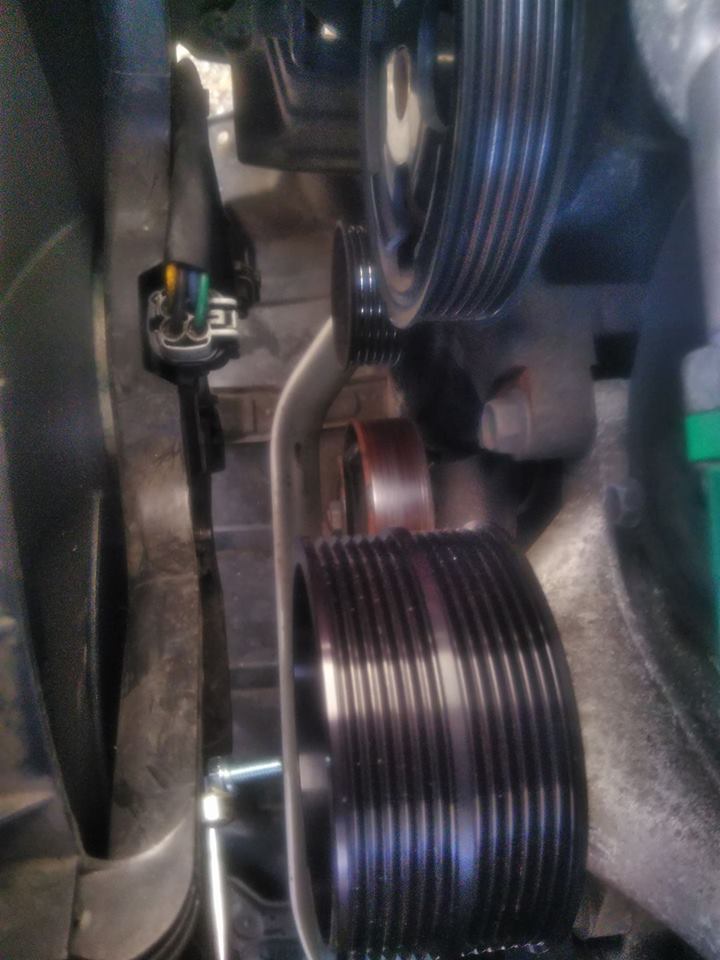
Decided to fit the double pulley tonight so off with the OEM fan pulley and on with the new. Was a pig of a job to align the bolt holes as visibility was minimum. I used a cheapo endoscope on my phone to get a view
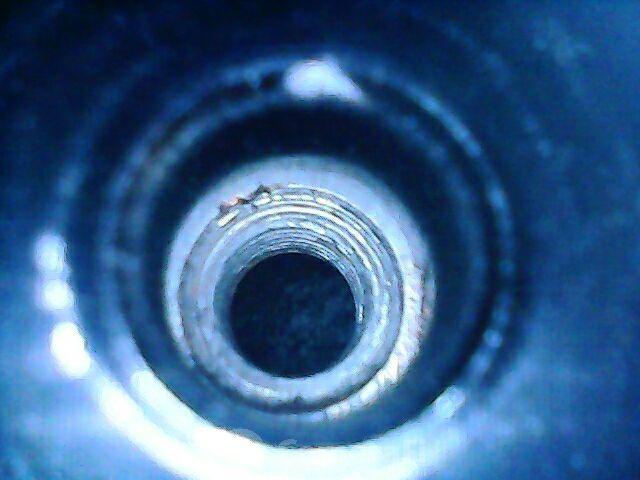
That worked okay but then I had to use longer bolts to draw the pulley on before I could fit the new bolts that came with the pulley. Even then with the dish in the pulley it was a bit fiddley. Pic below is looking down from the top. The new pulley is at the bottom of the picture.
 .
.
Got there in the end. MOT on Friday and still waiting to sort a suitable tuner (hopefully someone local).
-
If you don't want to fork out on a re-map then these are good fun:
I'd say only re-map if you do the necessary mods first. This is going to cost 1k plus if you are looking at exhaust, filter plenum spaces etc. The above throttle controller will give a far more responsive car for just £100 with no other mods and is an easy to fit.
-
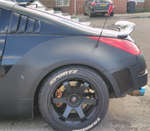
Loving that spoiler
-
1. Z370Z
2. ShortPaul
3. garygranite
4. AbiiPow
5. buster
6. Erni902
7. 14N
8. Humpy
9. Nso93
10. choptop
11.Zeus
12. Monkeybrain1234
14. Harryjax
15. Cloud1440
16. Taybo (as long as my car is on the road
 )
)-
1
-
-
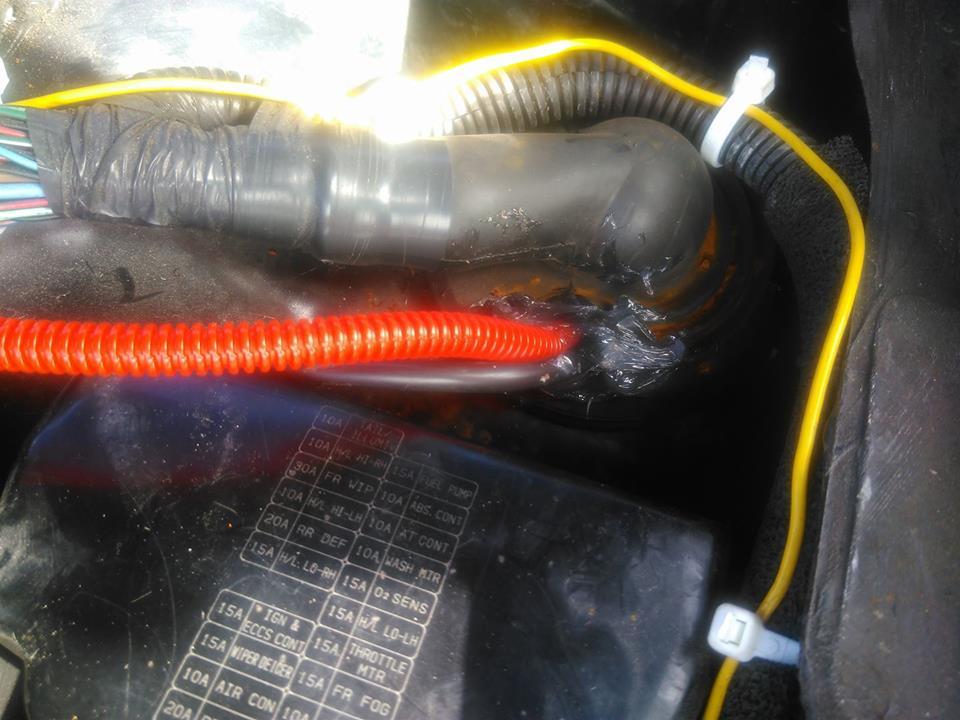
Finished work early today so I had time to route oil temp and air/fuel sensors from engine bay to the cabin. Went the usual route via the ECU grommet. Connected everything up in the drivers foot well so the temp sensor is now operational. Still waiting to get the o2 sensor fitted next week.
-
1
-
-
What's the price on these?
-
Sandwich plate is on and no oil leaks! One last pic before the front bumper goes on.
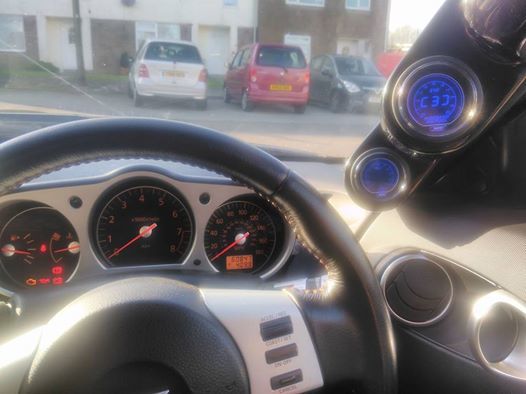
Piller gauges on but not wired to the sensors yet.
I have to wait a week now for my mechanic to swap out the HFC back to the OEM cats as recommended by Stillen for max boost. Hopefully I'll get to speak to Dean at Top Gear (Bridport) tomorrow to see about the re-tune once all the mechanical stuff is done.
-
2
-
-
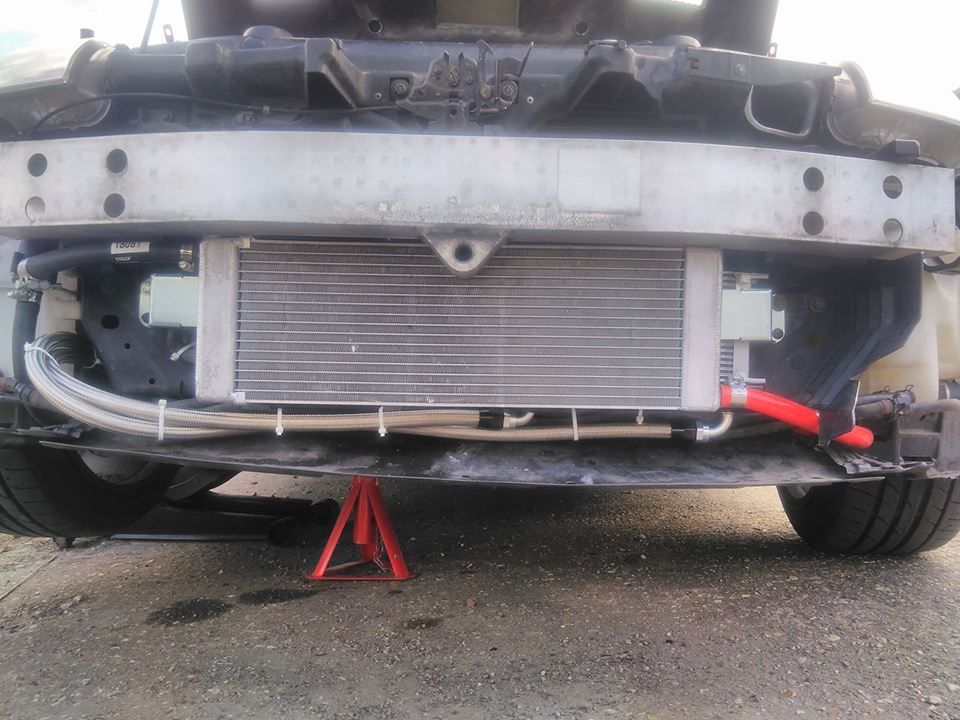
Looking good. Kinda wishing I'd hidden the oil cooler the same as you have now.
Sent from my SM-G930F using Tapatalk
I had to cut down the mounting bolts on the intercooler, otherwise they'd have been sticking into the fins on the oil rad.
-
This weekends mission - to fit the intercooler system and oil cooler on, which is this little lot:
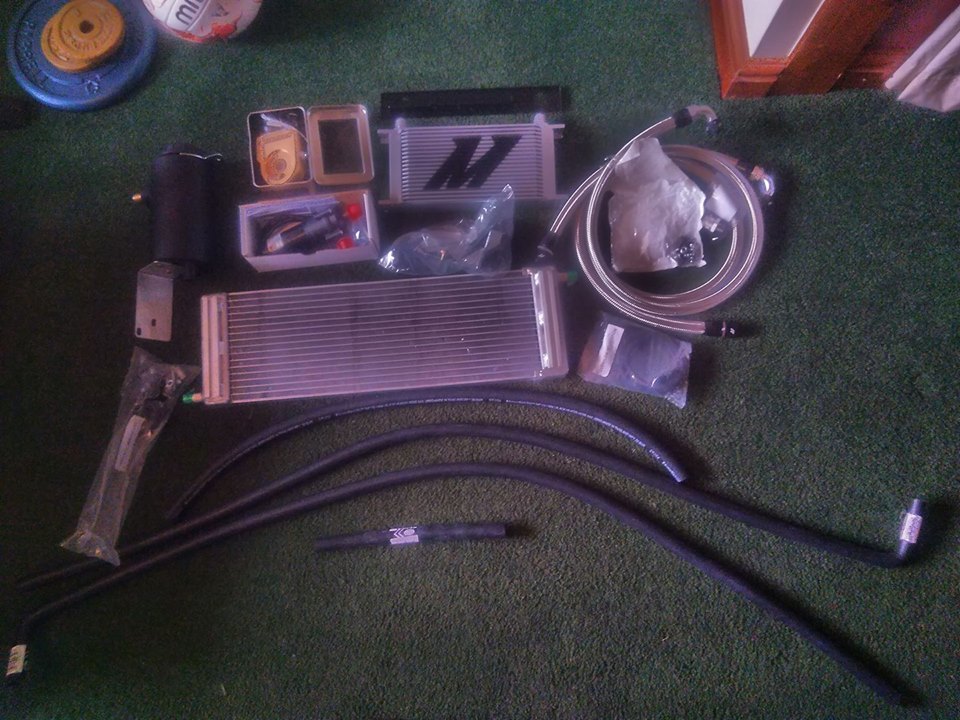
Then off with the front bumper, which was a real sod as it has been previously bodged back on with various non standard screws
Then on with the oil radiator (funny nothing fits as straight forward as the instruction videos)
Next on with the intercooler rad in front of the oil rad again
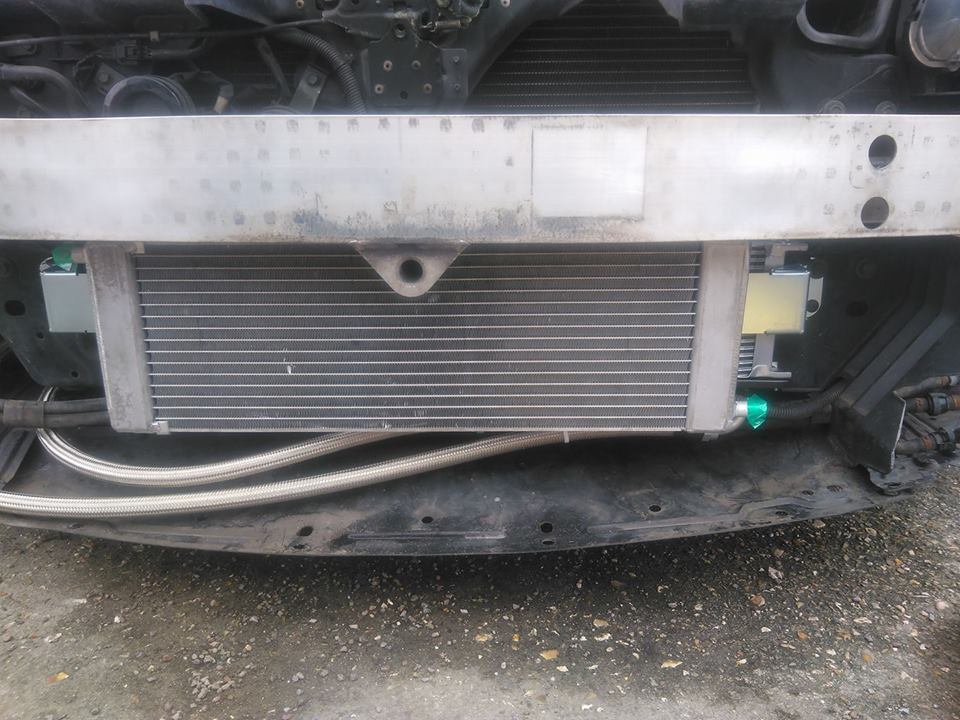
Also fitted the expansion tank and pump for the intercooler and moved the car expansion tank to it's new position in front of the nearside front wheel

Tomorrow I have the sandwich plate to fit and hoses and pipes to finish connecting; plus a bit of wiring if there's time.
-
4
-


Flyboy-Mirror Auto Fold Module - GROUP BUY 2017
in Member Traders
Posted
Any chance of an update please? How many deposits do we have?