Ortega_9
-
Posts
449 -
Joined
-
Last visited
Content Type
Profiles
Forums
Events
Gallery
Store
Everything posted by Ortega_9
-
Ze german is fuelled.... drinks and food are ready... and tomorrow I'm going to bring back tressure from far away lands.
-
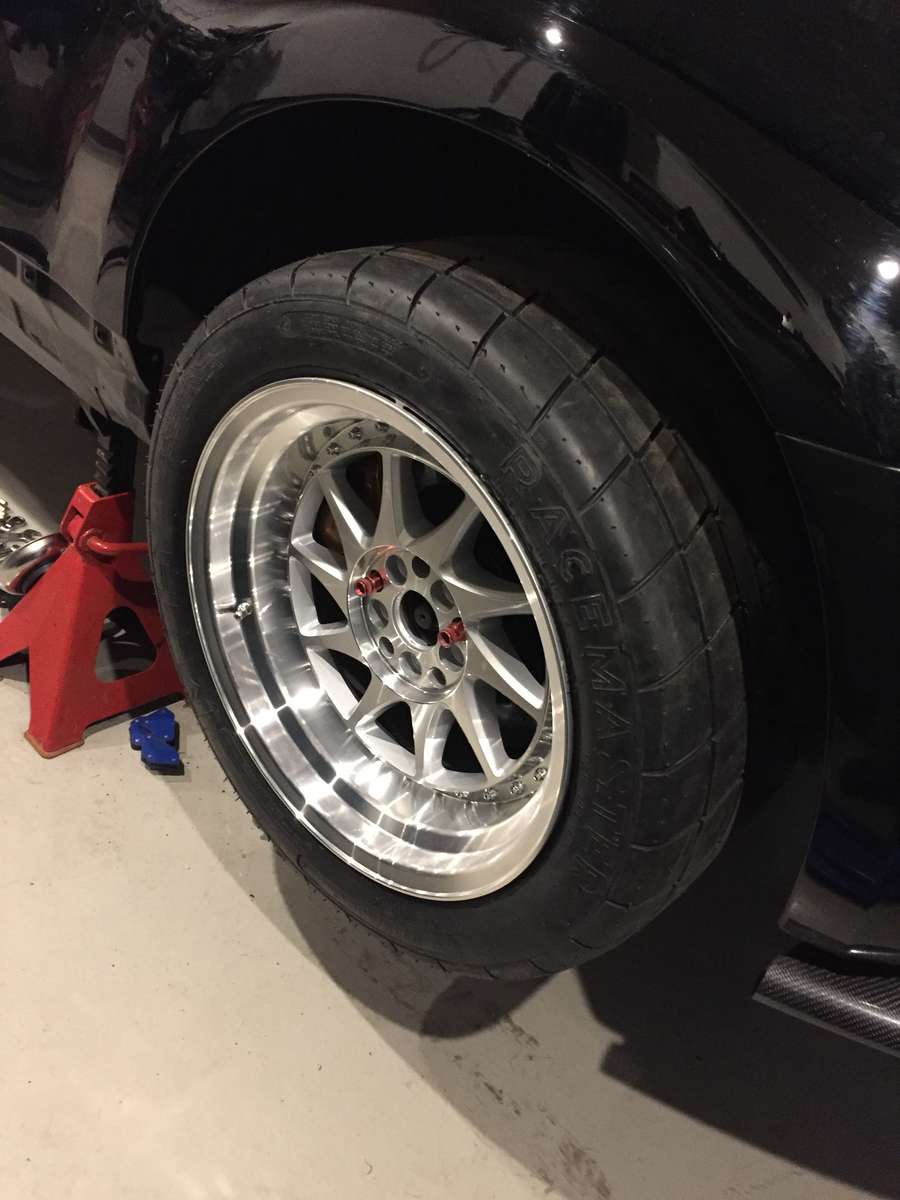
Their DOT aproved. So Road legal Yes. and about 300£ each from the States with shipping and tax. I'we tryed plenty of other Sticky trackday tires over the years. But nothing hooks like drag specific tyres. http://www.mandhtires.com/M-H-Drag-Radials/275-40R17 And i'we read plenty about the 16" Rx7 wheels fitting over the brembo rear calipers, but could' t source any, and also my JR 17x10 just clears the calipers by 5mm so before I see prof and not just hear say about the 16" fitting. I'm sticking with my 17".... also it's 10" wide. I not sure how wide the Stock Rx7 16" are. But to narrow a wheel on a drag tire, and you'll just spin the wheel inside the tire.
-
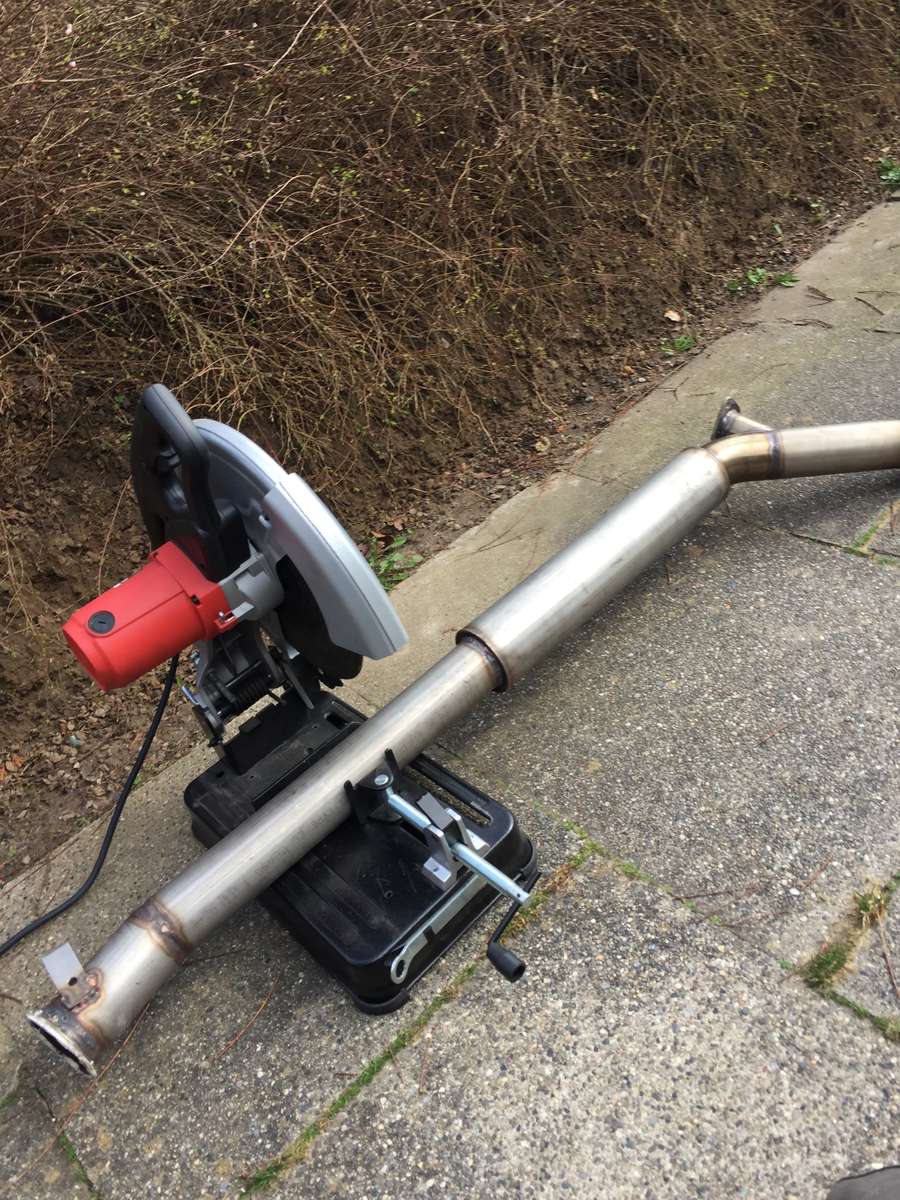
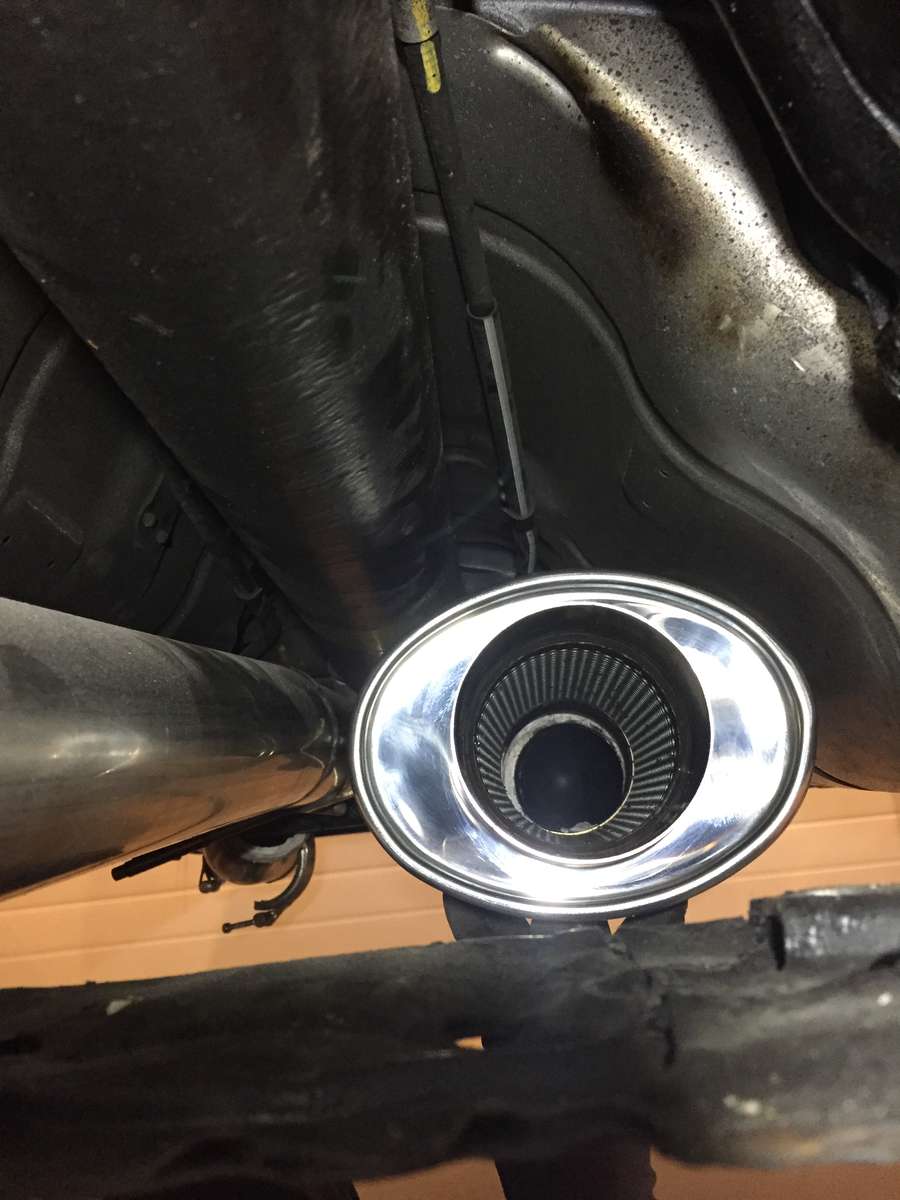
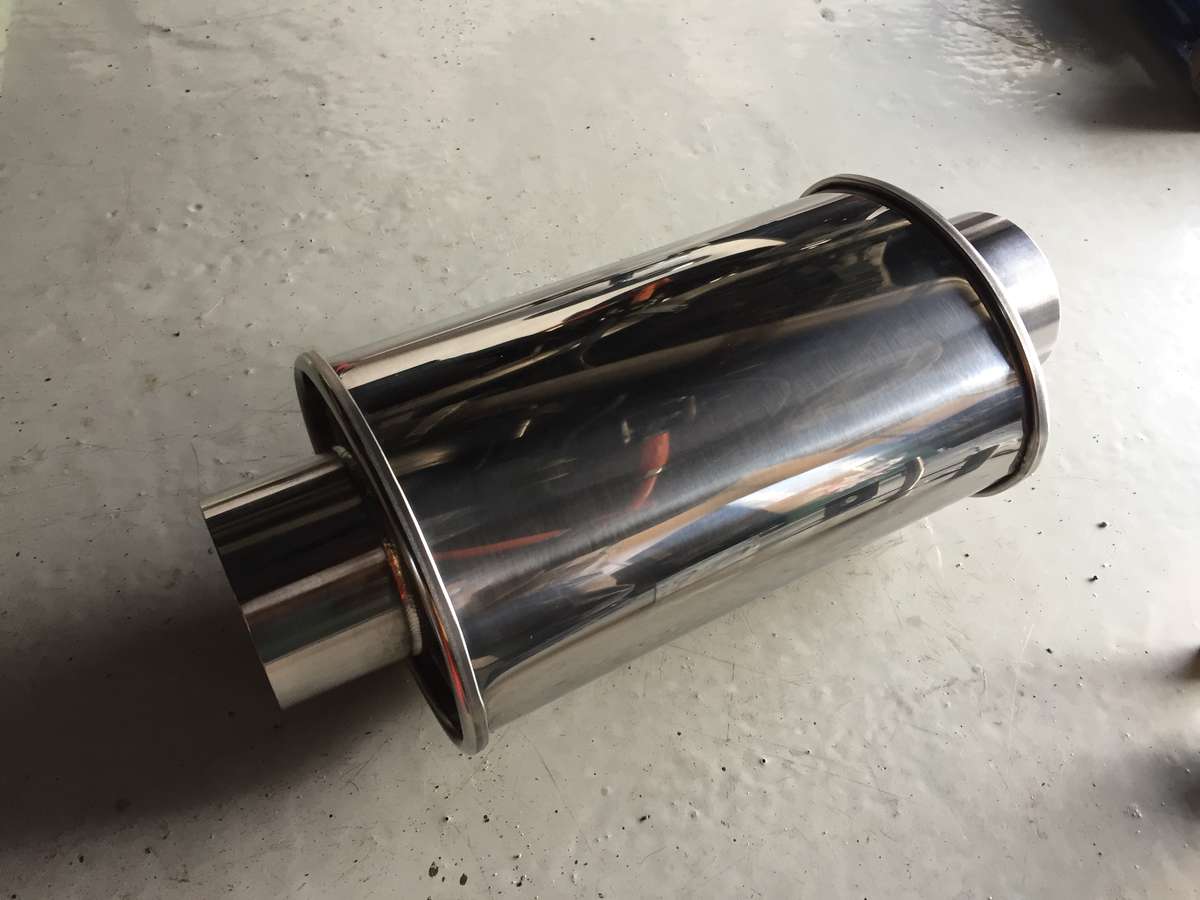
And the weather was playing along, so I started chopping the exhaust and placing the resonators. it actually looks like there is plenty of space for them... so cut some pipe, and tacked up the resonators where they need to be.


-
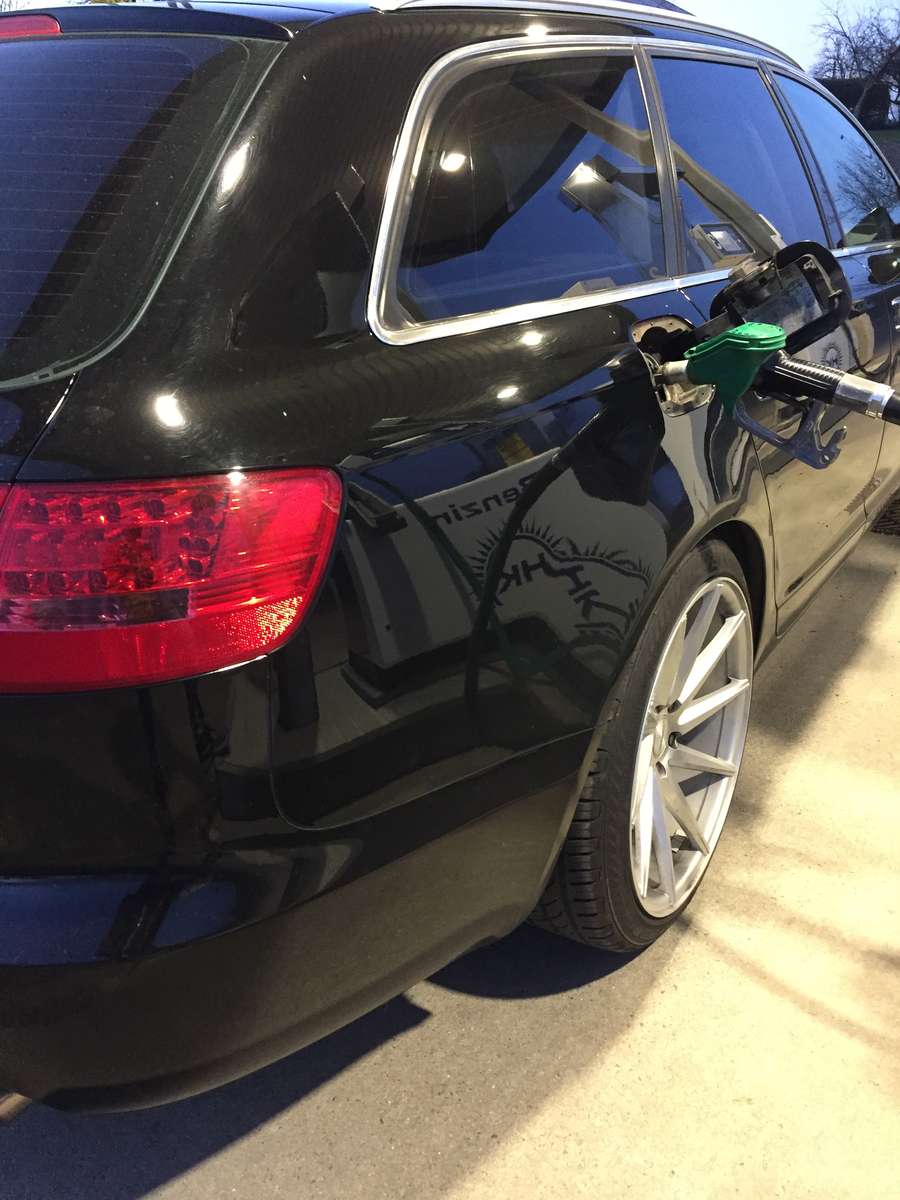
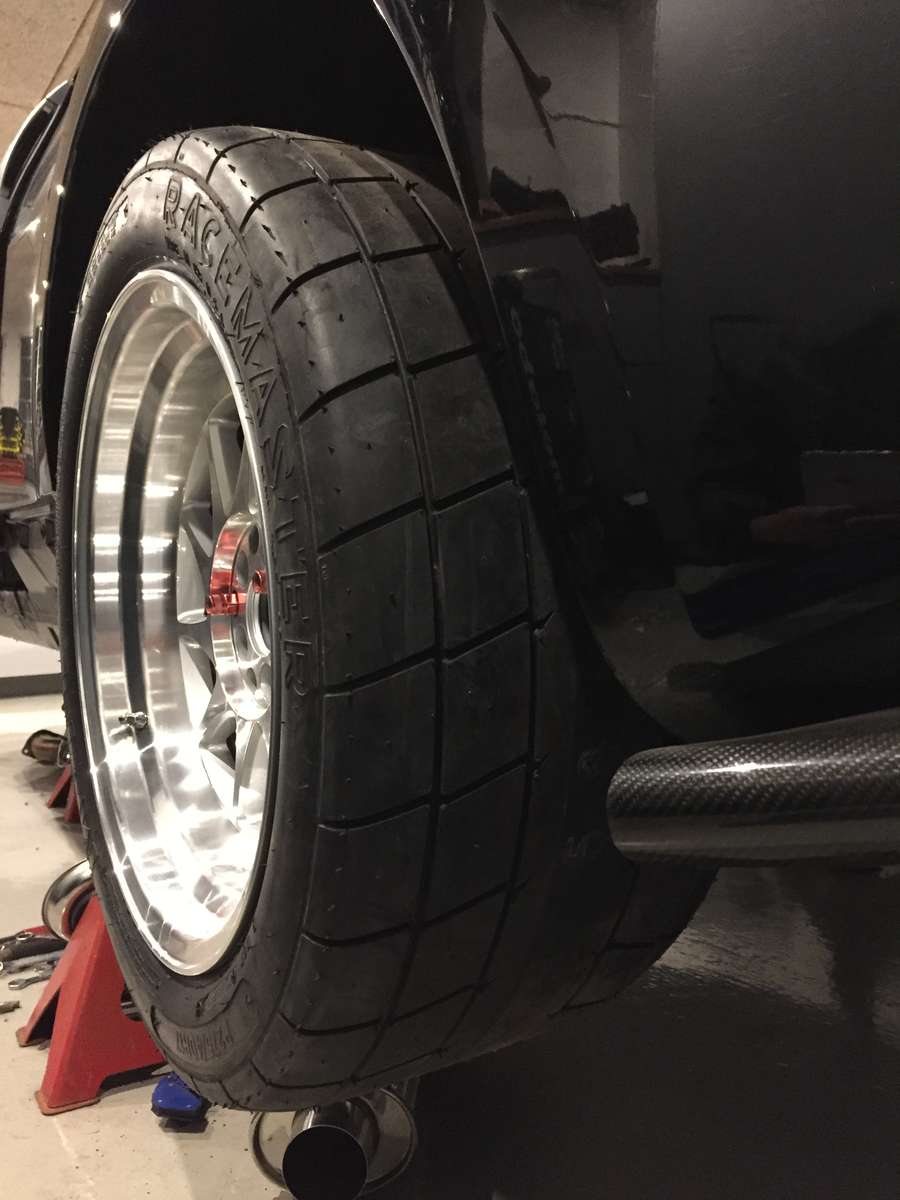
Just Got my new Sticky tyres home! They look soo good on the car. Can't wait to see what they'r gonna do to my grip and times. I'm Seriously hoping to at least cut my 60ft times in half, from not having Grip last year and to this setup... also I Got some extra "insurence" to go with it

-
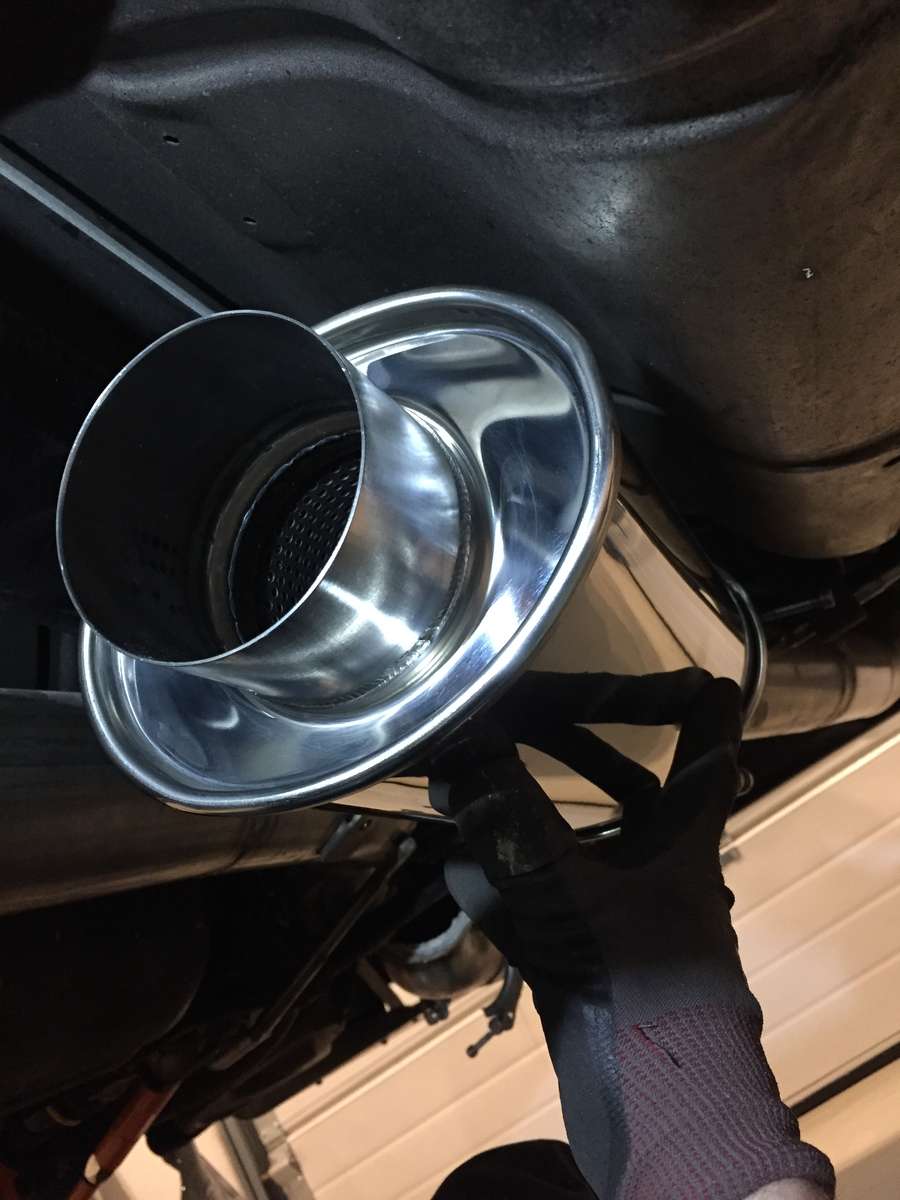
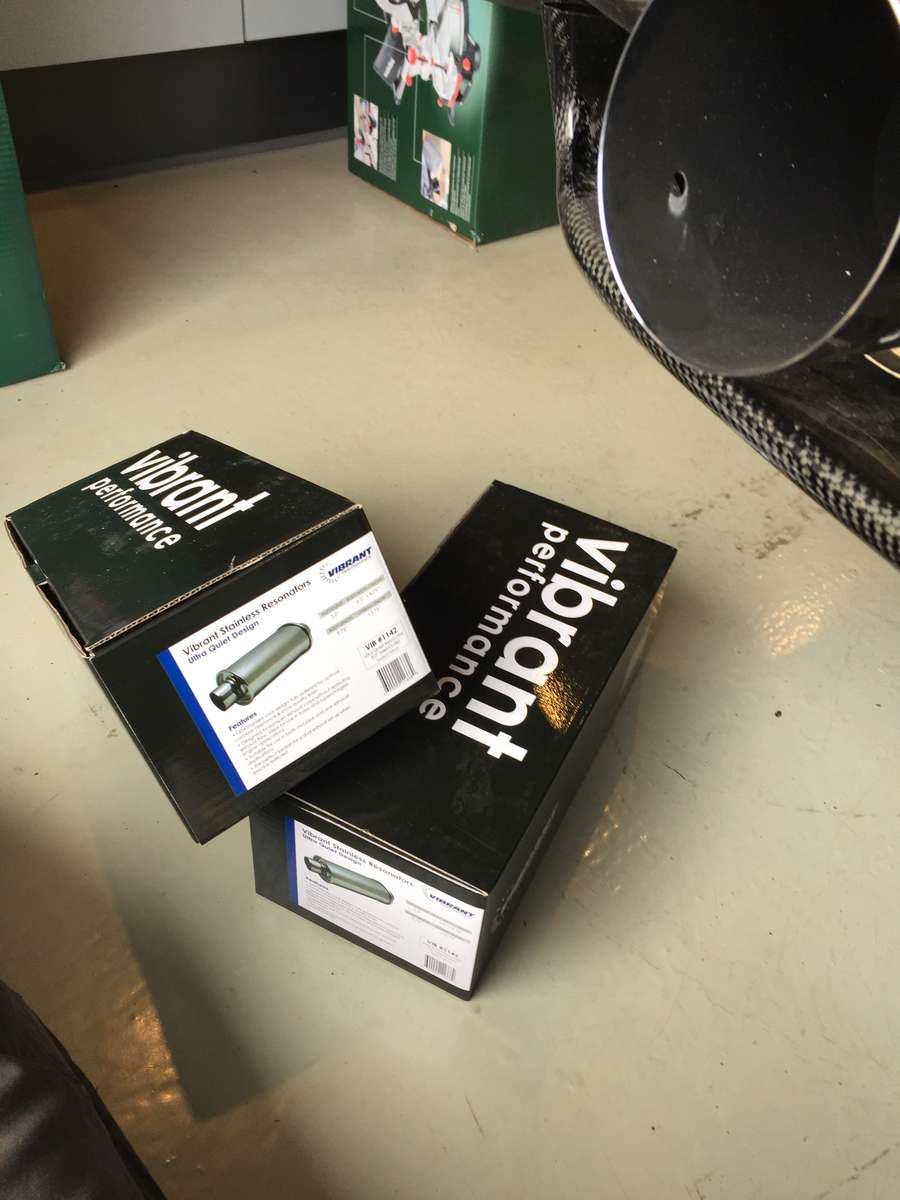
Sure. I'll give my take on it when I get it all back together and put a few miles on it. first impression is that there is no way theese small "resonators" can do anything.... but I'll give them the benefit of the doubt. And give them a try. I'we read plenty of reviews and they all Seem to get the drone and resonans removed. They don't do much for sound it seems... but to hell with that, aslong as the resonans f***s off.! I did notice that the holes in the perferated inside seems bigger than in my silencers. Also the Vibrant resonators are filled with stainless materiale and not the ceramic wool that's in my silencers.
-
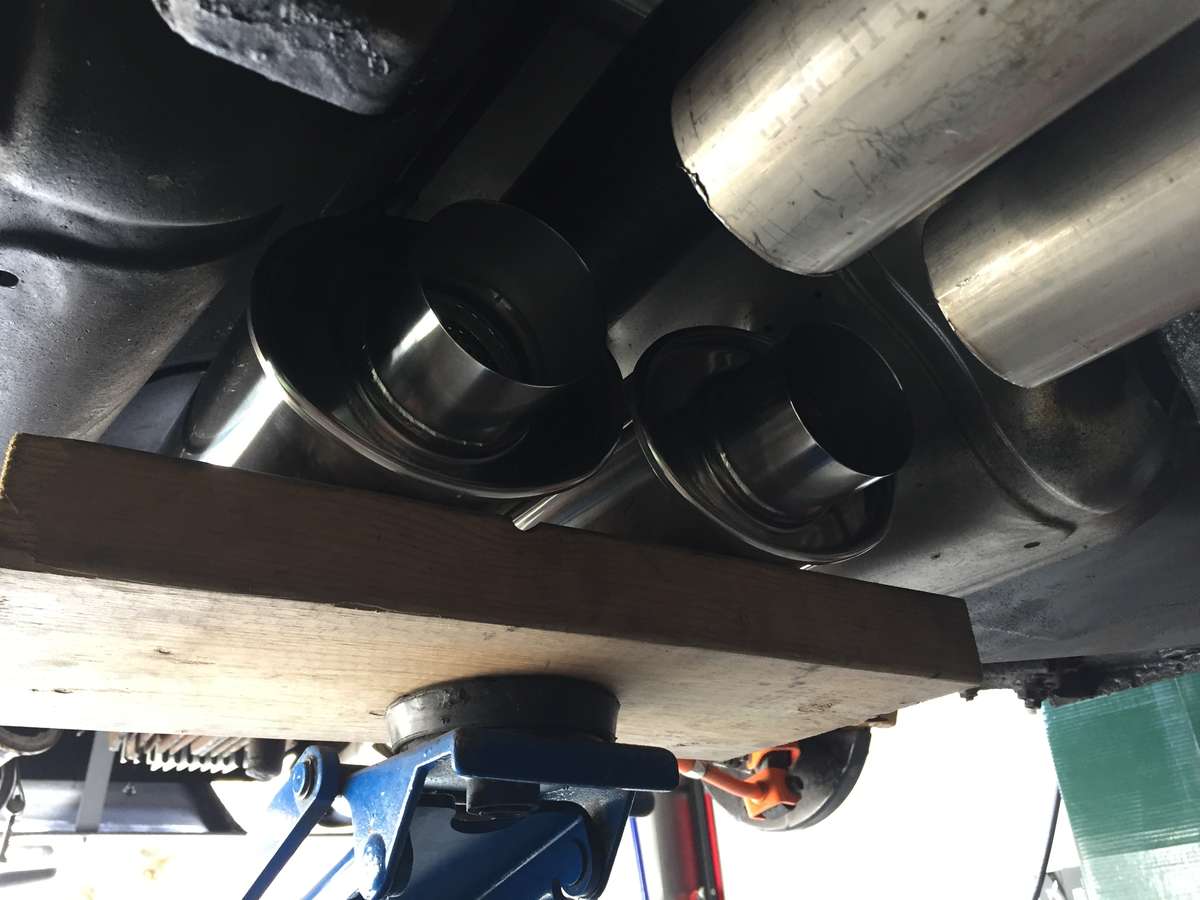
Just pulled one side of the exhaust off. It seems I just about have the room to fit the resonators just before the rear axle. That's the last piece of realestate under the car, and if that's not enough I'll have to rethink the entire exhaust.... So counting on you Vibrant!!! Don't let me down.
-
And also theese just Got here. There suppose to be the dogs nuts in removing exhaust drone and resonans. Vibrant ultra quiet resonators in 3" stainless steel. There quite small for the Big things they promise. But at this point I'm willing to try everything to get the drone level down inside the car. I have no idea where to put them, as I haven't Got any room left, so I'll have to chop my exhaust for the third time... nothing like trial and error...
-
Can't share anything right now. I'll get back to the brace later on. But tomorrow I'm going to get my new Sticky tyres.... can't wait
-
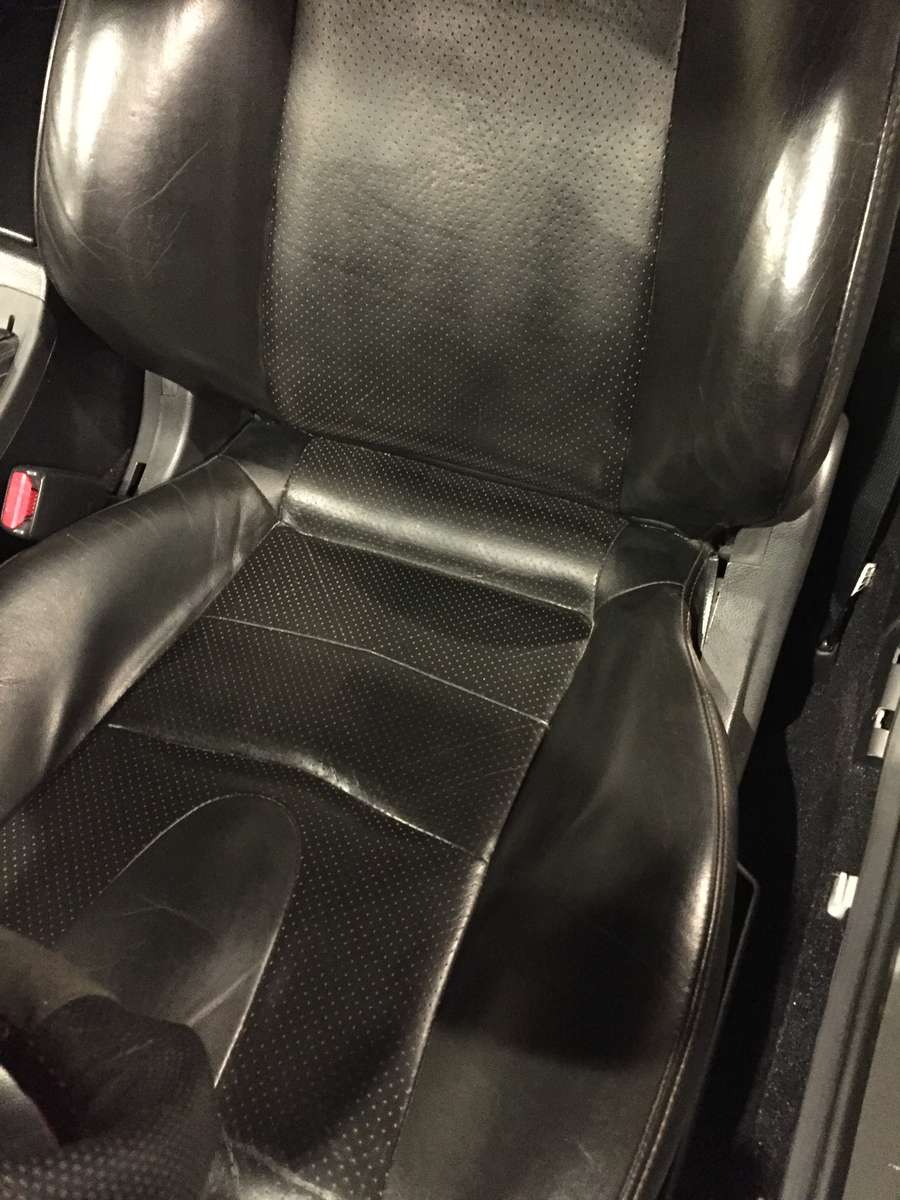
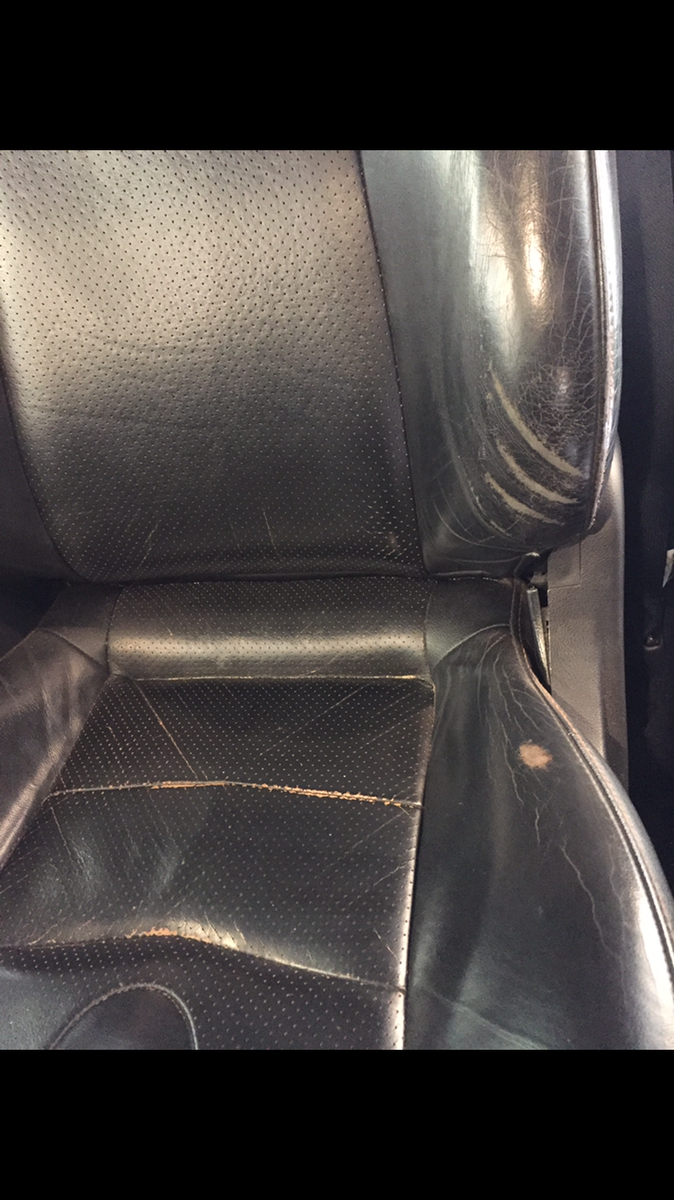
And also on of the things that have been a thorn in the eye ever since I Got the car, has been the worn leather seats. So Got some Black leather filler and Black all-in-one Black dye/restorer from the scratch doctor. i filled in the holes, scufs and worn patches and redyed the whole Seat and gave it some leather conditioner. I'm pretty contend with the outcome myself.
-
Thanks.
-
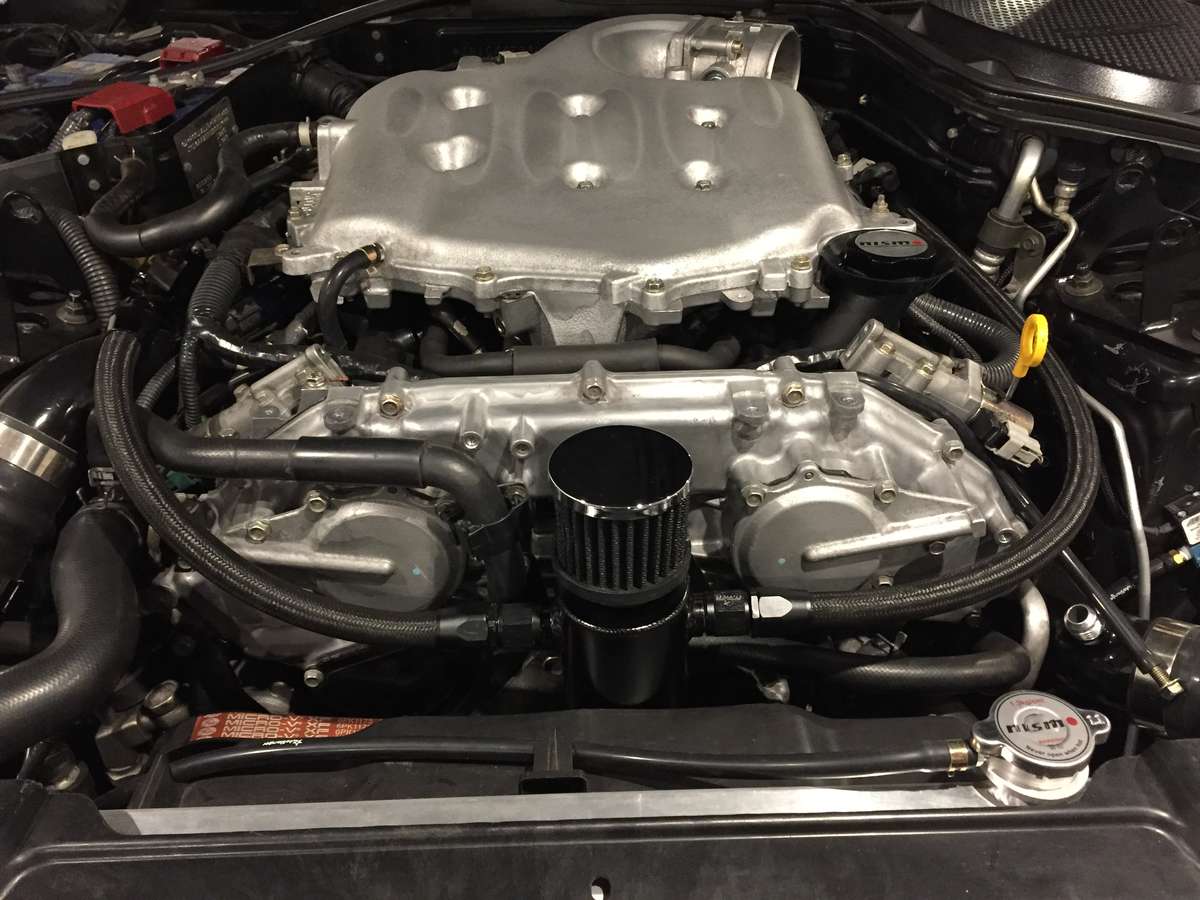
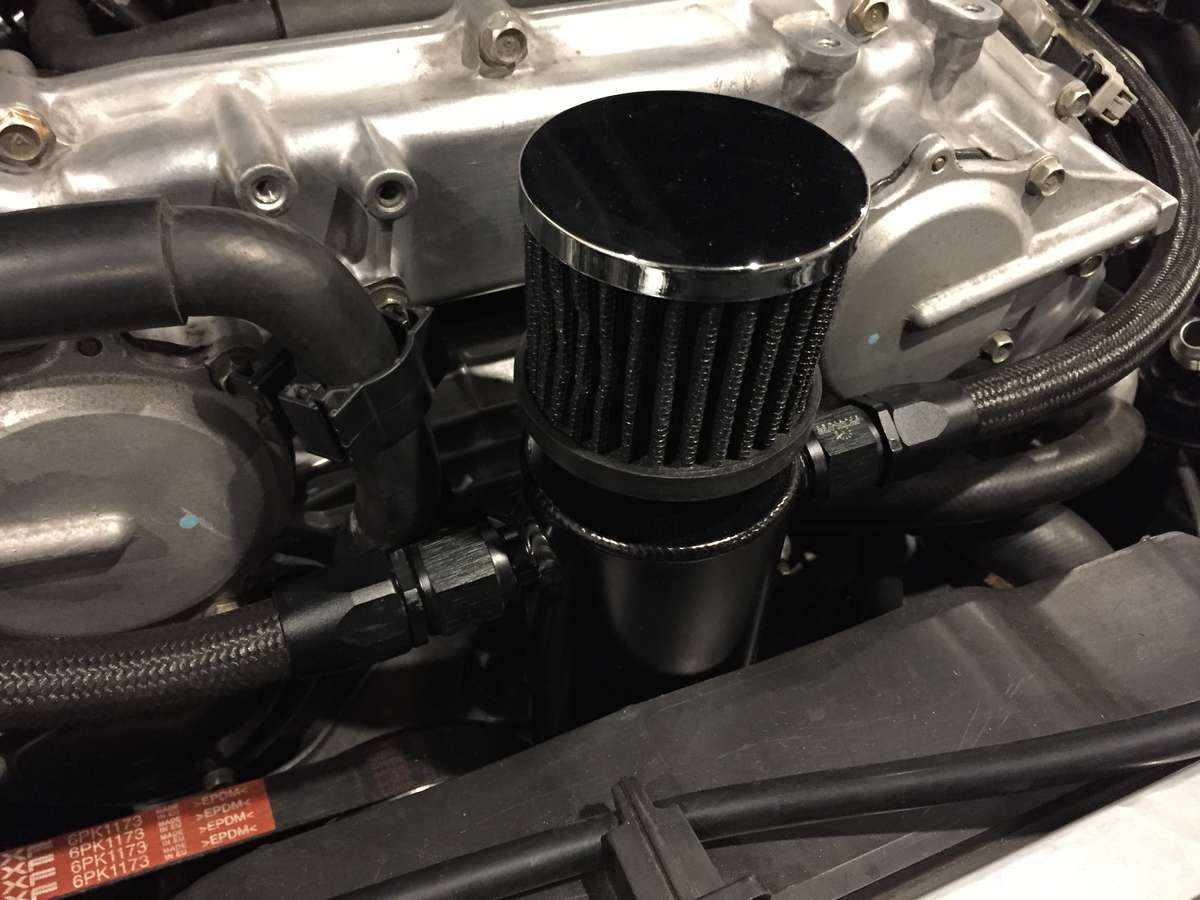
Also finnished my catchtank setup with the last brackets for the water bypass hose and the Can itself.
-
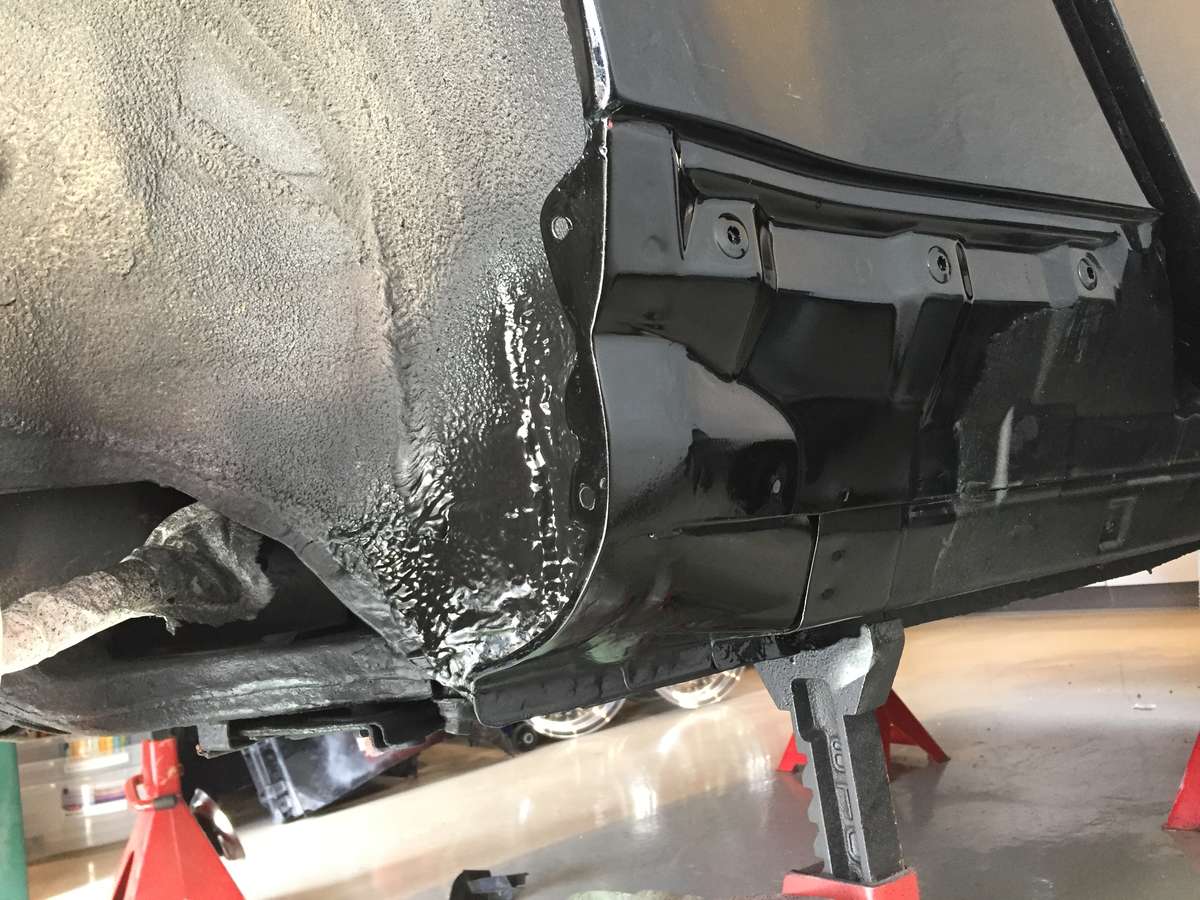
And the last paint/reapair job was the bodycoat. And when that's dry. I need to clean and polish the panel paint... It feels good to be done with that crap. Now I'm afraid to have a look at the other side The last pieces goes out to paint in one week, so I have some time to finish alot of small things. And then, hopefully, when everything comes back, the last thing is to put it all back together and get it back on the road...
-
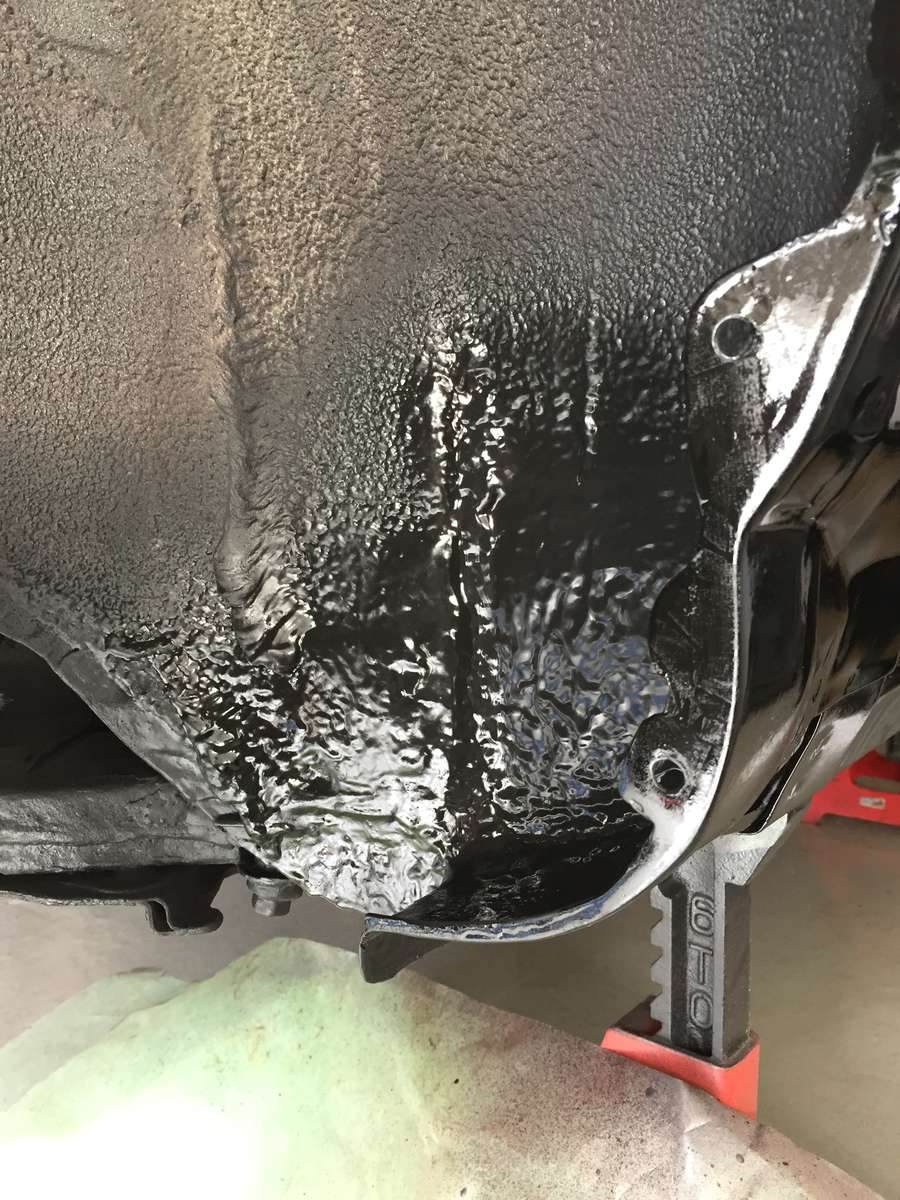
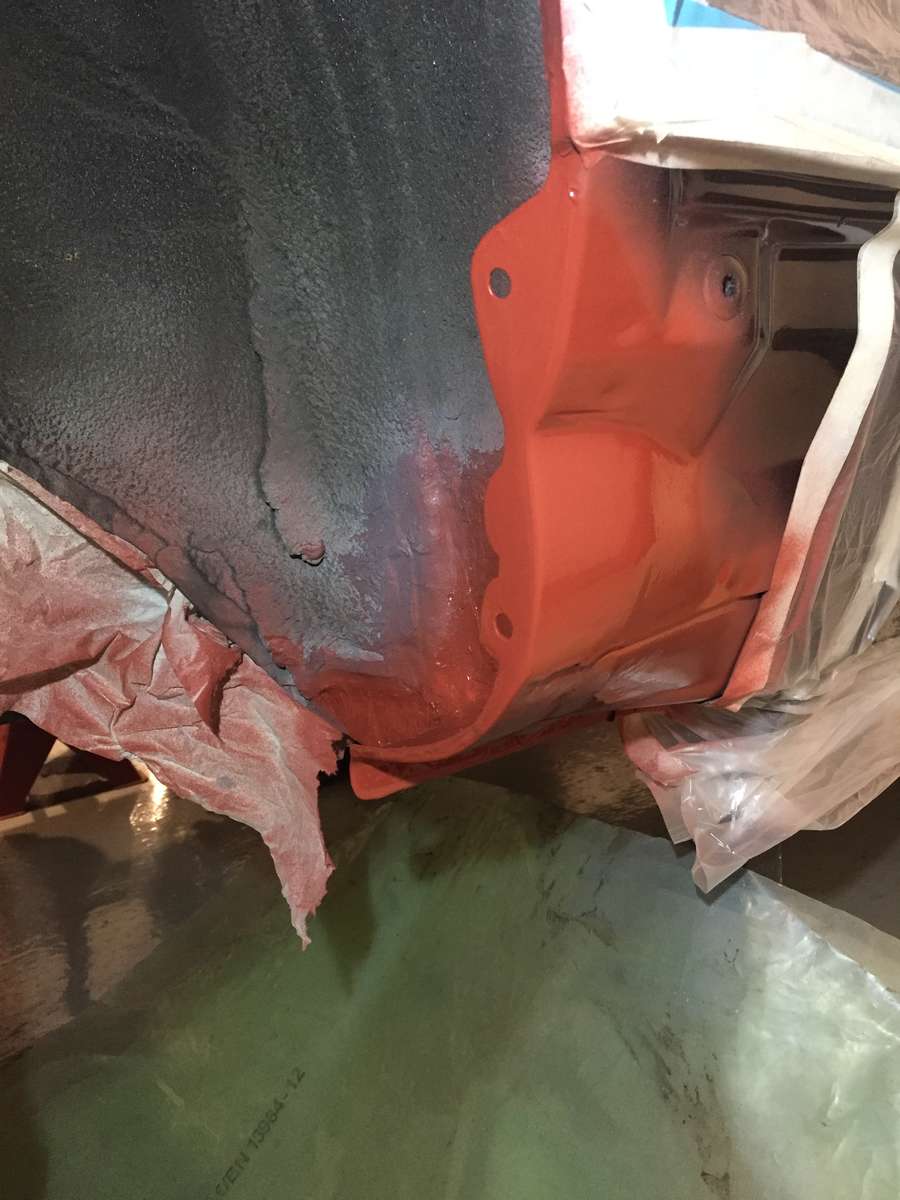
And finally some color.... now that needs to dry... suprise... and then I'll do the wheel Well coating and that's it!! then back to the scedueled programming of Breaking axels and other stuff!
-
And sanded down and masked off and primed... and then... more dry time...
-
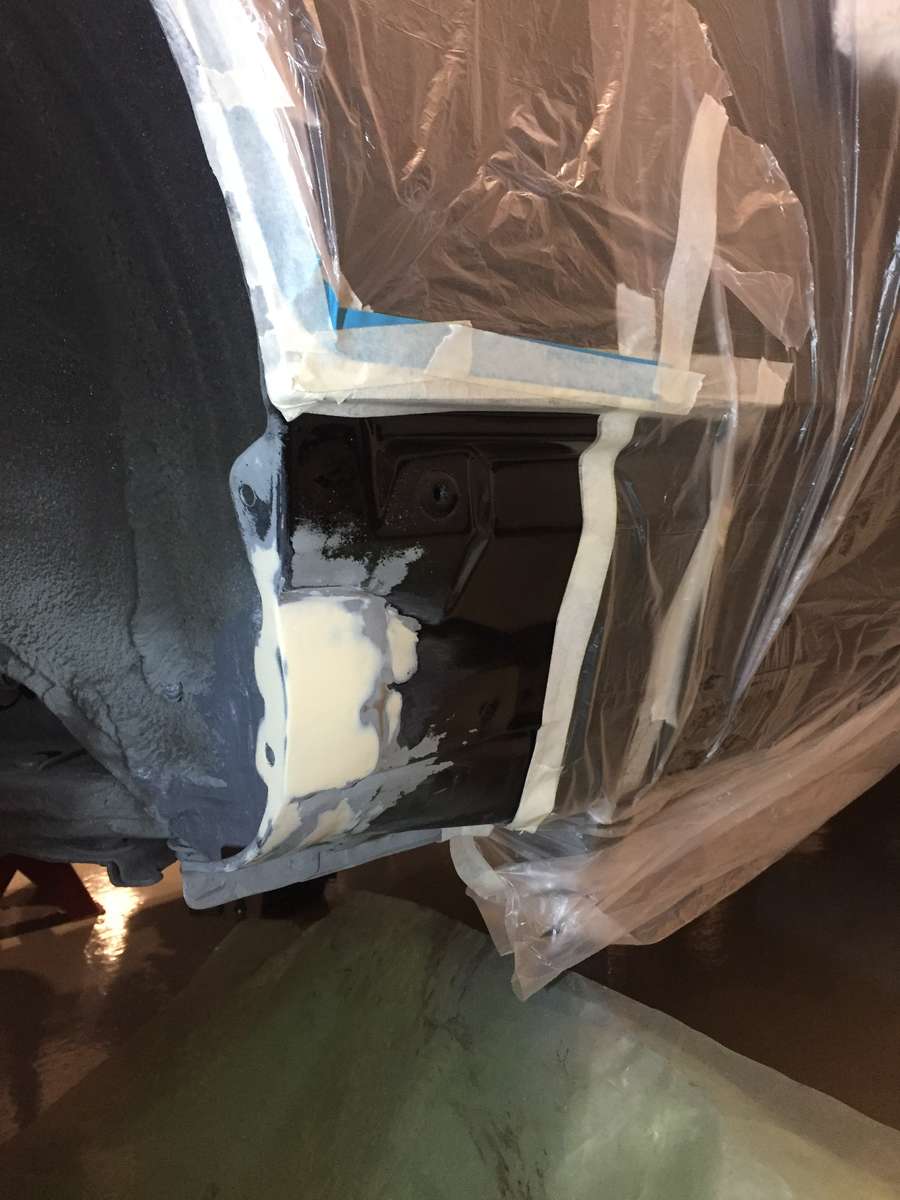
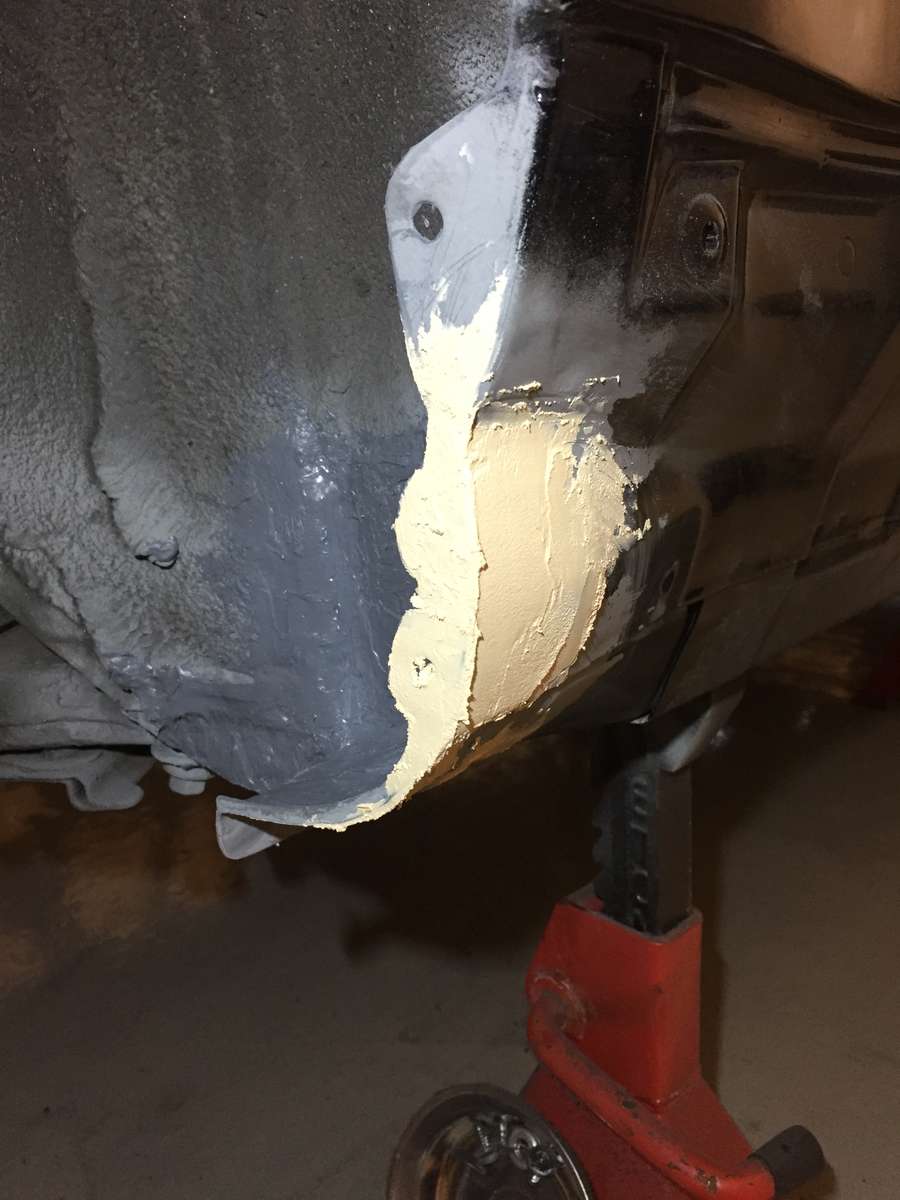
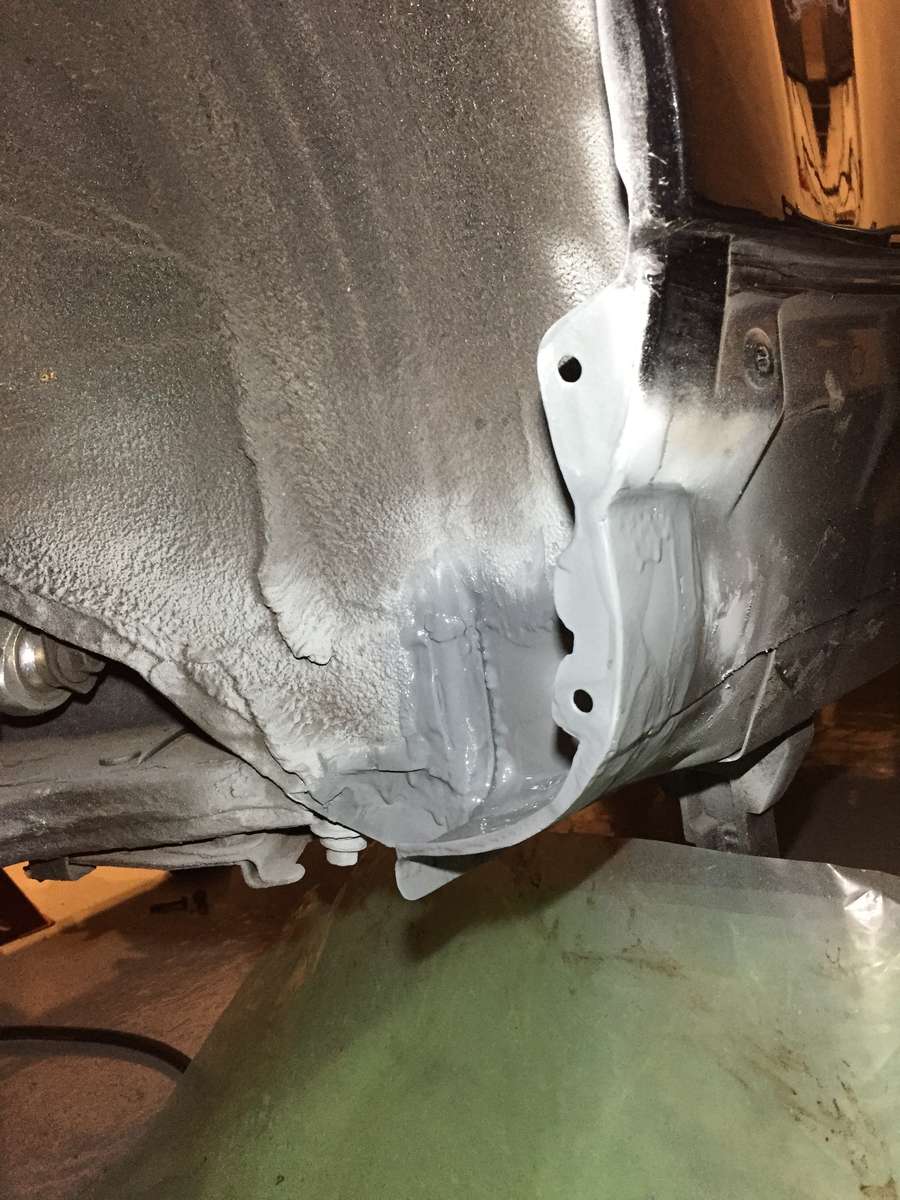
And some more dry time later... The inner arch bottom have been sealed, the outer layer has Got some Bondo layed out, and all of the cavitys in the panel has been pumped full of cavity wax..... now... more dry time....
-
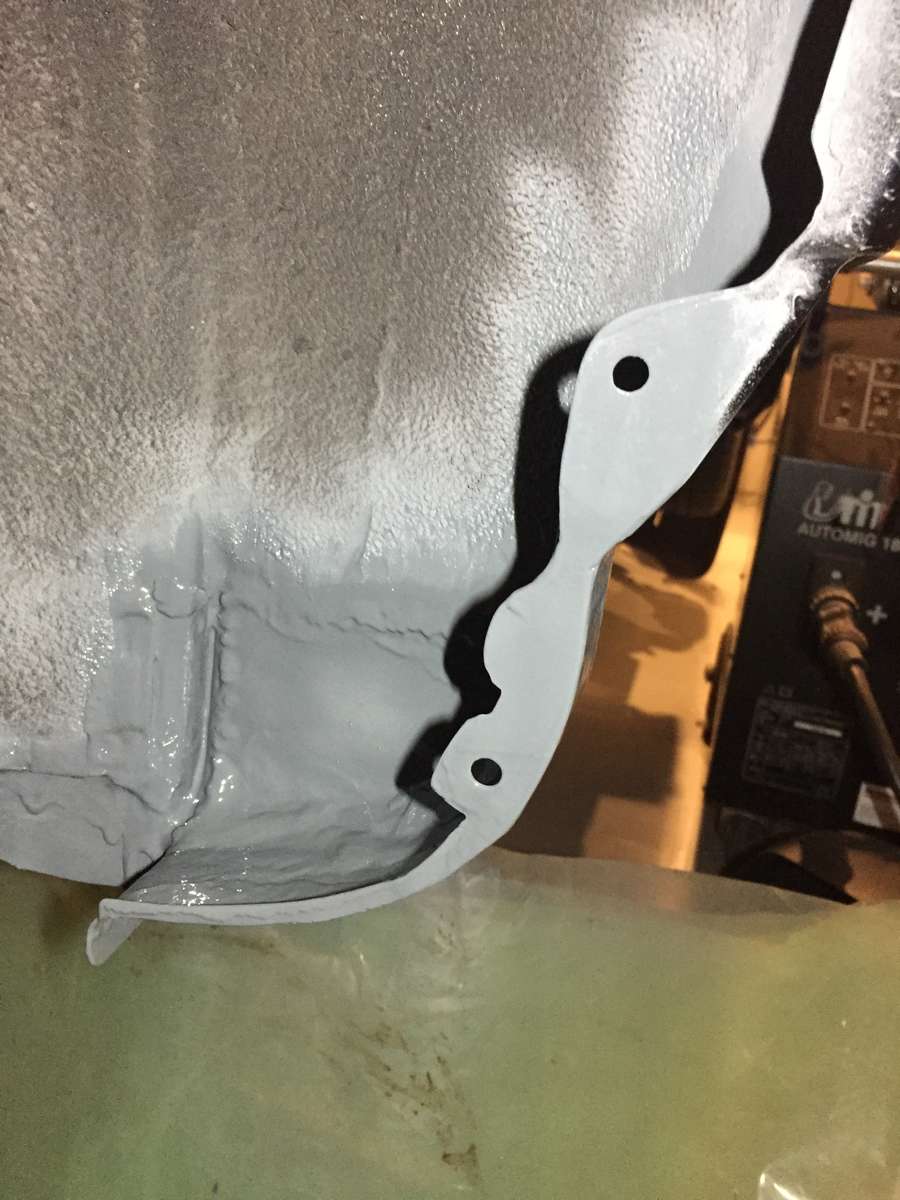
And all done and coatet in zinc. All Lines/holes etc. Line up, and messurements check. Now it's dry time. Tomorrow I'm gonna put sealer on like it came from the factory, then aply a strukture body coat on the inside, then paint. I ****ing hate bodywork!
-
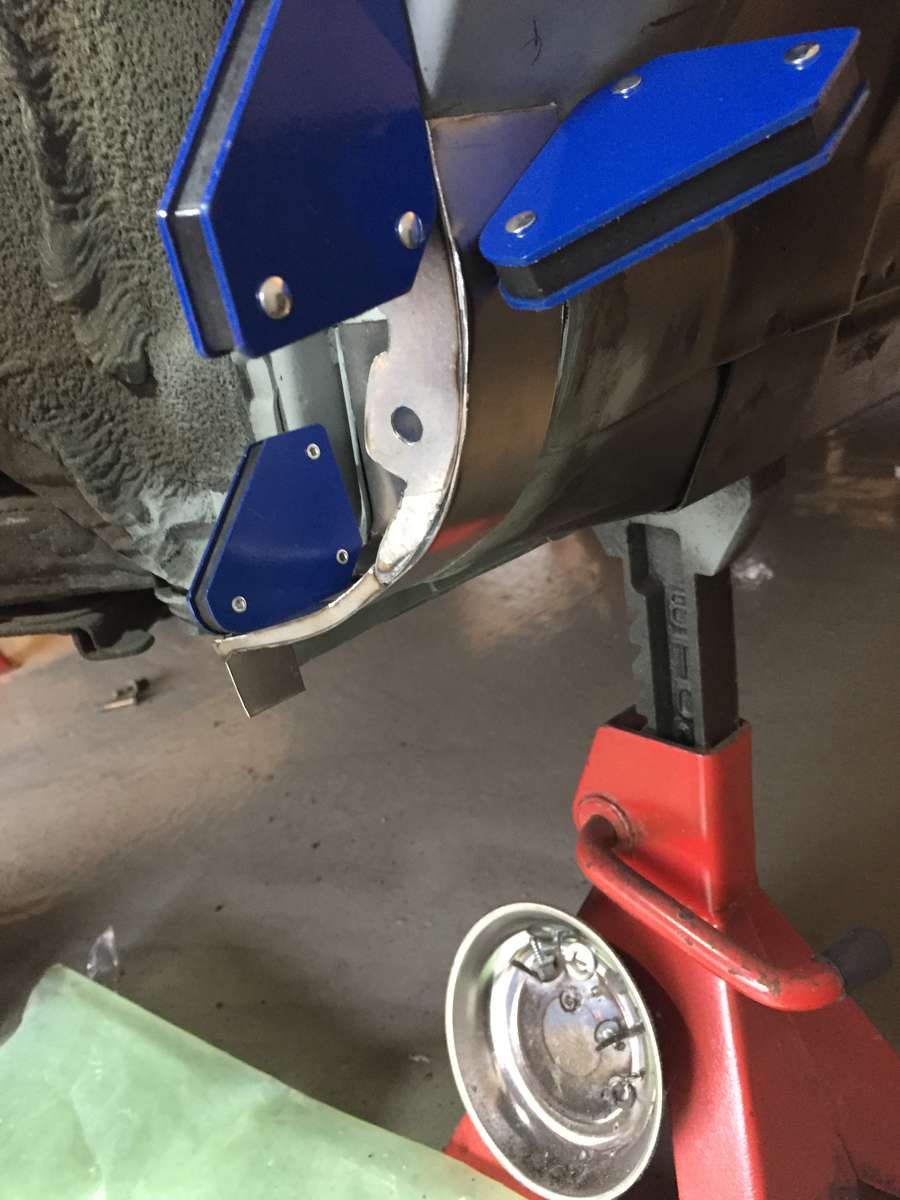
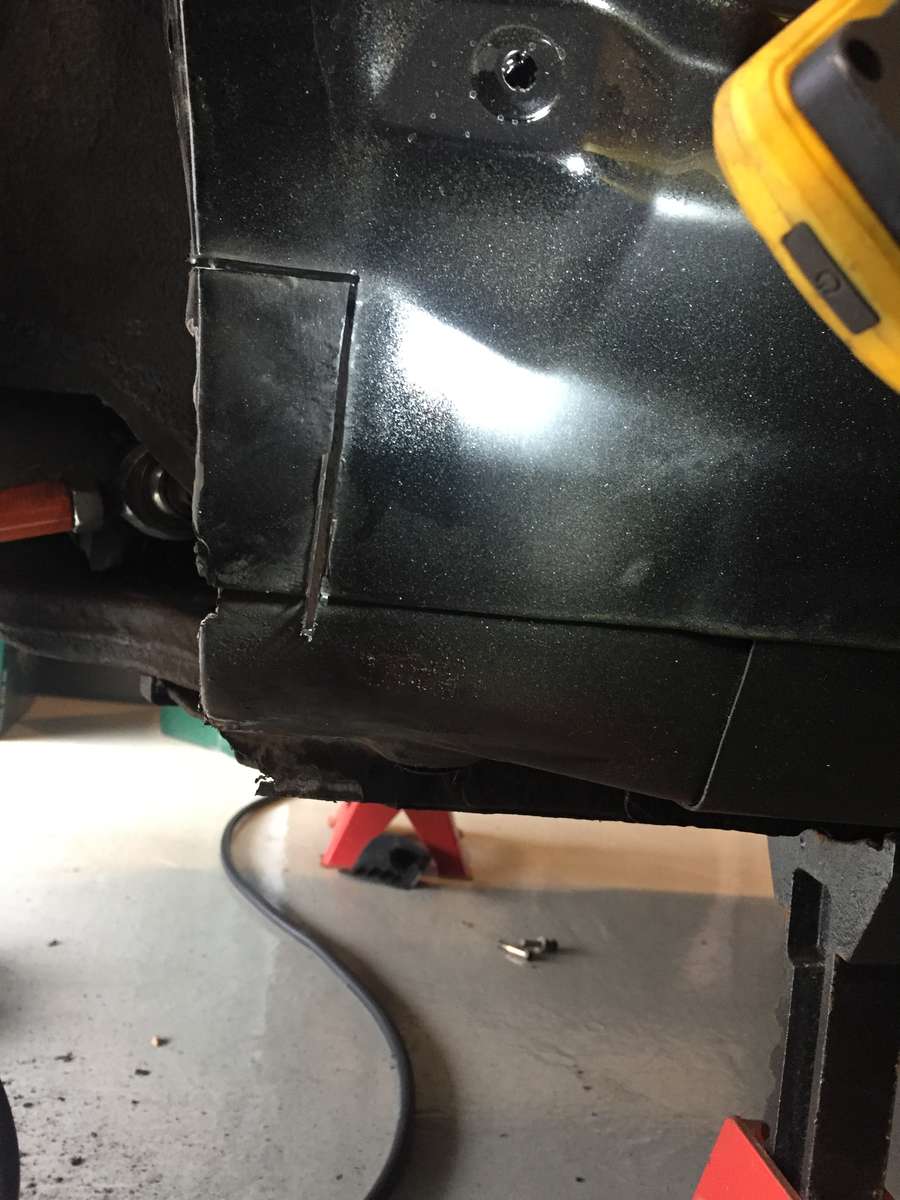
Pieces have been cut and the pussle ended up looking like this.

-
And can't wait to get this behind me, so just started making templates for the new pieces of metal. I'm planning on going the long Way home, and redo all the original pieces and build up the layers like it was originally. I guess i could just put some metal back on as it will all be covered up. But me beeing me, I want it done right. (Well the Way I Think is the right anyway) Having in mind that i'we never beaten a panel before
-
And after a rinse and Quick dry it looks like this. No more rust, then it's been left to dry over Night with the heat on full in the garage.... then begins the hard part!
-
And after a soak in rust eater it needs a rinse off and then it's ready to be primed inside and build back up
-
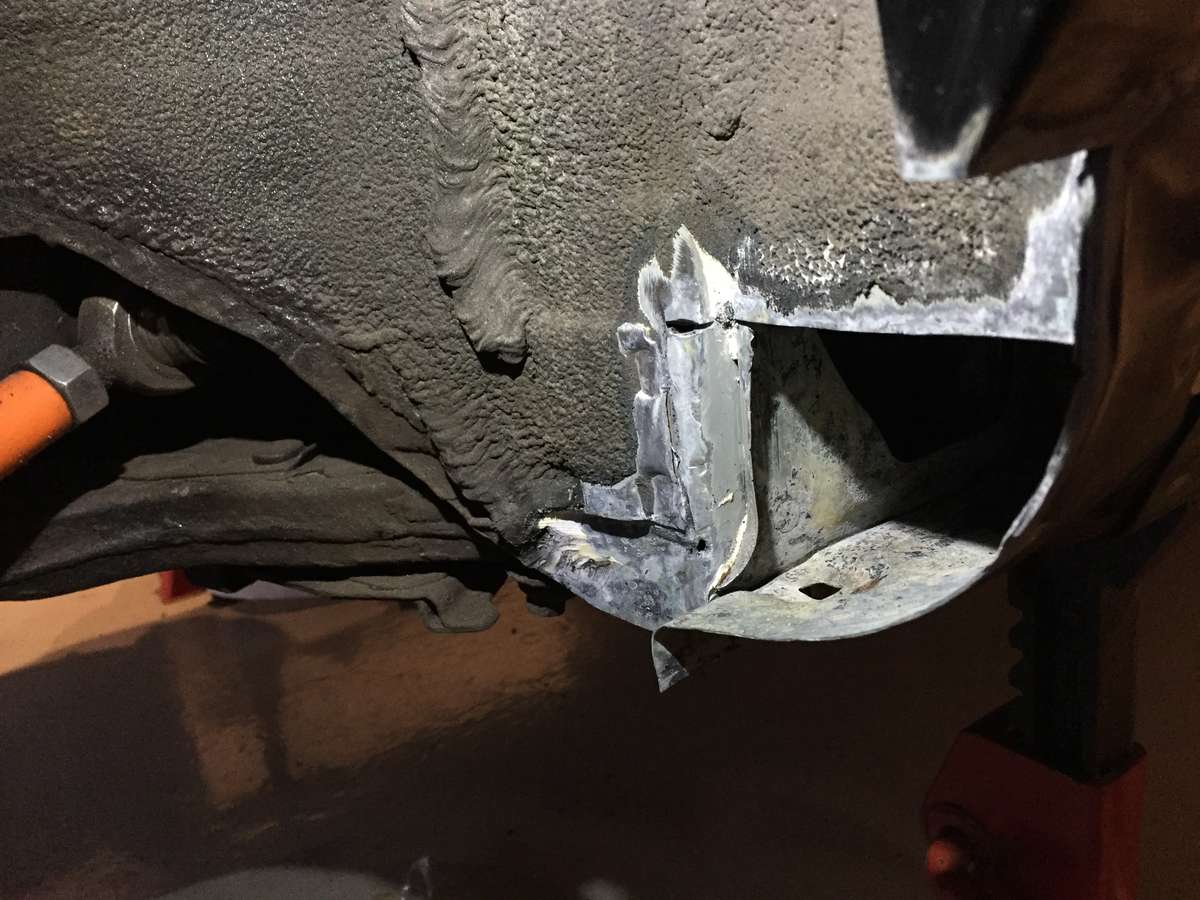
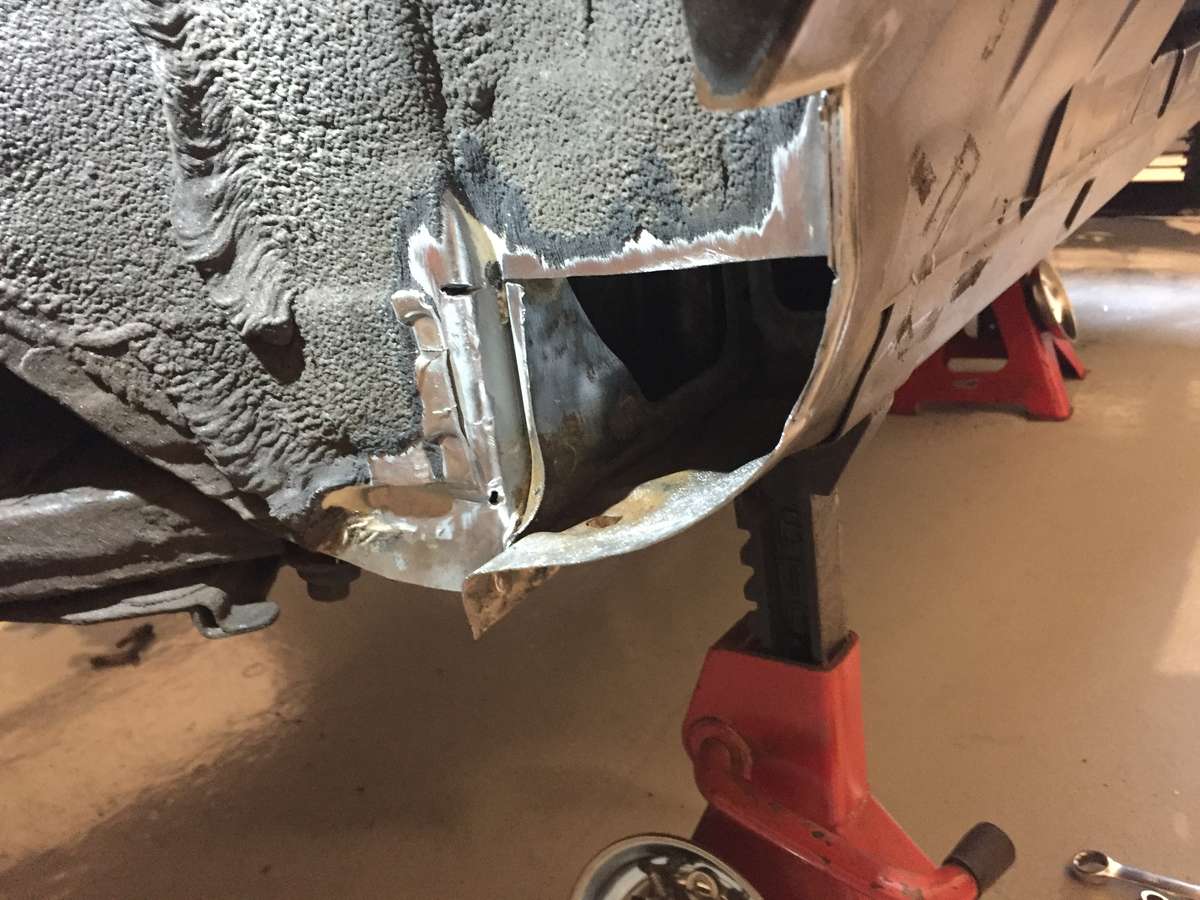
And after a good cleanup it looks alot better. the coroded part is actually just a small piece, but the rest is pretty solid. Now I need to make some templates for the new pieces, and prepare with some rust converter and weld thru primer on the inside.
-
And so it begins....
-
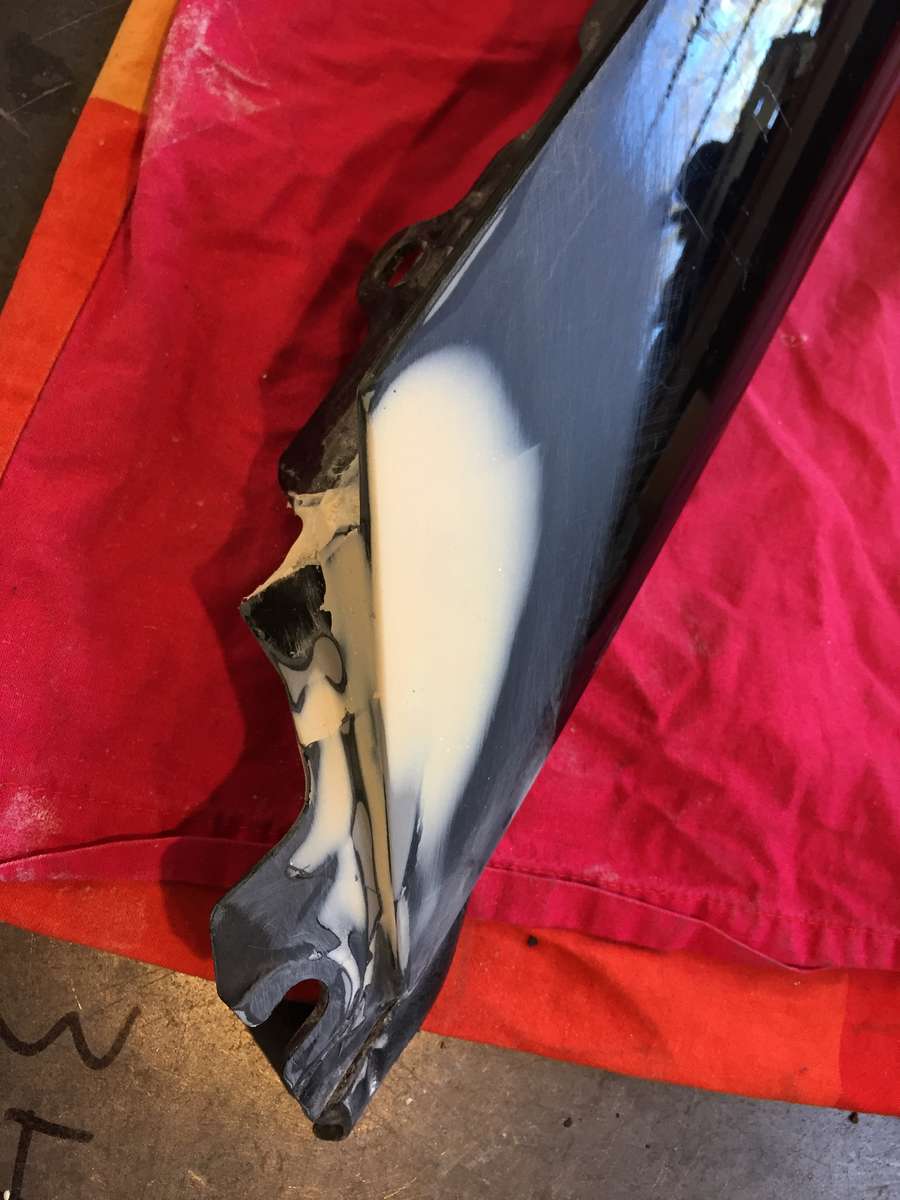
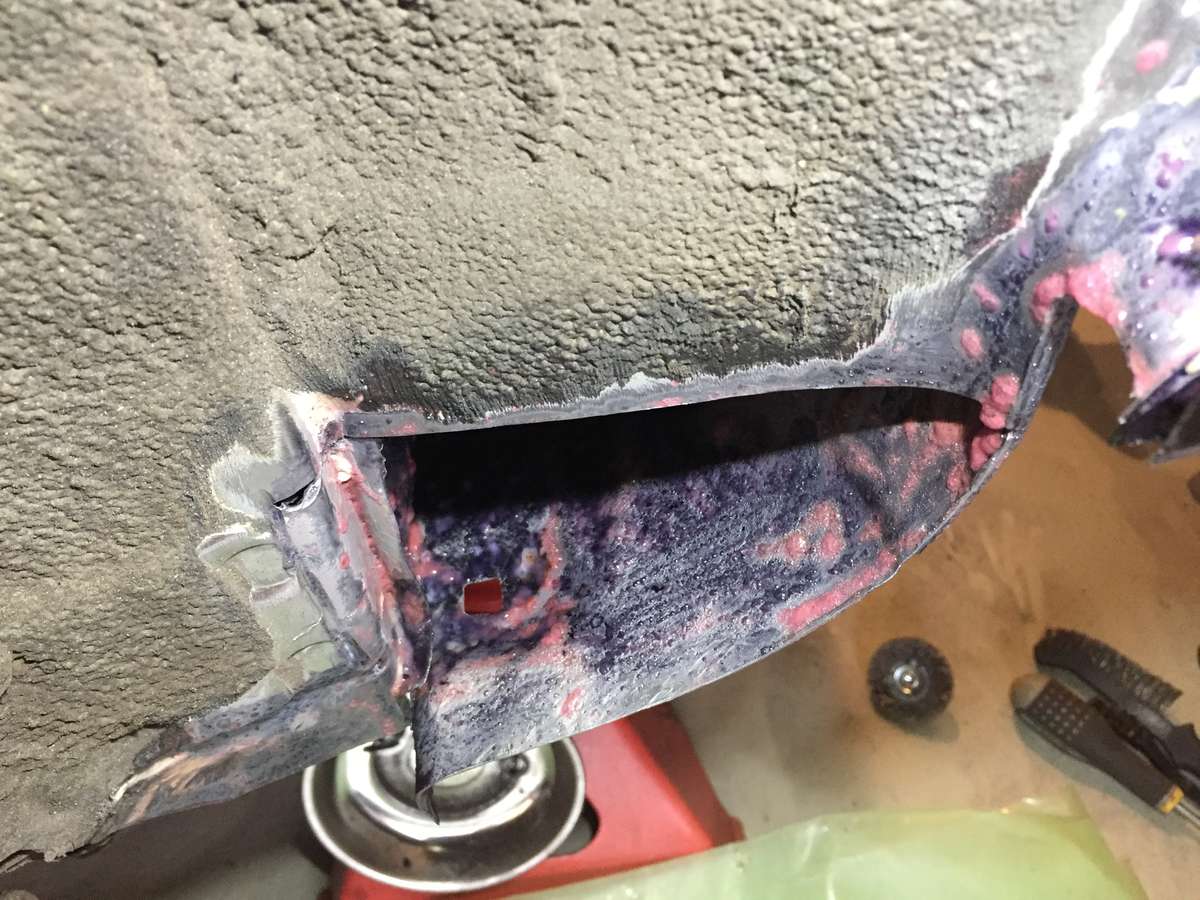
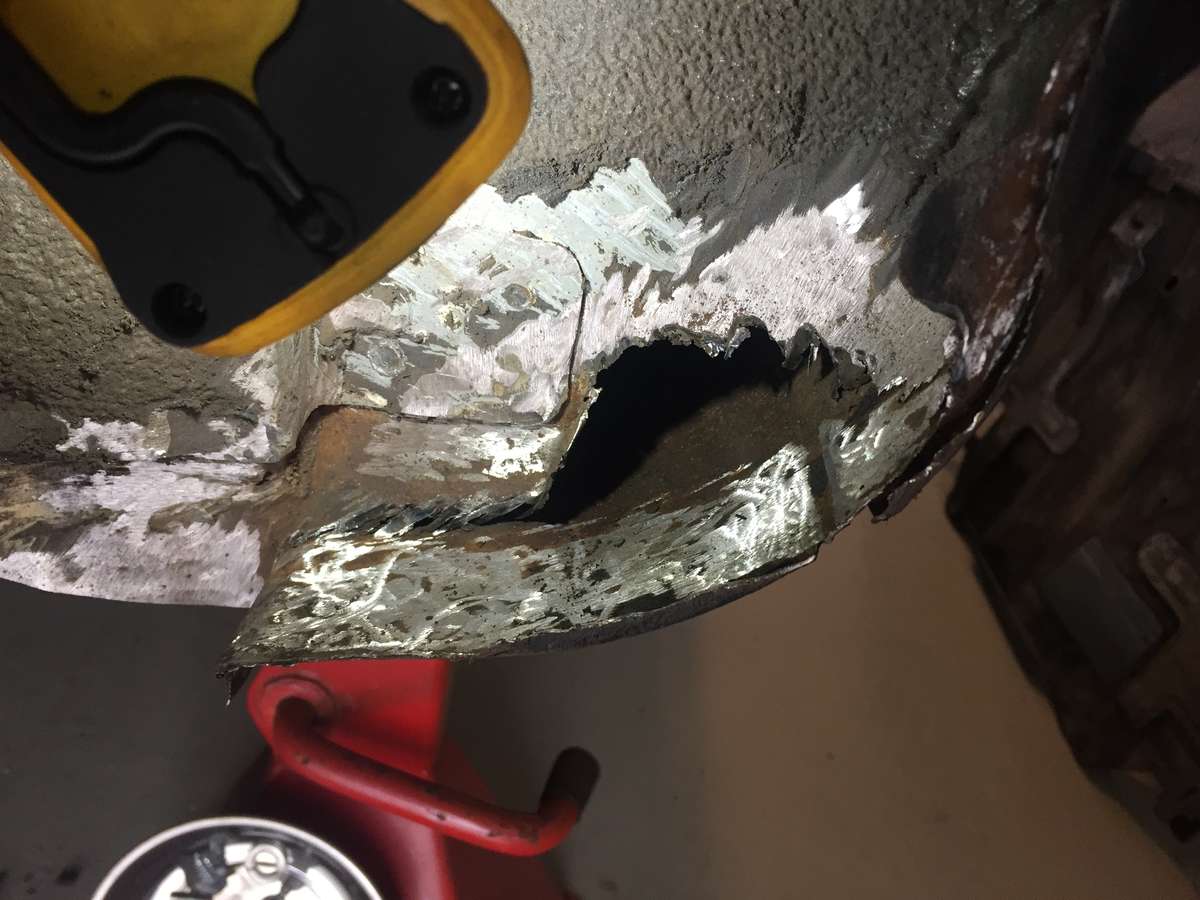
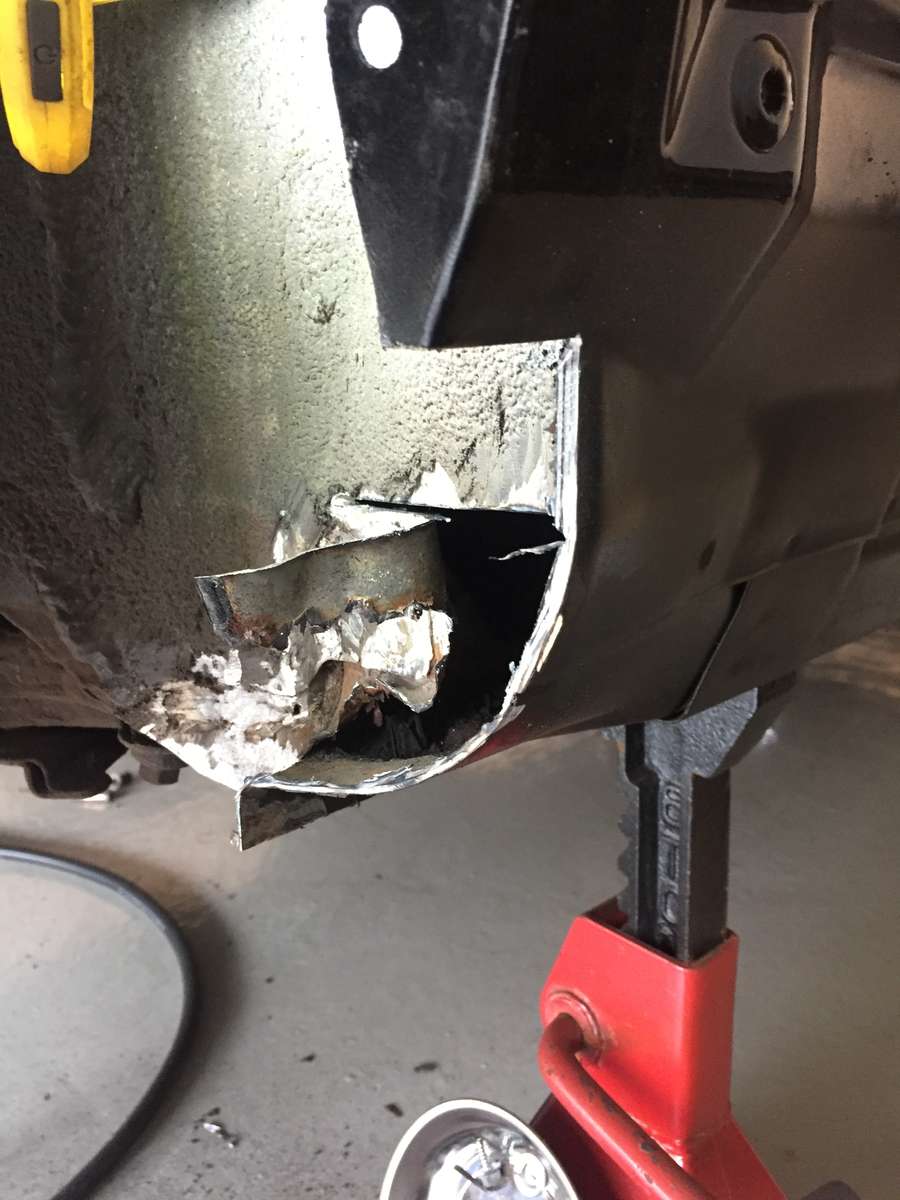
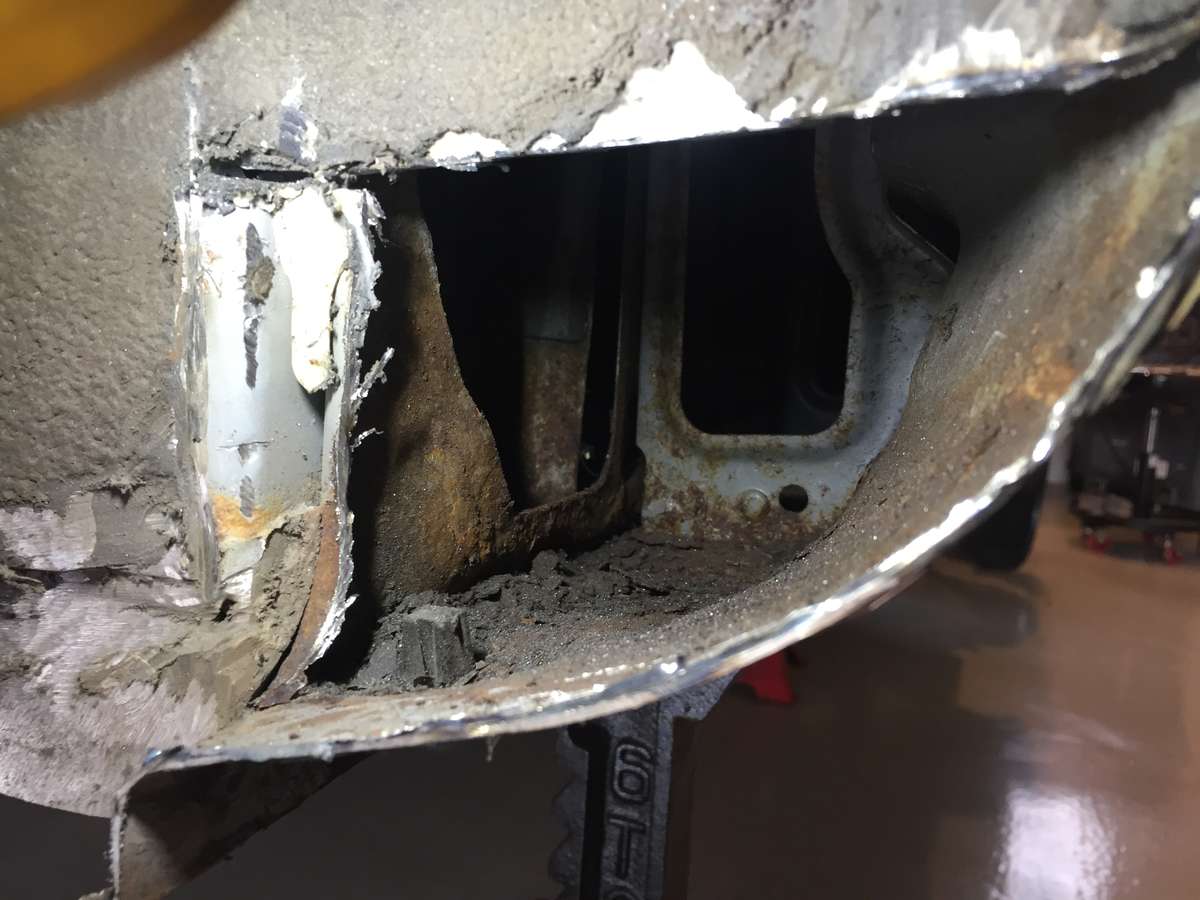
Spot on... That Would be "walk away" rust in my book, if I was to buy the car.... And that's proberly why they did such a great job in covering it up with silicone gasket and bondo... And to rub it in, it's the same side that had the rustet arch that I did and painted... i guess the rust and water drained down and sat here and had a party...
-
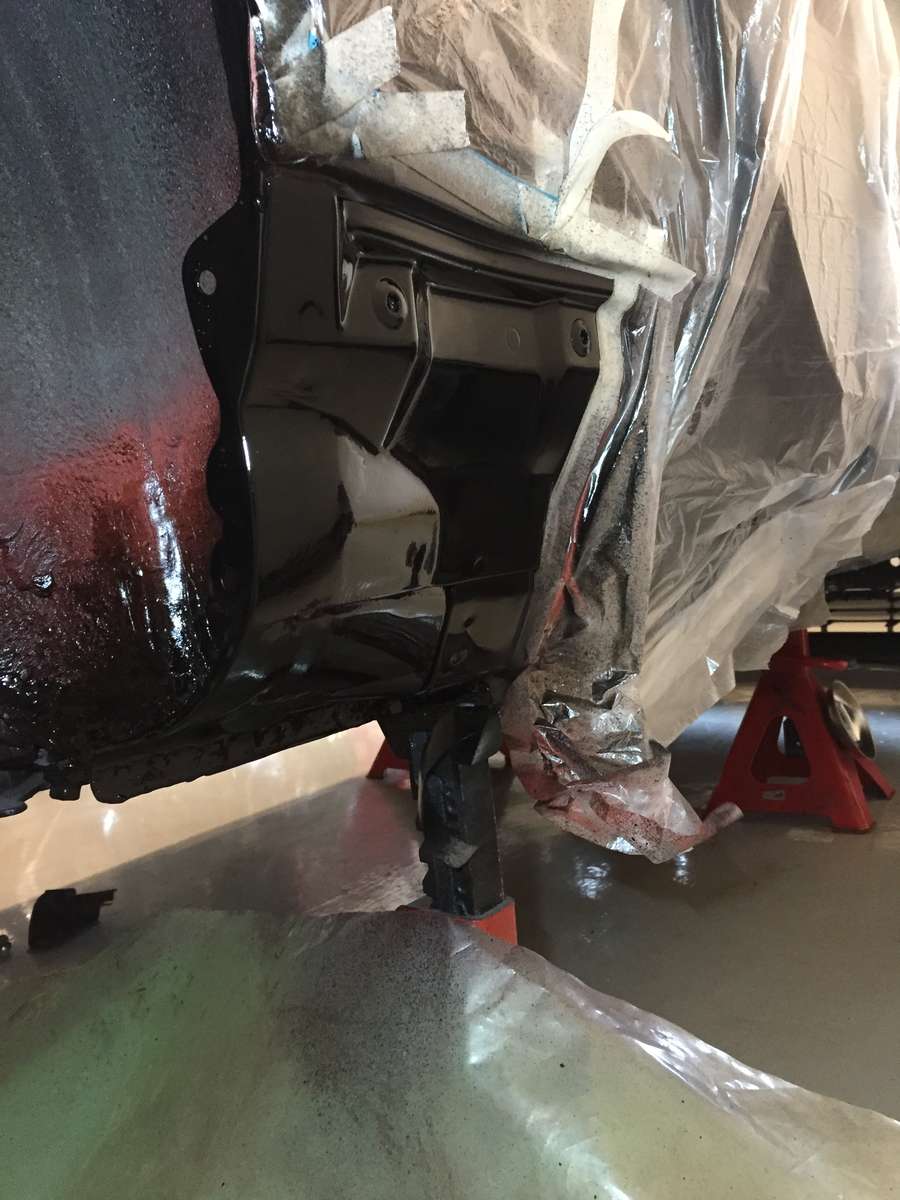
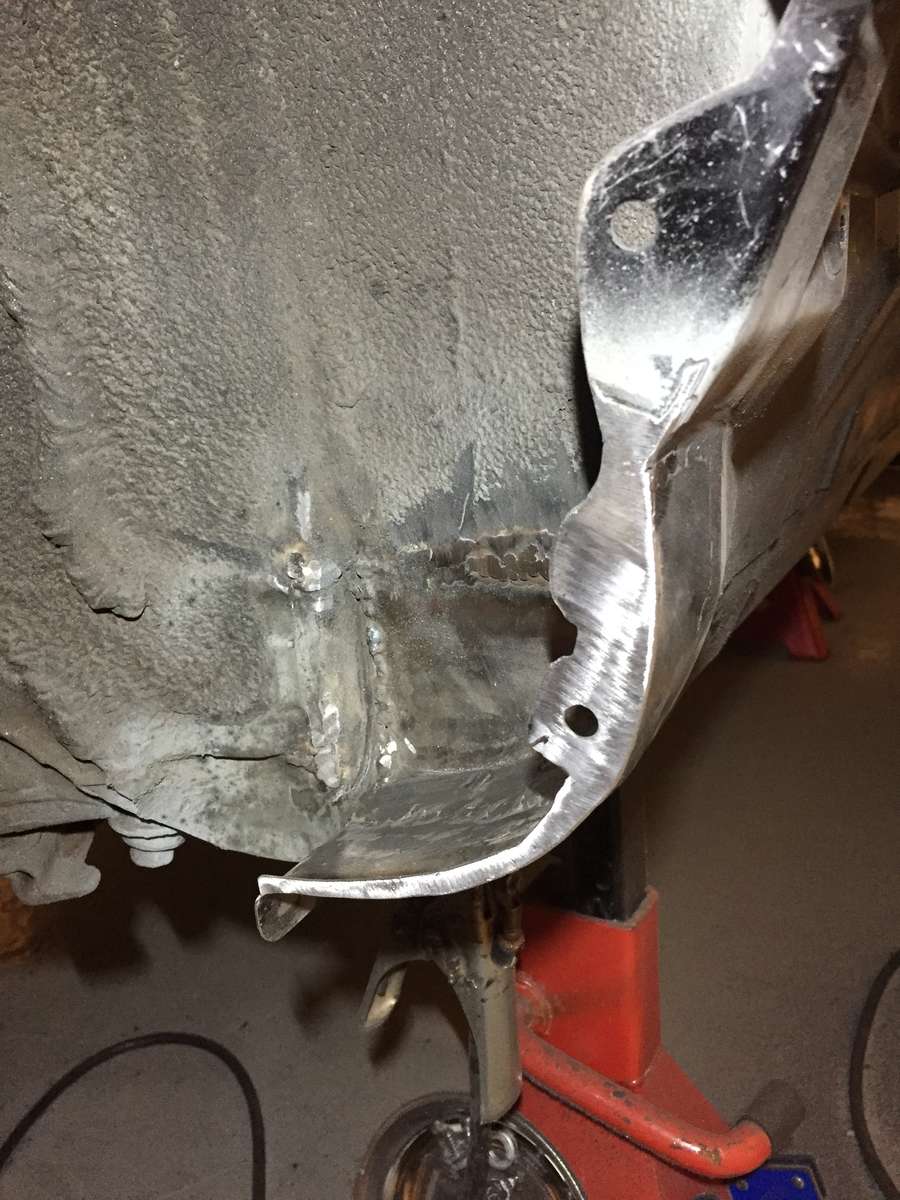
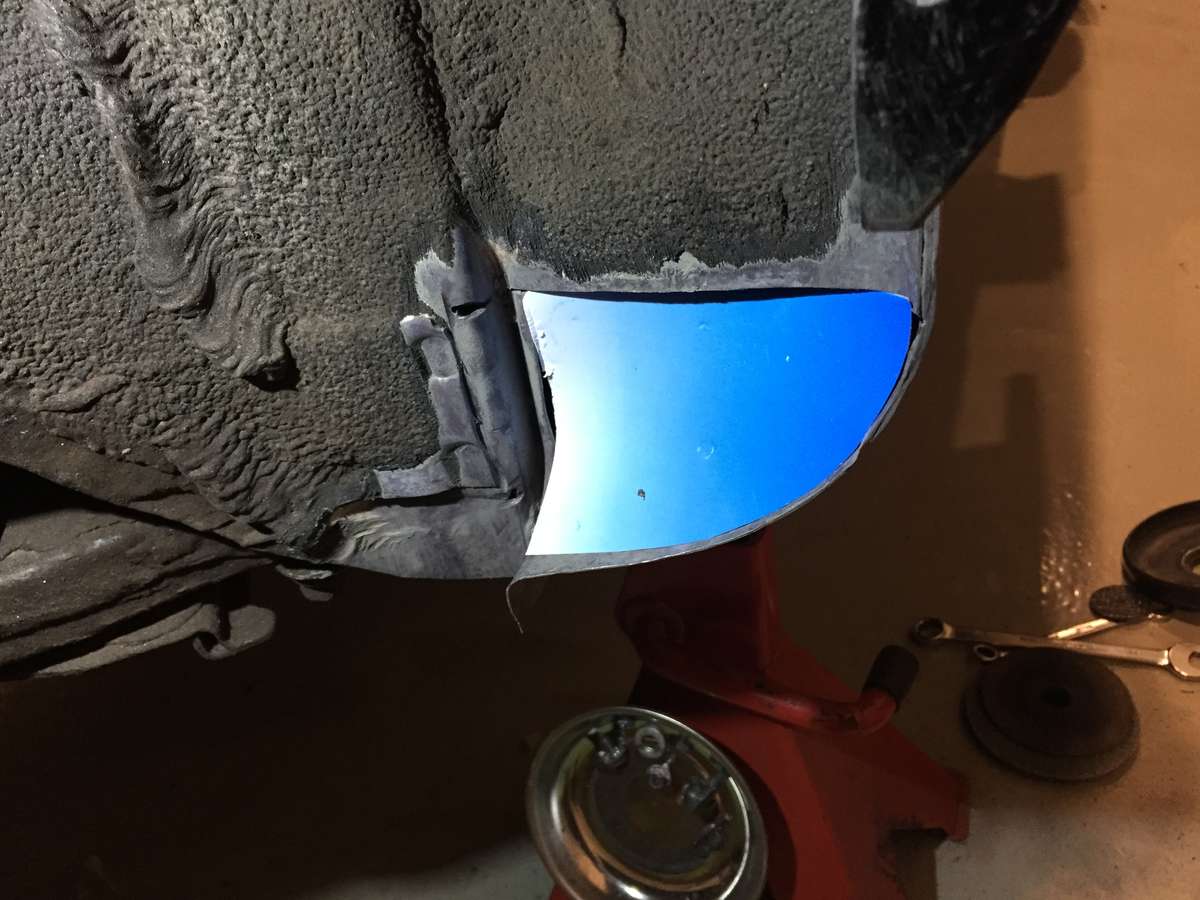
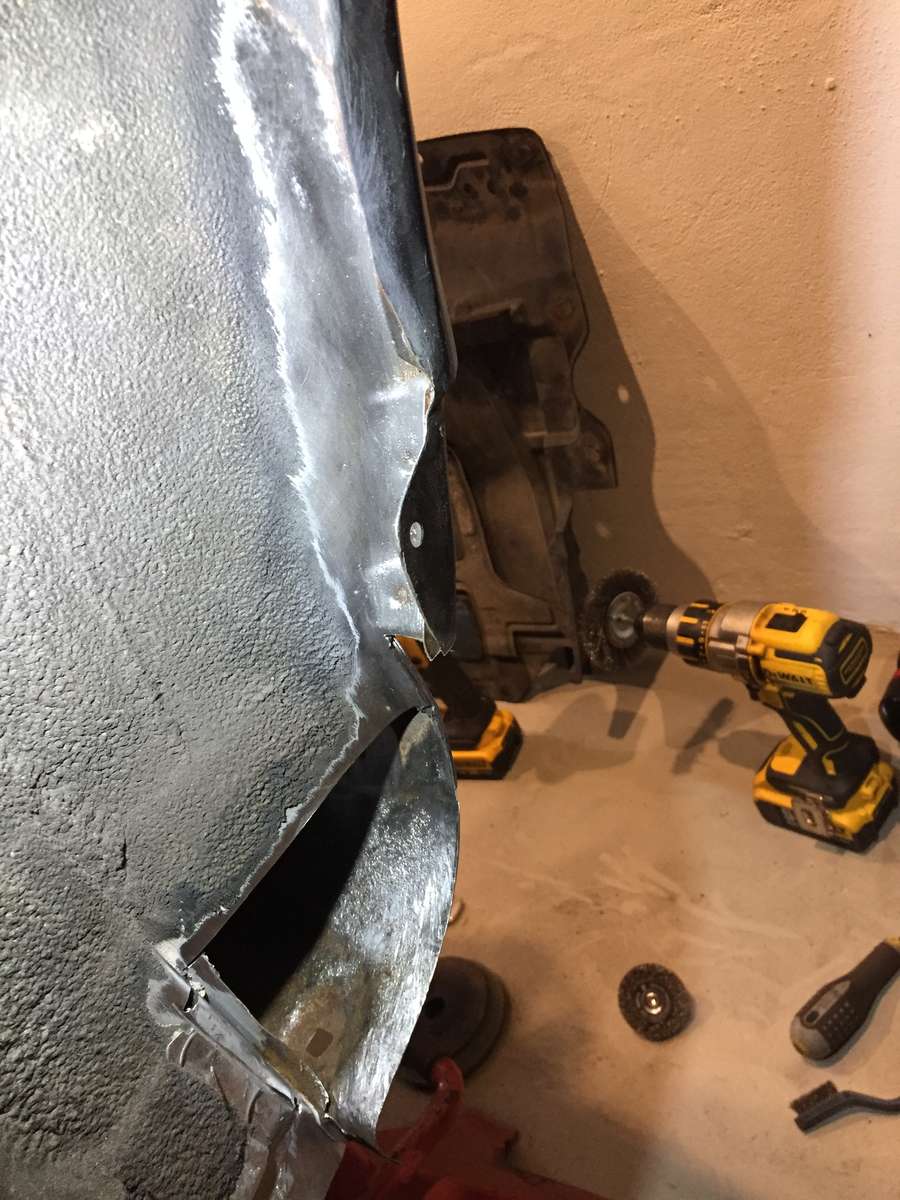
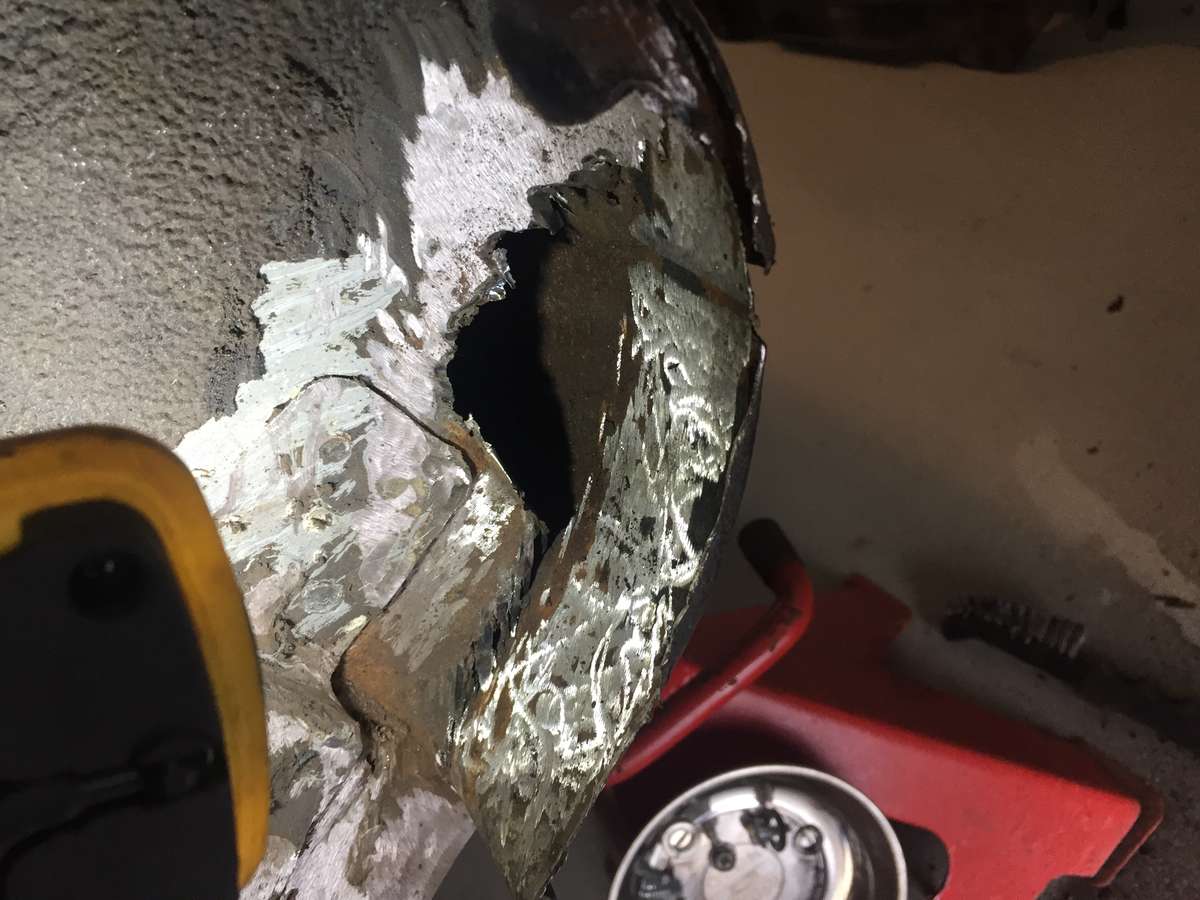
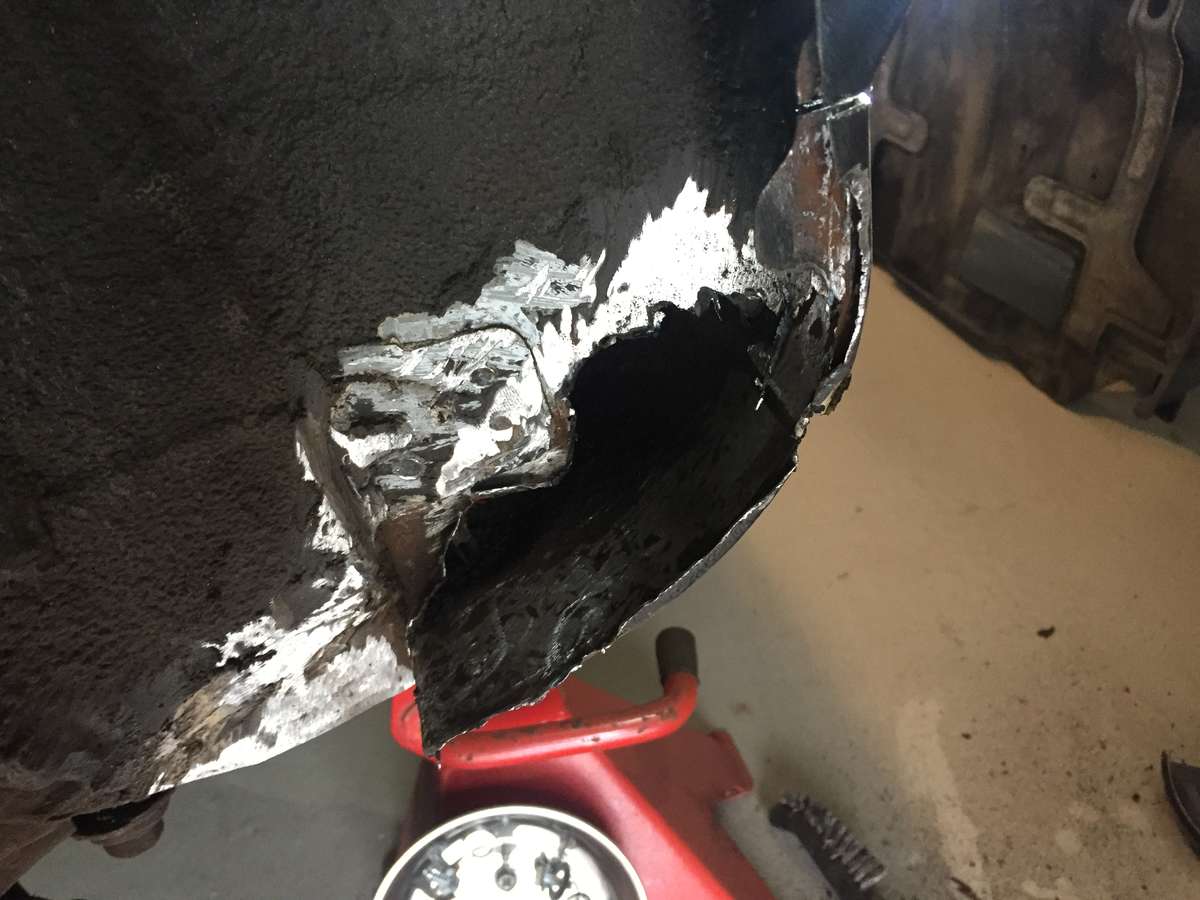
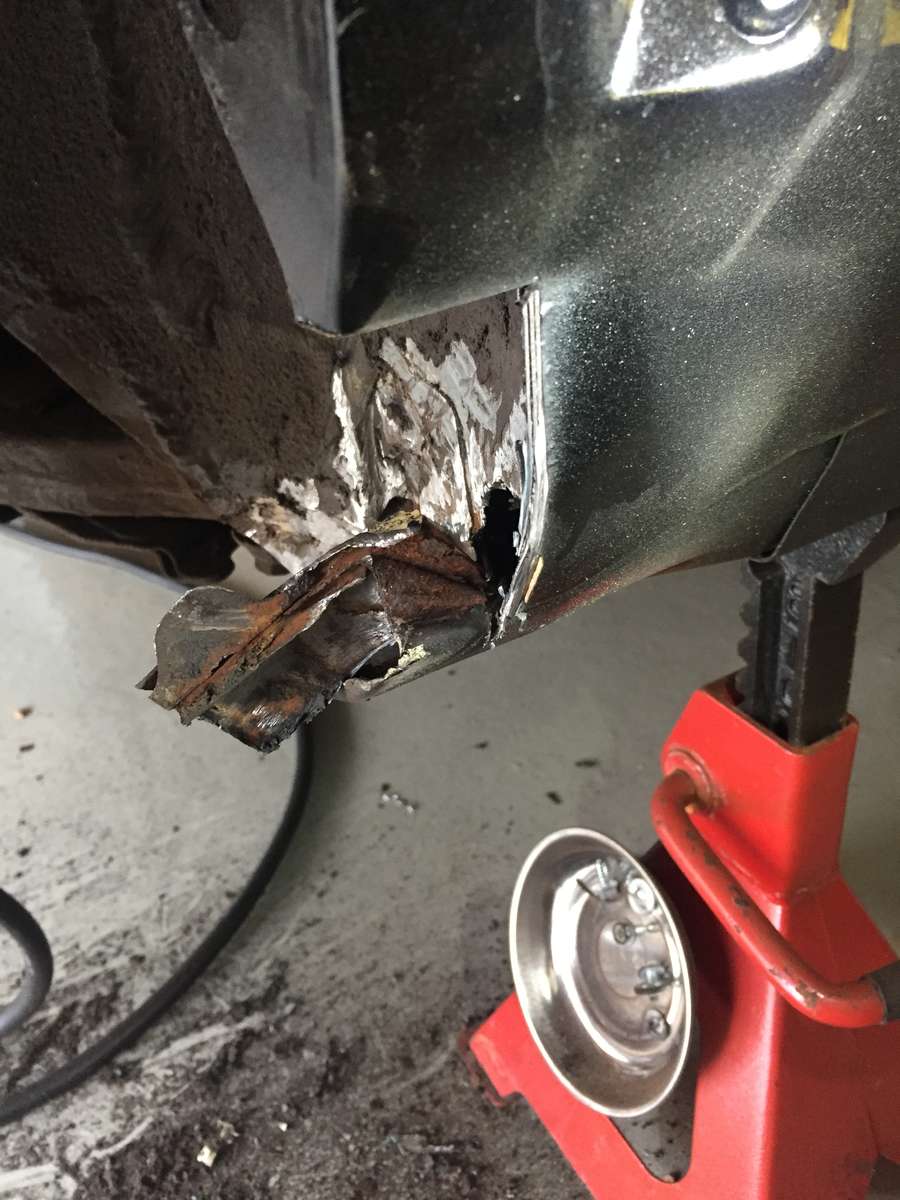
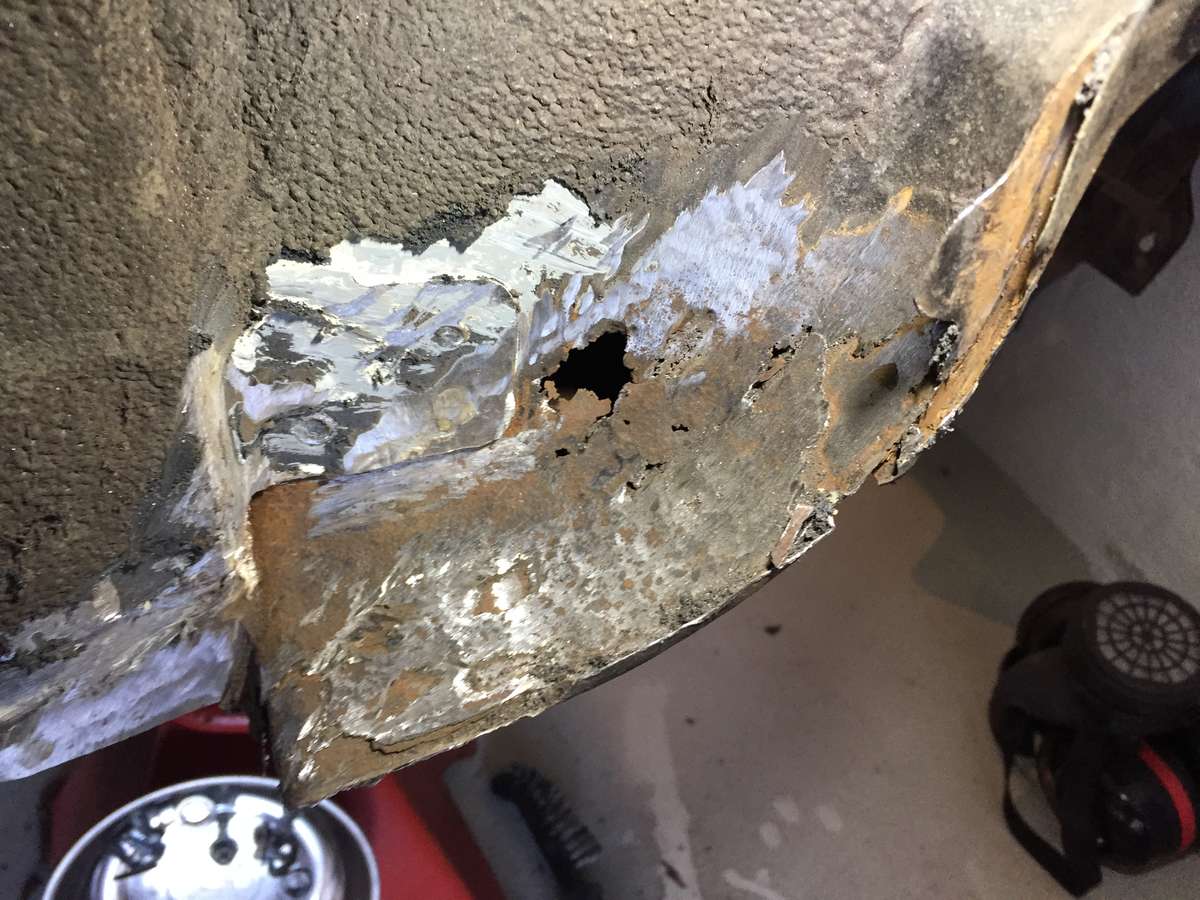
And **** me!!!! found this when scracting in a small rust patch in the rear arch bottom. so i have to cut it to hell to get to the bottom of it....
-
For how bad this was, I'm pretty contend with the outcome.