

14N
-
Posts
6,196 -
Joined
-
Last visited
Content Type
Profiles
Forums
Events
Gallery
Store
Posts posted by 14N
-
-
I'm sending you a PM about the 25's right now...
-
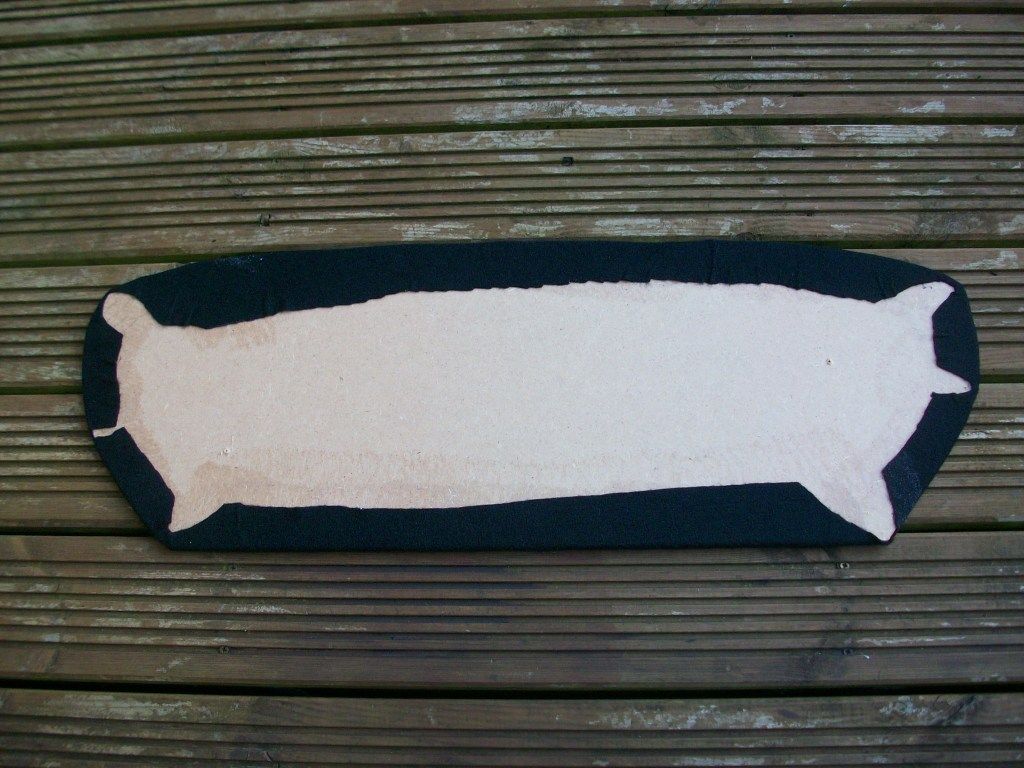
Well, I had a few hours spare today, so thought I'd make another vertical tonneau and offer it on here if anyone wants it?
You can see how it looks in the car in my thread: viewtopic.php?f=9&t=64666
Here's a pic of the one I'm selling.
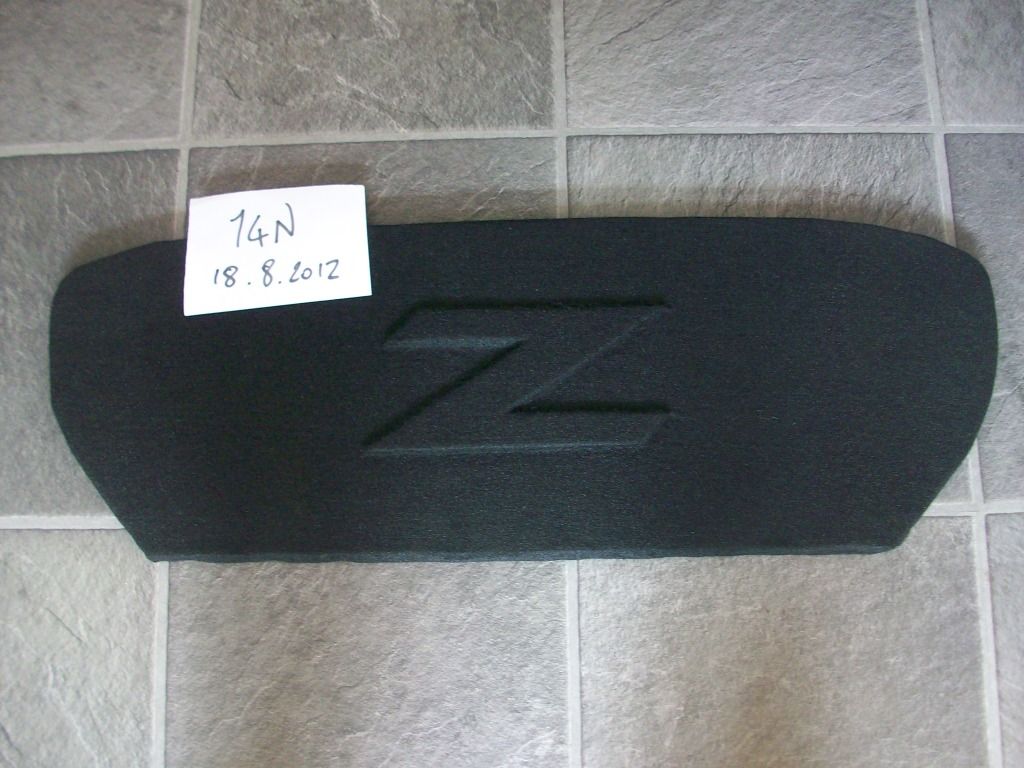
The one in my car is lasting well and does reduce road noise a fair bit.
Say £45 delivered? PM if interested.
-
Another Ian?

 to the forum. It's a buyers market at the moment - Many have said before, it's worth travelling for the right Zed. The further you travel, the longer the drive home is
-
Body parts
in Wanted
I have a brand new (never fitted) pair of genuine Veilside V3 side skirts if you fancy something different to the Nismo look?
I bought them, but really should sort other bits n pieces out first (wheels, springs, spacers...) before adding body kit parts. I can try find some fitted pics if you're interested mate.
-
Hello and
to the forum and UK! -
Hello and
Stuart. -
Hello and
back! -
Hello,
and congrats on the purchase. -
-
Cheers guys, appreciate the comments
-
-
-
I know this has been done (probably many times) before, but I thought I’d share my DIY tonneau cover as a bit of a ‘how to’ just in case anyone else fancies trying it. I guess there are a few ways you can tackle this, but this is how I did mine.
First you need a template of the OEM tonneau. Either trace round a mates or get a friendly forum member to trace theirs and stick it in the post (cheers Dave P).
You’ll need two of the dividers, as you’re gonna stick them together later. I used 6mm MDF.
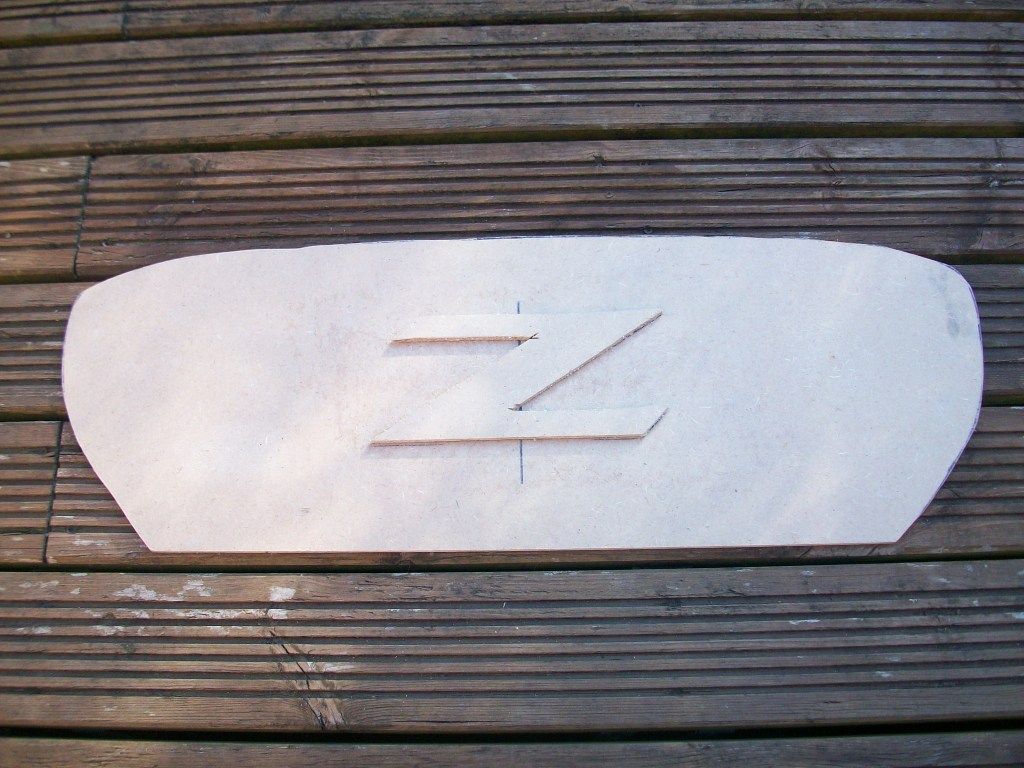
Once you’ve cut out your two MDF dividers (and test fitted them in your car), you may have a piece of MDF spare. I used this to make the ‘Z’ logo.
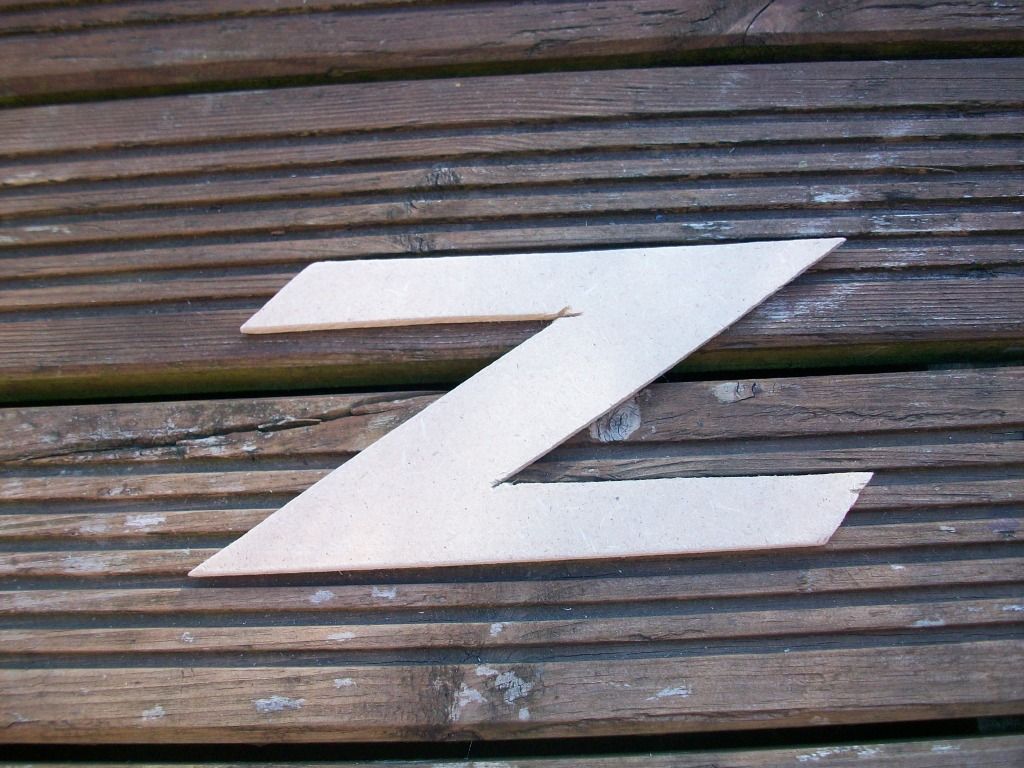
I found an image of the ‘Z’ and just enlarged it then printed it out and used it as a template. Then measure the centre of one of the dividers and mark where you’d like the ‘Z’ to go. Spray some spray adhesive onto your logo and mount it to one of the dividers.
Originally I was going to fit a ‘Z’ to both sides of the divider, but it can’t really be seen that well from the boot side, so I just opted for the one.
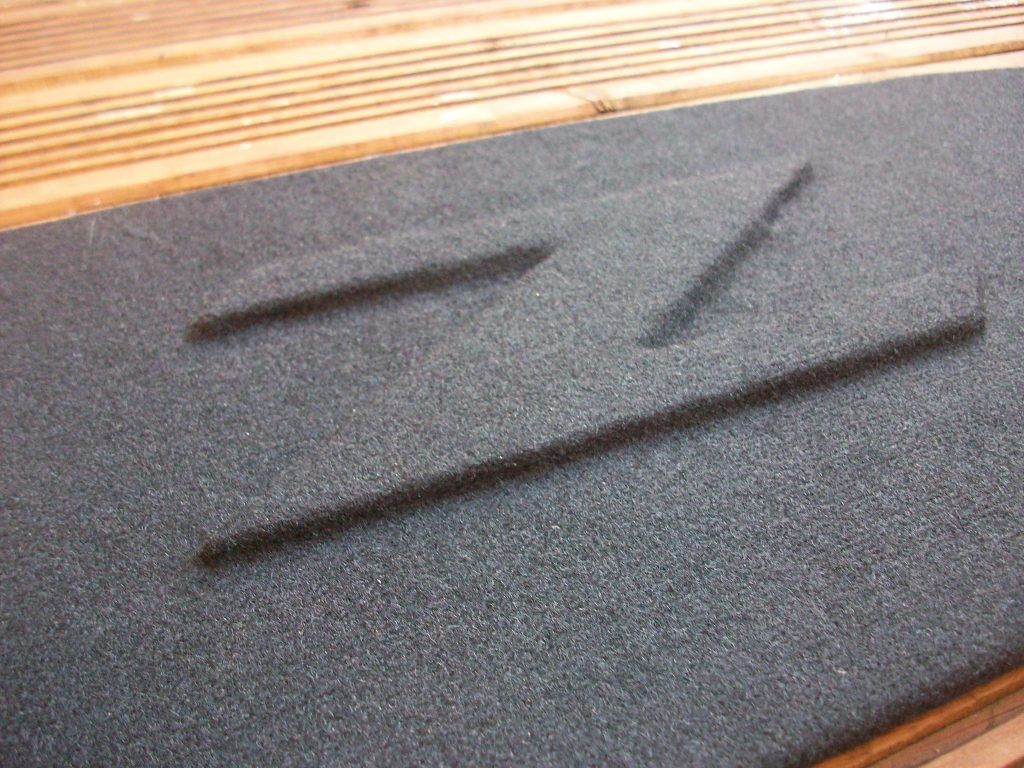
Now you’re going to cover one side of each of the two dividers you’ve cut out of MDF with acoustic carpet (I got mine from eBay). Spray plenty of spray adhesive and leave it for a minute – it gets tackier as the solvents dissolve.
With the divider that has the ‘Z’ mounted, sprays LOTS of adhesive on and around the edges of the ‘Z’ (you want to make sure it sticks). Then mount the acoustic carpet to the ‘Z’ first, using your finger tip to push it into all the edges of the logo. Then continue to mount the acoustic carpet as normal (it’s quite elastic, so you should still easily get a flat finish around the ‘Z’.
OK, so now you’ve cut out your dividers, cut a ‘Z’ logo, mounted the logo and covered both pieces with acoustic carpet? Now you just need to glue both sides together and fit it in your Zed.
When gluing both sides together, spray BOTH inside sides and remember to let the adhesive settle for a minute of two. It really is strong stuff – especially when applied to both surfaces.
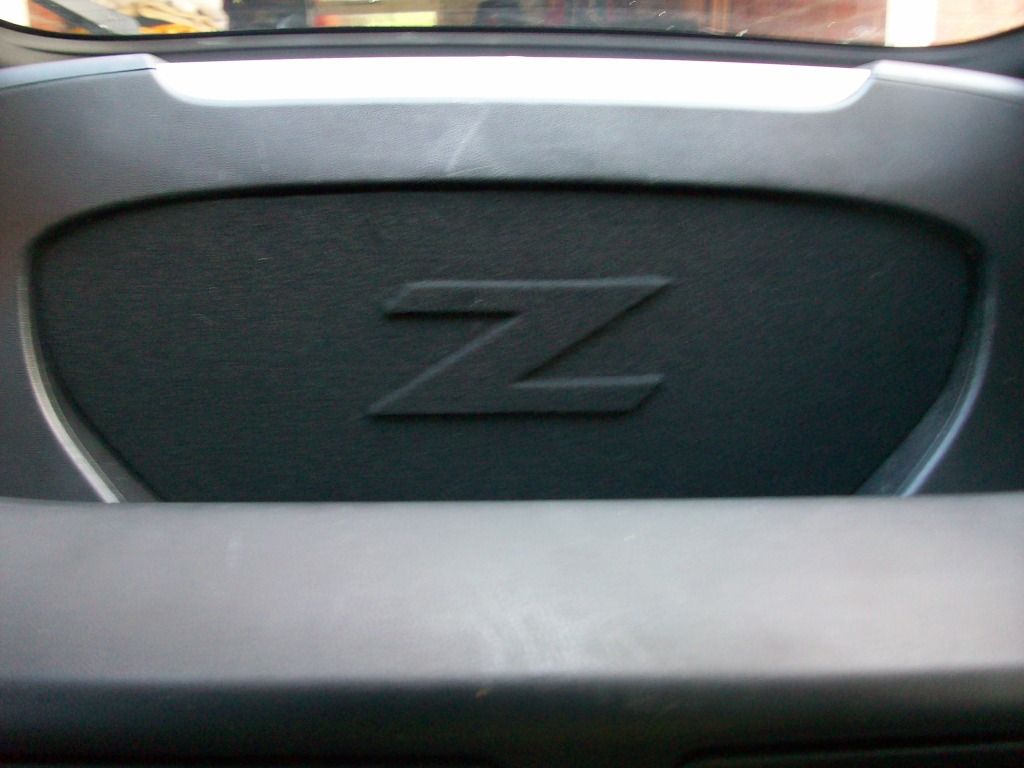
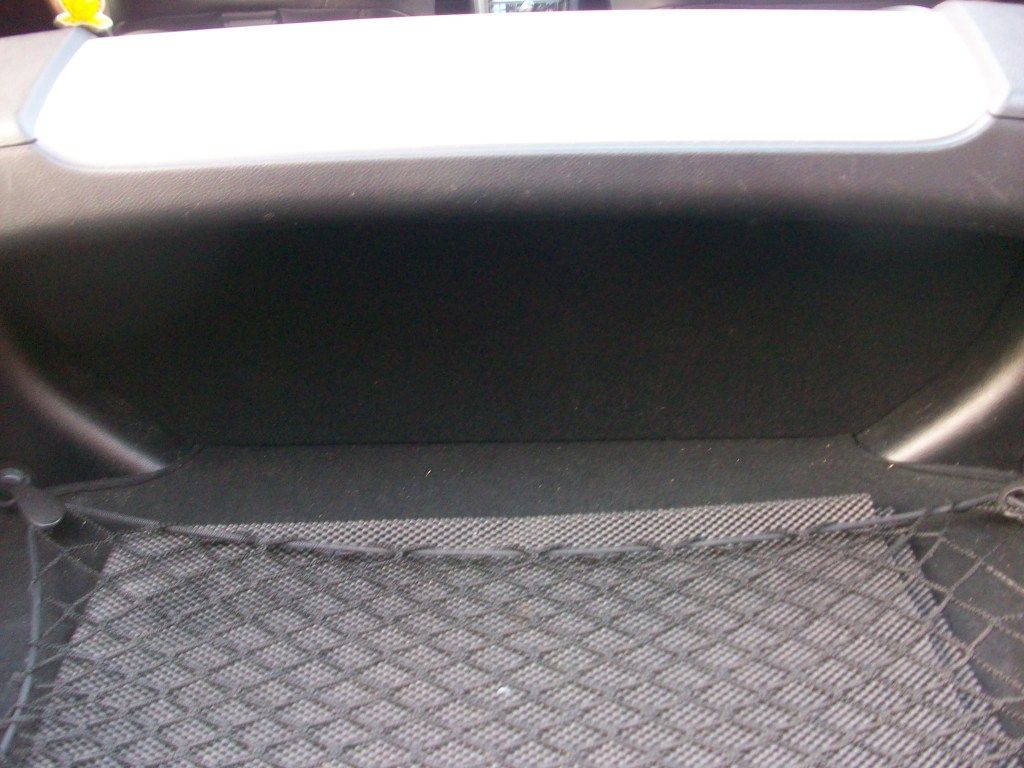
Fitting is simply a case of ‘wedging’ your new divider into position. If you’ve cut the MDF to the right size/shape, the acoustic carpet will help hold it in position. Don't panic if when you first fit it, it just falls through under the strut brace, the opening varies in width so just try moving the divider's position.
When you’re done, hopefully your vertical tonneau will look like this:
-
"It looks rubbish, you don't need spacers Ian".
"It looks rubbish, you don't need spacers Ian".
"It looks rubbish, you don't need spacers Ian".
"It looks rubbish, you don't need spacers Ian".
"It looks rubbish, you don't need spacers Ian".
"It looks rubbish, you don't need spacers Ian".
[scrolls back up]...
Dammit

-
Hello and
-
-
Hello and
It does sound like you've found a good 'un. Remember to post some pics up so we can all admire your new car.
-
Spot on, thanks for sharing
-
I've bought one of the 'invisible' kits (an RAC one) but haven't got round to fitting it yet.
Wiring is simply a case of connecting it to the live feed to you reverse light and an earth.
I'd probably check:
a) You reverse light works everytime you engage reverse gear
and if it does
See if you can find the wire from the sensor that's feeding to it (and the earth too) and check for breaks or a loose connection. -
Cheers Tom. I'd love to lower it 30mm, but as my Zed is my daily drive, with speed bumps and pot holes a daily occurance, I think I'm gonna have to compromise looks for practicality.
Oh well...
-
At least your V2 front end is still attached Tom - It may not have been if you'd stuck with the Eibach's!

-
Cheers guys
. I had found the Camskill ones, but thought I'd try a post on here 'just in case'  .
.I don't think the Camskill price can be beaten though.
-
I sold my previous car (Mk1 Audi TT) on eBay as a classified ad (£19.95).
I wrote a detailed ad (like yours) and posted some decent photos. I listed it on the Friday evening, had a few viewings during the week and it sold on the following Saturday.

Might be worth considering 'the bay' as an option.

-
 Anyone?
How to - build vertical Tonneau cover/boot divider
in 350Z Guides
Posted
Just a further lesson learned from my 2nd attempt...
Instead of cutting out 2 seperate shapes for the tonneau from MDF, cut your sheet of MDF in half lengthways first, then screw the 2 halves together. This way you'll only need to cut out 1 tonneau shape (albeit double thicklness) and it will ensure both sides are the same size and shape.
In my first attempt, I cut them out seperately and the 2 sides were a bit, erm, 'different' as I'm rubbish with a jigsaw!