Falcata
-
Posts
107 -
Joined
-
Last visited
Content Type
Profiles
Forums
Events
Gallery
Store
Everything posted by Falcata
-
Hi Marzman I have been working on a possible sponsorship for a YouTube channel I would love to do that , but one of my biggest problems is time !!! so if a company wants to help me out with products i need or tools to help speed up the process , i would be all over it , helping them promote and showcase their tools or composites and how to apply them , I am just a regular guy doing this build on my own , it's tough enough , it takes time to film and edit , post etc . I did a few tech tip vids all my buddies like them , but it takes time away from the build . Even the time it takes to update the 3 sites I have this build on sometimes is a struggle to squeeze it in. It's awesome you think it's worthy , nice to know I am not the only one that likes it . And I would like to thank everyone again for all the positive feedback , it really helps !!
-
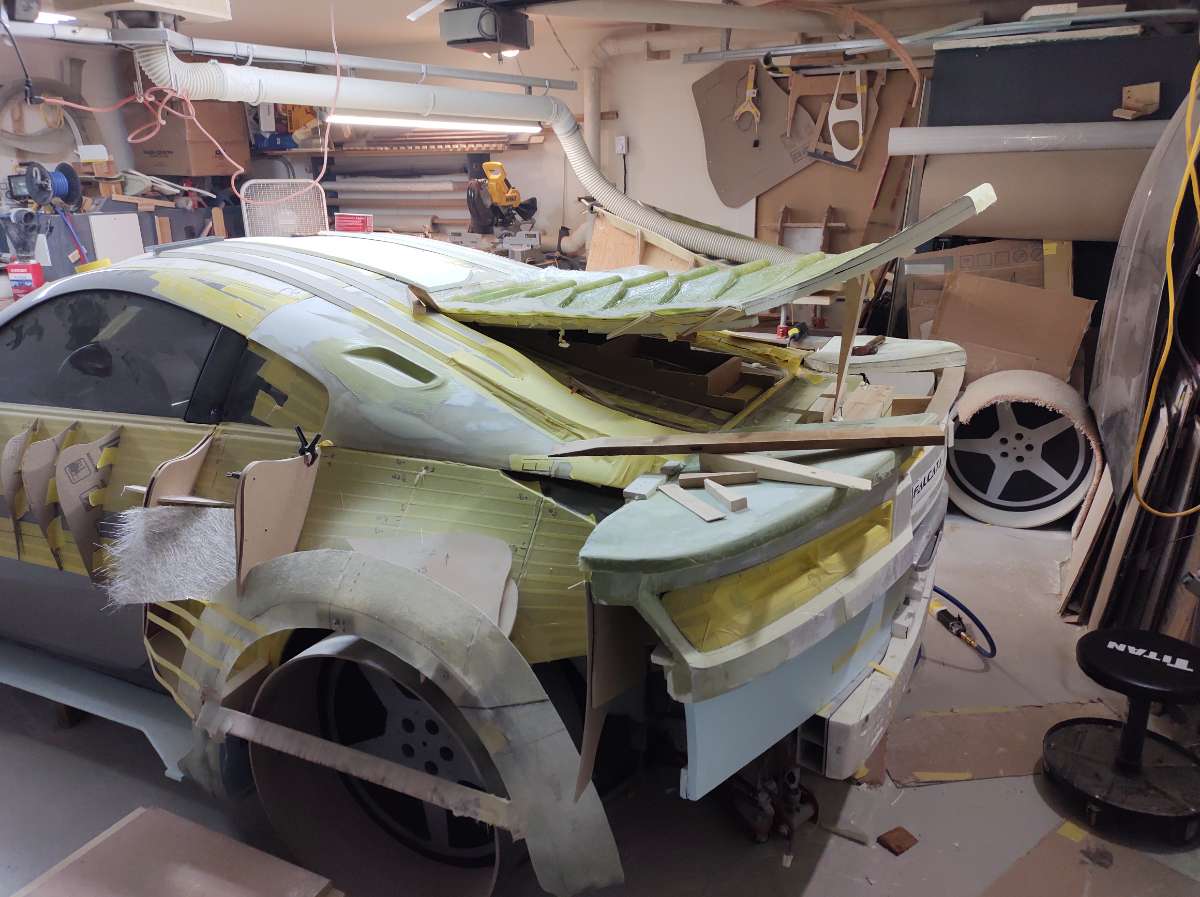
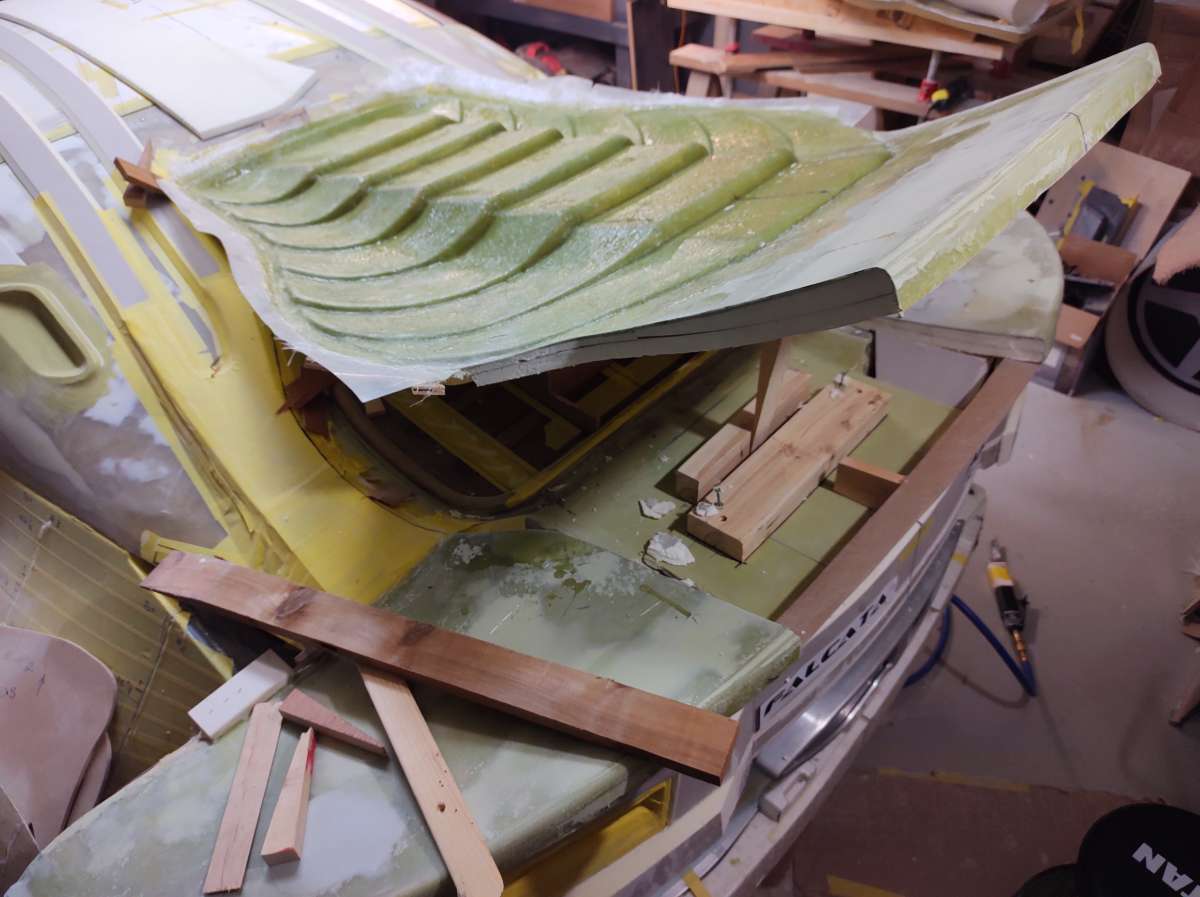
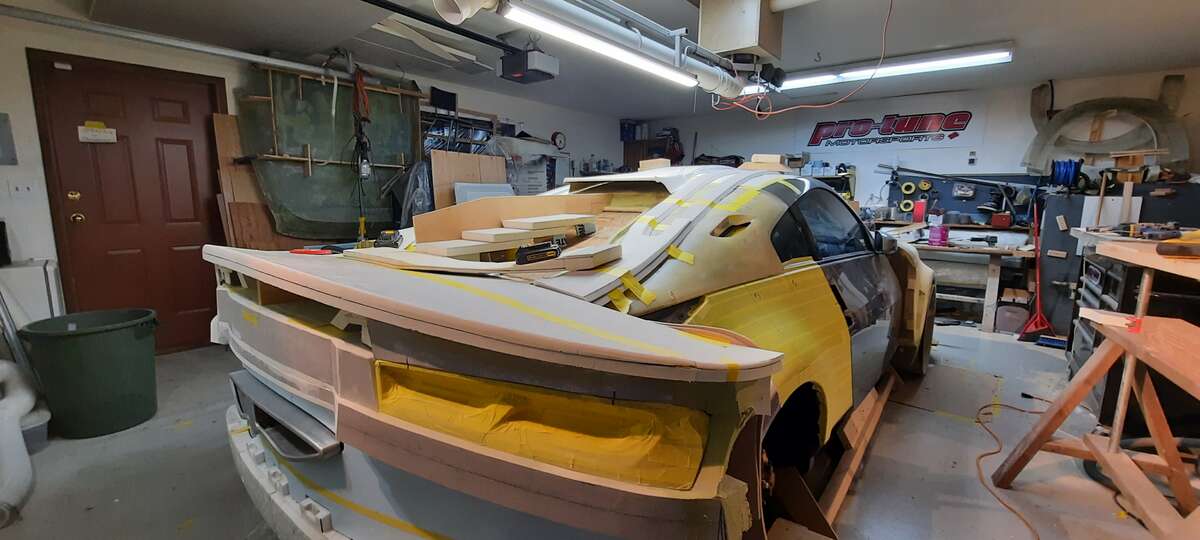
Hi everyone Back with another update , been busy , seems there aren't enough hours in the day . I bought a 3D printer a Creality CR10 V3 , extremely cool printer a few little things to get it setup . going to use it to make the molds for the front signal lights and a few other things , the more i see what it can do the more things i know I can make for the car . I have to relearn CAD .....been almost twenty years at least . also got the trunk lid glassed and off the back of the car and rough trimmed . glassed the louvers cut the opening lines on the back and using wedges to carefully bust it out got it free now it needs to be trimmed , remove and clean up the temporary structure this is the lid upside down for trimming the edges back on the car for a look this gives you an idea of what it will look open this shows the lines of the opening Stay tuned in and stay safe !!

-
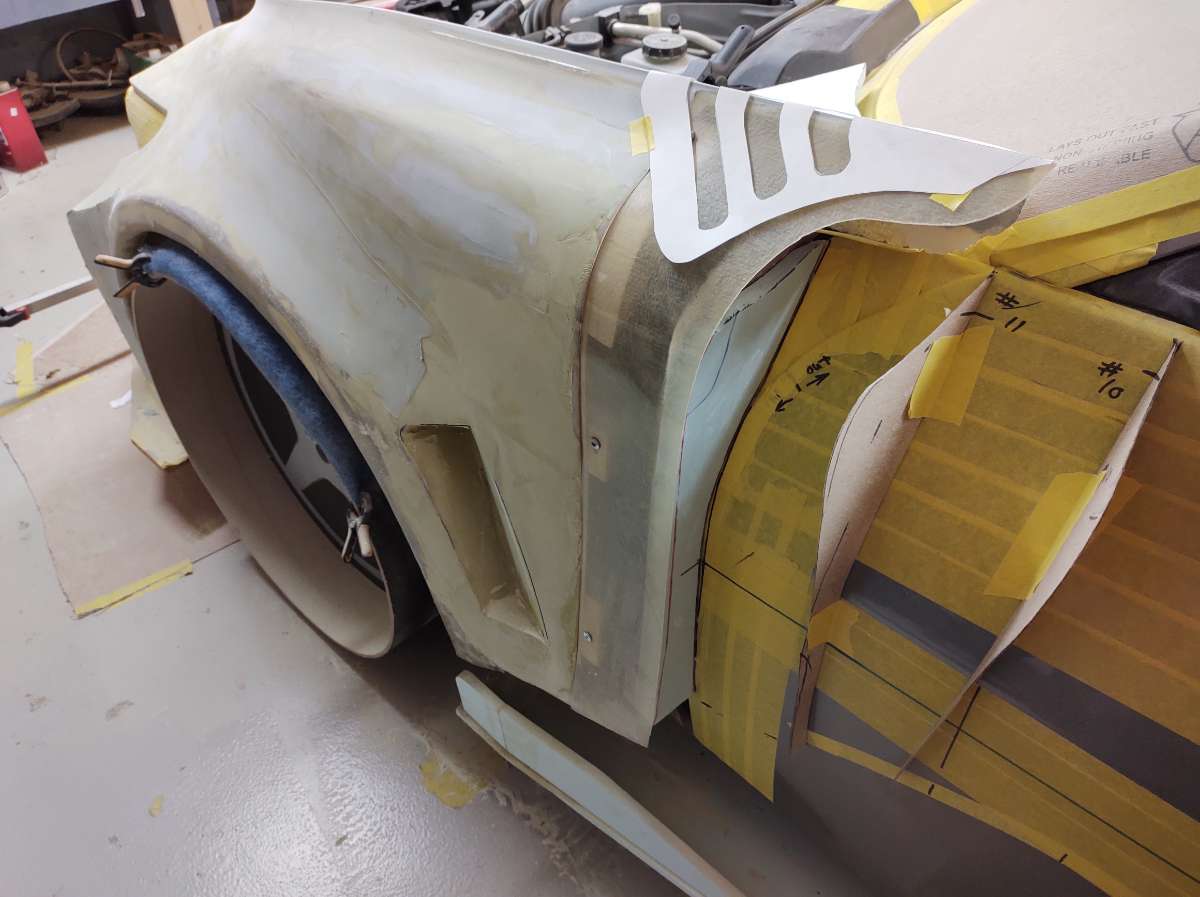
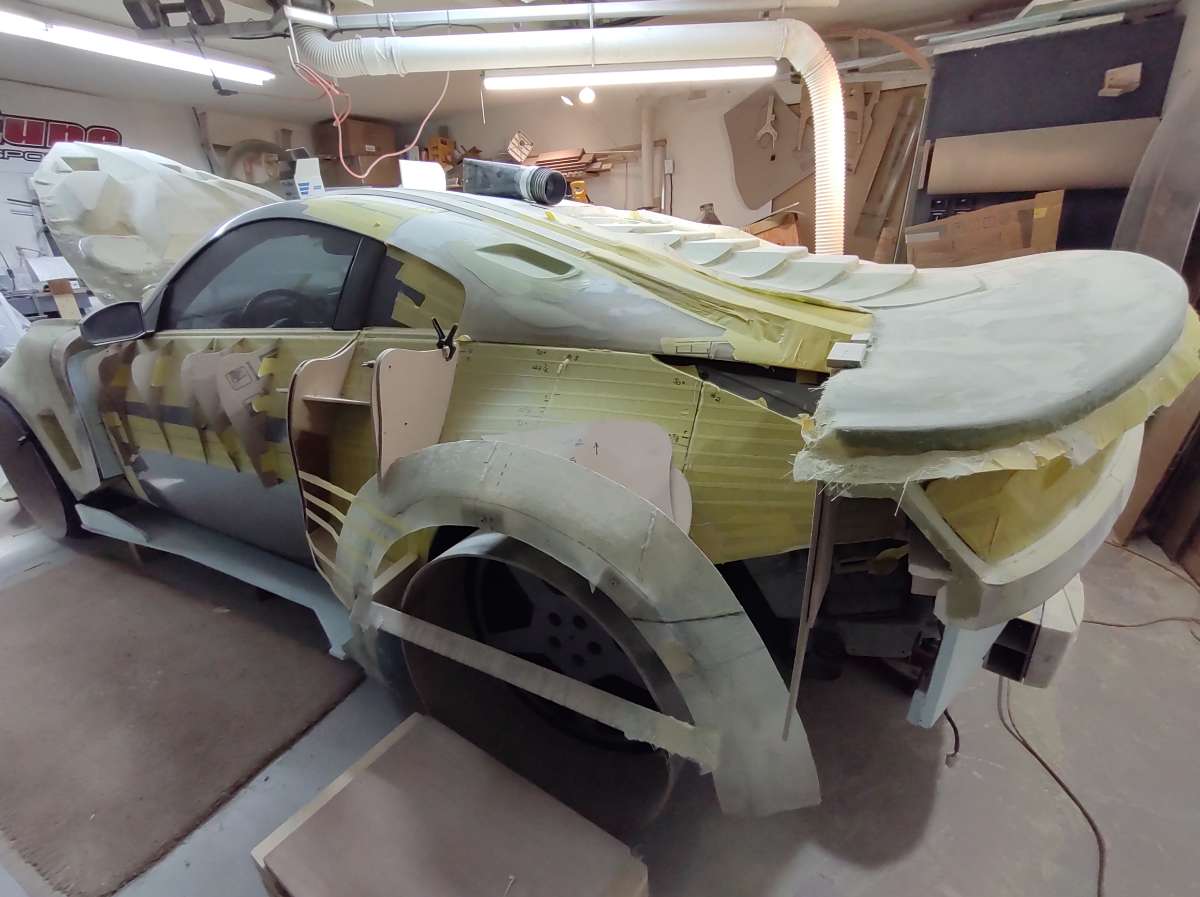
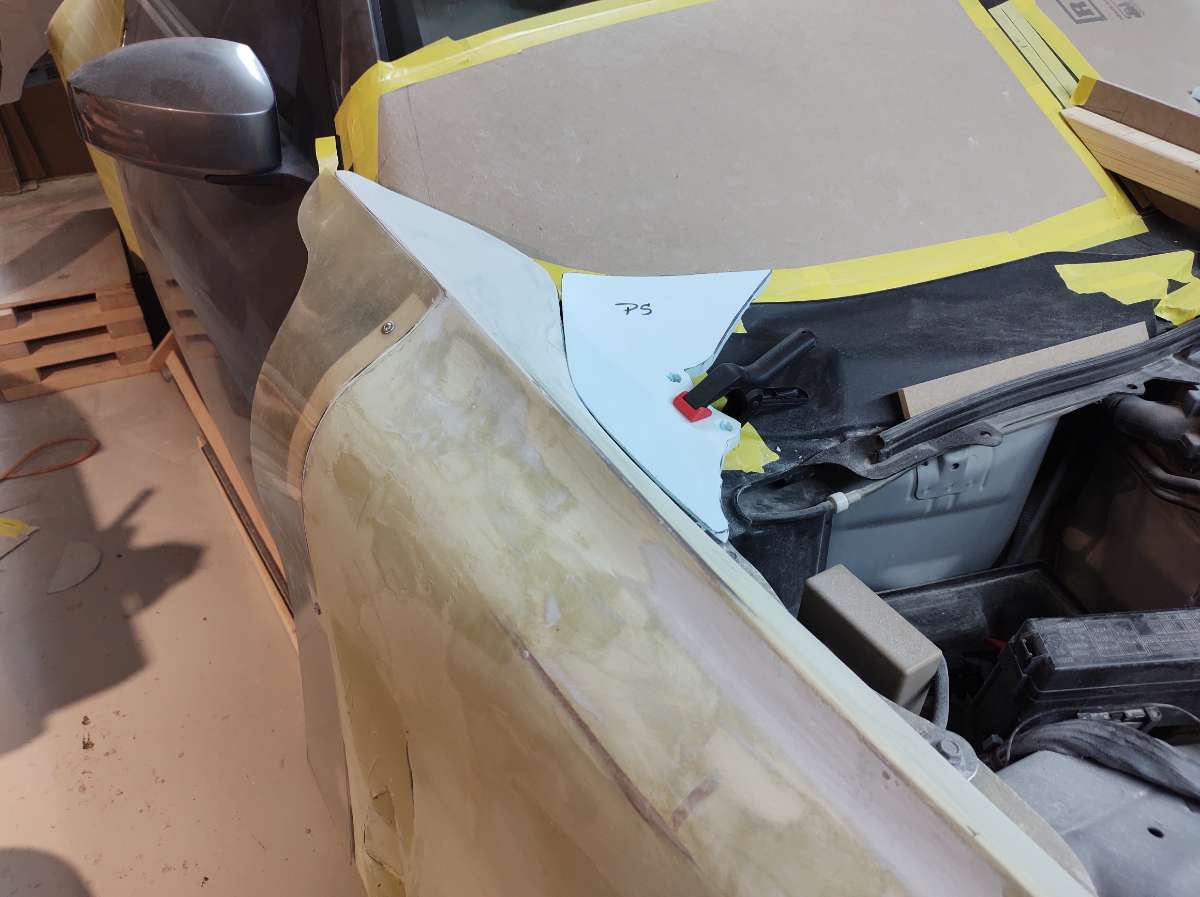
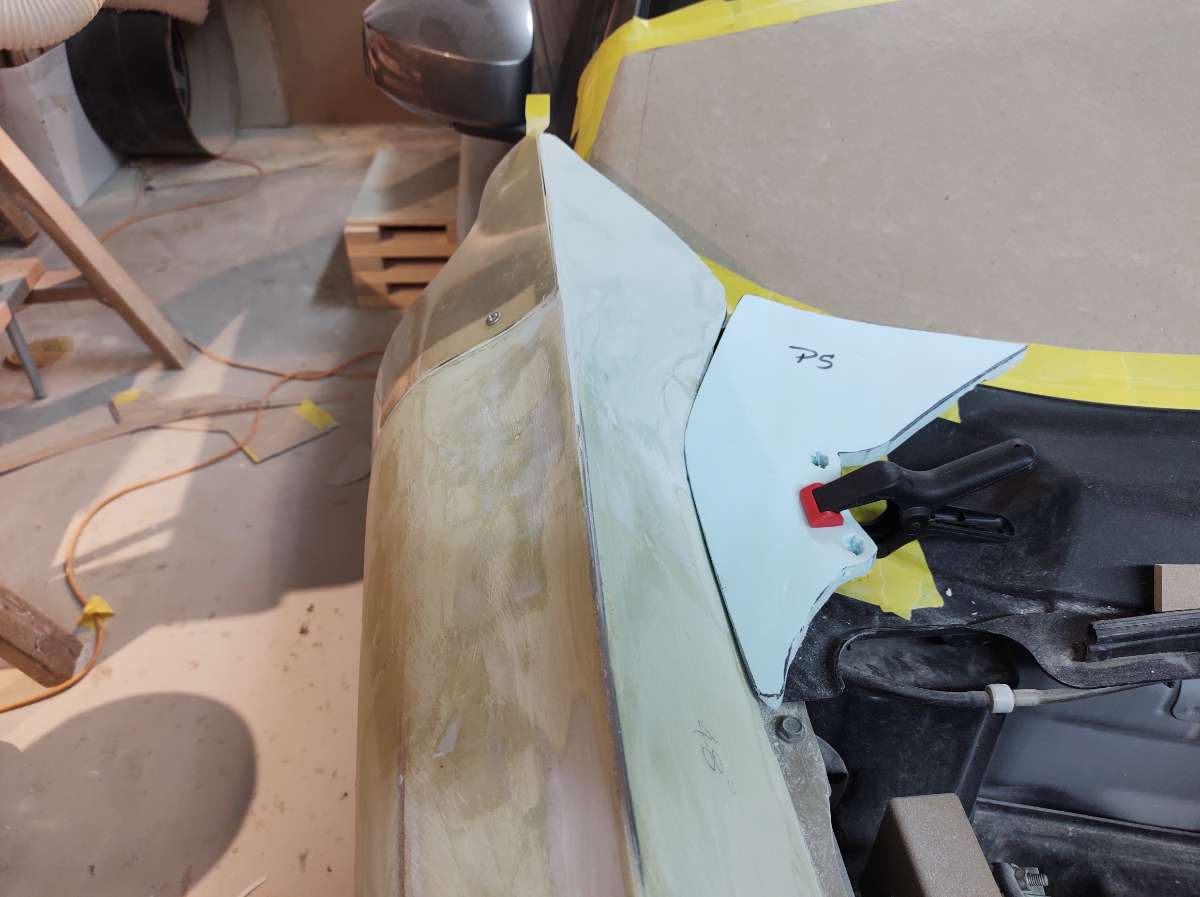
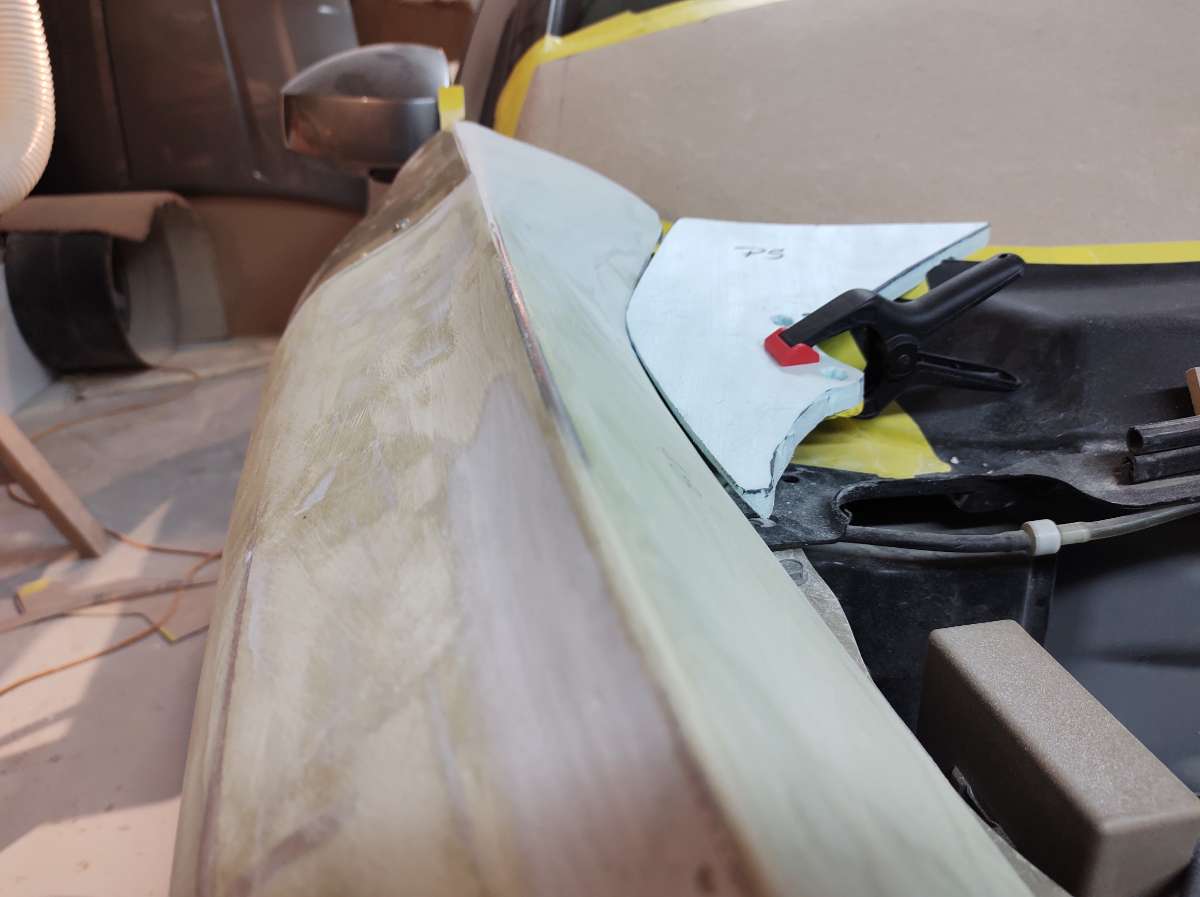
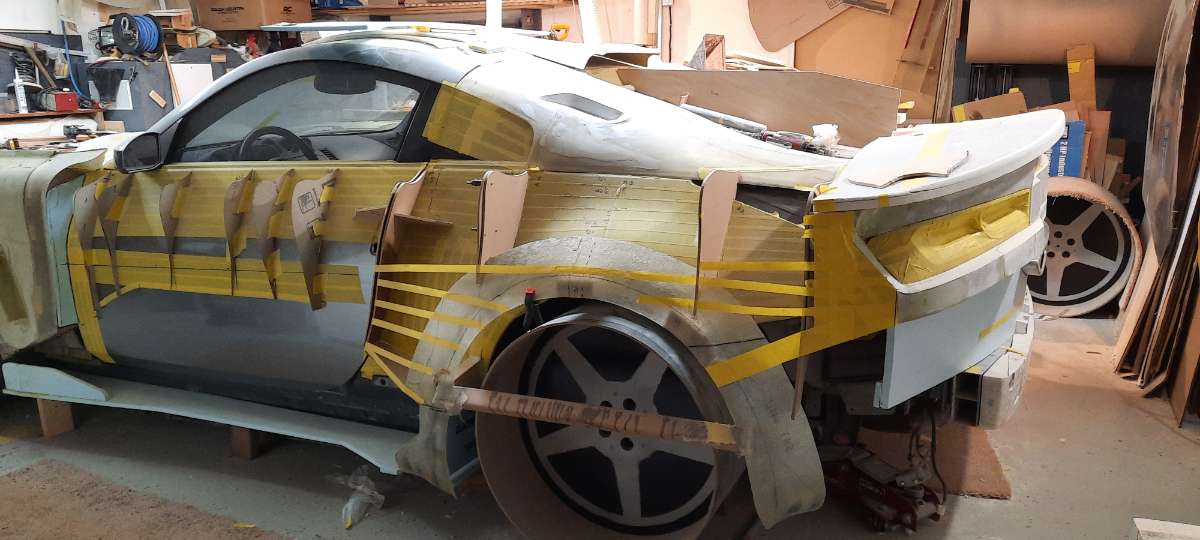
Thanks I appreciate that . A small update on the front fenders The top of the fender have so much shape , this was really difficult to get them the same . Making sure things stay symmetrical This is the top of the hood line , it will step up to hide the wipers ... you will see soon . Here you can see the shape at the top , this will give me room for the door to open and have the fender vent protruding down into the fender , as well as looking hot !! and the passenger side Really starting to come together . i am going to buy a 3D printer this week and make some parts to take molds off , hopefully this will save me some time , if I am not to retarded to learn how to use it lol . Thanks again for following along

-
and some more on the front fenders , they are shaping up nicely . There will be a vent here at the top to let the air from the front splitter escape that get trapped in the wheel well . Making the pattern You will be able to see it from inside the car also Stay interested Stay Safe Stay tuned

-
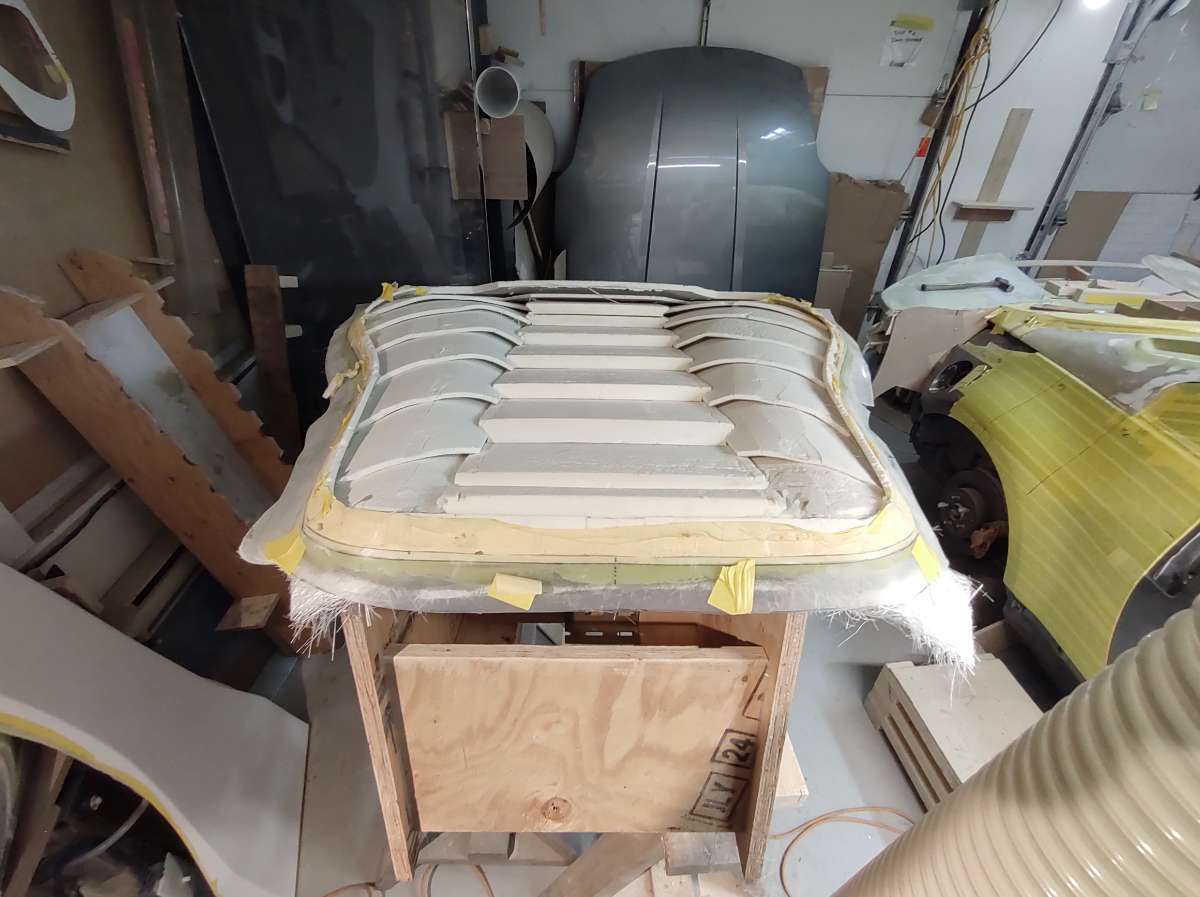
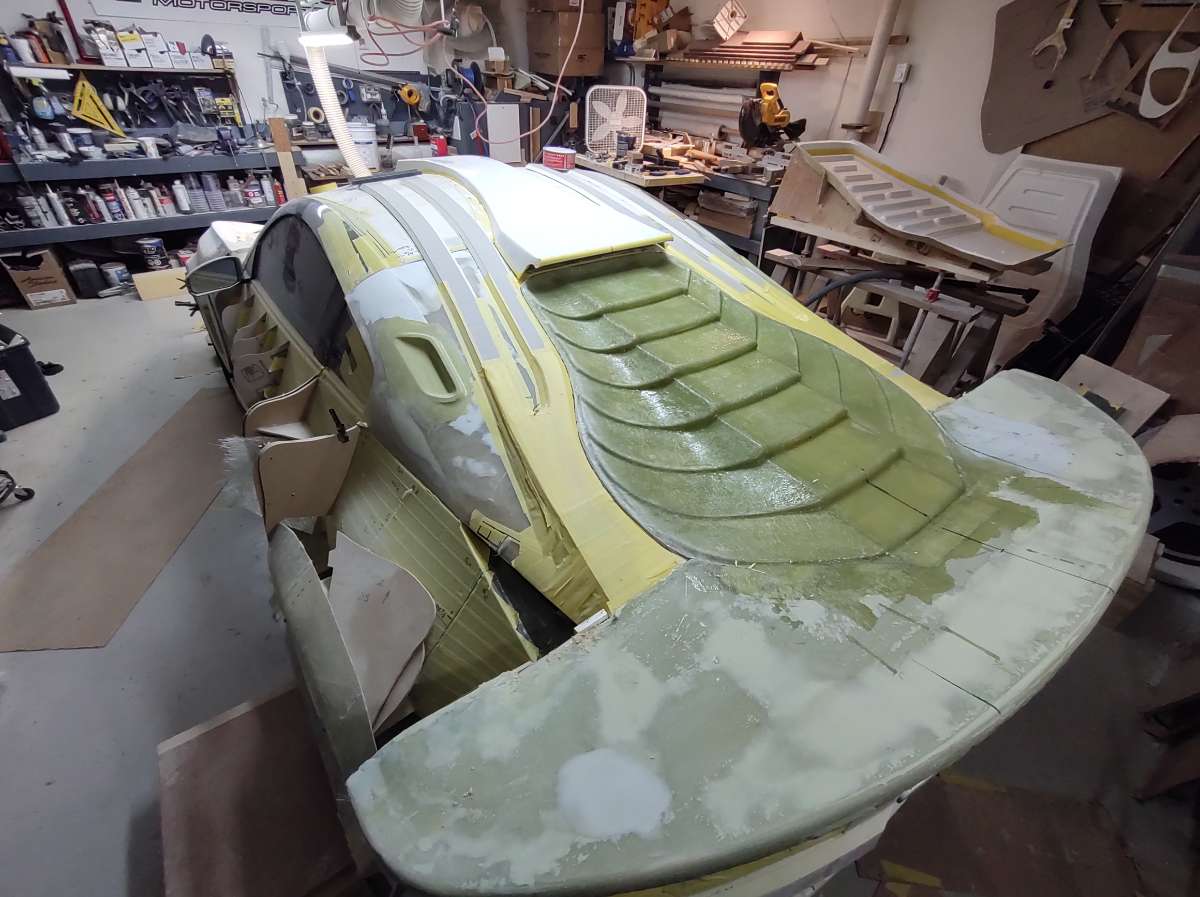
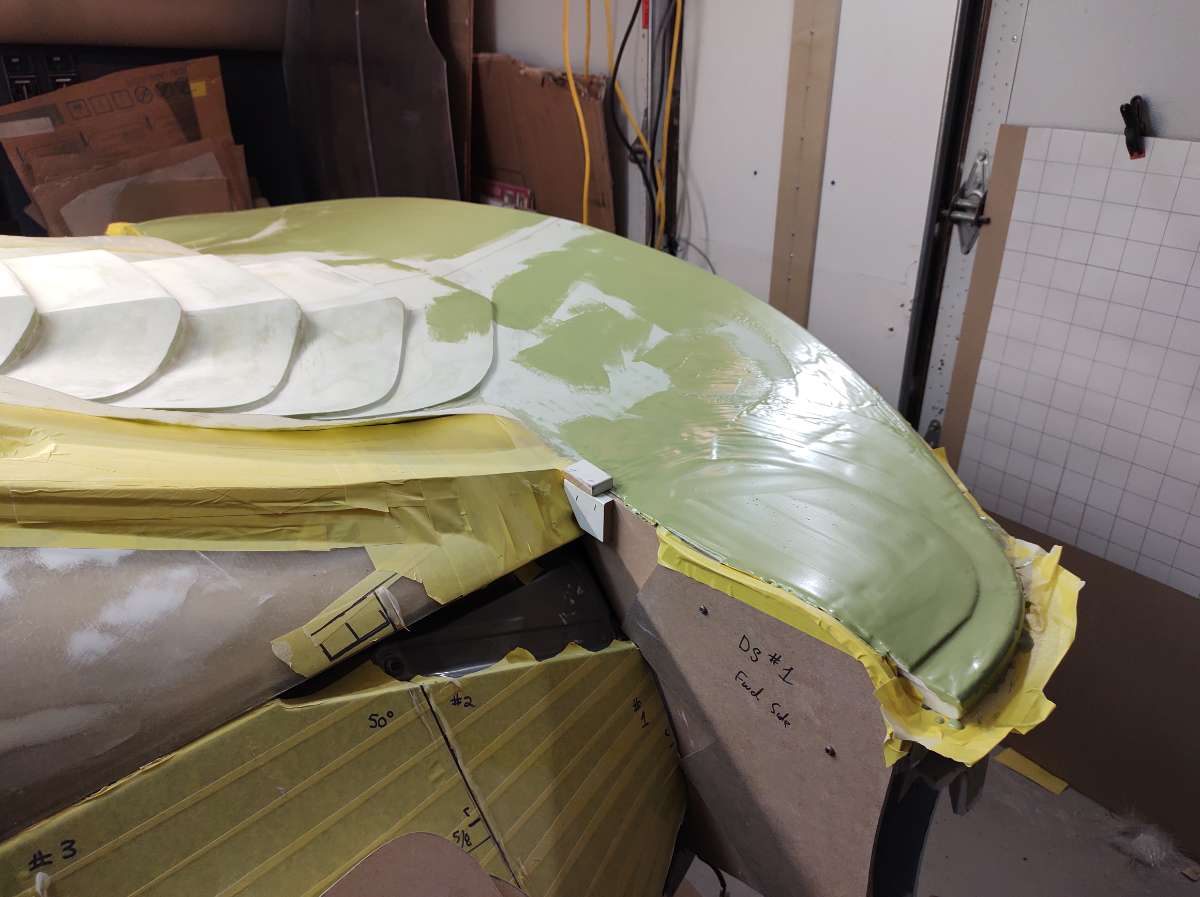
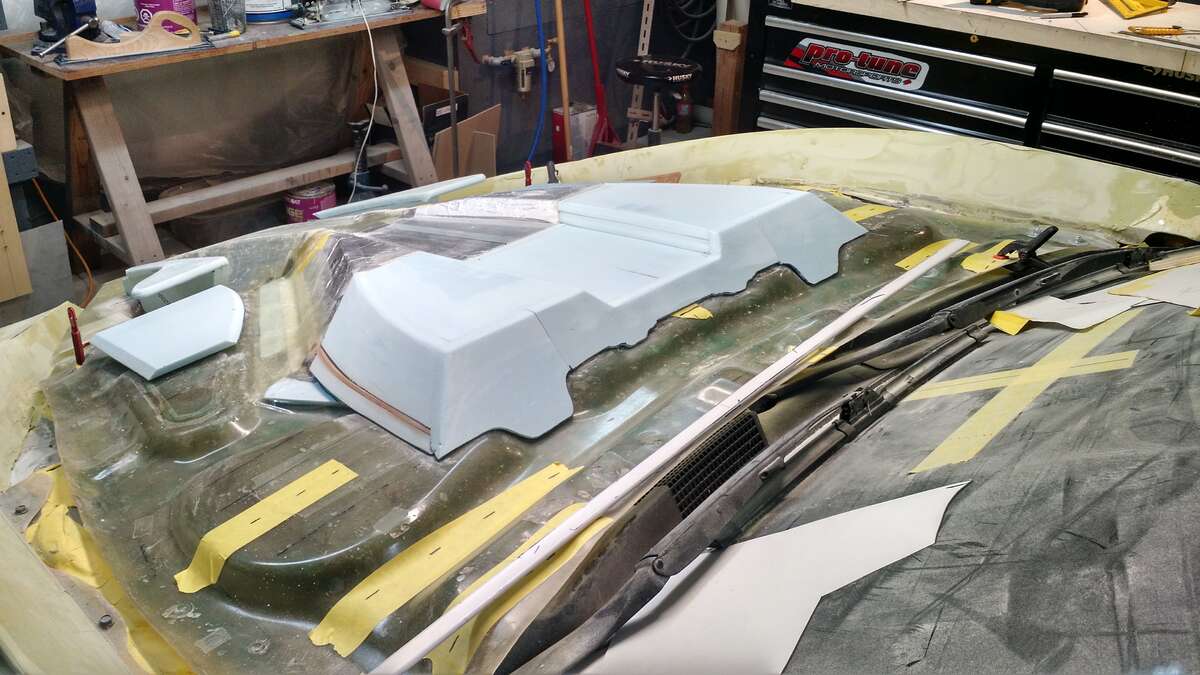
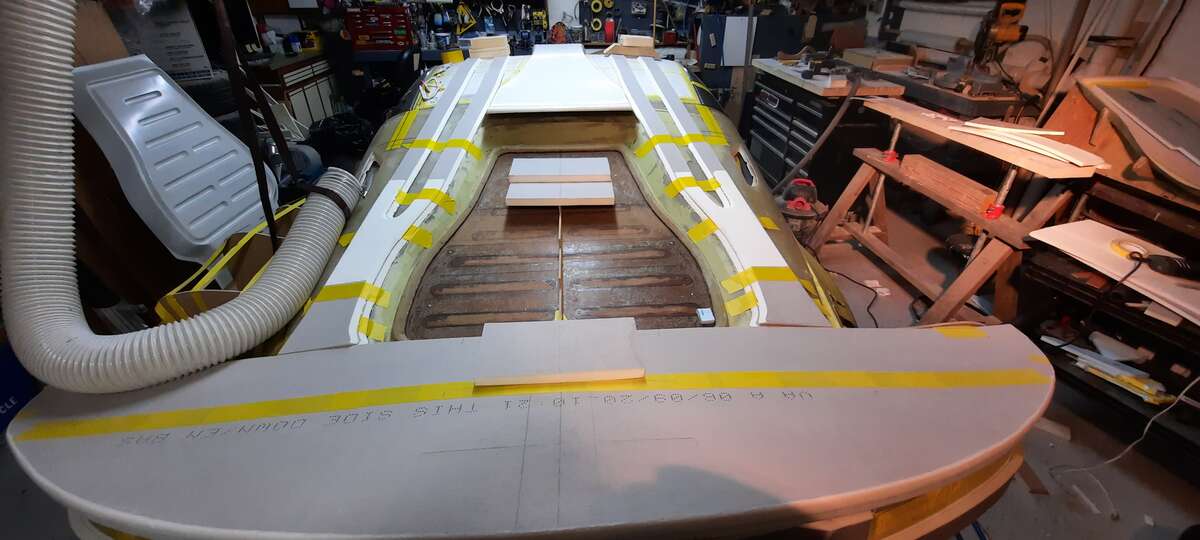
Hi Back with another update , more pic's and progress on the rear deck lid . Getting the foam shaped and filled Glassing , a couple of layers of mat to give it some strength Sanding and a quick fill and sand . I just noticed in this pic check out the front hood !!!!


-
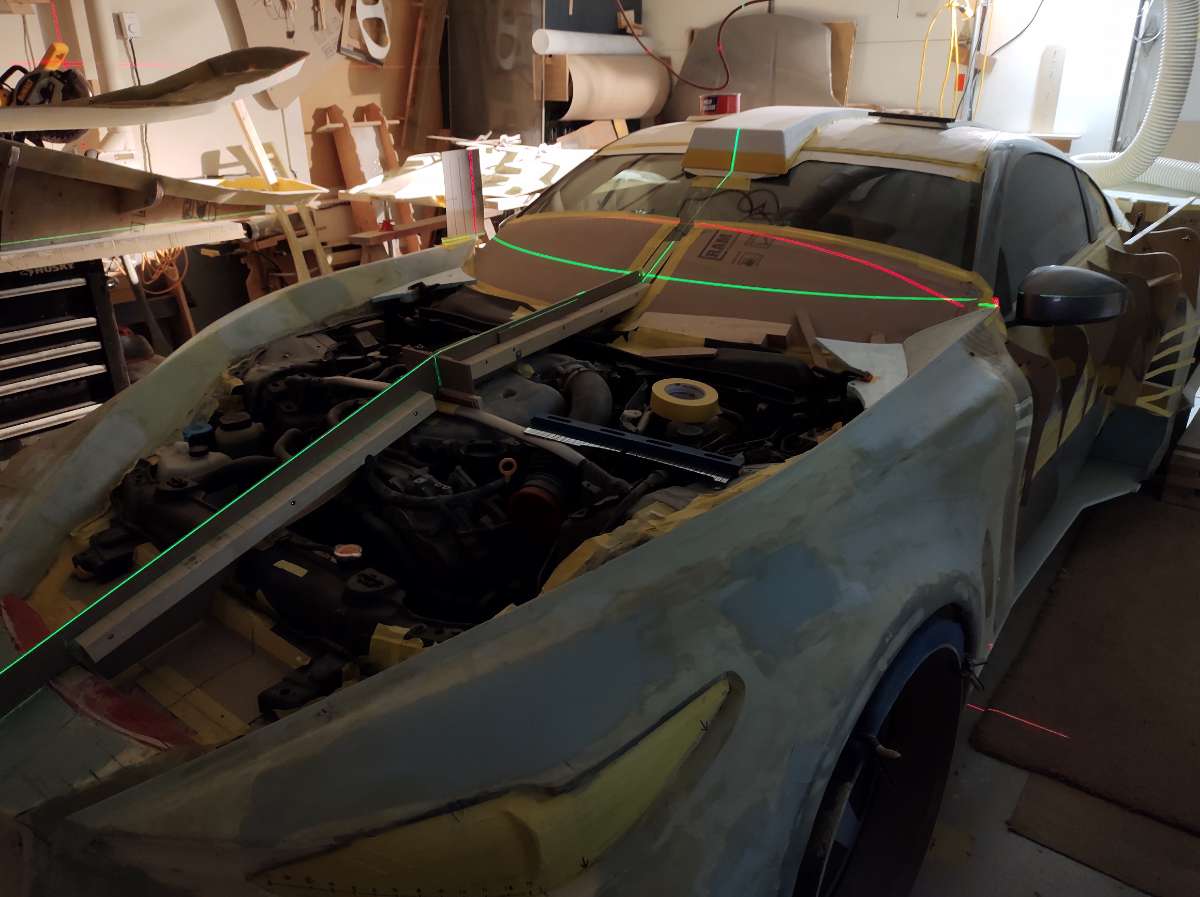
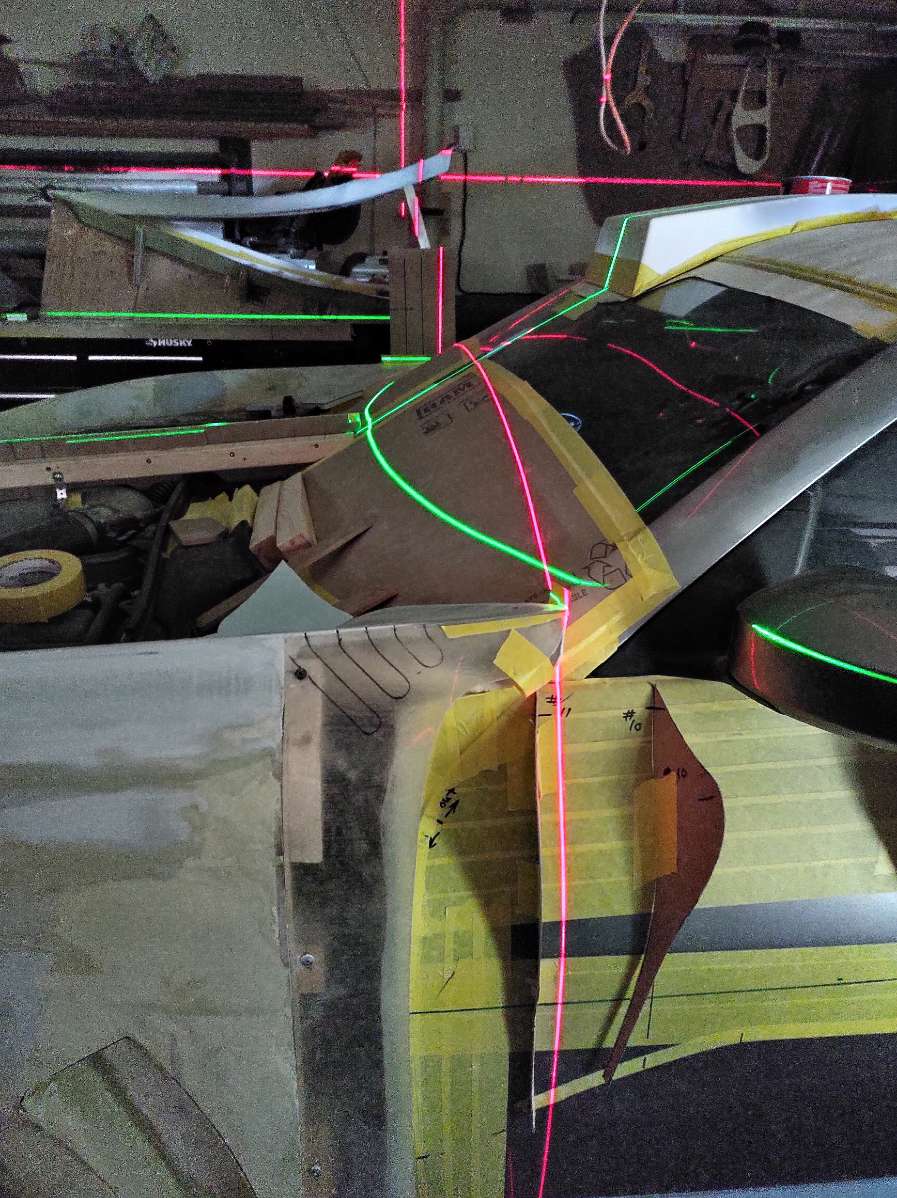
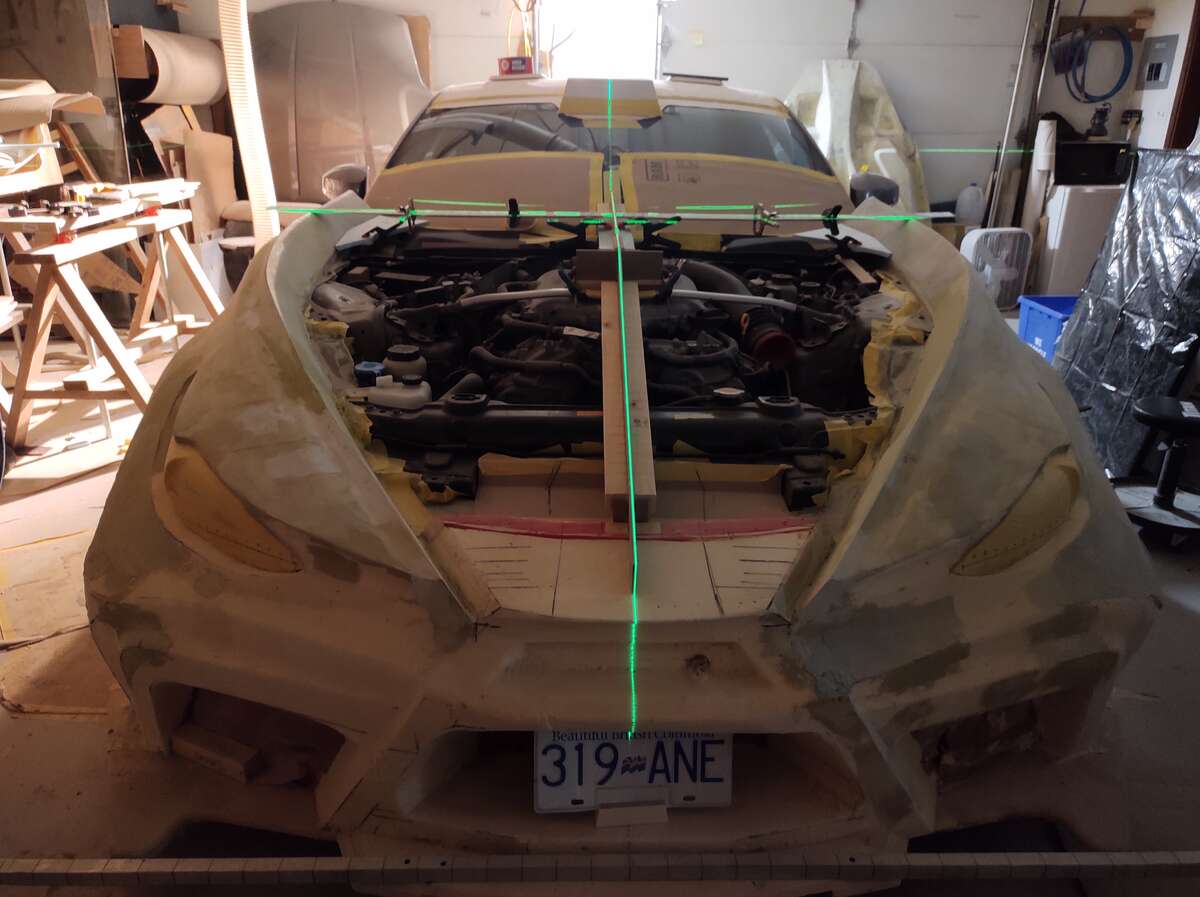
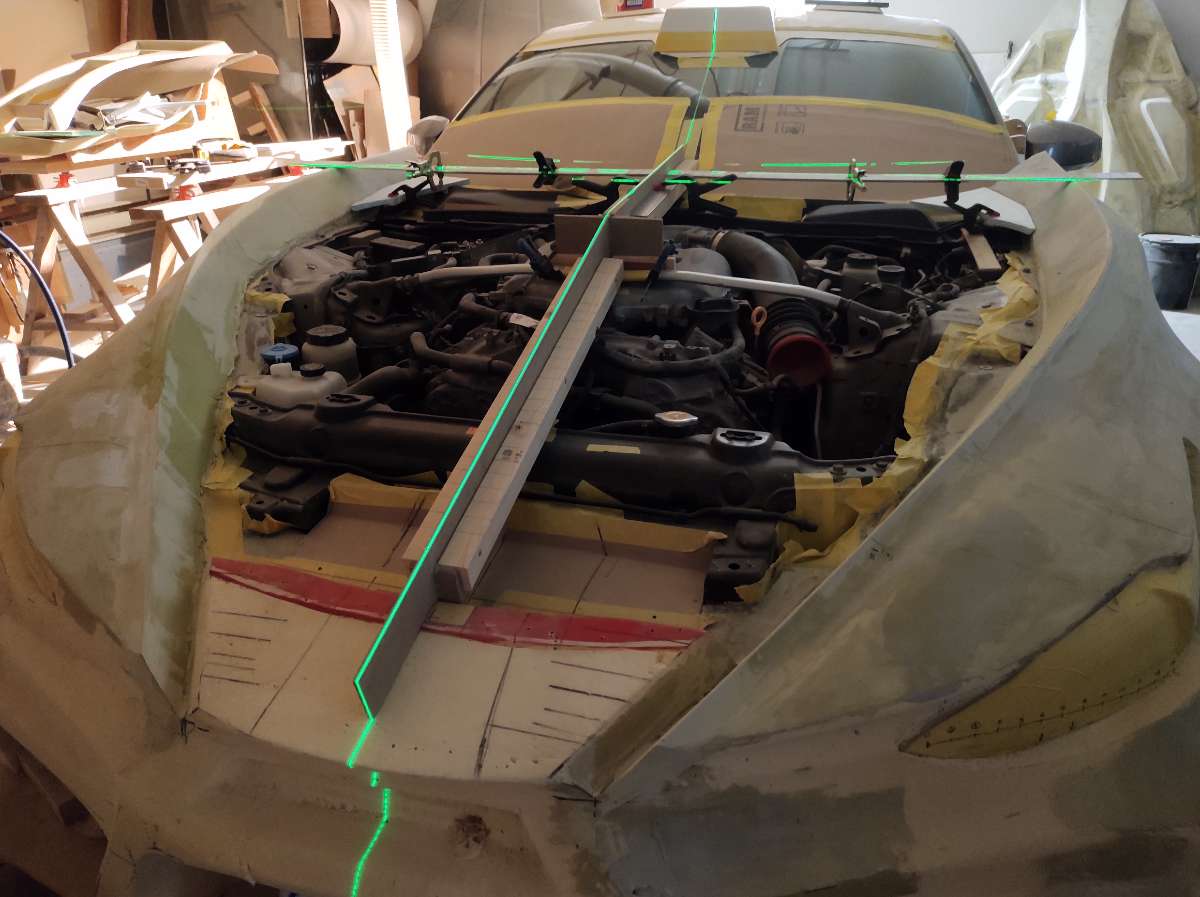
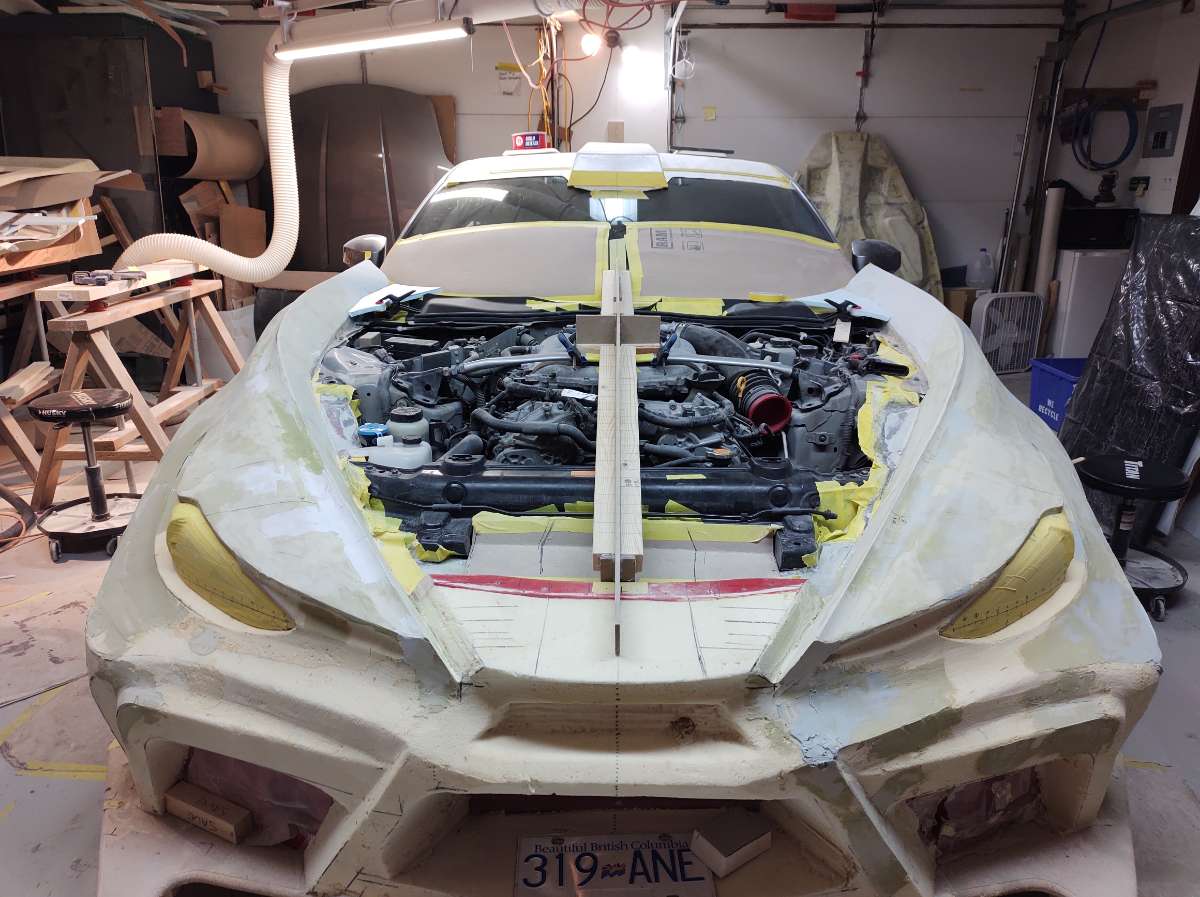
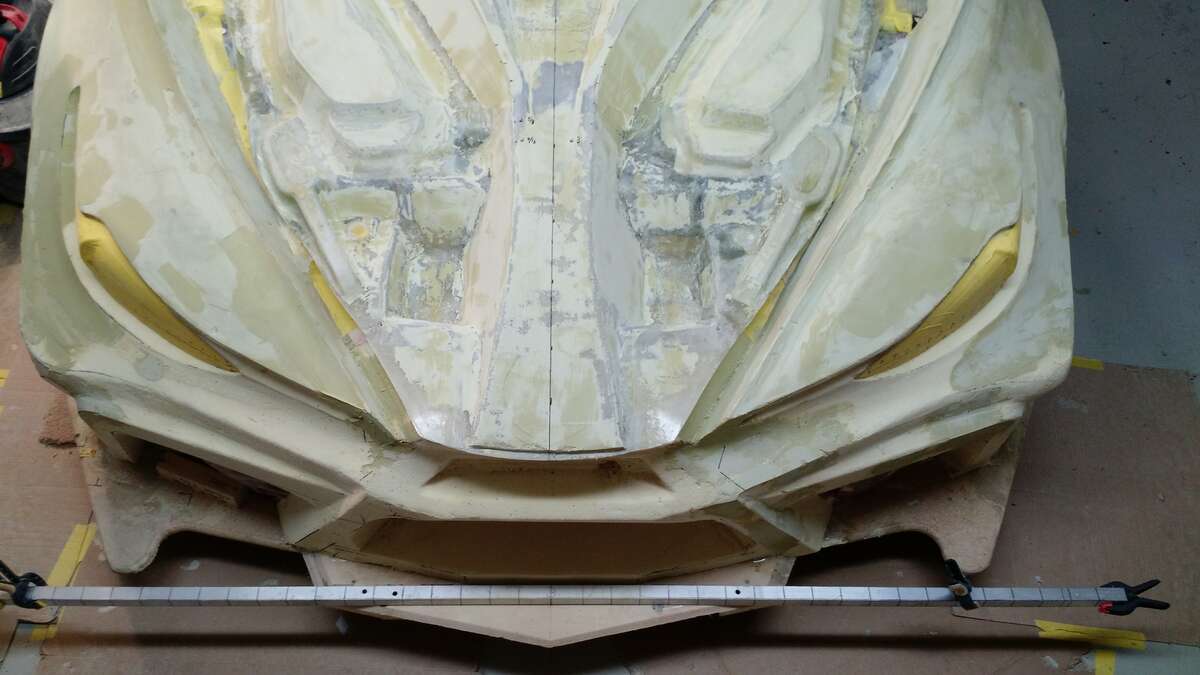
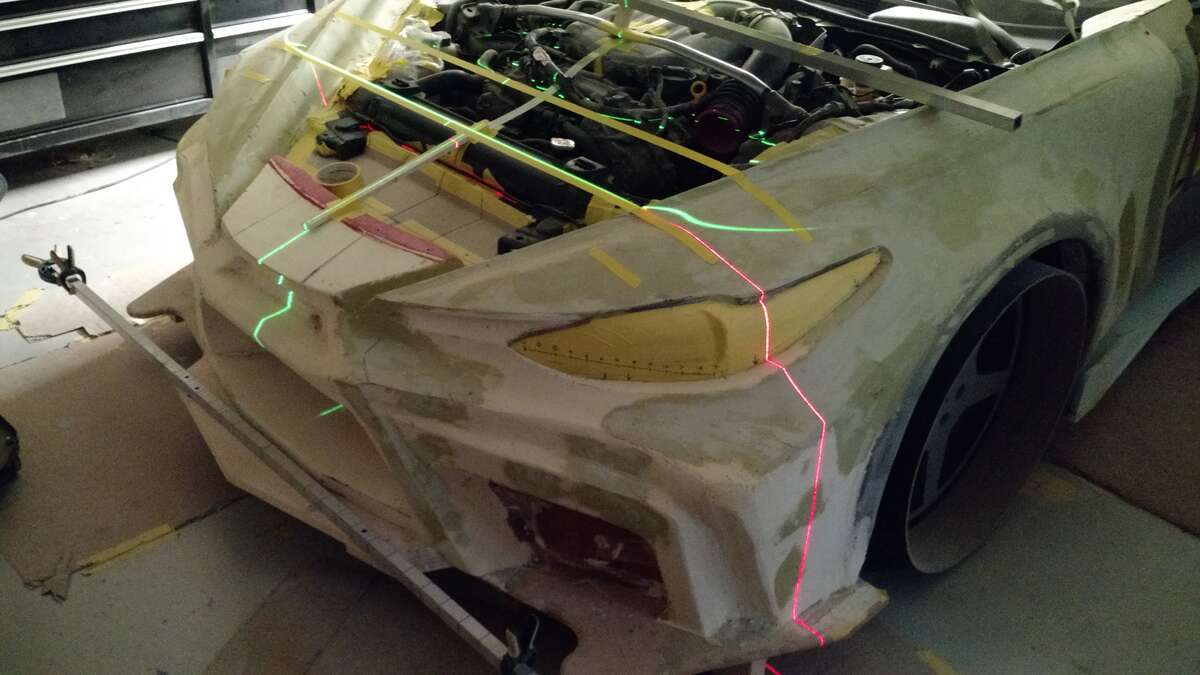
Hi everyone I have an update , I jumped back on the front of the car , been busy with everything really . So I built a system for measuring the front fenders , so I have been tuning up the fenders to get them equal in height , width and inside angle . So next will be dialing in the rest of the front and painting it with Rondo then fiberglass it , then put the bottom part of the hood back on and finish the edges of it so I can make the top part of the hood . Stay tuned
-
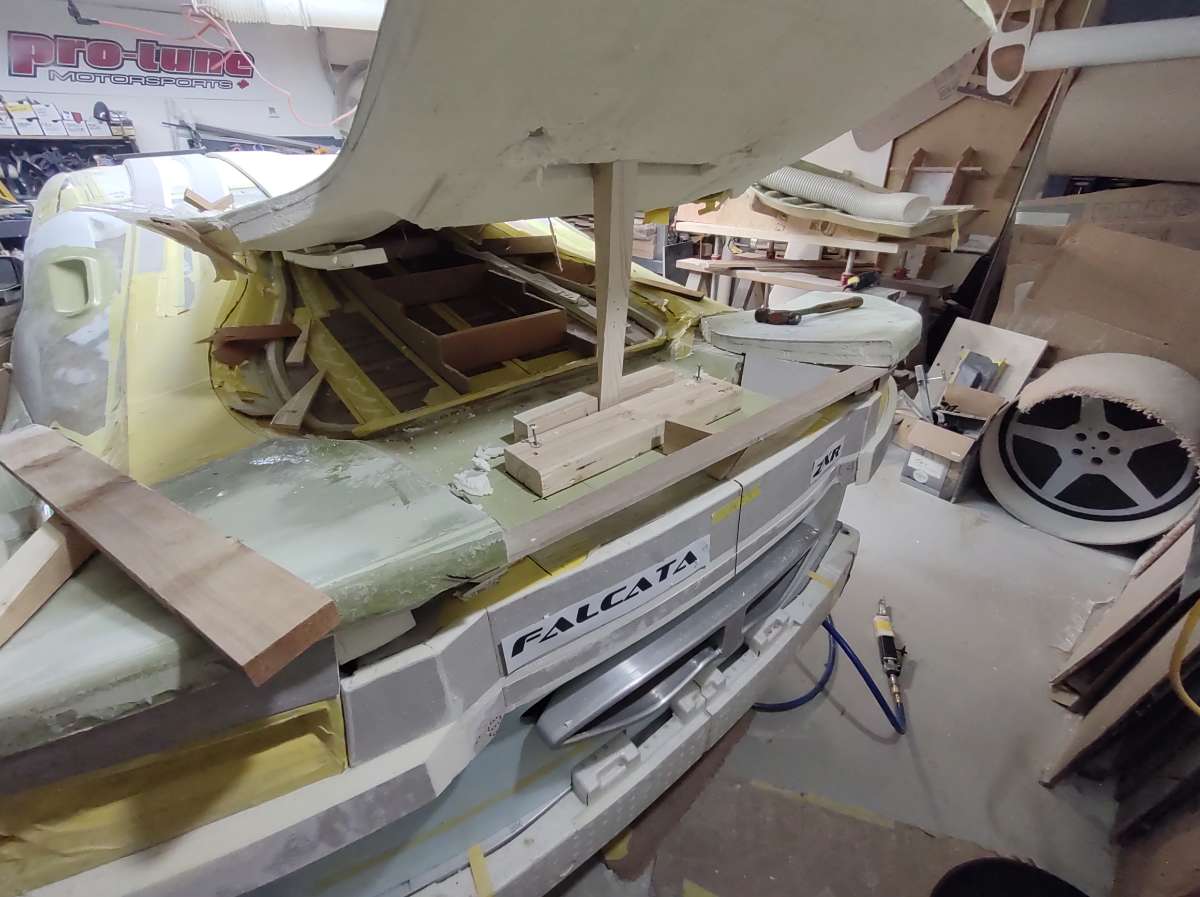
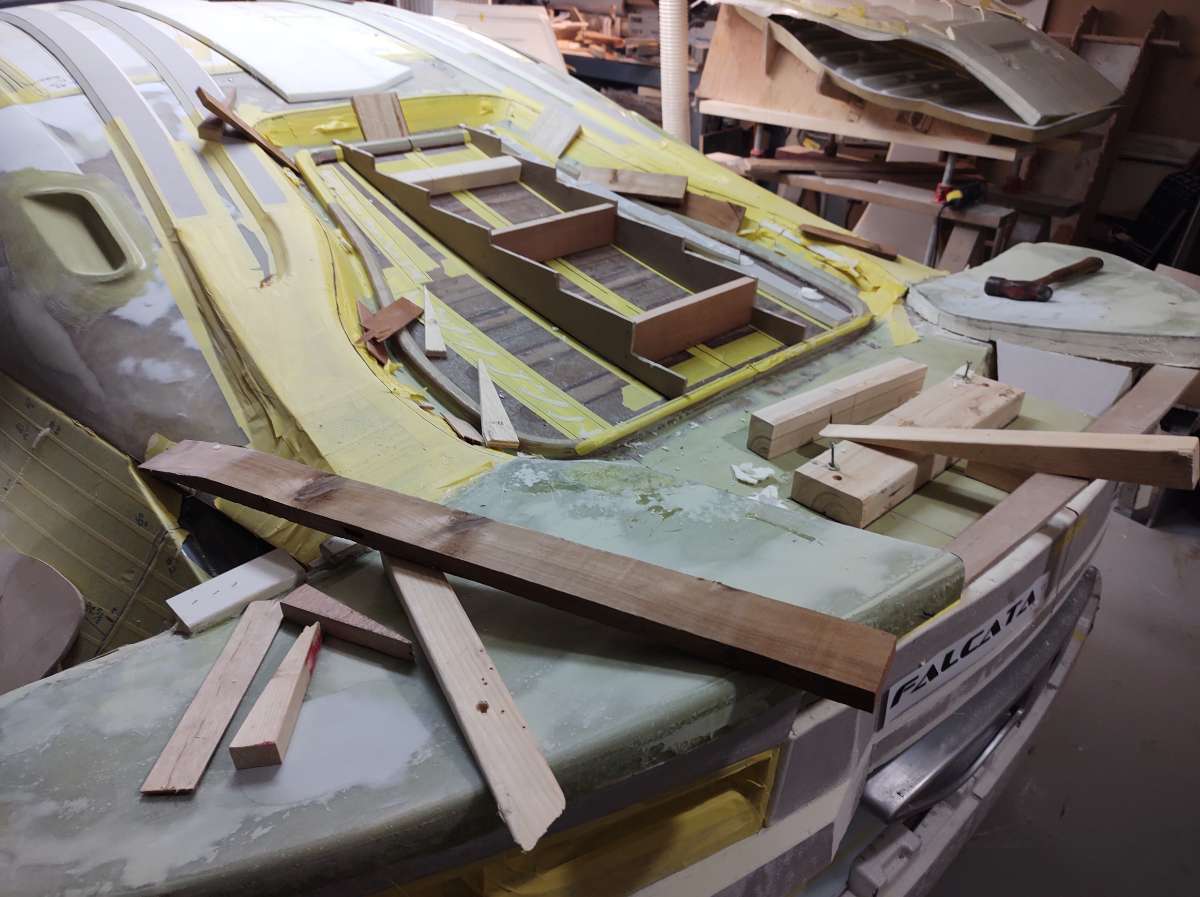
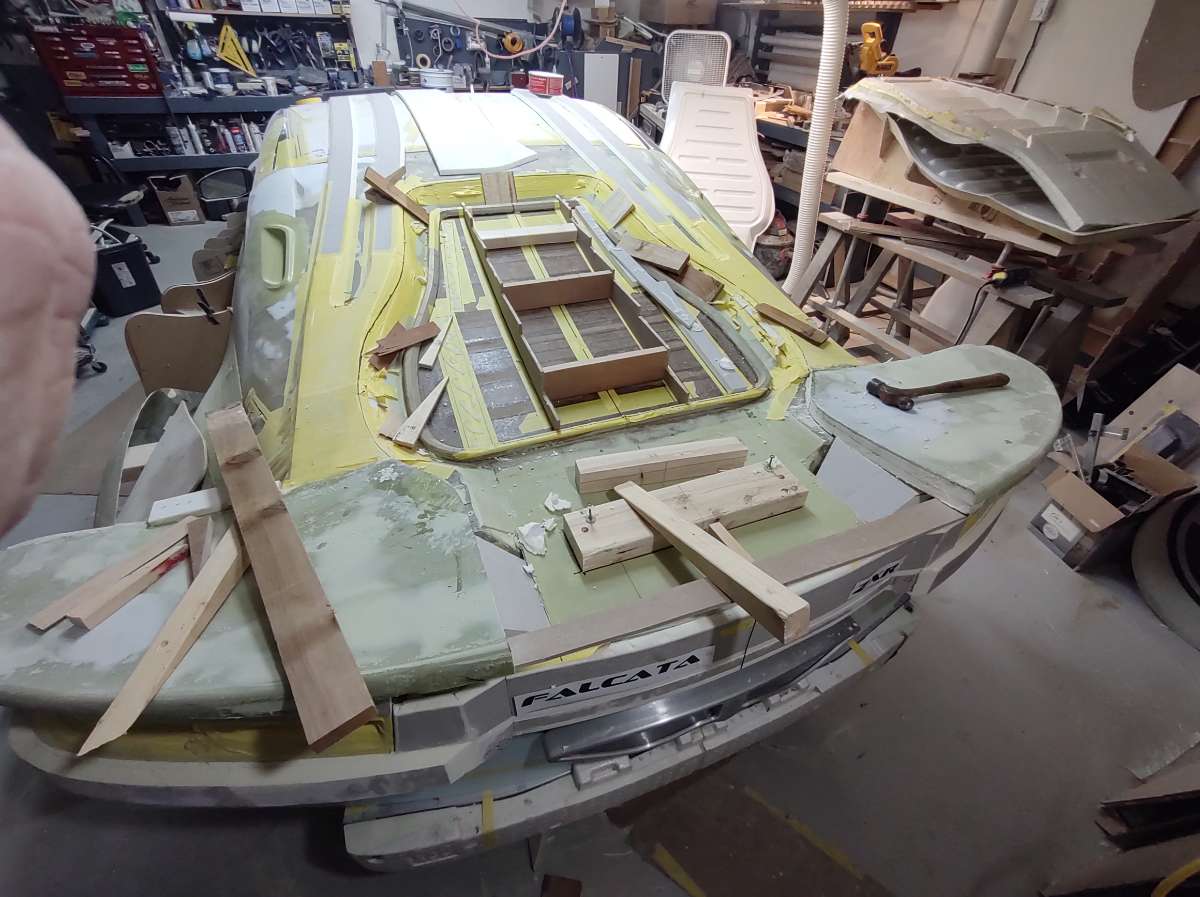
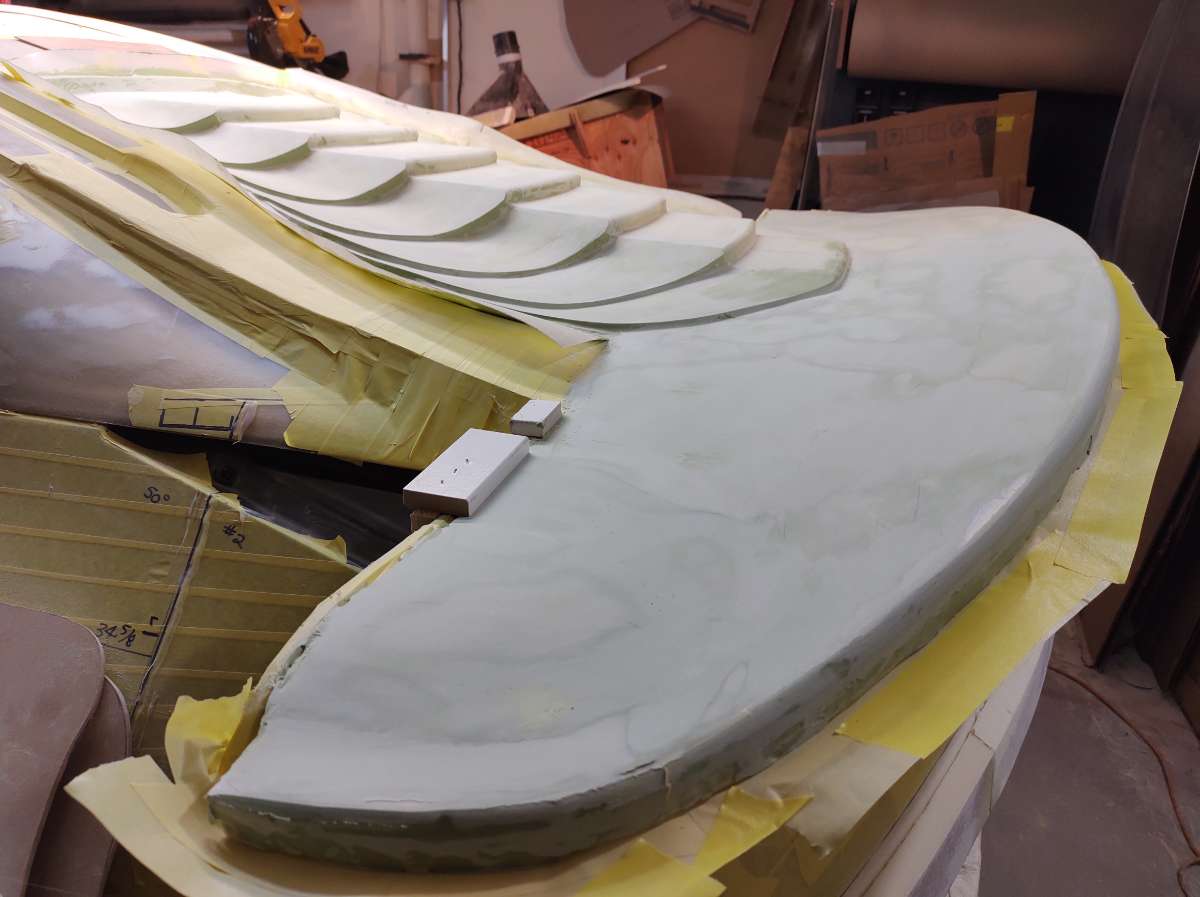
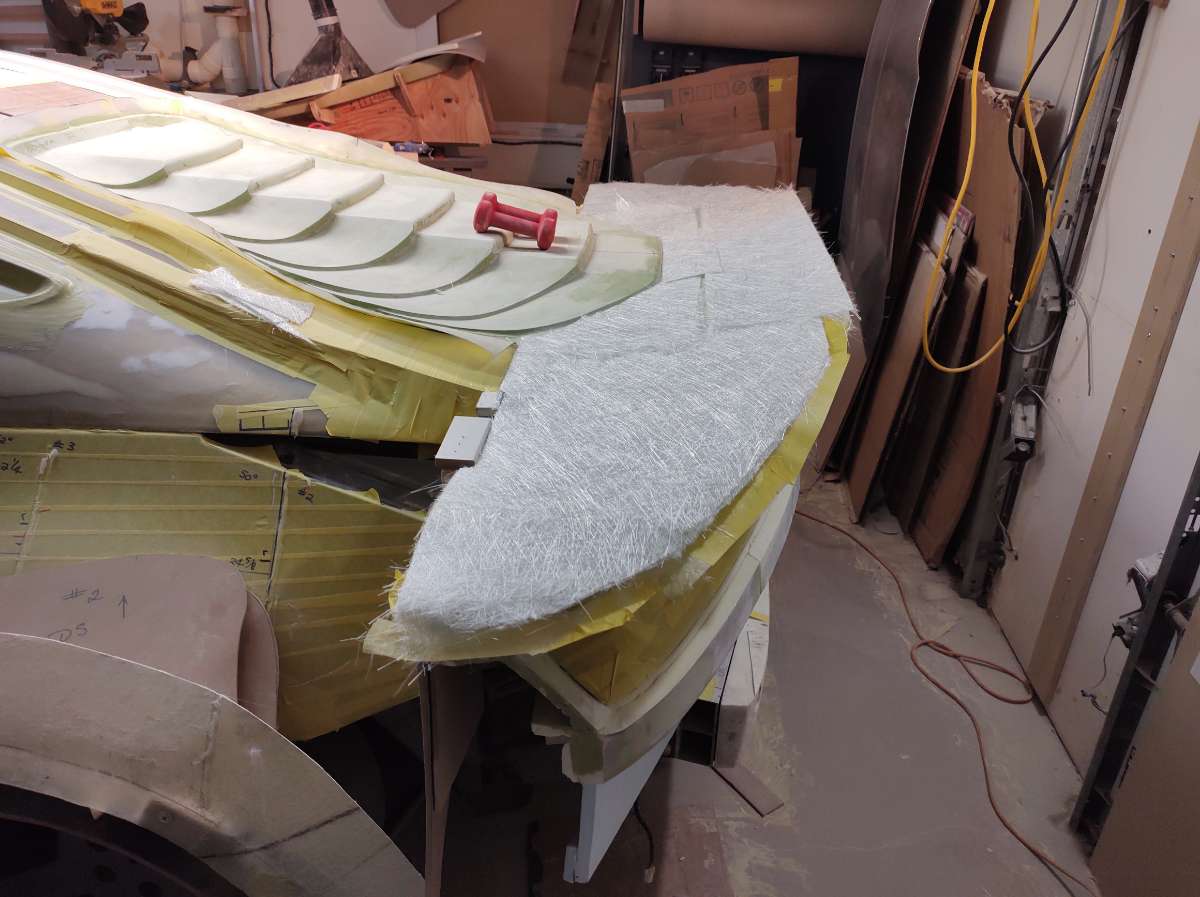
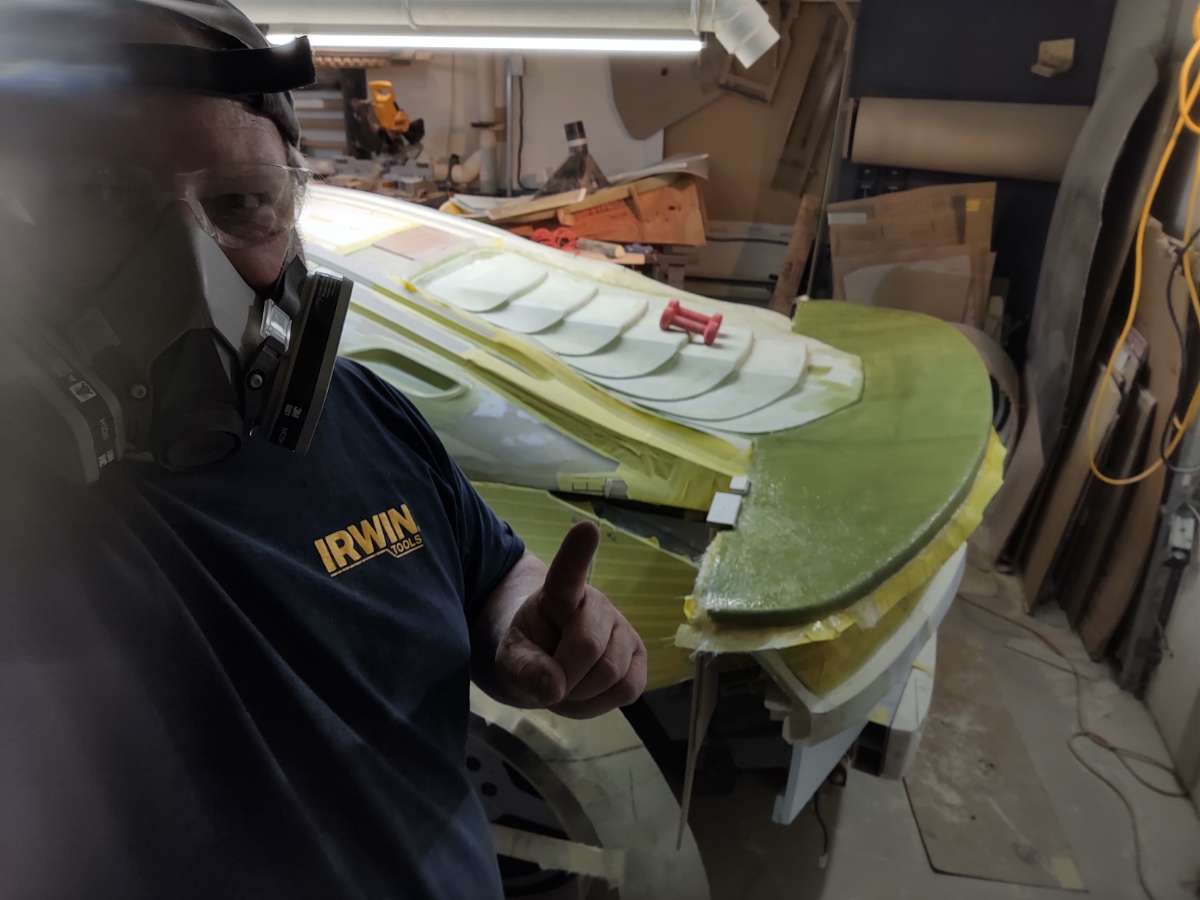
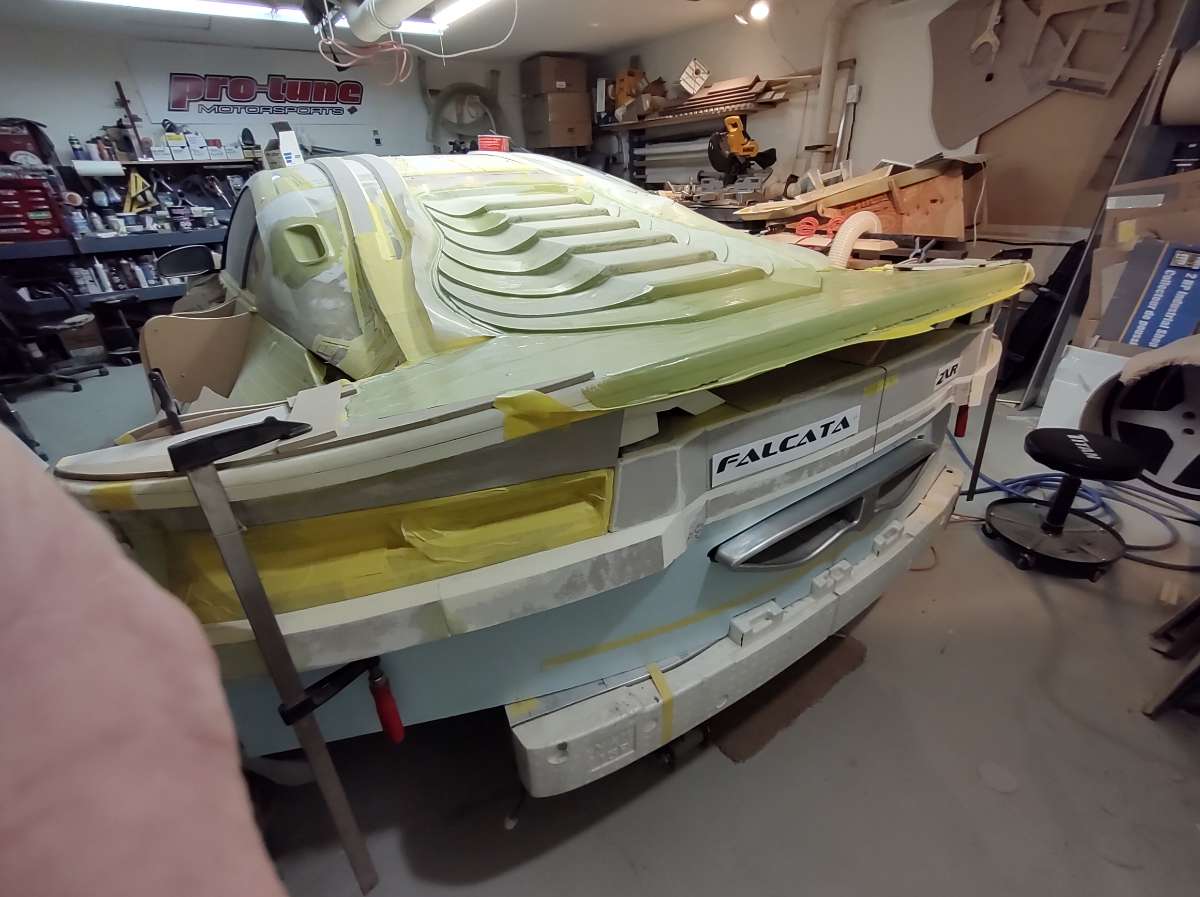
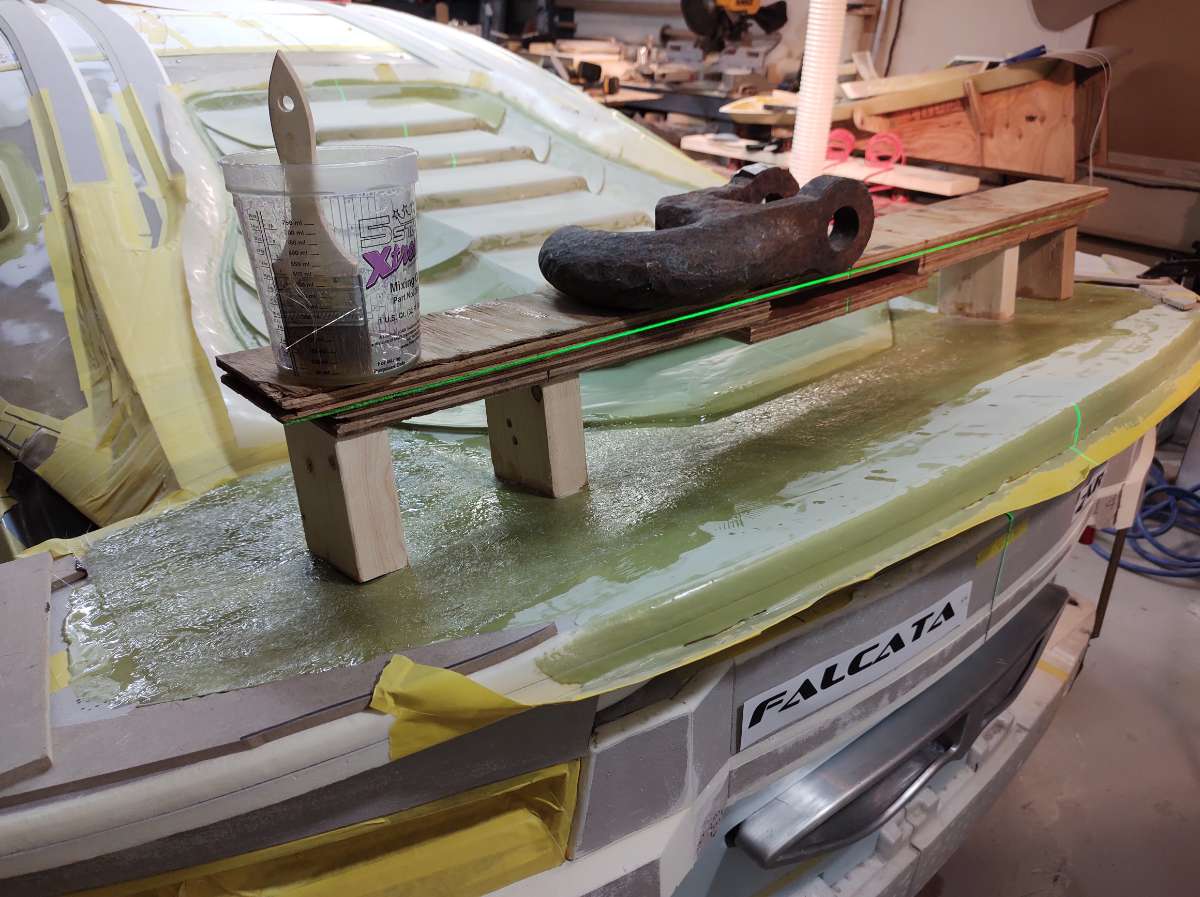
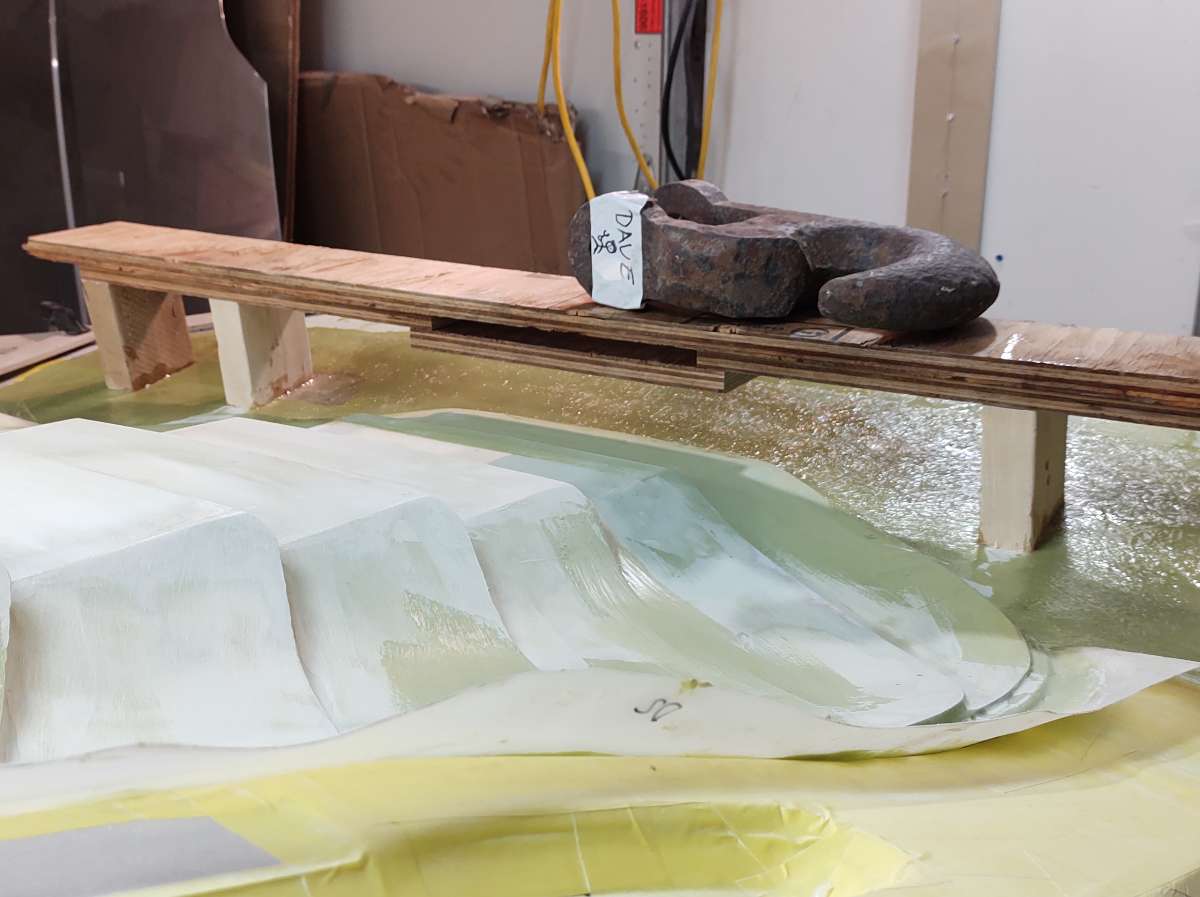
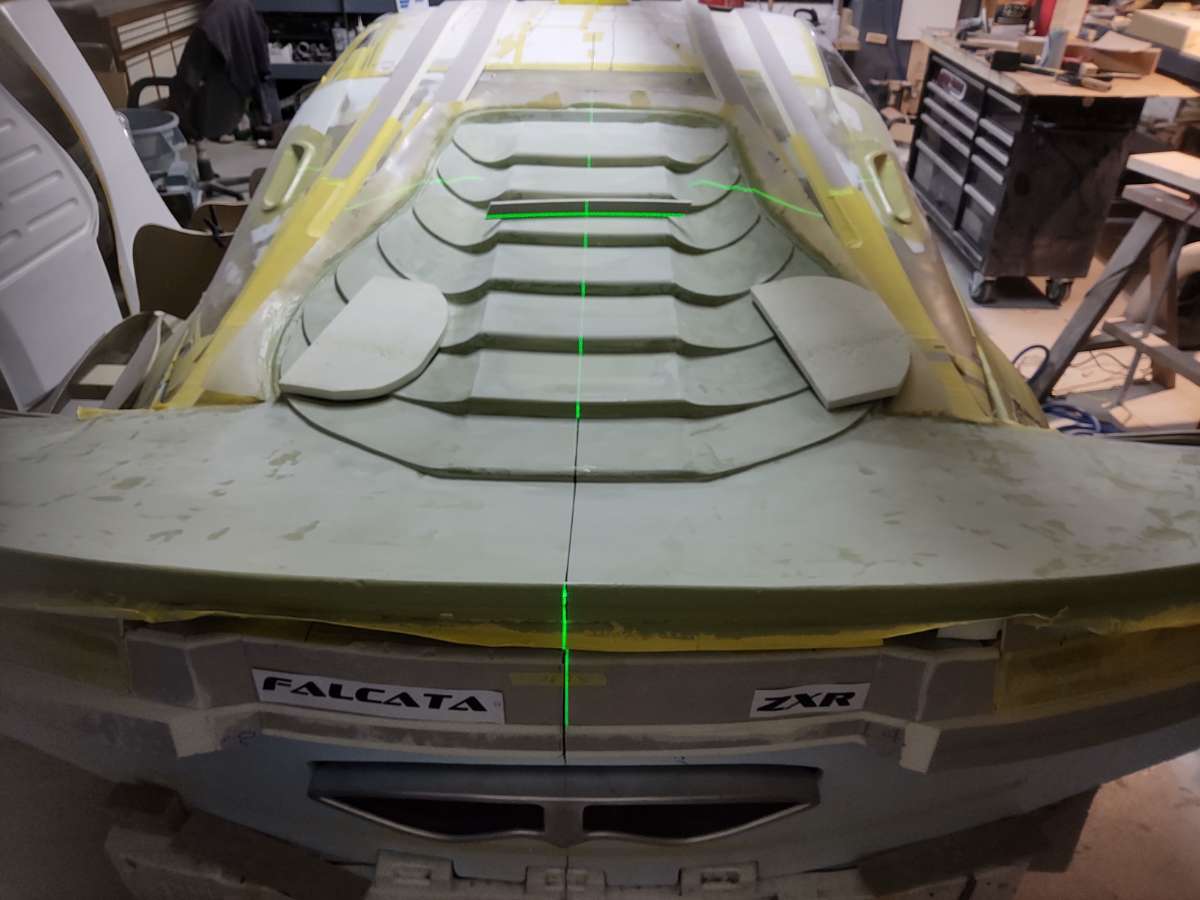
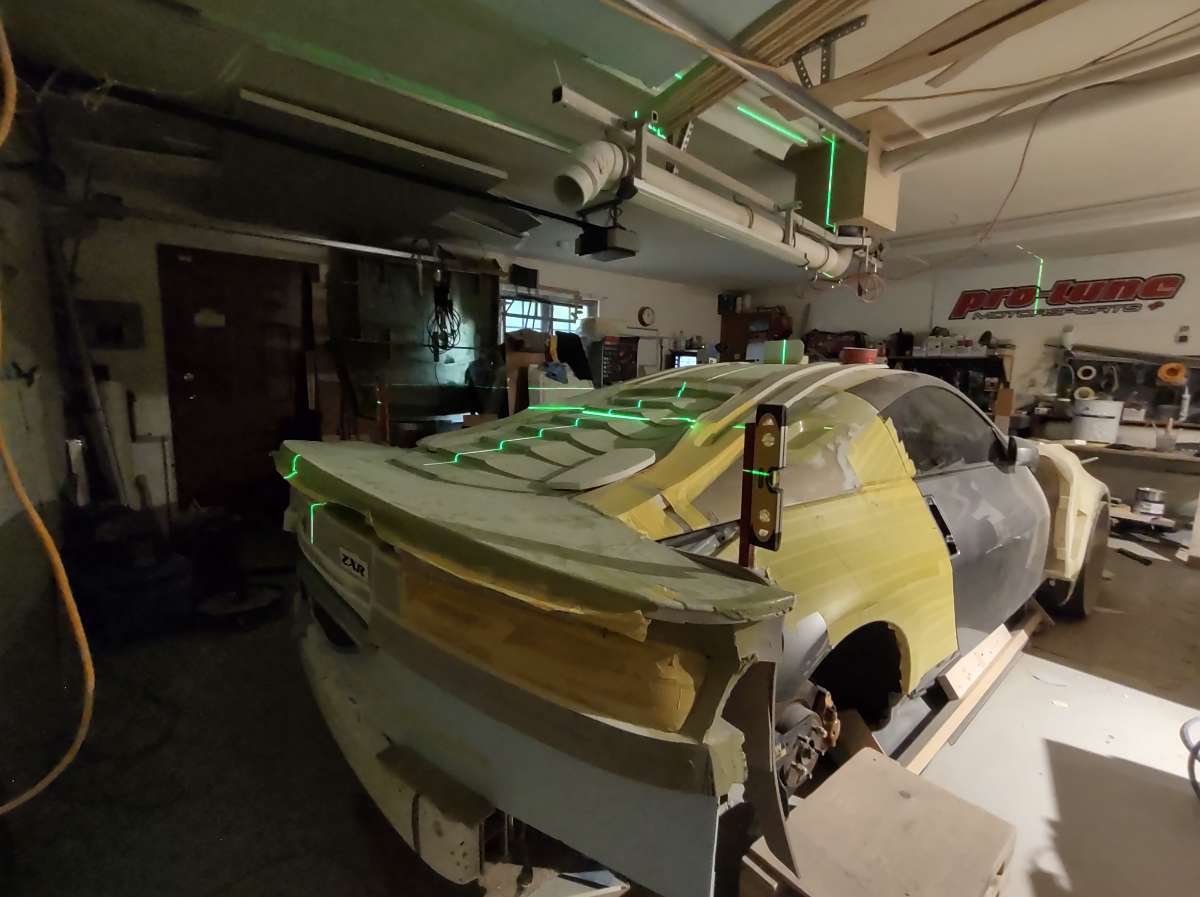
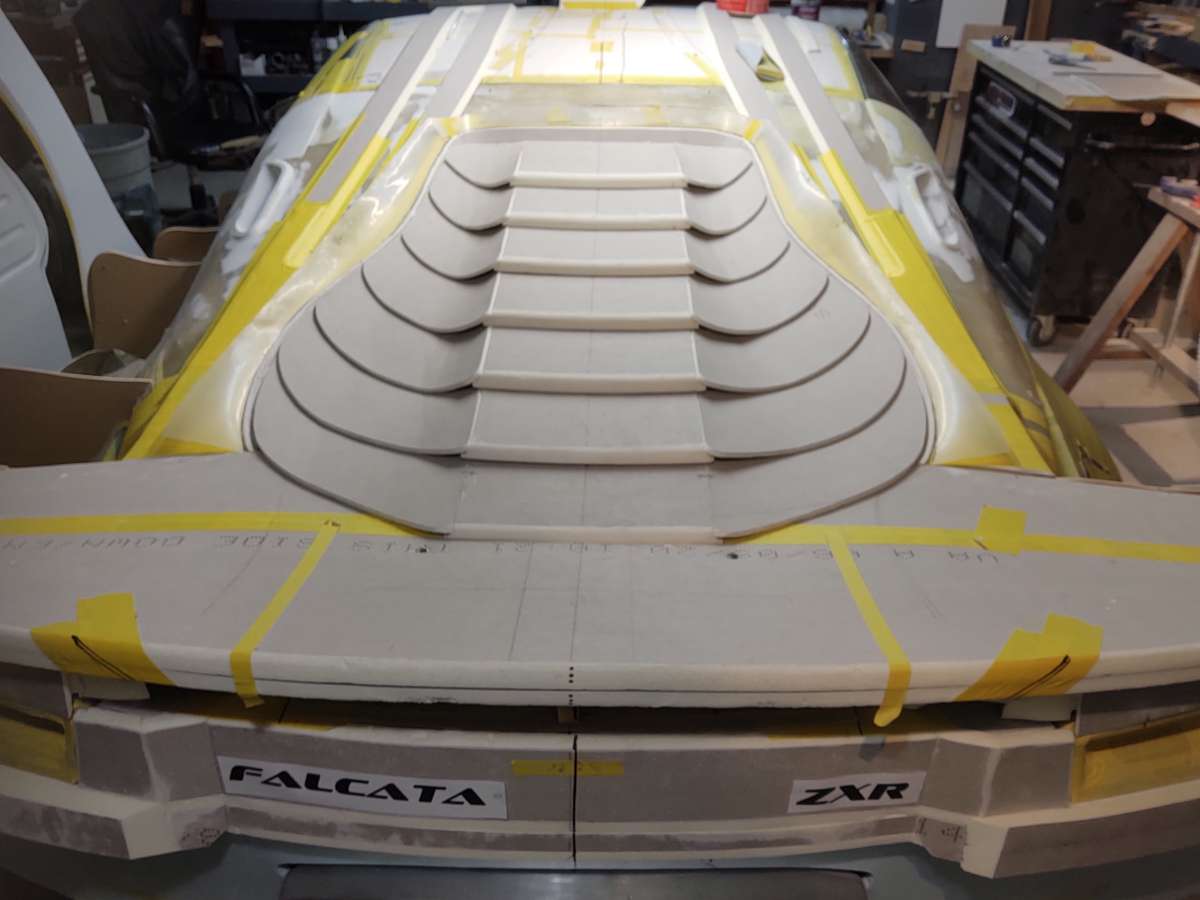
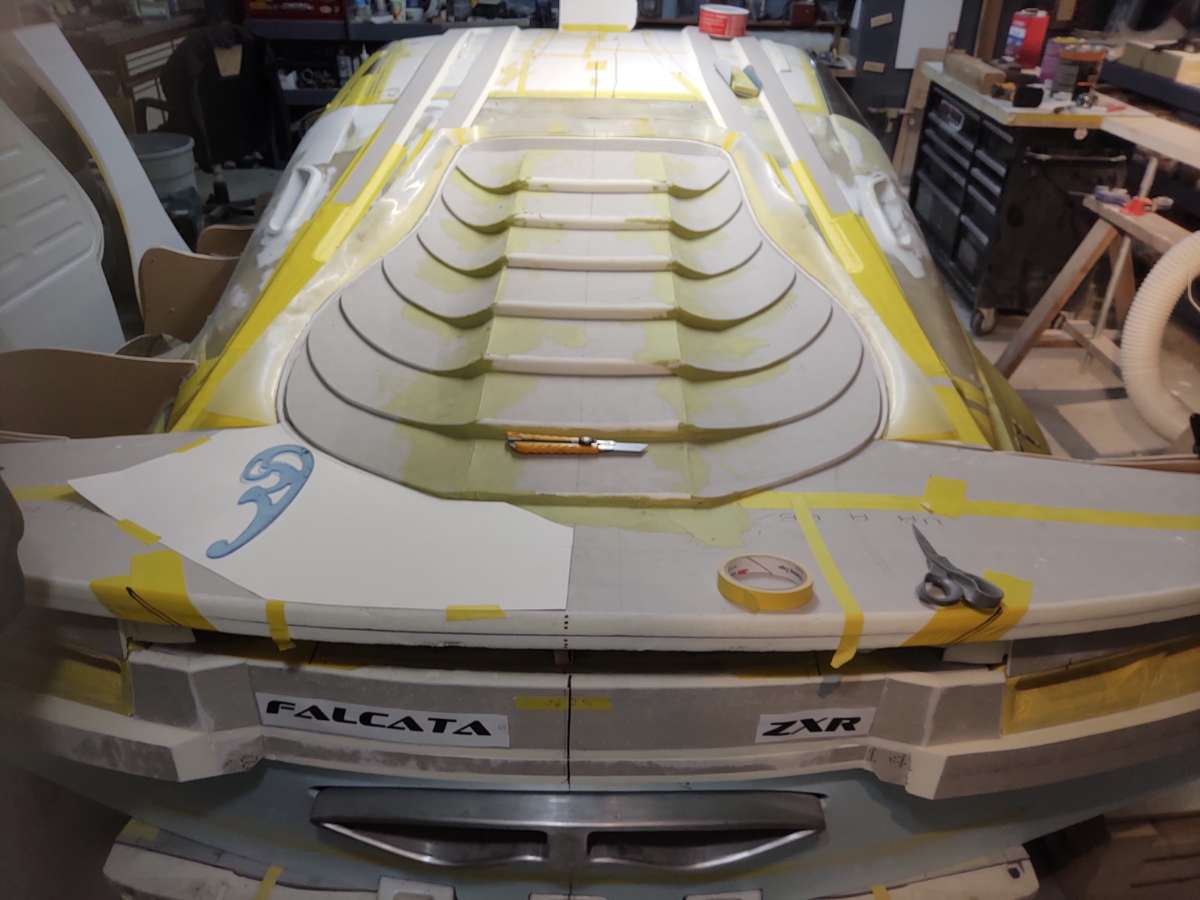
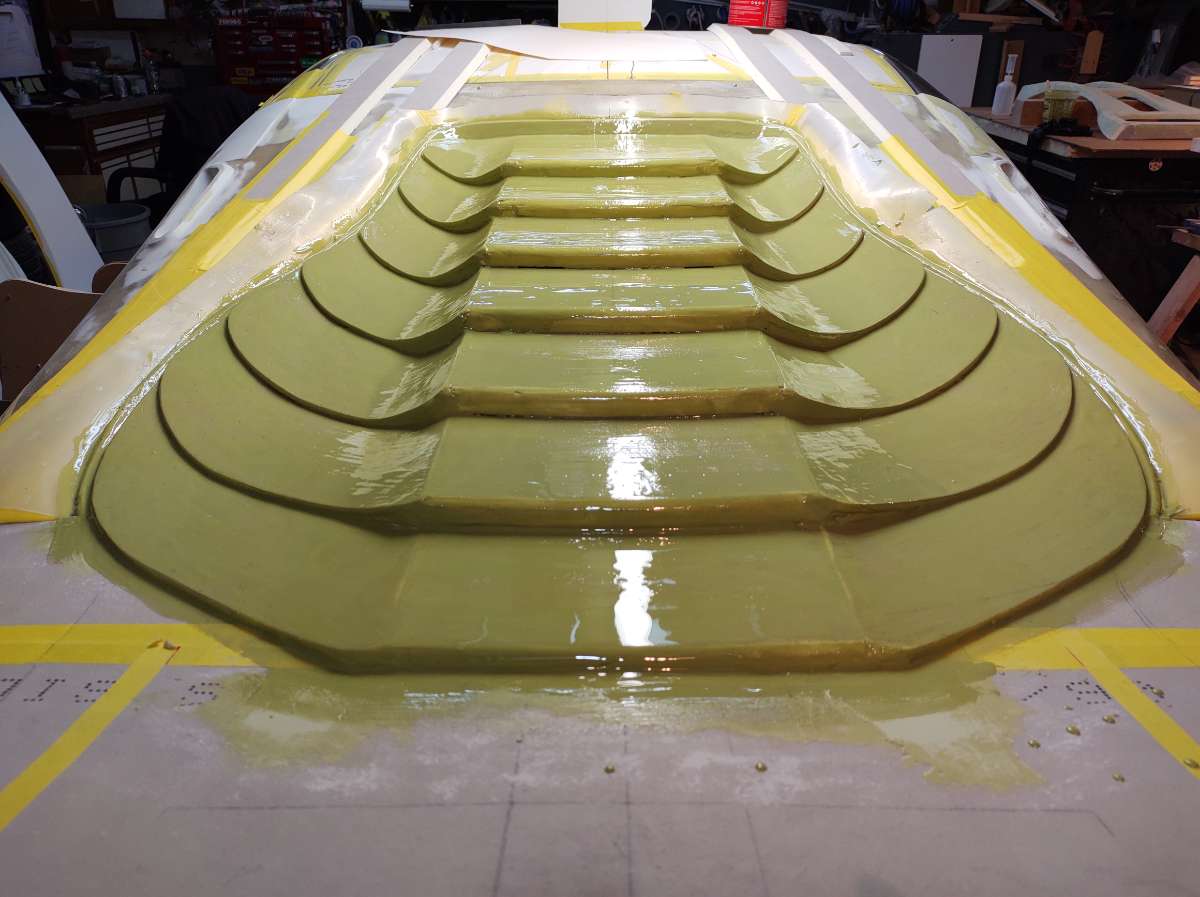
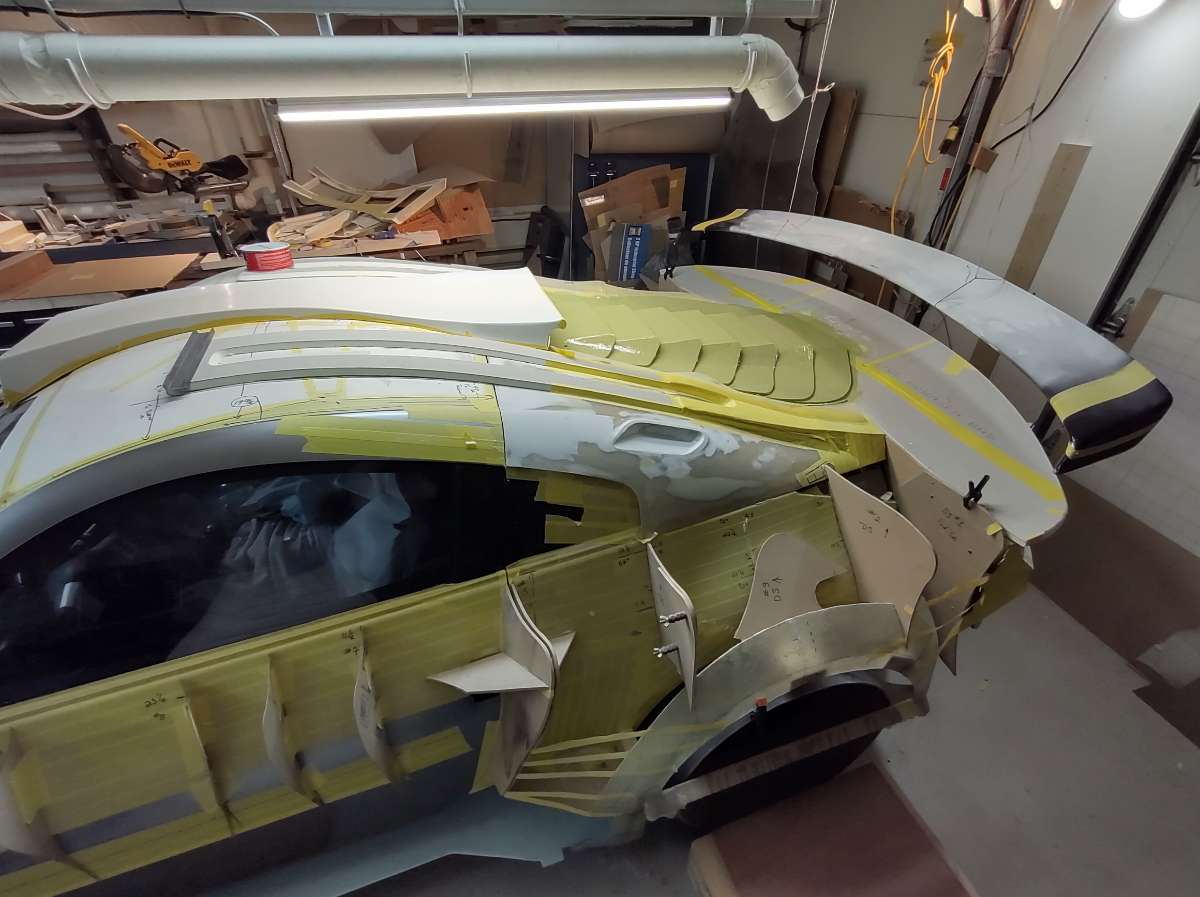
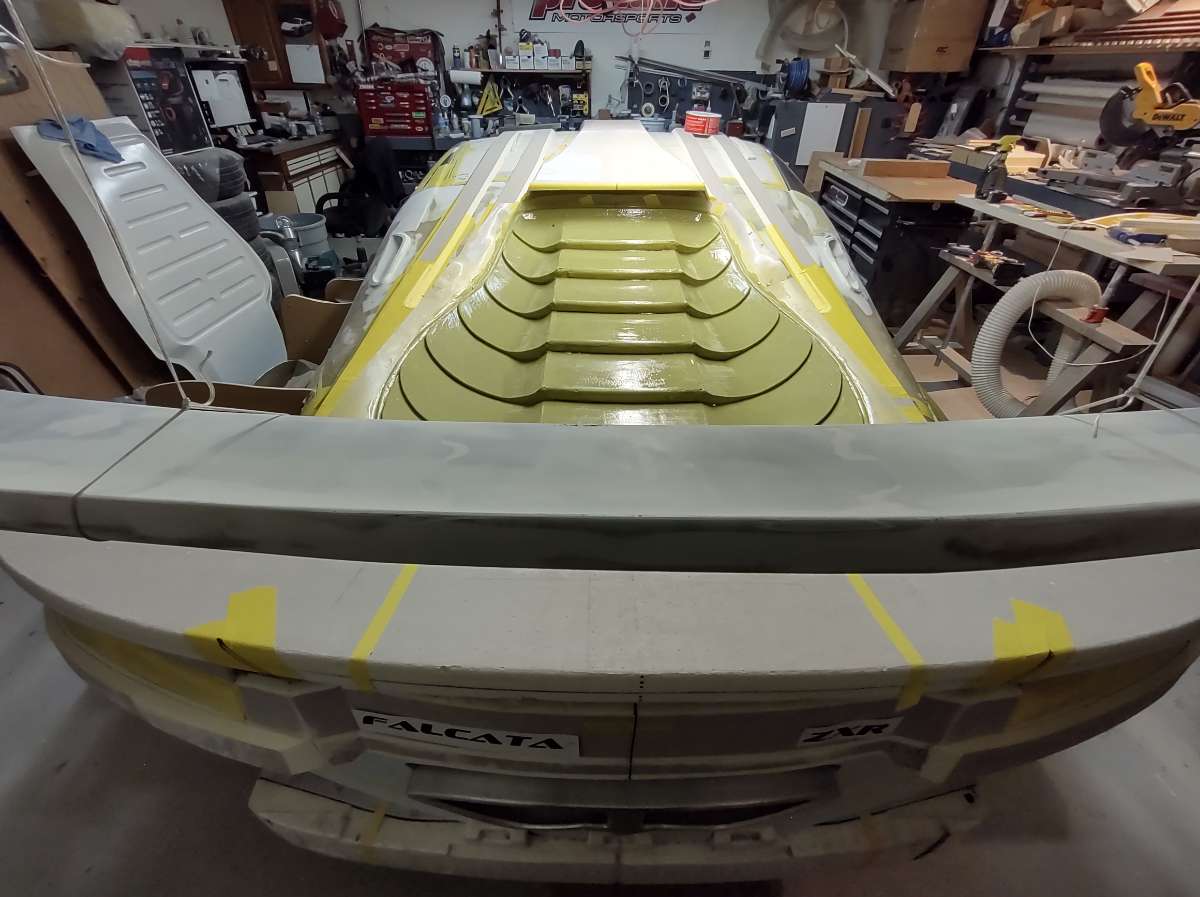
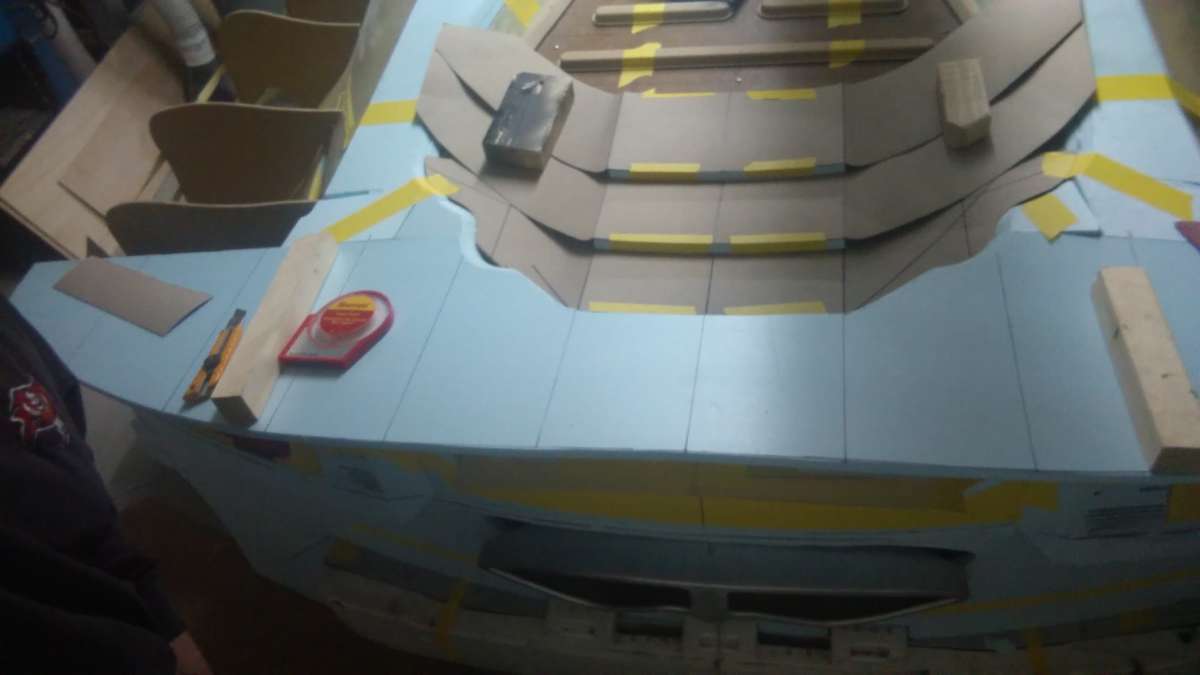
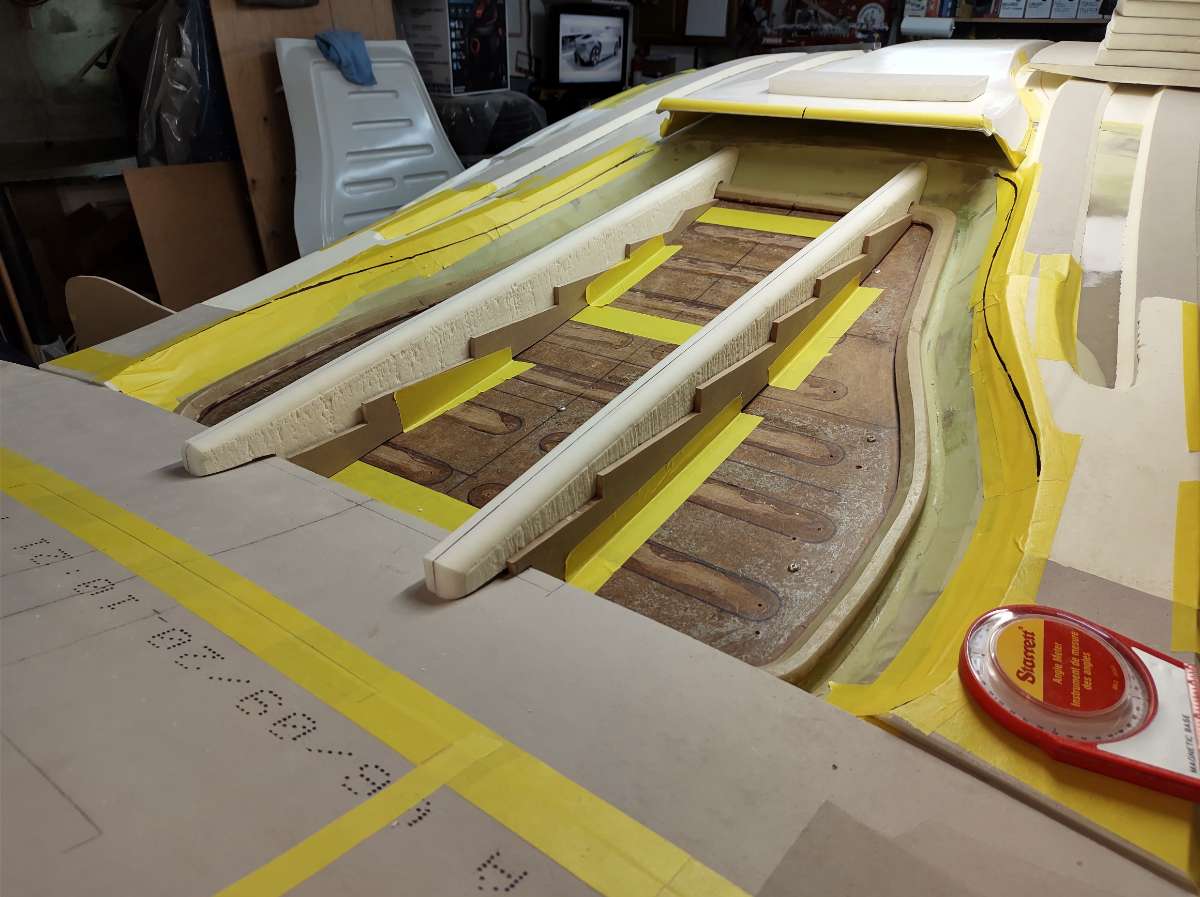
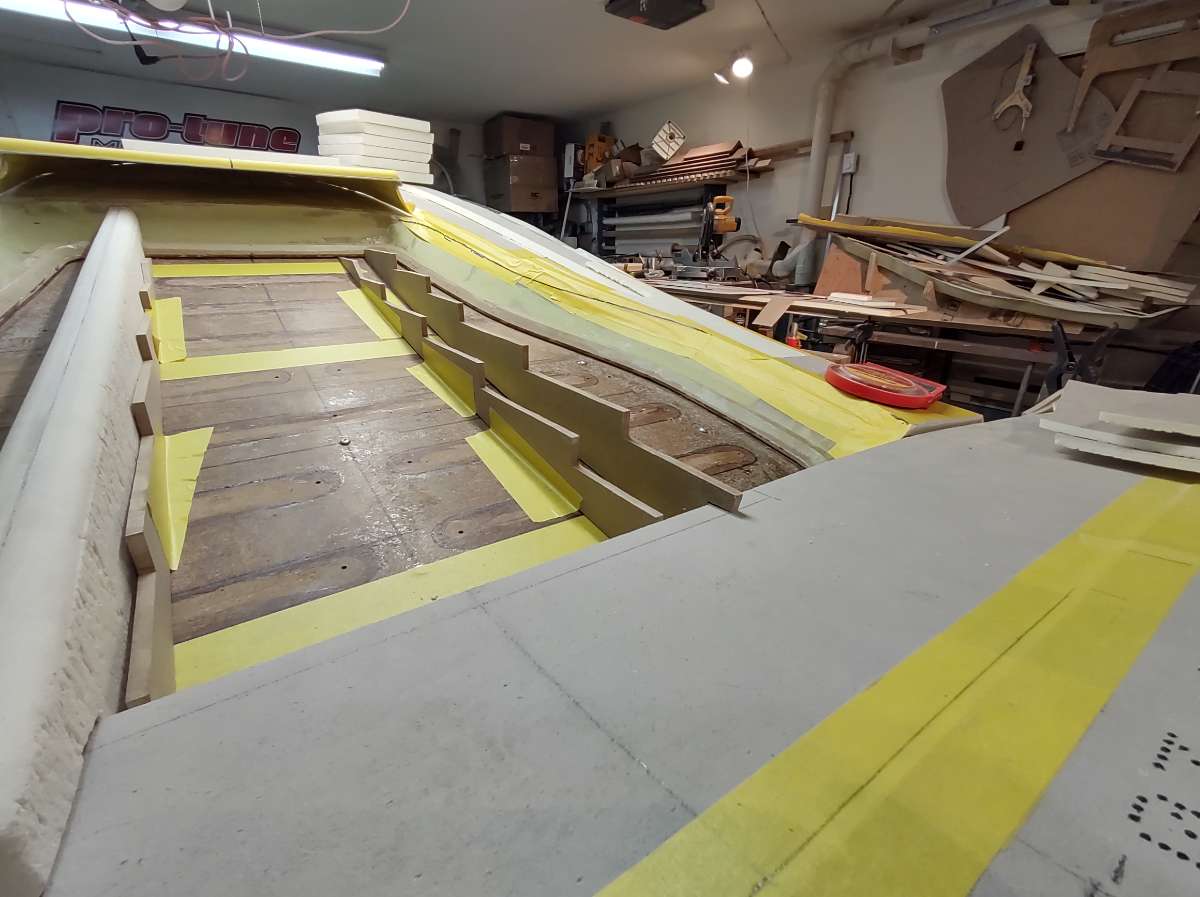
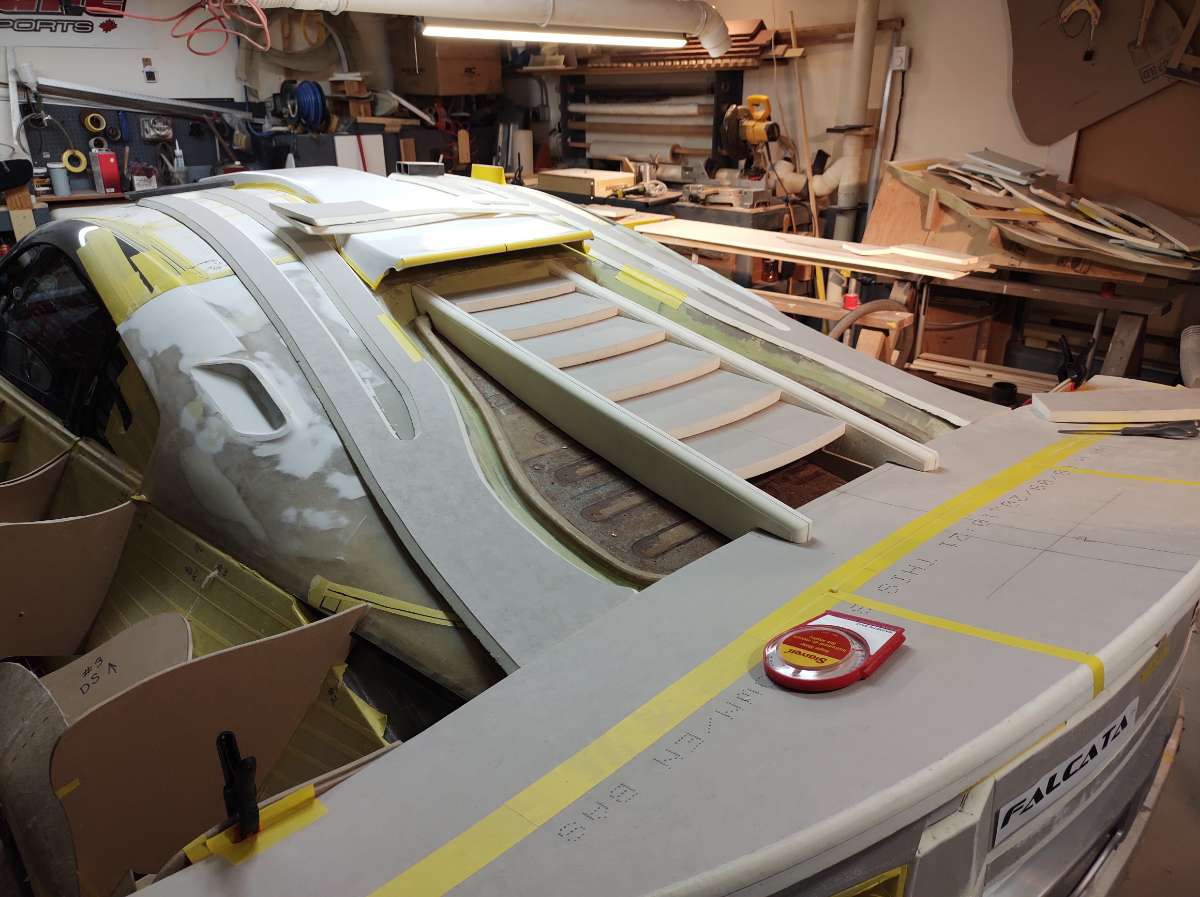
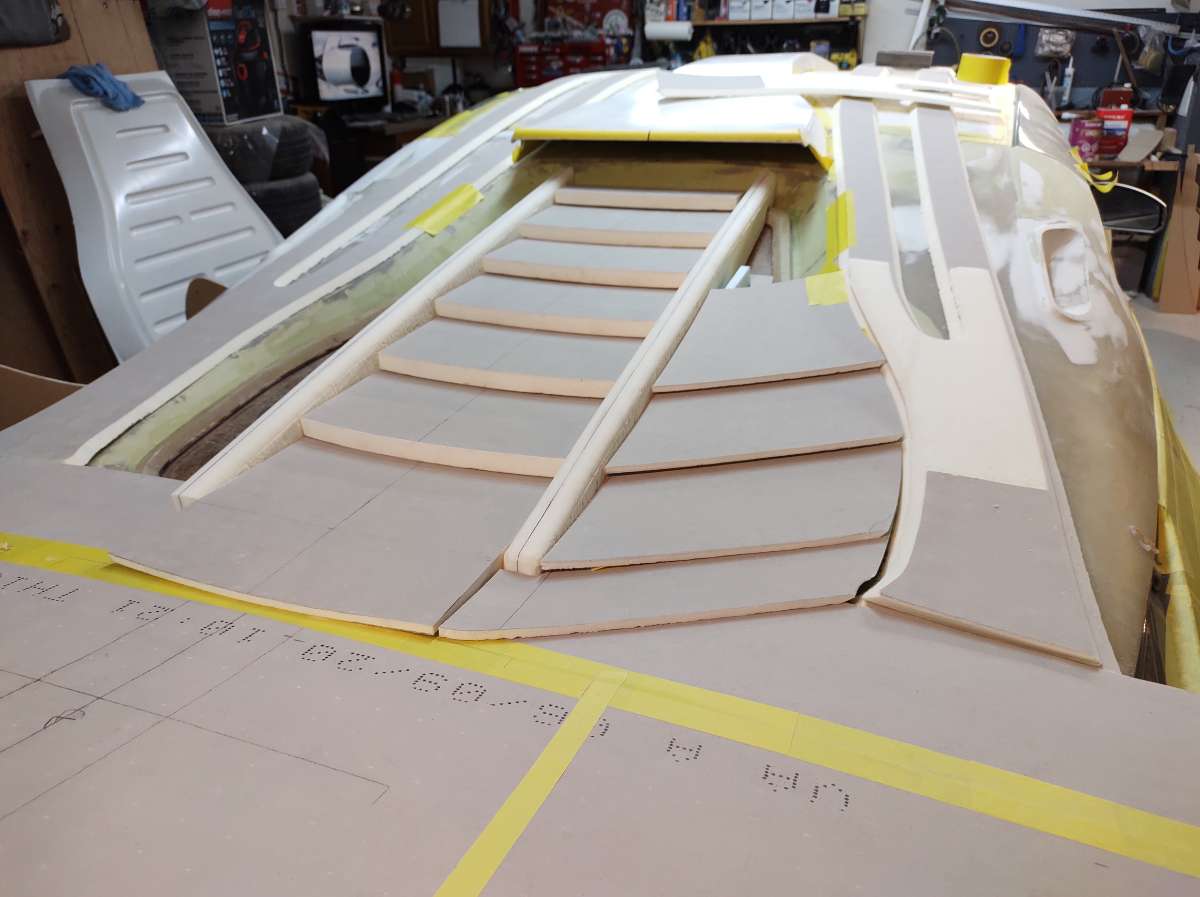
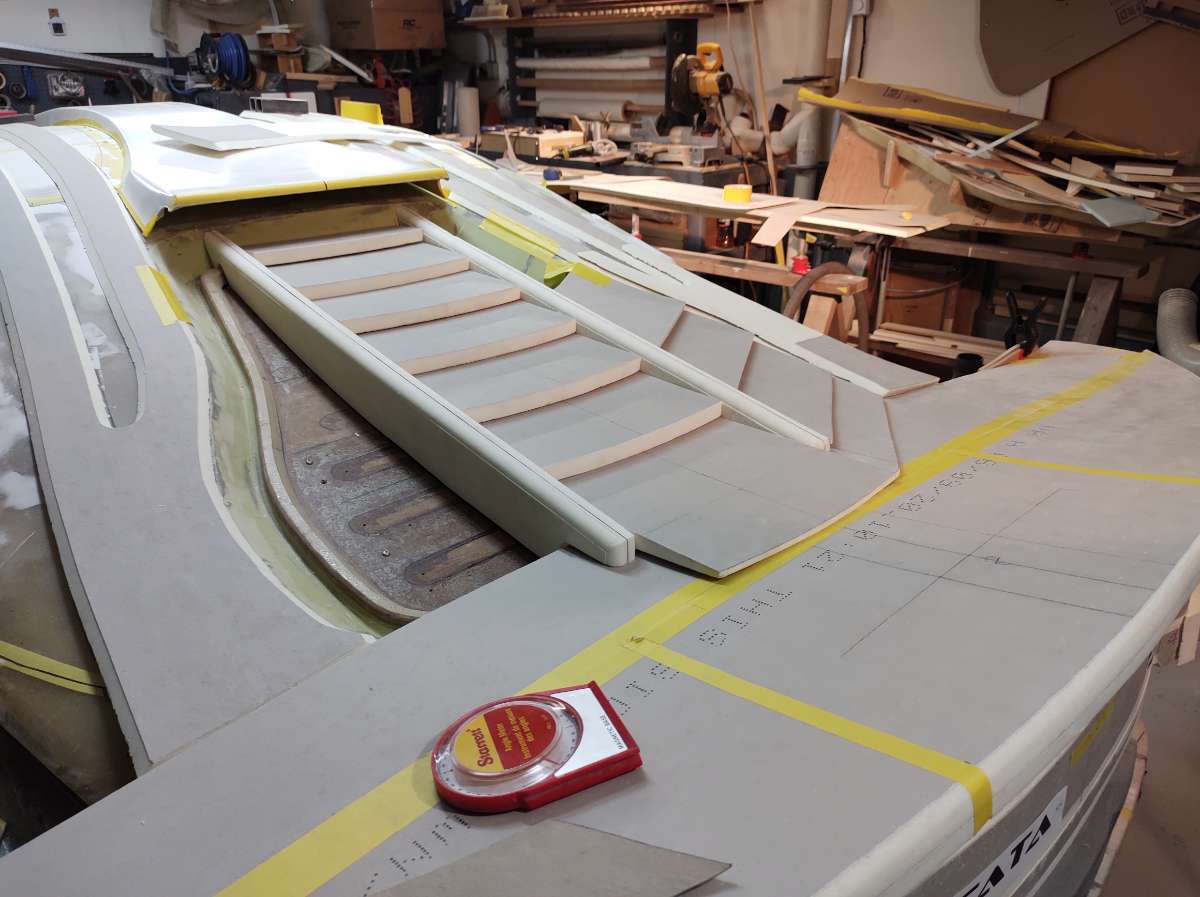
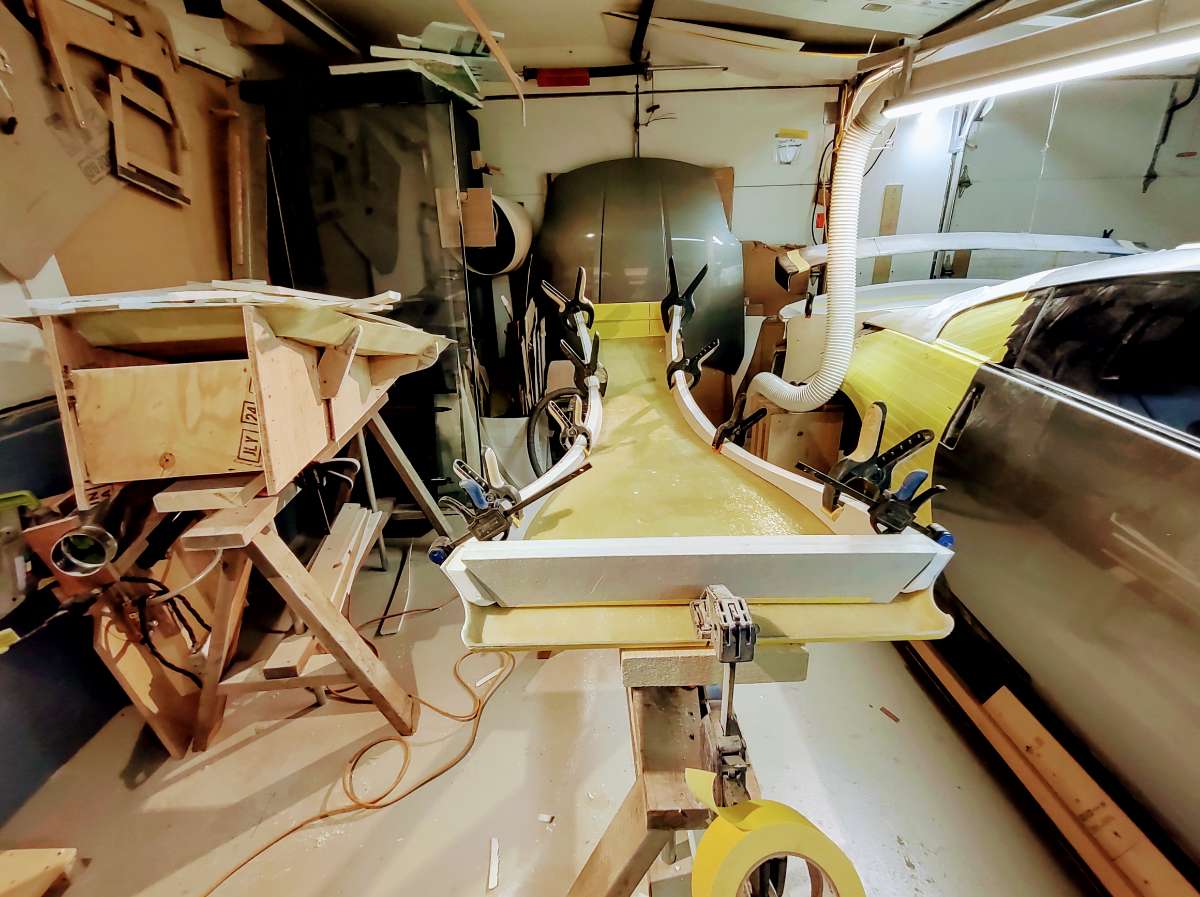
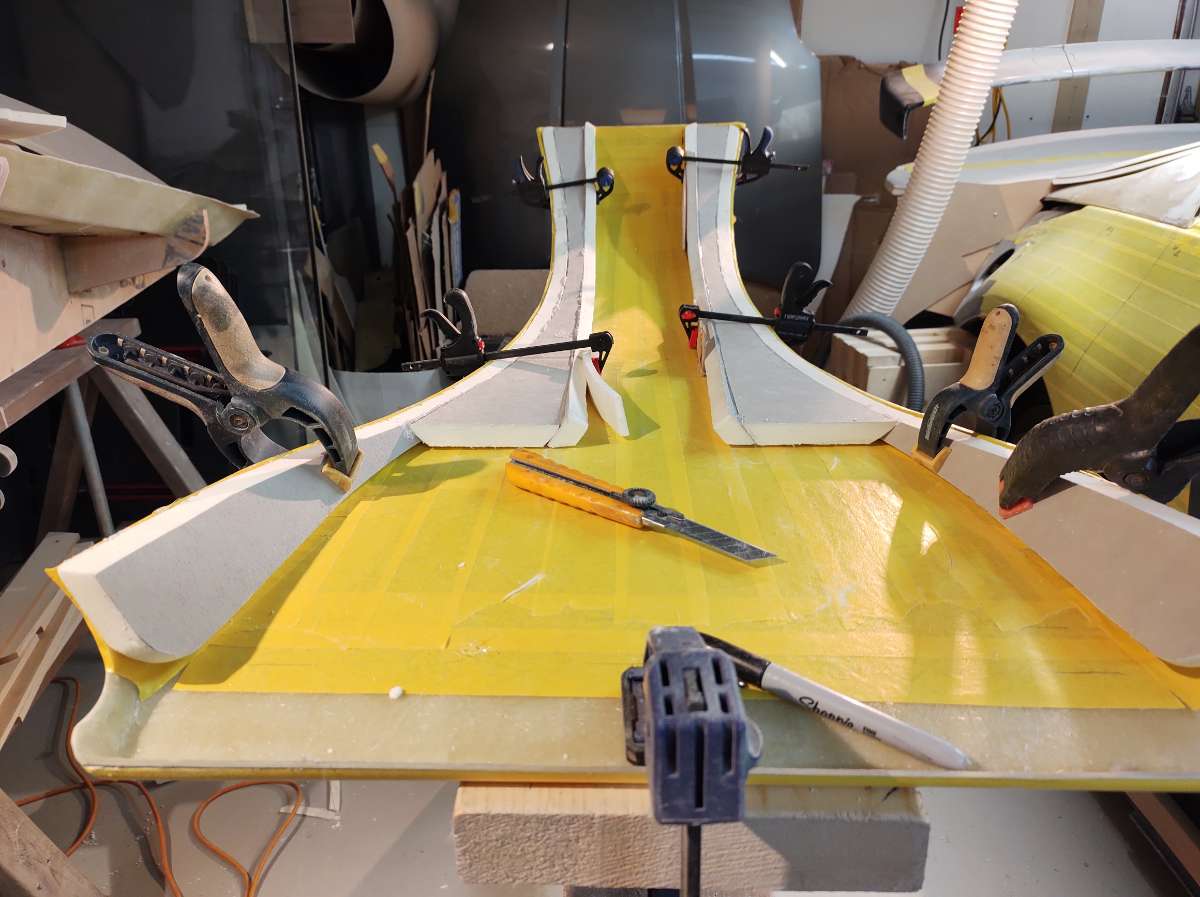
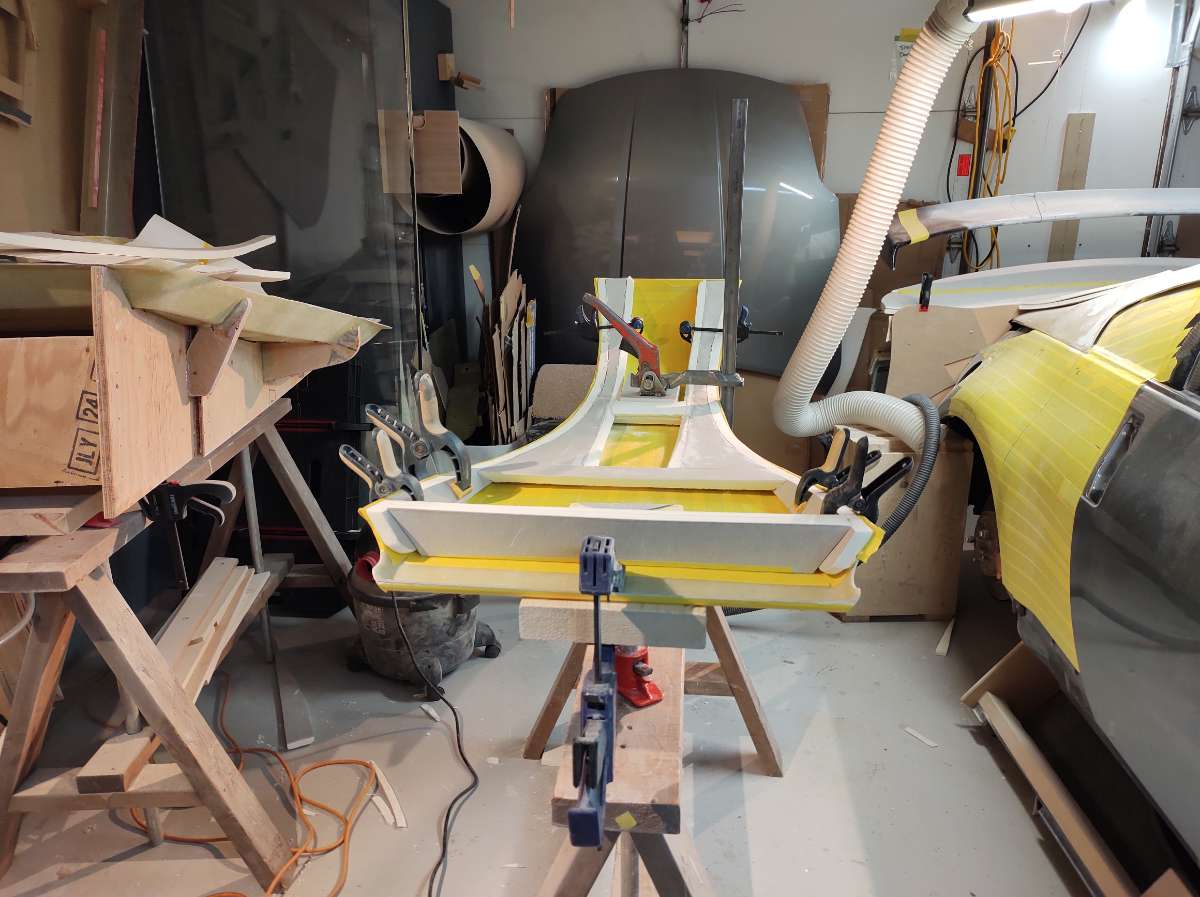
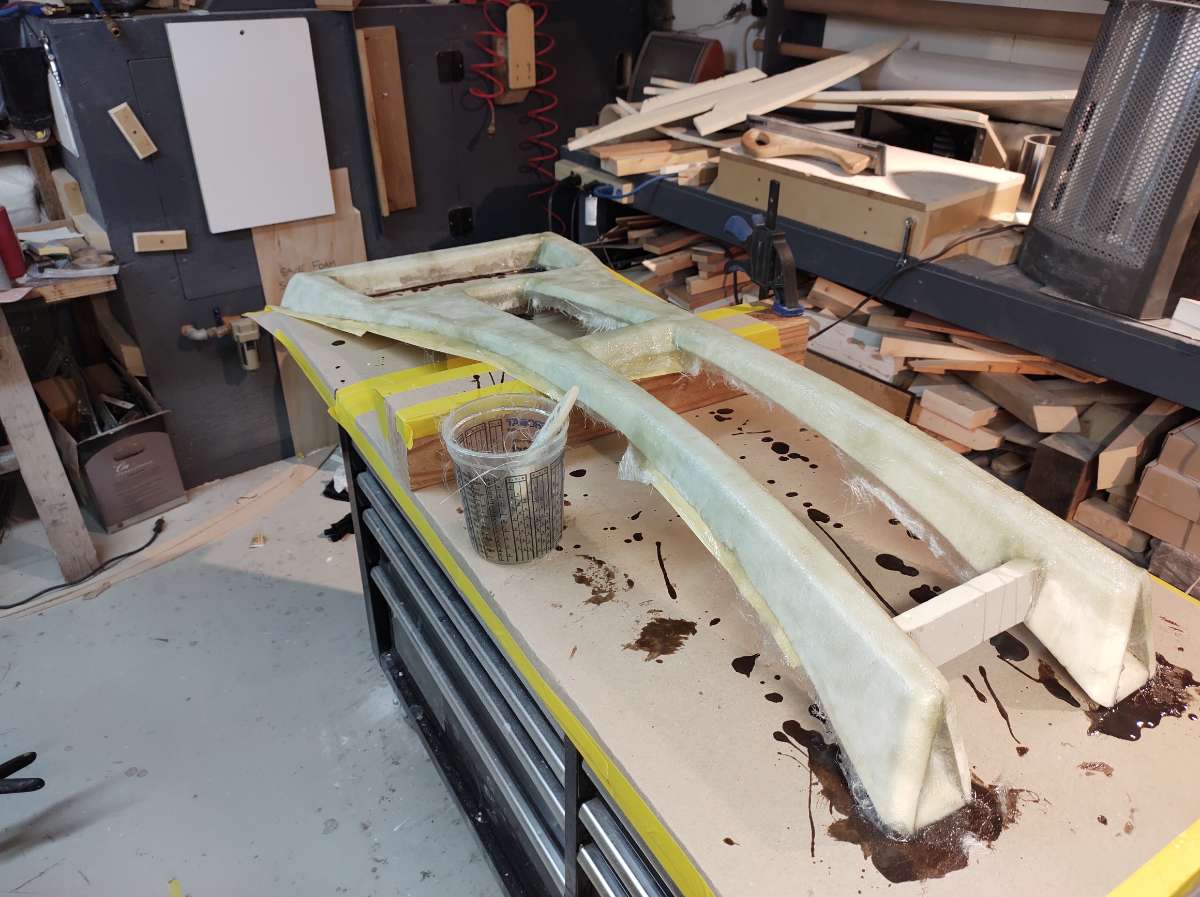
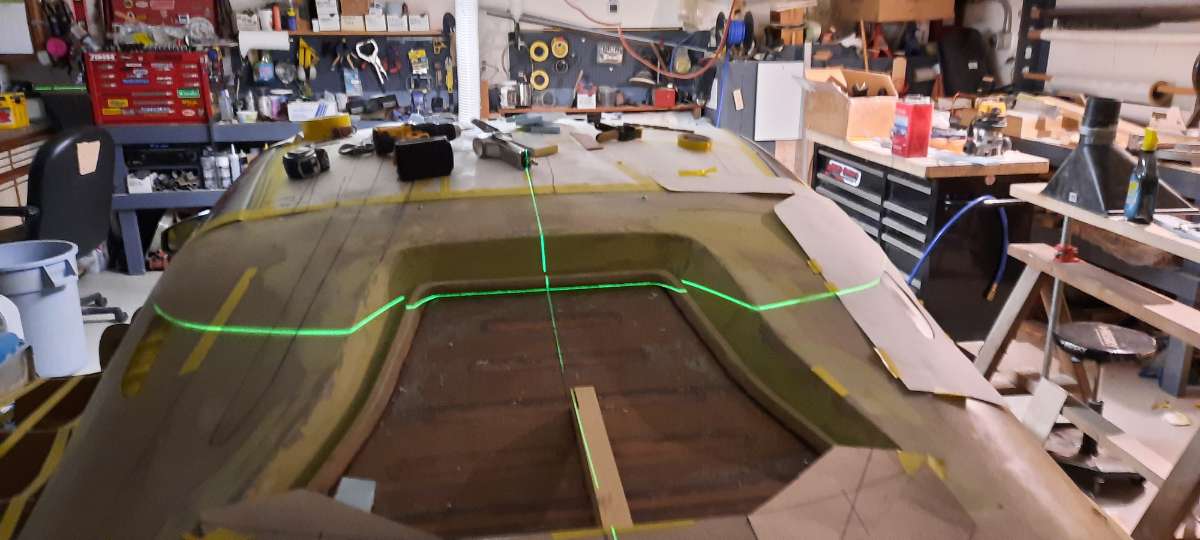
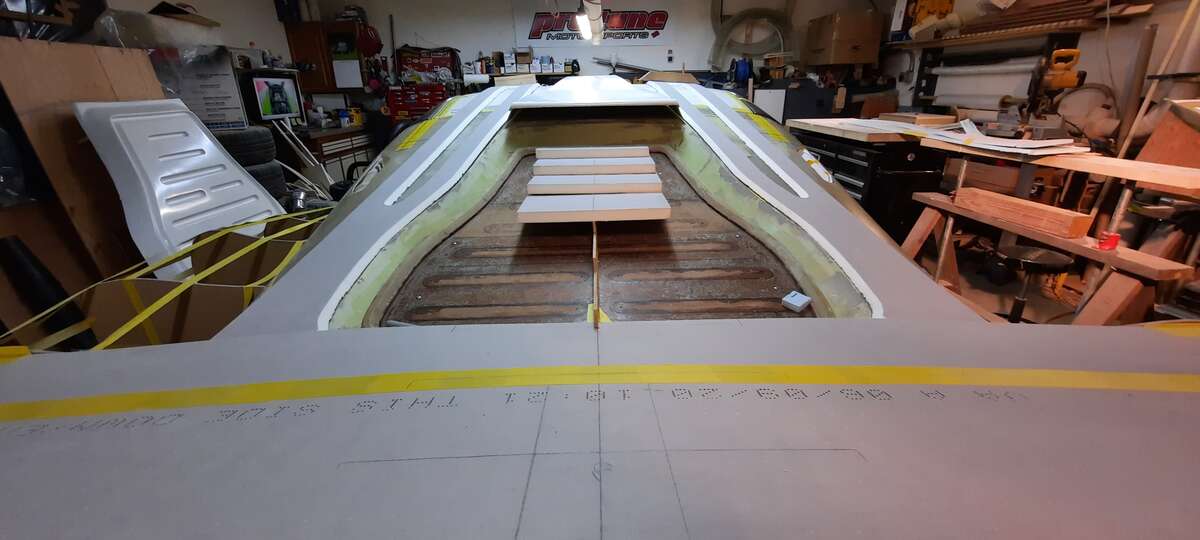
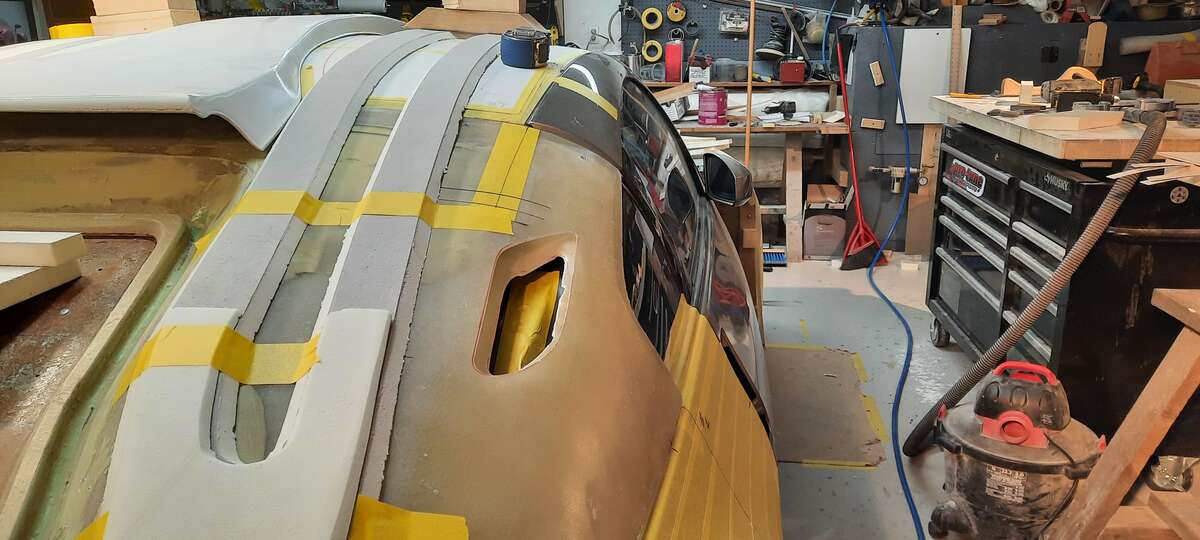
Thanks everyone for the excellent positive feedback !! Yes GT500 class racer for the street was exactly what I was going for , only meaner . Some more on the the rear deck lid . After clamping down the back and a coat of Rondo on the deck area , I discovered a bump on both sides where it should be dipping down .in the deck , there is no way to hold it down , so I came up with a way to hold it in place . Then a couple of layers of fiberglass mat . I used the laser to make sure it was even on both sides , the two inner boards are shorter to help make the contour I was looking for . I call my helper Dave .........maybe I have been in the forest too long lol Here you can see the shape is looking sweet Another coat of Rondo , helps to hold and seal the foam . Next is to fill the rises in the hips of the quarters . Here you see two pieces of foam laying on the louvers , they will get glued down and shaped to fill the low spot . with calibration posts I made for the front of the car , I am double checking the height of the fender bucks with the laser to insure they are level Here you see the foam glued down and a coat of rondo , this will get some filler and shaped . next will be laying out the cut lines for the opening of the trunk lid . Stay tuned Cheers

-
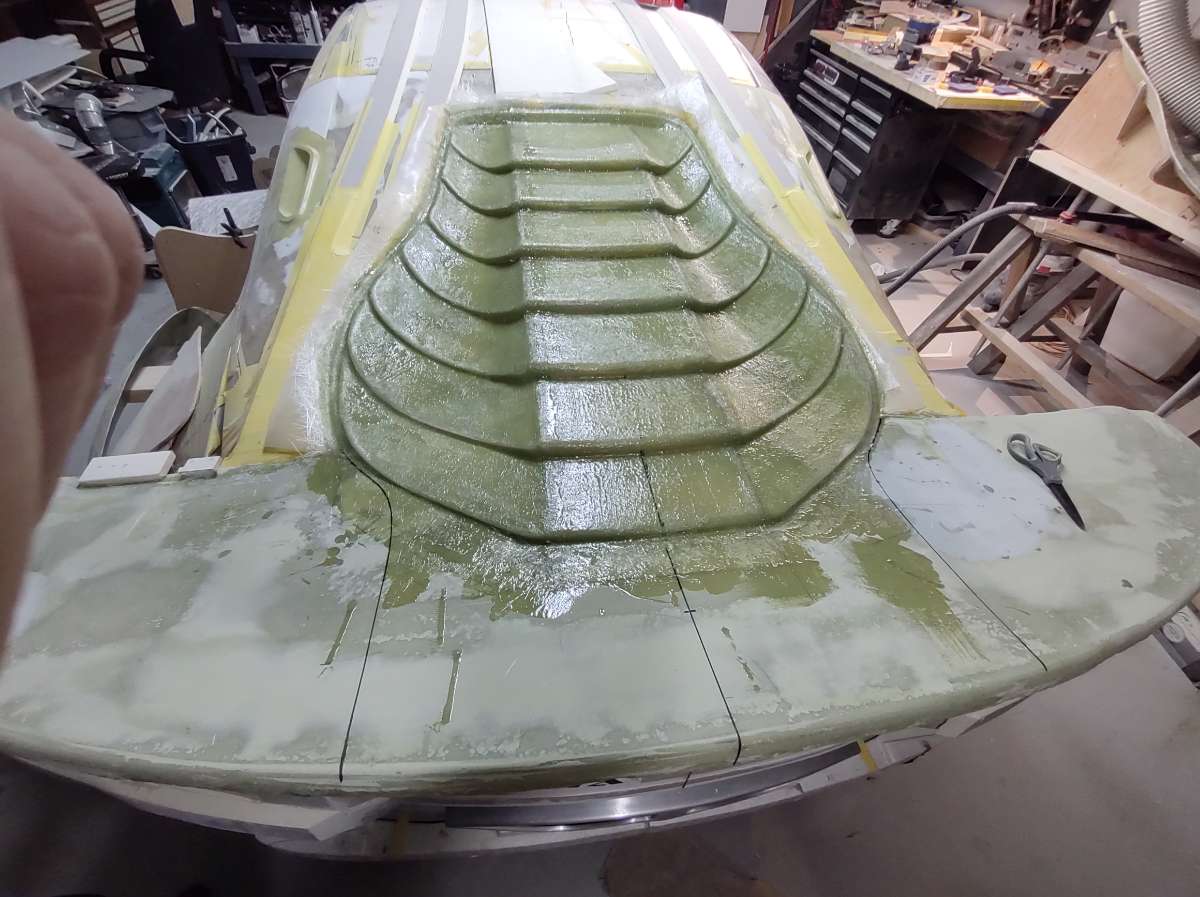
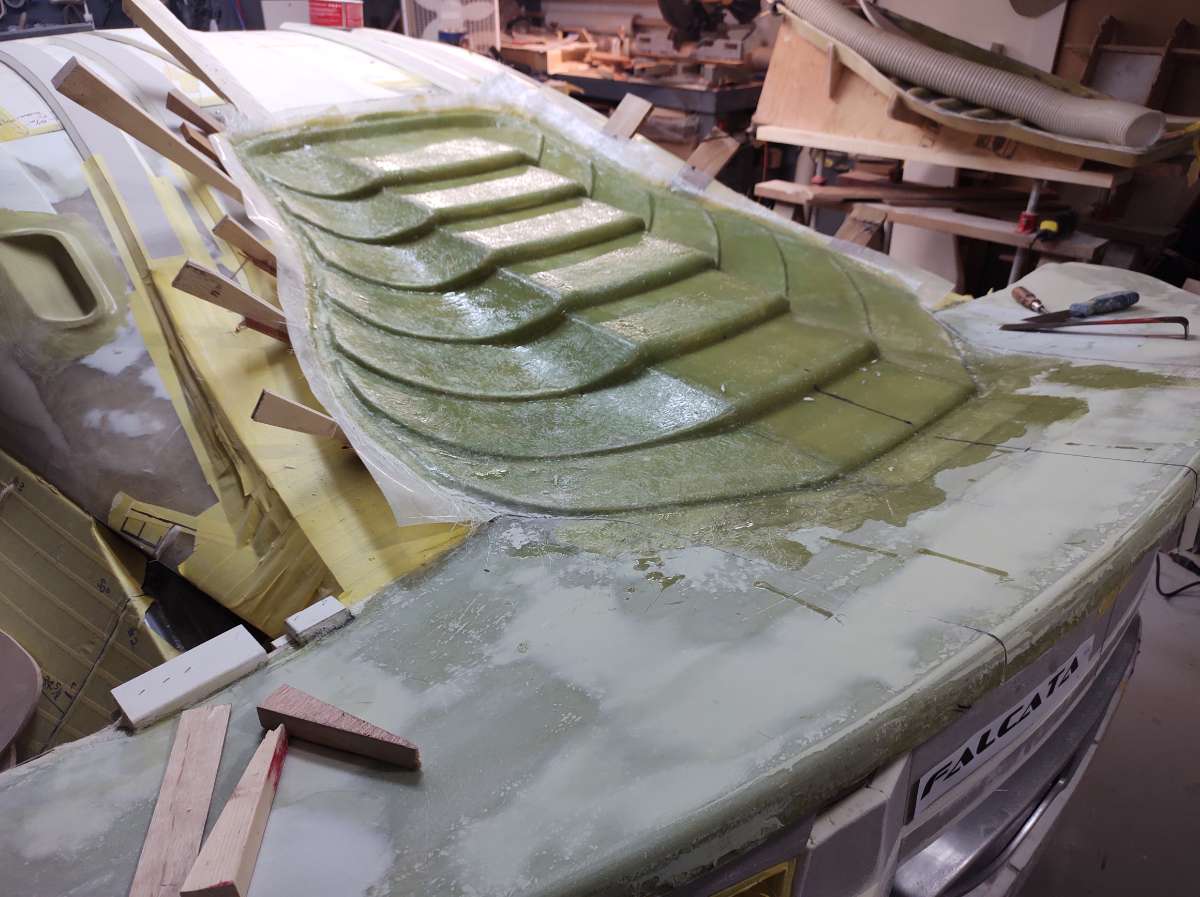
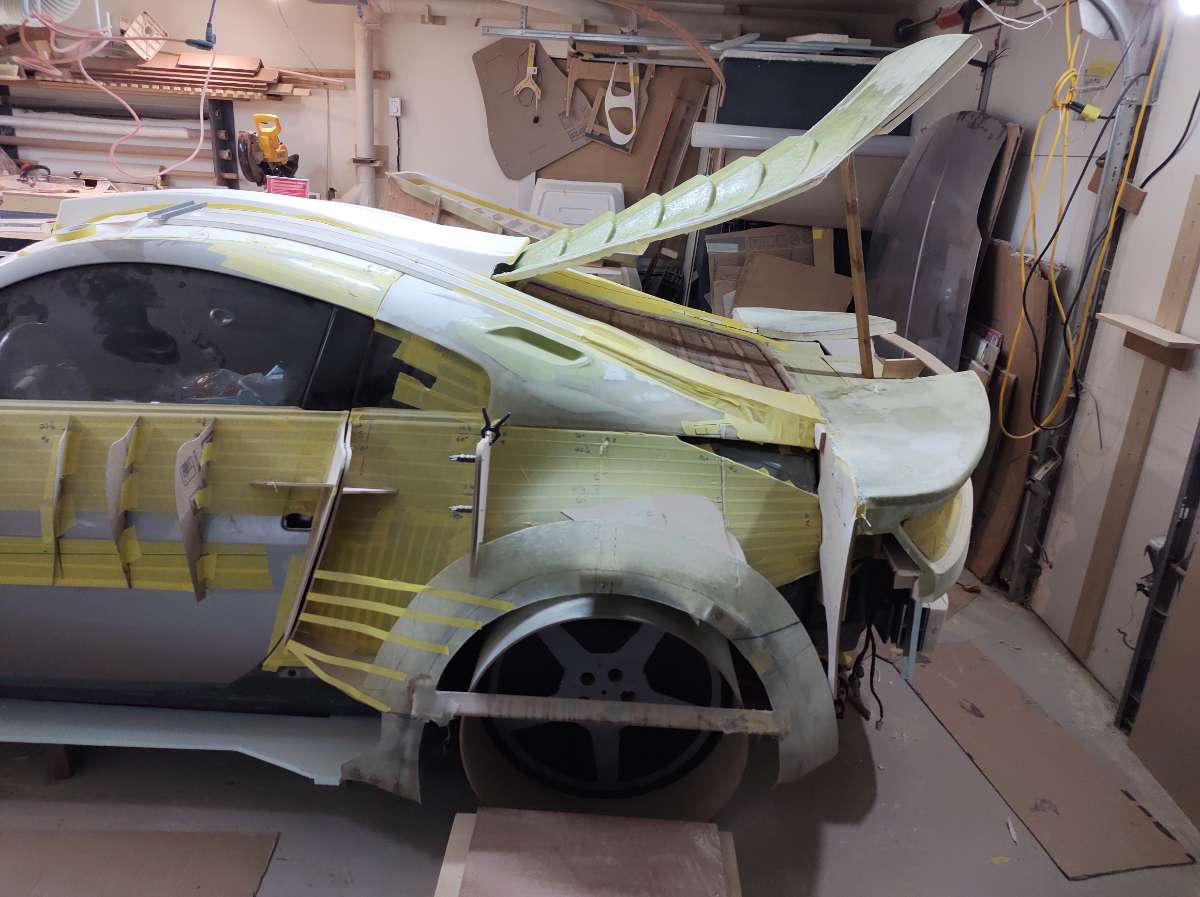
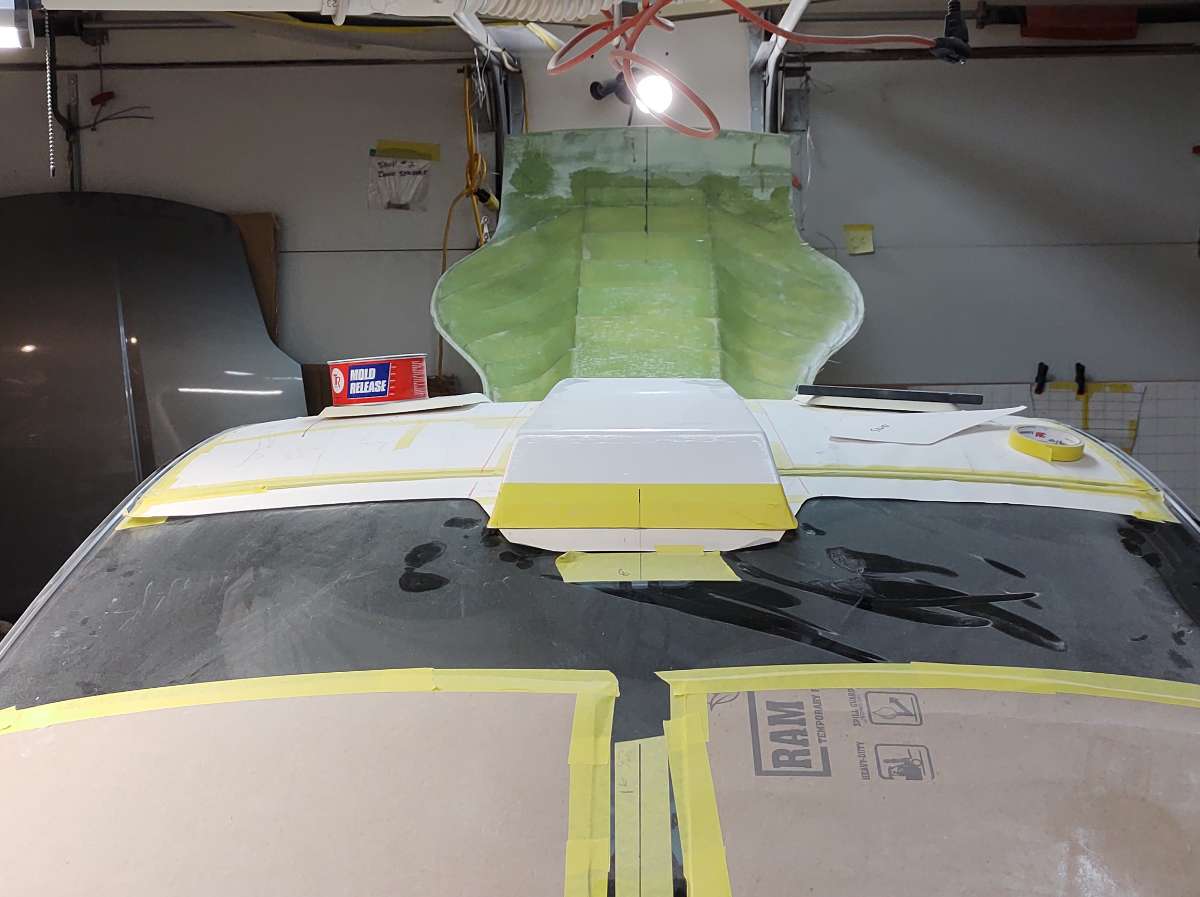
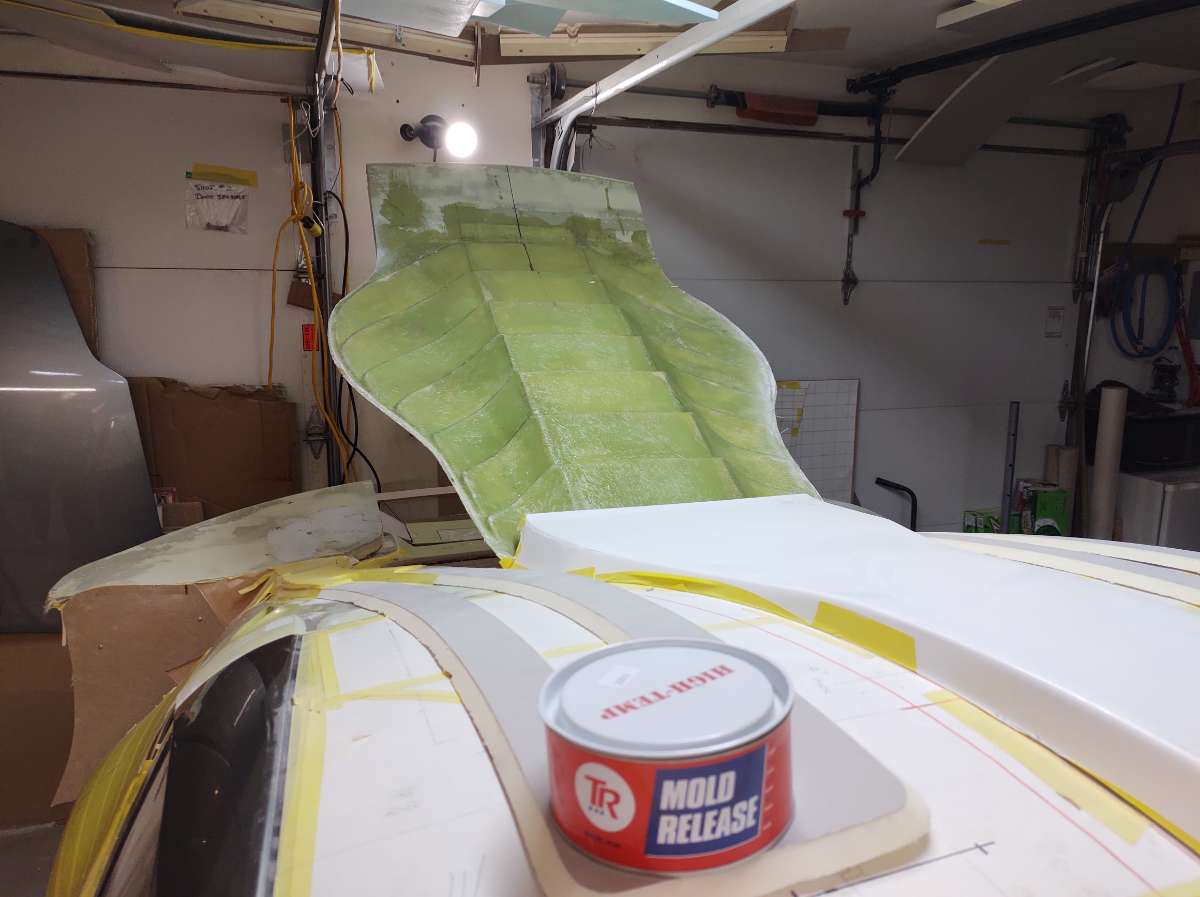
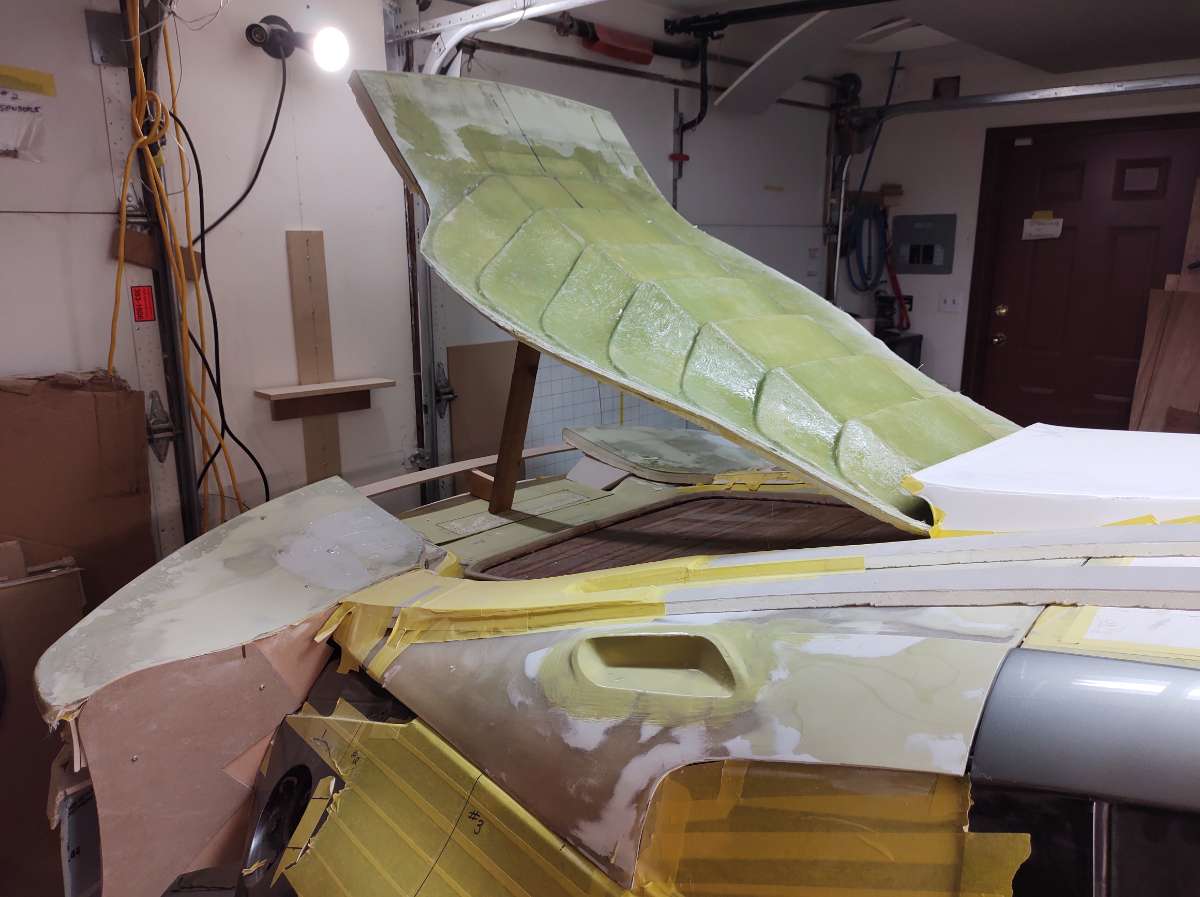
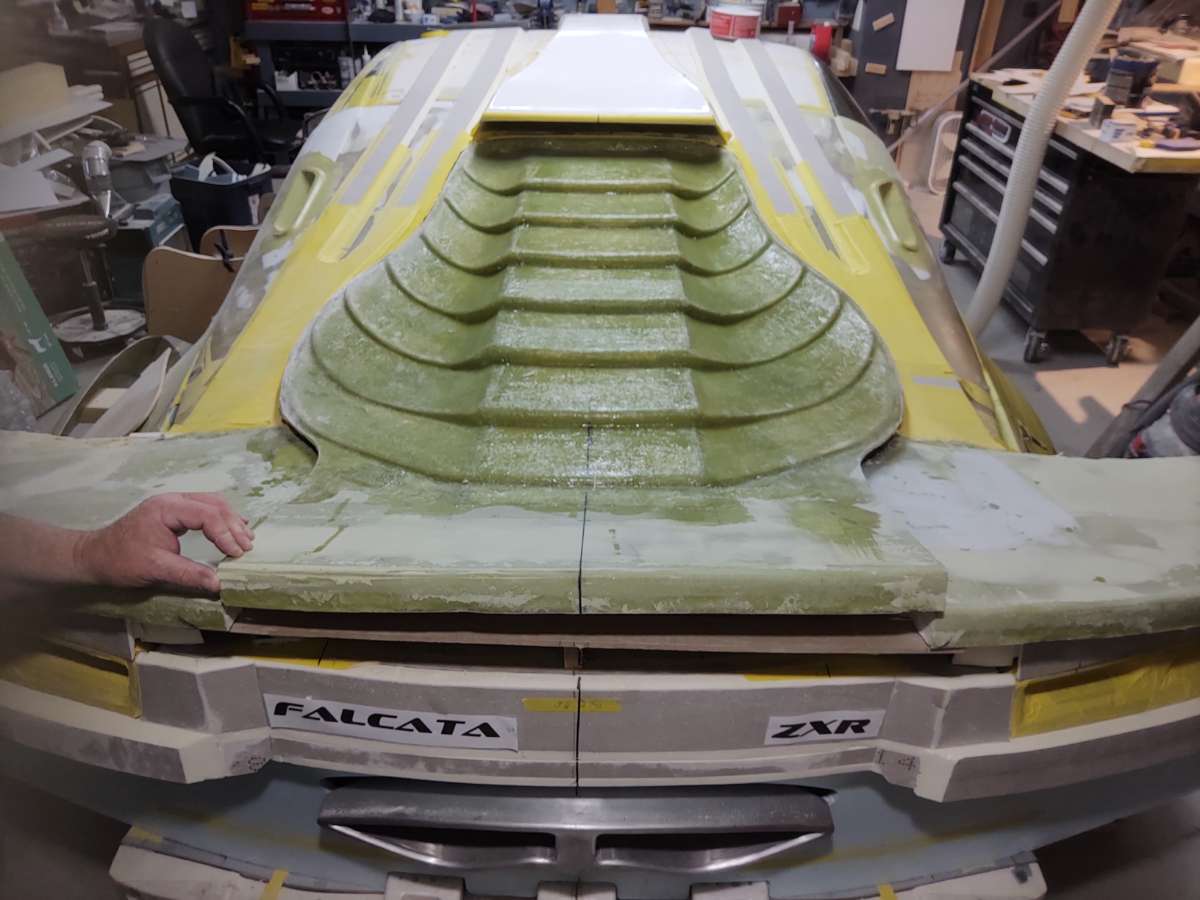
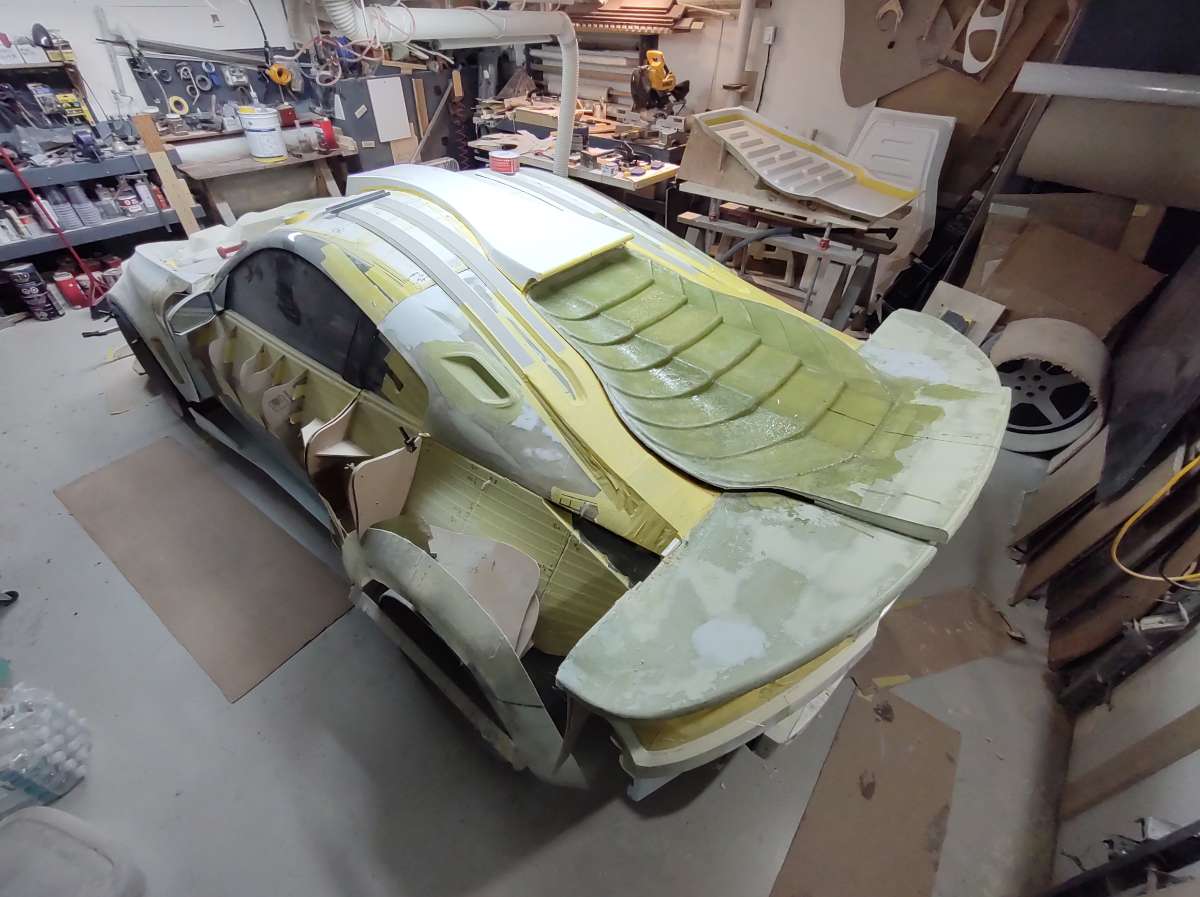
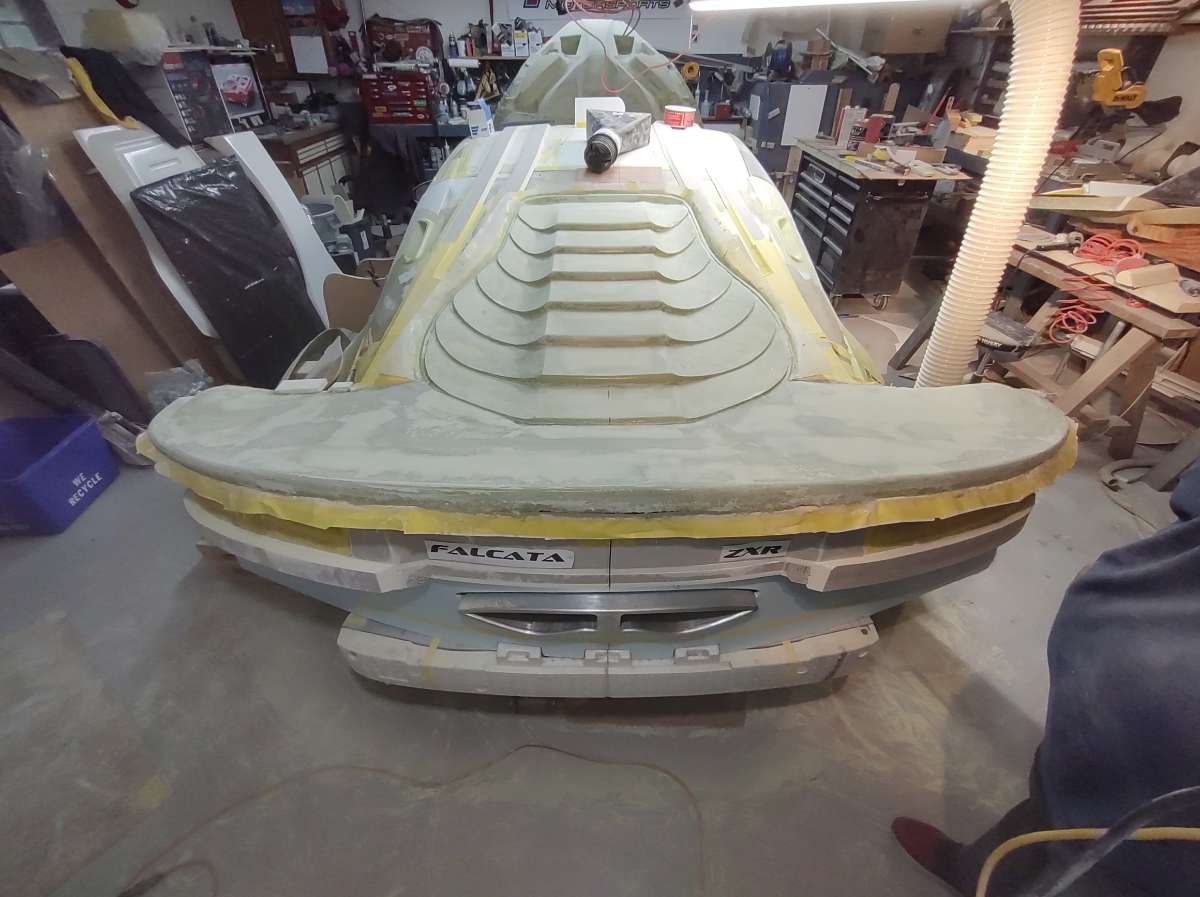
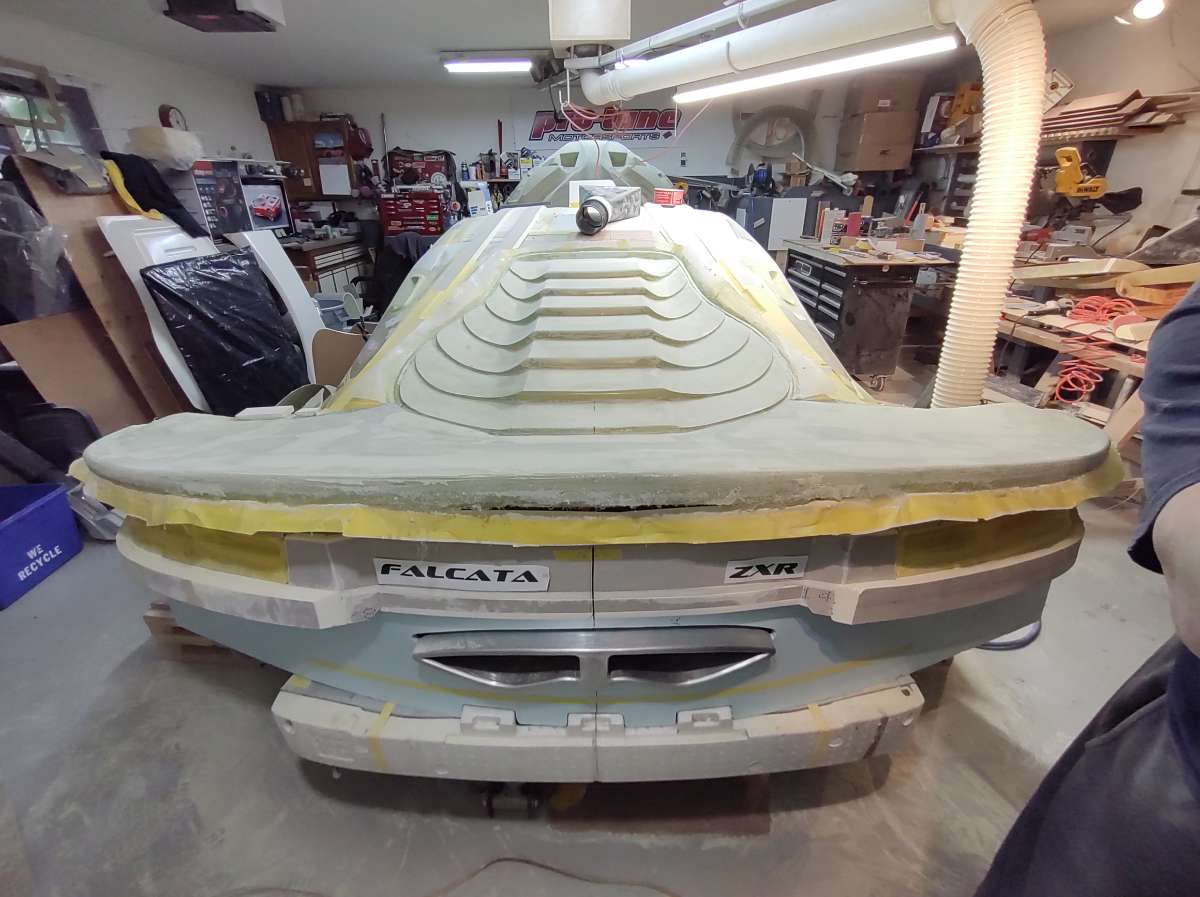
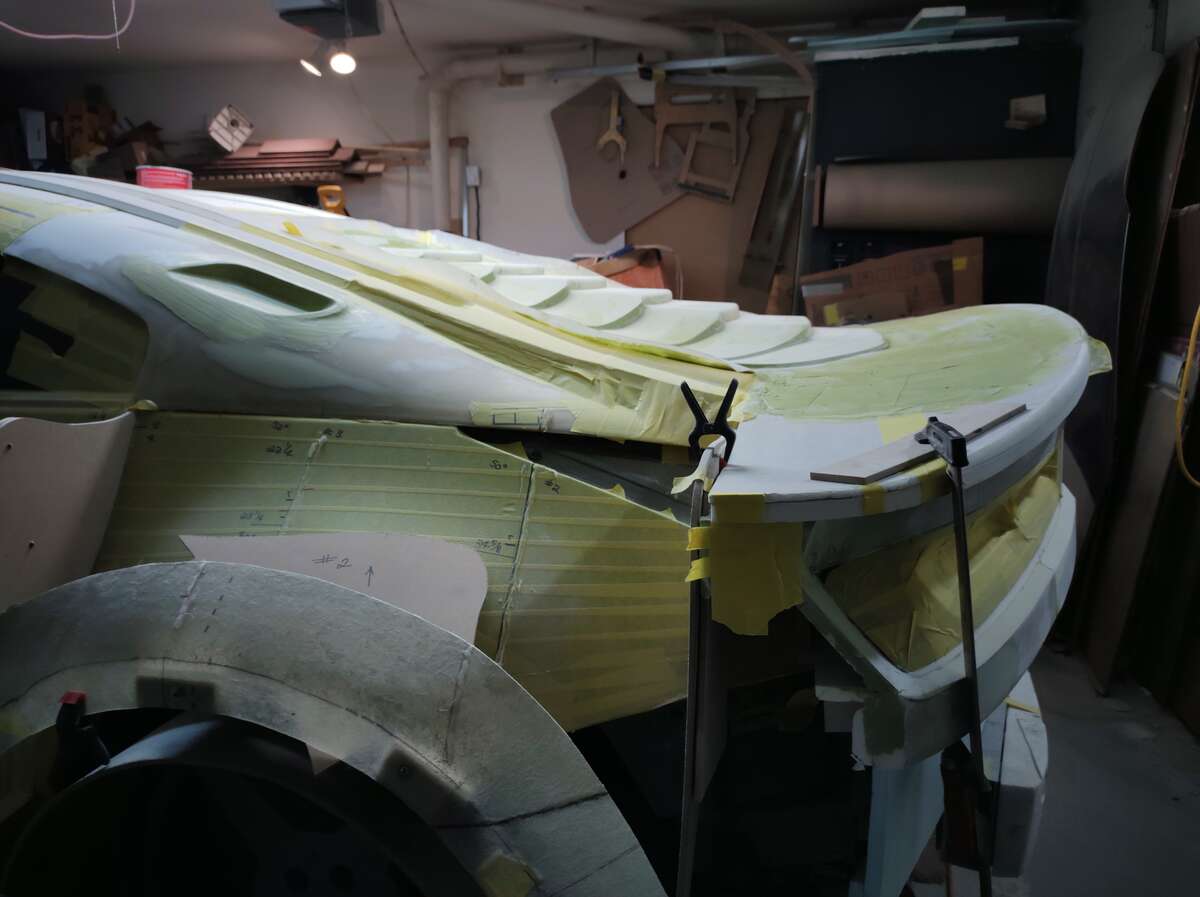
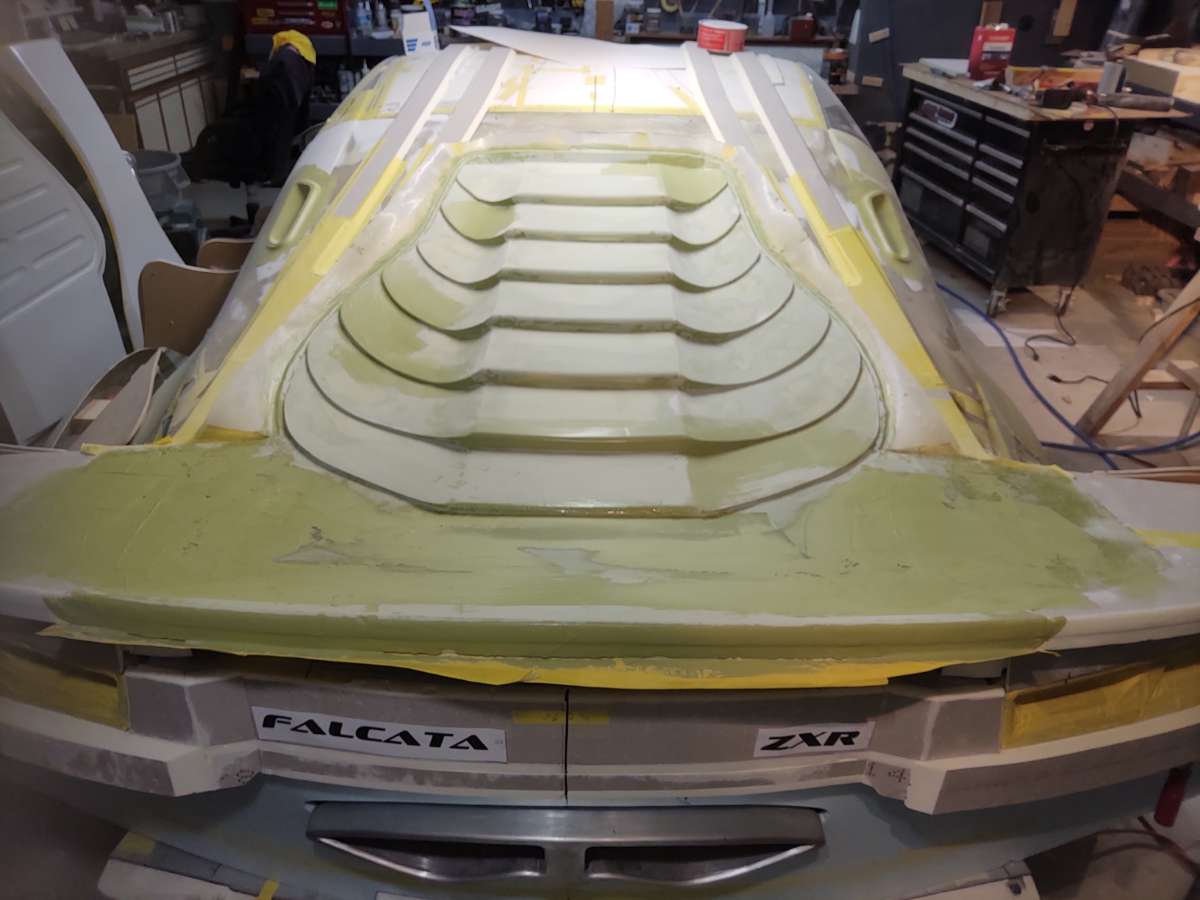
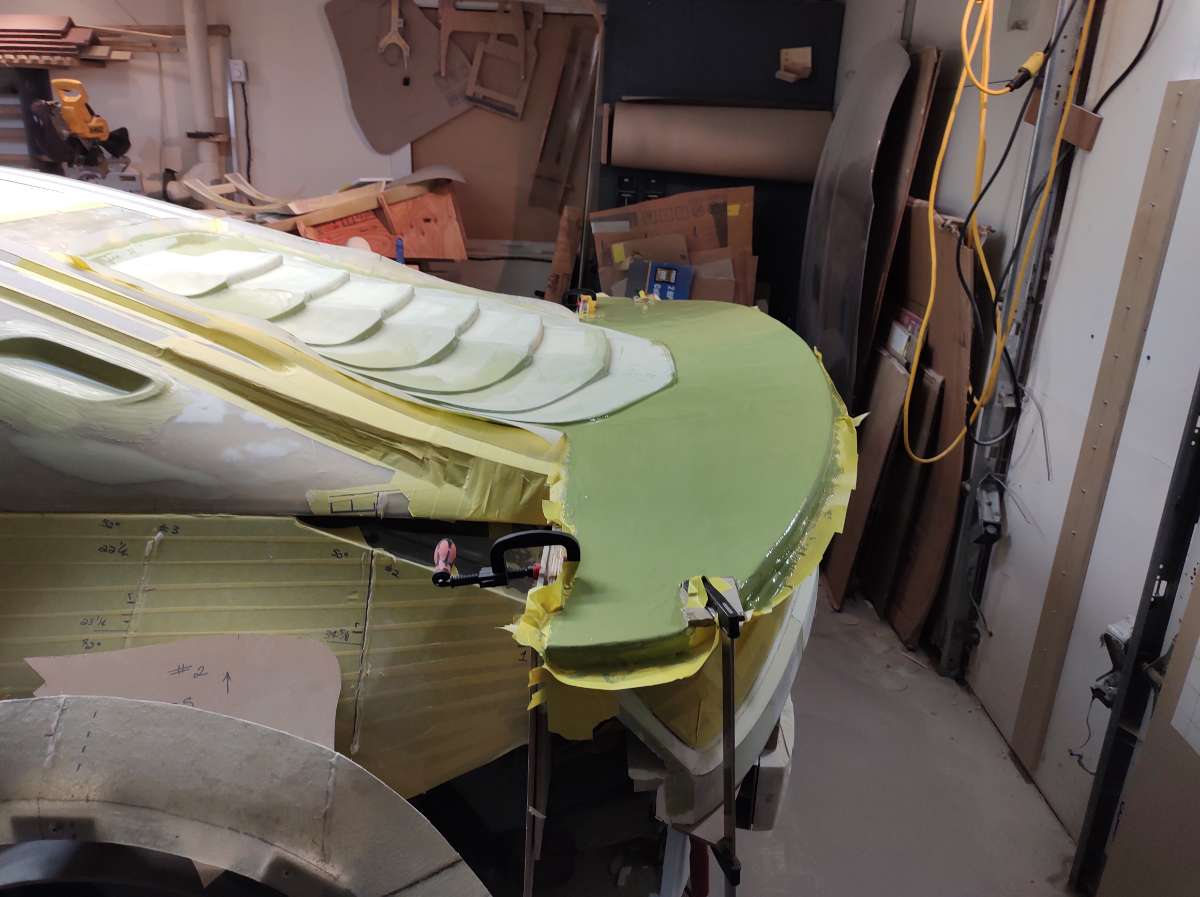
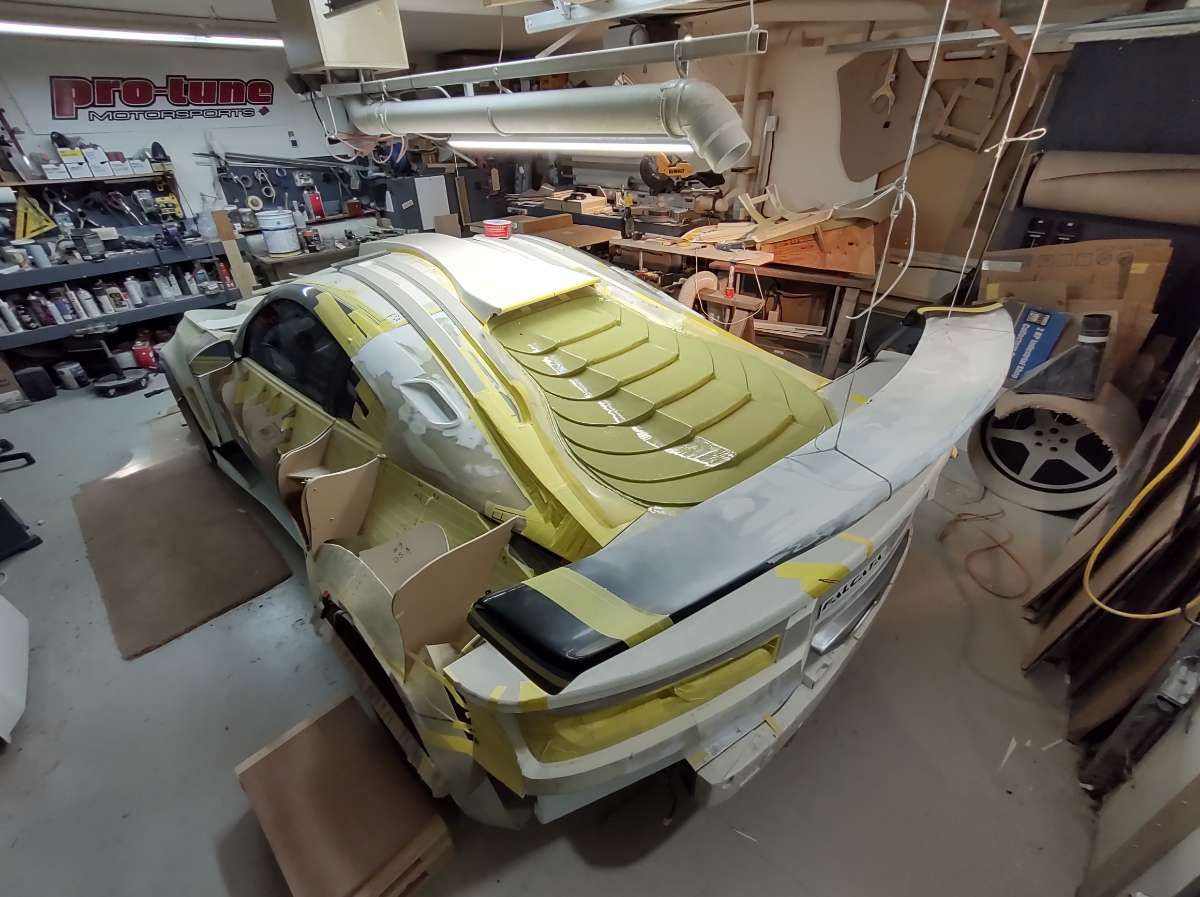
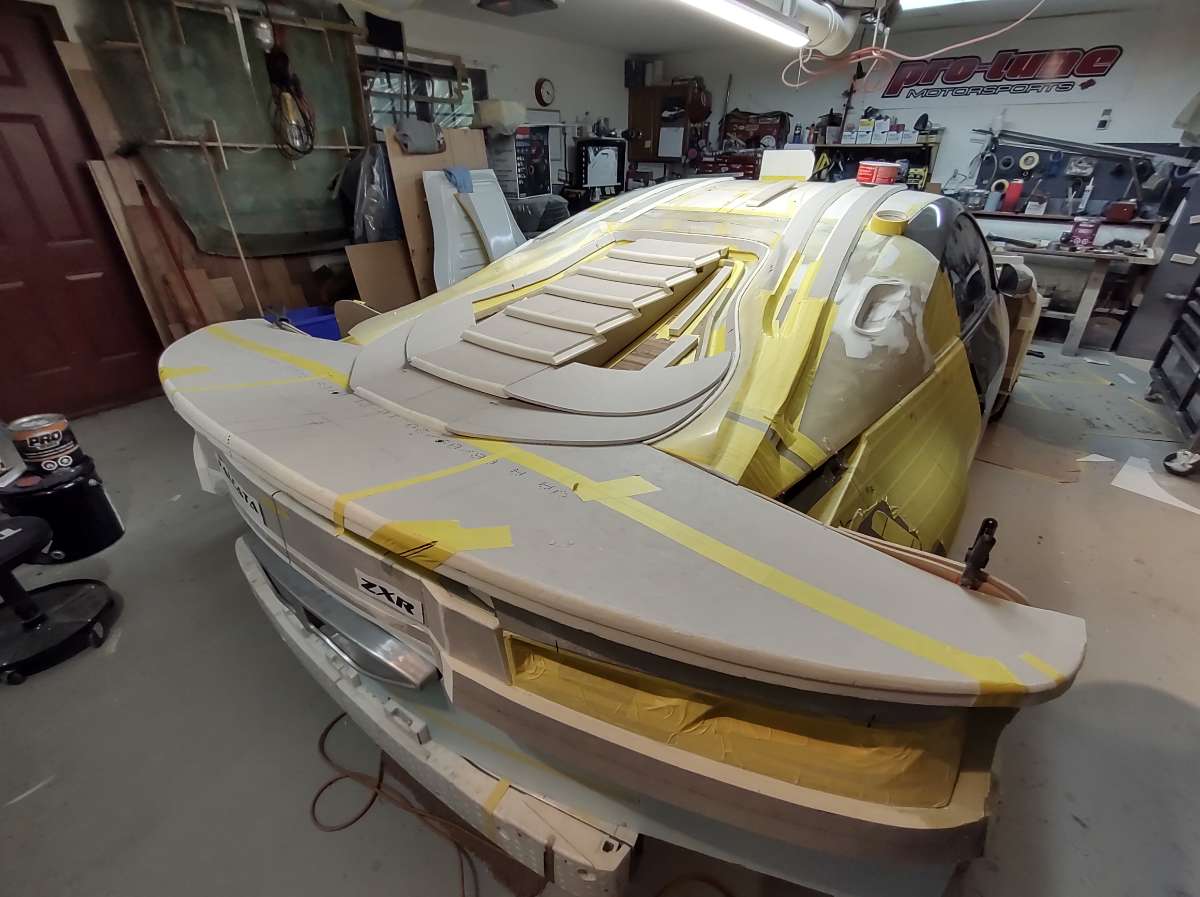
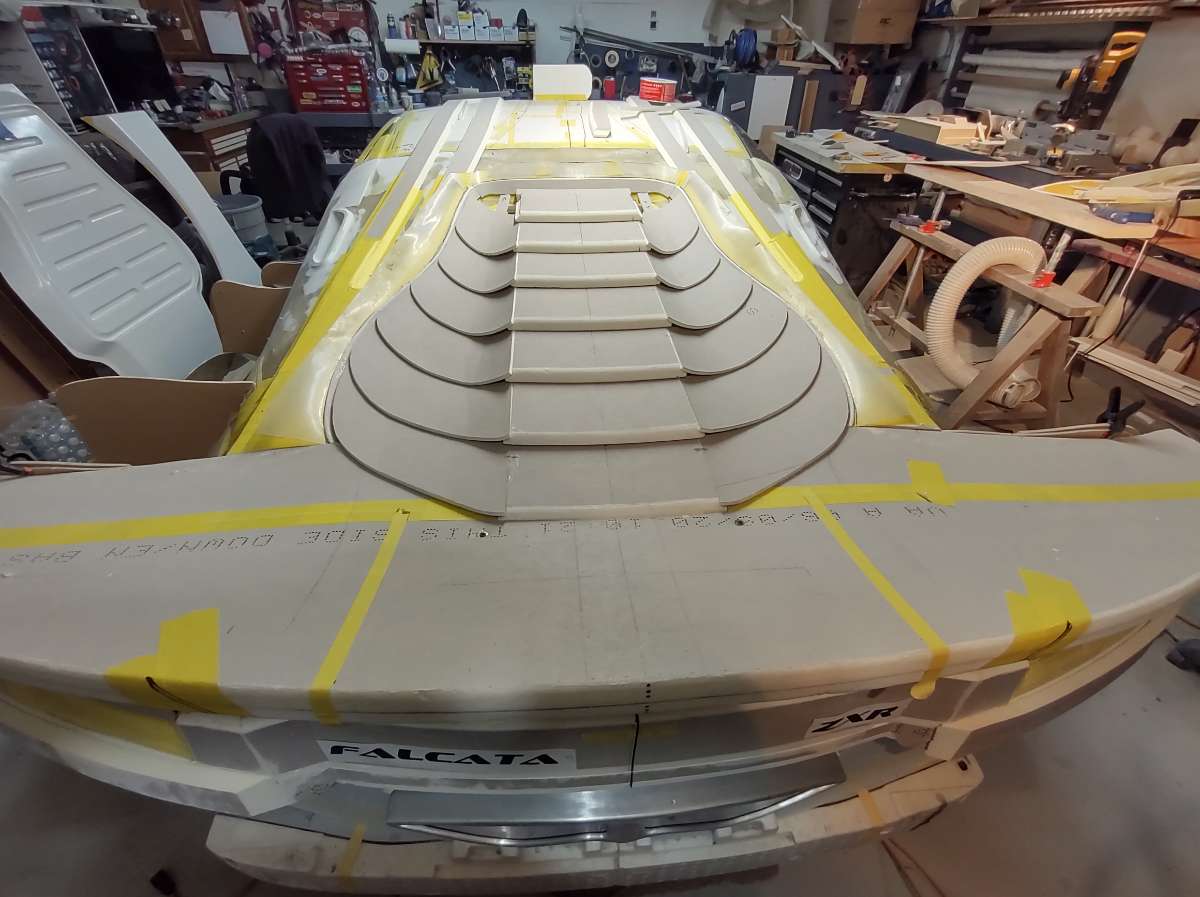
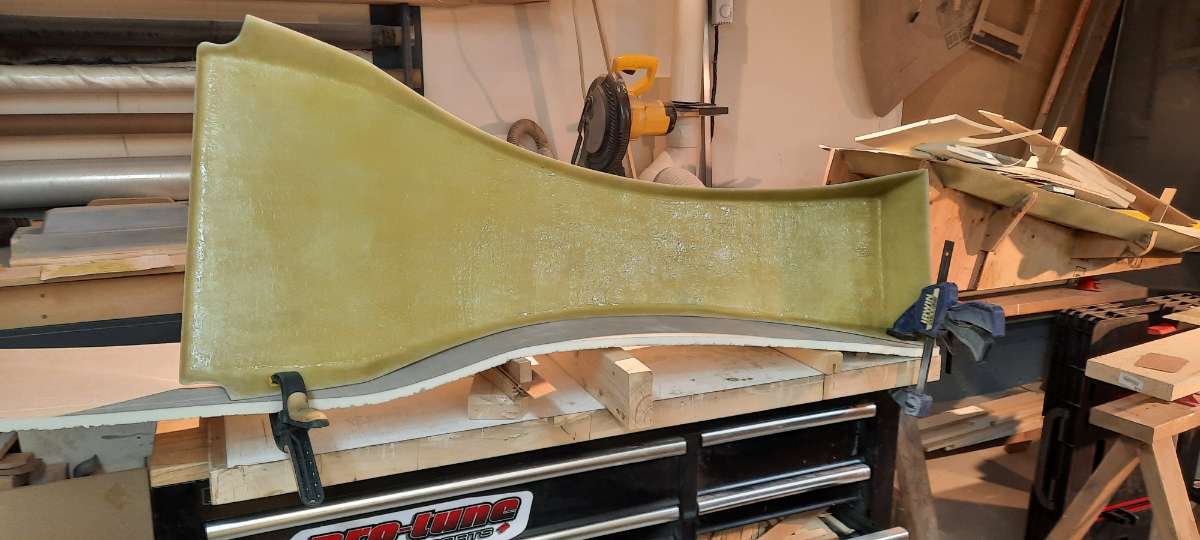
So Porsche had the Whale tail , the Falcata has the Lobster tail lol Everyone seems to really like it . Fist couple of pics finishing the foam at the top and filling in the gaps . I tried this for the first time yesterday , it's known as Rondo a mixture of Fiberglass Resin and body filler Bondo , blend and you get Rondo . It helps to seal the foam for easier fairing ,sanding , filling and fiber glassing . Seemed to go well , will know later today . I set the roof scoop on and hung up the wing to see how it was coming together oh boy I can't wait to see this all finished !!!
-
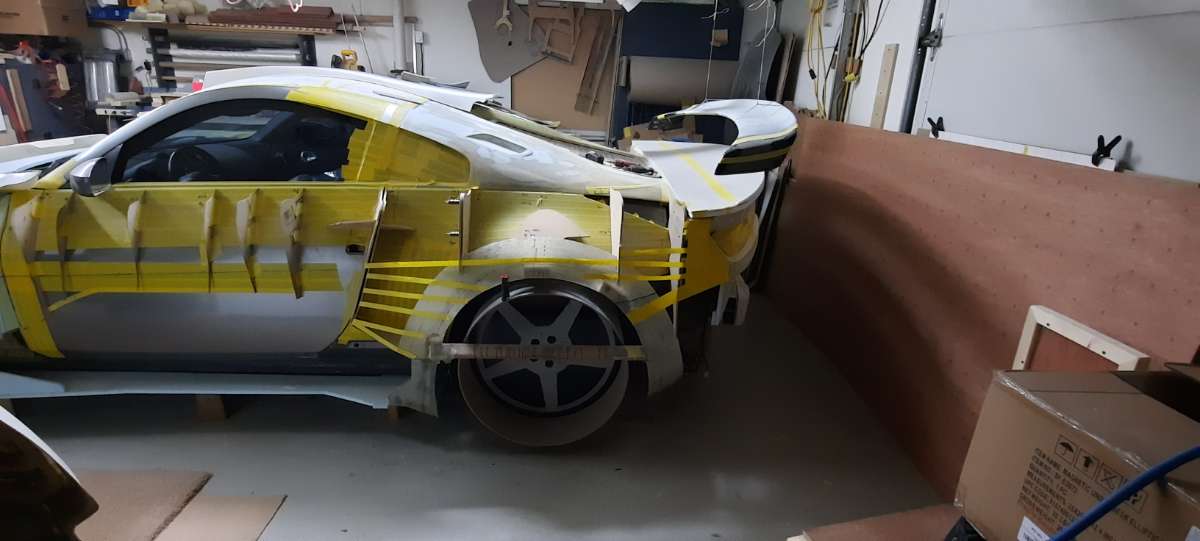
Hi thanks for your interest in the build , it's very much appreciated to hear positive feedback , it's been a long road to get this far . The rear is 5 1/4 wider per side , so total of 10 1/2 inches . The front is 3 1/4 wider per side , so total of 6 1/2 inches
-
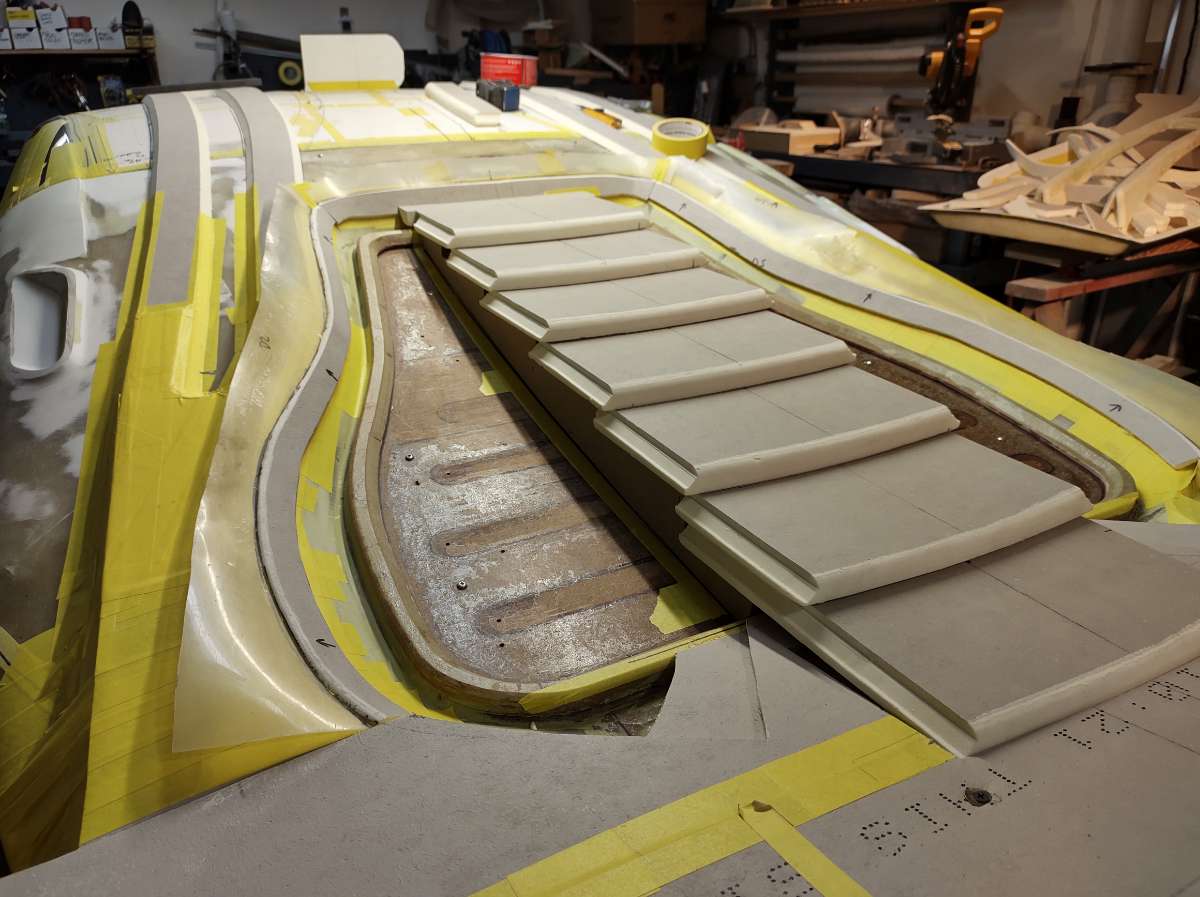
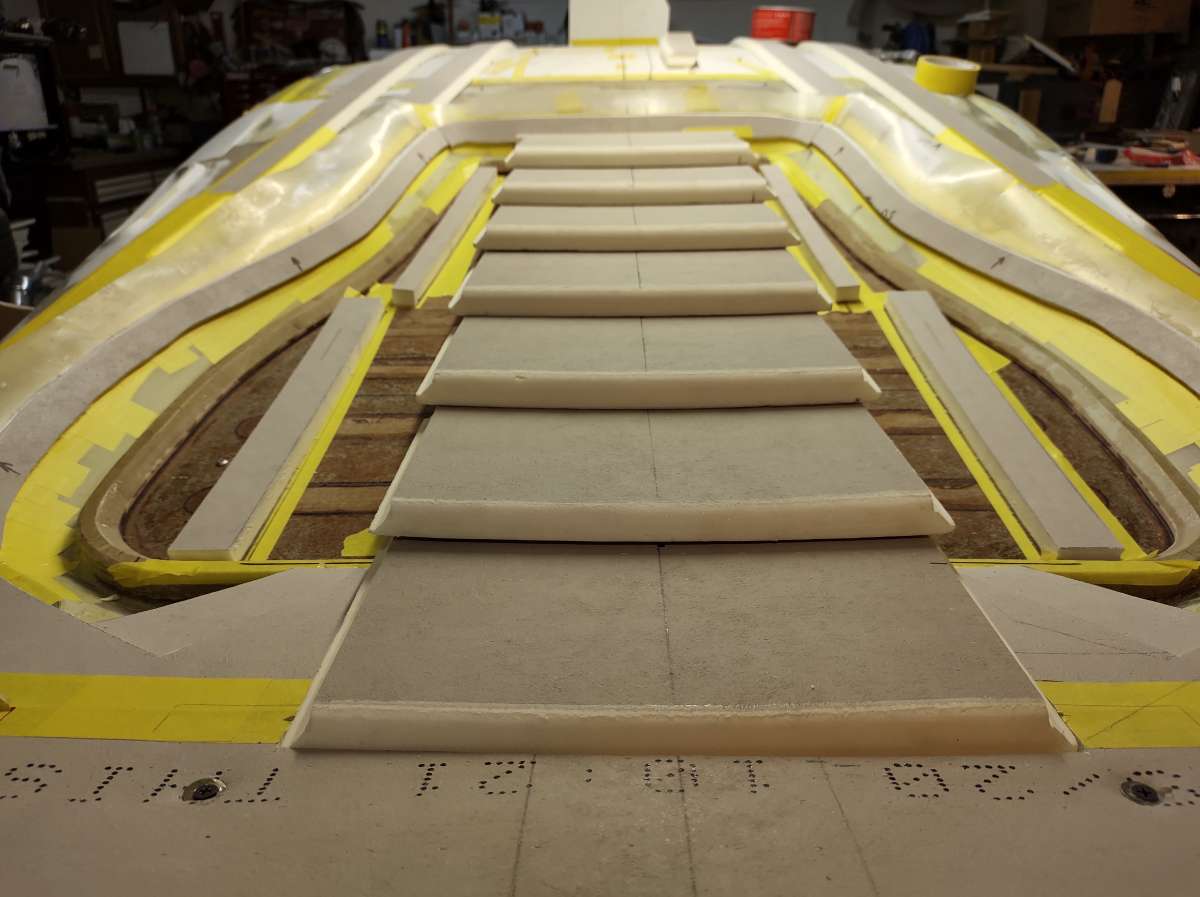
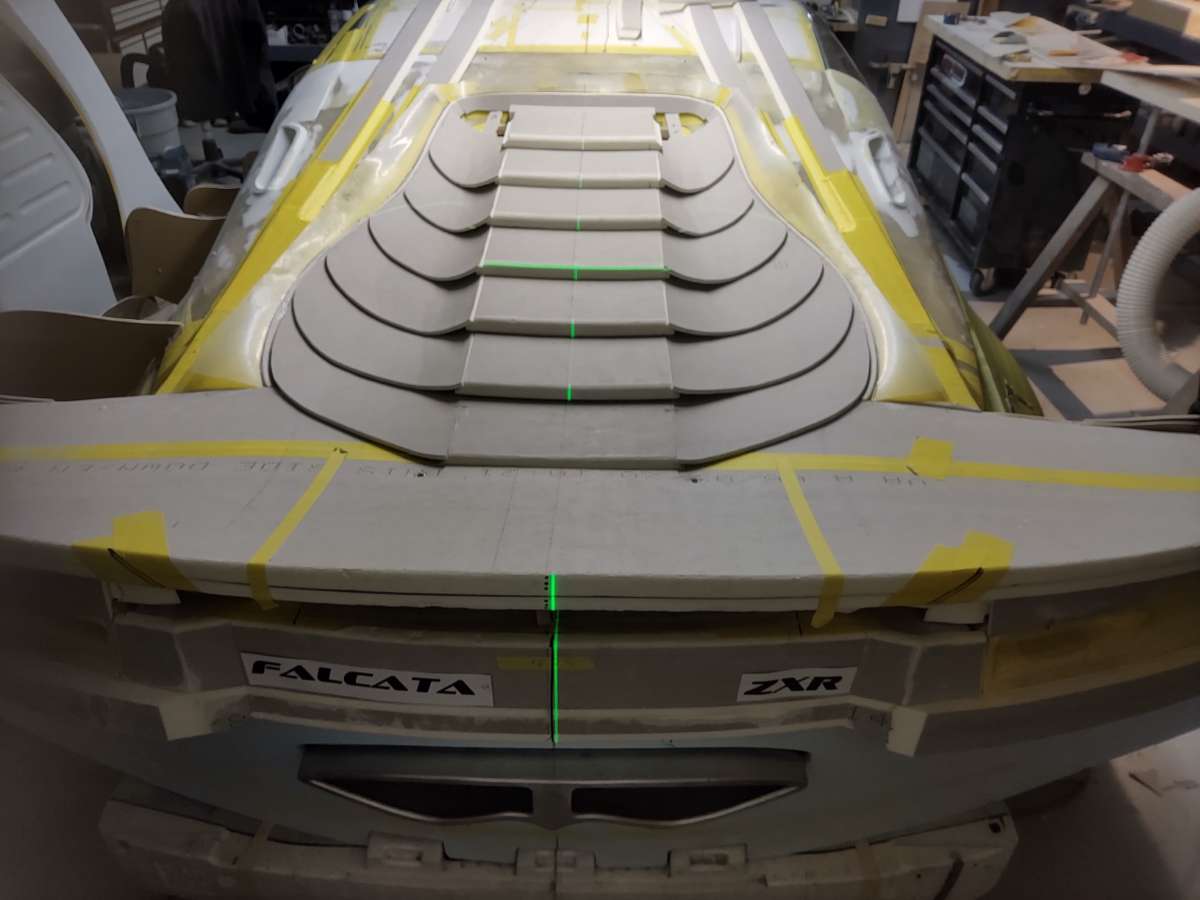
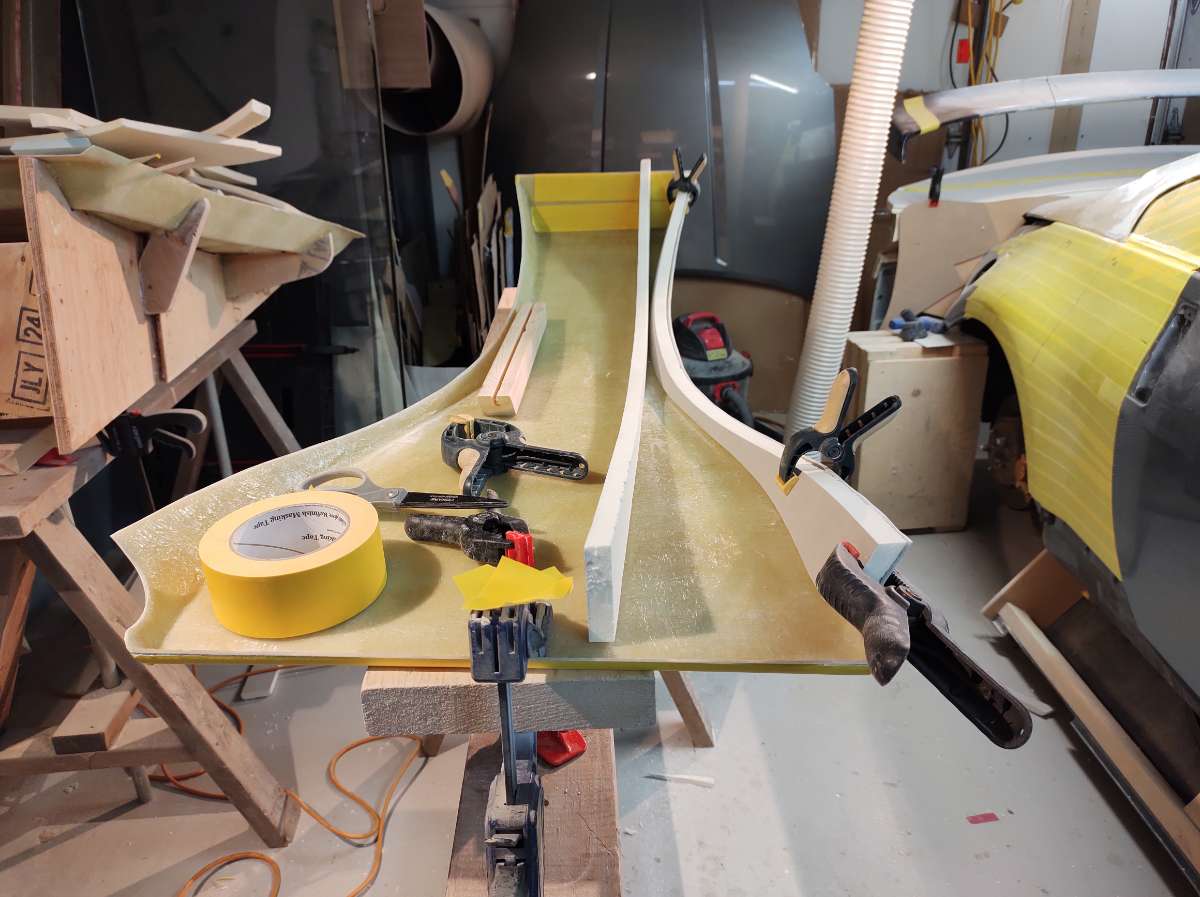
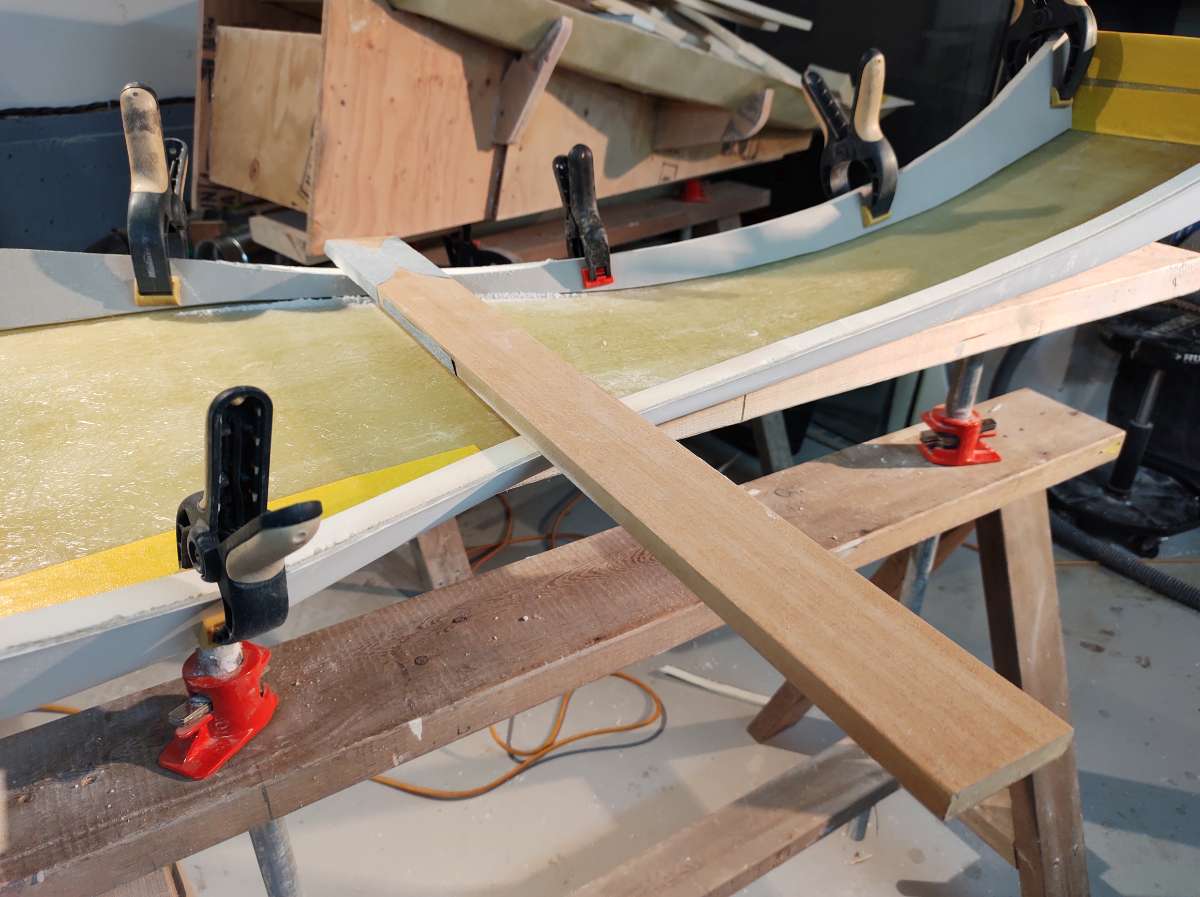
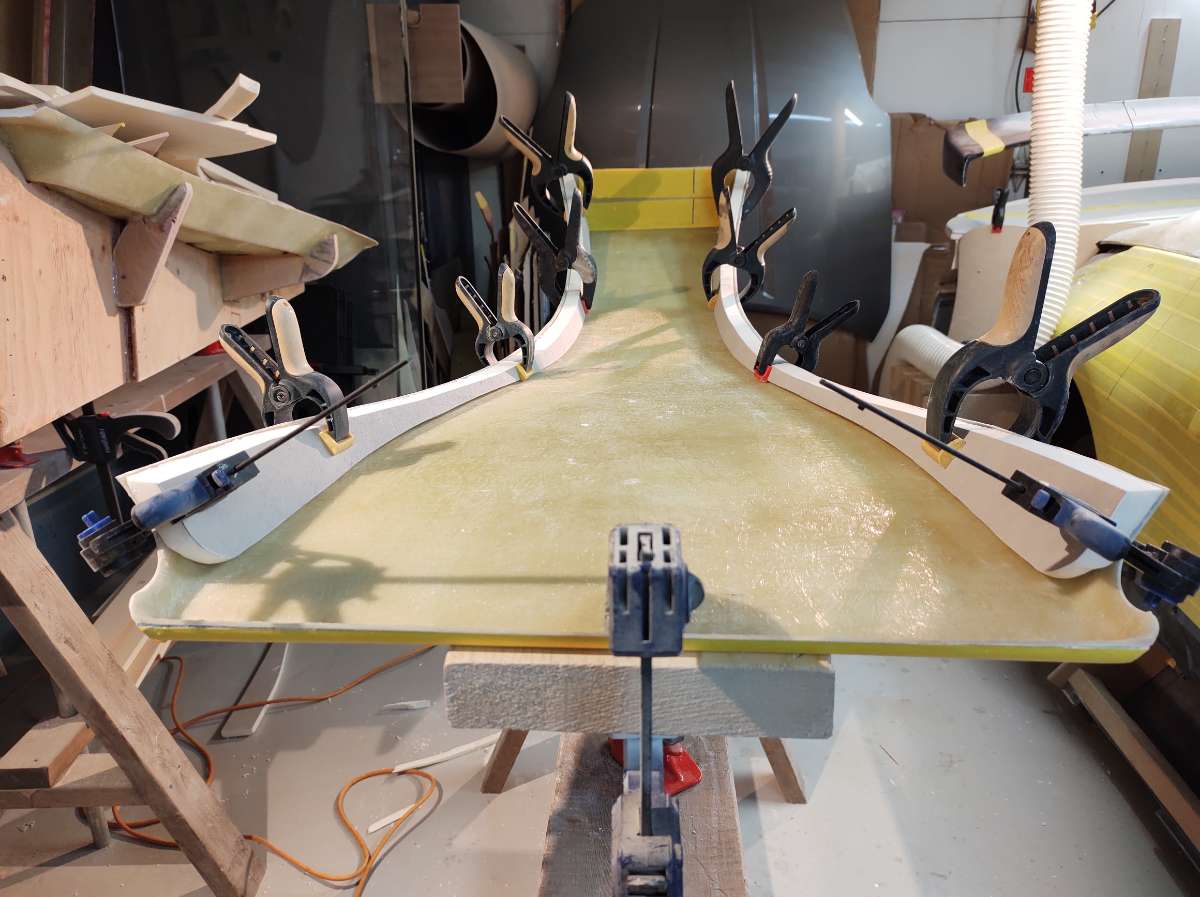
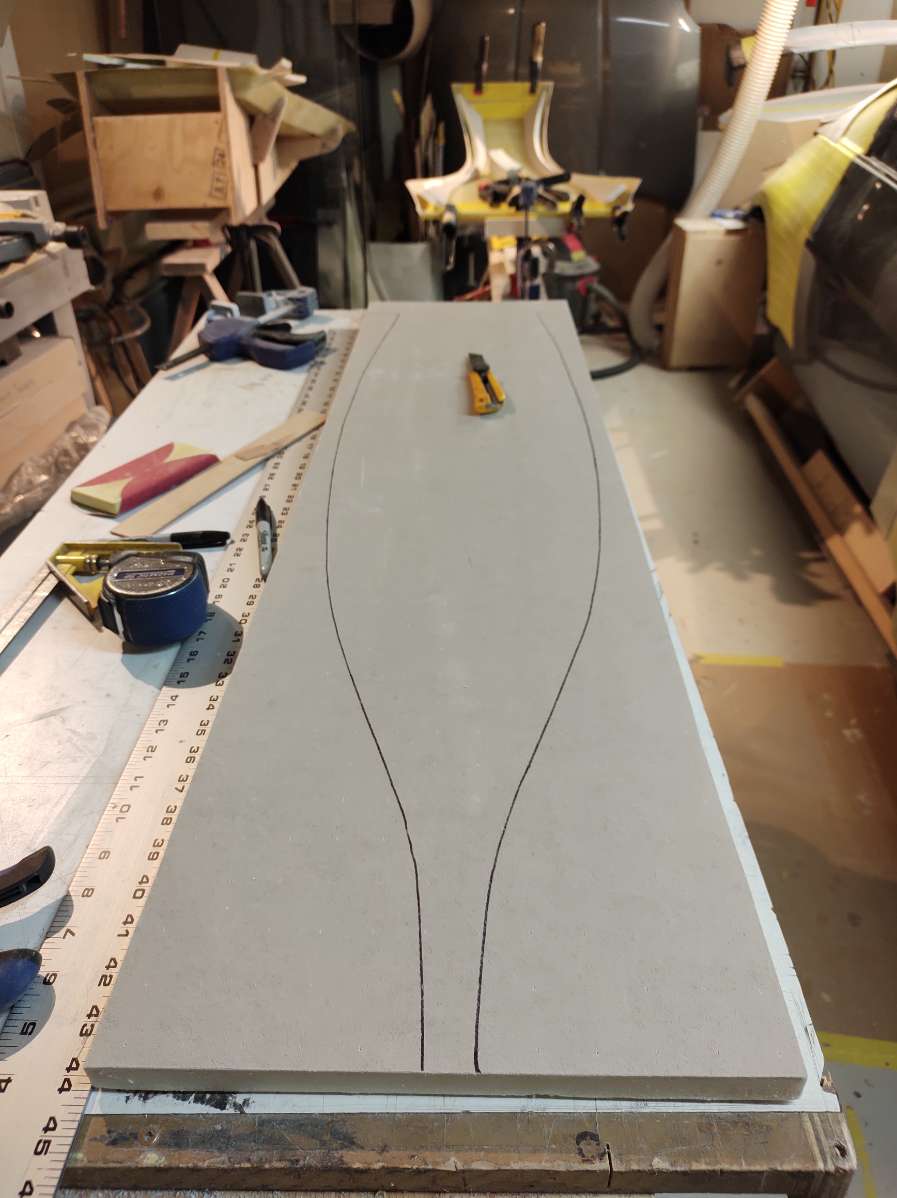
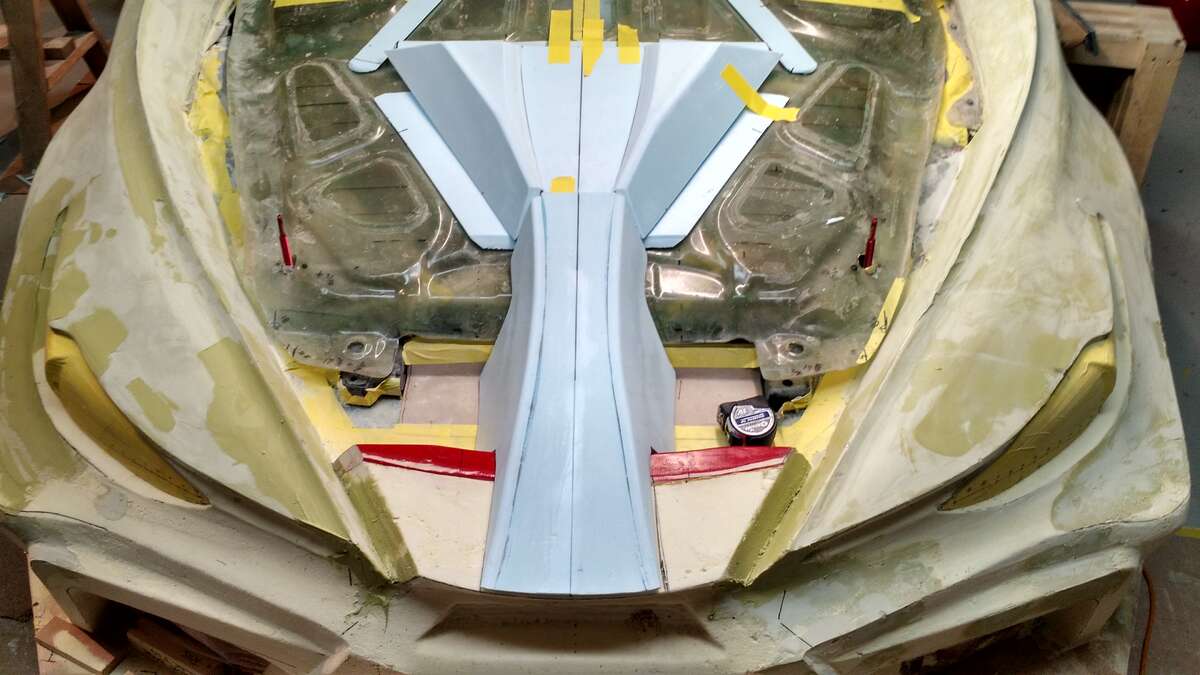
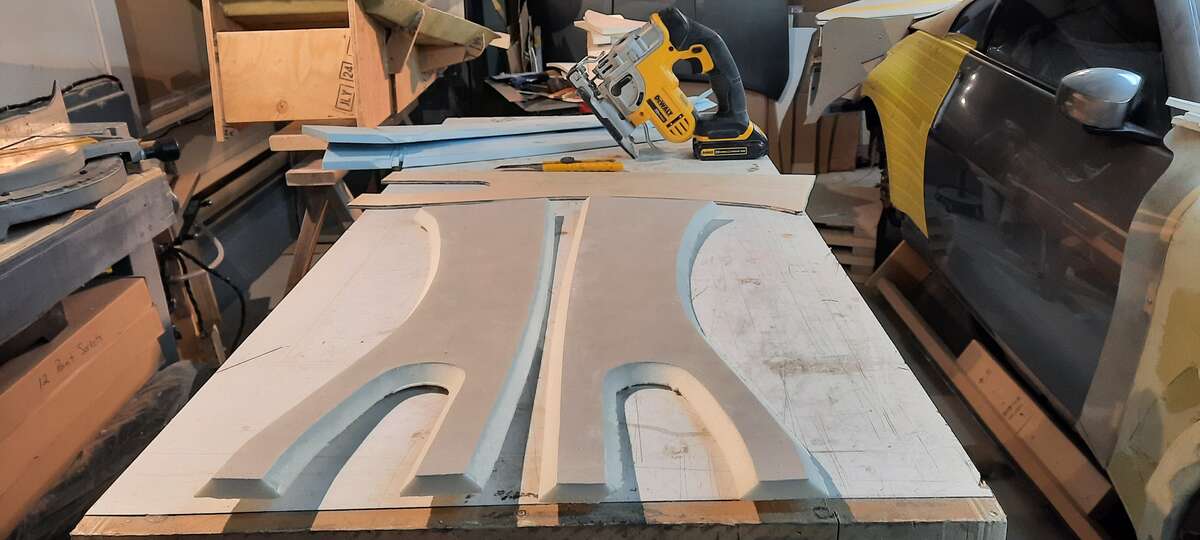
Hi Everyone Well I didn't like the bars going down the middle , and it would be a nightmare to sand . So I came up with an idea to make my original idea work , of course I had to make all new pieces .... It's getting there , the plan is to lay up a few thin layers of fiberglass mat and then cut the part where the trunk lid opens . then I can finish the trunk lid off the car with the mock up rear body part I made for that purpose , I know it's all a bit confusing . So hang in there !!! This is how many times I tried different ratios of height and length to get what I thought was right , just like CAD ( computer assisted drawing ) only WAD wood assisted drawing LOL LOL Just the top to sort out and then filler and fiberglass


-
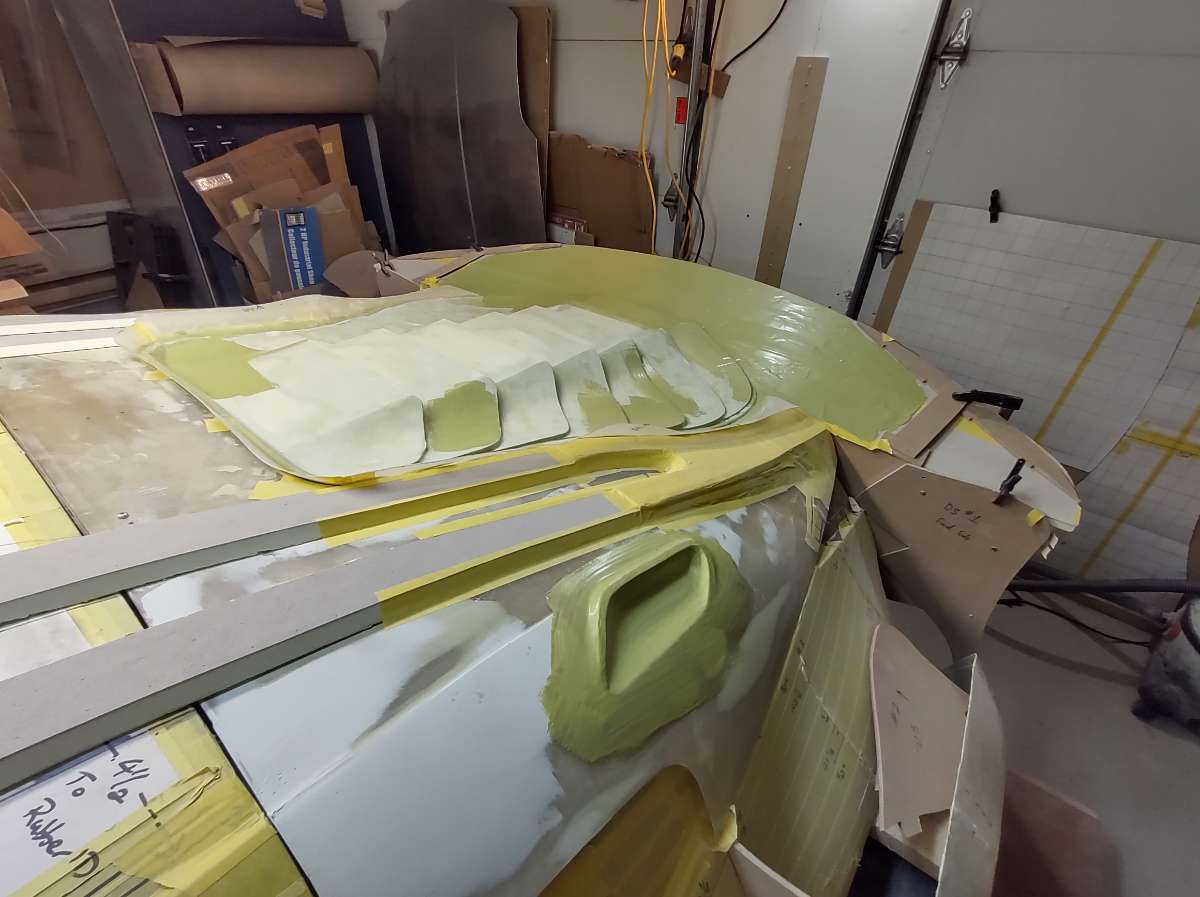
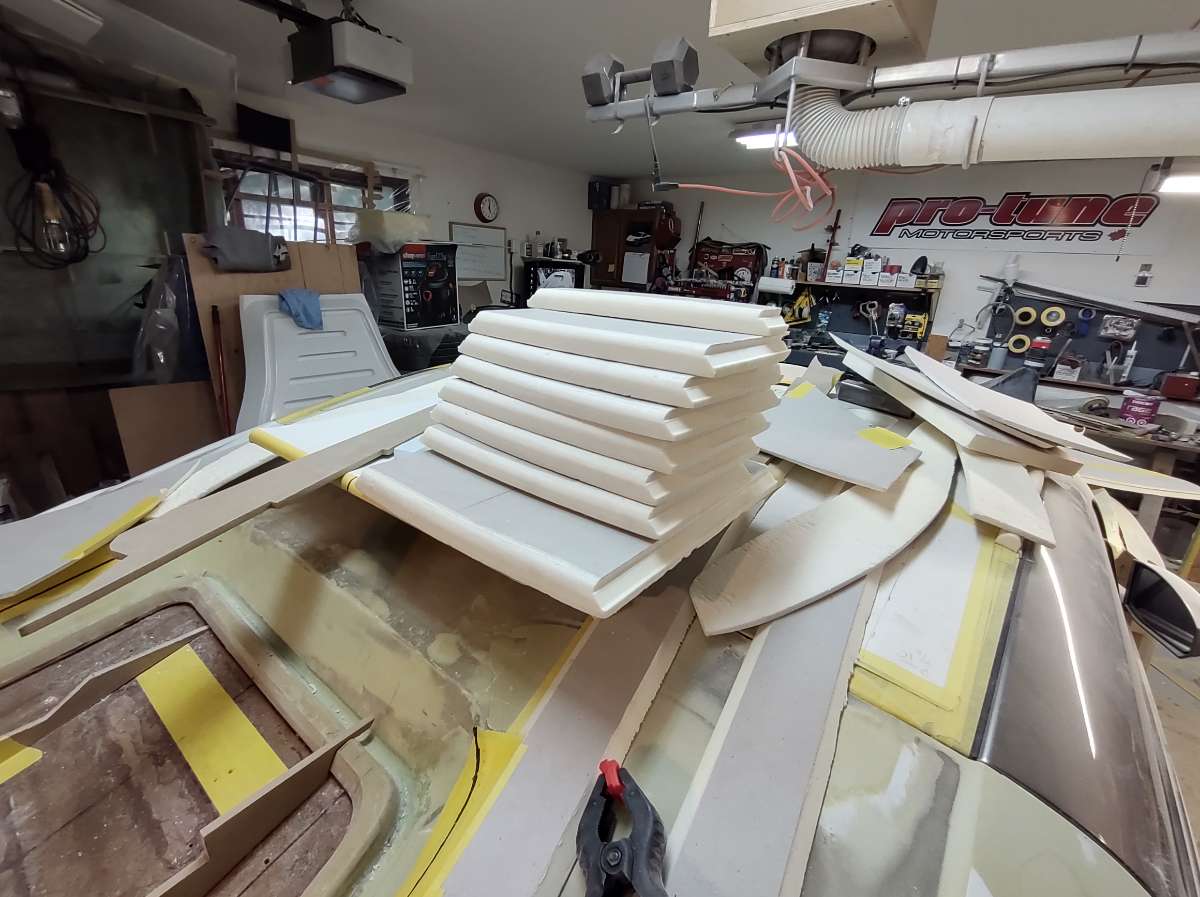
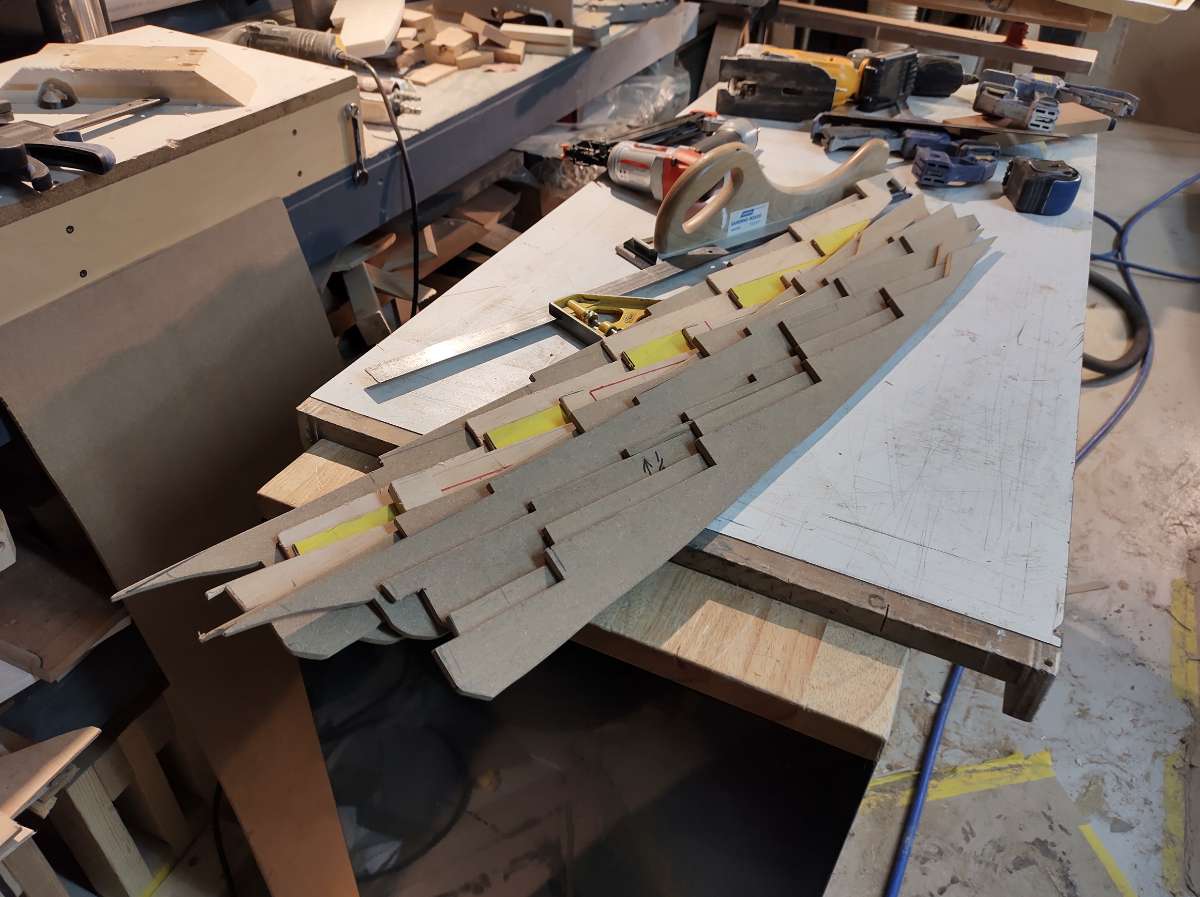
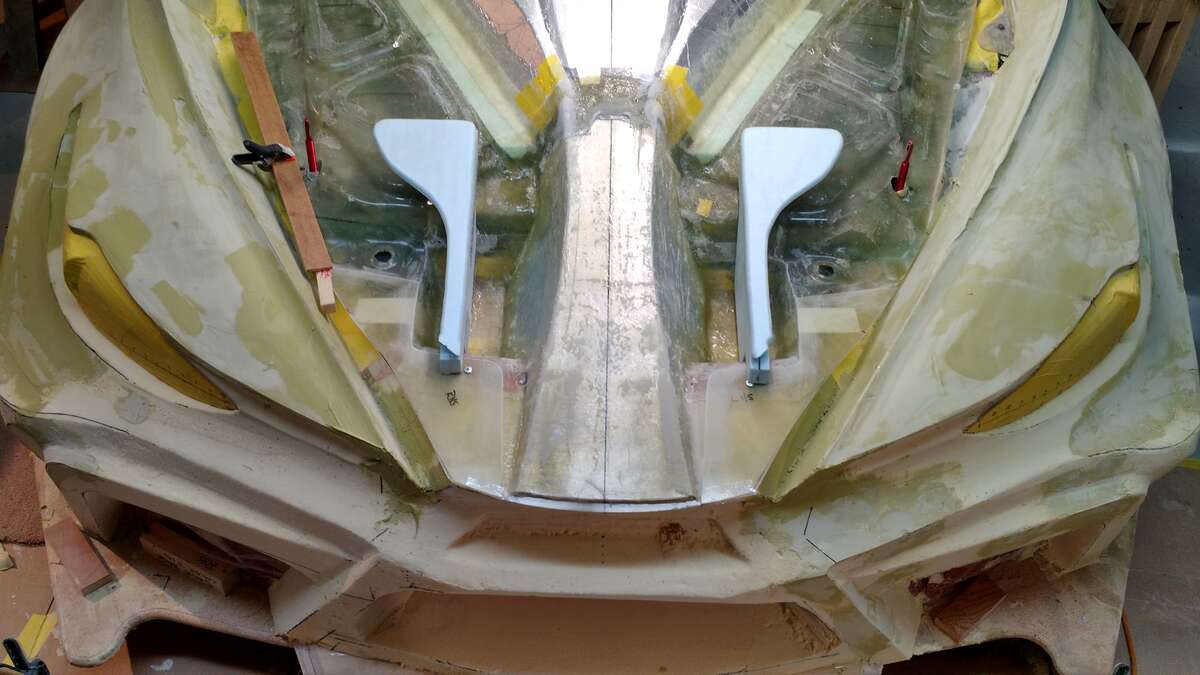
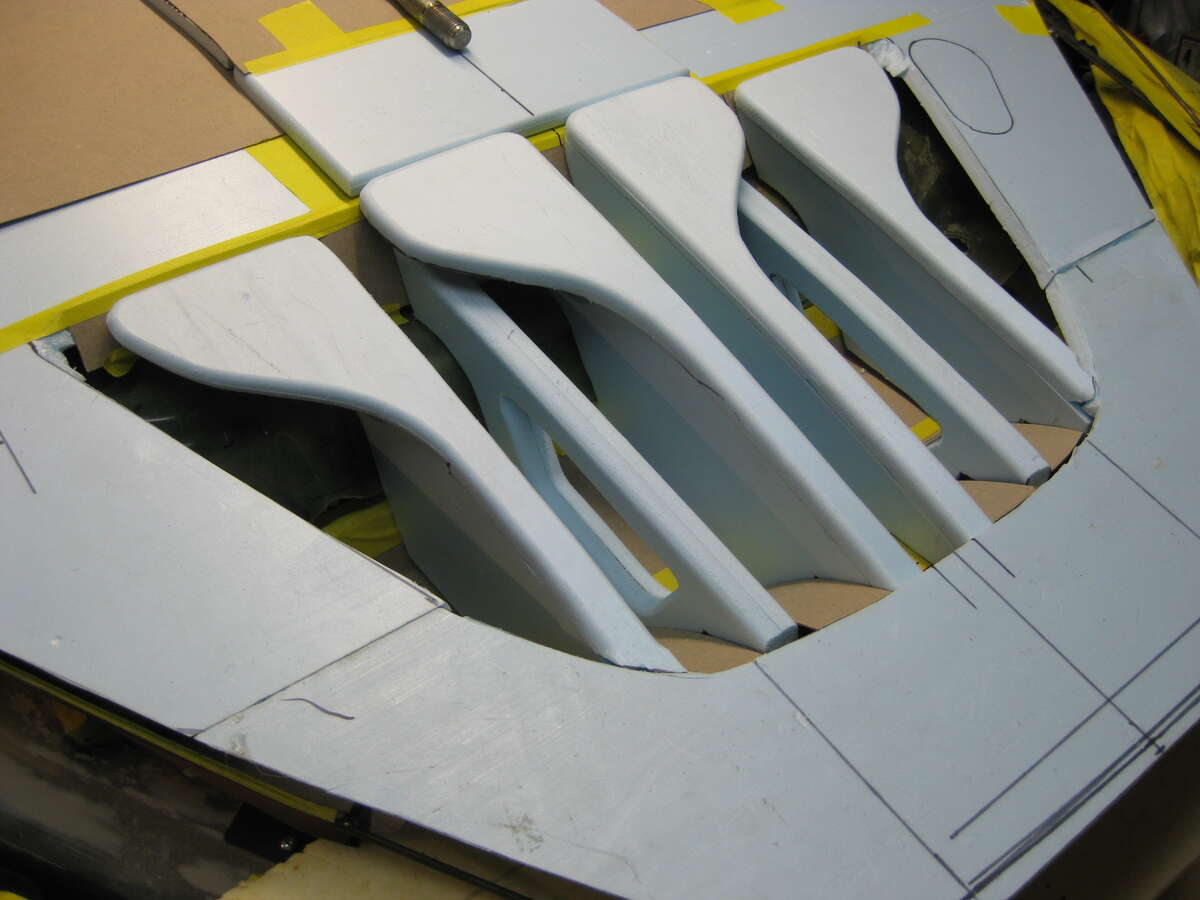
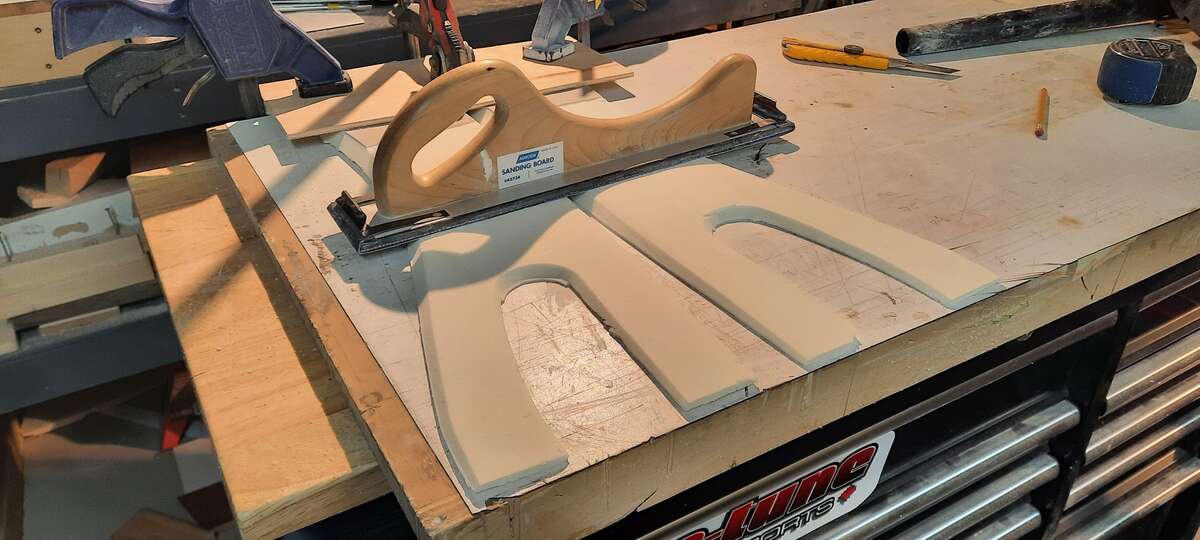
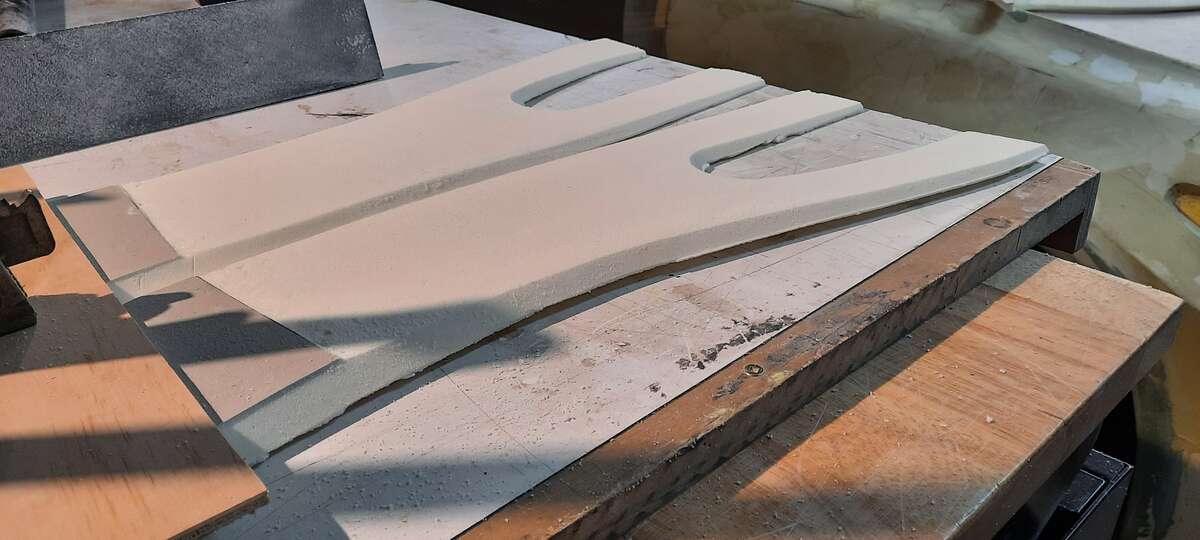
Hi Everyone Been busy it seems to me , I know I built a mock up trunk to build the trunk and make it function off the car but it's hard to know if it looks right off the car , so I have been doing some mock up stuff . My original plan was to make each louver in one piece , it is too difficult , so this is what I am thinking . This was the original idea ...... Made up some parts And a couple of stringers to lay the louvers on It requires a stringer for the center louvers and a second one for outside the divider at a different scale because they are thinner , thinner to be able to have some contour . The center going in , this is just a mock up , if I don't like it i will change it . So you have to have some imagination here to see this all body worked .
-
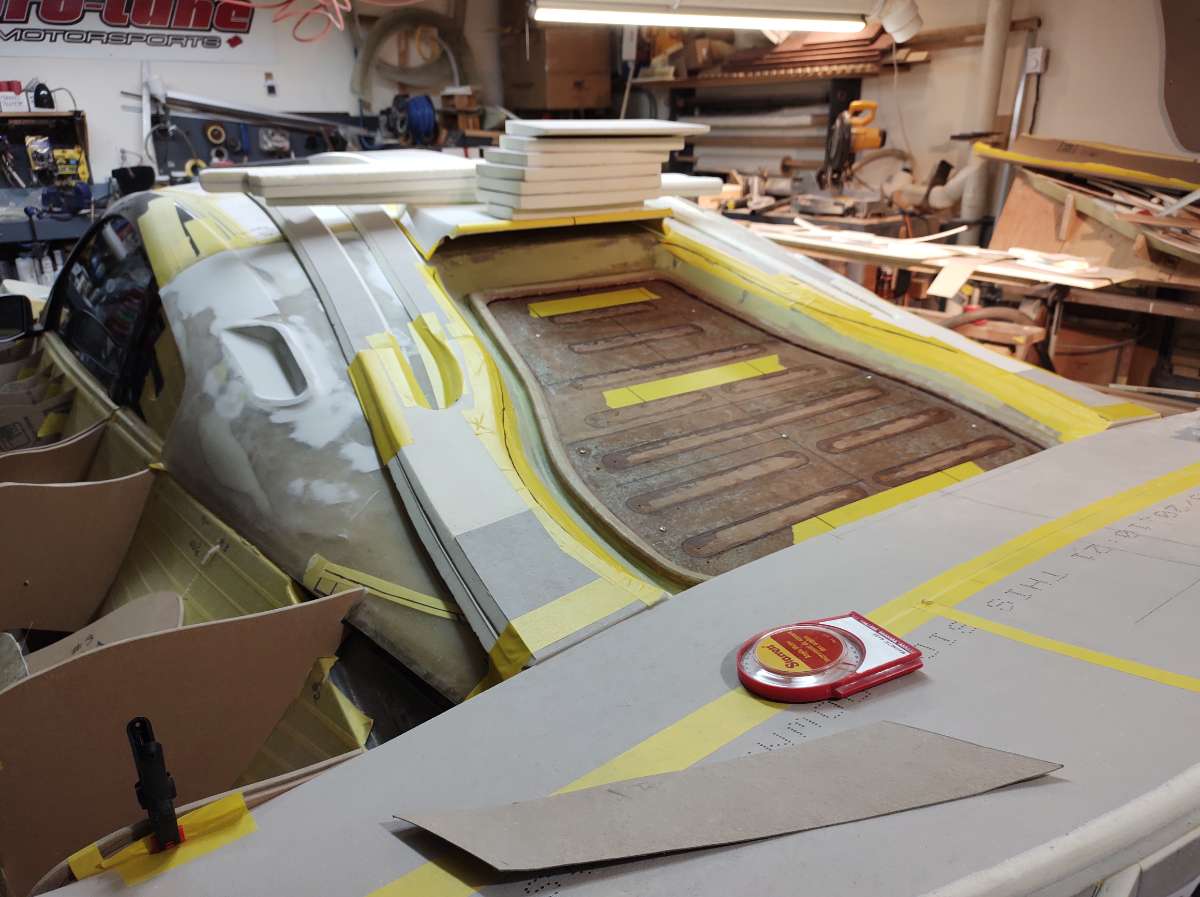
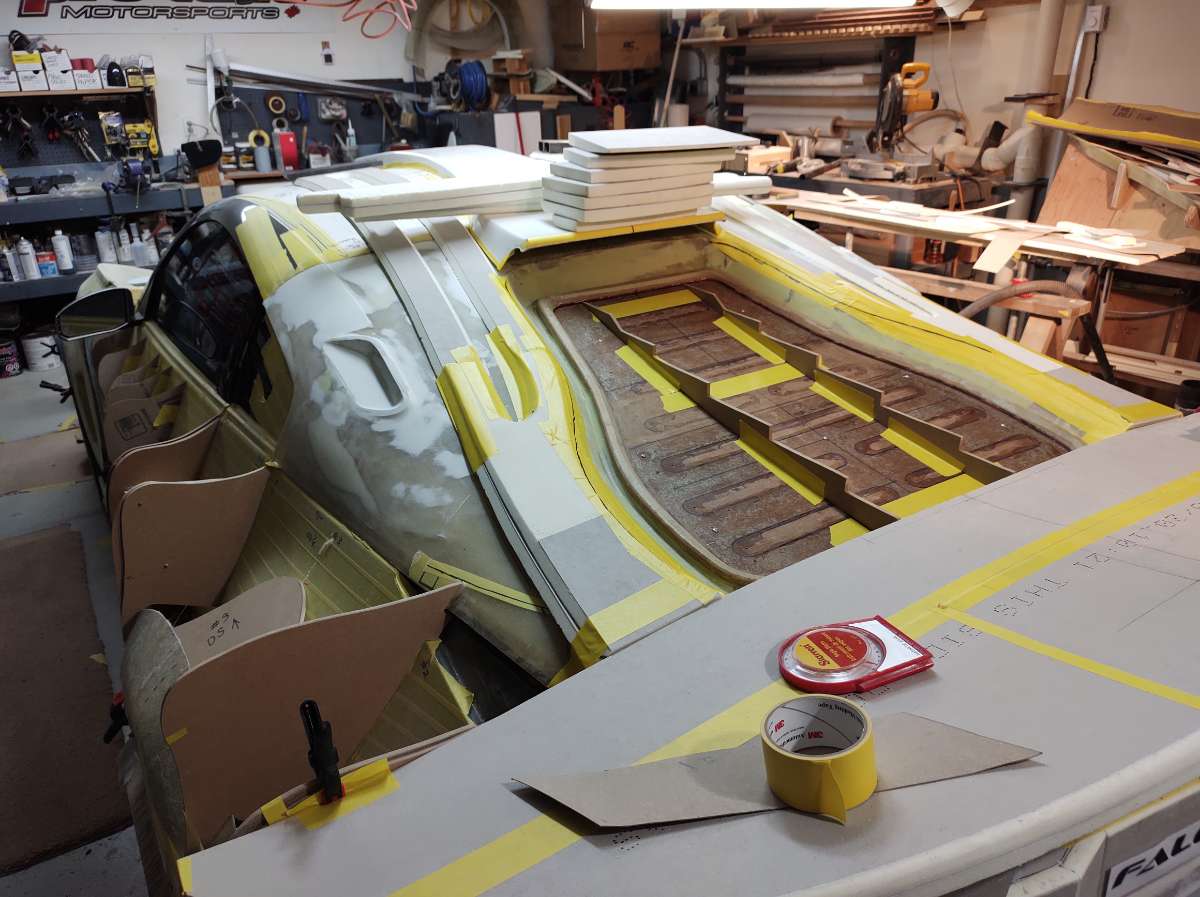
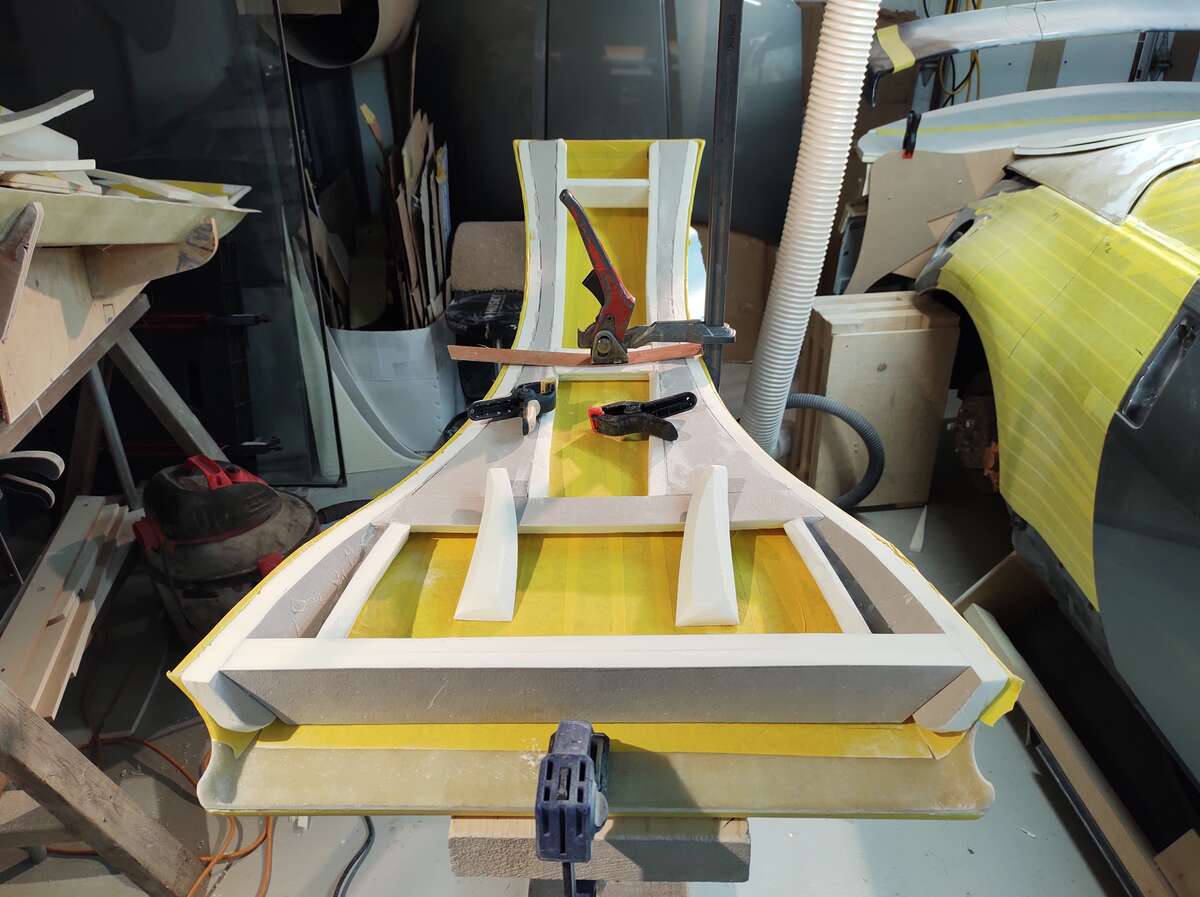
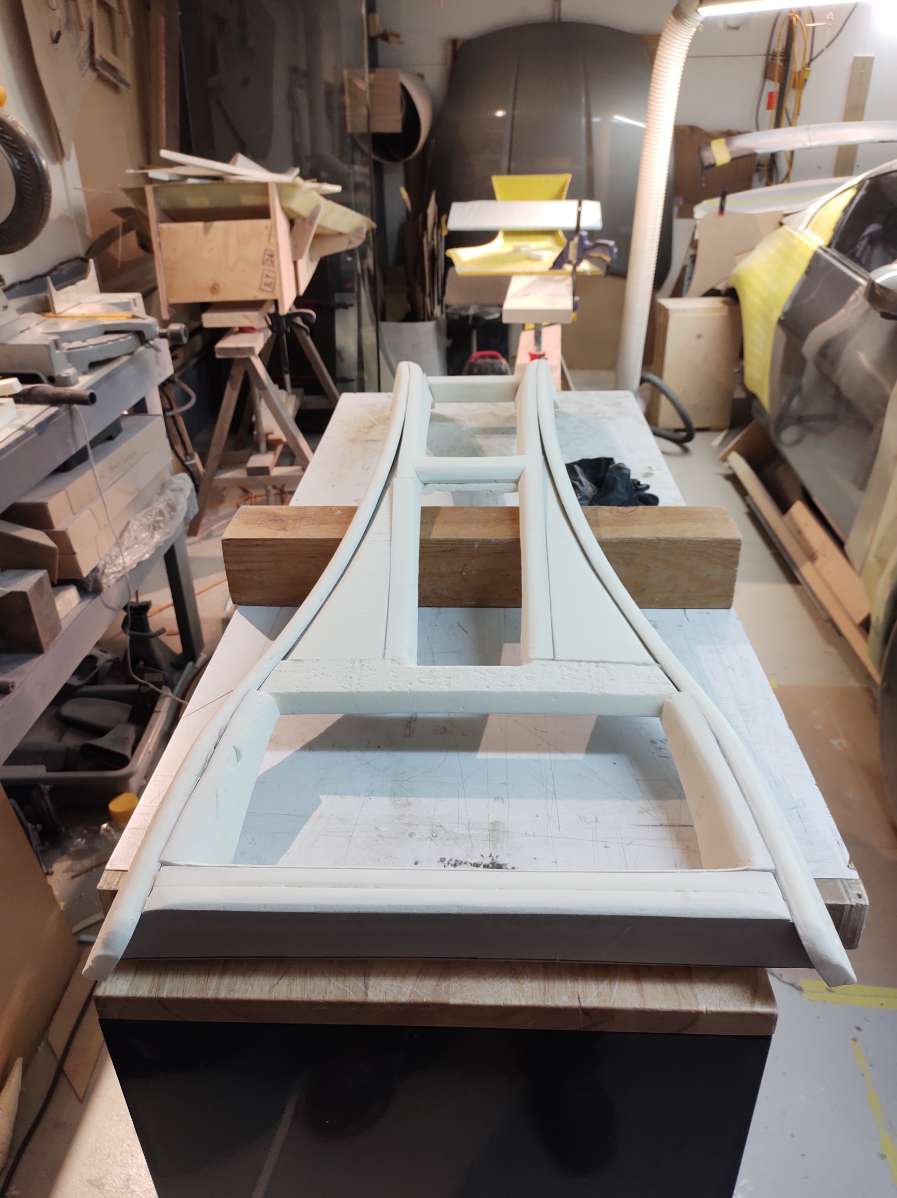
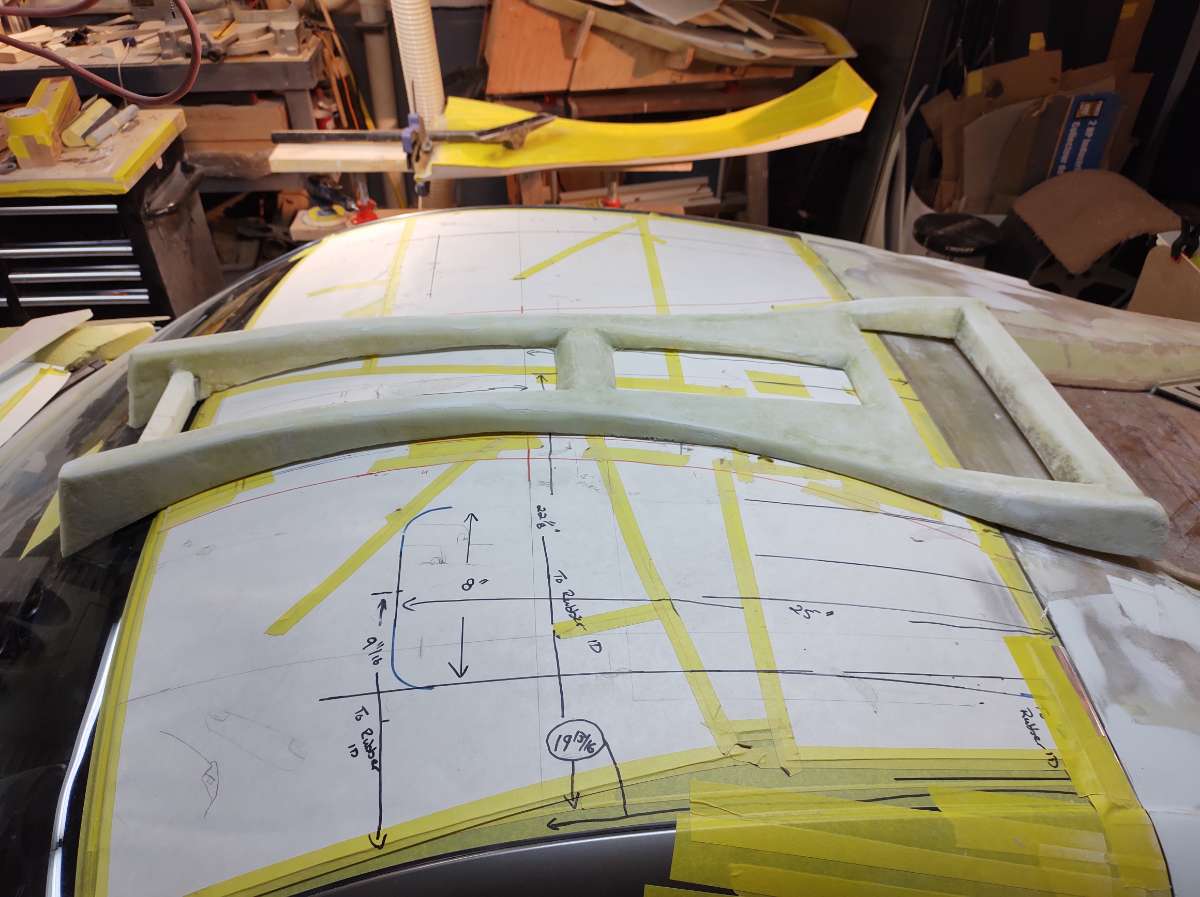
Hi I am back with an update , I have been working on a few things . The roof scoop frame that will be the mounting point and will be part of the roof . This was a tricky piece to make ......like everything else was easy lol . The part that covers the top of the windscreen will be made with the whole roof and cut off after , so the roof scoop frame will need to be cut also , and the nose of the frame will be attached to the part that goes over the glass , for easy removal for windscreen replacement .
-
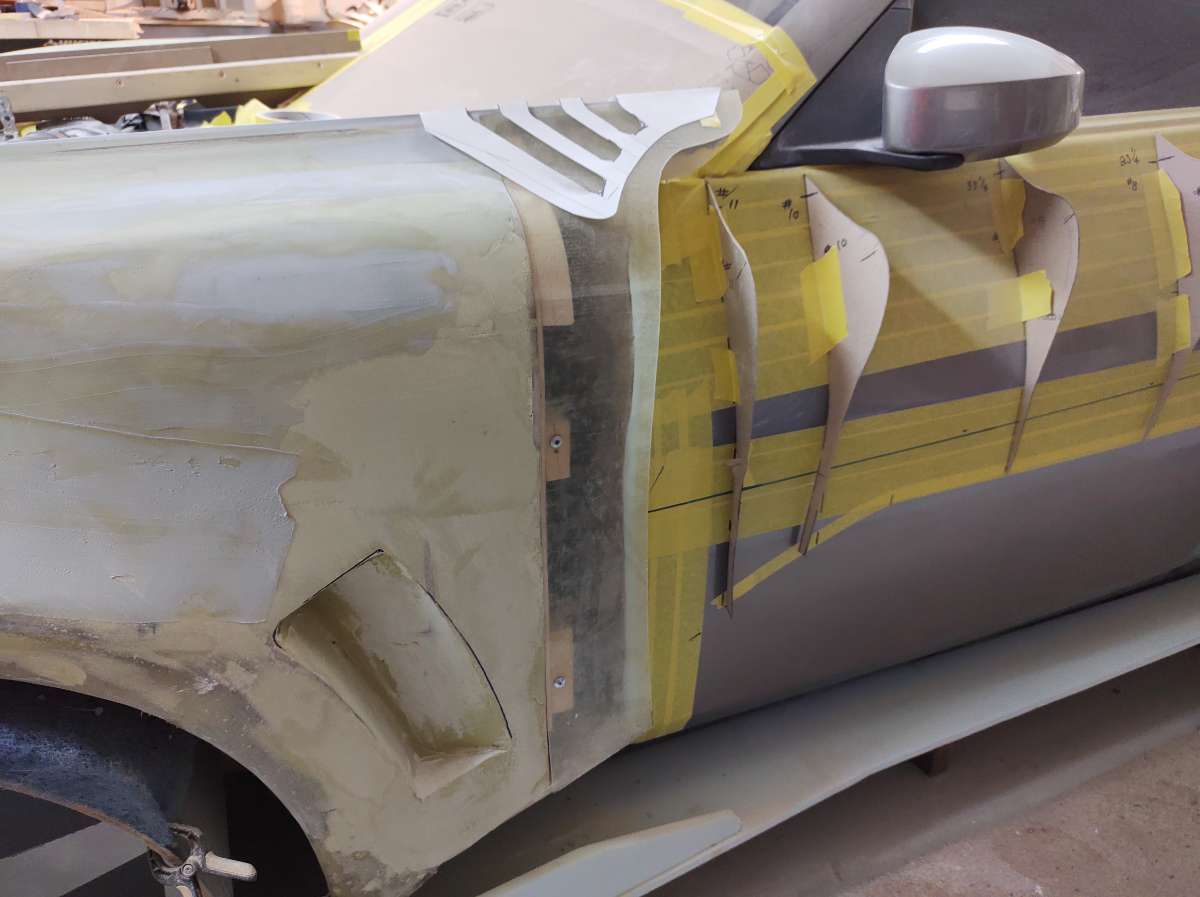
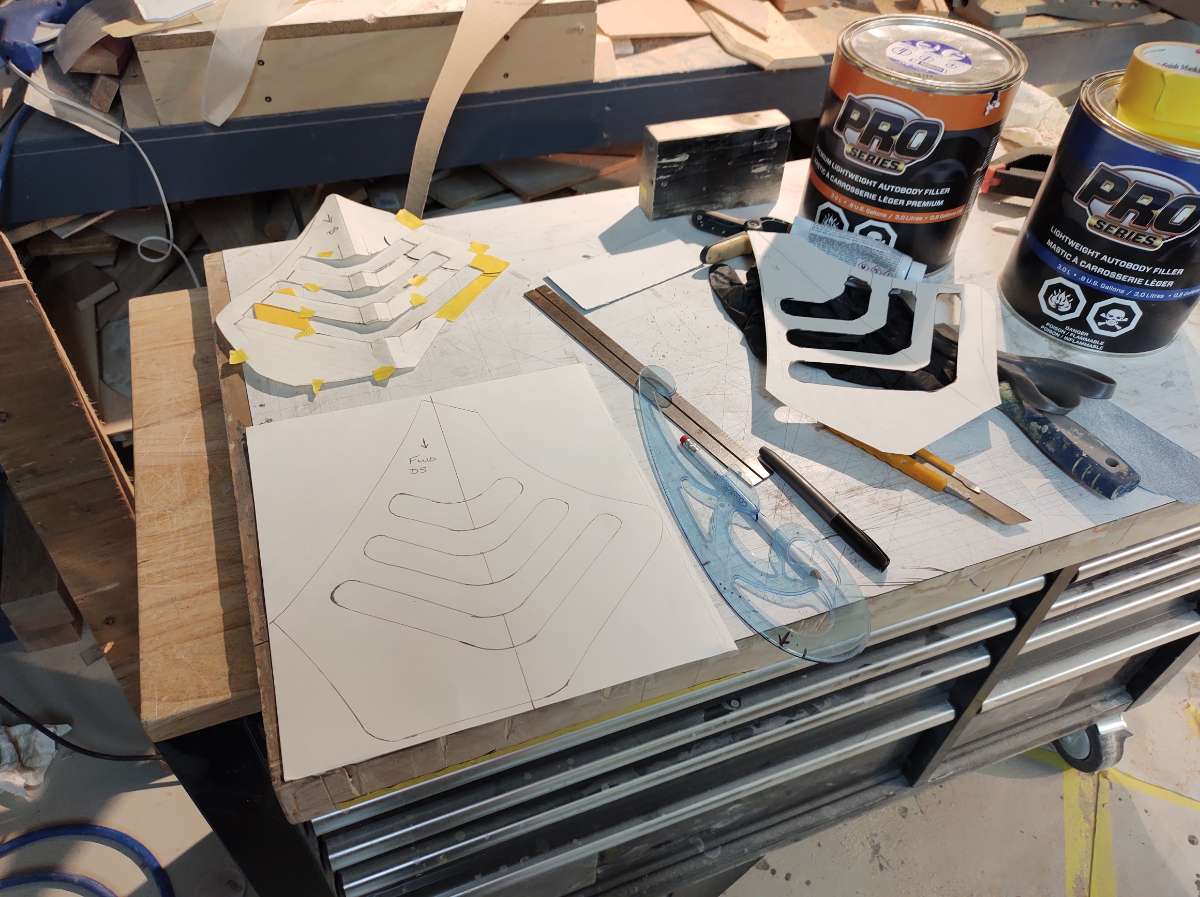
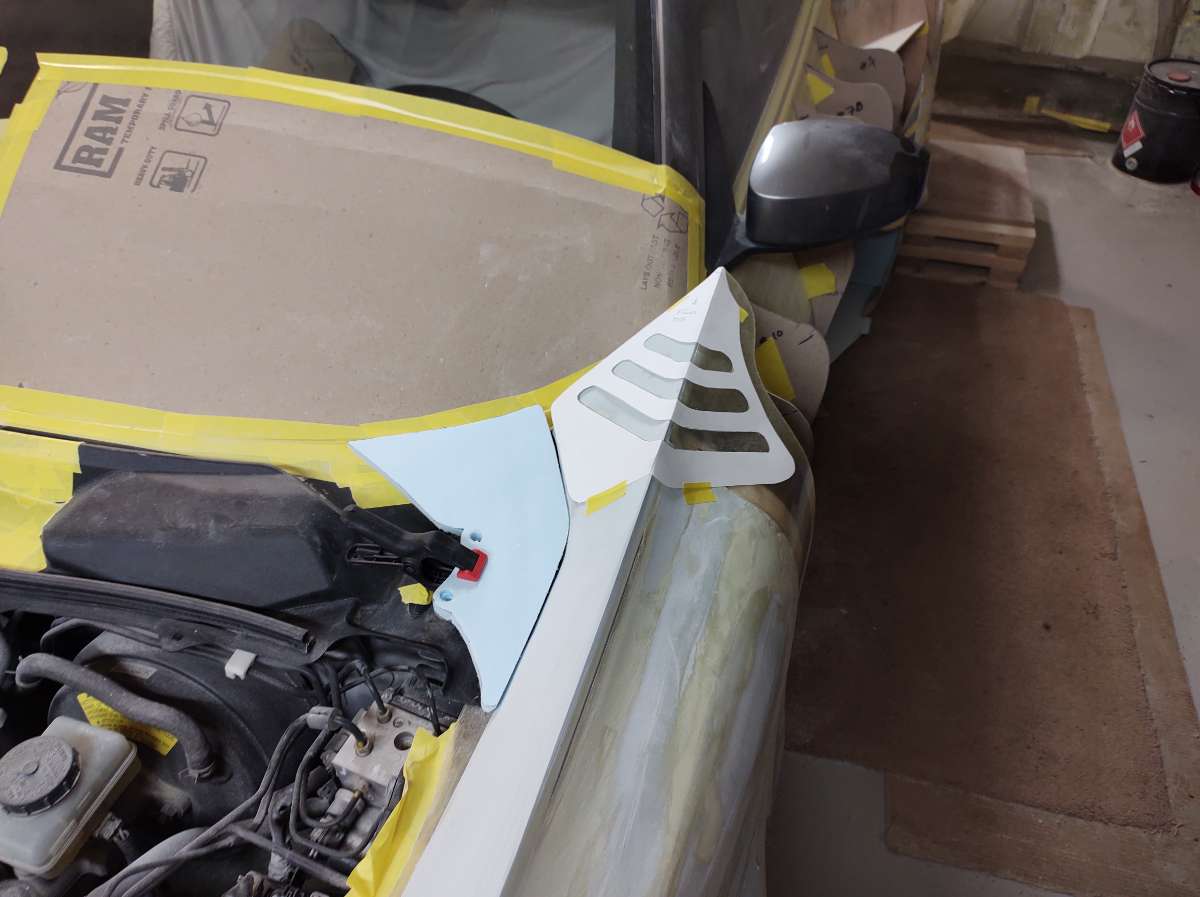
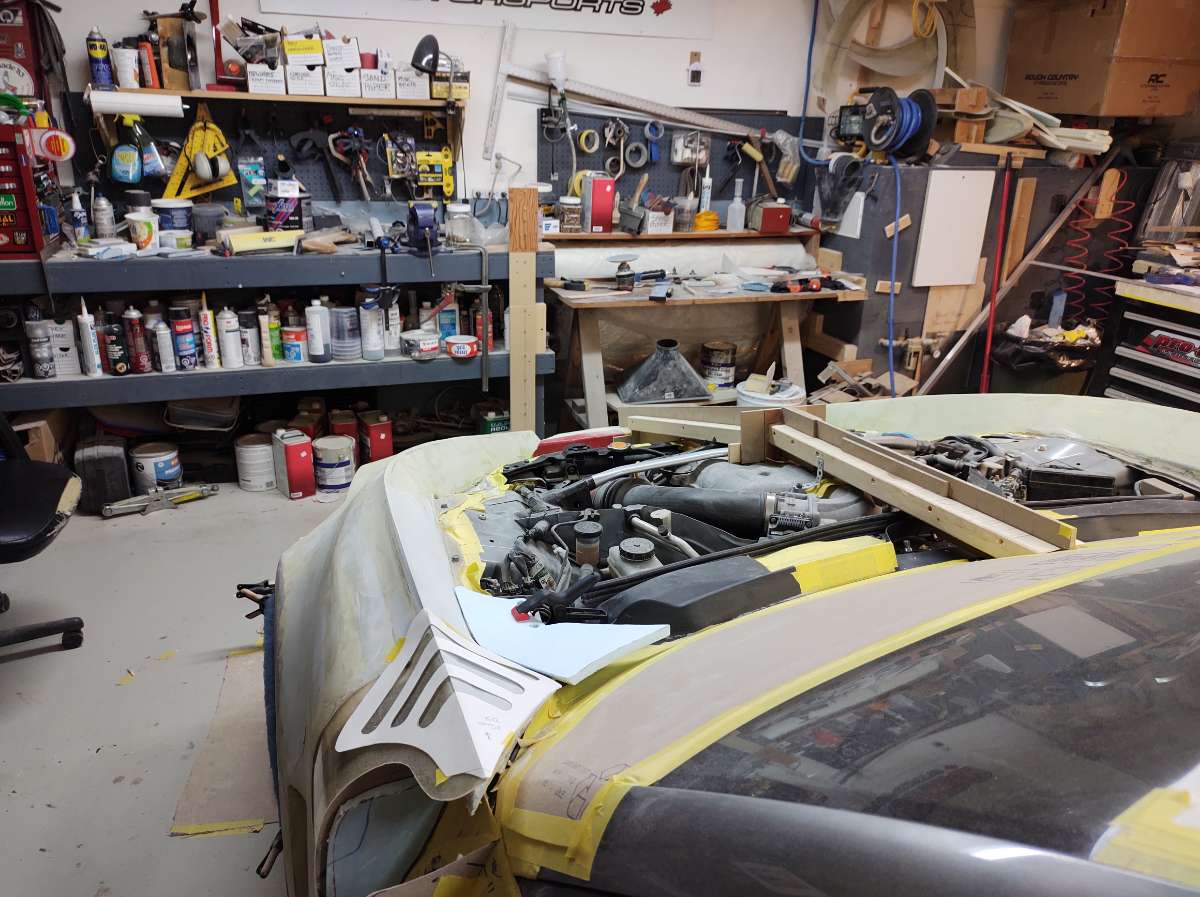
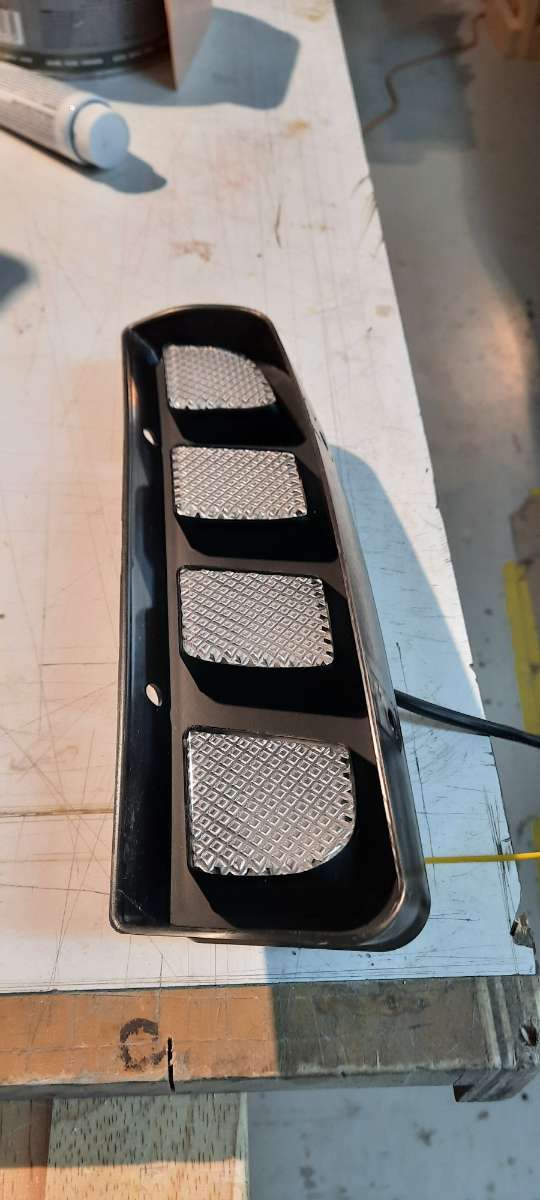
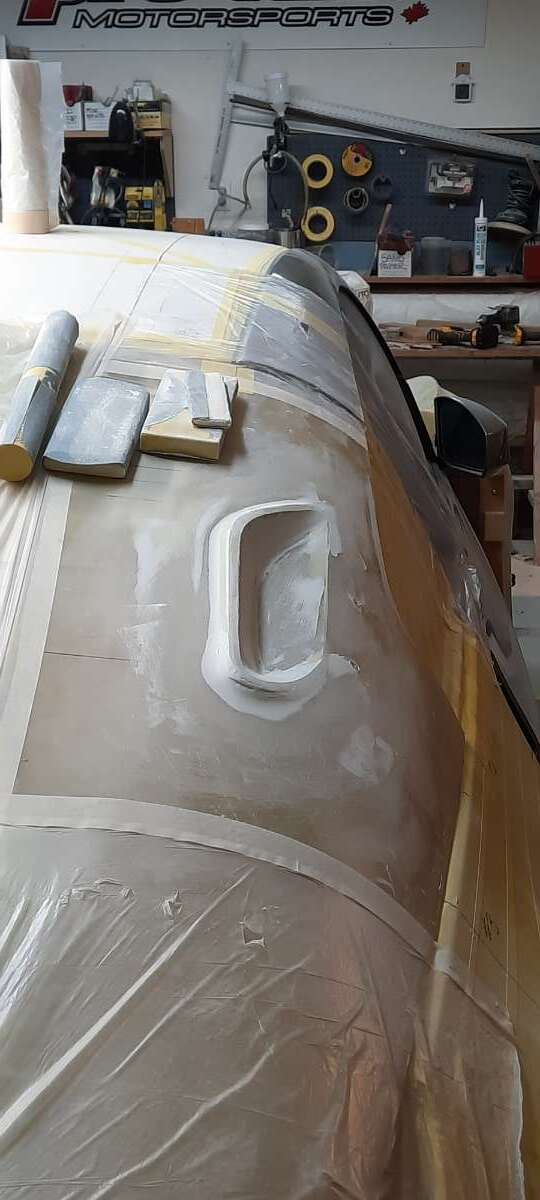
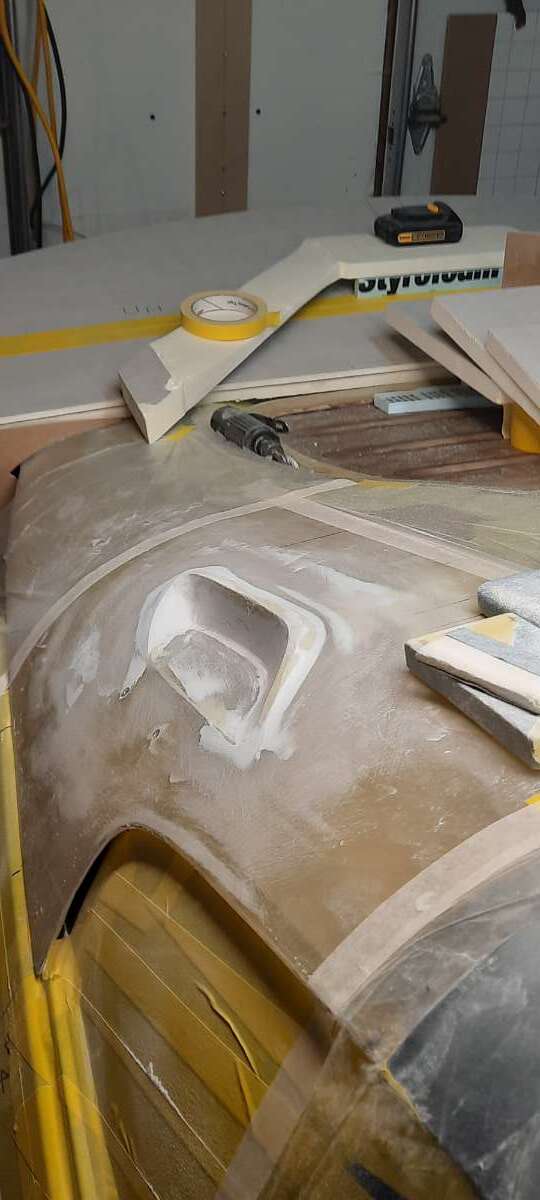
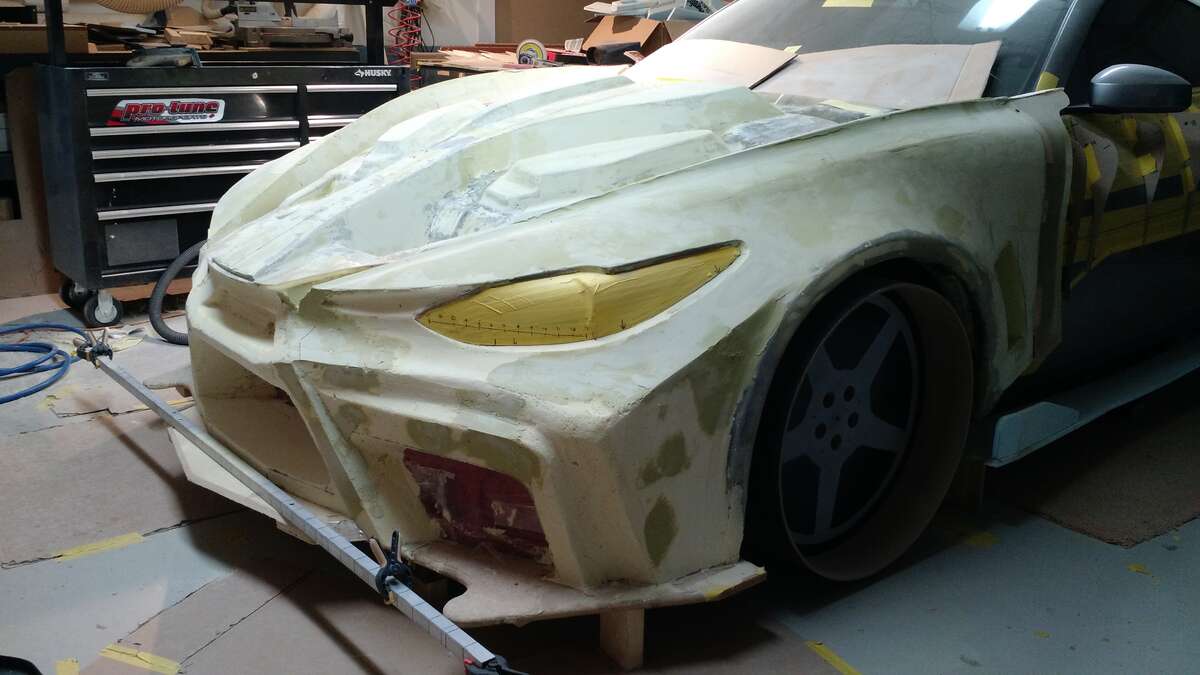
Hi I finally got my turn signals , they are really cool , they have low beam ( DLR ) day time lights , high beam DLR and Amber sequential signals , I ordered a few sets and the shipping company lost them !!!! Had to order again ....... So I will be working on there spot in the front Dam , this should be a right pain to make also ... but worth the effort . They are aftermarket up grade for the new Honda Civic Type R So they go in and you only see the raised part of the light .

-
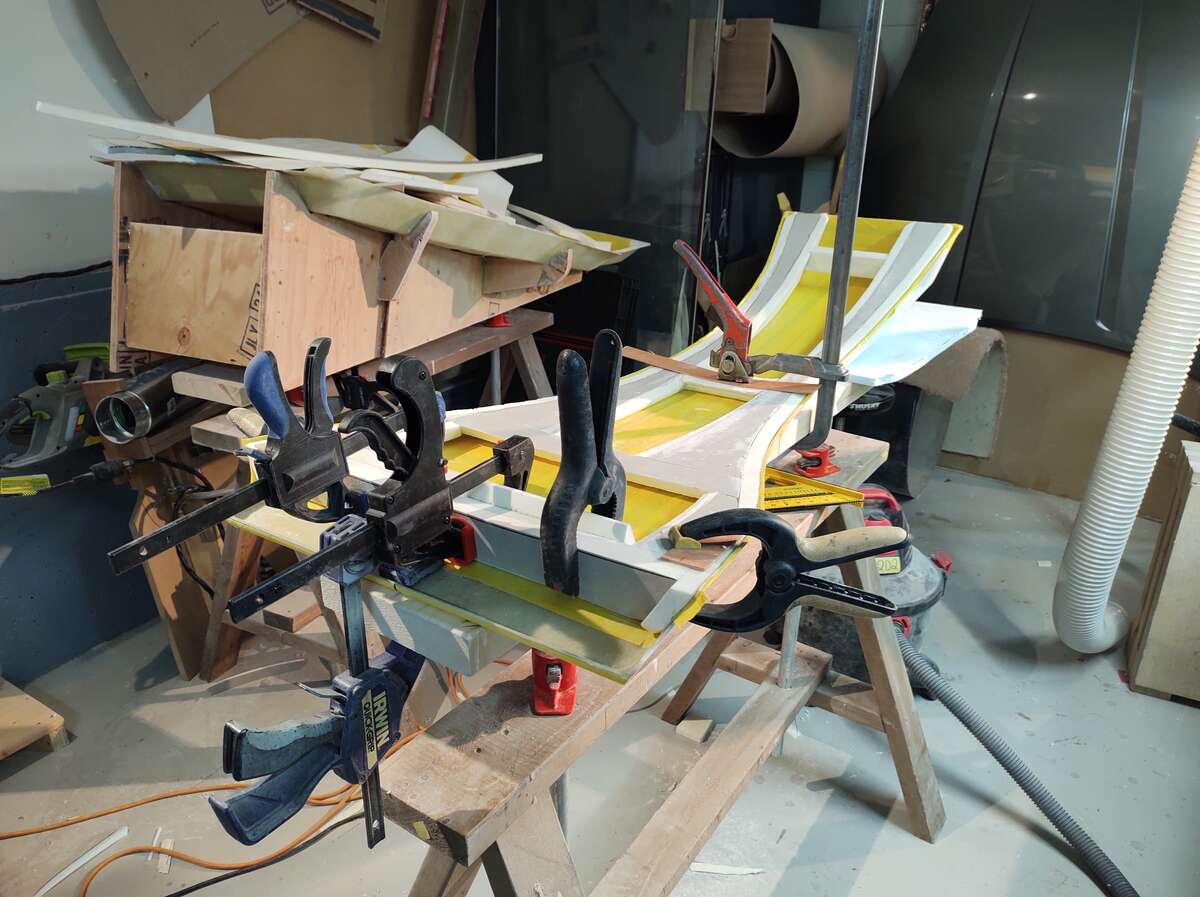
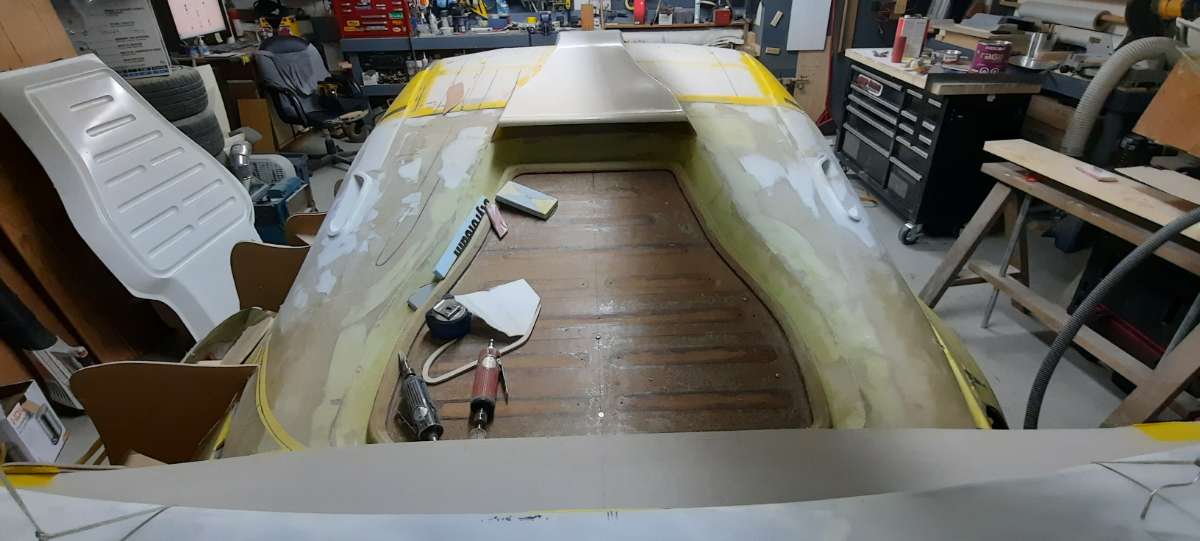
Hi guys & gals Been a while , must be getting old almost forgot how to post stuff on here lol . I have missed some time from the car ( obliviously ) you know the usual stuff in the forest on an Island , power outages from wind storms and freak snow storms , life etc . So I have been plugging away at the rear deck lid fake vents and prepping the roof scoop mounting . the roof will have a small foam frame that will be part of the roof to position and fasten the scoop . I will try to post more this weekend Cheers
-
Thanks Sim for the kind words Sounds like you have some nice toys !! We had another winter friggin storm here ,Thursday wind and power outages and then over a foot of snow at the shop , started on Friday afternoon , the road in is .5 of a kilometre long , so there is no way to shovel it , also narrow with lots of bush so no place for the snow to be plowed , if you could find someone to do it !! here are the last pics I took .

-
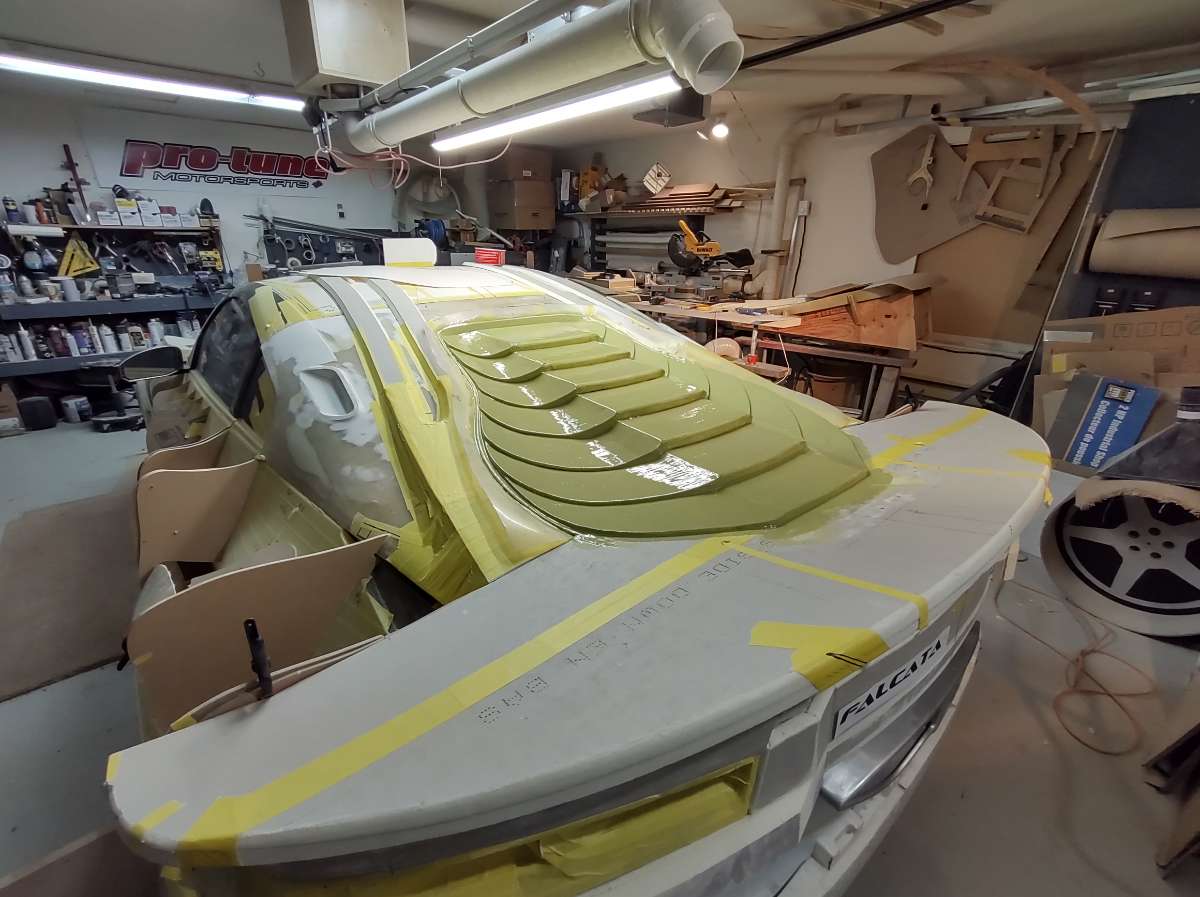
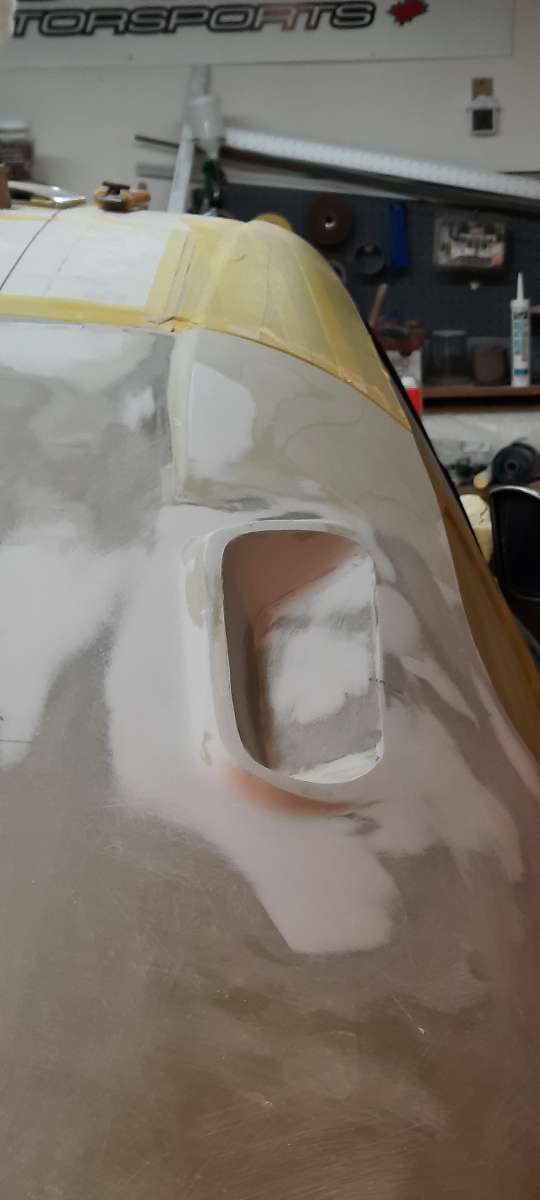
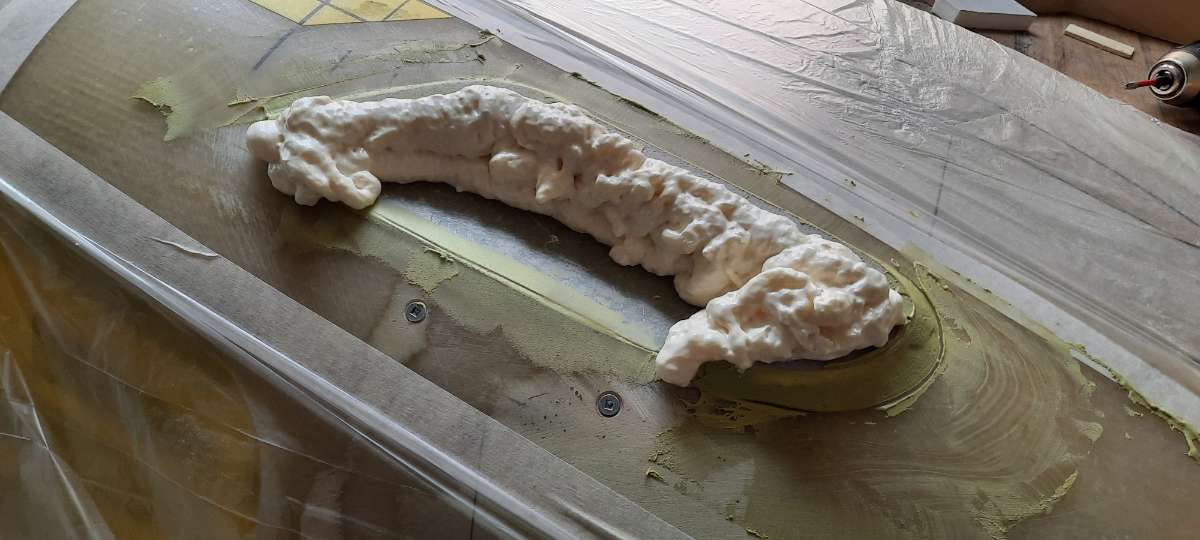
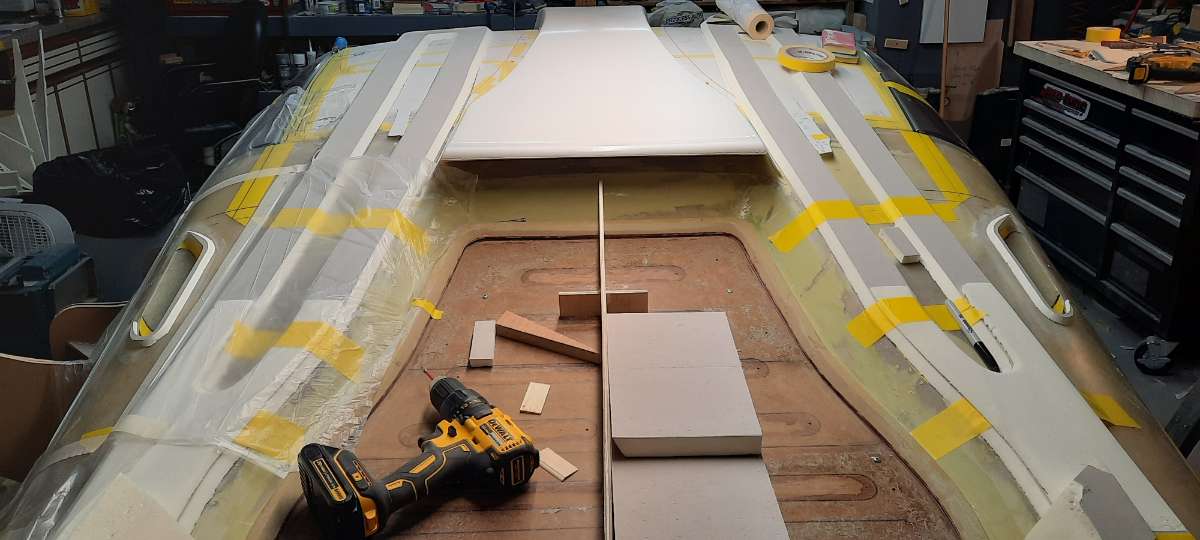
Hi everyone Thanks for the kind words , really appreciate that , it helps a lot with motivation . I only got over to the other shop for a couple of hours today , hopefully tomorrow will be almost a full day . So just some more filling and sanding on the rear deck vents .

-
Seems like everyone lost interest ............ Well been busy looking after my wife , probably a couple more days before I get to my other shop , I have been doing some stuff for the build at my home shop on the milling machine making a mold out of aluminum for the front turn signals . Here is the last pic's of the vent foamed and roughed in
-
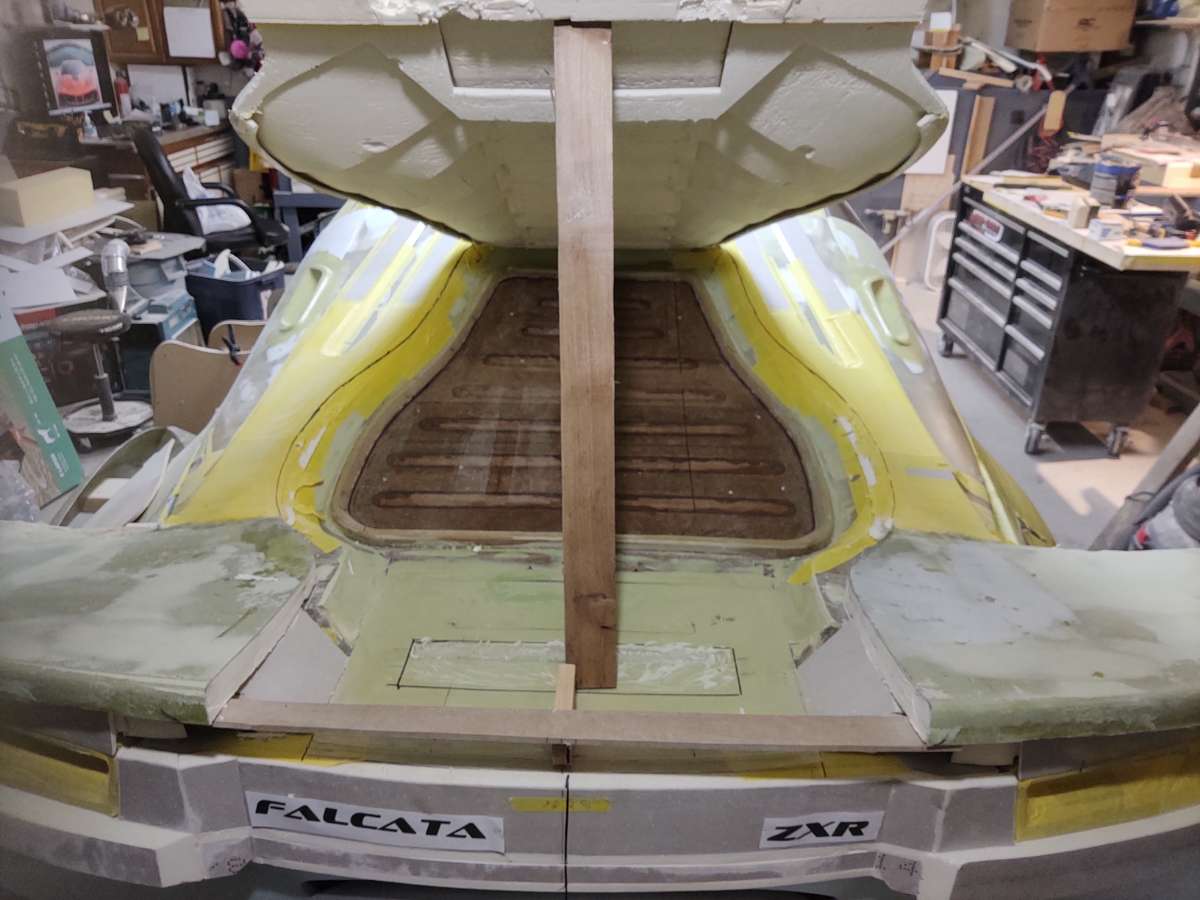
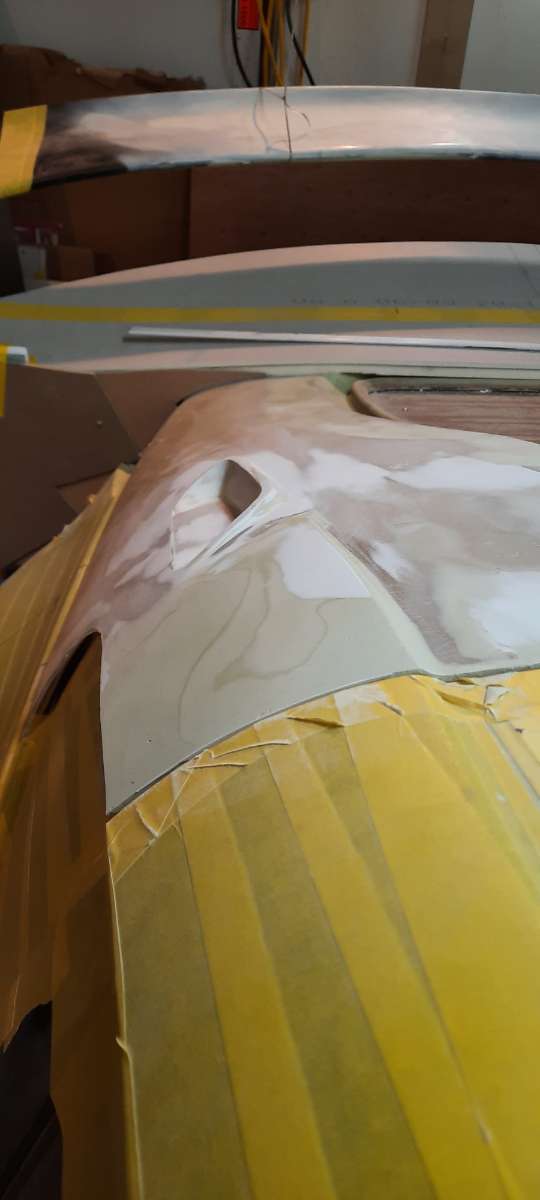
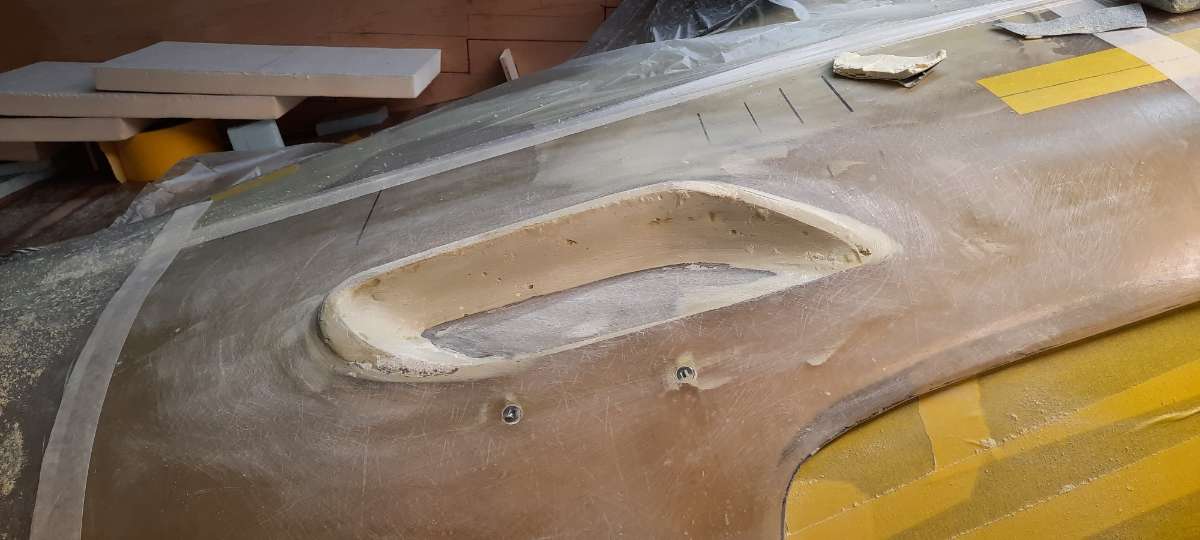
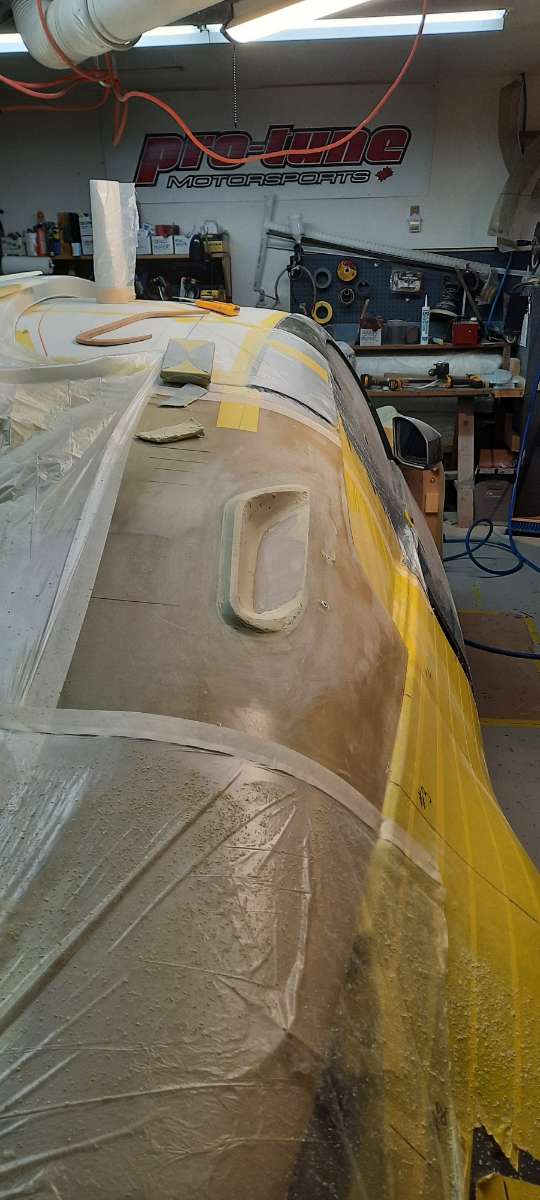
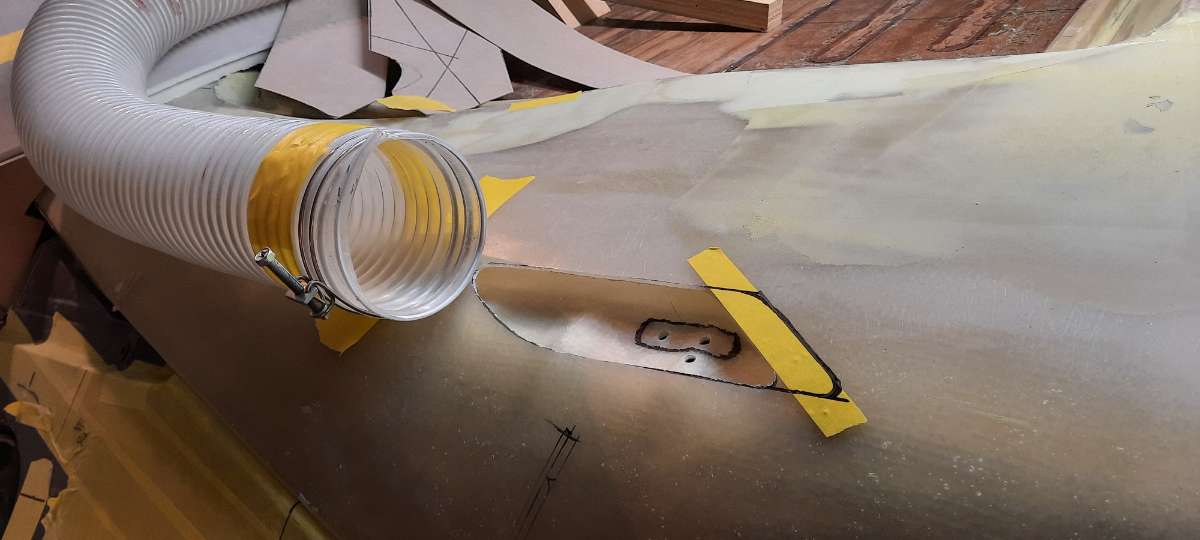
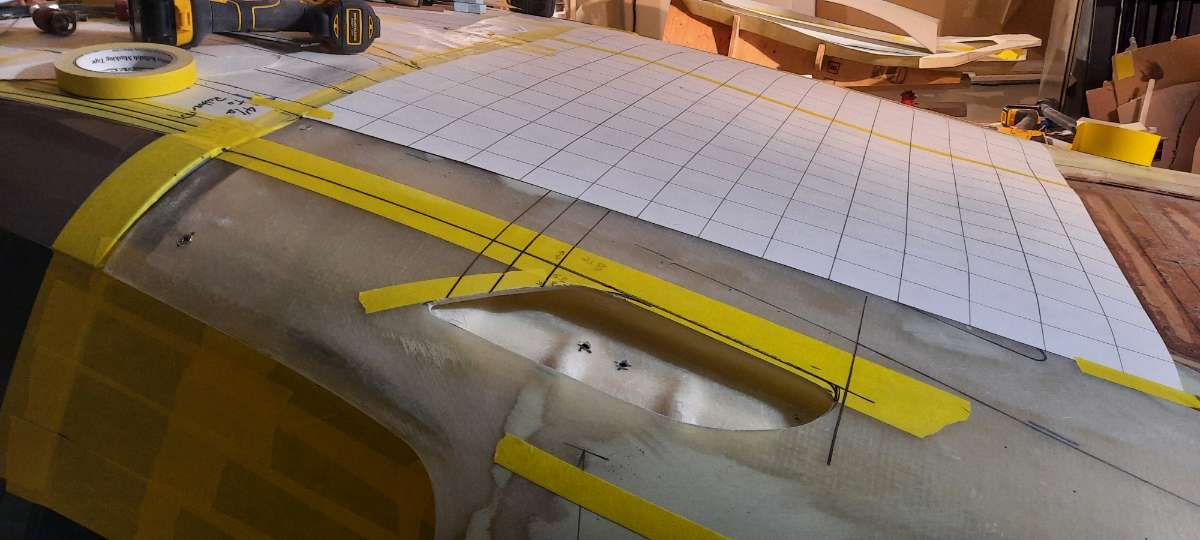
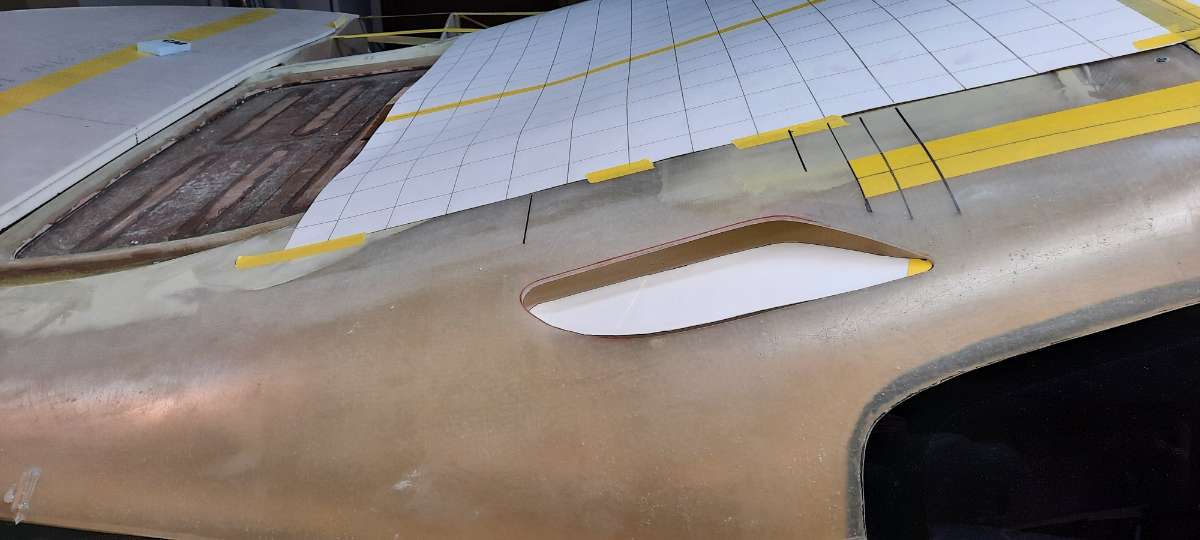
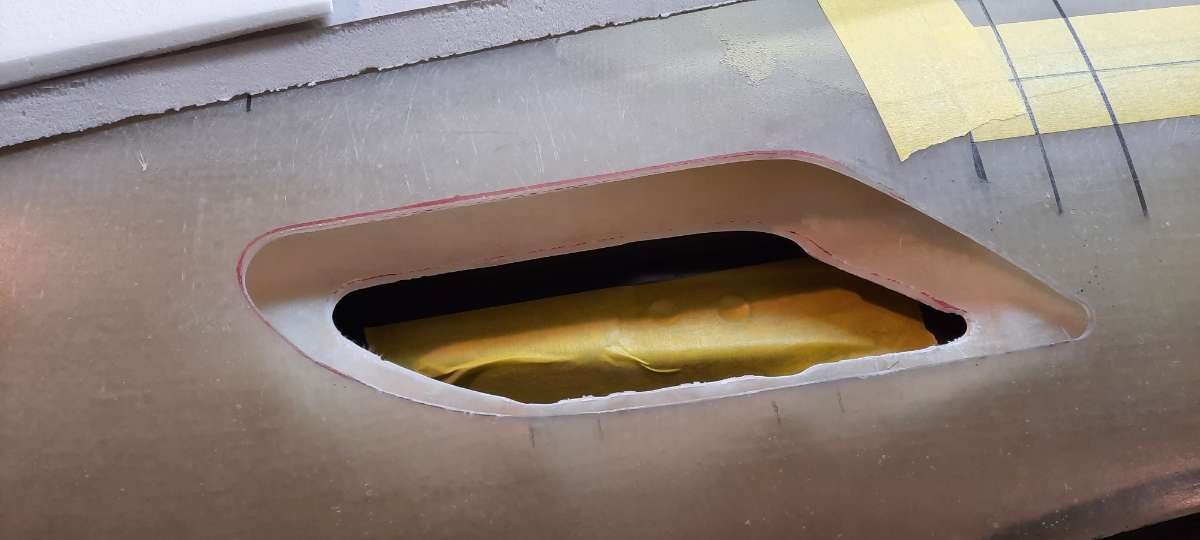
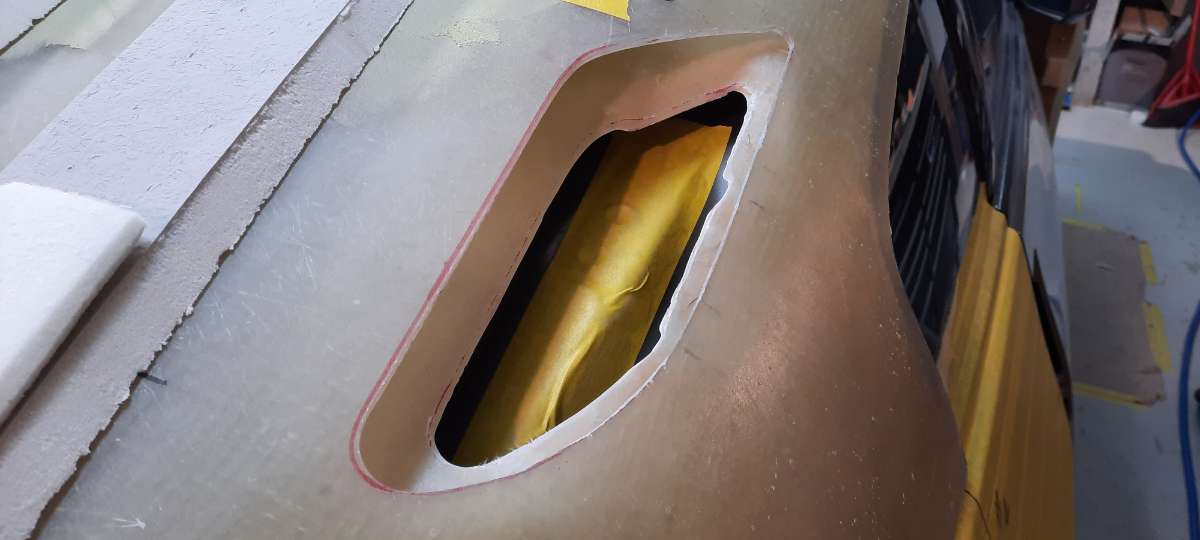
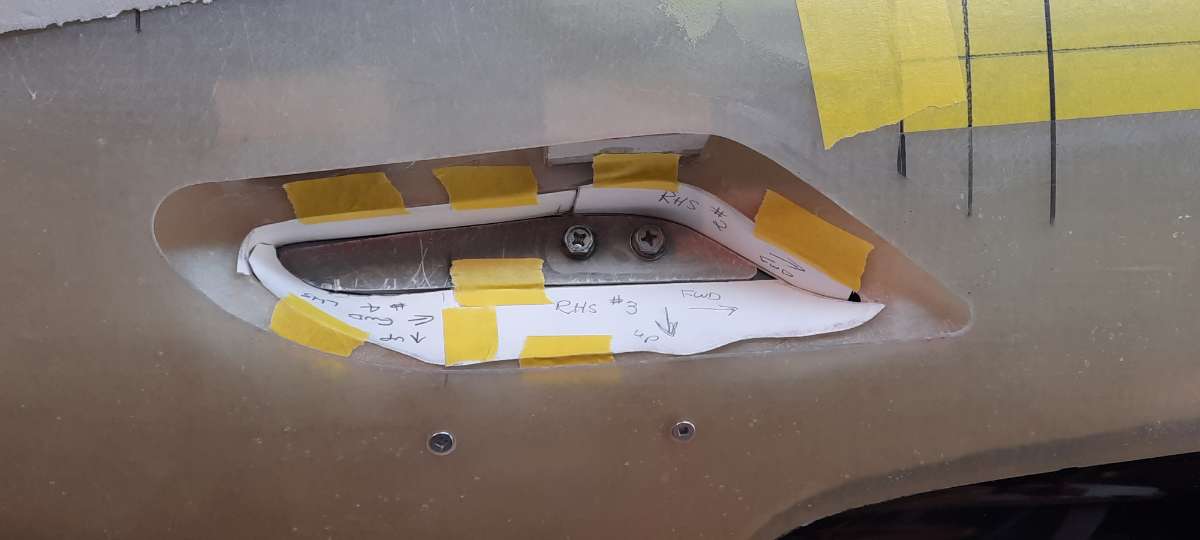
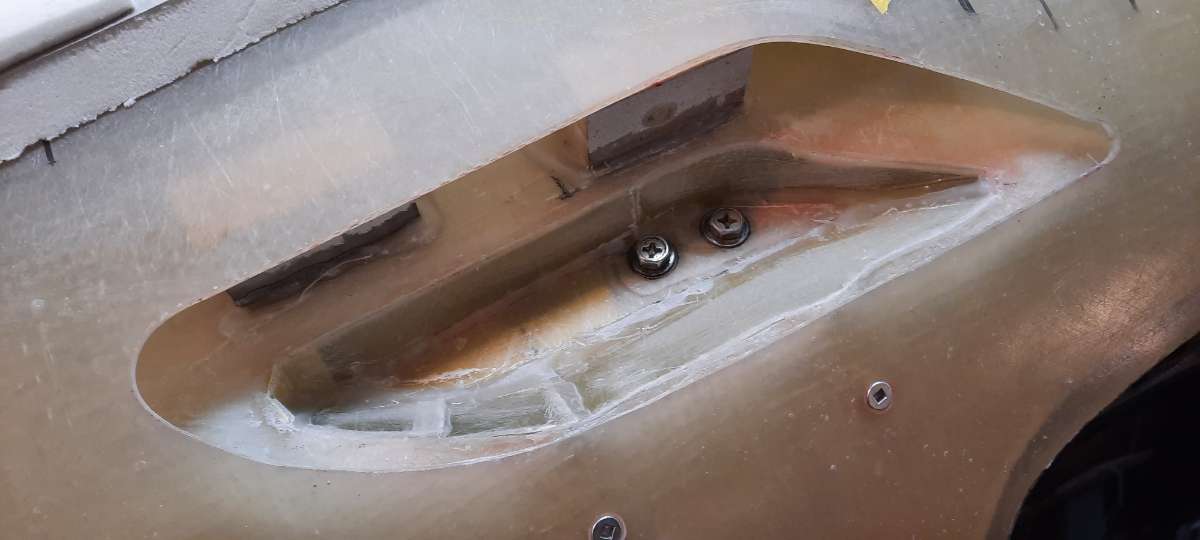
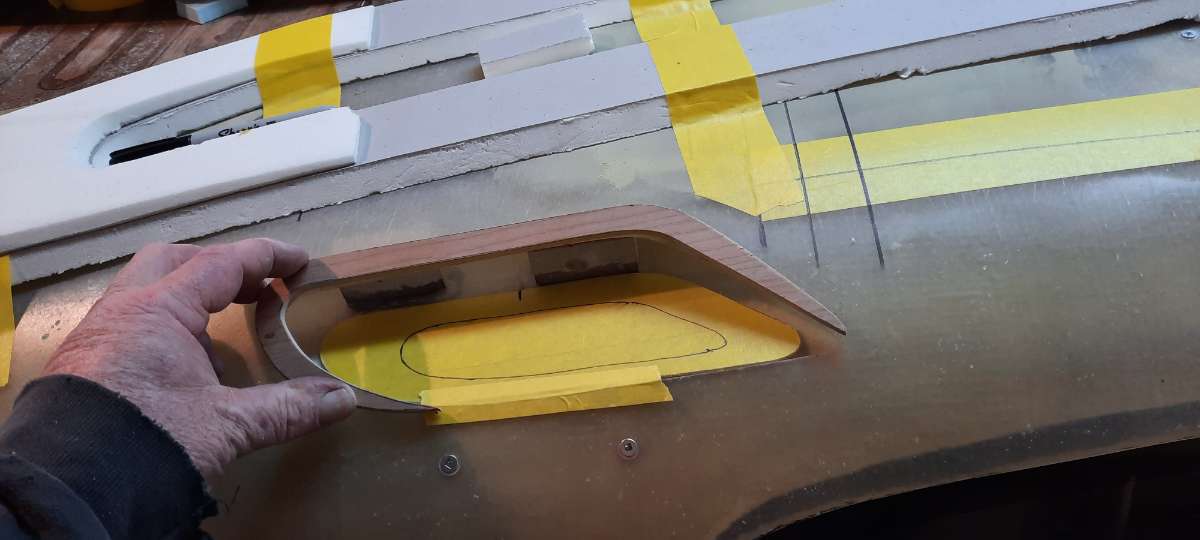
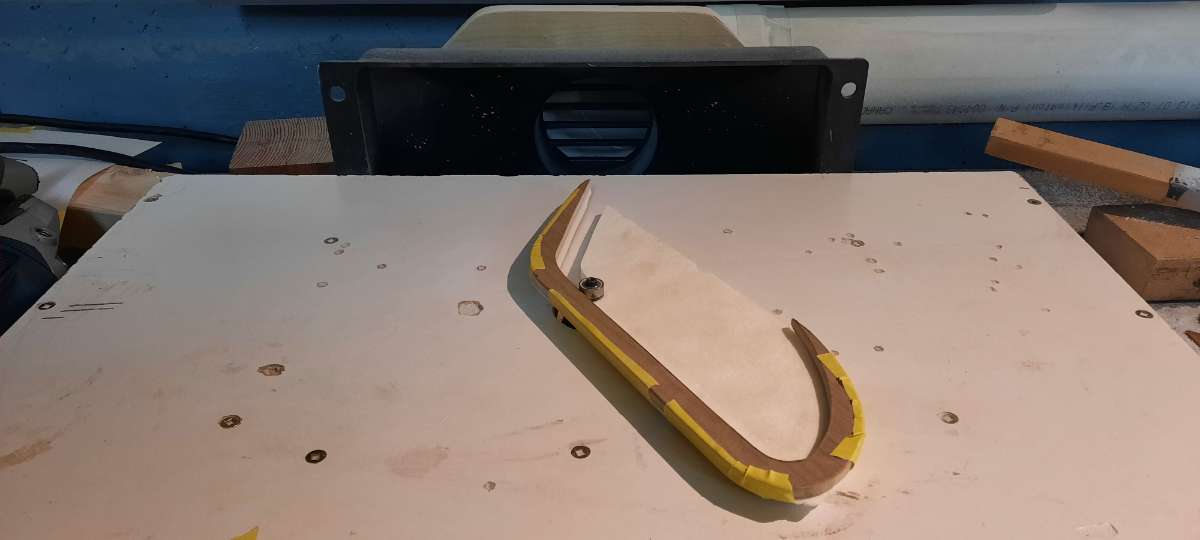
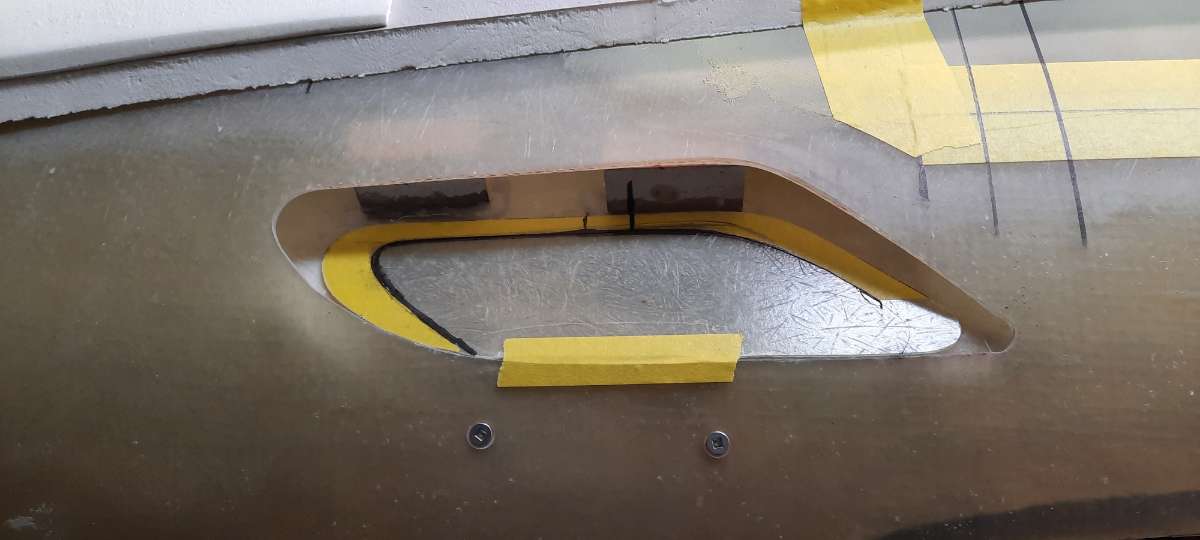
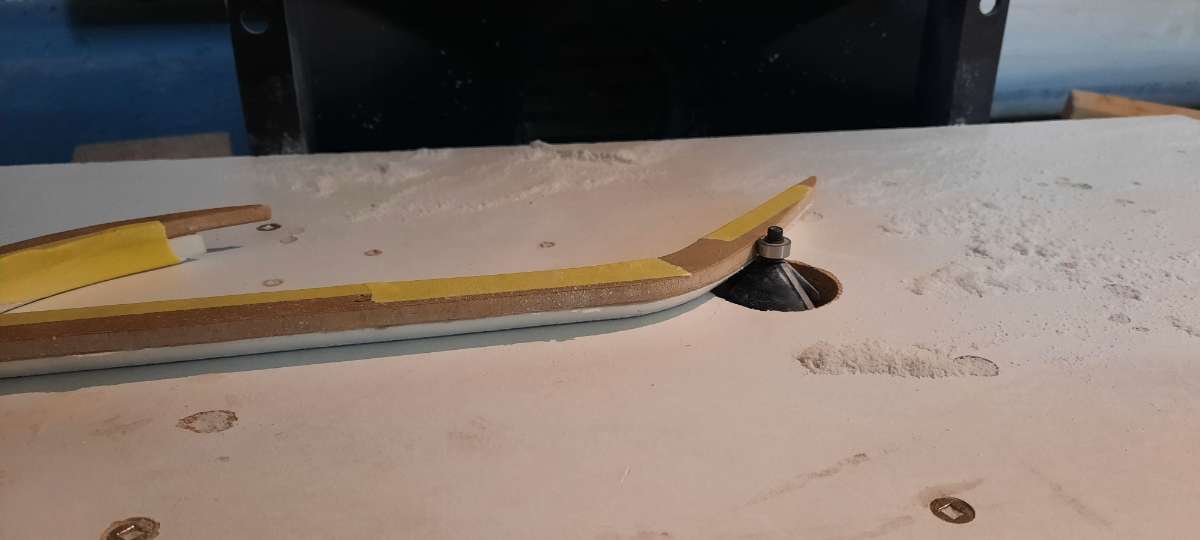
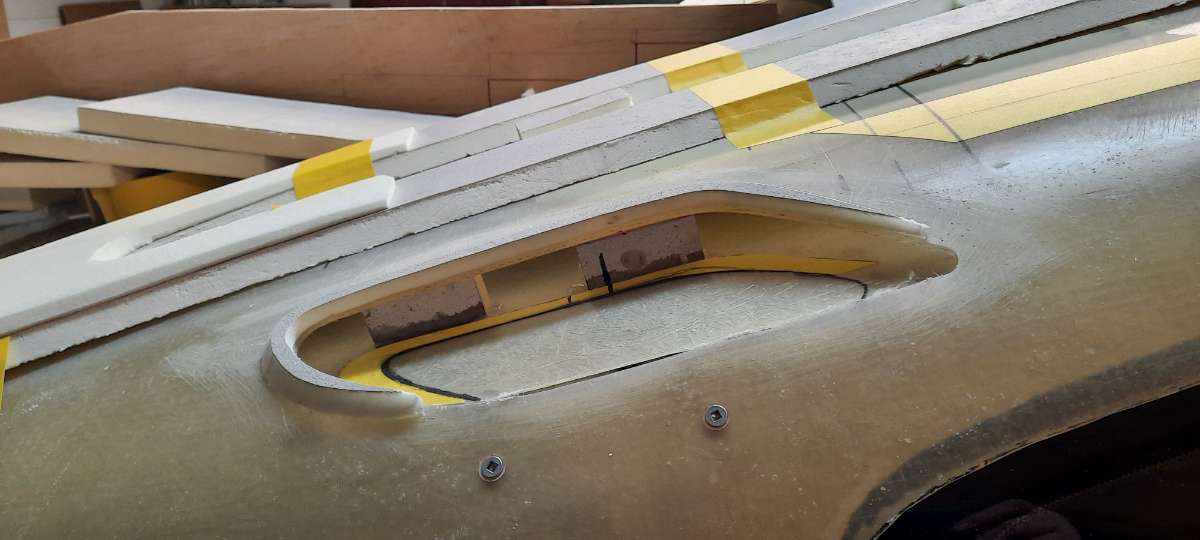
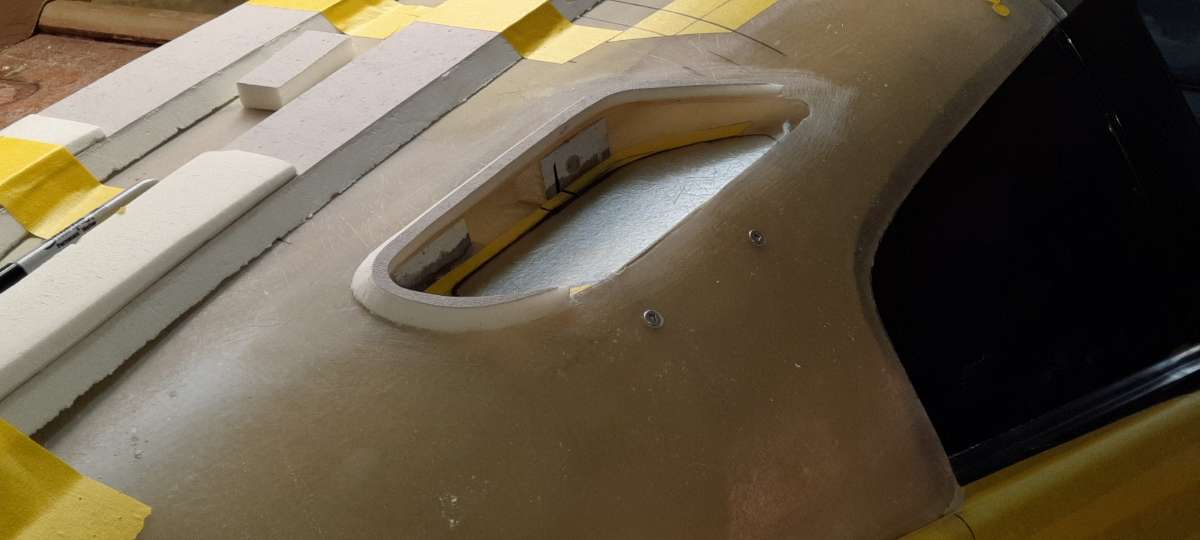
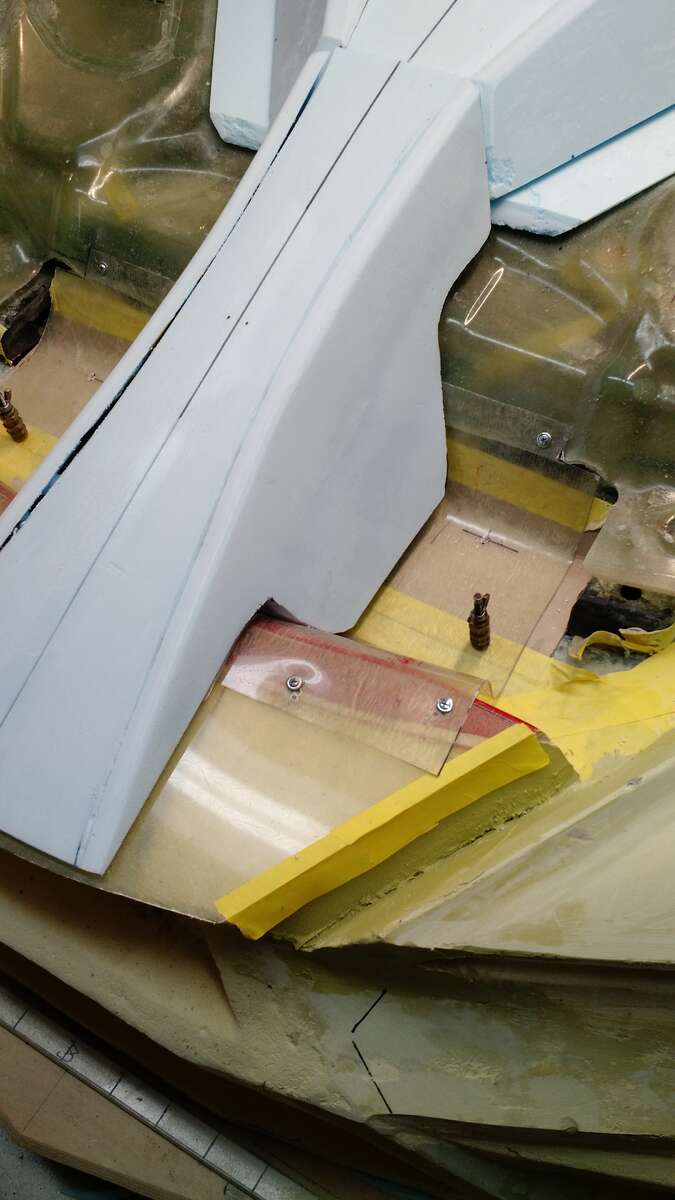
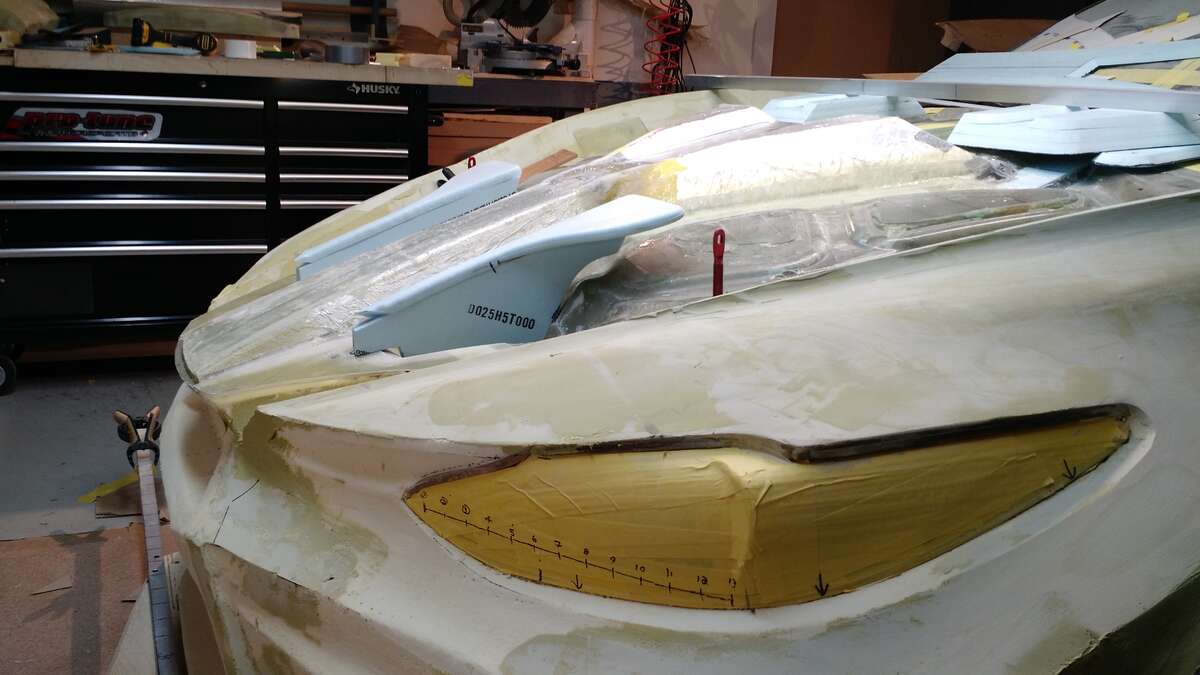
Ok got some stuff done on the car , crazy week , my wife is having a knee replacement tomorrow , so been super busy getting thing ready for her recovery . So I think I mentioned the way I will be attaching the rear clamshell . Originally I was going to use the original hatch hinges , but thought that would be too difficult to access . Now I am going to use the rear strut mounting holes , and would like to disguise them by creating a foe vent . So next will be to fill these with foam and contour to the yellow tape
-
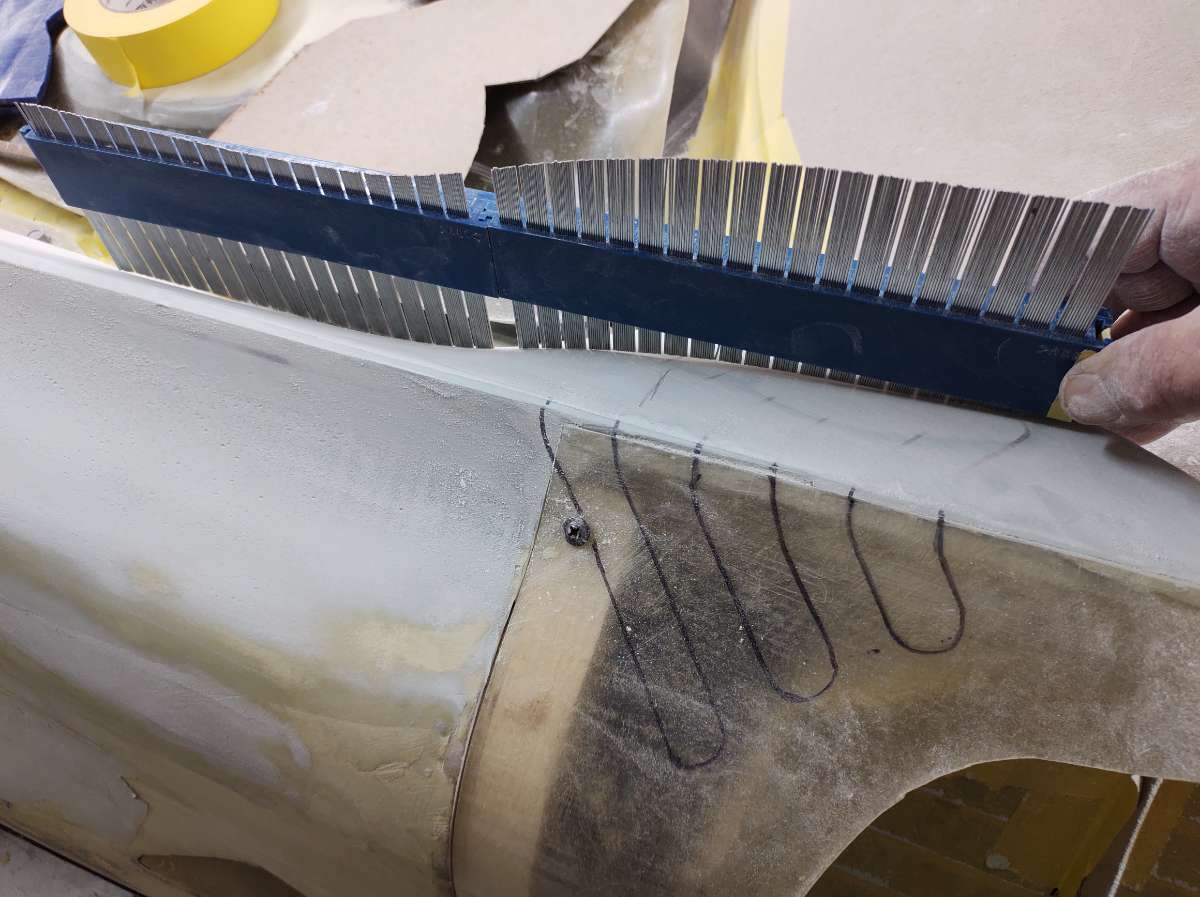
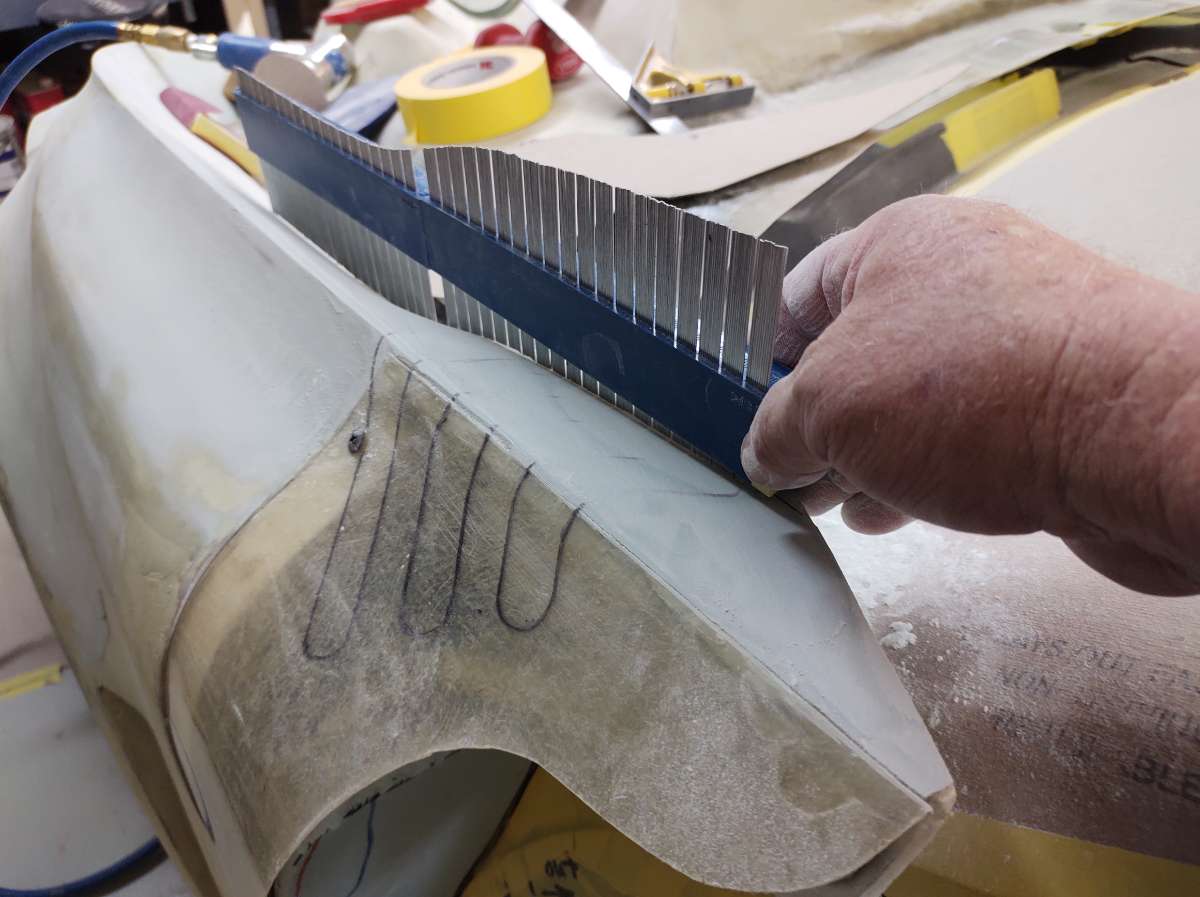
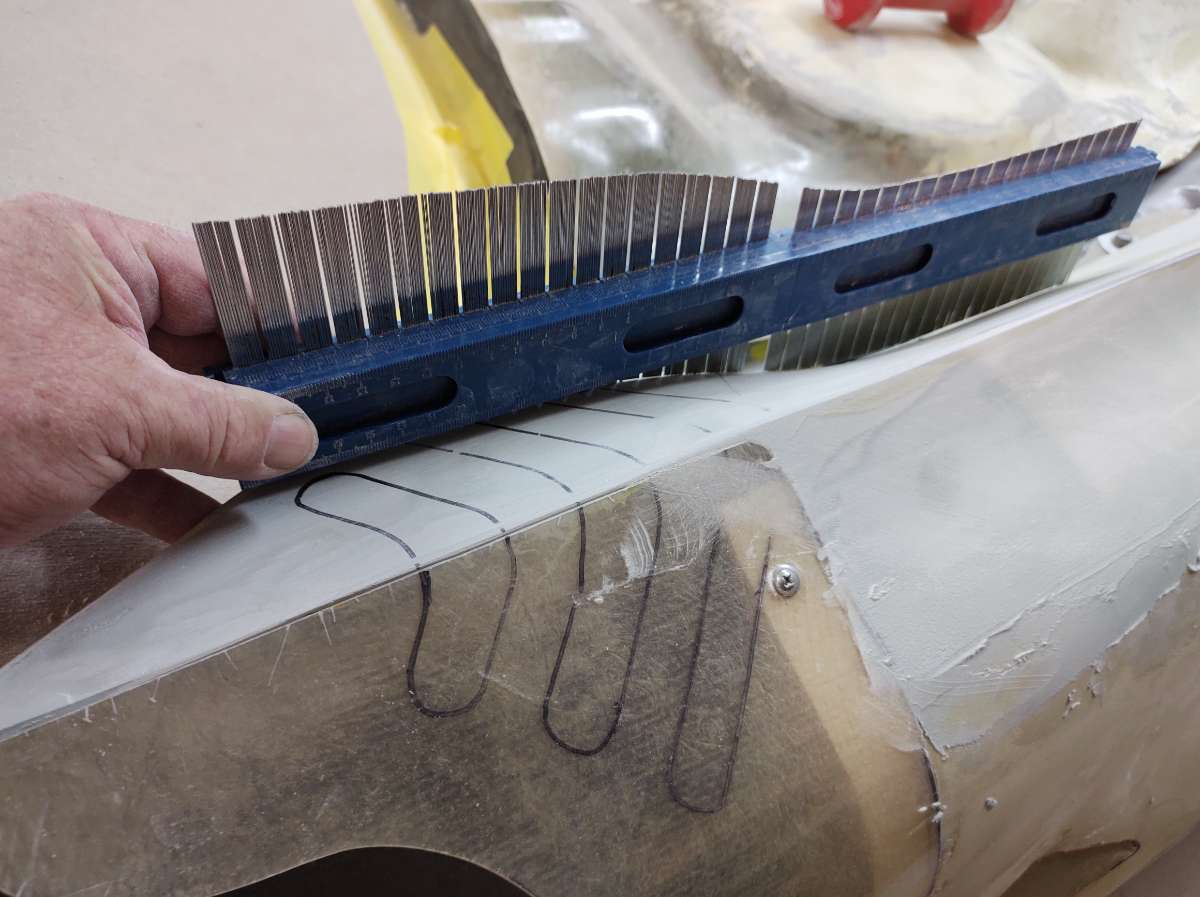
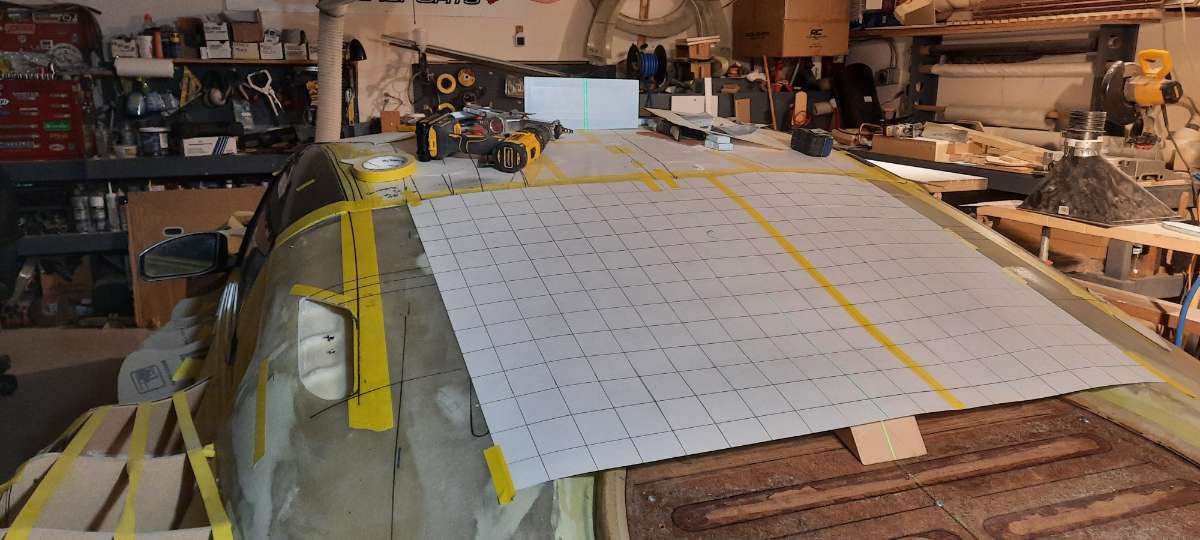
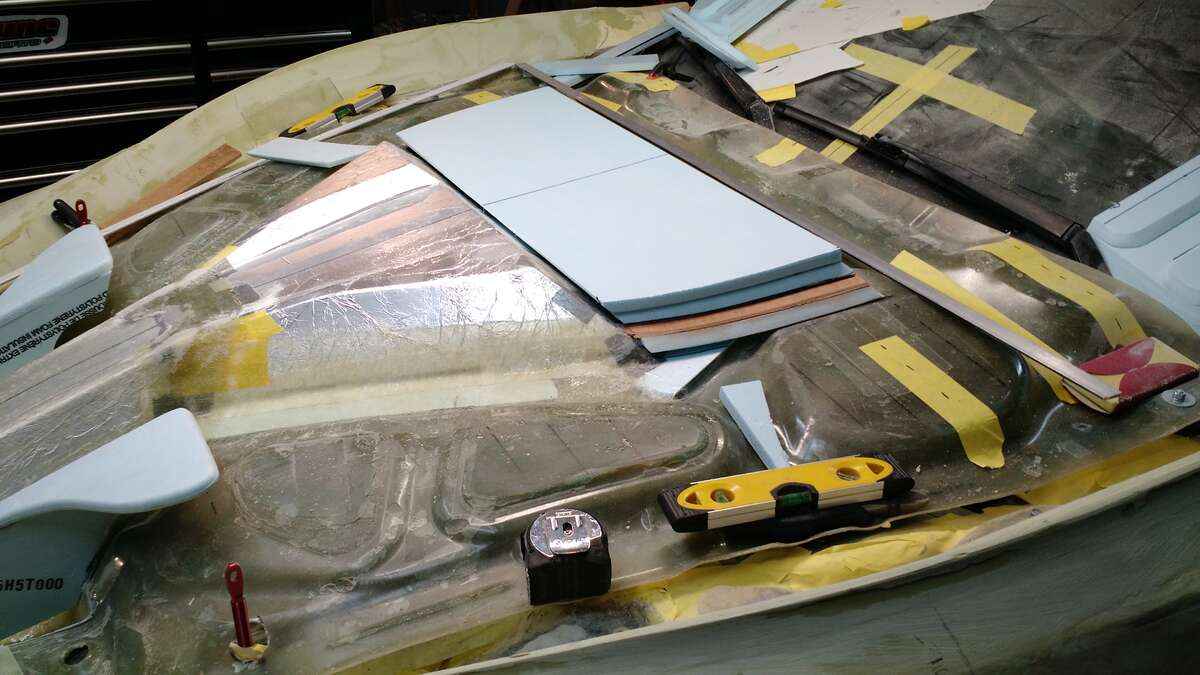
Sorry these are now out of order , I couldn't find these , I have a computer in the office at home and one at the shop and three cameras and a phone , busy life its hard to find time to sort them out into folders . I have with out a doubt spent 2 months all together measuring and remeasuring this car its has so many compound curves . So I rack my brain trying to figure ways to keep this thing on track , every change to the body complicates that .


-
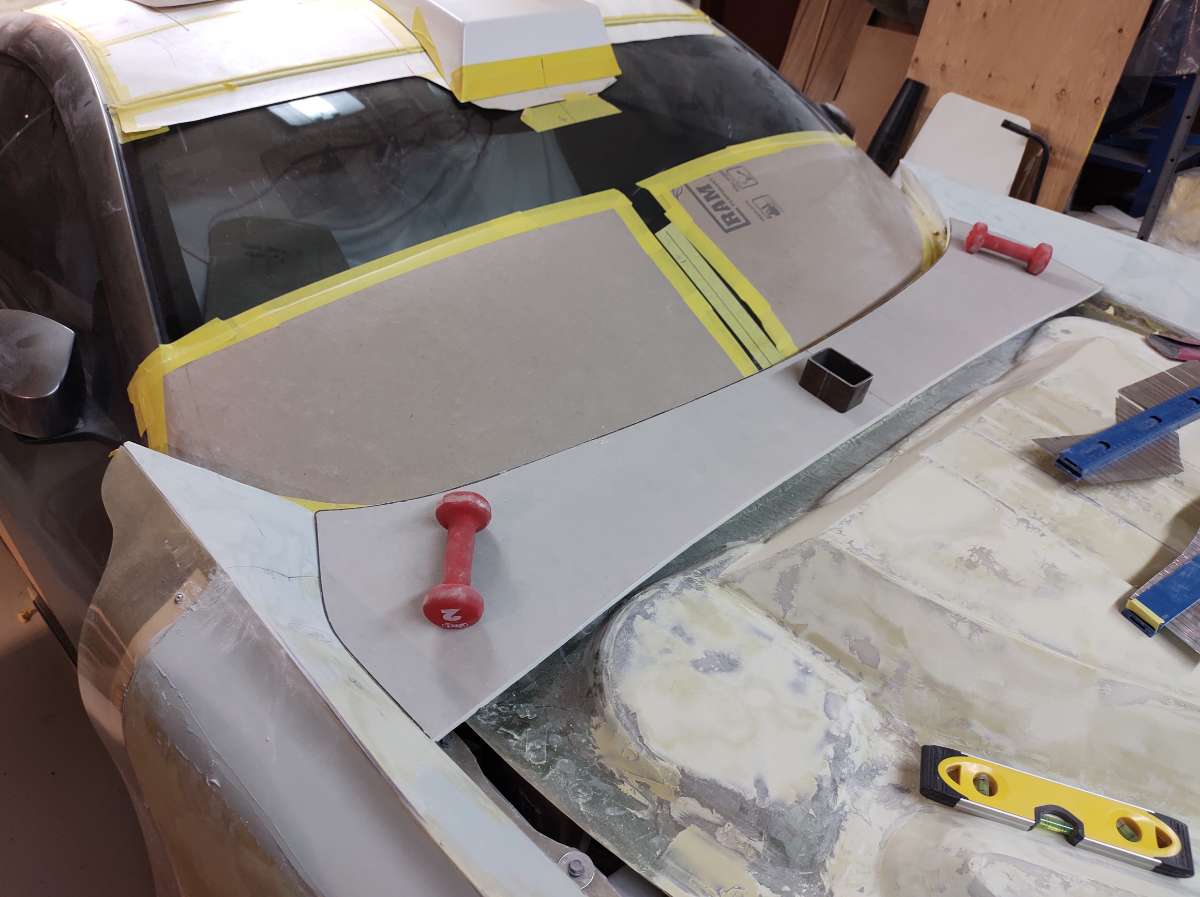
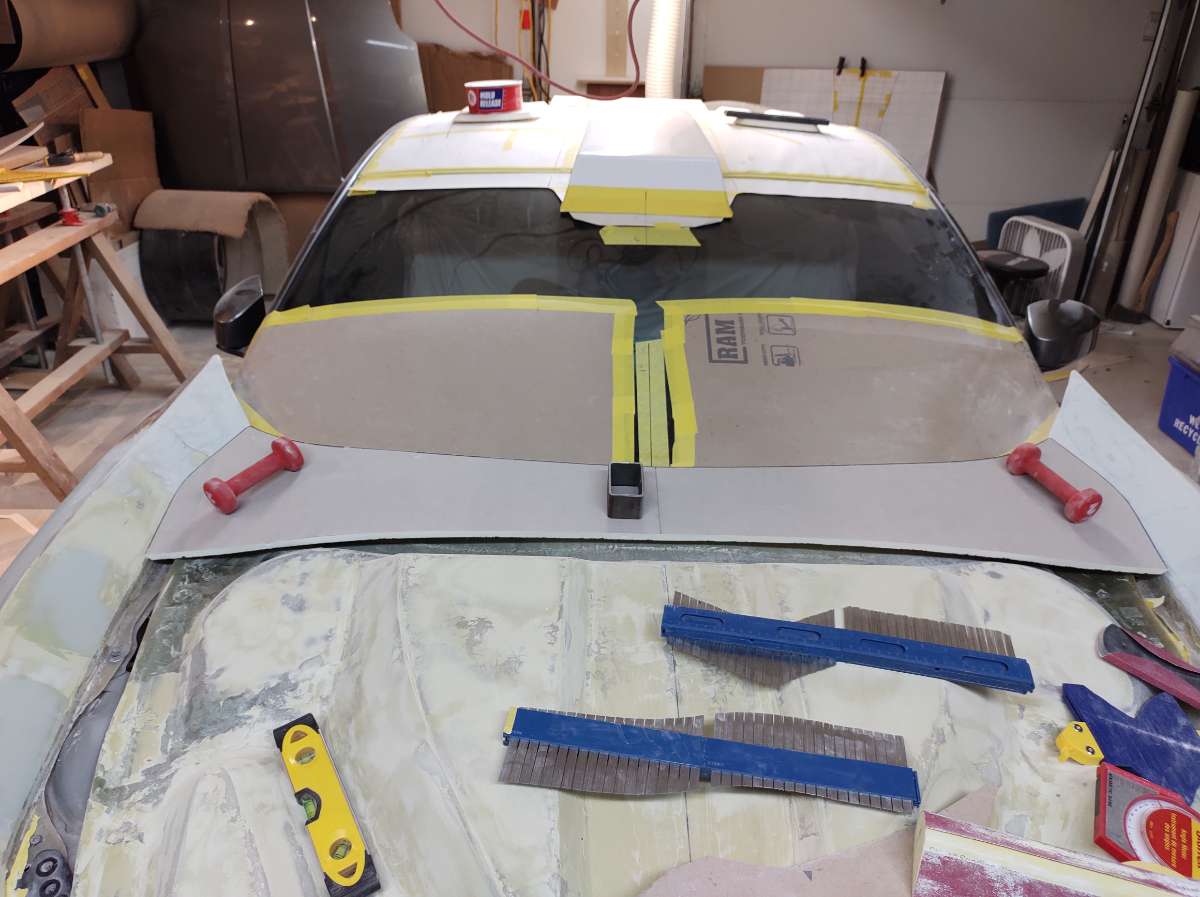
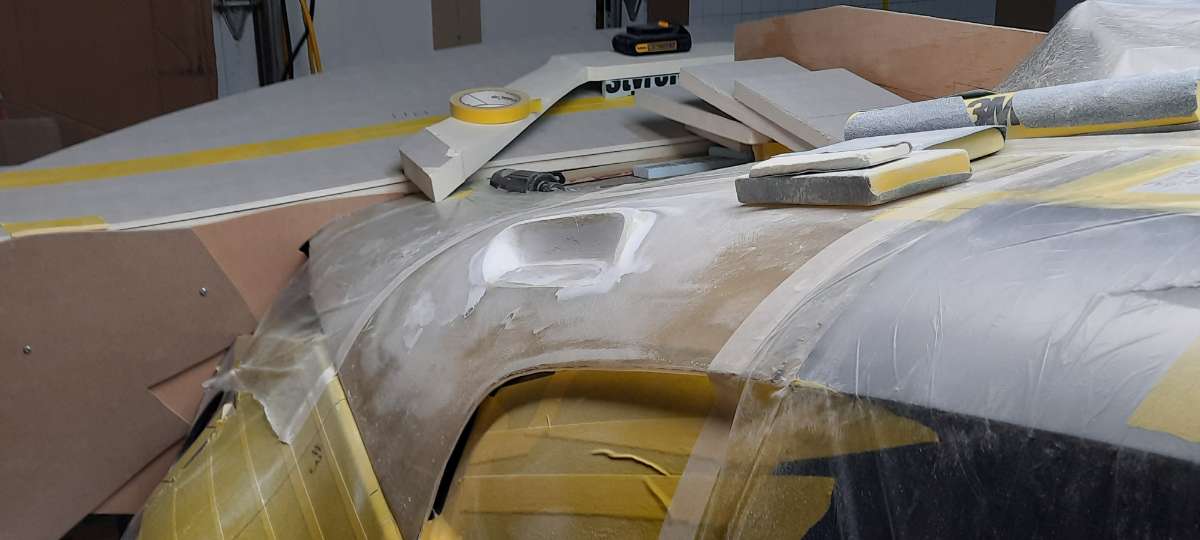
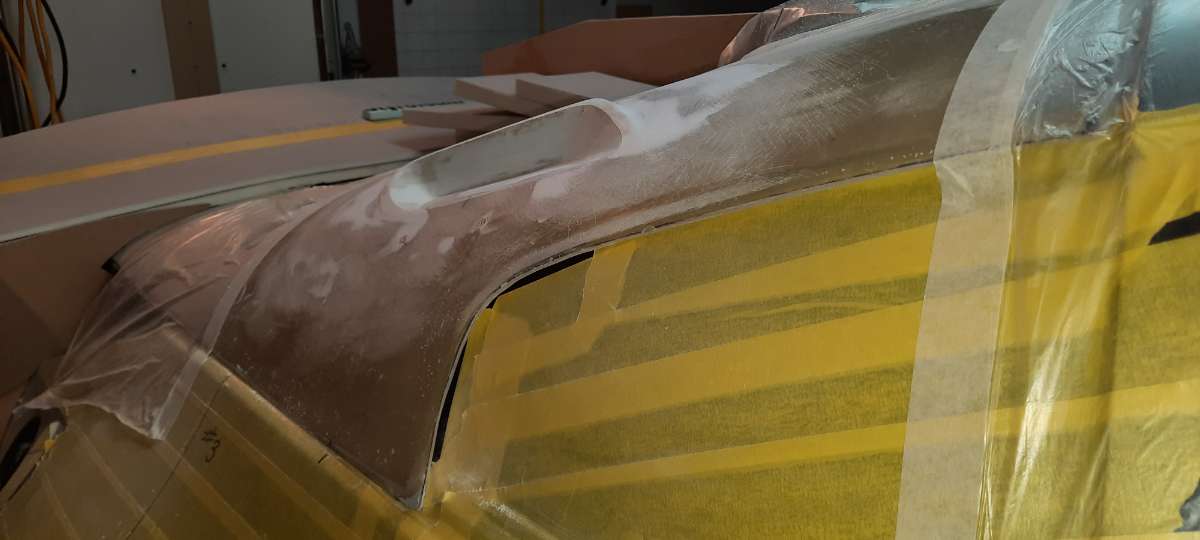
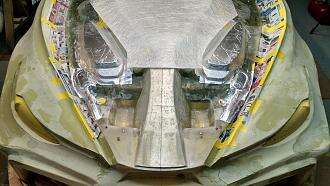
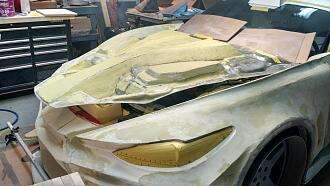
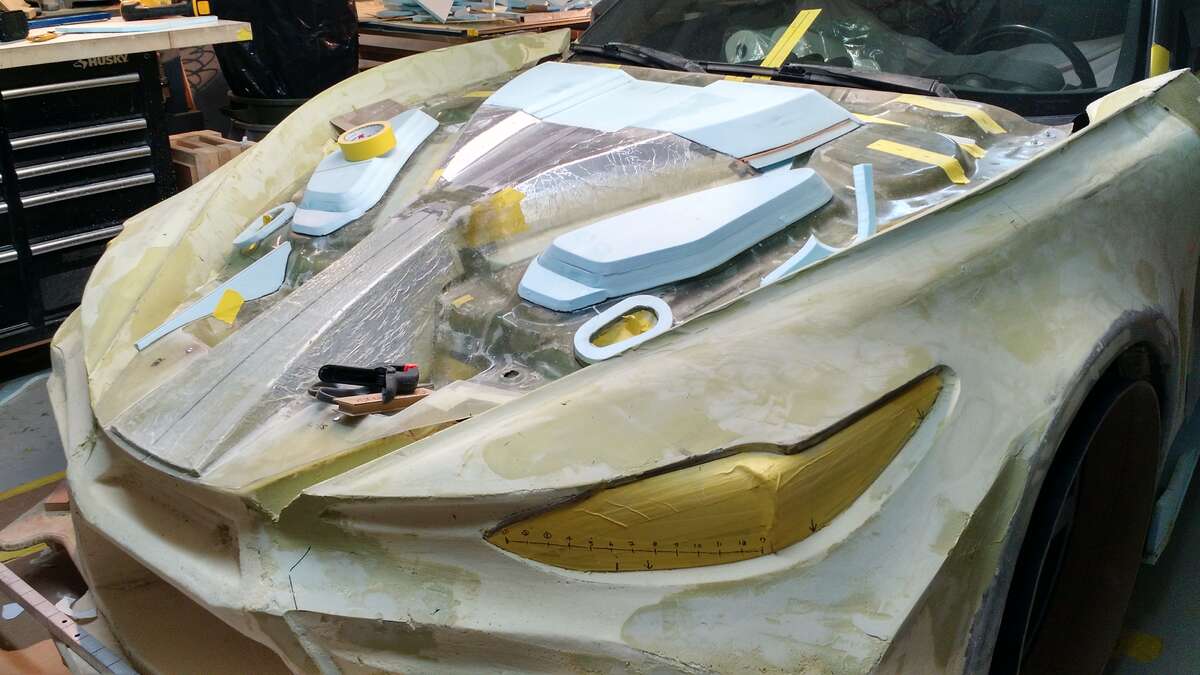
Hi and thanks again for the positive feedback More work on the bottom half of the hood , got one unit of glass on it and a skim of Rage Gold filler . Still more to add the this part , the sides where it meets the fenders and the top at the windscreen , I would like ti to hide the wipers .
-
Hi I am almost caught up on posting where I am at , hoping to have it done by late spring or mid summer . Thanks for your interest .
-
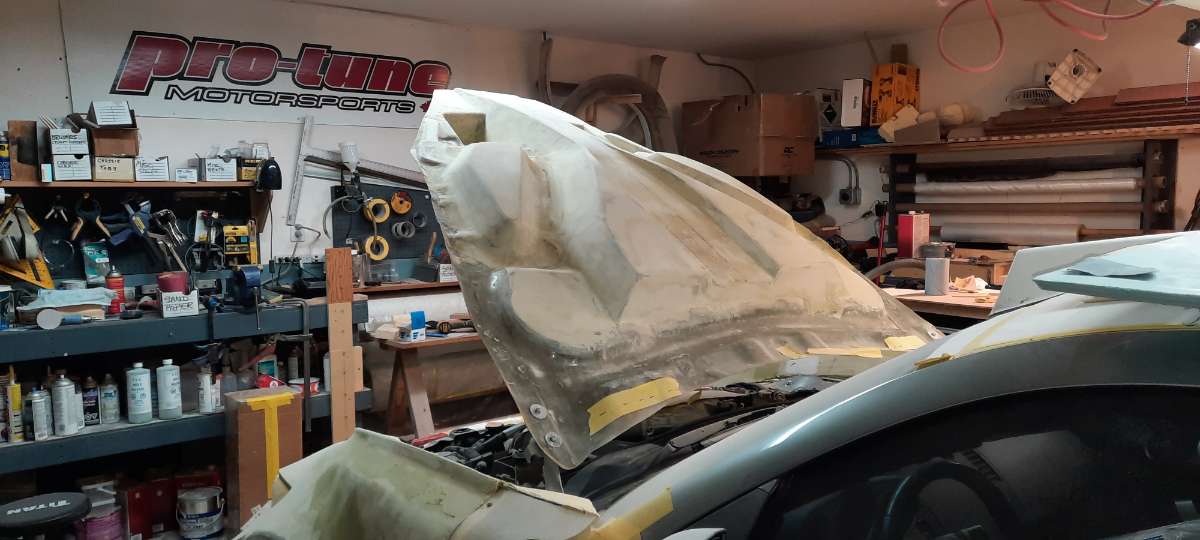
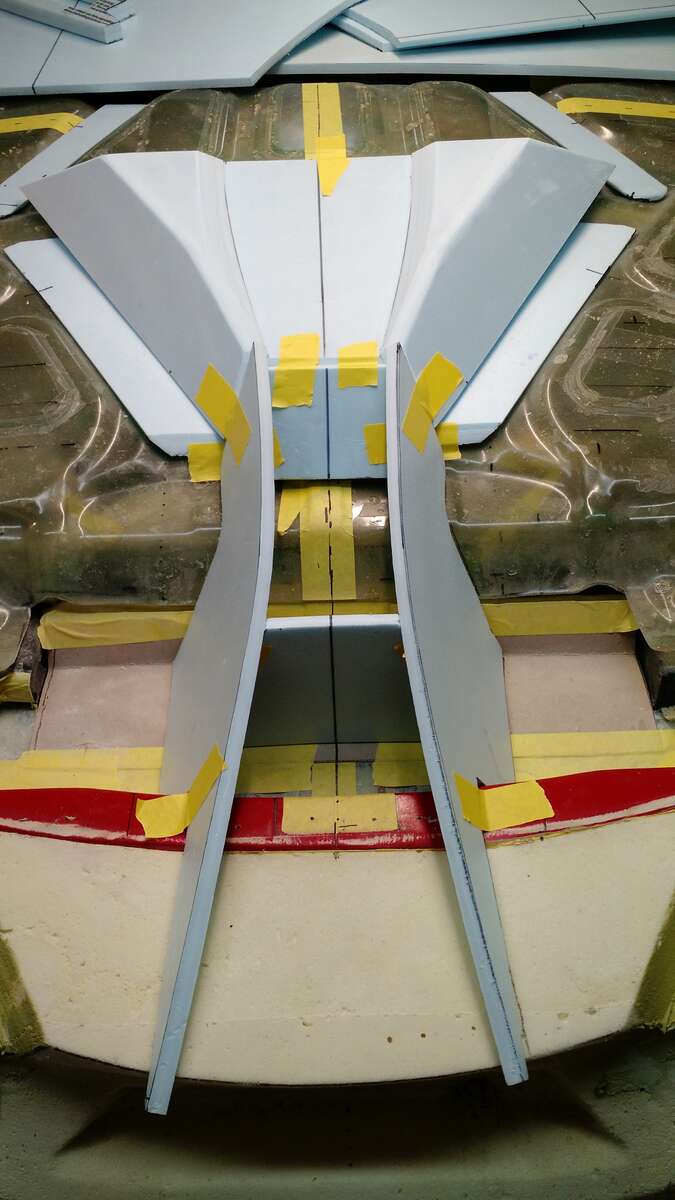
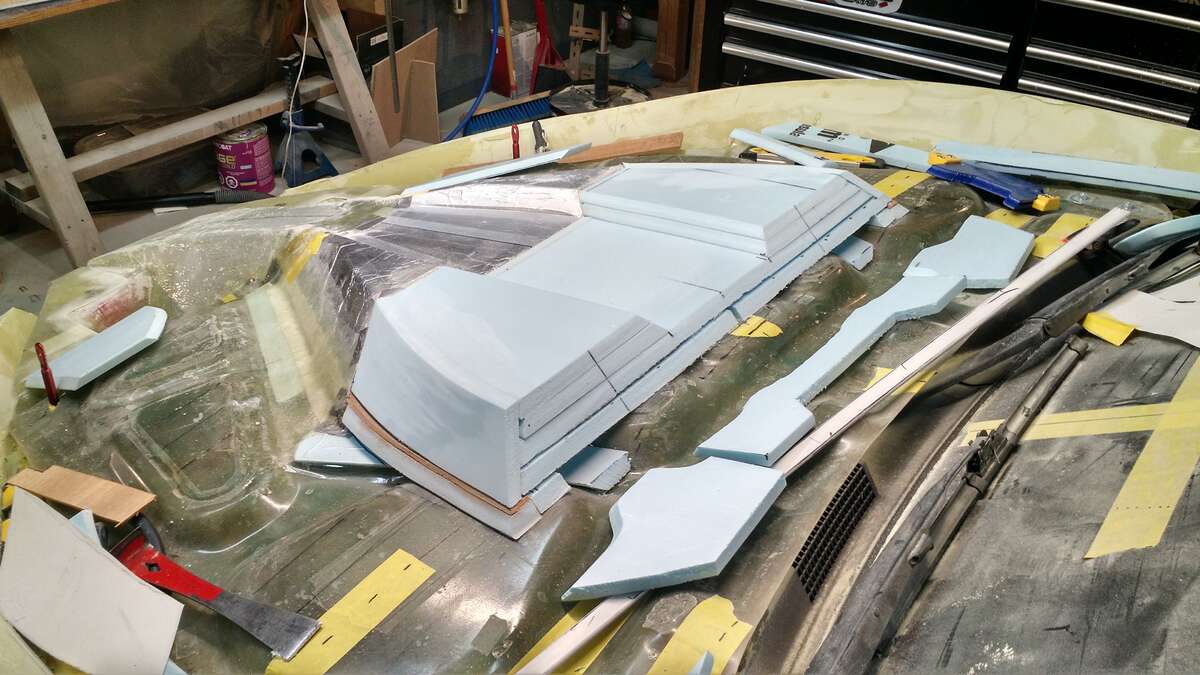
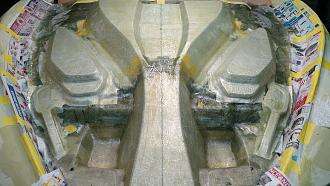
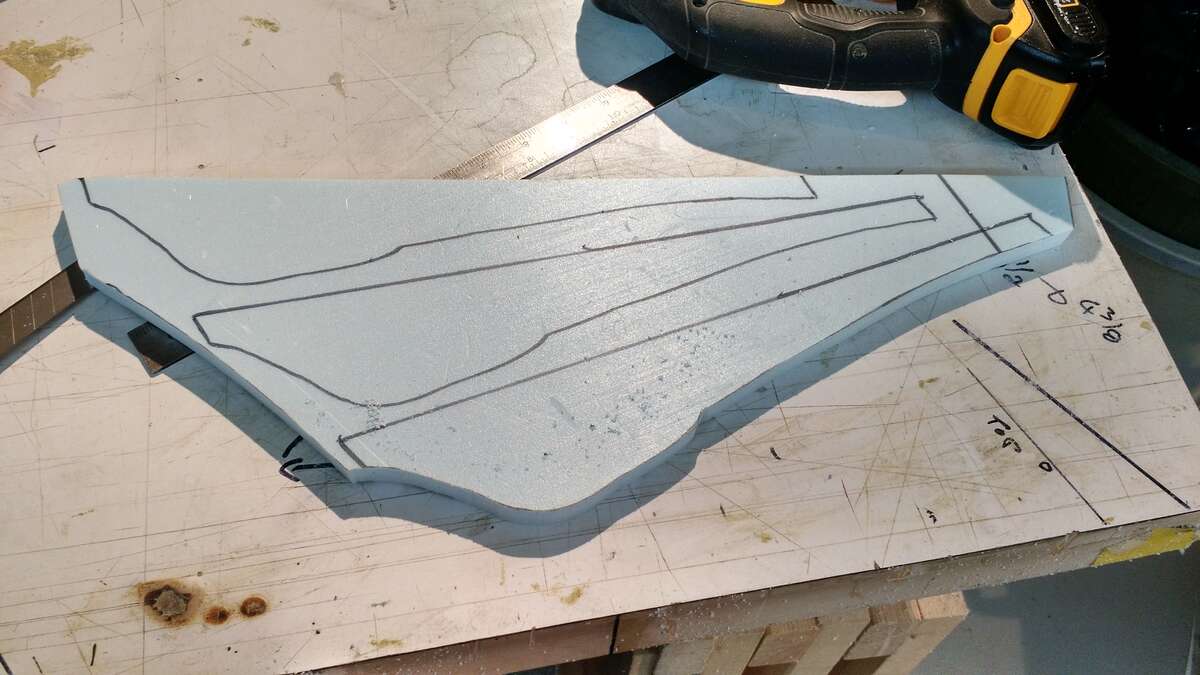
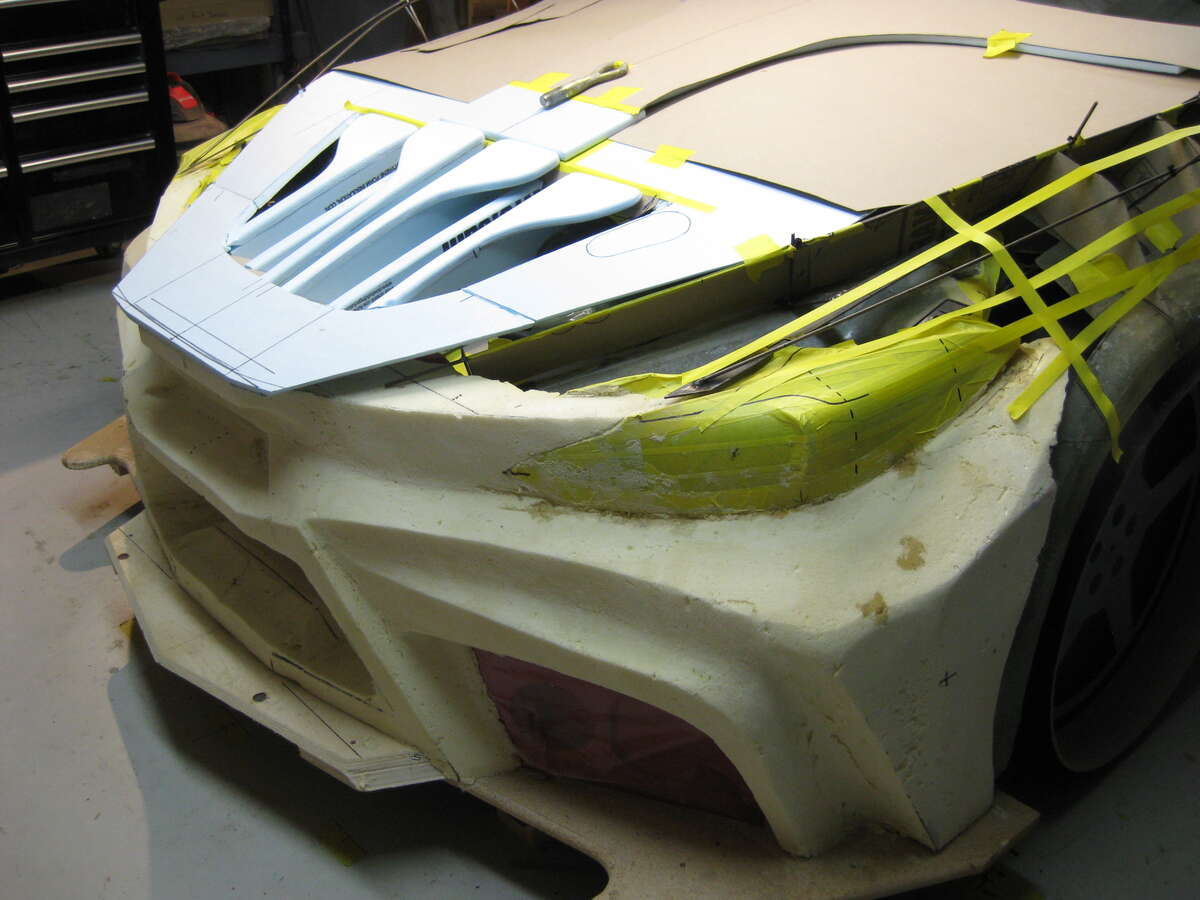
This is the bottom half of the hood , makes lots of room for goodies , I plan to buy another Zed later and build a beast with a supercharged LS3 6 or 7 hundred horsepower , full cage , bare minimum , so I want some room for stuff , this new hood design will allow room for twin turbos or LS style air intake . So I had to build this with the blue foam , so happy to done with the blue foam , it's truly a pain in the butt ,having to seal it up with foil and tape . now remember is is the bottom half .....so the top will be a lot different
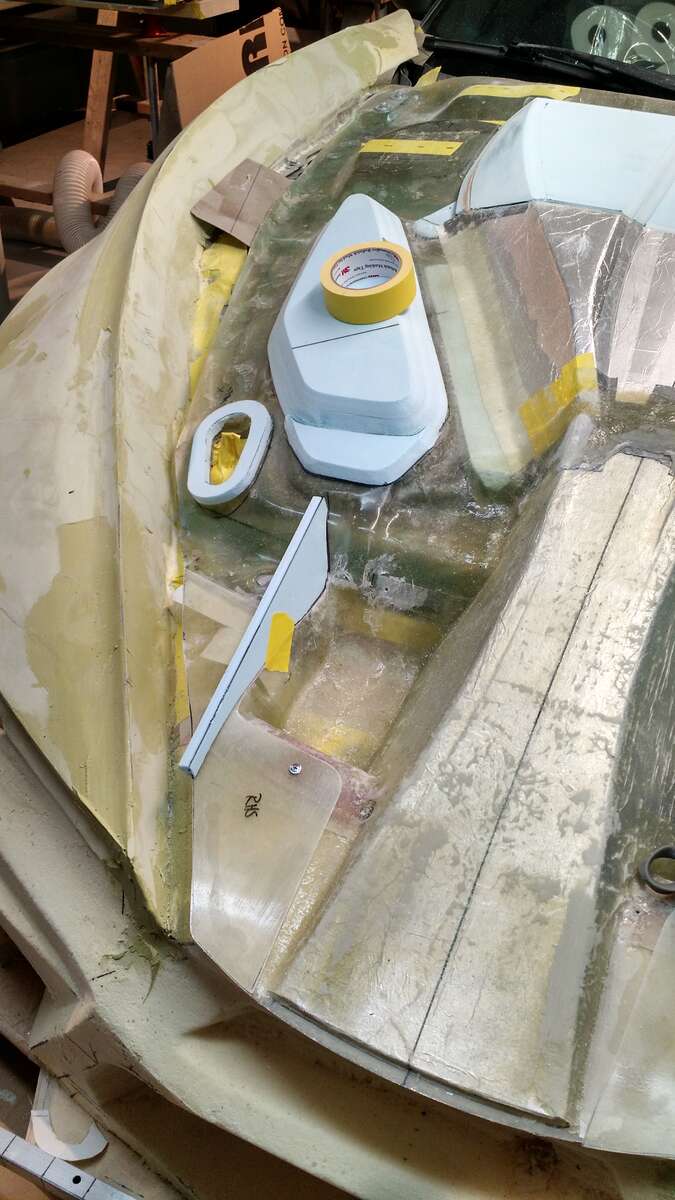

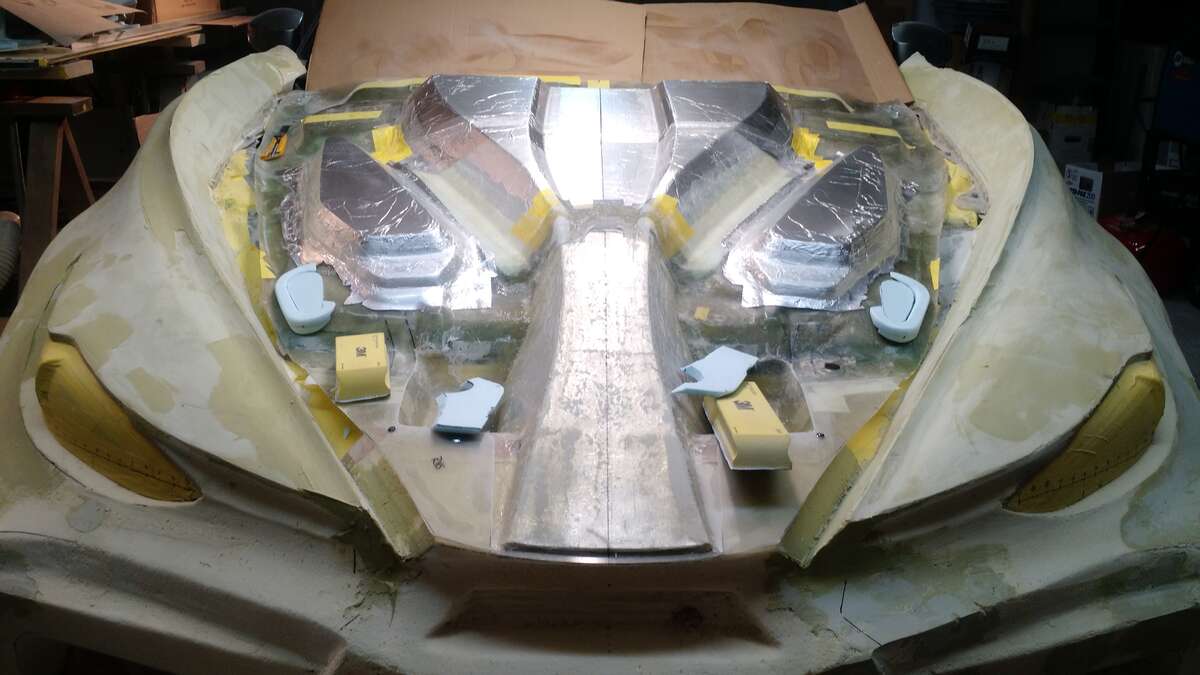

-
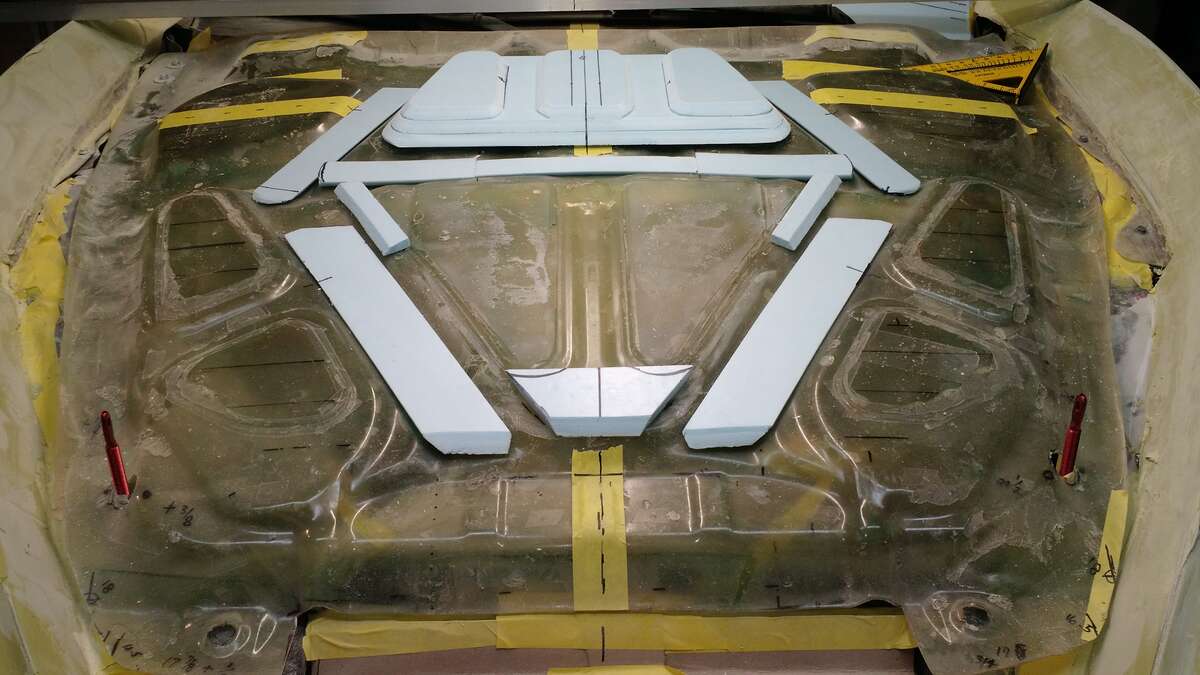
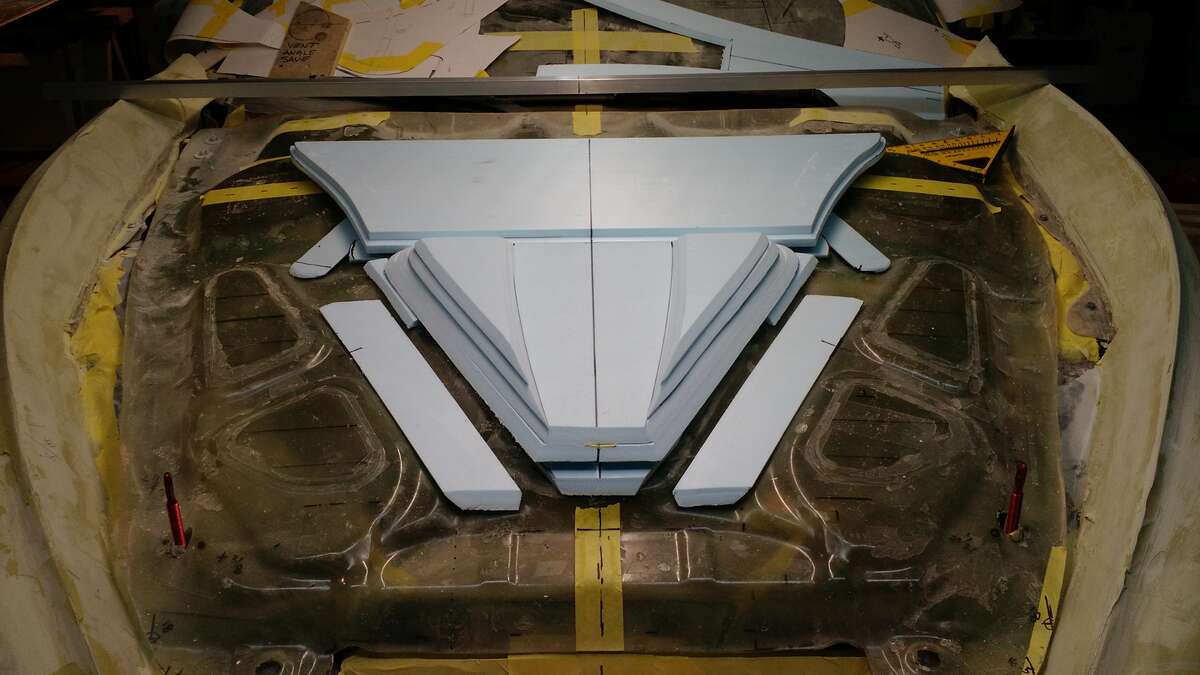
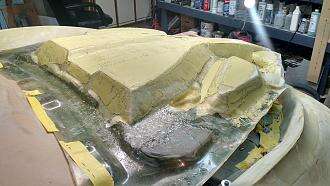
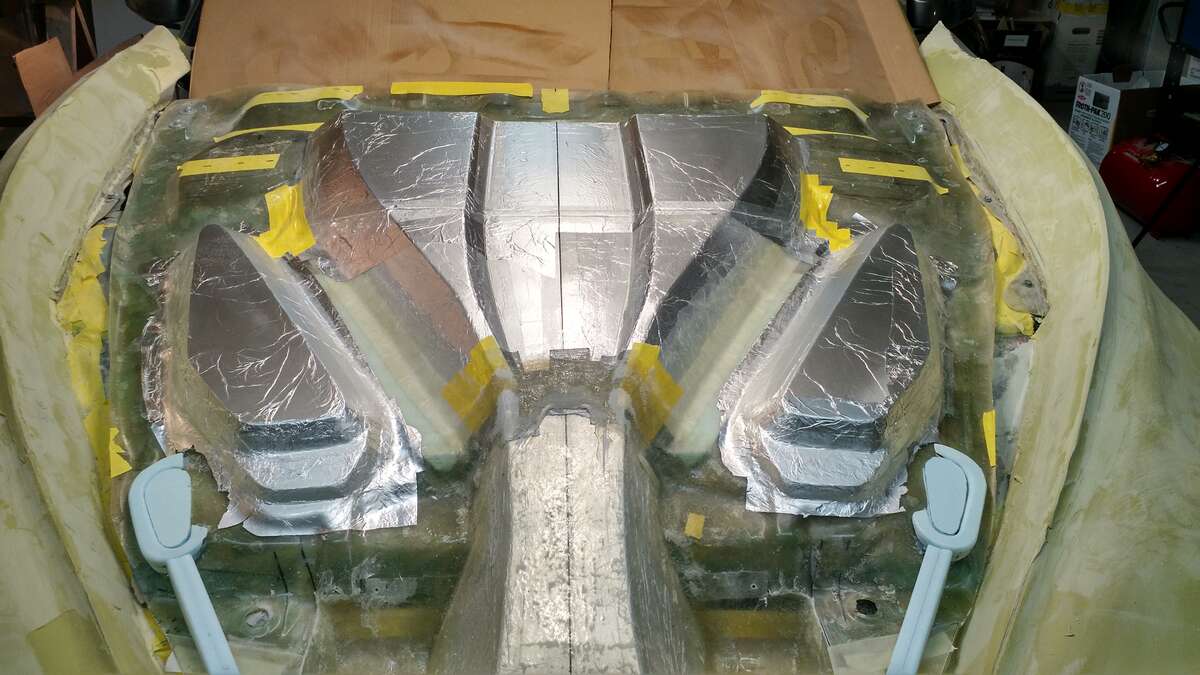
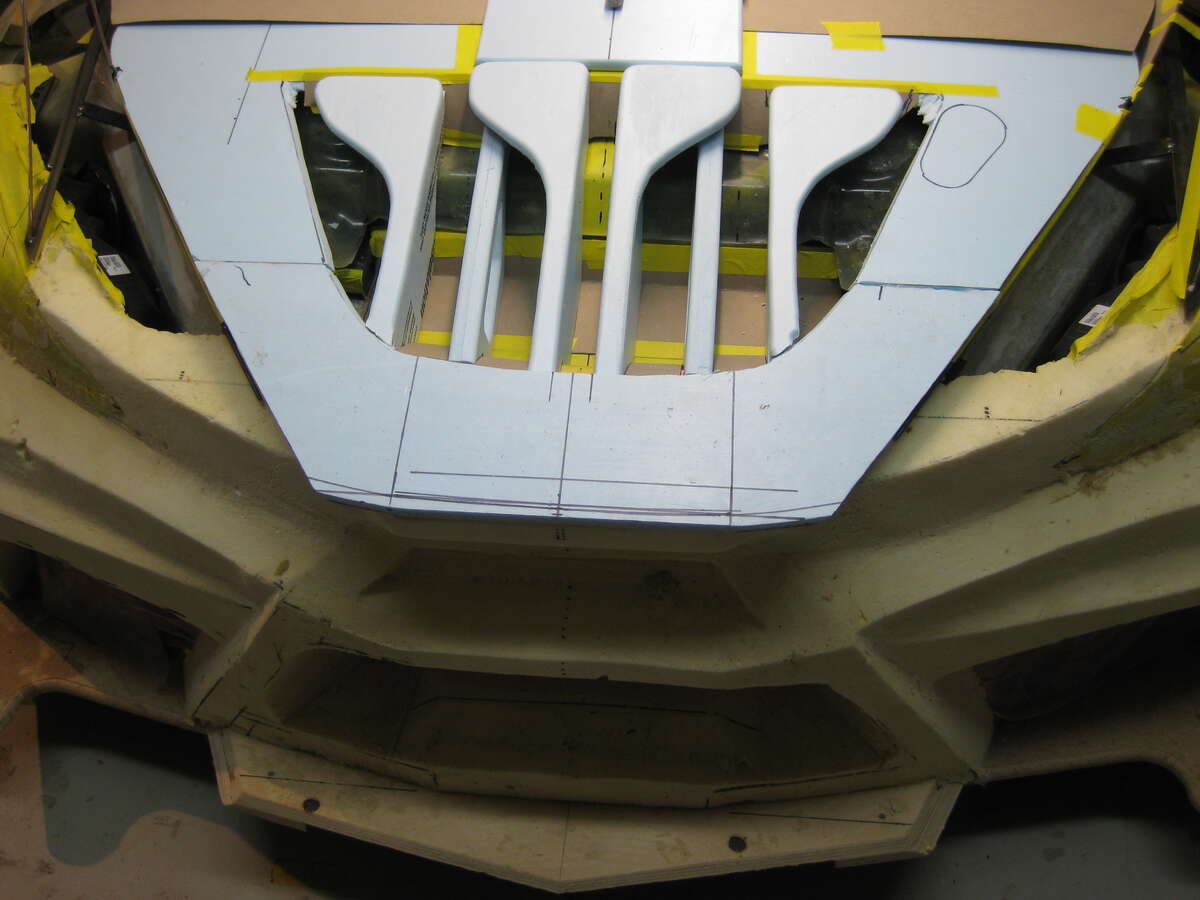
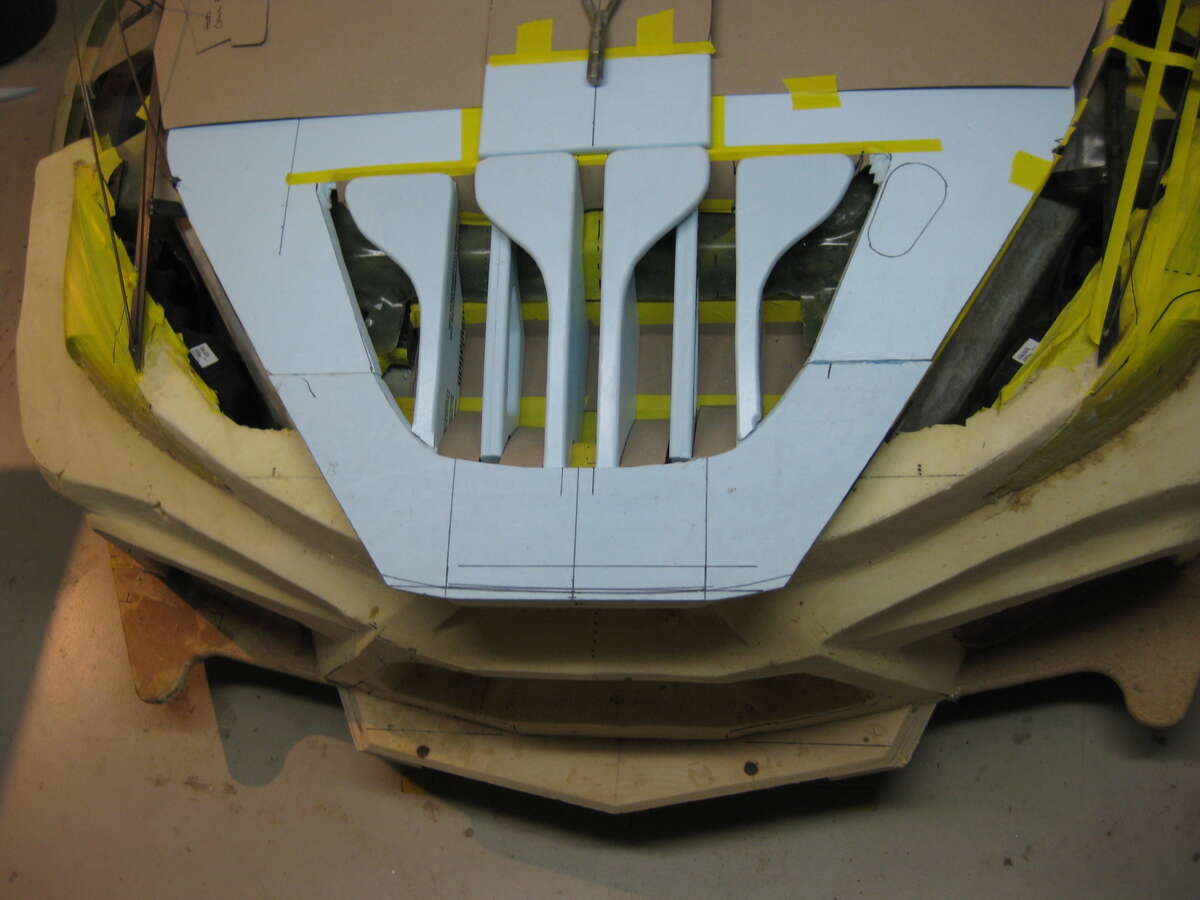
Should have a look at the hood . I mocked this up with the blue foam , was a long time ago now , this was the original plan for the hood , Vintage Maserati kind of style . The two outside petals were going to cold air intake slots underneath were the air box's are . but as time goes zooming by and the amount of work to build molds for all these parts is just unrealistic , it's been over 2 years now working every day . The other thing is it doesn't make any extra room underneath for extra goodies . But I really liked it !!!
-
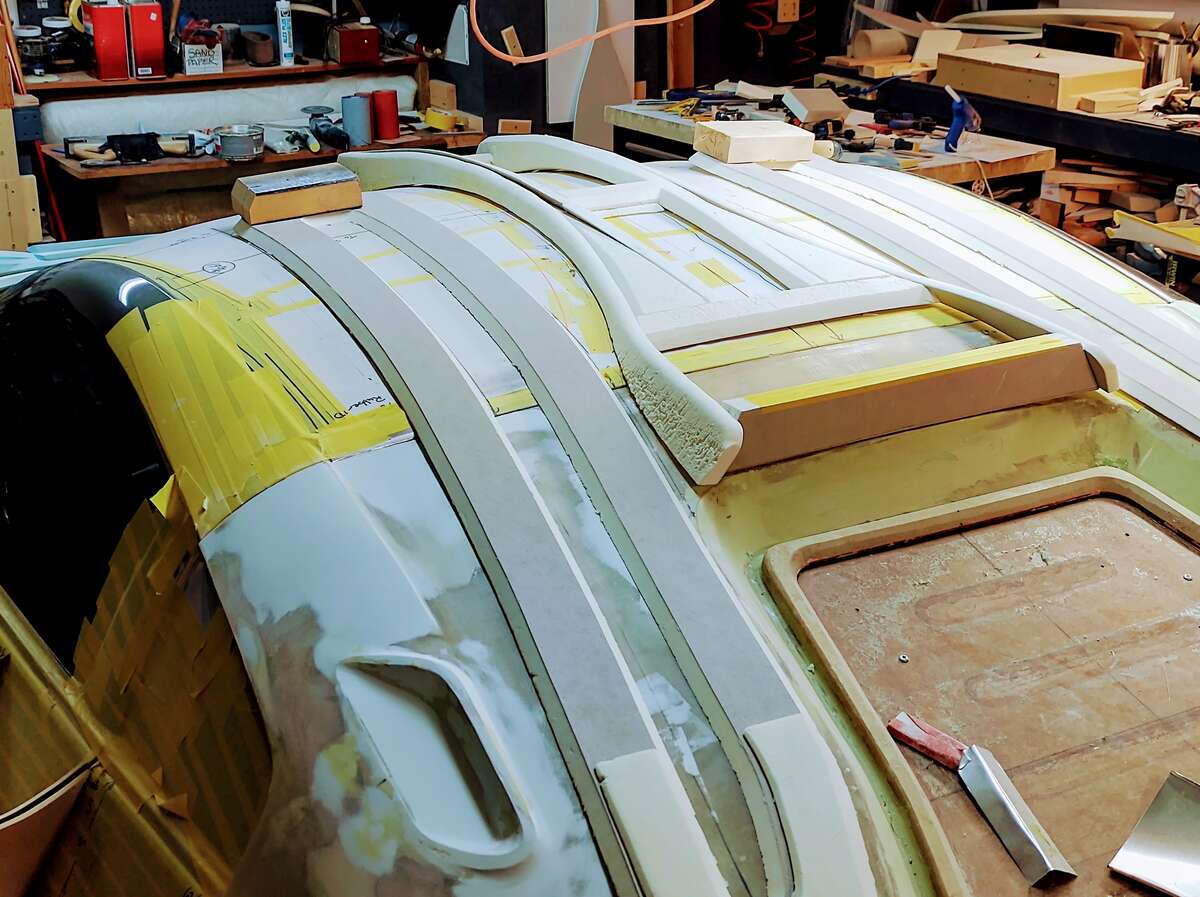
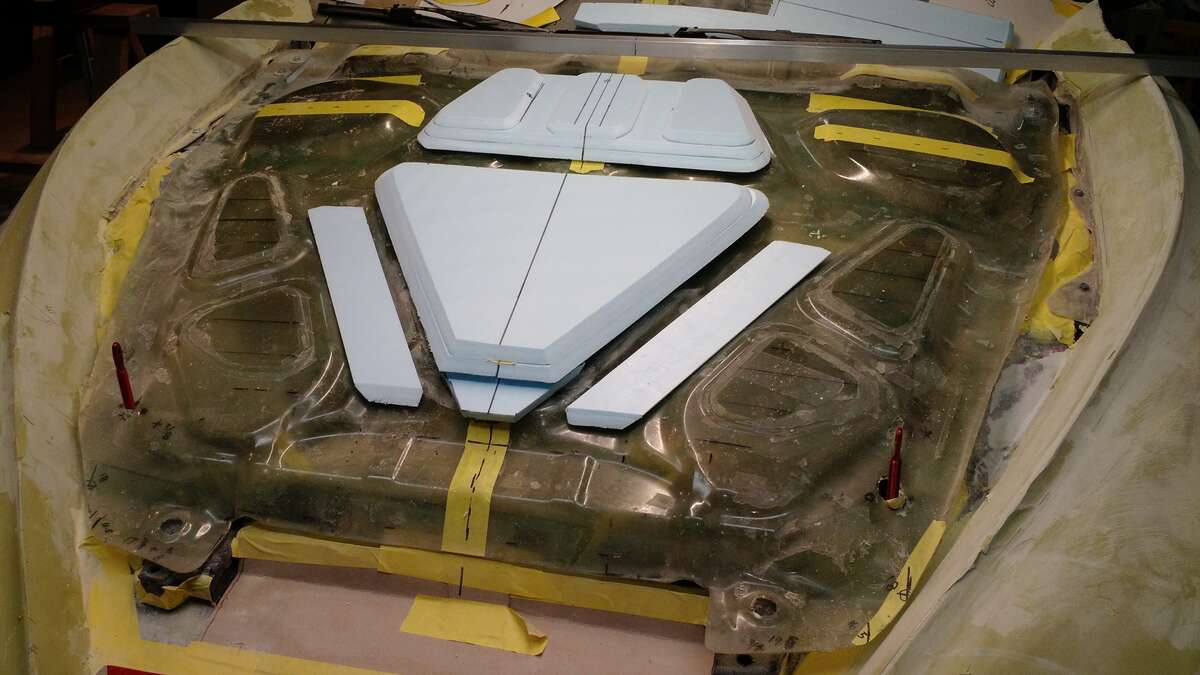
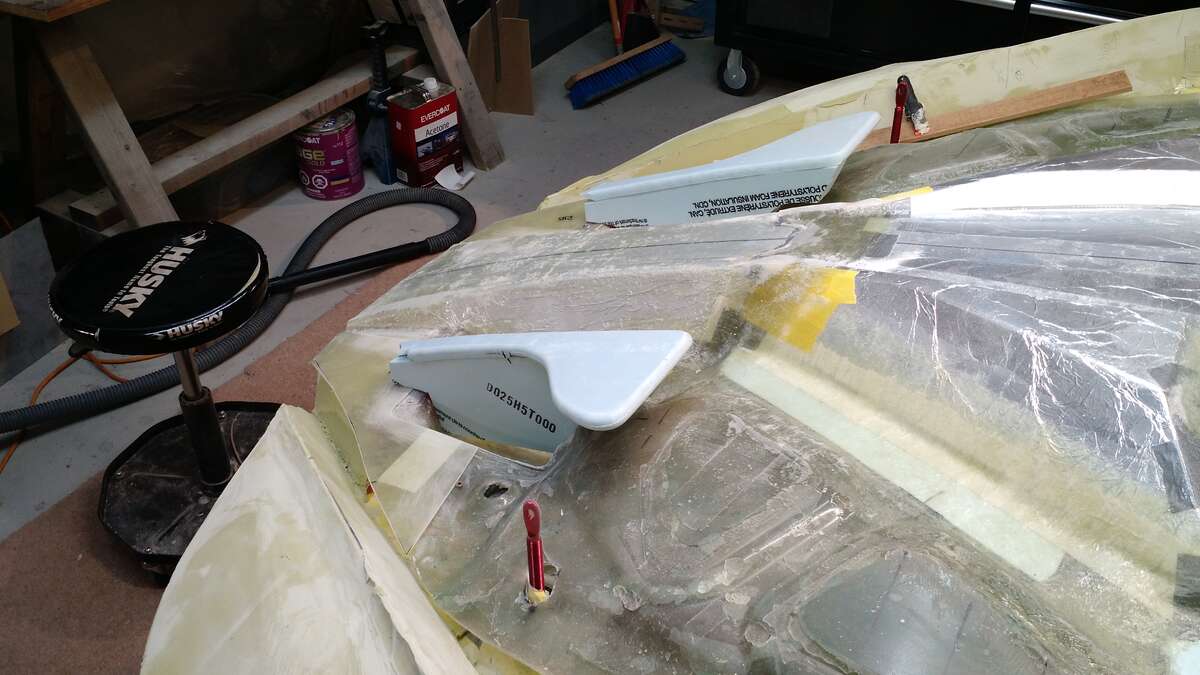
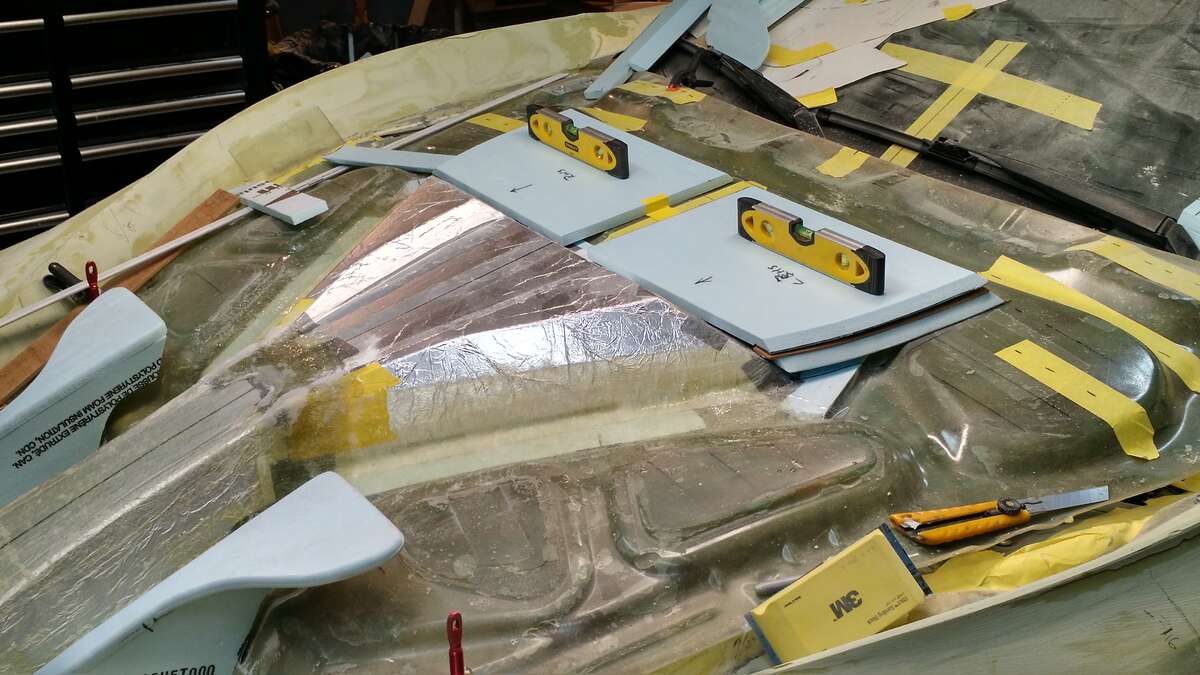
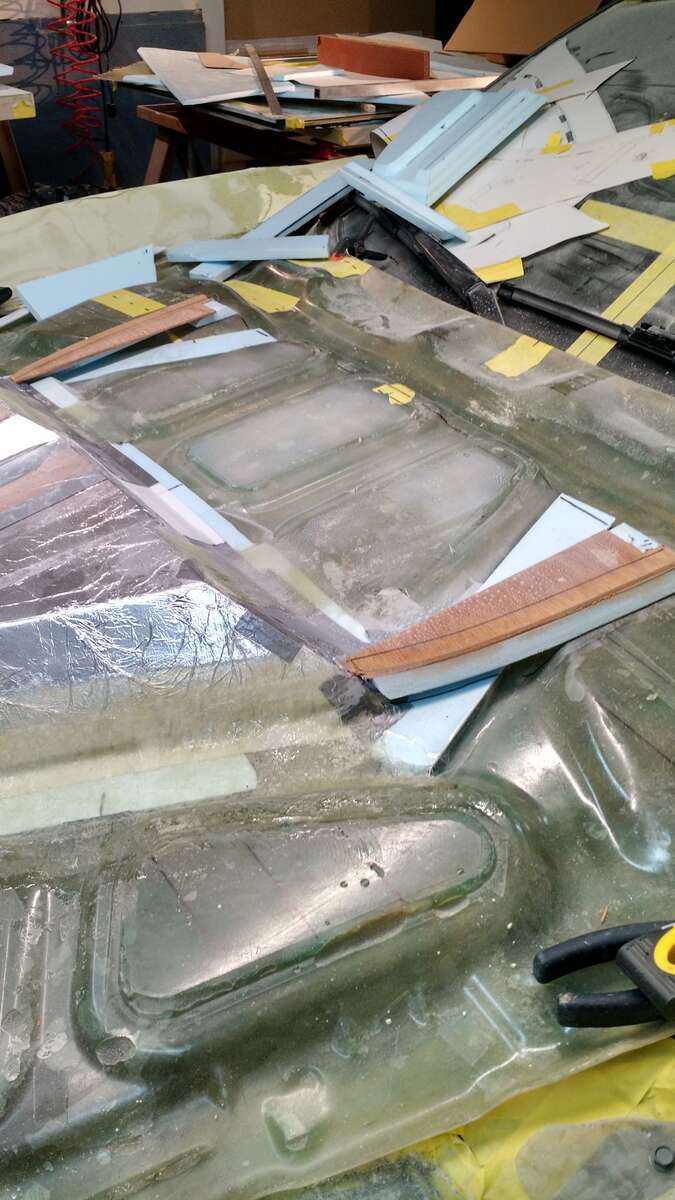
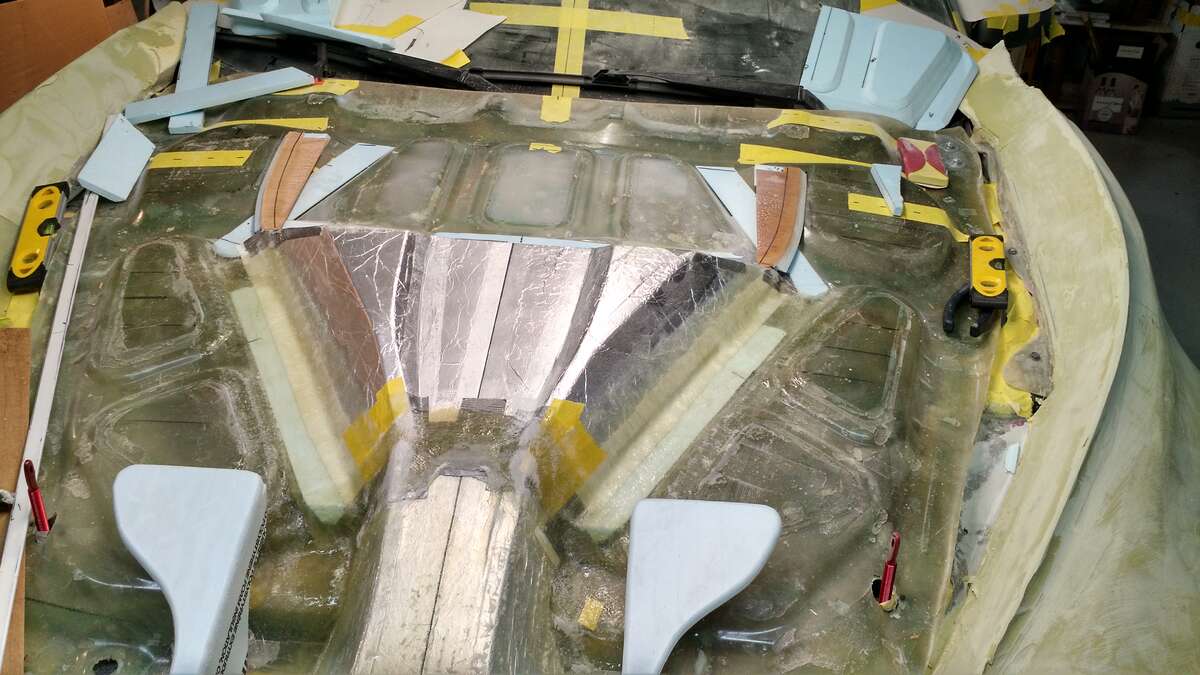
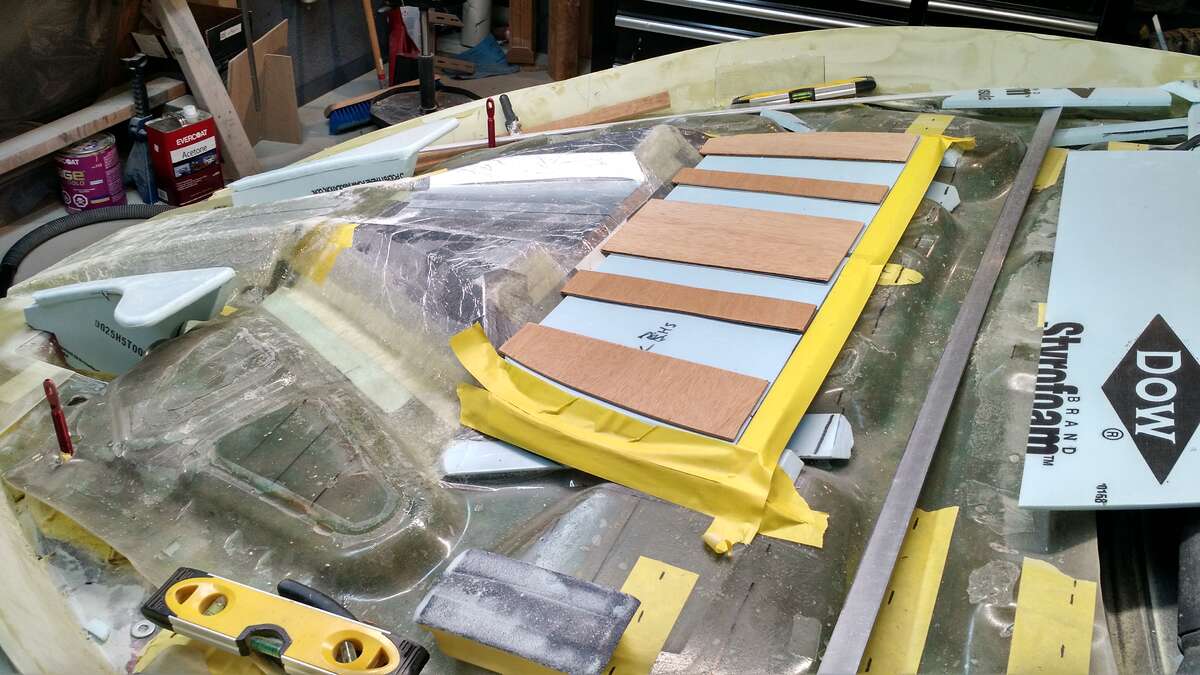
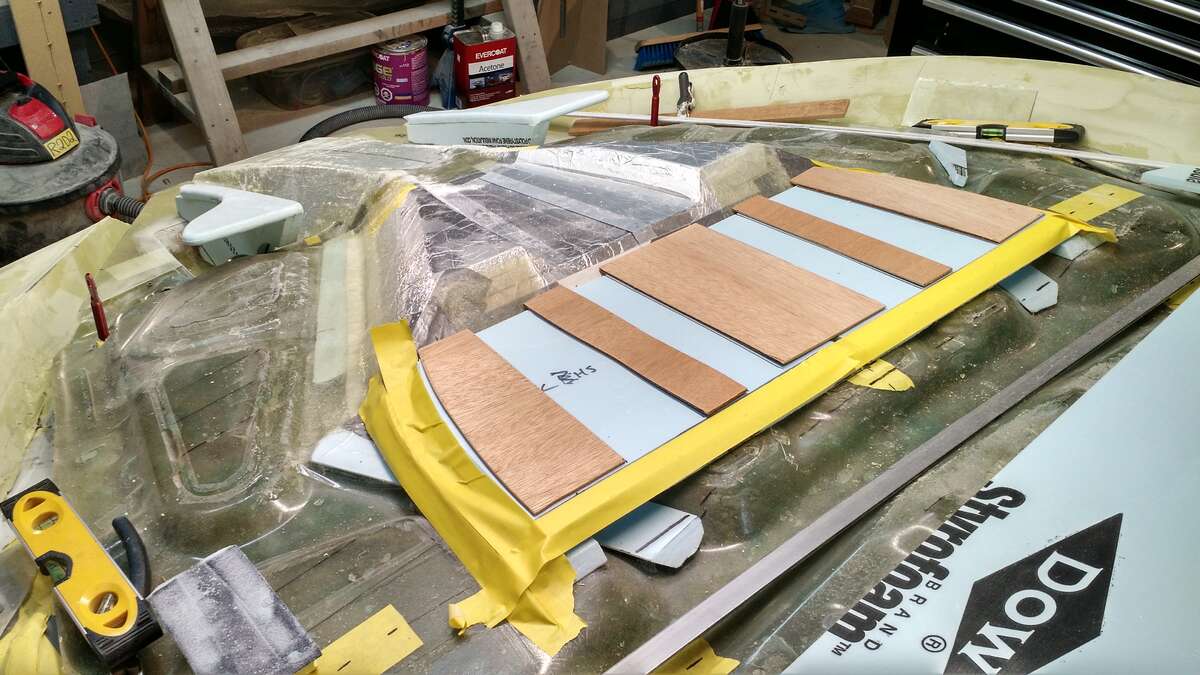
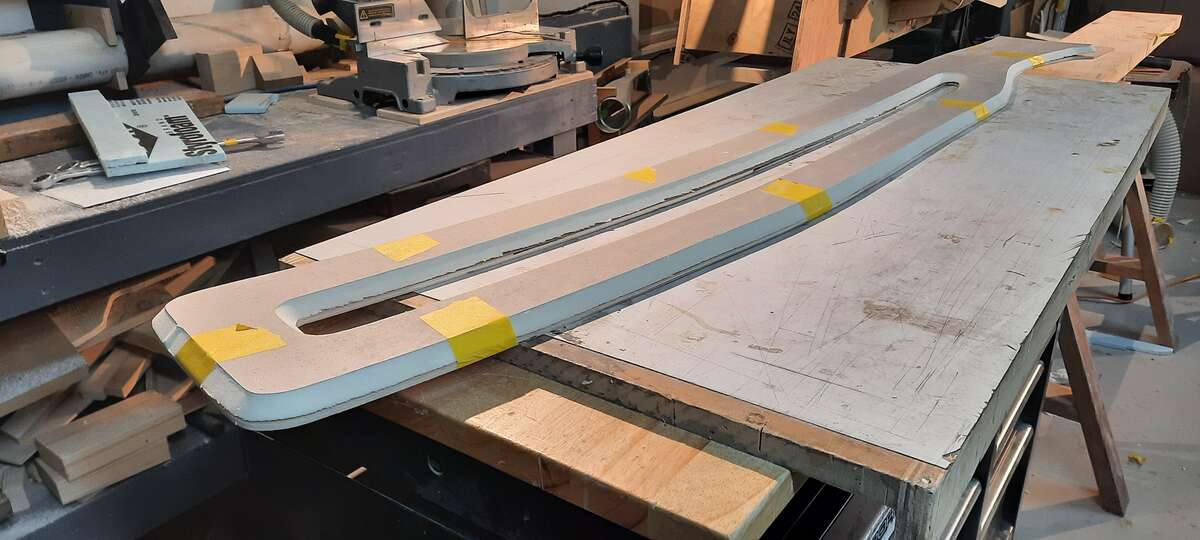
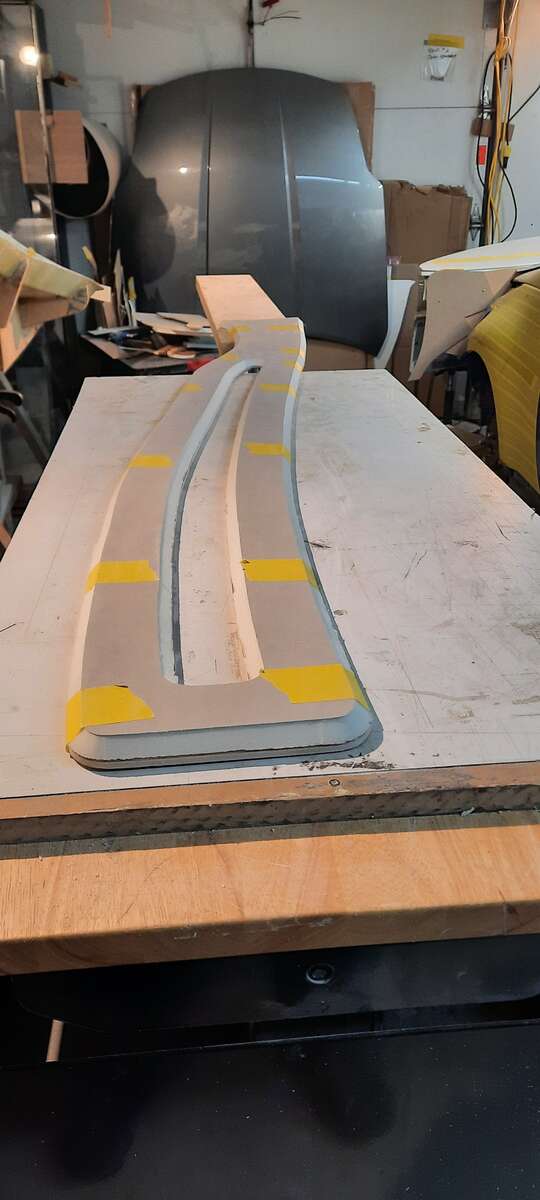
So All the parts I made with the blue foam has to be replaced with the new foam , lucky for me I saved all the patterns and jigs for the router table . Here I am remaking new foam parts that go on the roof , I call them the batman humps , there purpose is to make the roof stronger and provide some more height around the trunk area . First pic is the 1/4 inch plywood pattern Running the foam through the thickness planner
.jpg.451673749de106adbca9656c84d59bcc.jpg)
-
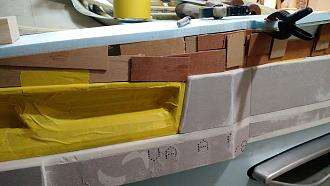
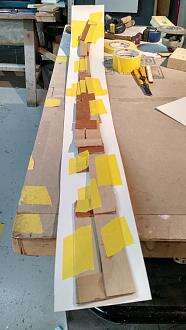
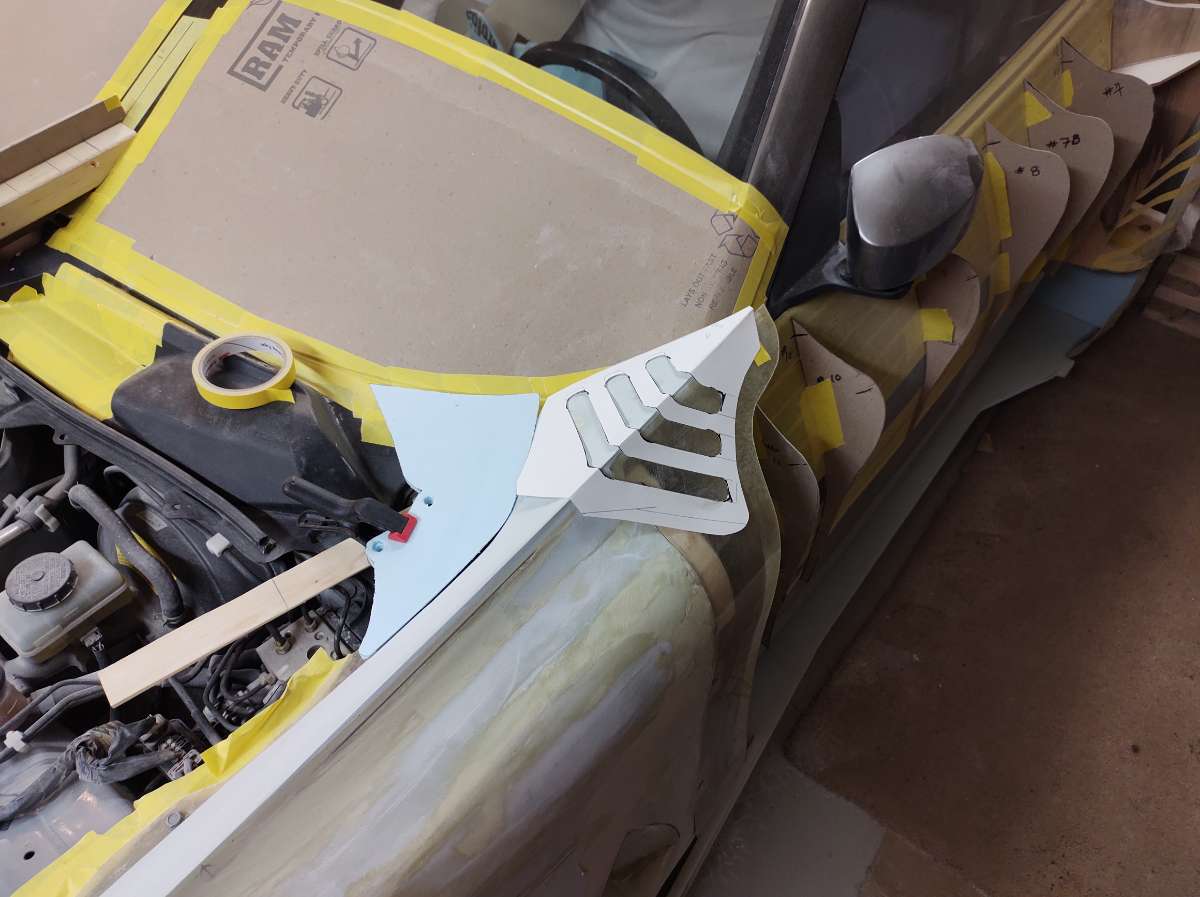
So this is how I make patters sometimes with thin door skin wood , rip it into strips about an inch to one and a half and glue gun the pieces where you need the shape . Then trace it out on paper then transfer that onto the material your using . This is to make the pattern for over the tail lights , and you use the same one for both side ( of coarse )