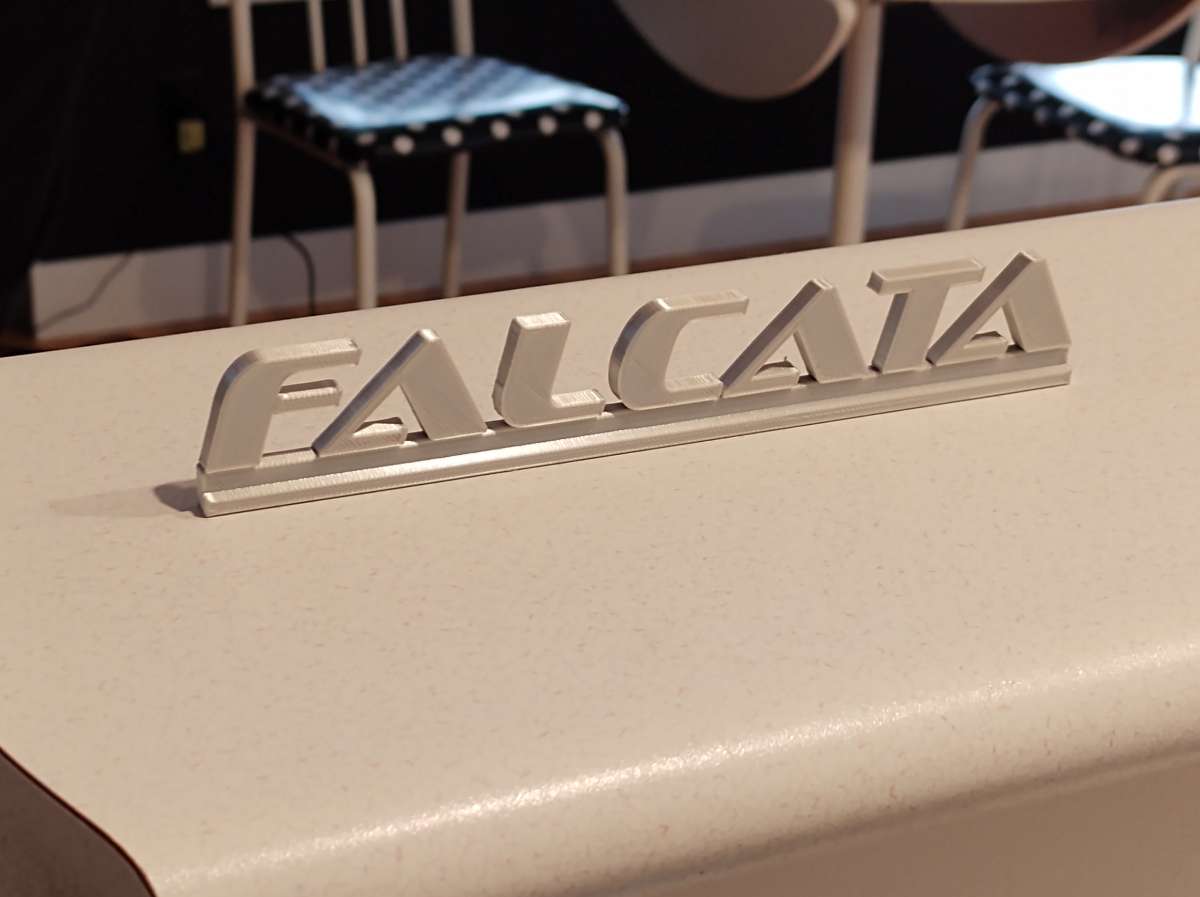
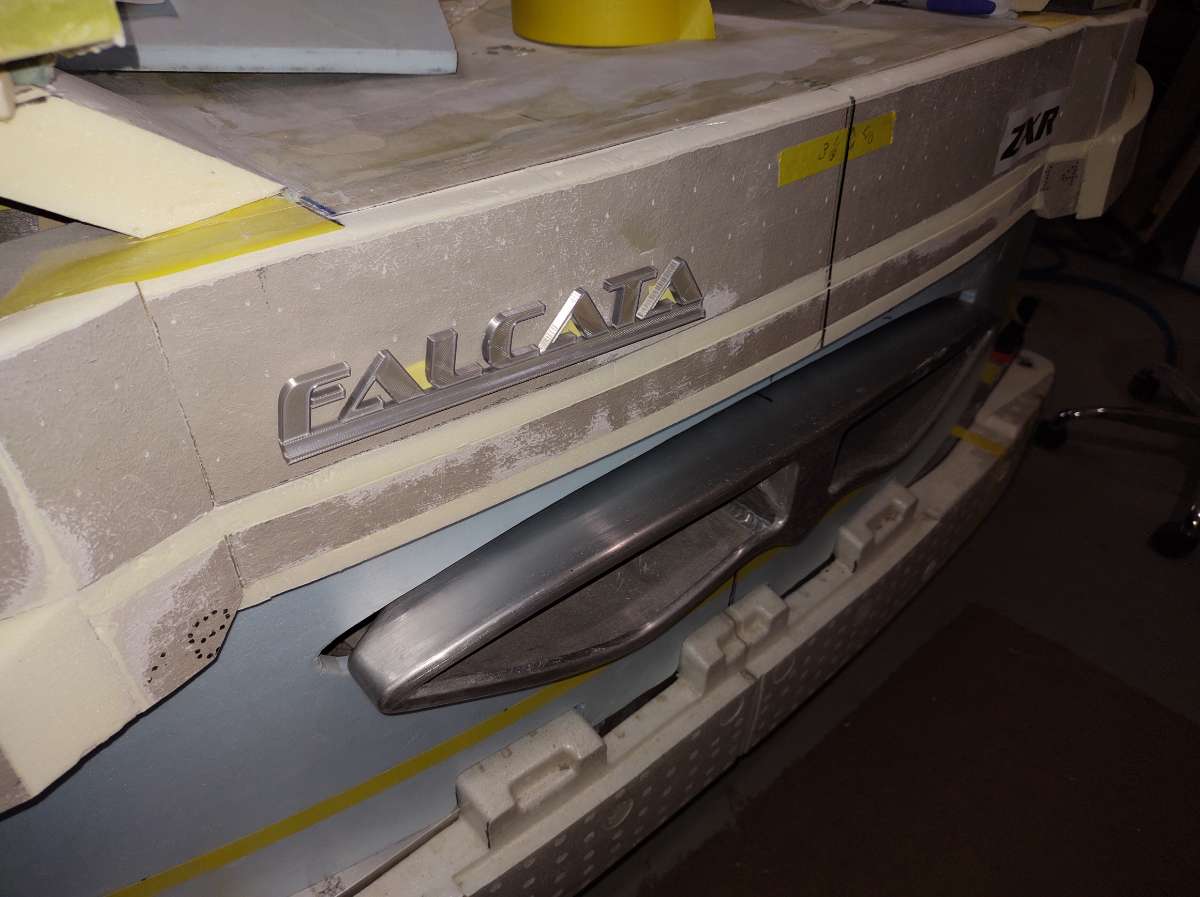
Falcata
-
Posts
107 -
Joined
-
Last visited
Content Type
Profiles
Forums
Events
Gallery
Store
Everything posted by Falcata
-
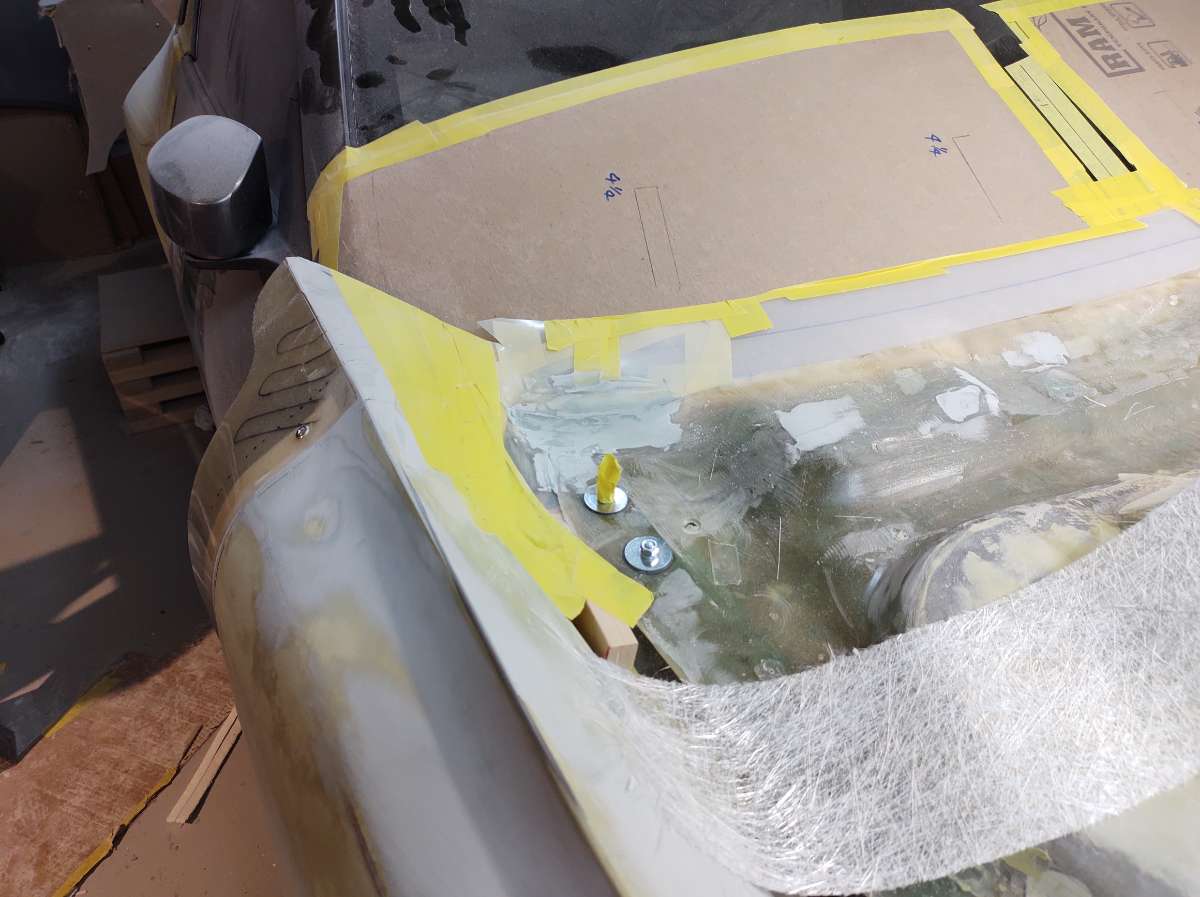
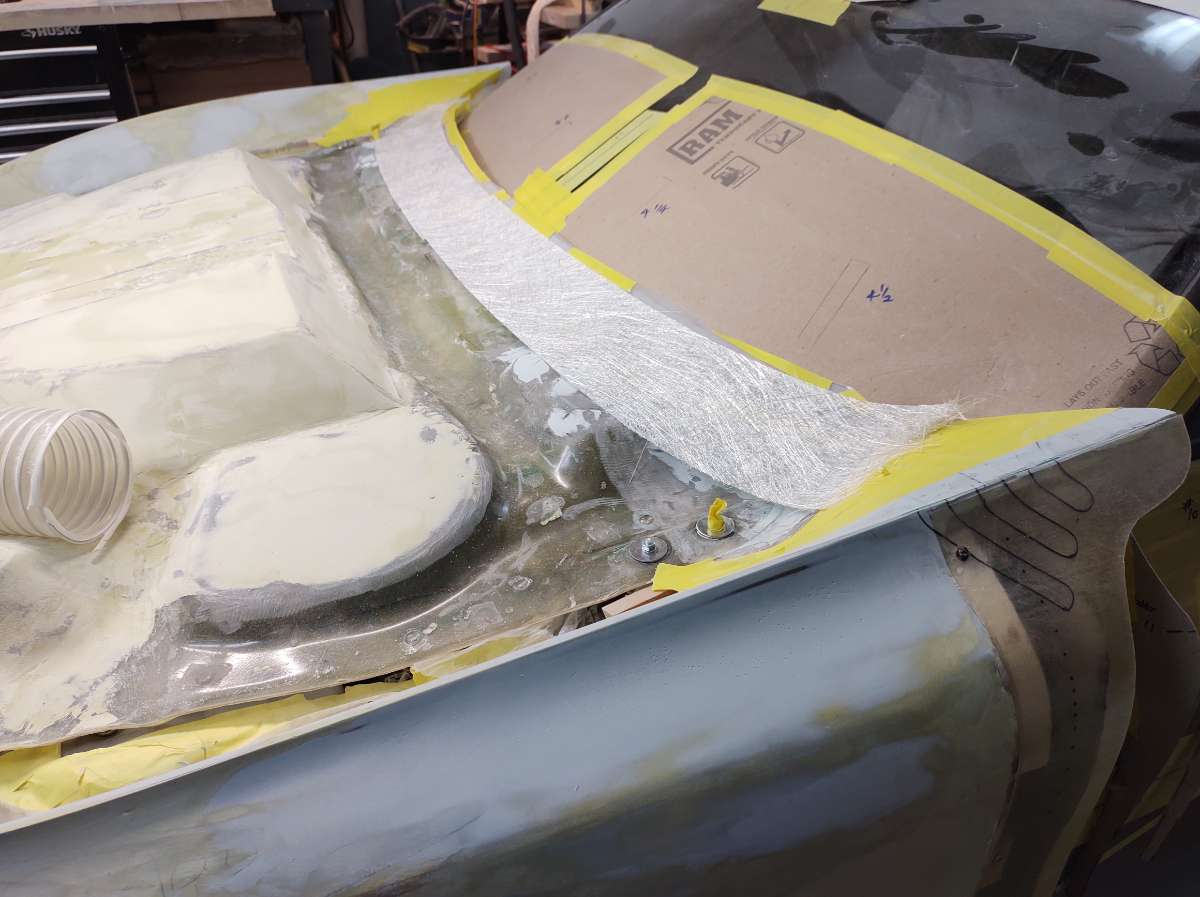
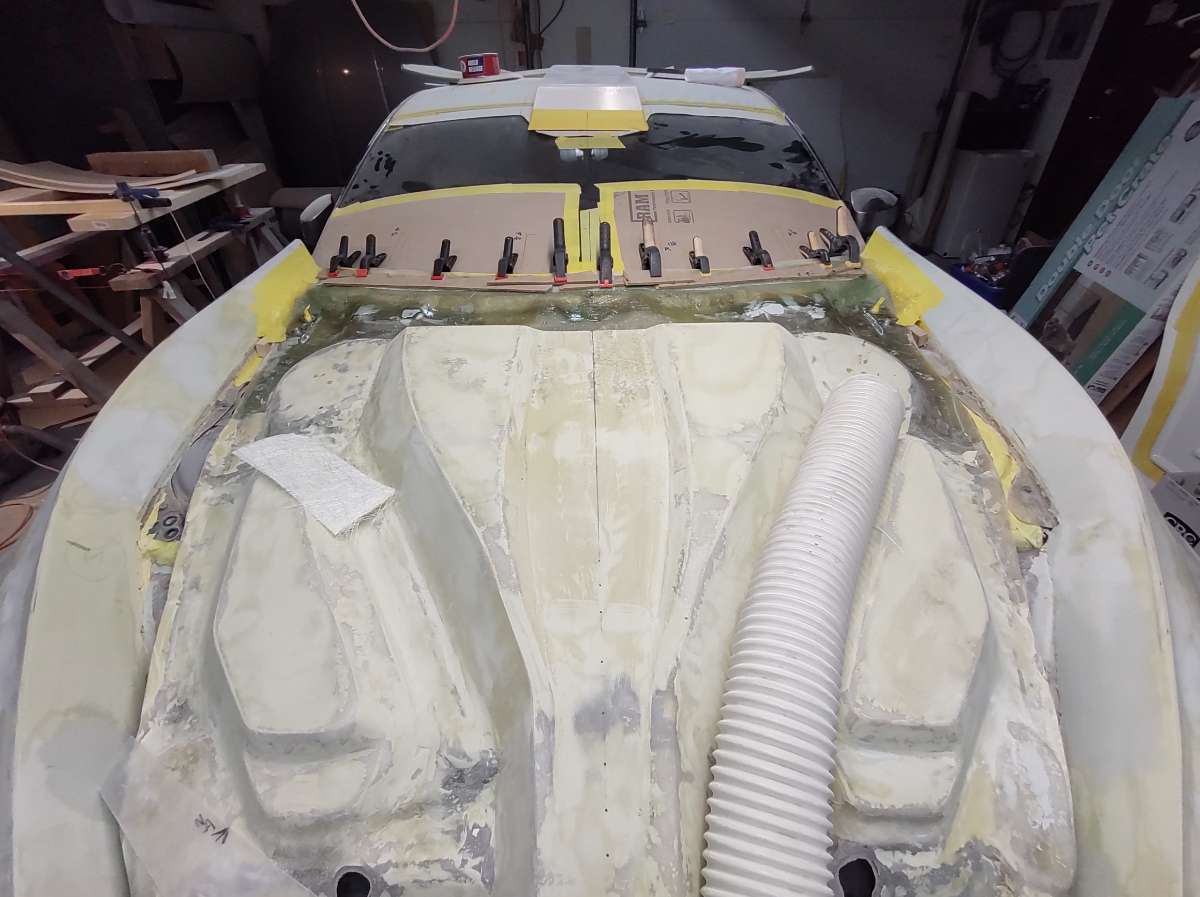
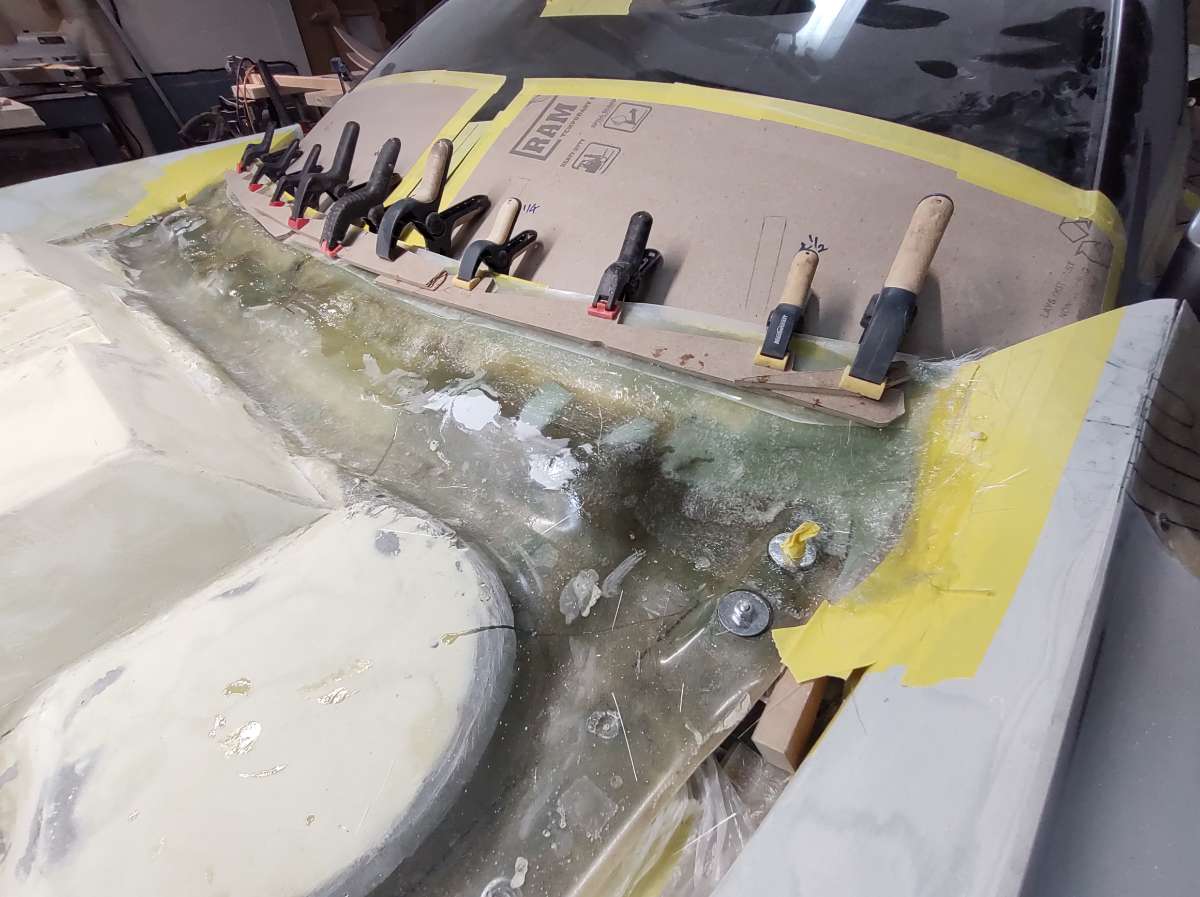
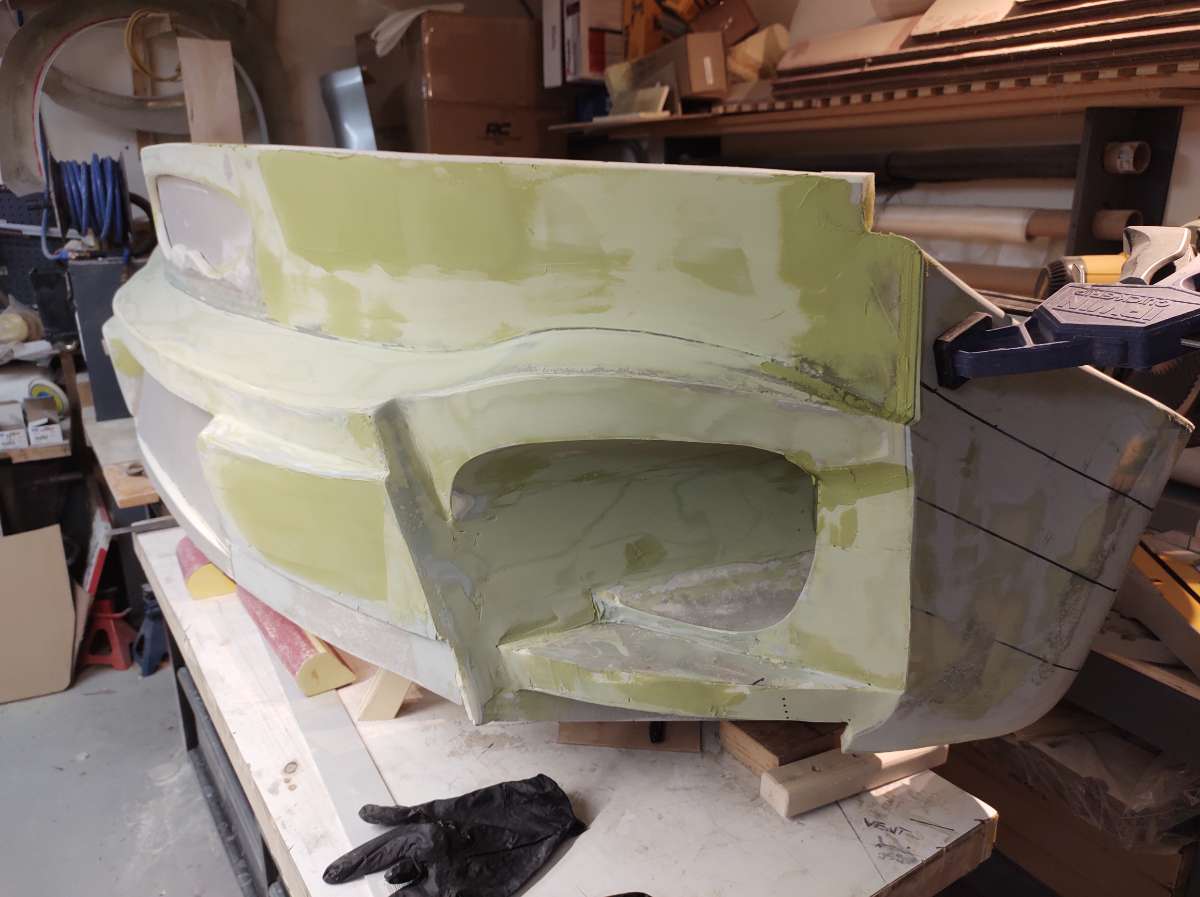
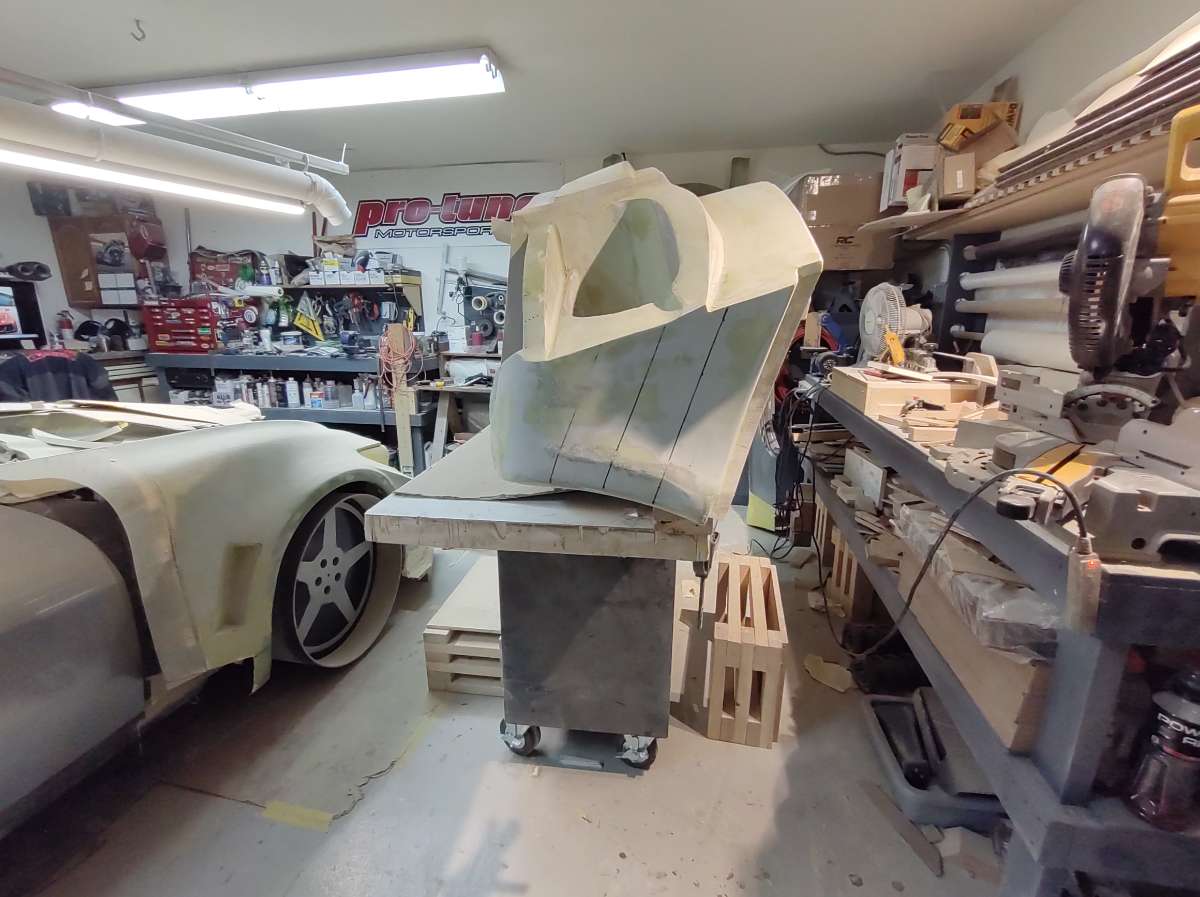
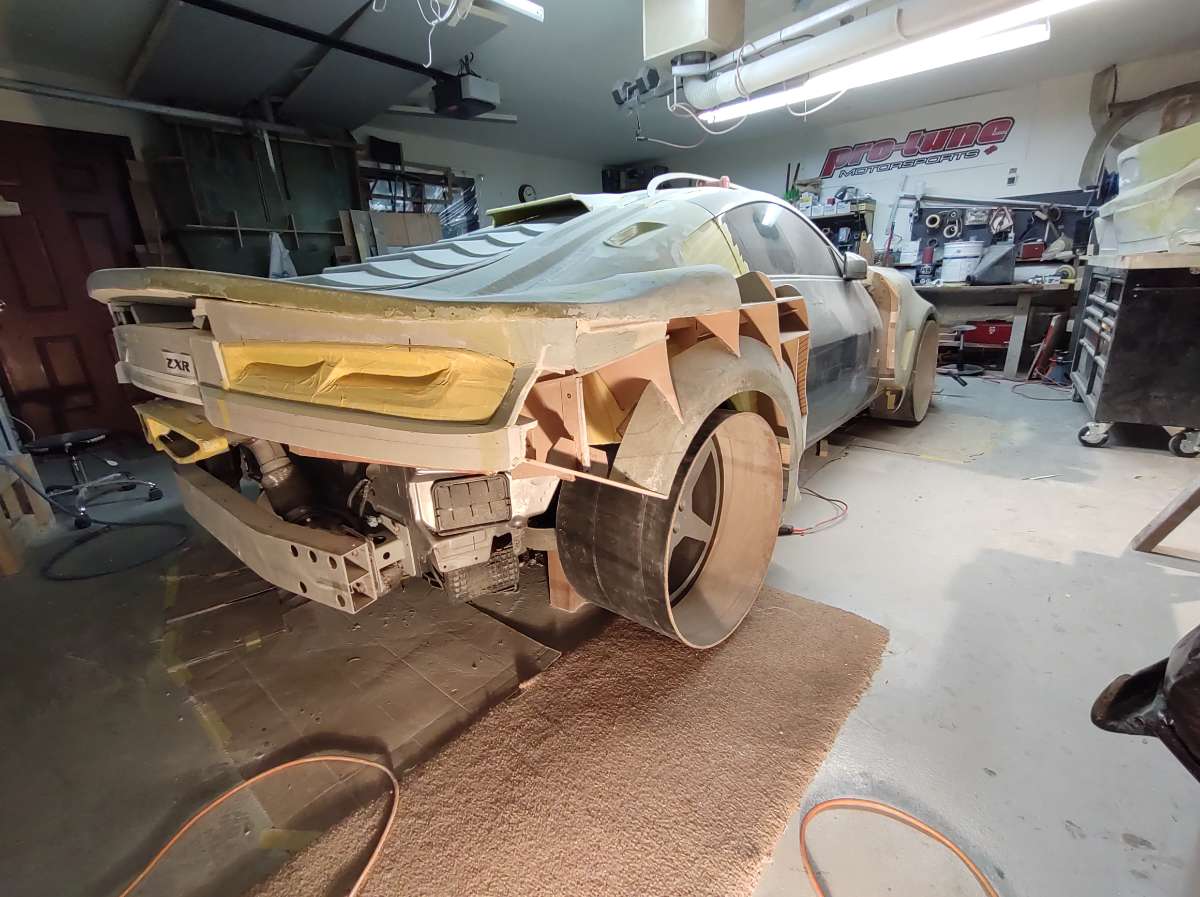
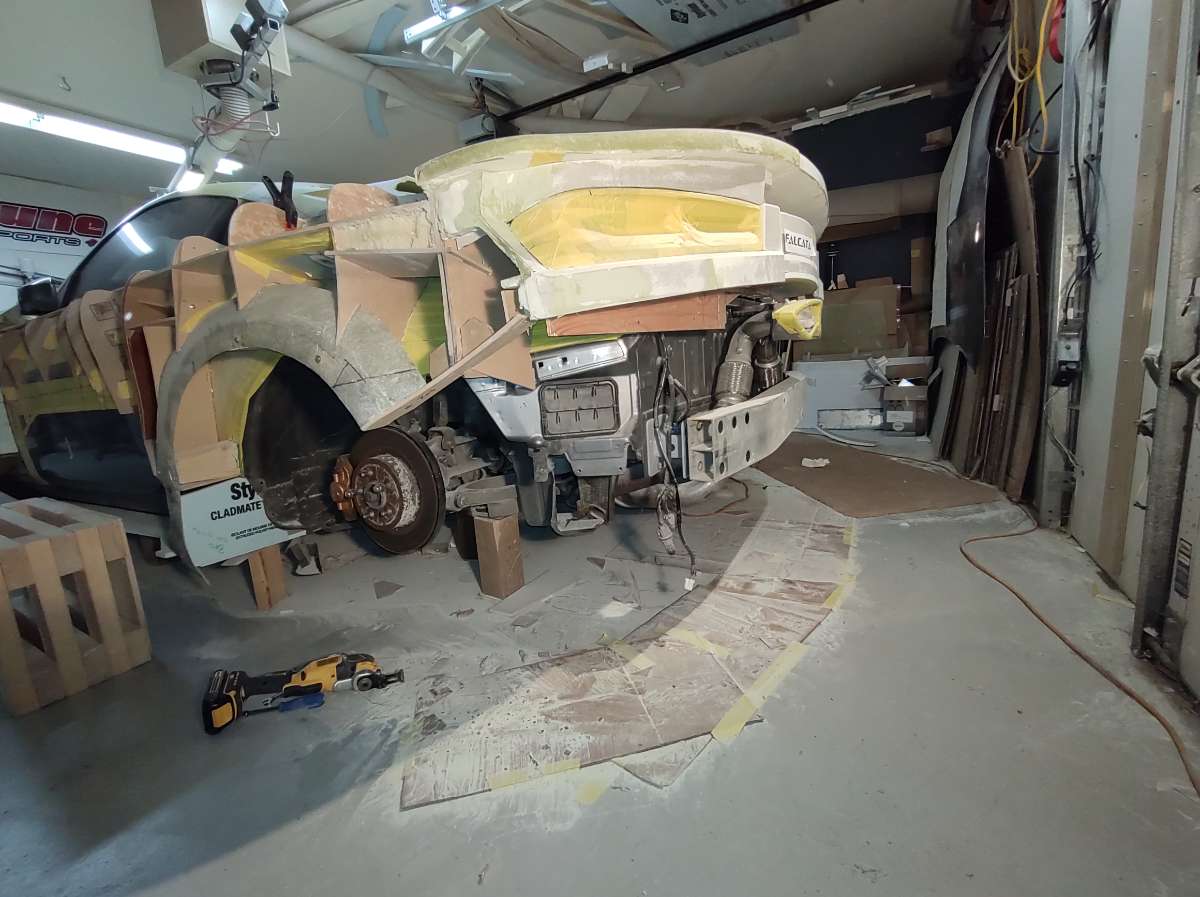
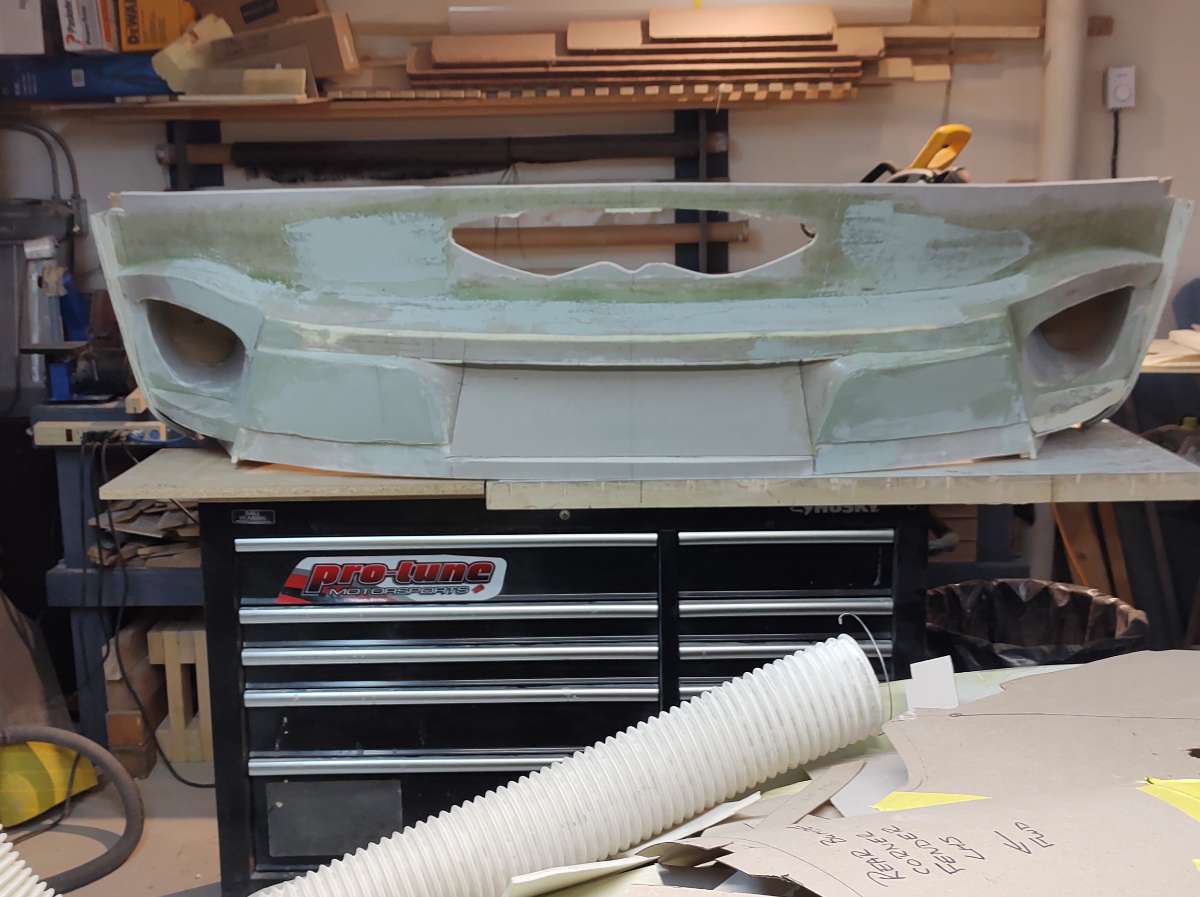
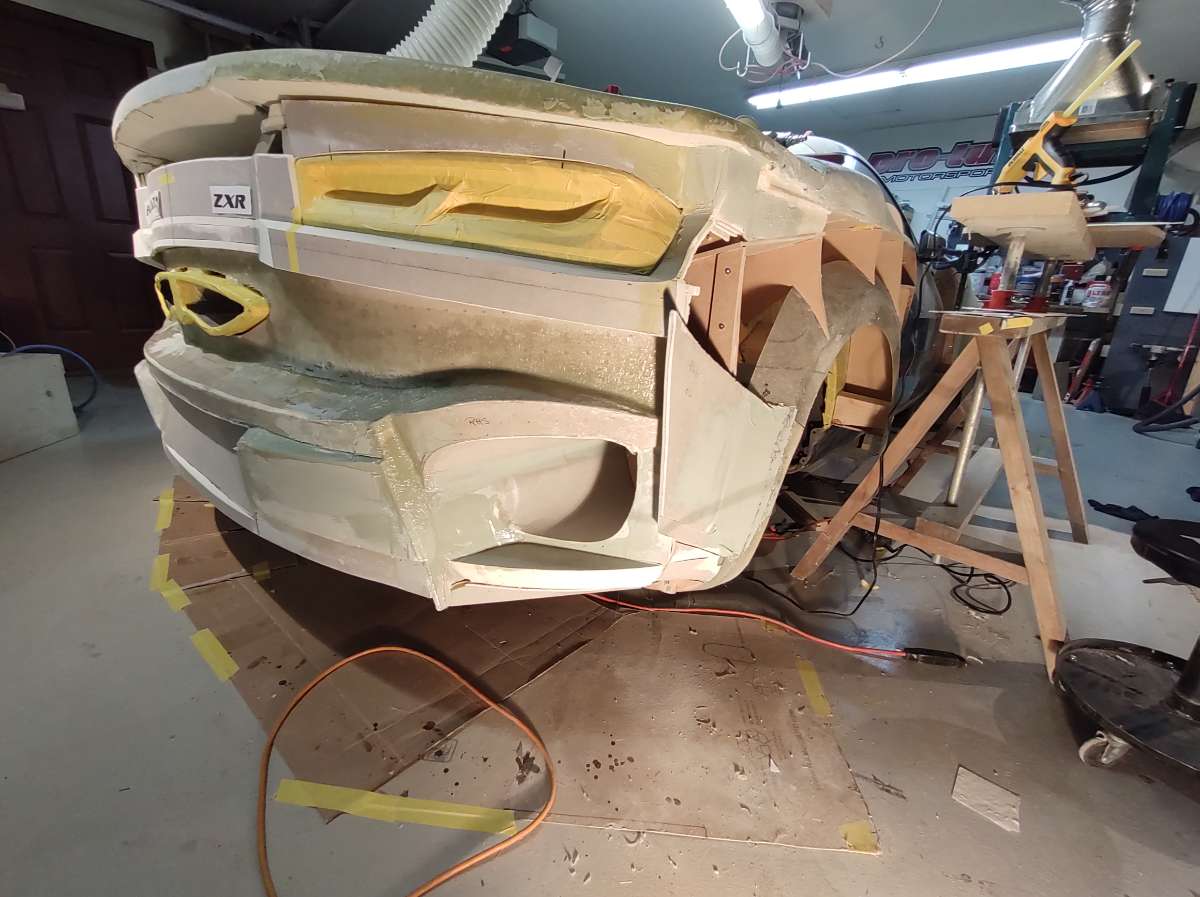
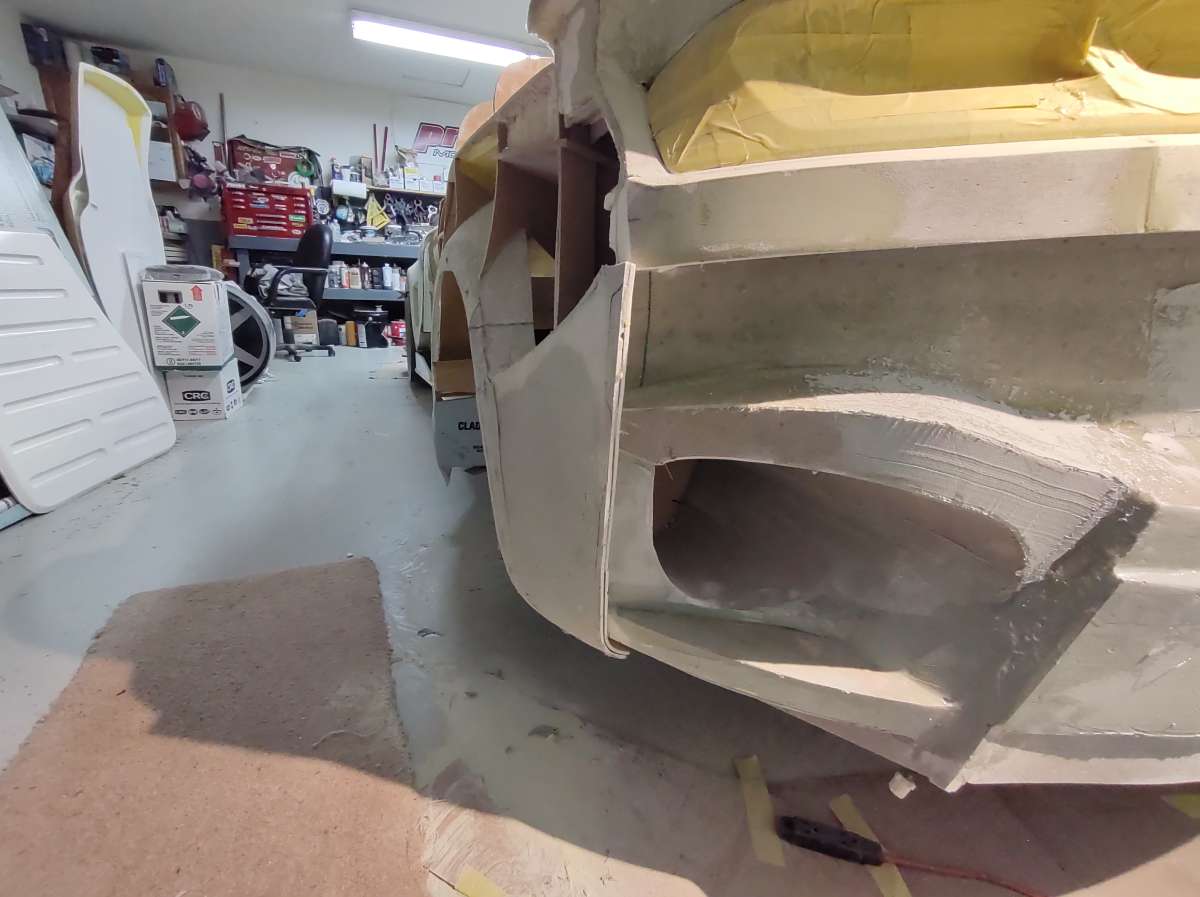
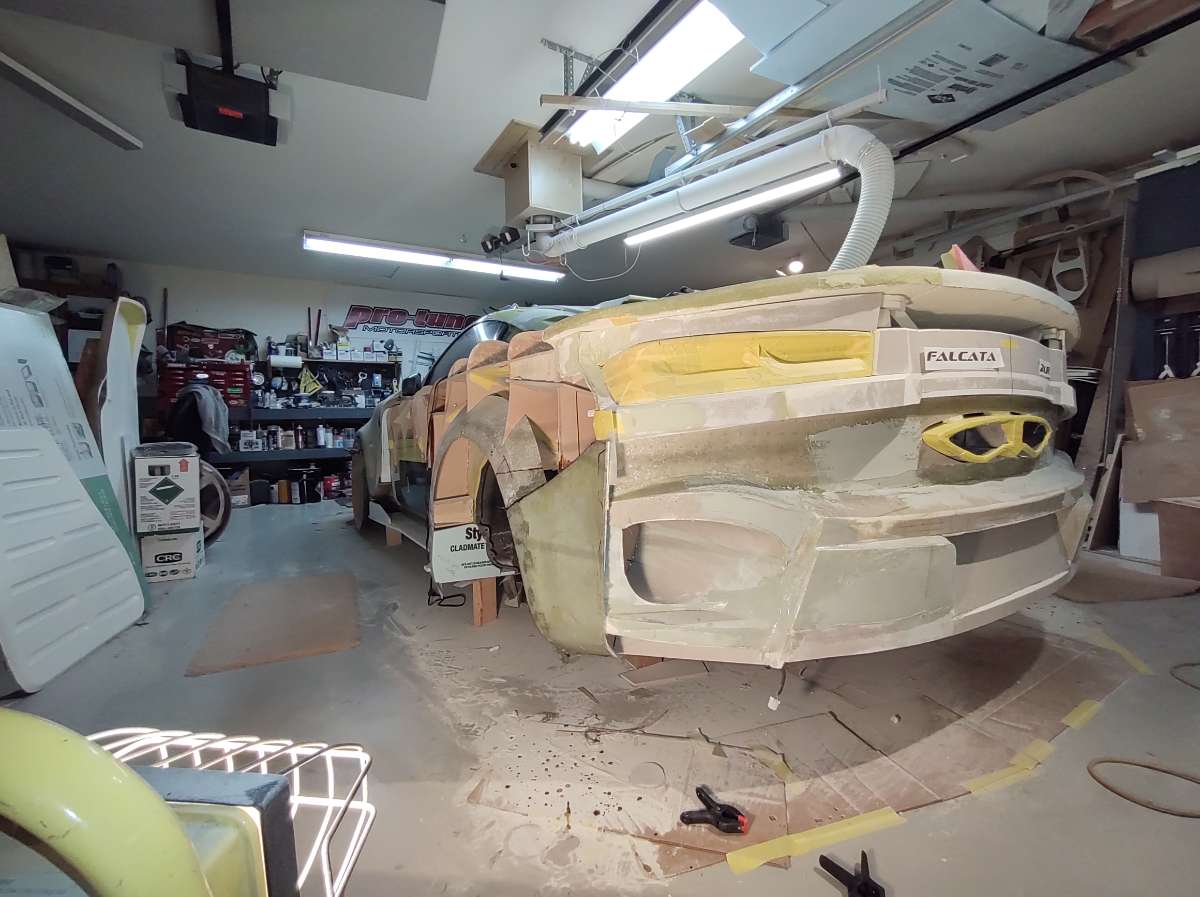
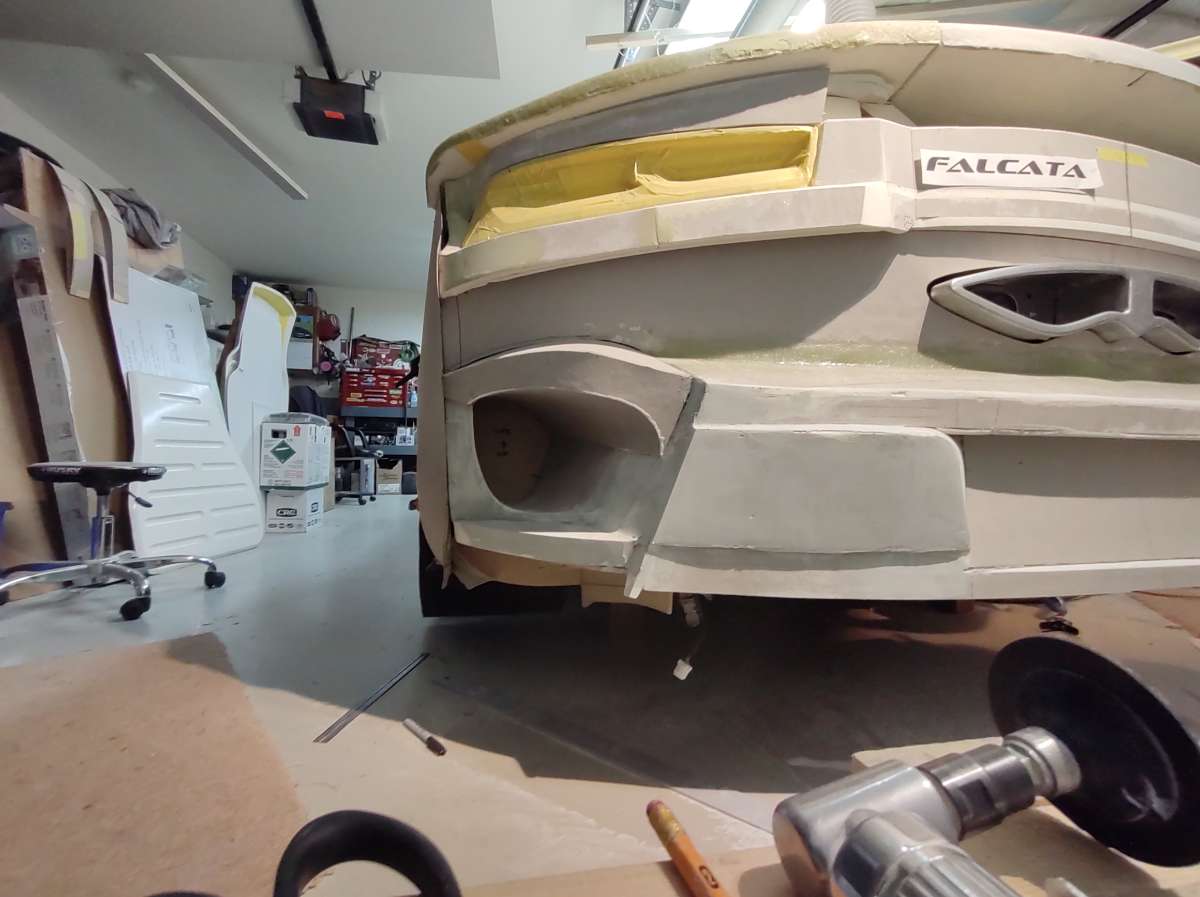
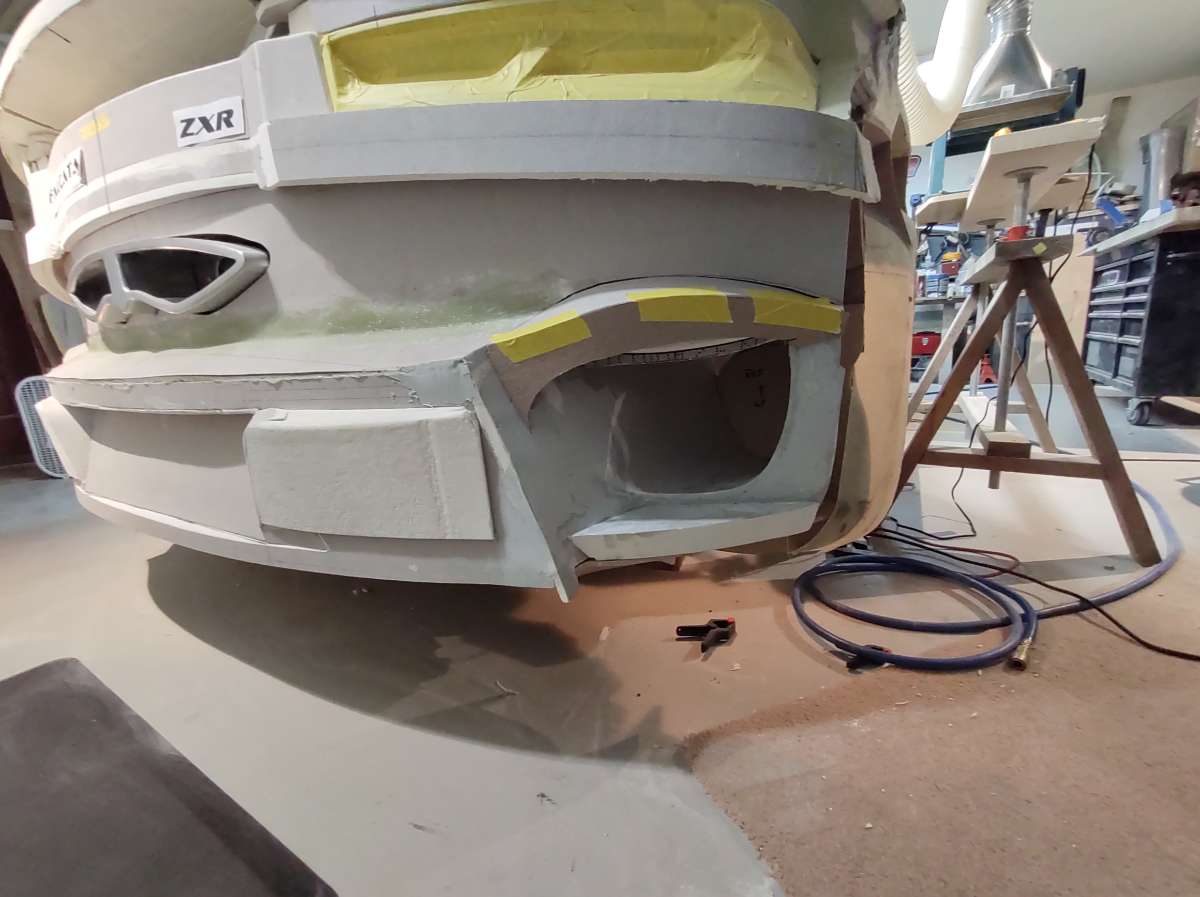
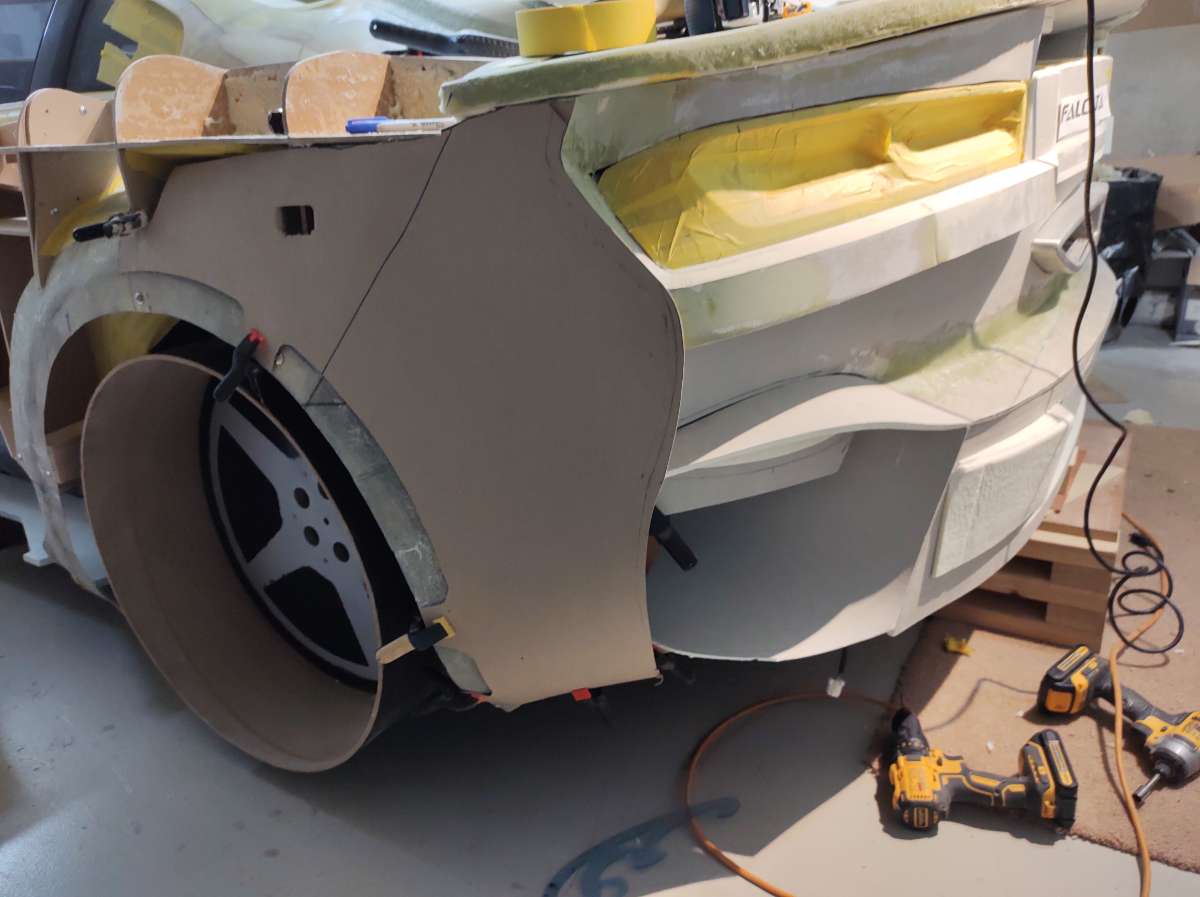
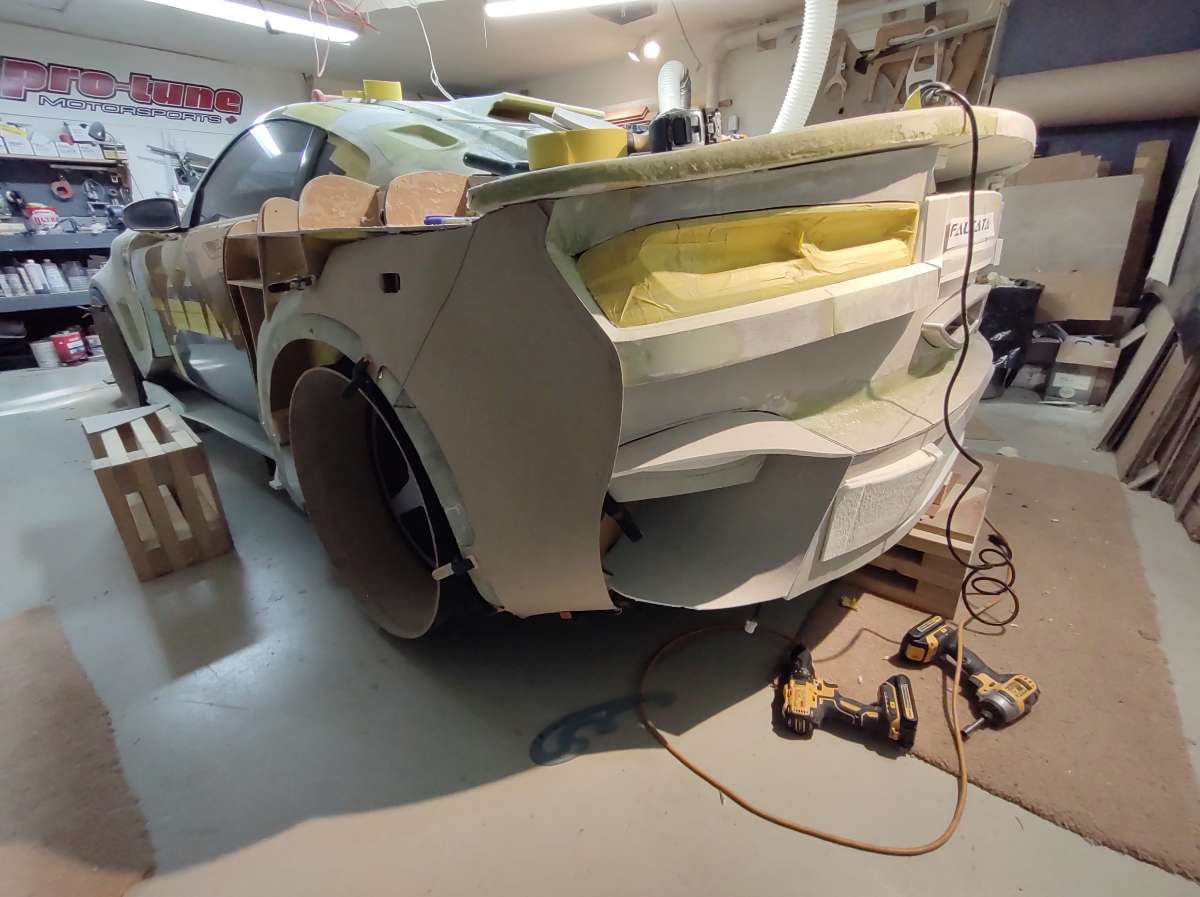
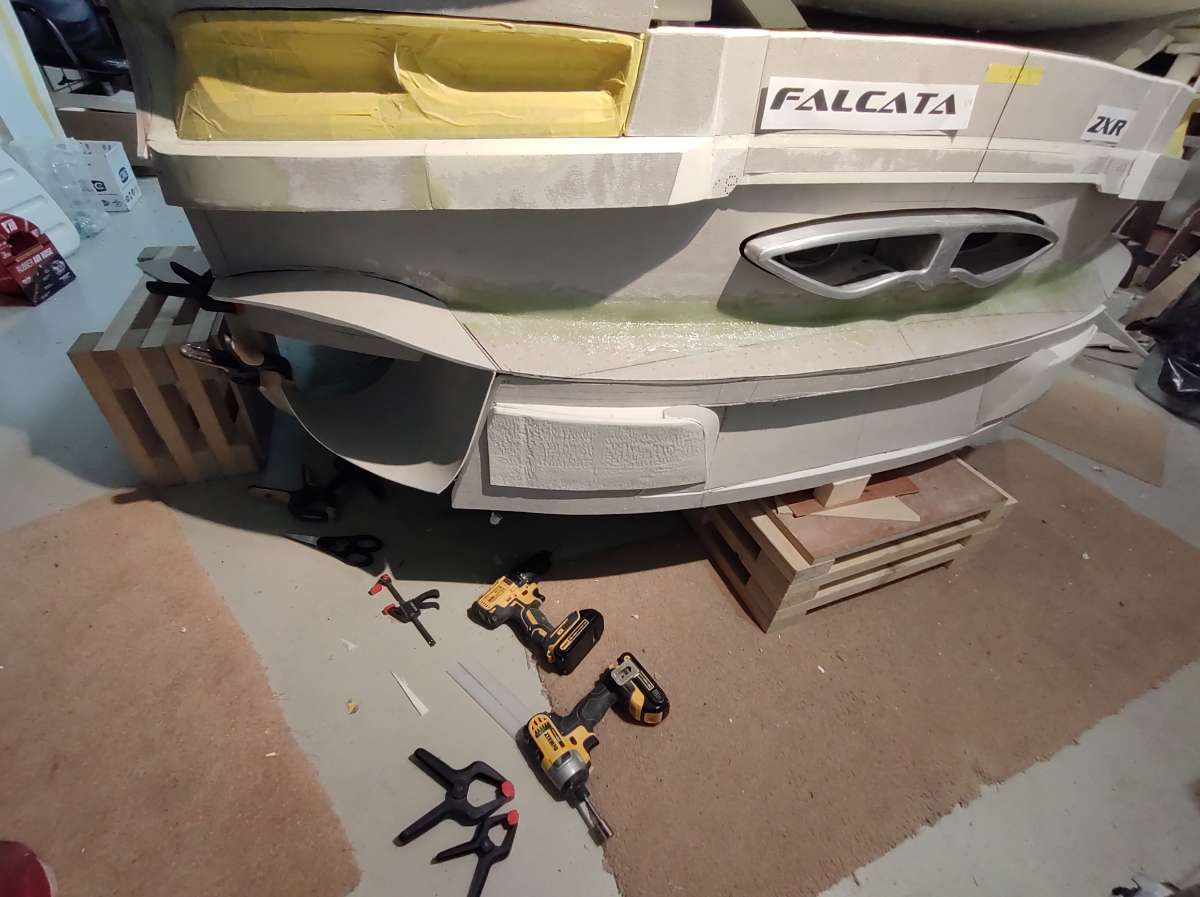
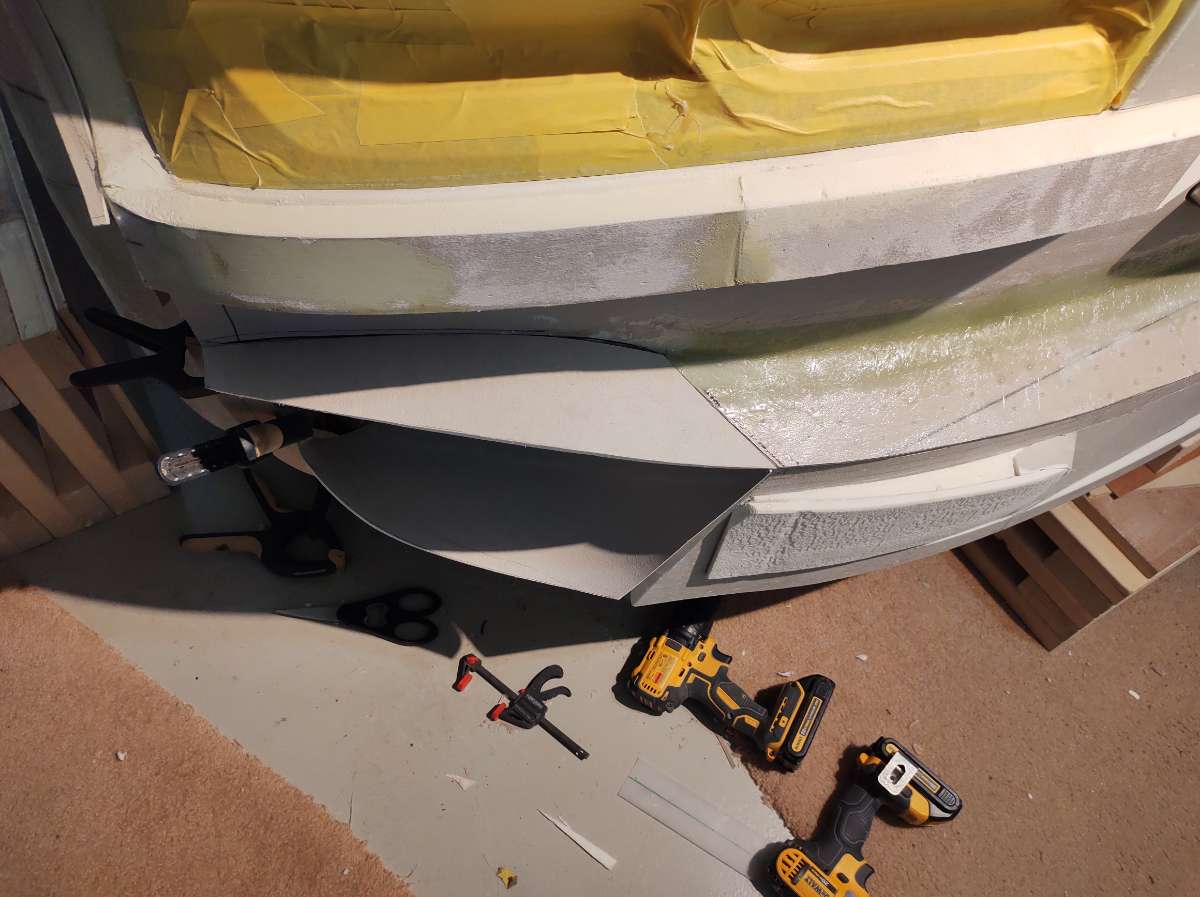
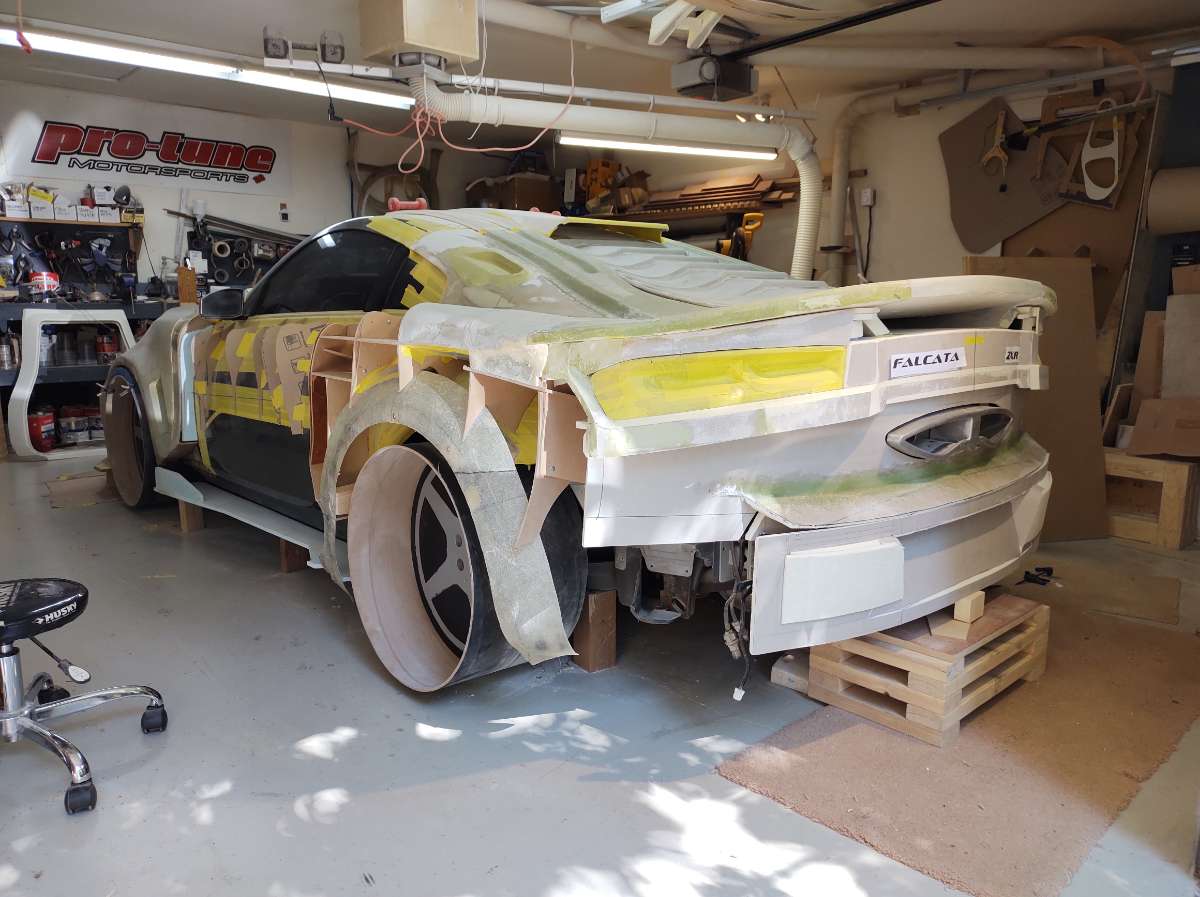
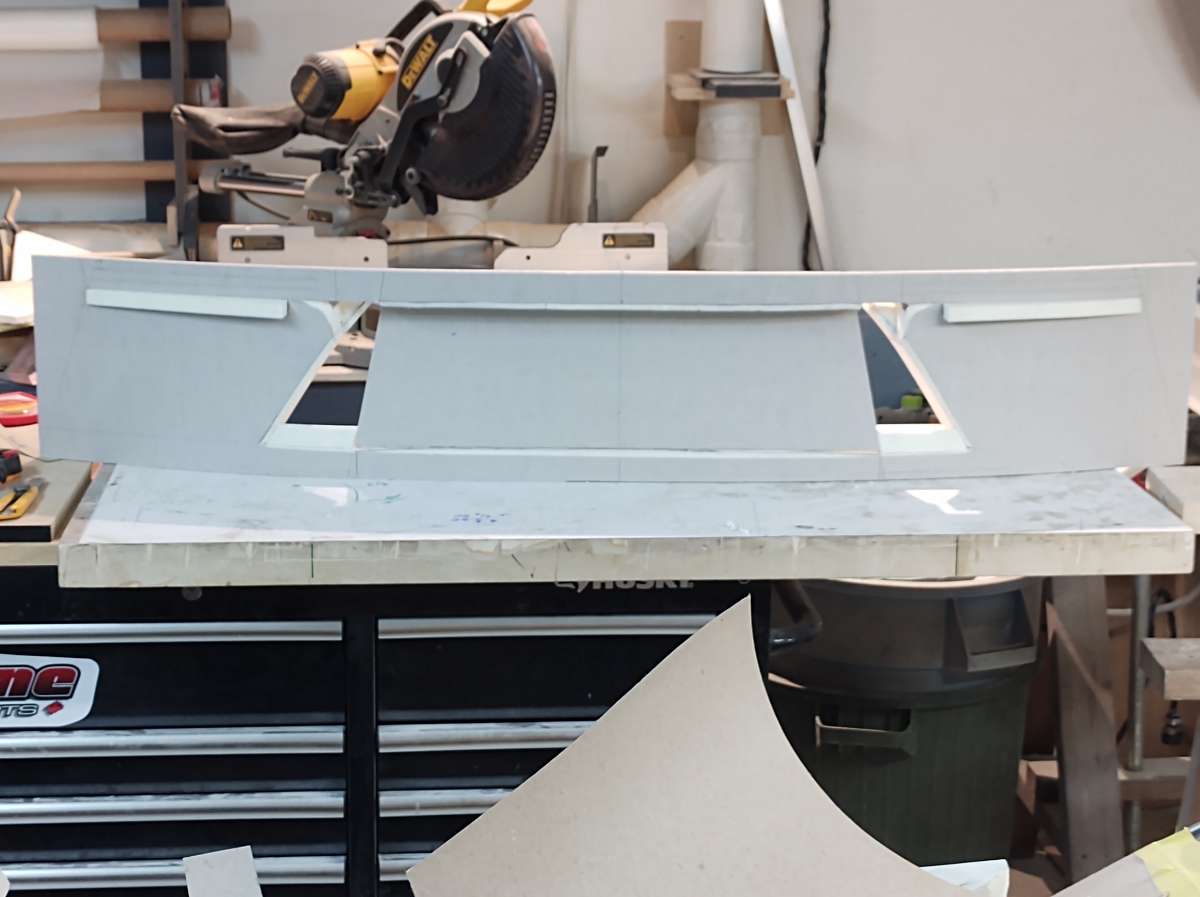
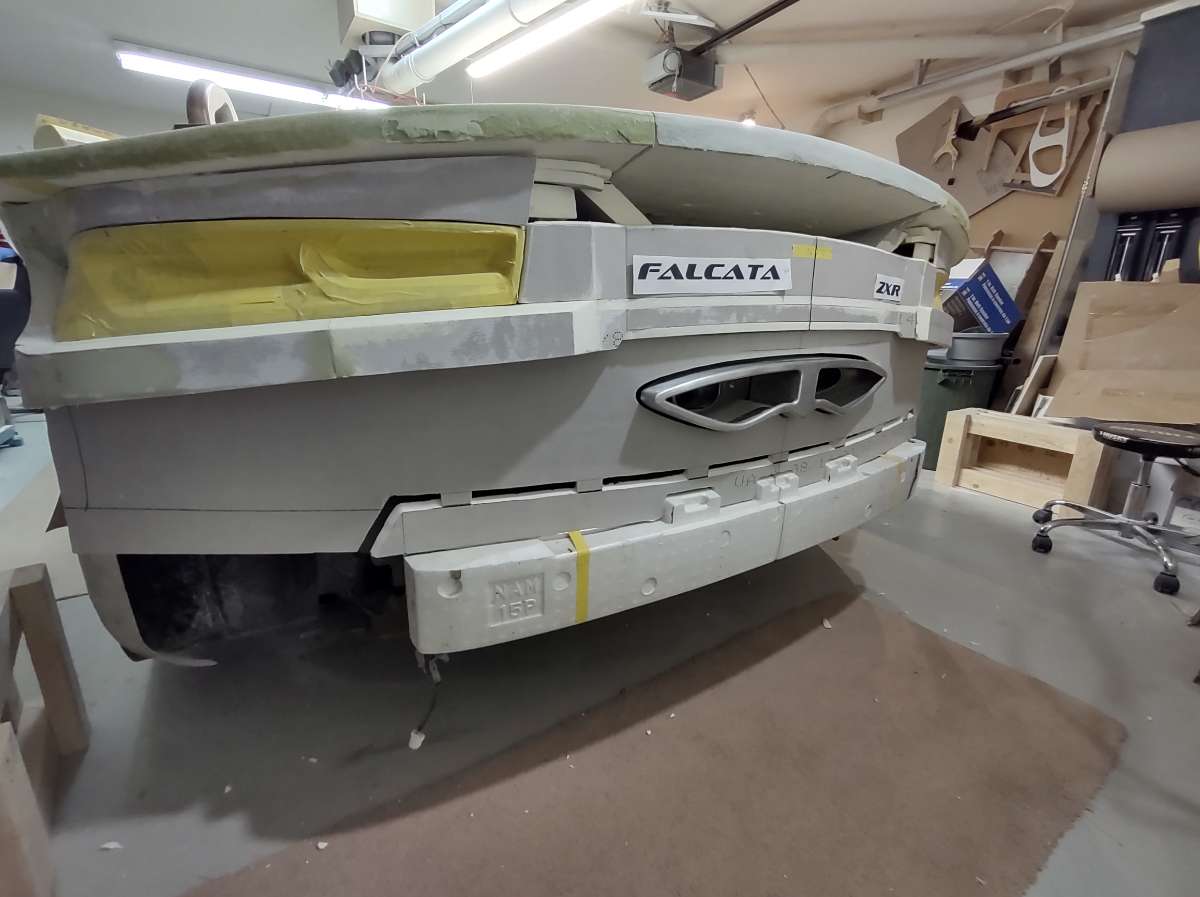
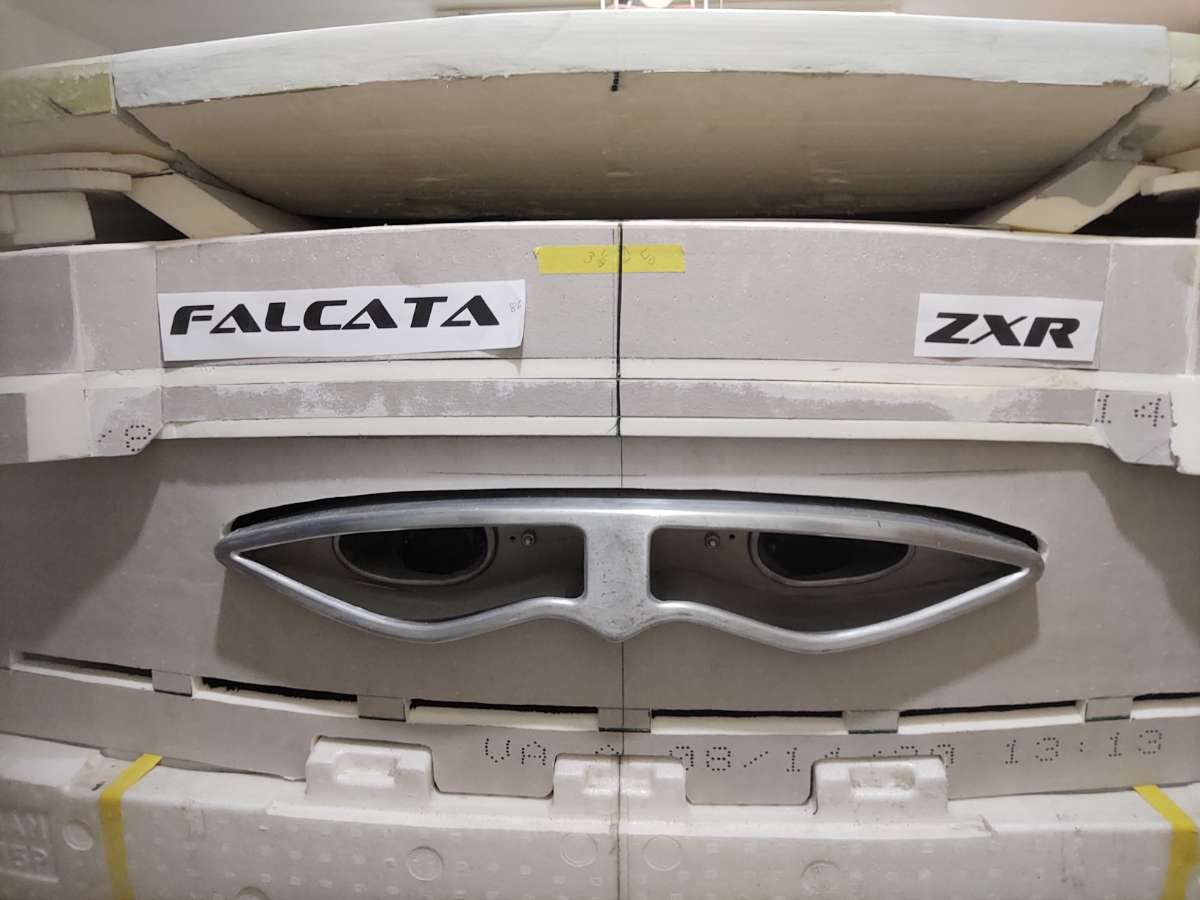
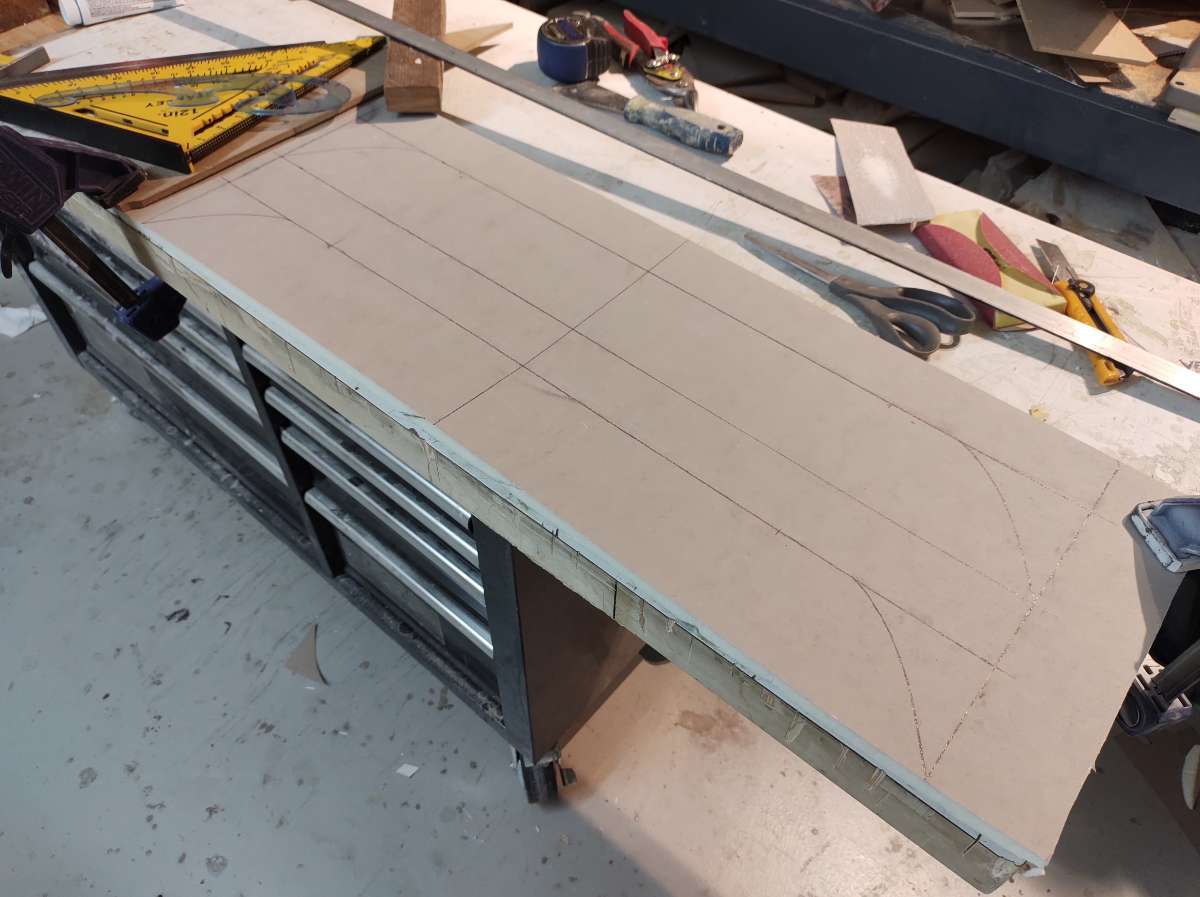
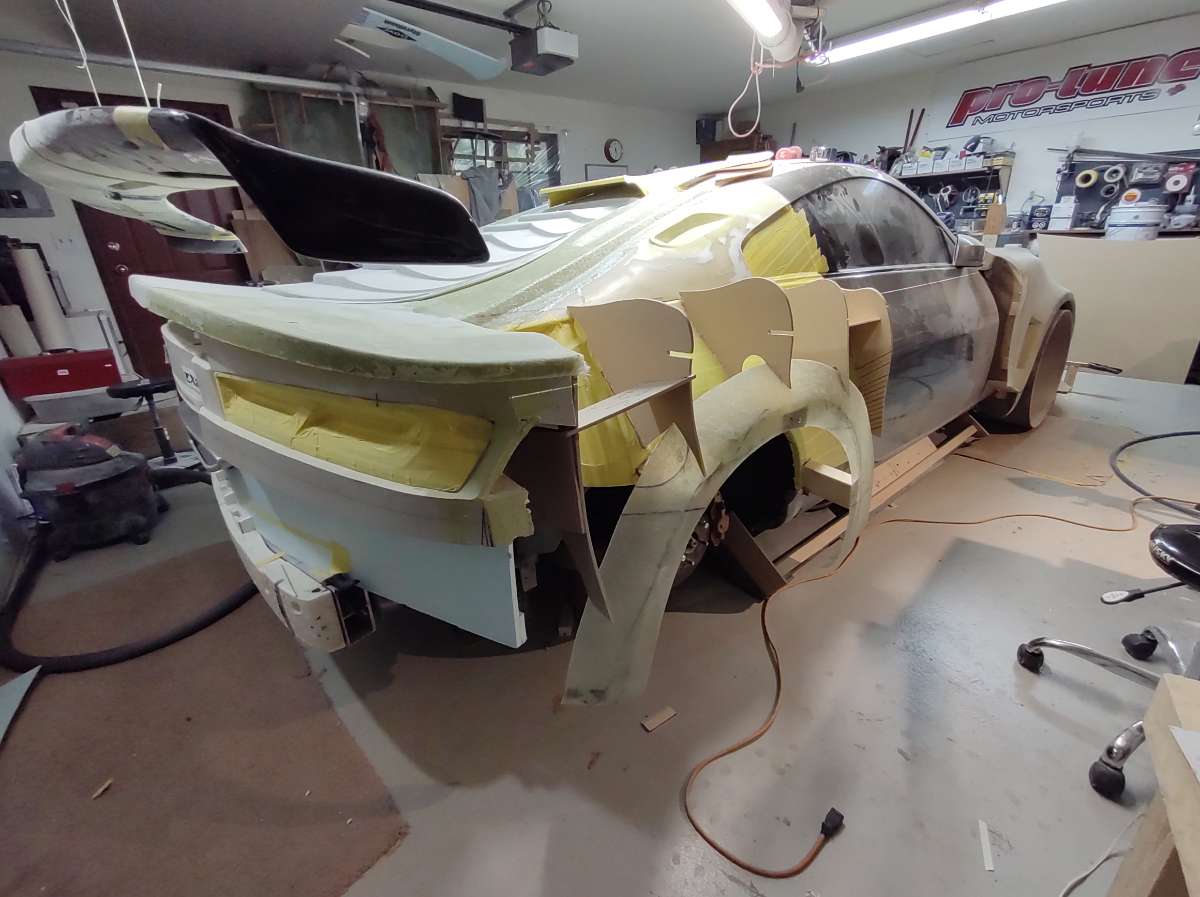
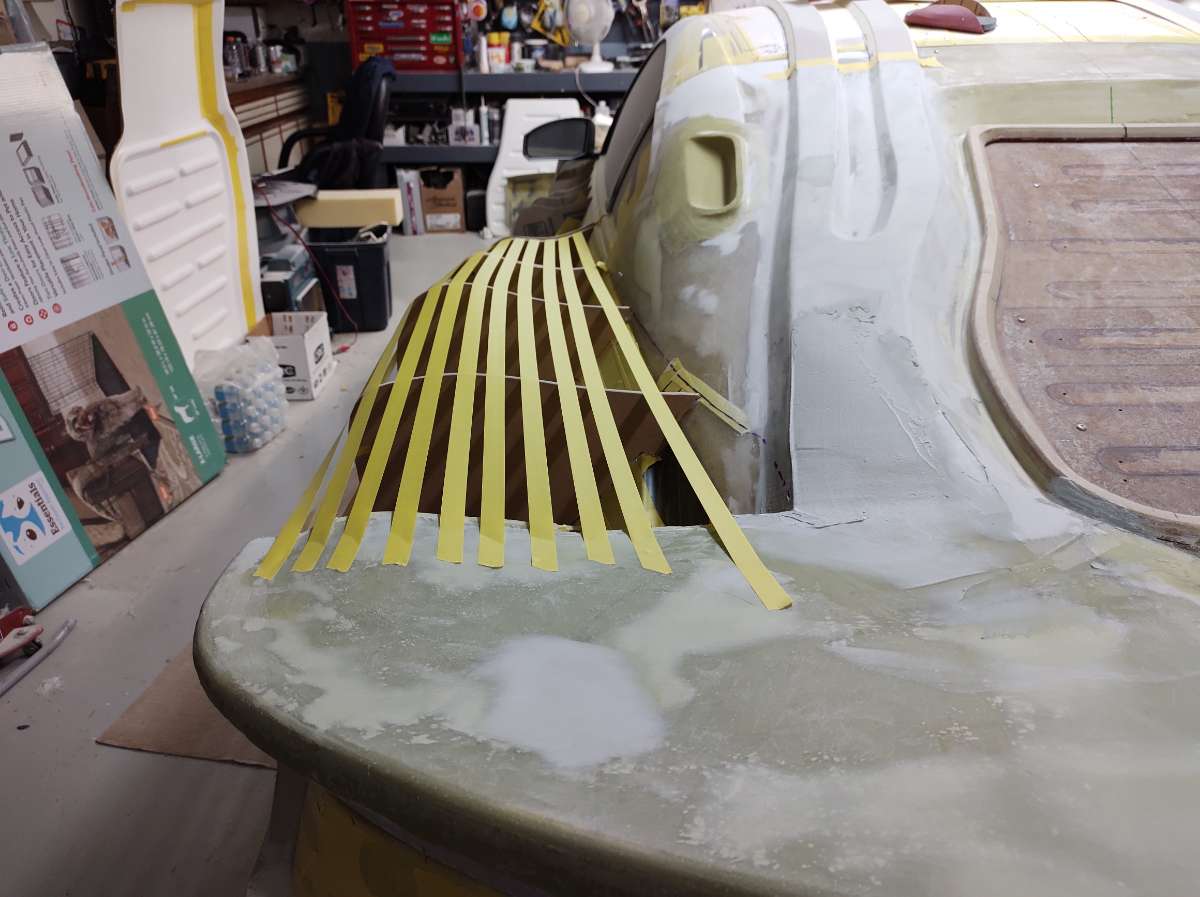
Happy New Year everyone !!! Well another great start to the new year ........ more F^$%kin Covid and to top that off a @*!# load of heavy snow !!!! Which for me means shoveling and little or no access to the Falcata shop in the Forest , I have been trying to make the best of it with working on drawings for the small parts to 3D print . So here is what I do have to update , on the rear bumper . Here is what needs shoveling ...... This is how much snow we got , three times , the world is changing we never used to get snow like this in Victoria . Sorry back to the beast I like this pic , I am glad I made the rear bumper cover come off in one large piece , this makes it easier to access other stuff , like the exhaust , taillights , fuel filler , trunk latch , and suspension . I was going to add some curved out foam to the little winglets at the top , but decided to delete them , they will just add to the list of time eating stuff to bodywork . they would have gone here to help with not having to sand in a tight corner . I have a deadline to meet and need to simplify some of the parts , don't worry it will still be insane !!! So I cut the little winglets off , way faster to sand and saves time . I think it still looks hot like this . I also added a flange to the top of fender ark matting surface . this will give me a distinct line to trim the part later . Here is the passenger side next I closed off ( filled in ) the bottom corners . Well that's it for today , sorry there isn't more , waiting for the phone to ring , with the guy telling me they plowed the road into the shop . Cheers Stay Tuned and Stay Safe !!!

-
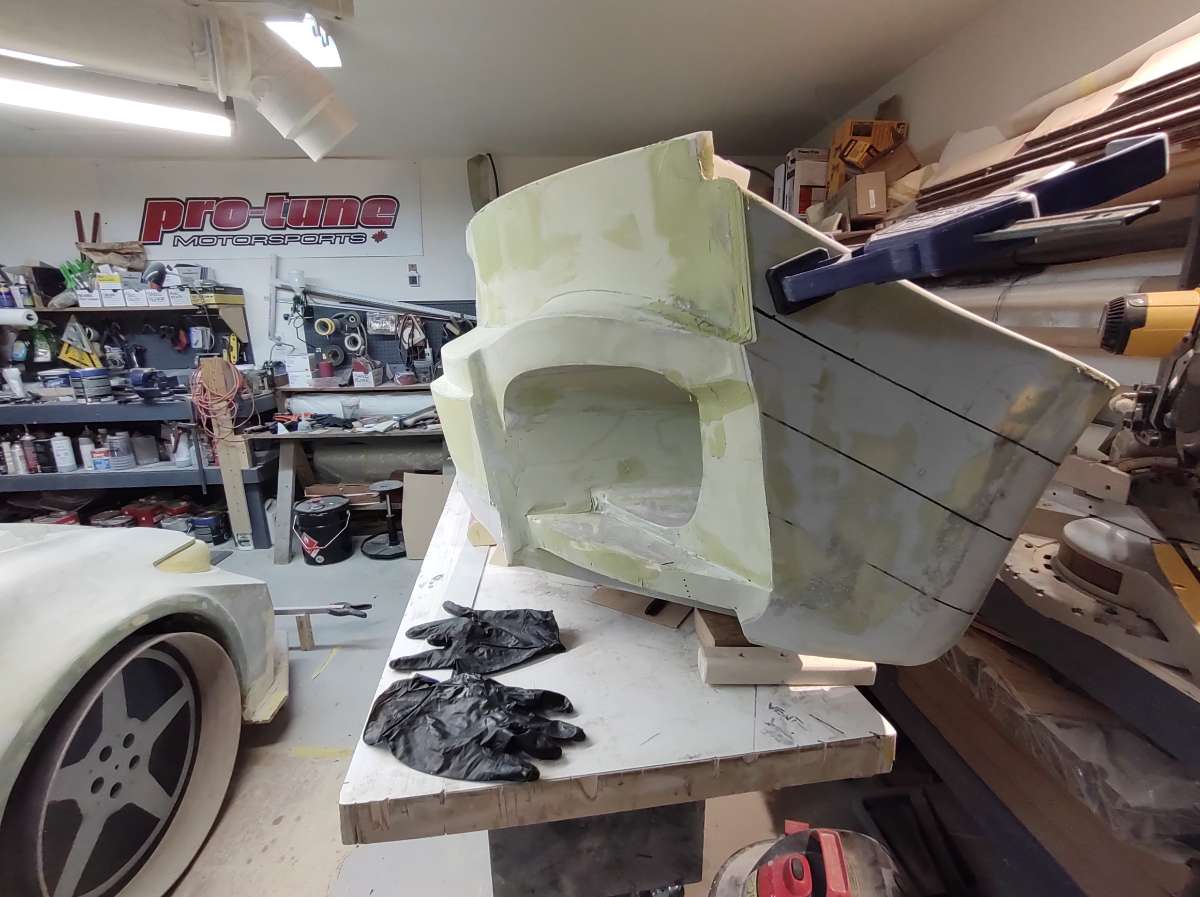
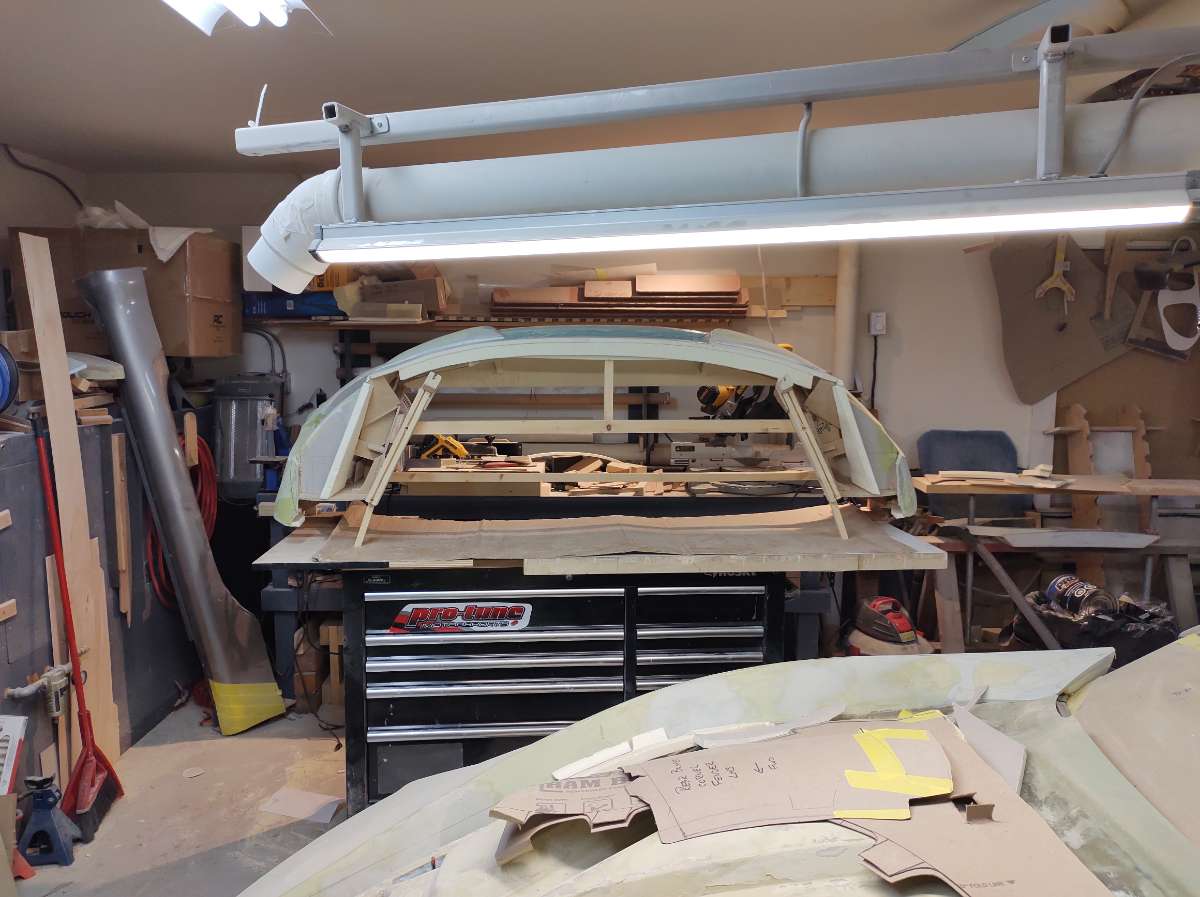
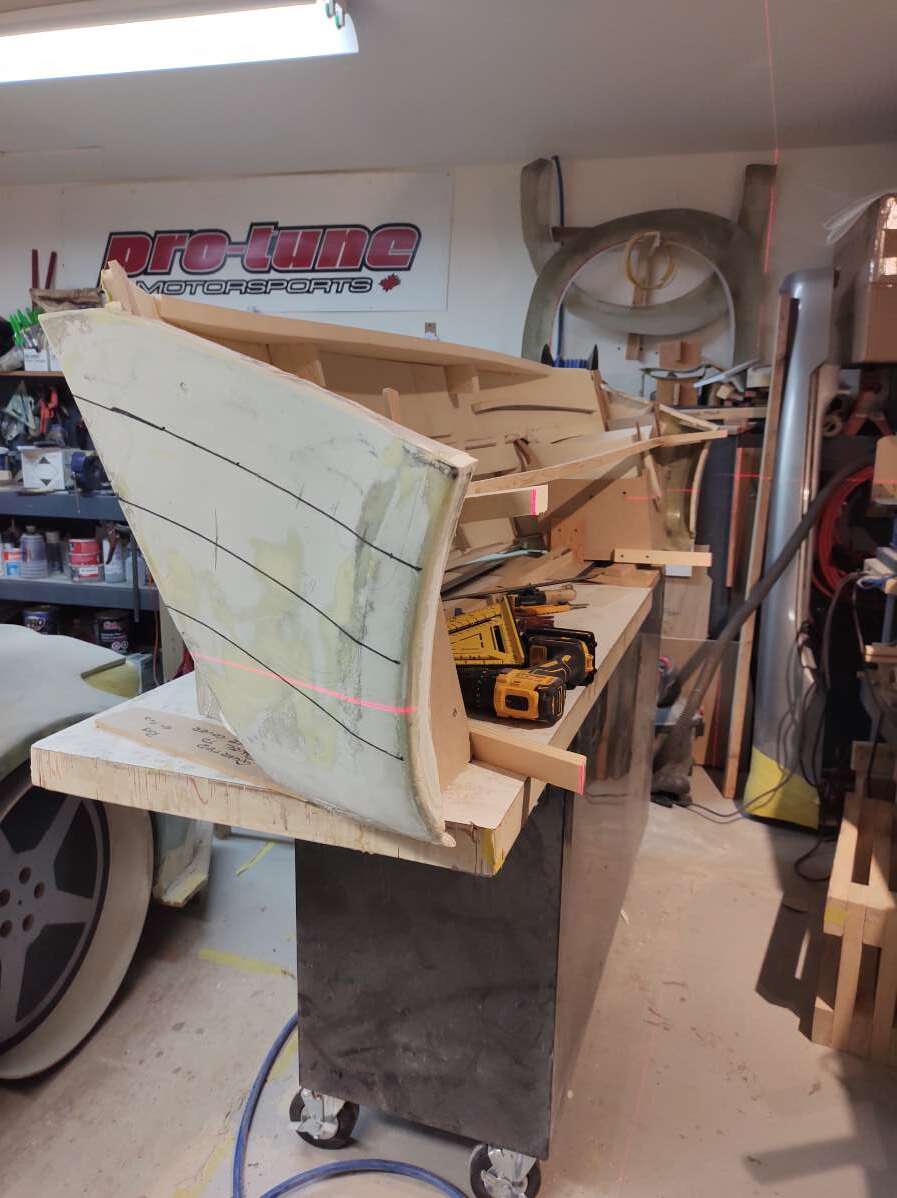
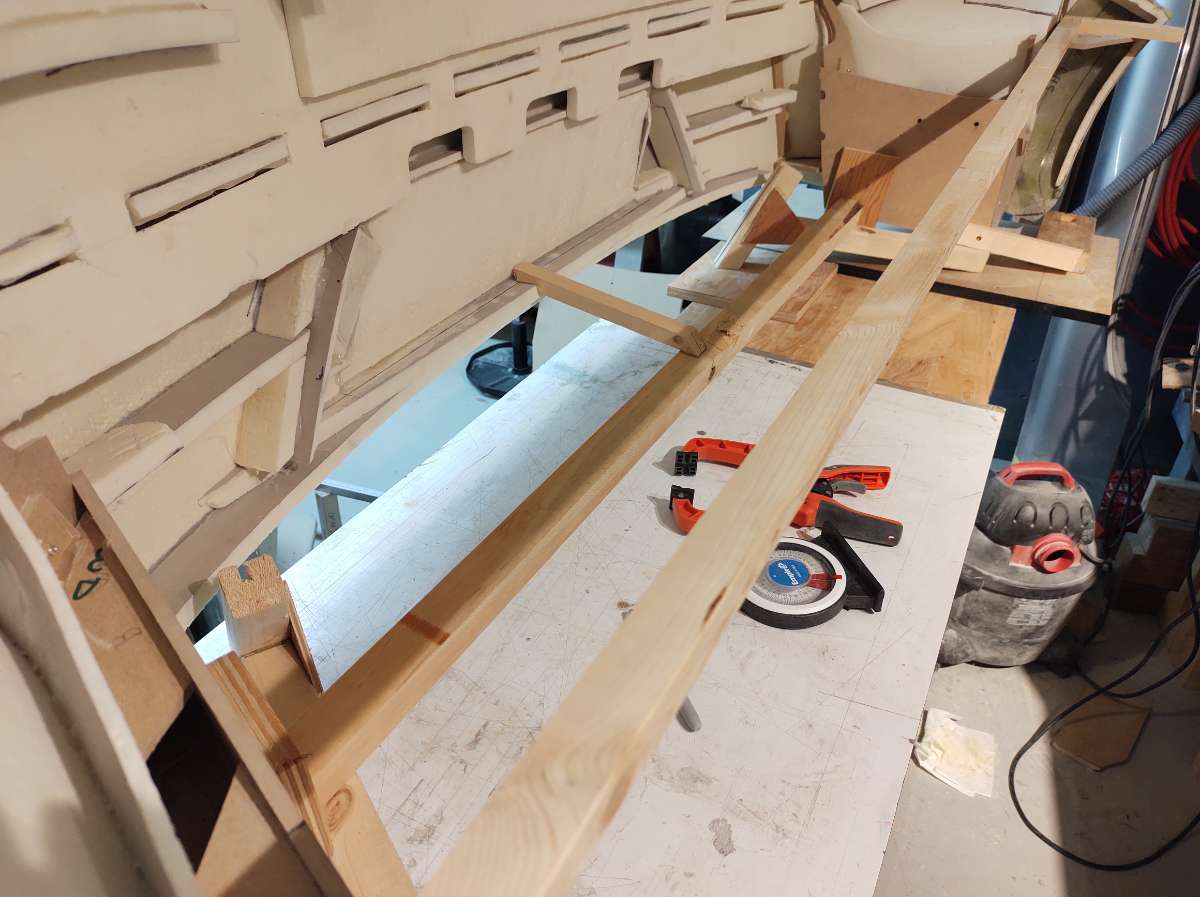
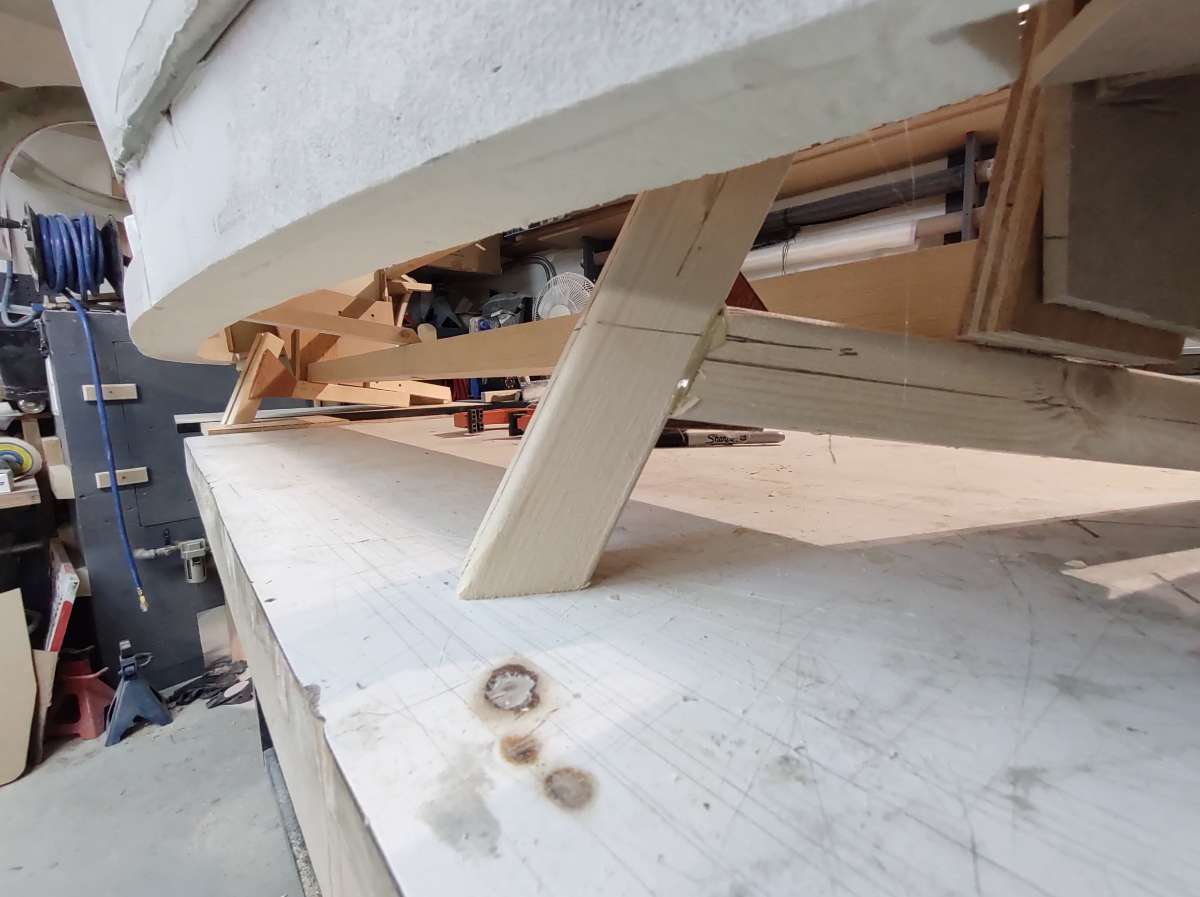
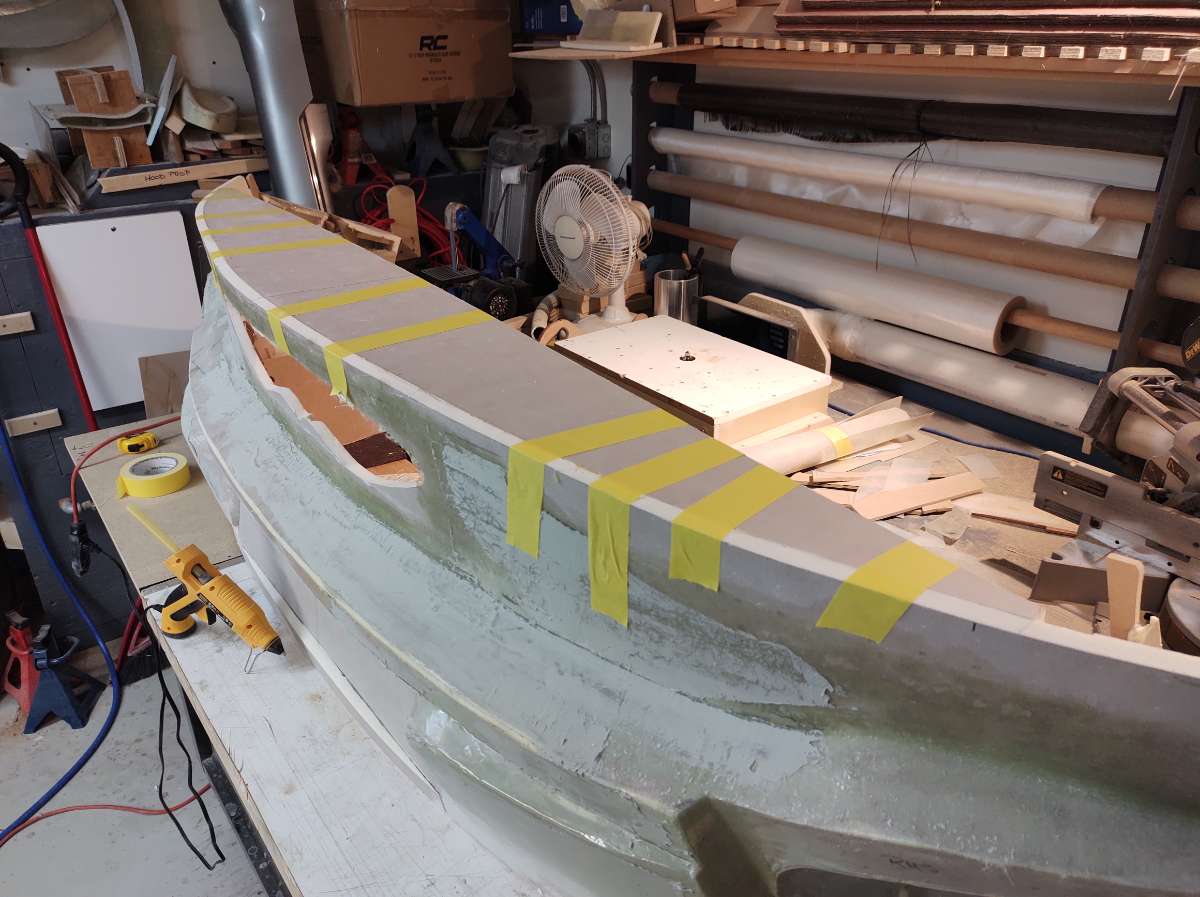
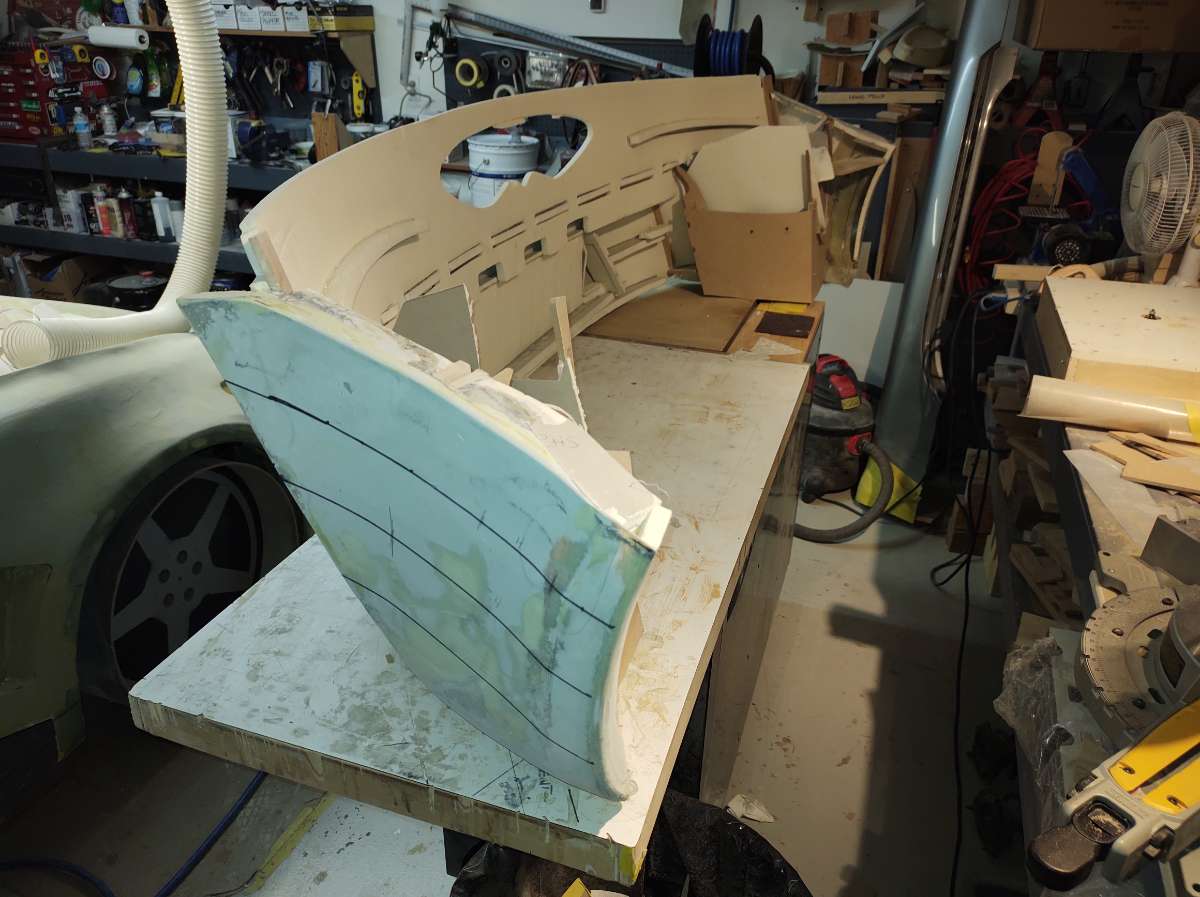
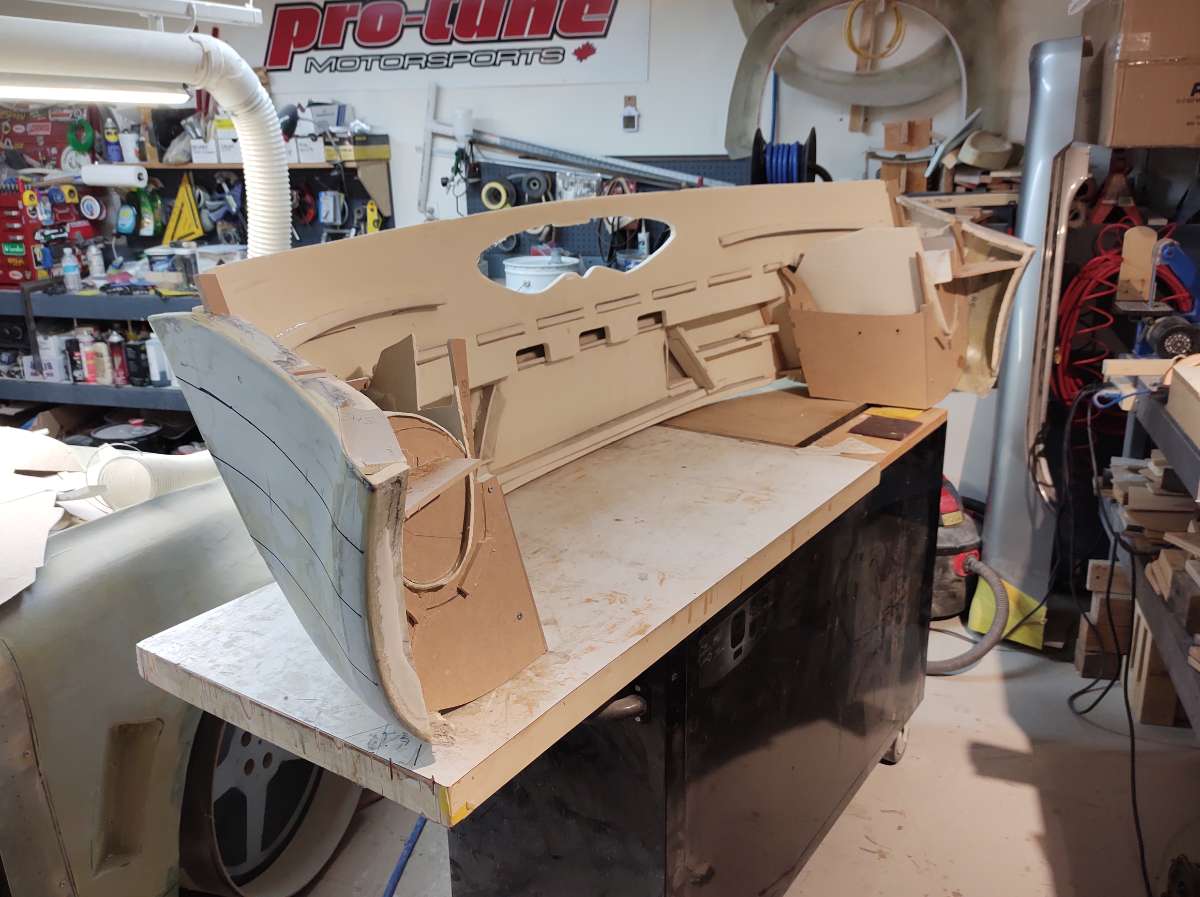
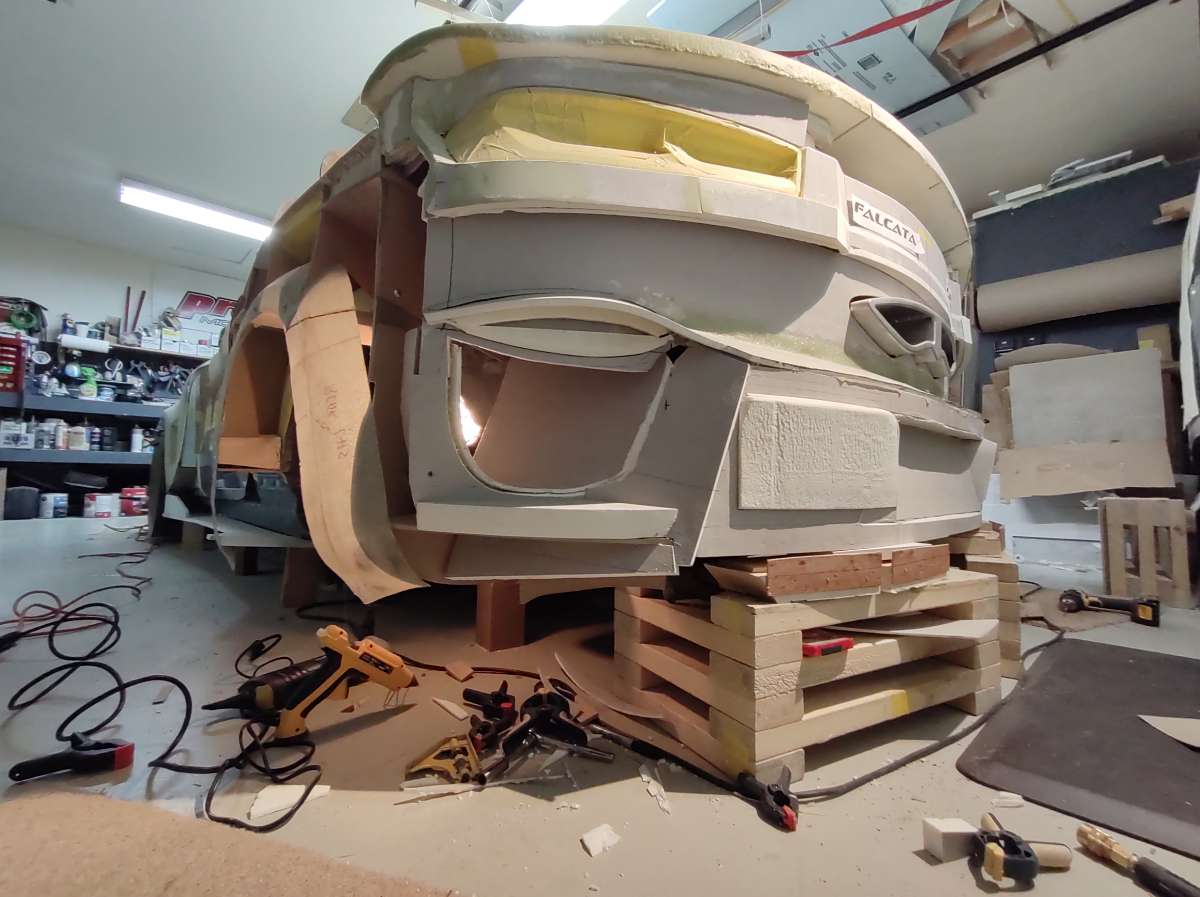
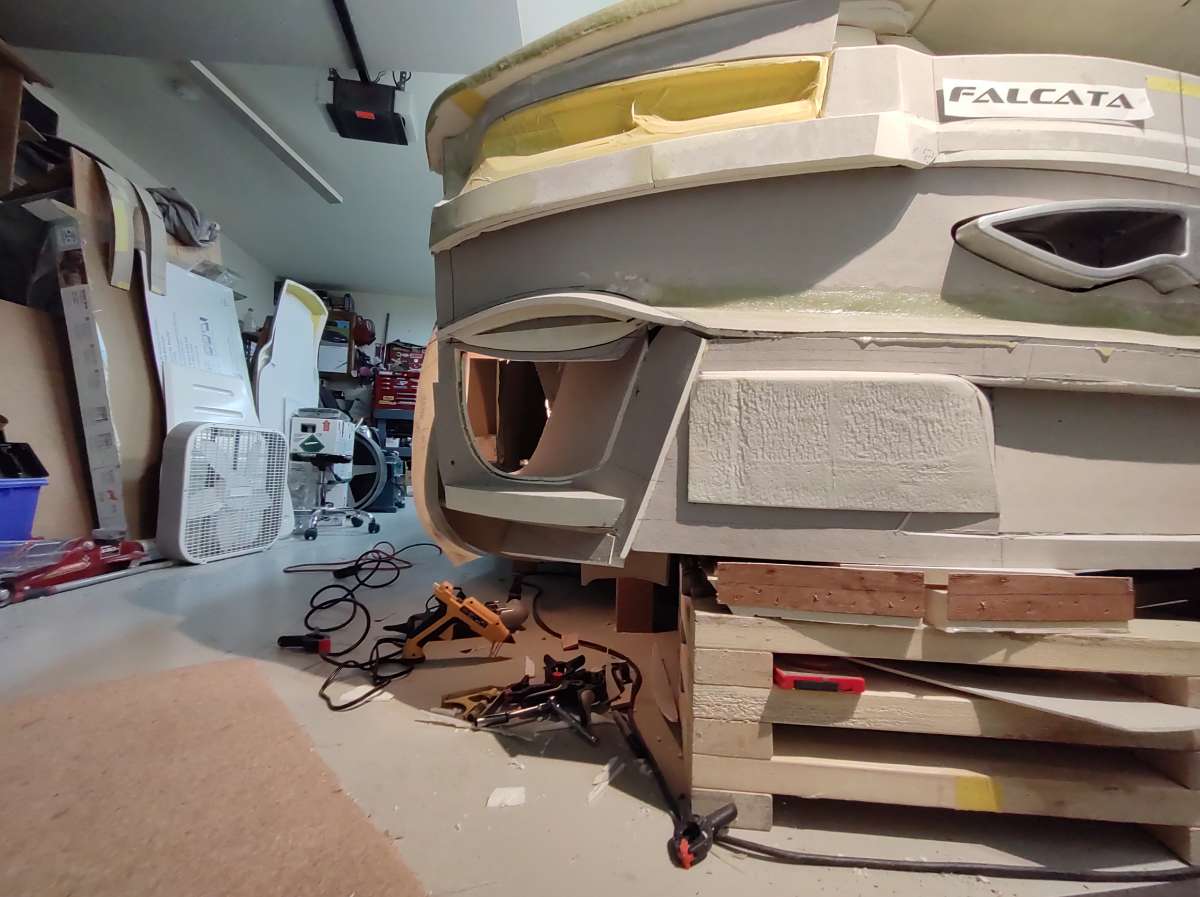
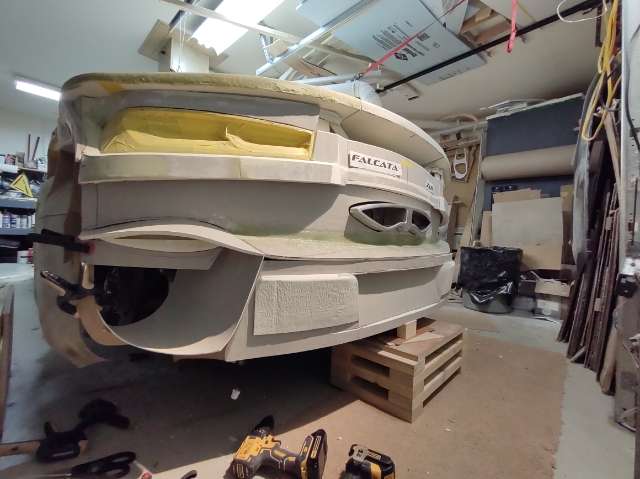
Hi just a quick update , not too much to see . My wife had knee replacement surgery , so i have been sticking close to home . Catching up on house maintenance and care giving ..........I guess I can add nurse to my resume lol . Back framed the rear bumper to make sure it won't pull when the fiberglass cures This also allows me to stand it up to work on Started trimming the edges , I wanted to keep them about 1/2 an inch long ( 13 mm) but there wont be enough draft to get it out of the mold. I added feet to the frame so it will be at the proper angle , same as it would be on the bench as on the car . that it for now , more before the fat guy comes down the chimney lol. Cheers
-
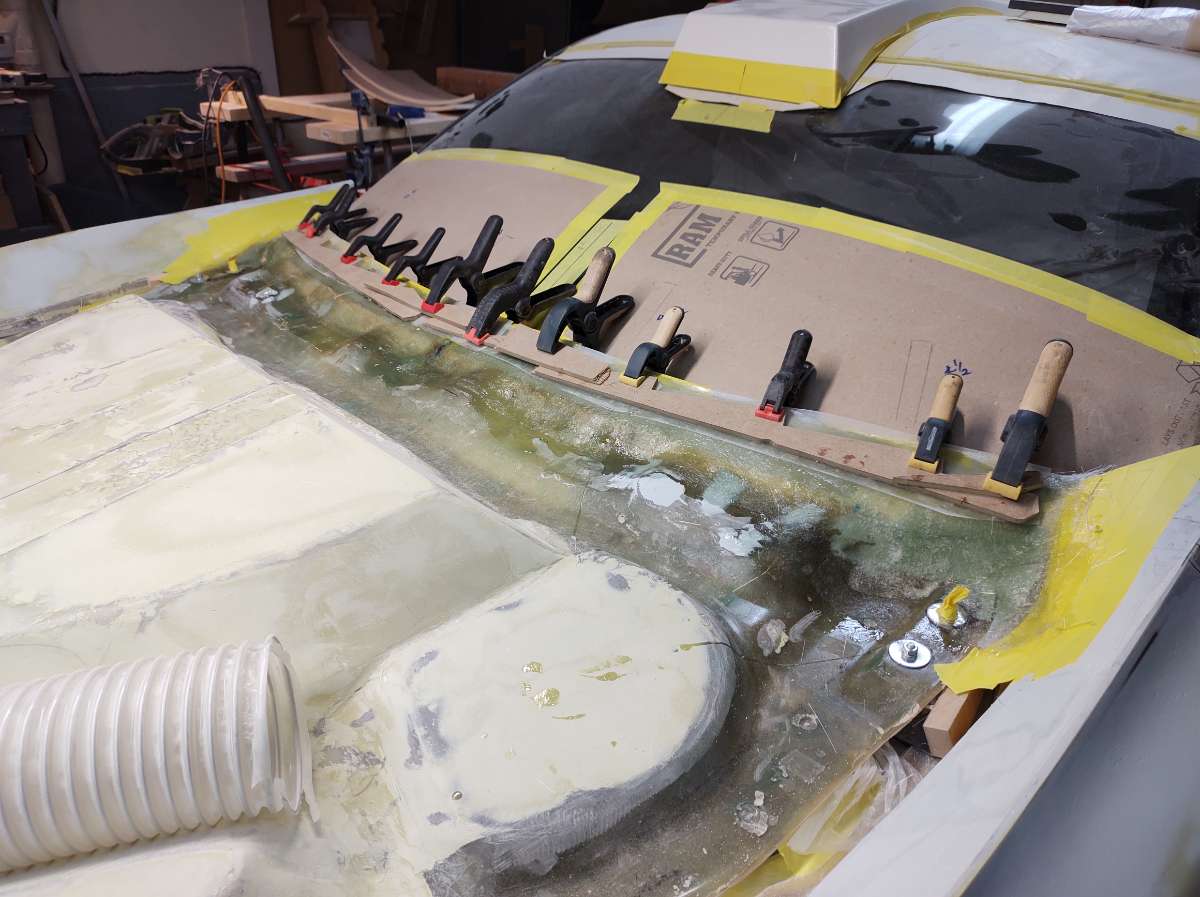
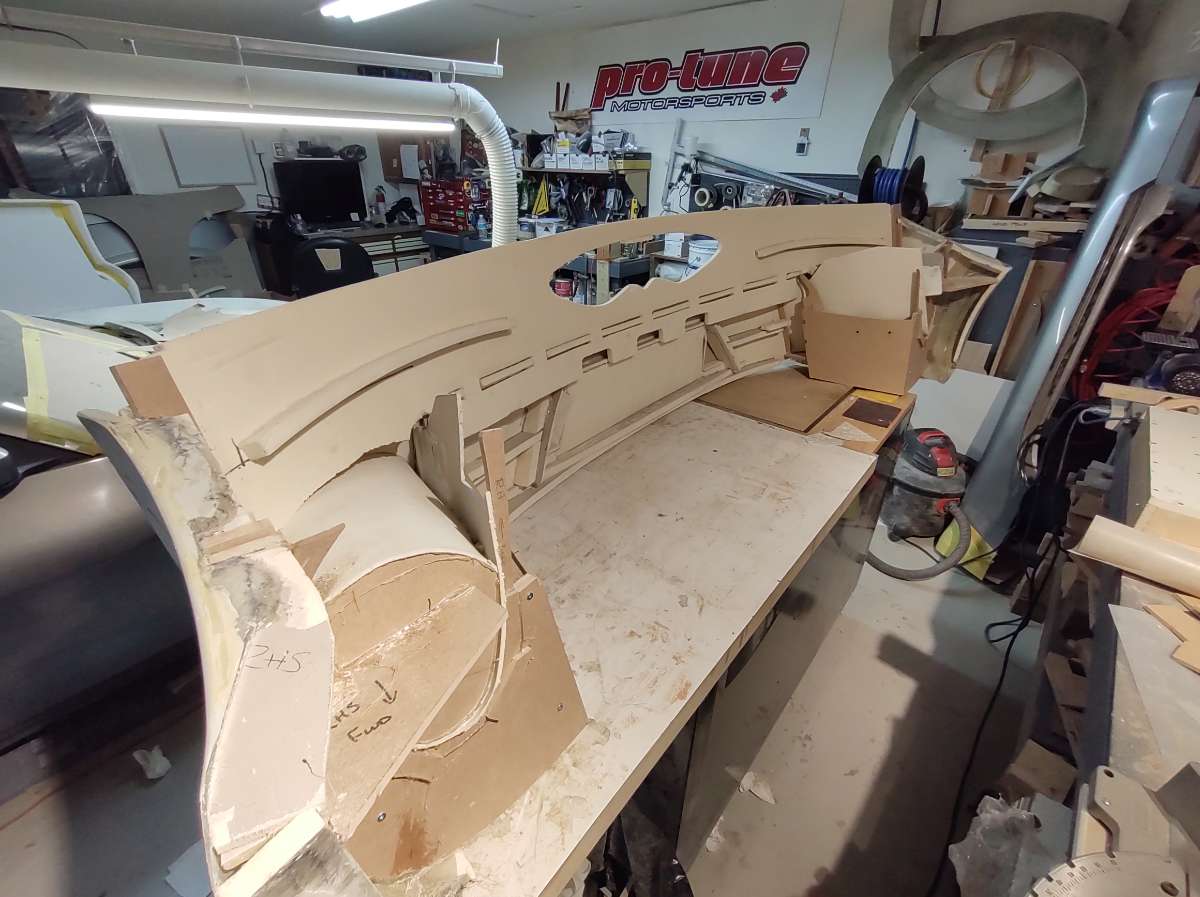
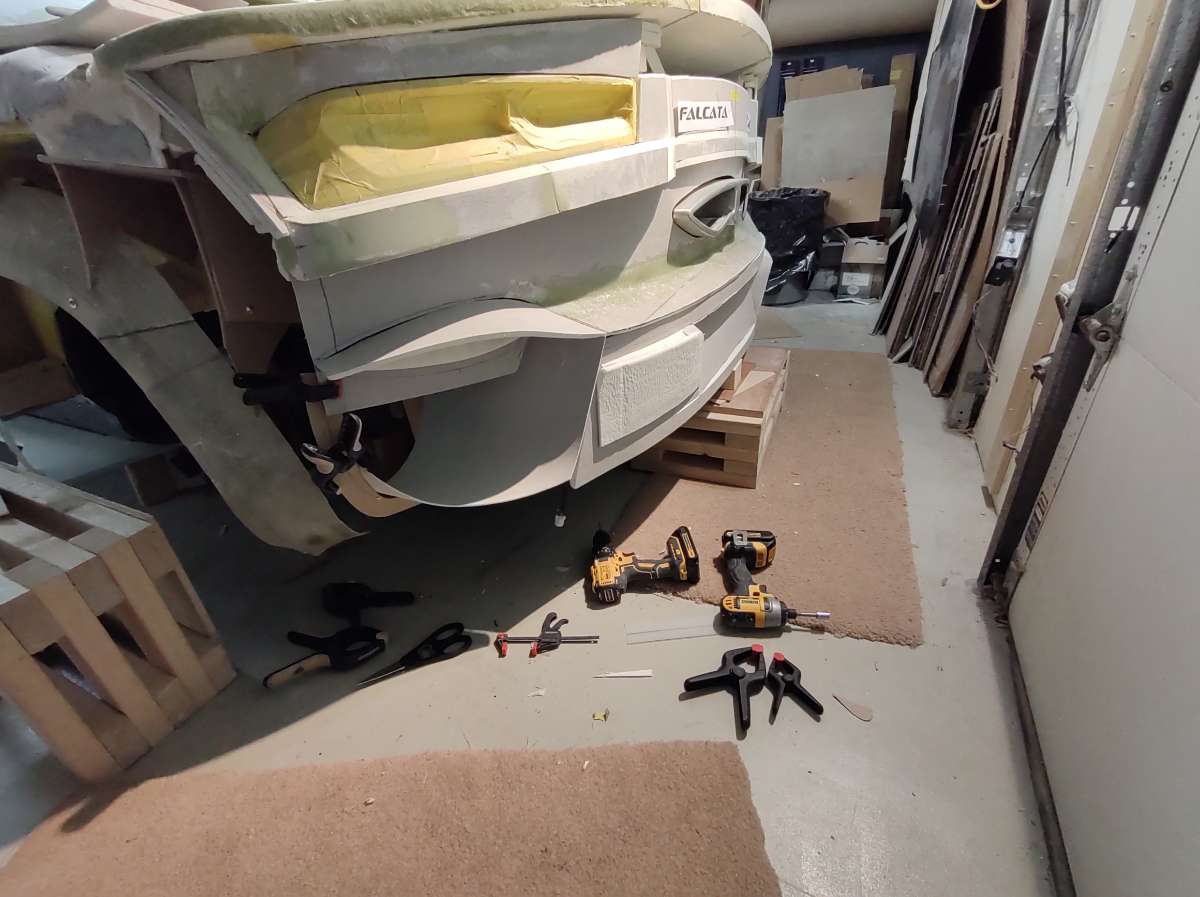
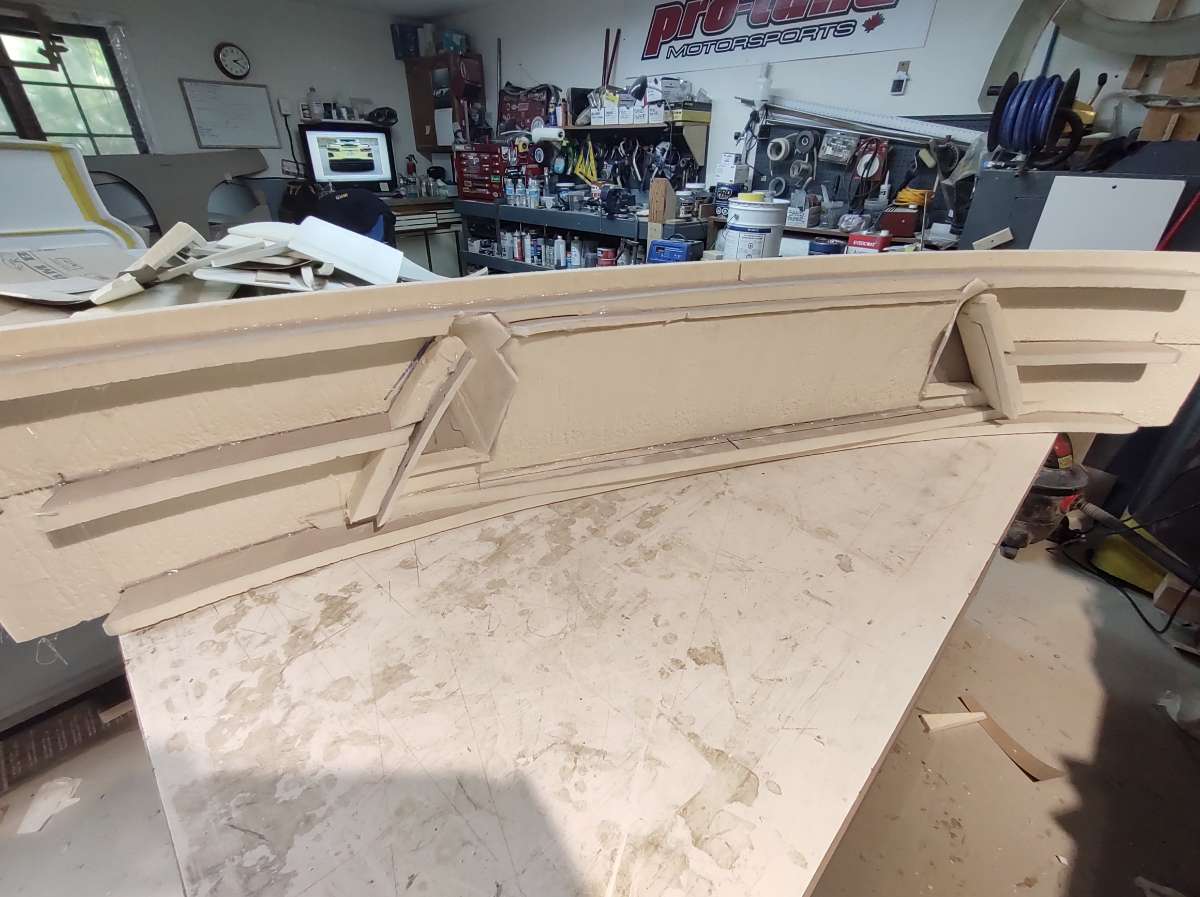
Just a bit more Stiffener on the top A couple of gussets Filled in the exhaust hole and routered the edges that's it for now Stay tuned and stay safe everyone !!

-
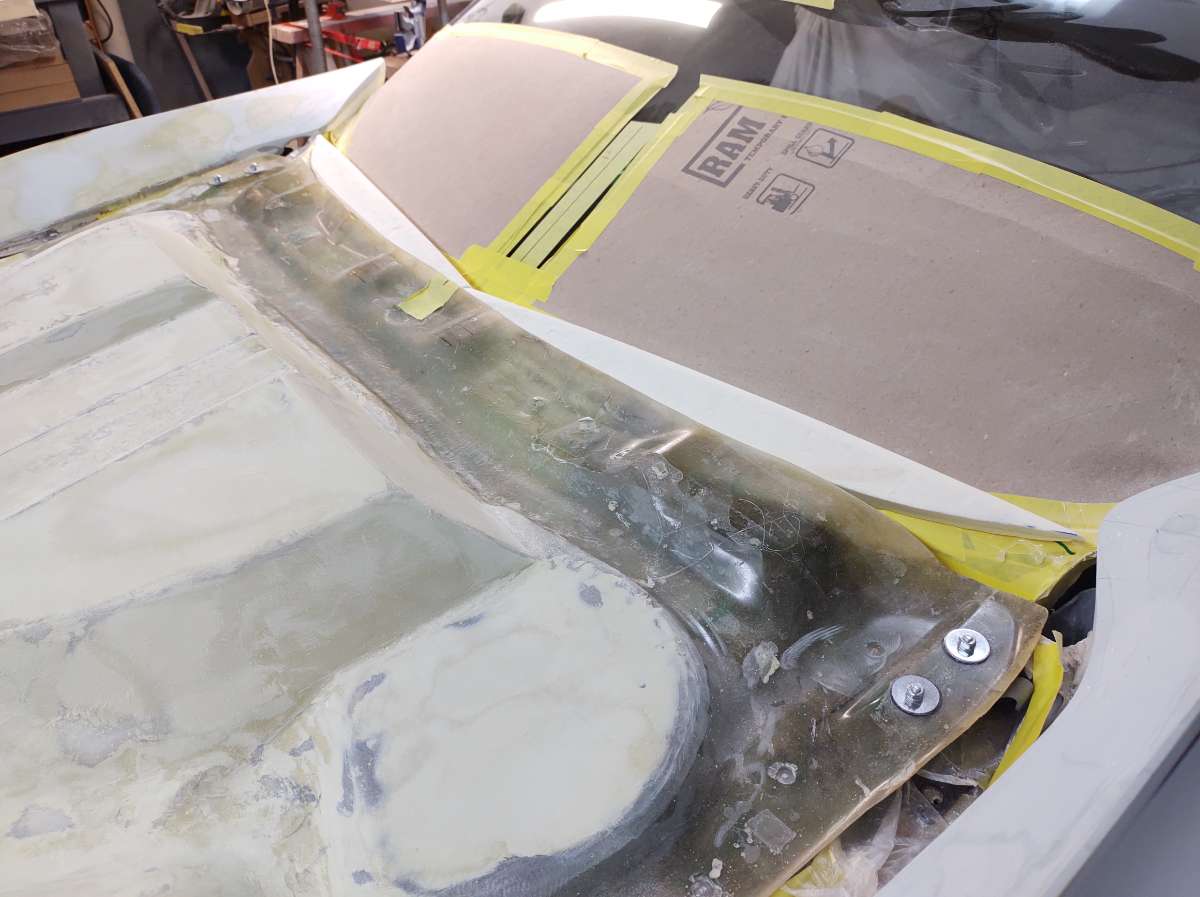
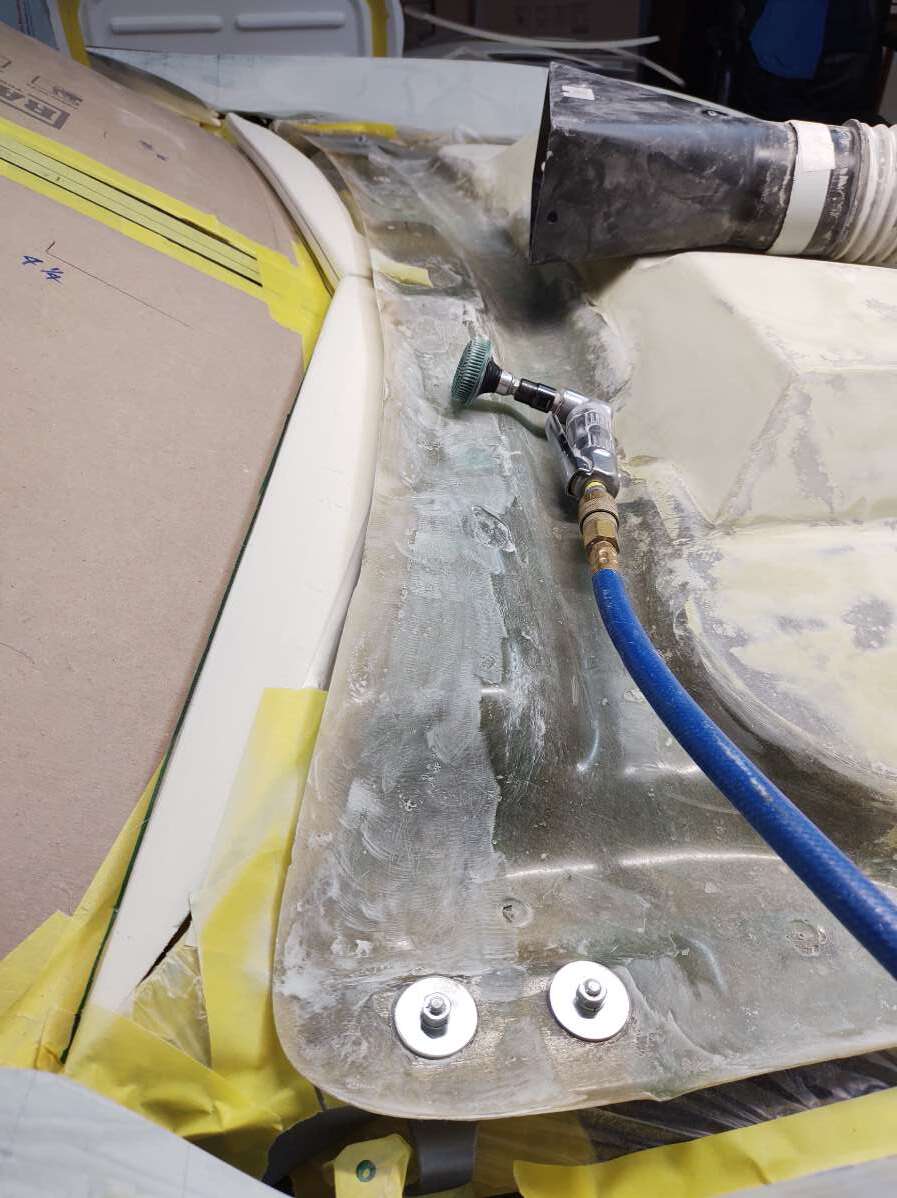
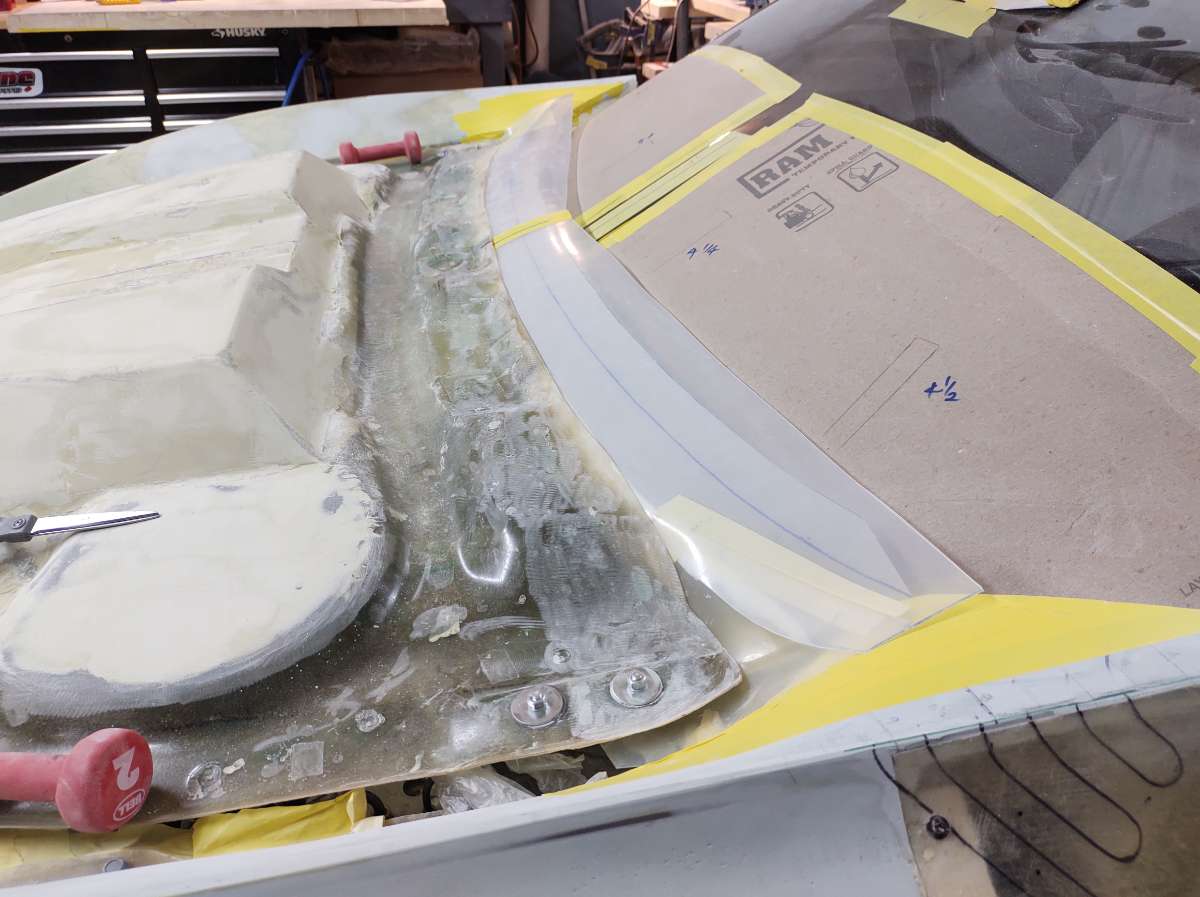
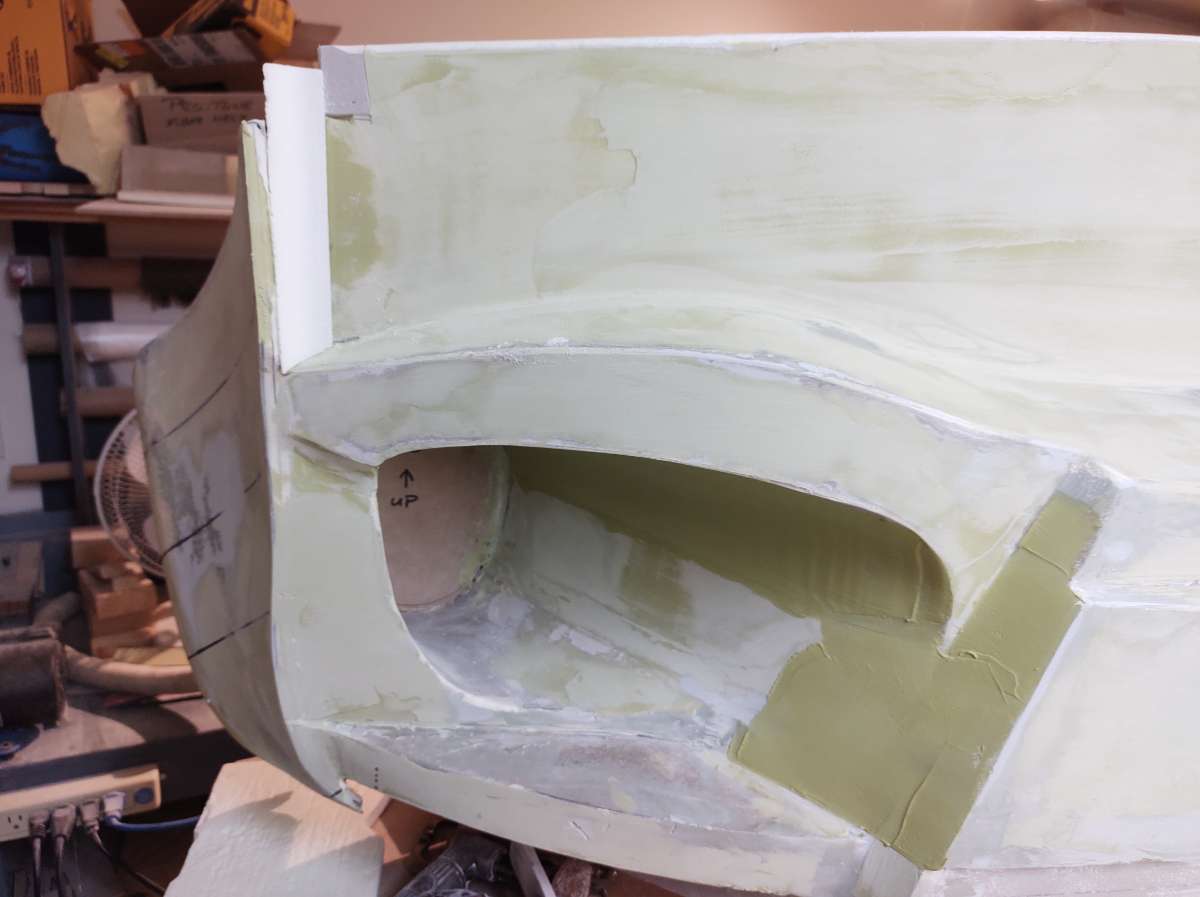
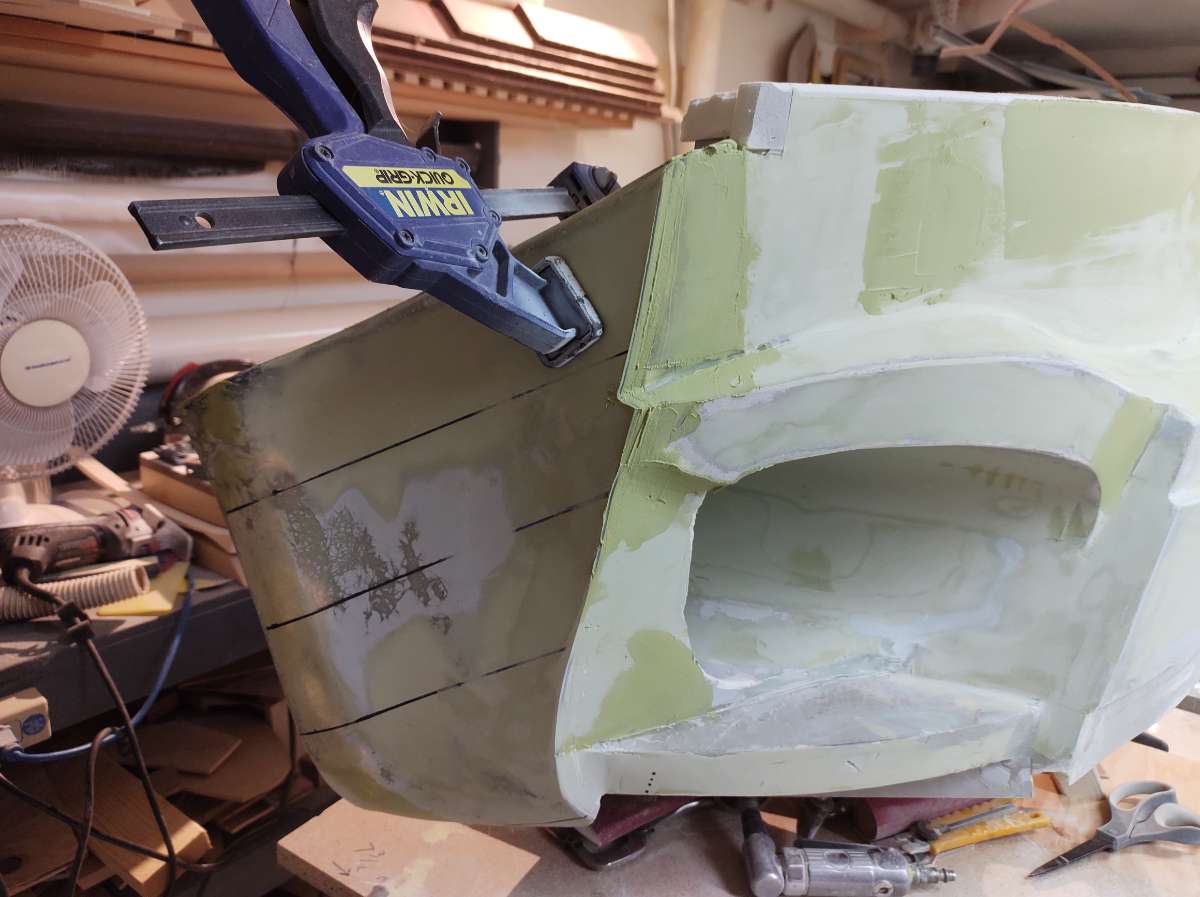
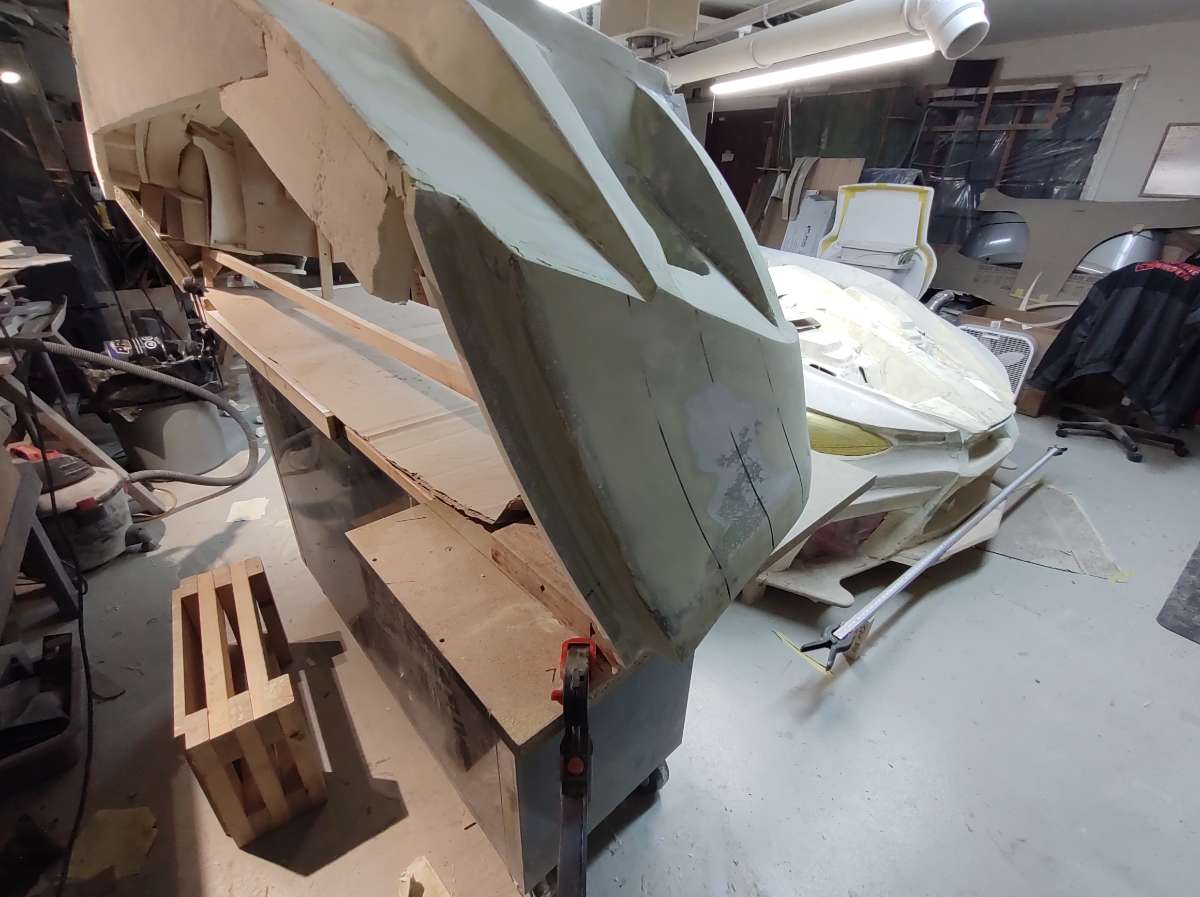
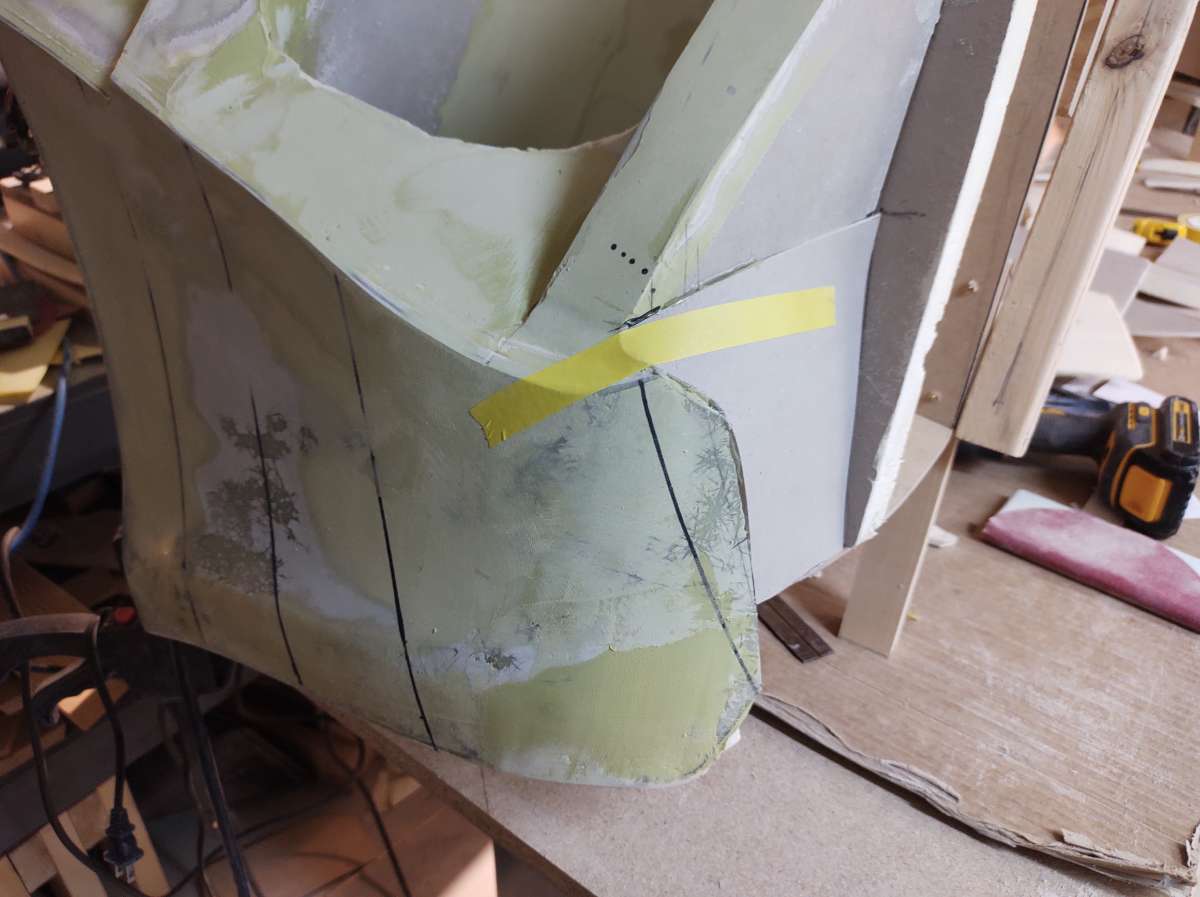
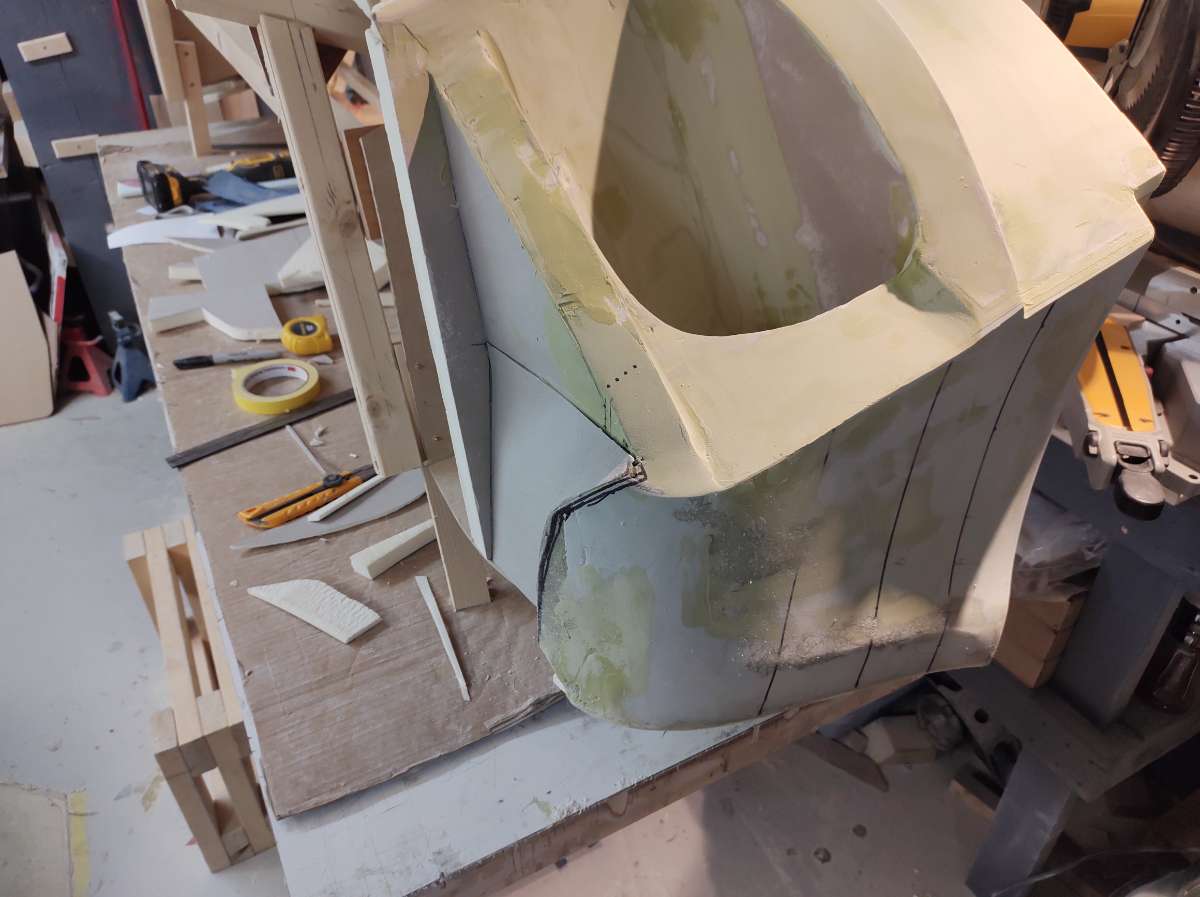
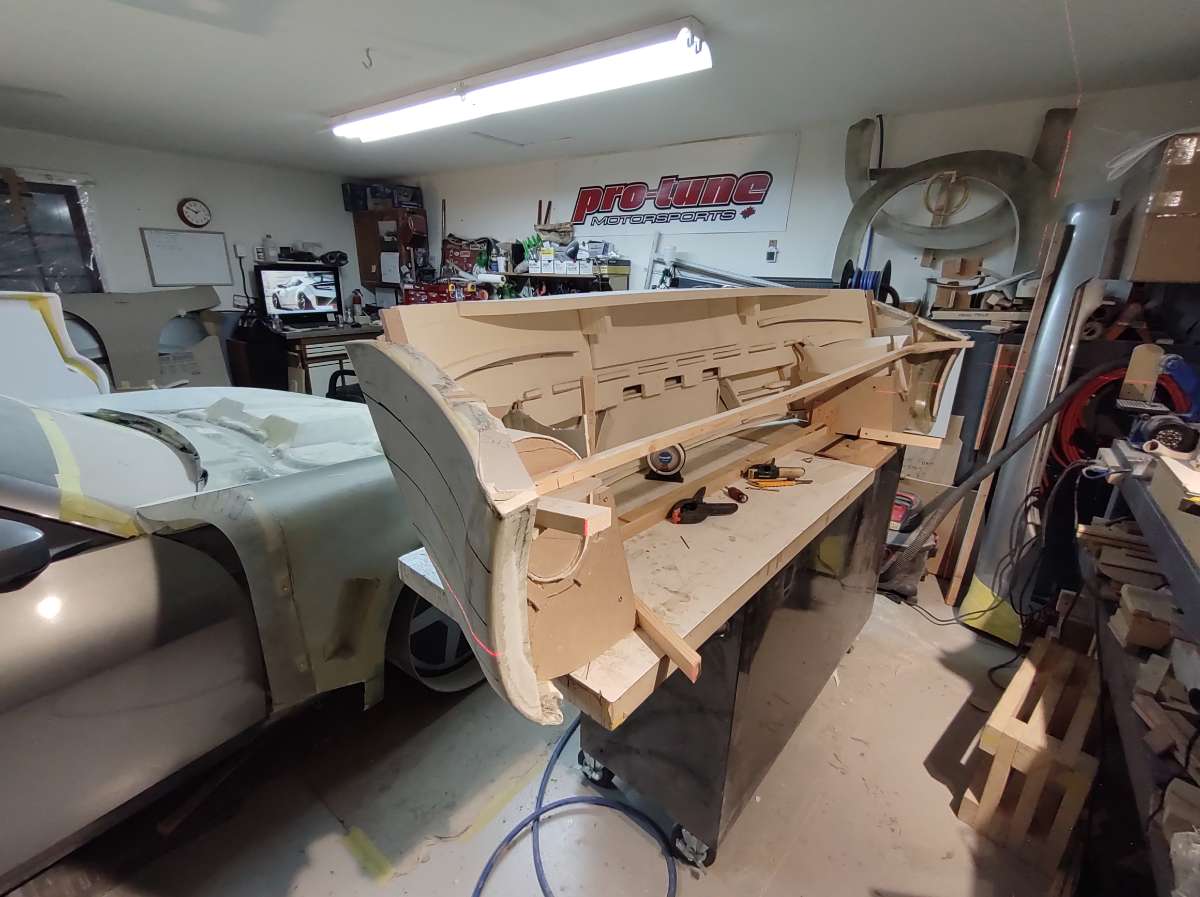
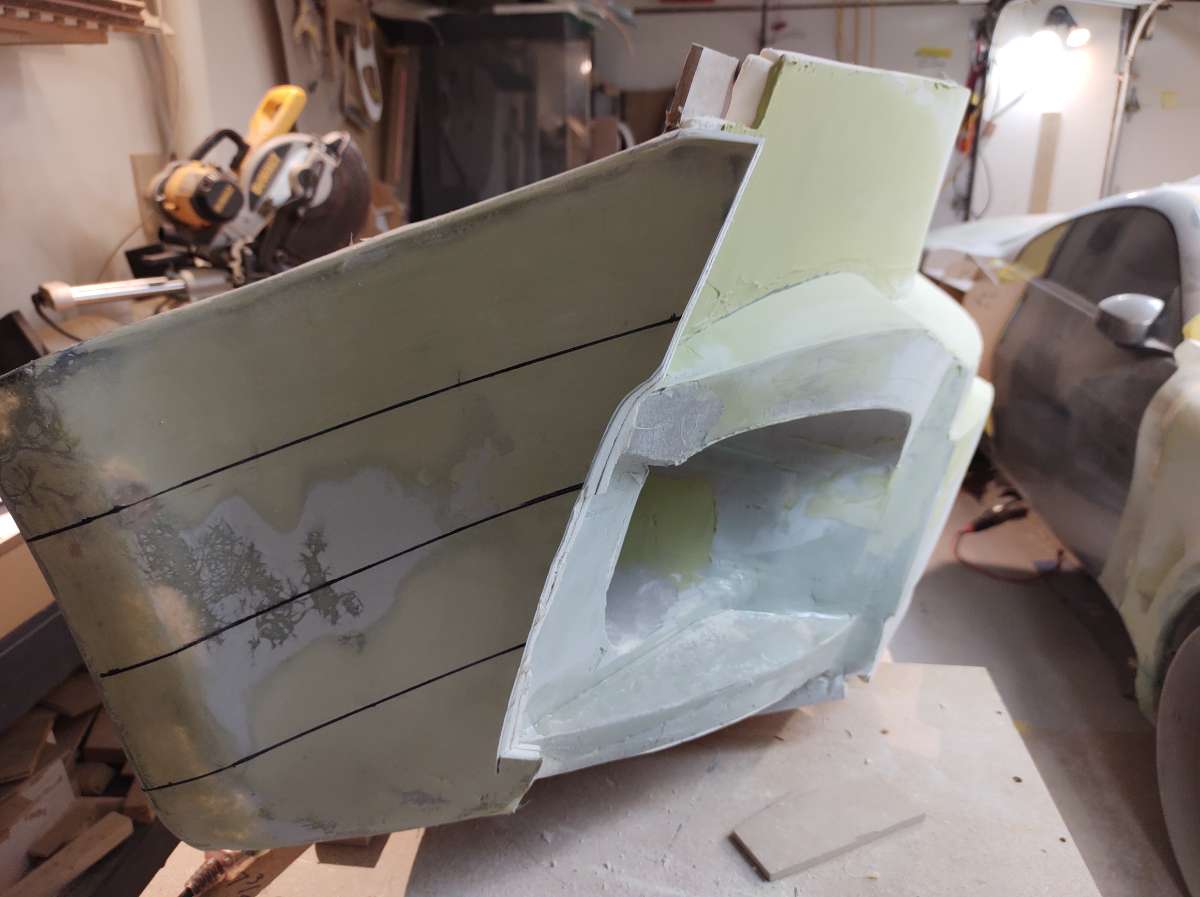
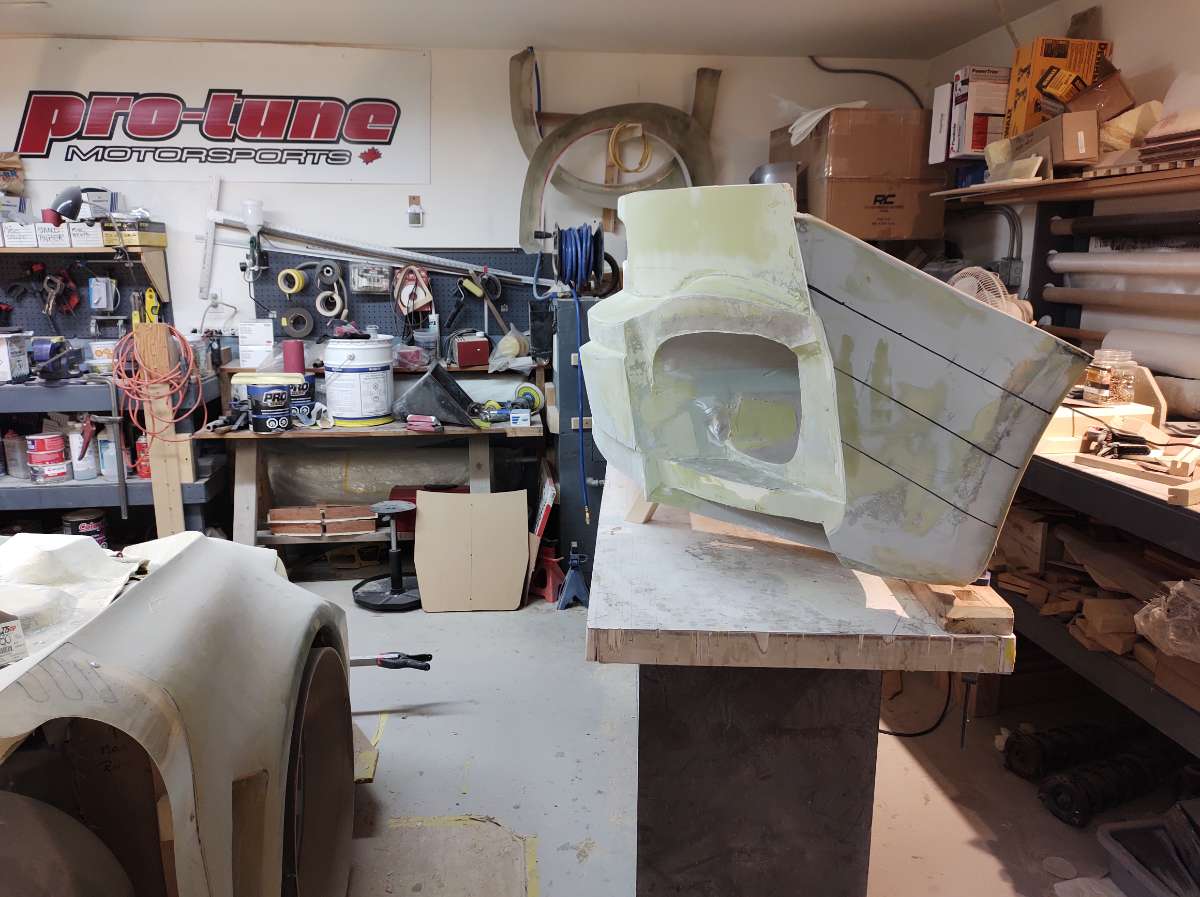
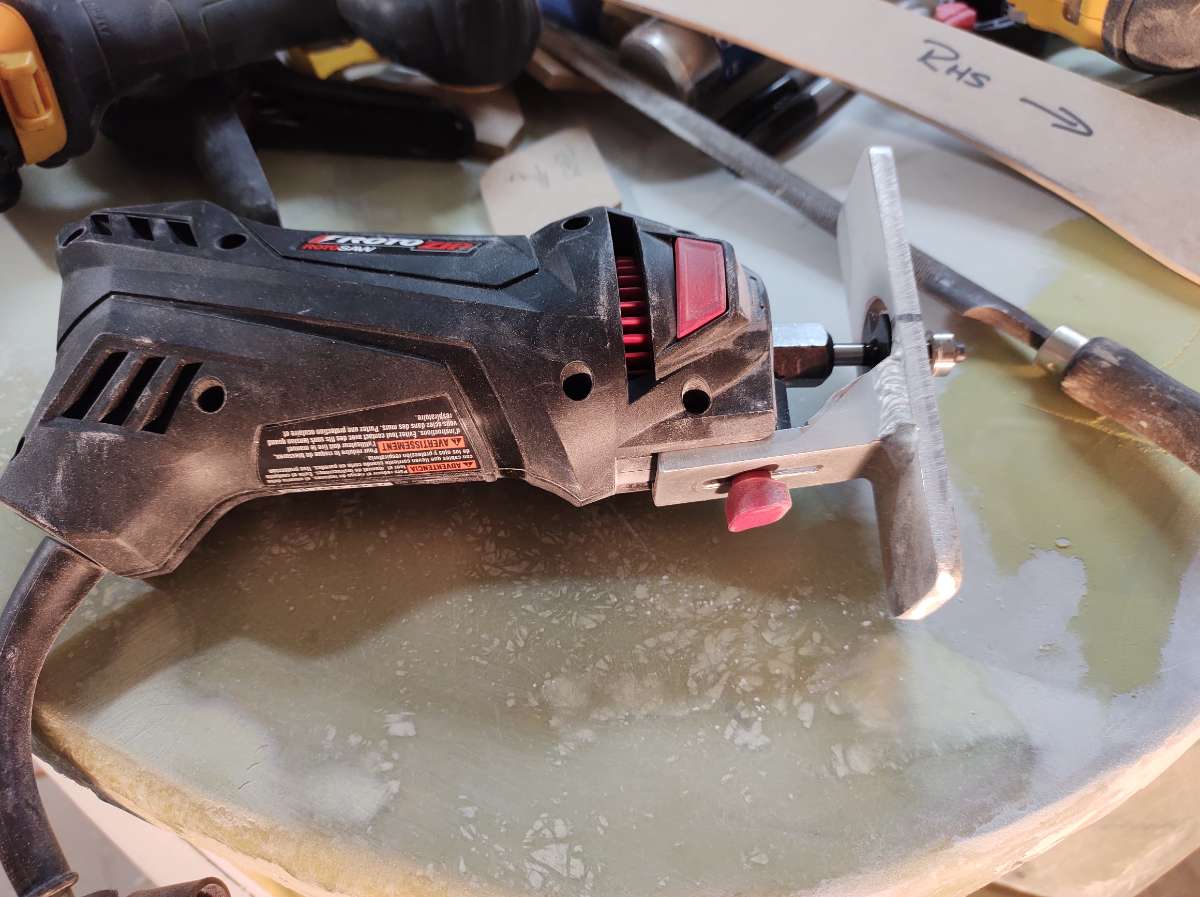
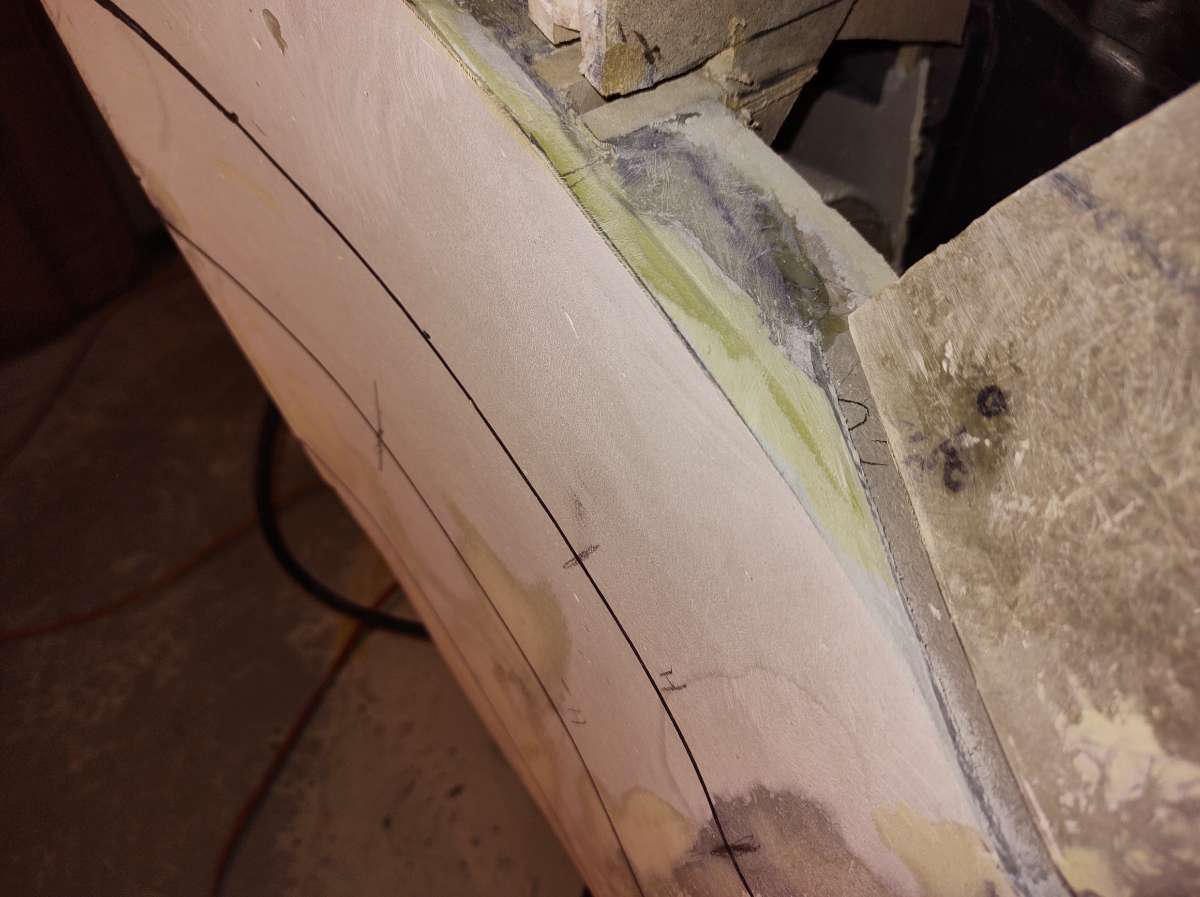
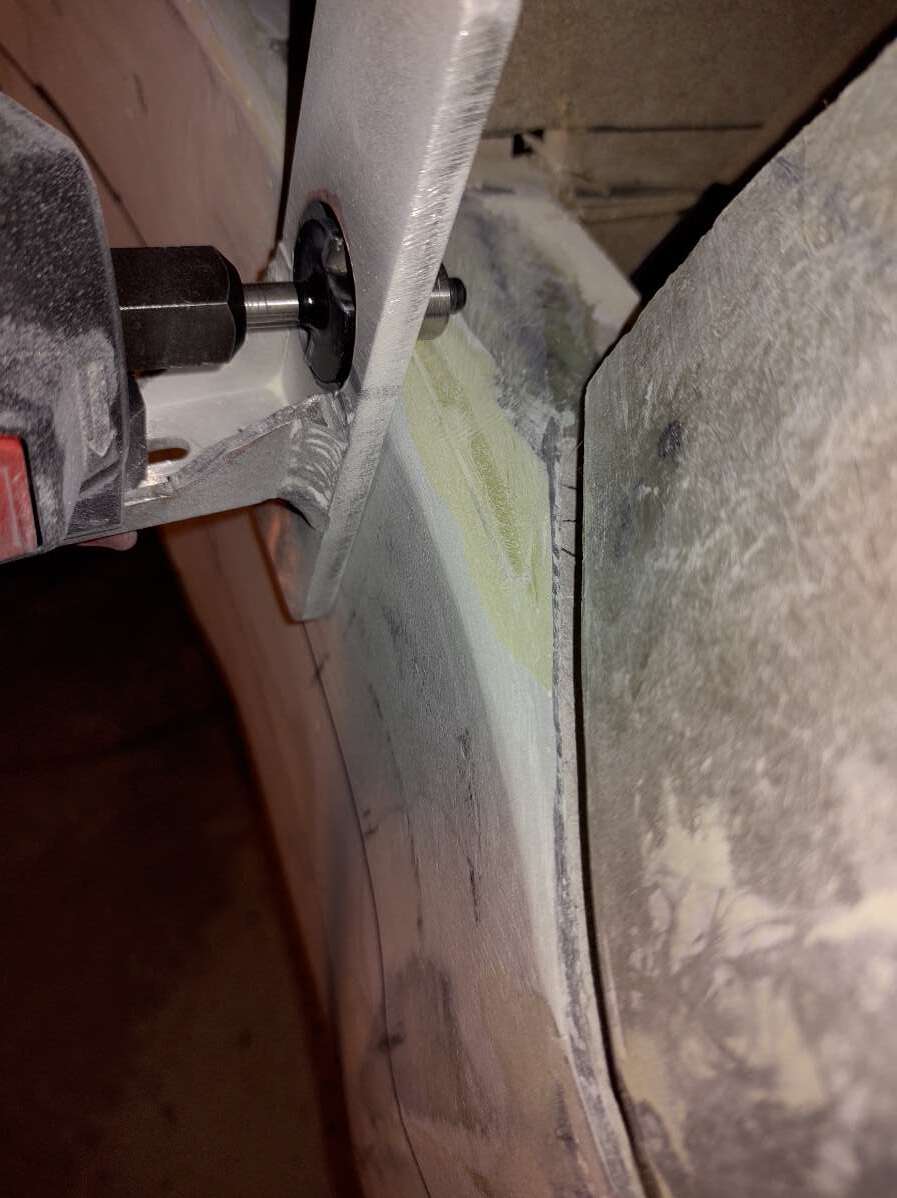
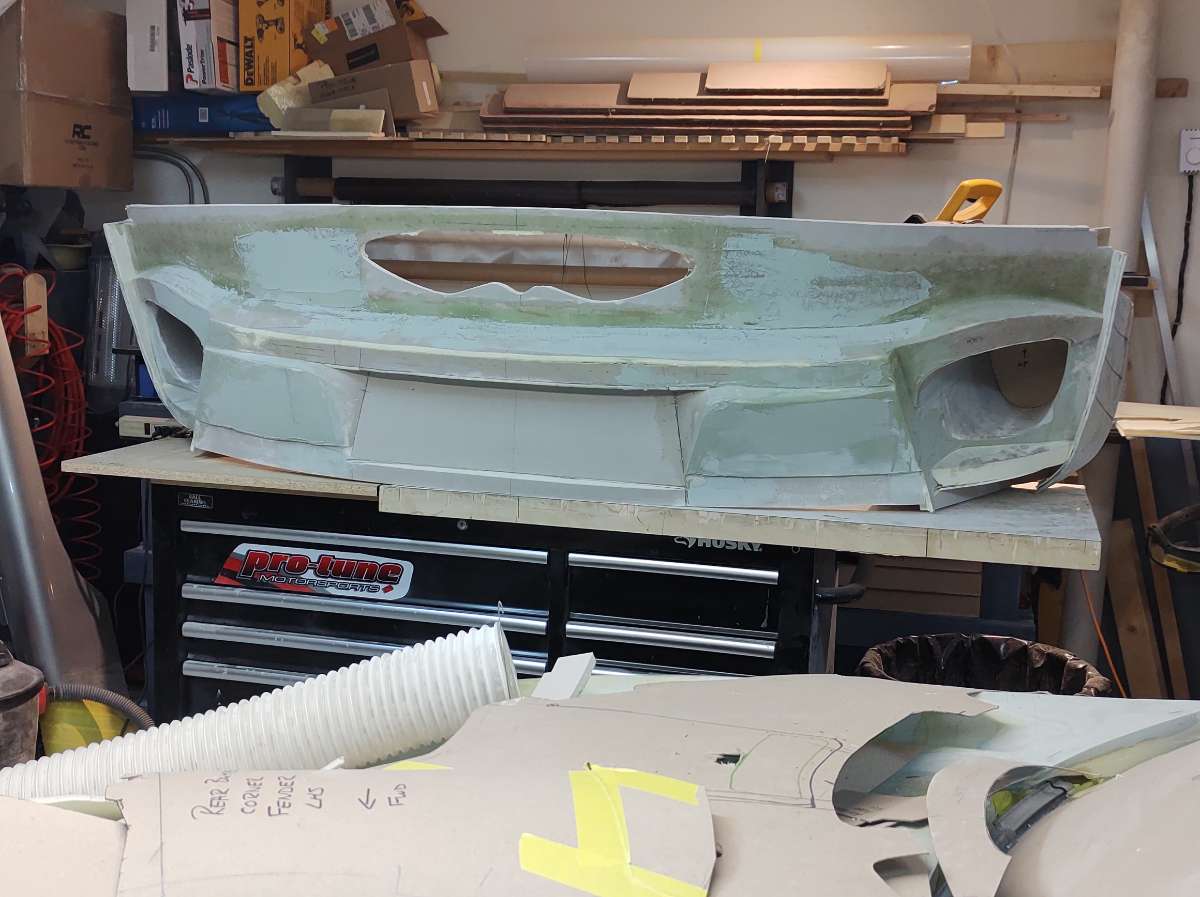
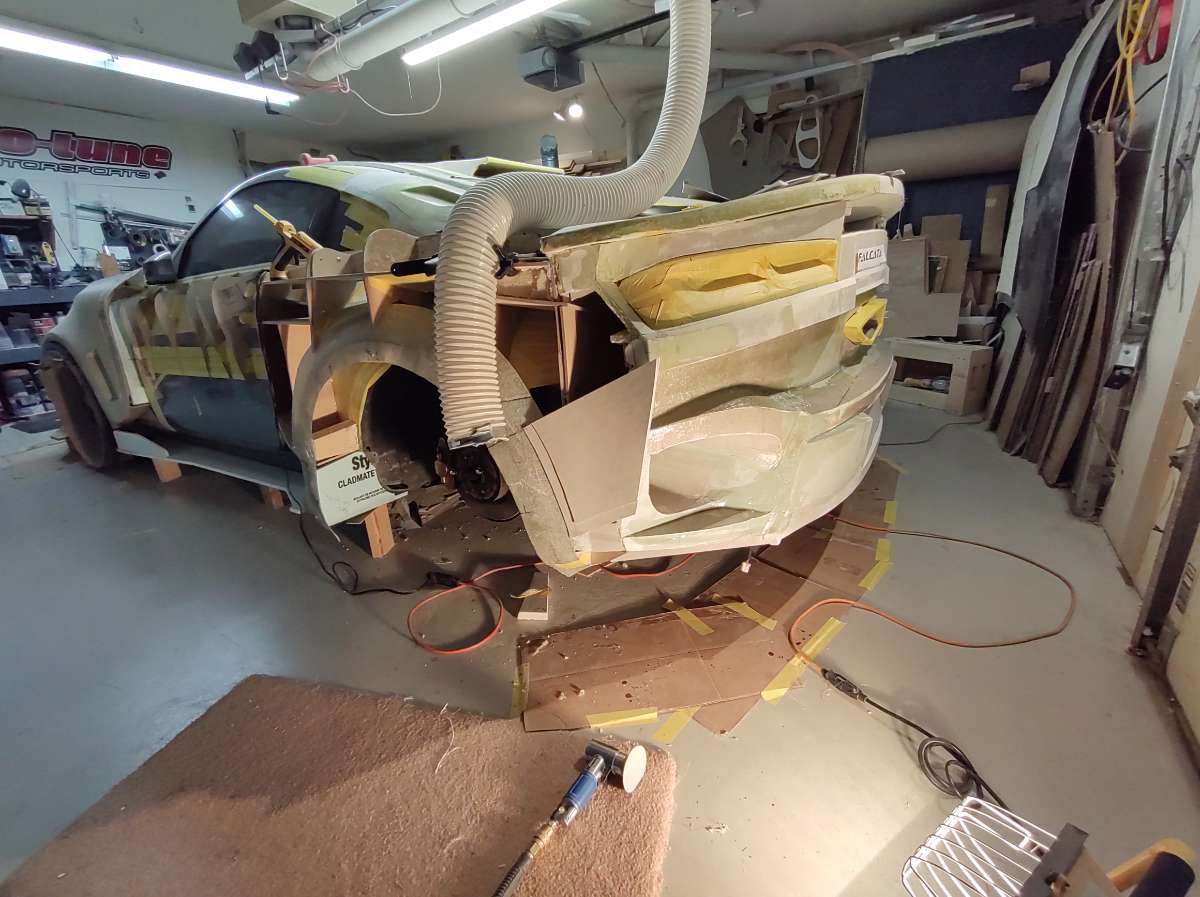
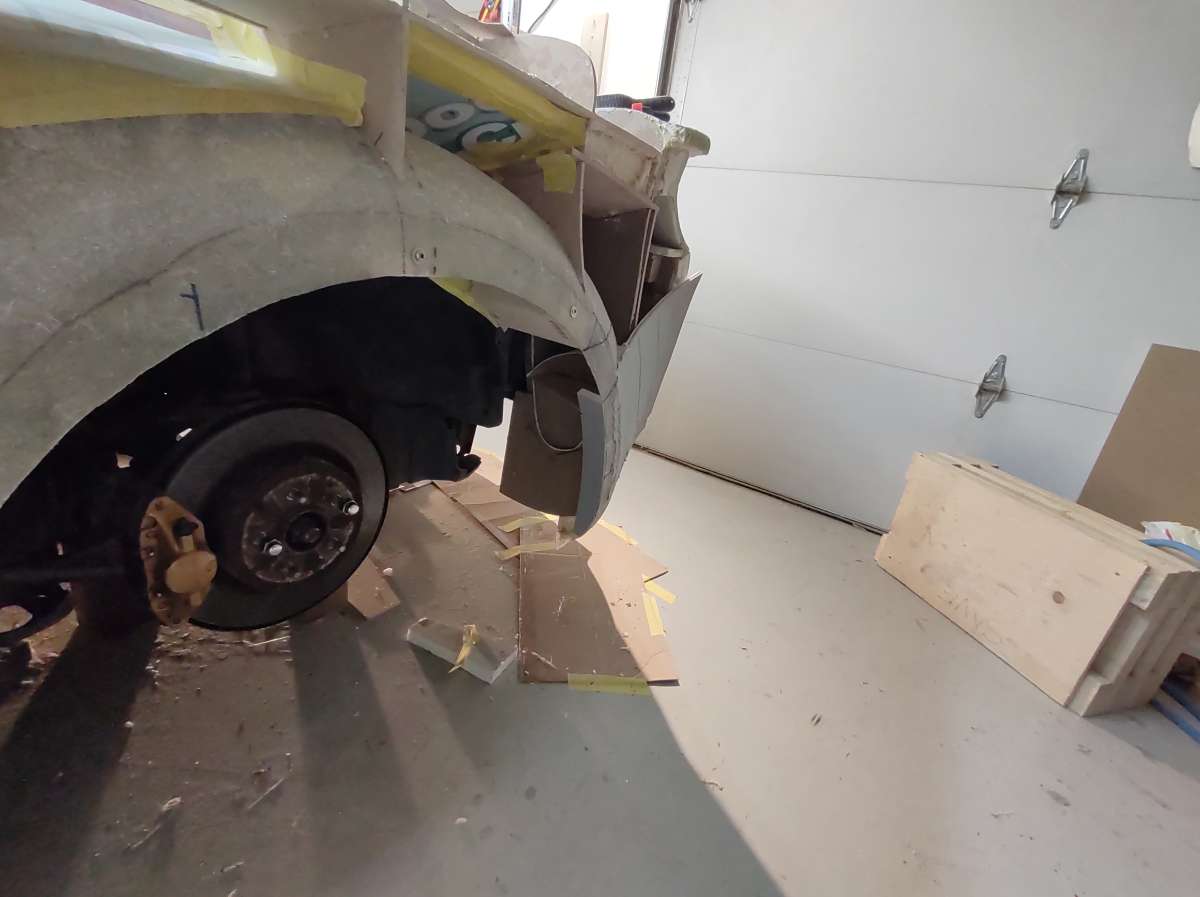
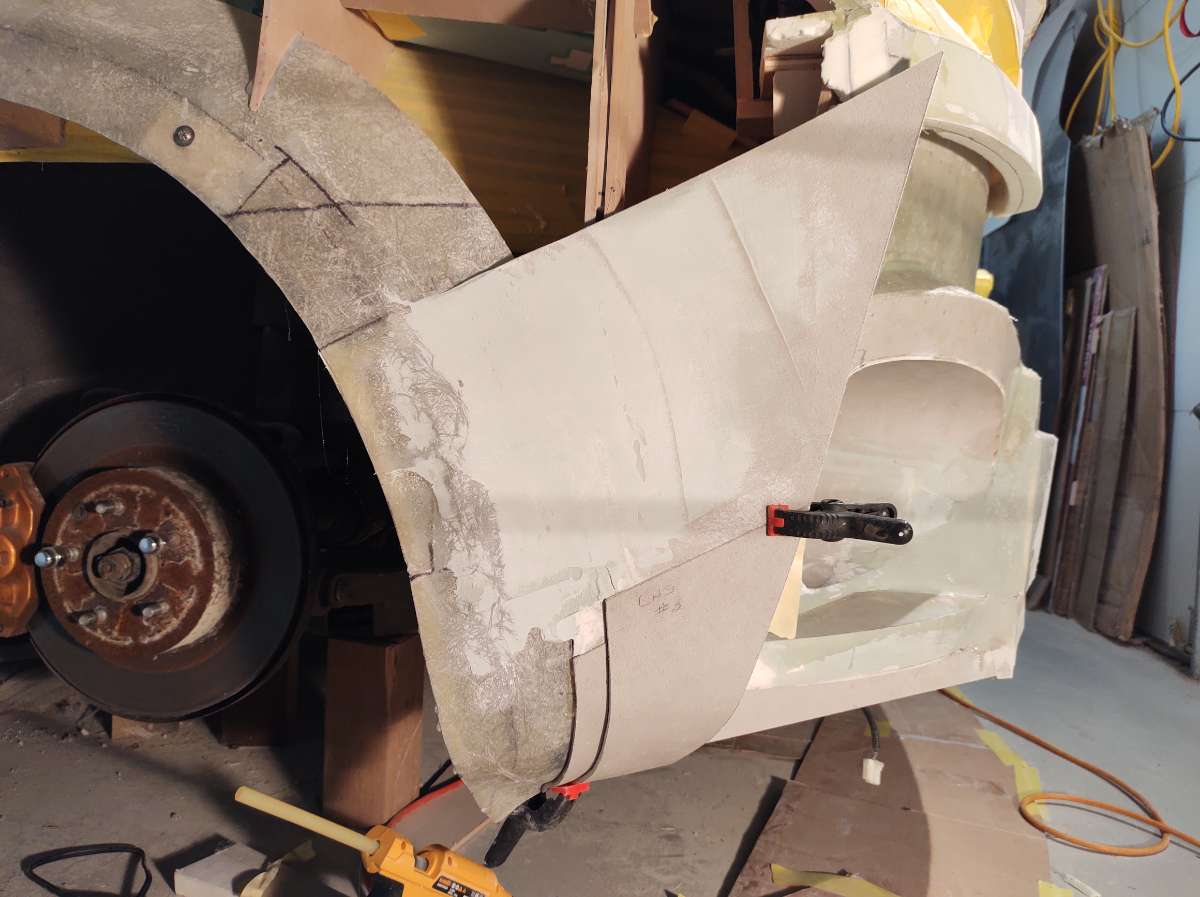
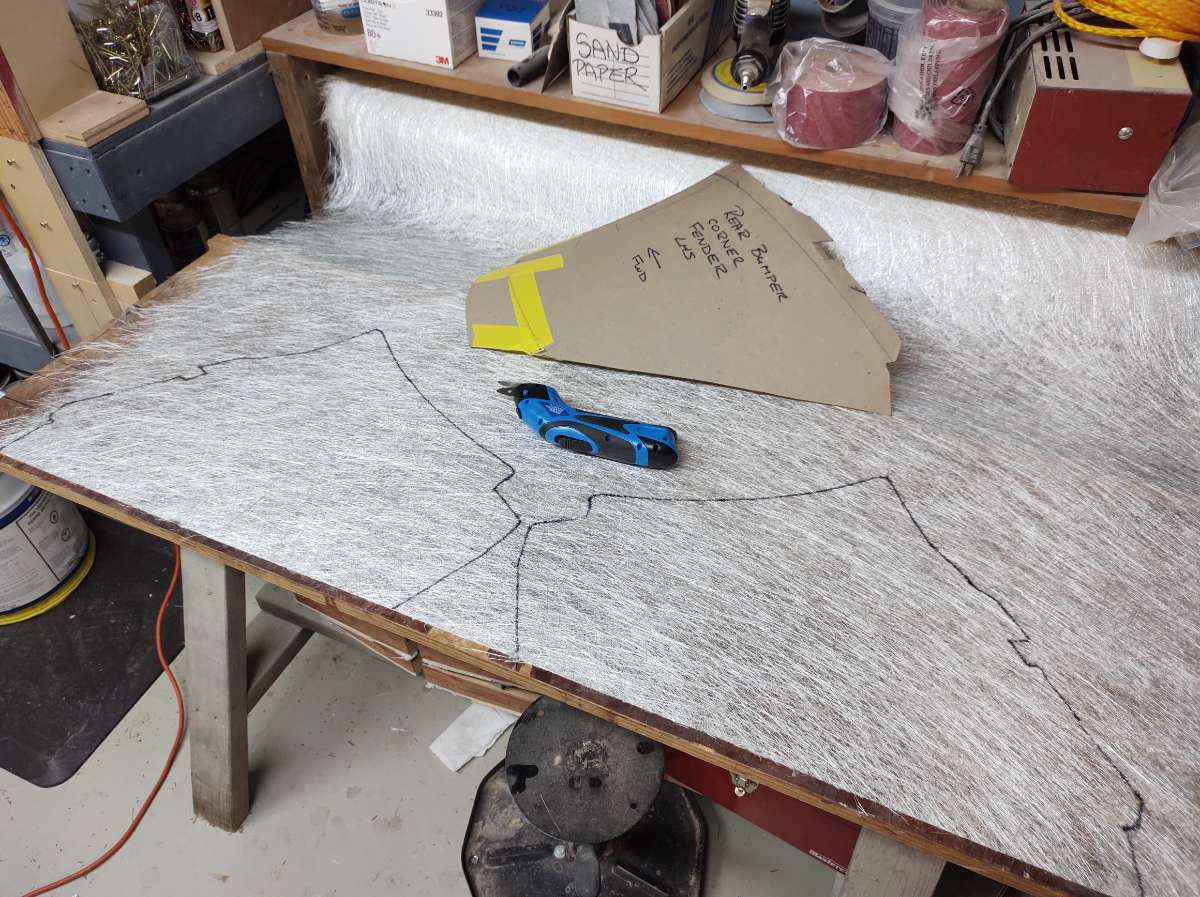
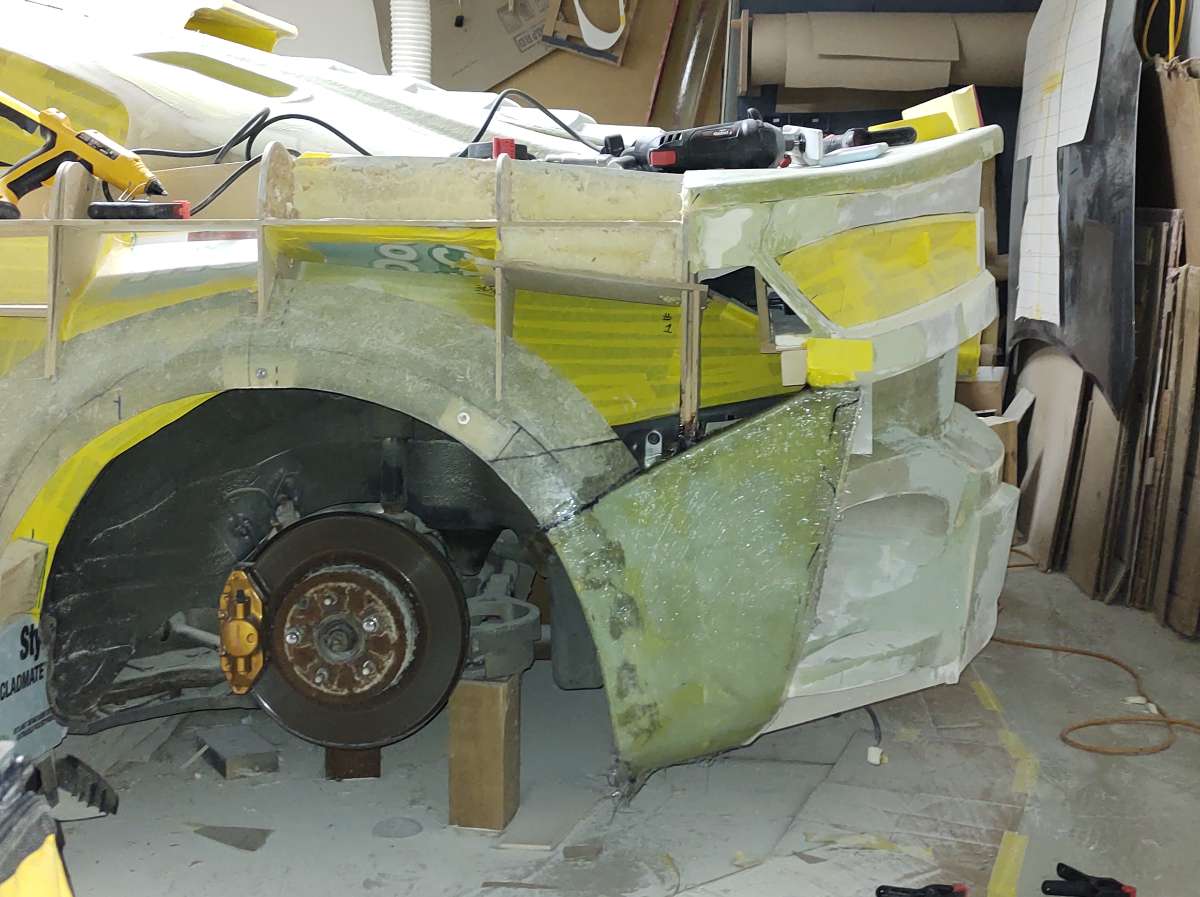
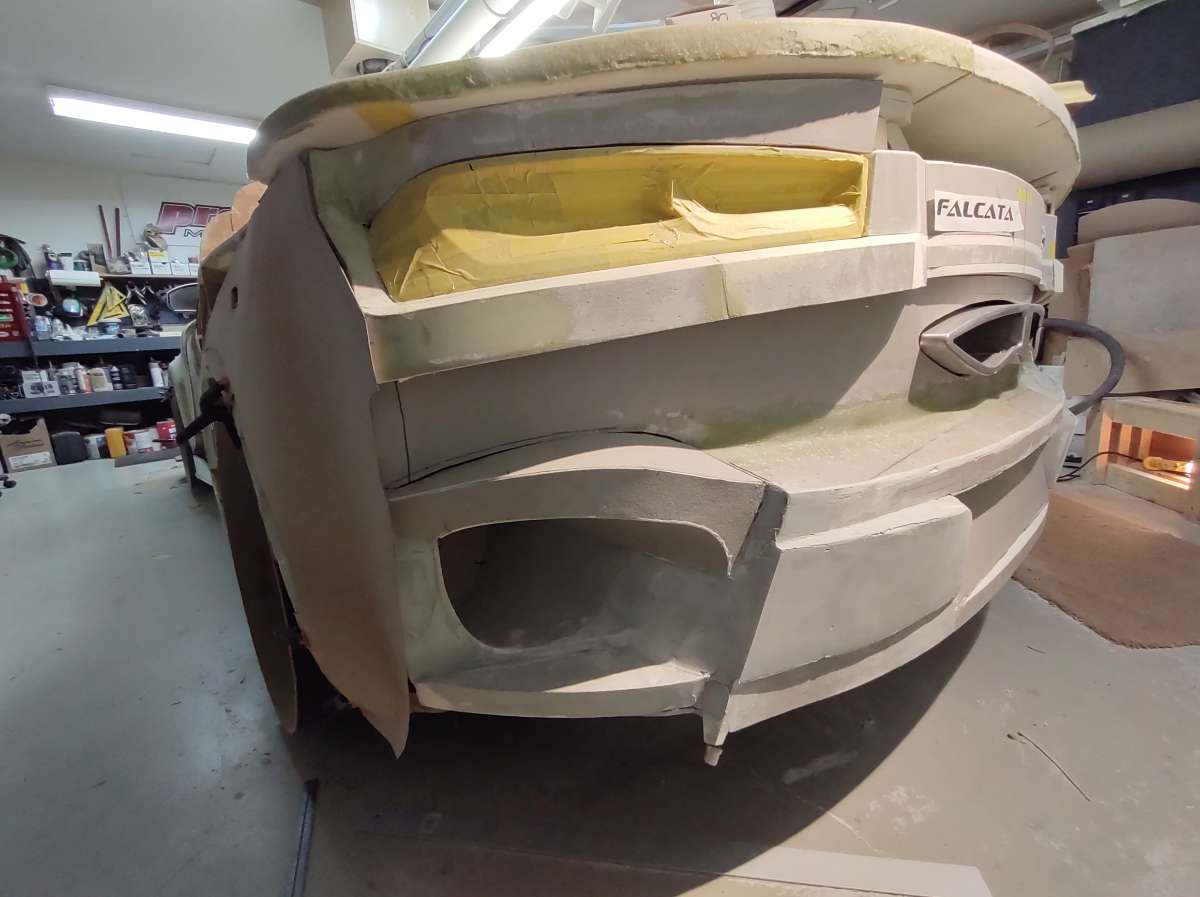
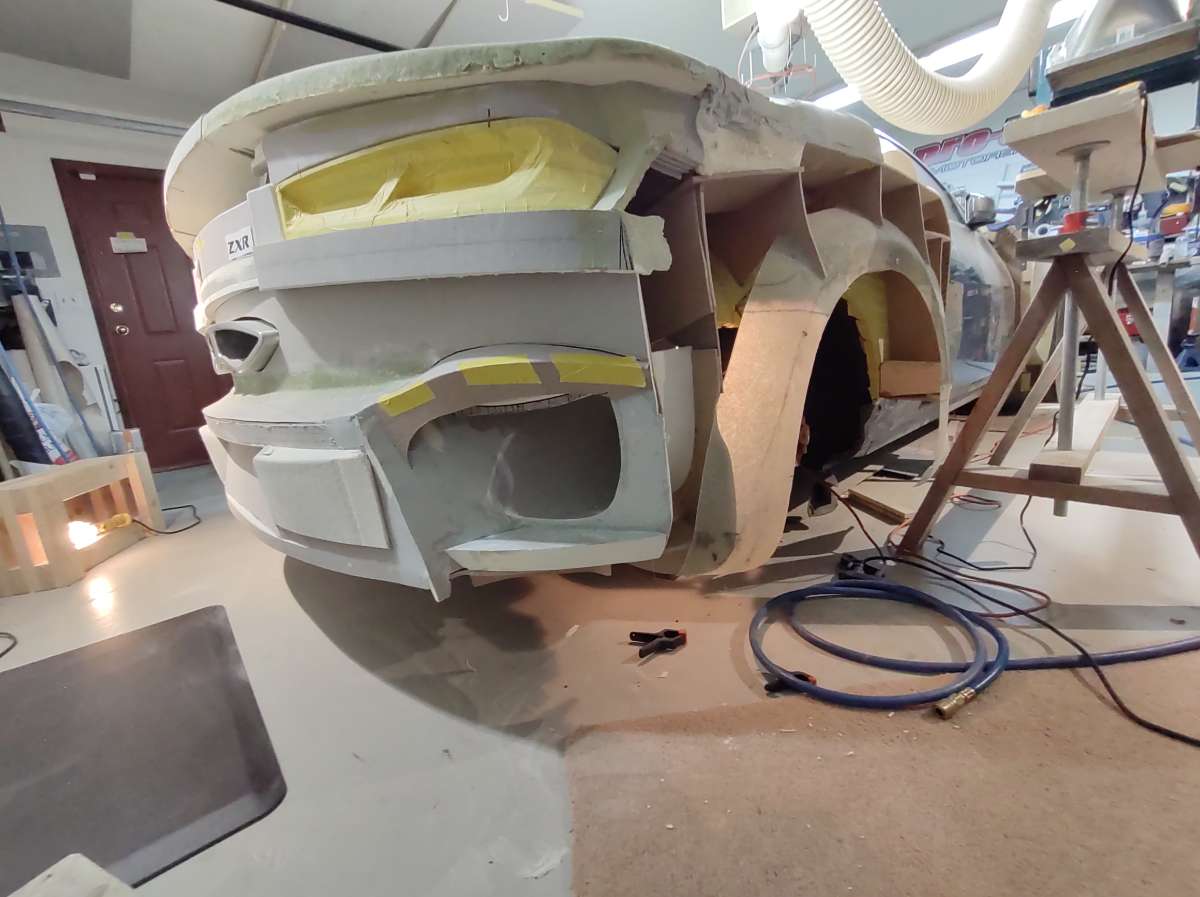
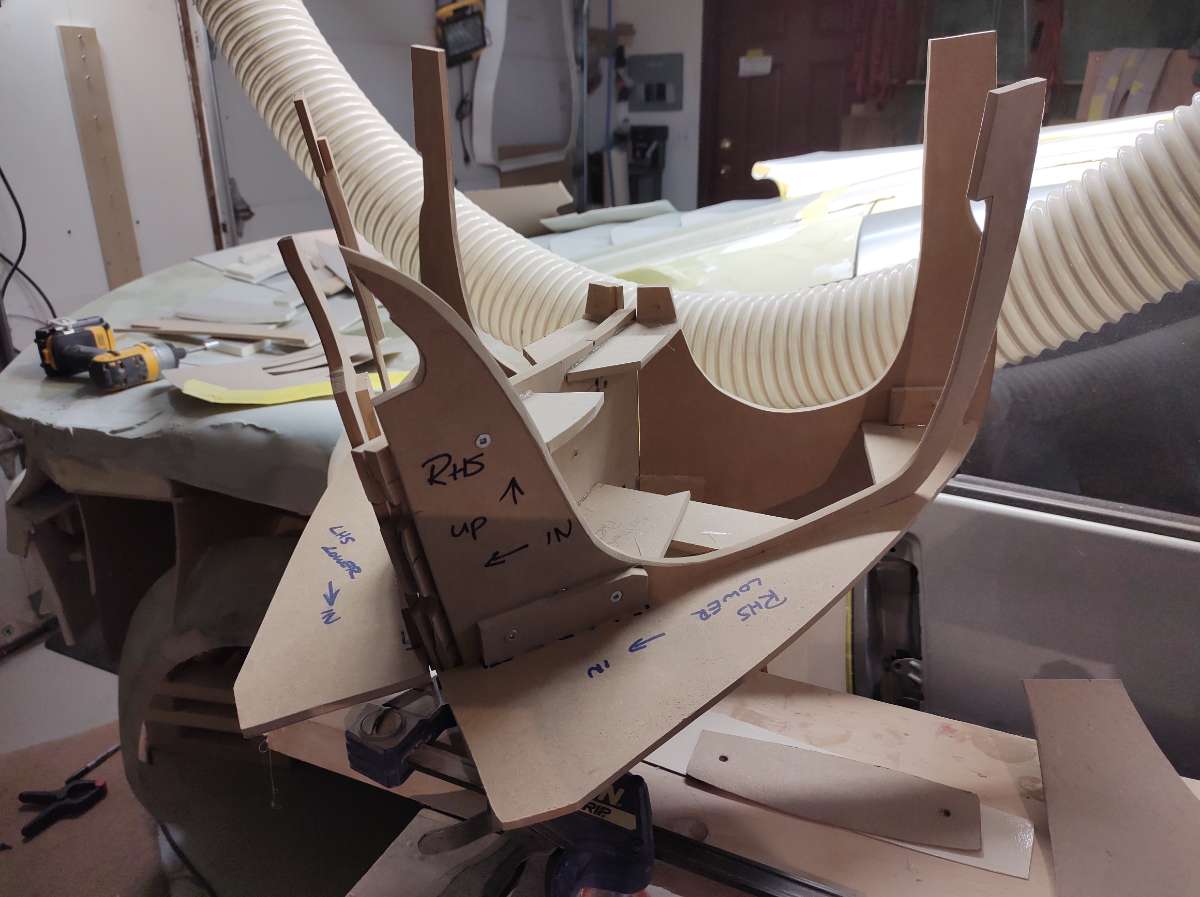
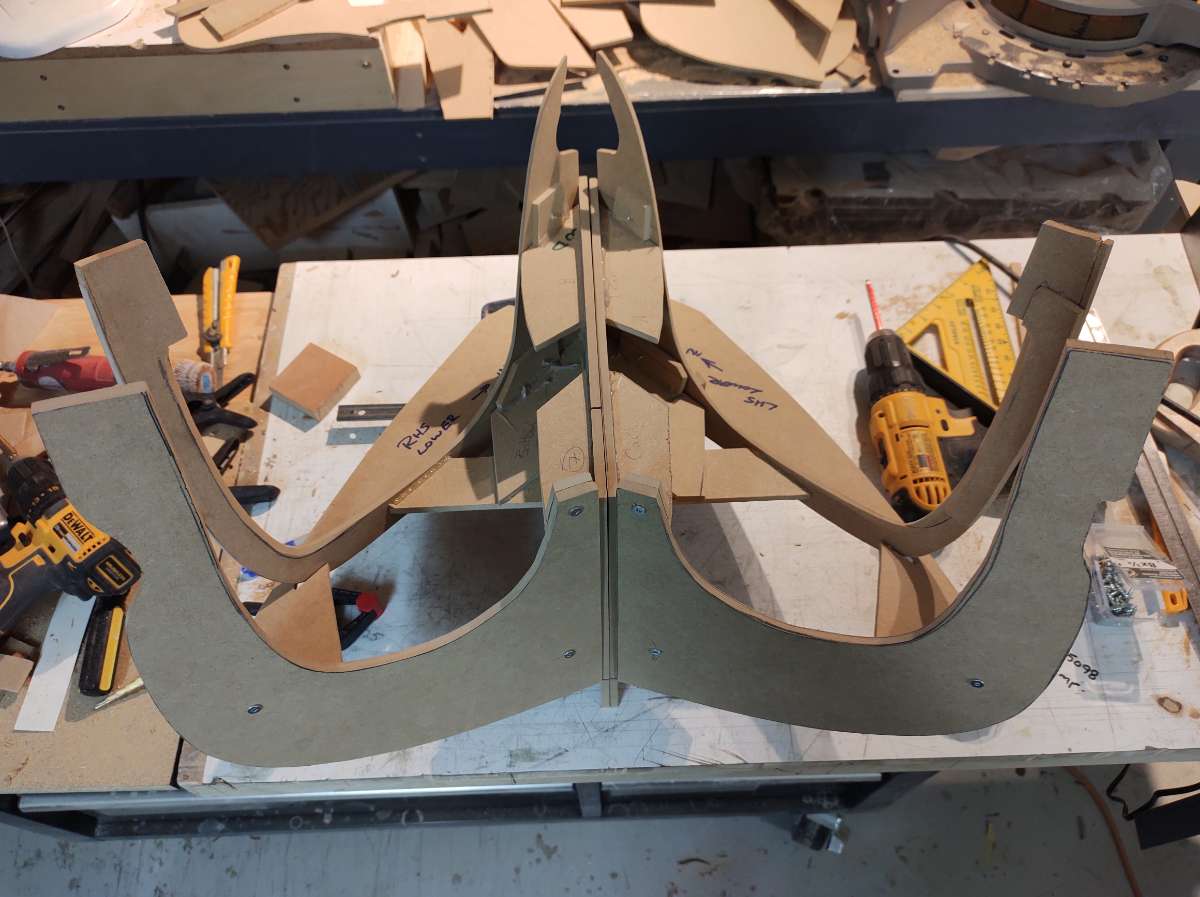
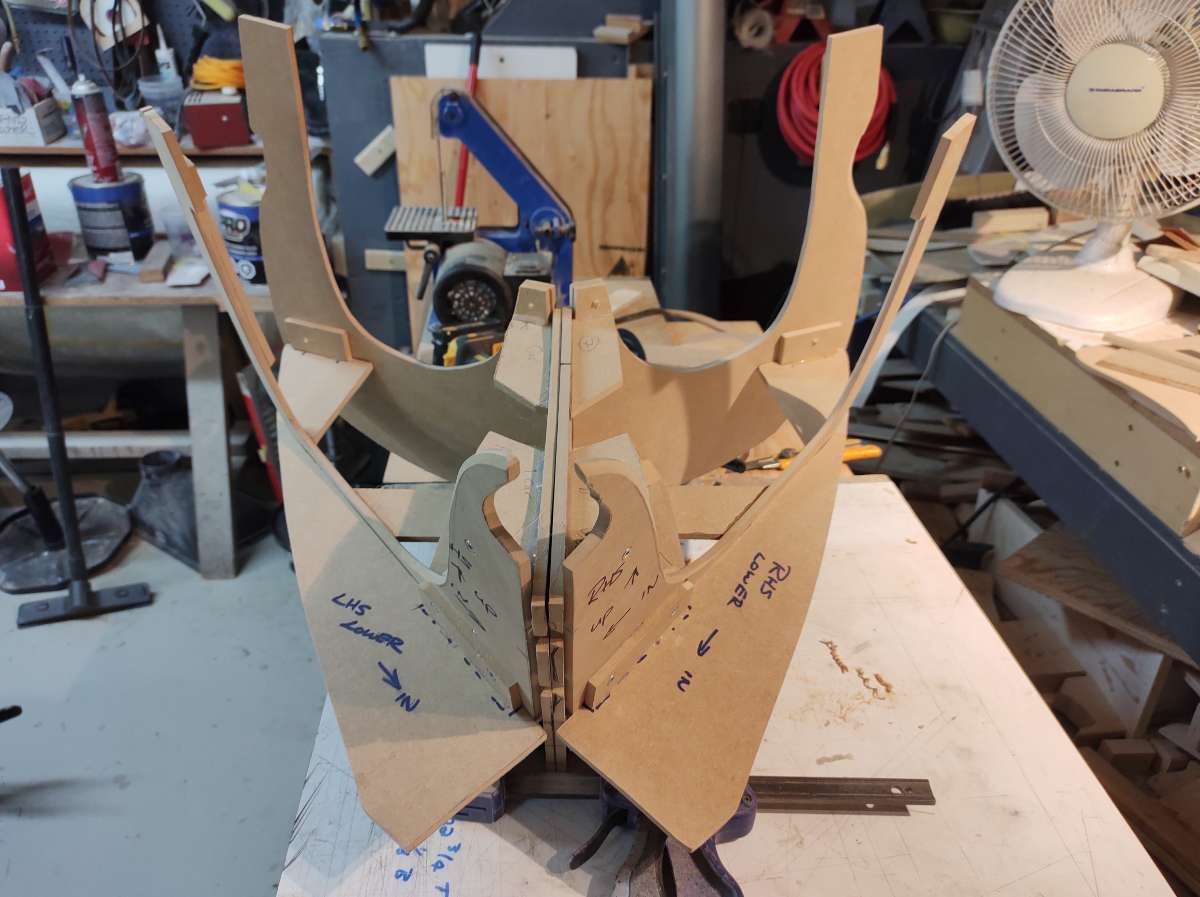
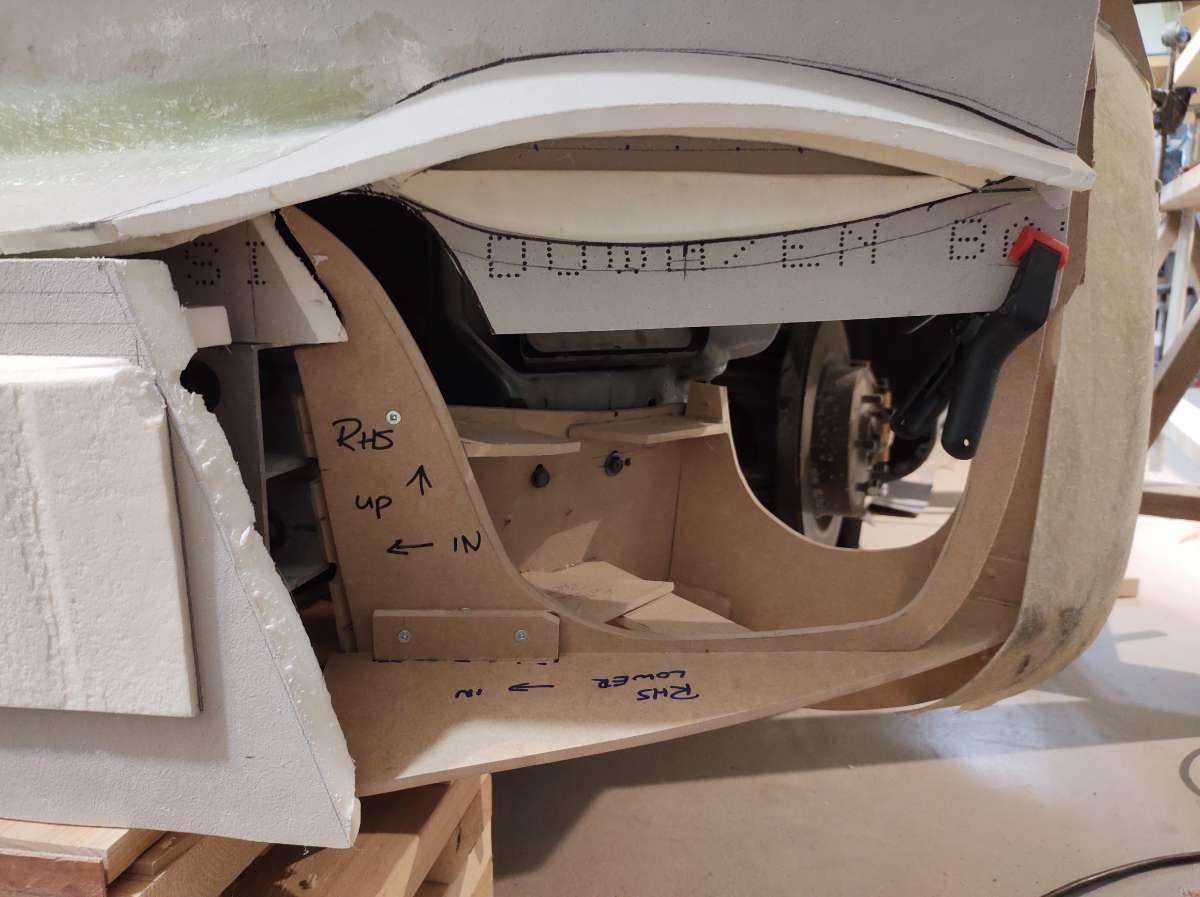
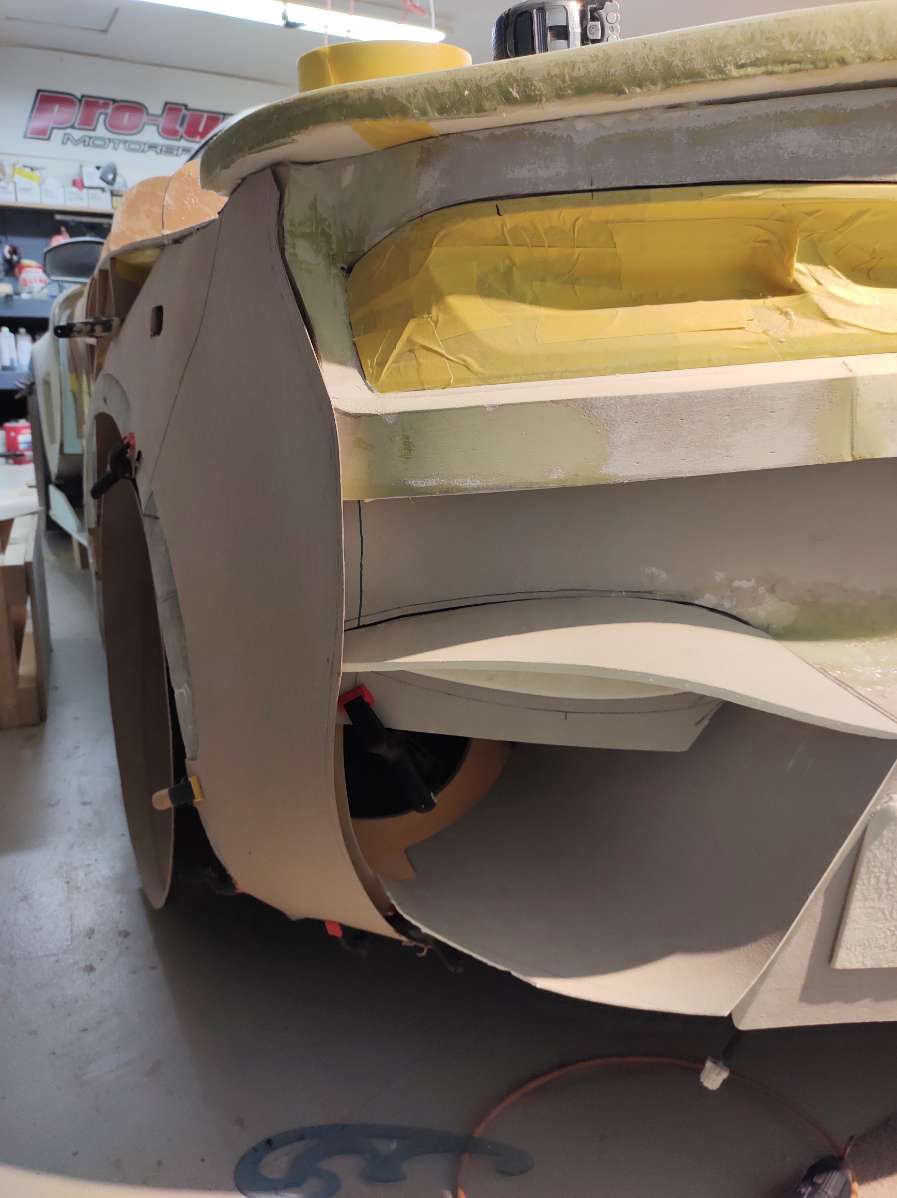
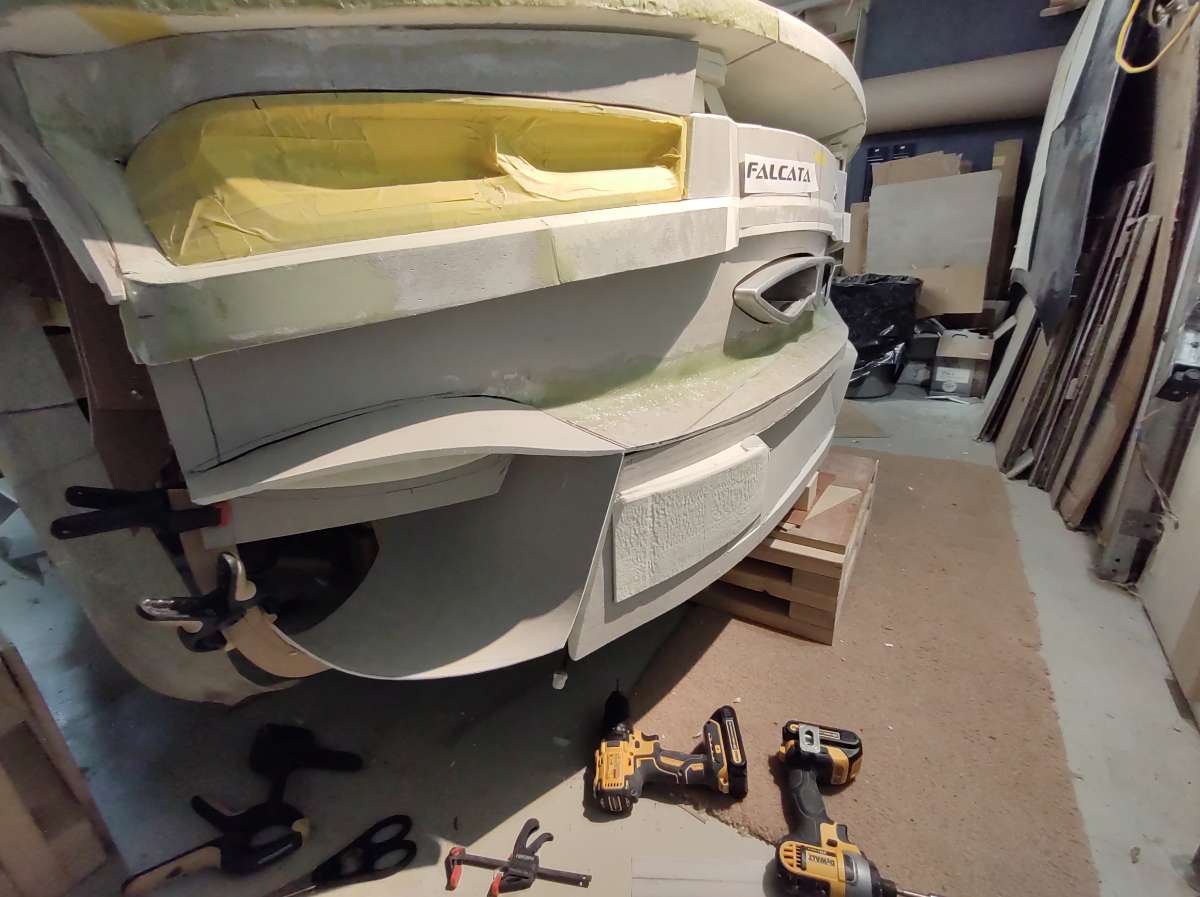
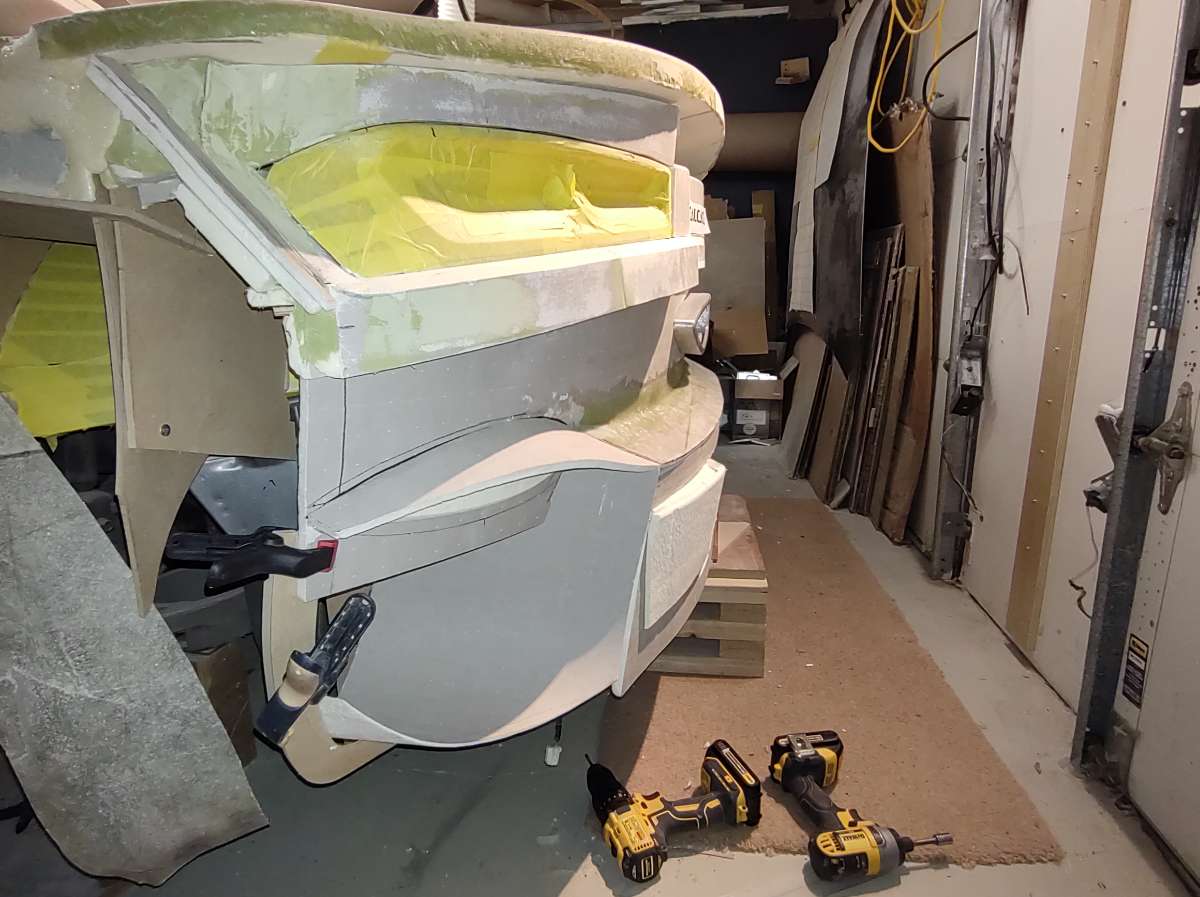
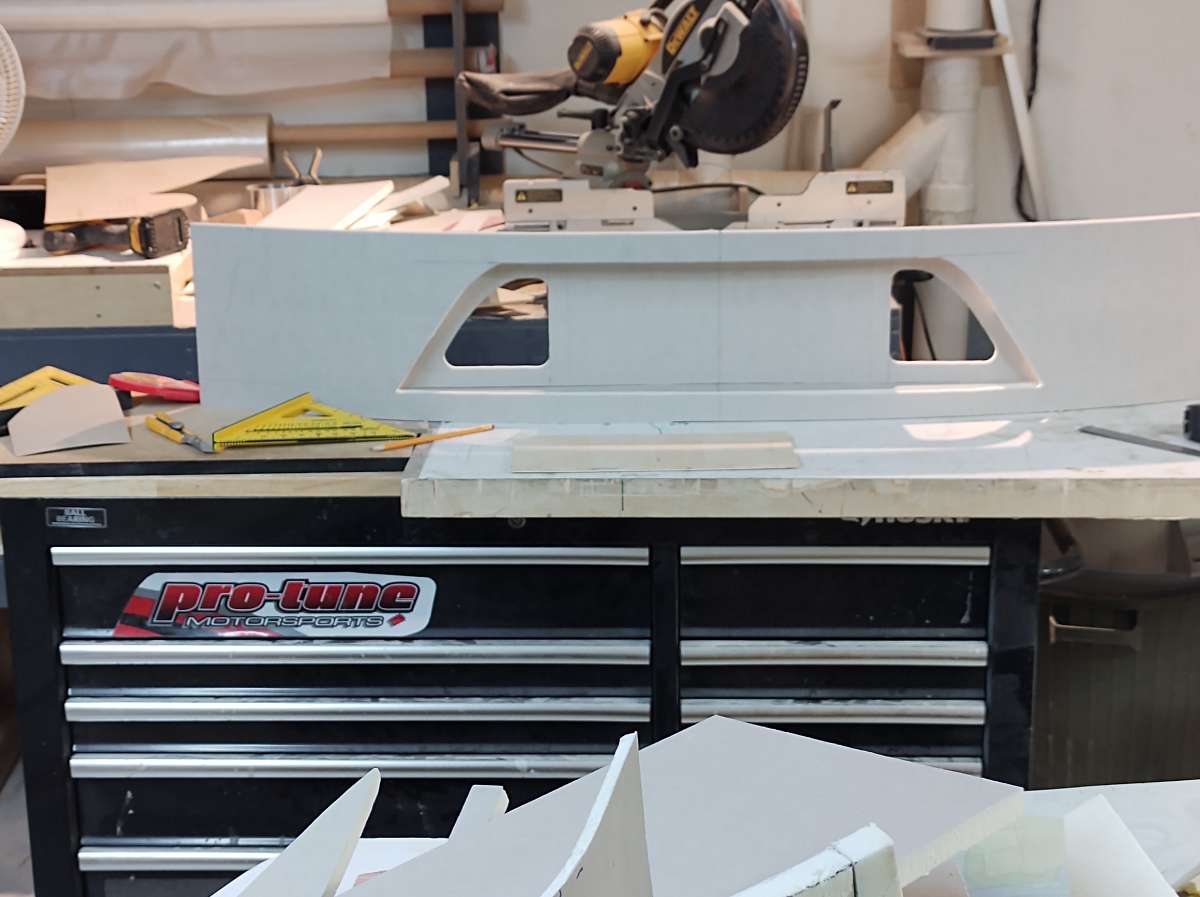
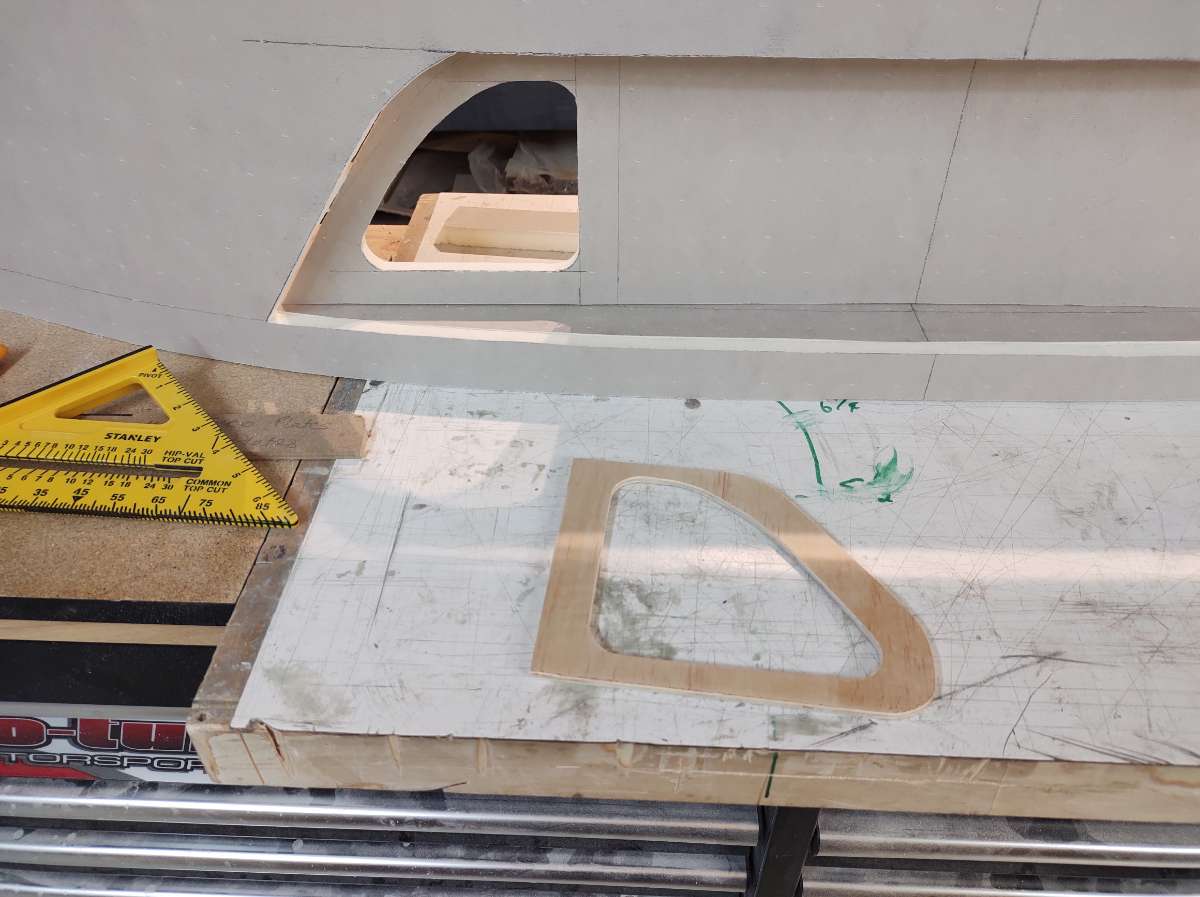
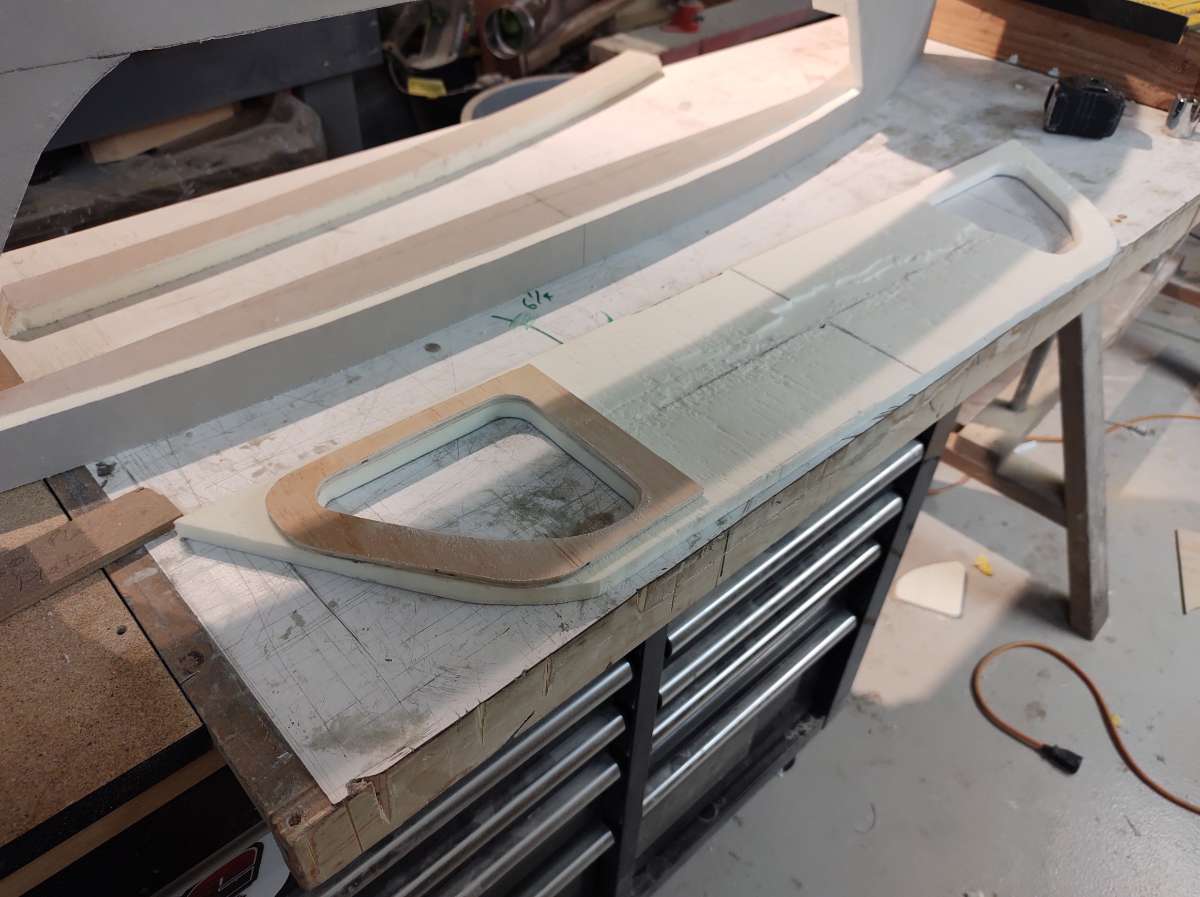
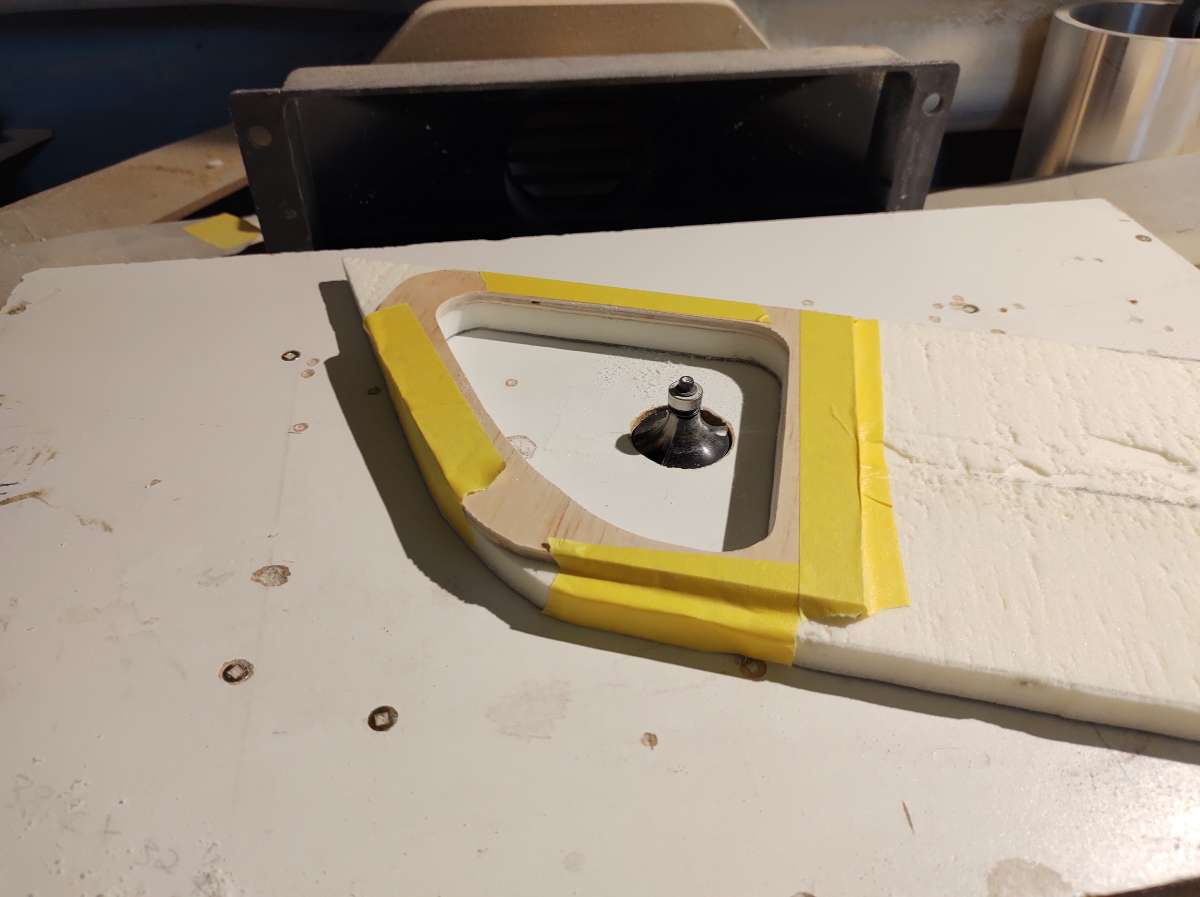
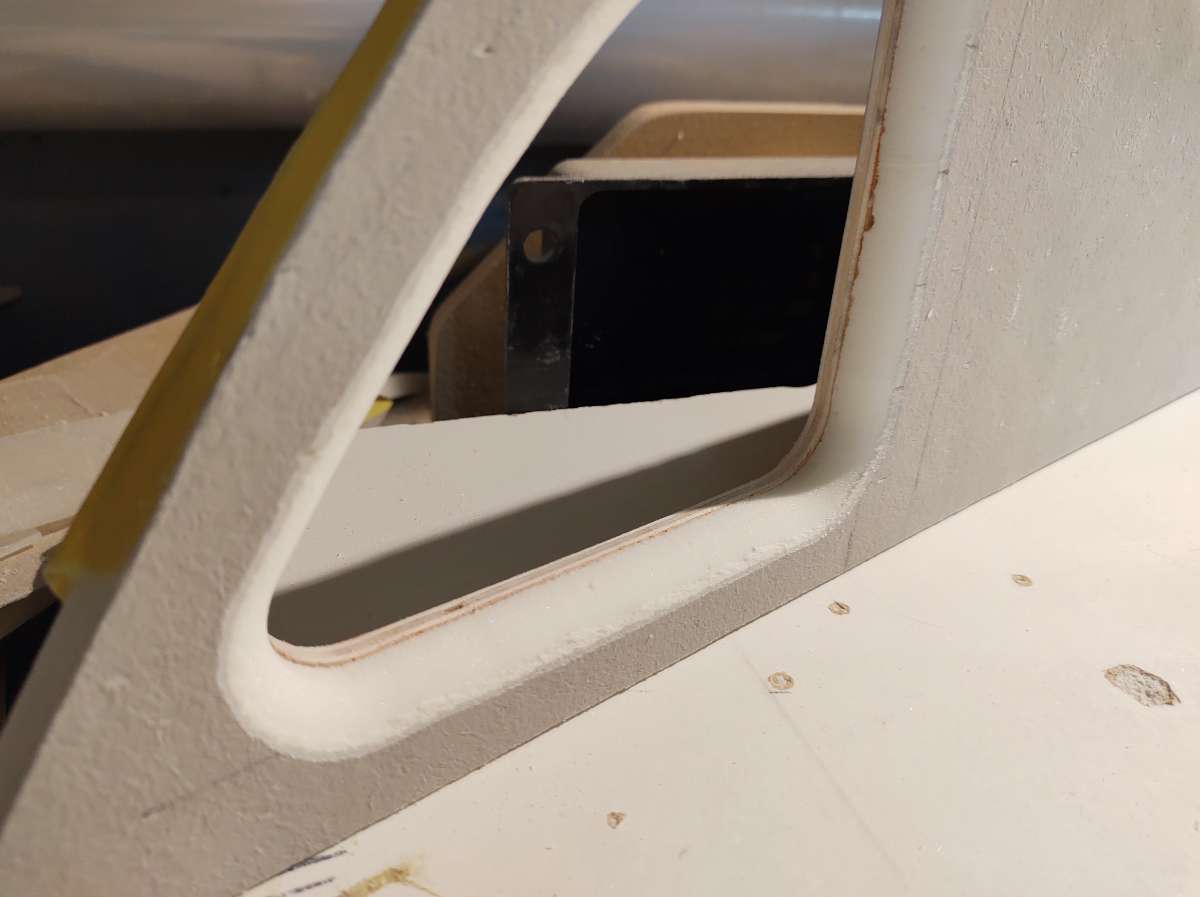
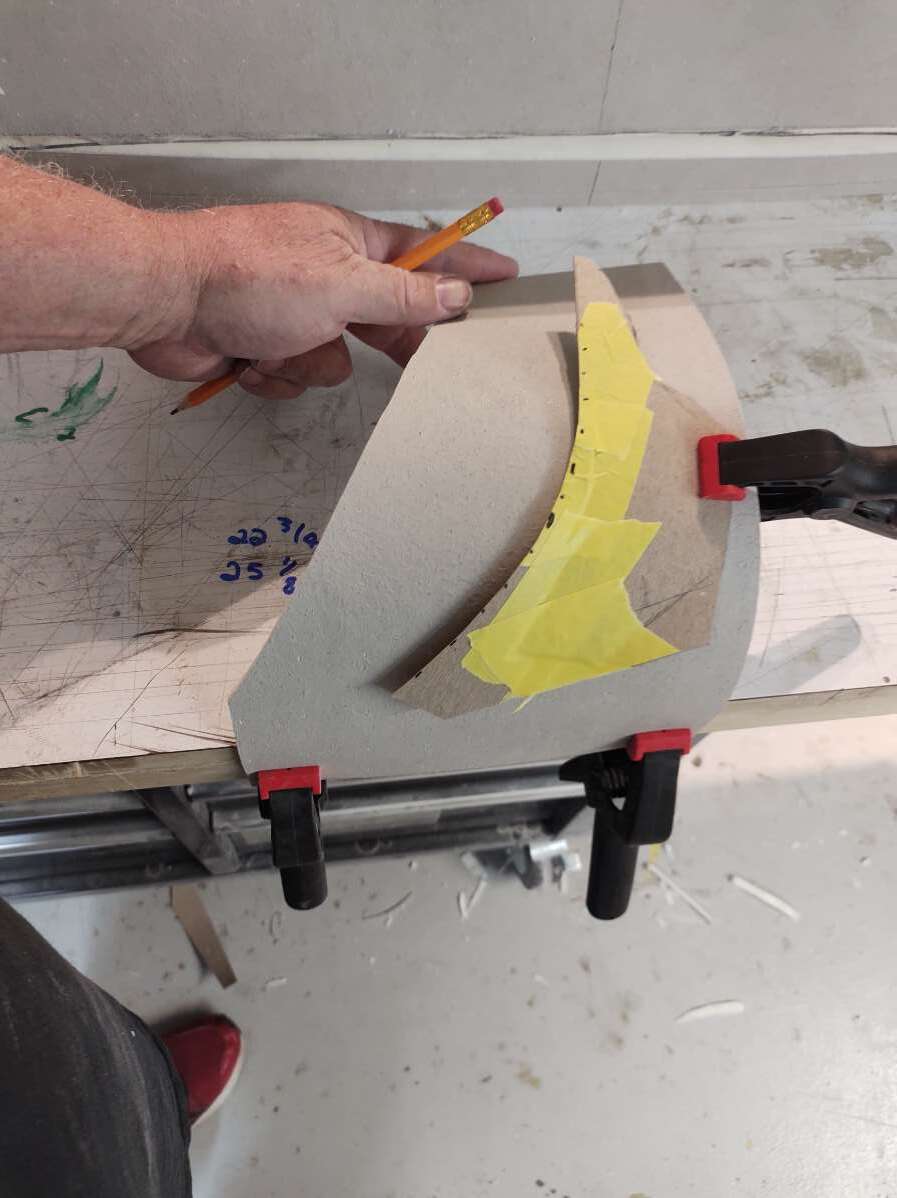
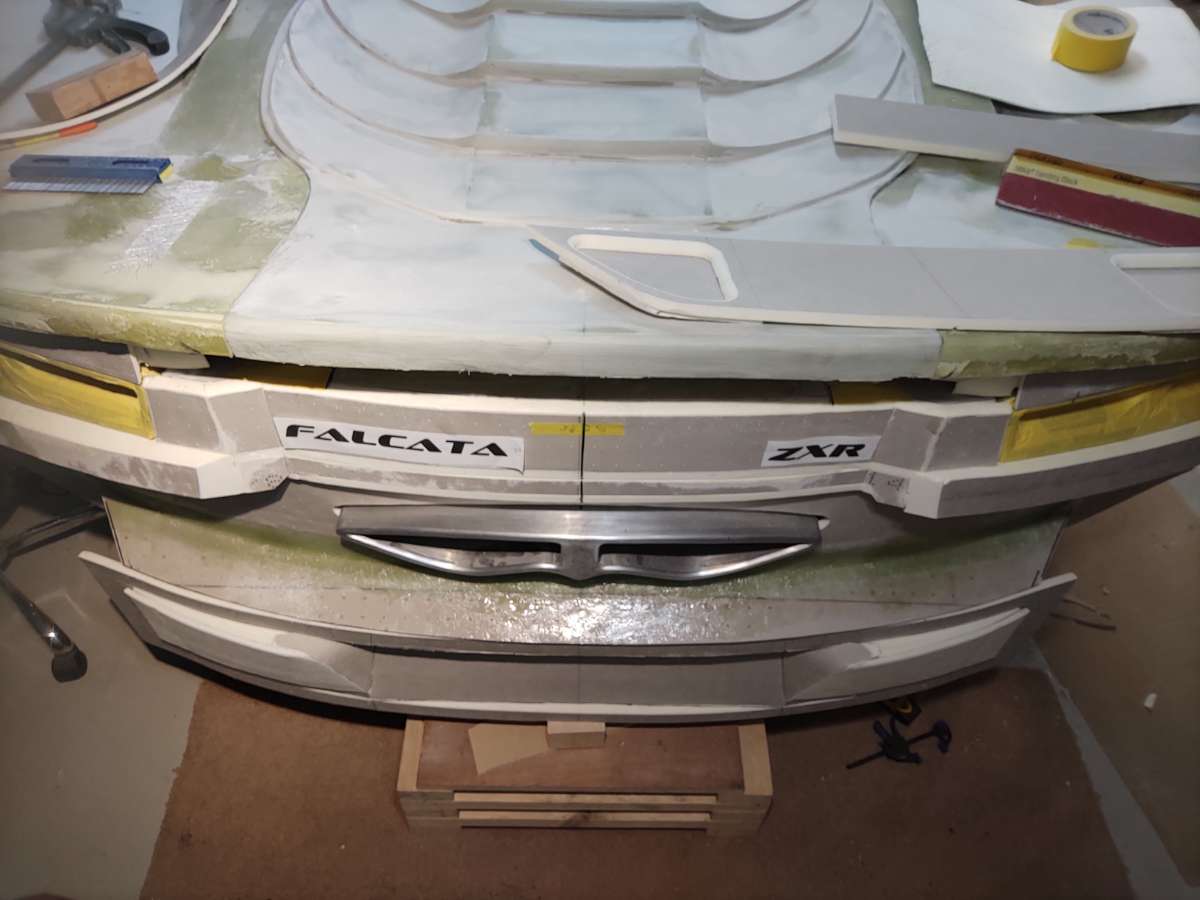
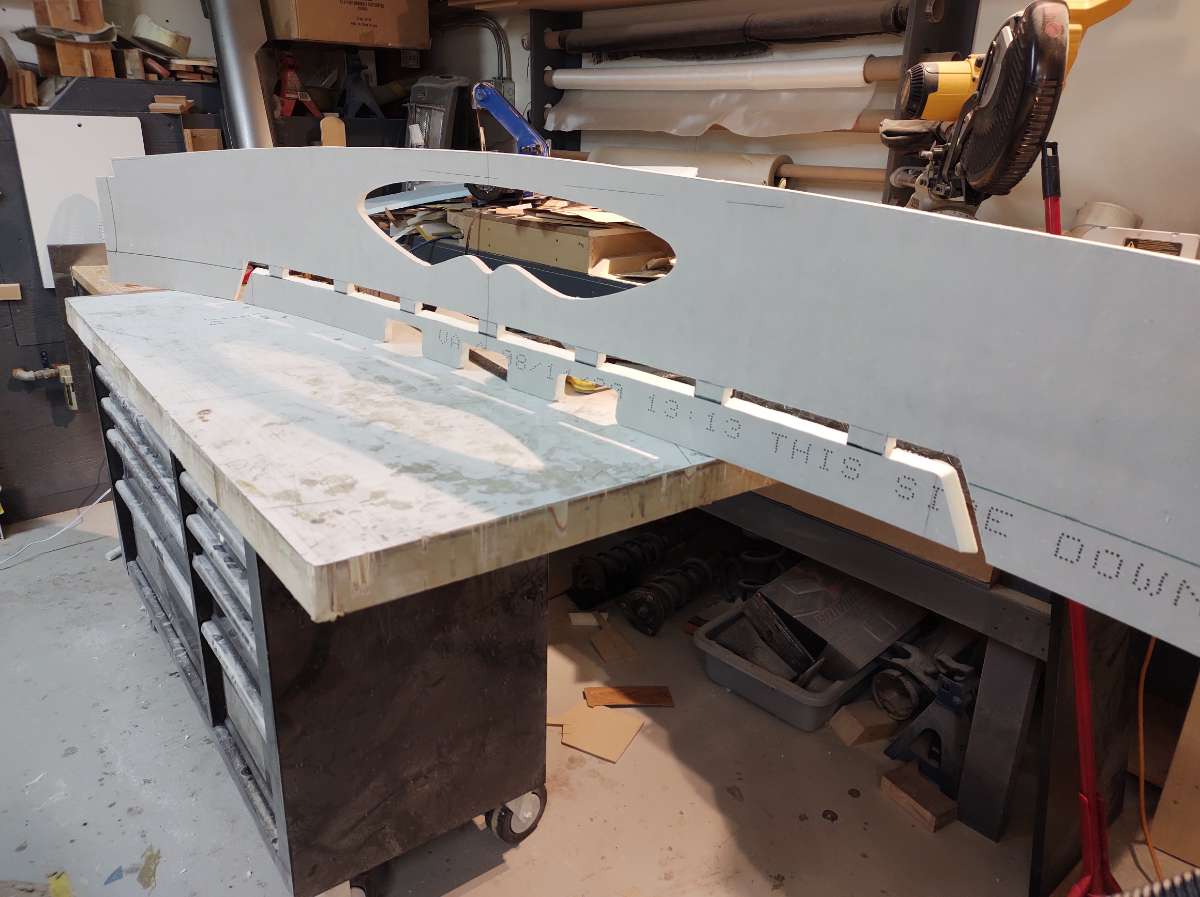
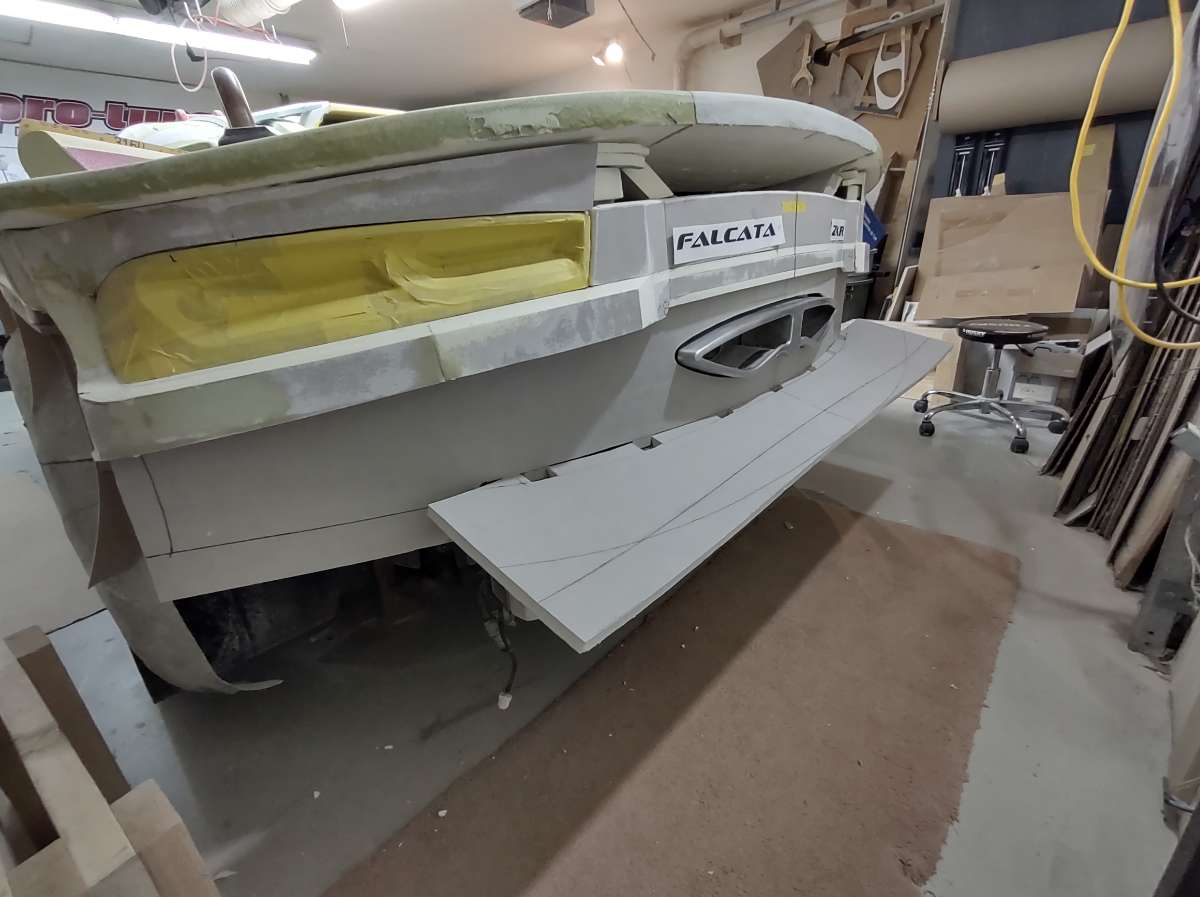
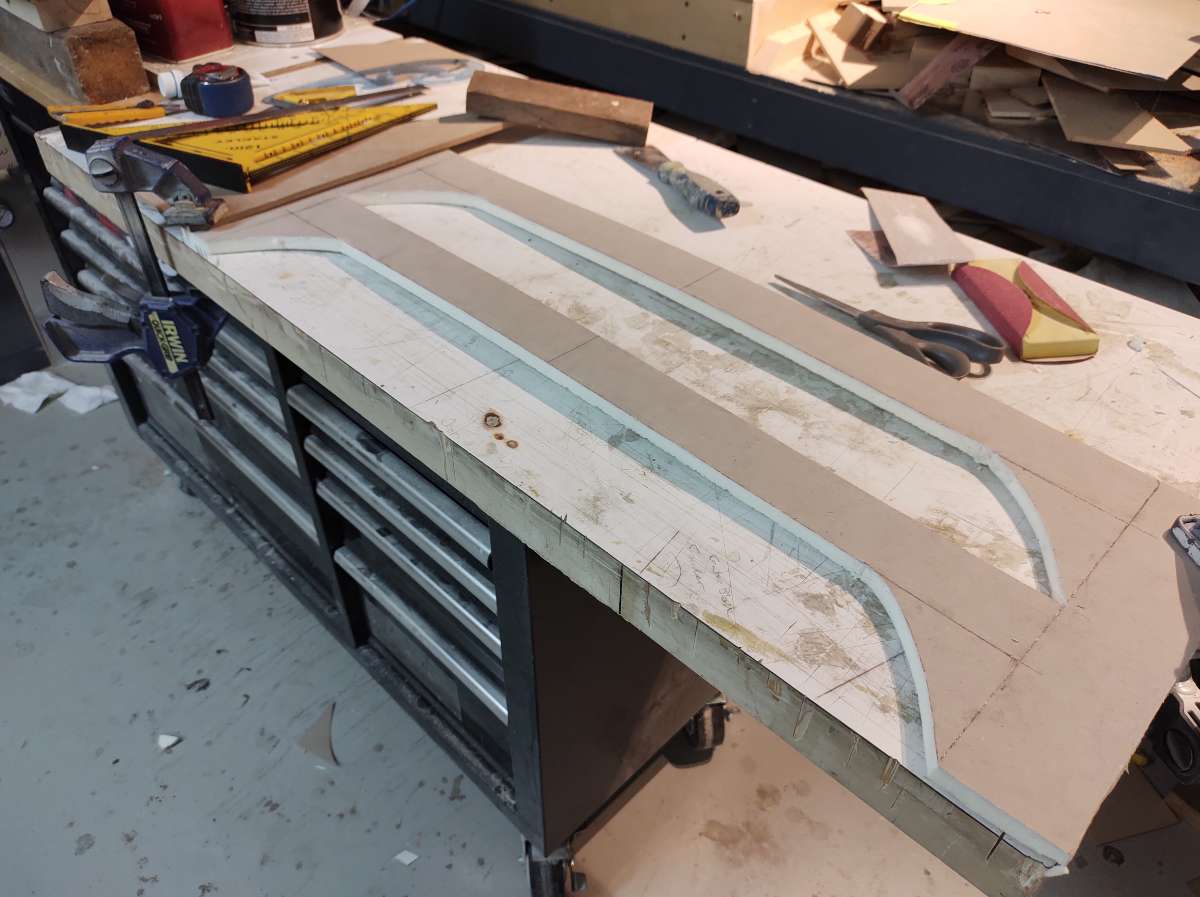
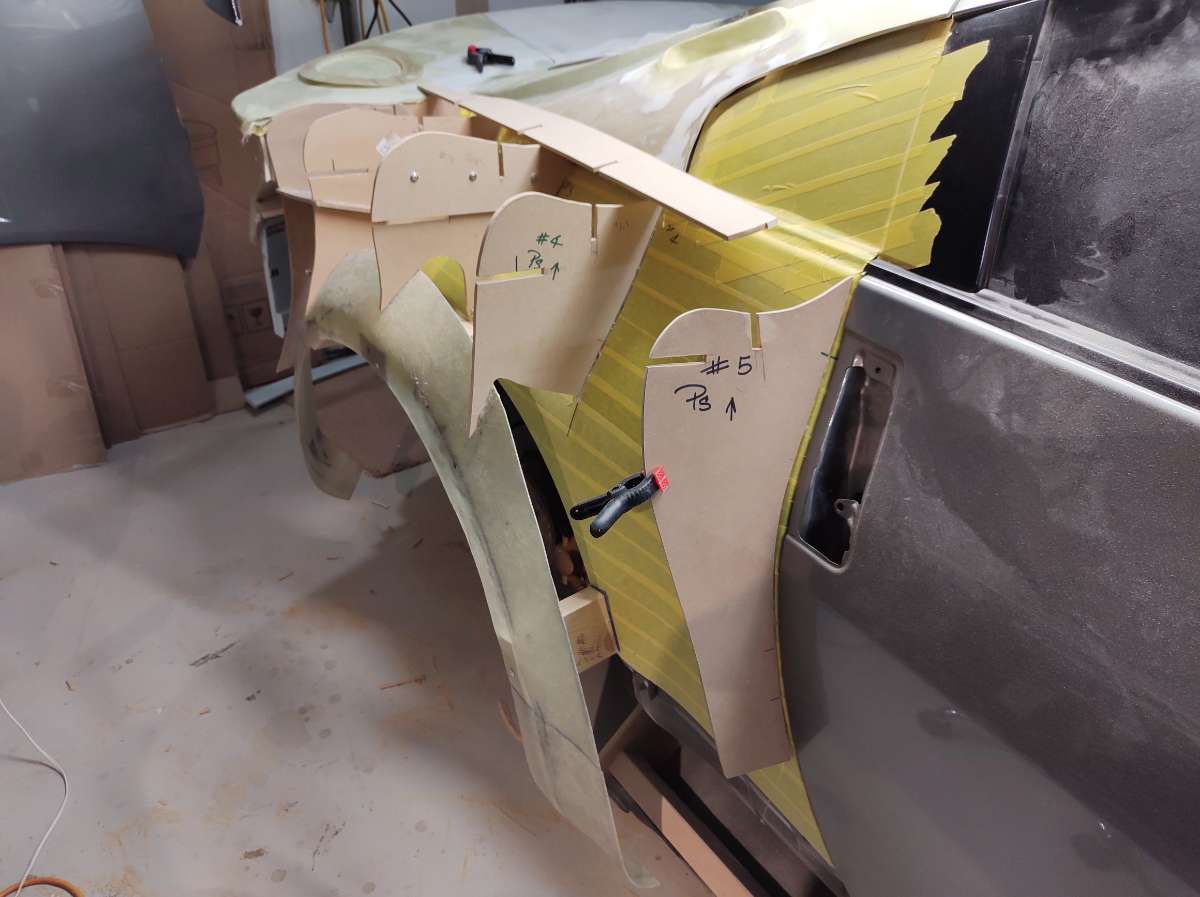
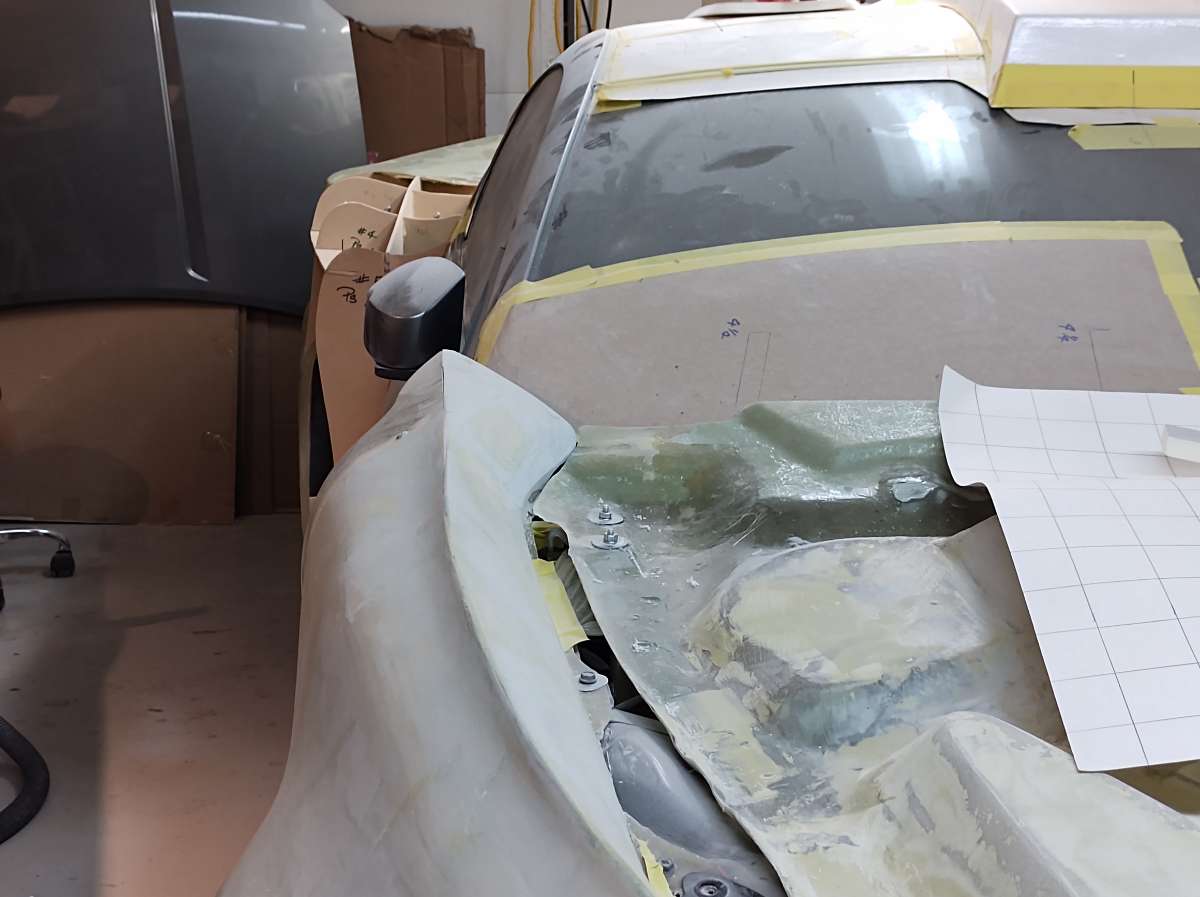
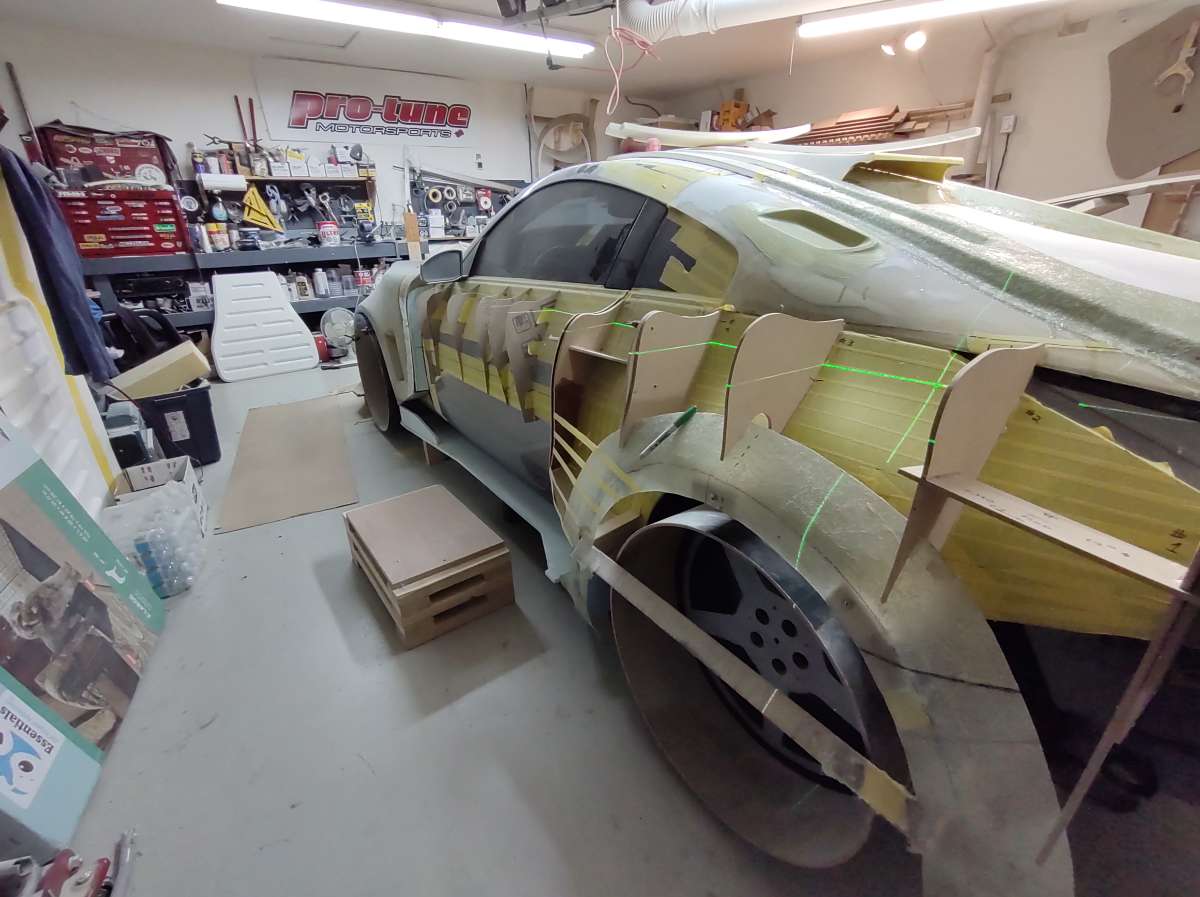
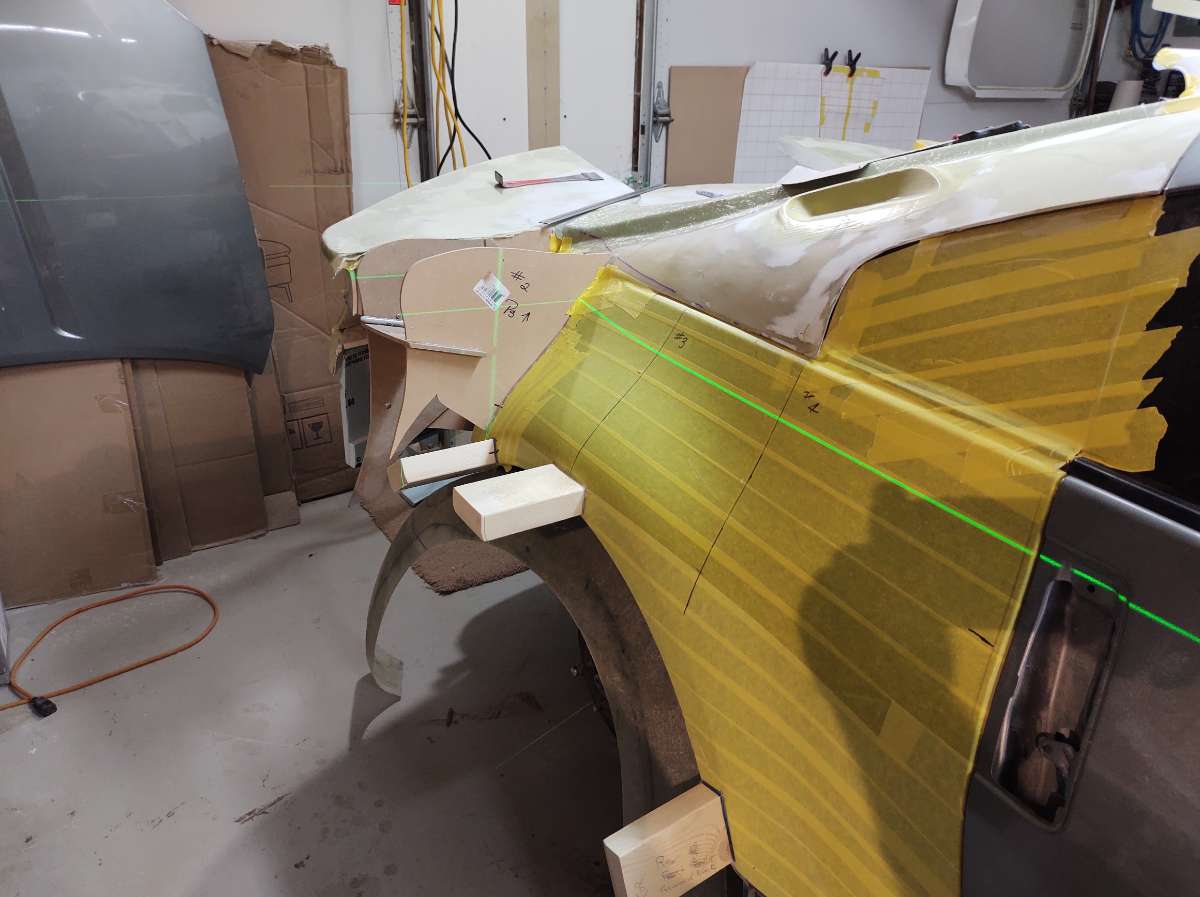
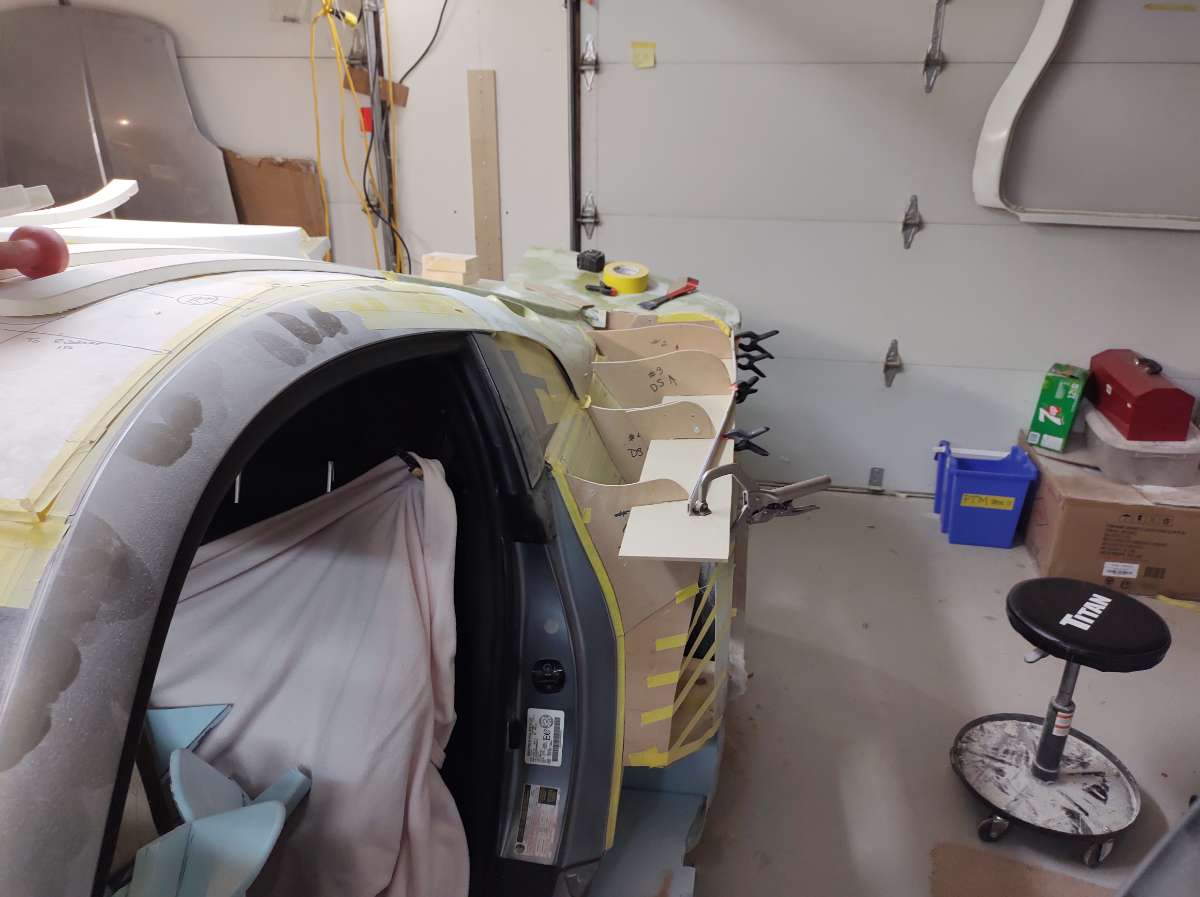
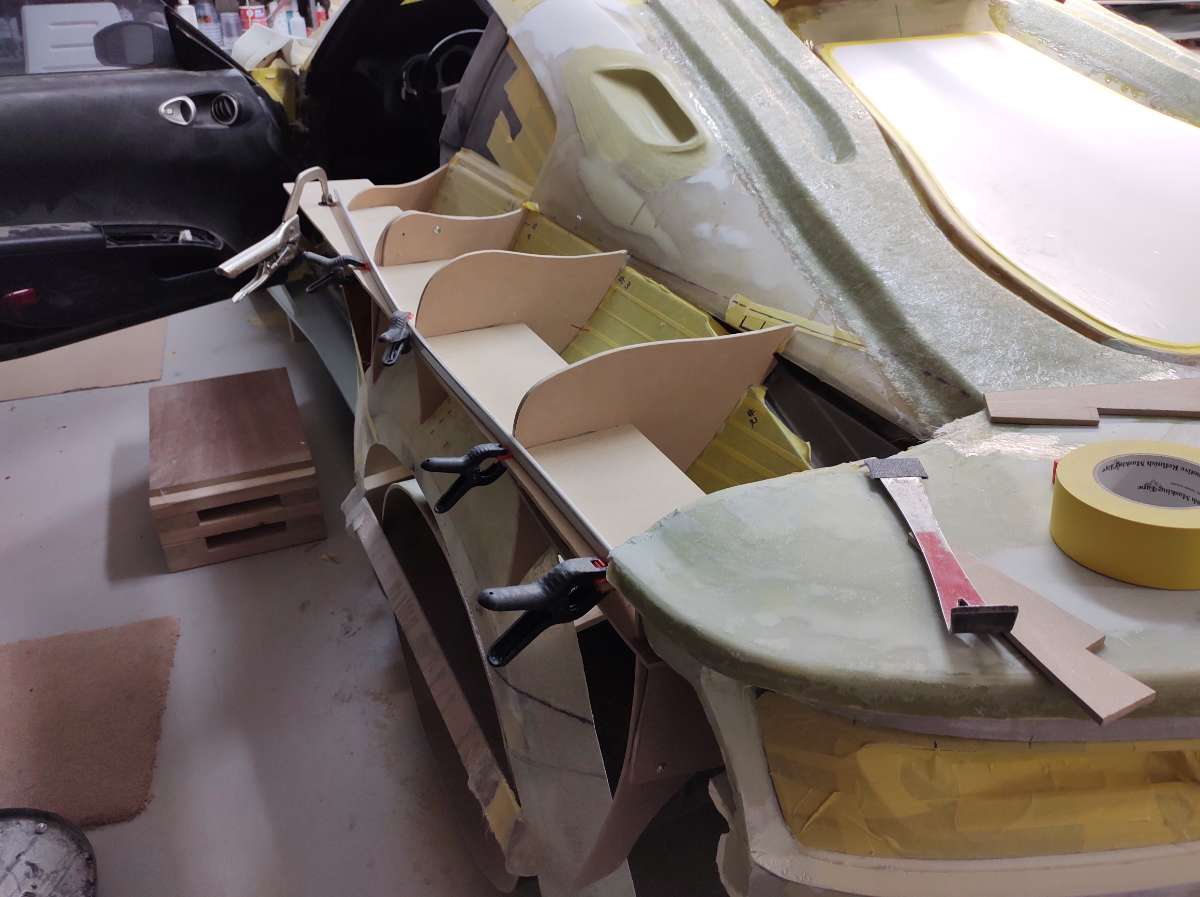
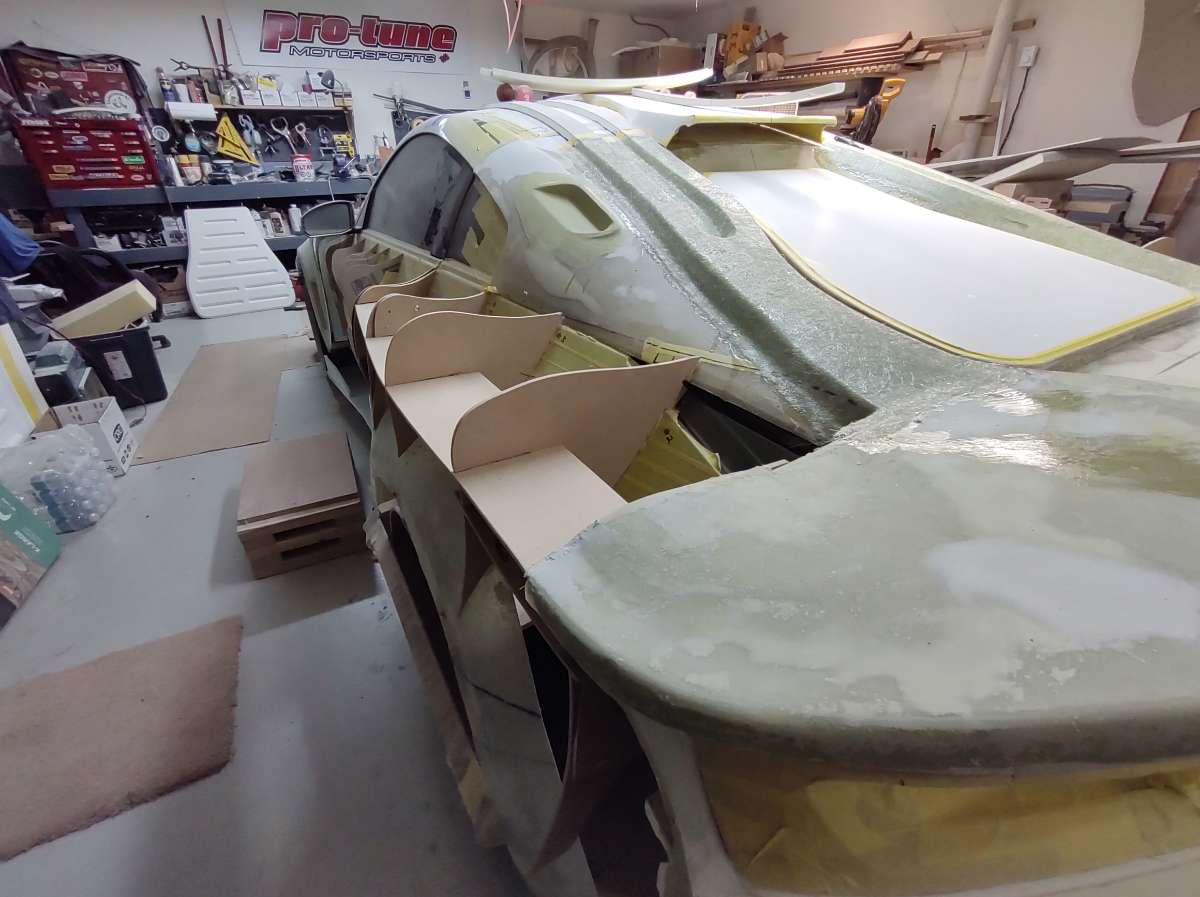
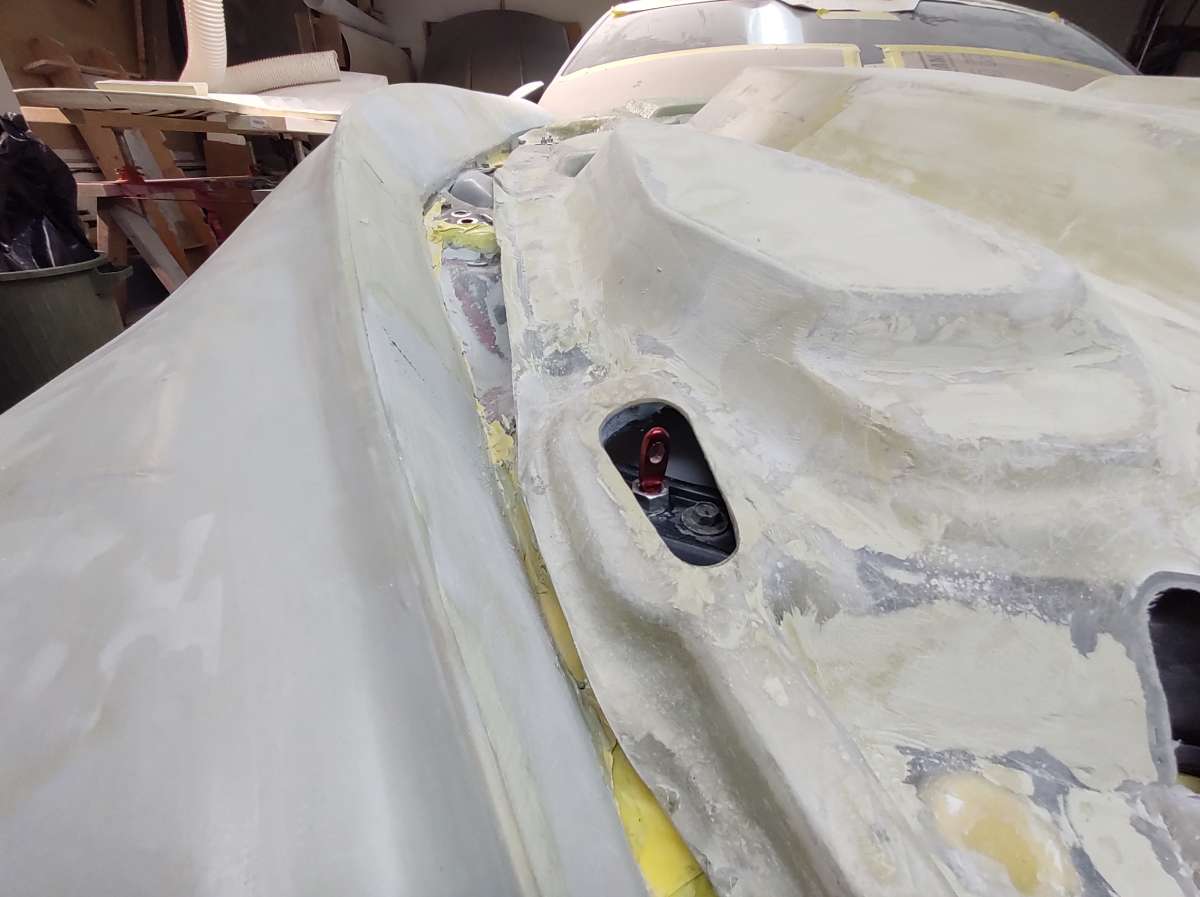
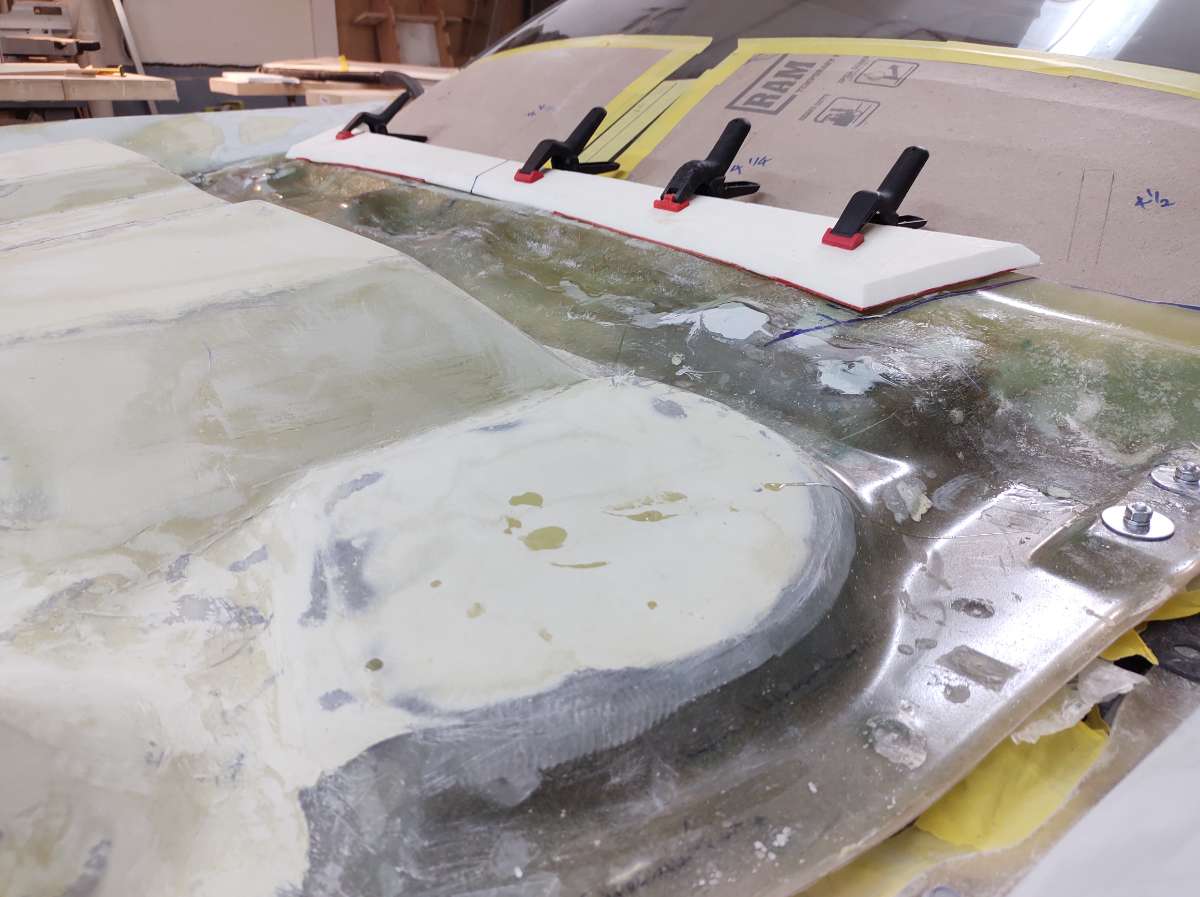
Hi Back with more rear bumper cover updates These are the parts that will be the bottom of the fender ( quarter panel ) where the bumper cover will bolt up too . They get rounded over on the bottom side so the fiberglass can make it around the corner . ( They are taped together so the router has an edge for the guide wheel ) Here is the fender cut for the bottom piece to go in . I made this shoe for this RotoZip Router so I could radius parts in place . Here is the sharp edge on the bumper cover ( the fiberglass won't stay over that unless it was vacuumed bagged down while curing ) here is the soft edge Bumper cover off !!! next will be some stiffeners on the top inside so it can be fiberglassed and bodyworked a shot of the inside
-
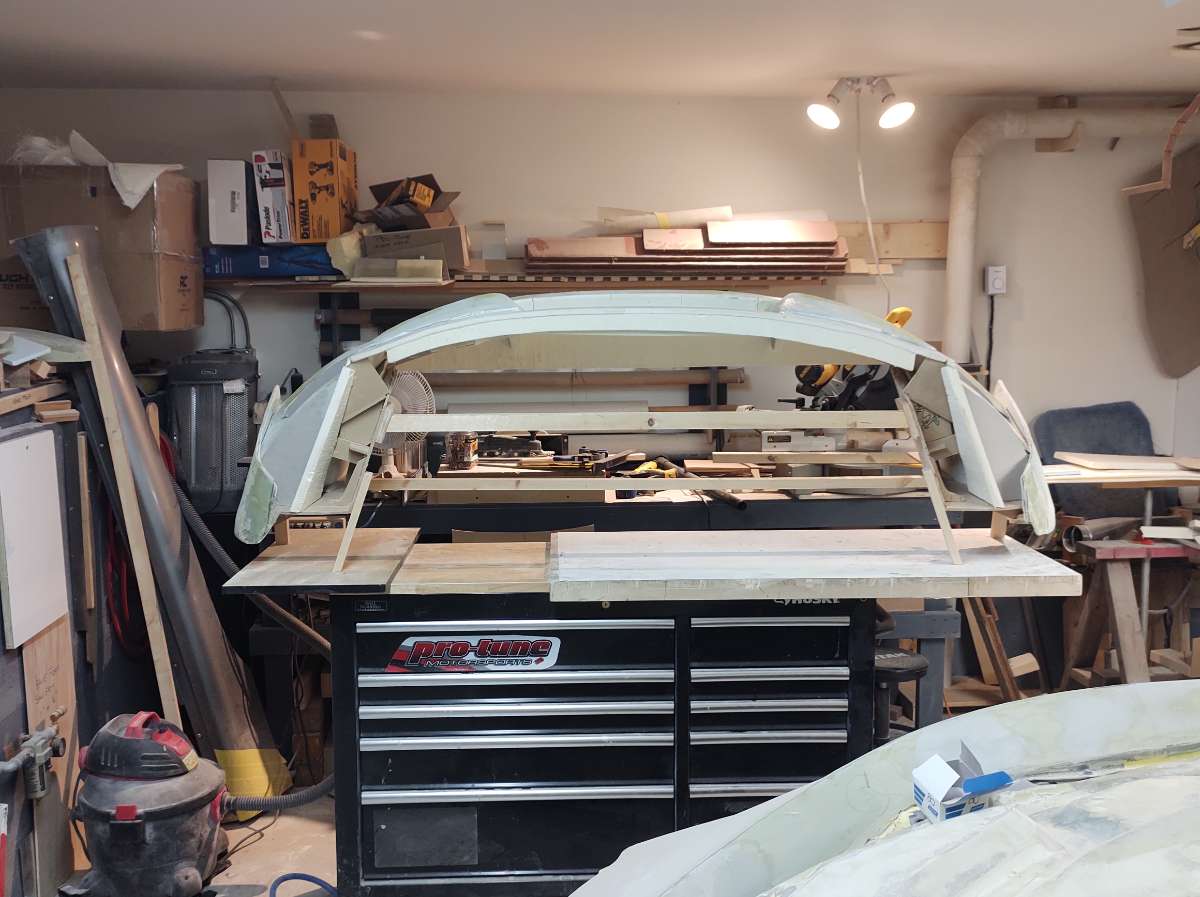
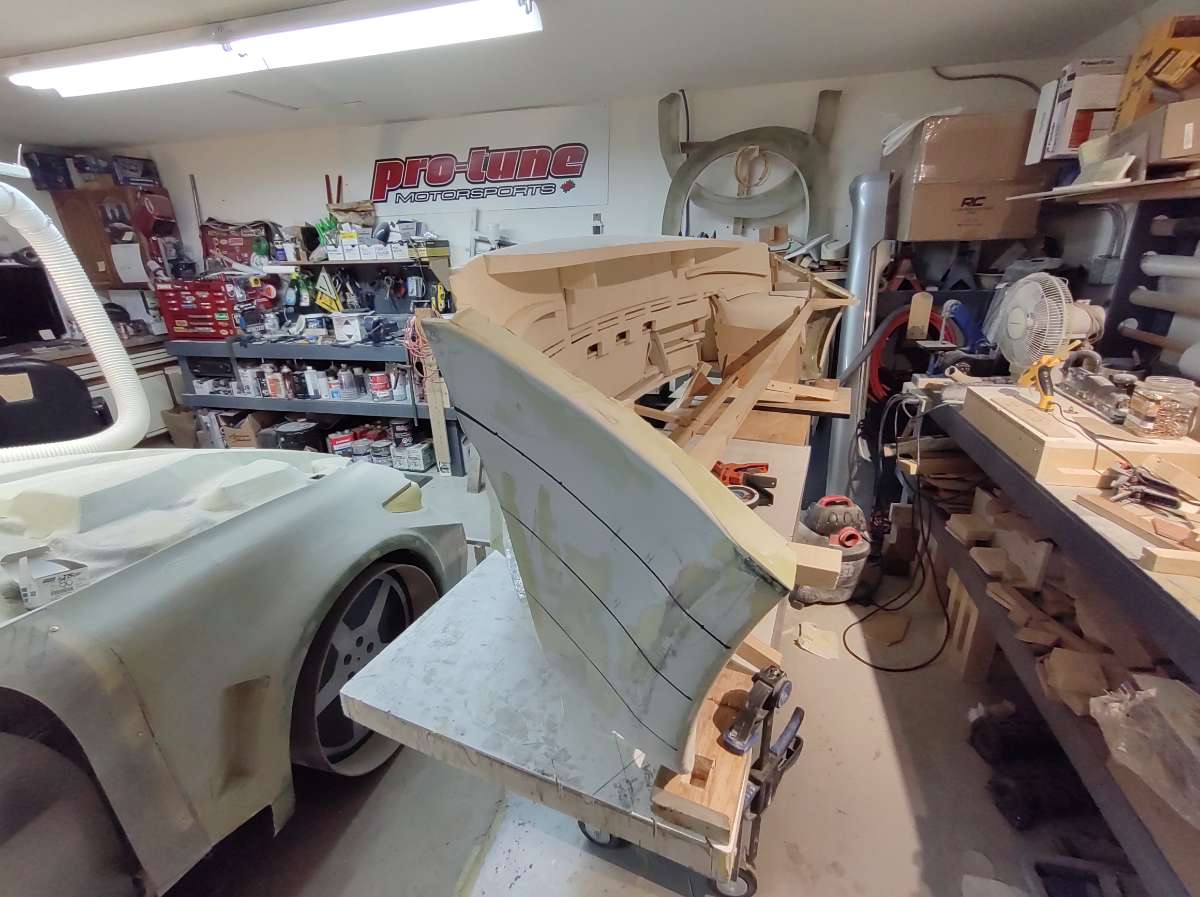
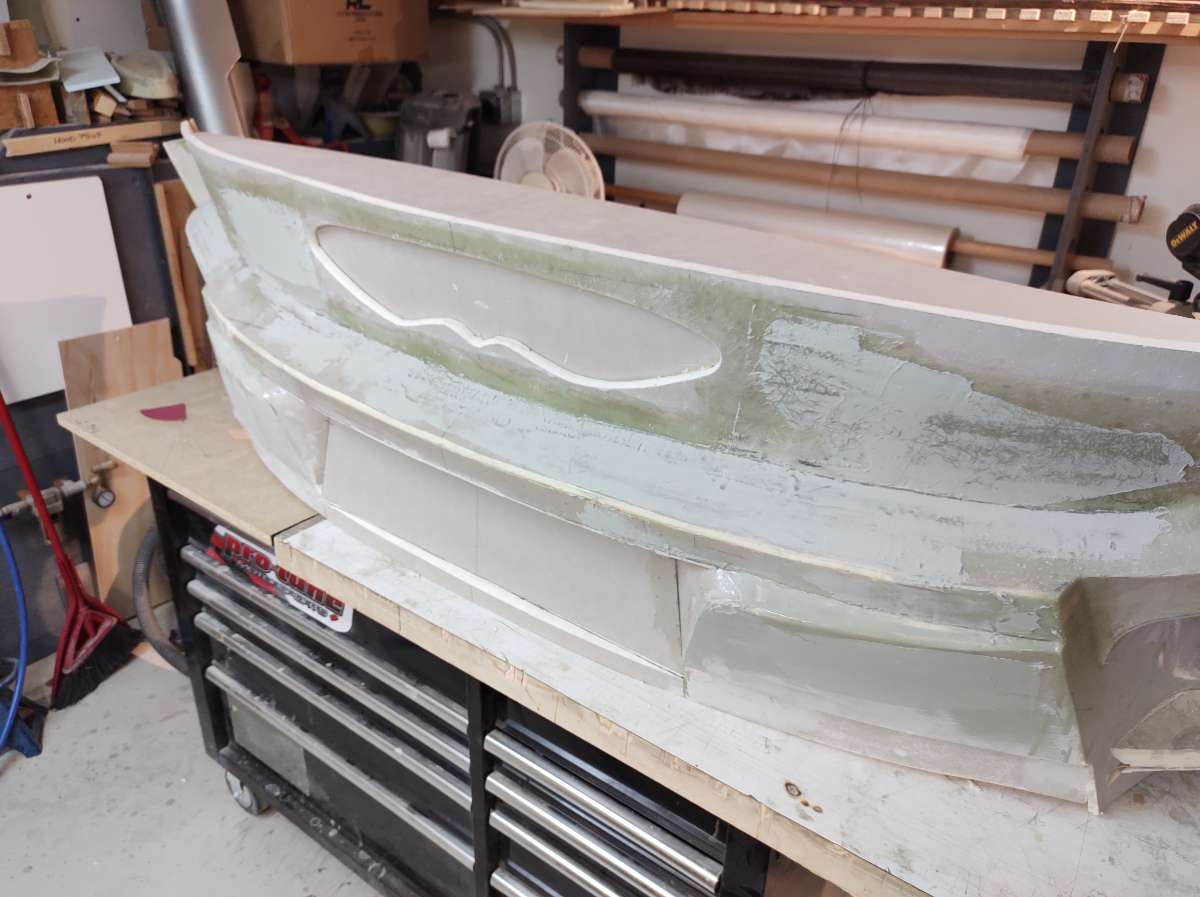
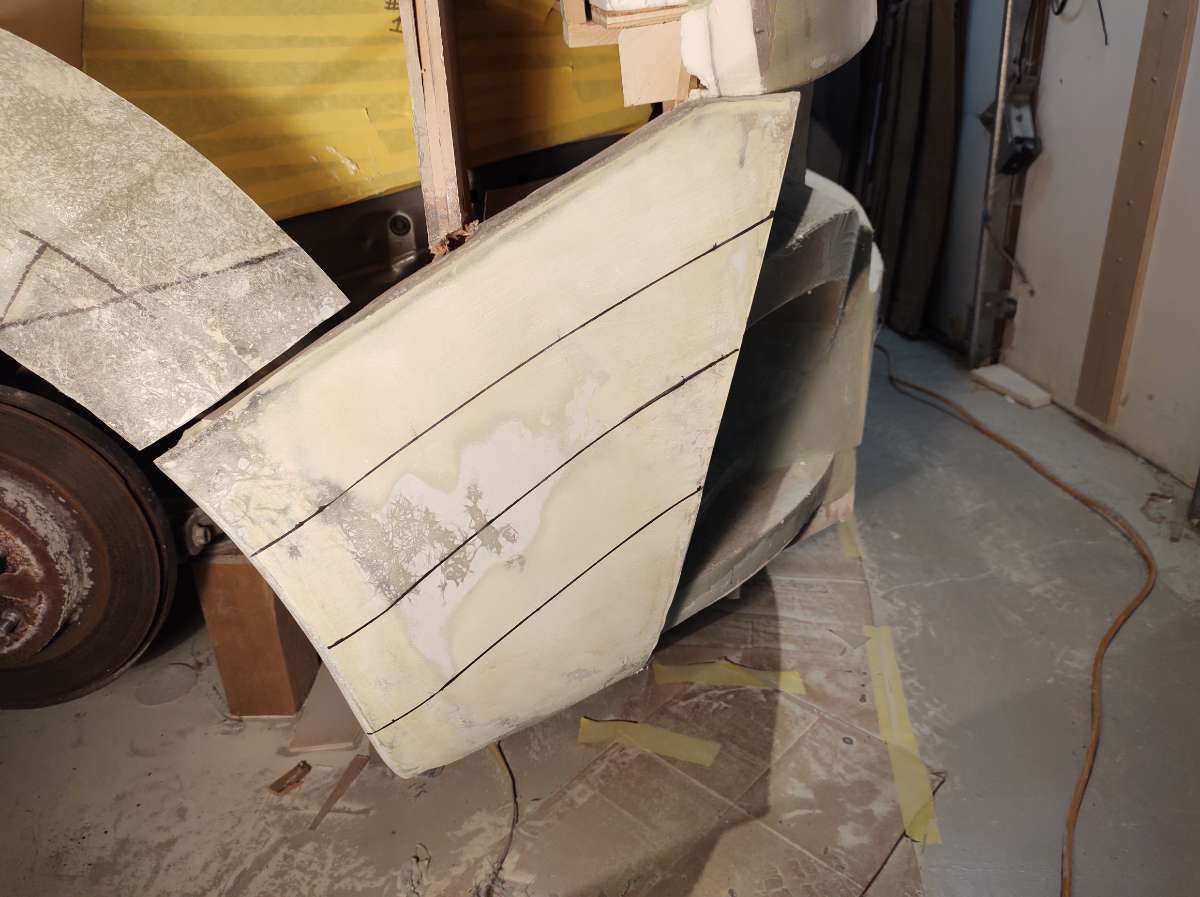
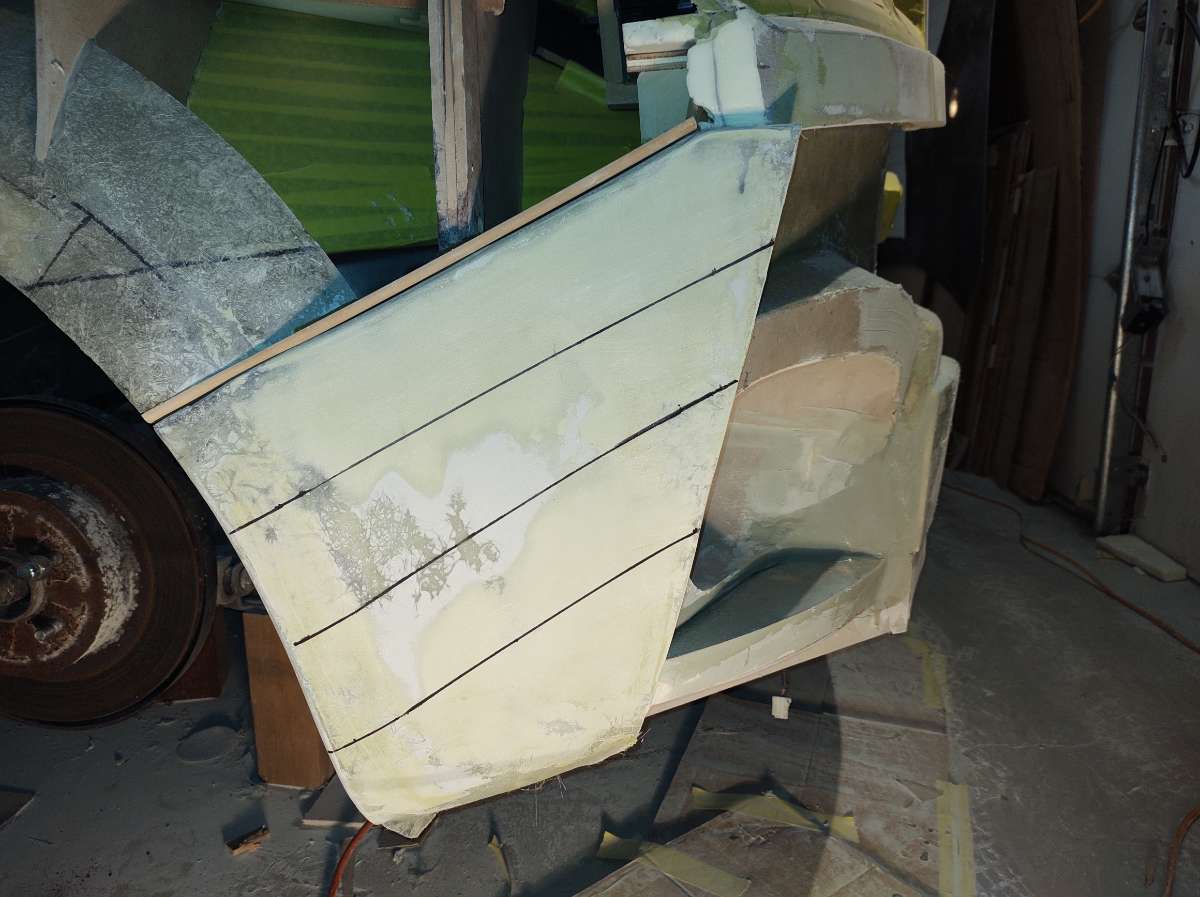
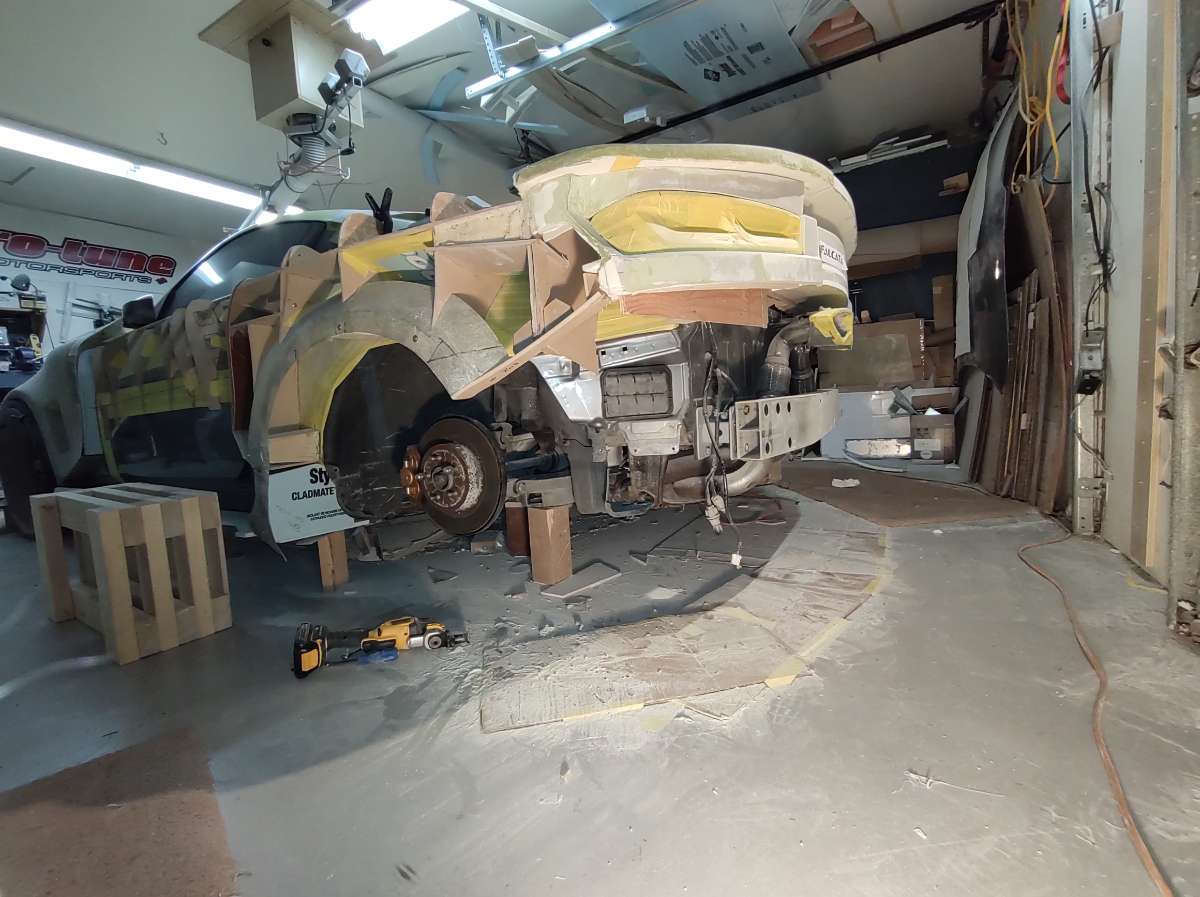
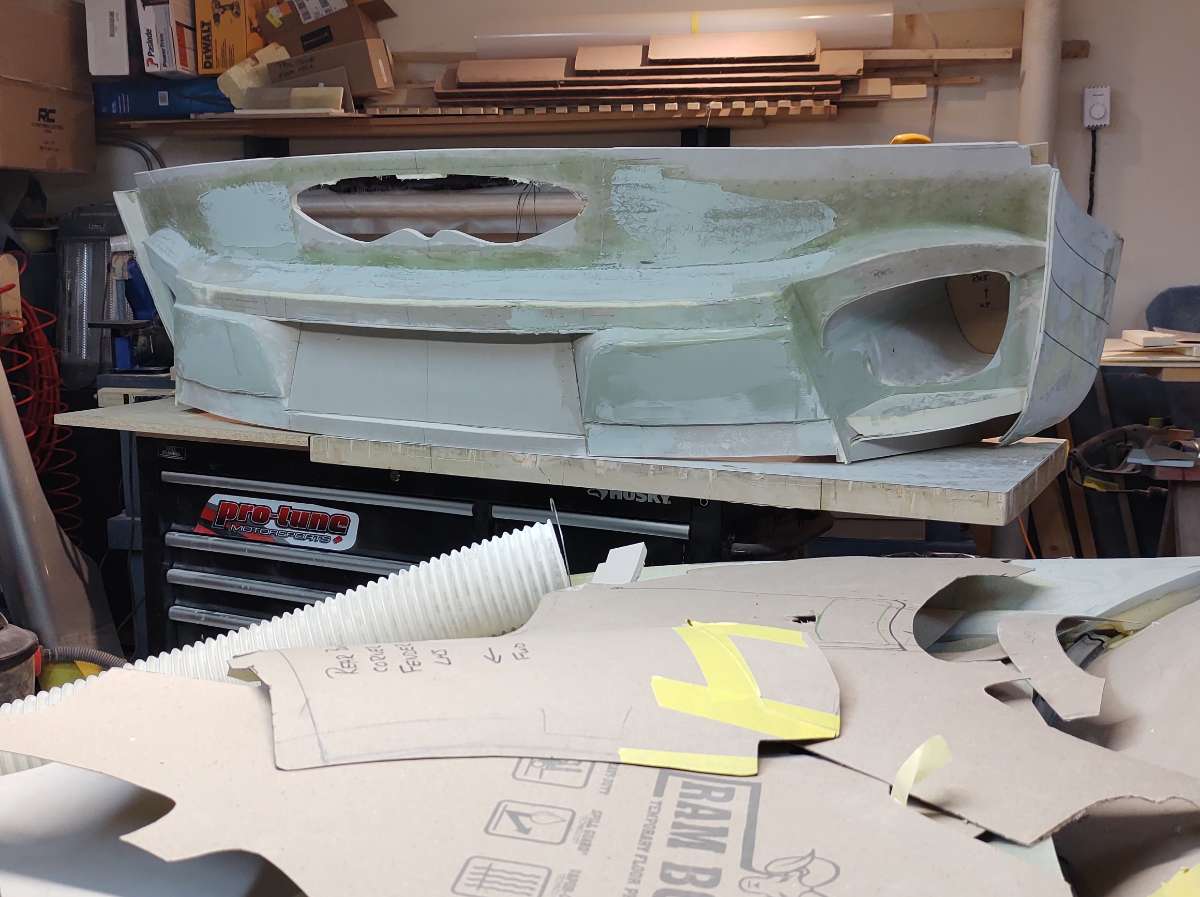
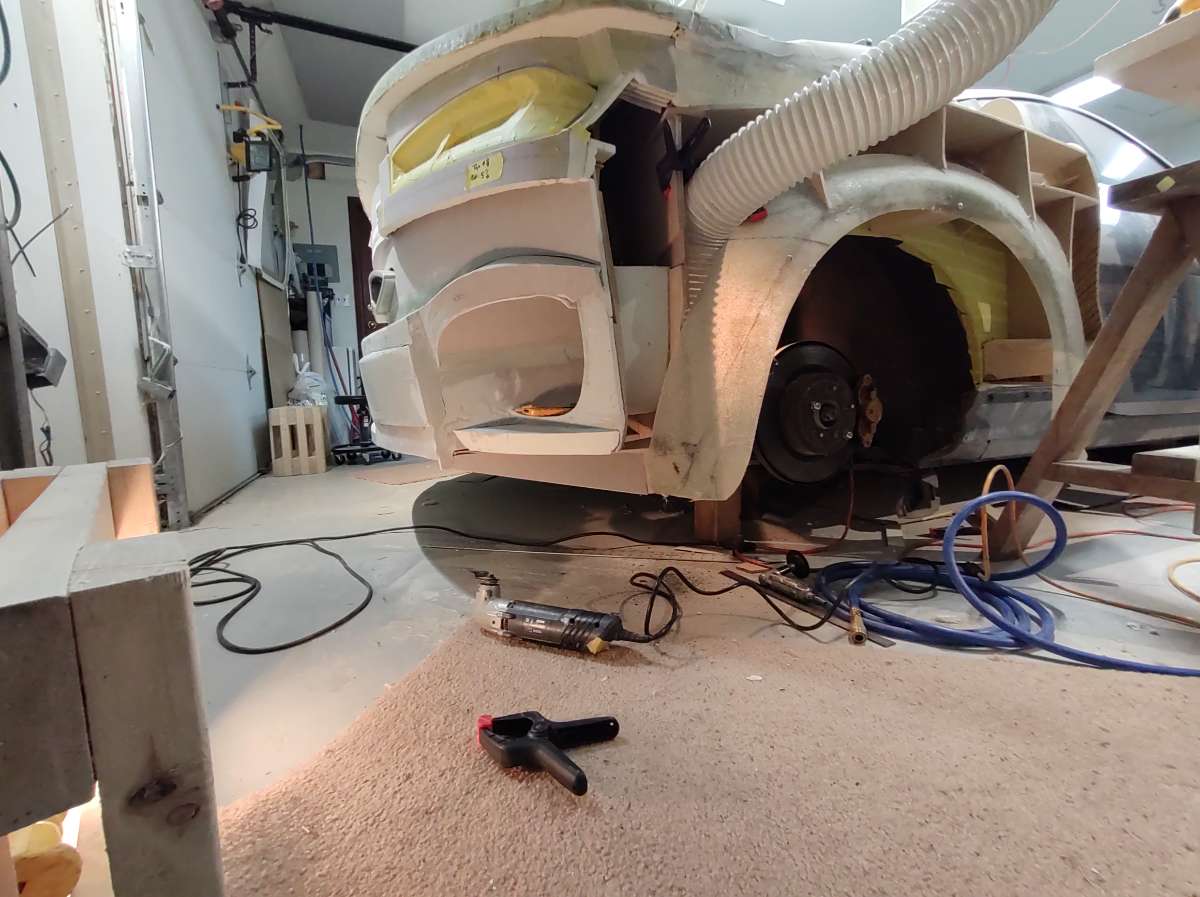
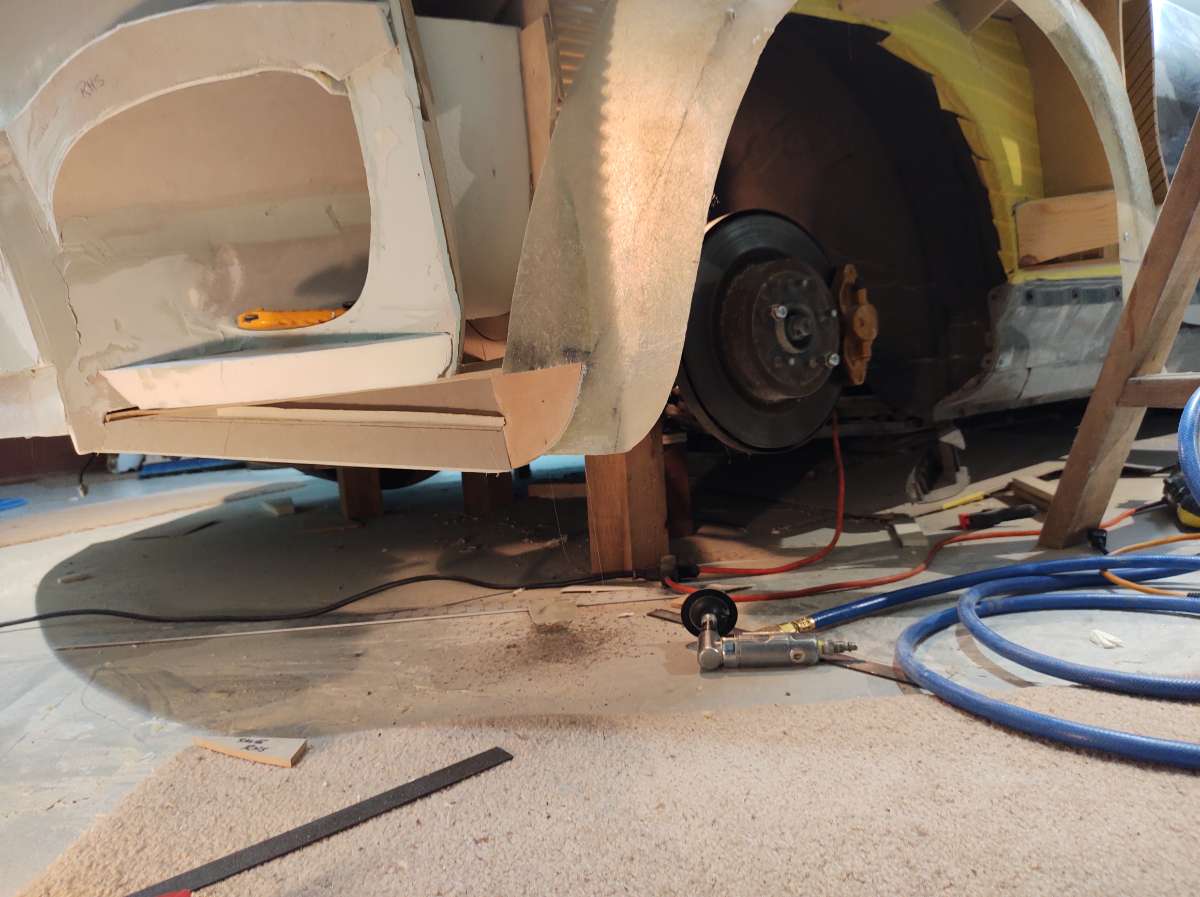
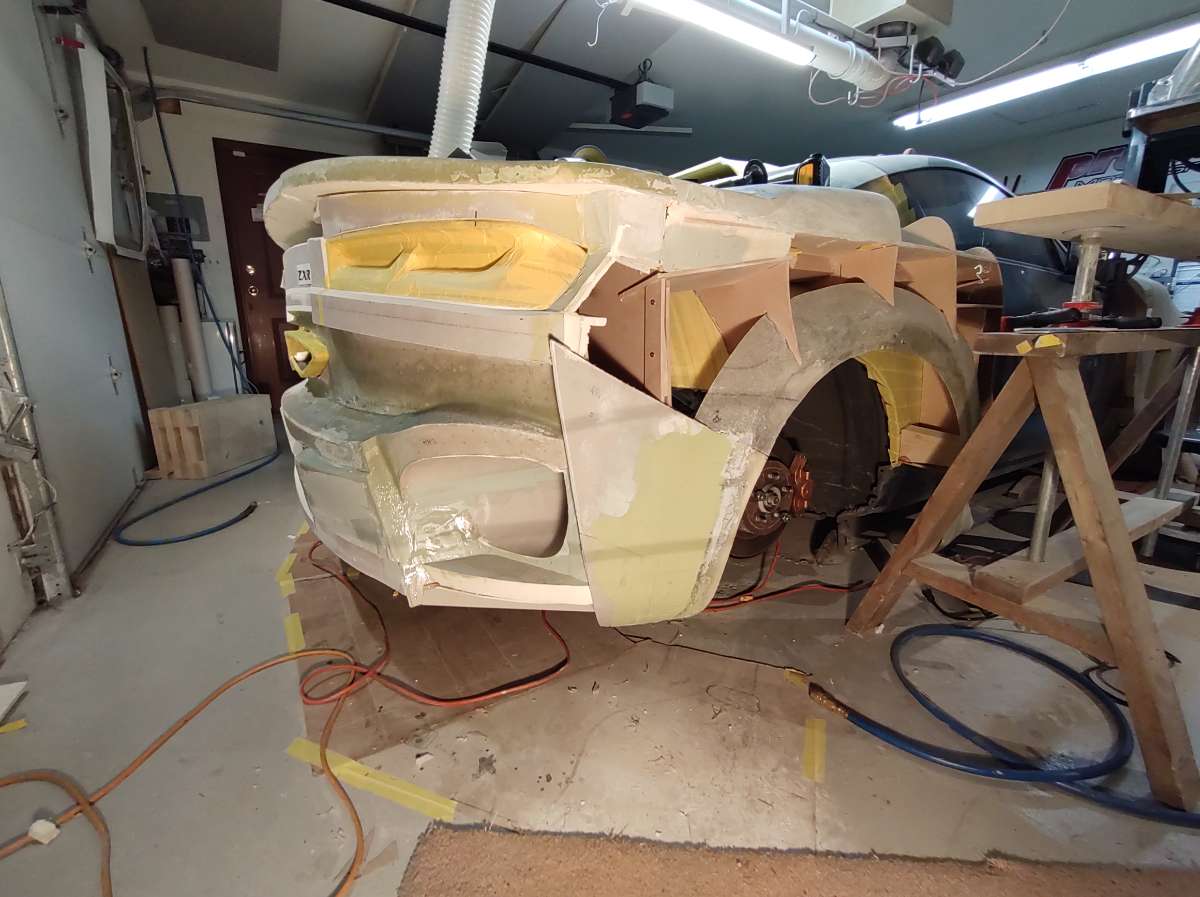
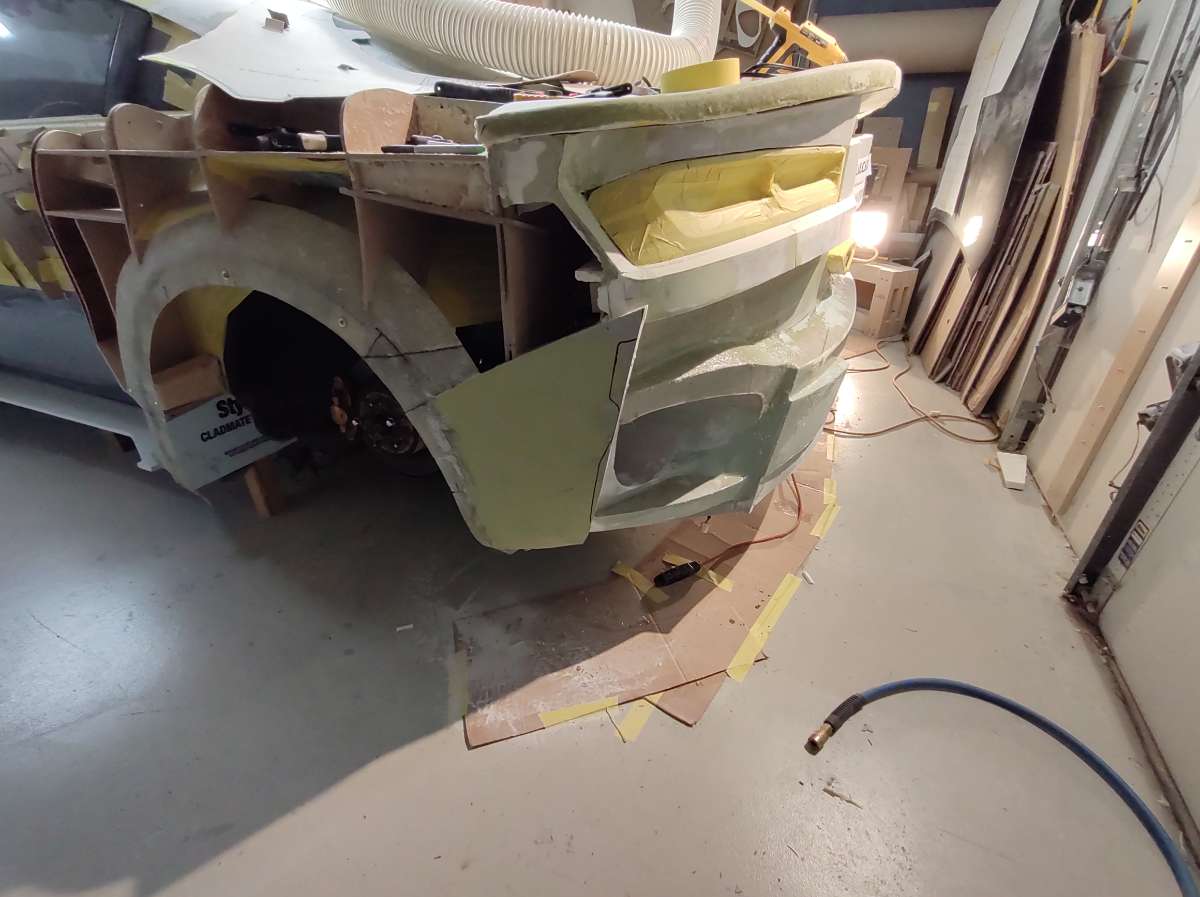
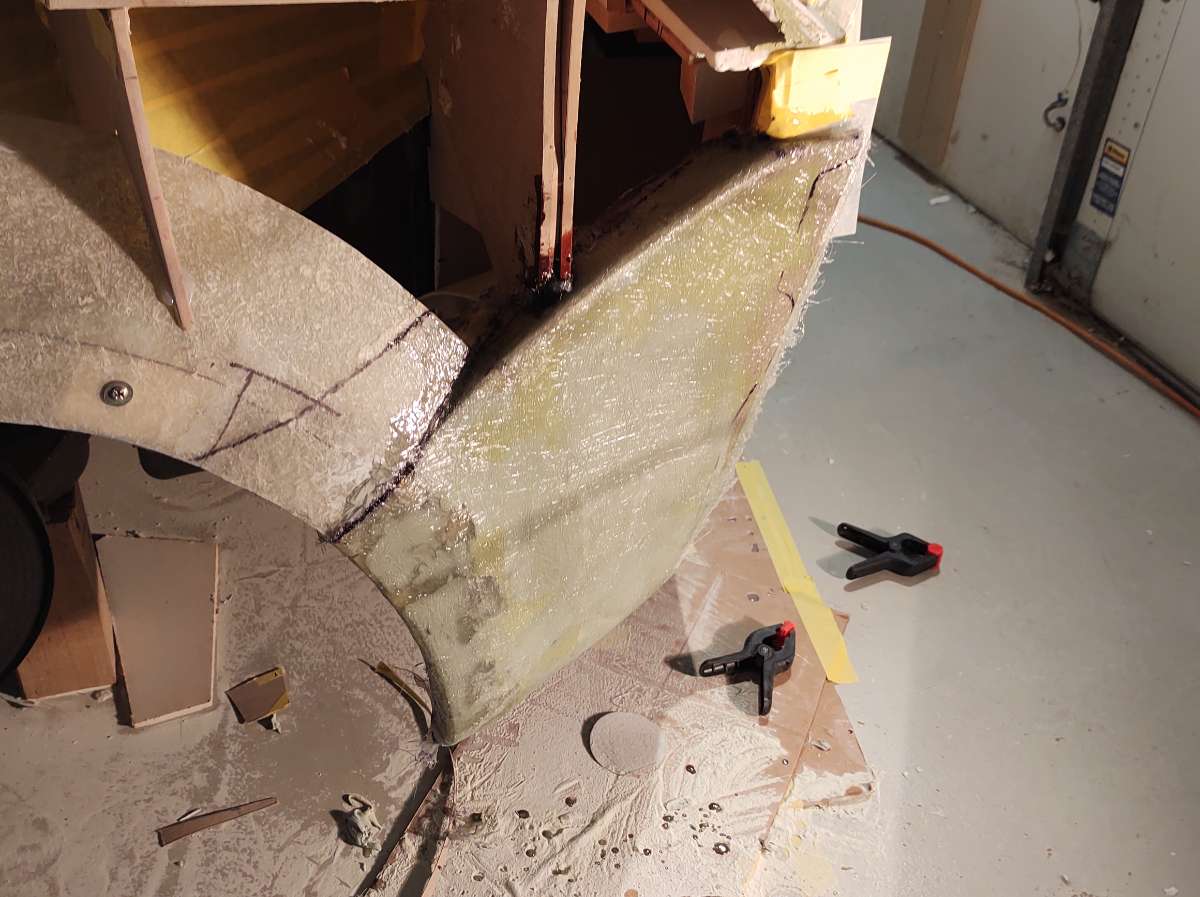
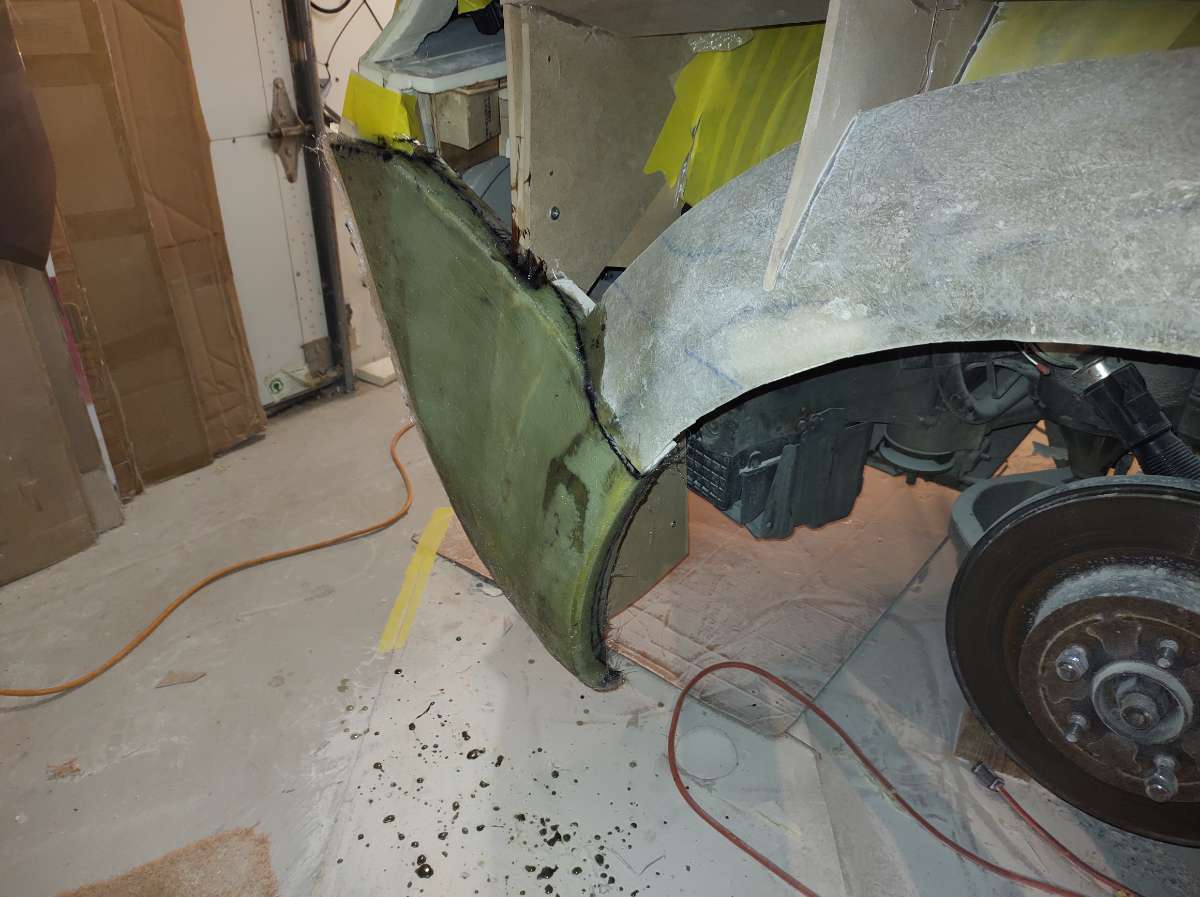
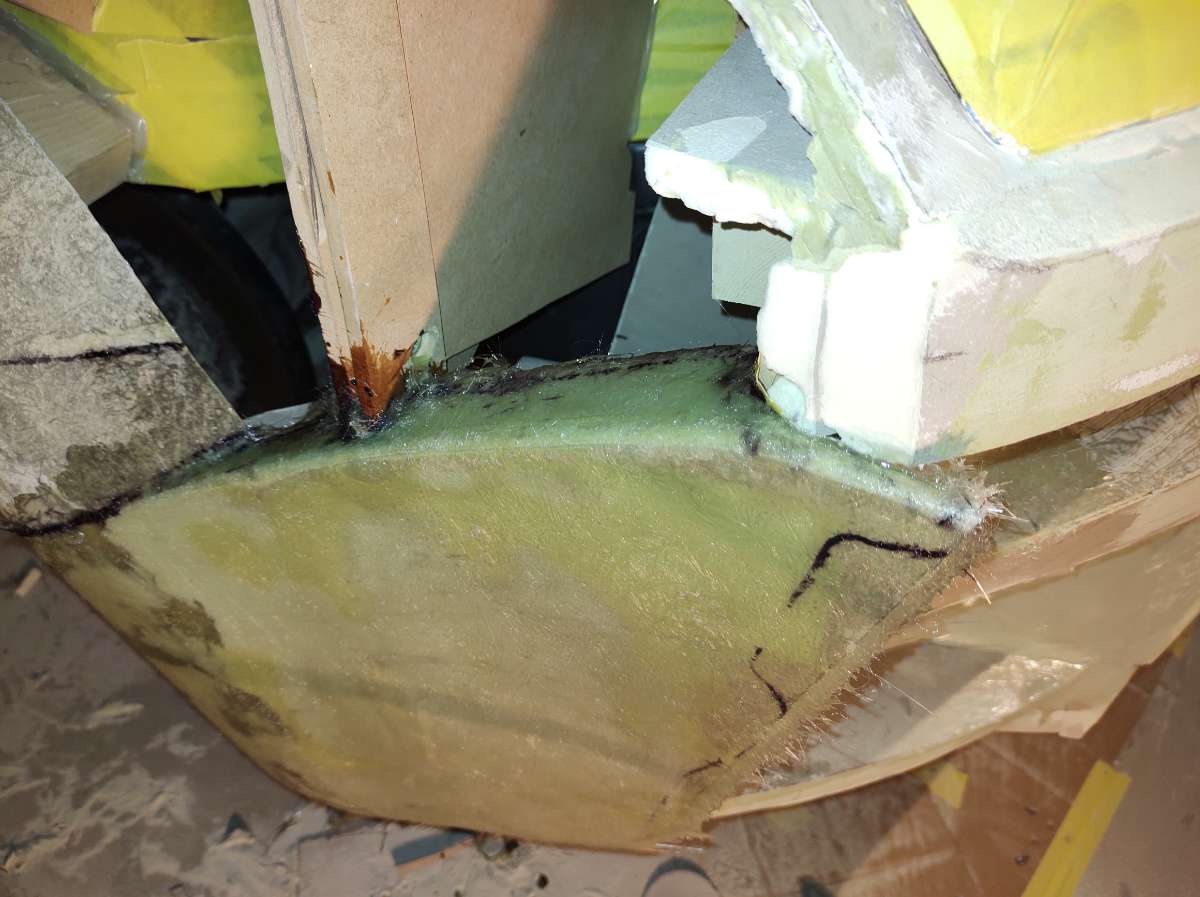
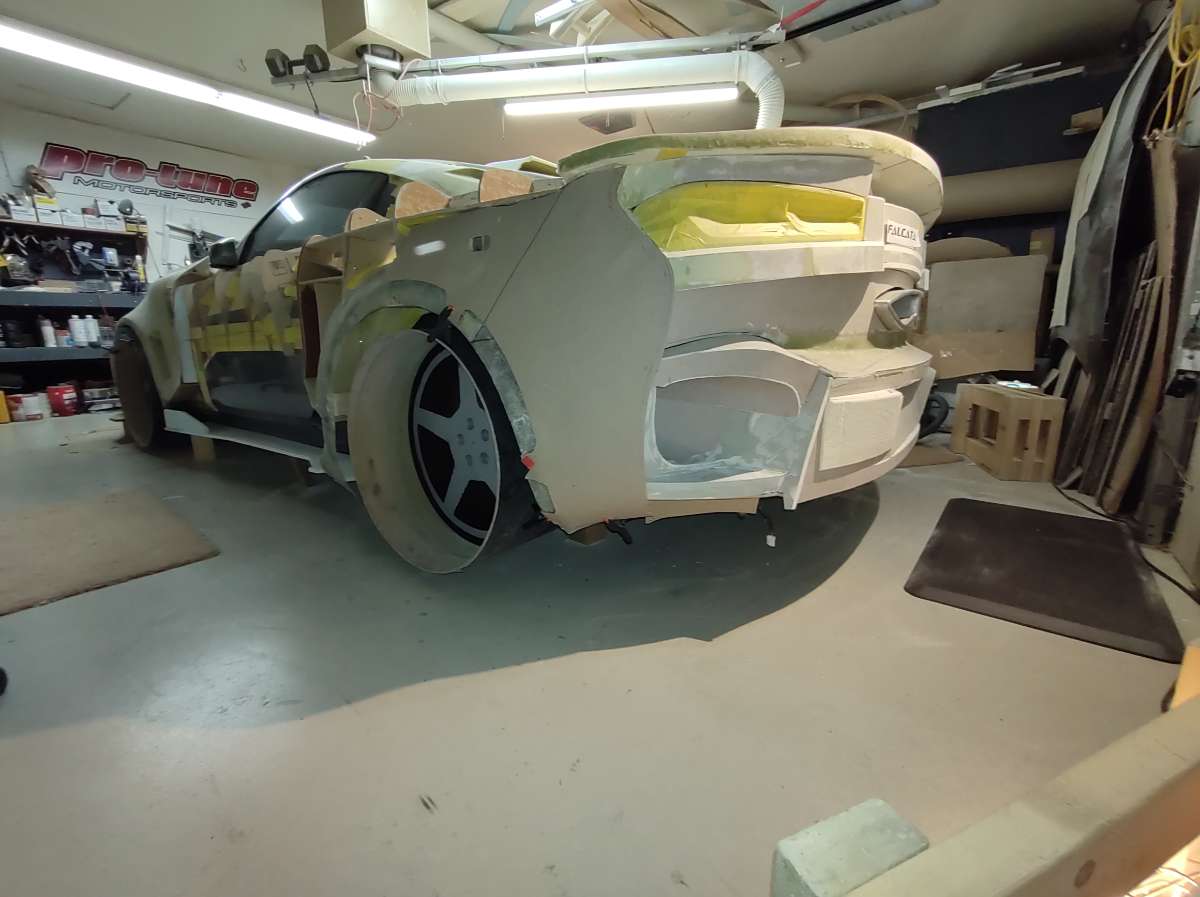
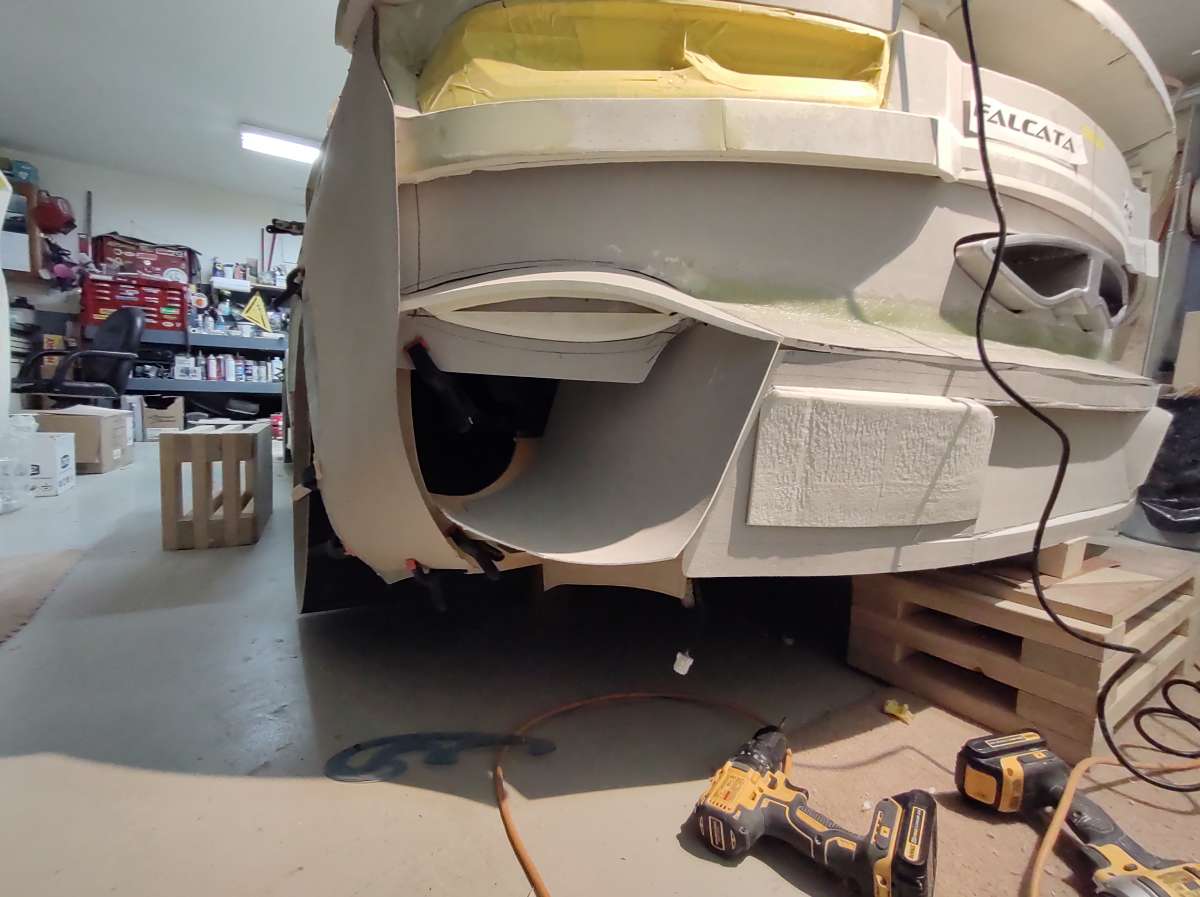
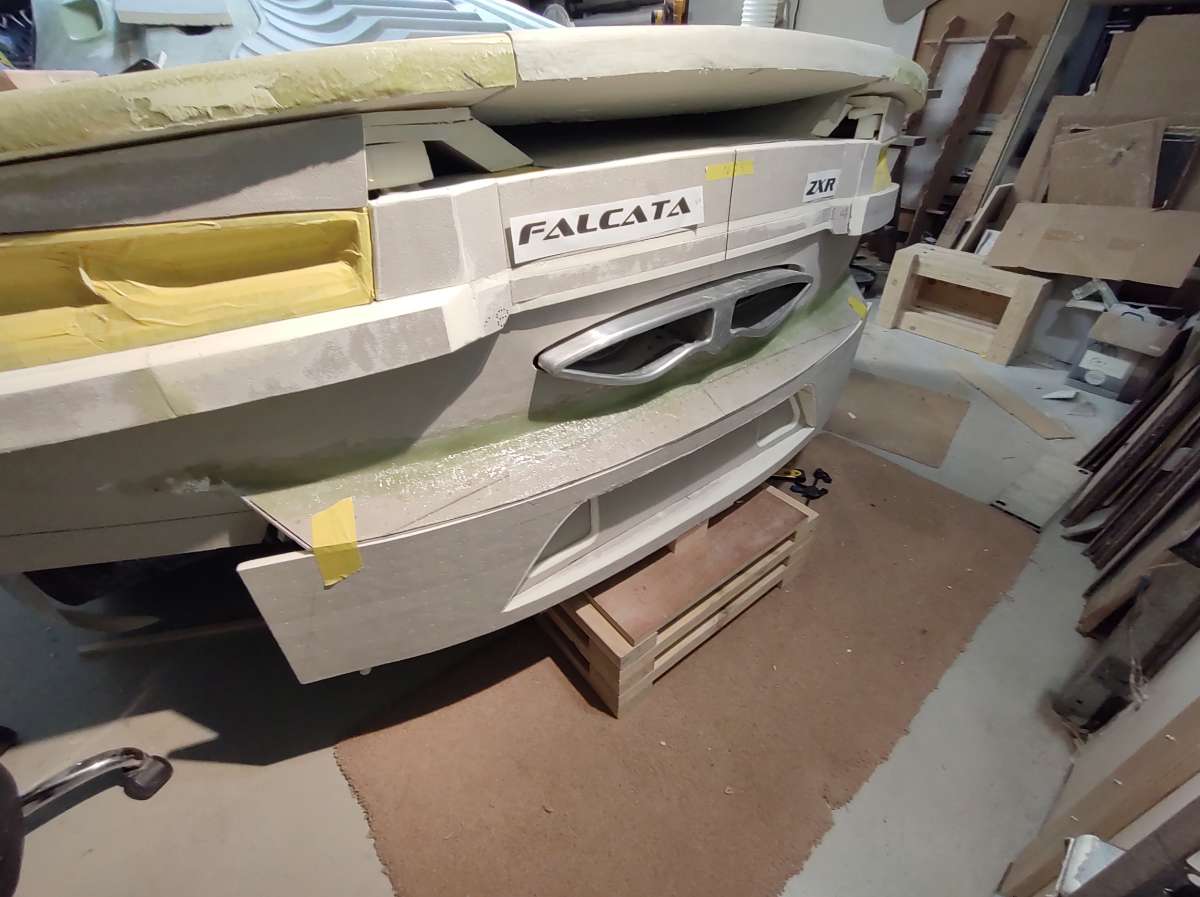
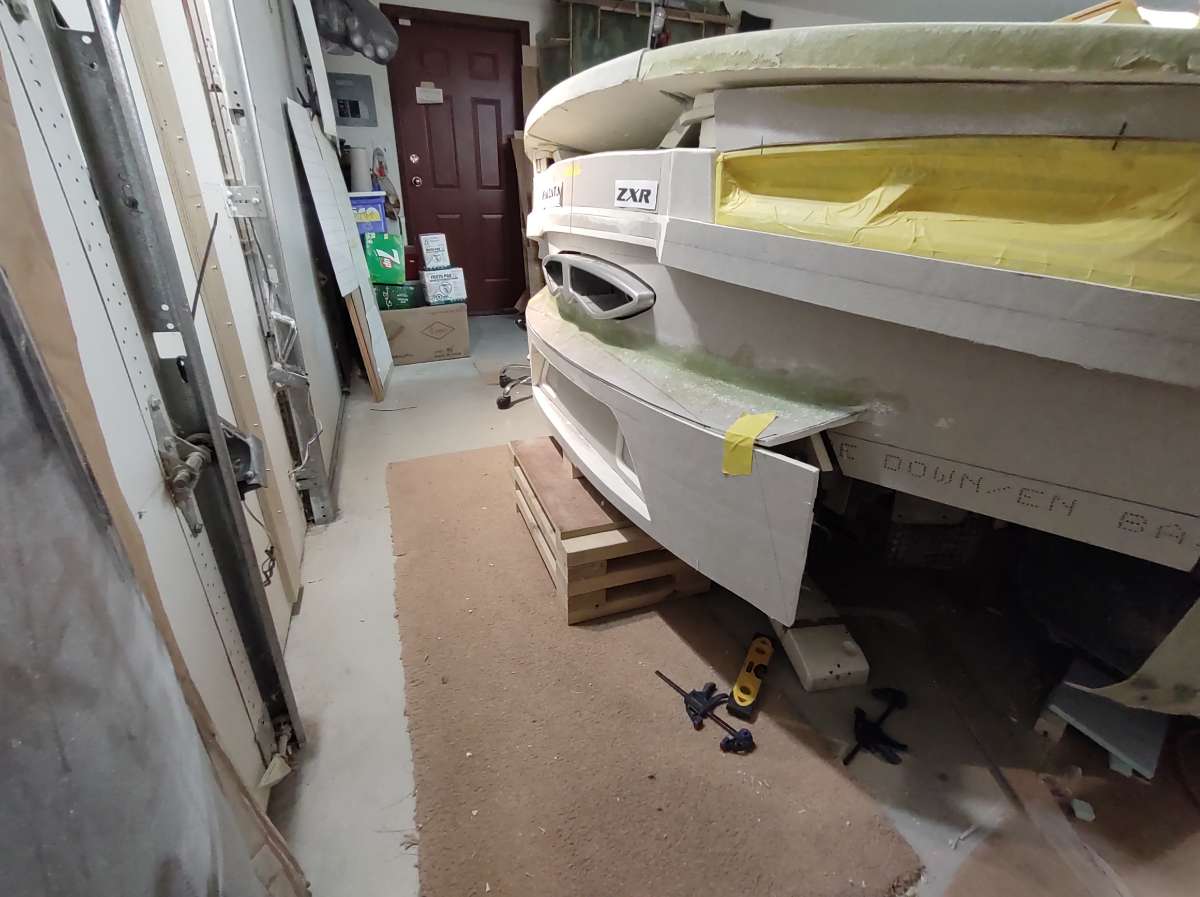
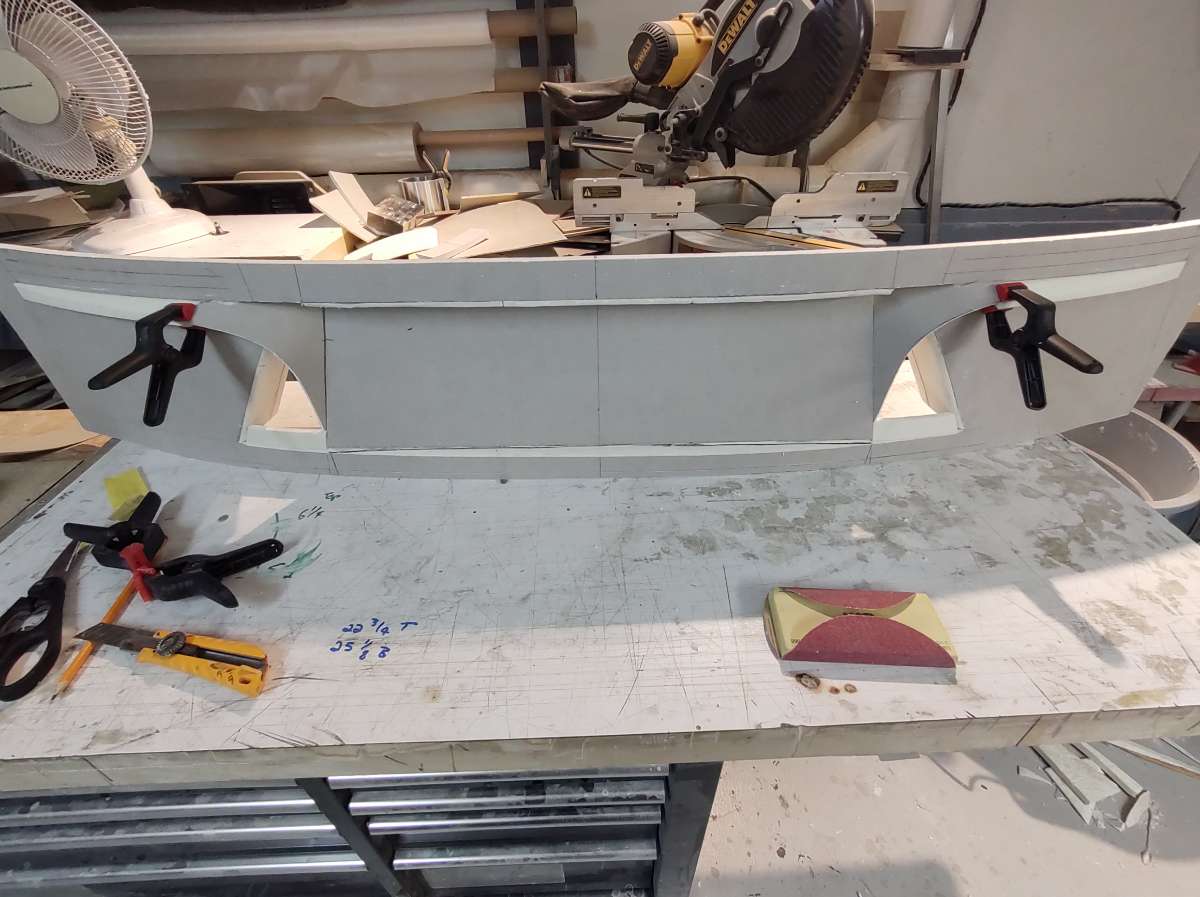
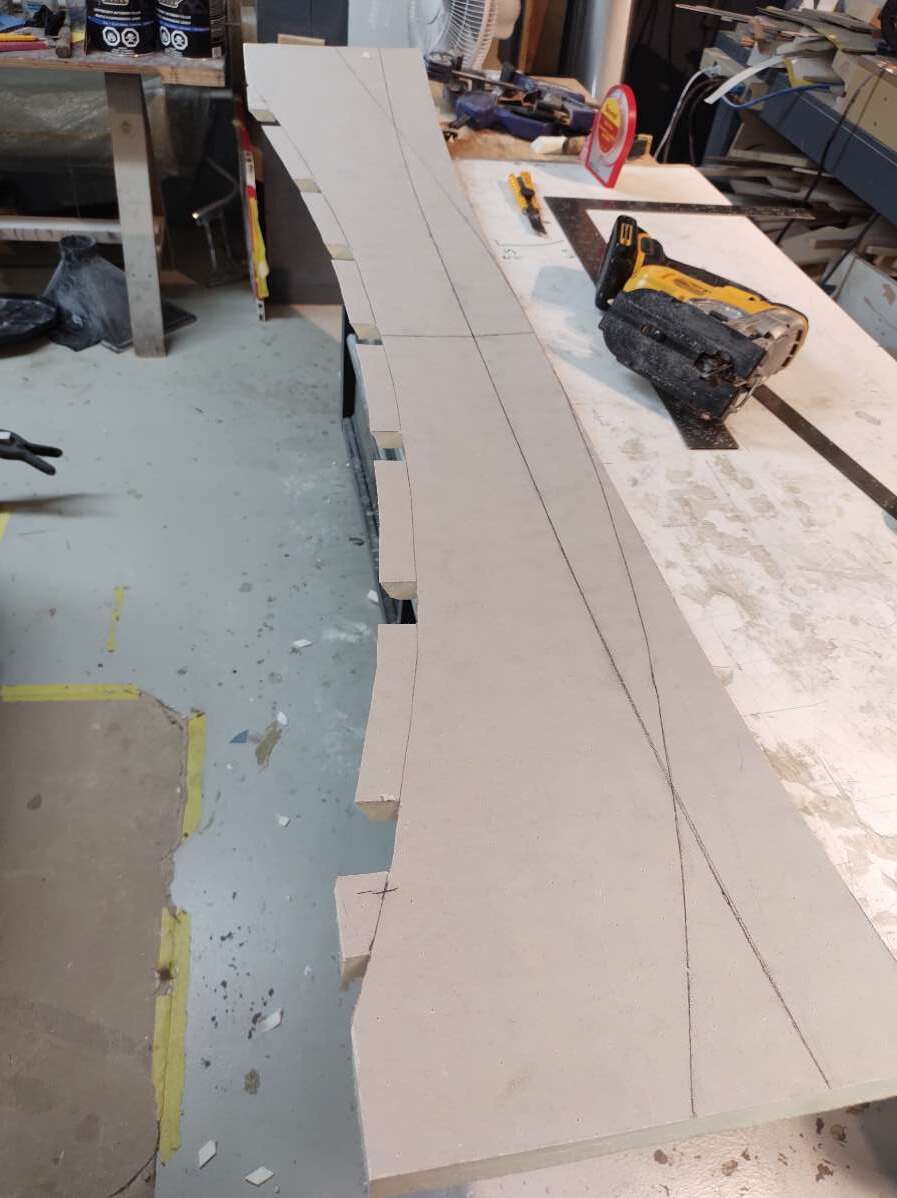
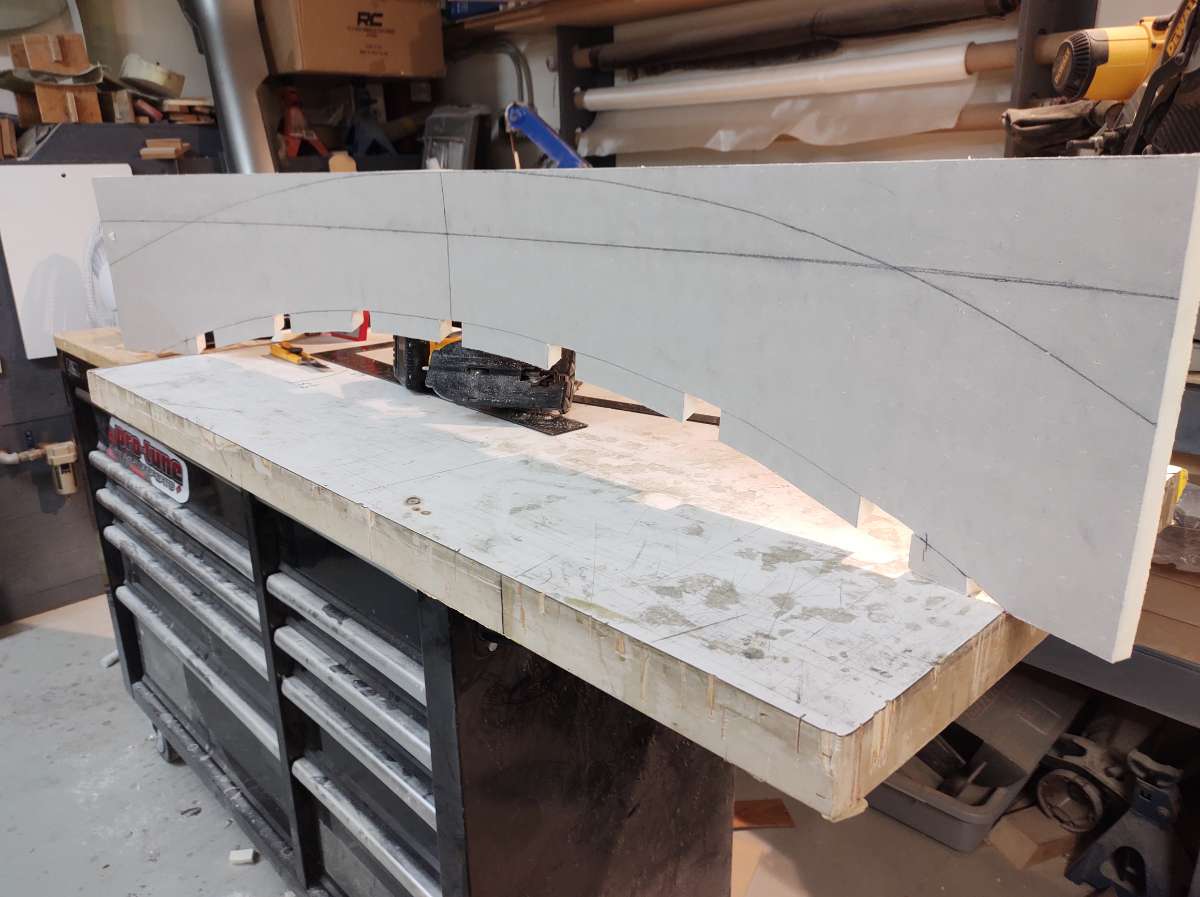
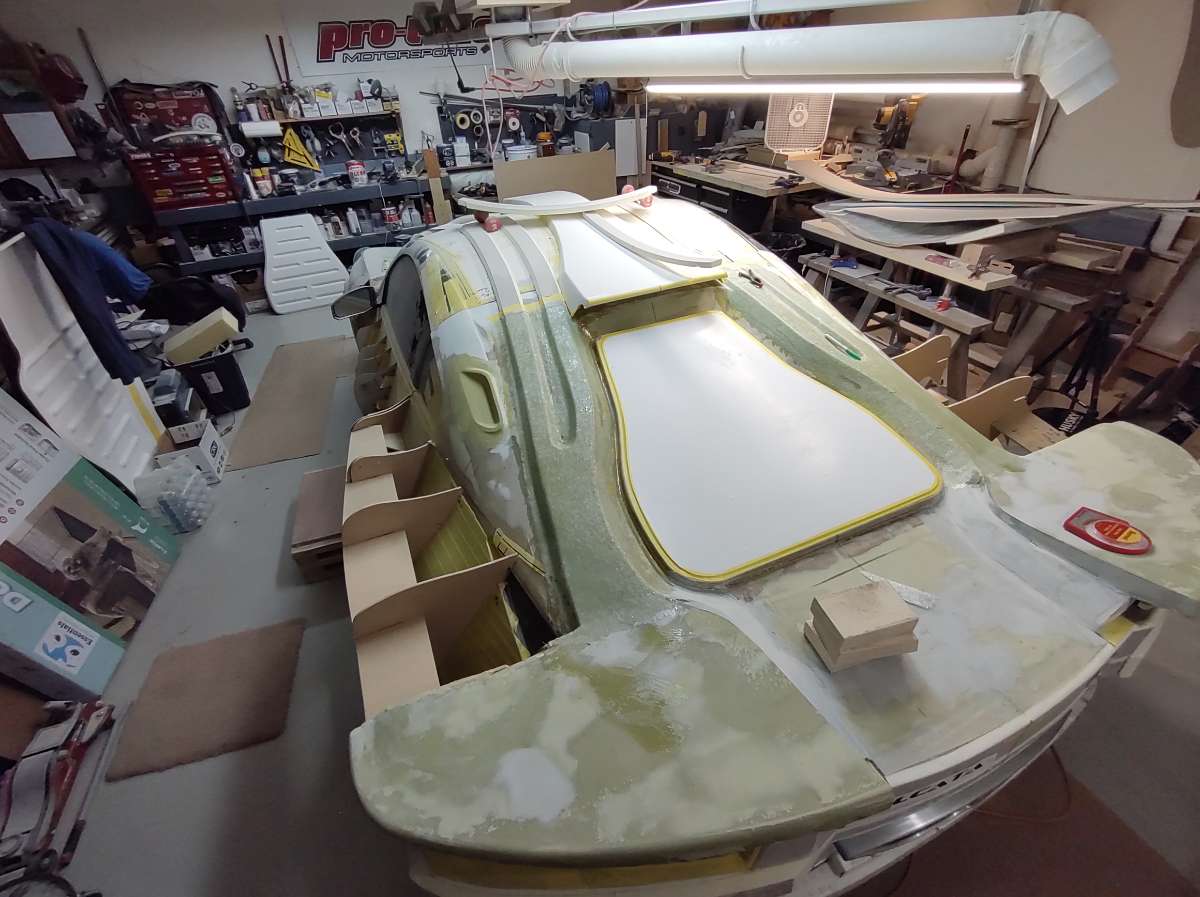
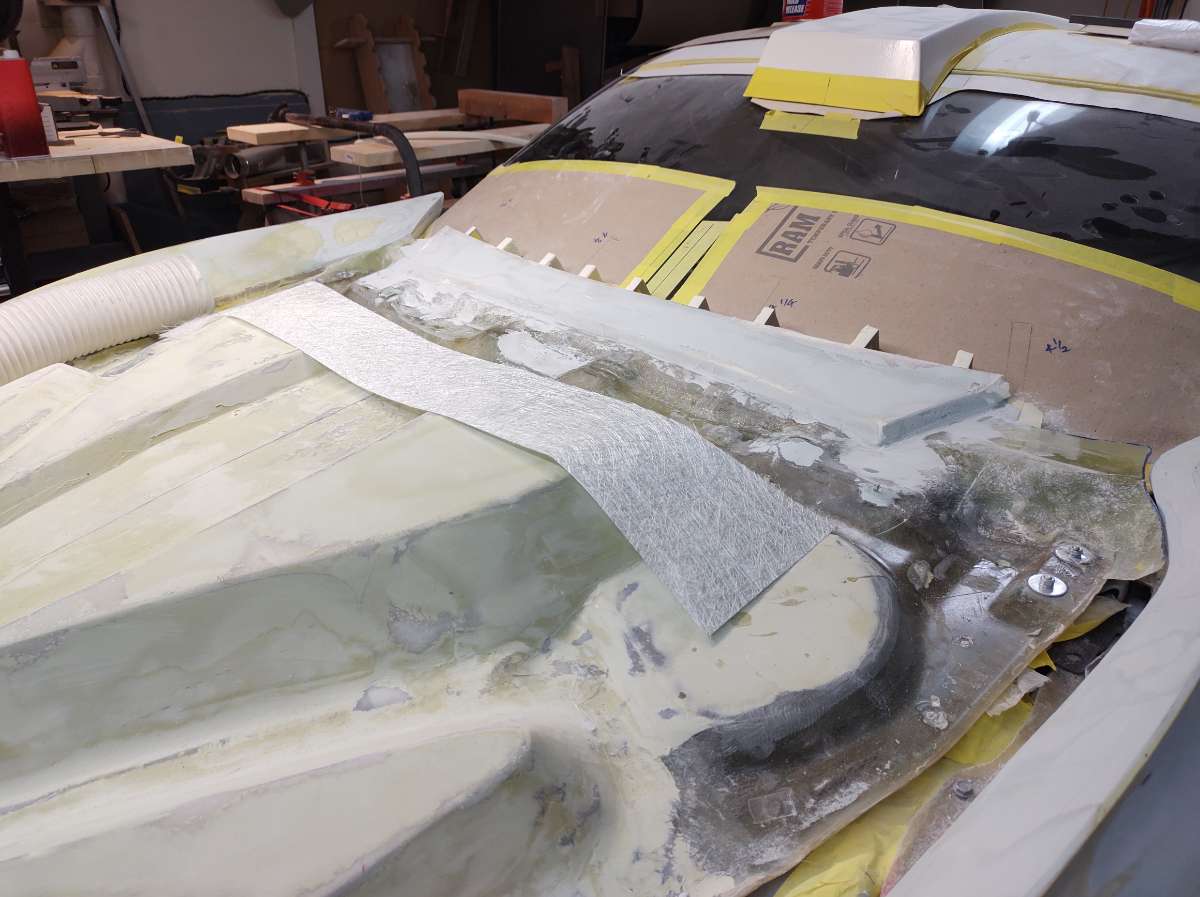
Hi everyone back with another update , had some harsh weather here in B.C. tons of rain , washing out roads and major flooding . The road to the shop was washed away , had to drive twice as fare to get there for over a week , it could have been way worse . Back to the build , got the back corners of the rear bumper cover done , and the bumper cover off to do some body work . Once that's ready I am going to mold it and make a part from it and put that on the car . Closing off the bottom Layering the bottom in with foam the lower half i did overlapping to make it easier and so there would be somewhere to glue it to . The back edges will still need to be trimmed two layers of fiberglass mat to hold its form this is where the bumper cover separates from the back fender stay tuned I will post more tomorrow , you will see it cut off and off the car !!!!

-
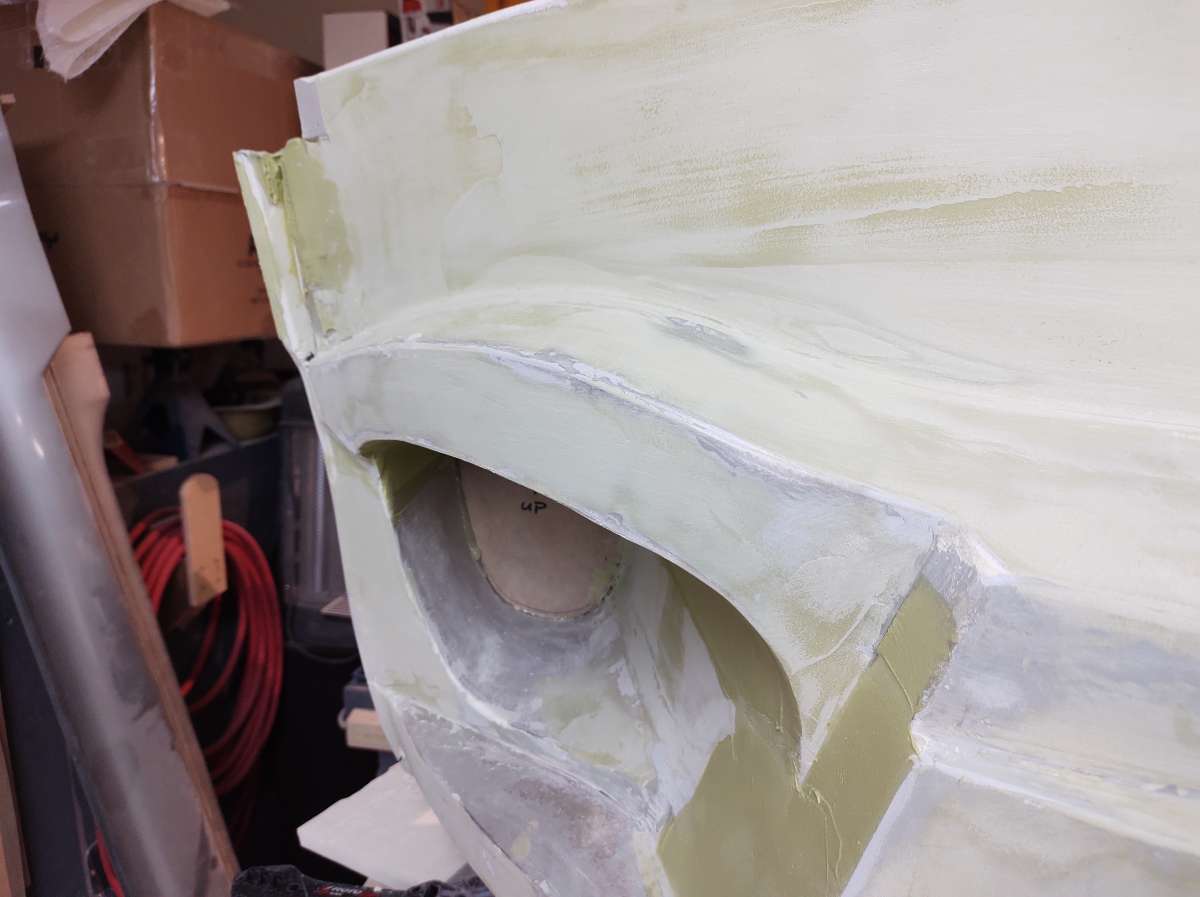
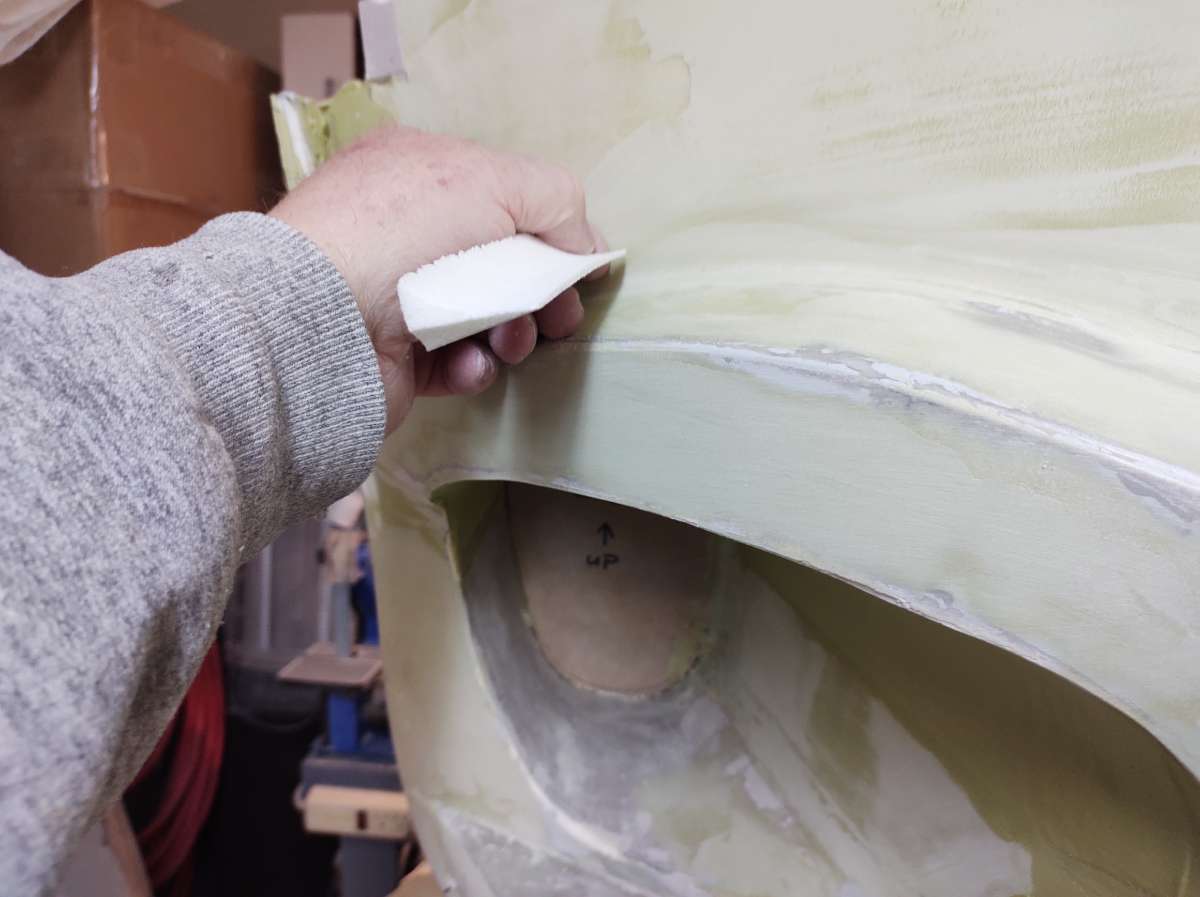
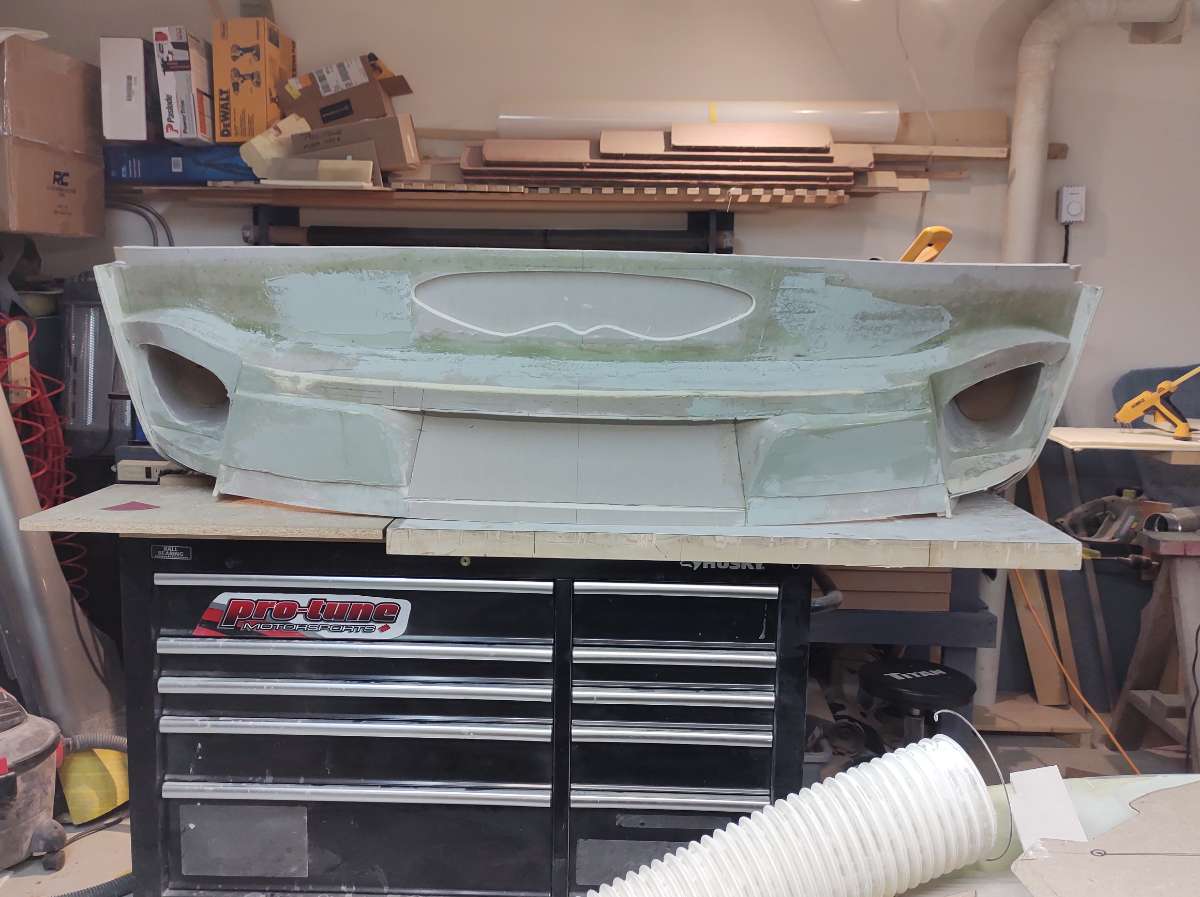
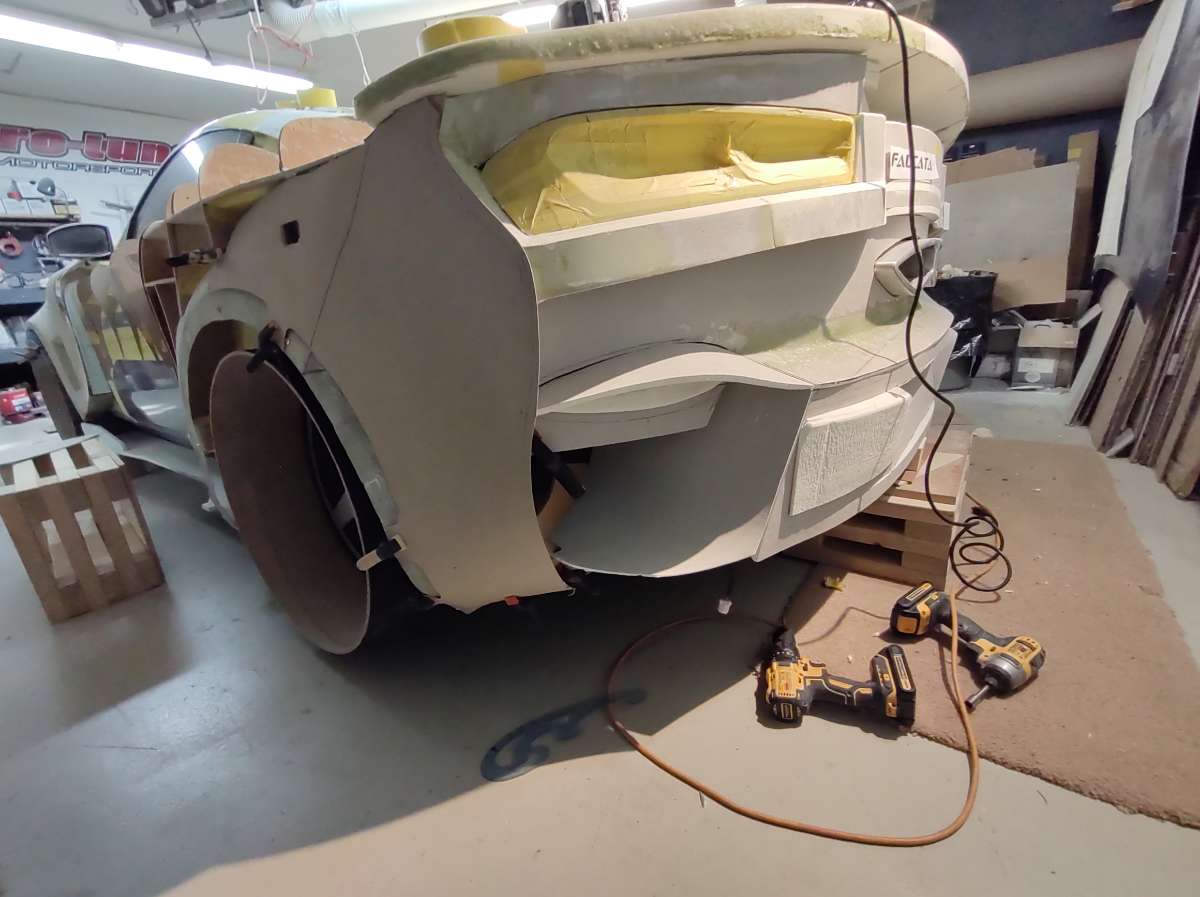
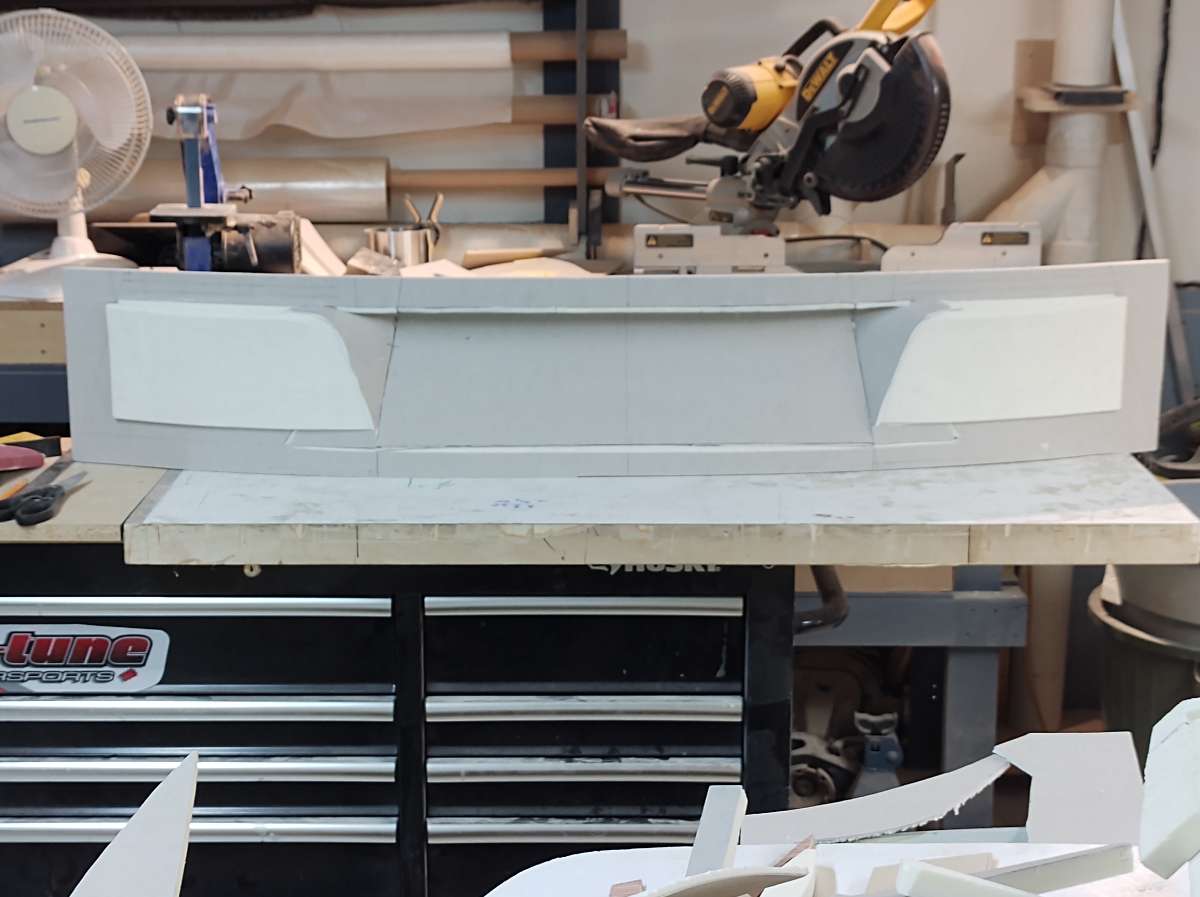
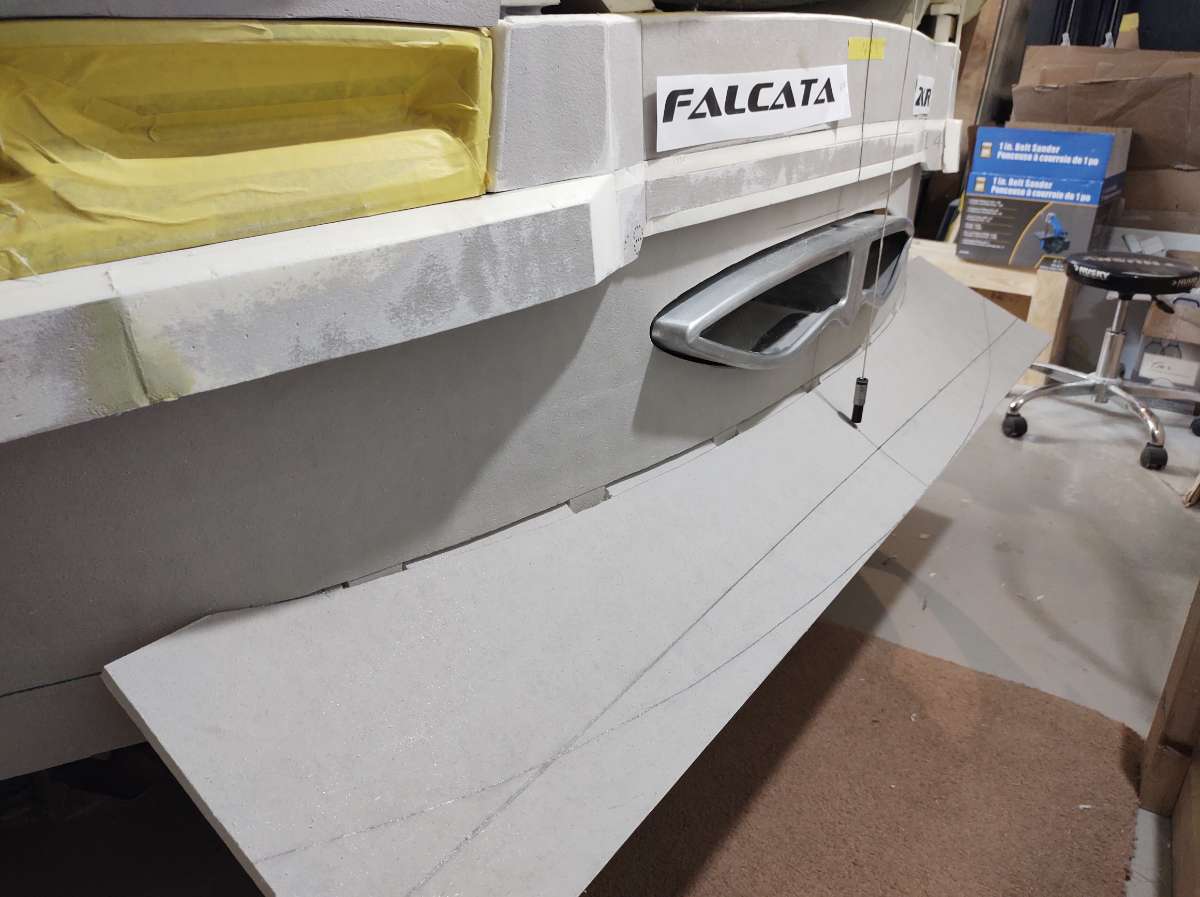
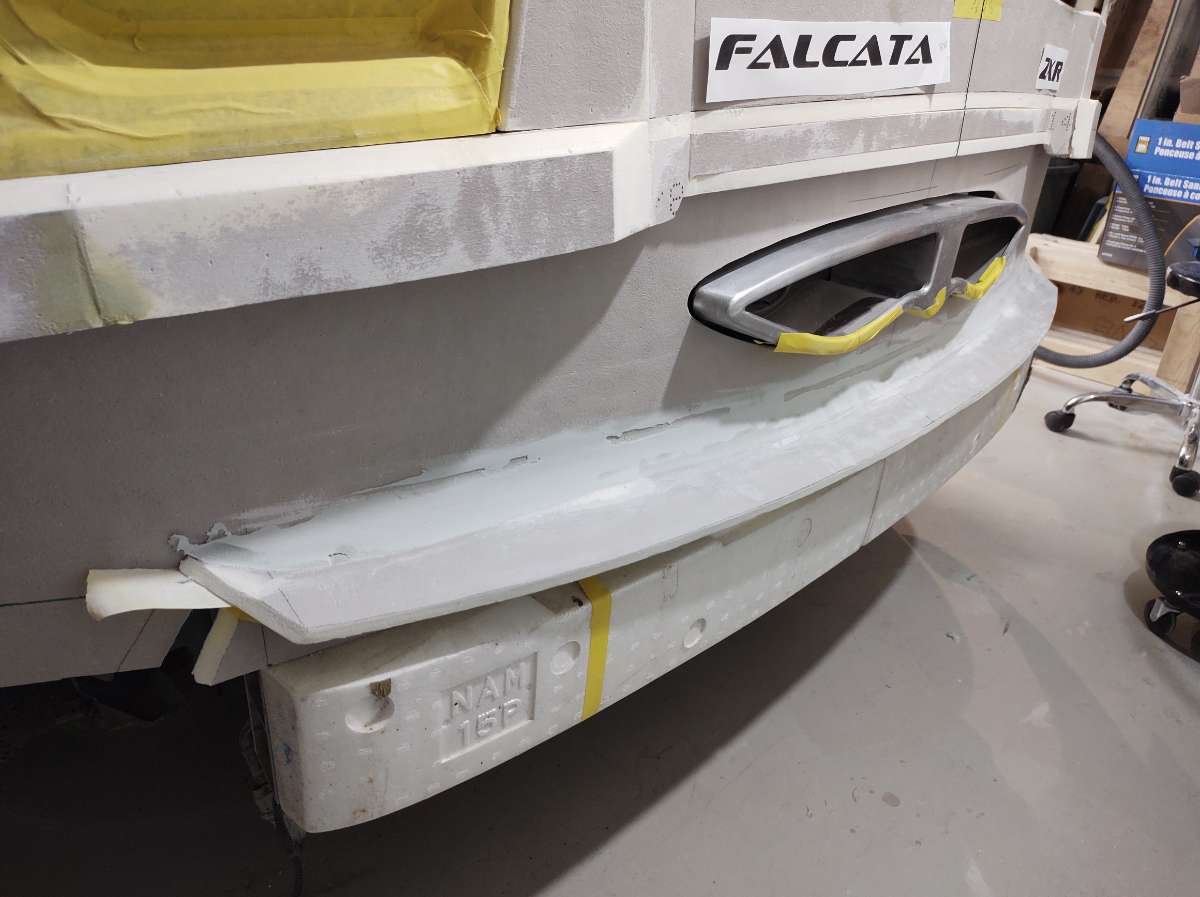
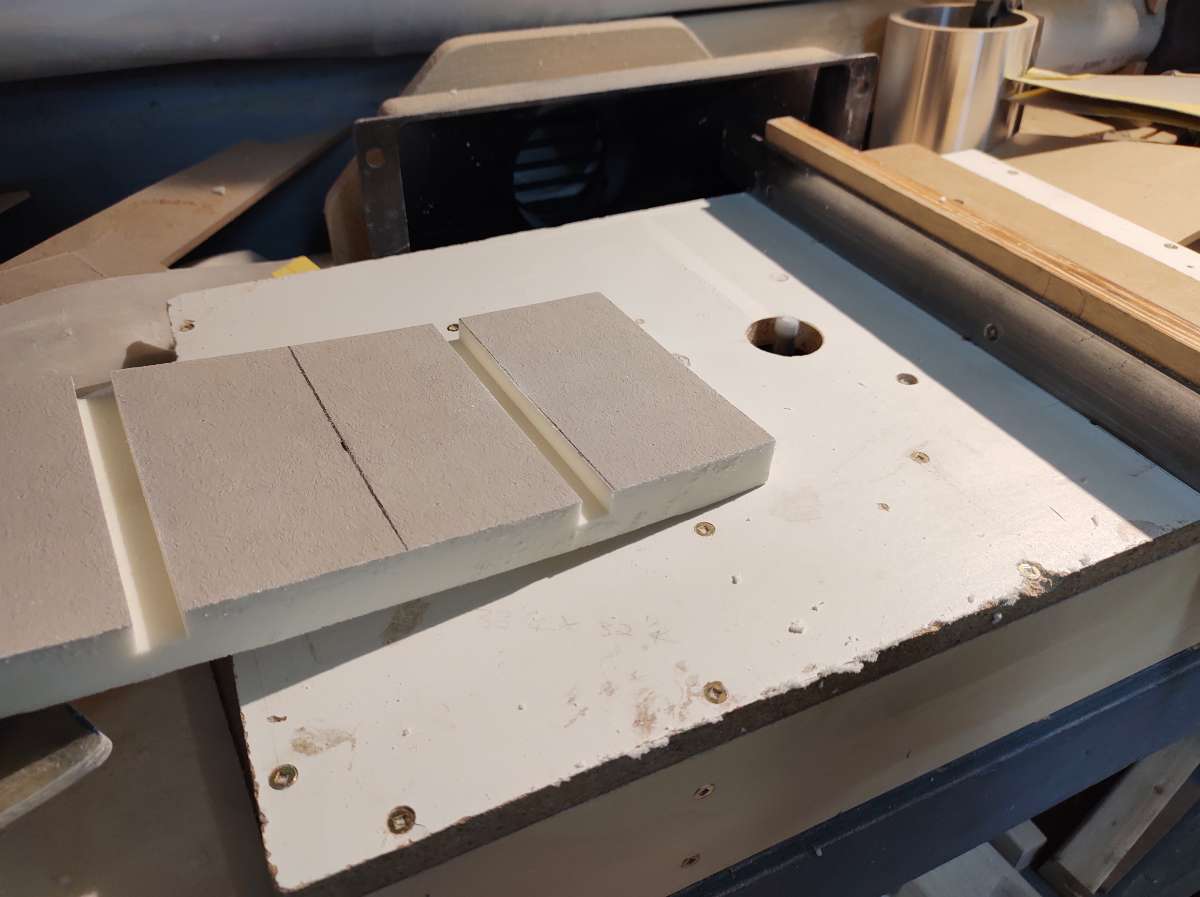
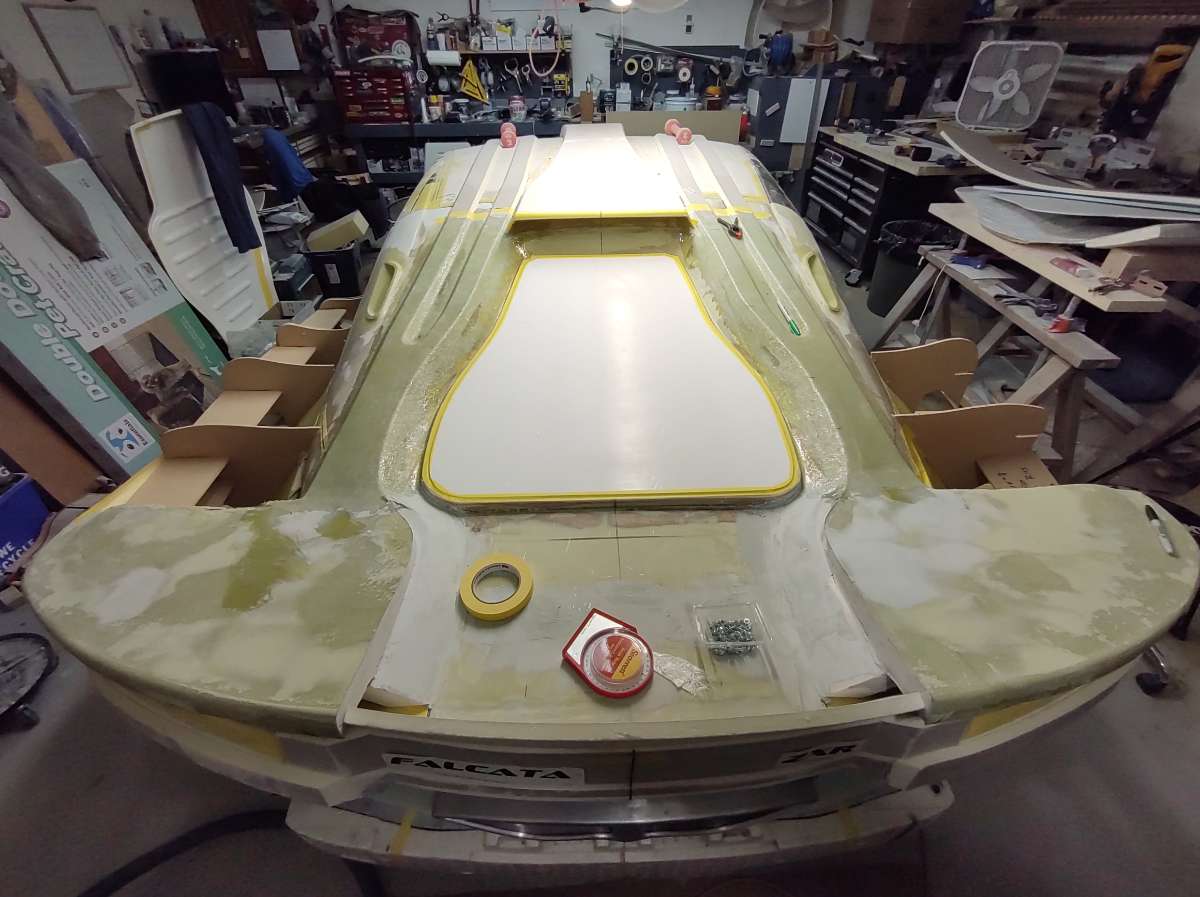
Hi everyone Just some more pic's of some small changes to the rear lower panel. Added a little foam and some filler to the edge where the scoop exits , not sure if i like it , yet , might make it flush with the edge . Going to make any changes today , and then add a one layer of fiberglass mat to hold the shape then pull it off the cat to bodywork on the bench . I would like to thank everyone that's fallowing my build , it's really appreciated , great to have your interest and kind comments . Cheers Phil

-
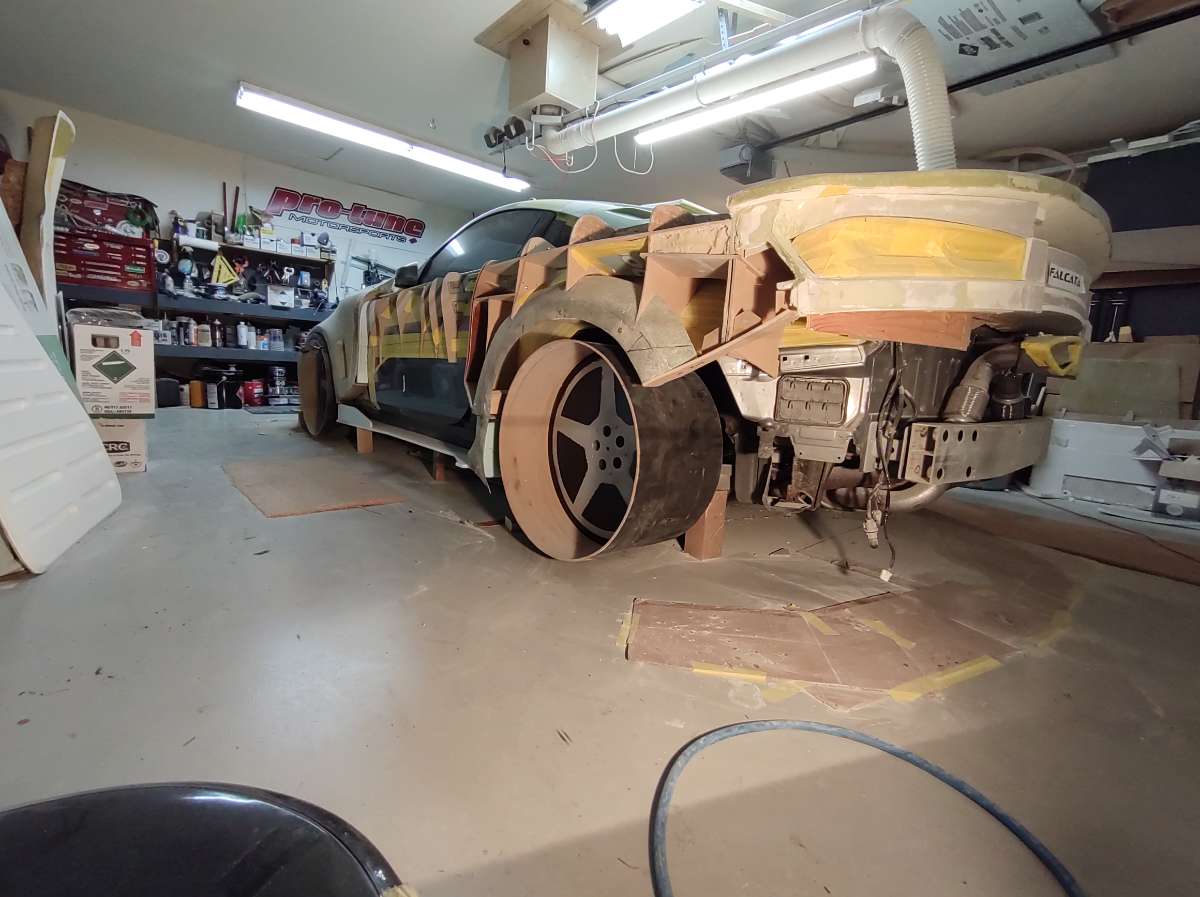
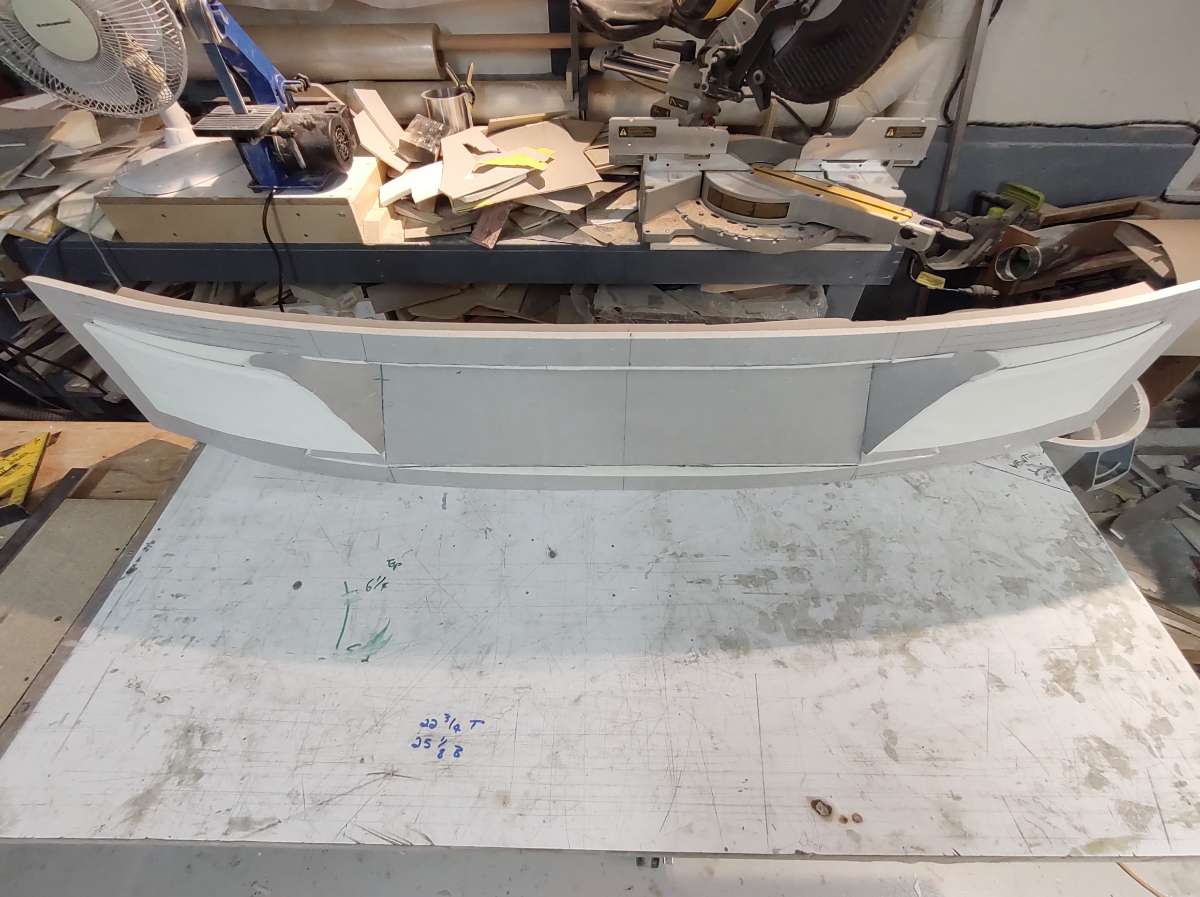
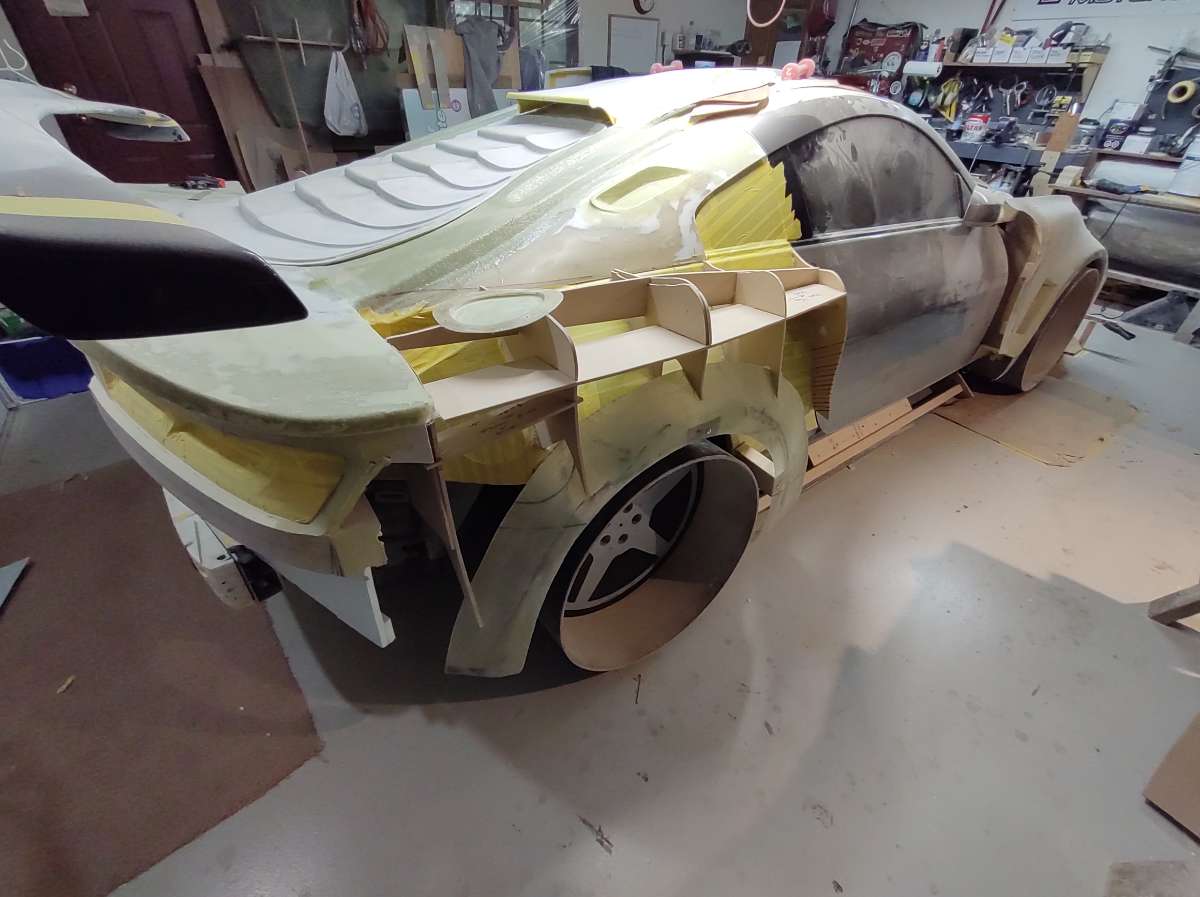
Hi As far as underbody Aero go's , just the Splitter on the front and the diffuser at the back , and of course the front fender vents to let the air escape from the render wells . I have to leave something alone or I will never get this beast done LOL . ( It's bad enough my buddies are saying no more changes allowed just get it done already ) Thanks for tagging along Cheers
-
Hi everyone Thanks for hanging in there , so slow times on the car at the moment , still chipping away at it . a little more on the back end . Cheers for now hope to get some more done this weekend .
-
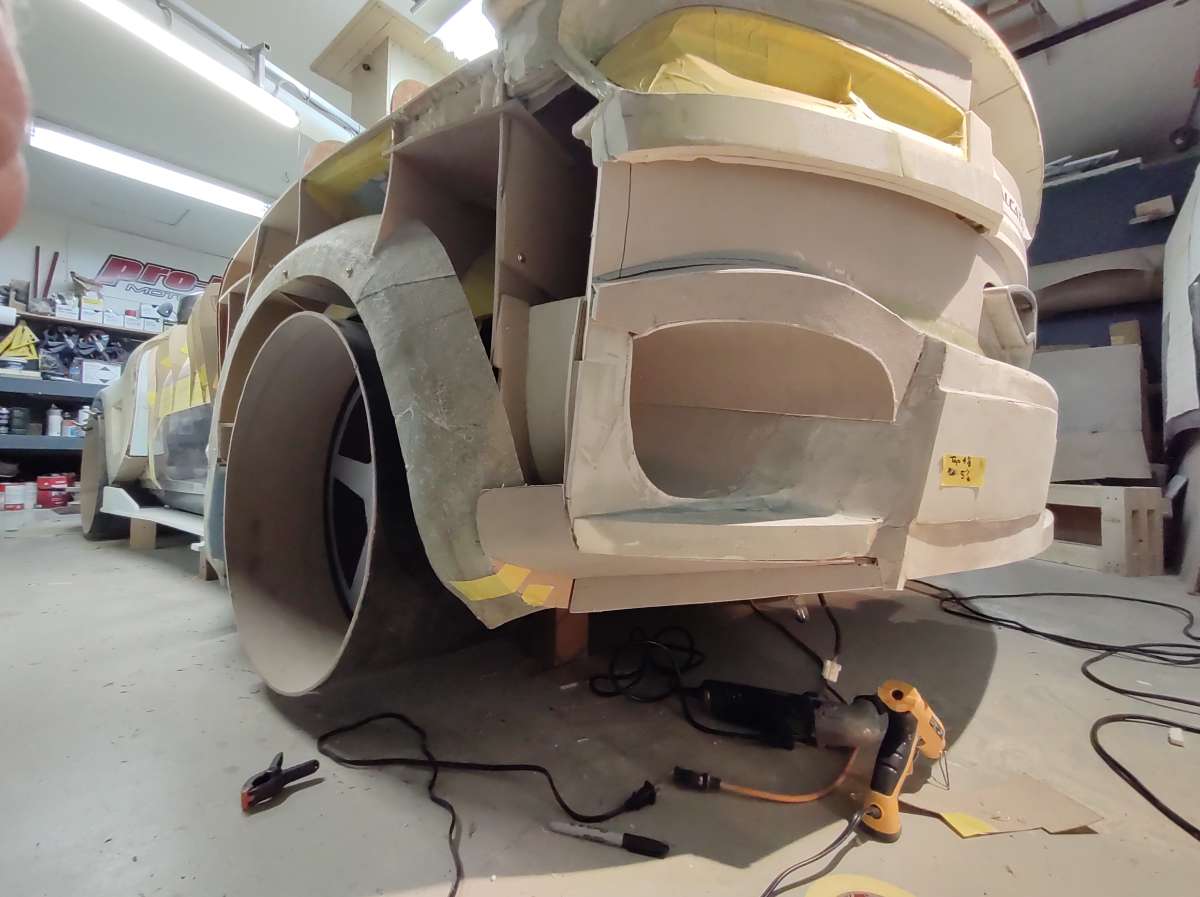
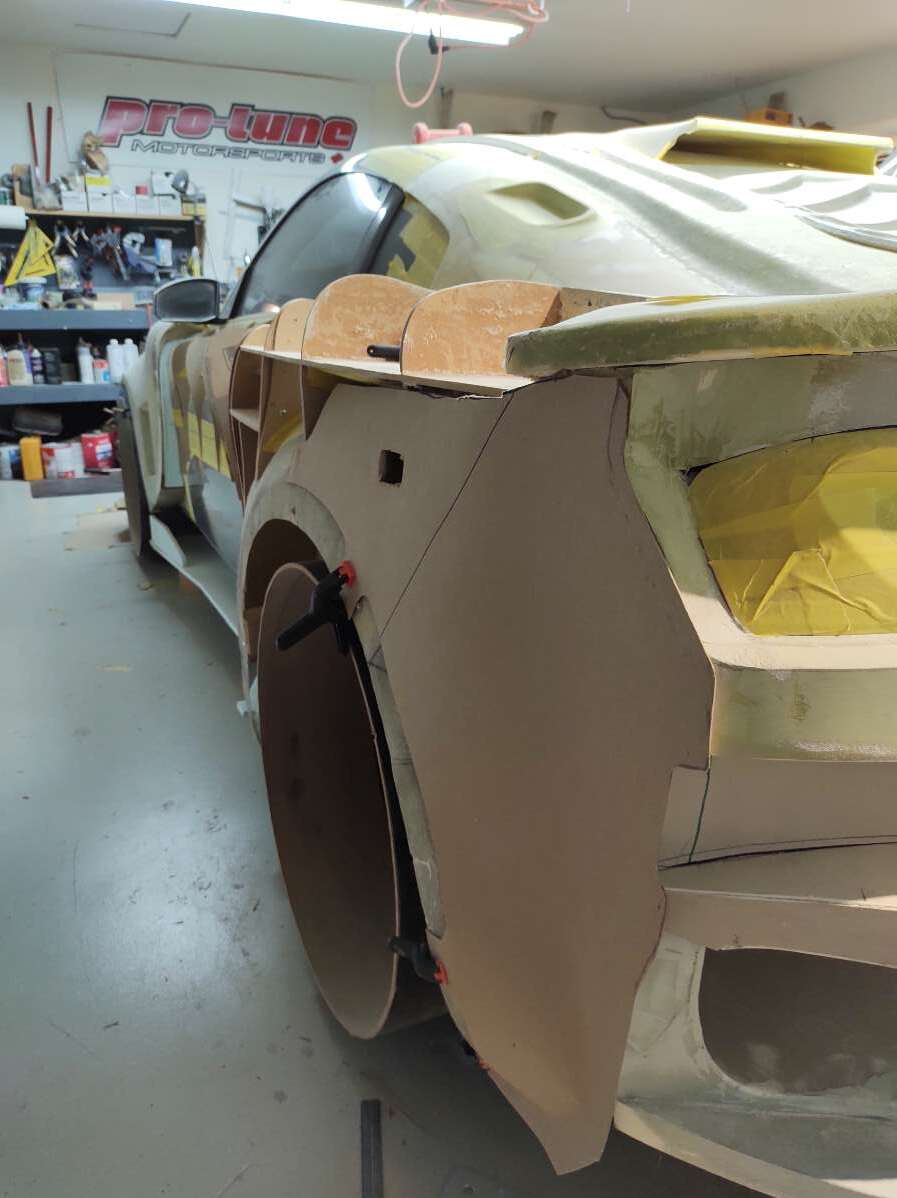
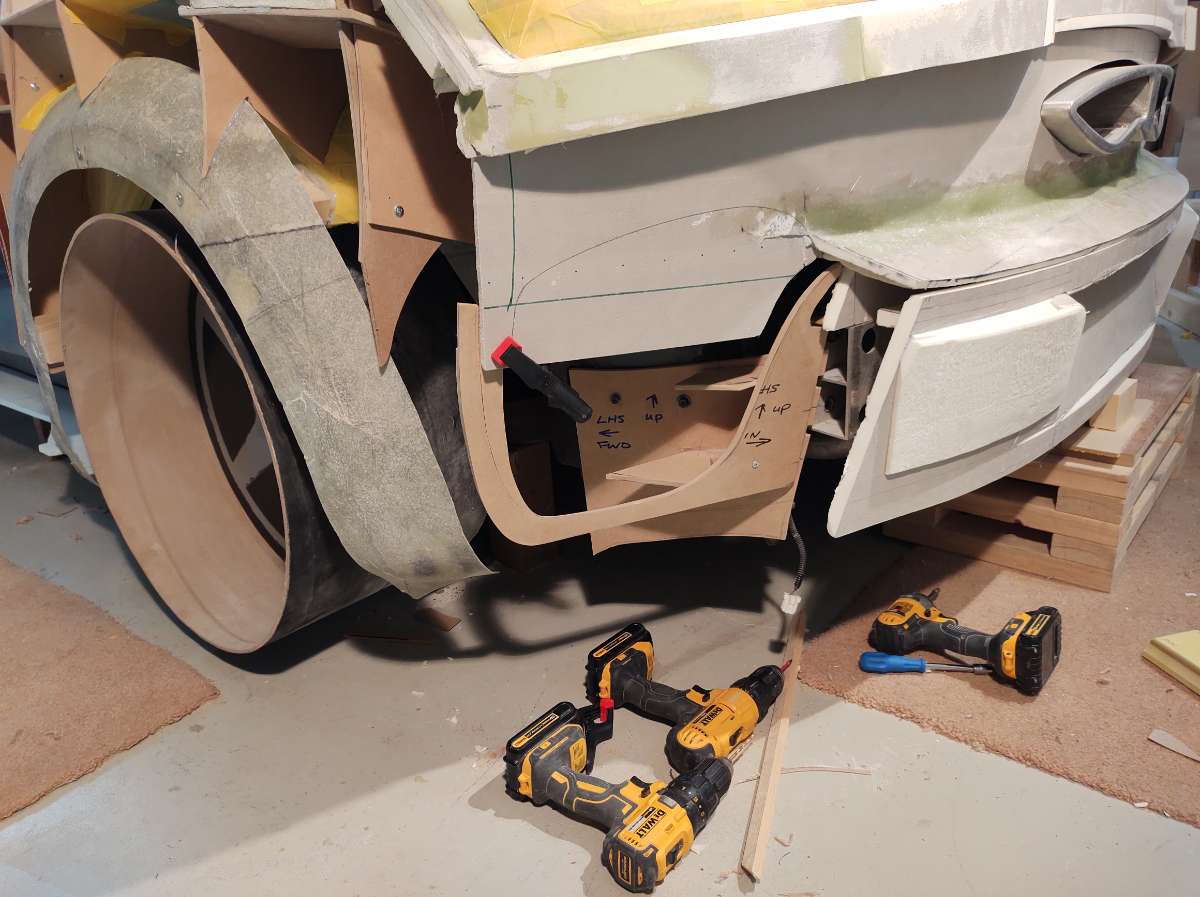
Hi Everyone Sorry for the lack of updates , life has been getting in the way , winterizing the house and properties , one of my daily drivers , which I call the JapCad it's a 2004 Infiniti G35X ( stands for Japanese Cadillac ) had a left front wheel bearing go south , simple 2 hour bearing swap right ............no , couldn't get the hub off . the axle snapped in the hub . 12 ton press couldn't budge it , so ordered a new wheel bearing , hub and axle , the wrong axle came , nobody has the hub , Bla Bla , so now I have the parts coming from California and Kansas . And a dead car taking up a bay at the home shop ...........just great !!!!!. So enough about all that . and on to how little I have got done on the Falcata sadly . Made a few small changes to the rear vent area
-
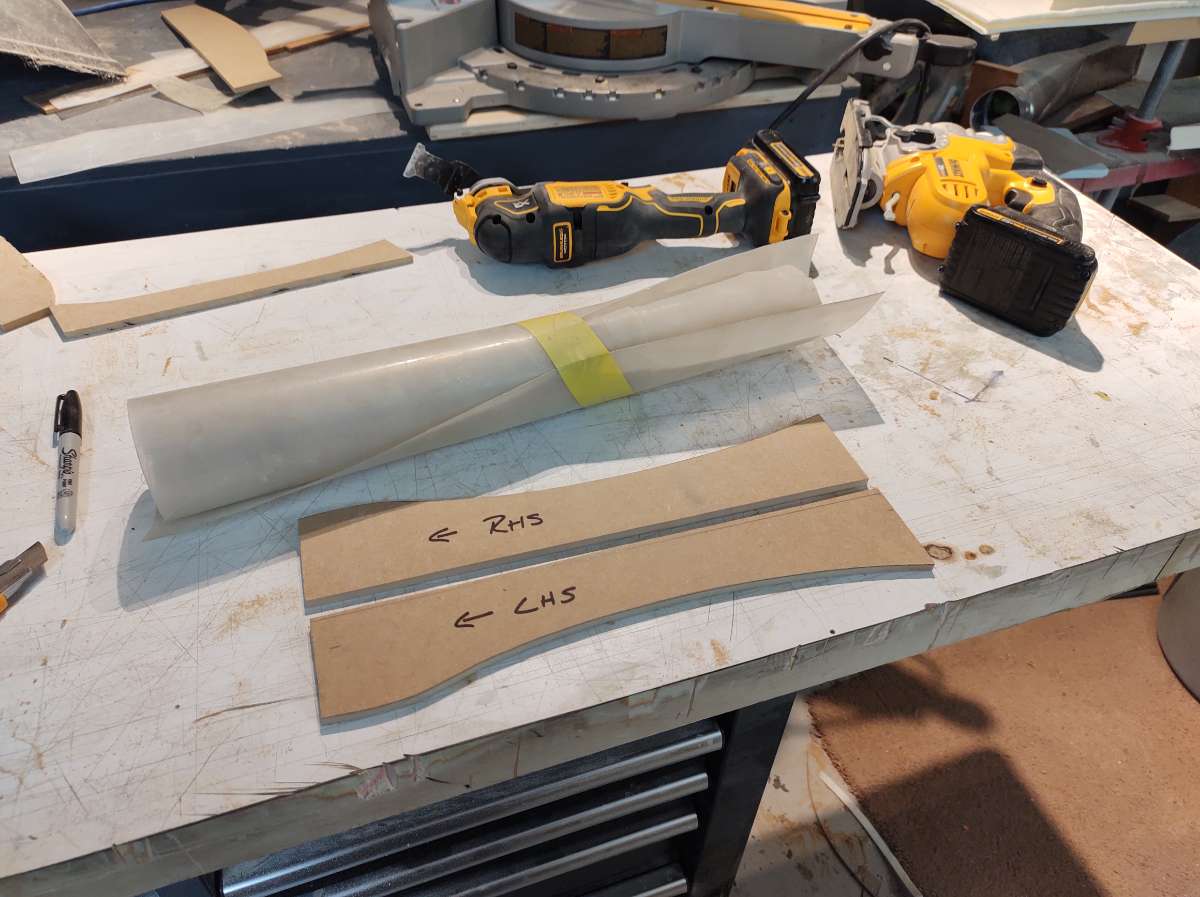
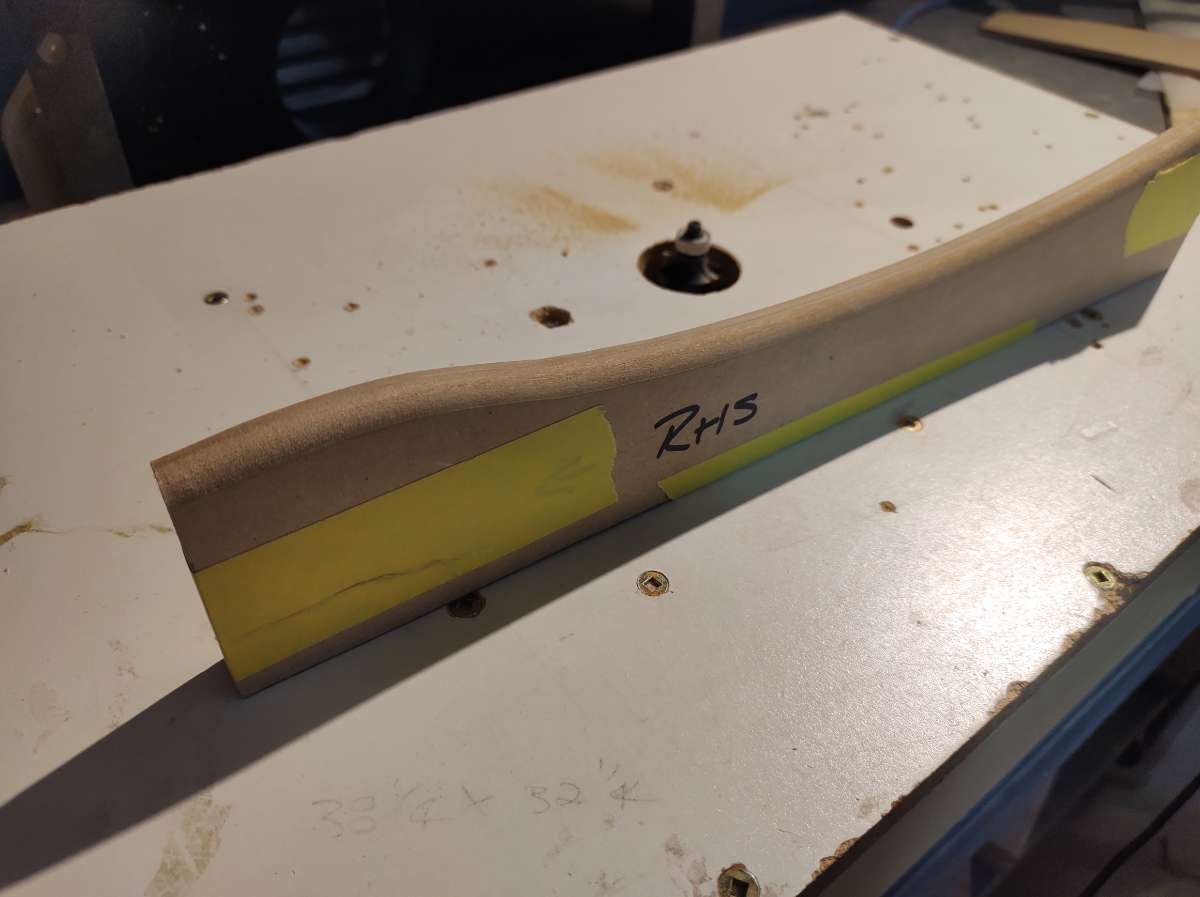
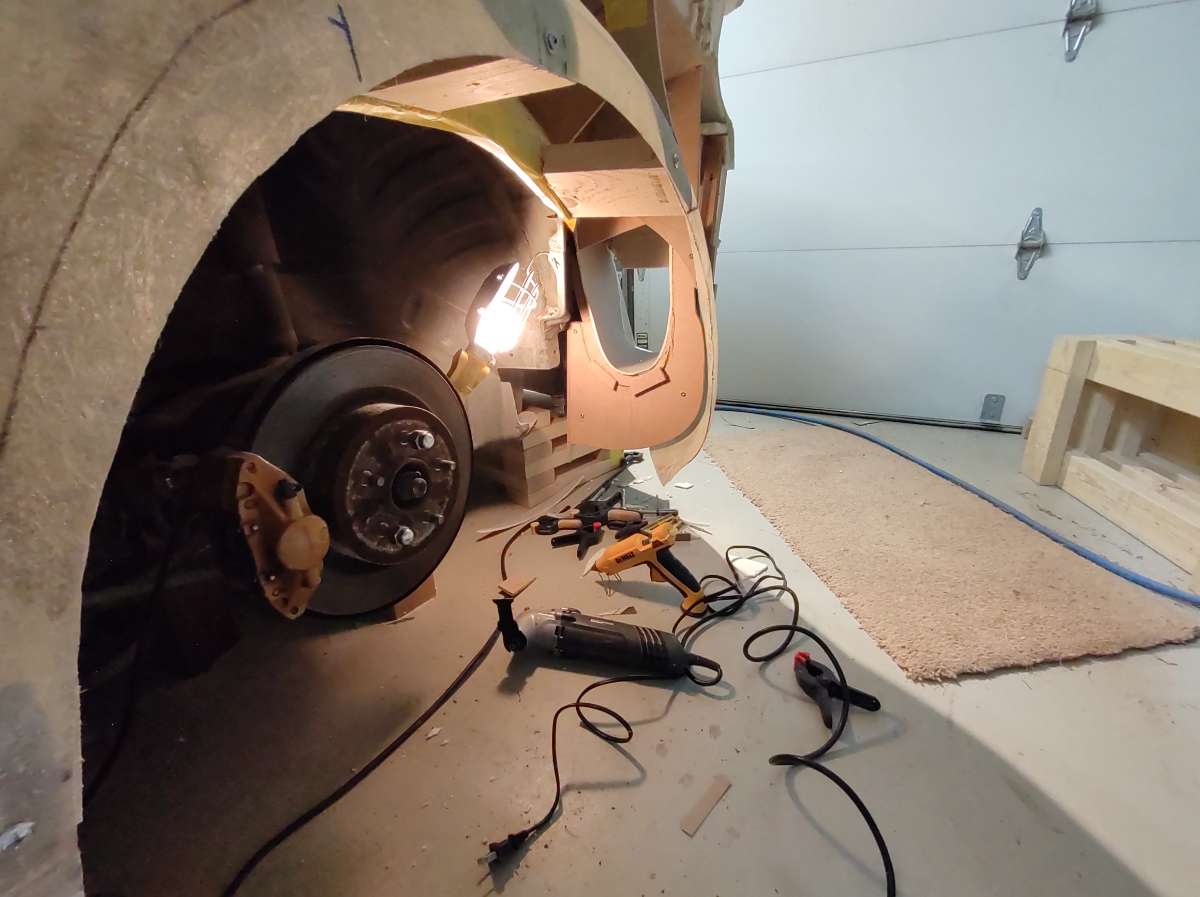
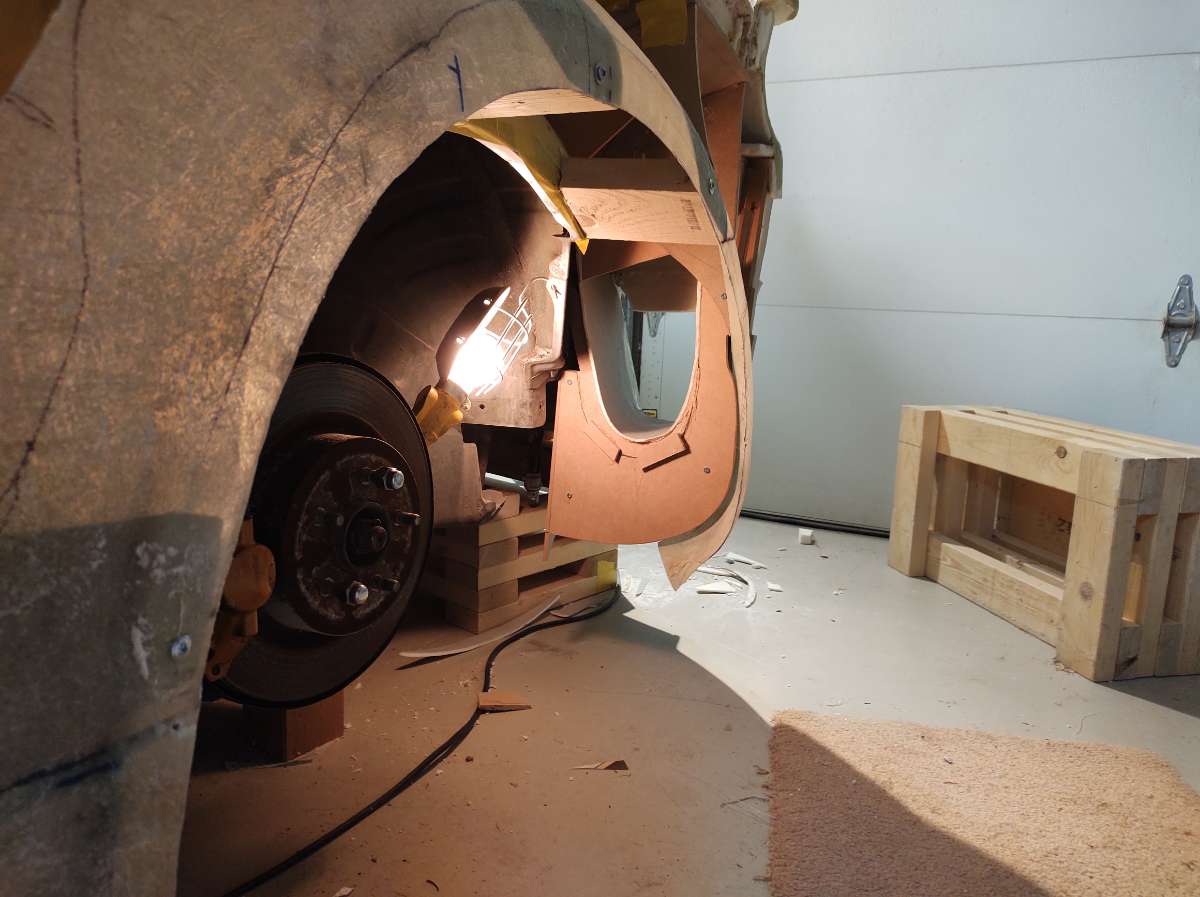
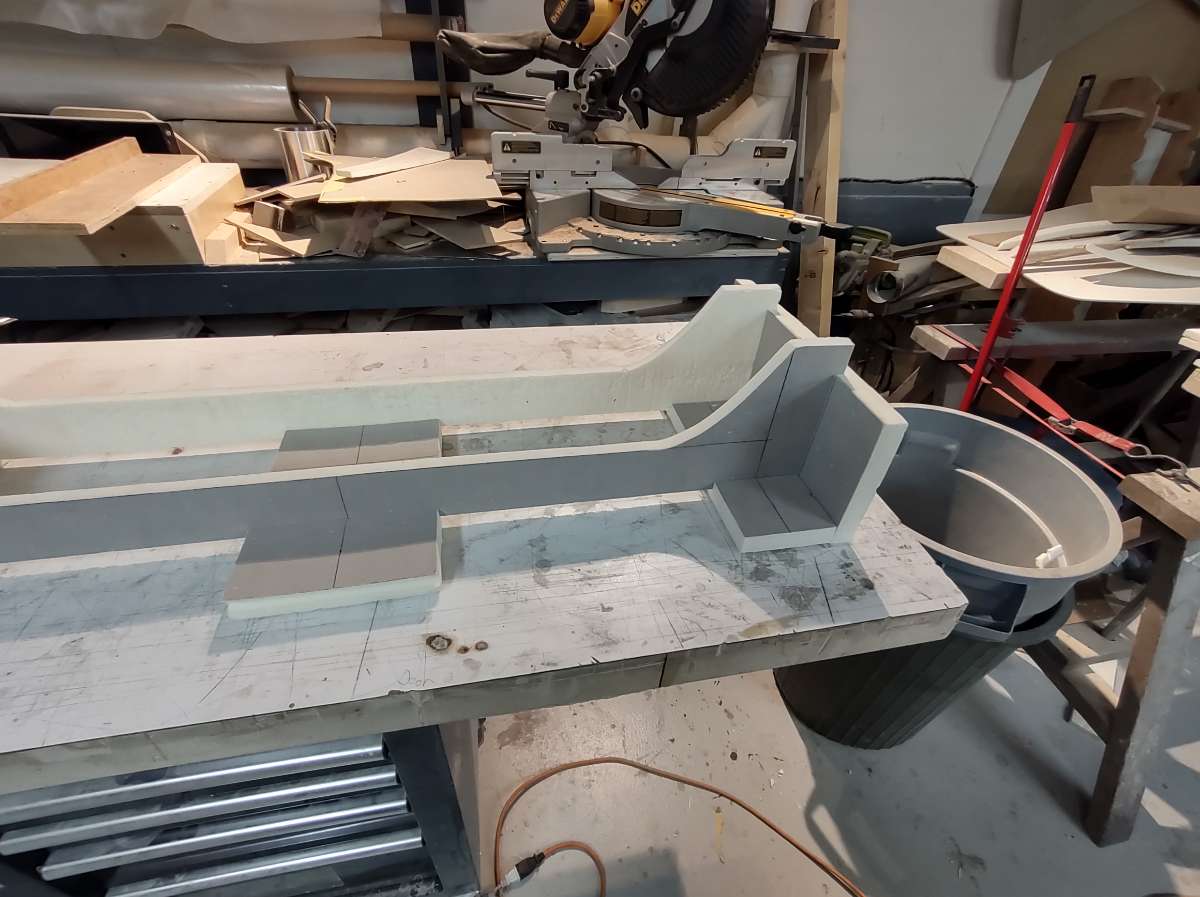
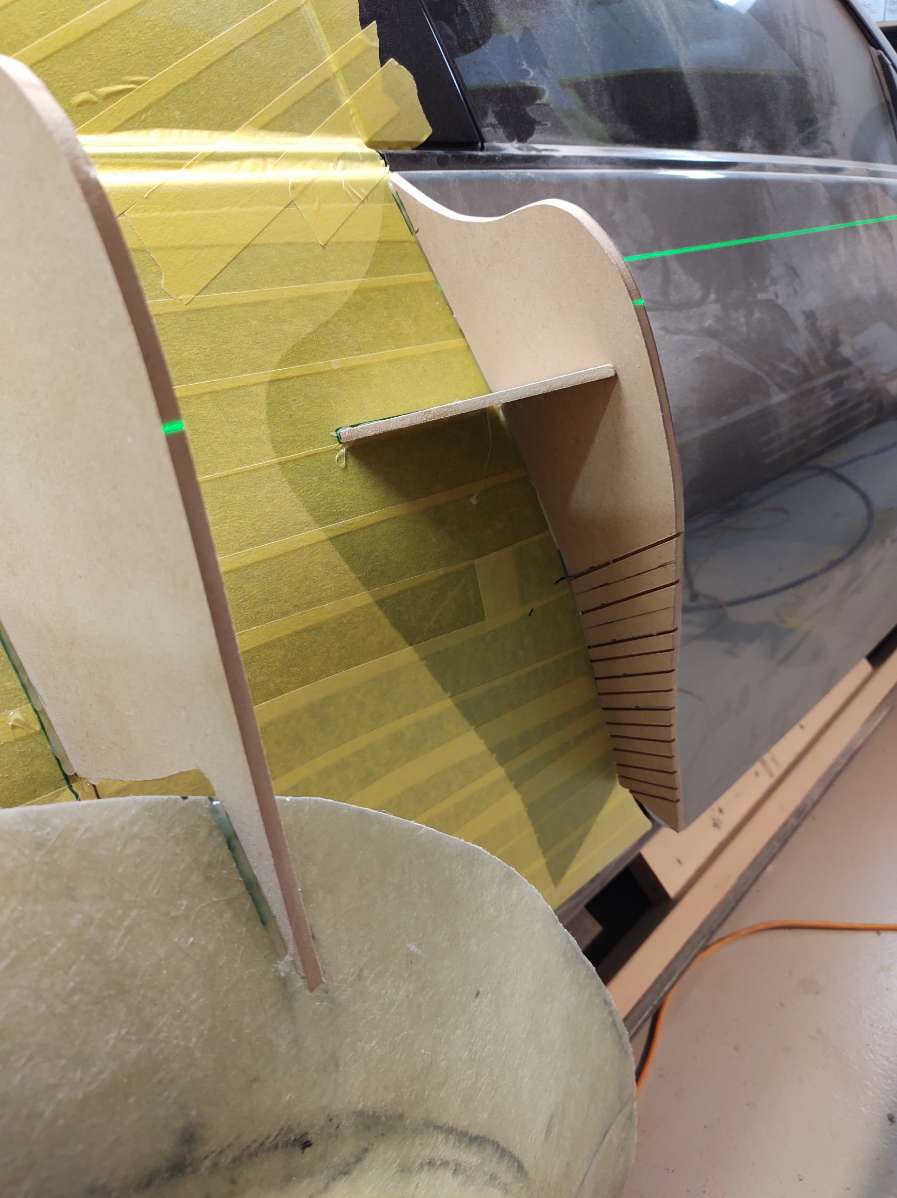
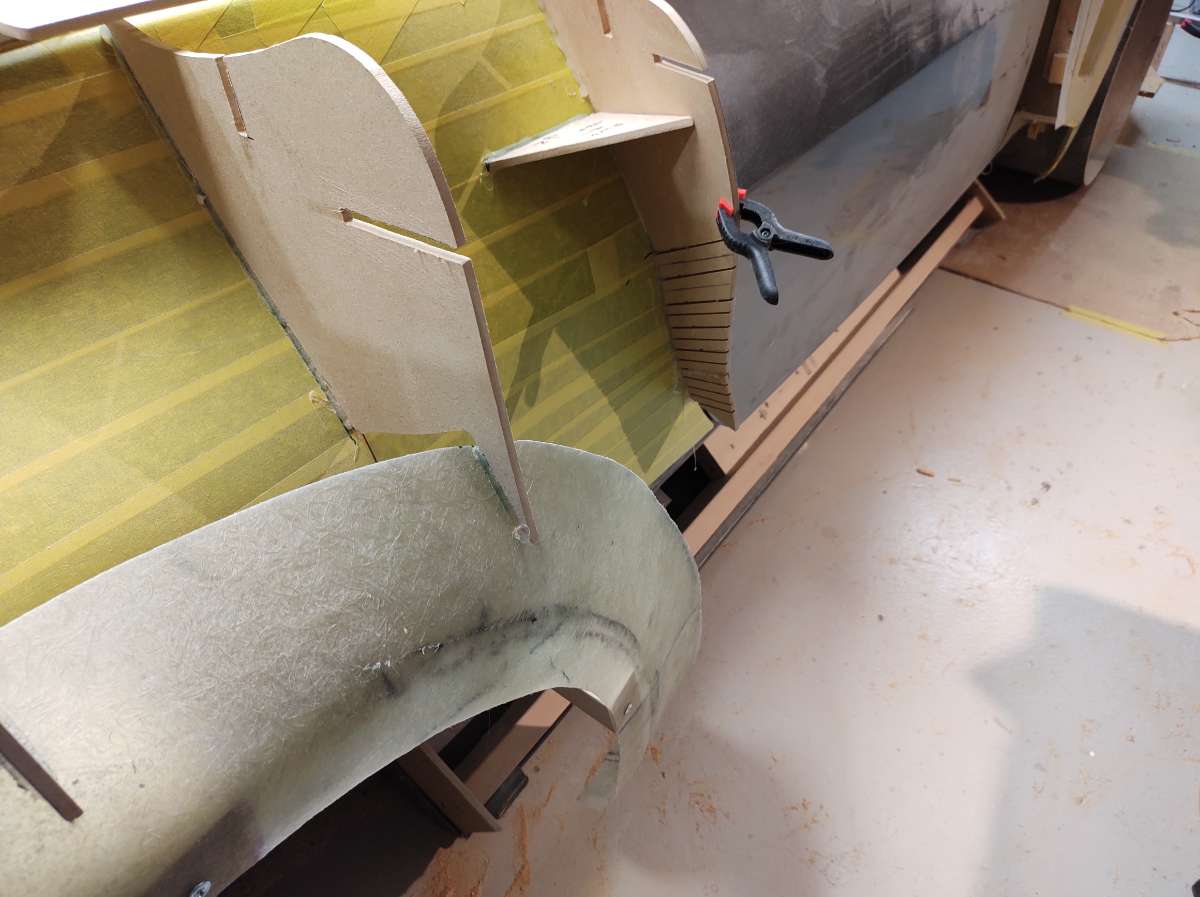
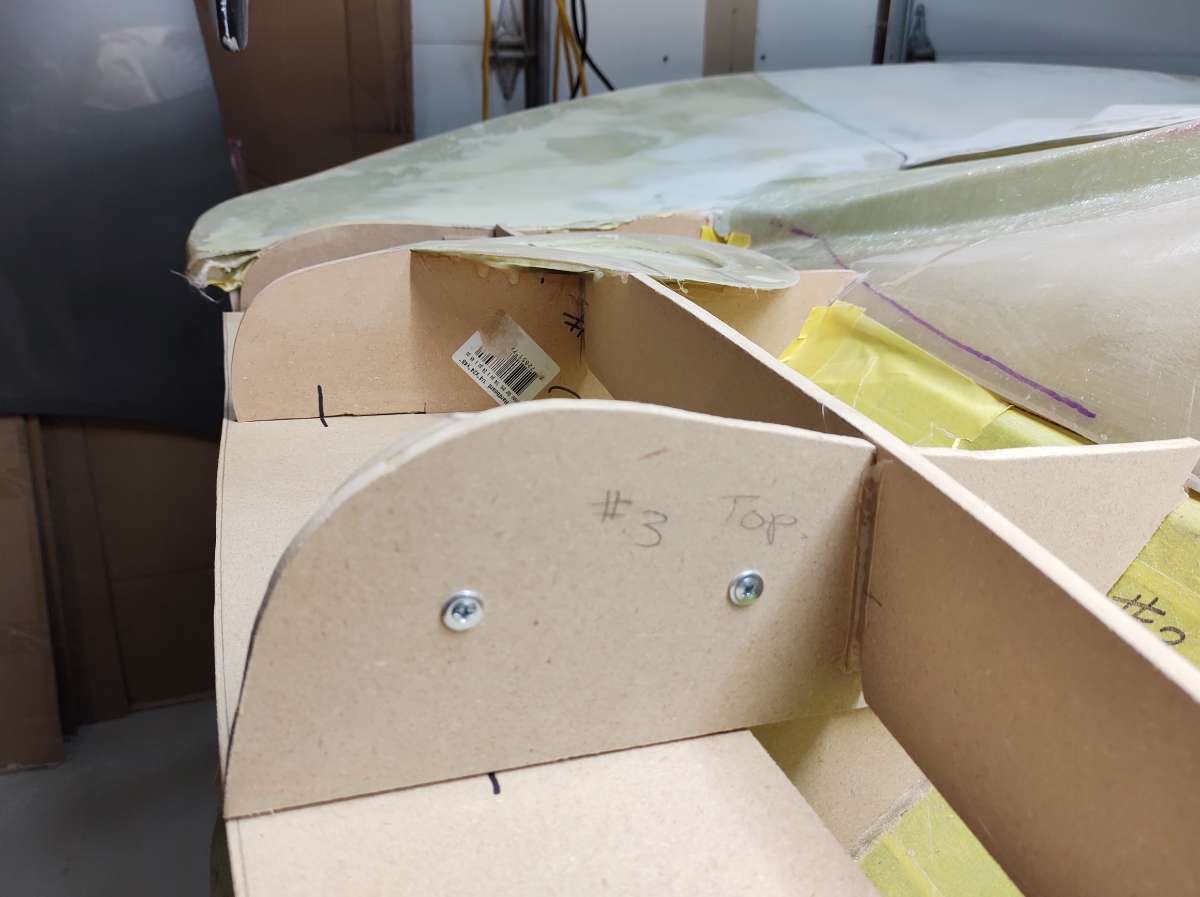
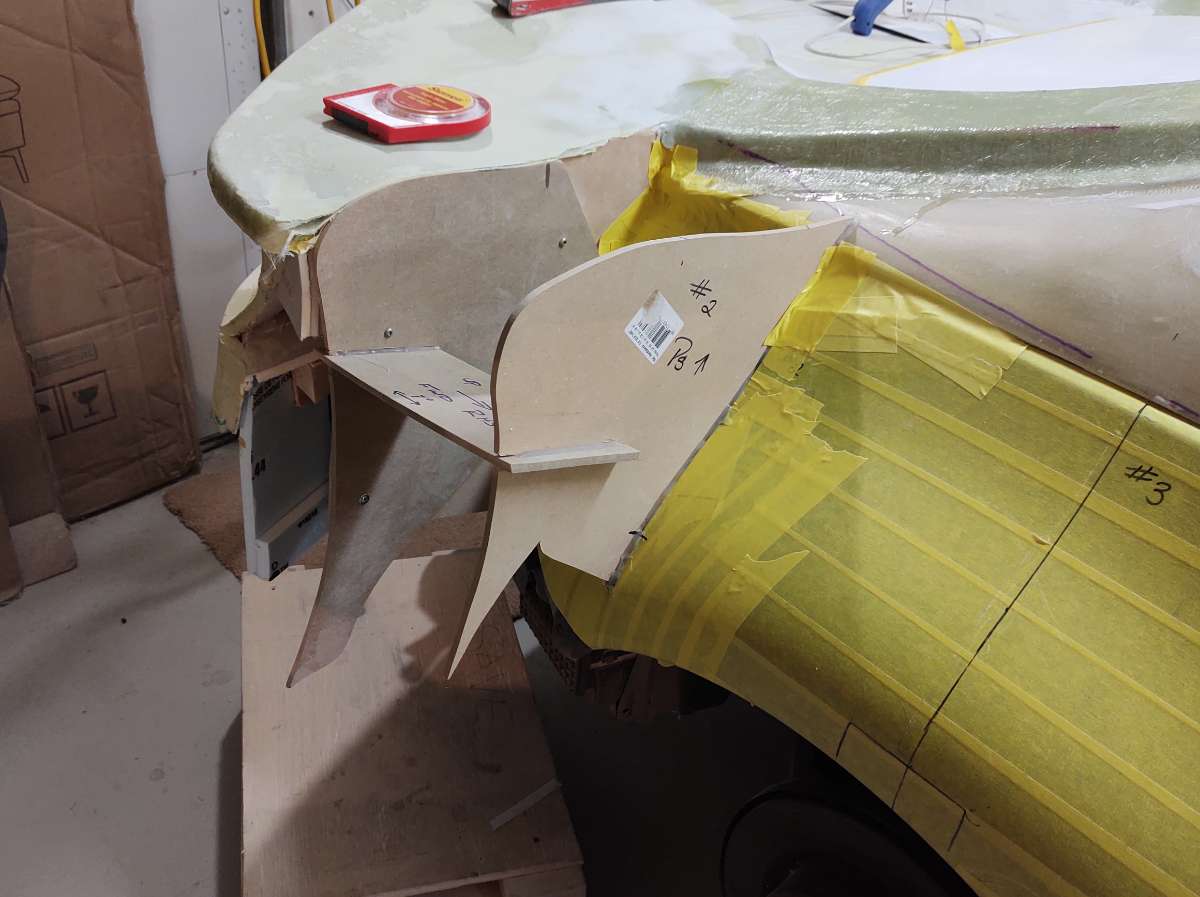
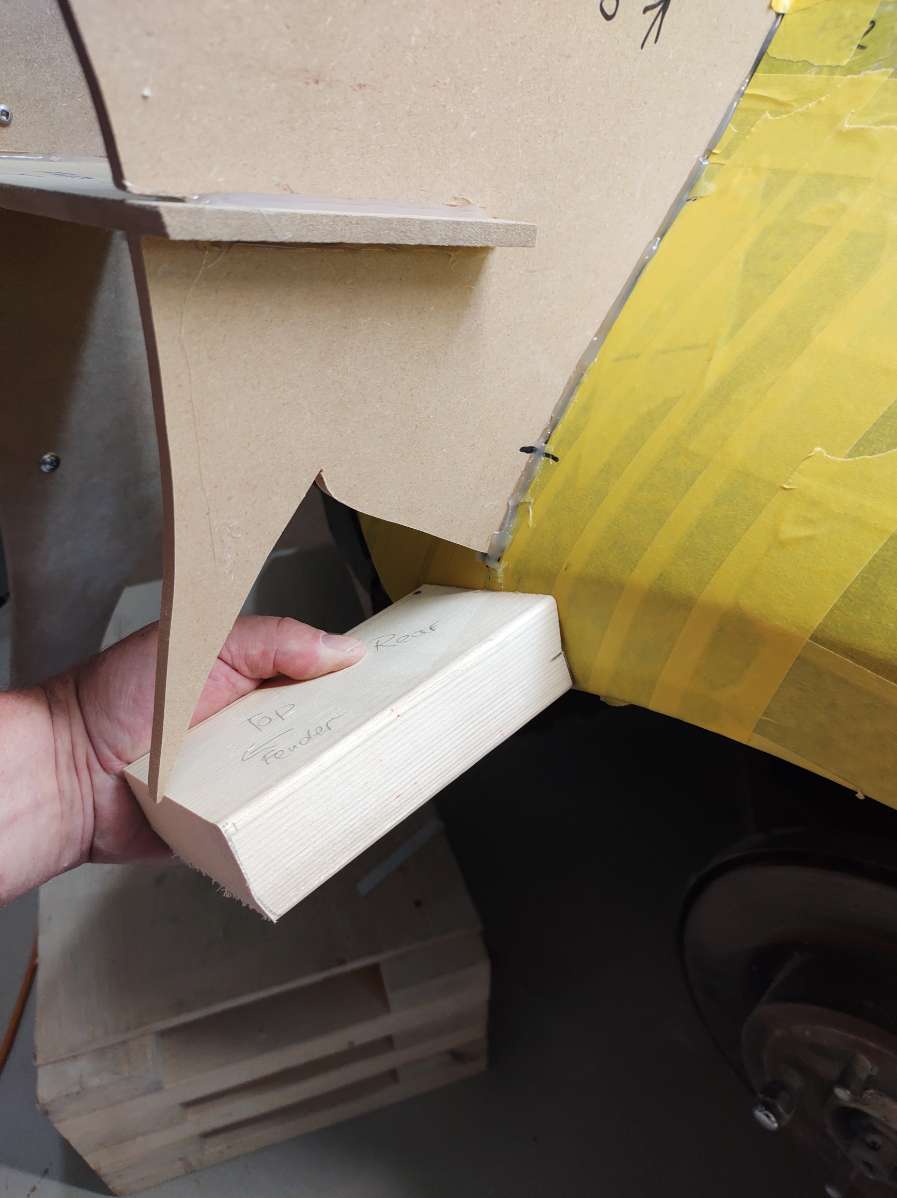
Hi I was just wondering if the internet was broken .....? or if there are fish nibbling on the cable again ......lol these are the wooden bucks to go in the back corners they are back to back so I can make sure the are the same . Of course the car isn't the same underneath , charcoal canisters etc . like my buddy tells me if it was easy everyone would be doing this .. Left hand side and the right hand side , next is to install the foam , these have to be removable because I really don't want to glass these and do the bodywork on the floor . So i have to be able to reach up inside and remove the bolts, so the back panel including the corners can come off .

-
Hi Another small update on the back corners , this a mock up of what's going to happen . This piece will be removable to access the tail light , the parting line is black line on an angle . the eyebrow will have a bottom that goes into the duct , the inside of the duct on the outboard side will be the removable panel
-
Just have time to post a few pic's of the back corners . Rough idea of how it's going to be in the back corners . It's just mocked up , still need to finish the bucks to hold the ducts in place the top of the eyebrow will get closed as it goes into the duck roughly were the lower black line is , i wont cut it until I know i like it . Stay tuned and Stay Safe !!
-
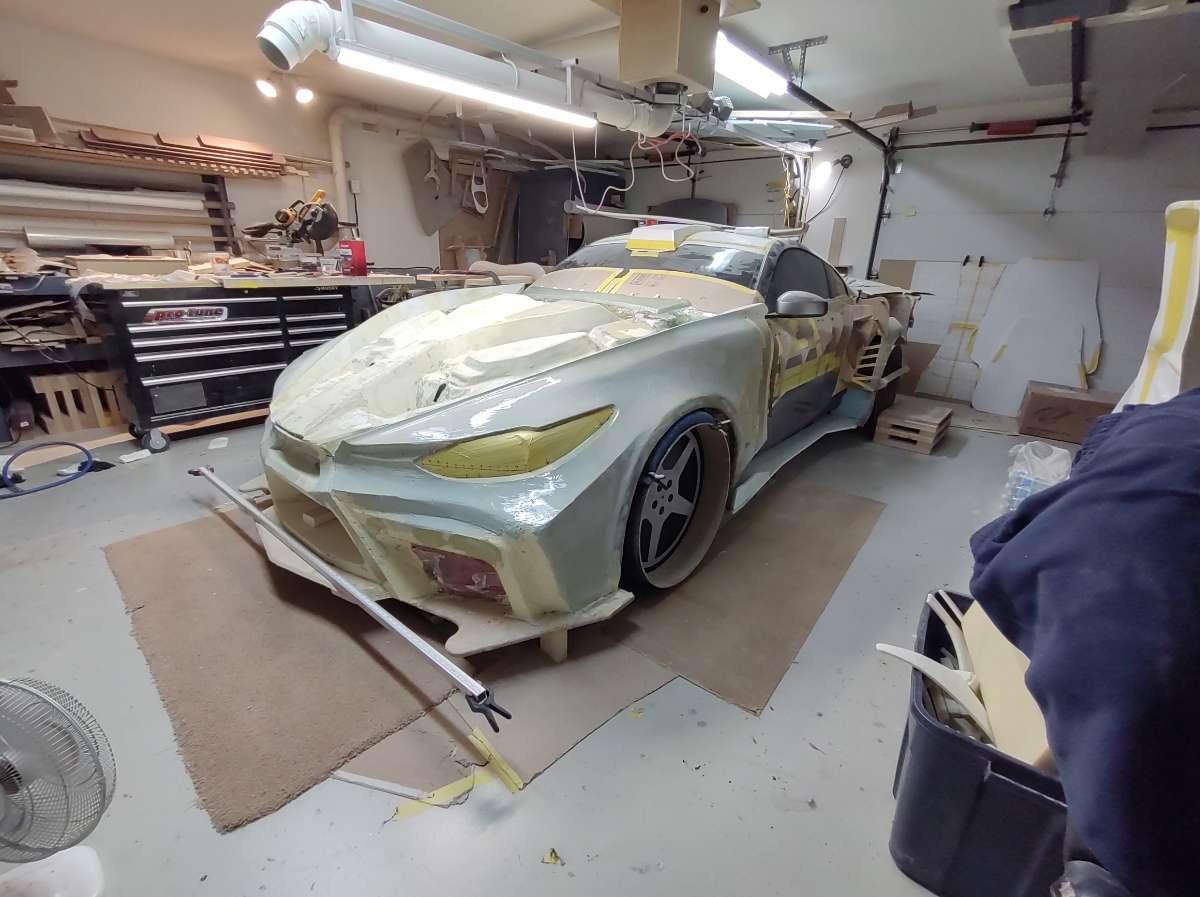
Hi My parents were from the UK , and they both worked at Lotus . Had a few people now wish this build was in their town or close , so they could come for a Factory tour LoL LoL It's great to have so many people interested and fallow along , it's been a tough build , lots to consider , it's like building a square house on a round foundation . the goal is to build an outstanding looking car without wreaking the integrity of the base , and make it easy to install , without welding and cutting off half the car , and that's not easy Thanks everyone !!!
-
Hi the first one going to be mainly white with Red , Black and Silver Graphics ( like a West F1 car ) and the second one might be Gun Metal Metallic Silver ....... a sneak peek at the back corner buck
-
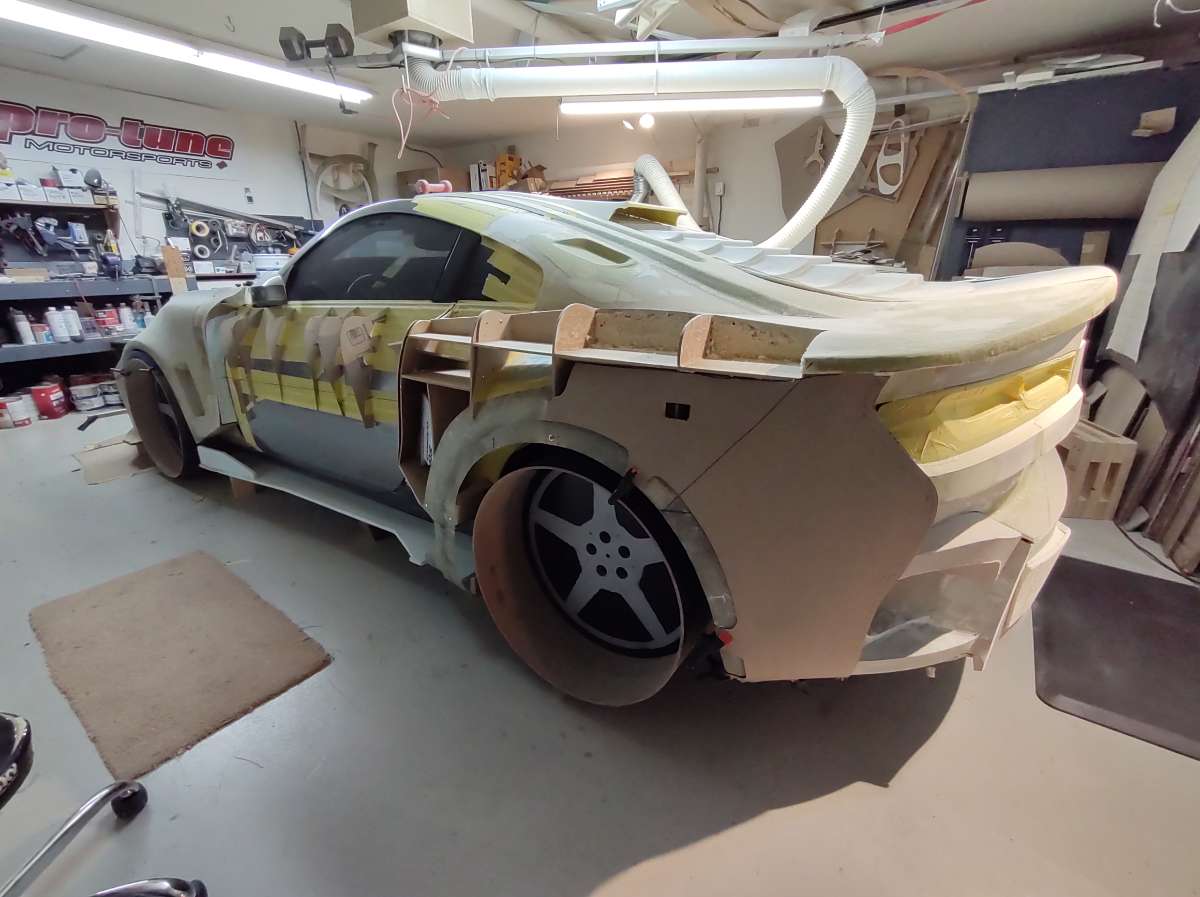
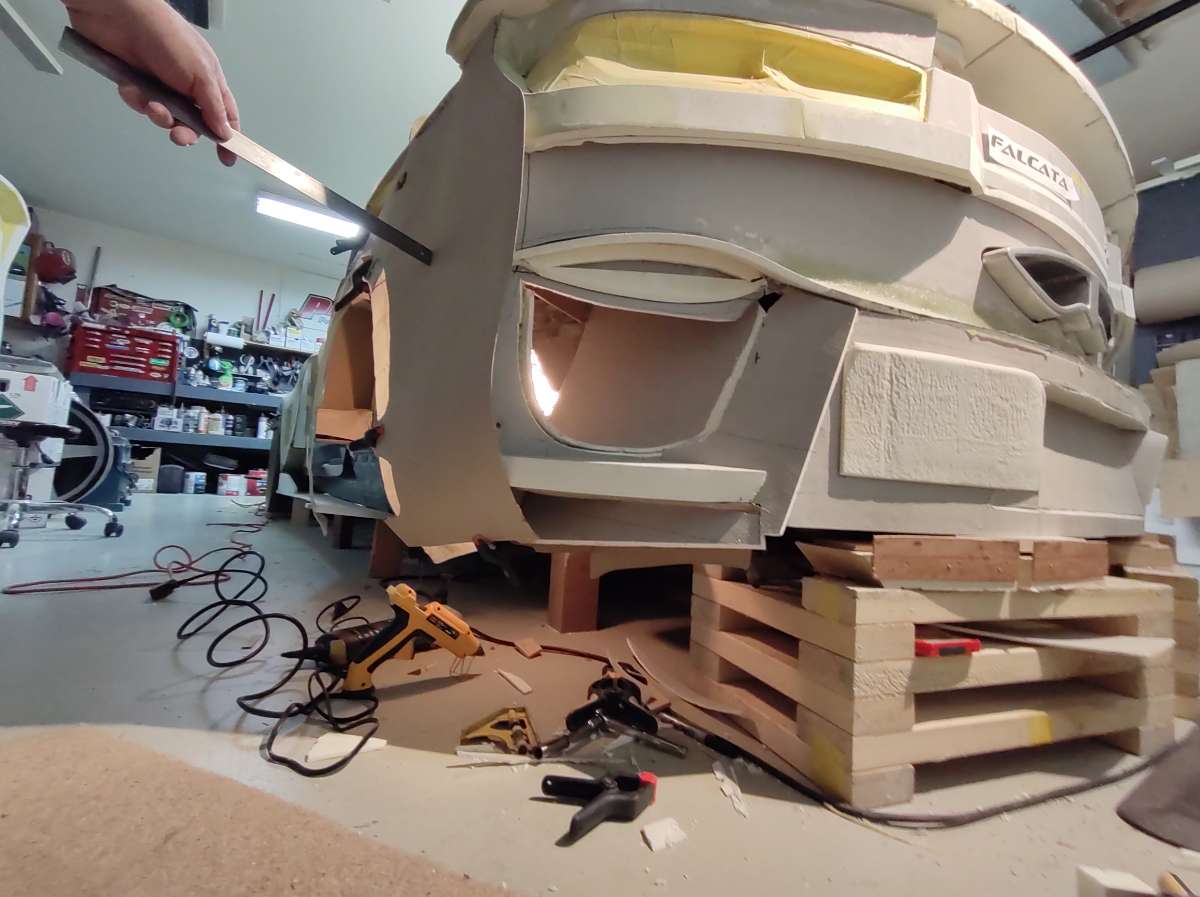
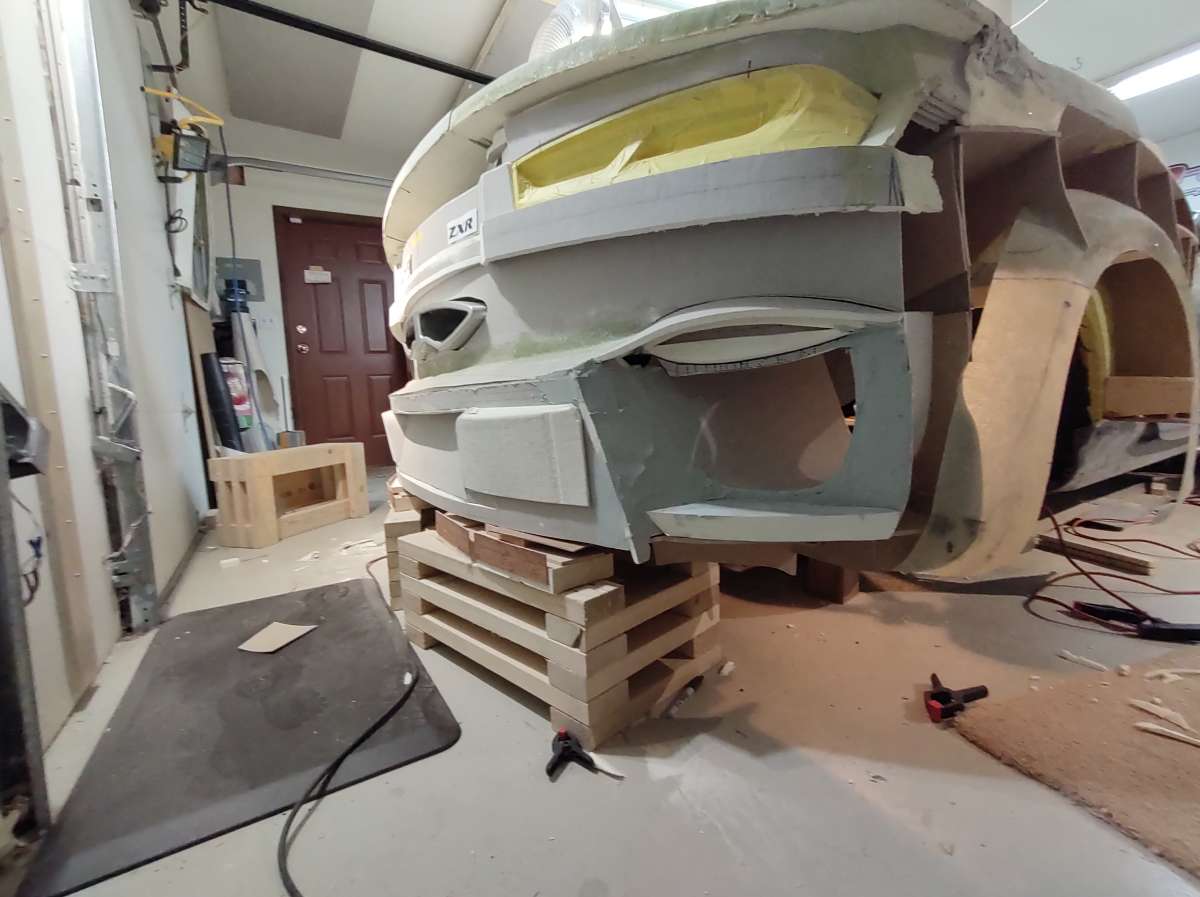
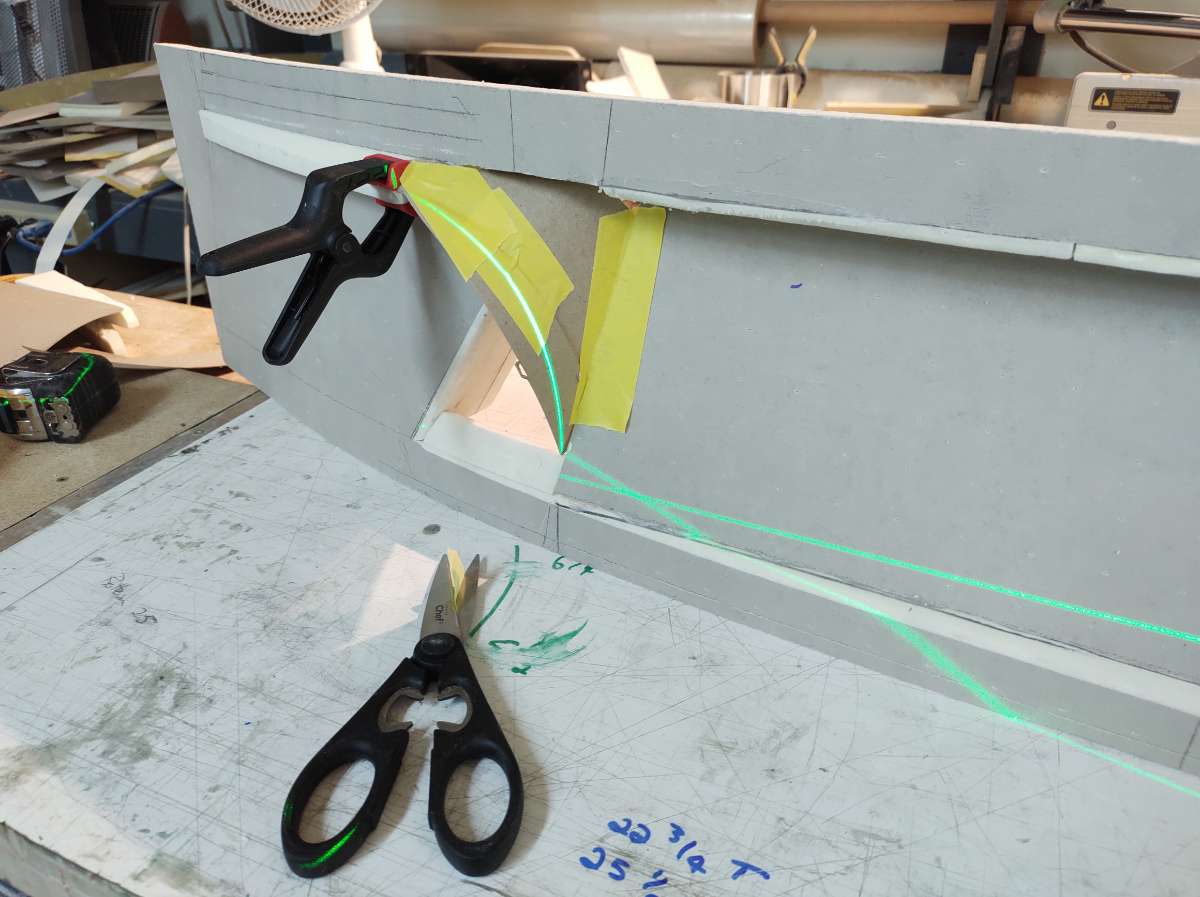
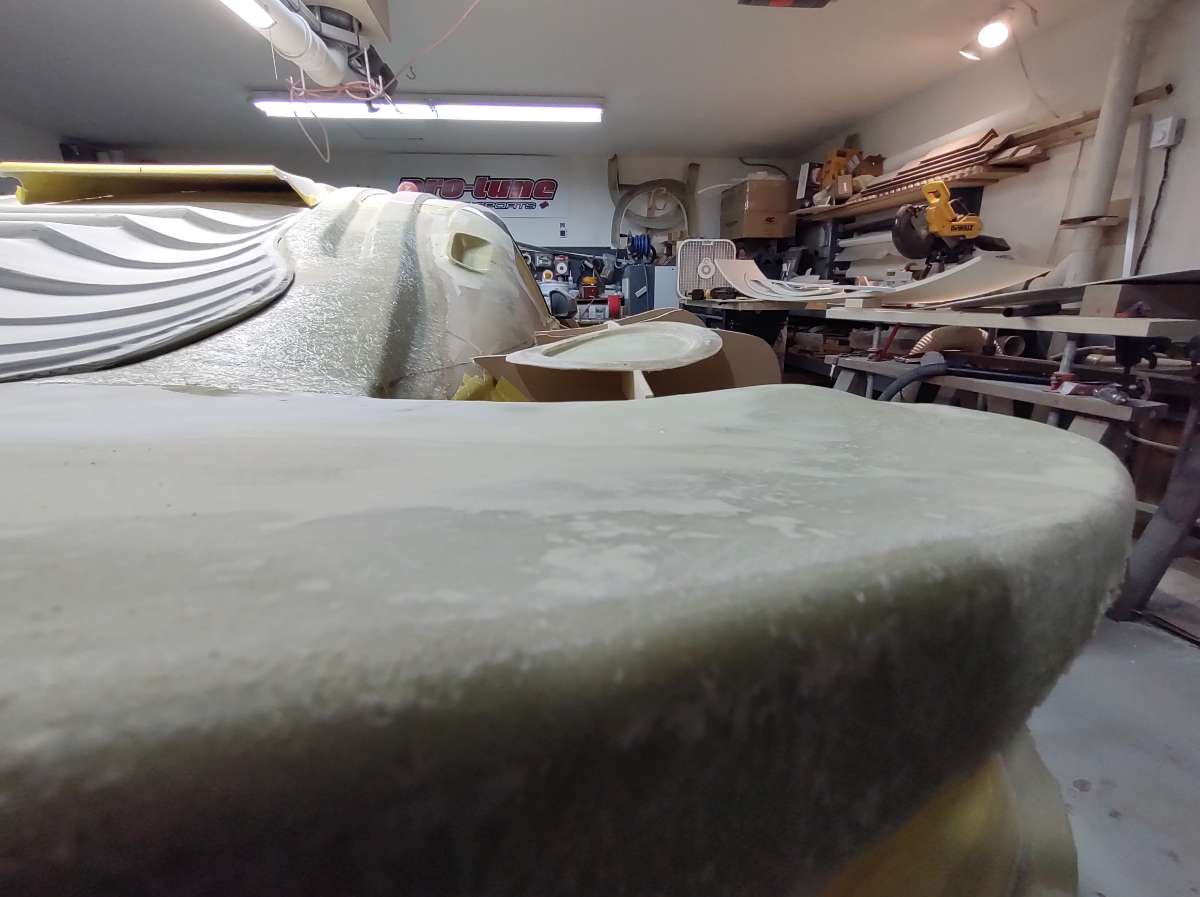
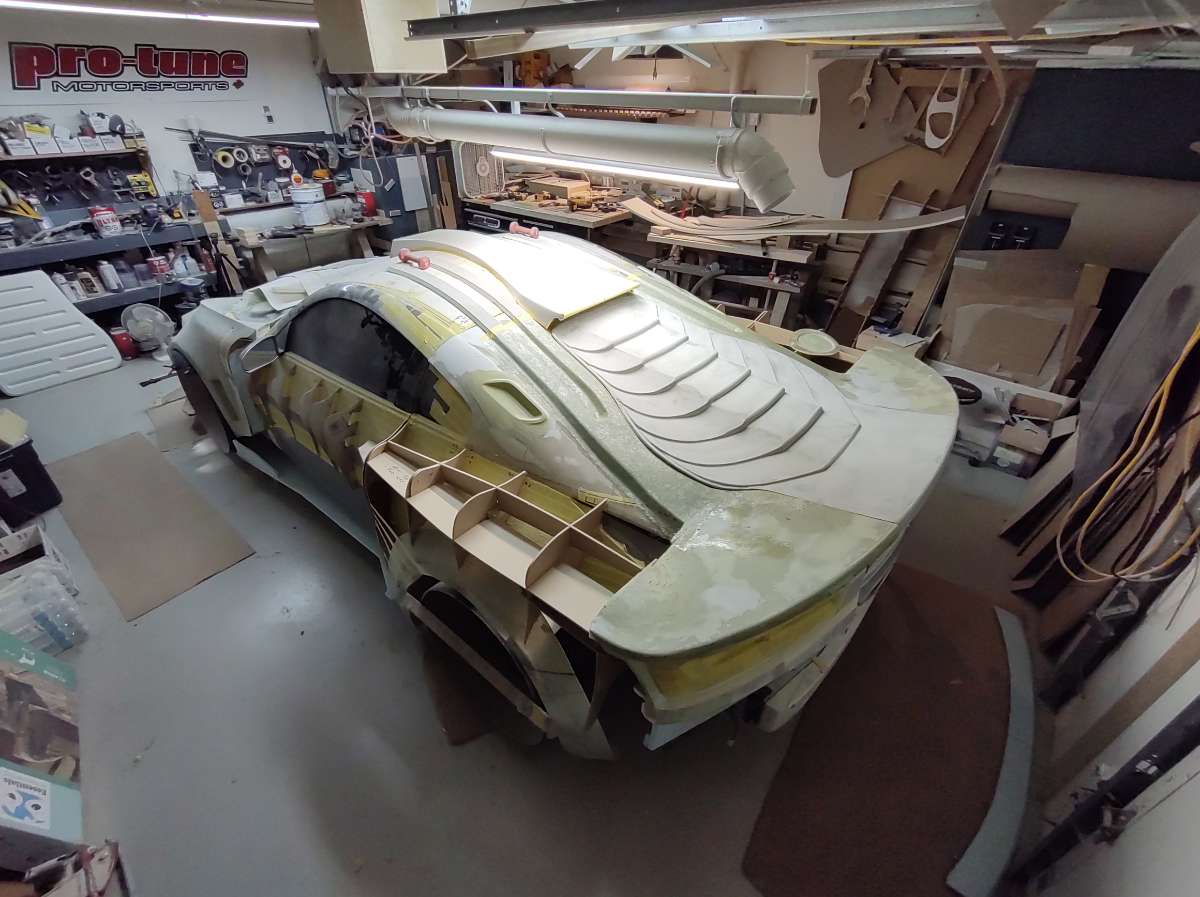
Hi I had the garage door open for the first time in a long time to stand back and look .... just thought I would add a couple of pics for fun !!!! Oh it's going to be Nasty ...... Still tons of bodywork ahead ..... here you can see the symmetry is much better now , with the angle of the inside of the tail light and the part right below to the inside edge of the licence plate area , now it flows , working on the bottom rear corners right now . Coming soon Stay tuned and stay safe in this crazy world . Cheers
.jpg.320bdc9439da1194603f19ca035e4153.jpg)
.jpg.83f794ad430cbf9eae288a2a0cf3645f.jpg)
-
Hi everyone Ok licence plate area ............this is like version 3 now . The first one just didn't flow with the rest of the car Will show you version 2 ...........just was ugly This is the back ...................of course Router template It just didn't flow so it had to go ...... So this is what I came up with version 3 I kept the main body but changed the middle , first cut out he center and made a new one , with the same angle as the inside line of the tail lights then added some strips to bring out the feature line to flow with the exhaust tip . Planed down some foam to make the compound curve Added a one inch block to reduce the bottom opening and made a pattern for the thin foam with these ready I made the cover plates Ah much better Thanks for fallowing and the great feedback Stay tuned and stay safe

-
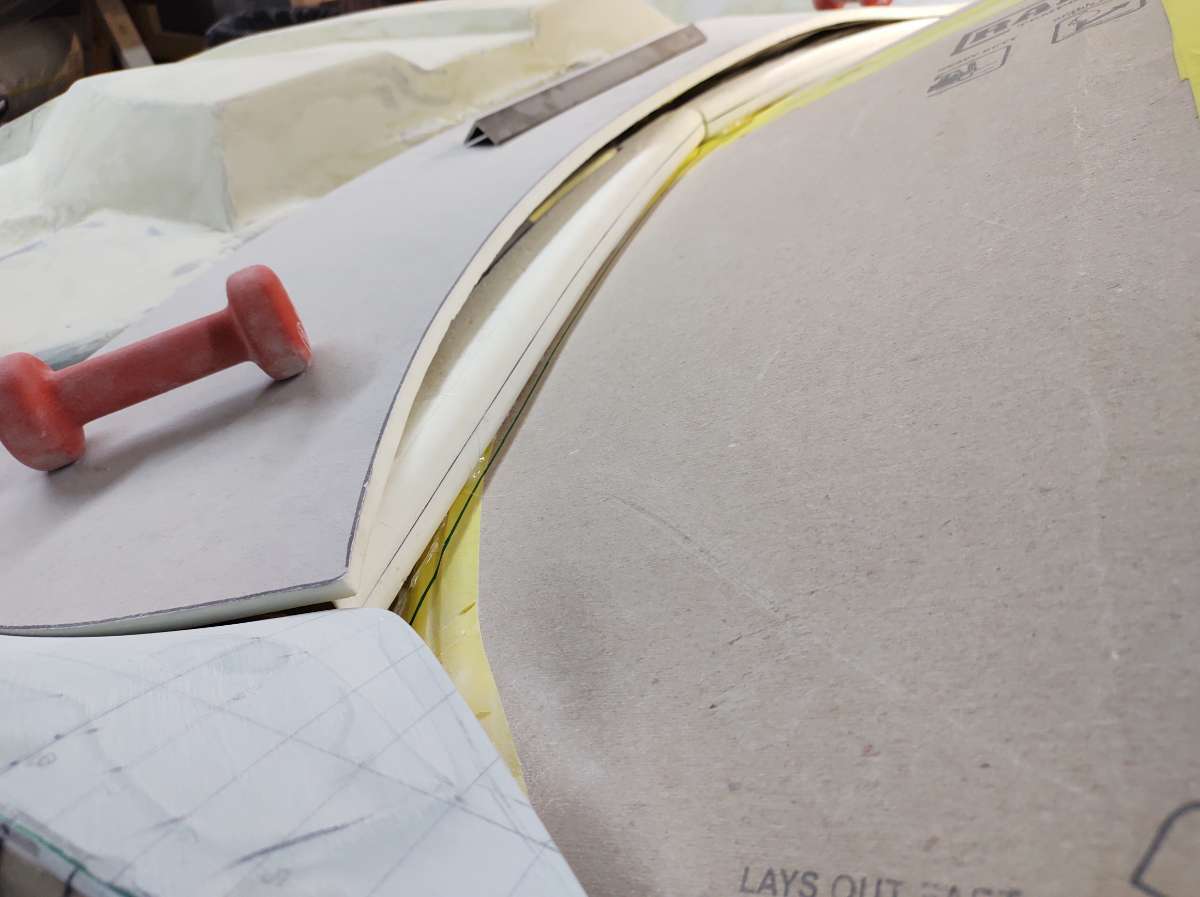
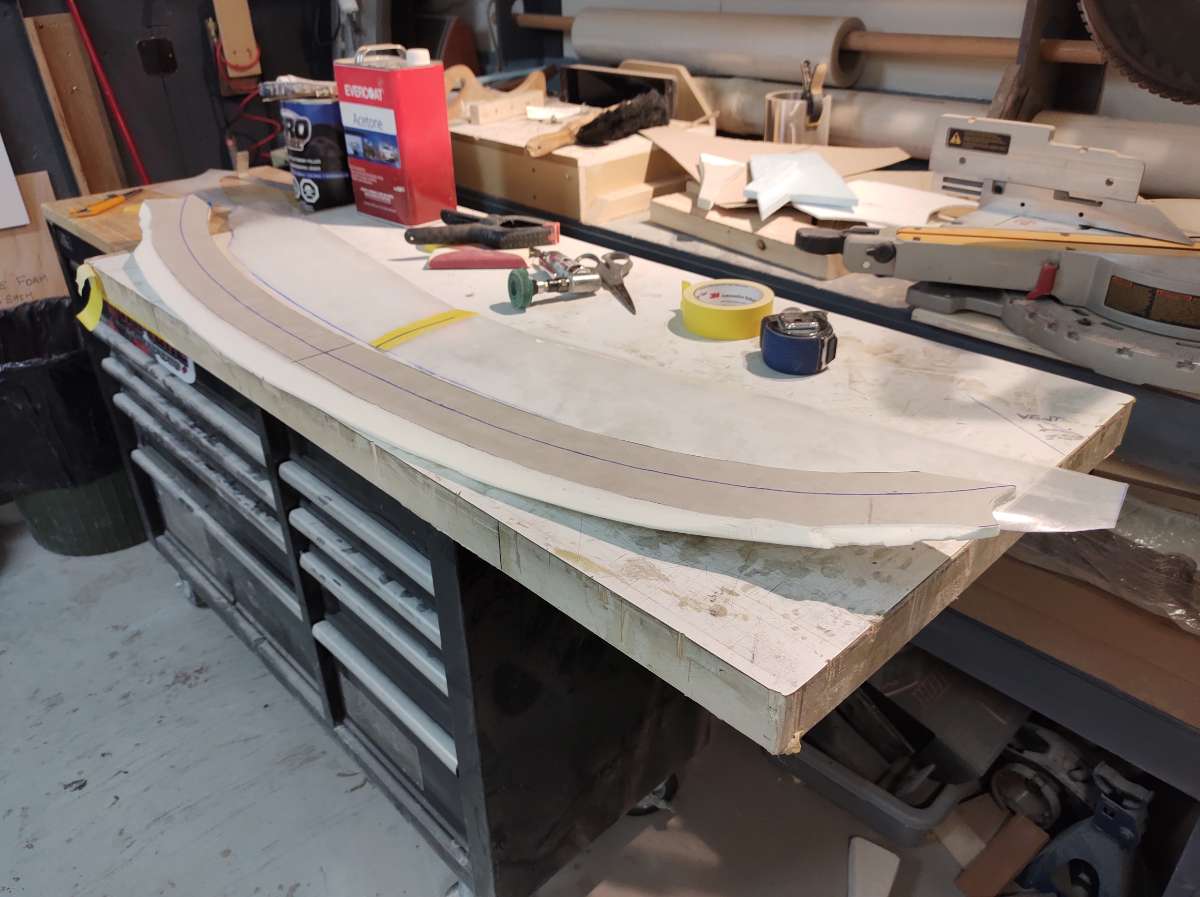
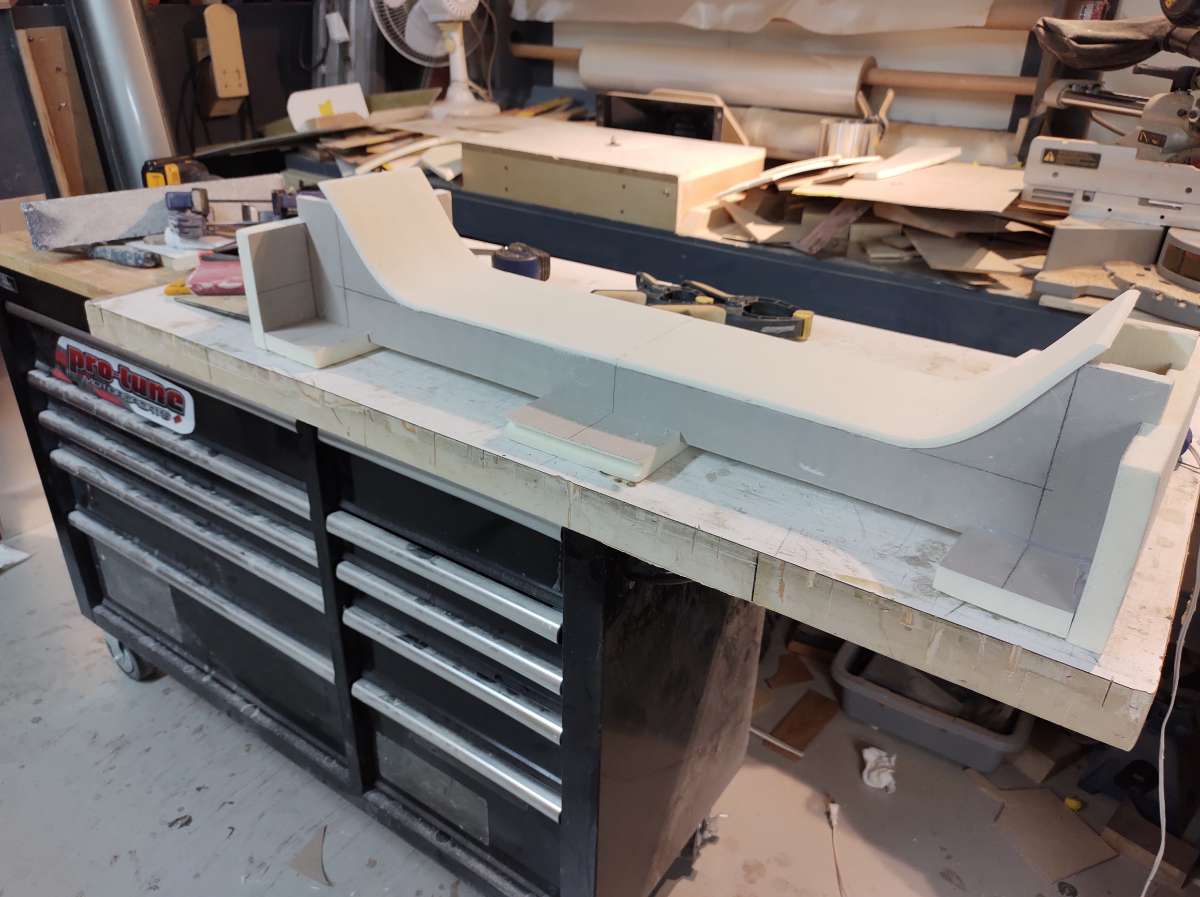
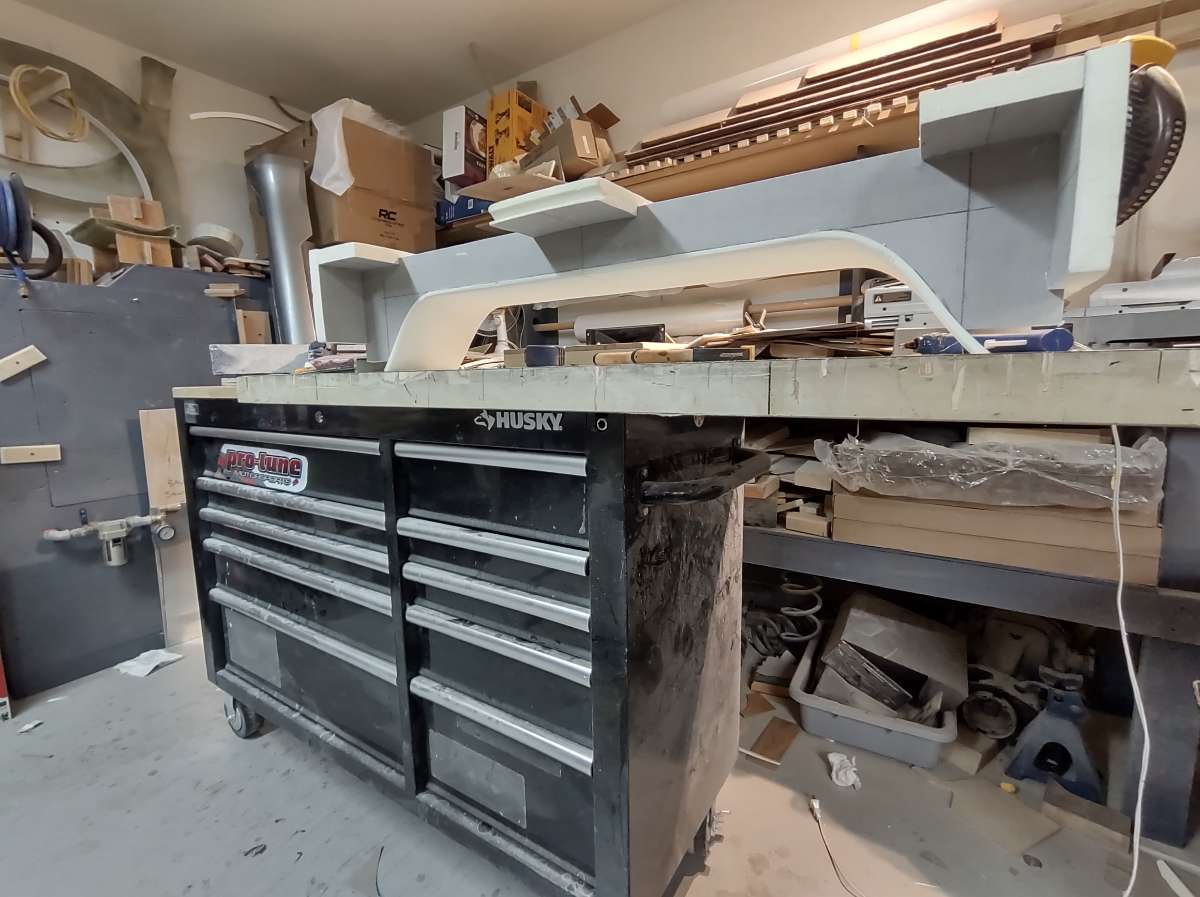
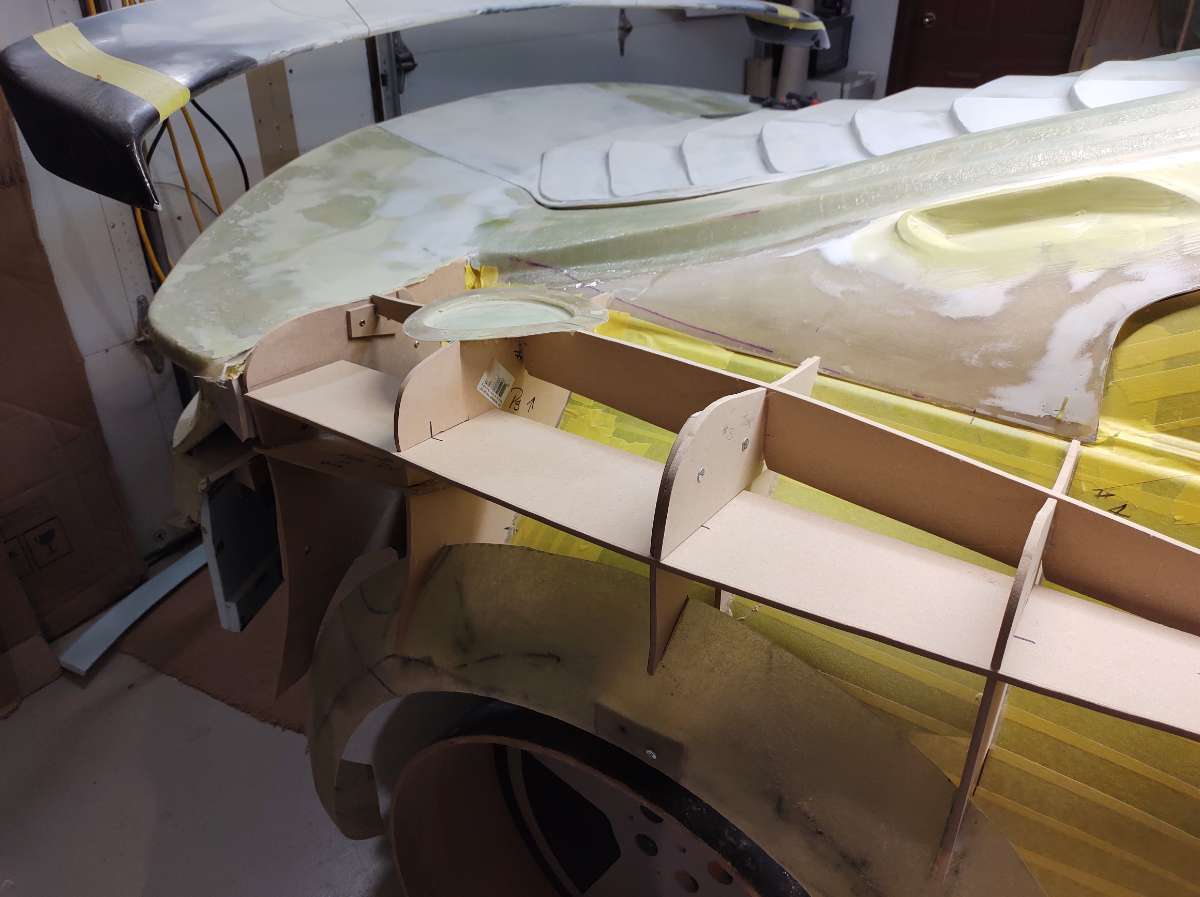
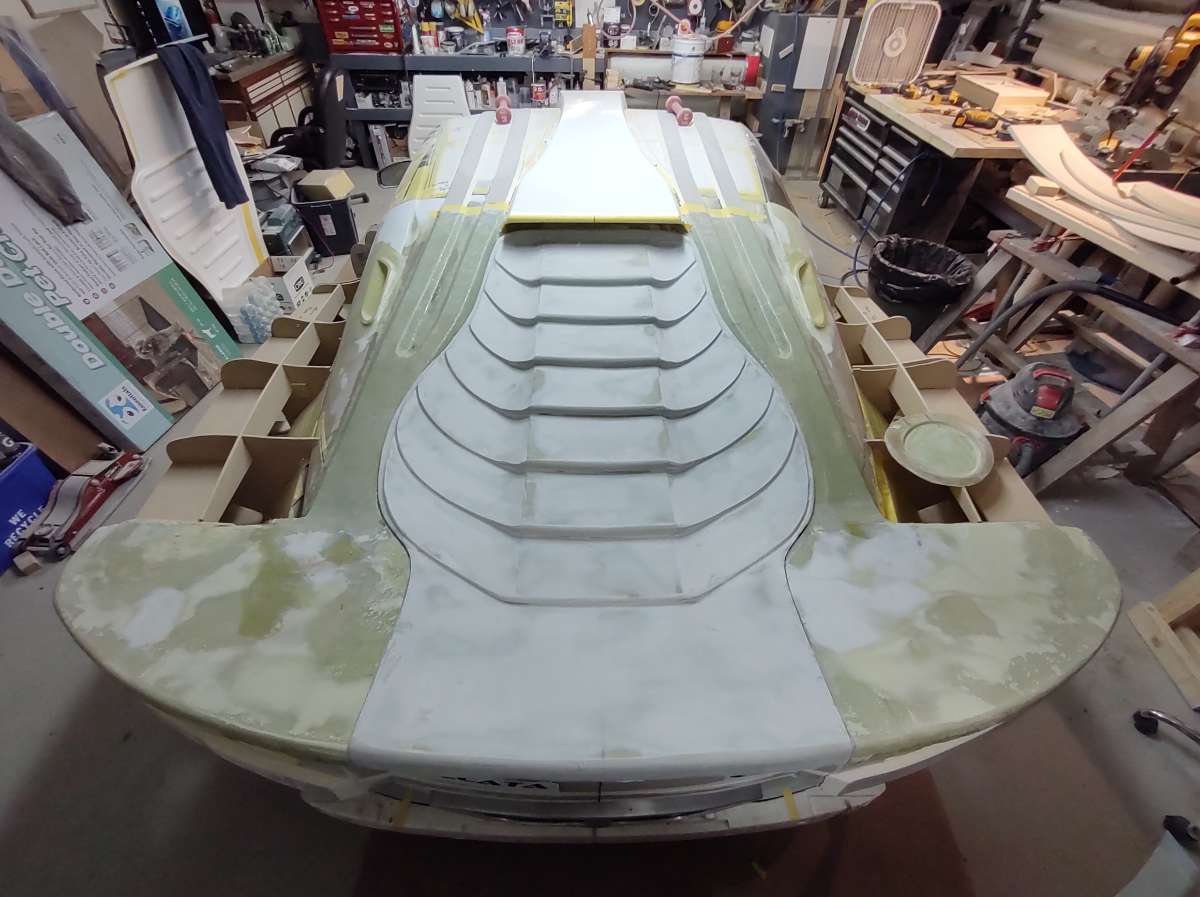
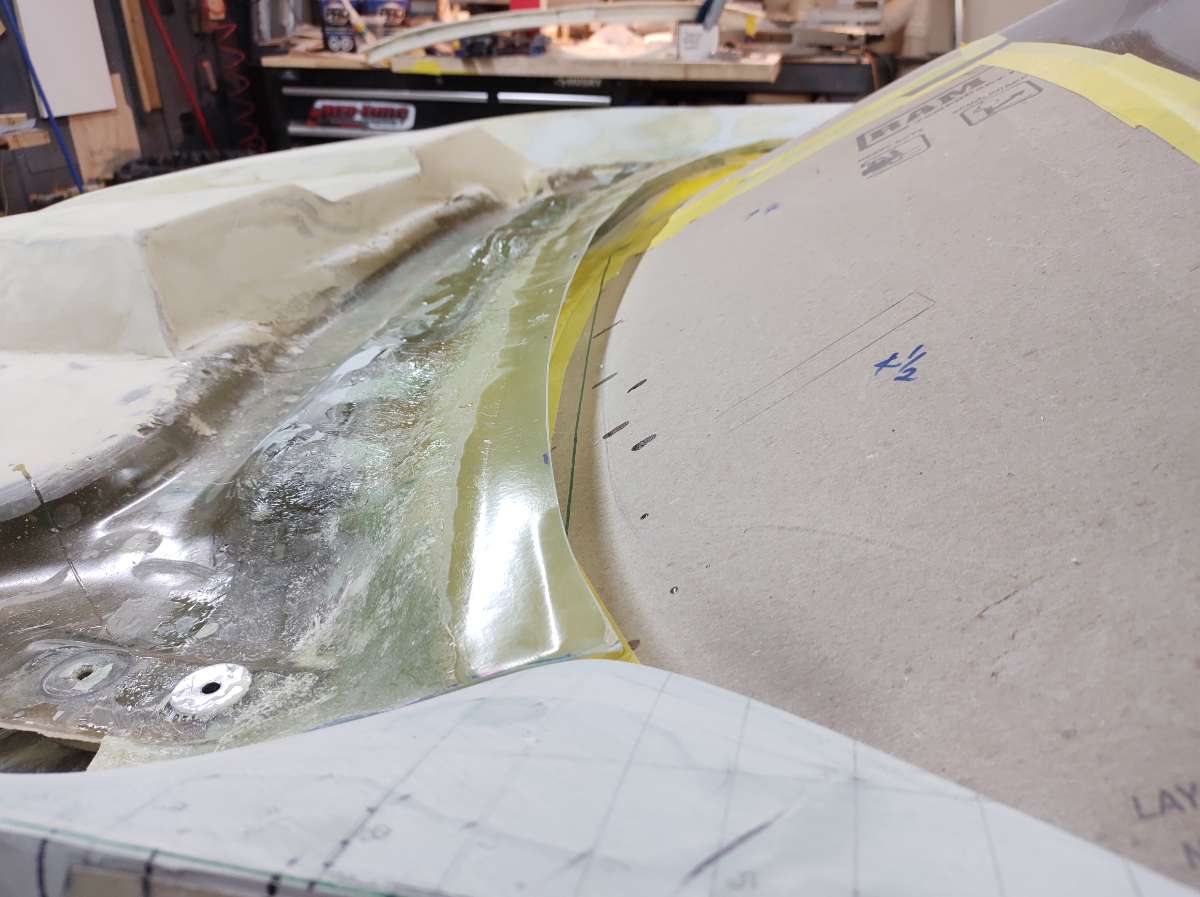
Hi everyone time for another update . More on the back of the car , trying to get the quarters filled in , but in order to do that I need to finish some of the back to find out where I am going to end up . these pieces go under the tail light tray to hold the contour of the large panel around the exhaust. here they are installed next is the large panel , tricky with the curve ... fits pretty good if I do say myself I slotted these parts to make it easier to hold together . Just a bit more trimming Checking the overhang to the end of the trunk lid quick skim of filler to hold it for now . Laying out the licence plate surround , it will be long enough for Euro plates also, just incase someone wants one ... routeing the parts to lock together gluing the bits I made this wider so i can trim to the contour later . This is it right side up lol . Stay tuned and stay safe everyone !!!

-
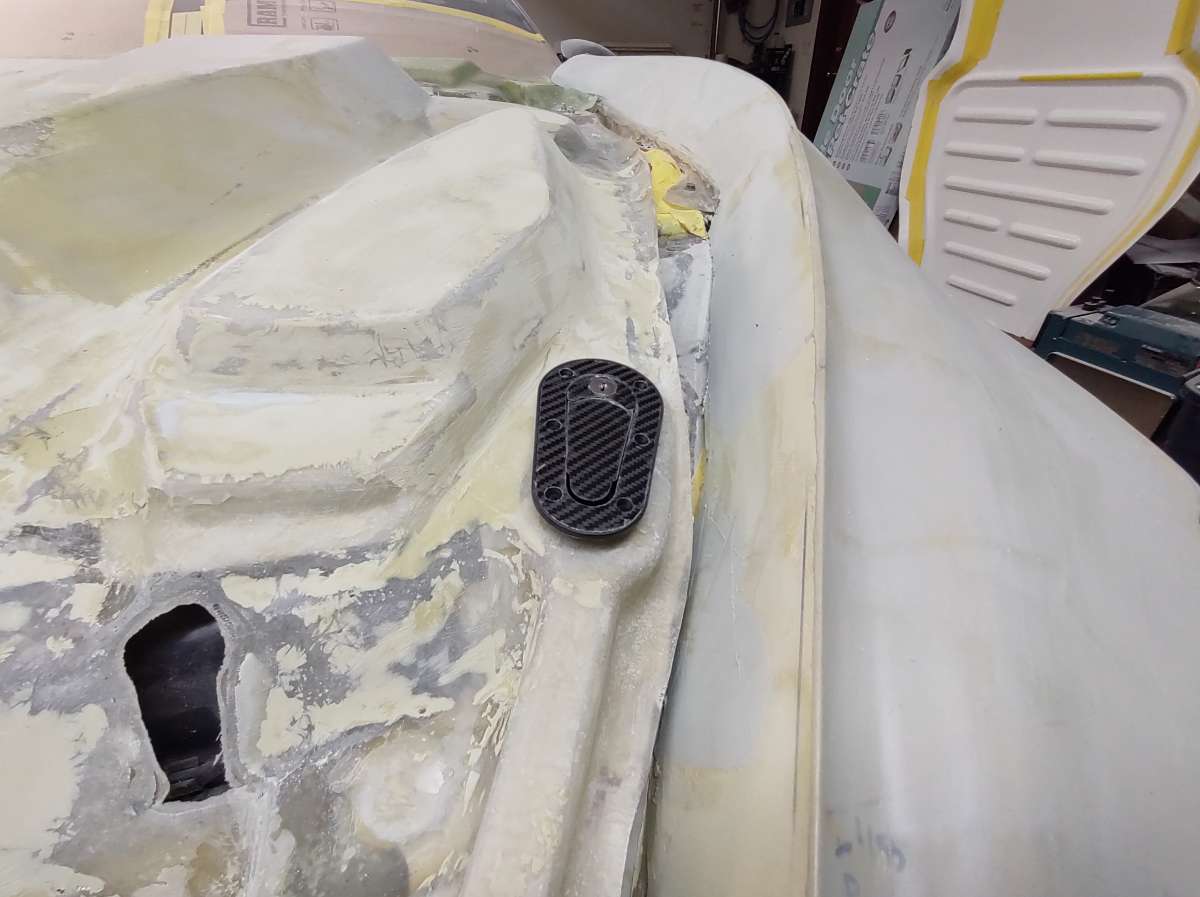
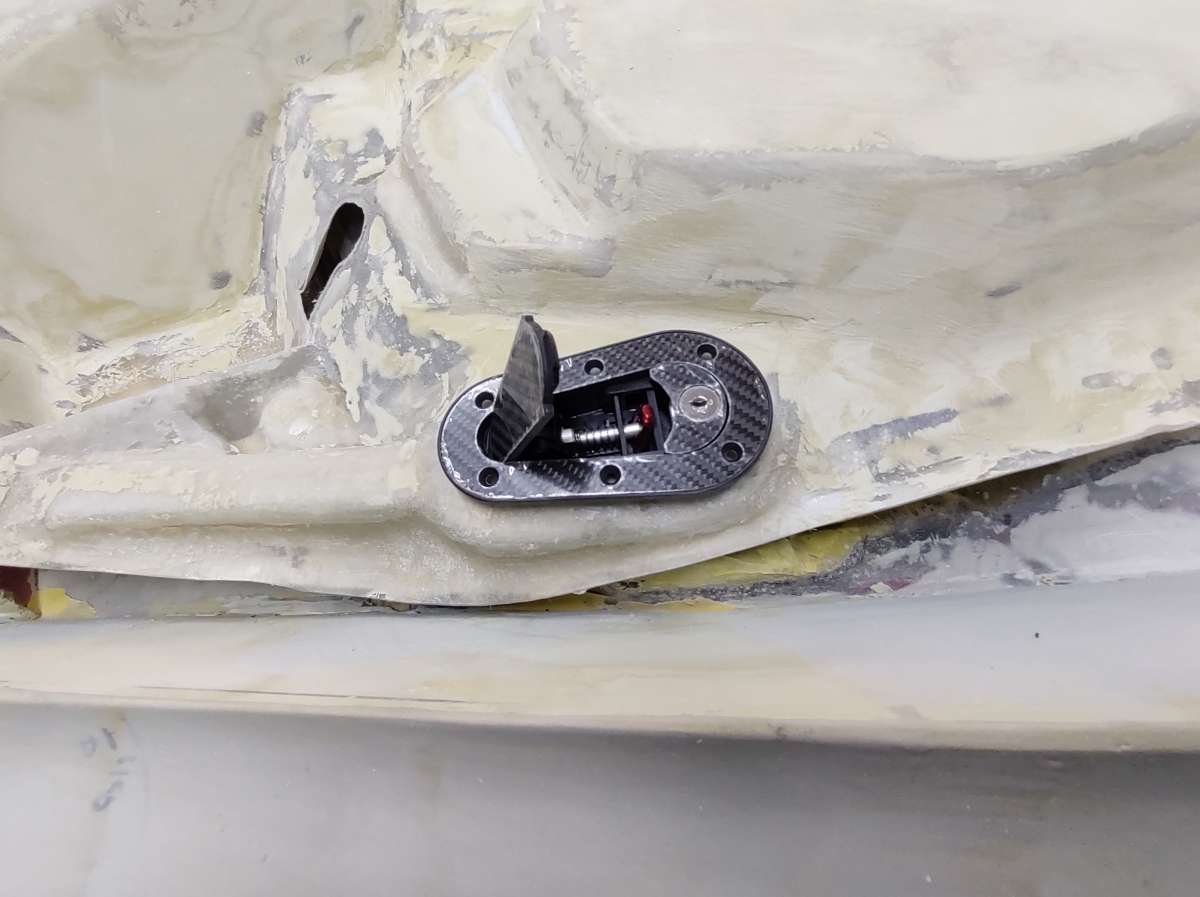
Another update Working on the quarter panels .............gotta get this car done !!!! Gas fill door , will be using the factory lid , made the quarters to match the shape . cheers for now ............
-
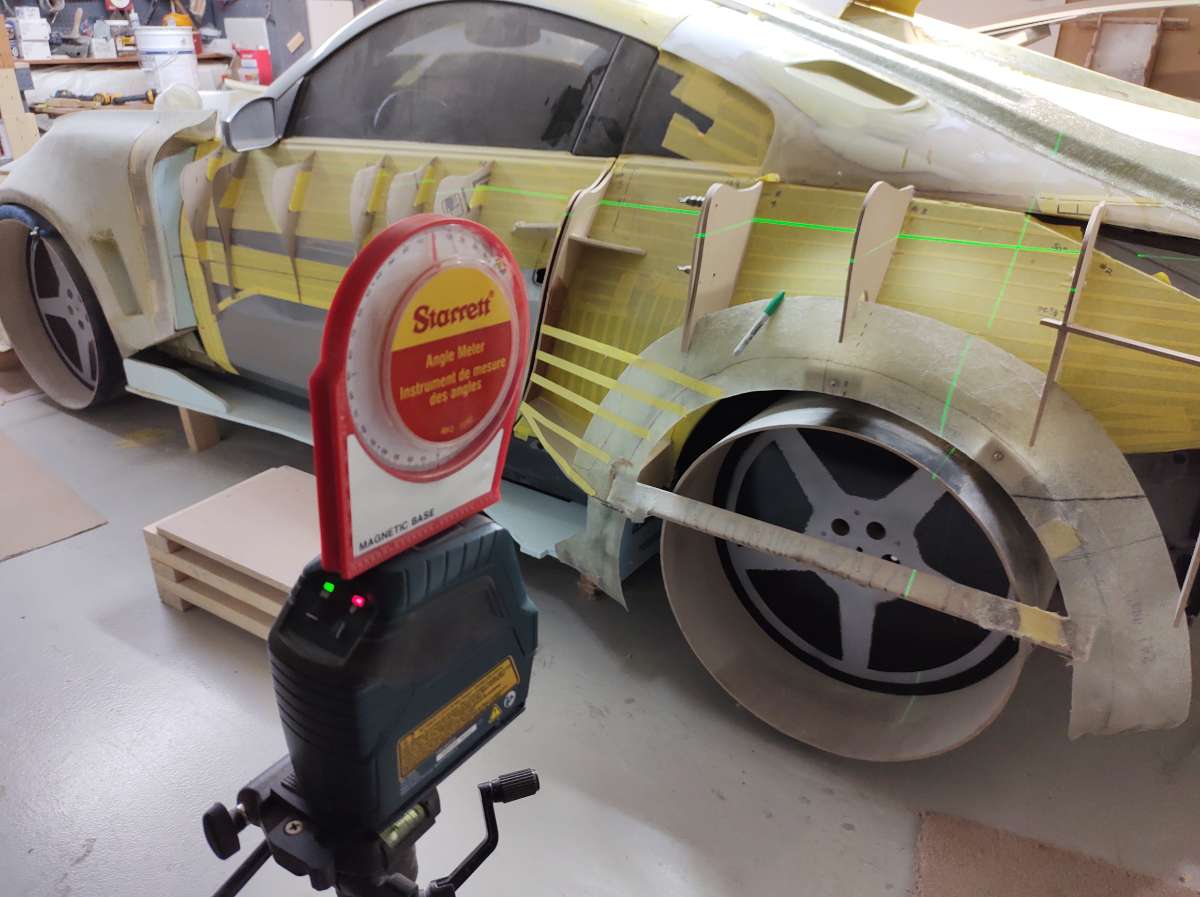
Hi everyone Another update I have been working on emblems and crests with my 3D printer Onto the quarter panels .....I have lost a lot of time this past couple of weeks with helping people etc . here I am using the laser in lock mode , which means it won't self level , it's a great feature . You can set an angle , i am using the angle finder so i can repeat on the other side , plus putting insurance marks on the wall . here I am interlocking the bucks together so I can keep the shape and make it strong enough to work it with tools once filled with foam Here I am laying out the cut with a baton , I an I will copy the part for the other side before gluing it in place . I am getting excited again , seeing some progress .
-
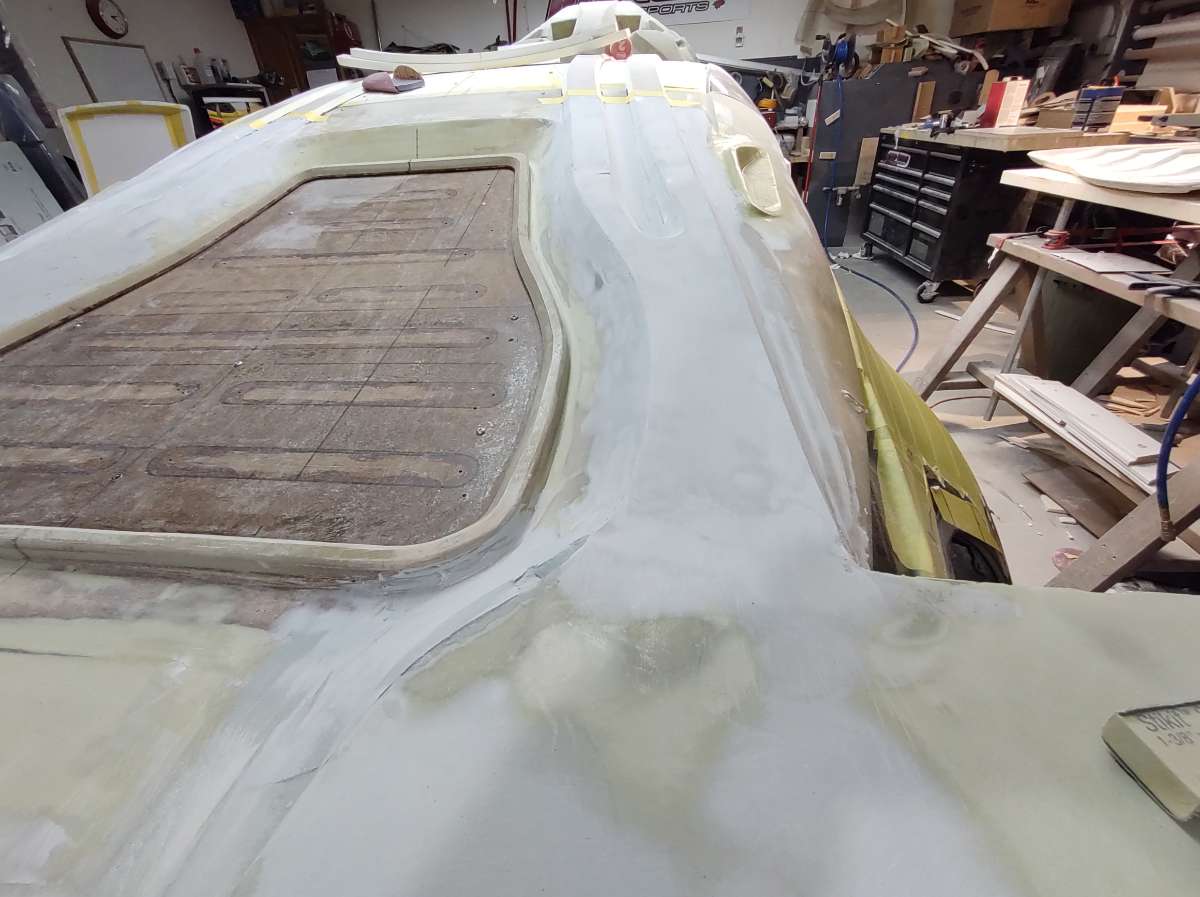
Hi I must apologize for the last post , I started way too late and was falling asleep .... So here we go . back to the back of the car . Here you can see body working in the Batman humps , I glued the two wooden bucks back on and used the laser to find my intersecting point where the quarter and the deck meet . once the deck lid is set in stone so to speak , i will trim the trunk lid to fit I put tape on just to see how things are shaping up , the tape doesn't show all the curves but it helps . can't wait until the roof is finished and I can foam the quarter panels in !! well that it for today , off to the shop to do some more . Cheers


-
Rear deck lid continuation . here is where i cut out the tight spot and re-foamed it added some filler .


-
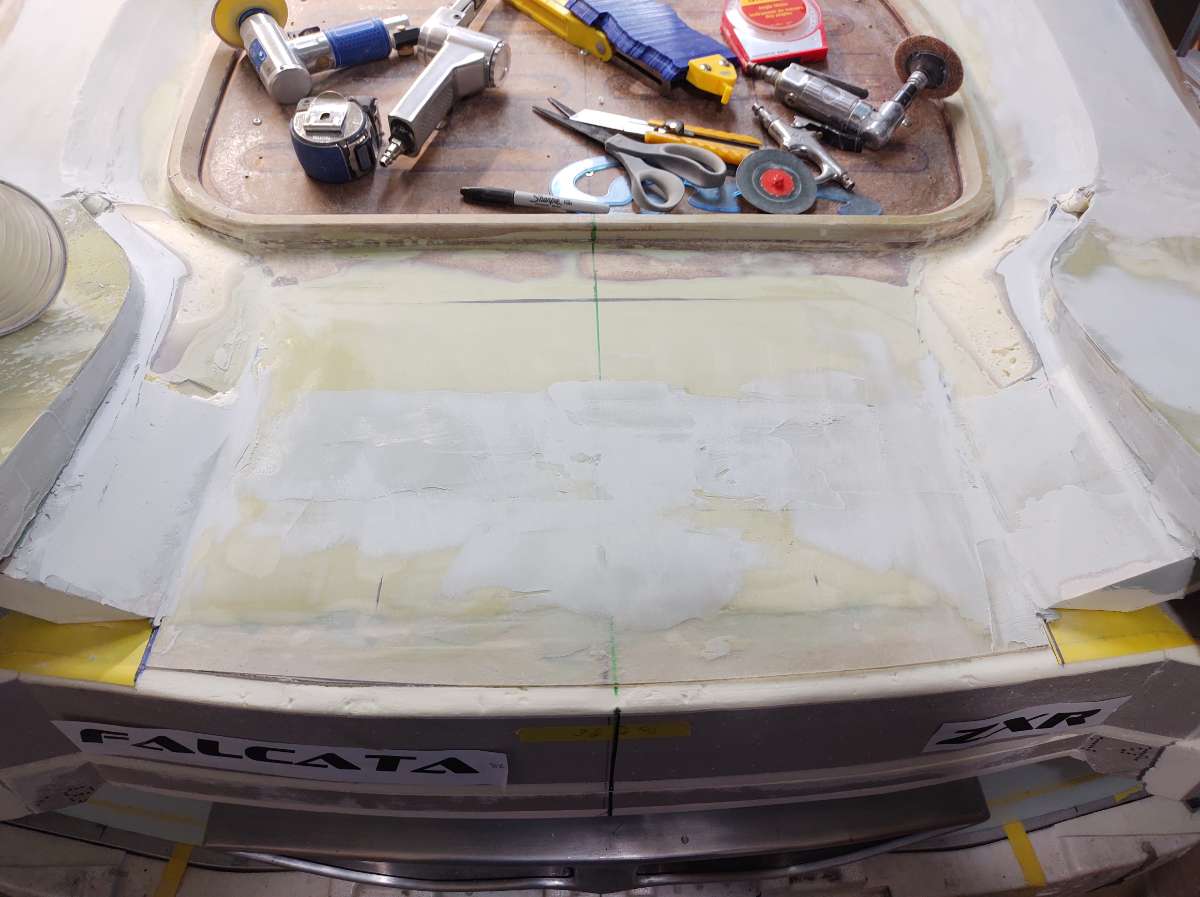
And once again thanks gents for the kind words , you make me out to be some kind of wizard !! . thanks so much it really does help to get through the dark times , dragging my butt , scratching my head thinking how do i do this next bit. So sorry to say more boring stuff for now . First the hood latches . Earlier on I made provisions for the latches to go . I used the radiator mount for the latches , so it's easy to drill in the right place for the hood latch pins . This is still the bottom part of the hood , so I needed to cut the holes for the latches , and then cover them , so once the lower hood is molded I will know where to cut out the holes for the latches .
-
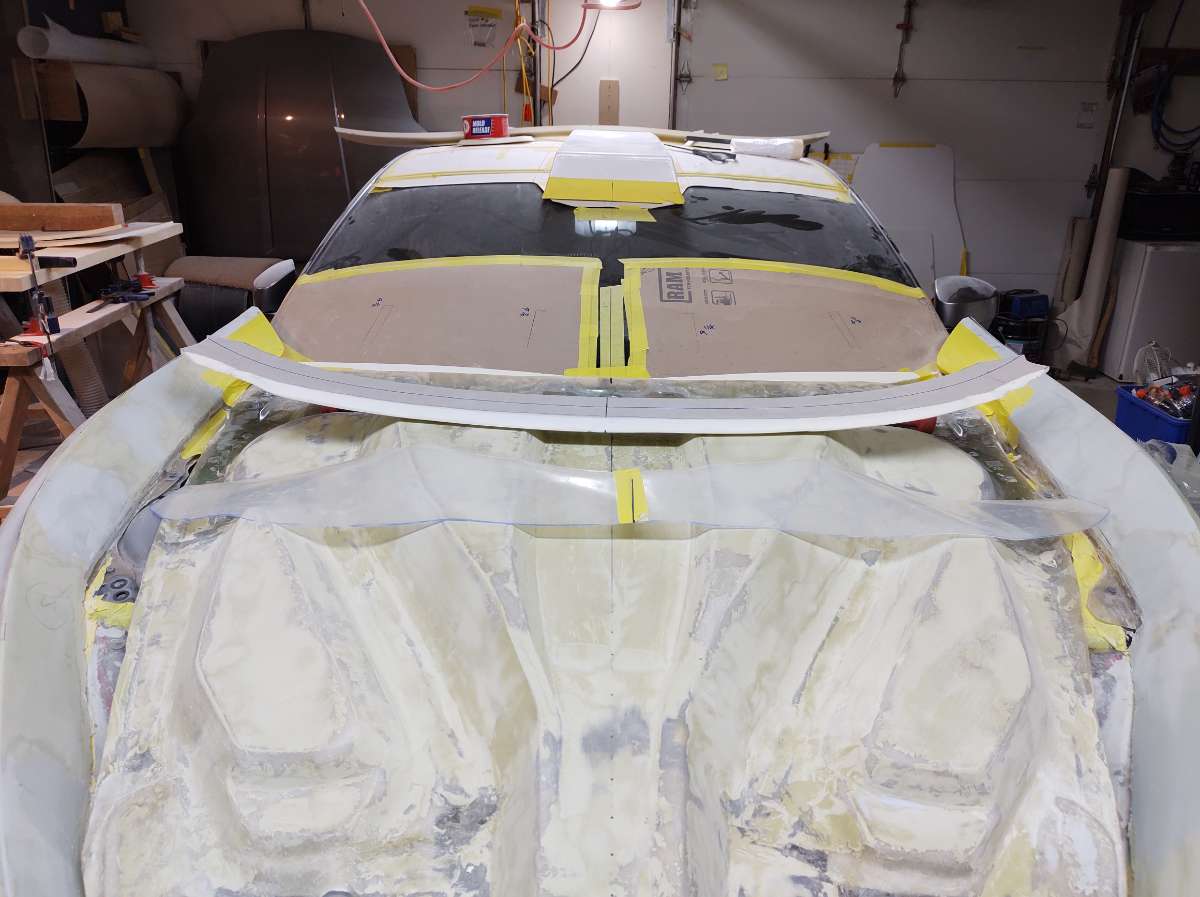
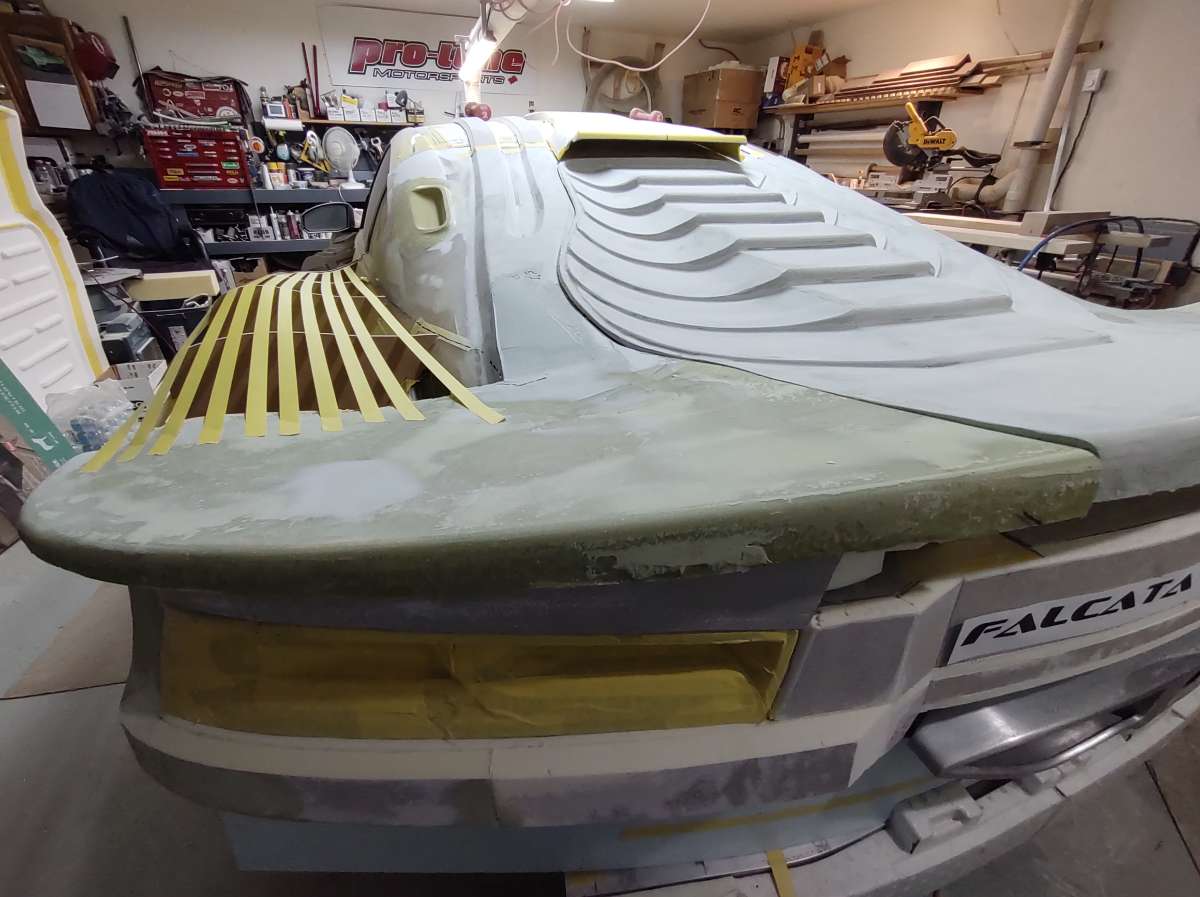
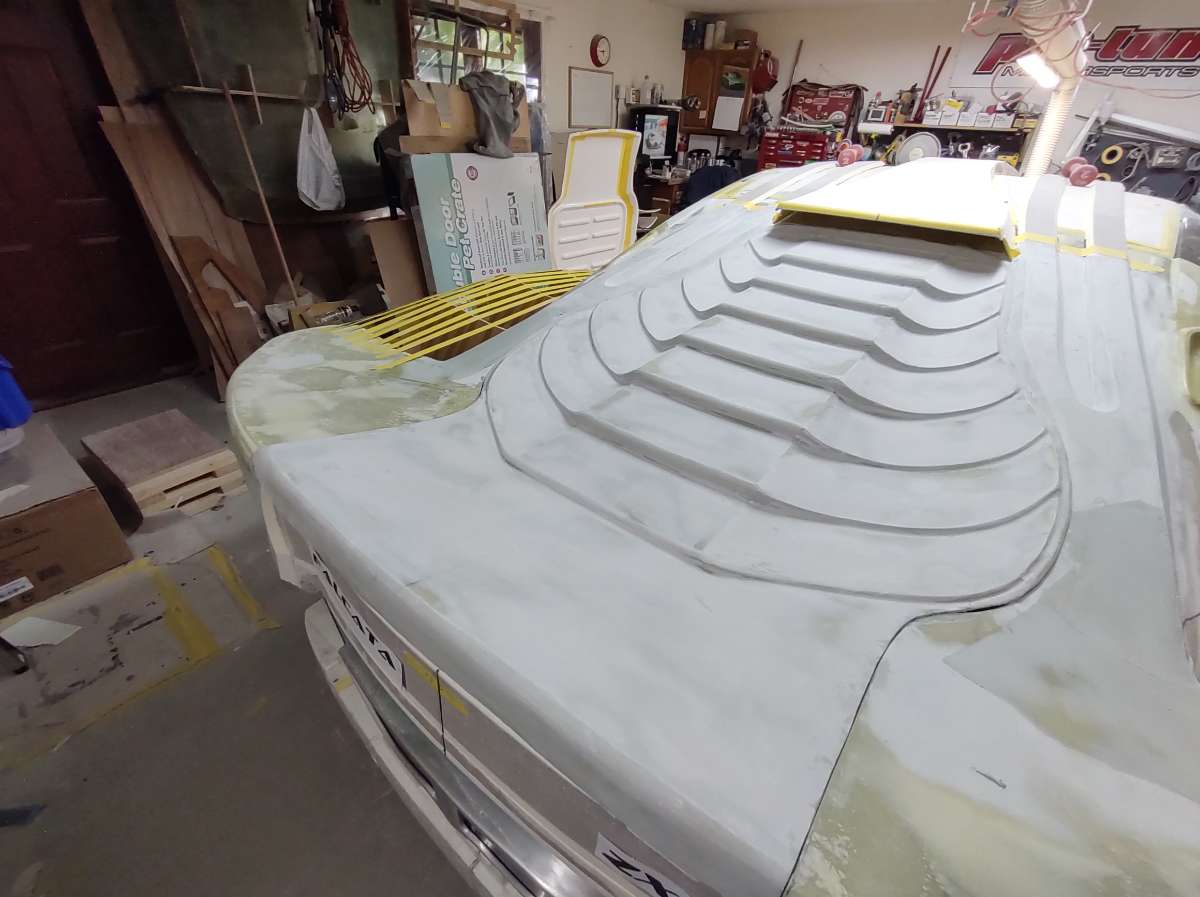
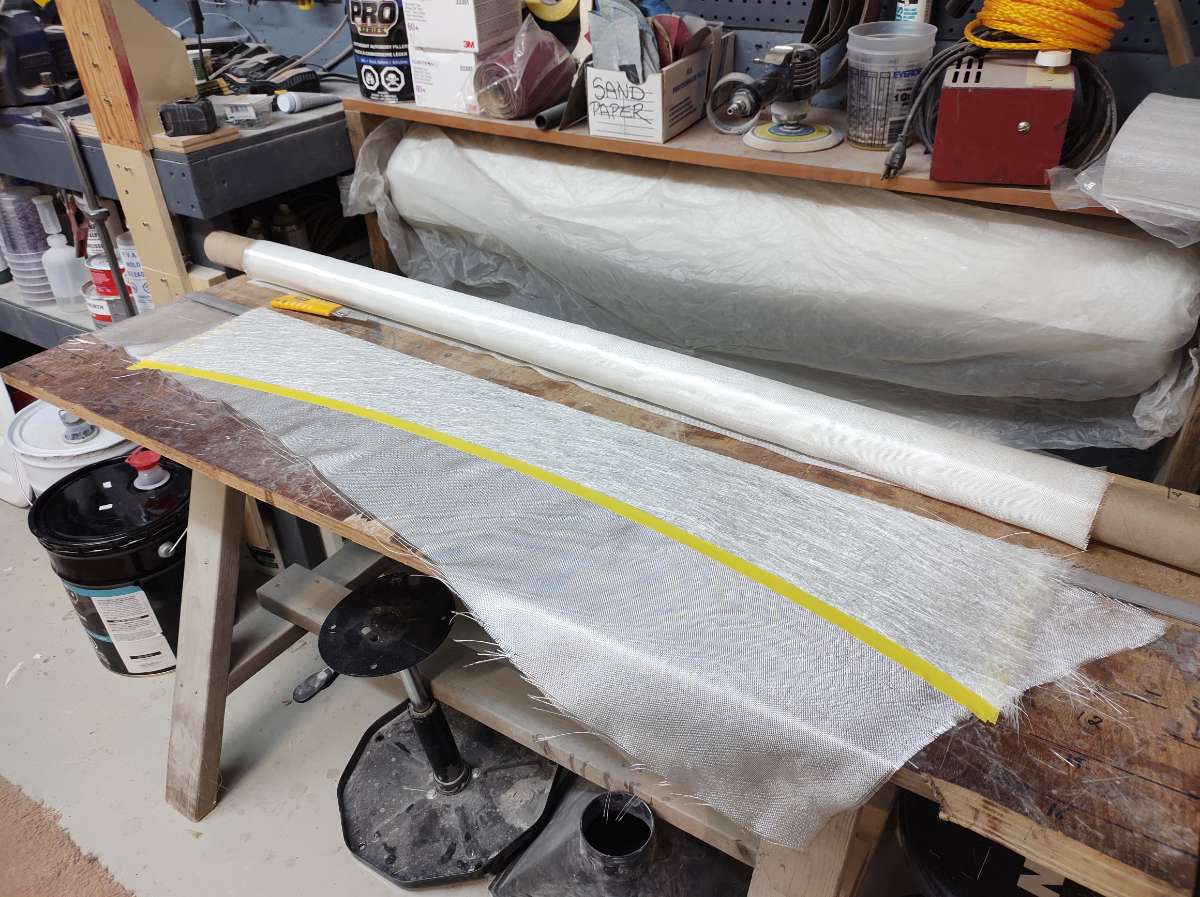
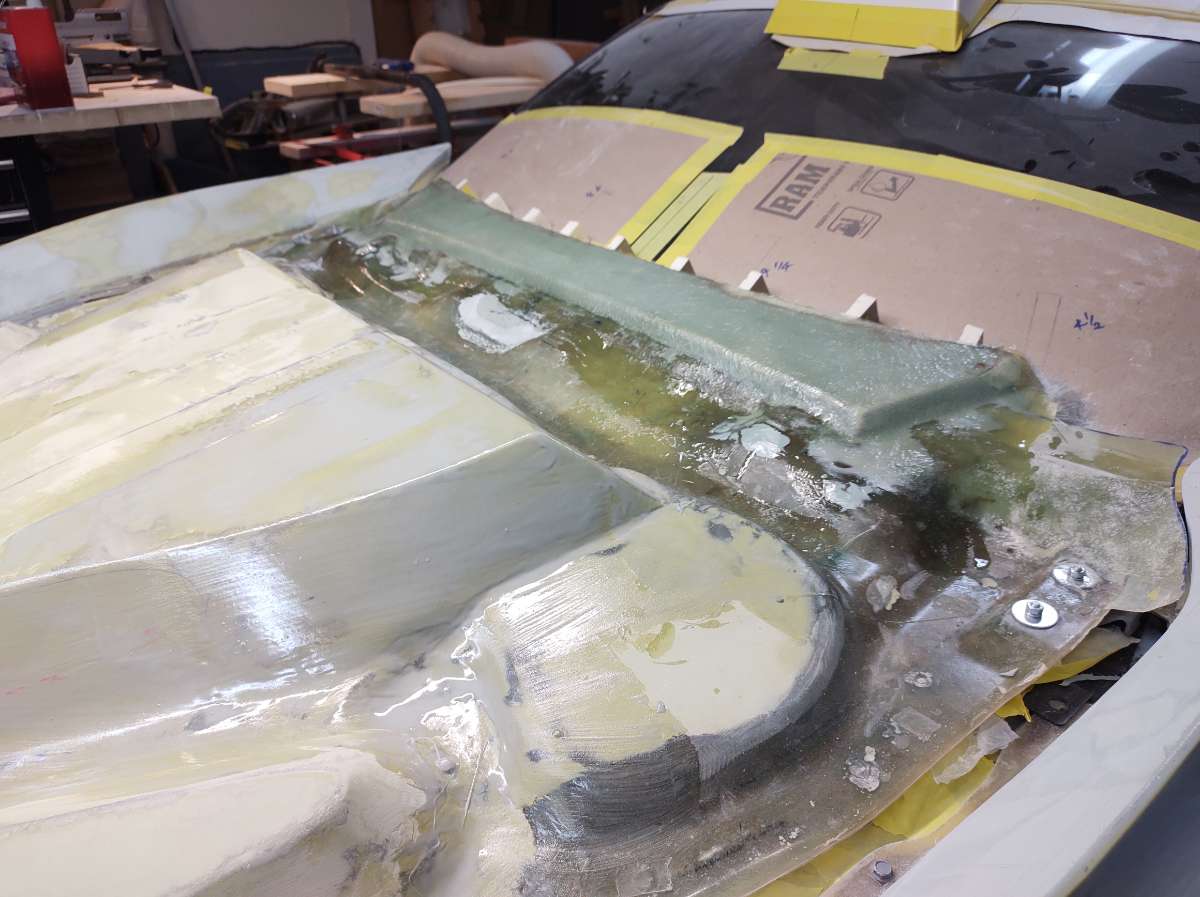
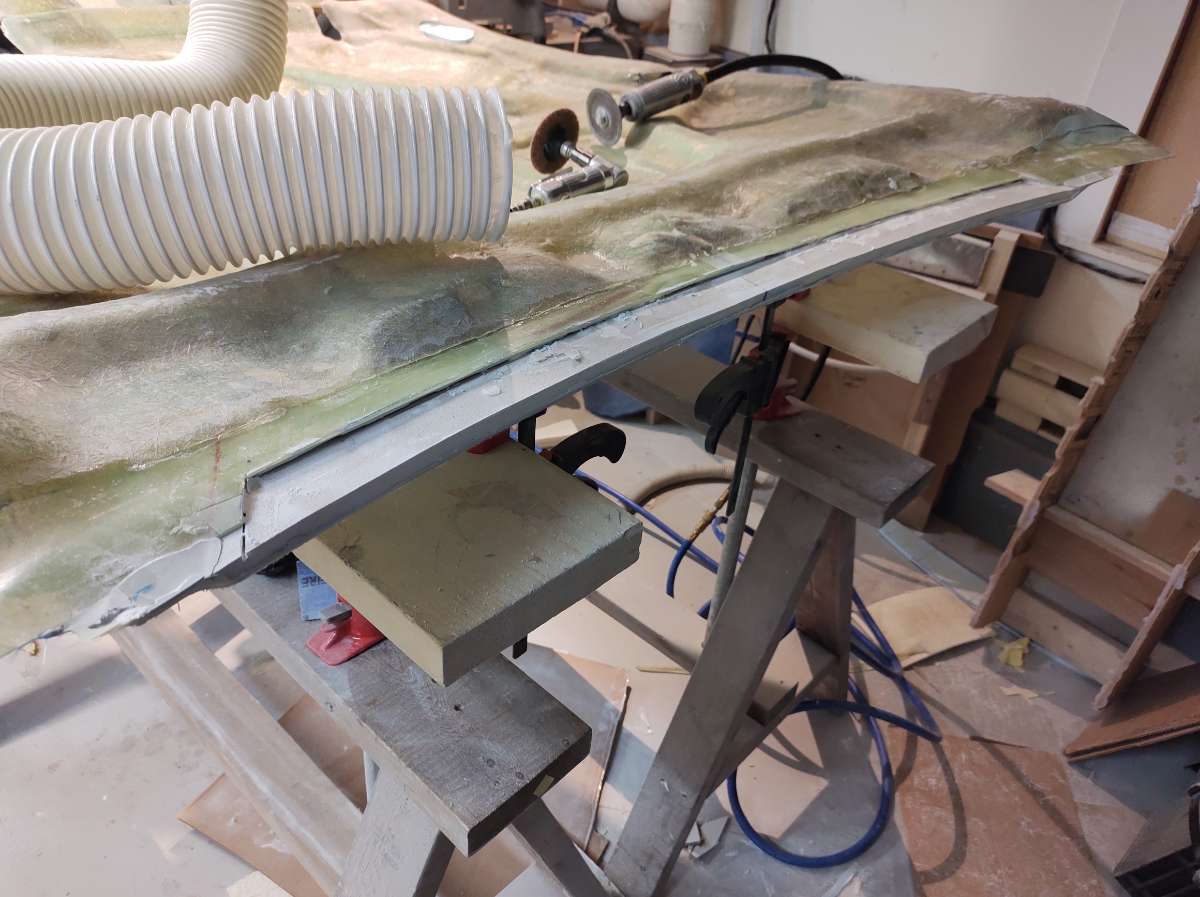
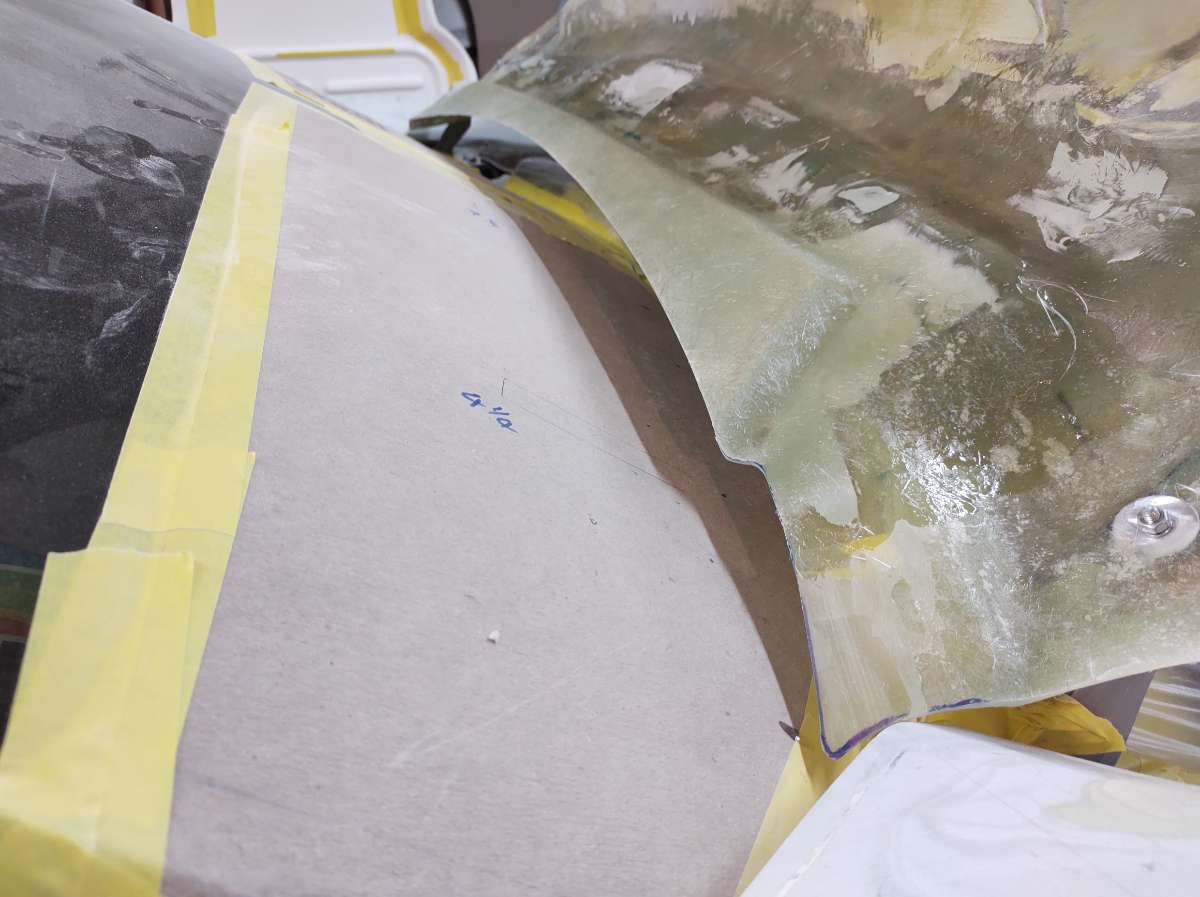
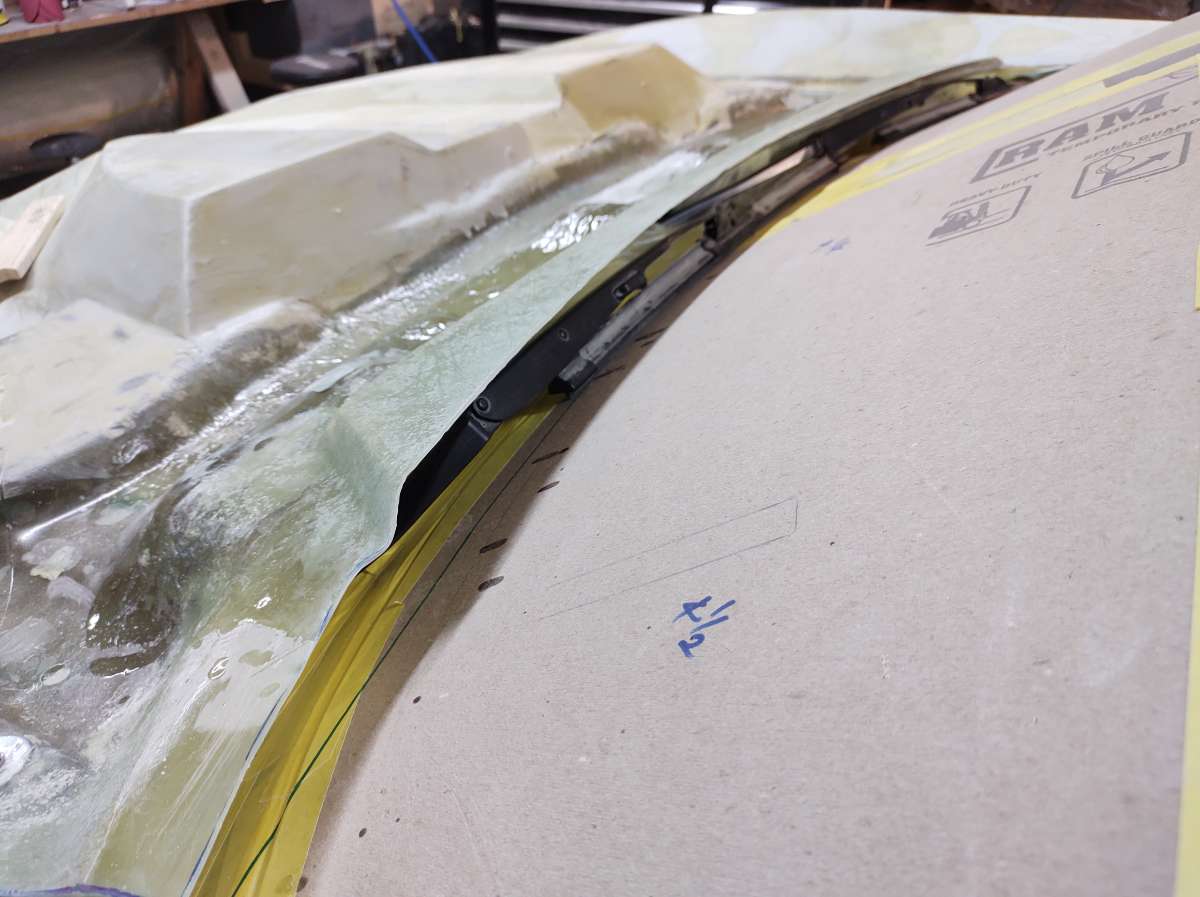
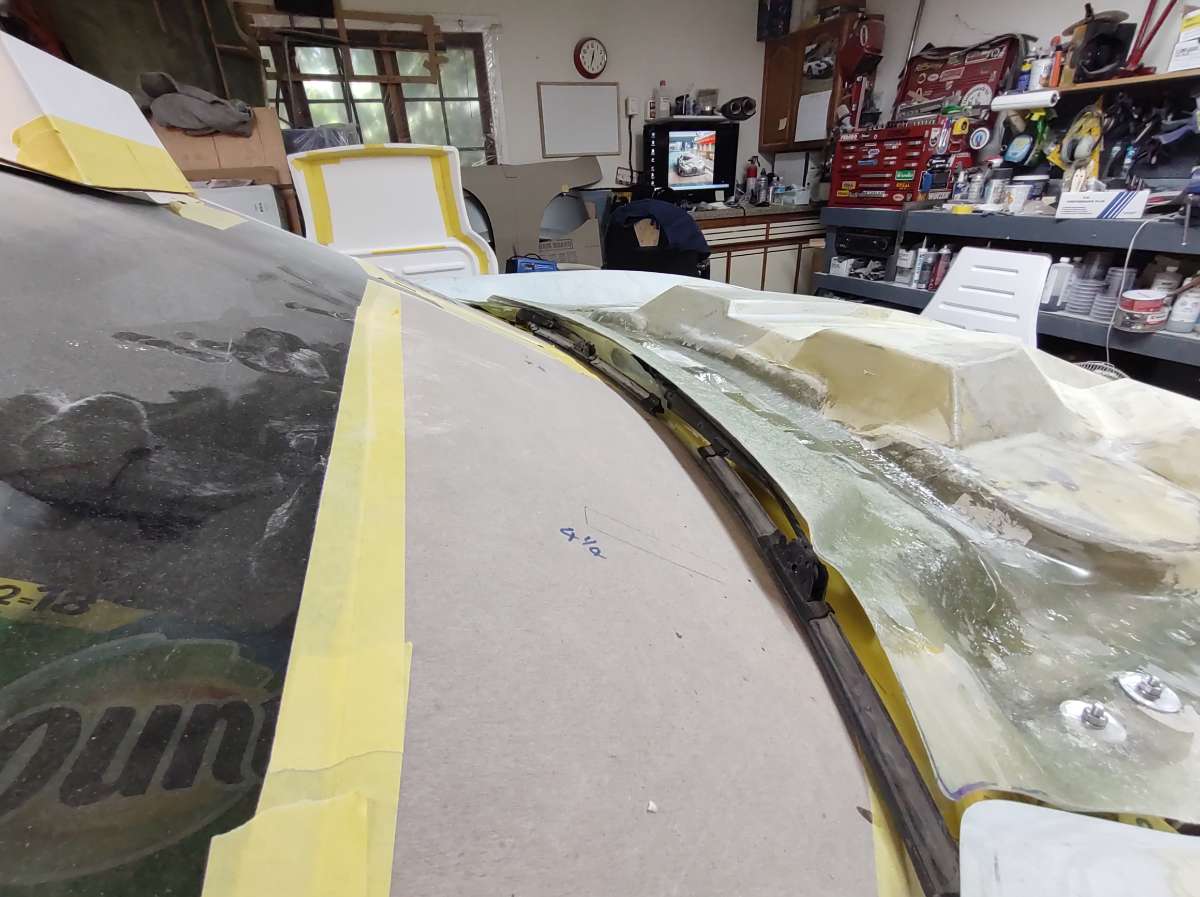
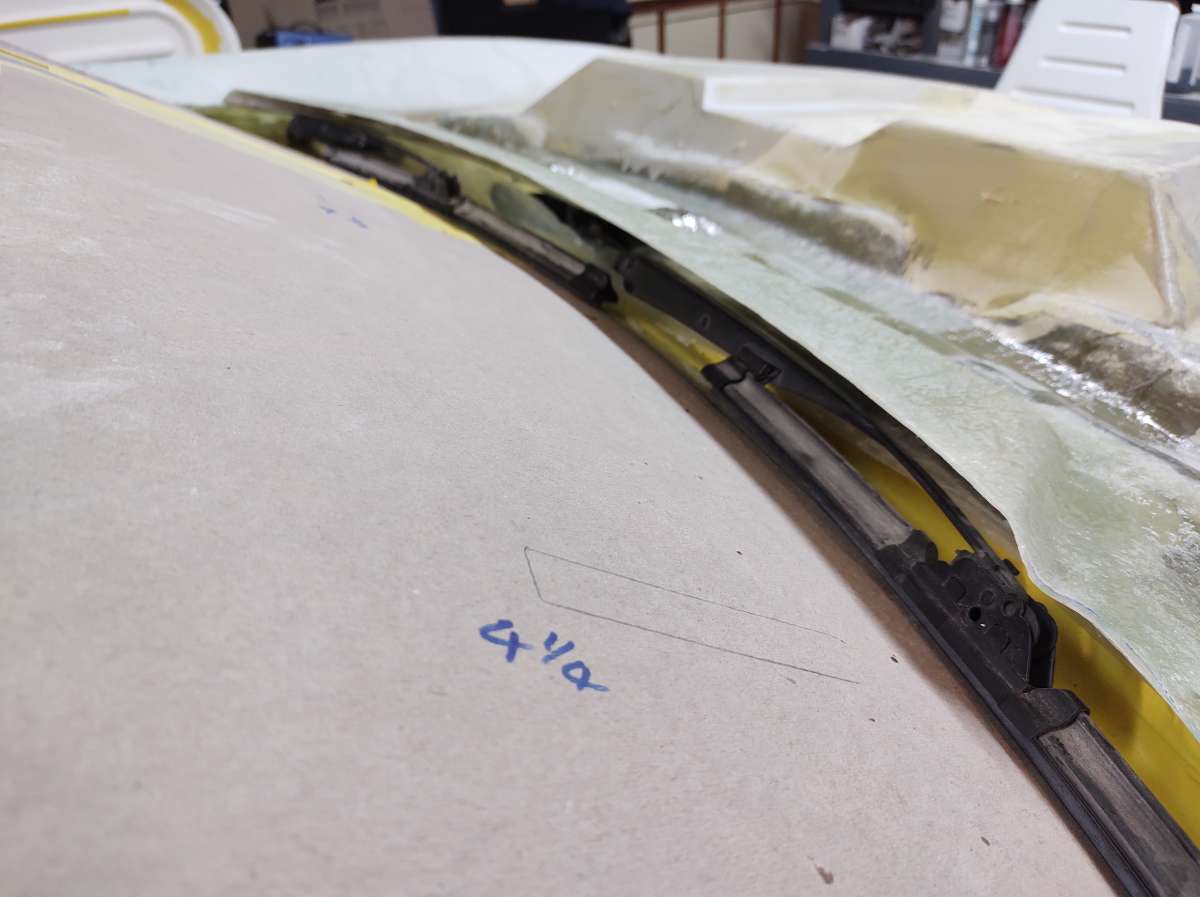
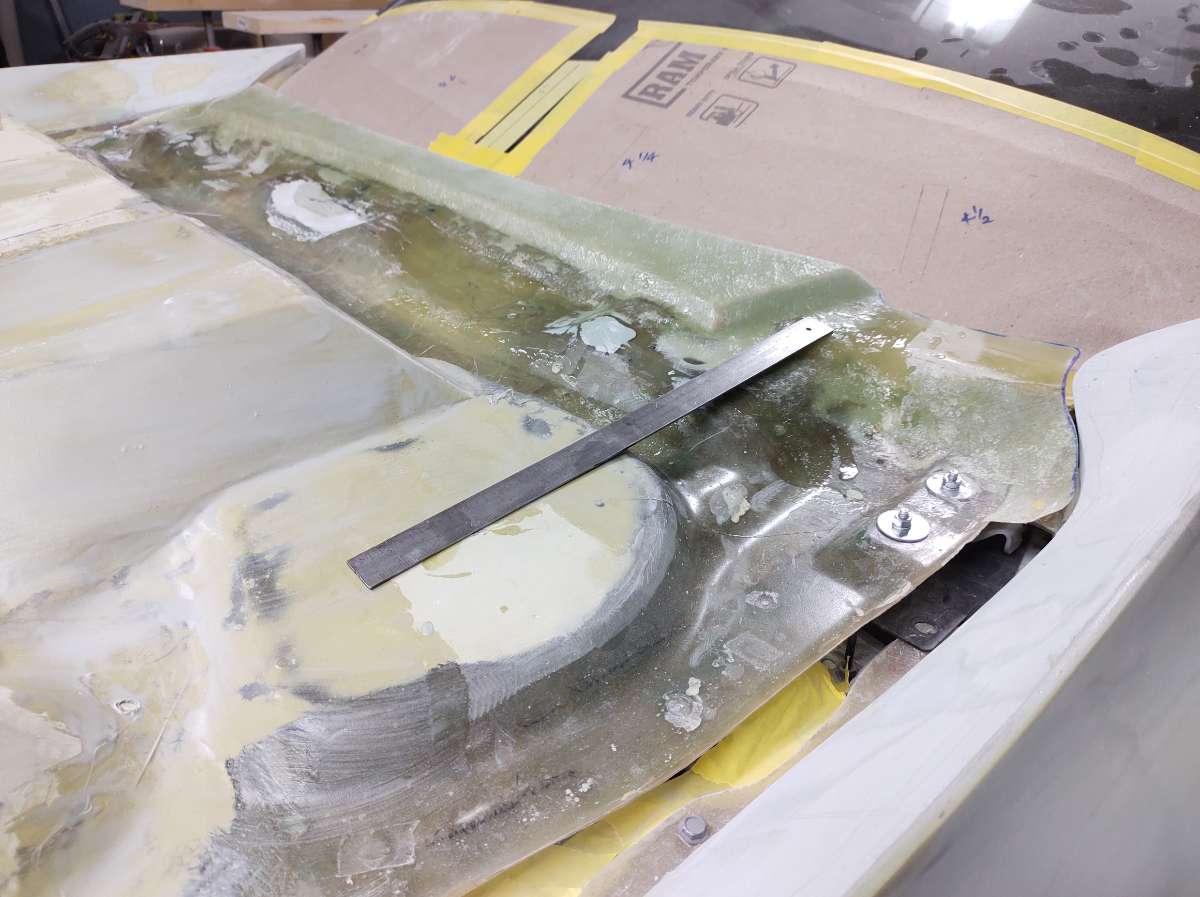
Ok back to the hood , I know it's kind of boring ..... So here is how the hood extension came out , a little wavy at the back in the middle . but that will be cut off . I don't want to see the wipers , they are just not nice to look at . Making the small rise out of foam for the wipers to fit under gluing it down Some body filler , then one unit of mat and one unit of roving , covered by two units of mat glass . the roving gives it strength I mixed a bit too much resin ( heat getting to my brain ) so I added some filler and painted it on the fender . Glass ready for a trim Hood is upside down here to cut the bottom away and remove the foam . Trimmed and back on Look no more ugly wipers .. Here you can see when the top of the hood goes on the rise will be very small I have been working on the trunk and rear deck also , should have an update on that soon . Cheers

-
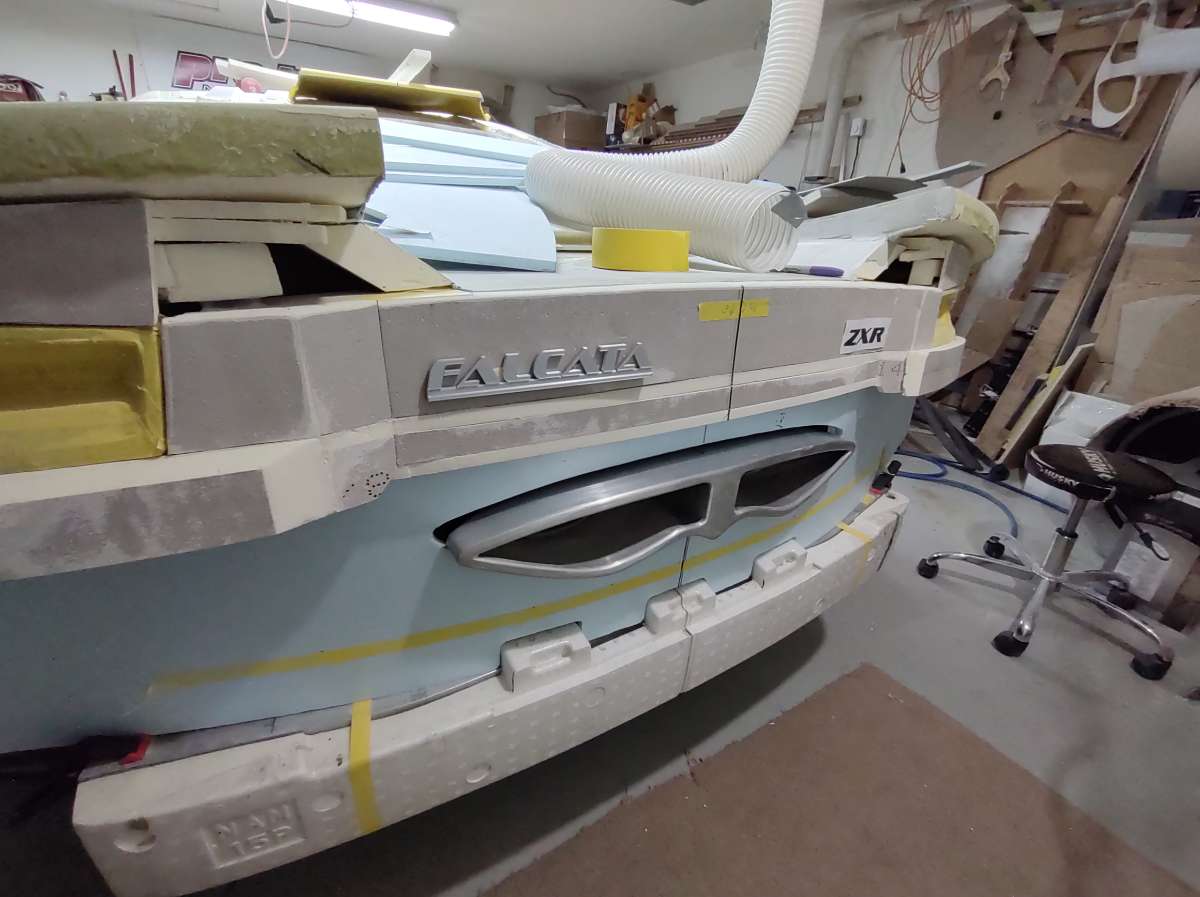
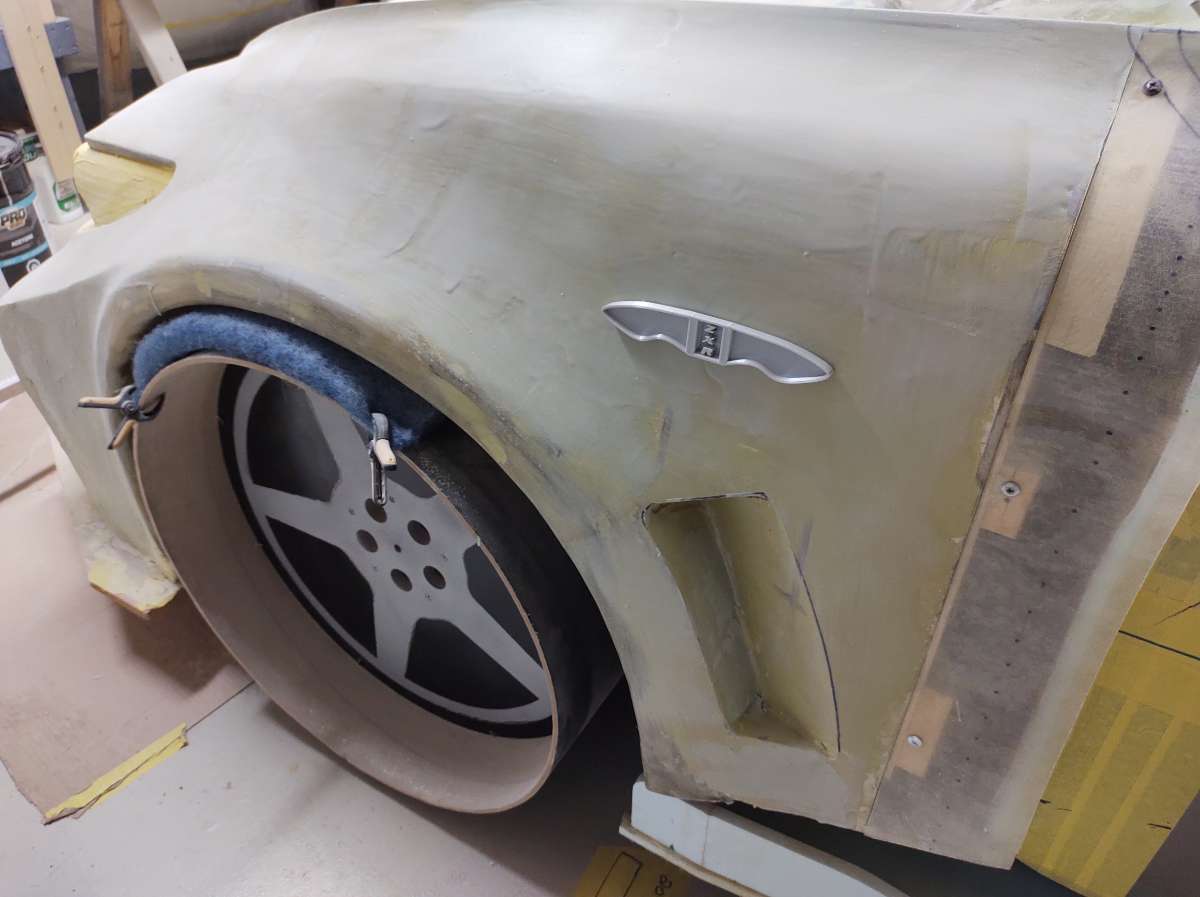
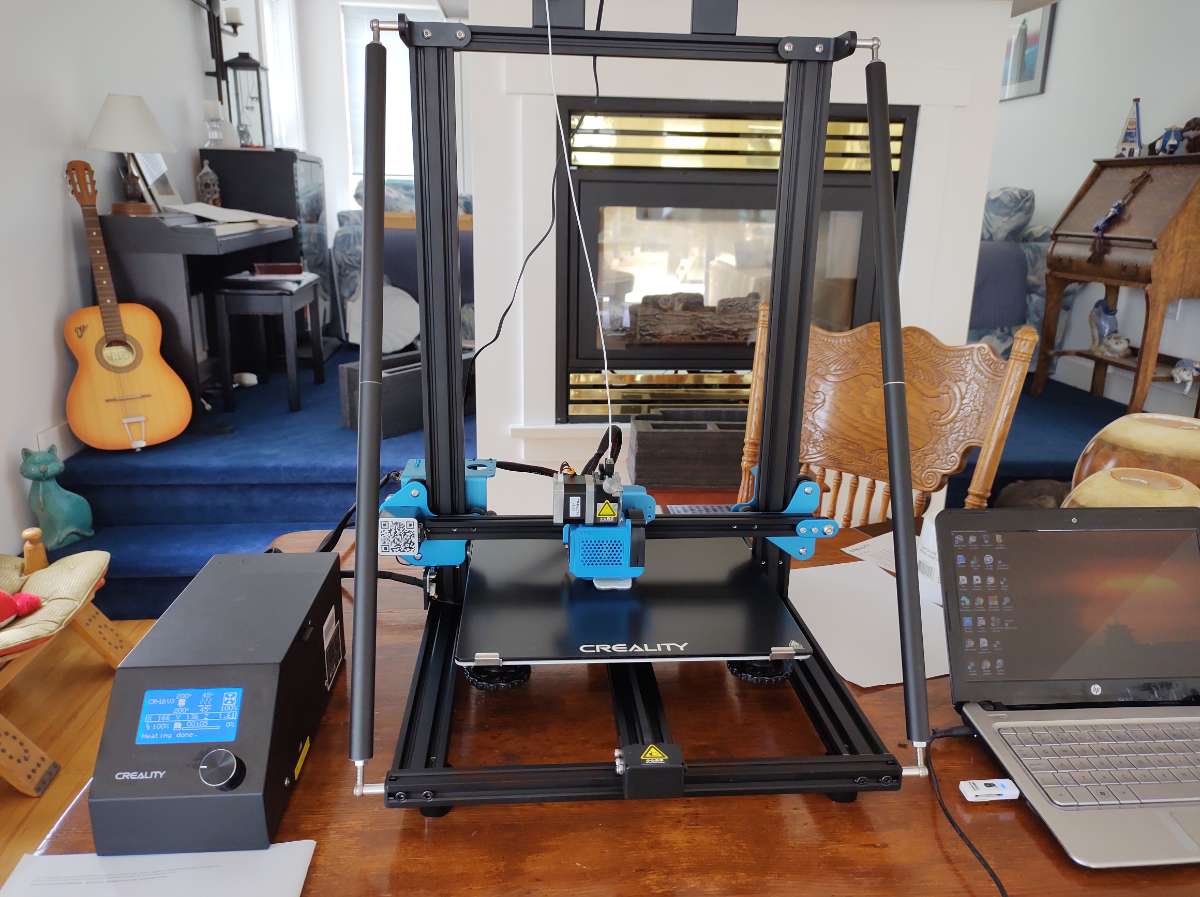
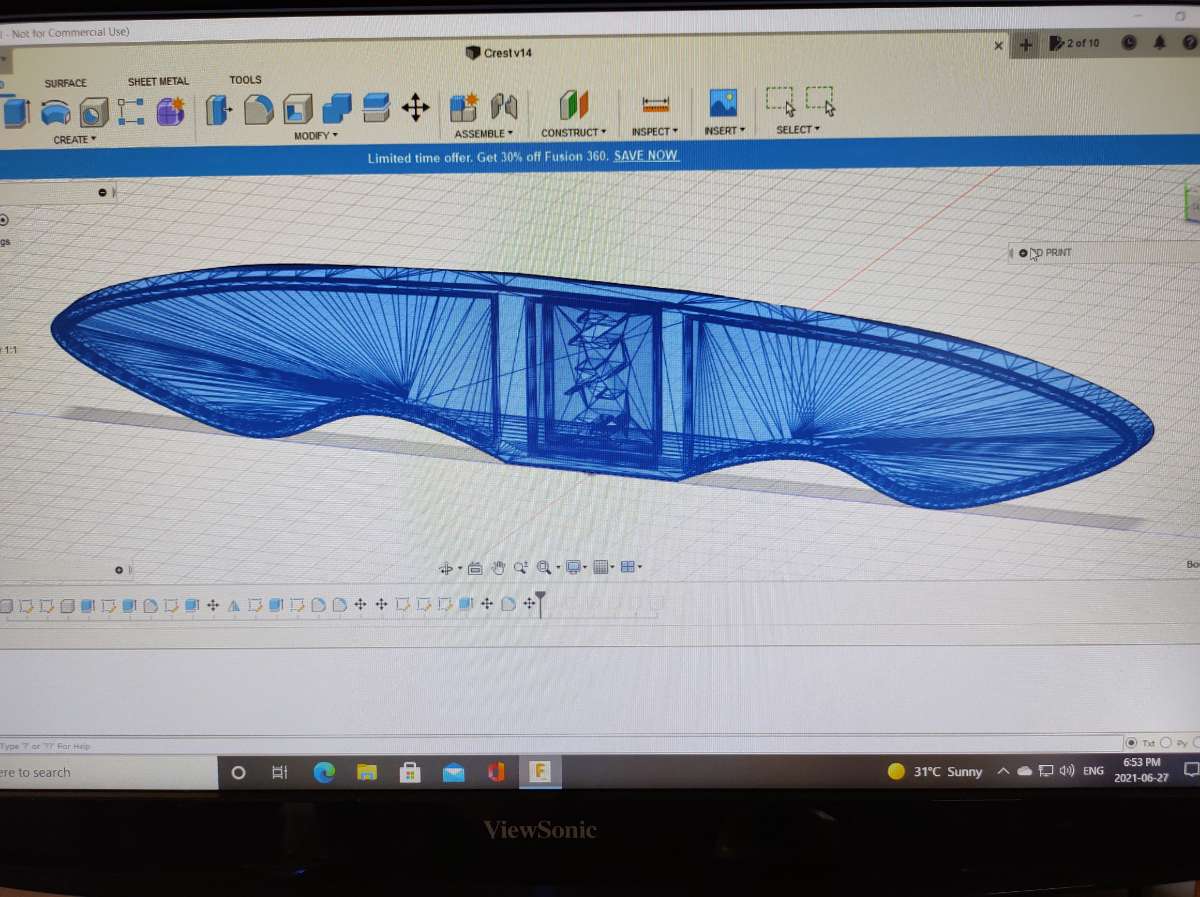
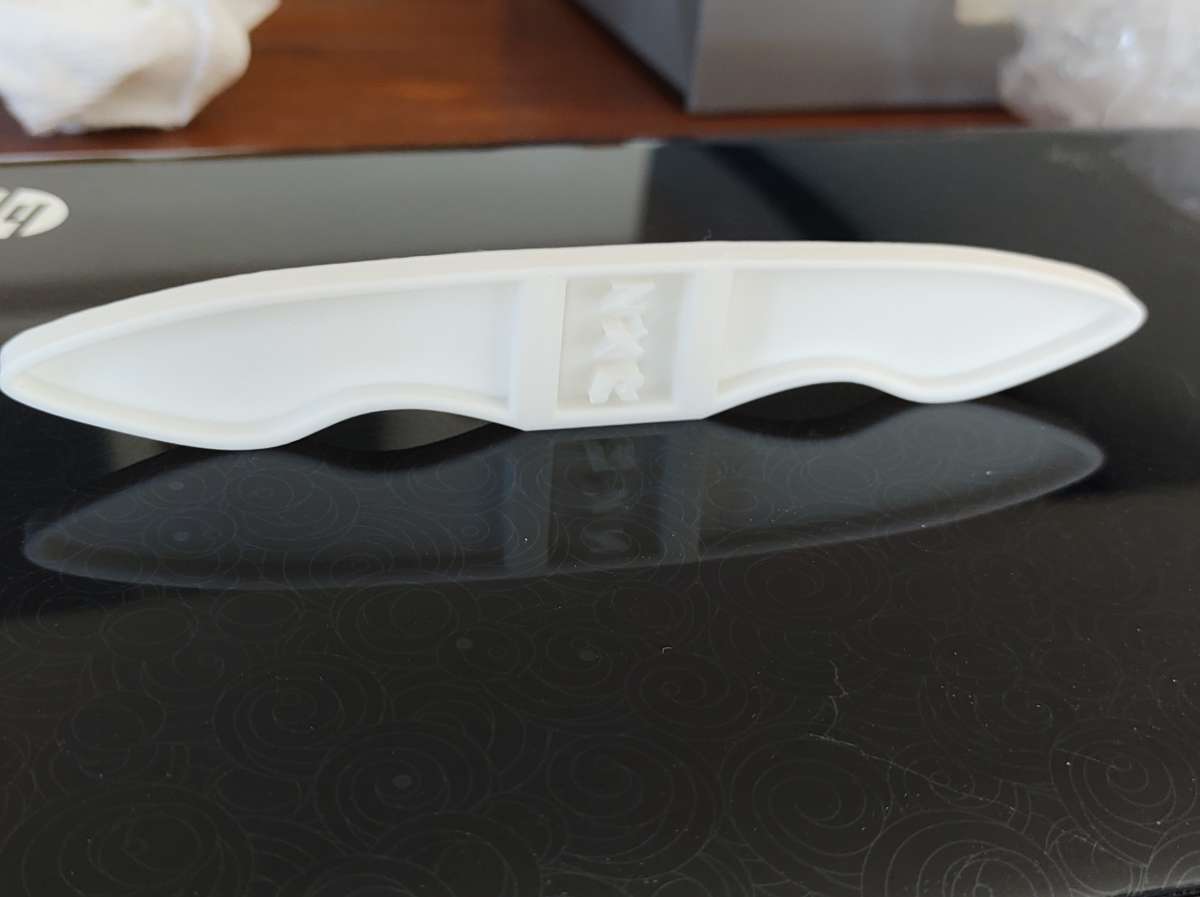
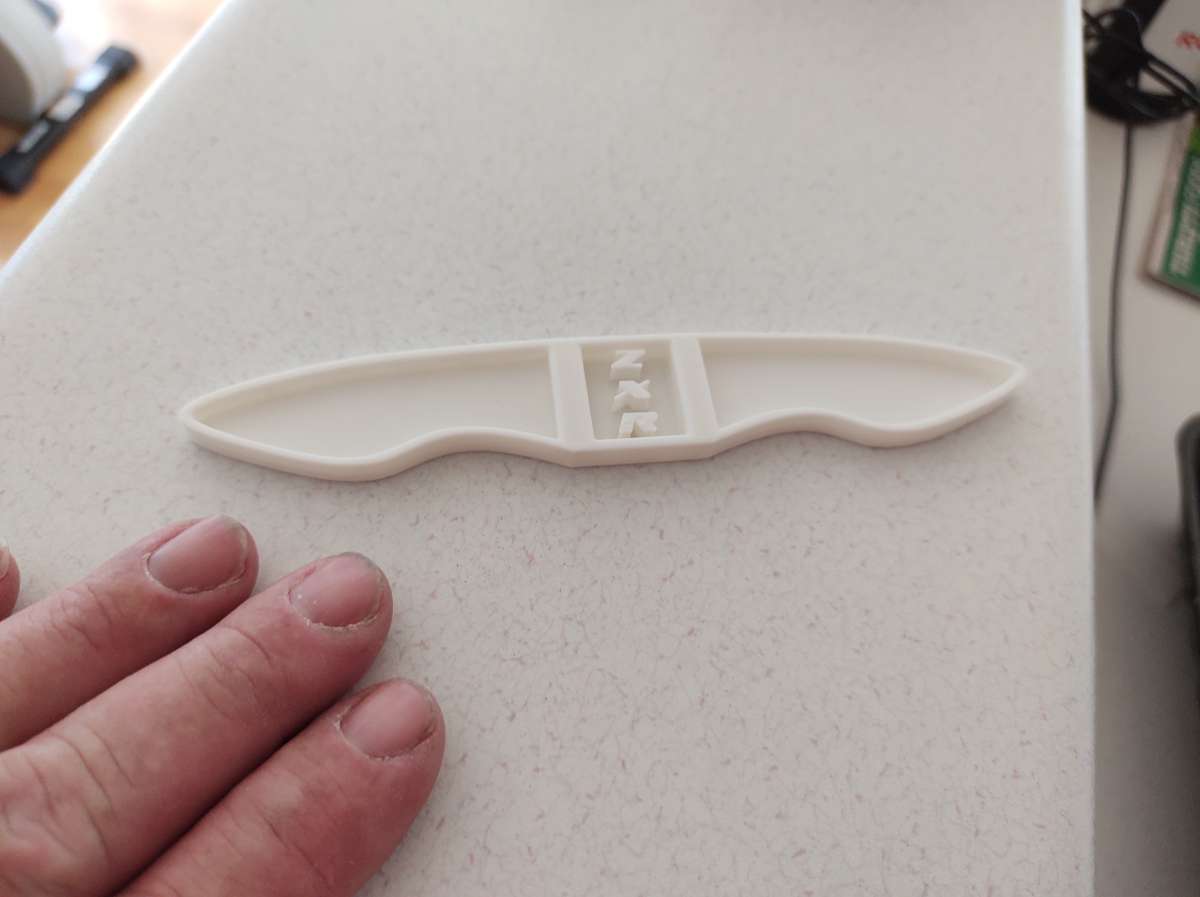
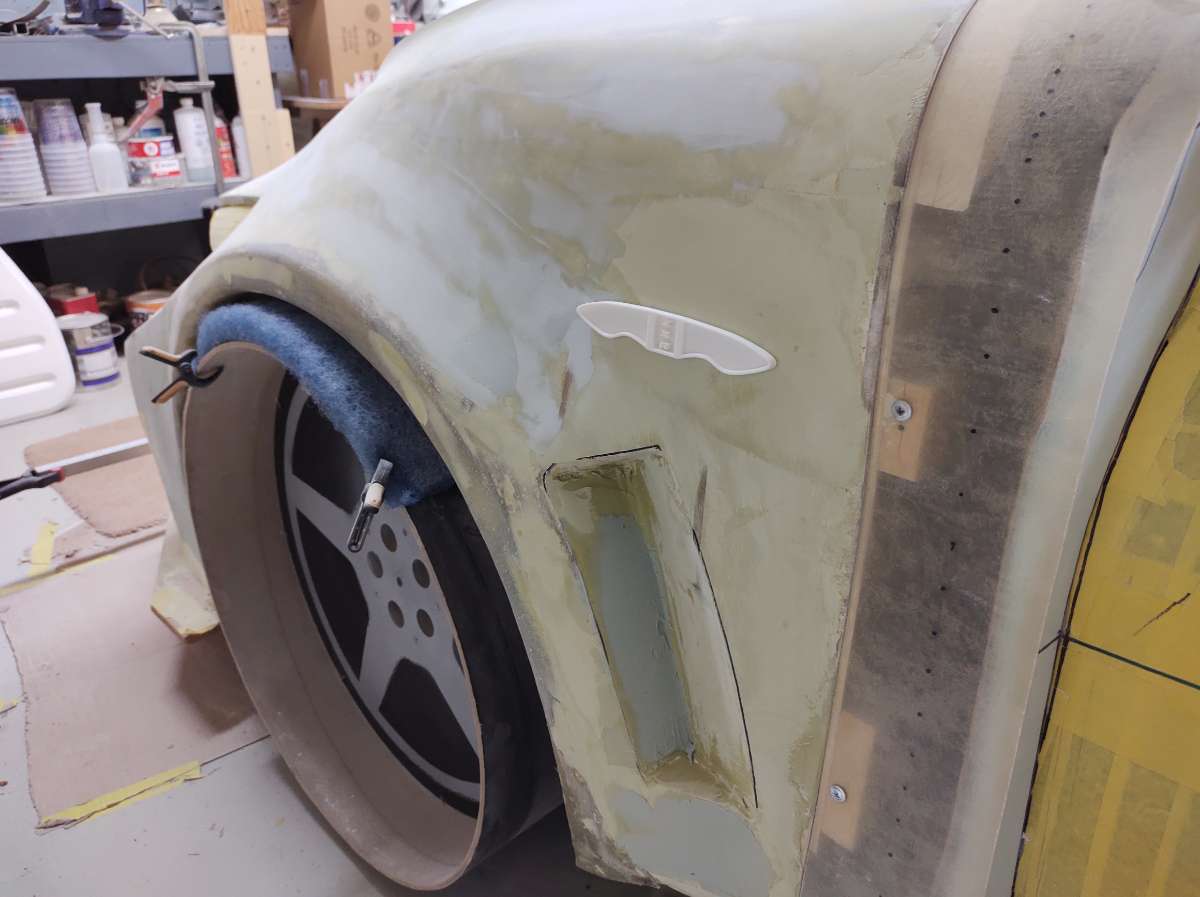
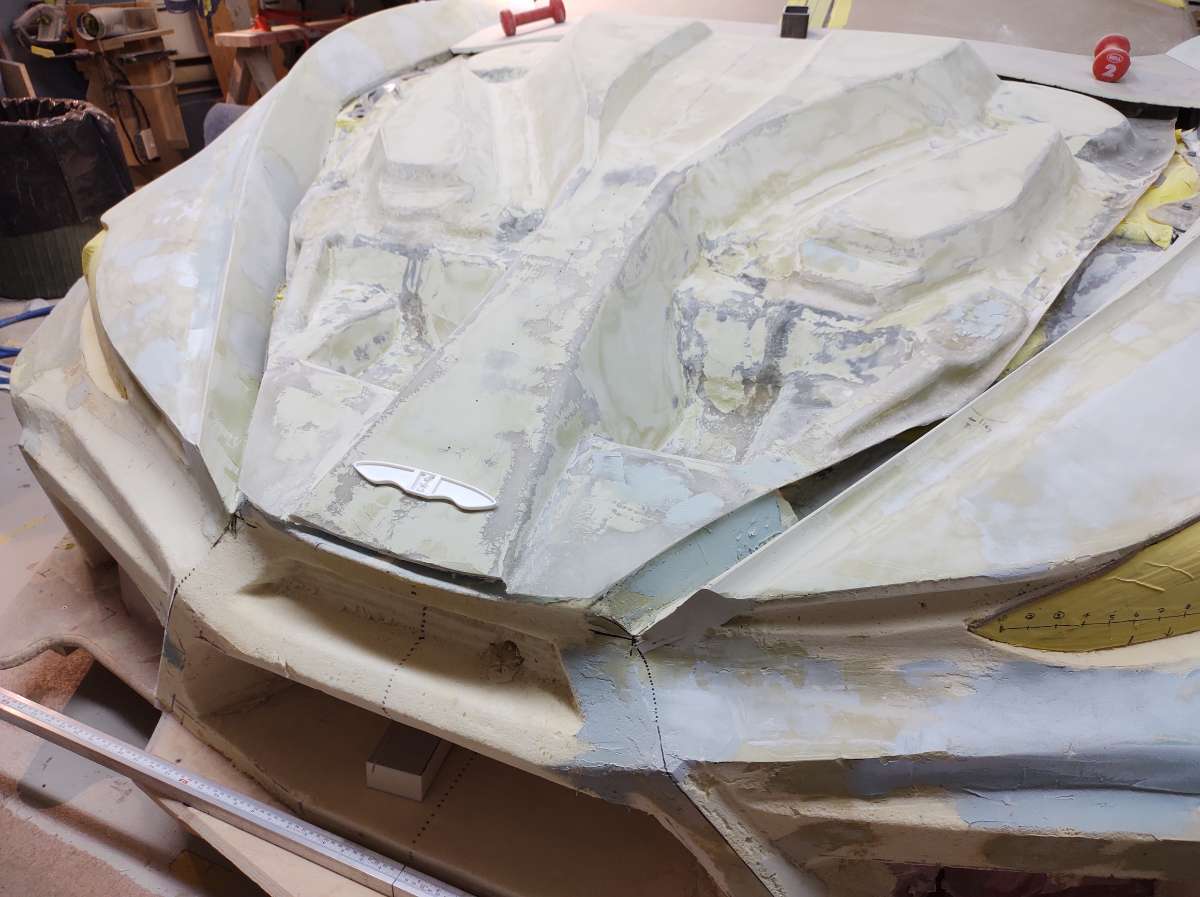
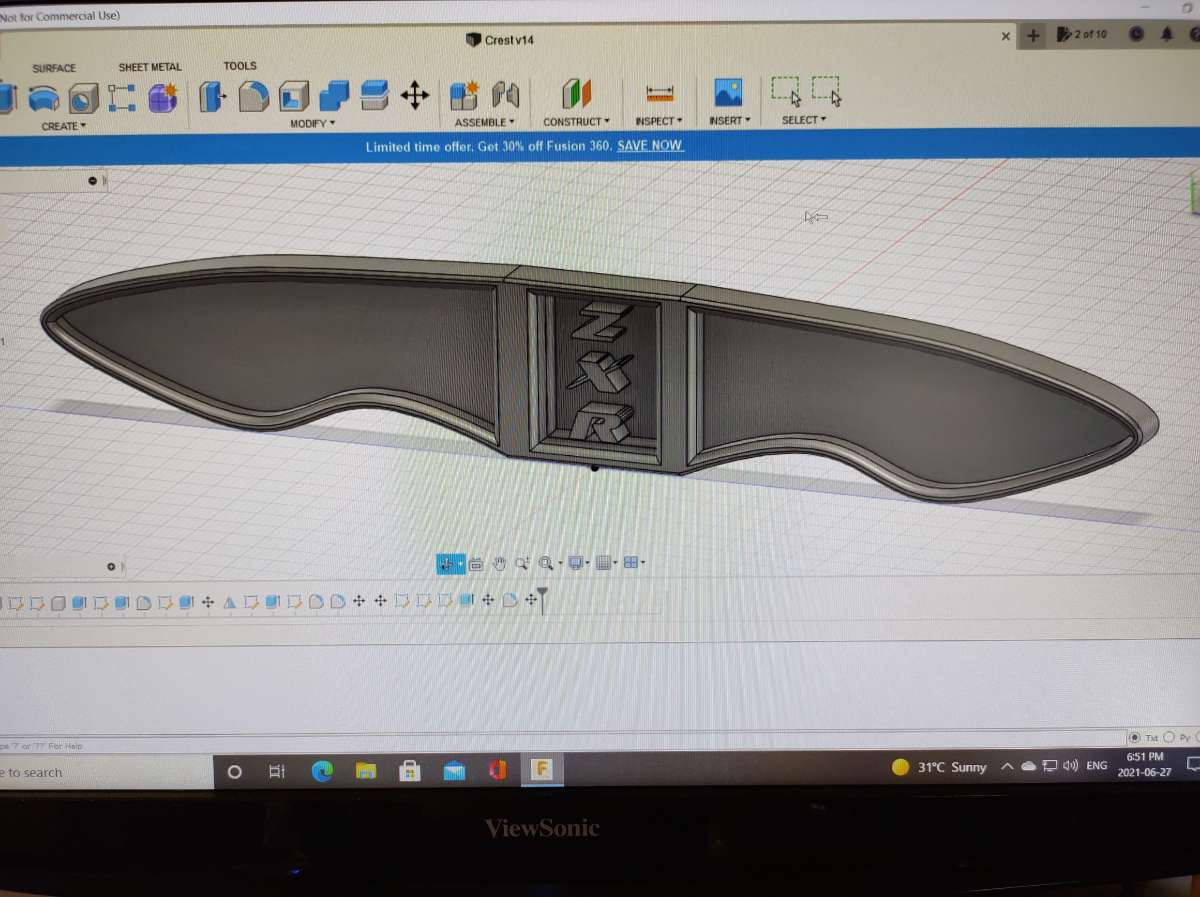
Oh the other thing I should mention is I bought a 3D printer to make some parts for the car , oh course i have have to learn how to use it first , ( more time , later nights ) So I bought a Creality CR10 V3 I have been working on drawings for the emblems and a Crest ( badges ) so far so good . I have to rearrange some stuff in my office for It . It will print 400 x 400 x 600 mm The verity of filament is ridiculous , I can print these in chrome or black chrome or any combination of colors , I have to learn CAD again .....not easy . this is the first one , needs tweaking just an idea of what it would look like , of course it would be set in flush And on the hood . times up . maybe tonight i can post some pics of the trunk lid progress . Cheers Mates
-
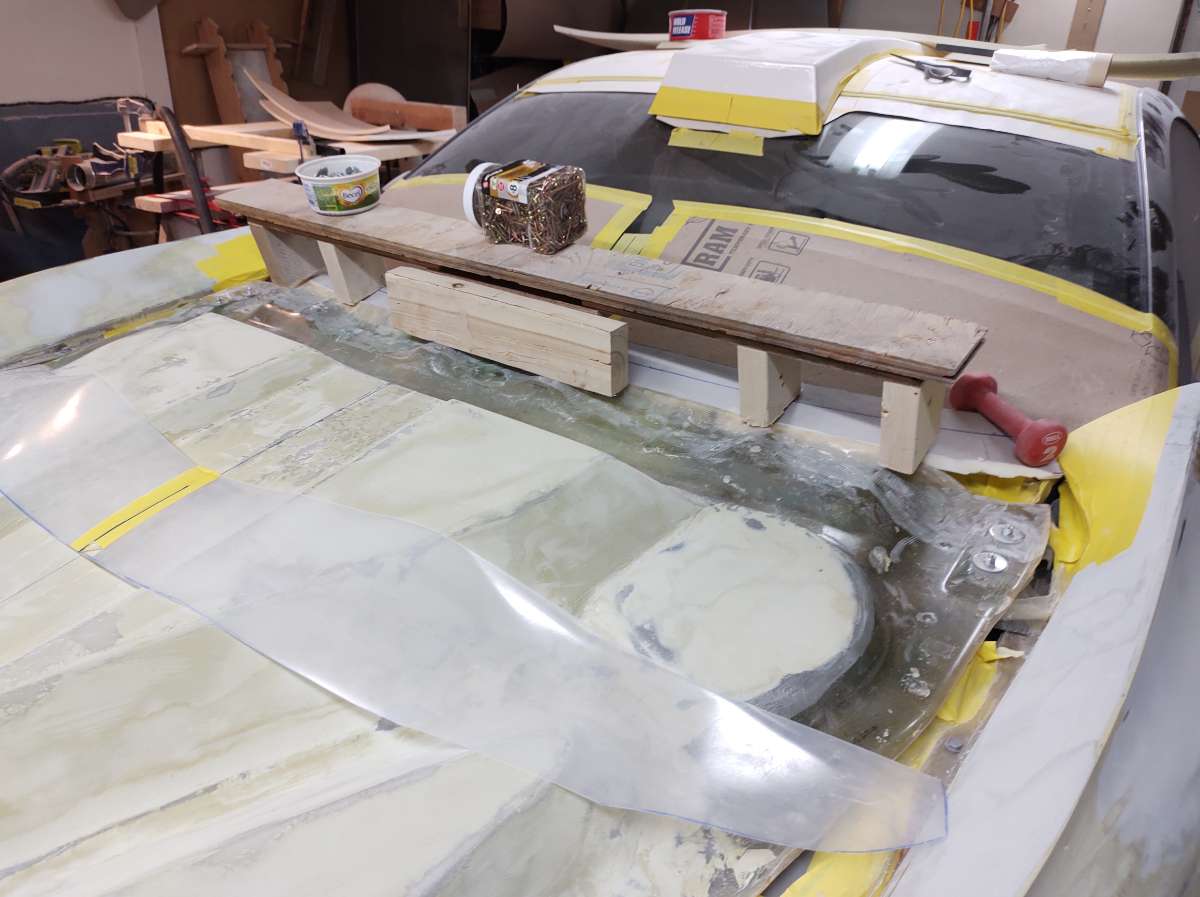
Thanks everyone for fallowing along and the fantastic positive feedback . Been busy as usual , had some crazy heatwave here last weekend , 4 days with temps in the high 30's . Also did something nasty to my knee , that's slowed me down a bit can only do stuff standing , it's getting better ... very slowly , 30 years of racing motorcycles didn't help . been working on the trunk lid and the hood , will start with the hood . This bottom of the hood started out as just a test in the new shop to test the waters , I had a couple of gallons of resin that were really old and had probably been below the 45 degree limit . so i did a copy of the bottom of the stock hood , this would give me a look at where i could make more room foe goodies . I had to trim a bunch for the fenders , so as time went along I decided to use it . Now I need to extend the back of the hood ,these pieces are just to support the the part for the fiberglass . Making the part to slide under the back to hold up the extension once glassed it will get trimmed at the blue line , you have to go past to get a consistant thickness checking supports to see if it's still level Here is the part sanded to a taper to slid in , the plastic part behind will go on top so the glass wont stick to the support . roughing up the glass for a good bond getting ready to bond it down holding it down , I use body fill to glue the two pieces of foam together . next is to add a little filler to smooth the transition then three units of mat another strip of plastic to avoid it sticking and some wood and squeezie clamps