

Dean.B
-
Posts
199 -
Joined
-
Last visited
Content Type
Profiles
Forums
Events
Gallery
Store
Posts posted by Dean.B
-
-
Seeing your one at the Japanese performance show is what made me finally order one 😜ðŸ‘
-
 1
1
-
-
I think that would be the worst thing mate, is being excited to get your car back all fresh and it being a bad job.
Hope you got some of your money back from them
-
I wonder why they can vary so much in different areas haha
Same reason as for house prices and haircuts.
Yeah I guess that's very true haha
-
I wonder why they can vary so much in different areas haha
I've been down to see him today just to check over what he had down for the quote. And he has a few other things on there that I mentioned but didn't realise he put in the quote.
So this includes a repair to drivers door, trying to sort out the shut line on my passenger door and the door sills sprayed as they have marks on from getting in and out. Also smoothing badge recess and number plate holes in new bumper.
I don't think it's a bad price it sounds like a lot of work.
-
Haha that's a shame mate, I'd be gutted if I got it back and it was terrible lol
Yeah I don't mind paying for it, just wanted to make sure I wasn't going to overpay for a good job
-
I have heard good things about them, a friend of a friend has used them before. I guessed around 1000, but like I say I haven't had any paintwork done before so was a guess hah
-
Noo probs ðŸ‘ðŸ»
Yes your right it does sit up a bit higher than I expected, the old bumper was closer to the floor when I emptied the bags.
But not really sure I can do anything about that. Great looking bumper though hah
-
Sure do ðŸ‘


-
1
-
-
Hi everyone, I've got a price back from my local spray shop for respray of 2 front wings, one needs a bit repair, bonnet, and spraying my v3 bumper. This was £1200 inc vat
Does this sound about right? I know that paintwork is expensive but I haven't had any done before.
-
-
Found it thanks for the help ðŸ‘
Yeah this is the torqen one with the oil flap too. New they are 200 so will see how much postage would be. See if I save a bit or not hah
But does anyone know if the holes where the bumper attach are the same on the Zspeed and torqen undertrays? As I have a filler panel from my v3 bumper to attach to it. I'm guessing they would be just wanted to check.
-
Hiya mate do you still have the undertray?
Does it come with all the fixings and how much to deliver ? Thanks
-
-
No probs mate looking good 👠just give me a shout if I can help anymore.
Looking forward to seeing it sitting on the floor ☺
-
1
-
-
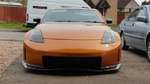
Yeah I'm happy with it mate, I tried it on a while ago and looks great. Just got a quote through for respray of the front end so hopefully get it booked in soon ðŸ‘ðŸ»


-
3
-
-
Hiya mate I was after one of these a while ago,was told not to bother with a replica as they can cost a lot to get fitted properly at the body shop.
So I brought the real one from tarmac sportz on here. Spot on fit just needs spraying and fitting ðŸ‘
Hopefully get mine on soon
-
1
-
-
Ahh too slow. thanks, I know tarmac sportz sell them just thought I'd grab this one save a bit of cash.
Good luck with the sale ðŸ‘
-
Hiya mate please could I take the z speed undertray ? Just what I need atm
-
That's a shame would of been a quick fix for you hah Afraid I can't help anymore as I haven't had coilovers before but I hope you get it sorted soon mate ðŸ‘
-
Mine are all fitted underneath the car and run into the boot. We mainly followed the root of the brake lines etc under the car where possible.
Rough cost would probs be around 3000 that would depend on fitting costs though, because if you were to pay someone to fit it for you that could cost up to 1000.
I agree with mark though, when I was helping to fit mine I got to know where everything is and what everything does. So if I did ever have a problem I would have a good idea of where to look and what to do.
Few more pics as requested.
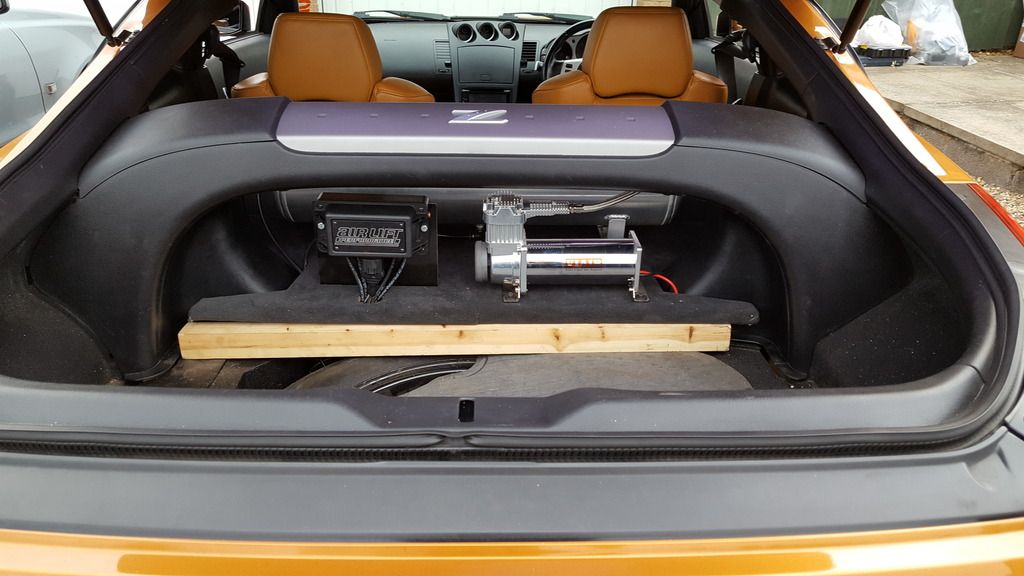
You can see the metal plate I had made up to hold the manifold in position
Existing hole in boot for airlines
Nearly there just some sanding
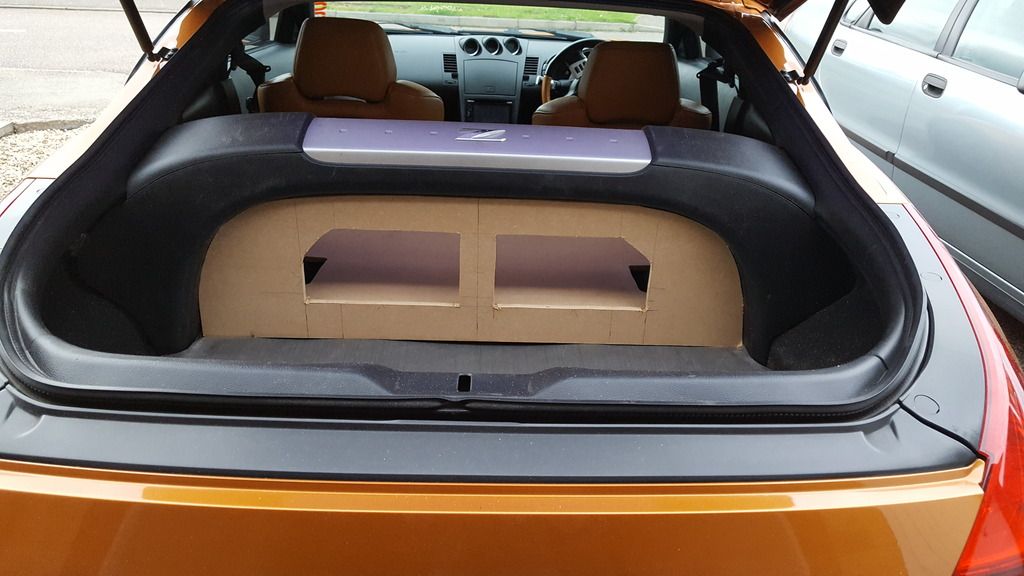
This is how it sits over the spare wheel
After some carpet
-
2
-
-
Yes mate just done it up with a socket and held it with a spanner. I also put a little bit of threadlock onto it aswell just to make sure.
It hasn't come loose again since ðŸ‘🻠Hope you get it sorted
-
Hiya mate I had a very similar noise on my car a while after fitting my airlift struts. It was a very loud knocking noise and constant.
And it was the nut that had come loose on the top of the strut.

So the gold one in the middle haha. I'm guessing that coilovers would have a nut there too so it could be that.
-
Not a problem 👠Yeah hopefully I like seeing how other people fit theirs.
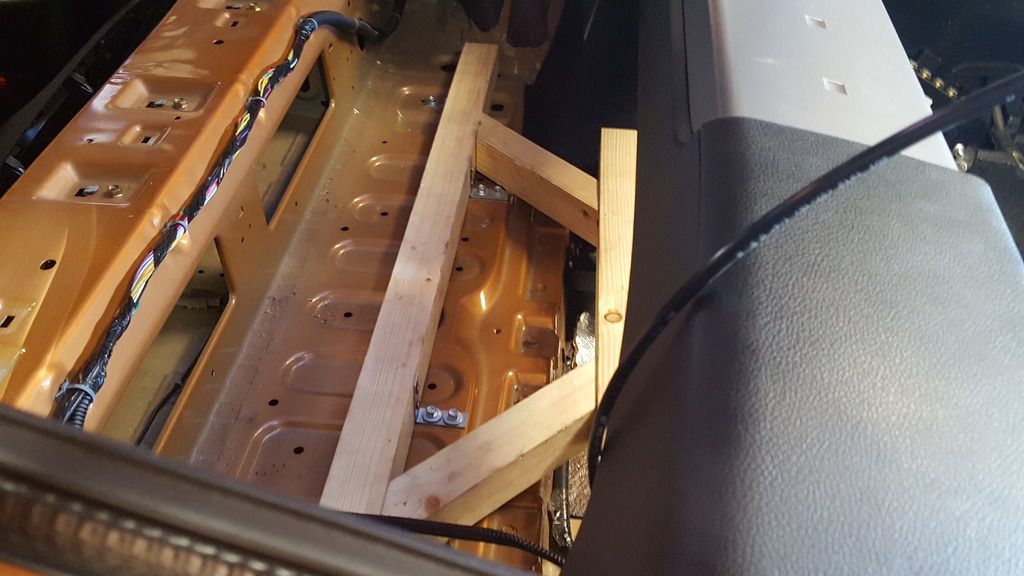
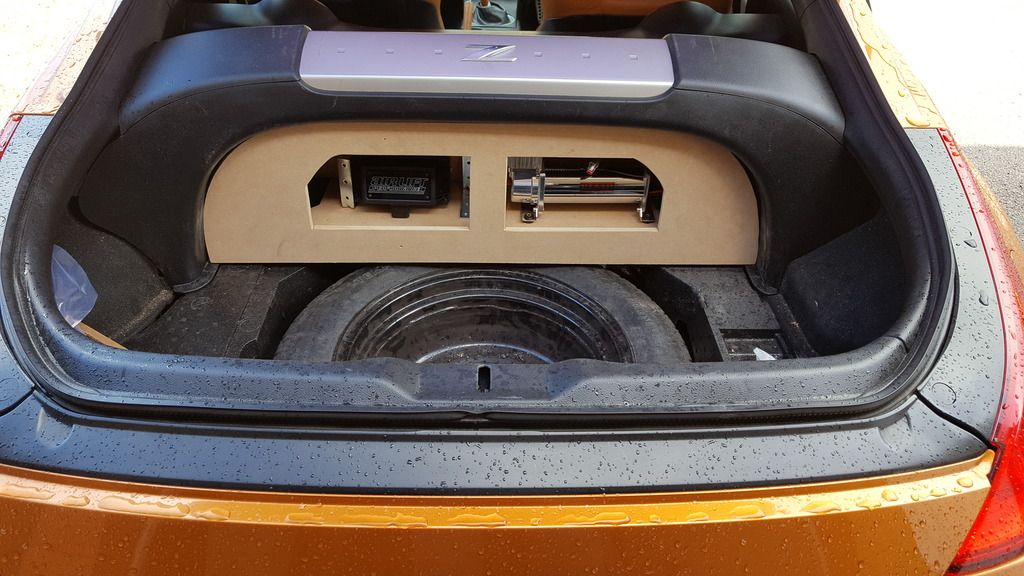
Just to add I mainly decided to fit mine like this , because I wanted to be able to keep my spare wheel in the back. So I made this and can squeeze my spare wheel out if needed.
The Only downside of this is the compressor noise. When I first fitted it it was very noisy due to the vibration from the compressor going through the mdf board. So I brought the airlift compressor isolator kit, and that has stopped the vibration but you can still hear the compressor ofcourse.
This only runs when the airlift has been used and runs until my tank reaches 149 psi which doesn't take too long.
-
Hiya I have had the airlift 3p kit on my car since about august last year. It's a great bit of kit. People do still say running airbags on a sports car ruins the car because a sports car should not be on bags. But I disagree completely. As it's already been said airlift kits have come a long way and they have been well tested.
I mainly brought my kit because I love the look of slammed cars sitting on the floor but this isn't practical to drive and is to easy to brake parts off your car that you have spent a lot of money on. I haven't personally been on track with them yet but I do know that they would perform great. There have been tests on track with airbags and always good results.
So much easier to set you driving heights than having to jack the car up and get out your spanner for the coilover to drop it back down then realise you want to lower it some more 😂
Here's what I have done when we fitted mine just for some ideas
I removed the ashtray and fed the cables through from the boot for the controller. This just needed a little cutting and it dropped straight in ðŸ‘ðŸ»

I made some templates and cut some 12mm mdf to make the floor. Had to make this in 2 sections to get it in the glued carpet to it.
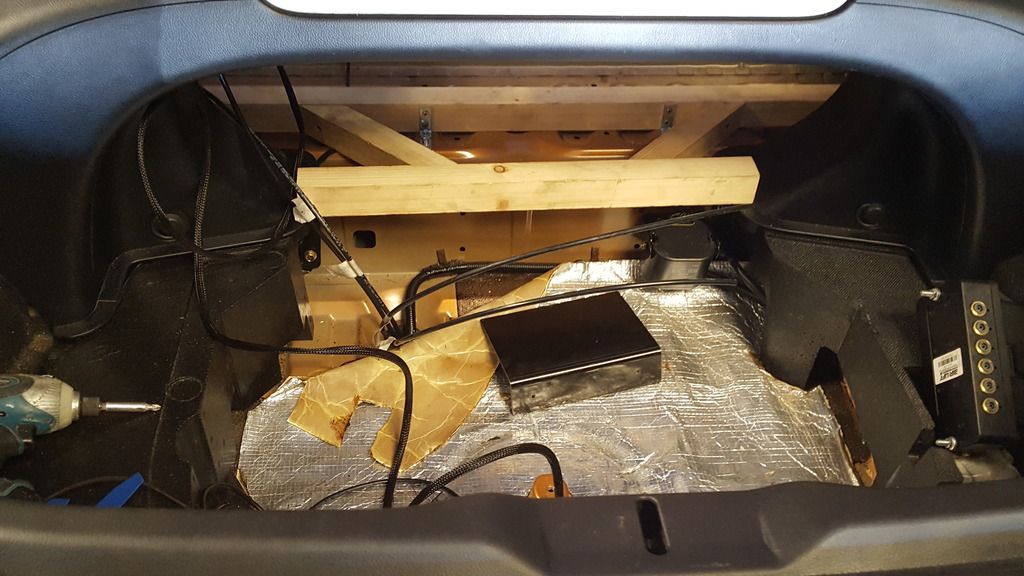
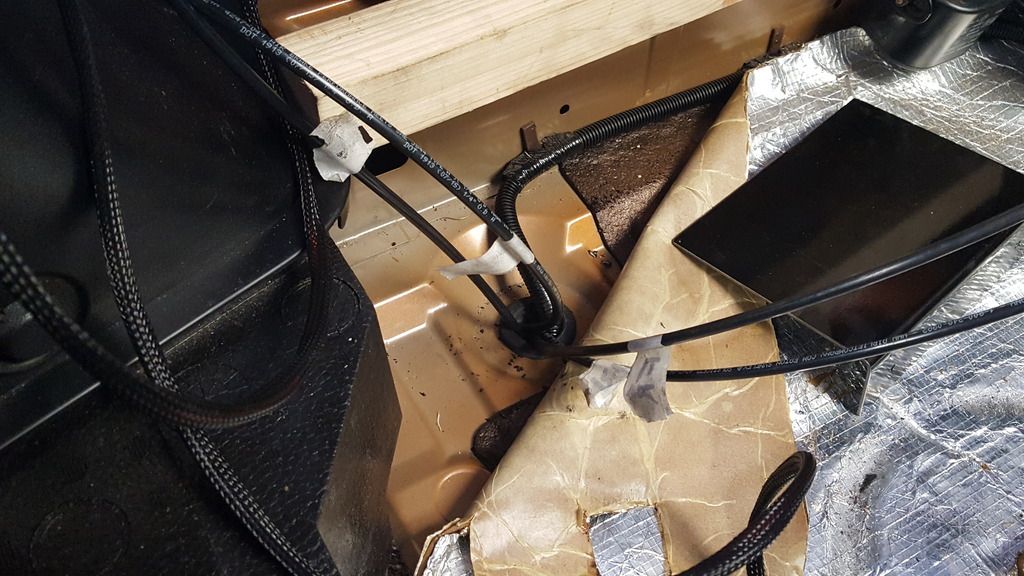
And this is where I decided to fit the compressor & management. There is a handy grommet in the boot that you can feed all the airlines through into the boot ðŸ‘ðŸ»

Tank is mounted just in front behind the seats.

Then made this part after making another template and fitted Perspex to it. The management box sits a bit higher than I wanted but it's okay. This can be removed to get to any parts I need to. And also made a board for the other side to box it in under the strut part. This was all carpeted too.

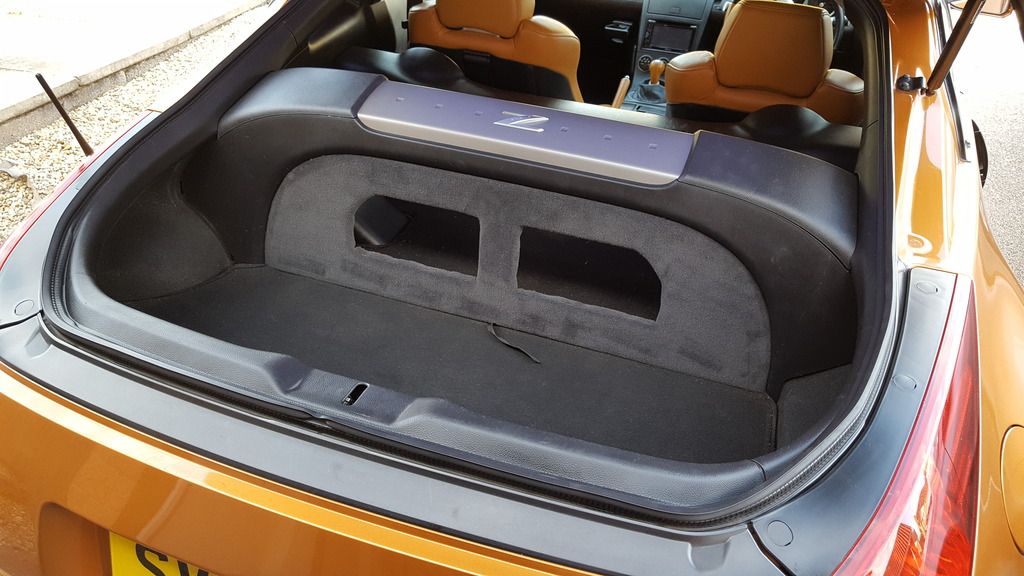
And this is how it sits after with empty bags 😀

Hope this may help a little bit
-
2
-


Front end respray cost
in Bodywork
Posted
Ah that's so bad mate, I'd be so annoyed with them. Yeah I know what you mean, this is a family run business and I've heard some good things about them, so just have to hope it's a good job. Said he will have the car for a week. So shouldn't be any need for a rush job.