

glrnet
-
Posts
22,221 -
Joined
-
Last visited
Content Type
Profiles
Forums
Events
Gallery
Store
Posts posted by glrnet
-
-
OMG It's stunning, love the seats!!!

-
EBC Redstuff pads front & rear gone on today. That was the first time I've done any serious maintenance work on a car I've owned since I had my MGB GT!!! The worrying thing is I really enjoyed it, funny how it all comes flooding back. Just waiting for my K & N Typhoon induction kit to turn up now, it should have been here last Friday but that's another story!!! Suffice to say beware of POTN.com delivery promises.

-
Welcome,
Only been here a week or so myself, Blue Z in Surrey 31k, I love these cars already!!
-
And how do I do that pray tell!!???

-
PM'd you
where does the noise comes from is there a unit u need to buy and if so how much was it?cheers
-
Thanks guys, was a bit concerned when I saw the colour after I collected it from Sarah but decided to bite the bullet and I like it a lot now, and hey, it is different. EBC redstuff front brake pads gone on today, it'll be interesting to see what they are like after they bed in a bit.

-
No, not really, you have to trust the measurements for the holes and then with the light clusters out you can reach the sensor wires really easily, I took the sensor cables through the rear central rubber grommet which lets the number plate lighting cable through. Once you're inside the rear load space, go left with the cabling after having taken the spare wheel cover out and you can lose the cable under the plastic trim. Let me know if you need to know anything else matey,
-
Instructions as mentioned in previous post, hope this helps anyone interested. I would recommend Steelmate, been fitting them for years and really are very very reliable.
-
Hi,
I've got all the measurements for hole drilling and wiring colour code if you want it, two wire install for power supply and earth, the power is taken directly from reversing light loom and is easily accessible. No need to take the bumper off either, just remove the rear lights and some trim. It took me about 2.5 hours all in, this included spraying the heads.
G
not a fan of the ally stubby, all black is better,was the reverse sensors hard to do and where do u wire it all up to?
-
More pix of new carbon fibre dash etc
-
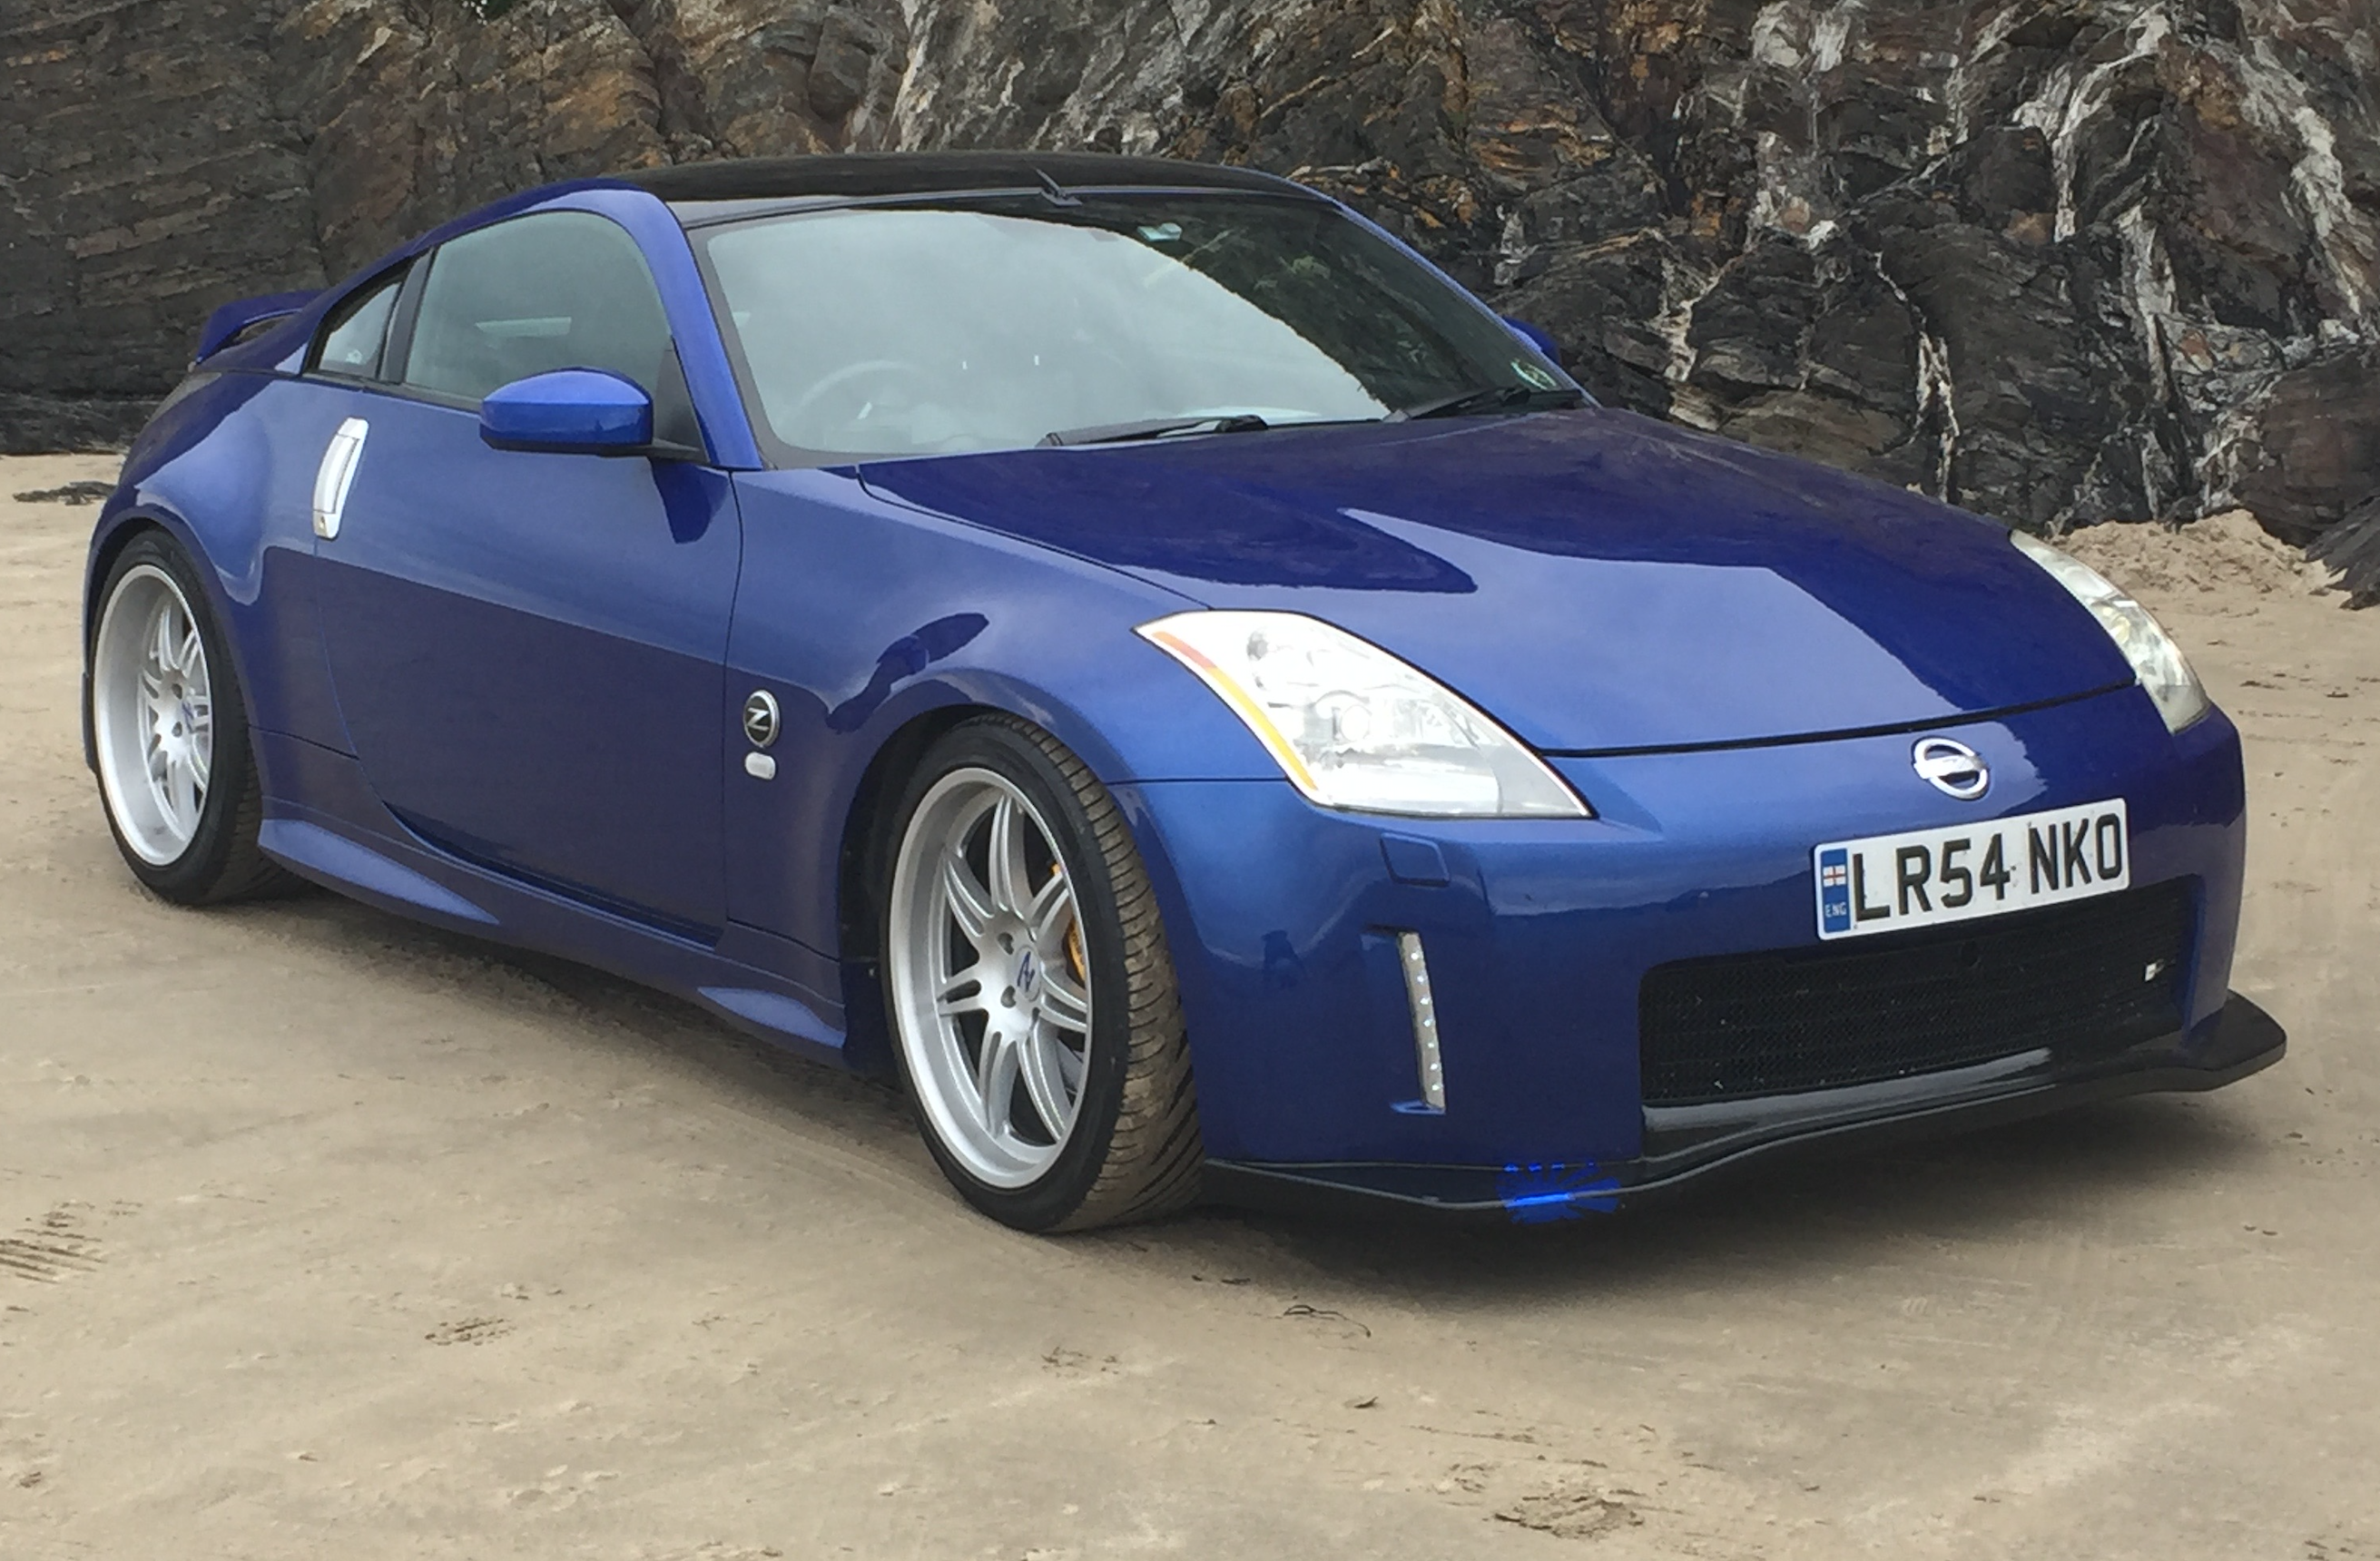
Here are some pictures of my first mods.
-
Oh cr*p!! I updated to 4.1 today, haven't been out in the Zed though!! Thanks for the info bud.
-
My Iphone seemed to stop working with the car after i downloaded the 4.0 softwear for it. is this what you have done??
No mine fine with 4.0!!
-
What a silly bunt!! What is it Randy Newman sang about "Rednecks"? "We don't now our ar** from a hole in the ground!!"

-
Had this with mine on iPhone, I deleted the pairing on the phone (forget this device) do this away from the car with bluetooth off, restart the phone and pair again with the Zed, it worked for me.
Graham
-
LOL, sometimes things aren't meant to be are they? I spent most of last evening looking for the bloody things and to no avail, in any event I can't find a supplier anywhere either so I have seen the error of my ways and today ordered front and rear pairs which will be colour coded Azure Blue. I do hope some of my credibilty has been restored!!!

-
You guys don't like them???? LOL
-
I guess they could have been polished aluminium.
-
Saw them 3 or 4 days ago and didn't bookmark the page!!
-
I've seen some pictures of these on Zeds in the USA, I've googled myself to death but no joy, anyone know where to find them please?
-
If it seems too good to be true then it probably..................................

-
Have to agree with that, ordered Azure (Electric Blue) from paints4u.com and did these parking sensor heads today. Took their advice and used plastic primer, electric blue and laquer, have to say I'm quite pleased witht he results.
G
best paint for this kind of work is from paints4u.combest colour matches i've come across with the best spraying nozzles; and good quality paint. another tip is not to just mask the area and spray the area as you'll end up with a ridge where the paint sits on top of the old paint. use a piece of card with a hole cut out of it rougly the same size as the damaged area. hold it about 3 inches above where your spraying and spray through it (keeping the can about 20-30 cm away from the card) this will help to feather the paint. and aid with the blending.
same technique with the laquer. and the primer.
make sure you use the right primer for the colour, primer will change the end colour; i think GM is meant to have a white primer but i might be wrong and it could be a grey.
you'll never get it as good as a body shop but it should help. i'd also recommend doing some test cards with different primers and paint on top. make sure you get the best finish.
-
Cheers Bud
You're right. a piece is missing.PM ZMANALEX
he'll see you right

-
Hi guys,
Got an annoying problem and think I may have a piece of interior trim missing, please advise if you can. I have 04 350 GT with NO factory fit Navigation, the cover/lid for this storage "cubby hole" does not shut properly, in that it it flies back up when lowered, it does not seem to catch as it should. As far as I can tell the catch in the lid id not broken but the area of the dash that the lid shuts down on seems to me as if a part is missing.
I've attached a photo of the "gap" and wondered if one of you would have a look at yours and let me know if yours is the same or different.
I thank you!
G
Lost locking wheel nut key
in Wheels
Posted
Try your local independent tyre place, the one near me keeps a selection of these, I think it's a master set or somethng along those lines, they saved the day for a gut with a mini last time i was in there. Good luck