

Mopedmark
-
Posts
2,912 -
Joined
-
Last visited
Content Type
Profiles
Forums
Events
Gallery
Store
Posts posted by Mopedmark
-
-
6 minutes ago, SHEZZA said:
Oh that link should of taken you to the right one

It has got me to the photos but not the full,link
-
Thanks guys,
-
Not the one mate, it’s a grey/ blue colour that ones black

-
-
As per the title guys does anyone know who owns this, I think he’s from Scotland, need to to ask him a question thanks
-
-
Spoke many times, our regards, thank you for putting this up on here and letting us all know
-
14 hours ago, btoms350z said:
Any chance you are still making these? Could be interested in one
Yes I still do them
-
-
Just now, Payco said:
We certainly did and I love them.
It’s not my car and I love them

-
 1
1
-
-
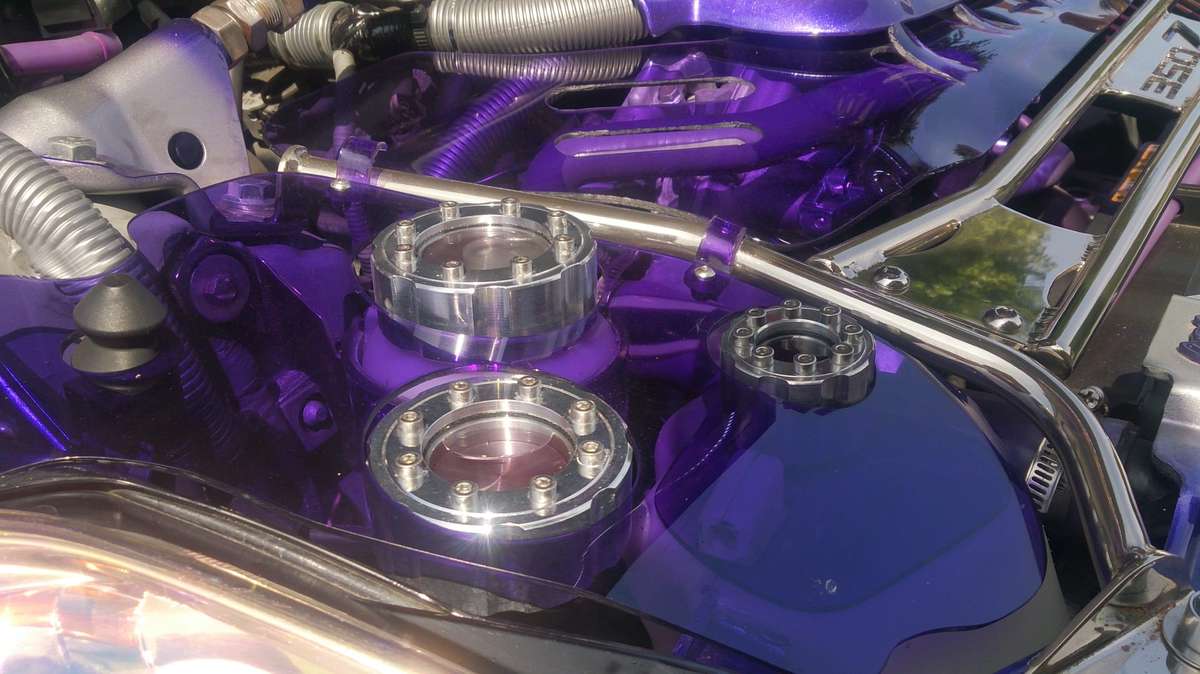
A better photo of those bottle tops I knocked up, no welder, fibreglass , or angle grinders were harmed in the making of them

-
2
-
-
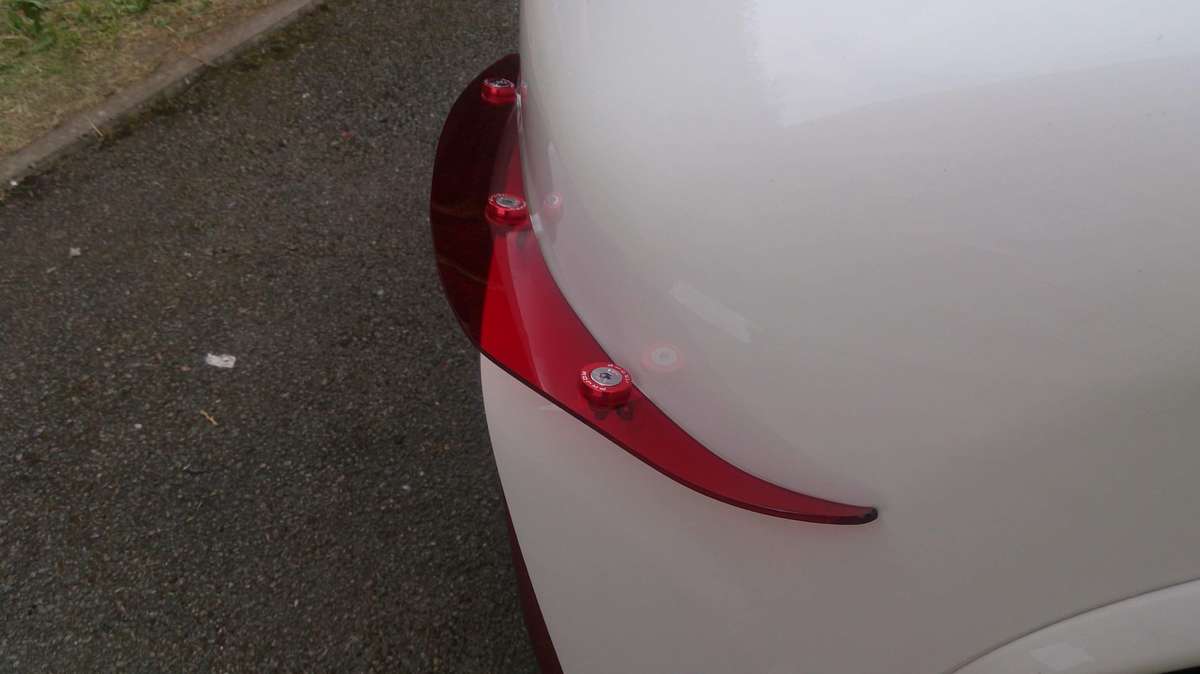
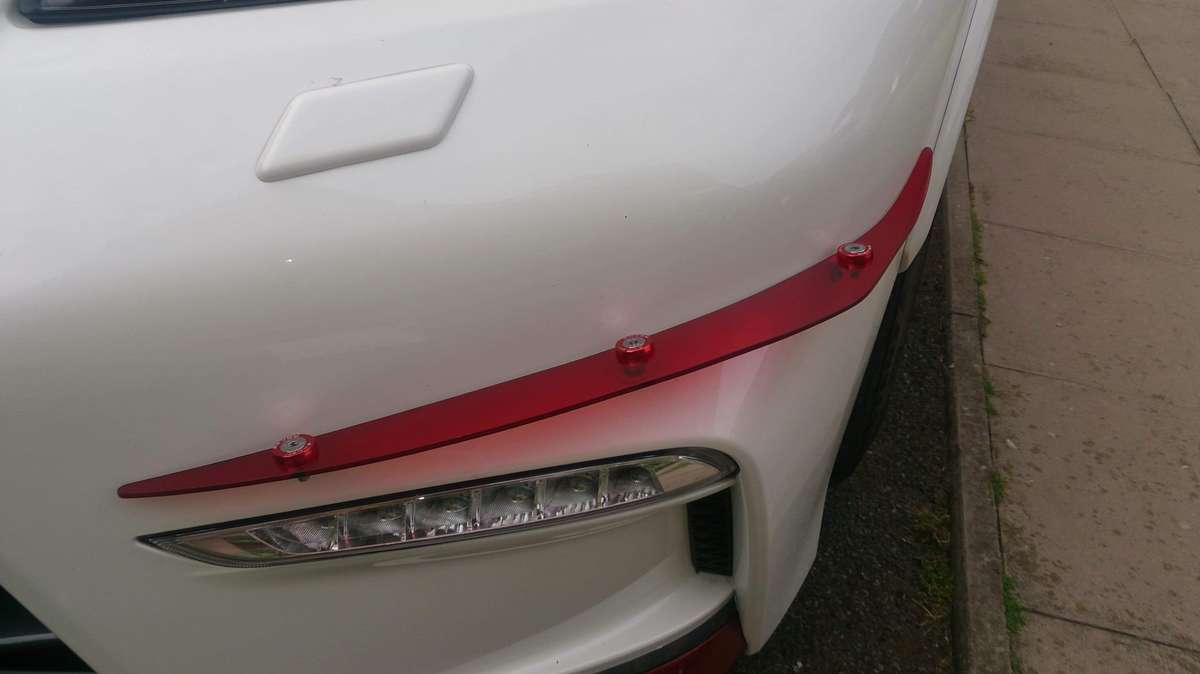
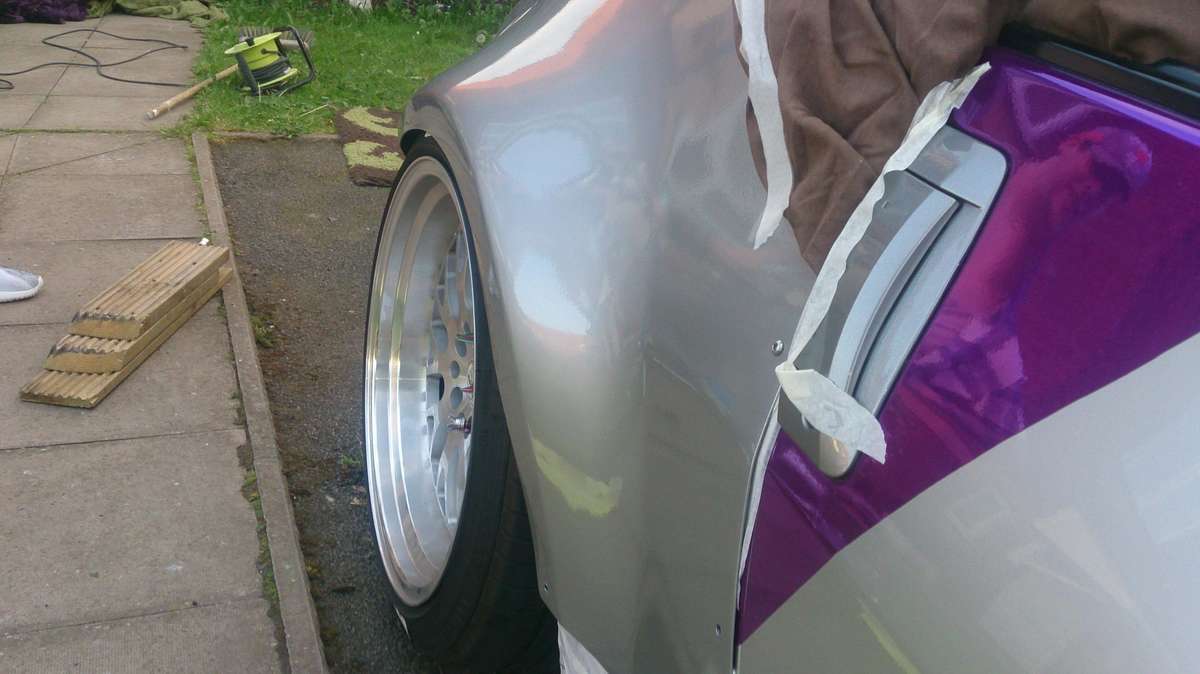
Wide canards now,
, we had a great time mate a pleasure working on that car of yours
-
1
-
-
Thank you Martin
-
2
-
-
Another nice photo from the Ace with Khelers in attendance
-
2
-
-
 A rather great photo from the Ace and not even a wide rear to be seen
-
2
-
-
1 minute ago, veilside z said:
More than adequate for this type of application. Strength can be gained through glass fibre resin over sealing, bonding the two units together. but prior to this, filling the cavity with Expanding Foam/Tiger Seal or Windscreen Sealer. All 3 would undertake a strong enough attachment as the Welding id a filthy job and nine times out of 10 will result in Welding Splatter.
Well said Mike, the fixing of the inner back to the outer arch is the most important issue and welding would be a perfect fix but the fibreglass and underseal is good enough for me,
-
Thank you Mr Veilside and you certainly know your wide Zedds

-
1 hour ago, SHEZZA said:
Yes a great guide mate, and as the Hoff would say “ I like it “
if only you had done it sooner. Haha who am I kidding ") now you know you wouldn’t have gone that route
now you know you wouldn’t have gone that route ")
thanks for liking the write up mate, just trying to help anyone out that may want it
-
2
-
-
5 hours ago, OnlyAfro said:
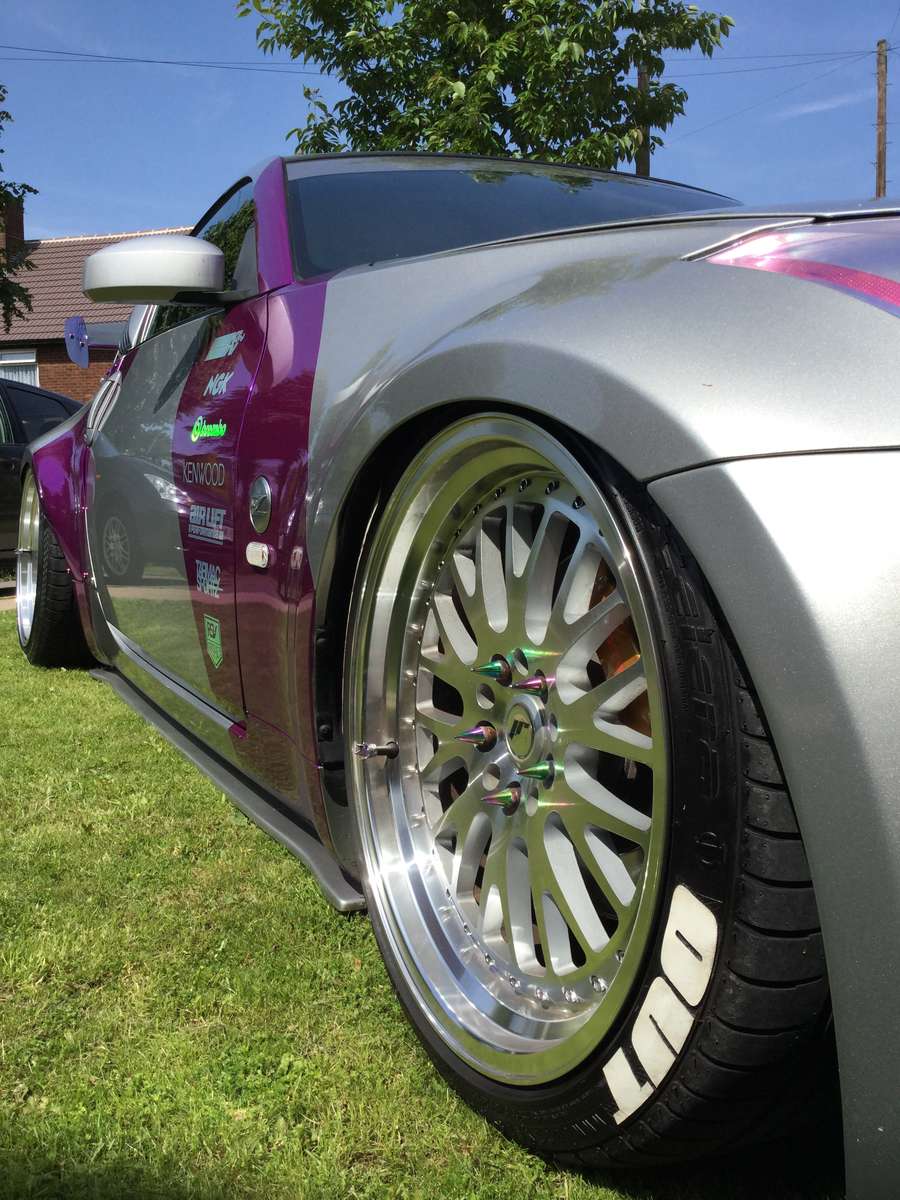
Ooh, Crown Carbon Crafting style overfenders.
Prefer these over RB / VS as they complement the curves of the Z to give a natural widebody rather than protruding from nowhere.
Could do with some front overfenders to match though and some proper wheels not 50mm spacers
I don’t want front because if you look the car is my own build I don’t want it to be too wide on the front as it will handle like sh#te I also like my wheels for now, everyone has deep dish and guess what it ain’t like everyone’s
-
47 minutes ago, Ogman said:
Love it Mark, hope you're all good buddy

Thanks mate yes all good see you soon buddy
-
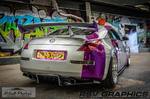
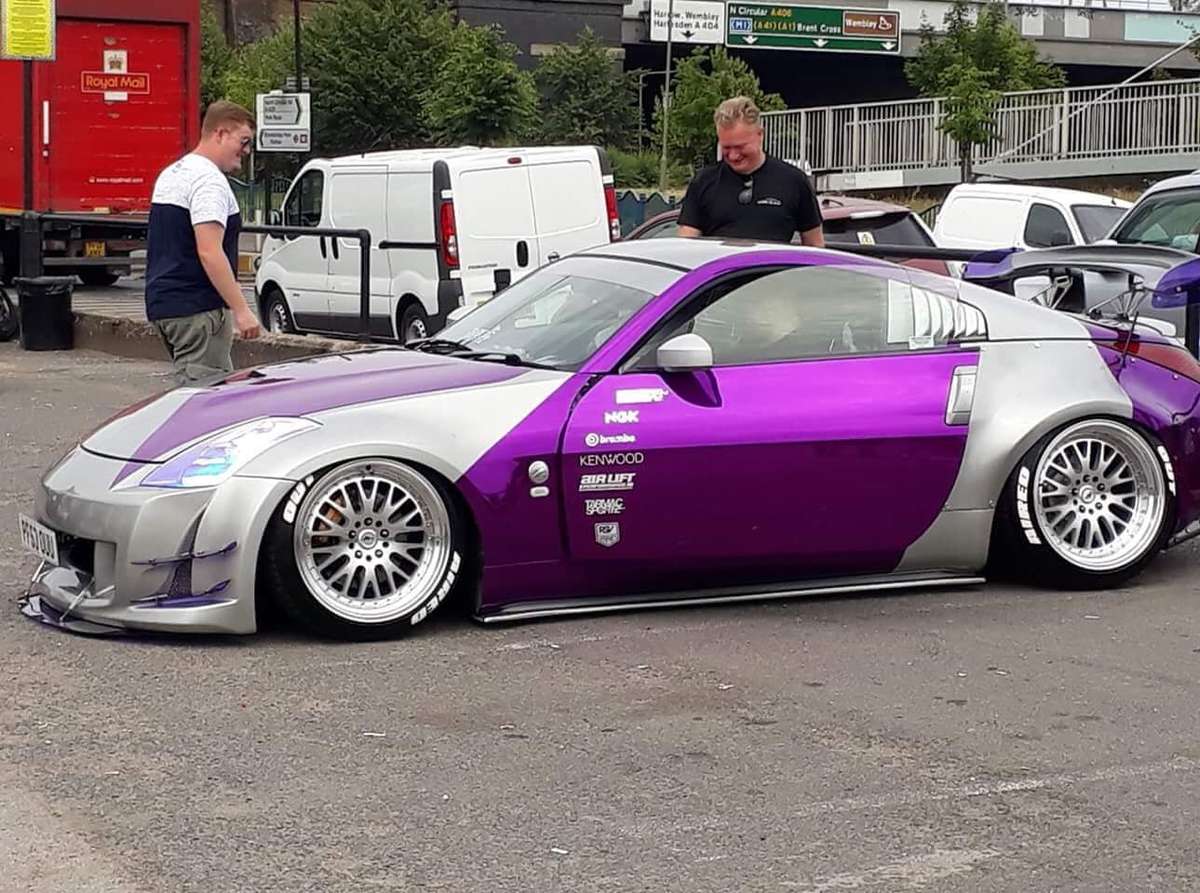
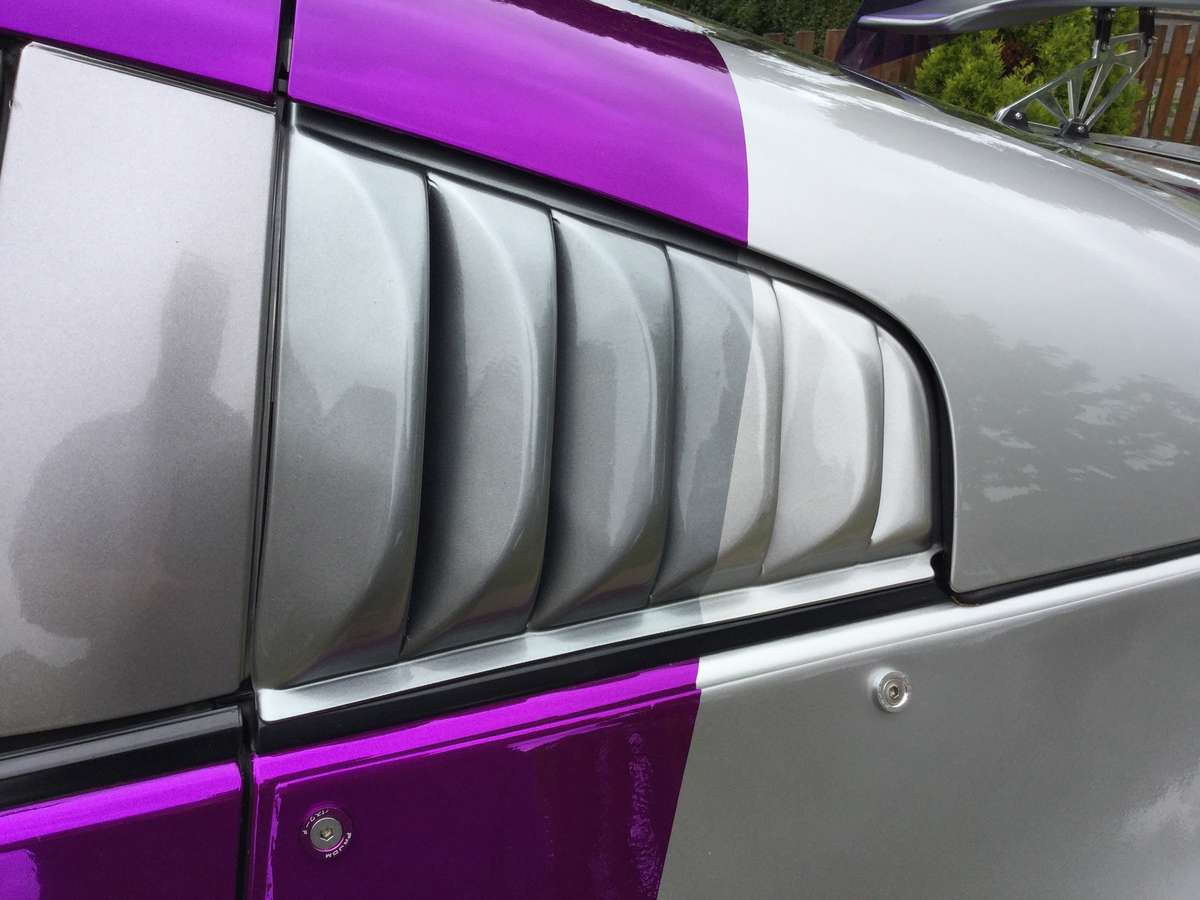
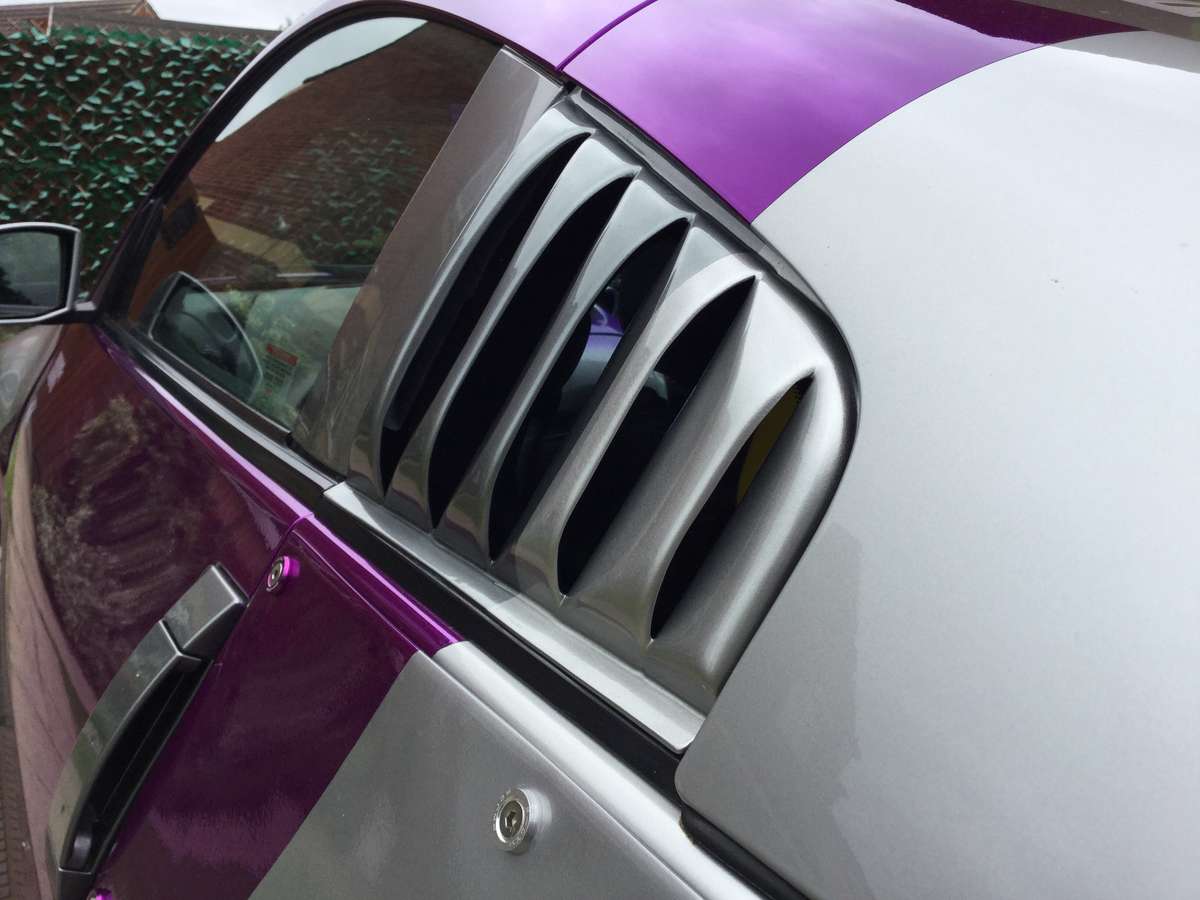
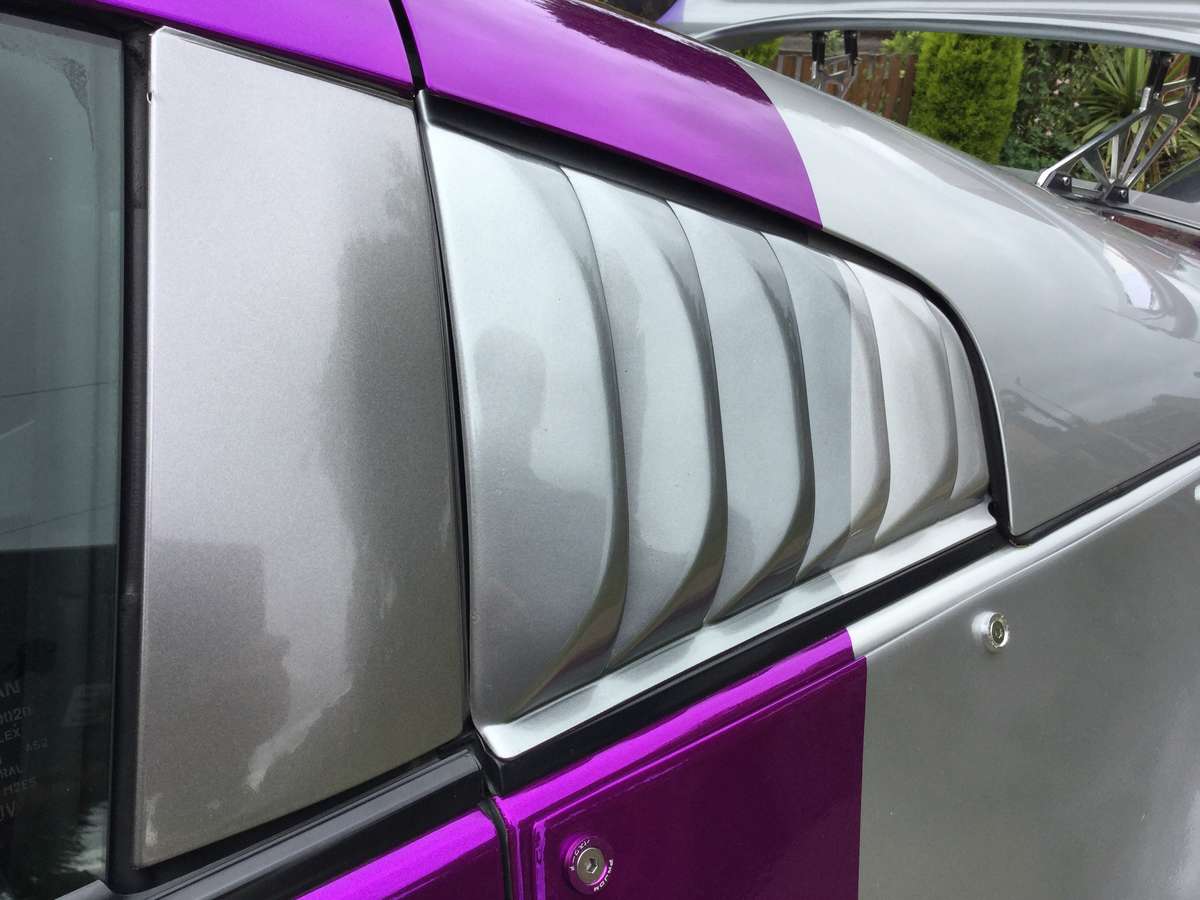
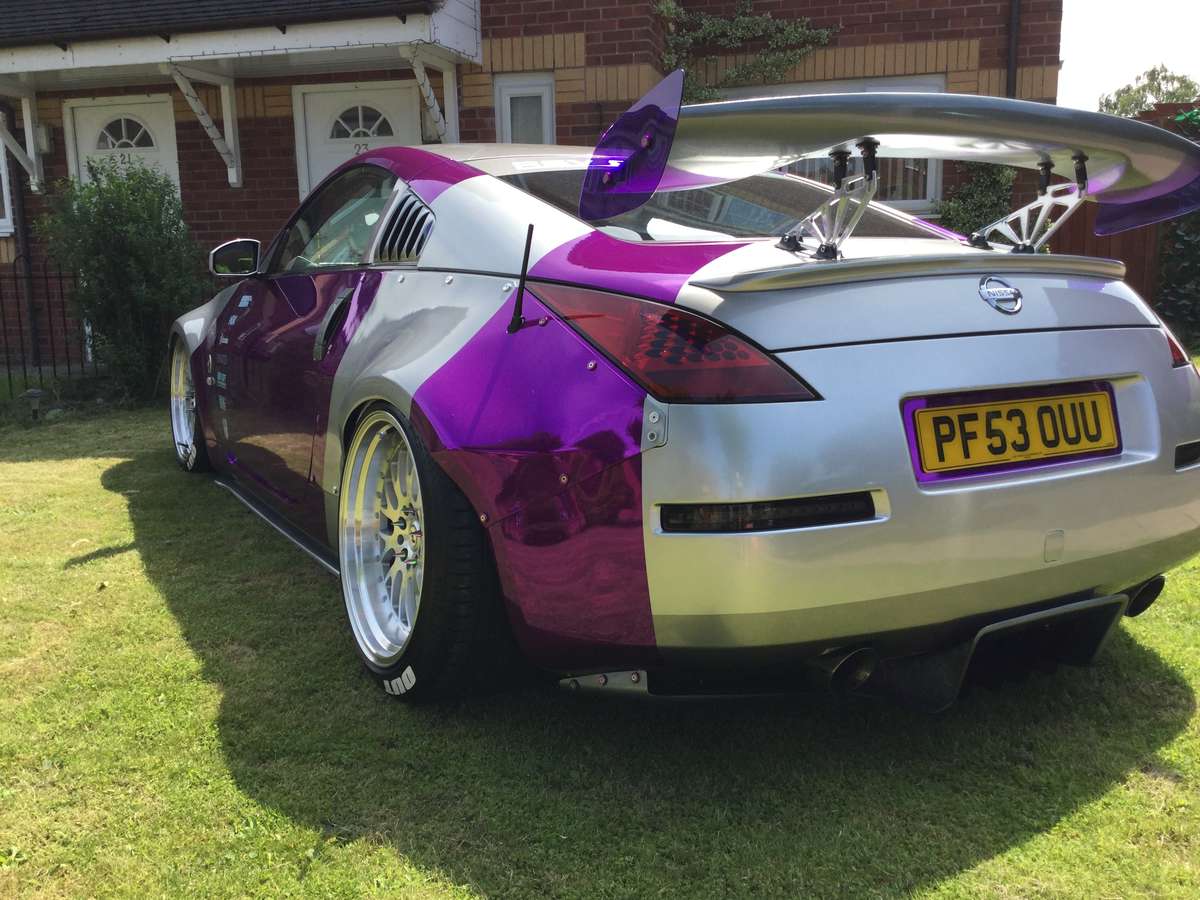
Been a little while but fitted Chris @Tarmac@TarmacSportz New rear window louvres, which I painted a combination of blade silver and Gunmetal to match the theme going through the car, IMO the best you can get (I did do a fair bit of the design) but they really do suit the Z
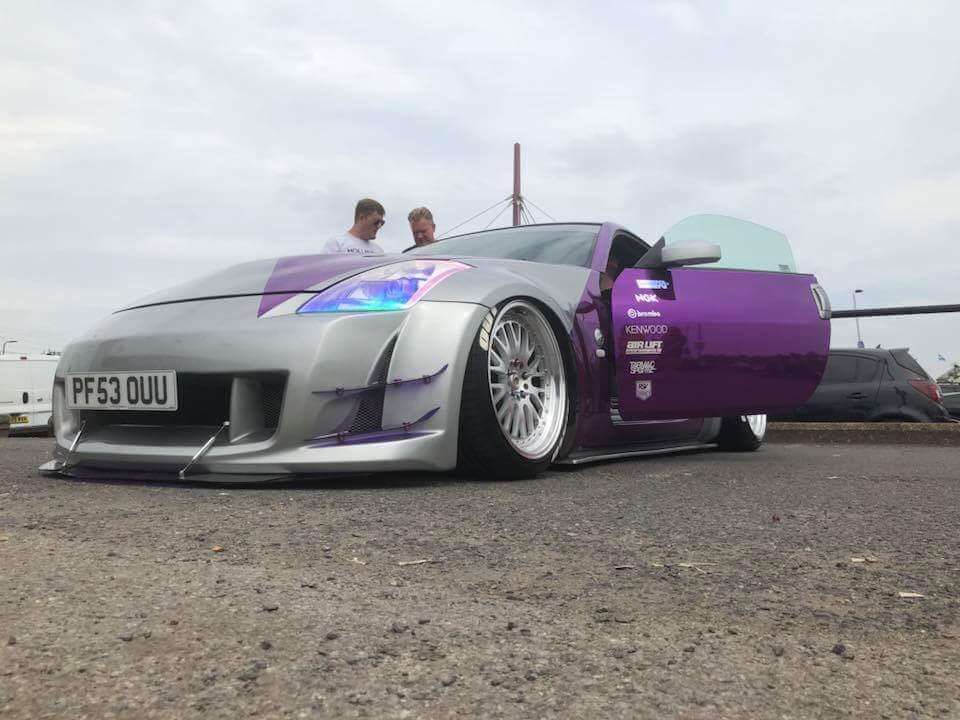
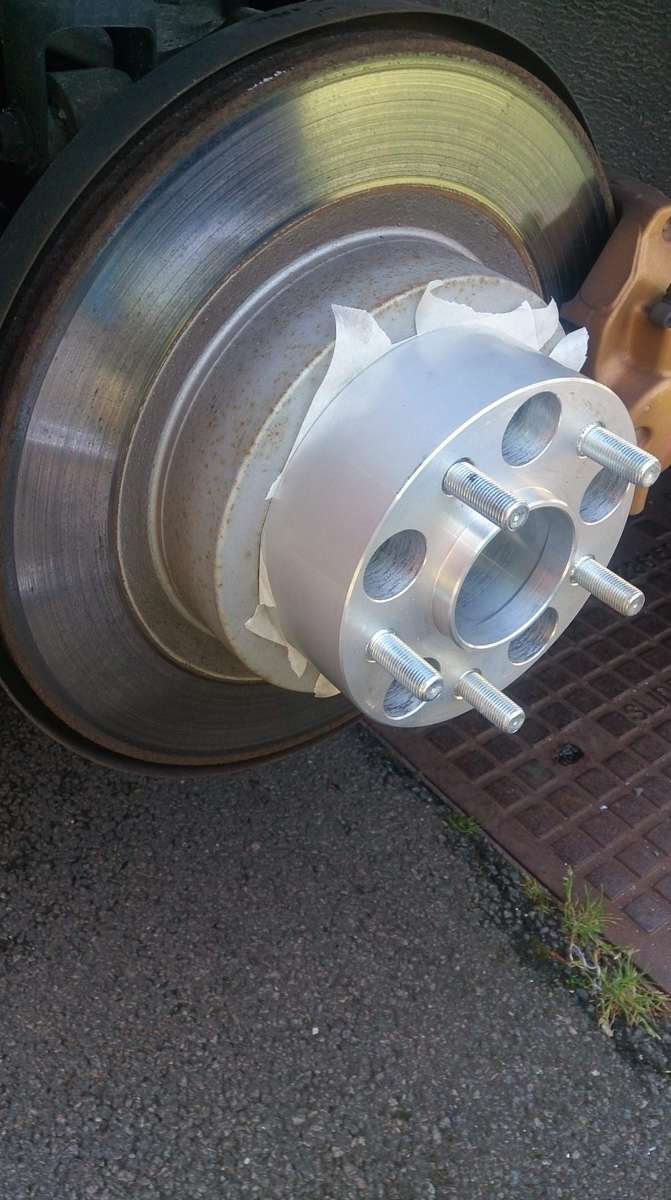
 The mod is a Major one, I basically fitted 50mm wide arches with 50mm rear spacers to suit, I have done an extensive how to do it and it’s in the Guides section but here are a few photos,
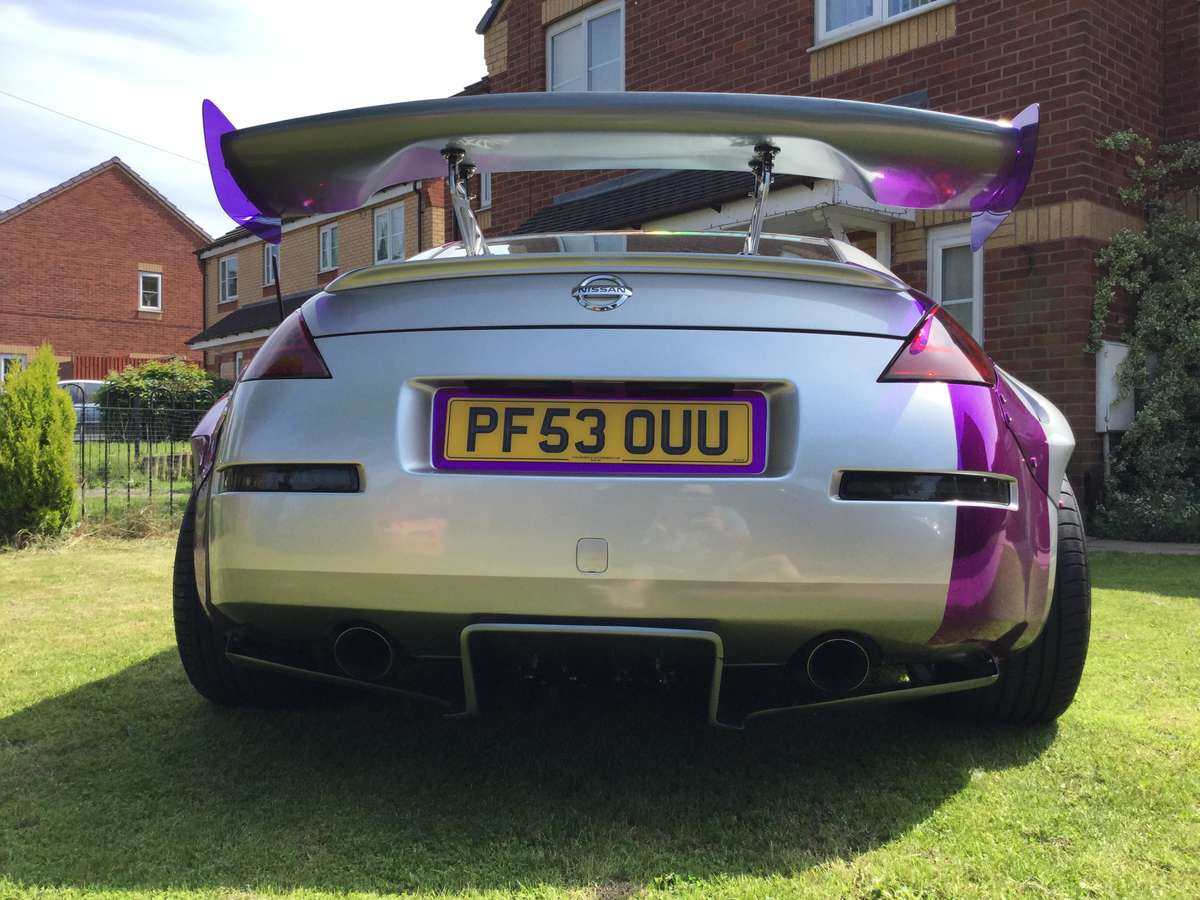

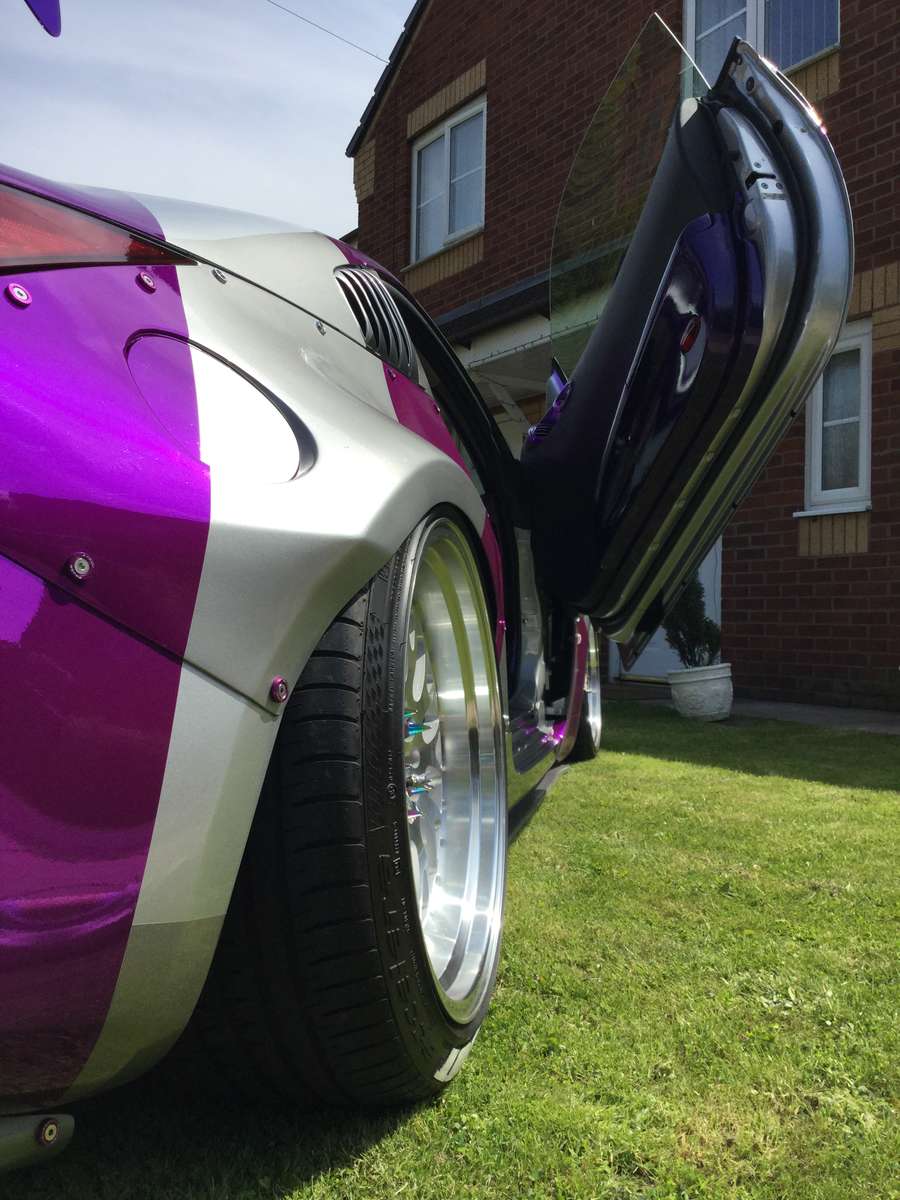
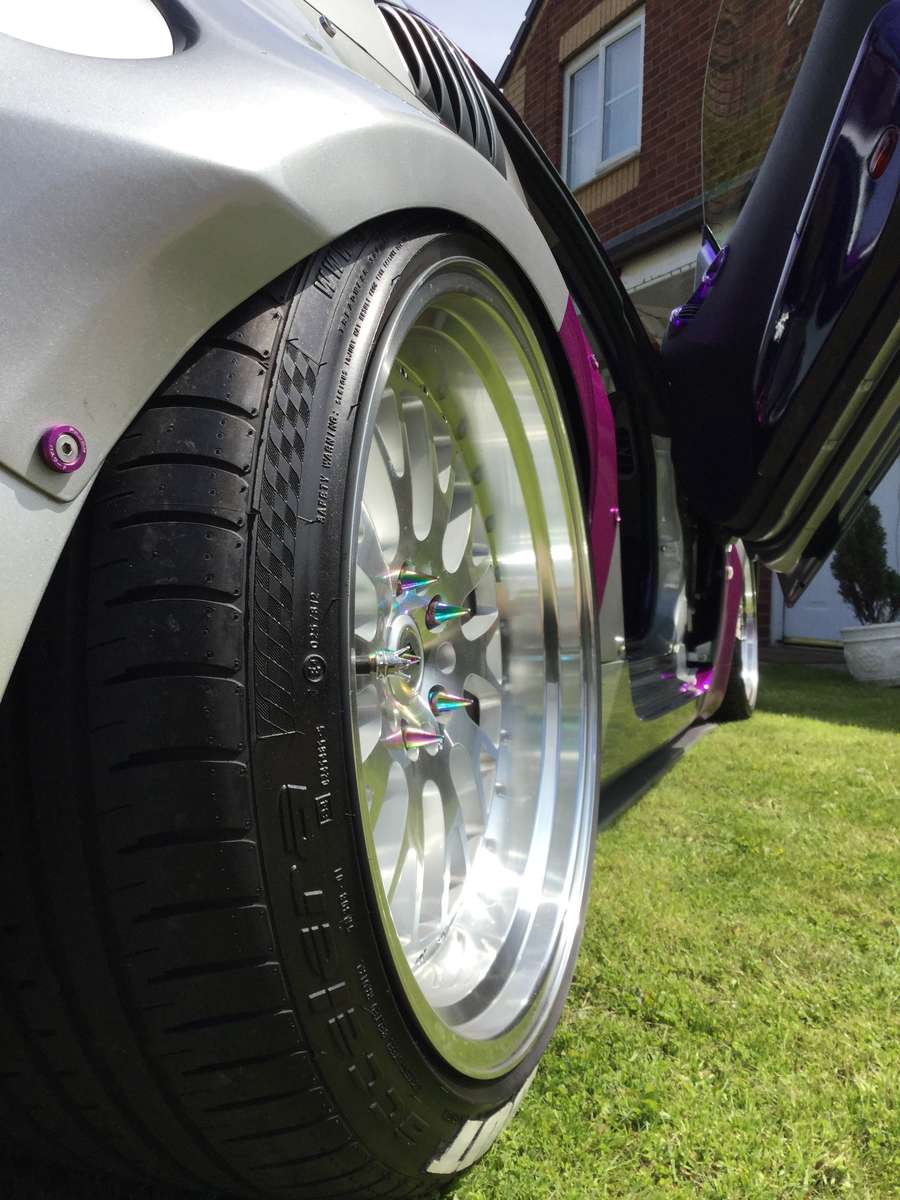
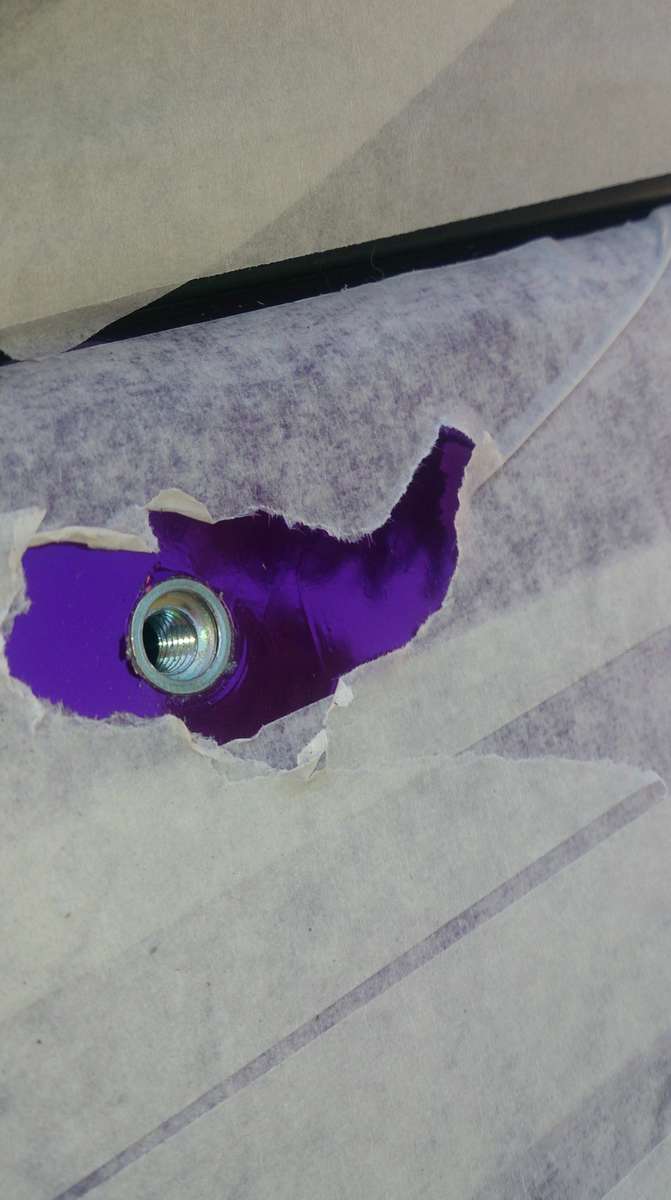
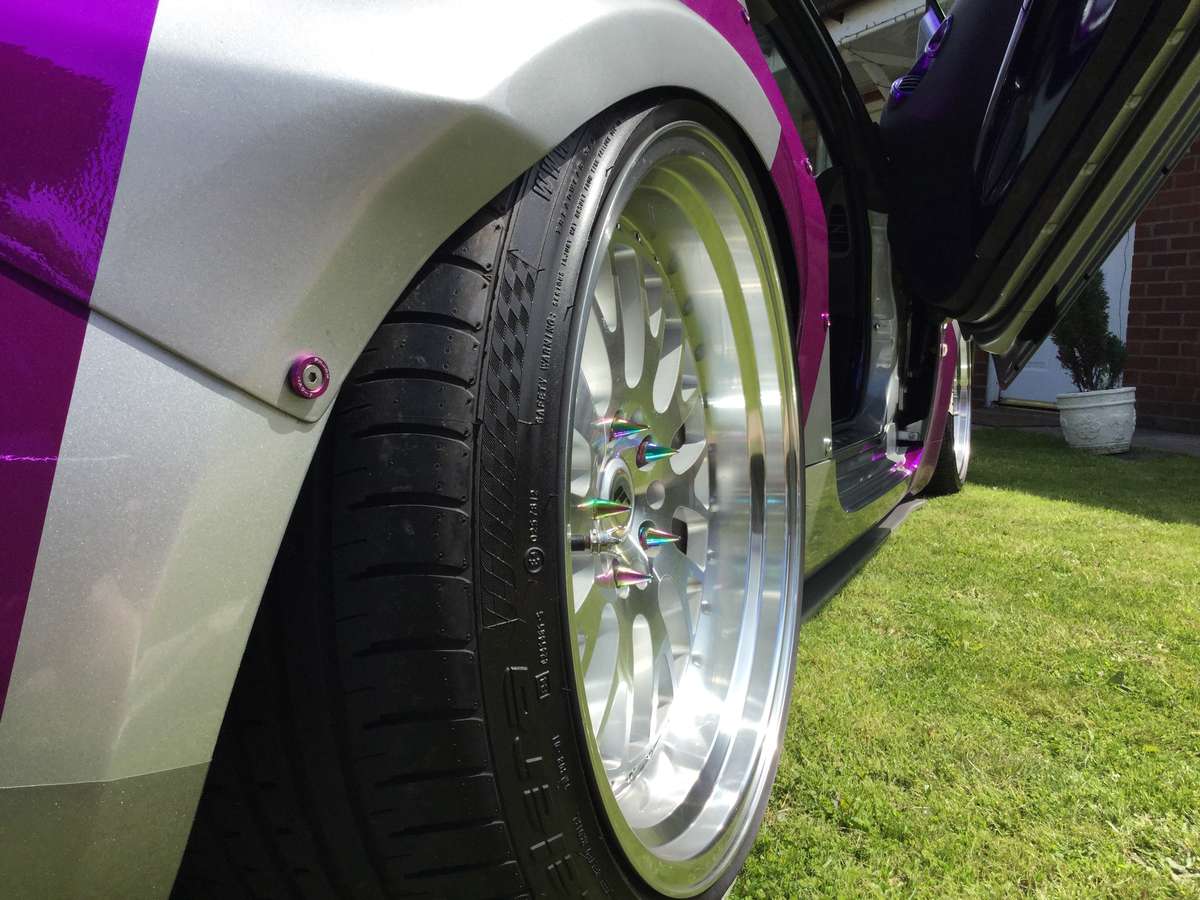
 I even managed to get some colour coded bolts and washers
-
2
-
-
Hi Zedders, as many of you will have found out many of our beloved cars suffer from the dreaded rust on the rear arches.There are a few things you can do, leave it do nothing and eventually your car will look really bad.Get it fixed with cutting and filler etc DIY, or get it done professionally and and have cut out re welded and re painted but it Will cost, anything from £300 plus just for starters per side and then you are hoping they done it right.
Well now there is another option, fit Tarmac Sportz 50mm rear bolt on arches.i had the dreaded rust and fettled it every year but I knew I had to do something, well Chris @Tarmac@TarmacSportz Came up with the idea of me doing what I am about to show you and fit these rears to my beautiful car, after about 2 seconds flat I said ok let’s do it.
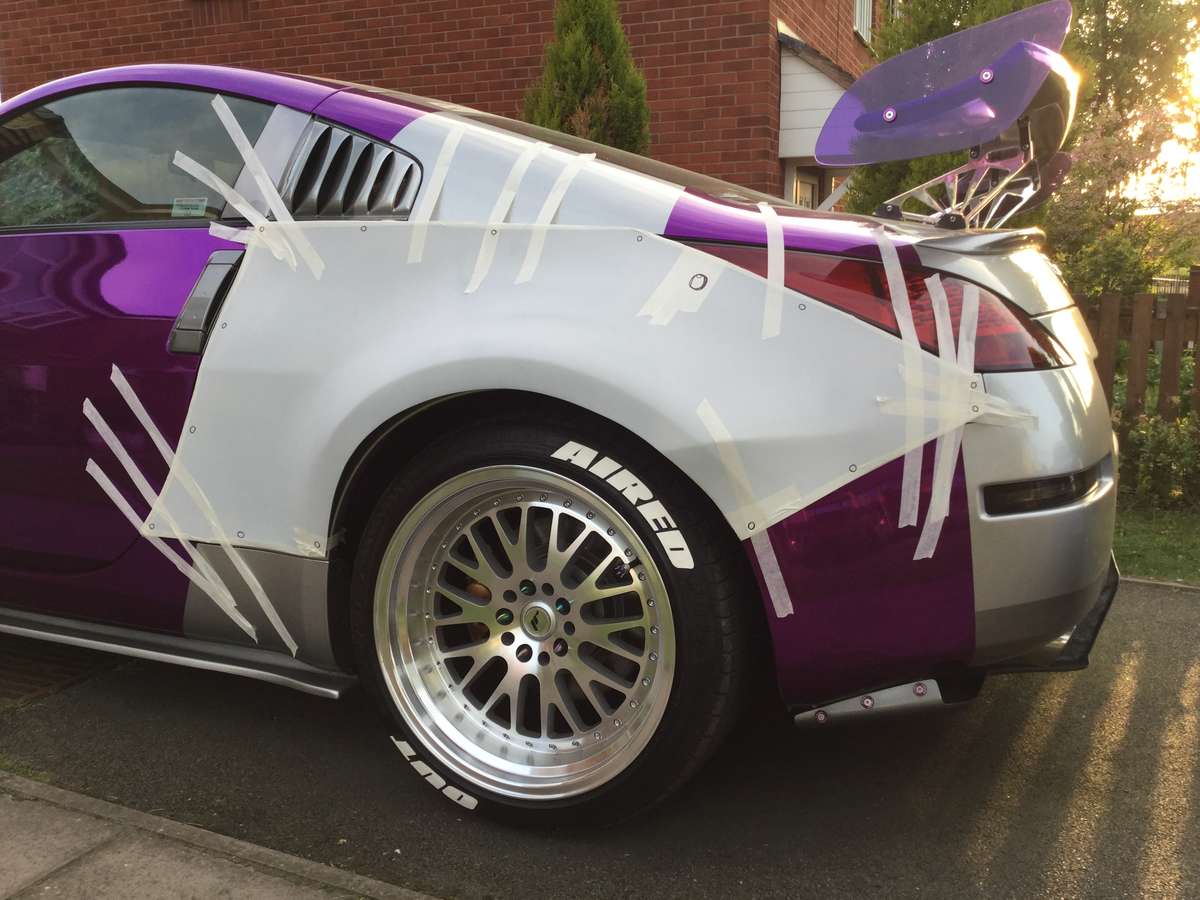
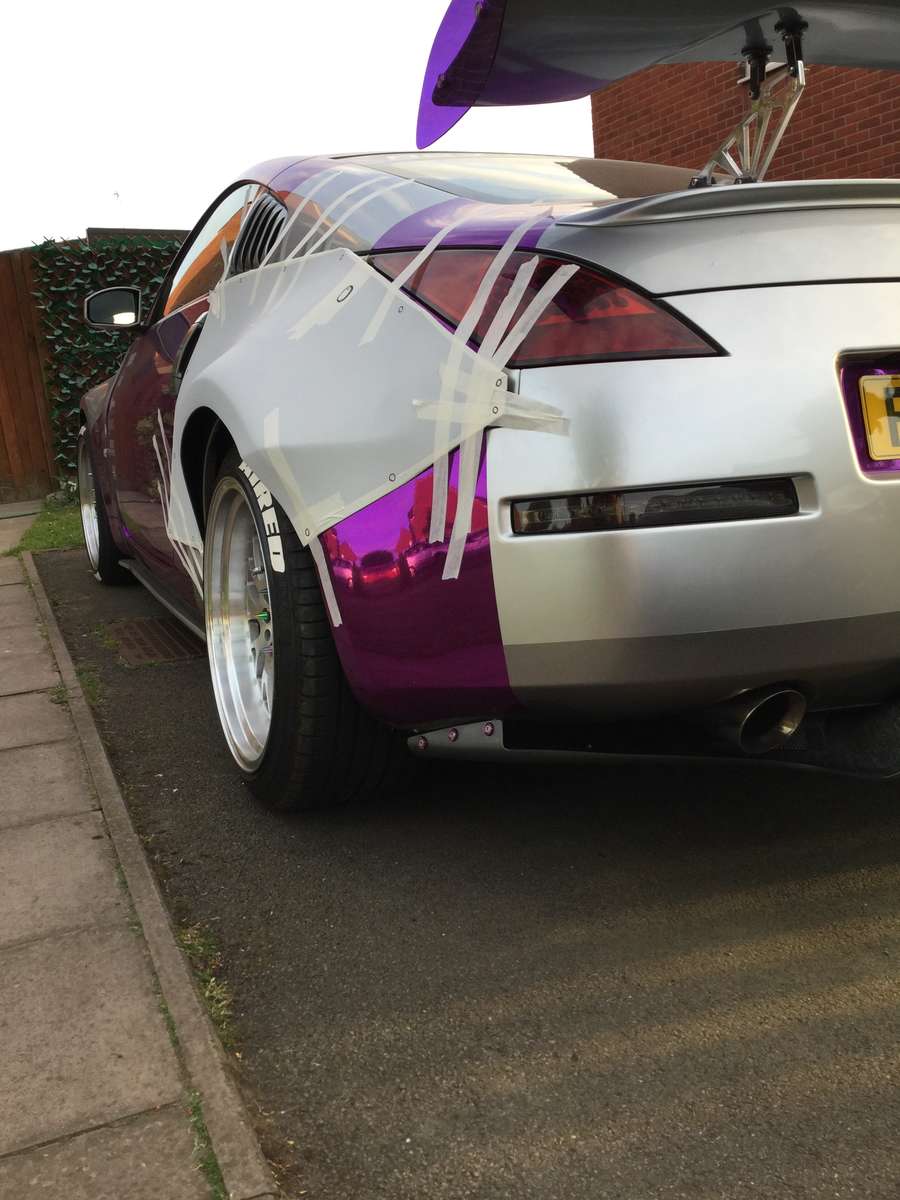

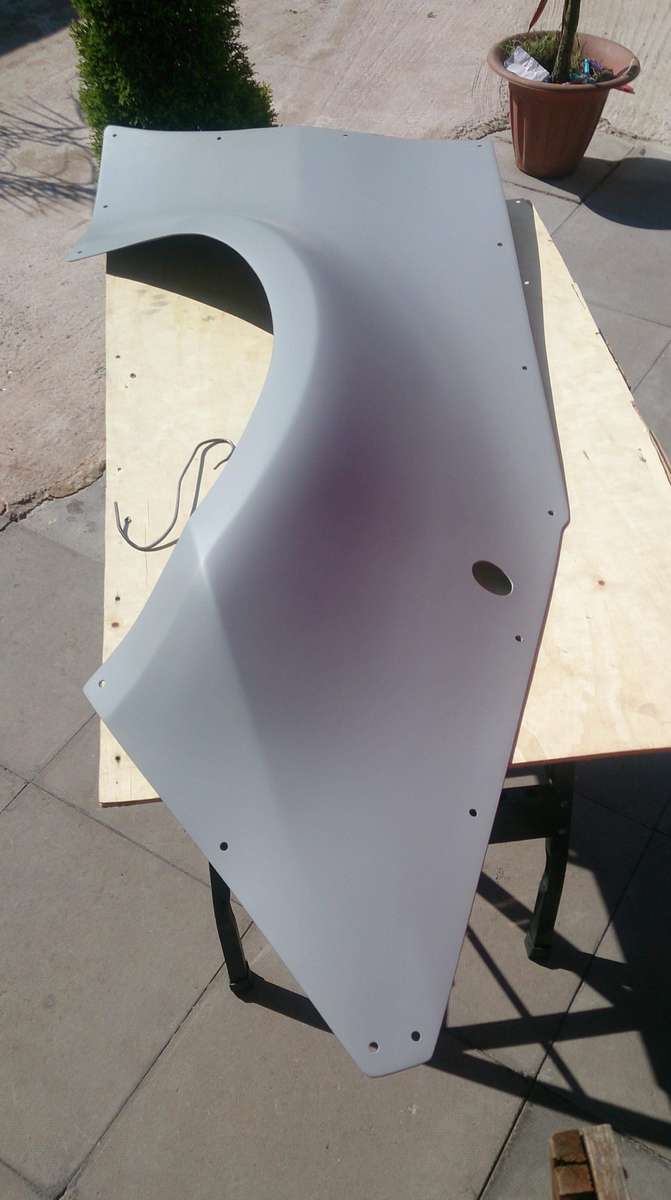
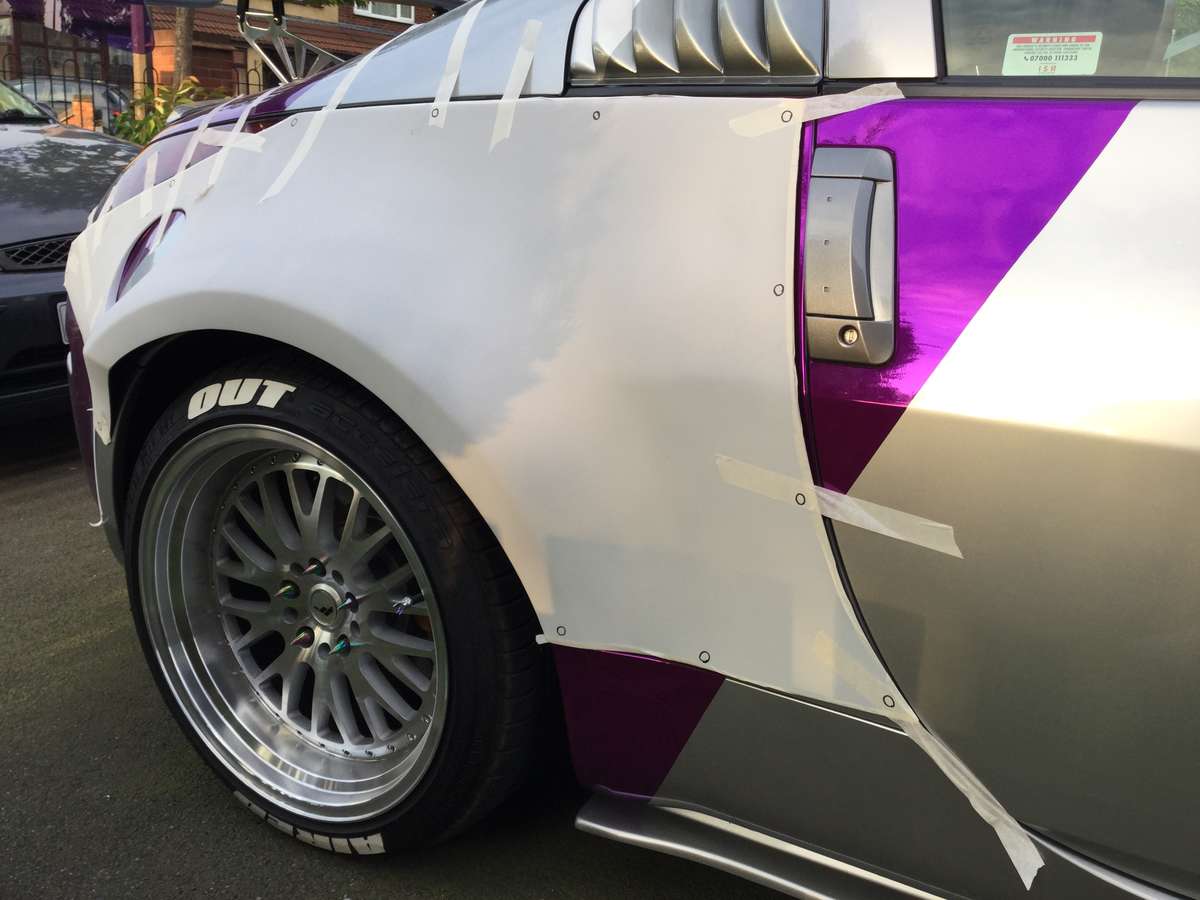 this is first mock up I used masking tape to just hold it in place and roughly marked up and spaced out the potential holes for the bolts,

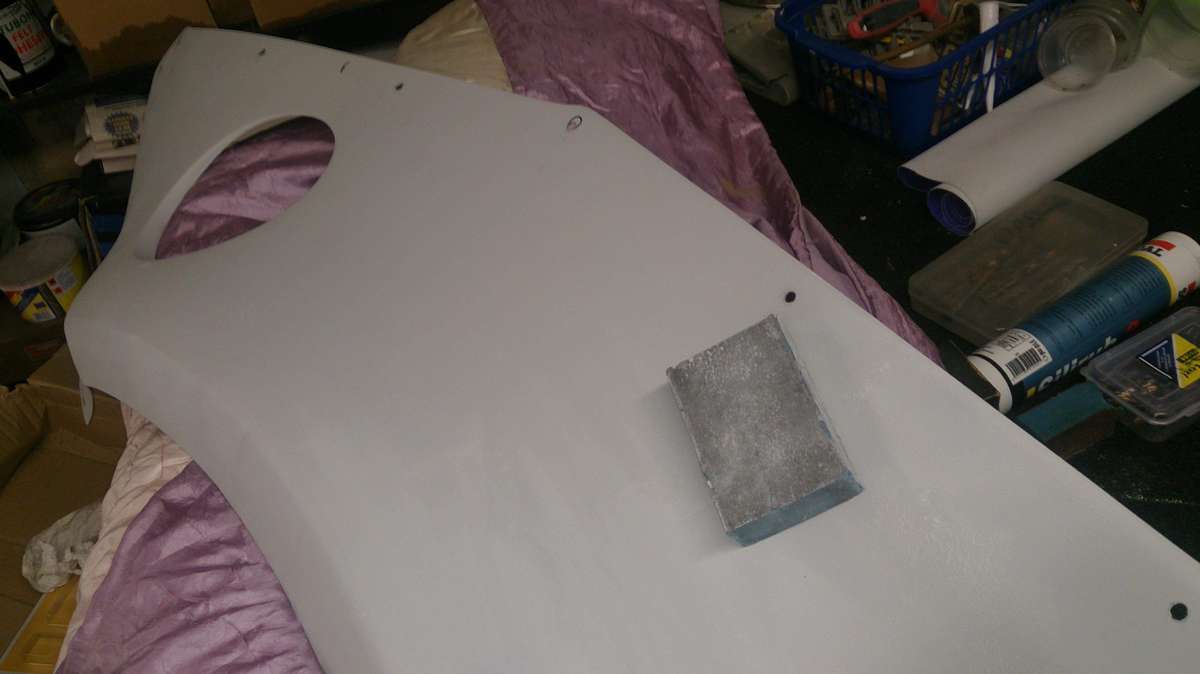
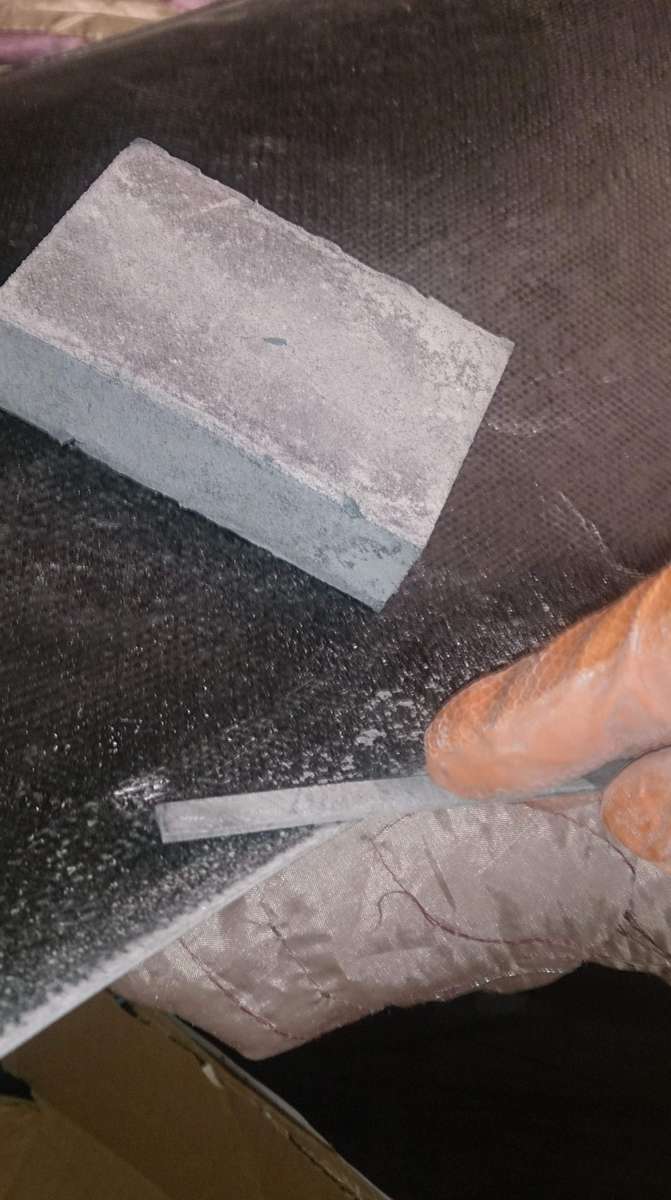
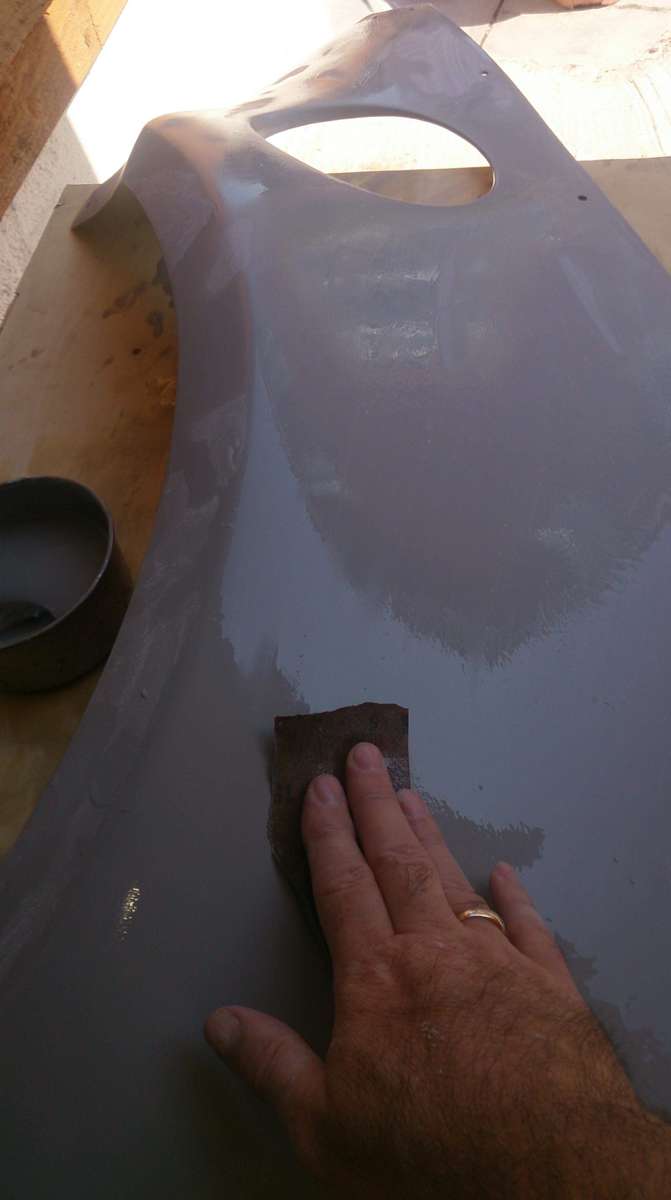
 The first thing was to cut the hole for the aerial, then I would say I spent around 1.5 hours to fettle the both ( I am a little picky on this, an hour would probably do) sanding blocks big files and little fettling files are what I used, you just need to get a couple of the edges straight and away you go.
i measured 20mm all the way around and th spaced the holes for the bolts, a 6.5mm drill for this but a smaller pilot hole is advisable to use first.
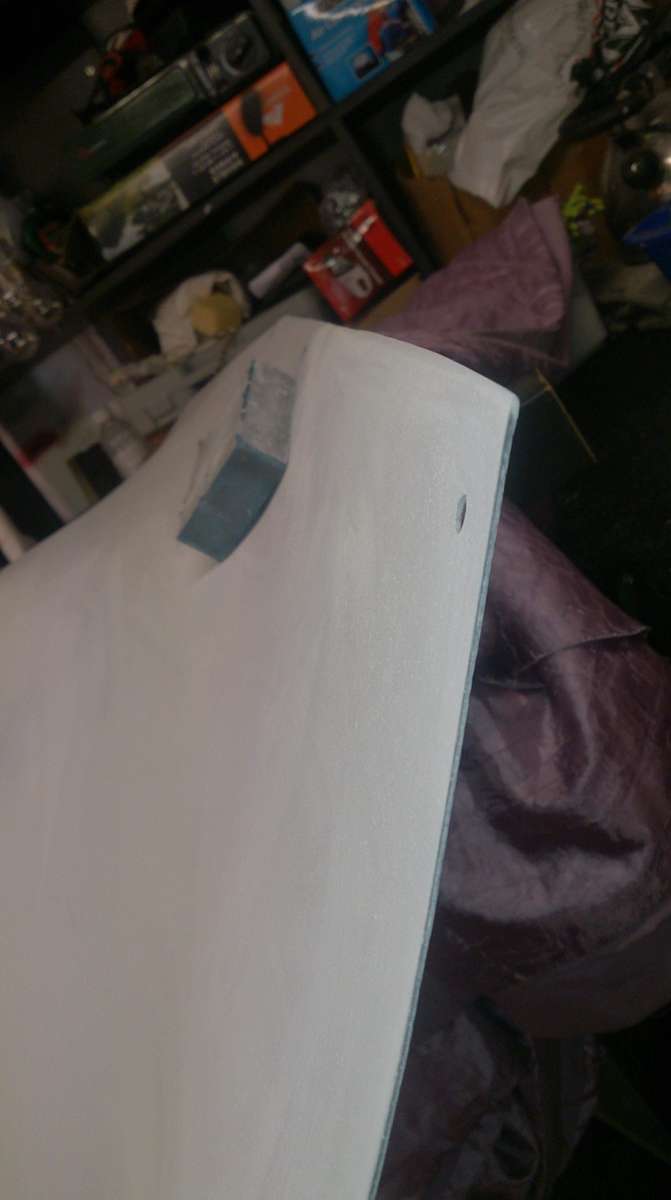
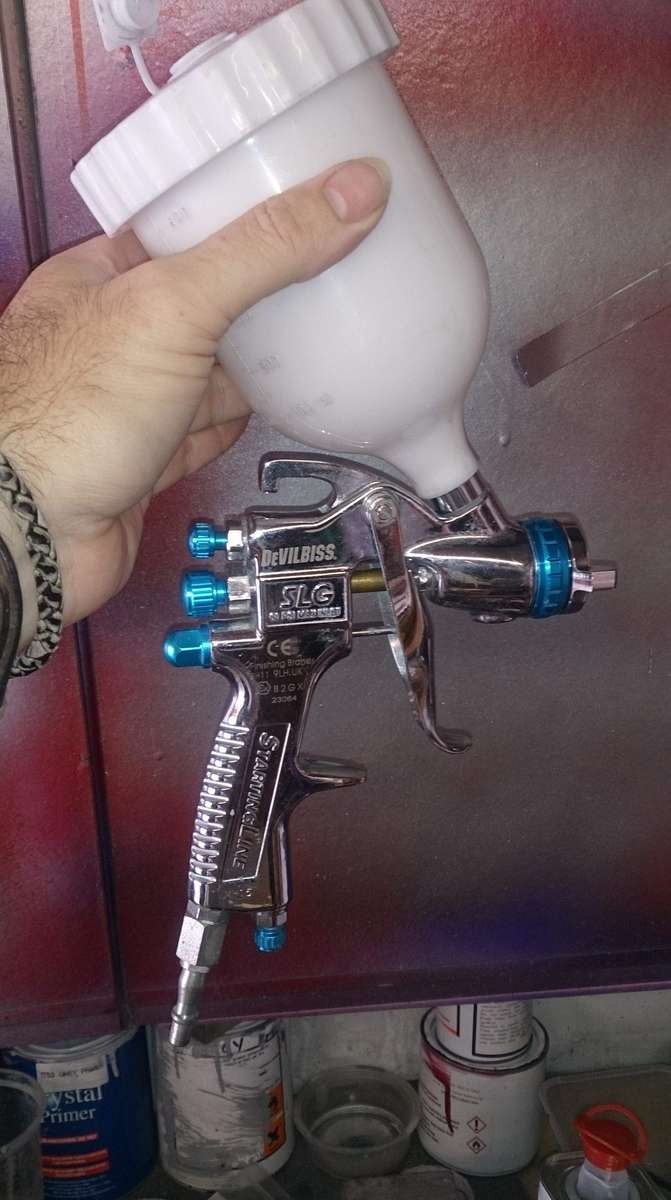
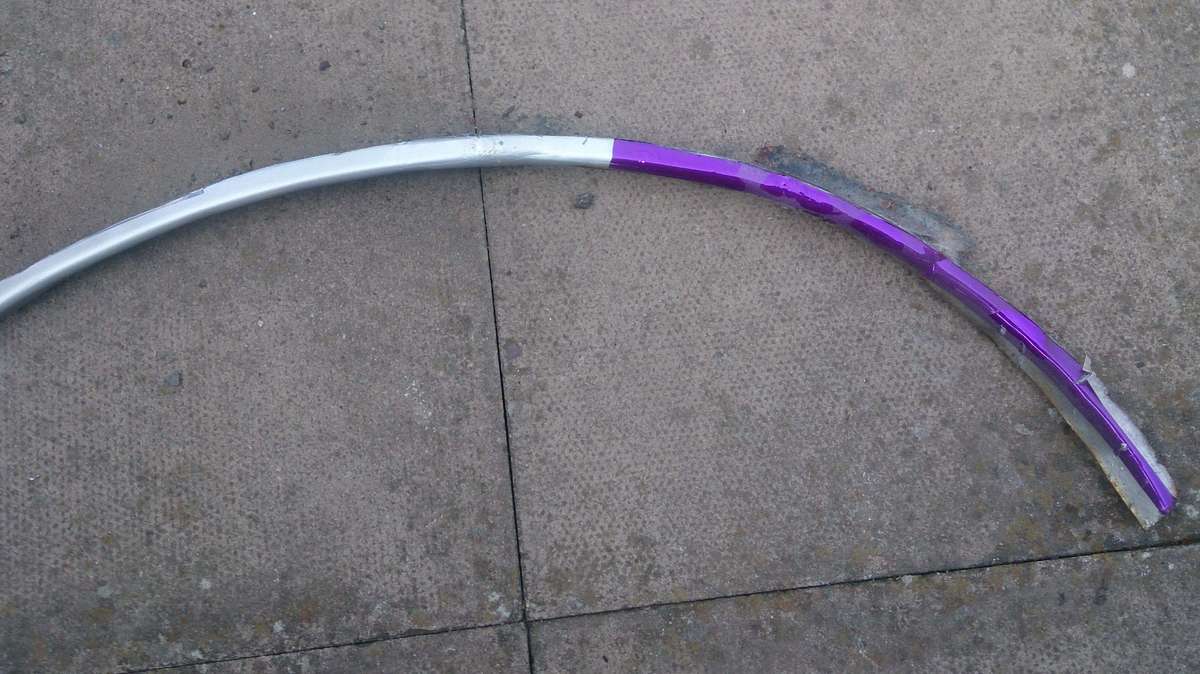
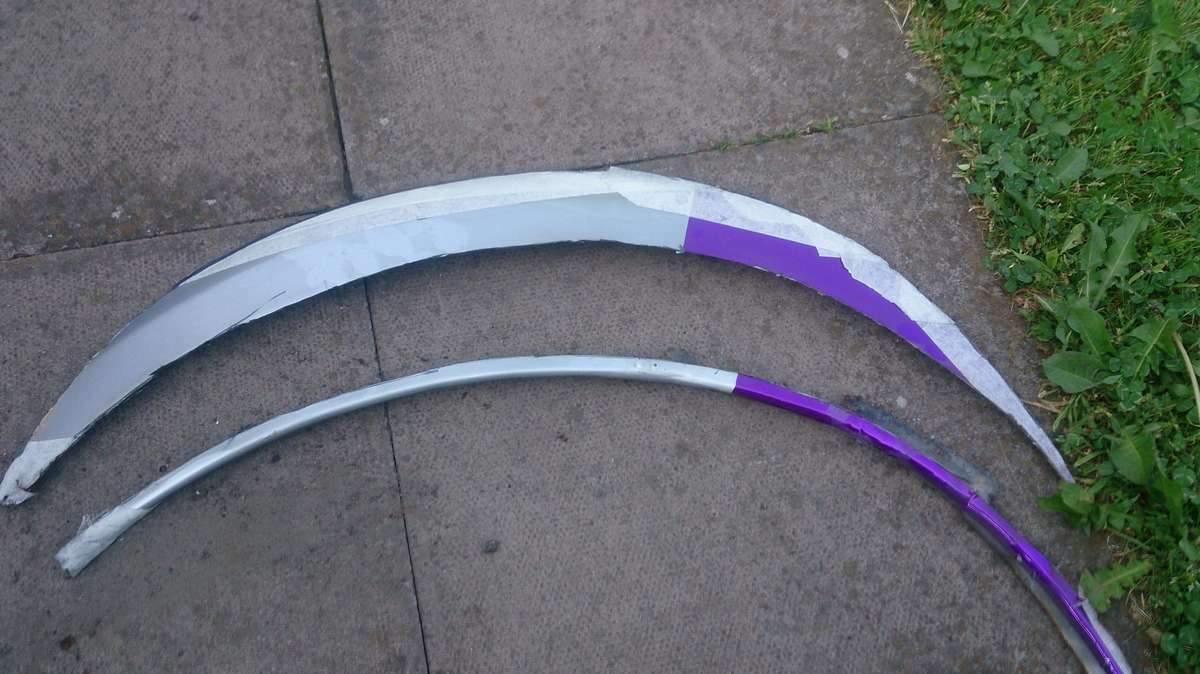
So with prep all done it’s time for Primer,
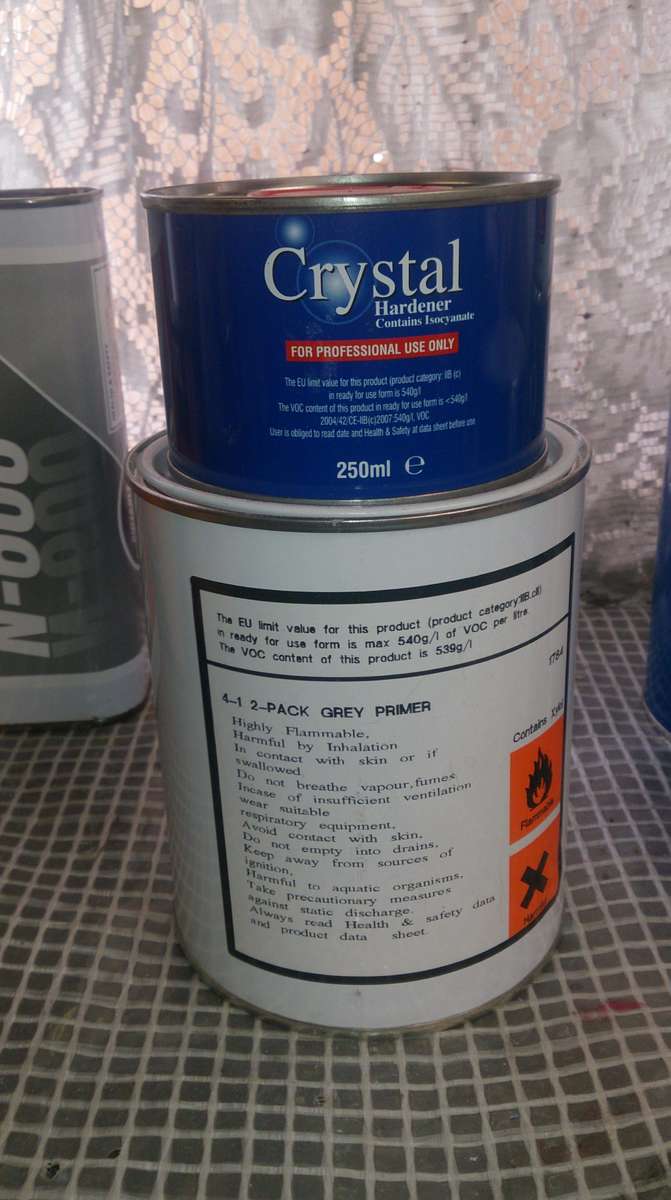
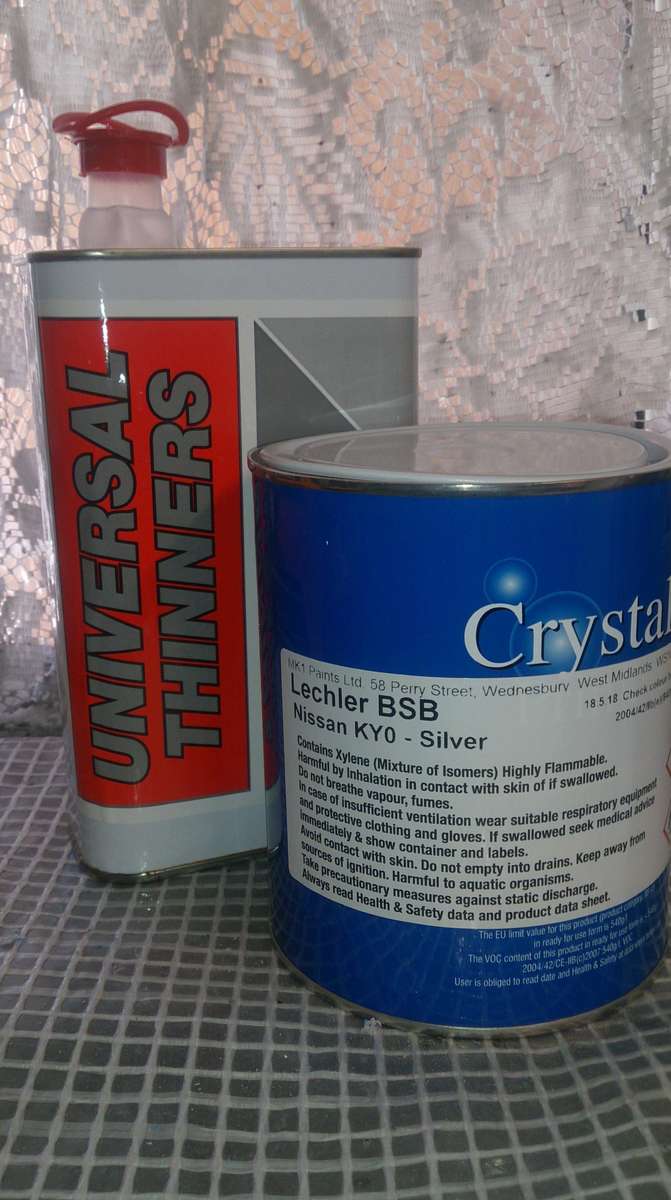
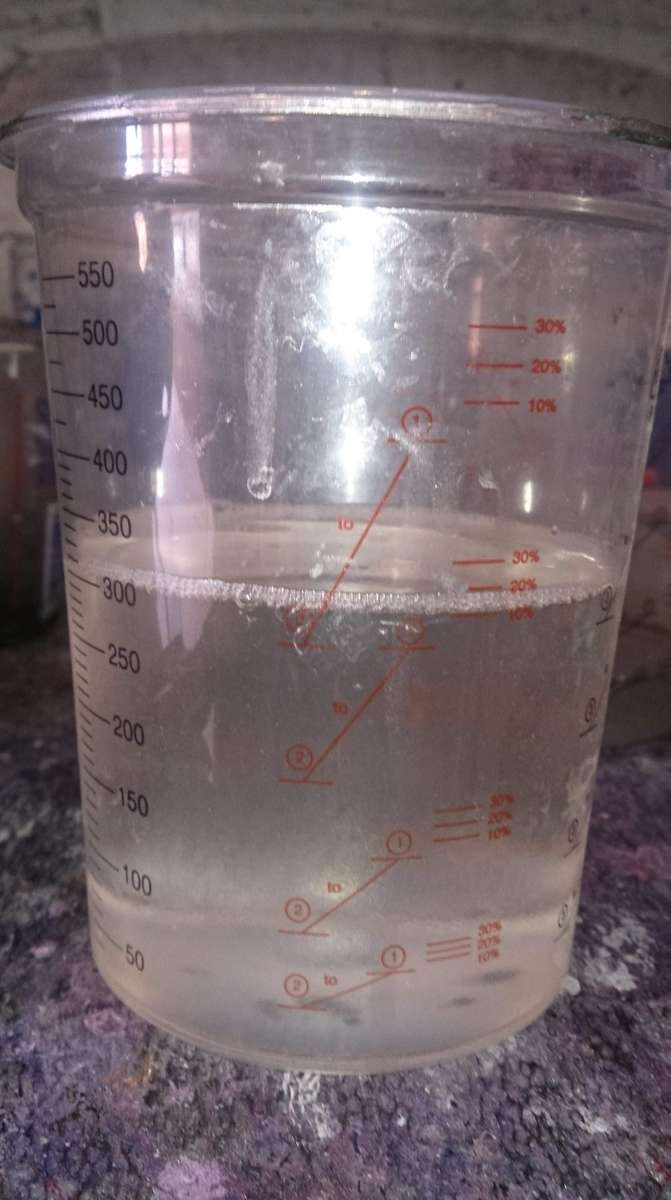
 With the weather very hot I painted the panels with 3 coats and left them to dry for 24 hours, next morning I wet sanded with 1500 grit ready for colour which in my case is Blade Silver paint code KY0
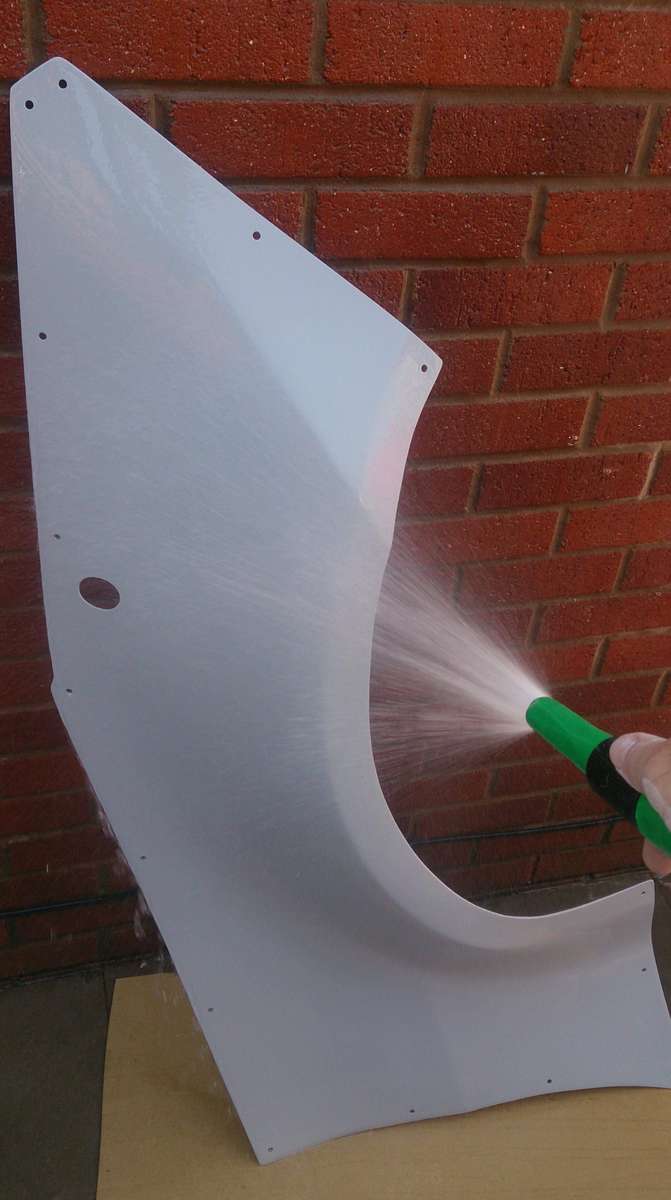
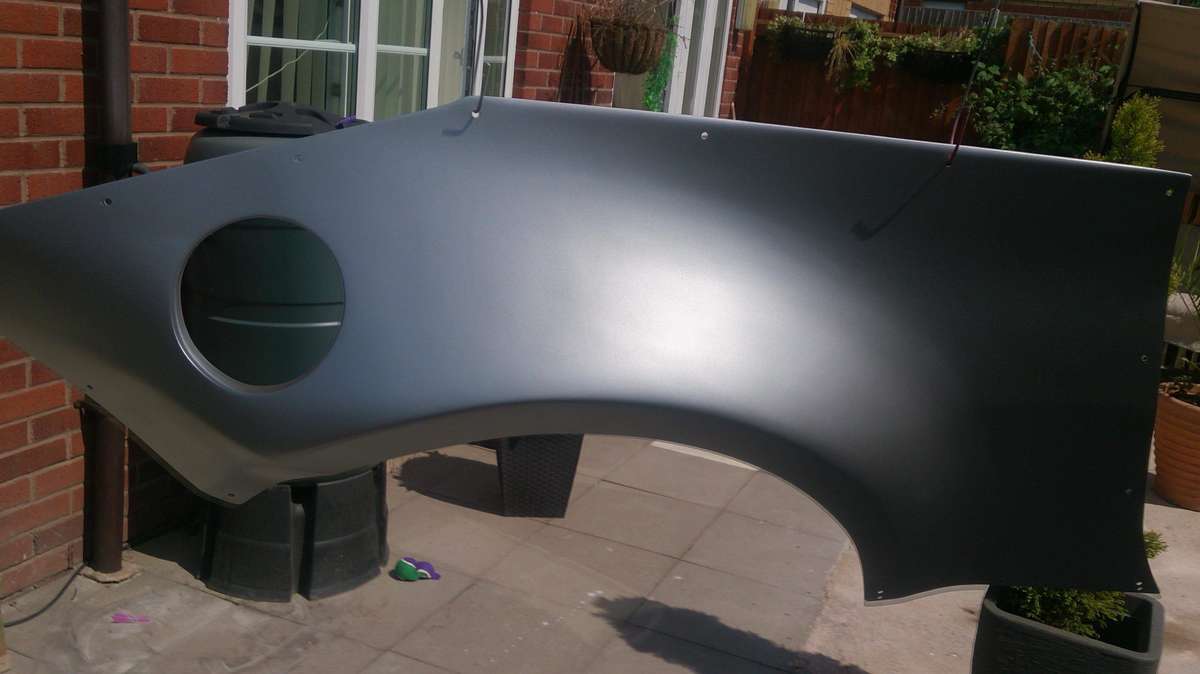
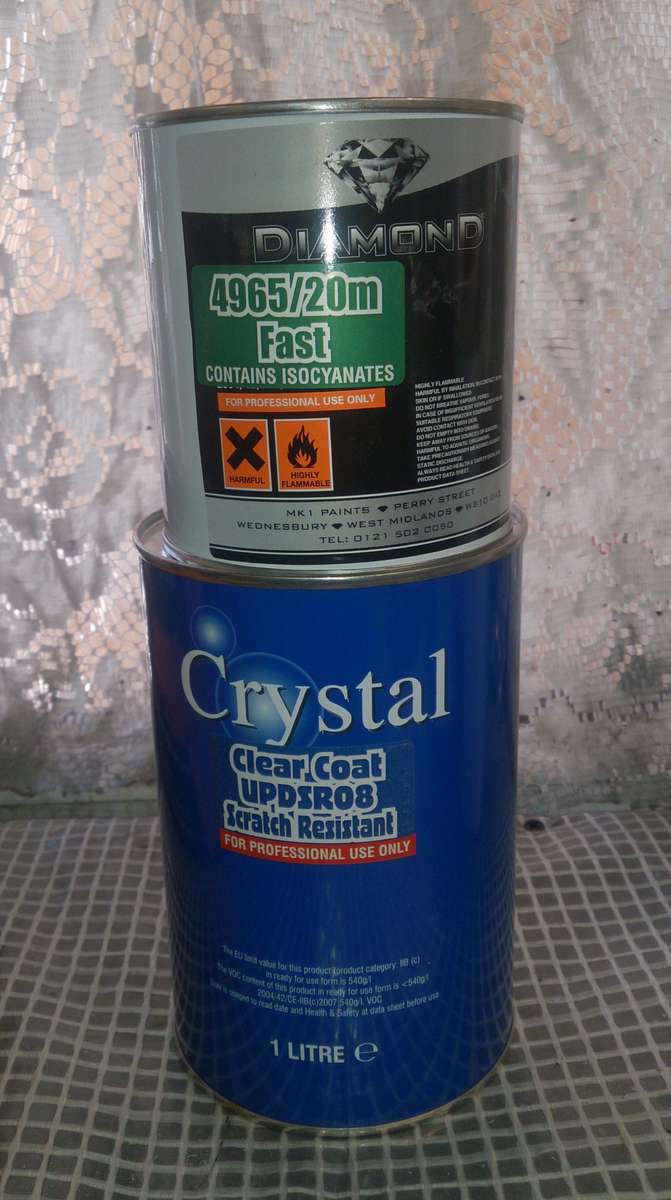
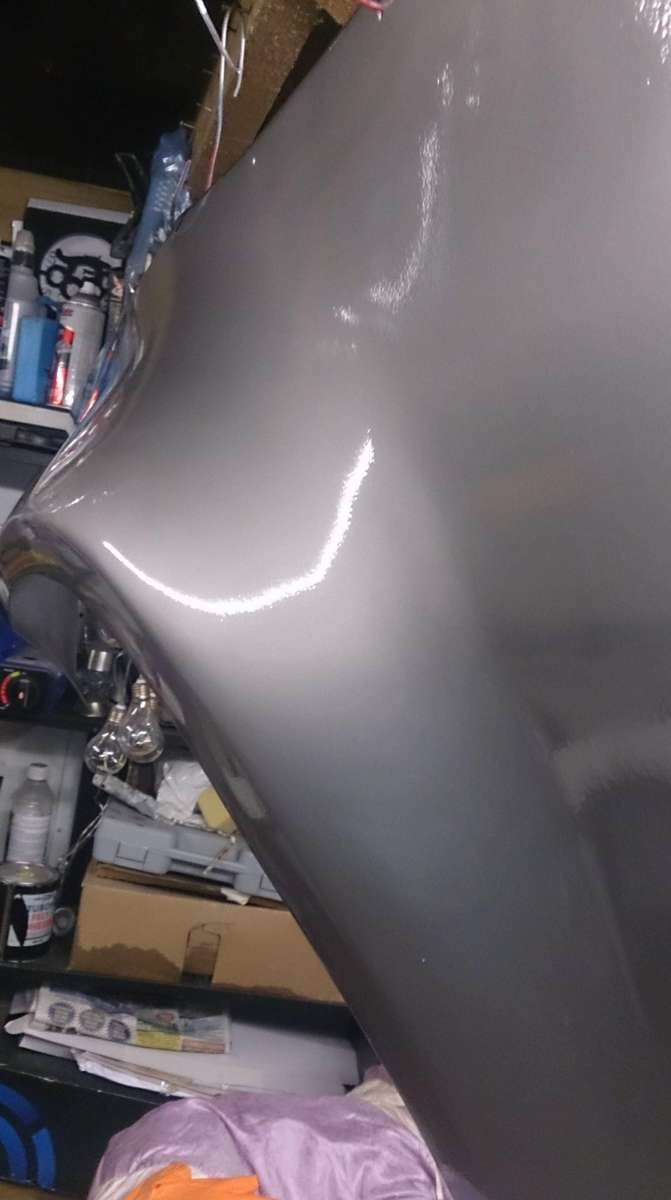 So after a further 3 coats of colour and 3 of clear, it was just down to time for them both to dry, after another 24 hours the final result was very pleasing and I could then start the cutting.
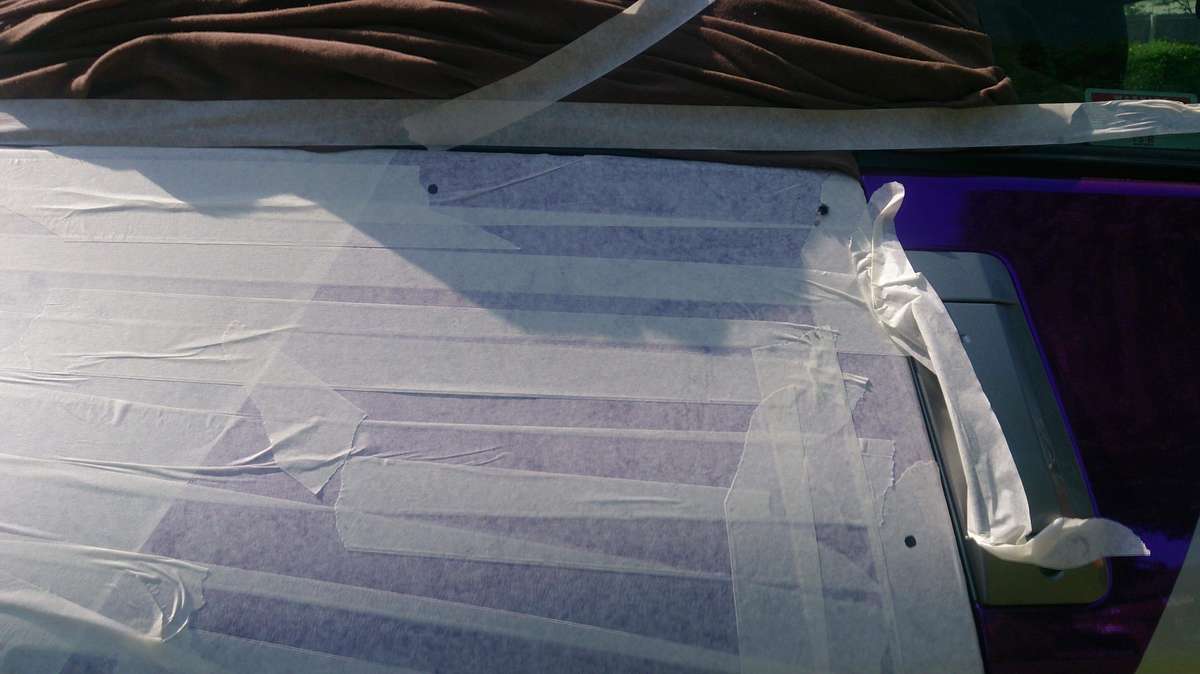
 The day came when it was time to start the cutting, first off I had to mark up the holes for the bolt holes, as I was using 6mm Rivnuts as these fit into the body and the back pulls up and locks you simply screw your 6mm bolt into them like a fixed nut.With all the holes drilled and rivnuts fitted it was grinder time.
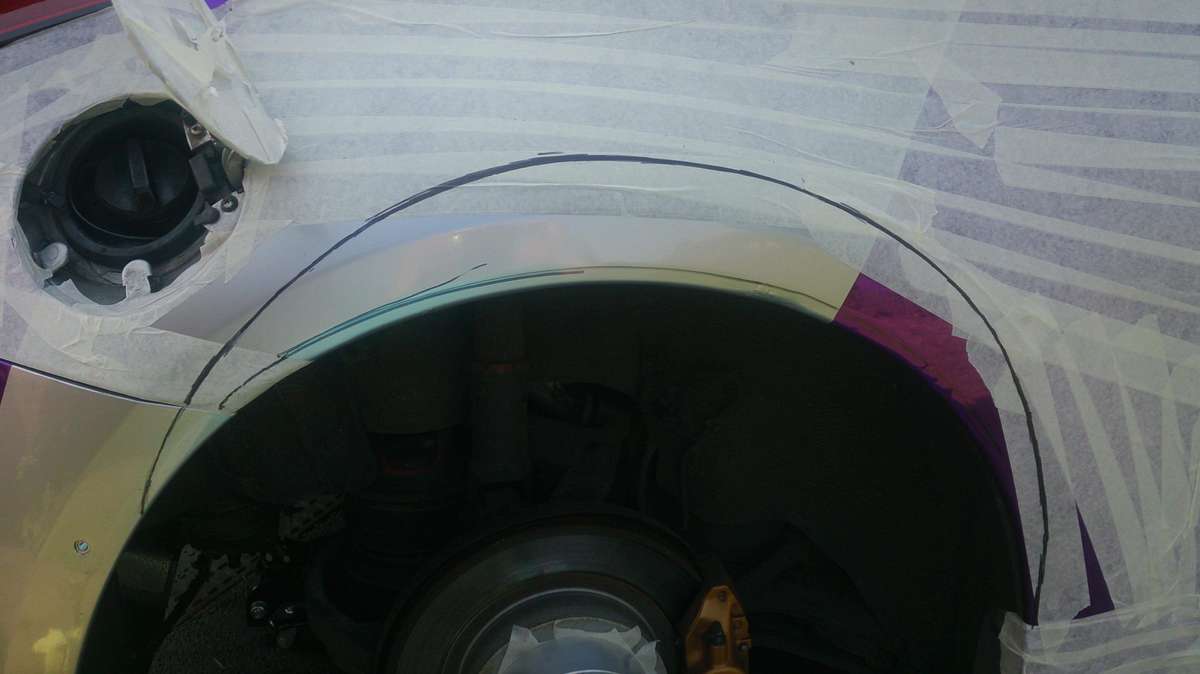
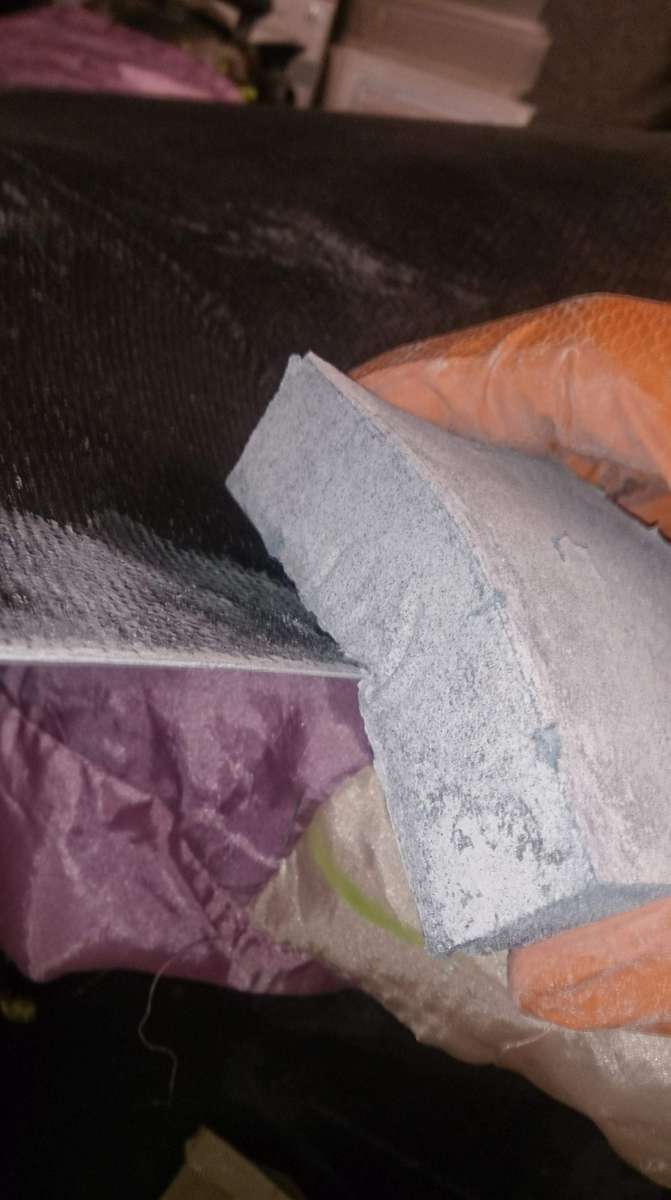
 The side was taped us and I cover the car with old covers because of the sparks, you will notice 2 lines on the arch, cut the lower one as this splits the double skin, this is important, you then do the second cut which is very important NOT to cut through the second inner skin.
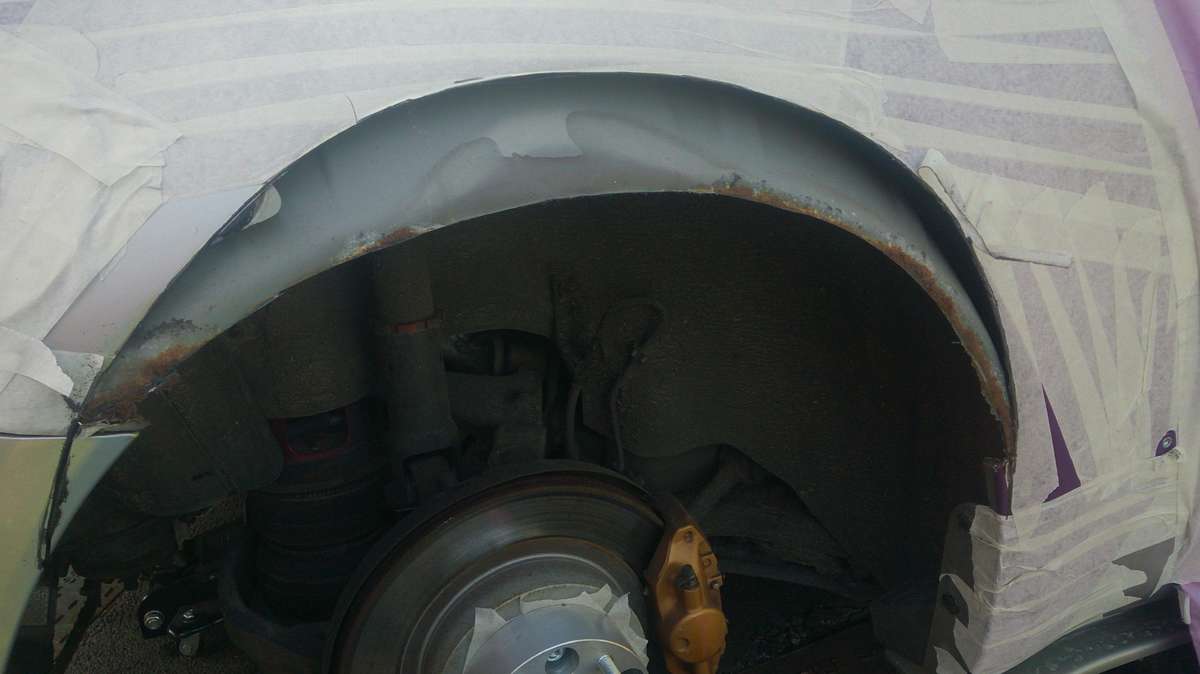 This is what you are left with and you can see some rust on the inner arch which you cannot get rid of without cutting the outer arch, I did some grinding back and treated this a little before the next stage.
This is the important bit as I have seen some of the Rocket Bunny boys in the States Not Do,
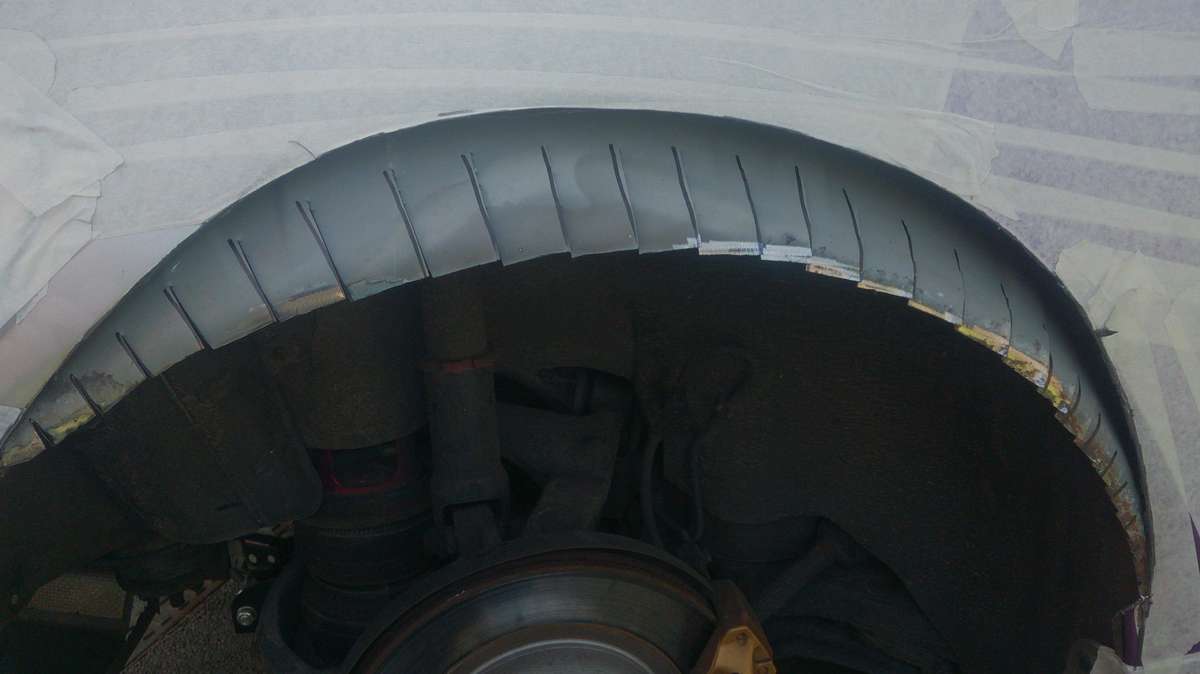 I marked the inner arch and then cut them upwards with very sharp metal snips, you then have to panel beat them all upwards and fix them back to the outer arch, this may take 2 people, one to hold one to drill and then pop rivet to hold into place.
 On these photos I have dropped the air suspension to make sure I have done it all correct (which I had) I rounded the ends a little also, you really have to take your time doing this and it’s the most time consuming part of it all at least a couple of hours per side. You do have to cut a little bit of rear bumper but you do not have lose the fixing which connects and holds the bumper to the body, the ends are then fettled with the dremmel to smooth out and get a clean look.
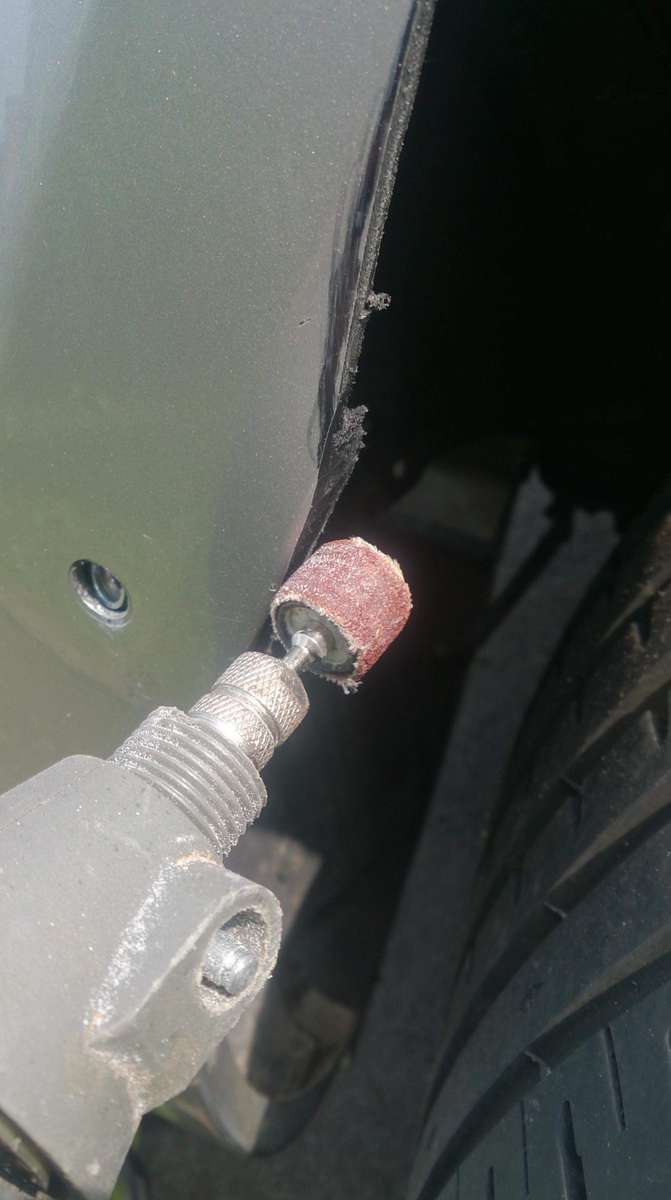
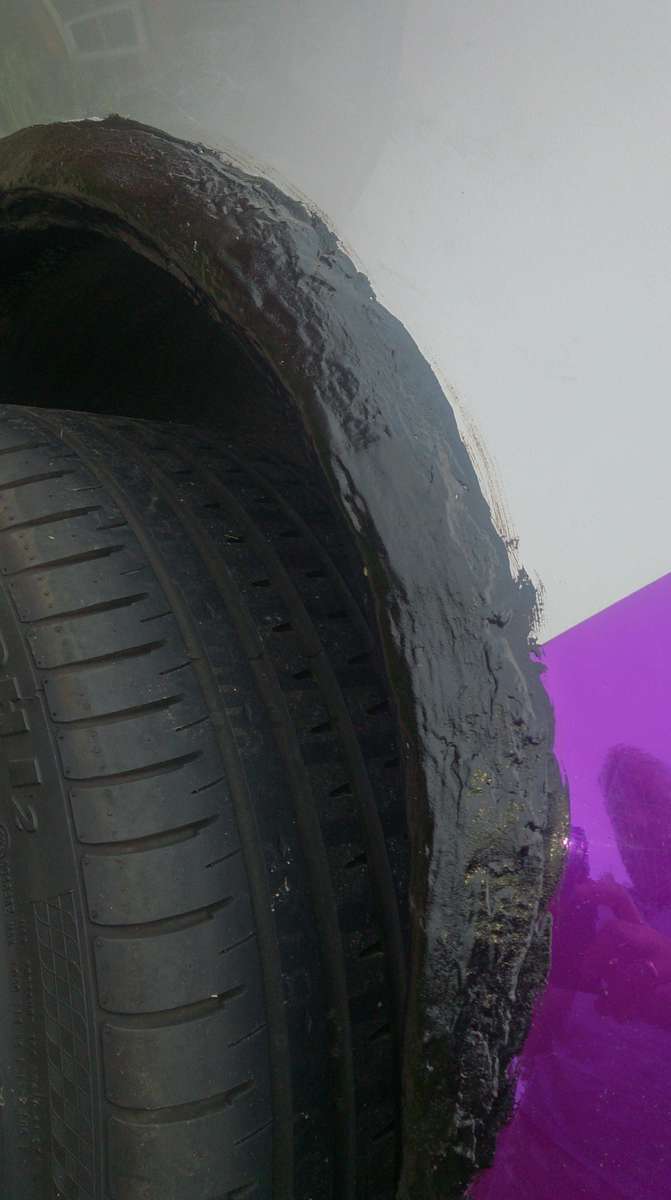
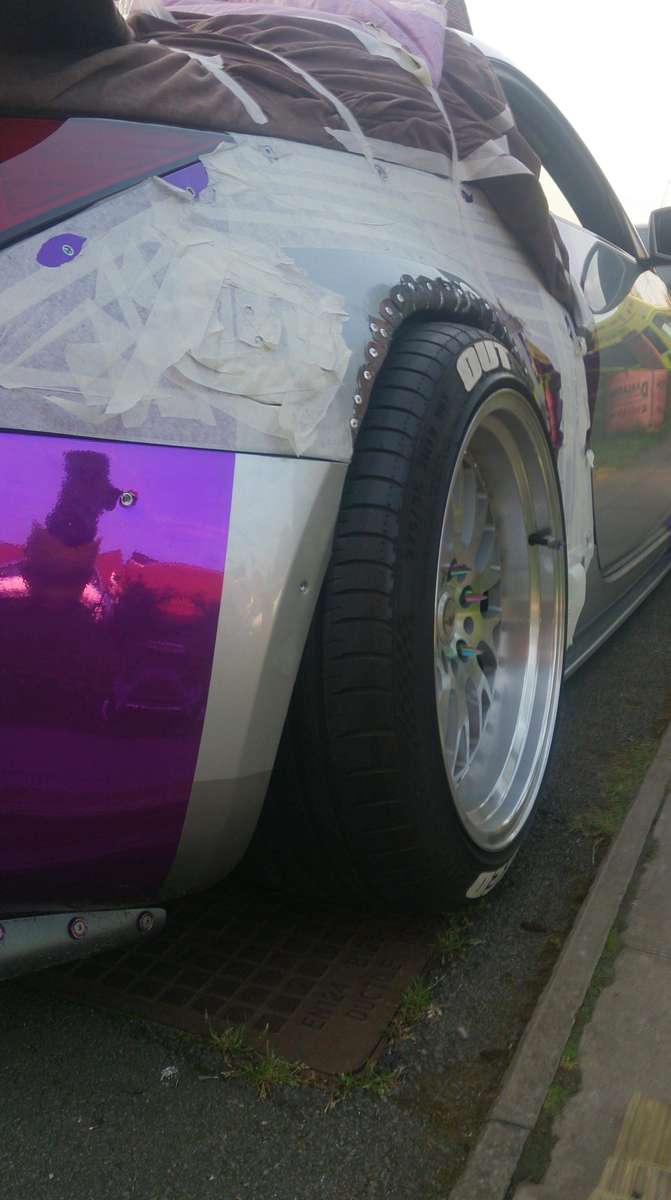
 I used some P40 fibreglass body filler to seal it all then coated it all with some under body seal.
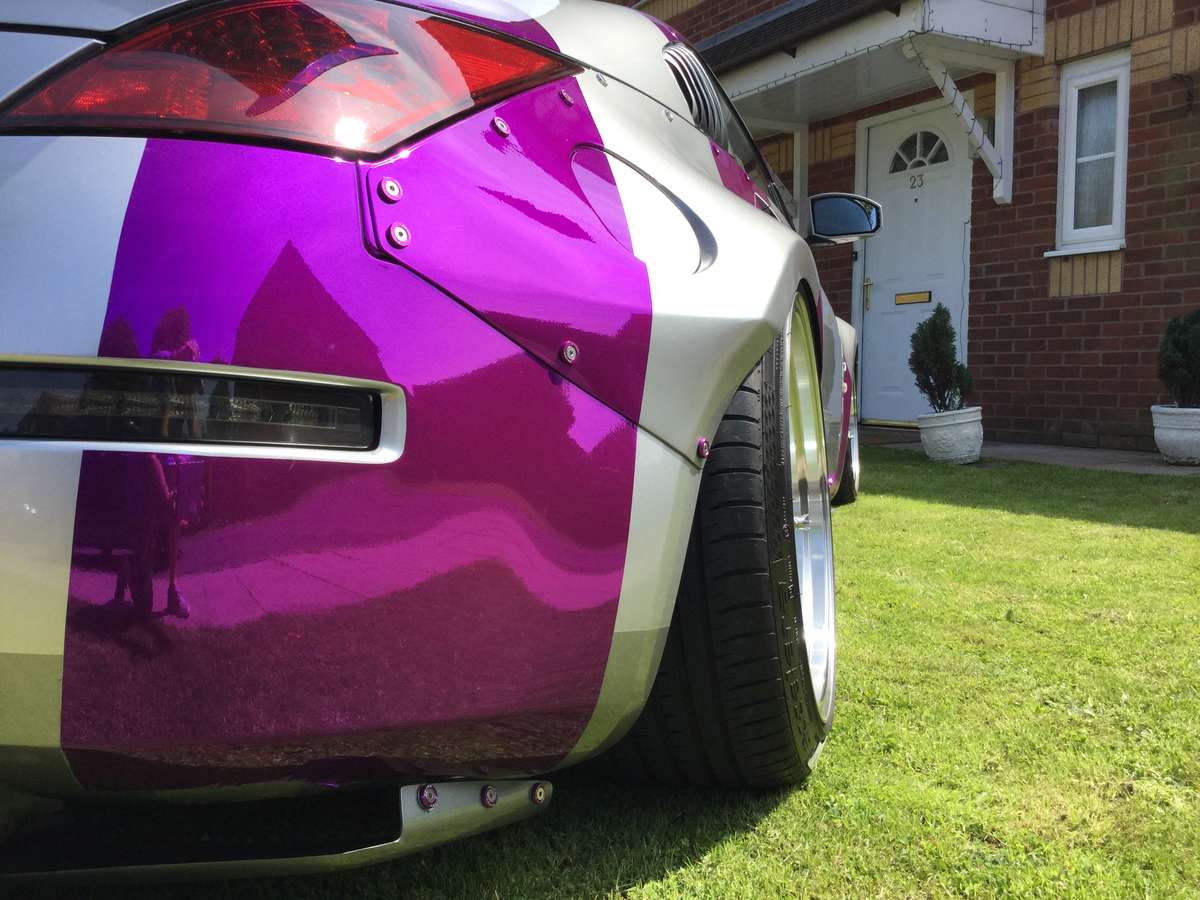
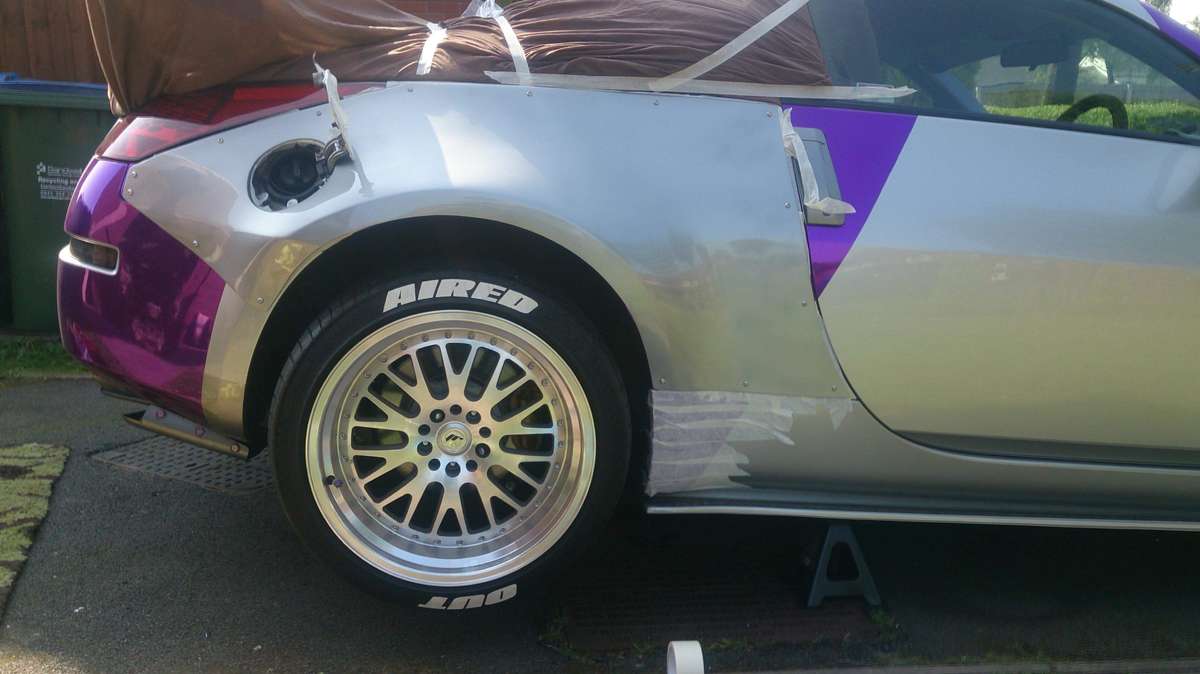
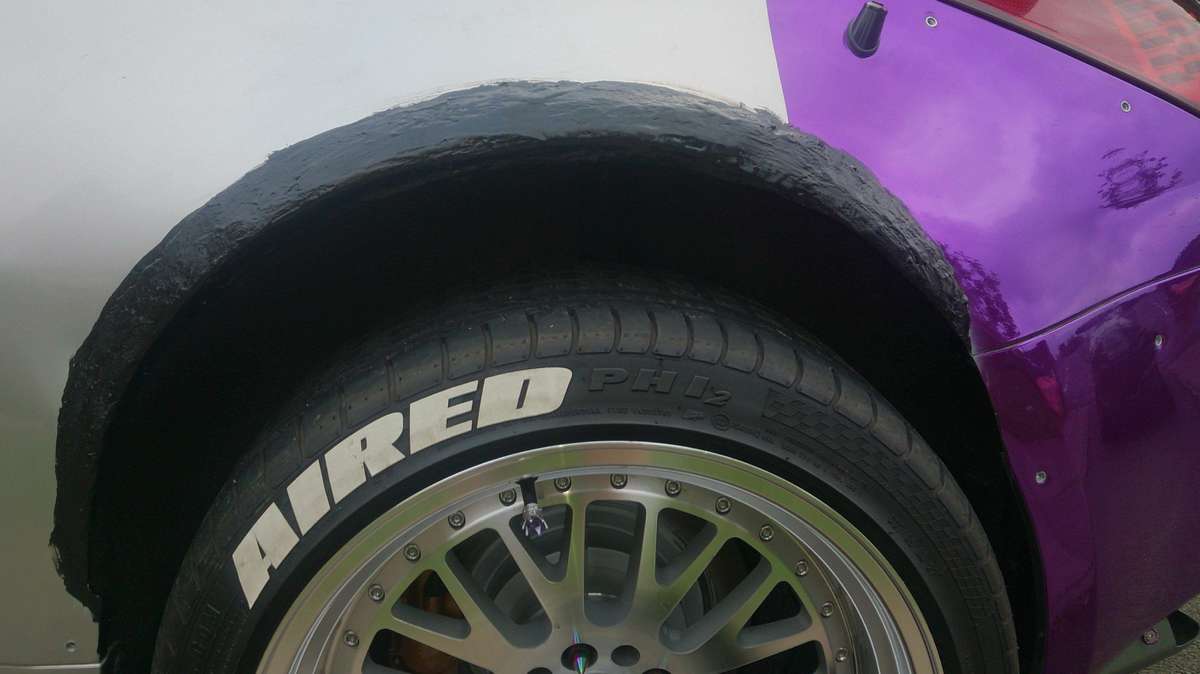
50mm spacers from Chris @Tarmac@TarmacSportz We’re added to give the finishing look and make the wheels fit the new arches.
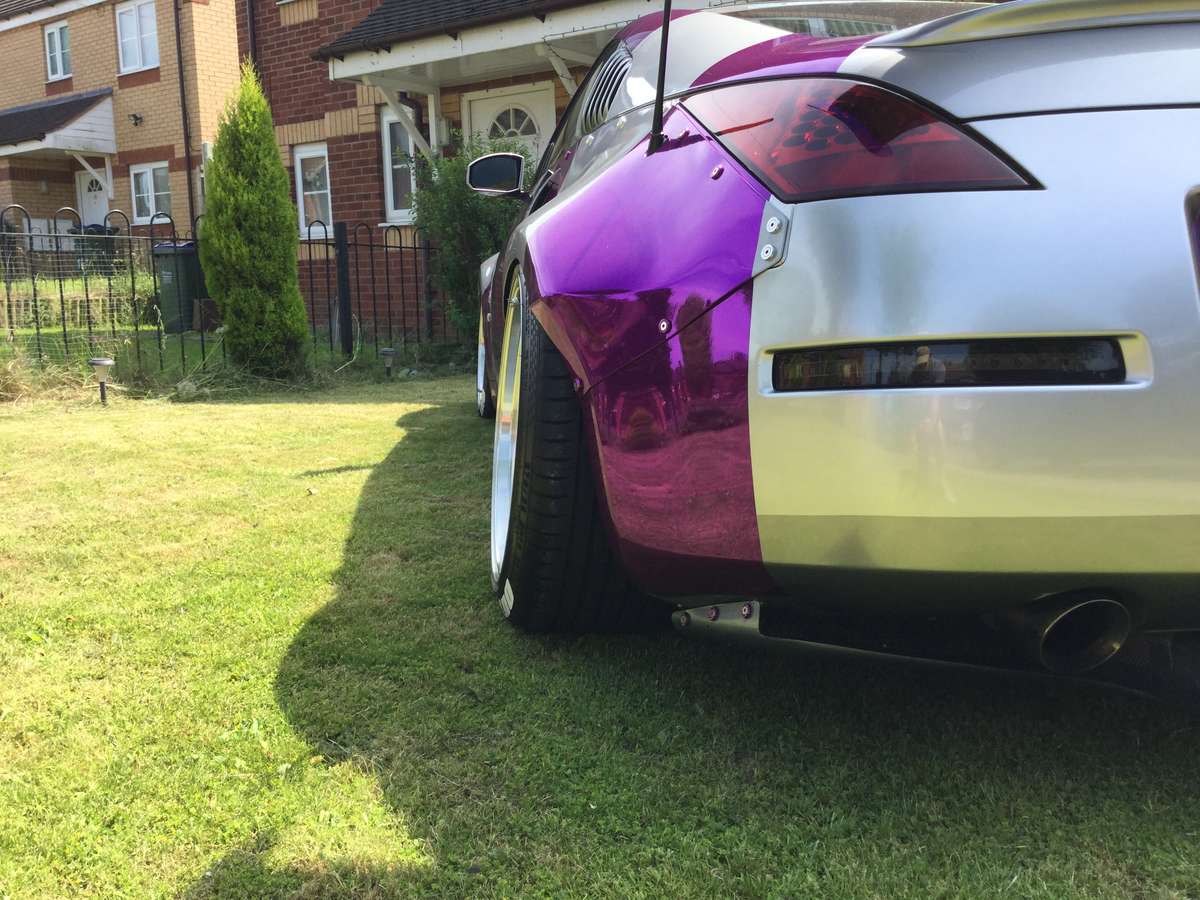
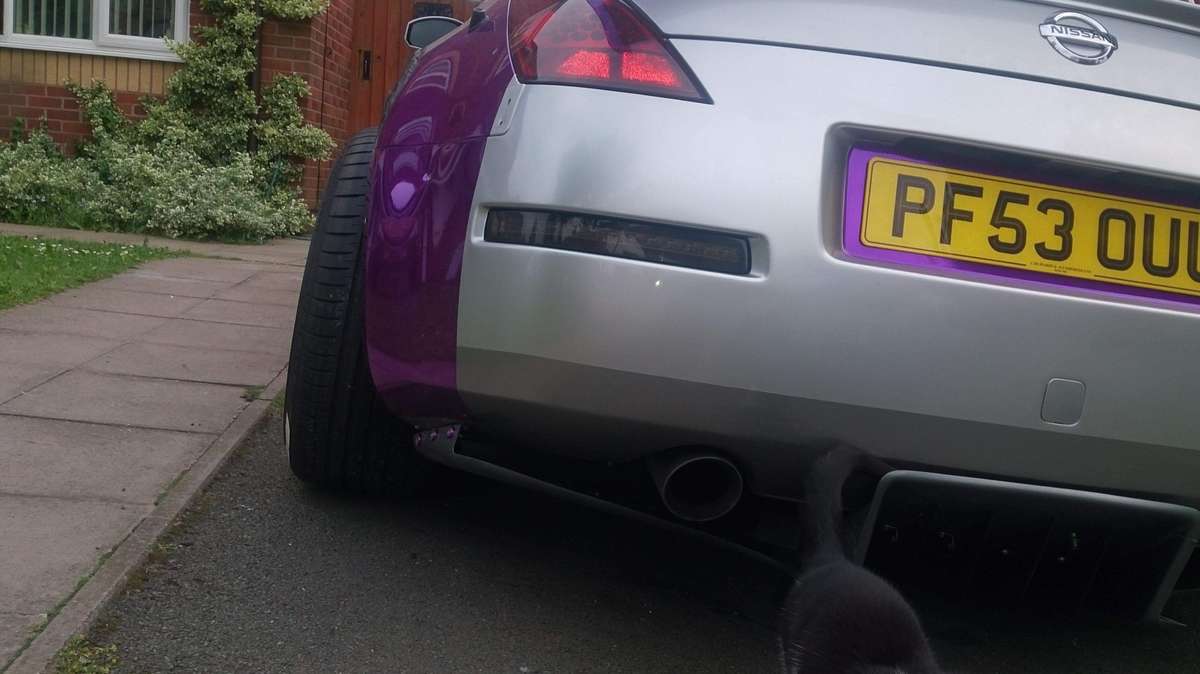
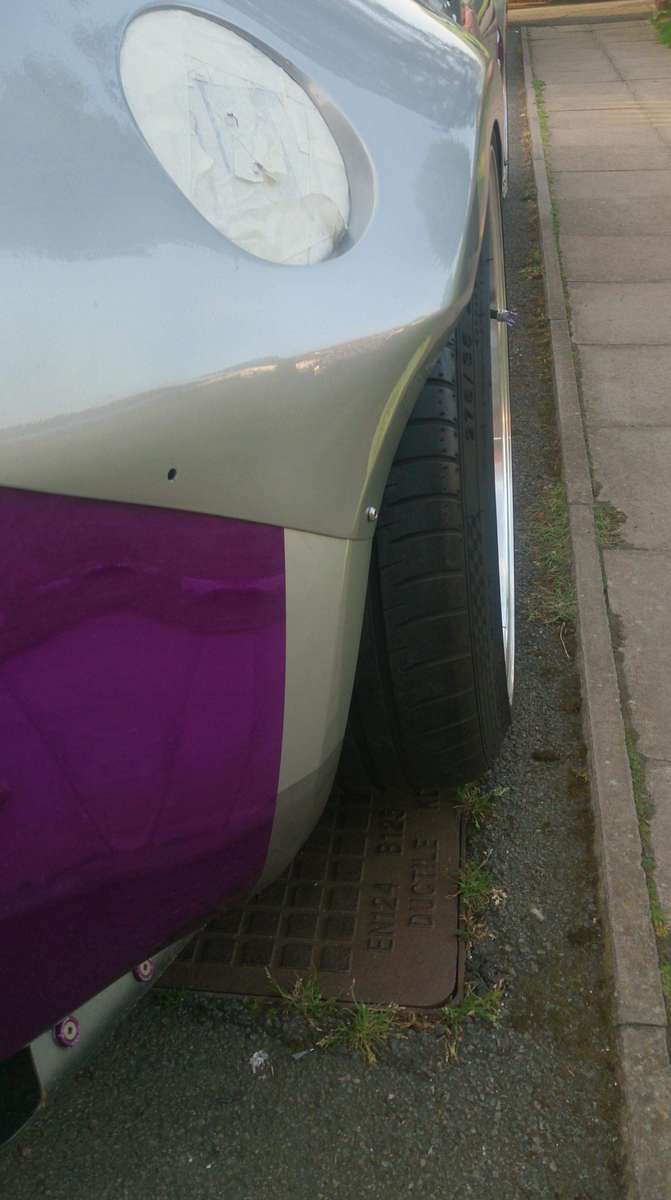 Finished apart from the Hexis Super Chrome Vinyl to be added, and the finished article is Complete
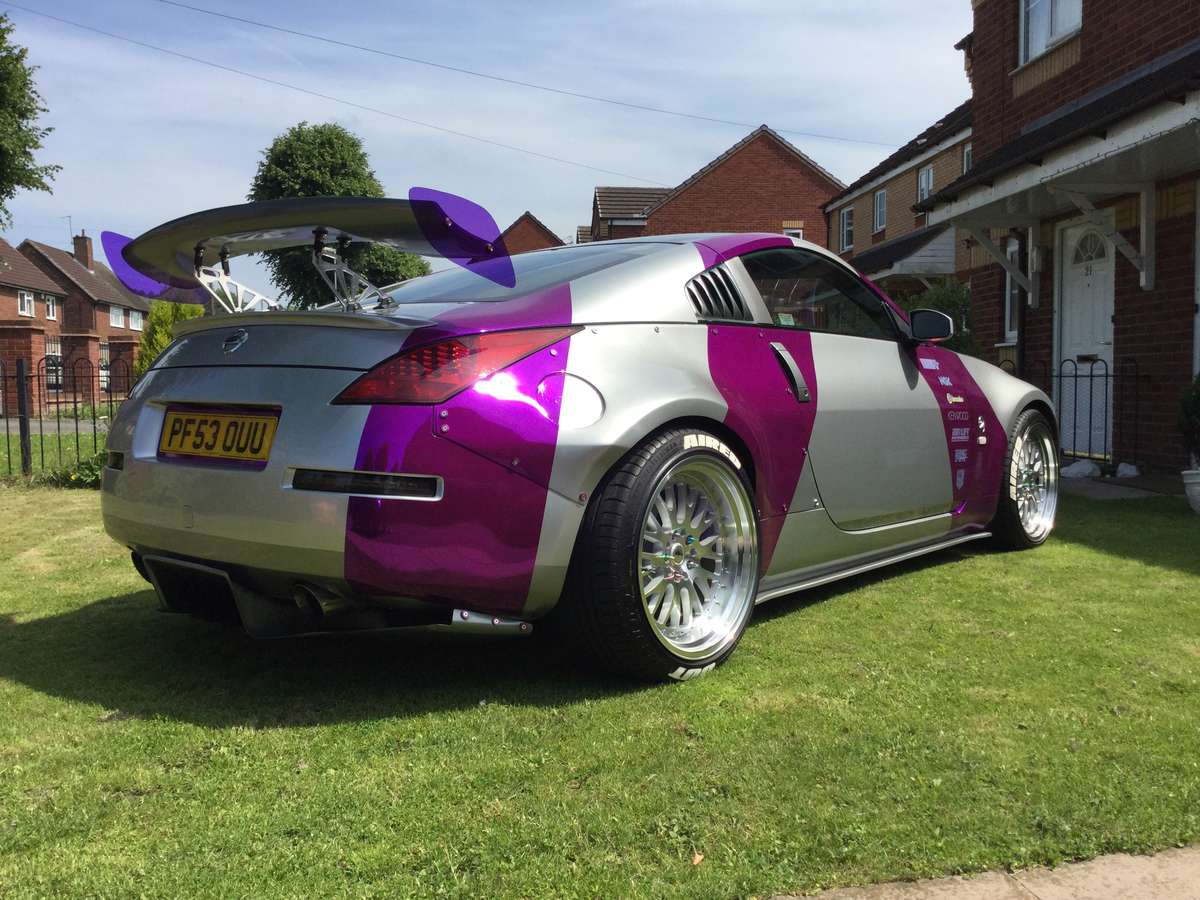


 Thanks for looking I hope it all helps any problems fitting give me a message thanks
-
6
-
-
Payco - Mark 2 Nismo 370z
davey_83 - 350z
nissanman312 2010 sc gt
Flashback - 350Z
Bikeracer - sc Nismo
Andy James-350z
buster-350z
HaydnH - 350Z
Zippypooz - 350z
Paul K - 350z Roadster
jcurtis - 350z
Skippy- white 350z
Dunks - Supercharged 350Z
GranTurismoEra - 370z Nismo mk II
nissmoandy jissed_350z
Seb - 350z
wizard - s/c 350z
amyzed - 350z
Mopedmark - 350 Mopedmarked
Kingsley - Midnight Blue 350z
Stephanie -Gunmetal Grey 350z
MatthewThain -Ginger 350z
RyanByng - Azure Blue 350z
Valy - 350zAdrian@TORQEN - Nism
Martinw plus 1- Black 350z
Shortpaul - Gunmetal 350z
-
On 14/05/2018 at 19:43, AmyZed said:On 14/05/2018 at 19:43, AmyZed said:
Payco - Mark 2 Nismo 370z
davey_83 - 350z
nissanman312 2010 sc gt
Flashback - 350Z
Bikeracer - sc Nismo
Andy James-350zbuster-350zHaydnH - 350ZZippypooz - 350zPaul K - 350z Roadsterjcurtis - 350zSkippy- white 350zDunks - Supercharged 350ZGranTurismoEranissmoandy jissed_350zSeb - 350zwizard - s/c 350zamyzed - 350zParking is for around 50 cars max I believe
on the official car park that is
-
1
-
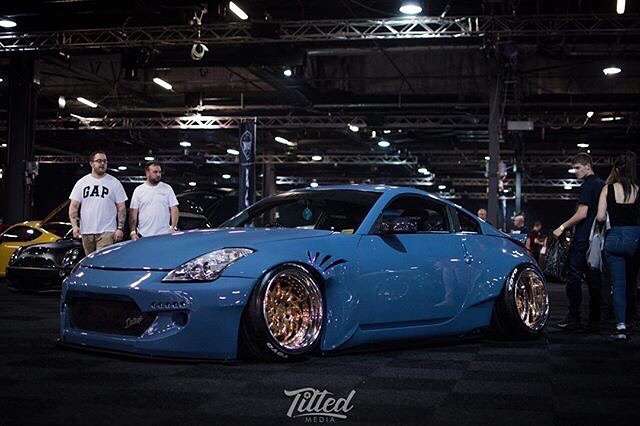

Anyone know who owns this
in 350Z General
Posted
Thank you