


djtimo
-
Posts
1,389 -
Joined
-
Last visited
Content Type
Profiles
Forums
Events
Gallery
Store
Posts posted by djtimo
-
-
Finished the 2nd catch today, A little harder to fit than the fist as this one had to be measure many times to ensure it was at the same angles as the other side! I dont want one being wonky! LOL..
No fitted pic's yet as its started raining! ha..
-
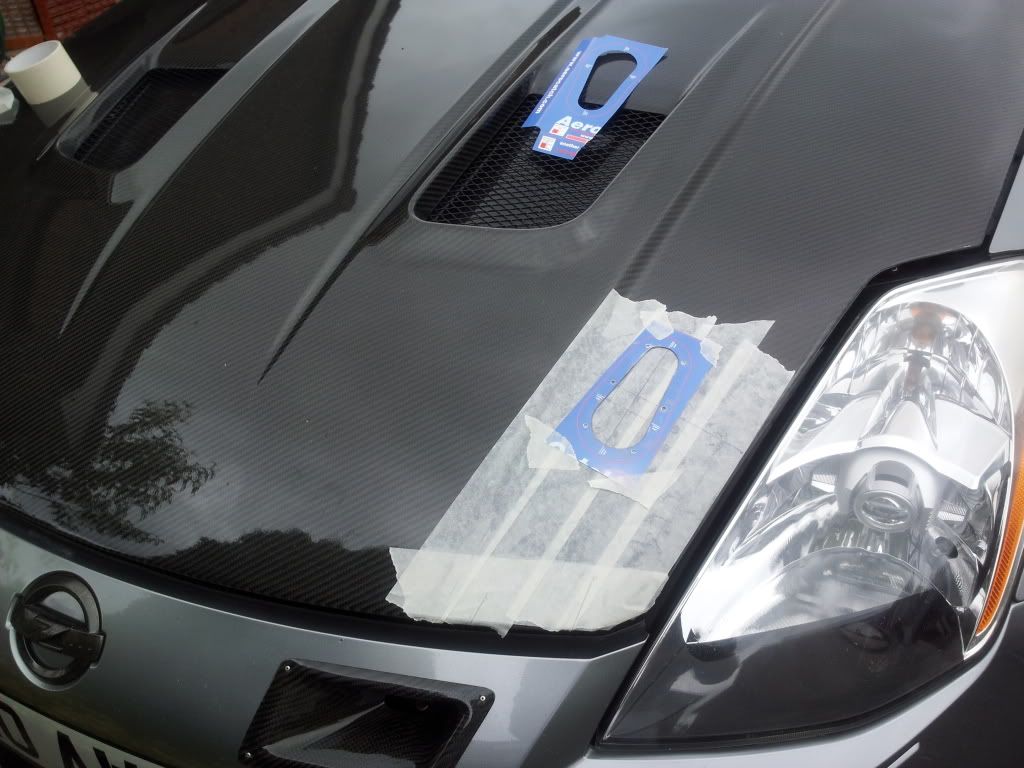
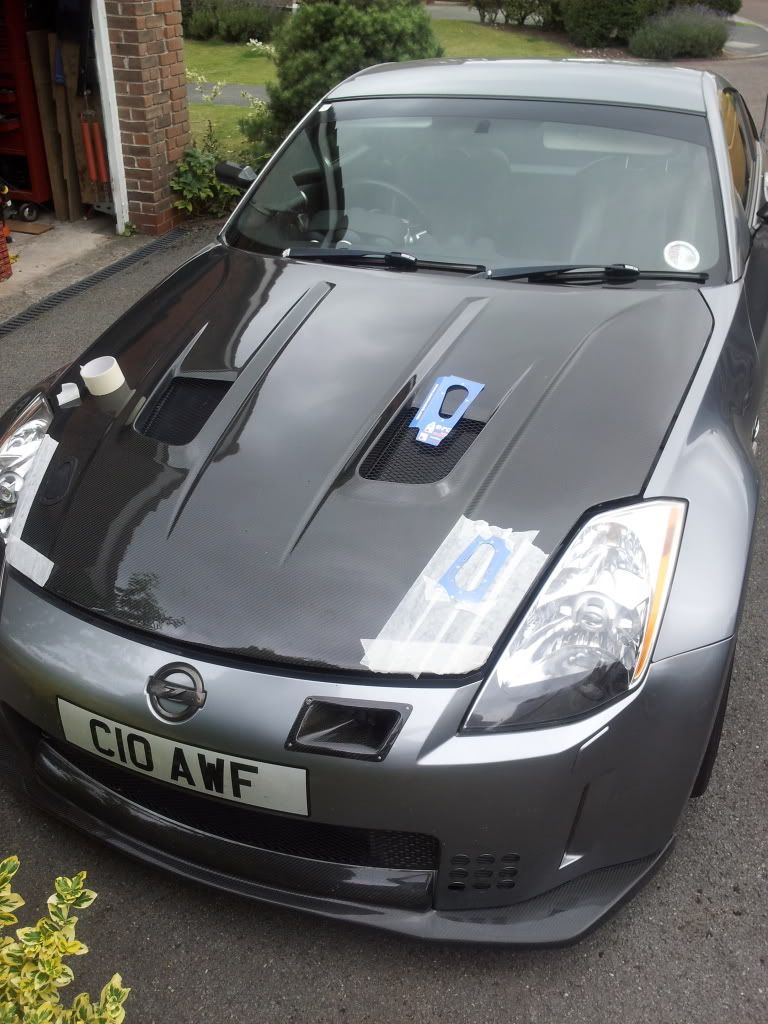
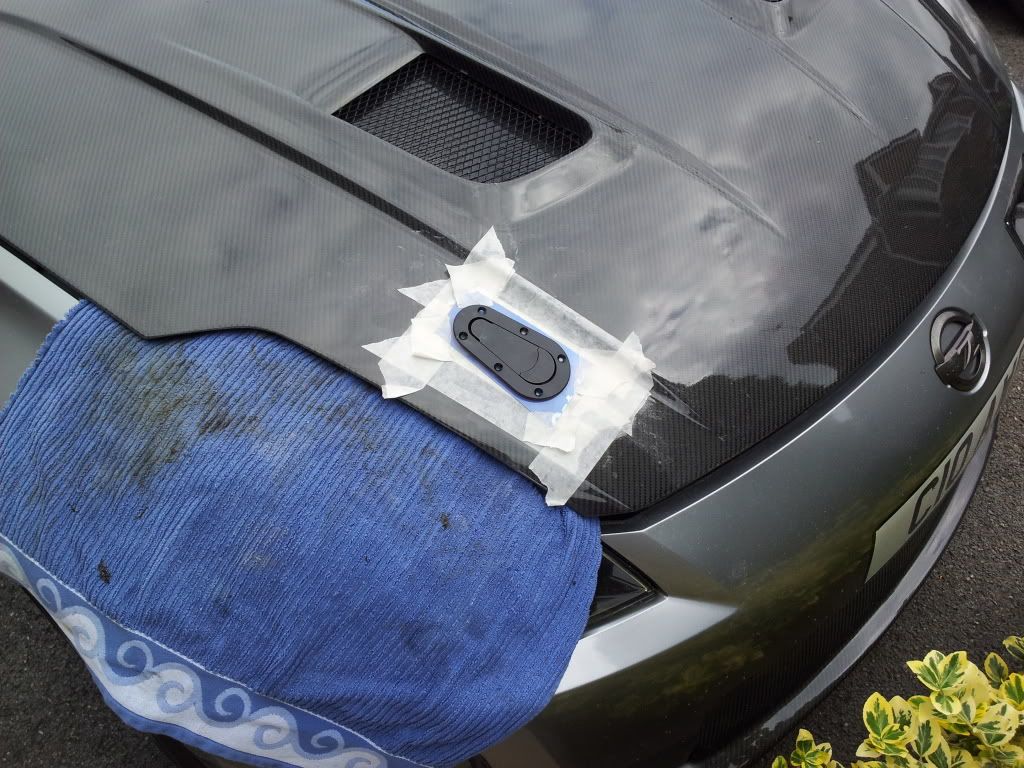
Took the plunge and made a start on the areocatches today.
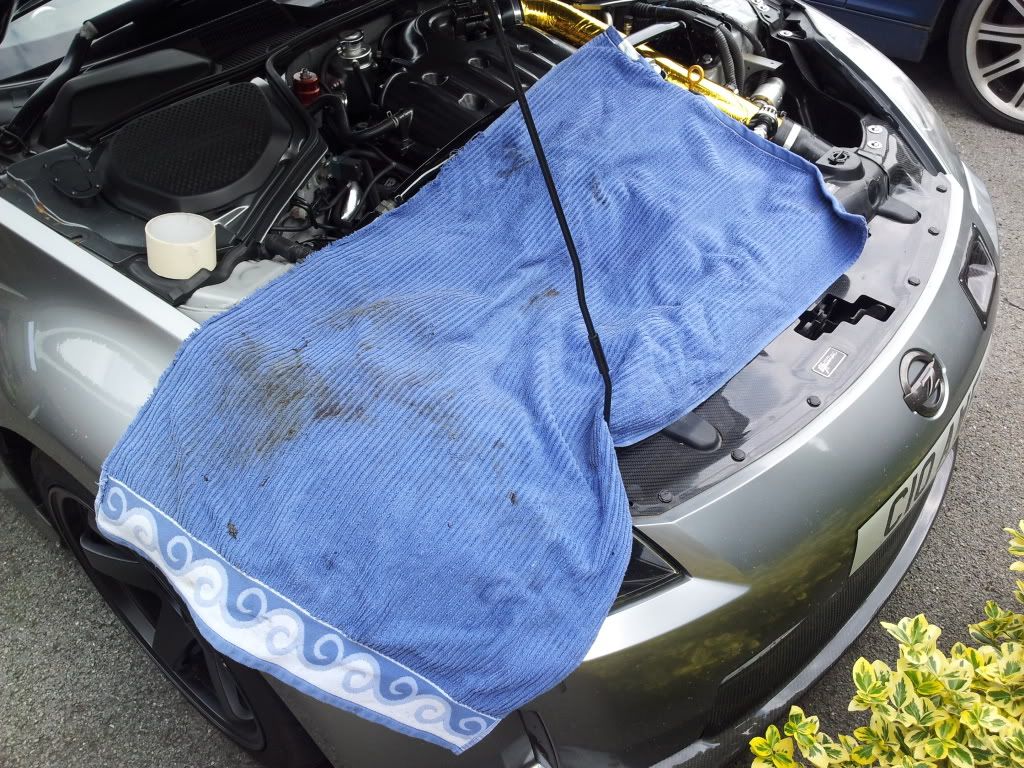
Started by covering the engine bay as carbon dust will go every where! LOL..
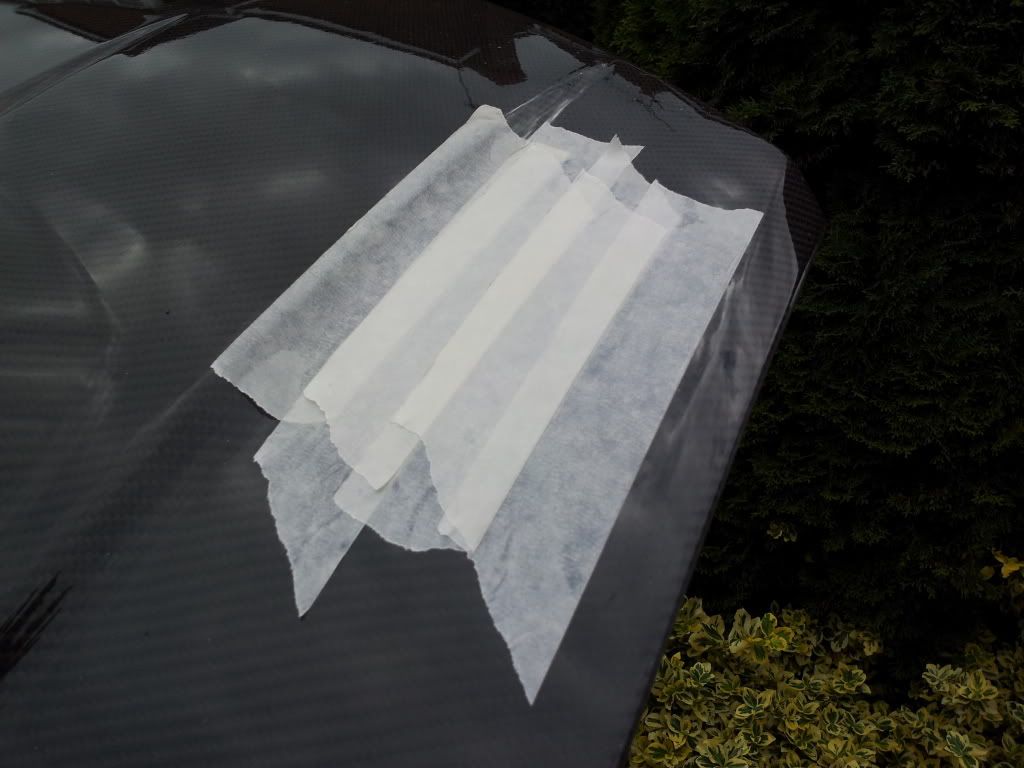
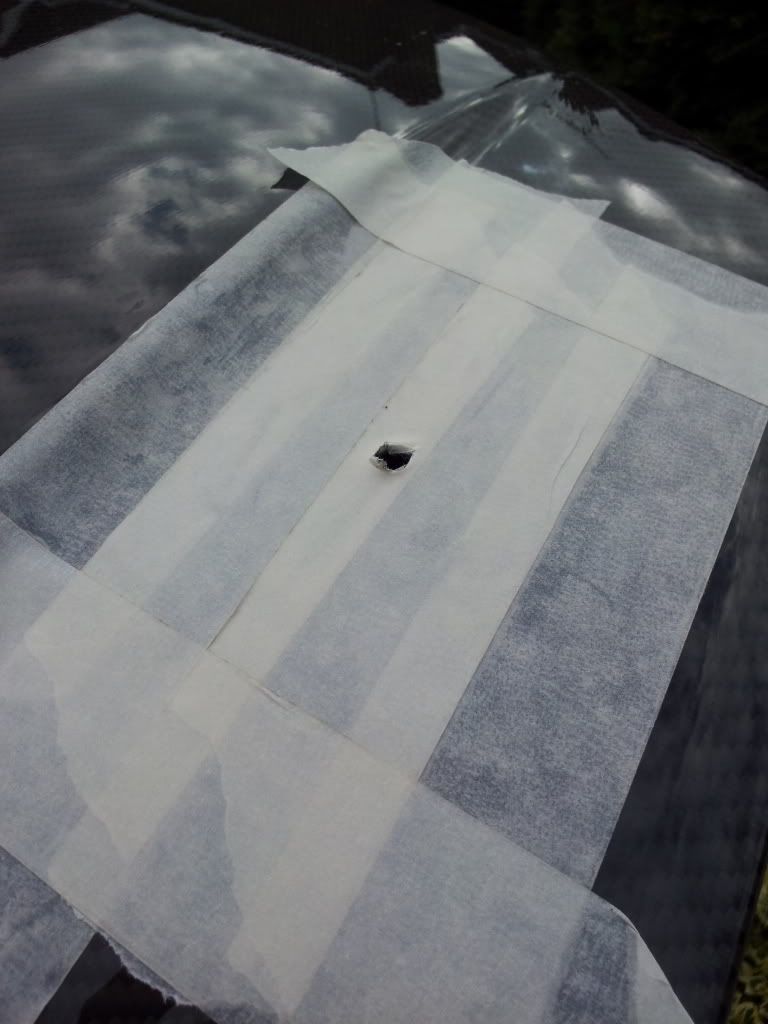
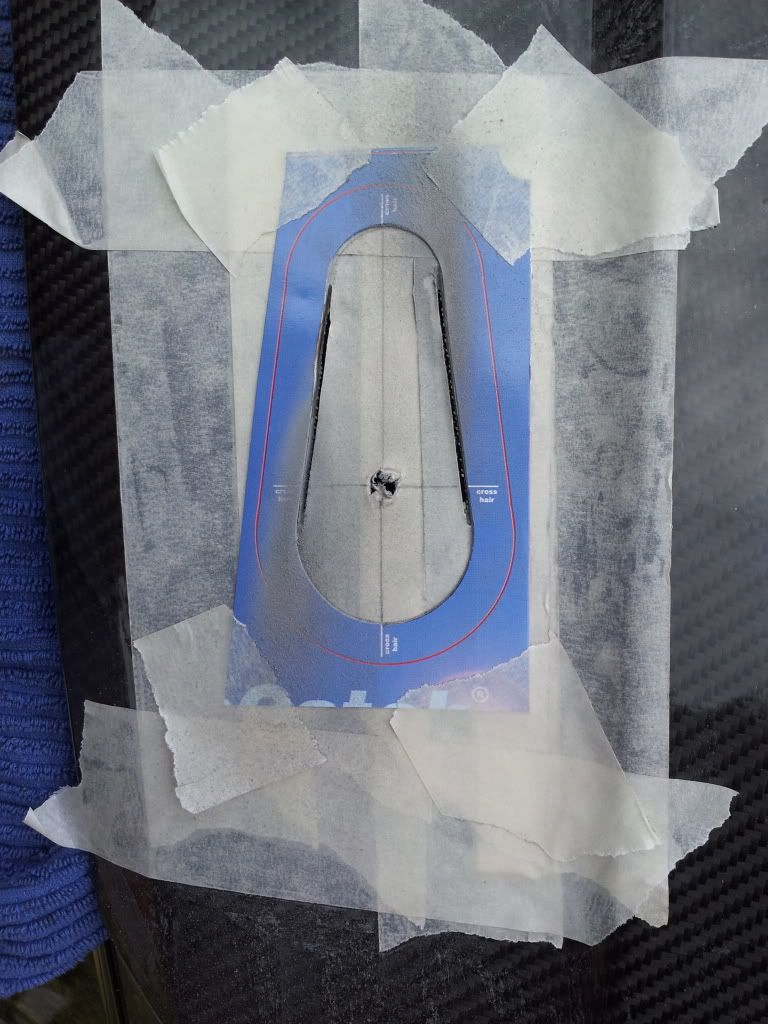
Masked off where the catch was to be fitted.
Place the bonnet catch on and added some butter to the top and closed the bonnet to see where it touched! ha.
Marked it and rilled a 8mm hole from under the bonnet though to the top skin.
Fitted the aerocatch template.
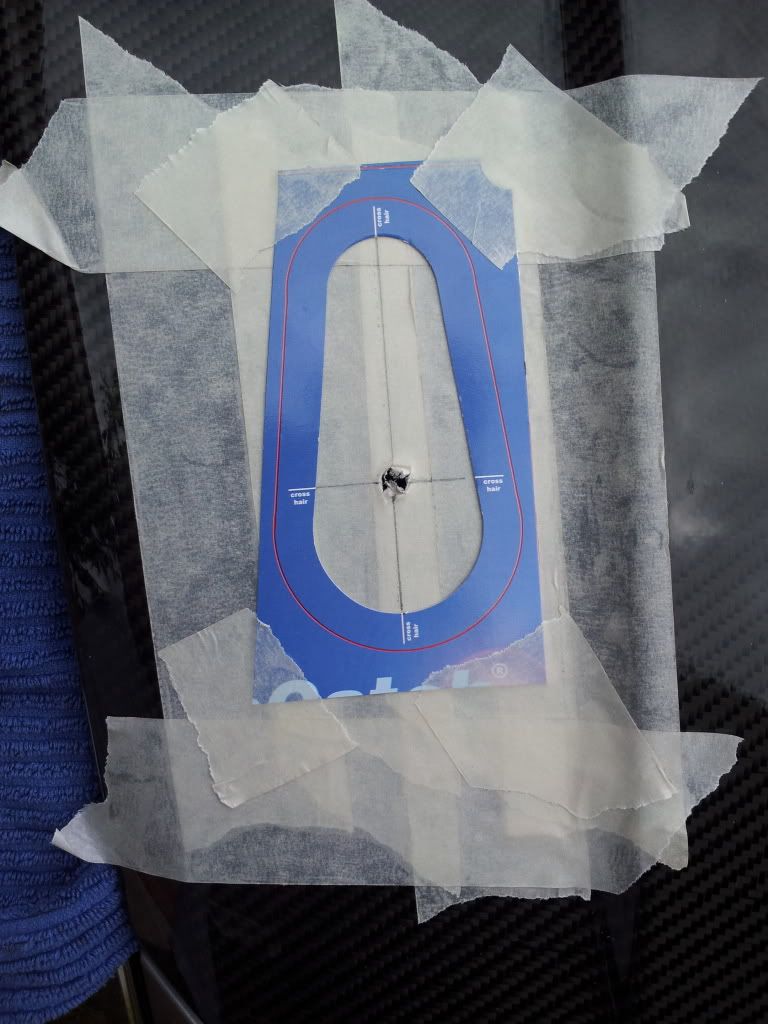
Made my first cuts with the dremel! Took a lot of balls to cut into my CF bonnet! LOL..
Cut out.
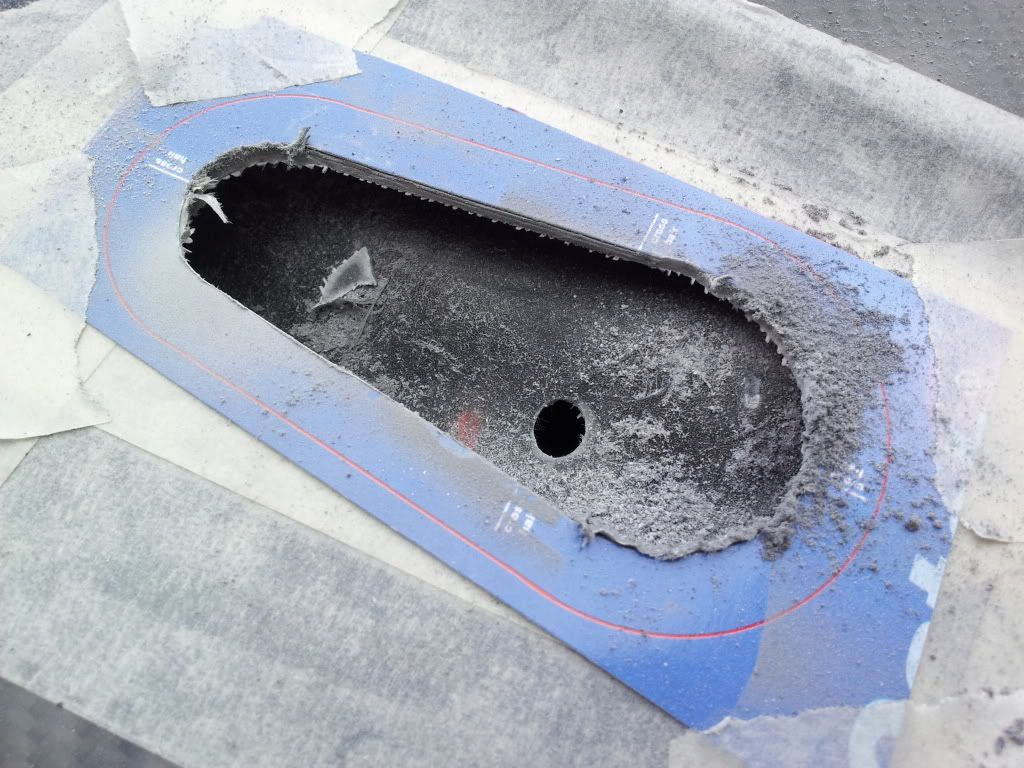
Test fitted the catch and it touched the under skin so that needed to be removed.
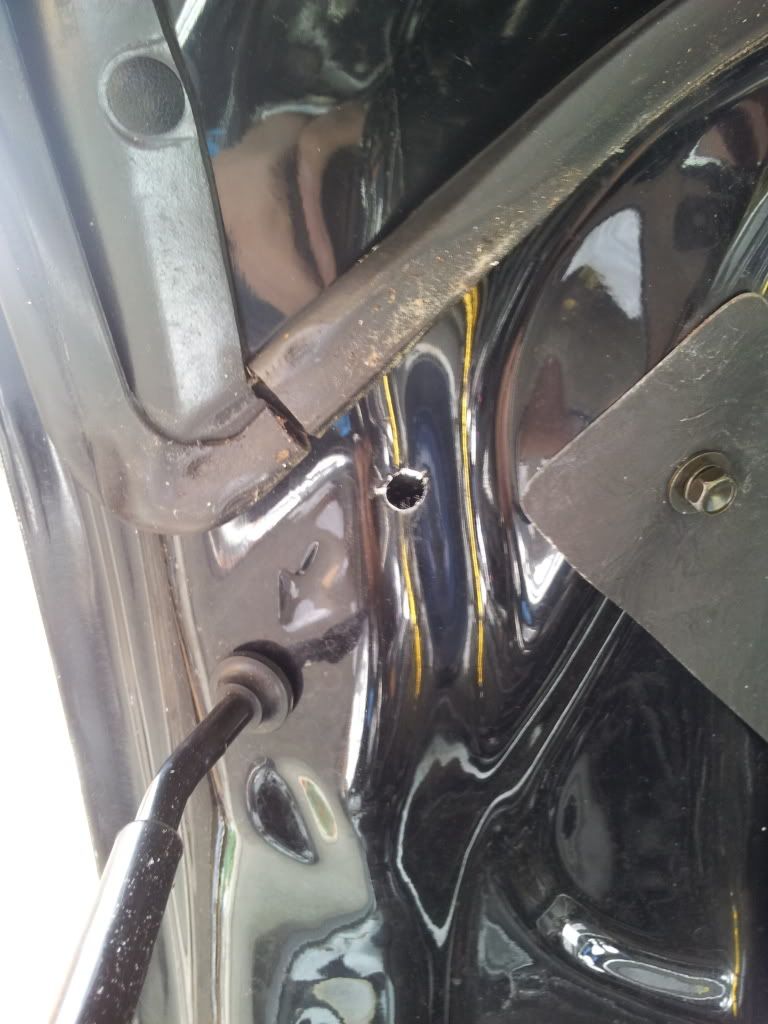
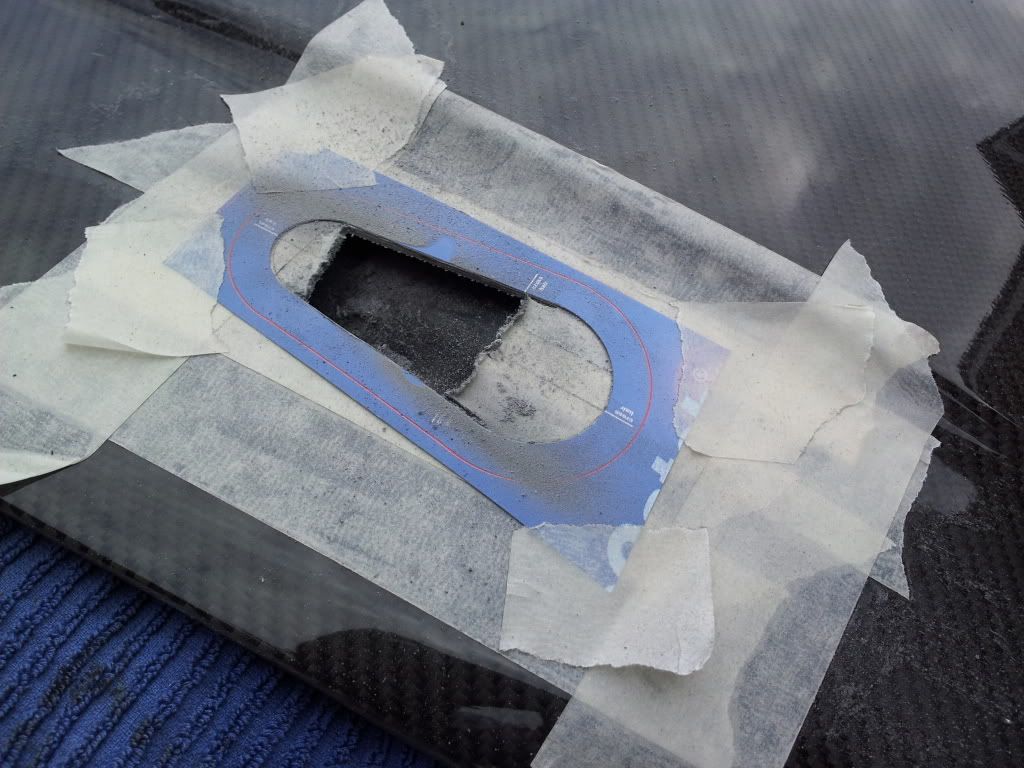
Chain drilled the under skin, and refitted.

Point where I have drilled the slam panel for the catch clip to sit.
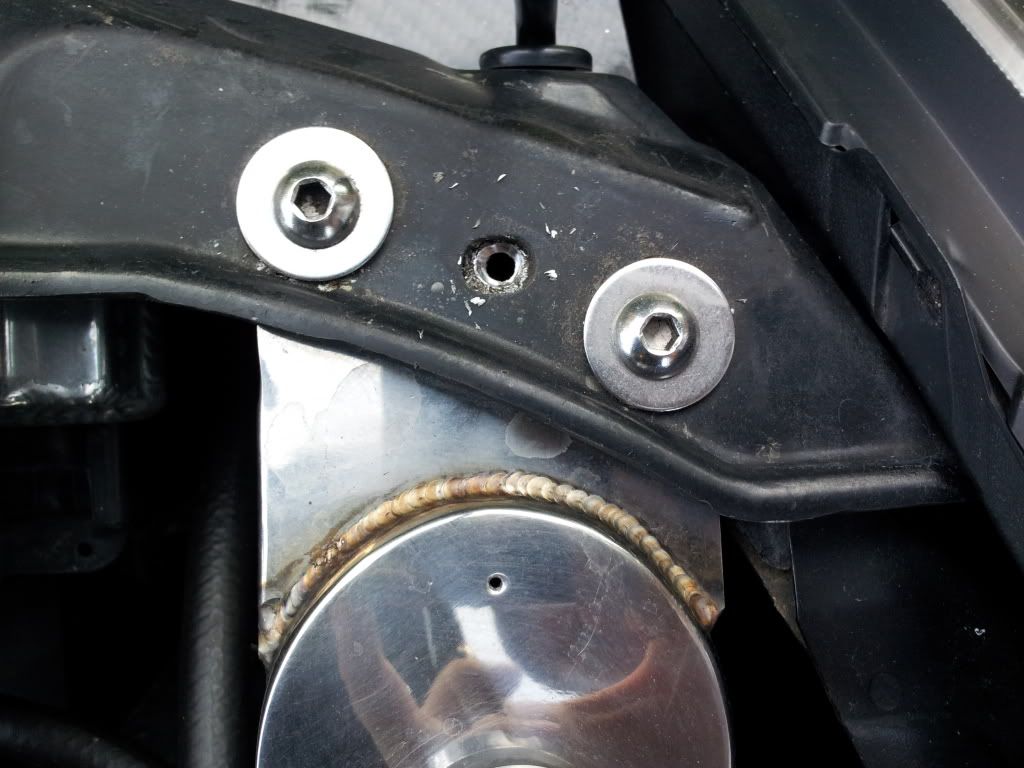
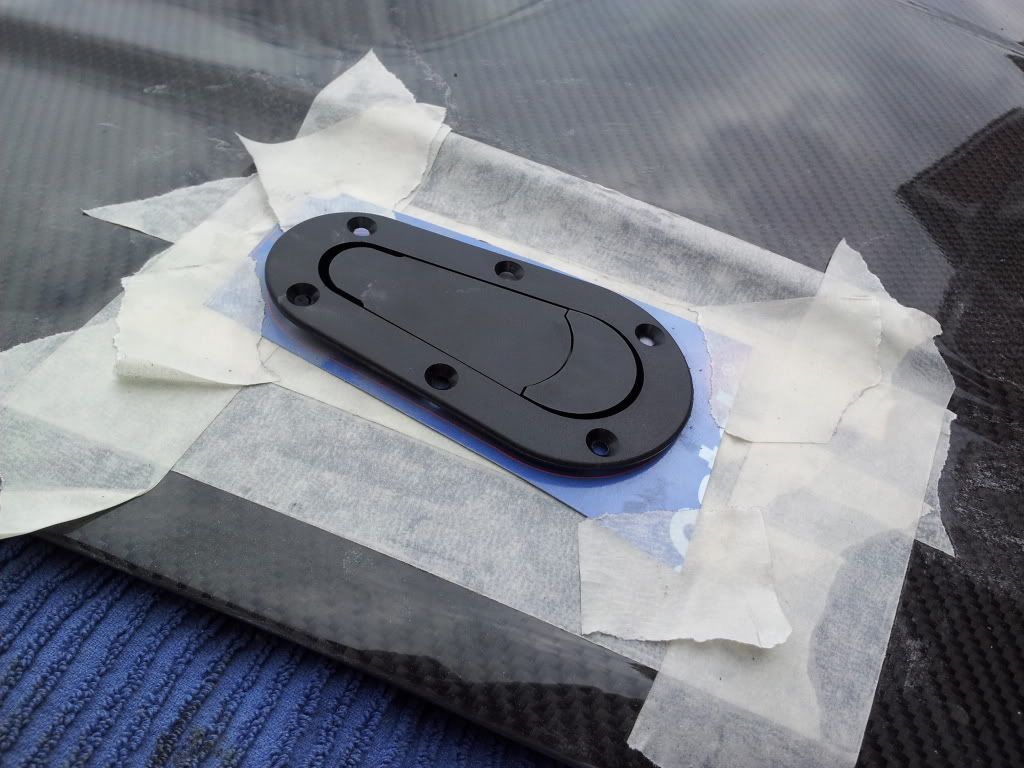
Clip fitted.
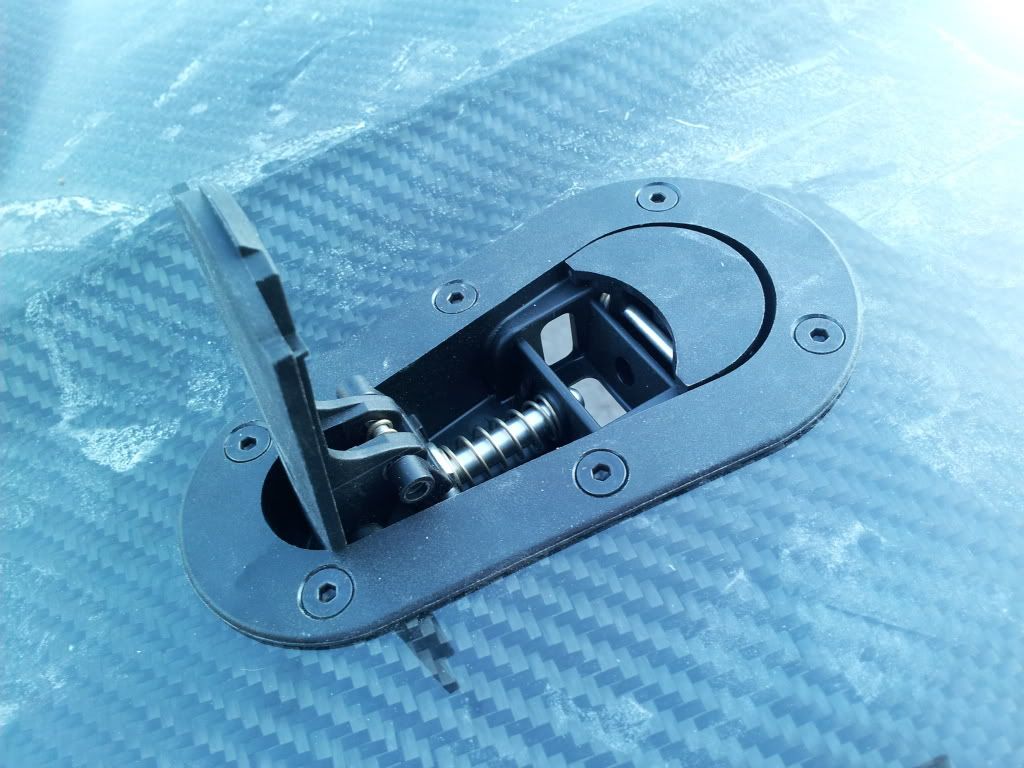
I've got a small problem that the pin that the top clip locks onto does not fit well at all. Im looking to make a new custom clip from 2mm stainless steel plate tomorrow. If I dont get the 2nd catch fitted ill end up finding some way to wire the bonnet shut for TOTB and sort it out after?
Anyway thats it for today! LOL..
-
Just doing a little bit of maths while bored in work! LOL....Ive been using my data from the 1/4 trying to plot a graph to extrapolate it to give me a goal time for a 0-150mph run for TOTB on saturday! I know thats very geeky but when you got 12 hours at night you do some silly things! ha..
Just some ruff figures from my times, under 100 mph the car looks to gain approx 10.88mph per second average 0-100. Above 100mph it slows to around 7.54mph per second. messing about with my graph paper I was suprised at how little the acceleration tails off, I think I have some false data for the 0-60 area due to wheel spin etc.
Im thinking the car will do 0-150mph in the 23-24sec range? Ive tried finding figures online and the only thing of note was a stock HR motor 350z timed by road and track in the US did 0-150mph in 53.?? seconds. This makes my projected time seem a little unrealistic but oh well! Im sure were gonna find out this weekend!
Now back to my graph paper!
EDIT: Video's a few posts down show a 20sec run 0-150mph! Made up!
-
Hi Paul, yeah the house is doing fine! Just doing the basic stuff at the moment. Need time to think about what were gonna do with the rest of the place!!
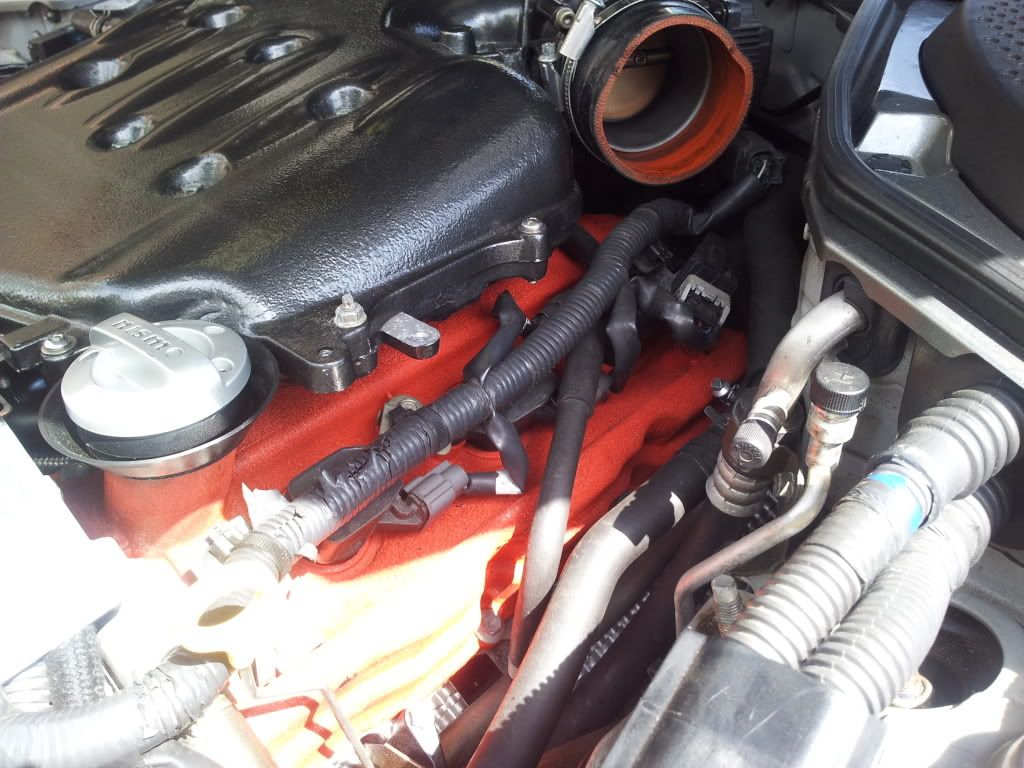
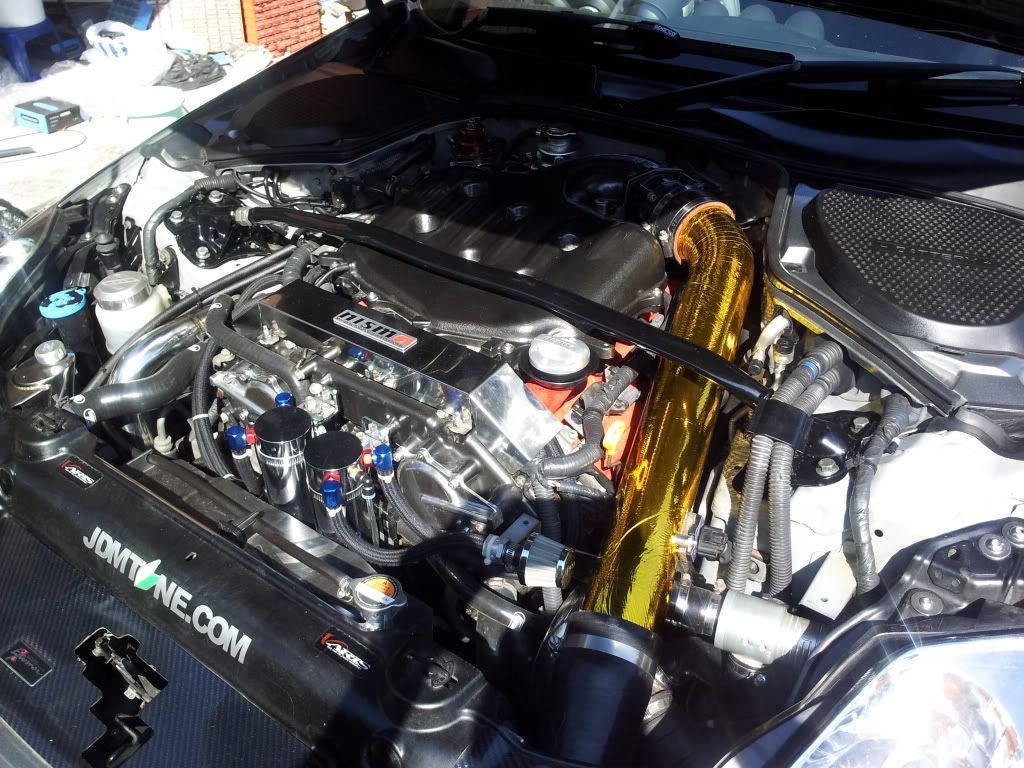
Well I got round to a job I have been wanting to do for a while now, The zed's engine bay is very tight for space and anything metal gets very badly heat soaked when you not moving (or moving slowly).
I have been following a thread on the US forums about how when the car is heat soaked the ECU thinks the charge air temp has risen alot and changes the fuelling, timing etc.. This is ok but the air going into the engine can be a lot colder than what the ECU thinks and can cause funny AFR's ect.
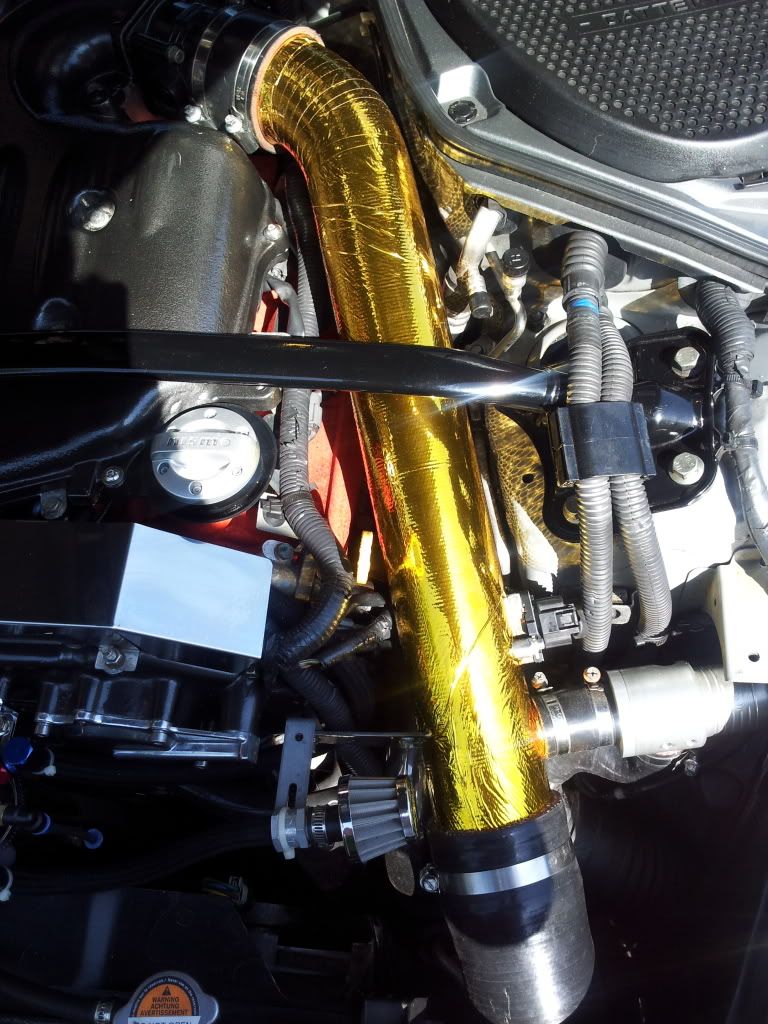
Sooooo..... I heat wrapped my last K&N cold air intake so I have gone and done it too my intake on my APS kit! But with the better gold heat film.
Anyway on to the dirty bits! LOL...
Removed the strut brace and intake pipe.
Set it down on the towel and soaked it with GUNK degreaser for a little bit.
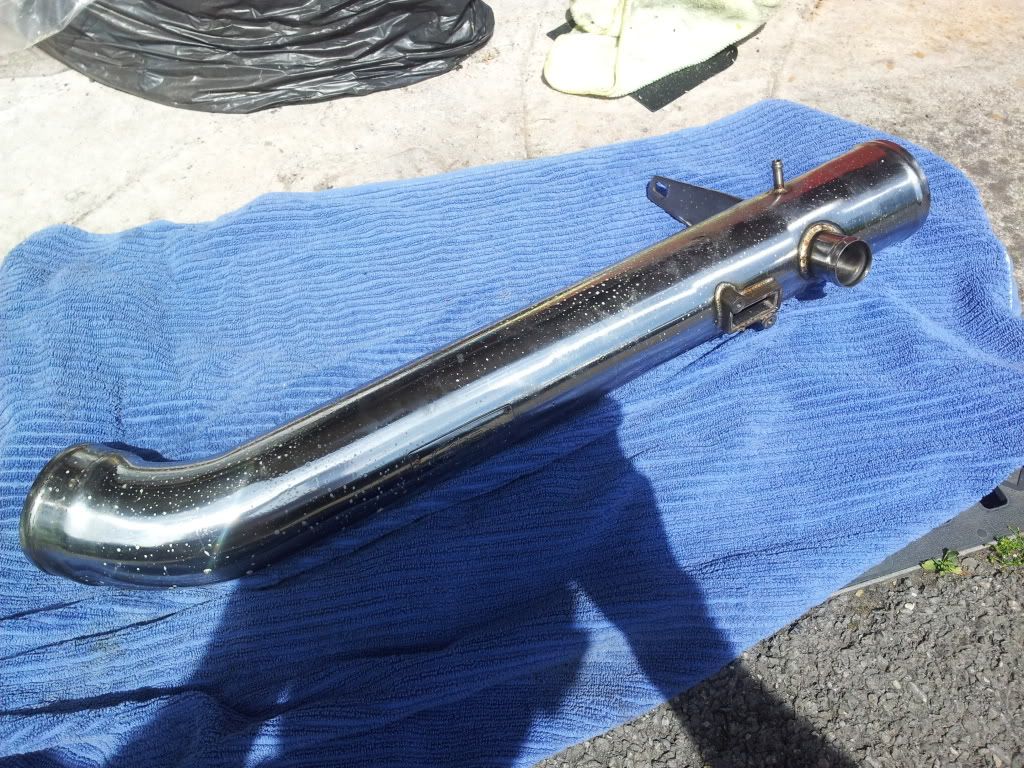
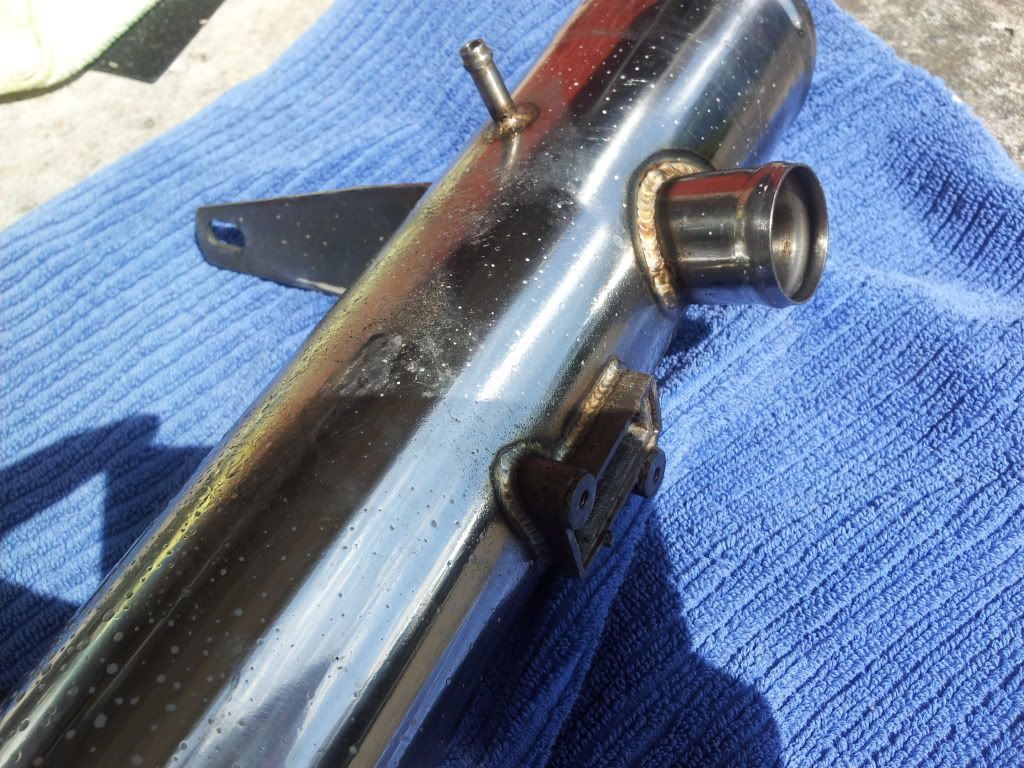
Once it was clean and dry I moved into the house for the tricky parts!
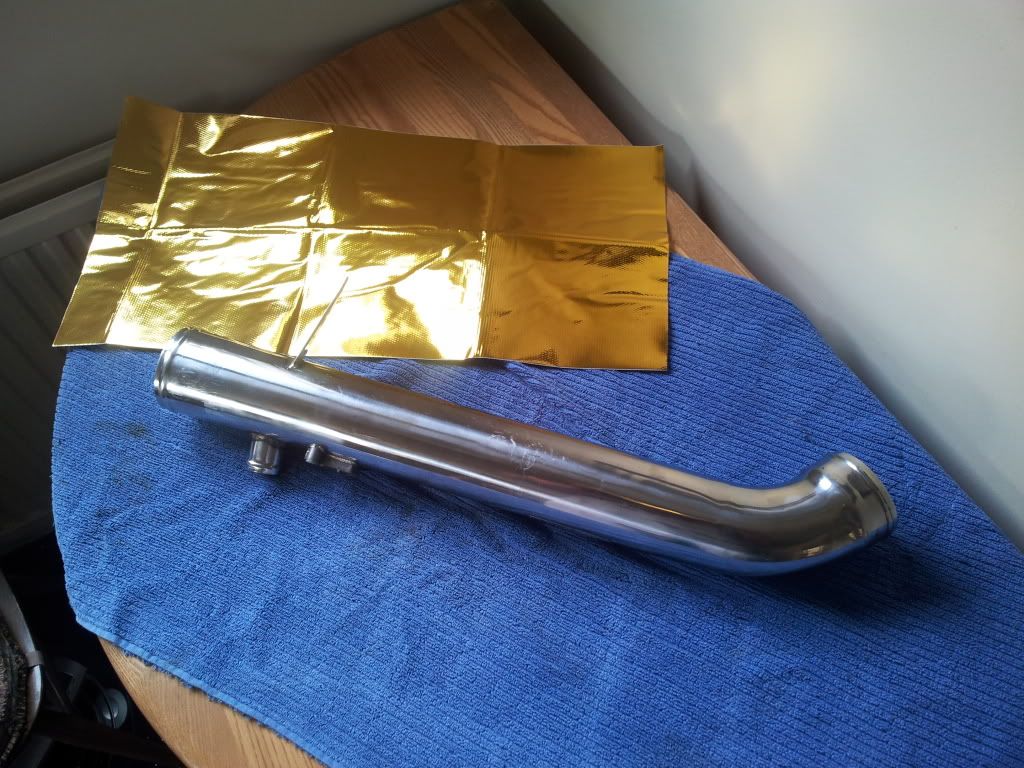
Did the top bend in a wrap style but made a template from wall paper for the straight sections so It fit well around the BOV and supports on the intake pipe.
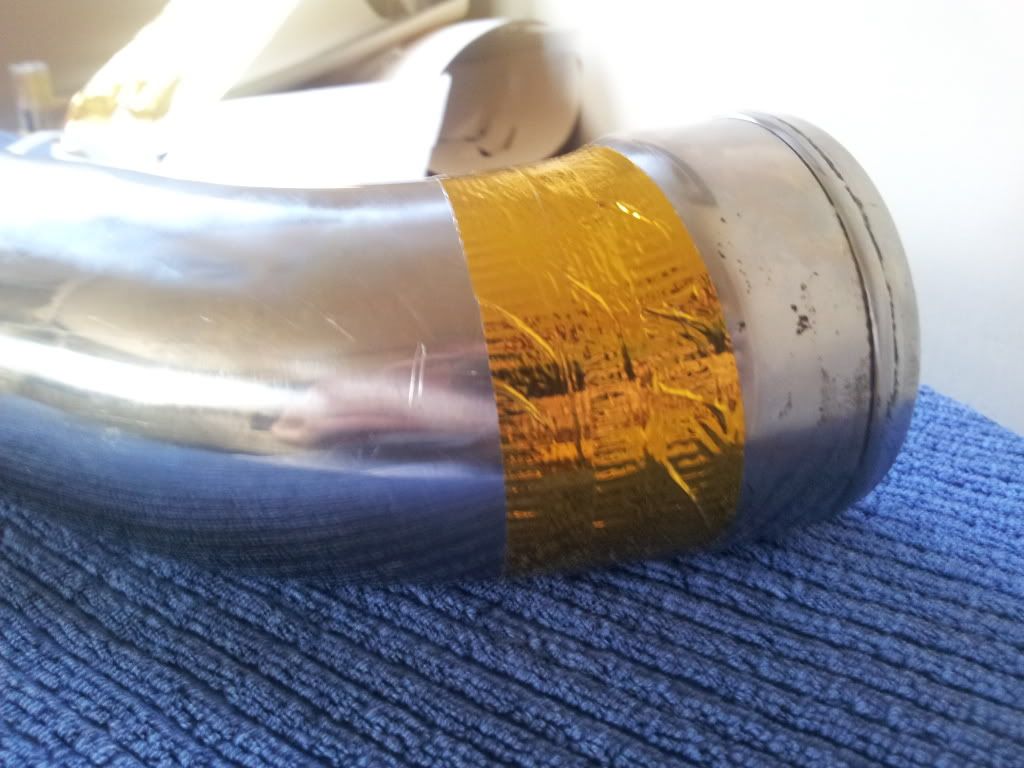
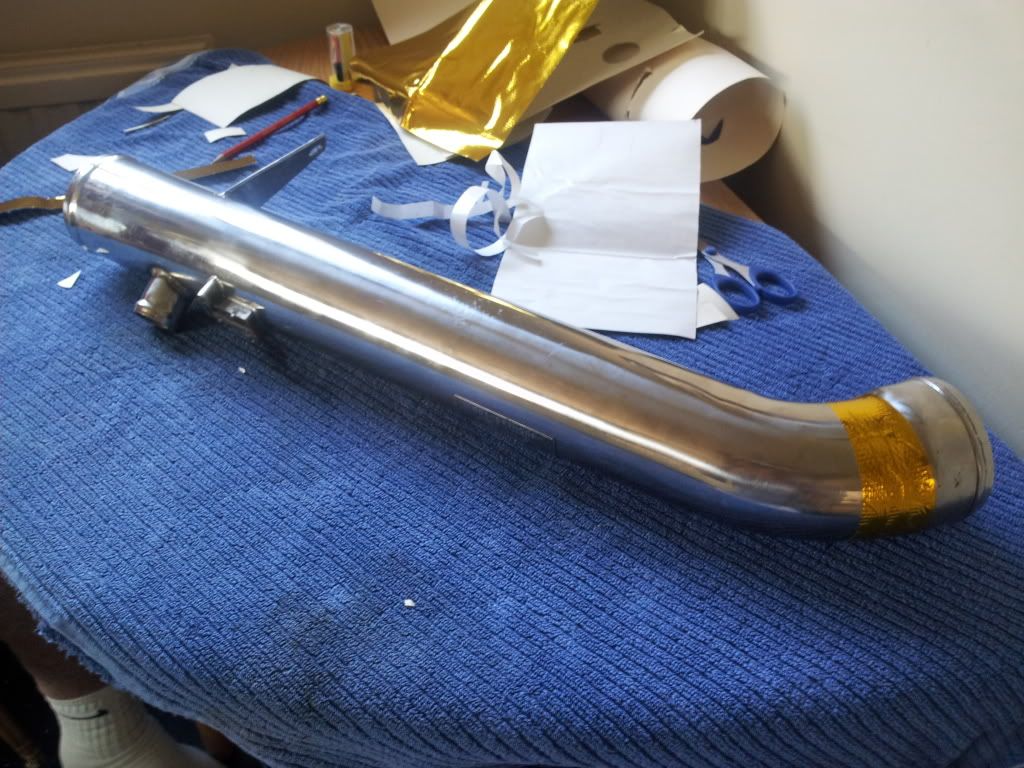
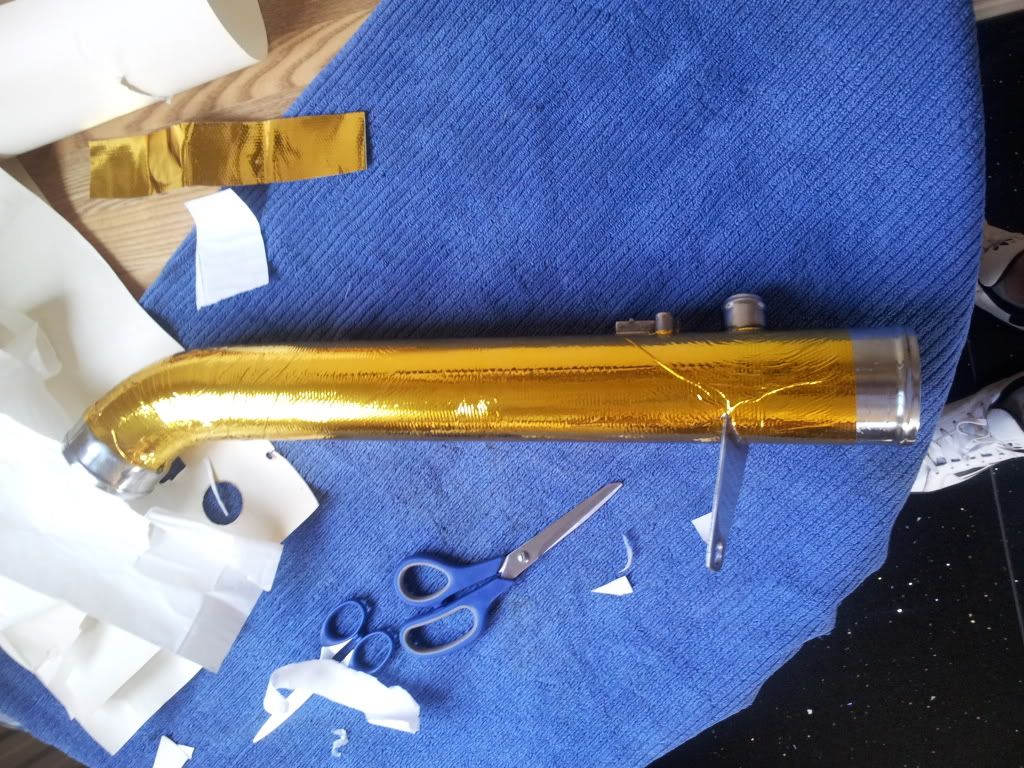
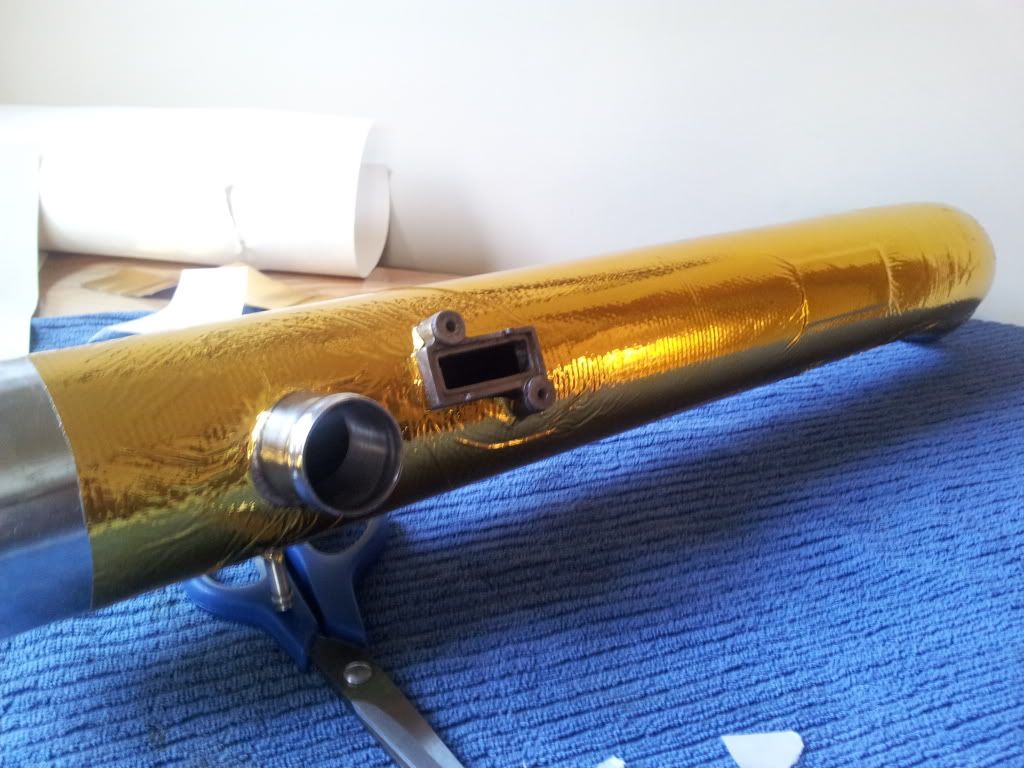
Does not look hard but its sticky as hell the backing glue and took hours messing about with the template to get it to fit correctly! LOL.
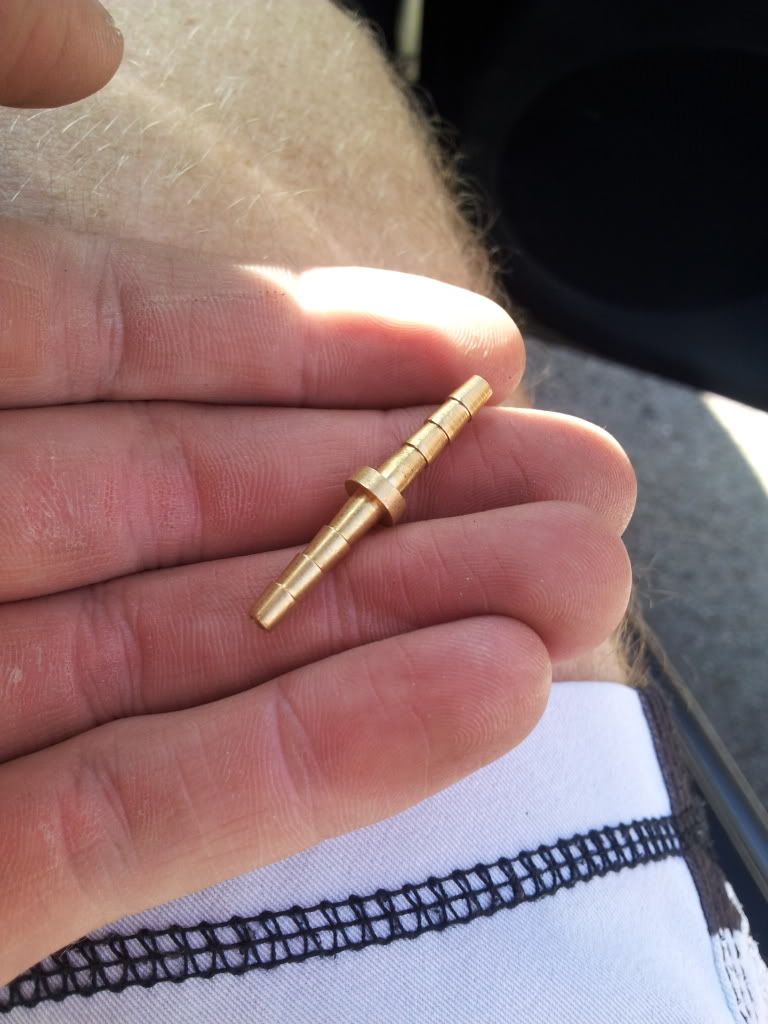
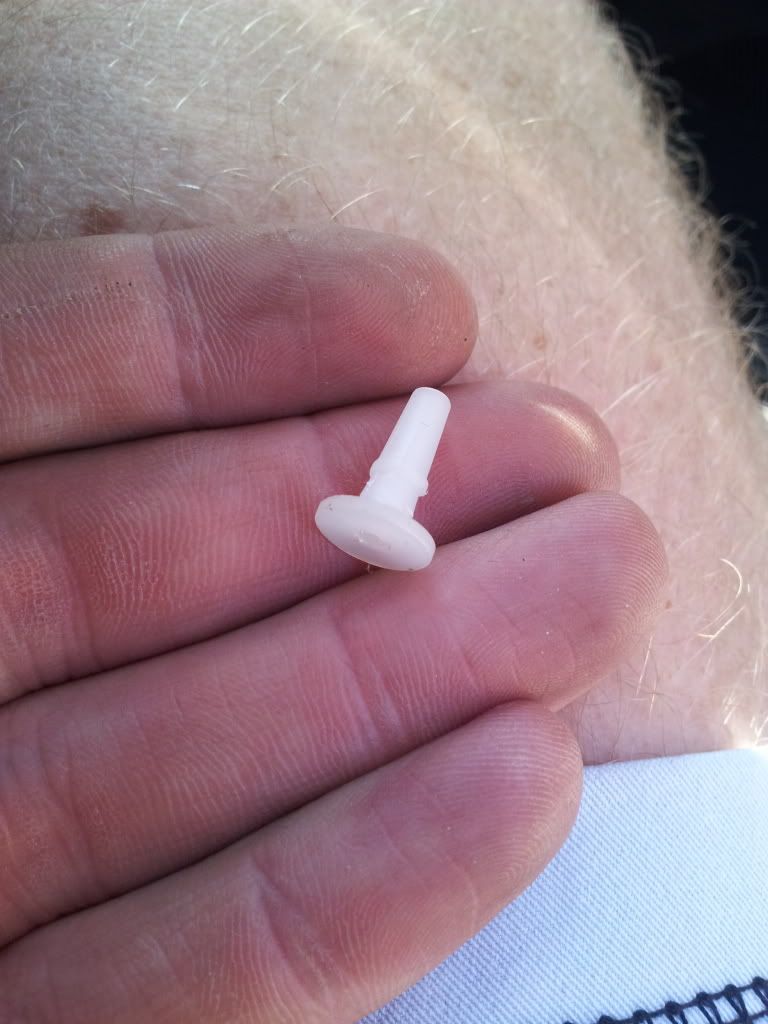
Oh and got my little hose joiner through from ebay!
This little brass badboy is to replace the little poo plastic one that snapped!
Thats is again for today people!
-
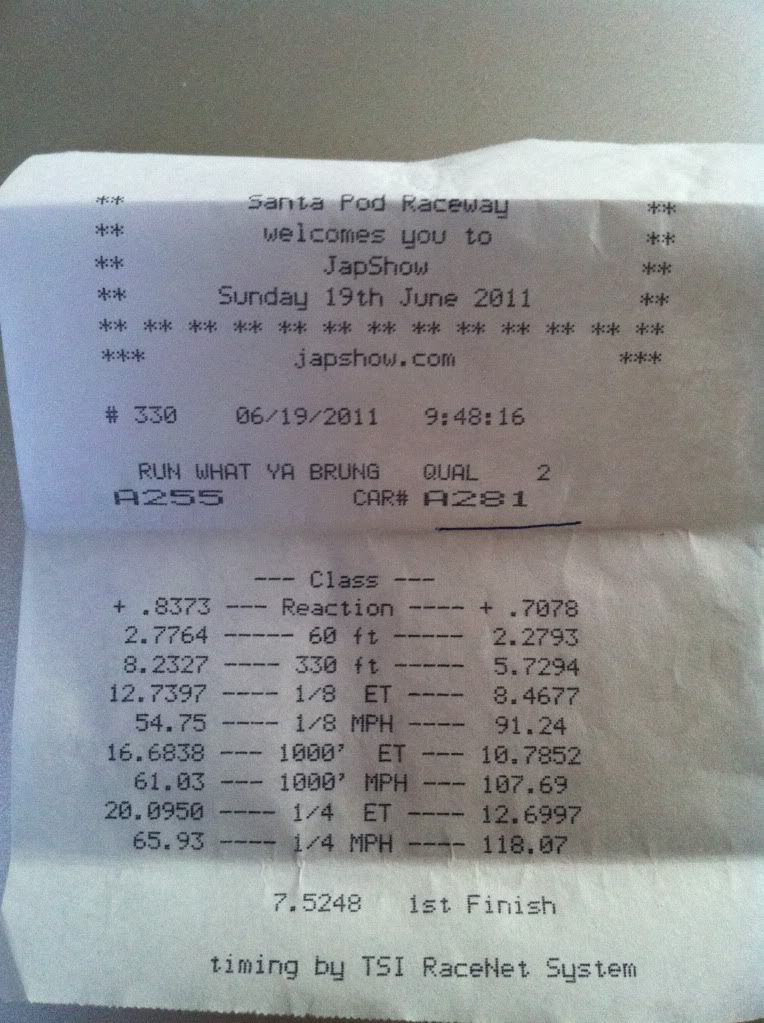
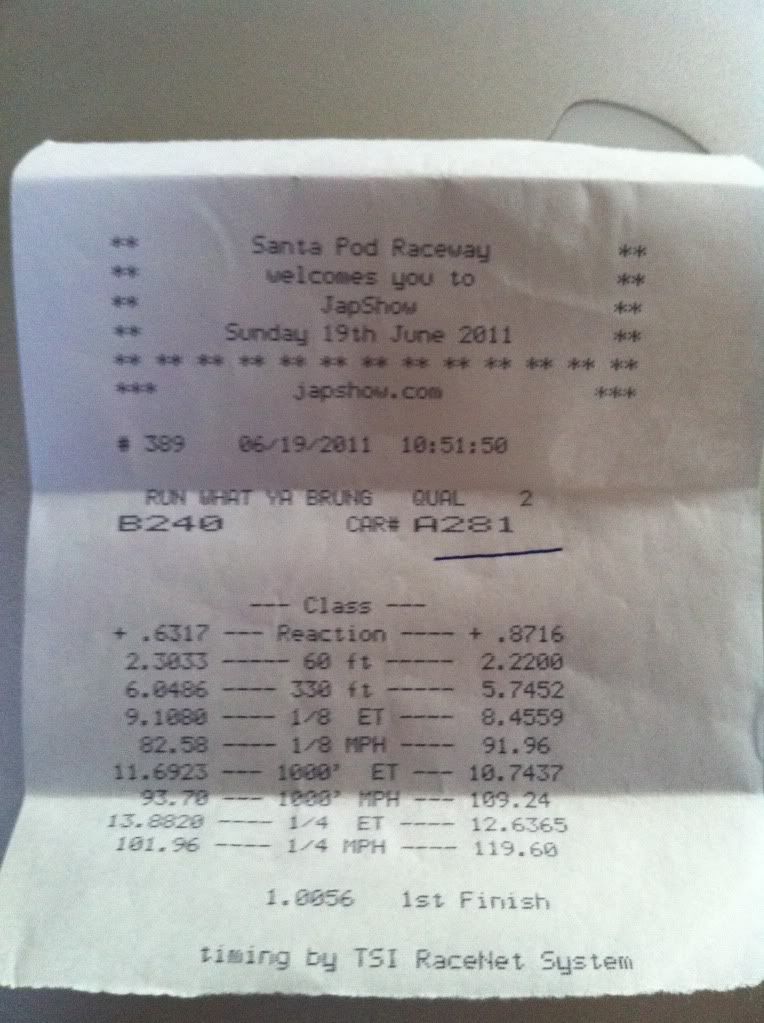
The suspension tweaking worked! LOL...
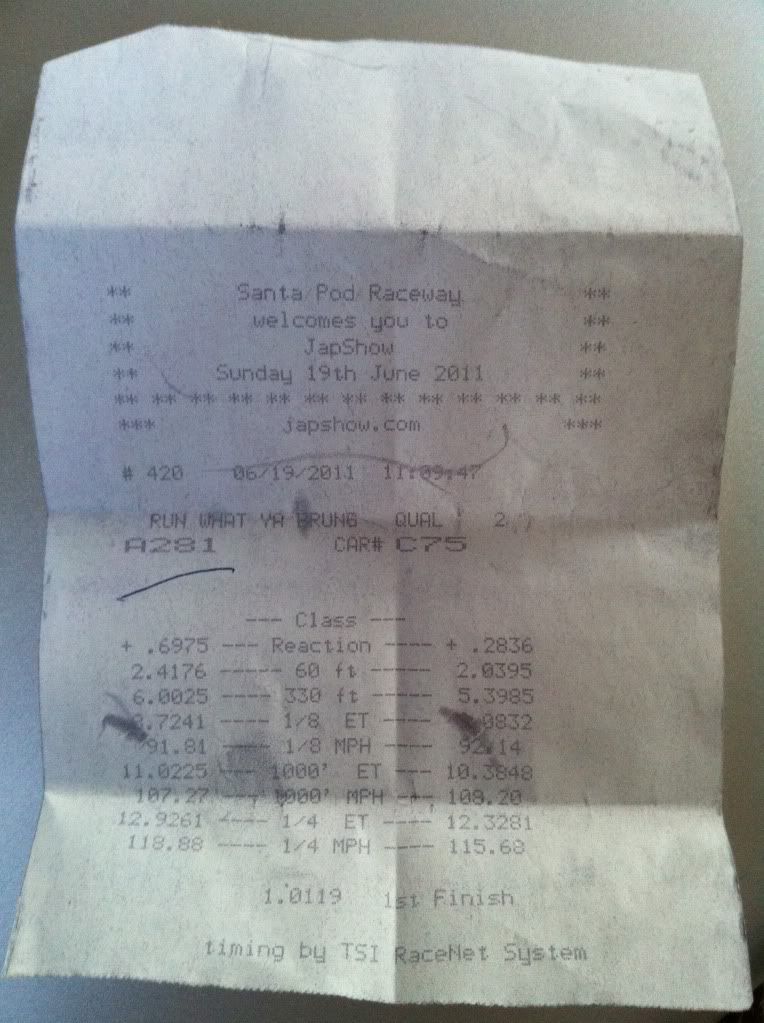
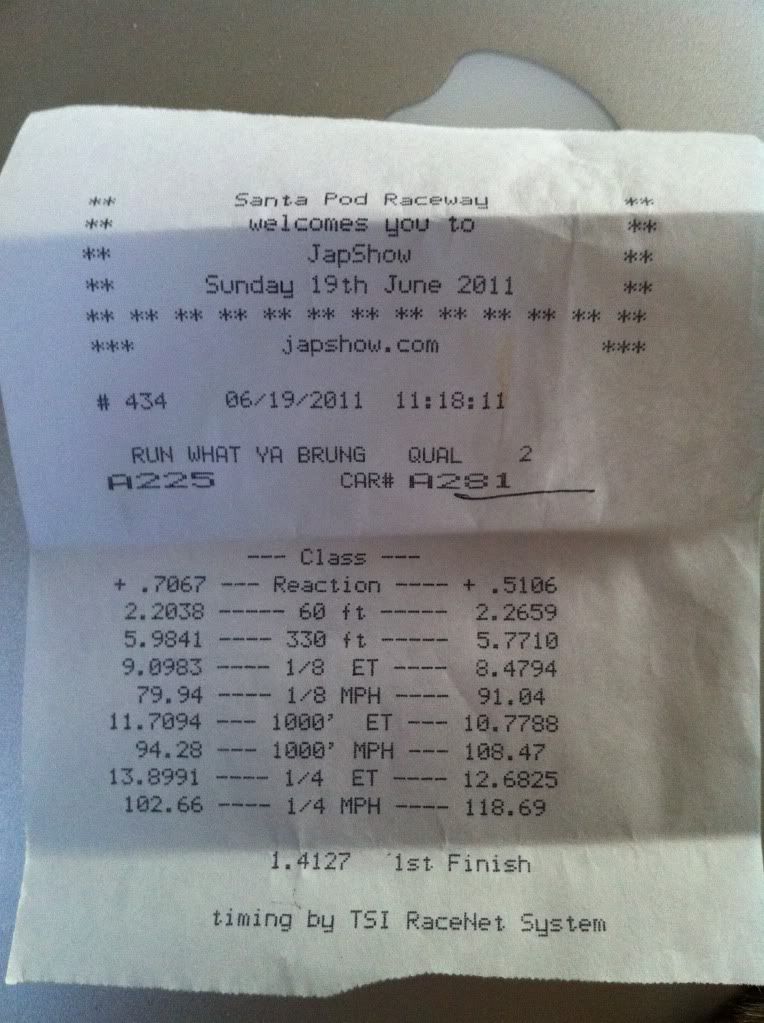
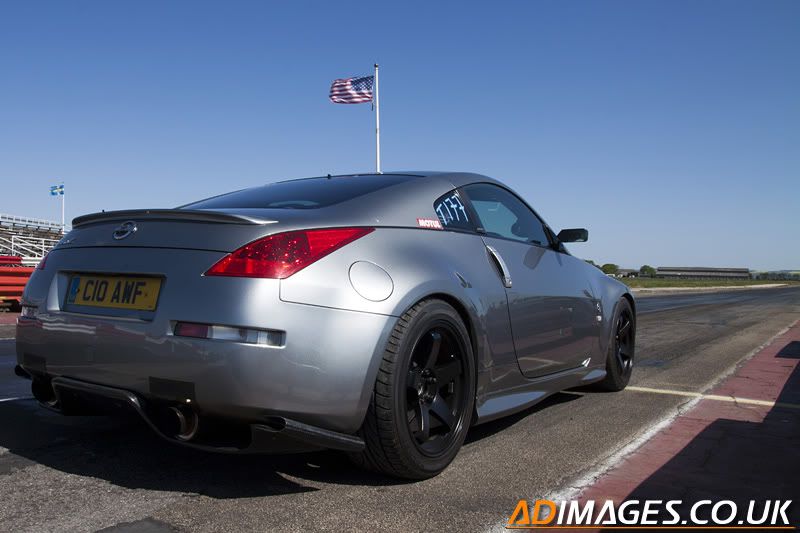
Beat my previous 1/4 mile record today! Best run was 12.63 @ 119.60mph! Made up...
Few pic's of the "falcon" on the strip! LOL..
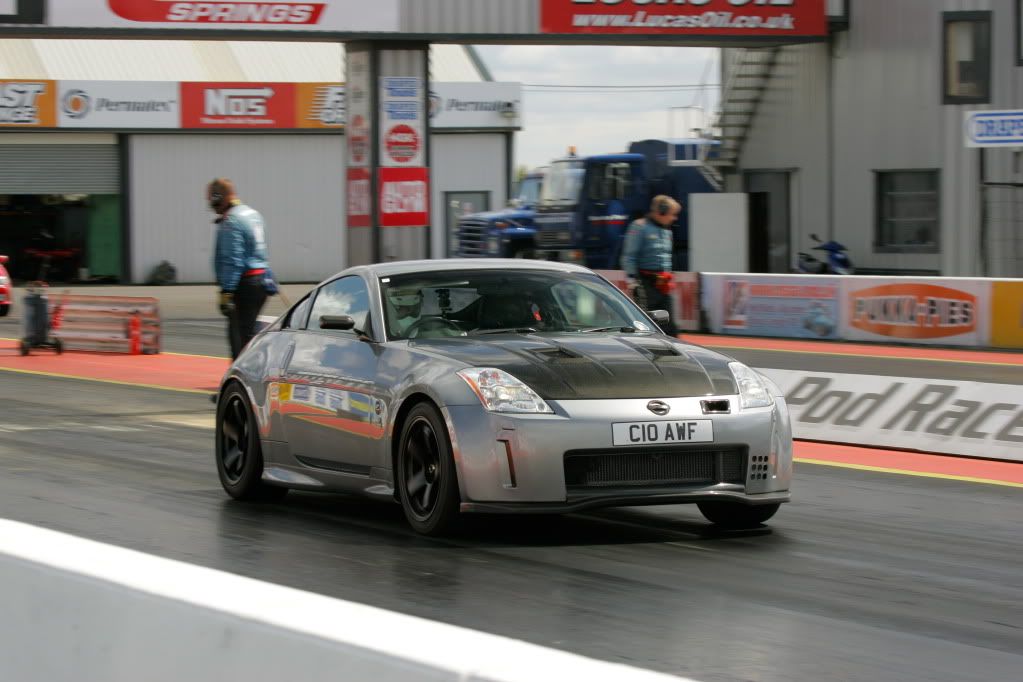
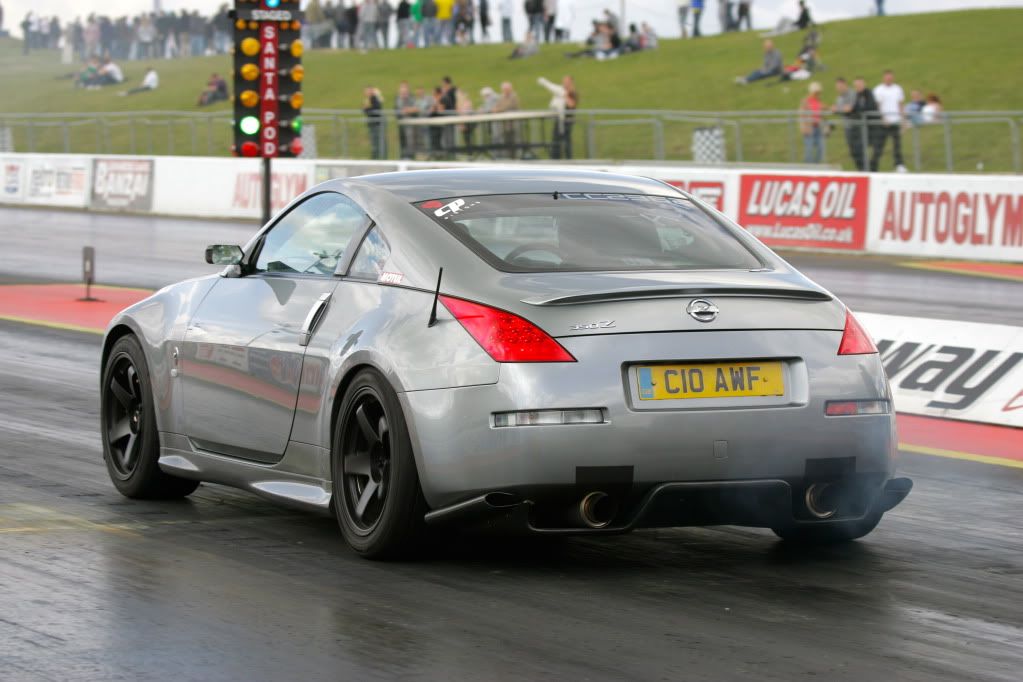
And my time slips from today....
-
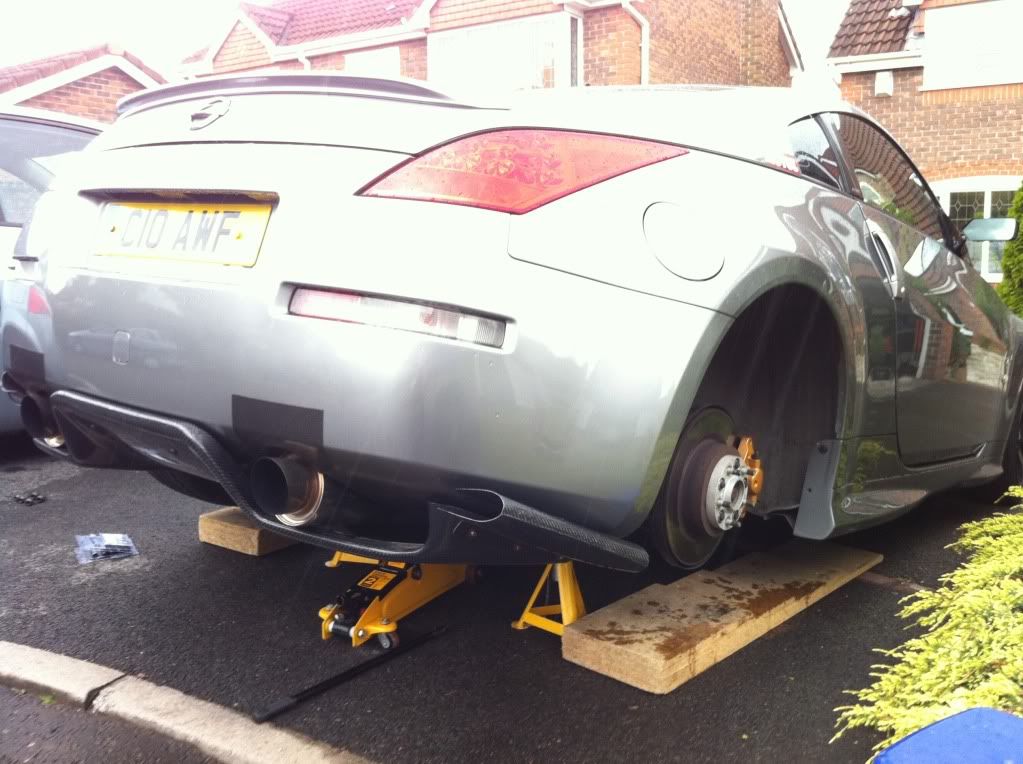
Been mad busy today but managed to get time to set the rear end up a little better for dragging (I hope! LOL)...
Good old english weather (PISSING DOWN) but oh well!
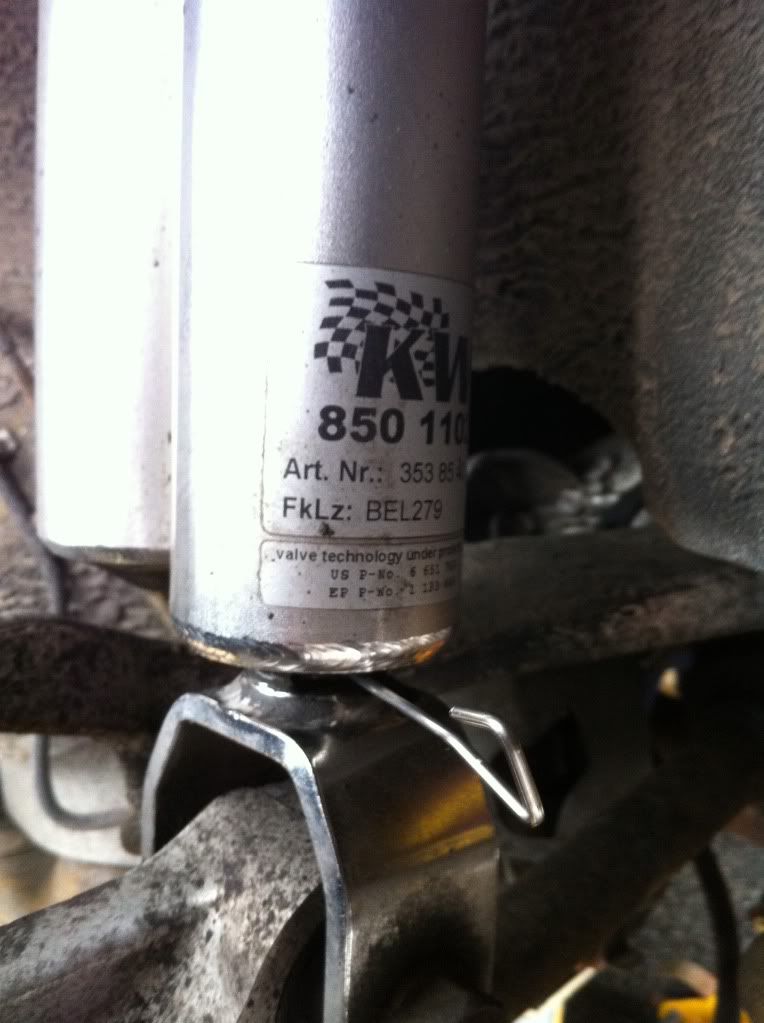
Whipped the car up on the Diff jacking point and pulled both rear wheels off. This is what my KW's looked like! Nice and dirty....
On the jack.
Dirty shocks.
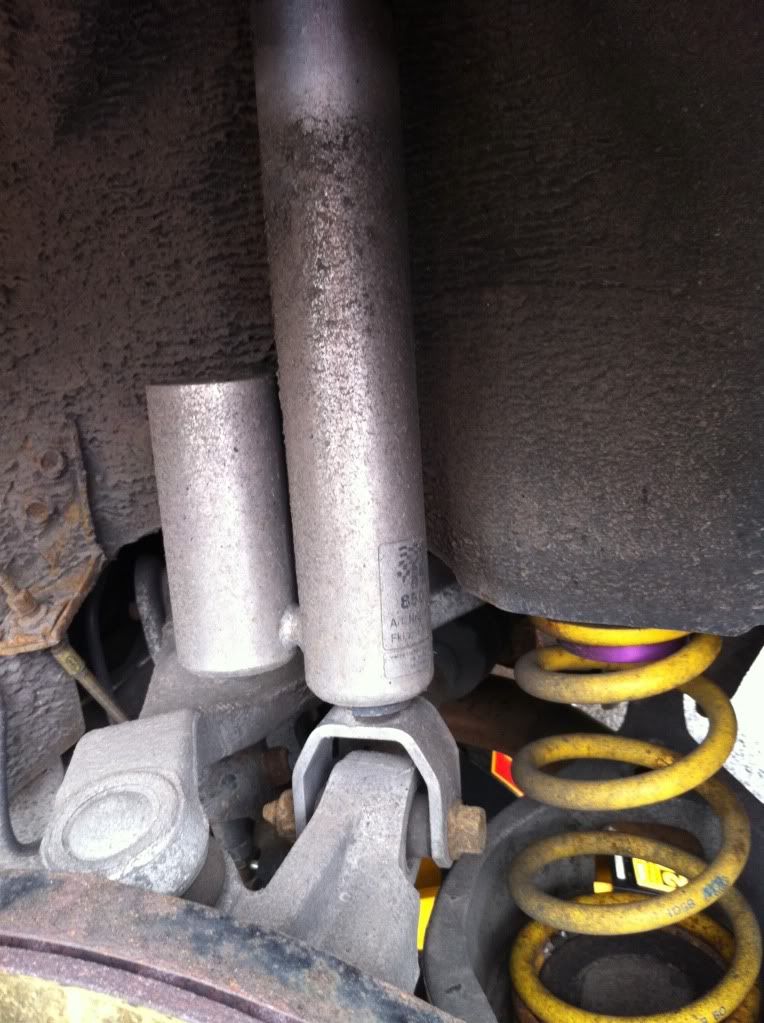
Even though I was very tight for time I could not stop myself from spraying a little GUNK cleaner on them and gave them a quick wipe! ha.
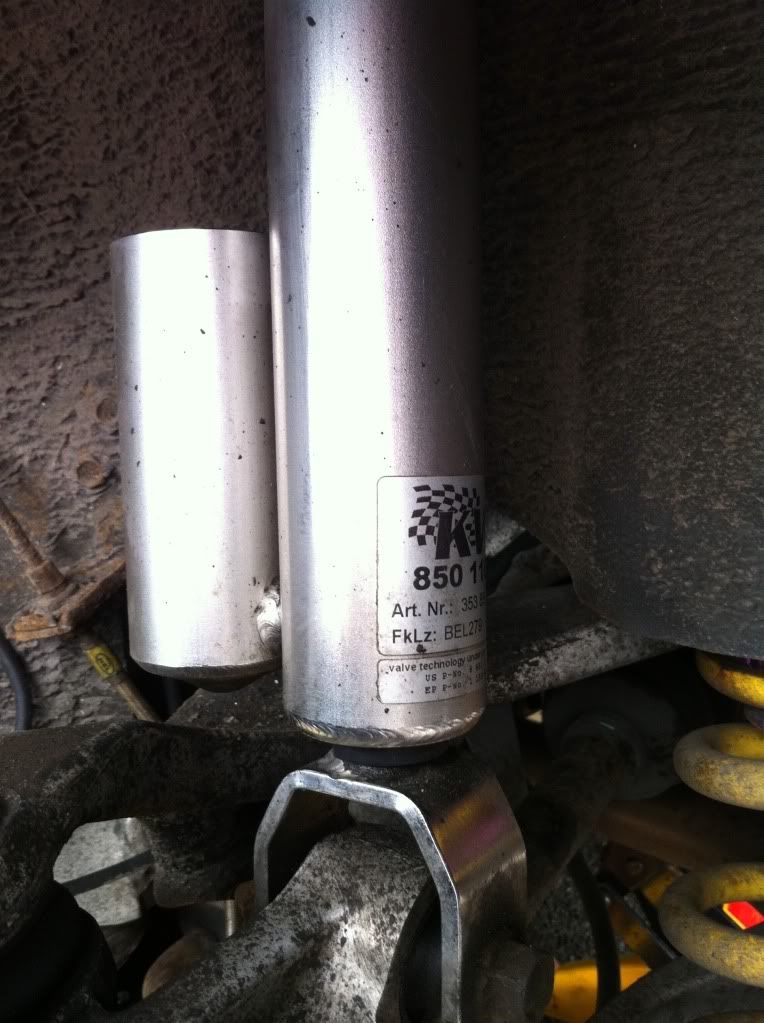
This is how you set the low speed compression on the KW V3's. There were set 2 1/4 turns from full hard, I have now set these at 6 1/4 turns from full hard (about 50%).
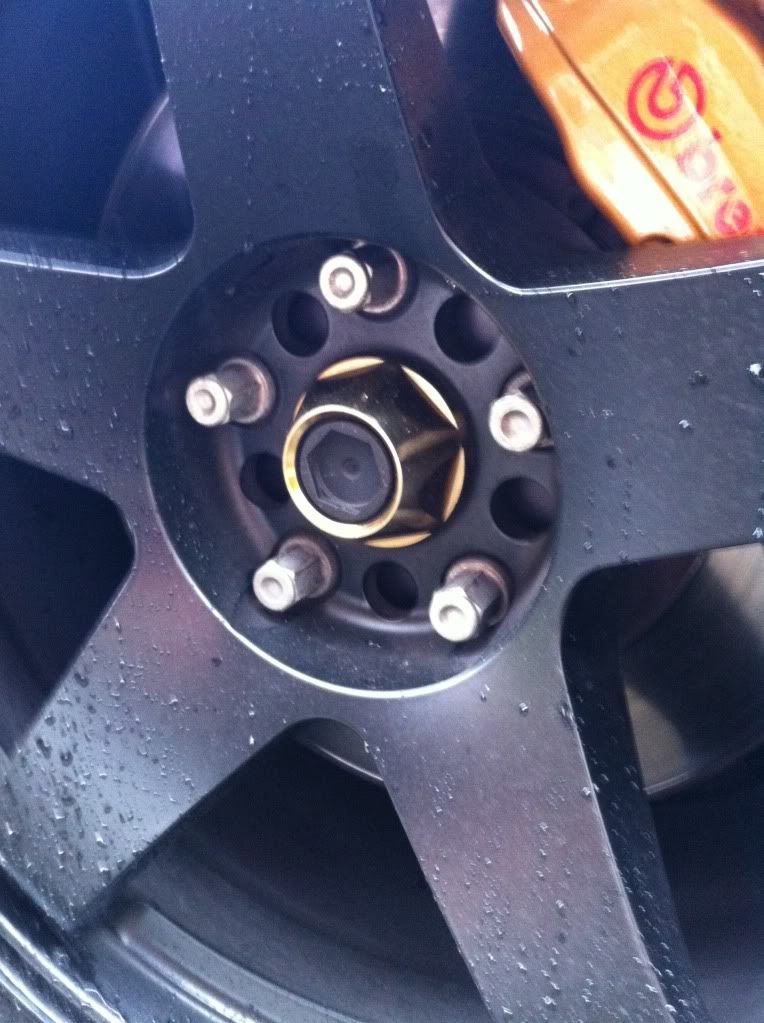
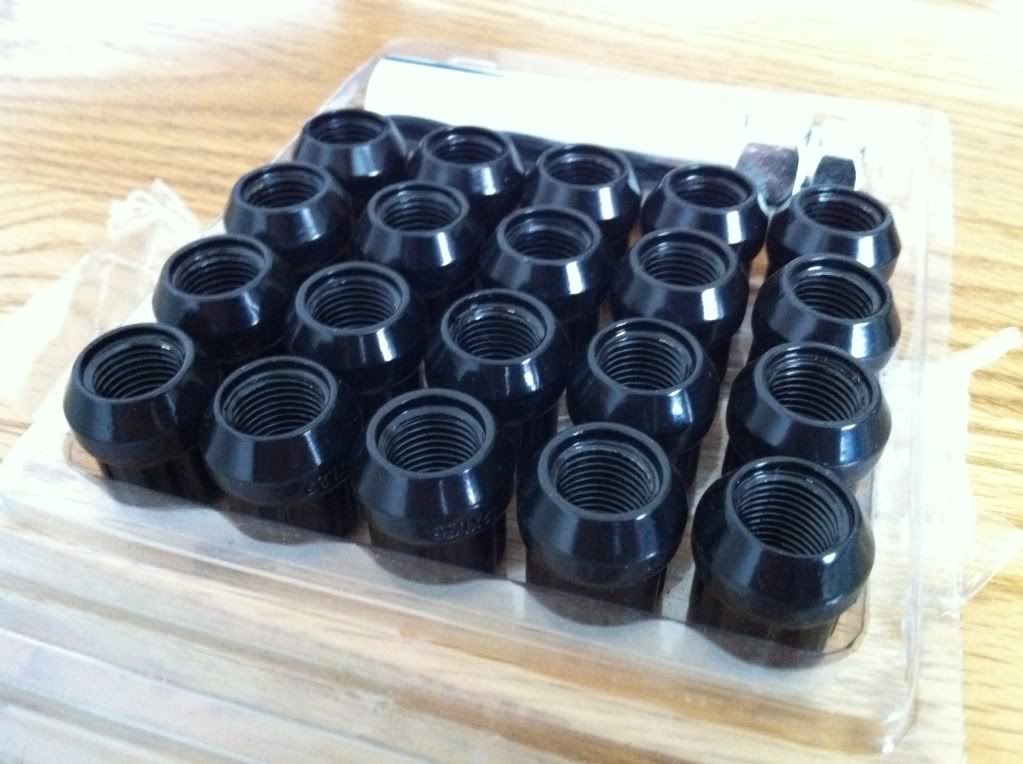
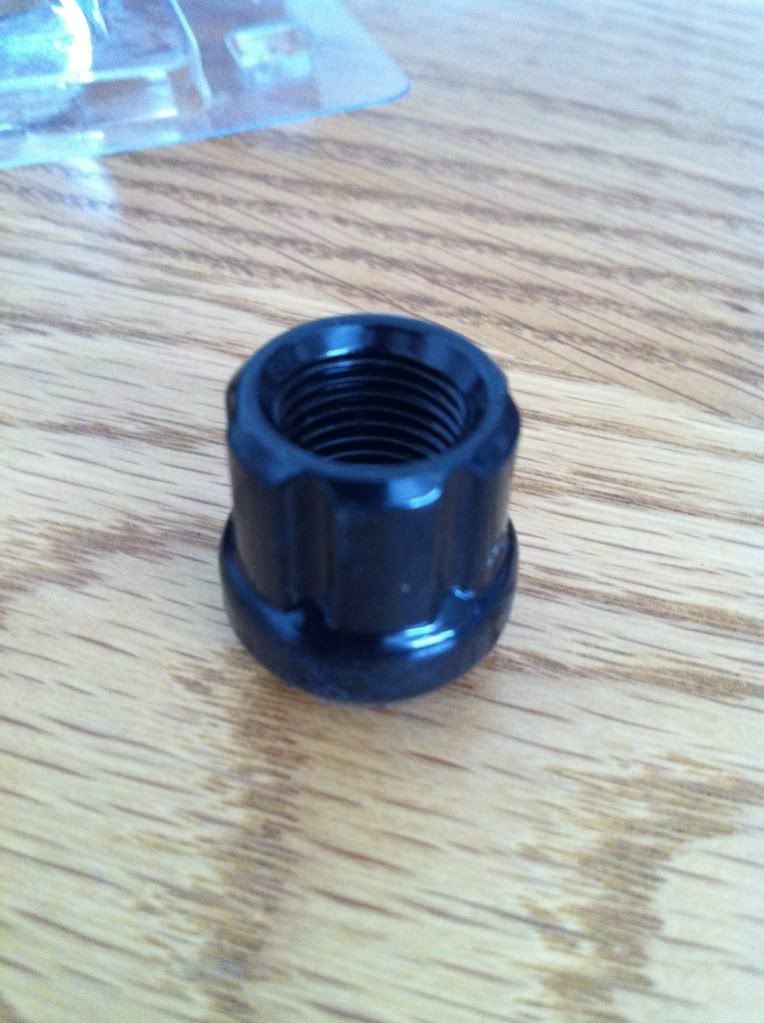
Swapped out the old steel wheel nuts to my new open ended spline drives too! Forgot to get a pic of the new nuts fitted though
Right guys have to pack my overnight bag for tomorrow! See you guys soon!! (or tonight Paul/Rich)!
-
LOL, yeah Dan I have my eyes set on a nice seat of leather and alcantara recaro pole position ABE's. There not that light for a fixed back bucket seat but fit me really well and look ace! There only 7KG each so the stock seat I have heard it weighs about 20KG so there should be a good saving there when they get swapped out!!
Just a little up date, I really want to up grade my wheel studs to some extra long ARP ones for extra satefy, so I picked up a set of steel open ended spline drive wheel nuts that allow the extra long studs to poke out the end. Im just not that happy running alu/light wieght nuts as I have my doubts on there strength (MSA blue book for compertion cars will only allow steel wheel nuts so thats gives you an idea on saftey).
Picked these up from RareRims, Only cheep but strong and open ended (the black will go with my wheels too )
-
Finally the end to the epic tar removal job! LOL..
pax side wheel arch.
Bose amp moved to allow more room.
Driver side fully cleaned up! I rubber t that hard, Ive rubbed through the paint in some spot!
Pax side arch done! This was the hardest part just because of the more complex shape and bad access.
FULLY DONE!!!!
Next job is paint!! woohoo...
Oh and a bonus pic of a burger I had for dinner! hahaha... Was a good burger! LOL..

-
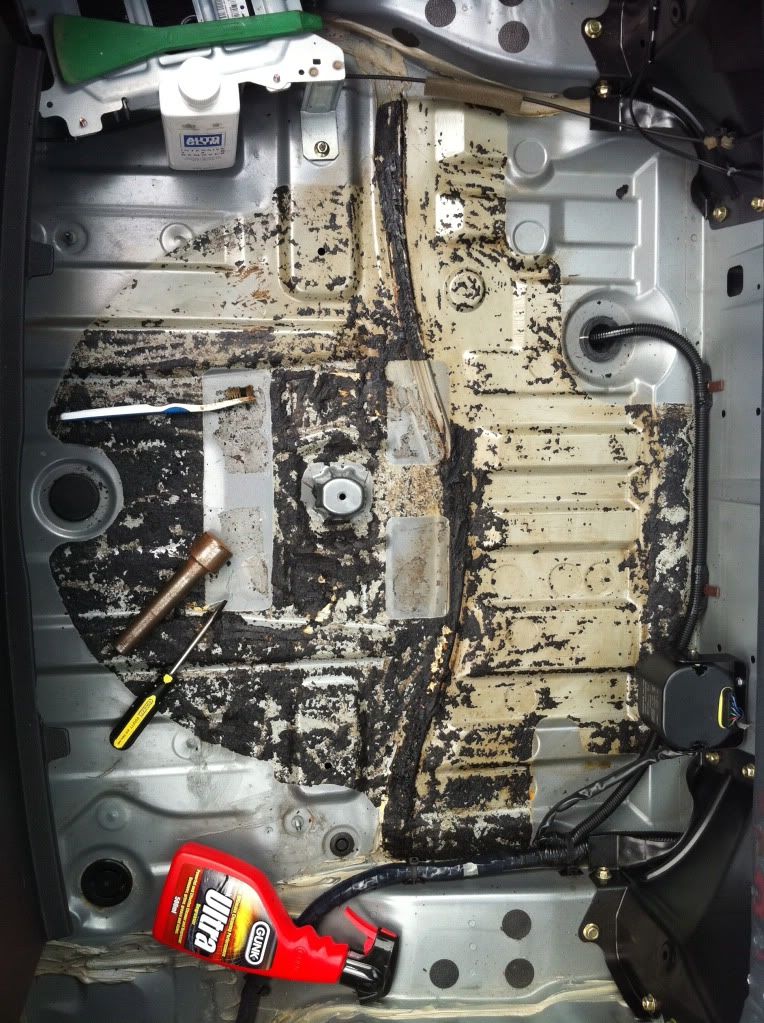
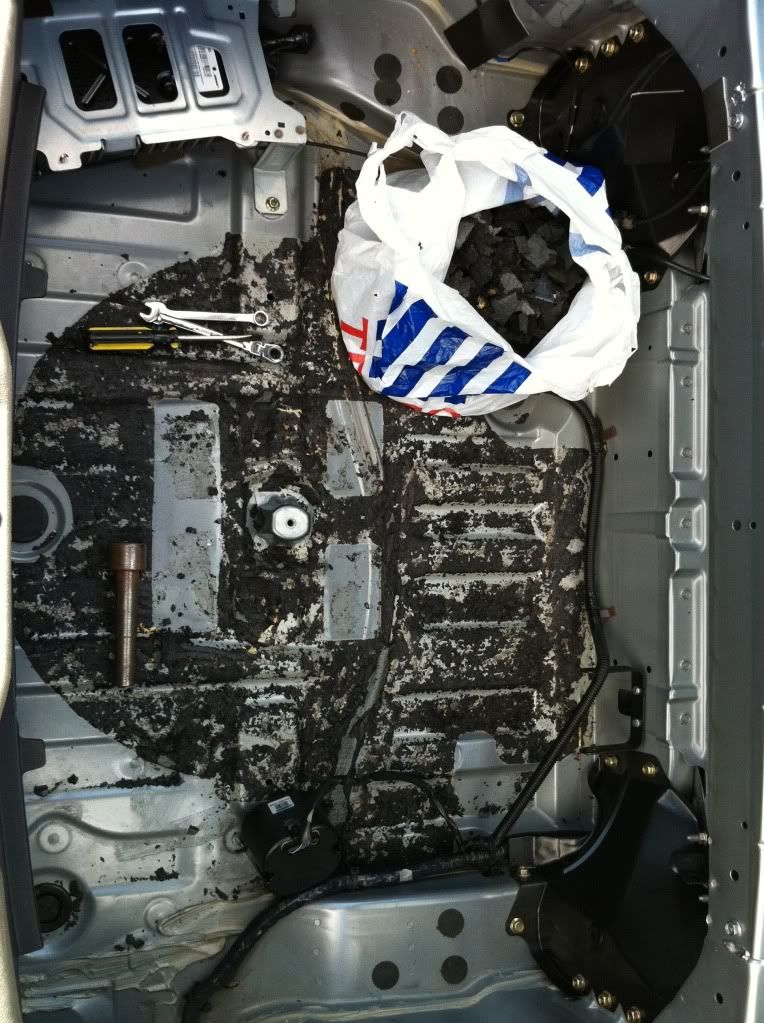
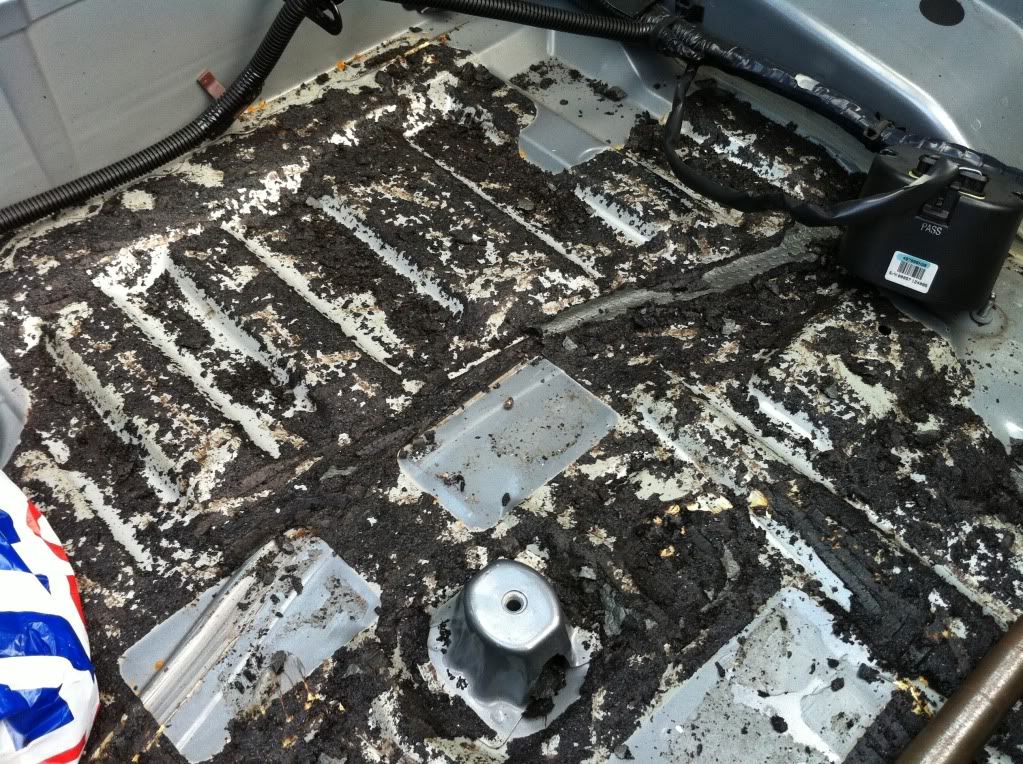
Another back breaker of a job done! LOL...Im such a sucker for punishment!
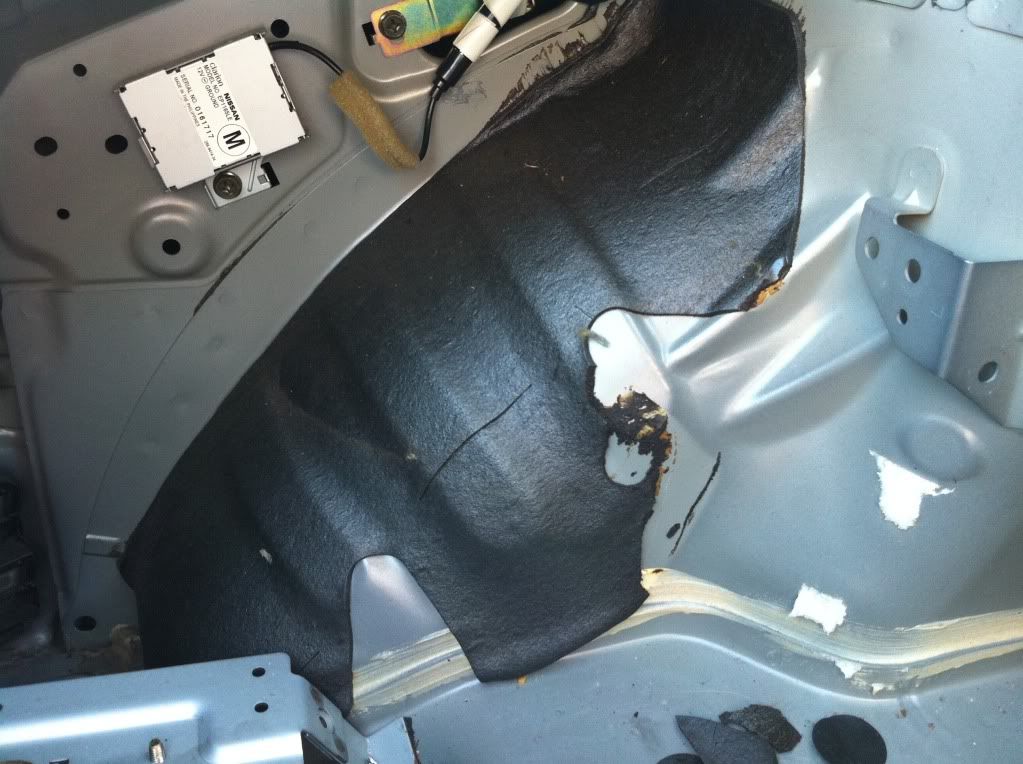
I continued with the job of removing the deadening today.
This shows the best I could get it with a chisel....Not very clean! LOL..
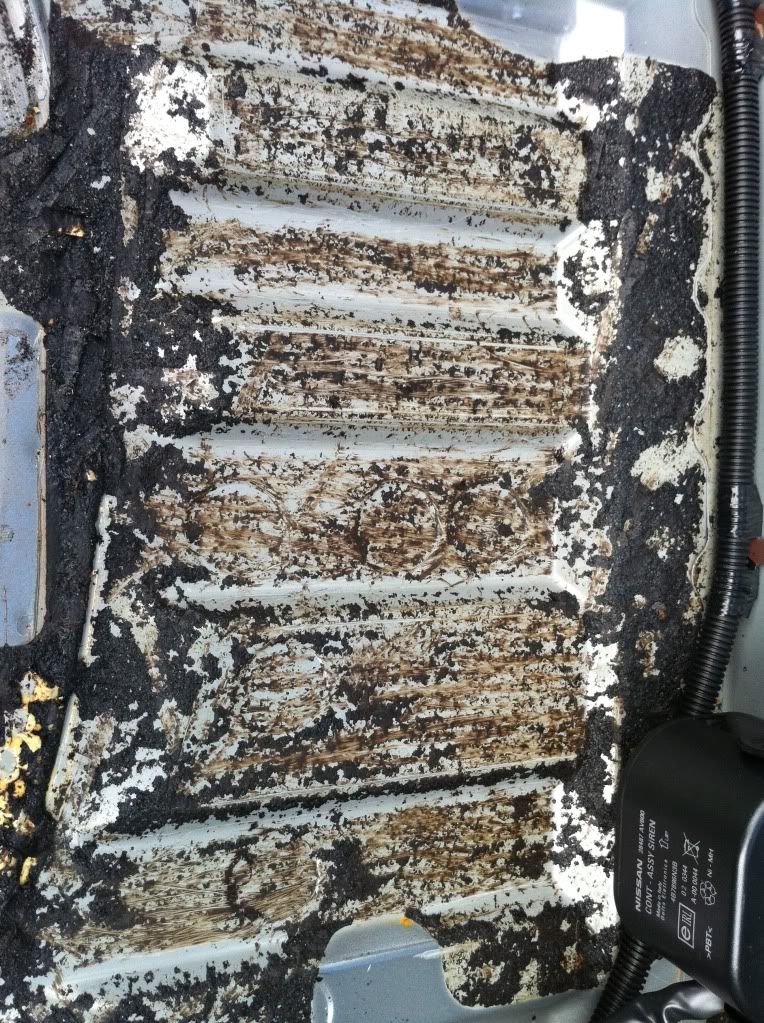
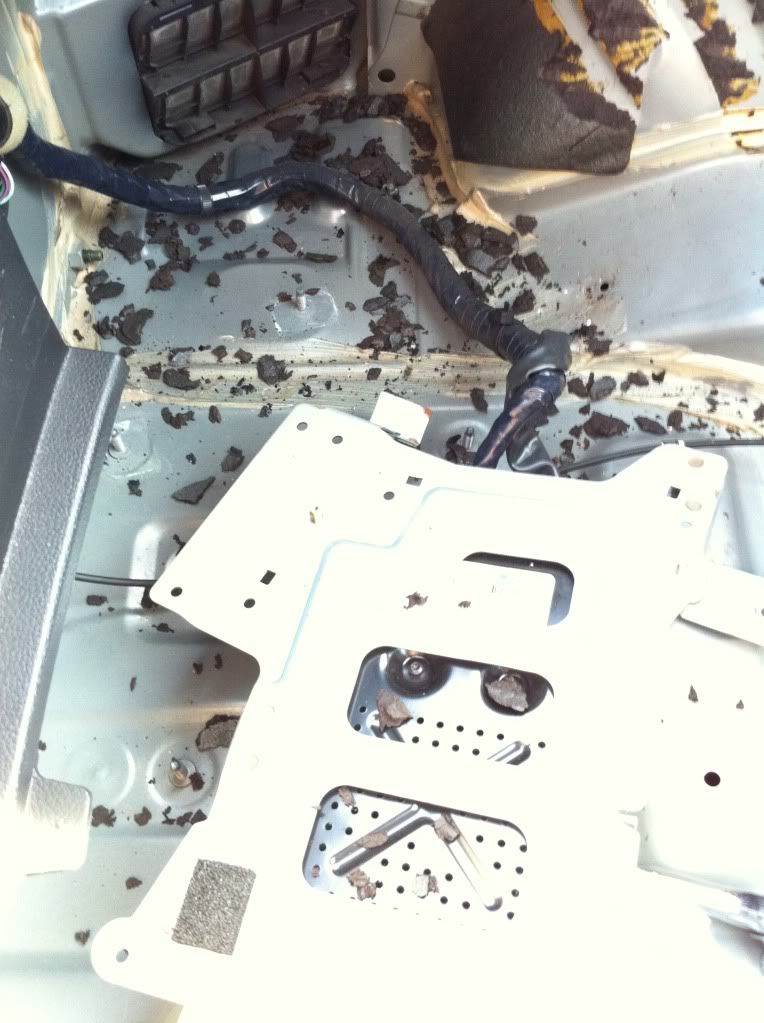
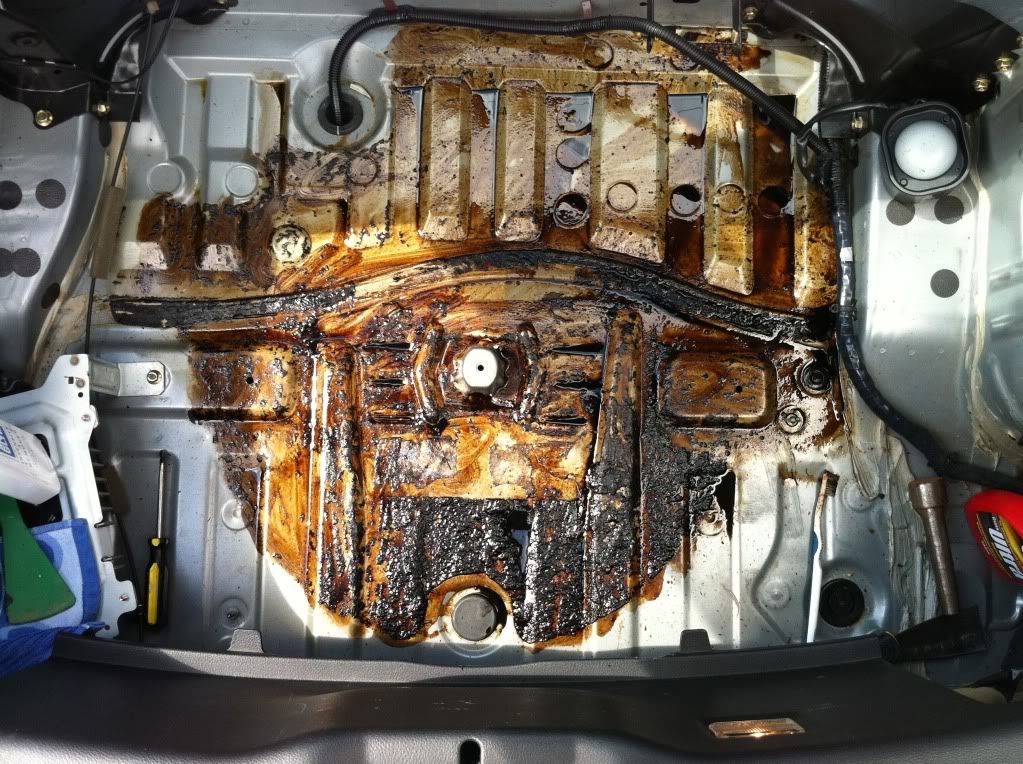
GUNK degreaser didn't touch this stuff so I just used that for cleaning up. This is the megs high strength tar remover soaking.
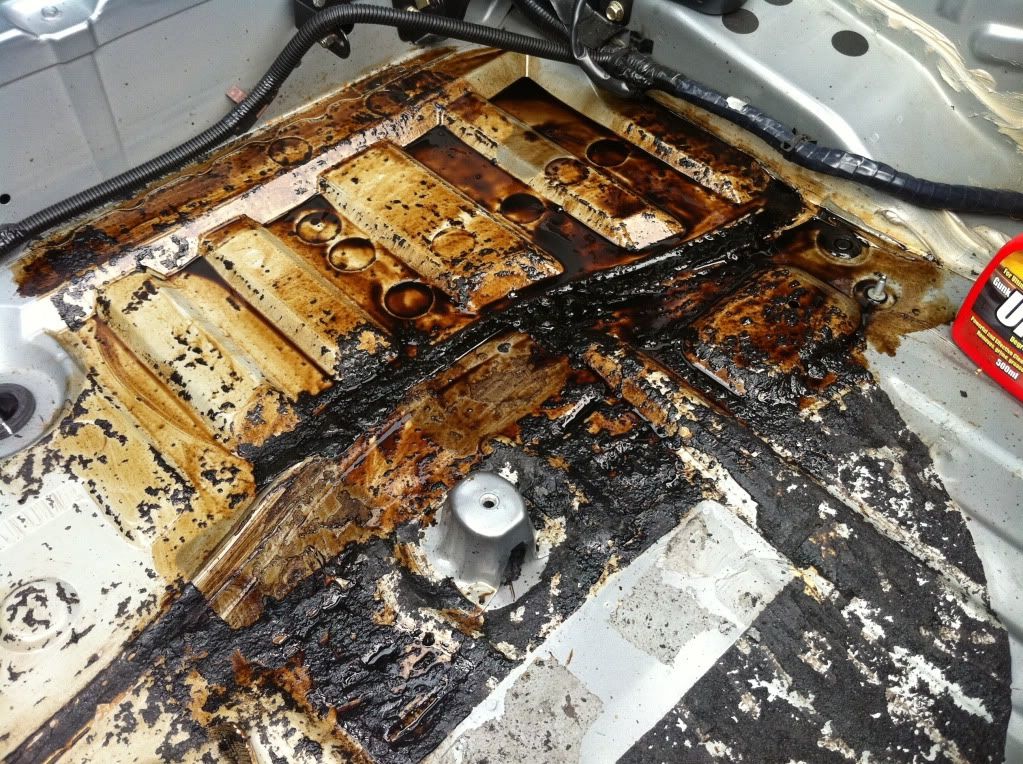
After cleaning up the tar remover and scrubbing like hell with a tooth brush this is how it looked!
More tar remover soaking! I think i did this step about 4-5 times!!
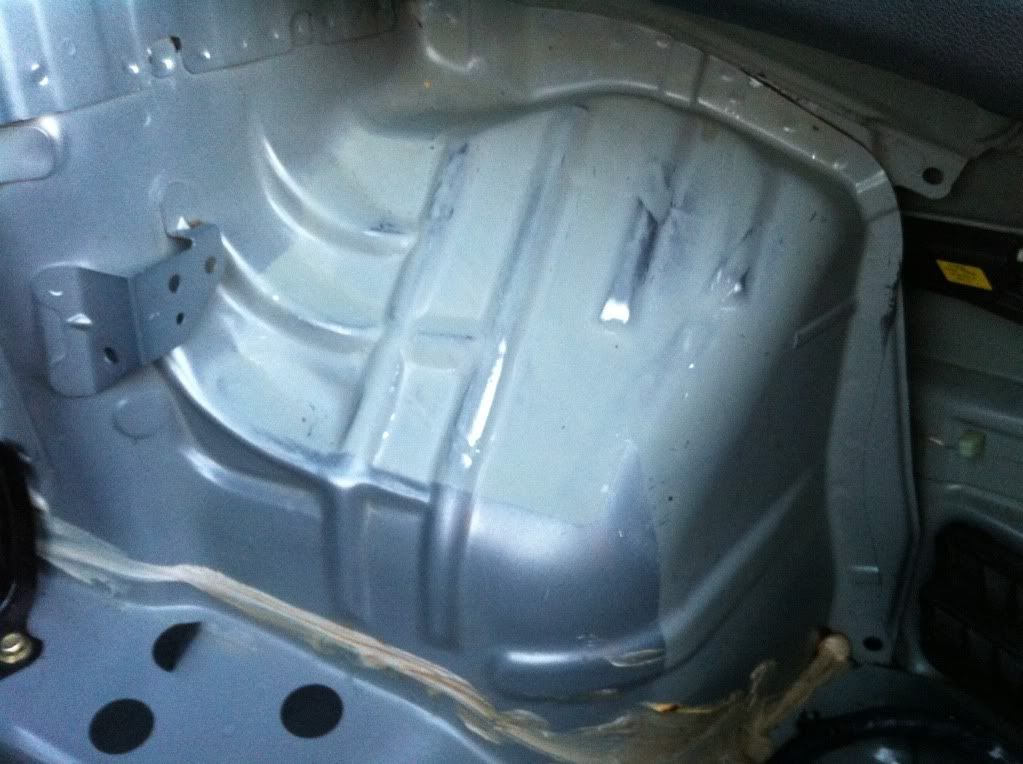
Nearly there!
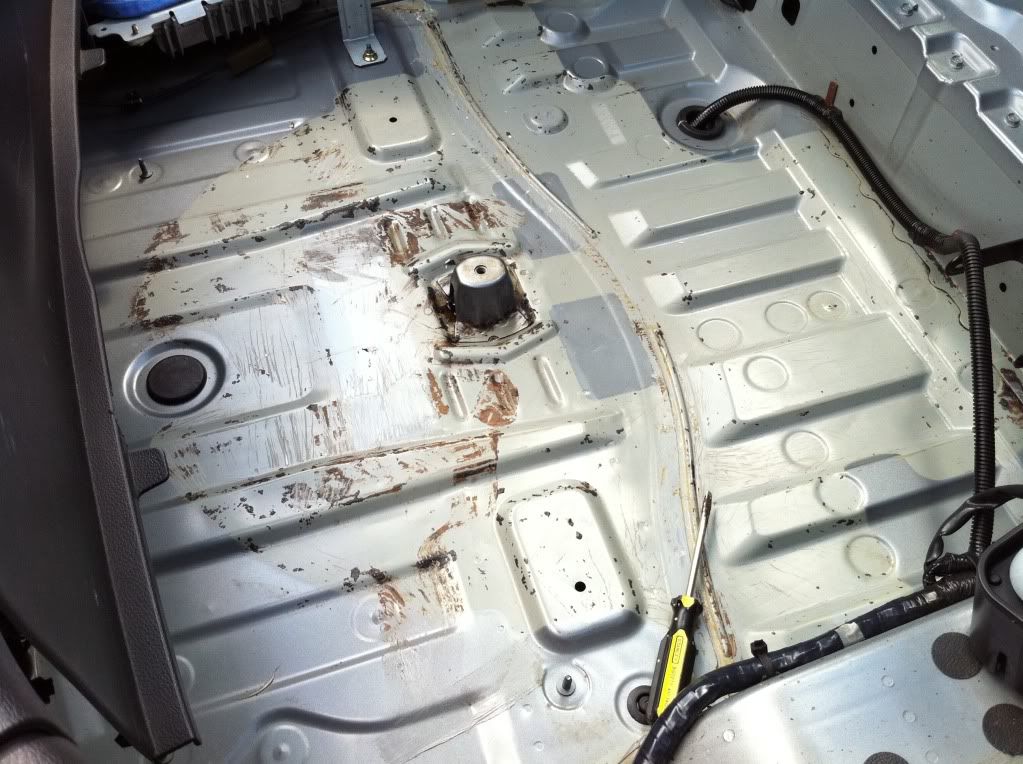
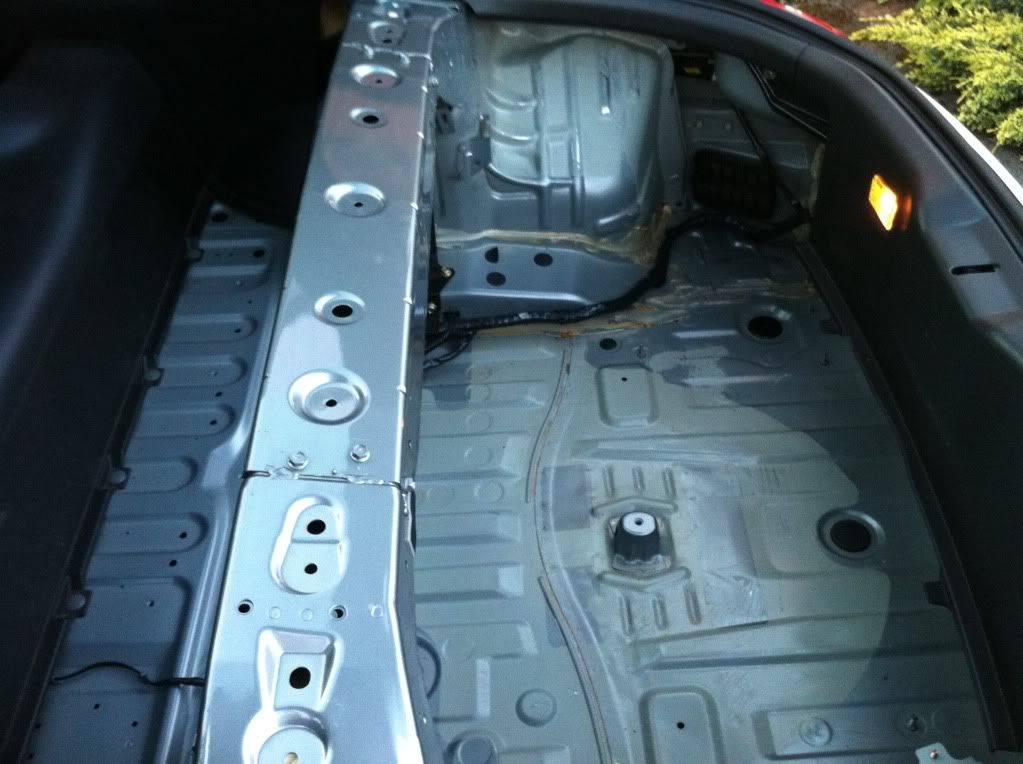
Boot floor done!
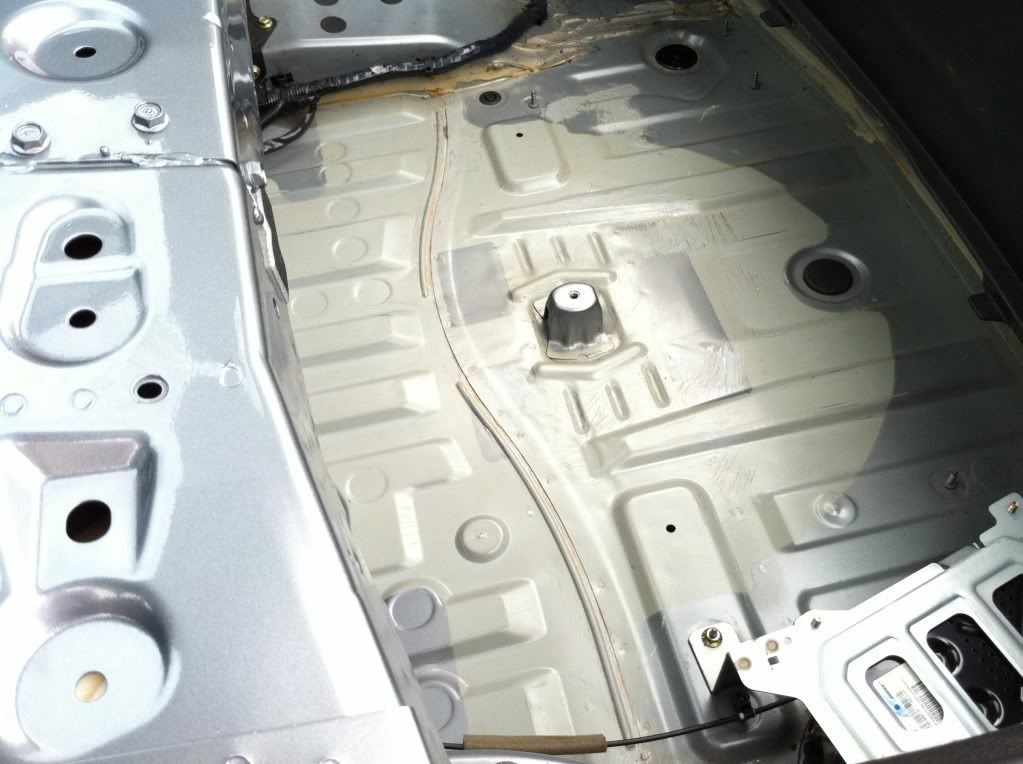

Was a hard job just because its a pain in the a** to bend over and work in the boot for so long! I would say its taken me a good 4 hours to do this!!
Next job is the inner wheel arches!!!! LOL...
-
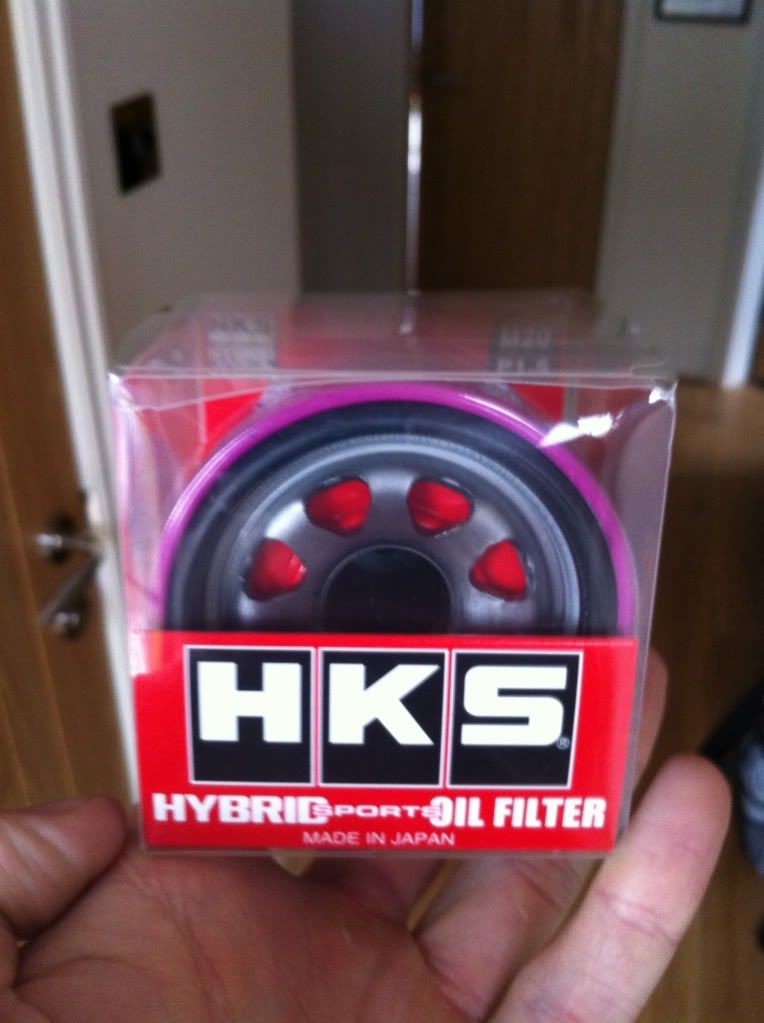
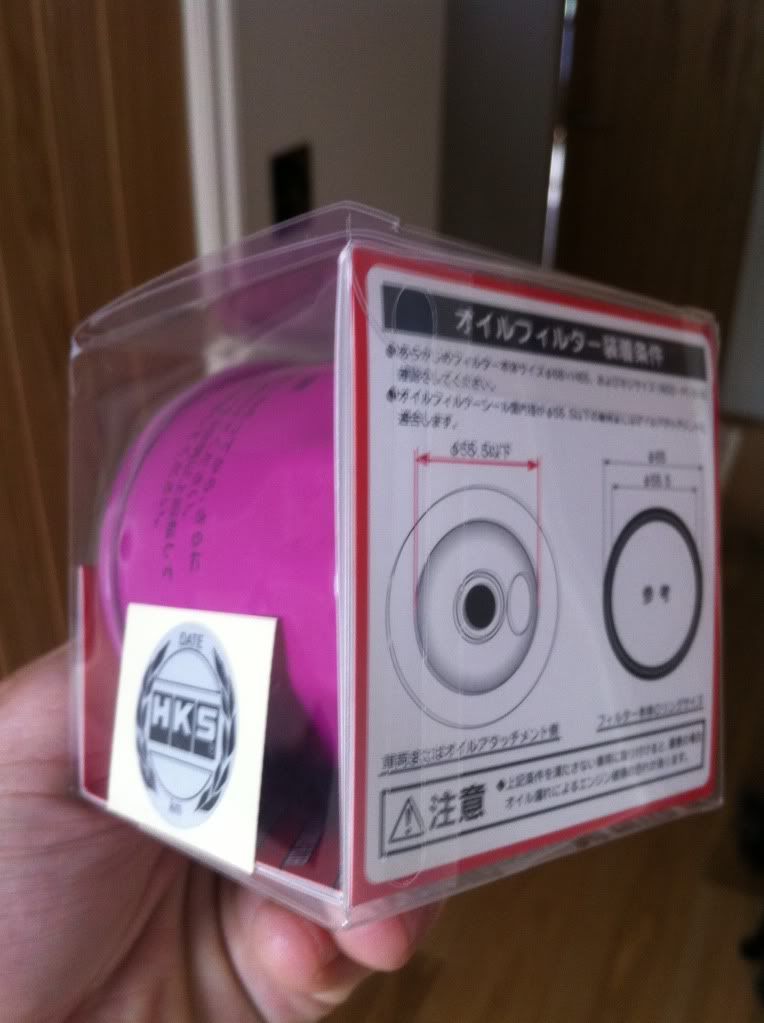
Had a little package through the post today.
A cheeky little HKS oil filter ready for my next oil change. Great quality and should filter better and have less pressure drop than the OEM filter.
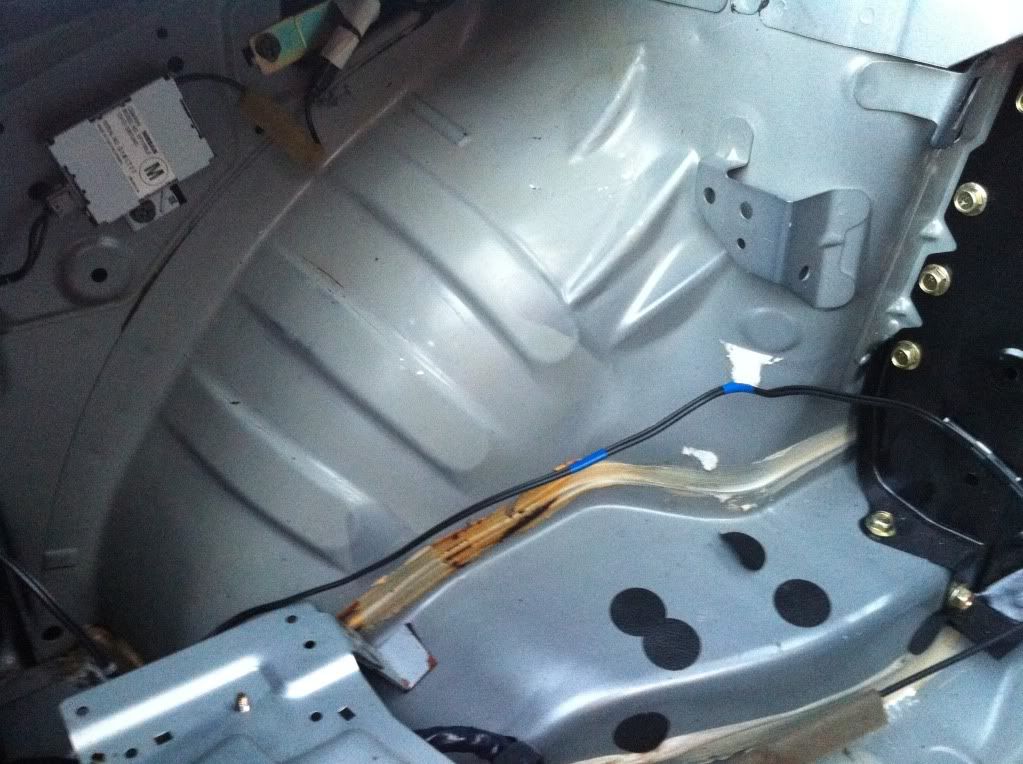
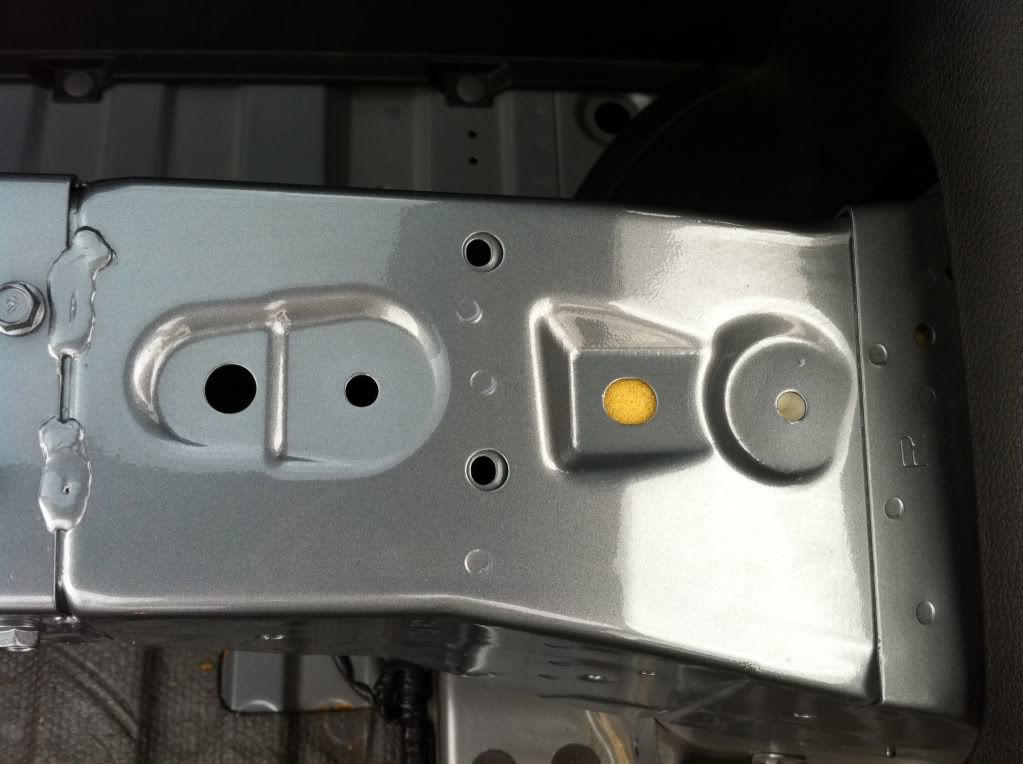
Also spent an hour or two prepping the boot area for painting.
Boot area just stripped.
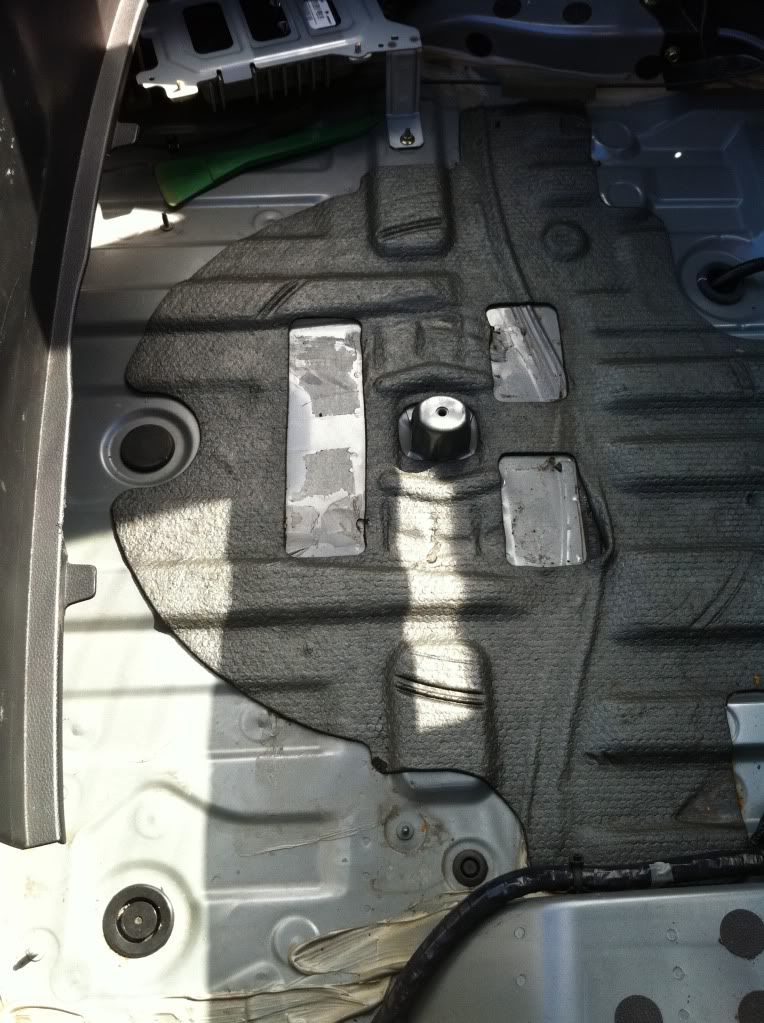
Horrible tar based sound deadening material.

Fully removed the bottom section but KNOW WHERE NEAR CLEANED UP!!!
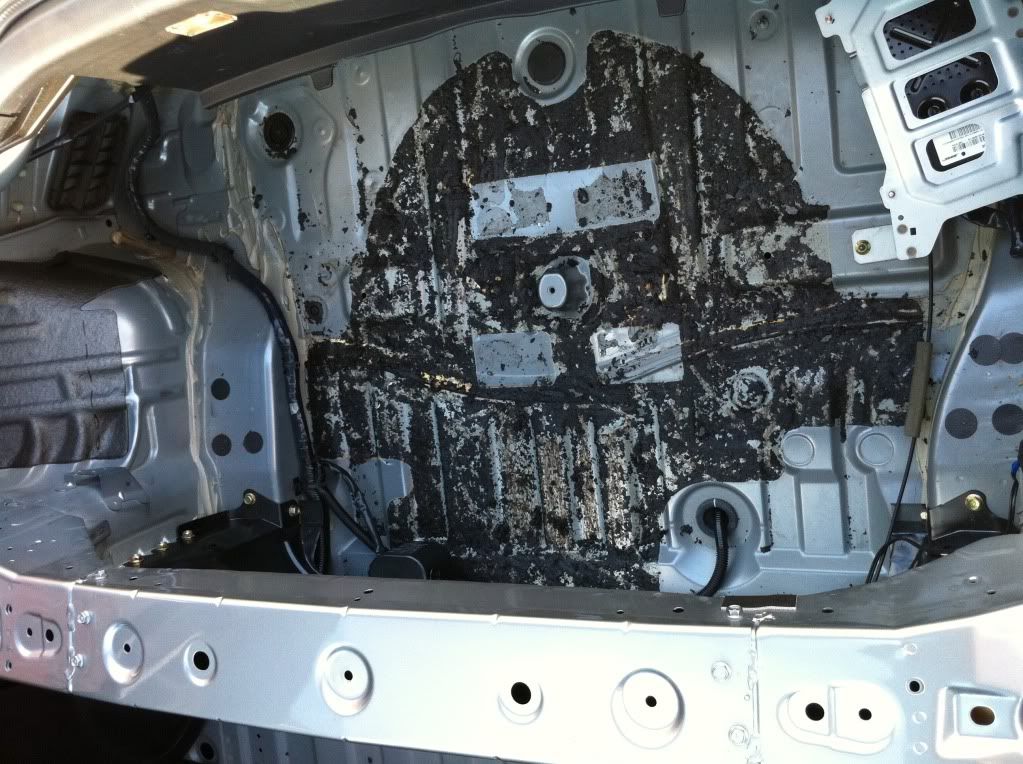
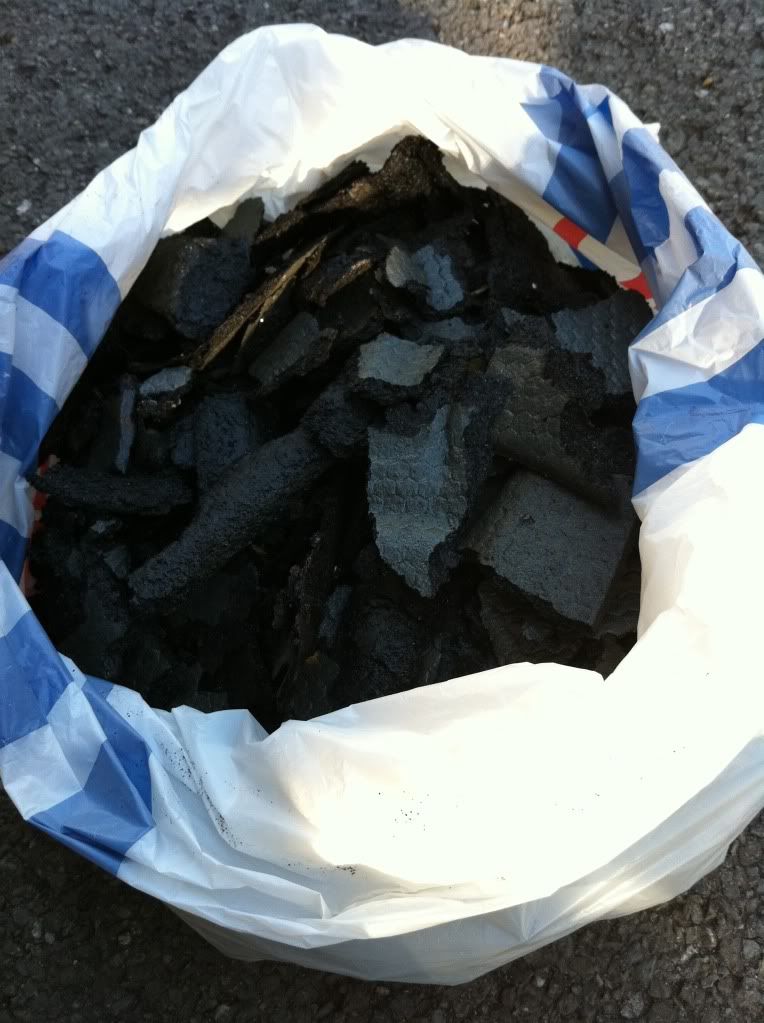
Half a shopping bag full from just the boot floor. Weight is around 3KG.
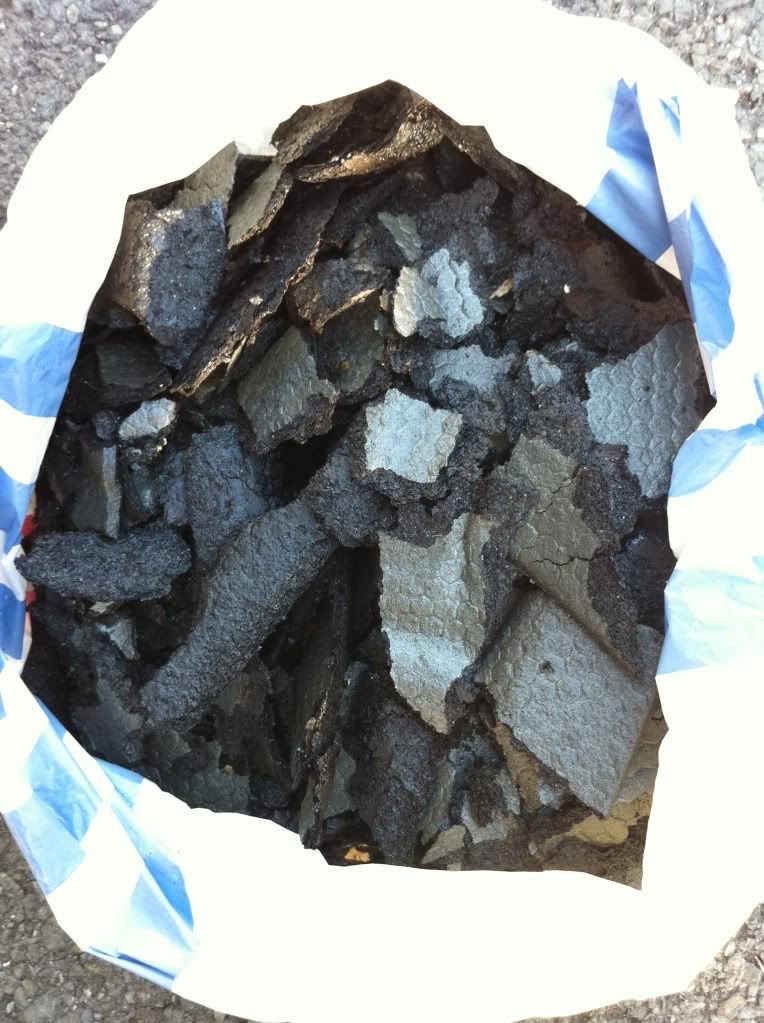
I have looked at may different way to remove tar sound deadening, Heat gun, air chisel, and the best method using dry ICE. I looked into where to get some dry ICE from but the cheapest I could find worked out at near £50 for 10kg posted to me. This is the best method but far to expensive for what little deadening I needed to remove. So I went with the hand chisel option! LOL...When people say its hard work I now understand! LOL..To do a whole car like this would take you the rest of you life! ha....
Im going to soak the rest of the tar in GUNK tar remover and clean up as best I can before priming and painting body colour.
That should be a fun job!
Thats it for today guys!
-
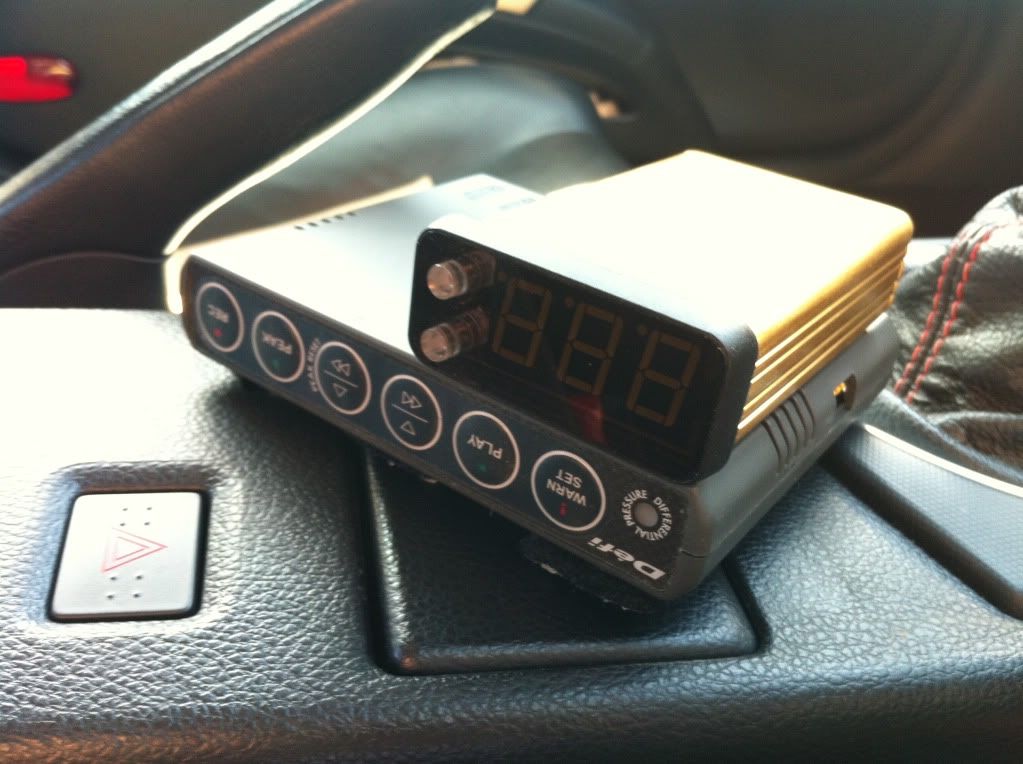
Ok so today I thought I would take some time to relocate my boost controller and defi data logger. It has been just stuck under the dash for a year but during hot weather the sticky velcro pads come off and I find the units just hanging down all the time
So after getting back from the gym today I thought I would spend a little time moving them into the center cubby. I though an hour or so should cover this! HAHA.... How wrong was I!! LOL..
I took me about 4-5 hours and Its still only half done!!! And some how my defi gauge works but does not light up? It only lights up when the head lights are on! So thats more digging around endless wires for me to sort out LOL....
Word of advice on this, NEVER TAKE THE DASH TO BITS!!! I HATE WIRING SO MUCH!!! LOL....
Anyway a few pic's of my messing about.
How it should sit.
Units how I found them today.
Unplugged.
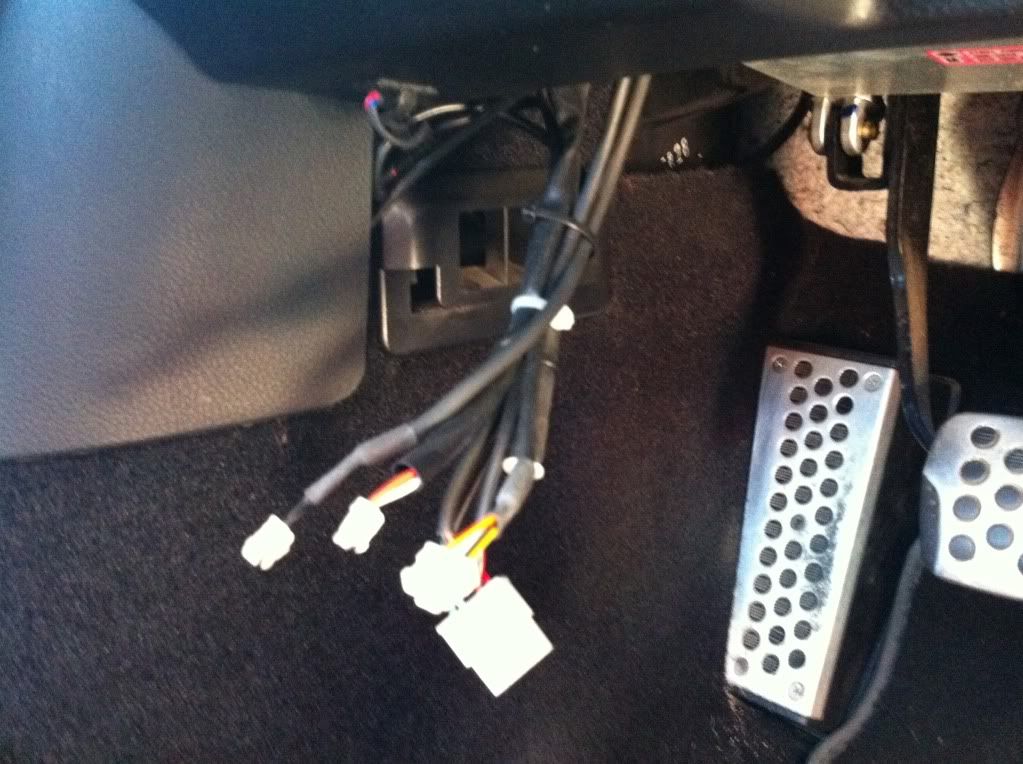
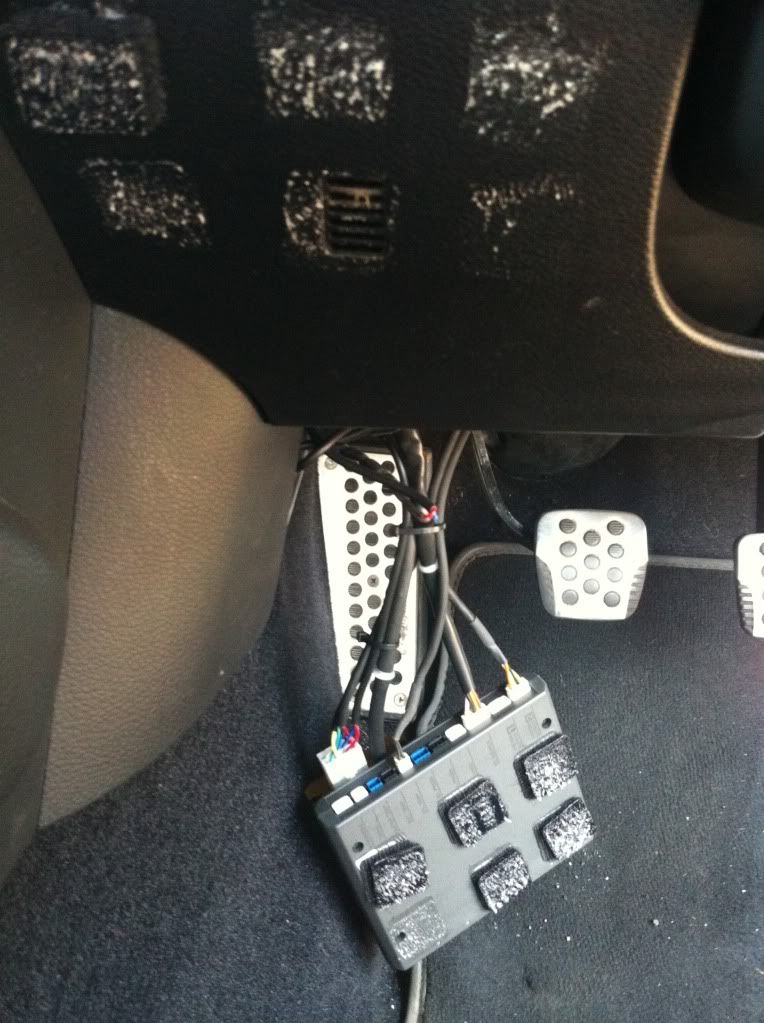
Gizzmo boost controller and defi V2.
Stripping the dash out.
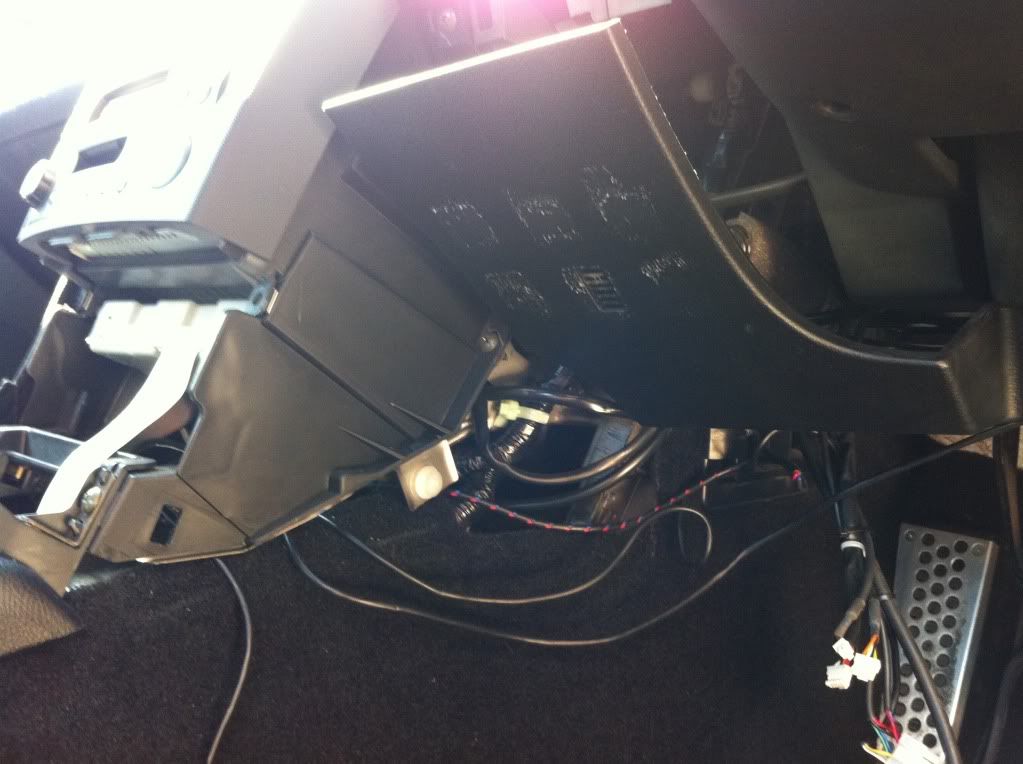
Looks easy to get the wires and boost line to here but my cut hands will tell you its hard! LOL..
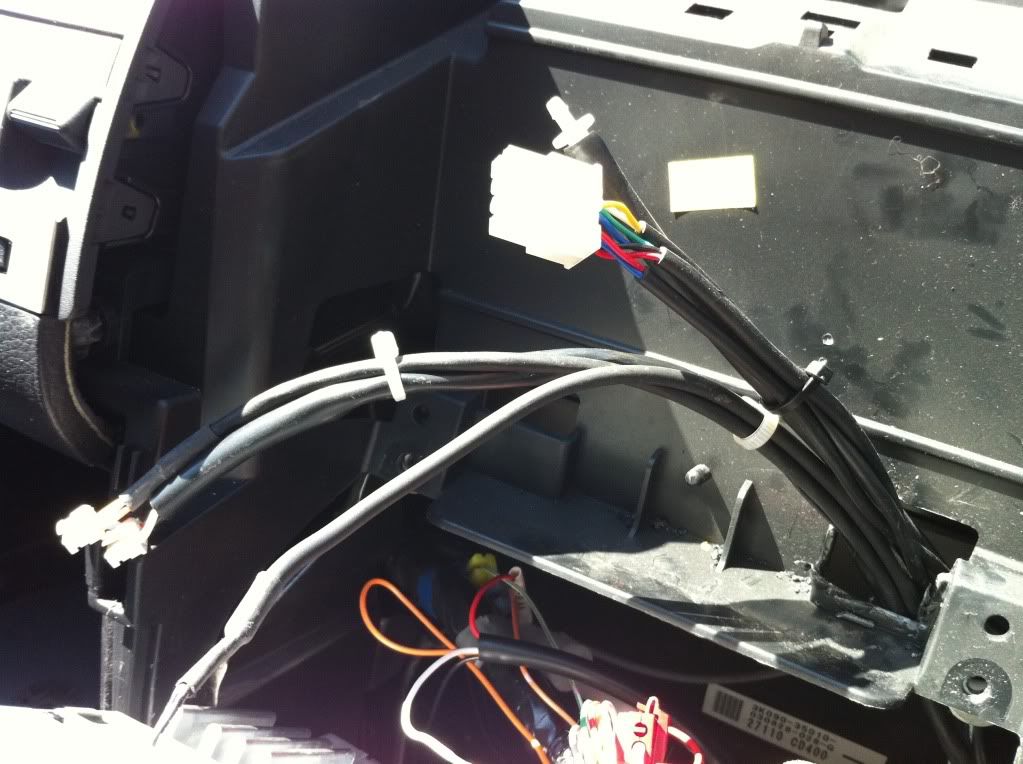
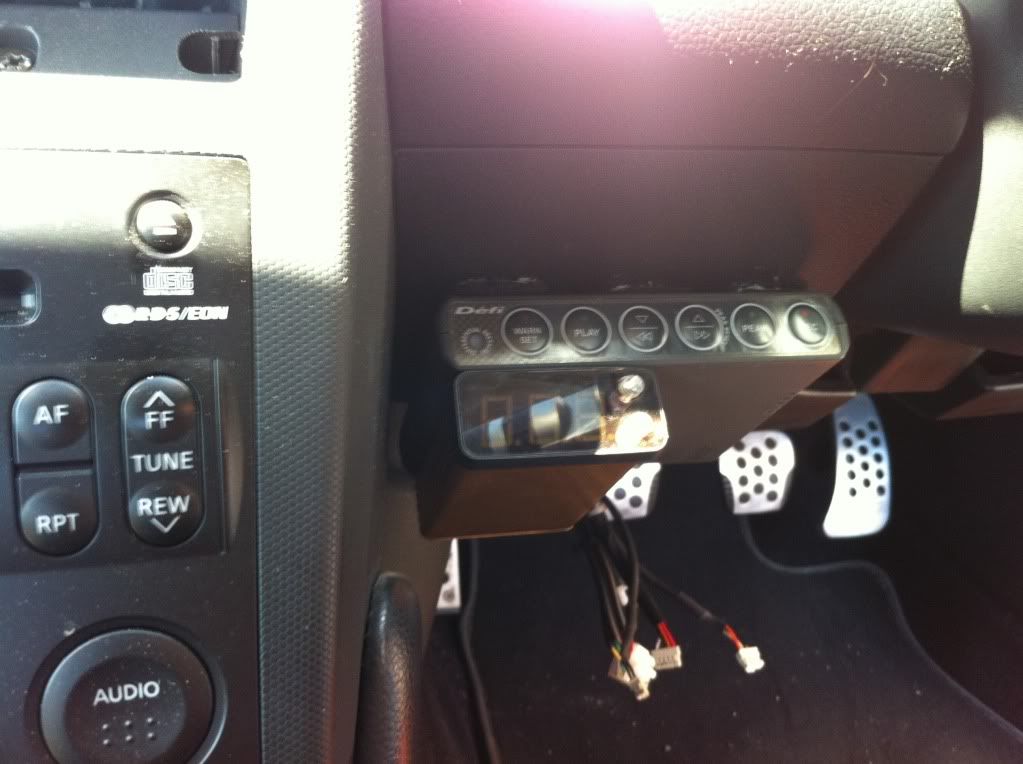
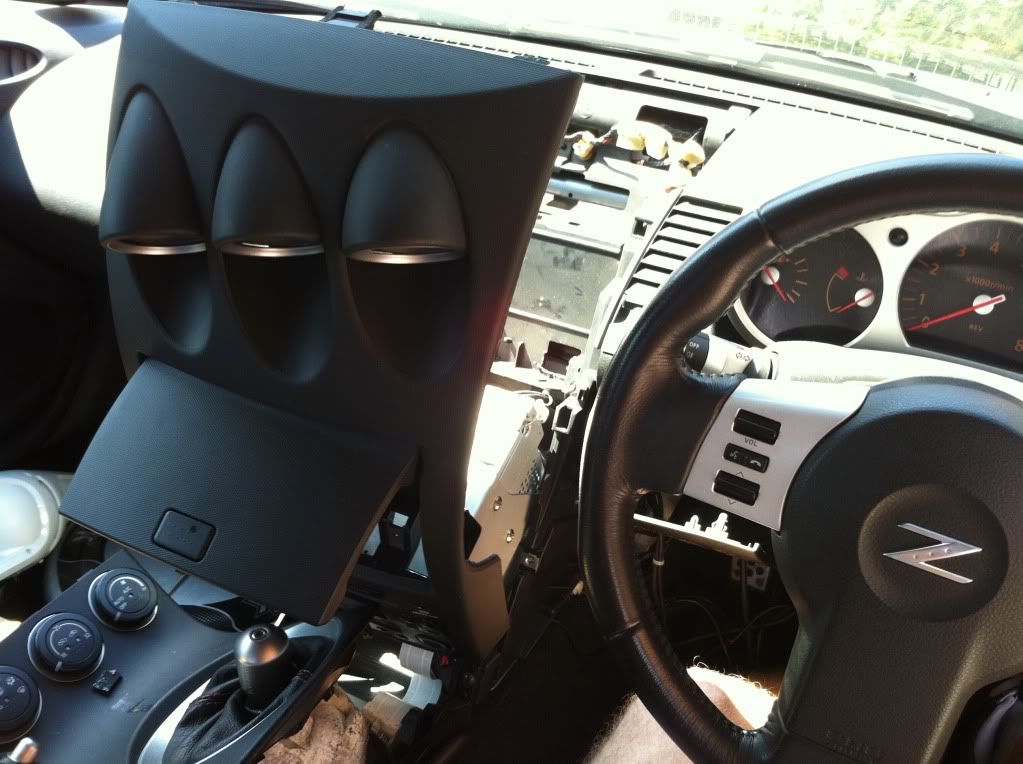
How it sits so far...
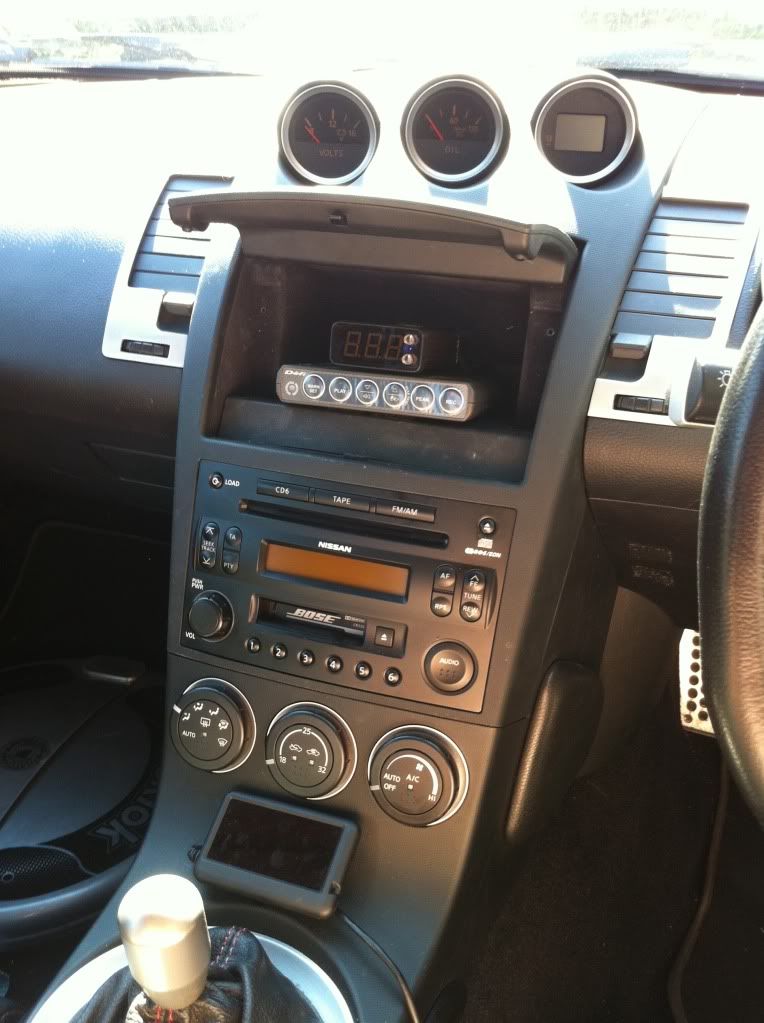
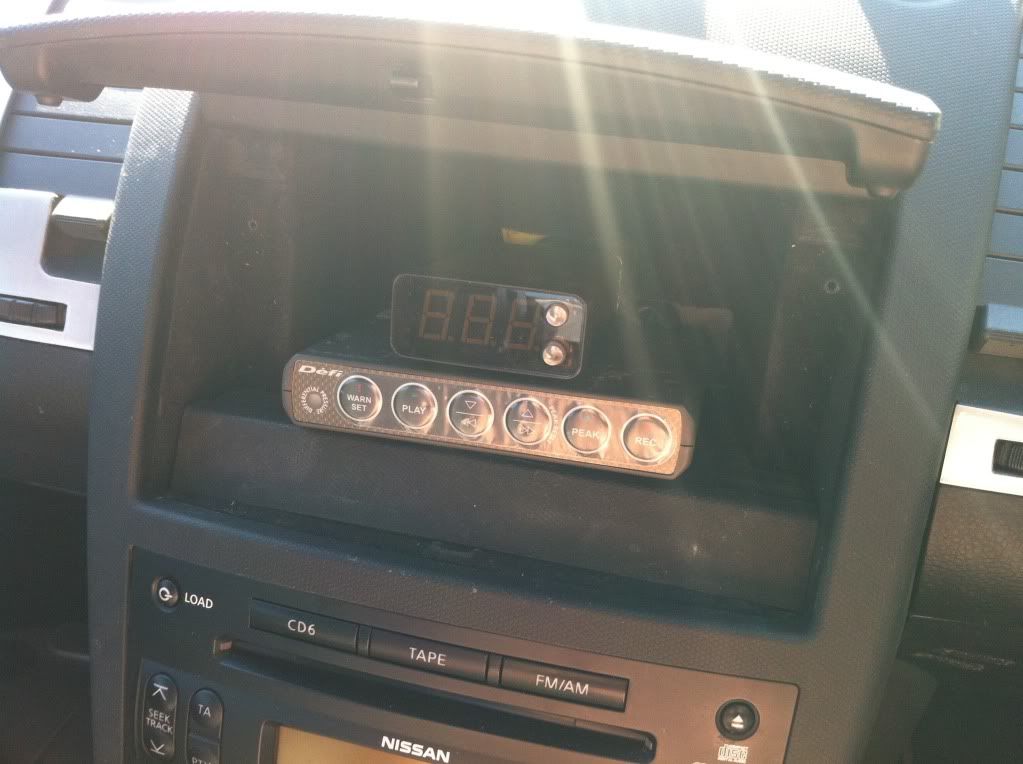
If you look close in the pic above I've made a carbon fibre trim that screws into the inside of the cubby that blanks off the wires etc coming into the back and tidies it up. This panel is not fitted yet as a ran out of time today.
So after my poor attempt at relocation I thought Id fit my new graphic's I picked up.
Cheeky little "made in japan" logo.

My race number for the santa pod street challenge.
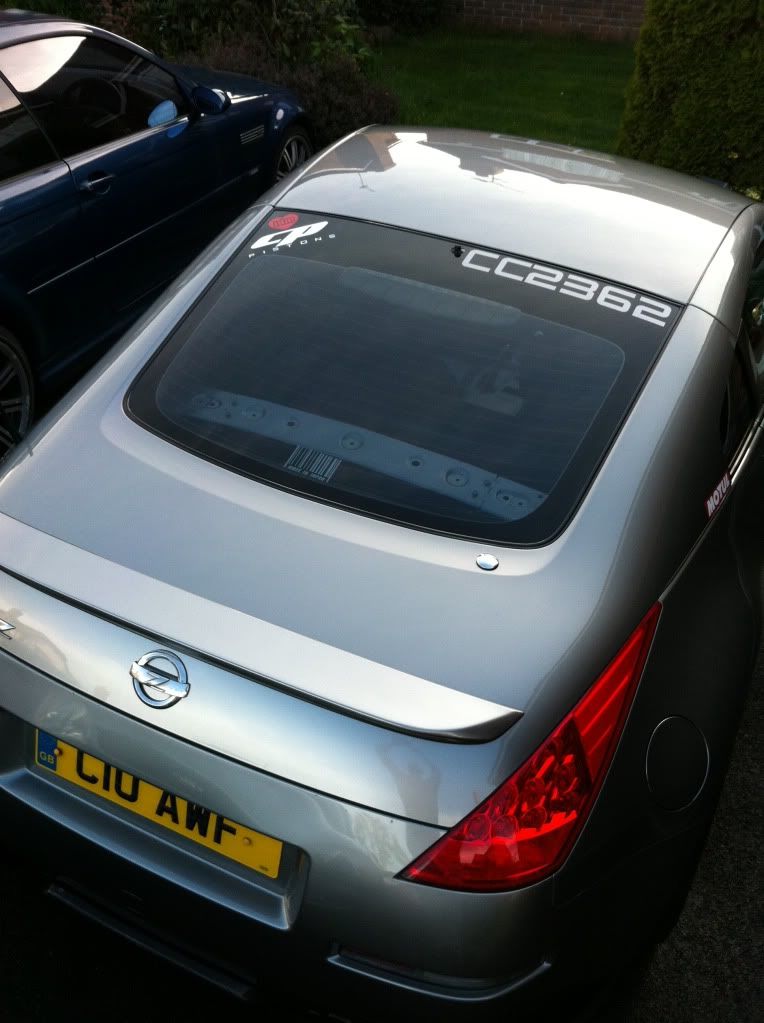
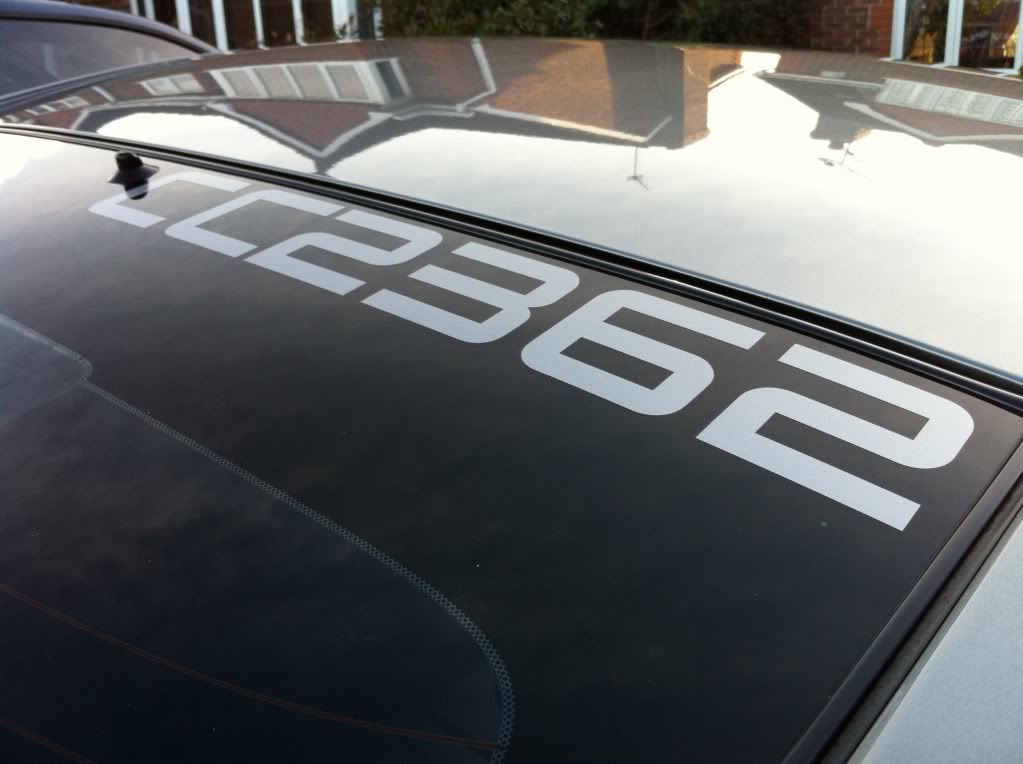
Thats it for today then!
-
 1
1
-
-
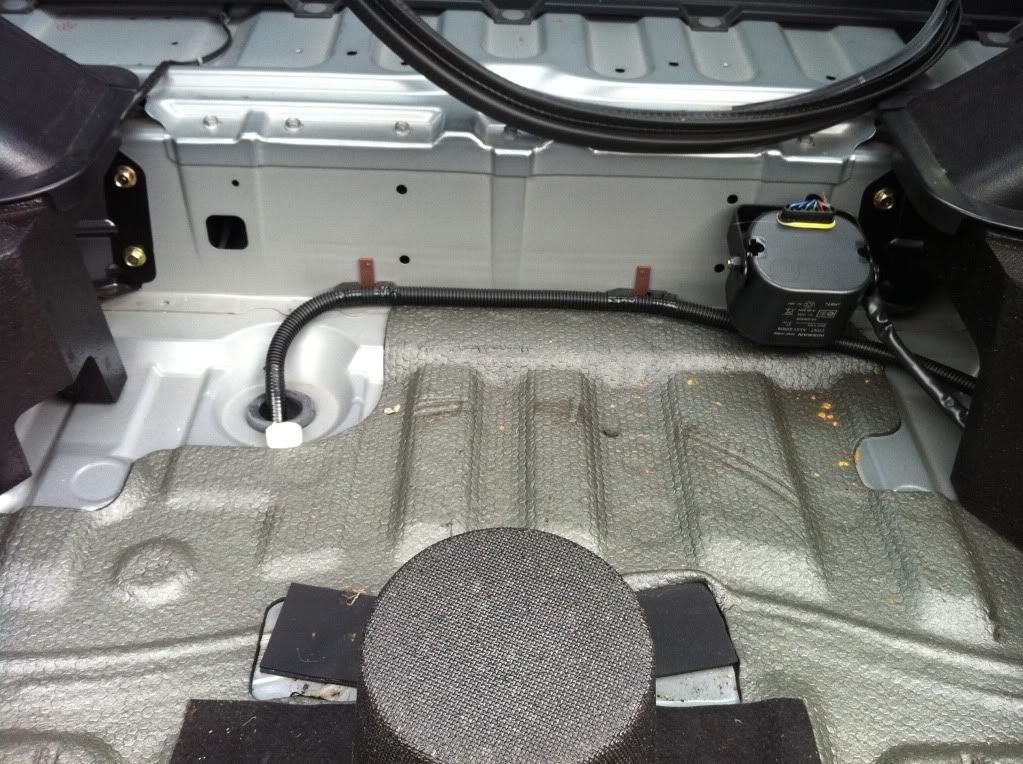
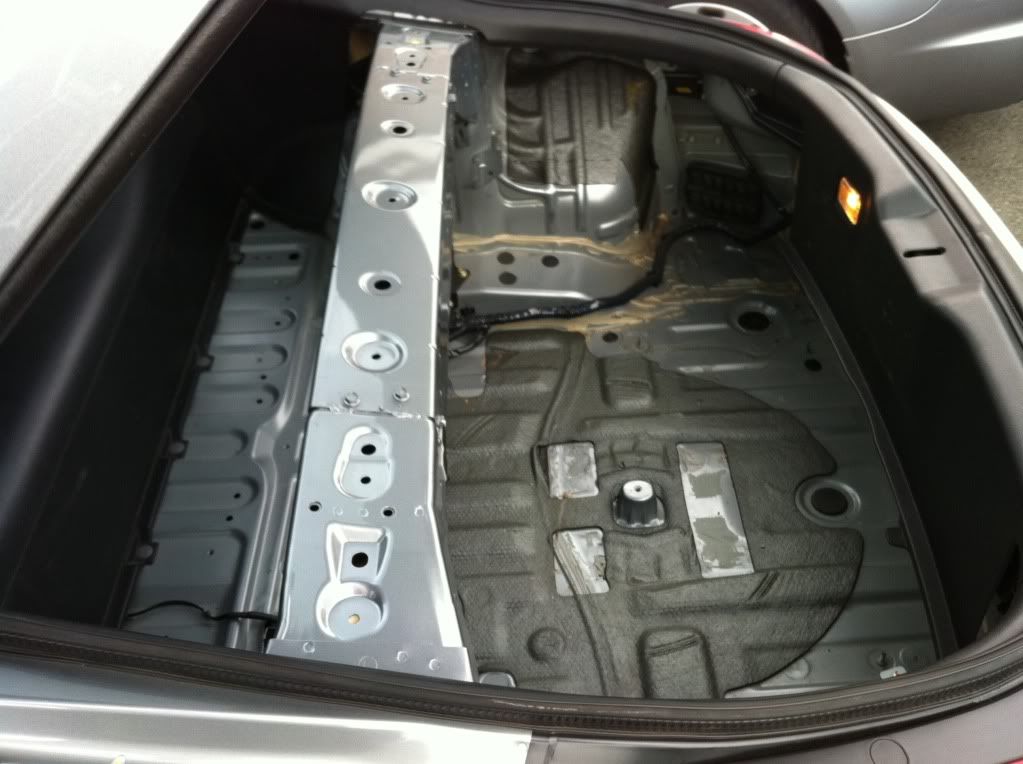
Ok guys after seeing Paul_s guide to removing boot plastics I got on with a job I've wanted to do for quite a while! Stripping the rear end of the car! LOL..
As the cars a total toy day to day noises reduction is not a problem so I've removed 80% of the rear plastic trim.
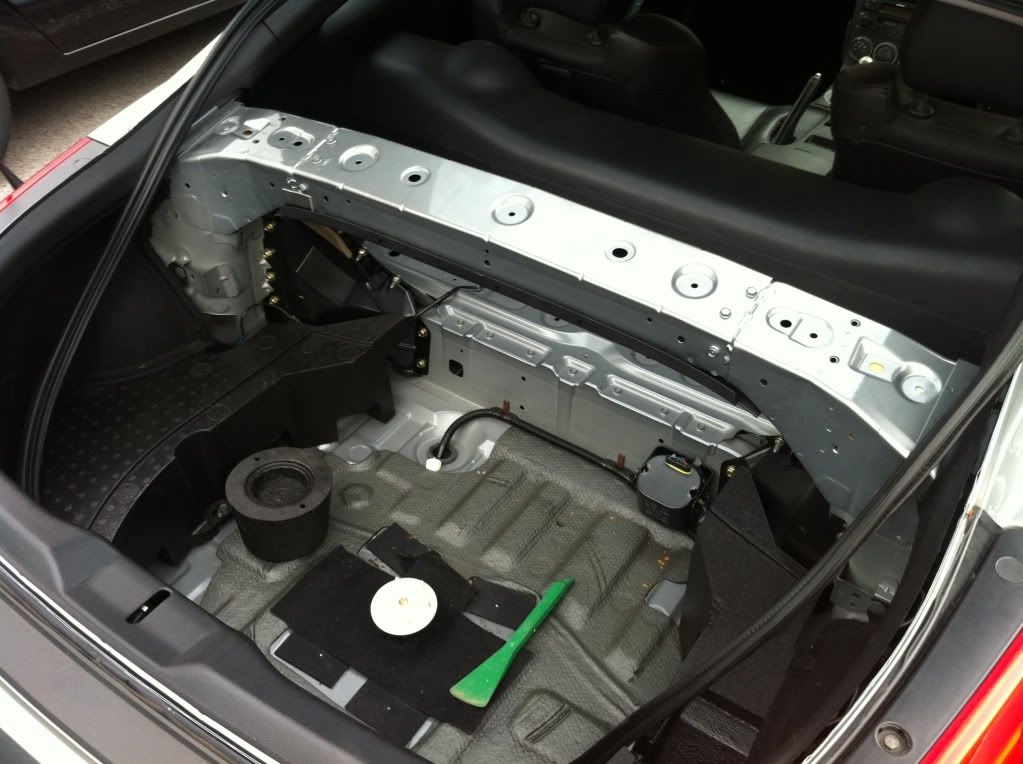
The starting point! Im sure we all know what the zed boot looks like! LOL..
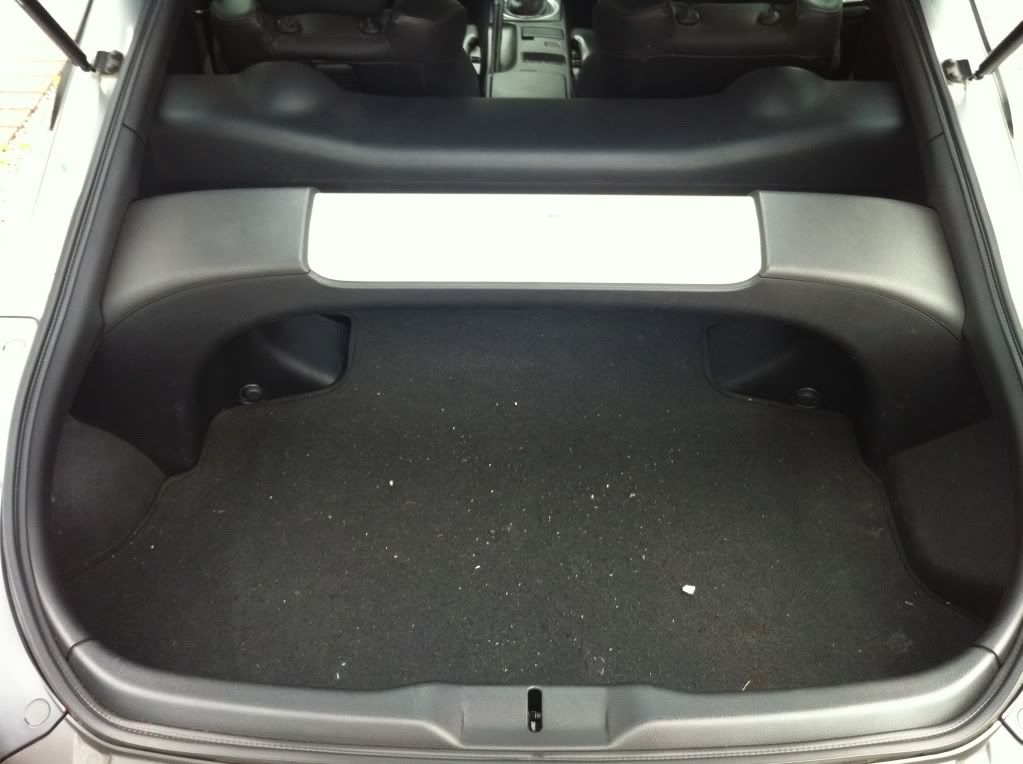
Cargo net and floor mat removed. This is a little bit of dynamat I fitted when the car was driven daily. Dynamat Is really heavy! This little bit of matting weighs 3KG!!!
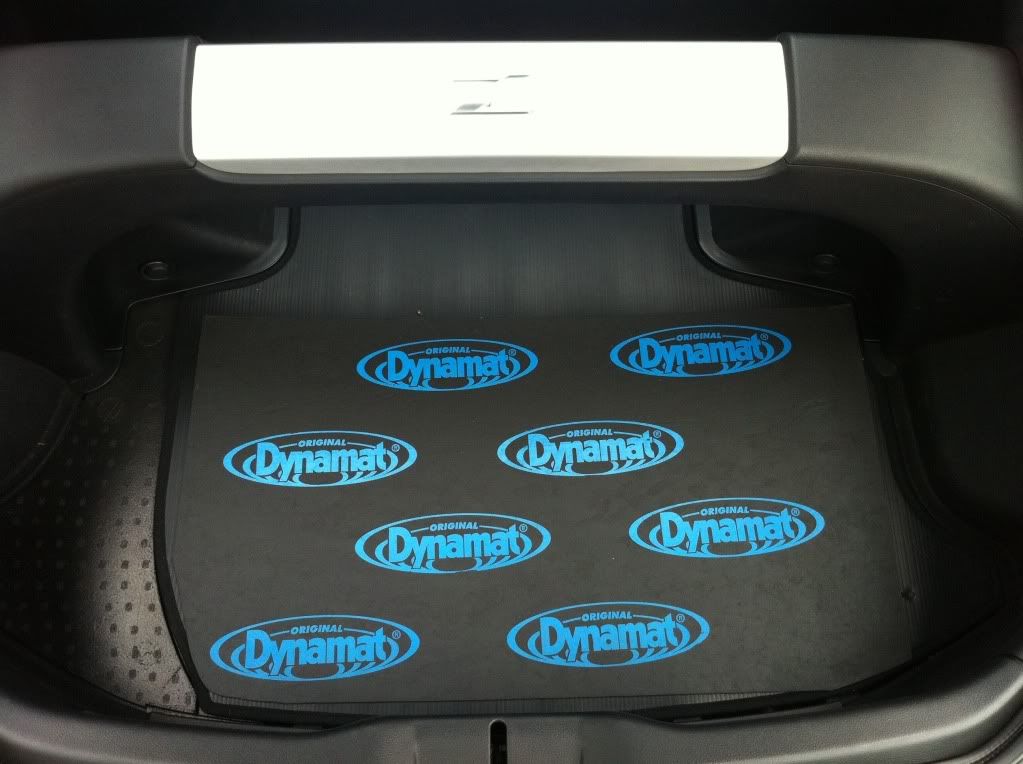
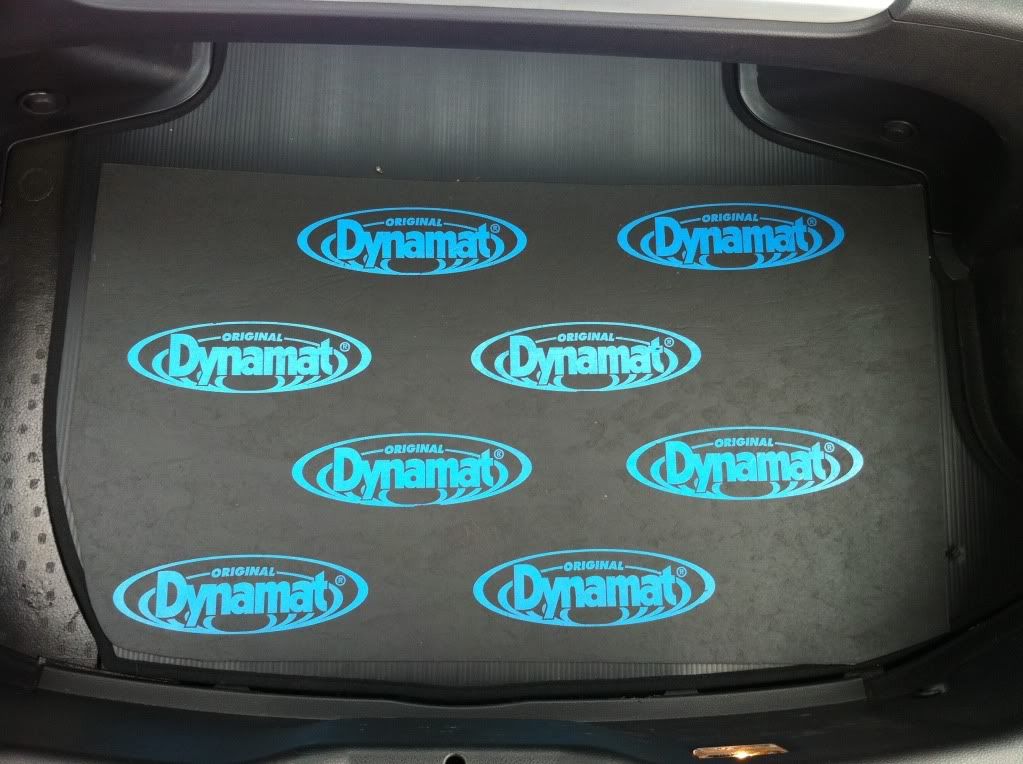
False floor and dynamat removed.

Dirty boot! LOL..
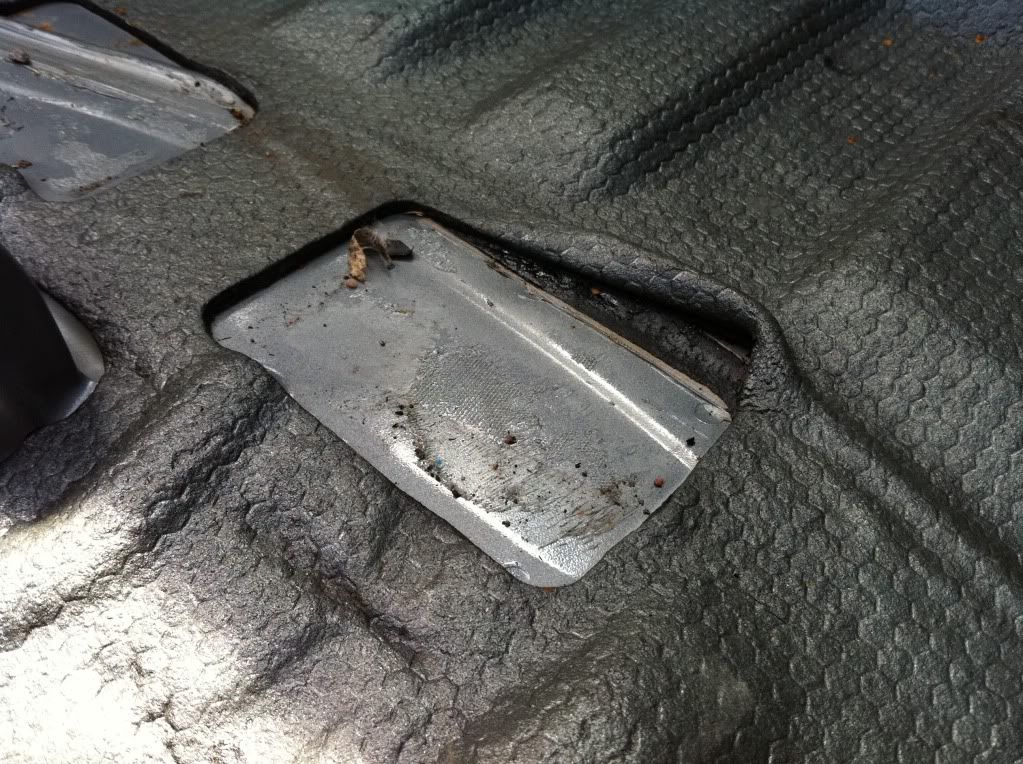
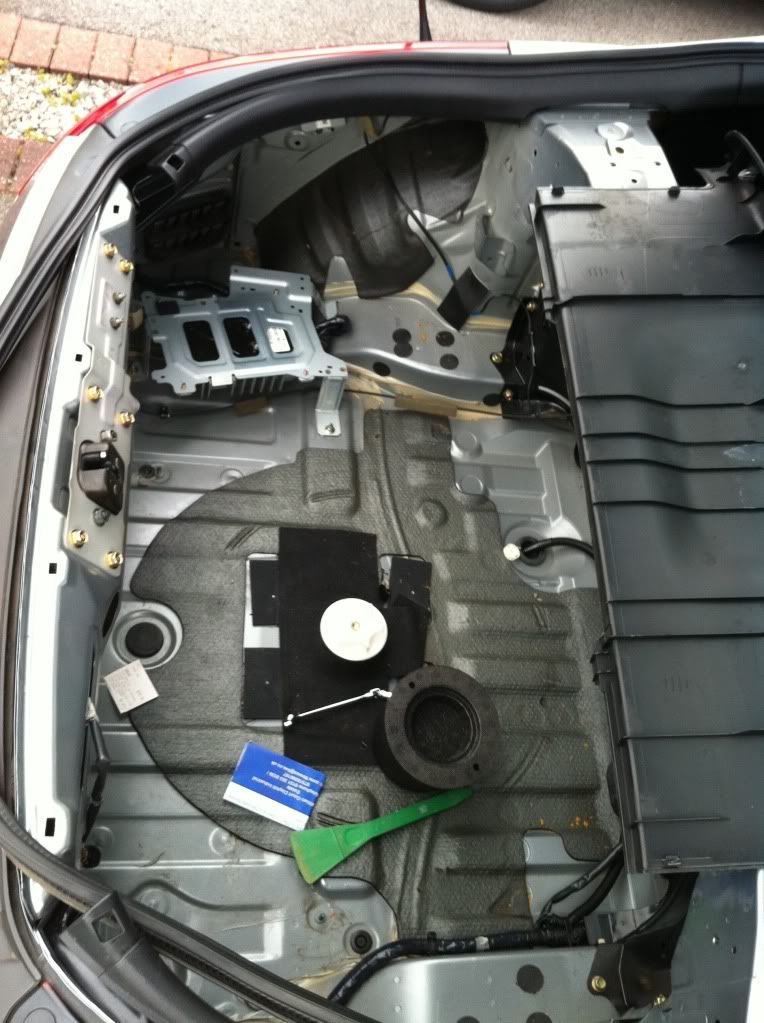
Foam that holds the tools in place and supports the false floor.
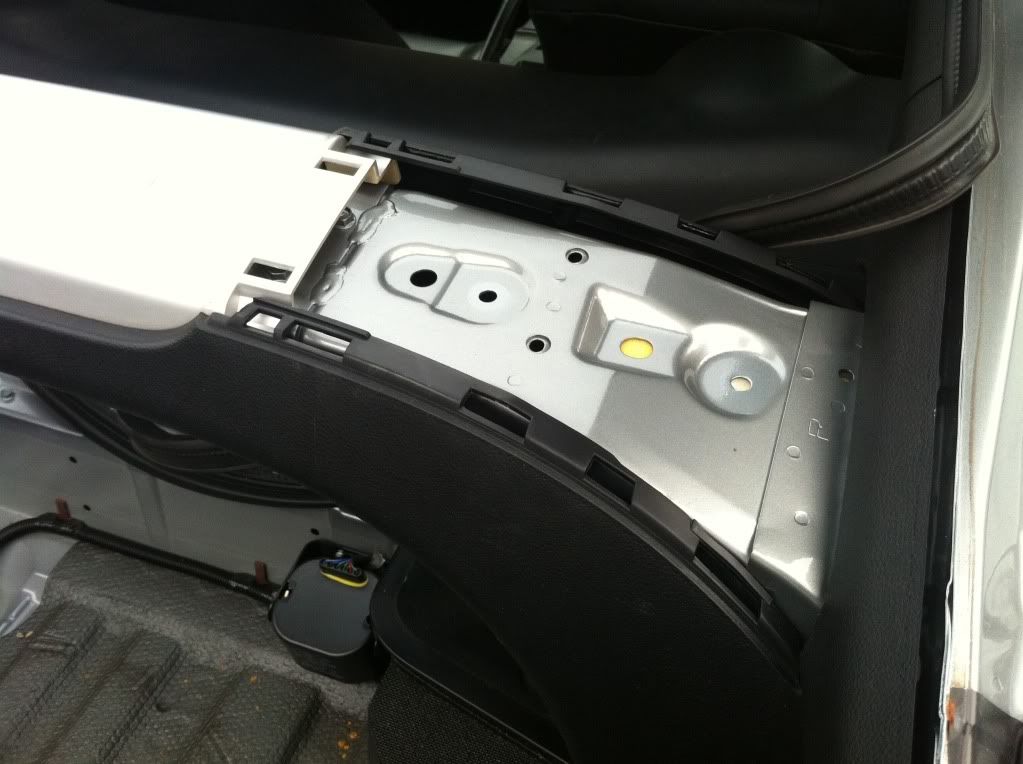
Strut bar plastics being removed.
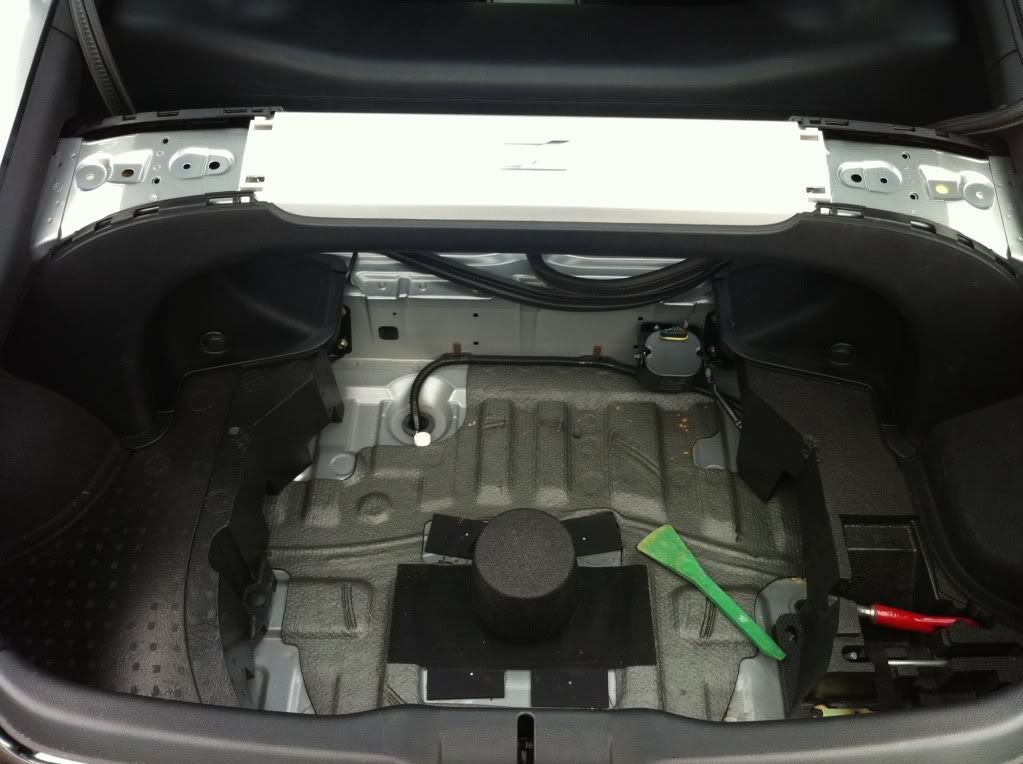
Most of the plastics popped off quickly but any that put up a fight I used the green plastic tire leaver! LOL..
Some extra weight that was now not needed! Steel brackets supported the cargo net fixing points.

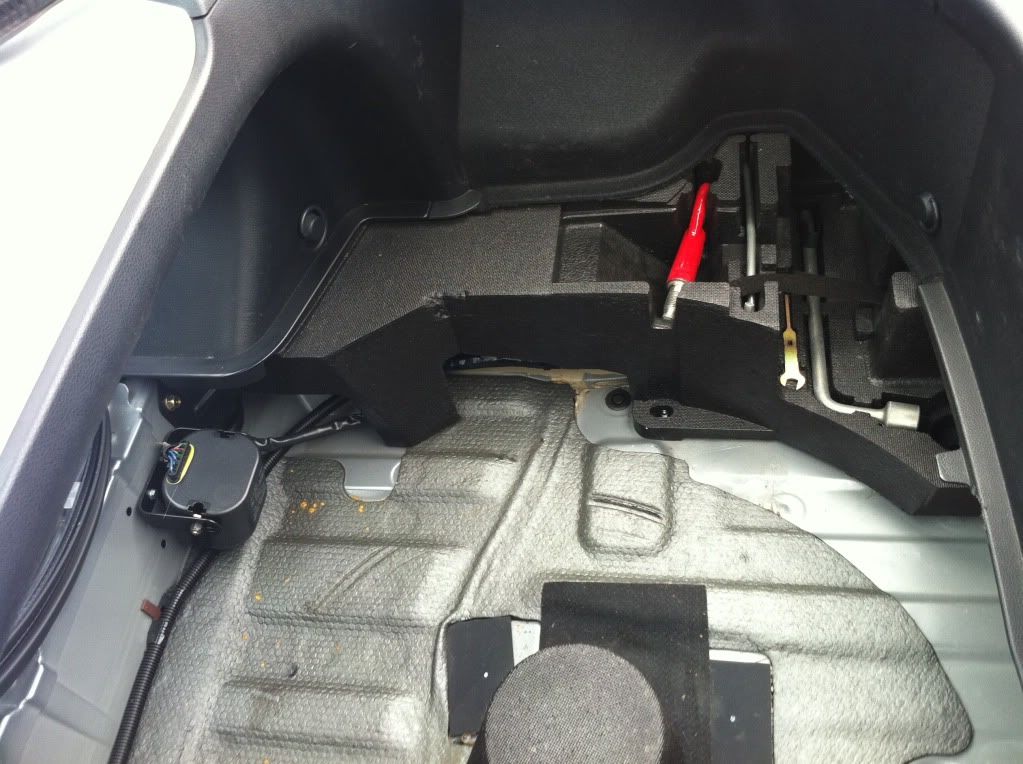
Part of the Bose audio system. Amp may be ? This might get relocated in the the corner of the boot on a new bracket I think.
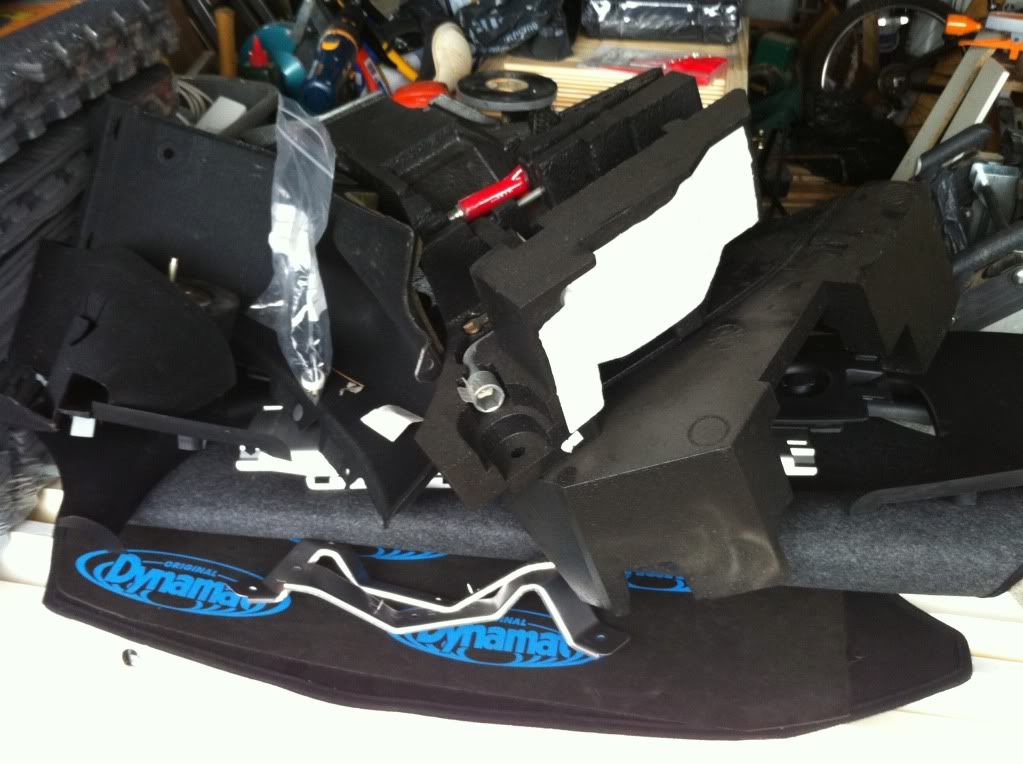
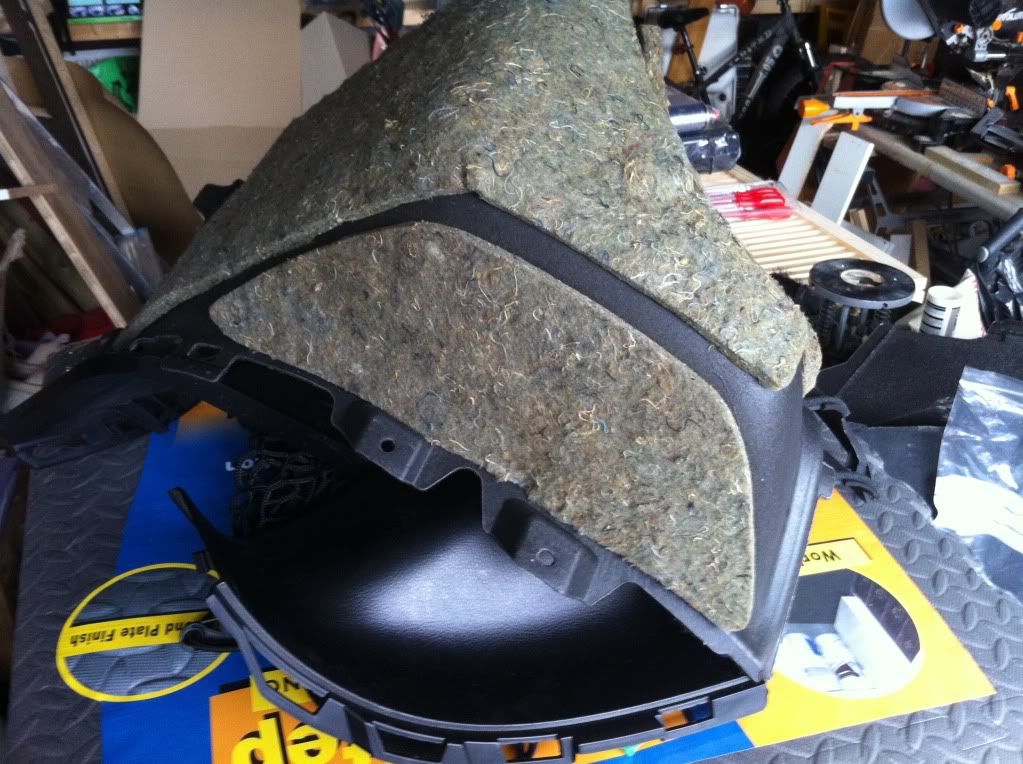
Plastics, trim panels and fixings removed! Lots and lots! ha.
Sticky heavy rubber pads removed from the boot floor. Must be to stop any vibration from the spare wheel.
Rear suspension turett top is hiden under this part of the rear brace, Im looking to use a hole saw drill bit and remove about an inch wide section to allow access to the KW rebound adjuster! This makes setting the suspension settings a hell of a lot quicker as at the moment you need to drop the hole damper unit out to adjust it!!
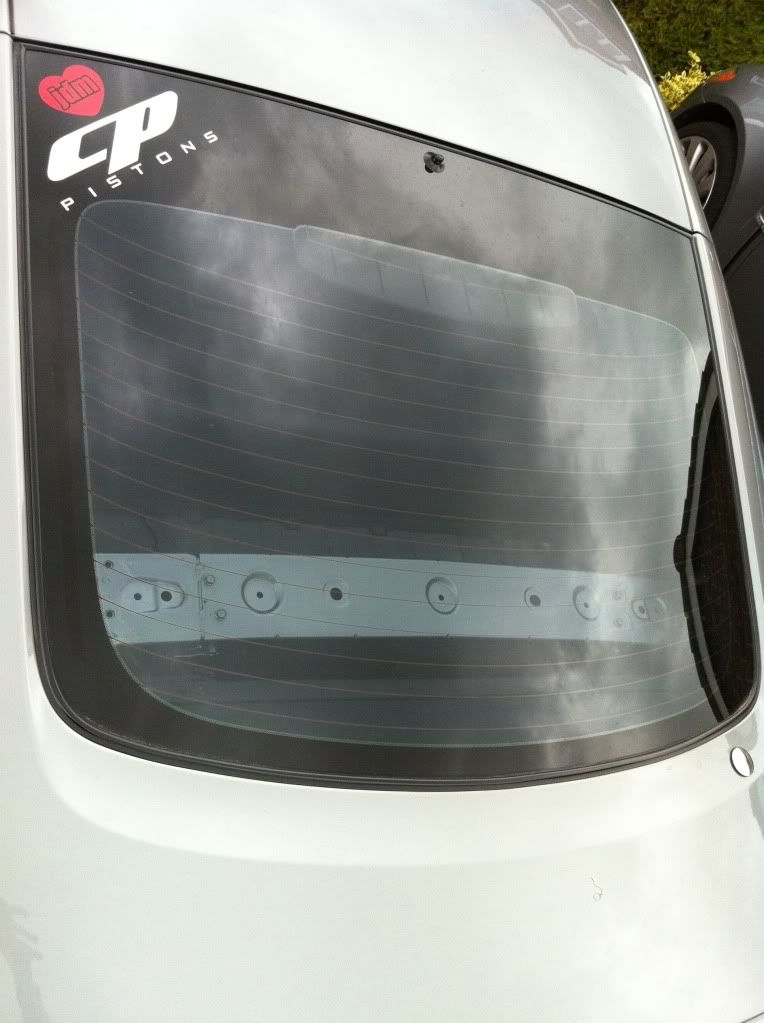
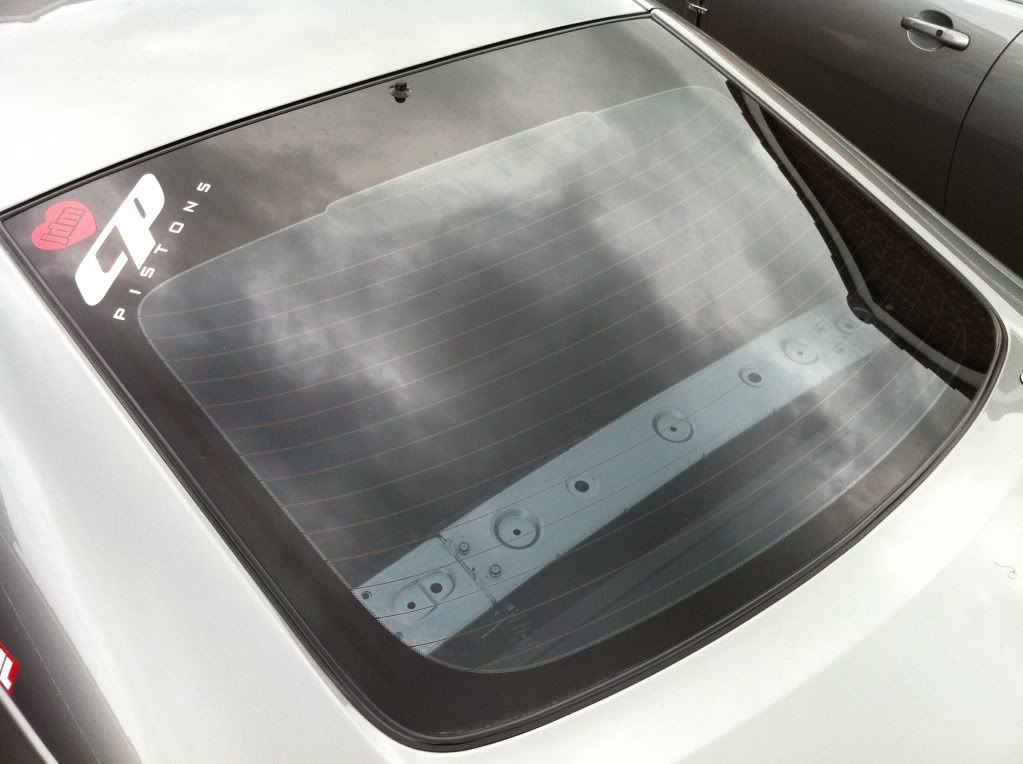
So the next step is to hole saw the turret tops and clean up the boot area, may be get some dry ICE and remove the sound deadening. Im thinking about DIY painting the rear boot inside as nissan cheaped out and its just in primer LOL...
Oh yeah I forgot to mention, the weight reduction from removing the rear plastics was about 11kg. This does NOT include the spare wheel and jack etc. Im guessing the jack and wheel would be around 20kg's?? So the lot removed saves around 30kgs. Not bad! :-)
Im yet to take the beast out for a spin and see what the in car nosie is like now! ha. Im guessing loud!
-
Just found this pic online!
-
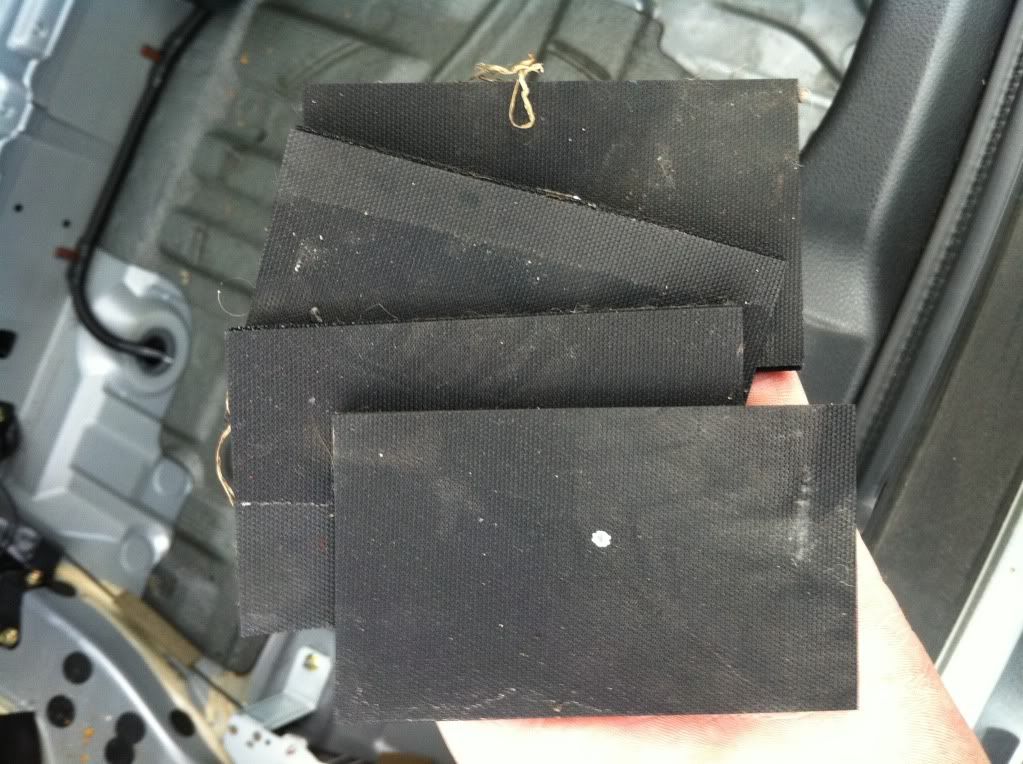
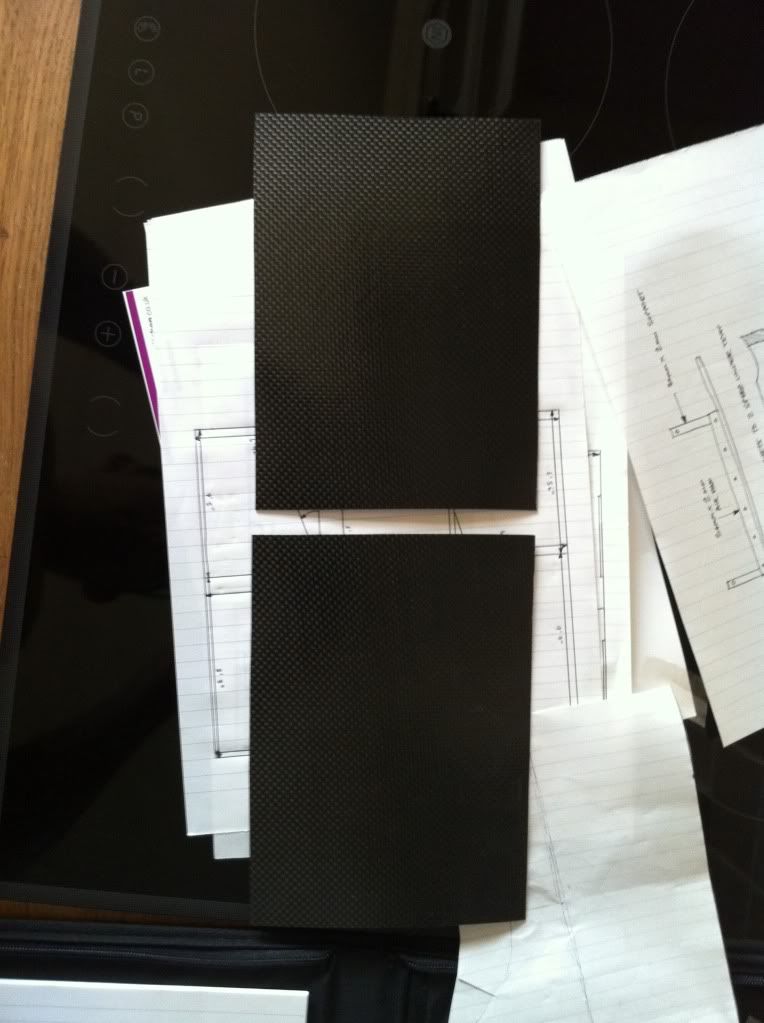
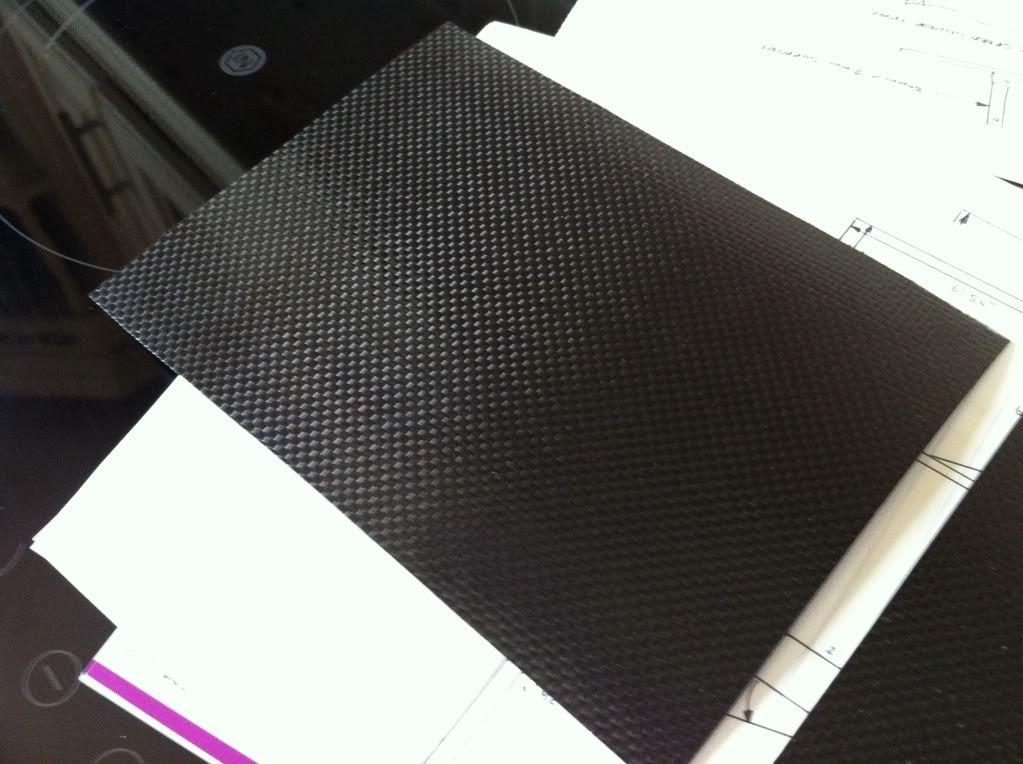
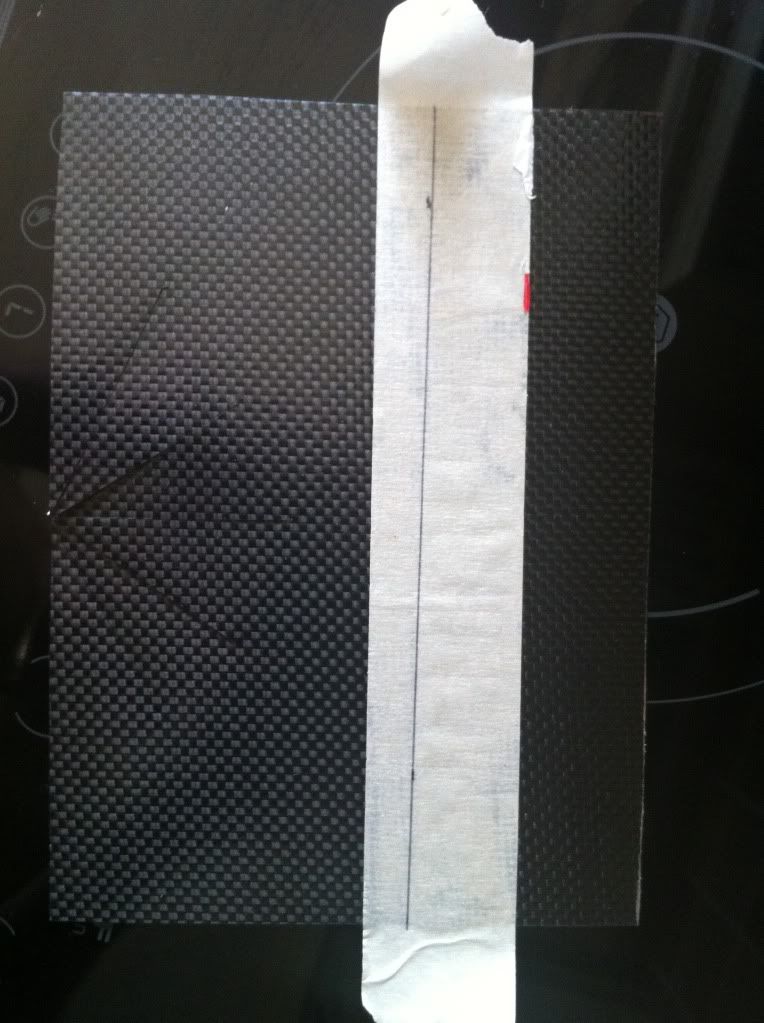
Finished work at 7am this morning and got up at 12:30 to see the sun so I thought I would crack on and finish my heat shields.
Carbon cut to shape and ready to be marked out and cut.
Masked up ready to line up on the car.
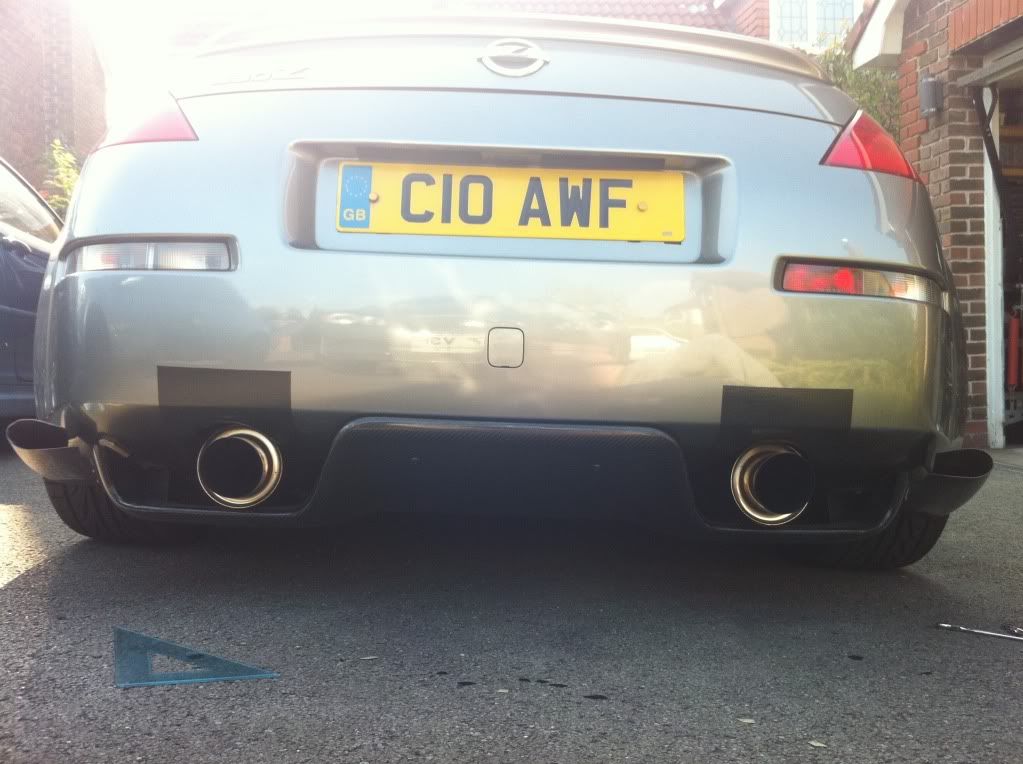
Just a quick pic to show you whats happing to the rear bumper! LOL
Left side fitted!
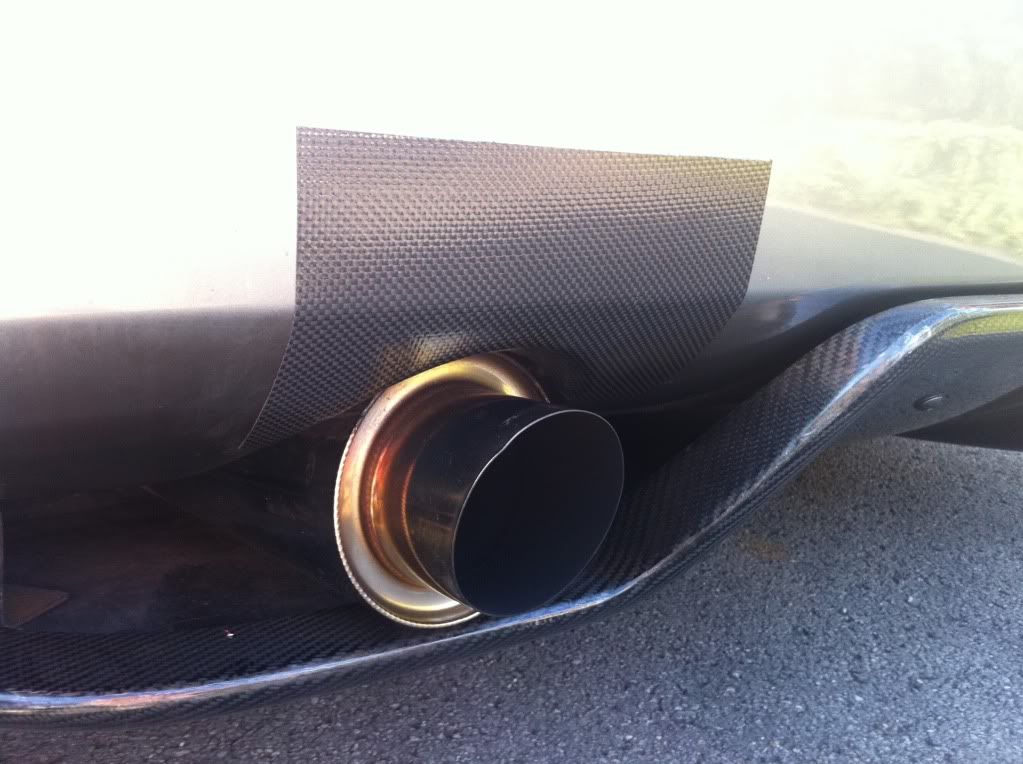

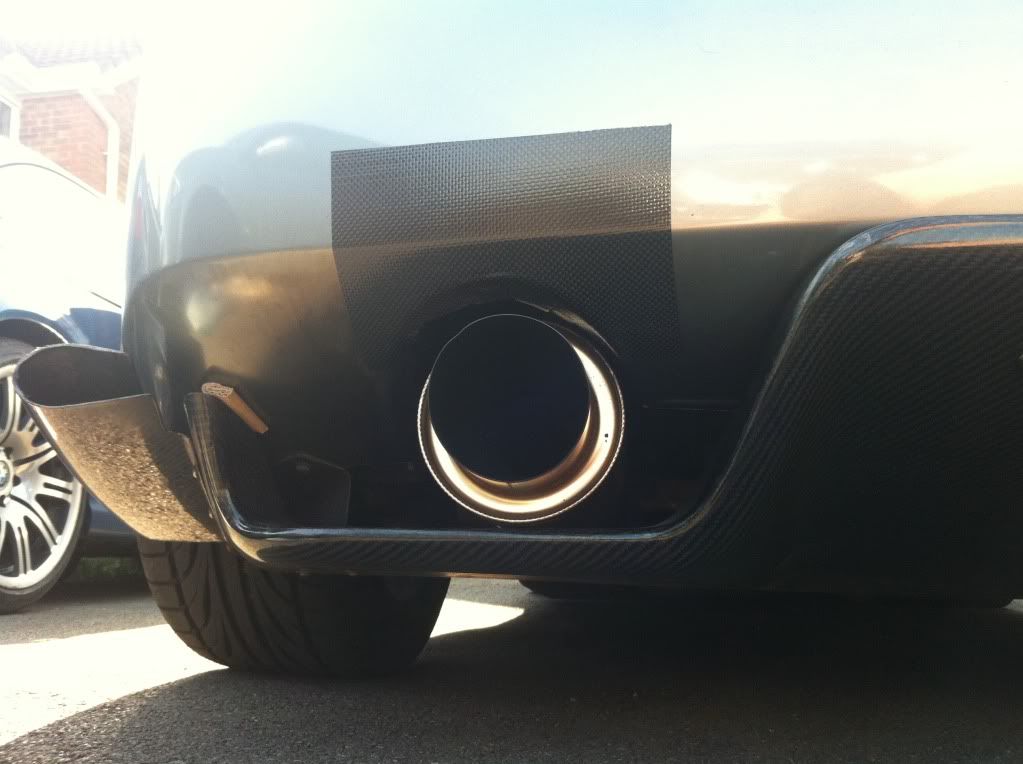
Both sides done.
After finishing I have quite a bit of carbon left and the side skirts are a mess from the tires throwing up little stones all the time! So I made a quick template and used some left over carbon sheet to dress up the skirts!
Stone chipped to death!
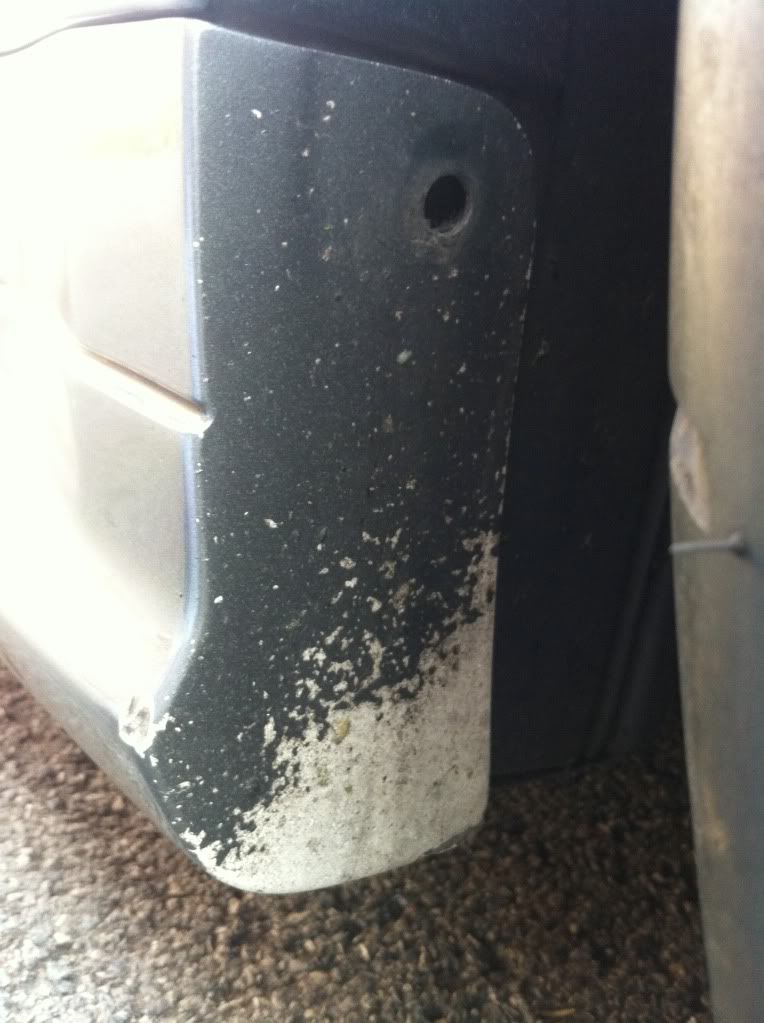
Template made.
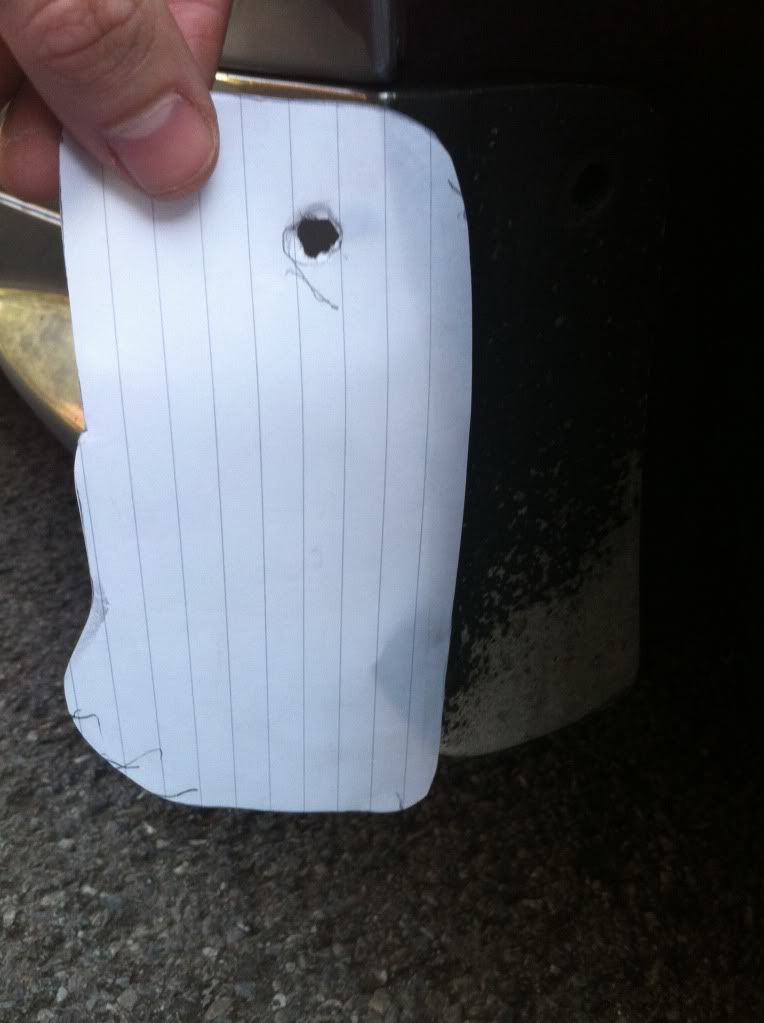
Fitted on both sides.
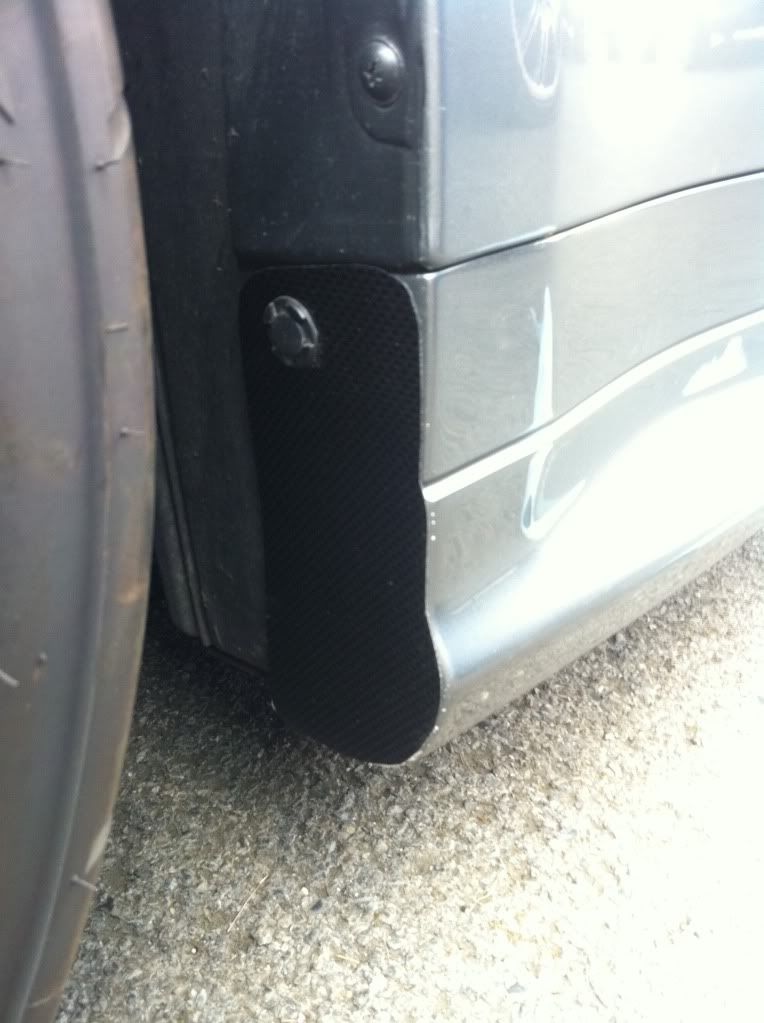
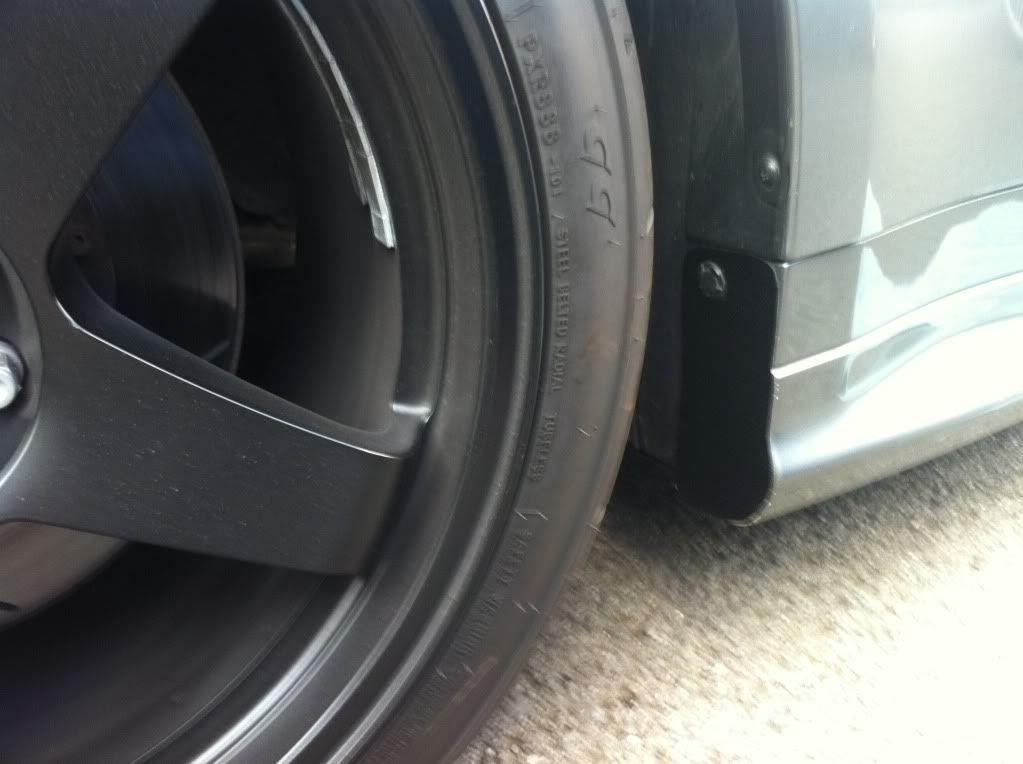
Quite pleased with how these turned out!
-
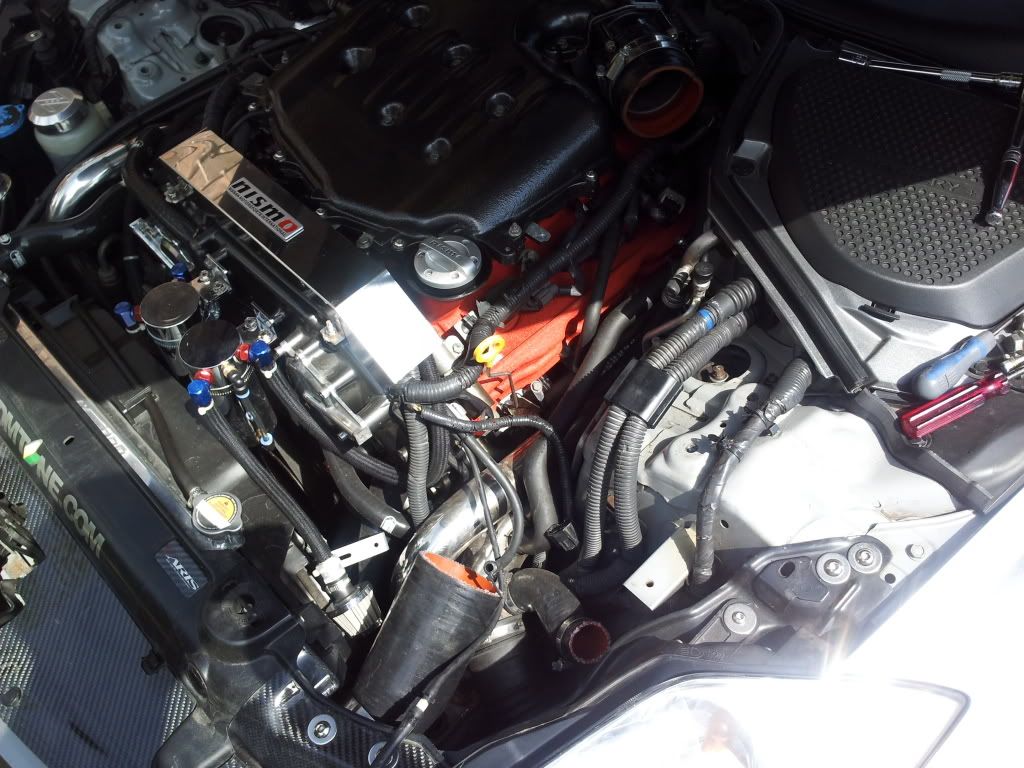
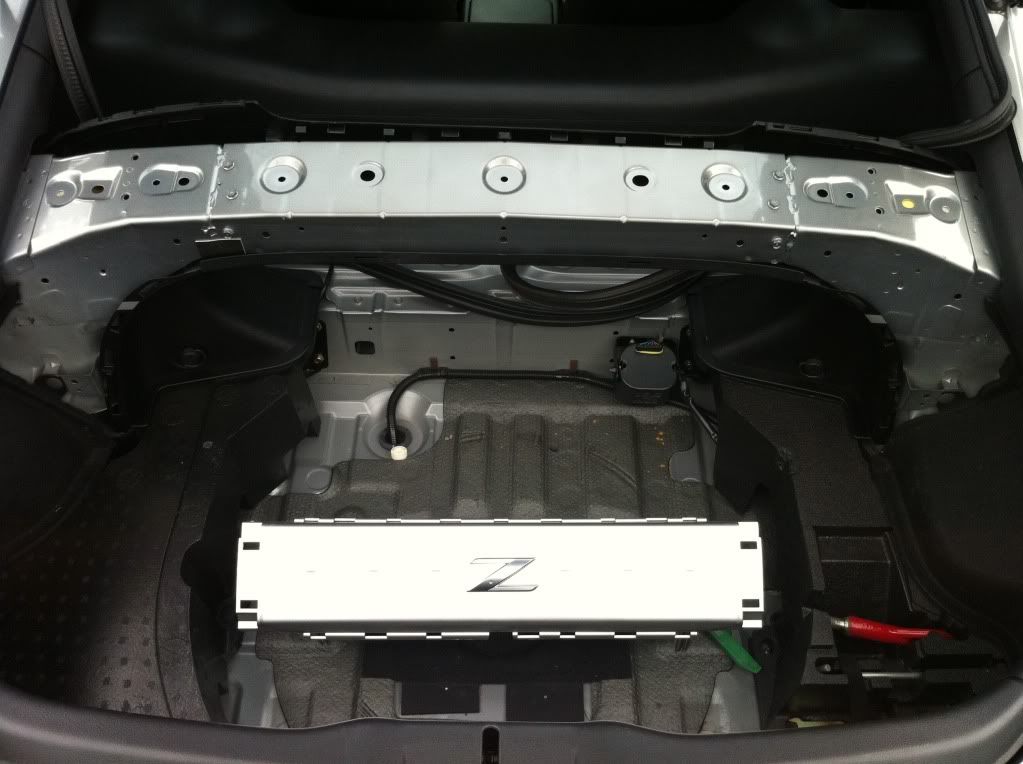
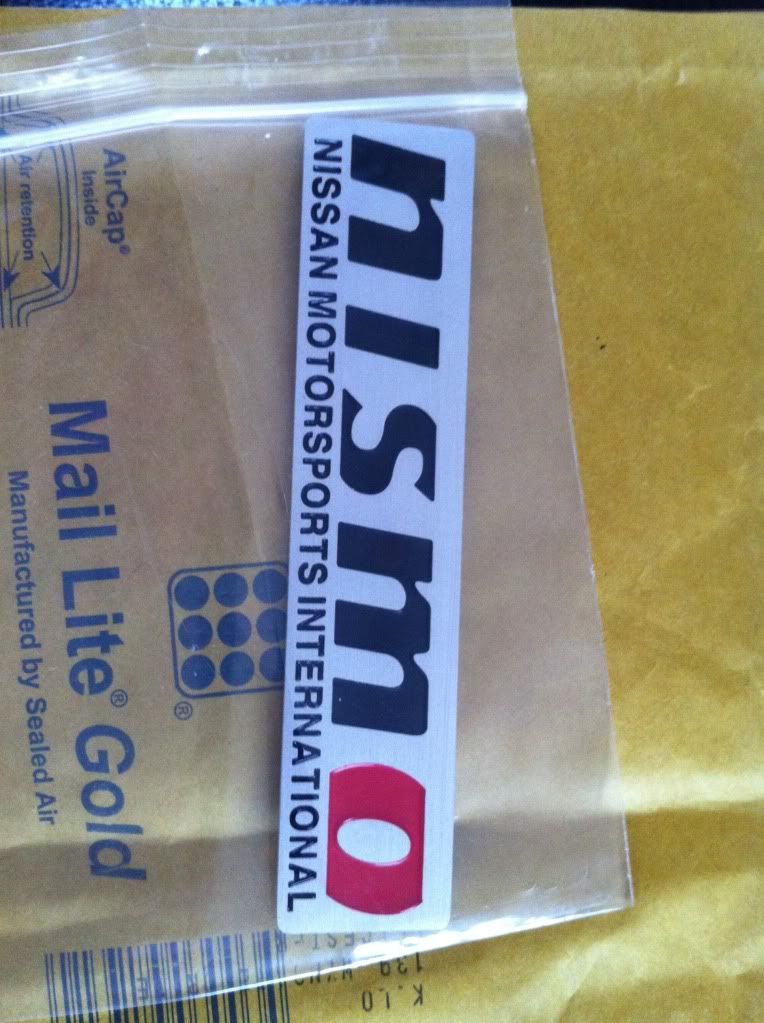
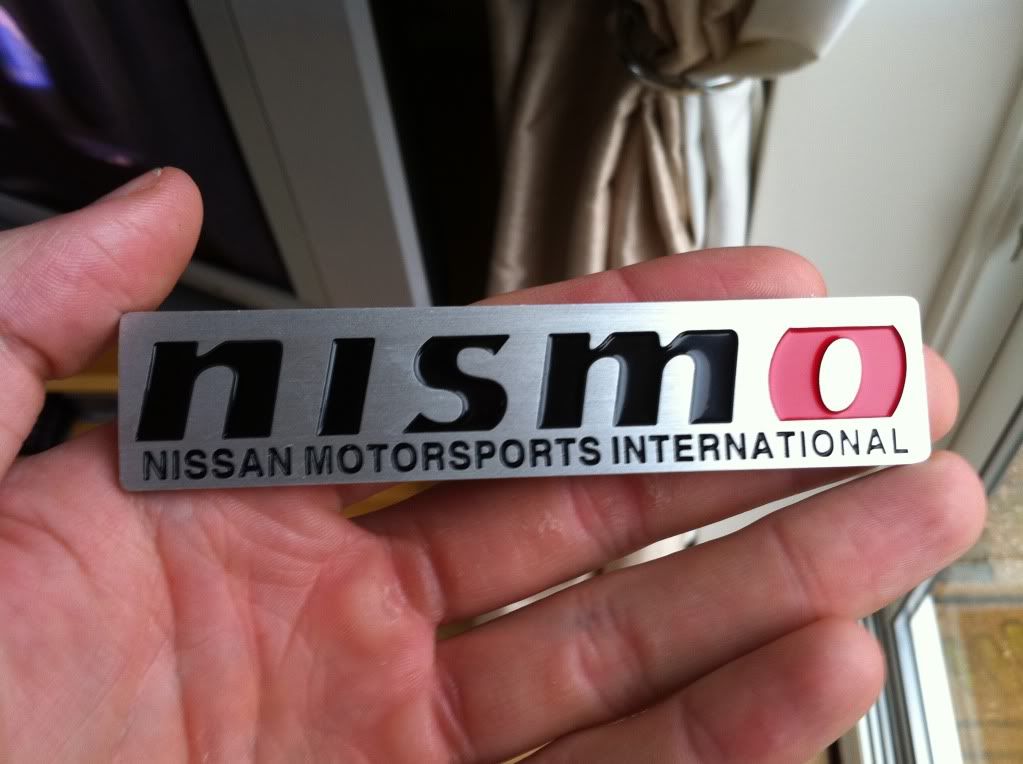
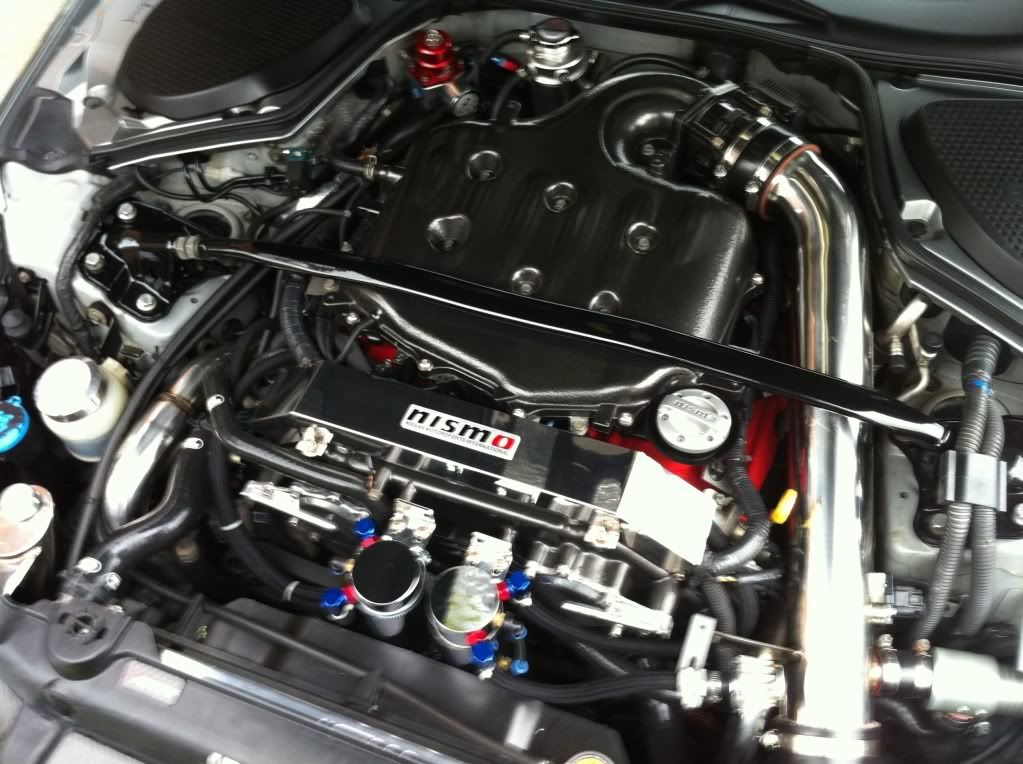
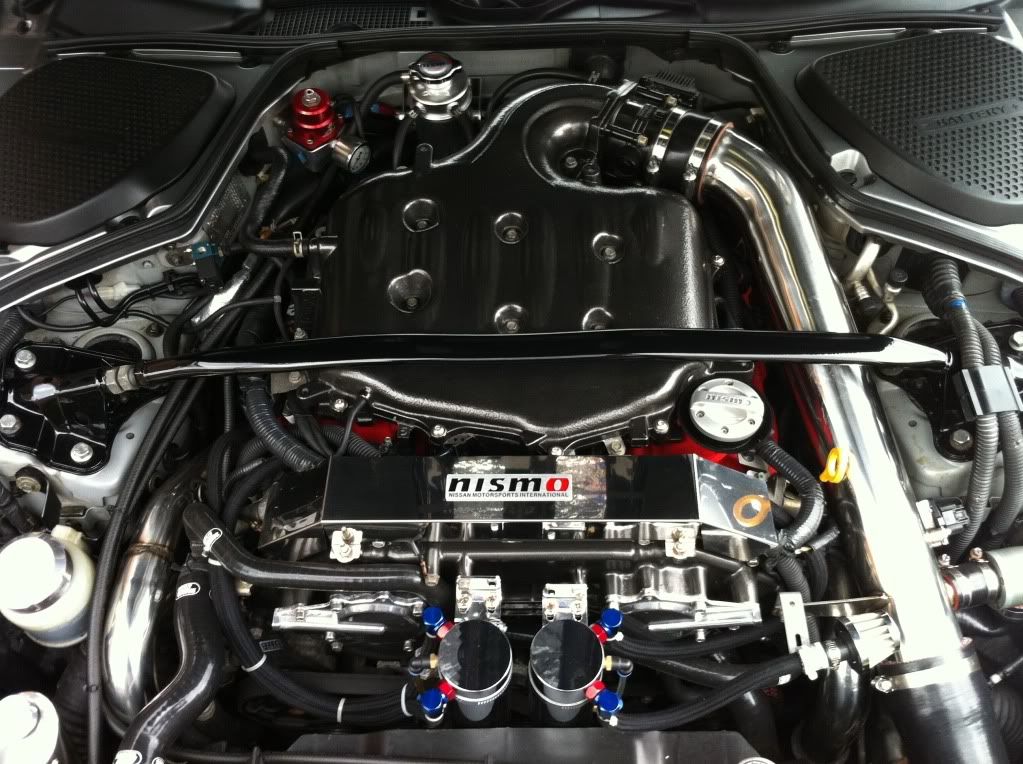
The zed felt a little left out over the past week as the megane has got most of the attention! So I got a new genuine NISMO engine plate through the post today!
Must be worth 20bhp I think! LOL..
Its really nice quality and made from Alu.
-
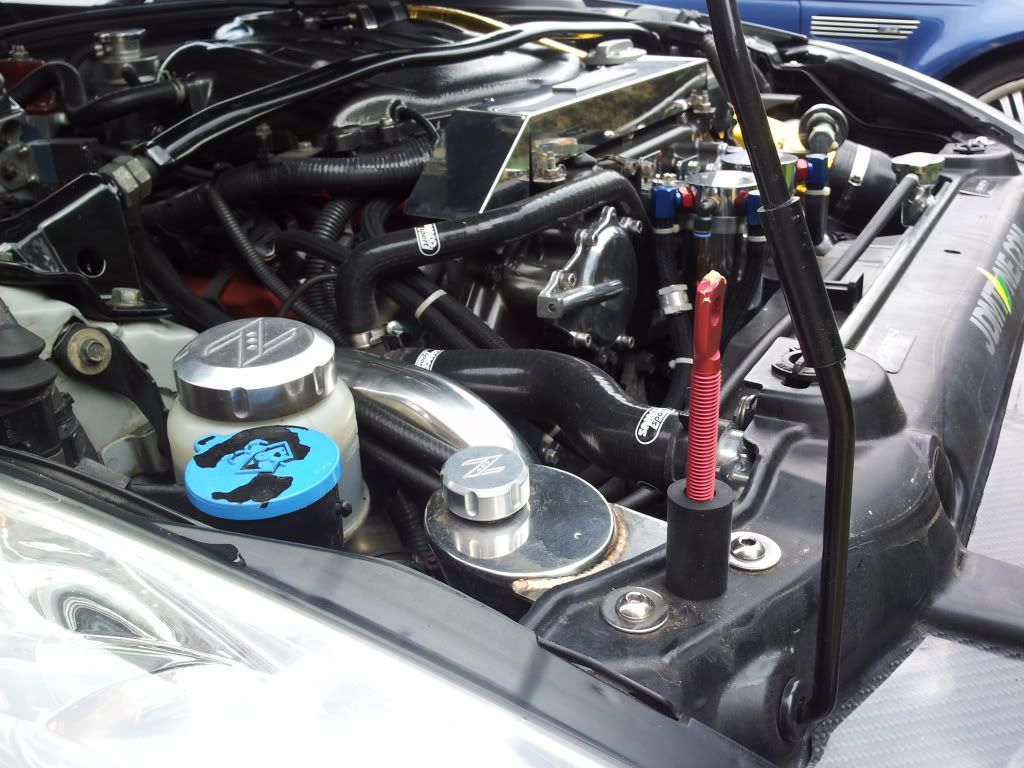
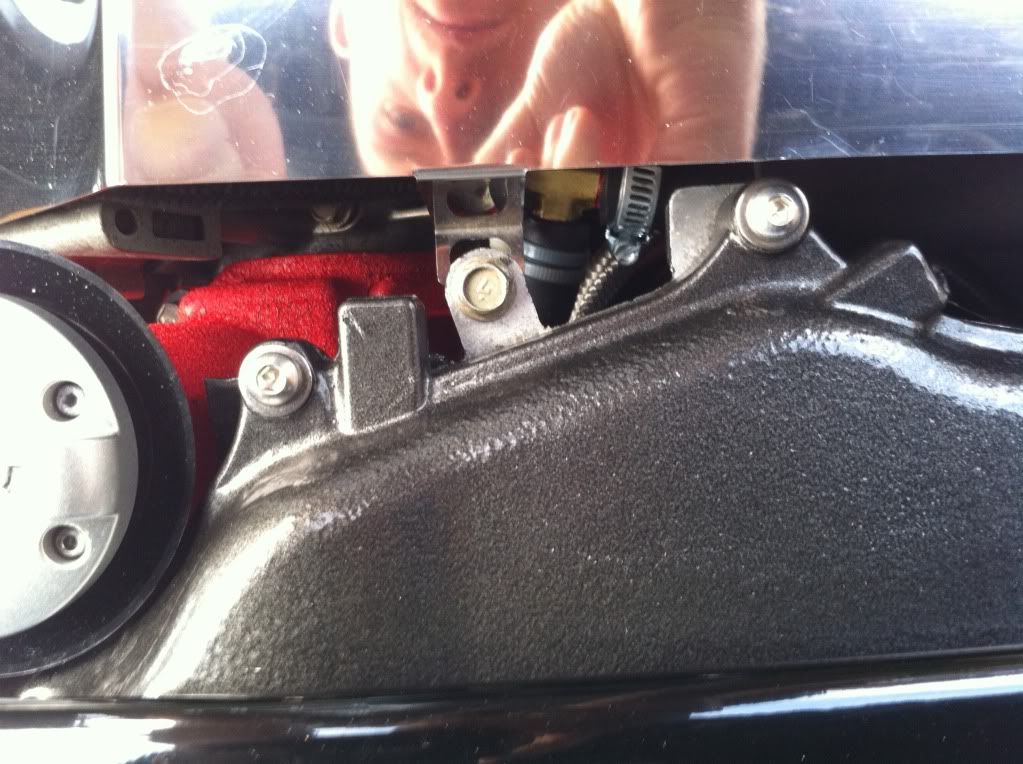
Few more engine bay shots.
Still one normal Nissan bolt to compare.
-
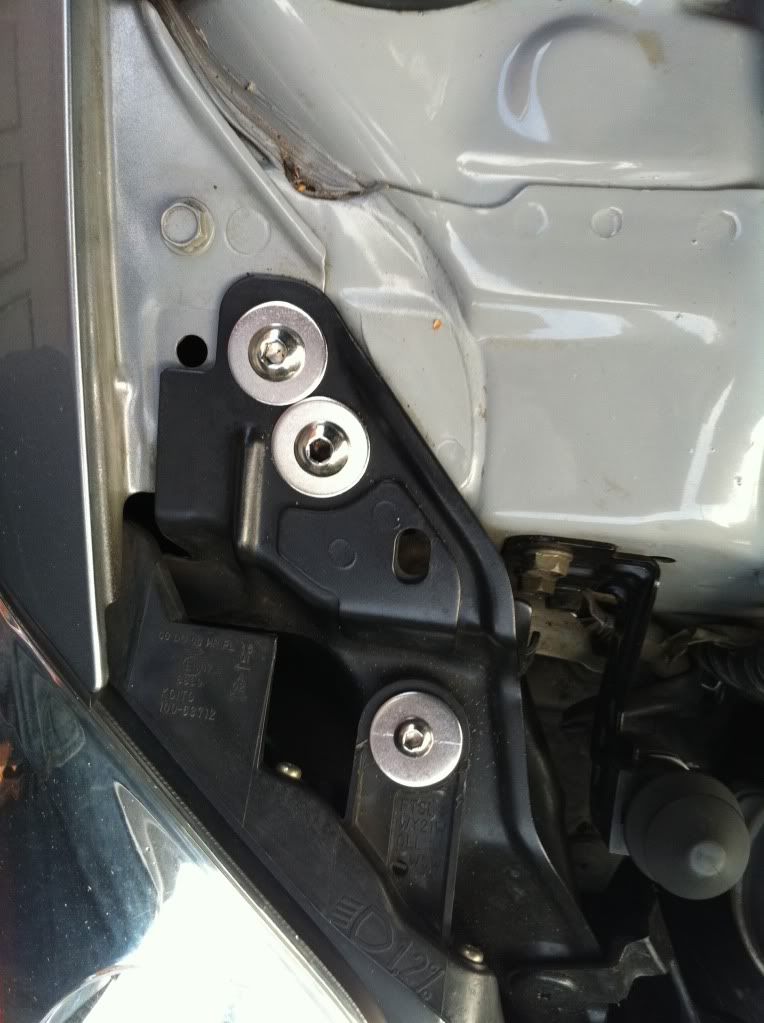
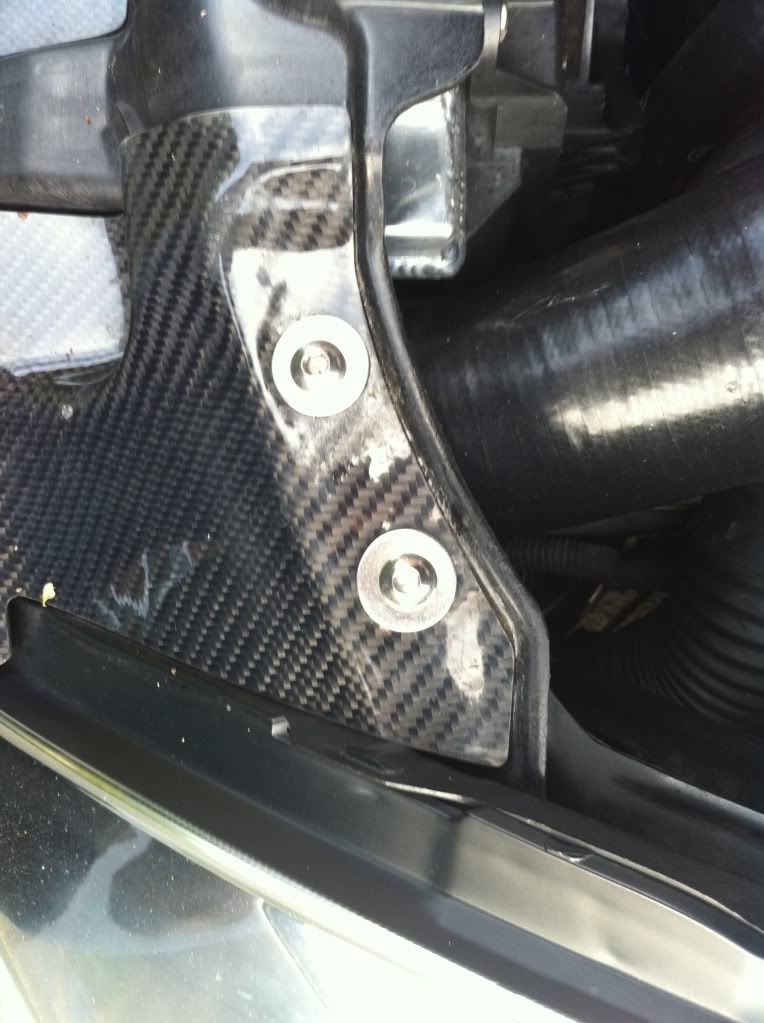
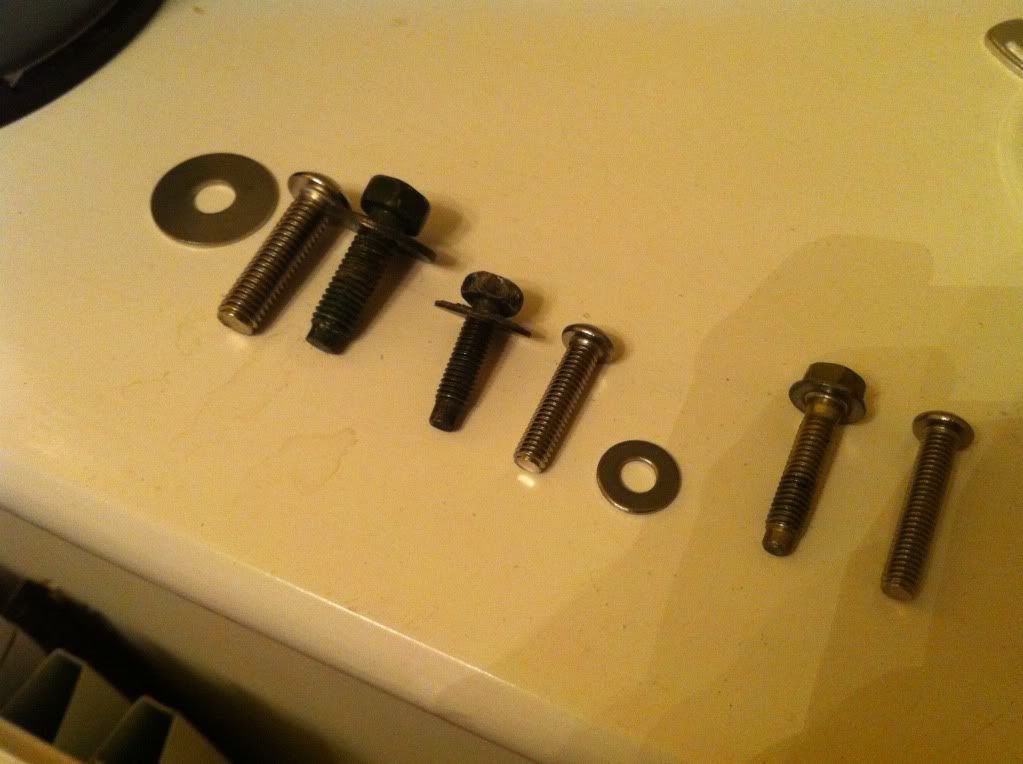
Not much of an upgrade hub one I've been meaning to do for a while! A bit of engine bay dress up. I've looked at gallery bolts and probolt stuff but it's SOOO expensive for what it is. So this afternoon I whipped the plenum outer bolts, head light, wing and front rad panel bolts off. Took them to Layton fasteners a little local fastener place (who also supply koenigsegg bolts!) to pick up some more bling ones. Swapped them all out for stainless steel dome head hex bolts and ss washers. Came to the grand total of £6!!!! LOL. Not quite as nice as the gallery bolt kit but about £150 cheaper hahahaha.
I've got some crappy pics ofthe bolts but it's gone dark now so engine bay pic's will be tomorrow!
-
Just a few pics from a recent photo shoot.
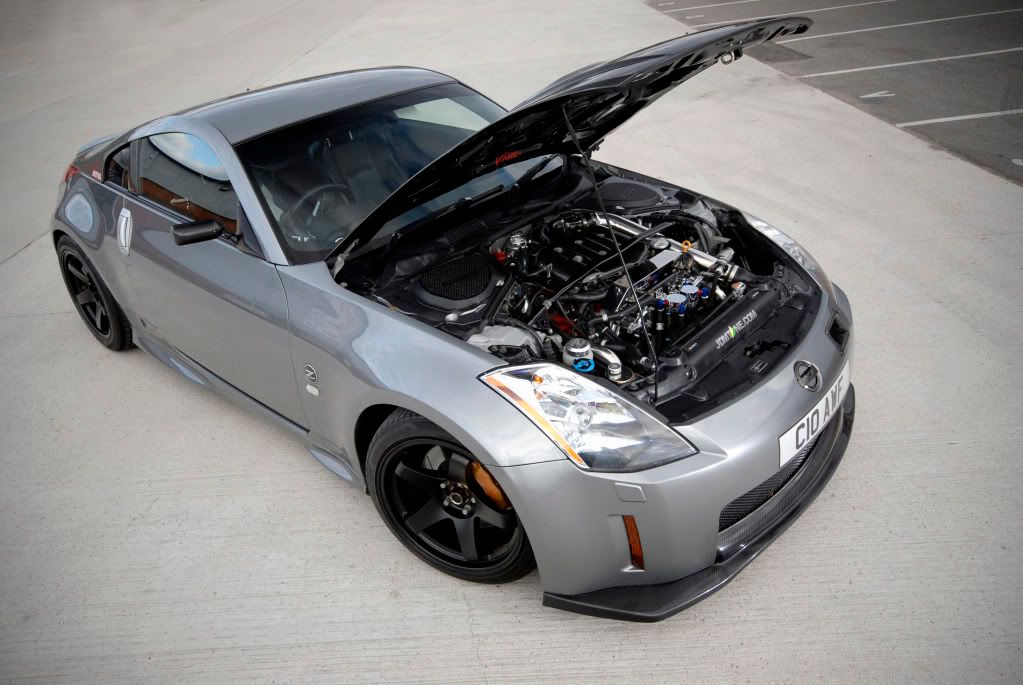
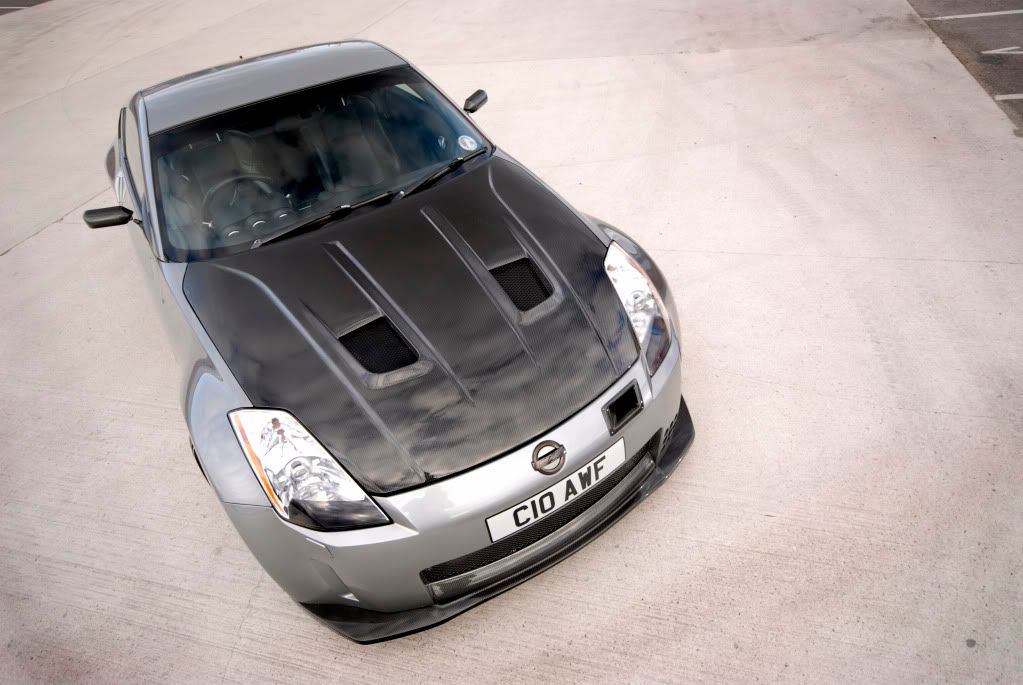
Full shoot is in the photography section!
-
REALLY FUN AFTERNOON!!!!.........NOT!! LOL..
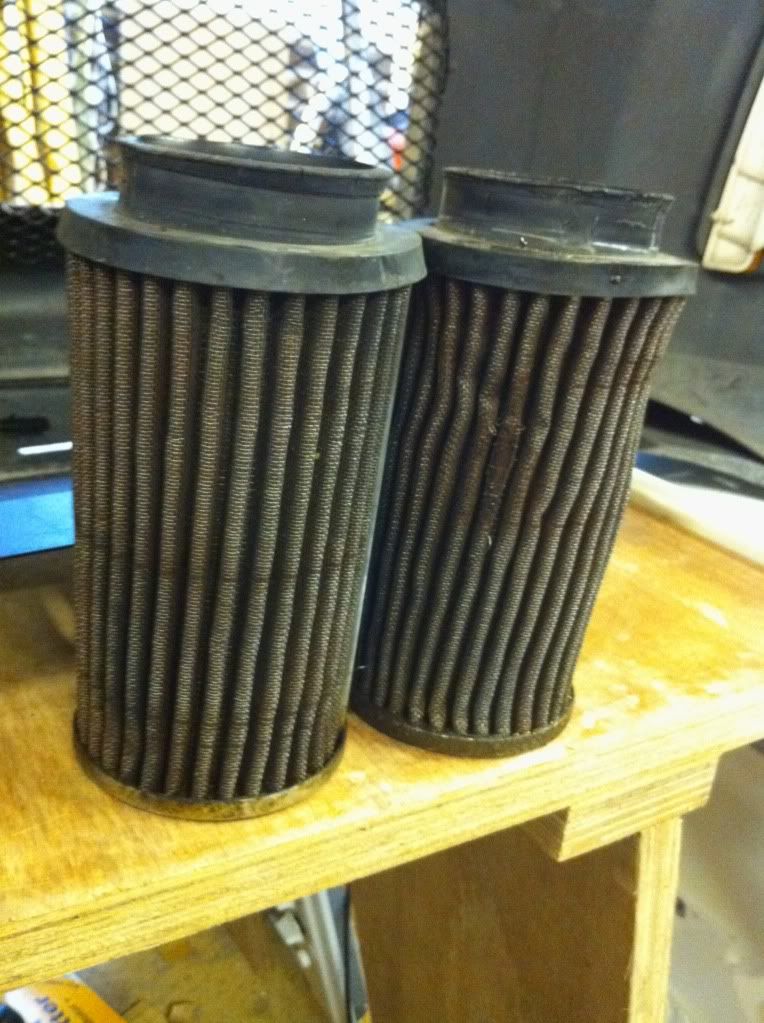
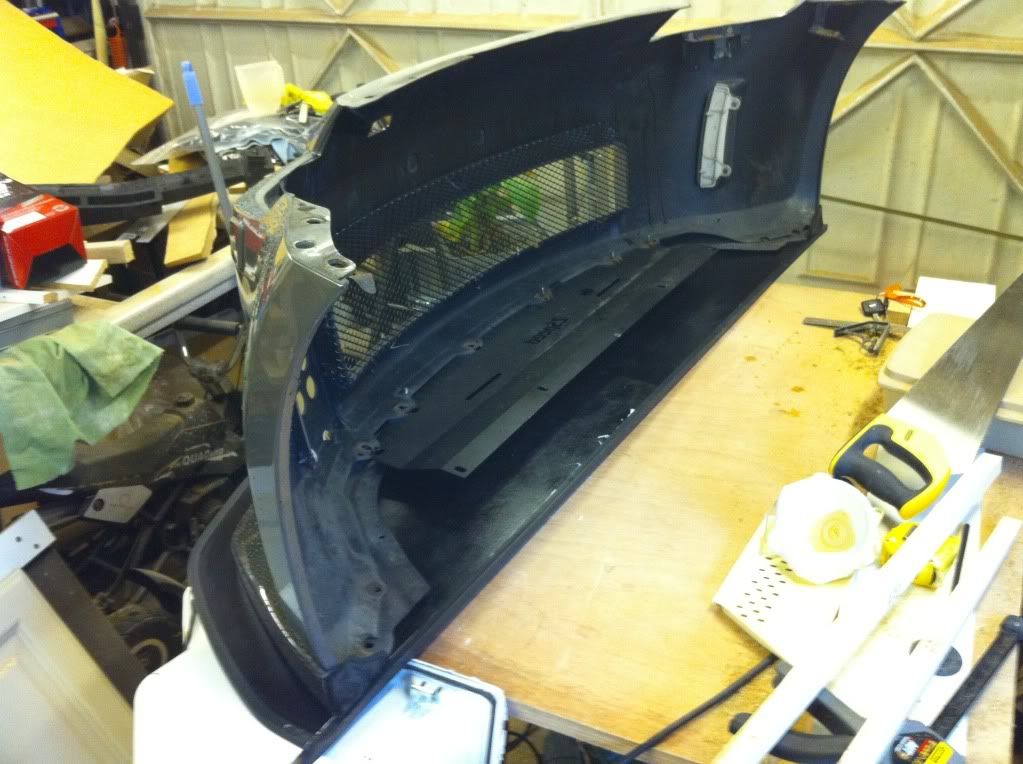
Ive been meaning to swap out the manky old APS airfilters for ages and I was off work today so I thought I would give it ago. Being england it was OK outside to start but as soon as my car was on the ramps it starts to **** down
Anyway swapping the APS air filters is no easy job. The front bumper has to come off and the driver side filter is hidden behind the bloody washer bottle!!!
Here is some pic's of the job.
Bumper off took 10mins.
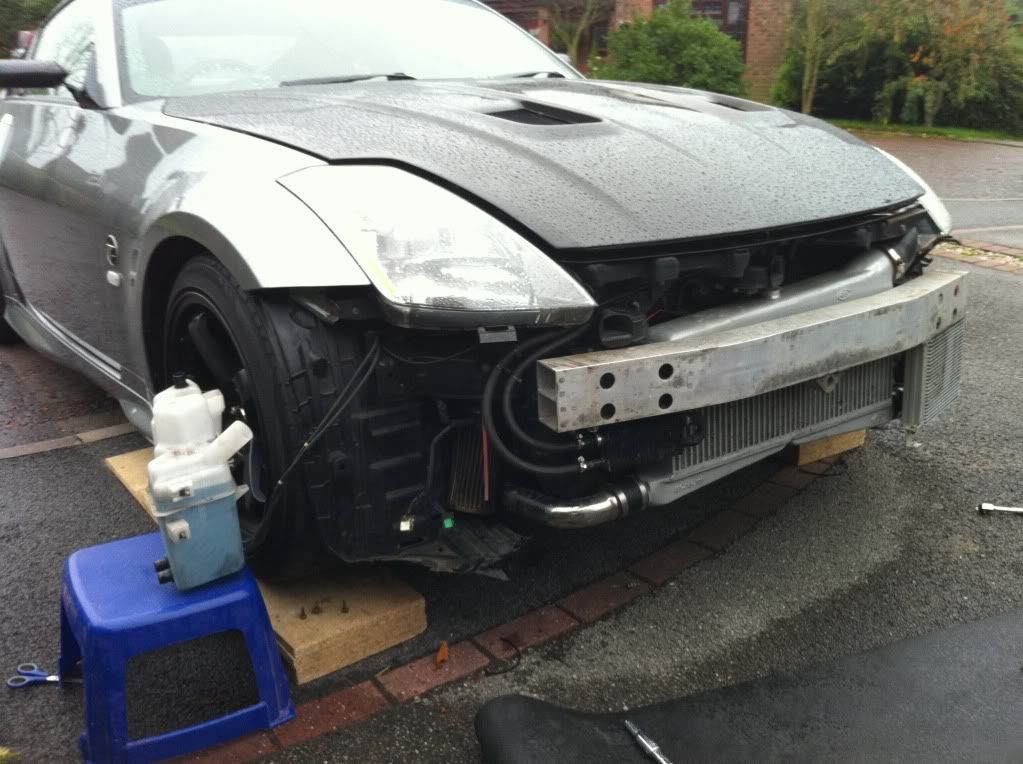
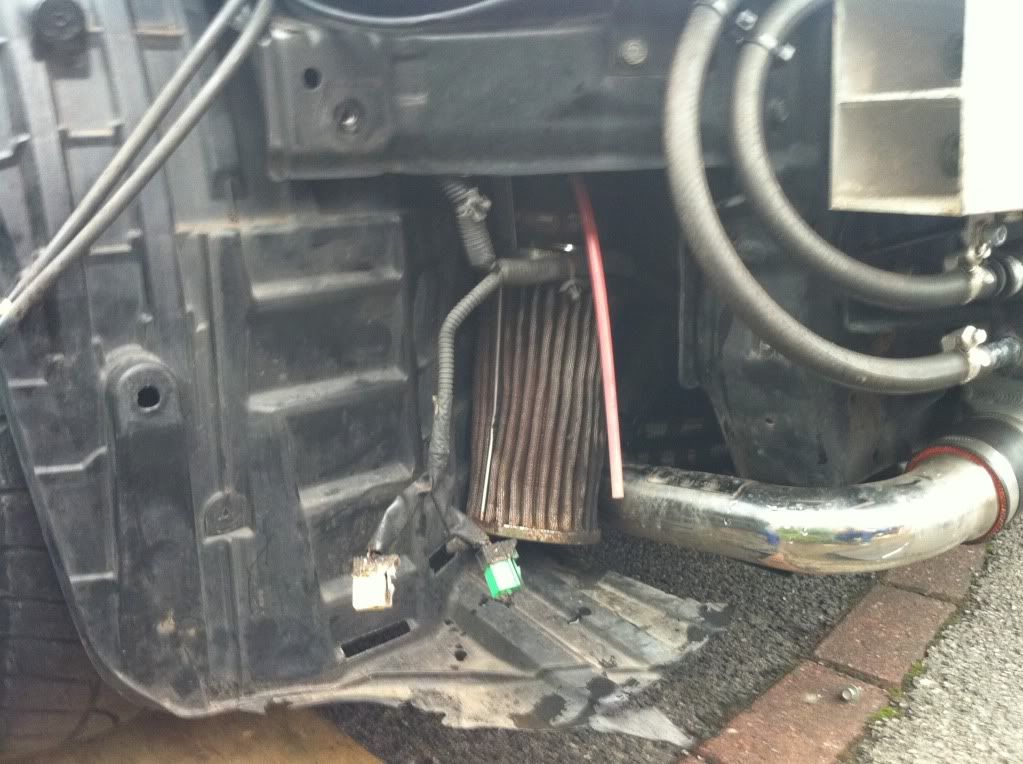
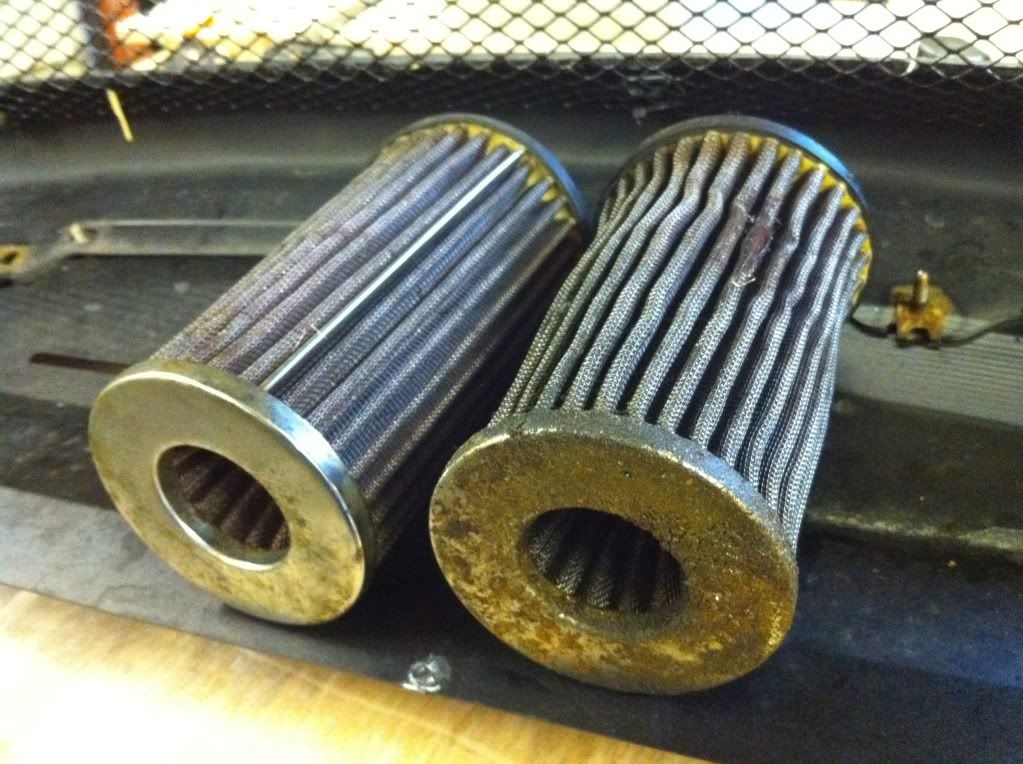
The washer bottle was quite hard to get off because of the holding bolts being on the inside of the rad core support. I really had to jam my hands through some small holes to get that bad boy off! LOL This is the old APS filter, Its really filthy!
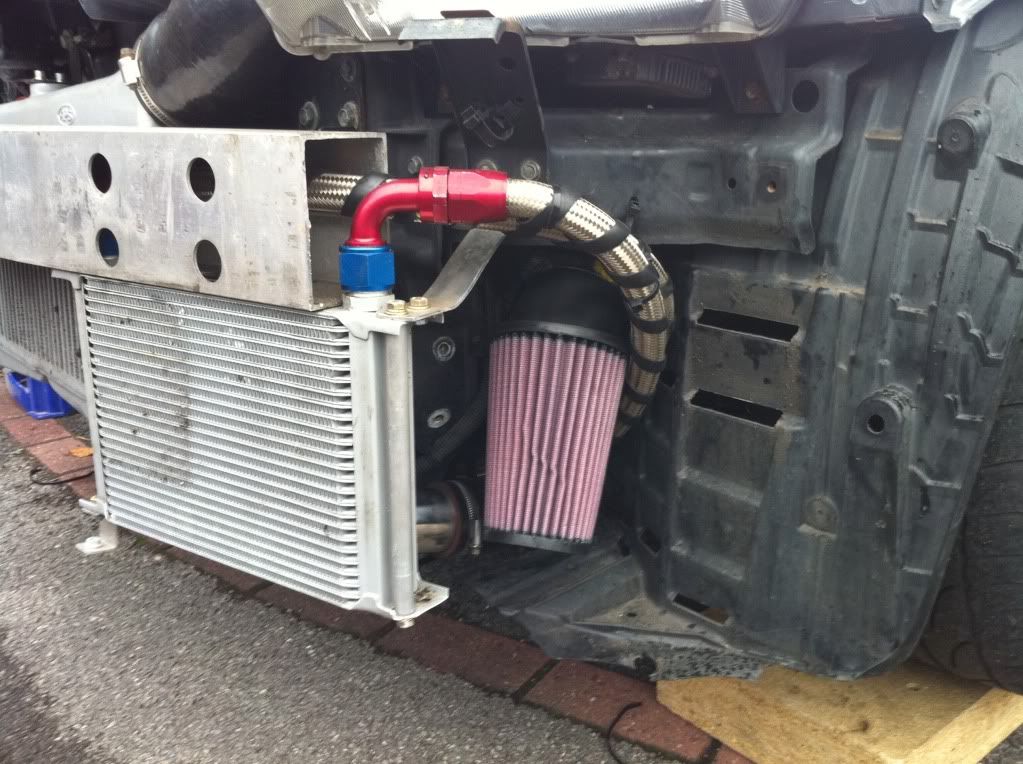
The new K&N fitted (this model is for a snowmobile but is a perfect fit for the APS TT kit!)
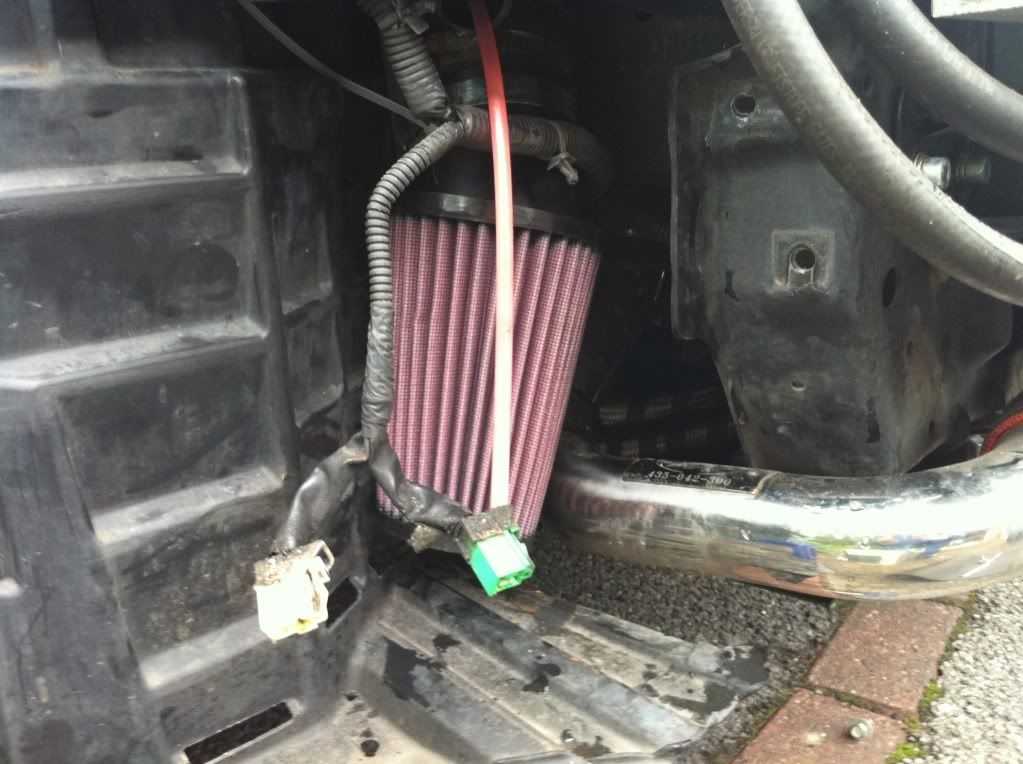
The passenger side was a lot easier with no washer bottle there.
Old filters.
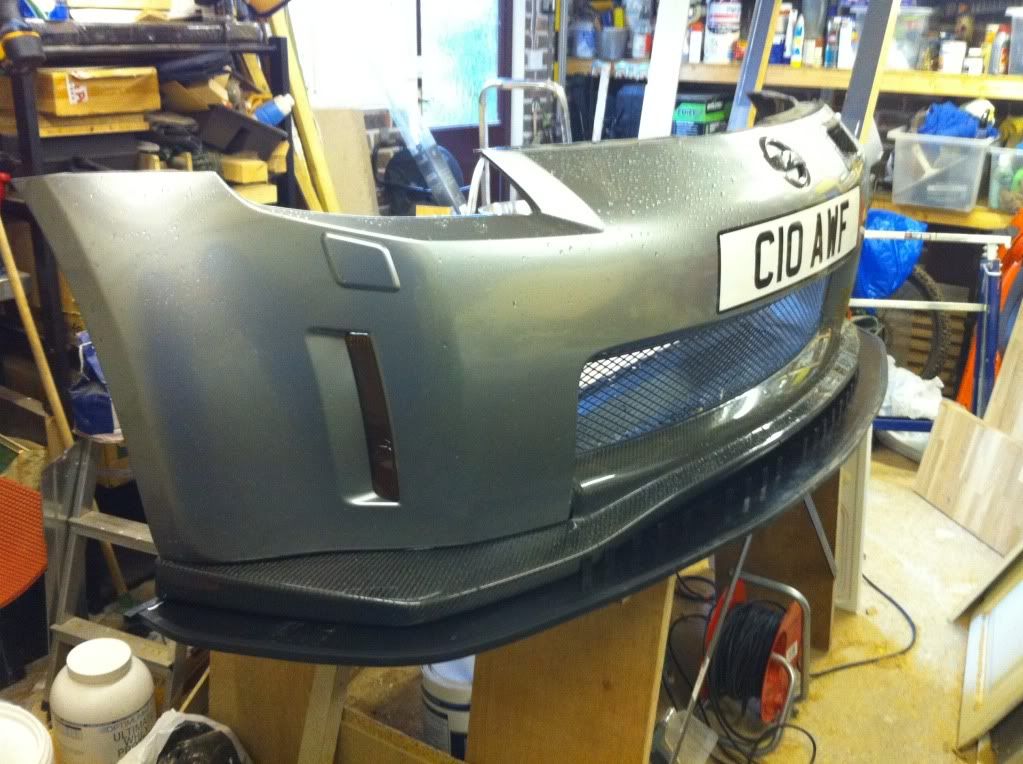
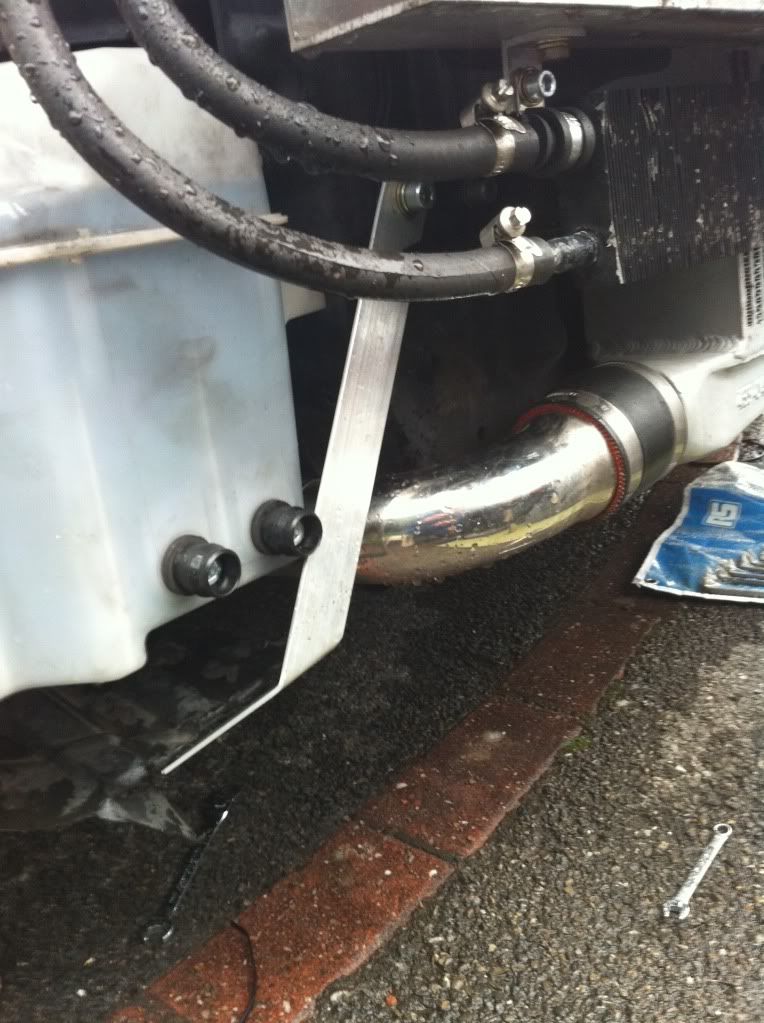
While the bumper was off I took some time (in the pissing rain! LOL) to look at mounting my front splitter.
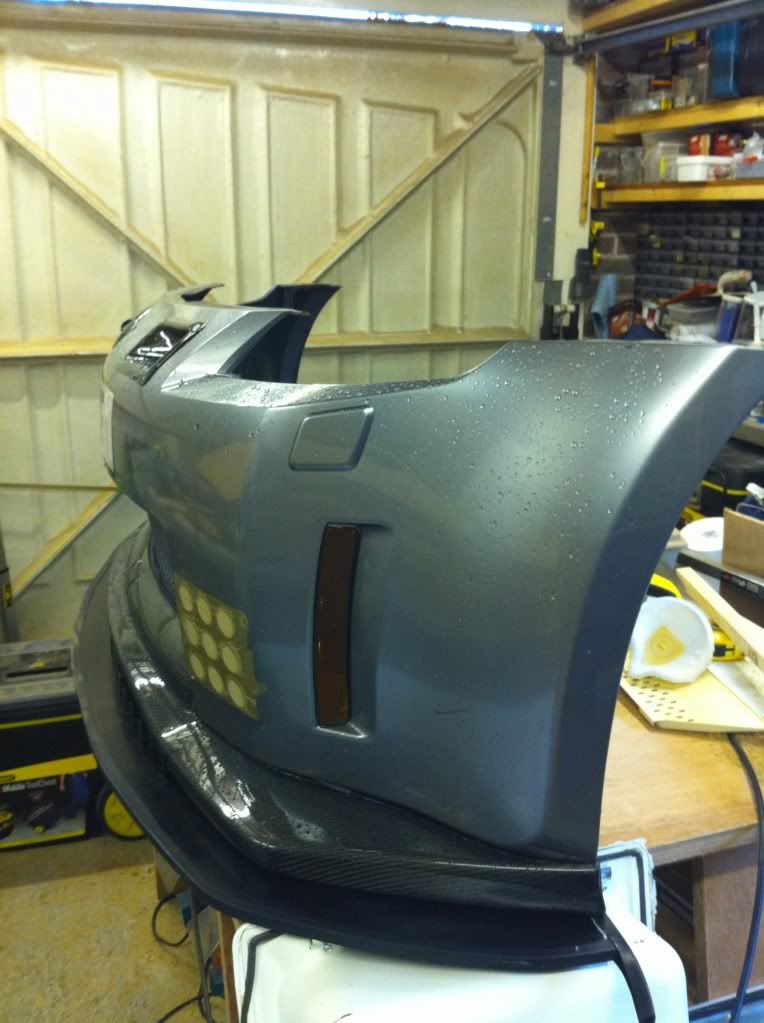
Its just mocked up in these pic's but looks to be a good fit.
Took a while trying to workout where the mounts should go. Its hard to find space around the intercooler pipe work so Im using some OEM bolt holes on the Rad support frame. The front tie rods will take most of the downforce and these will be fixed to the crash brace to be nice and strong.
Passenger side Alu mount in place.
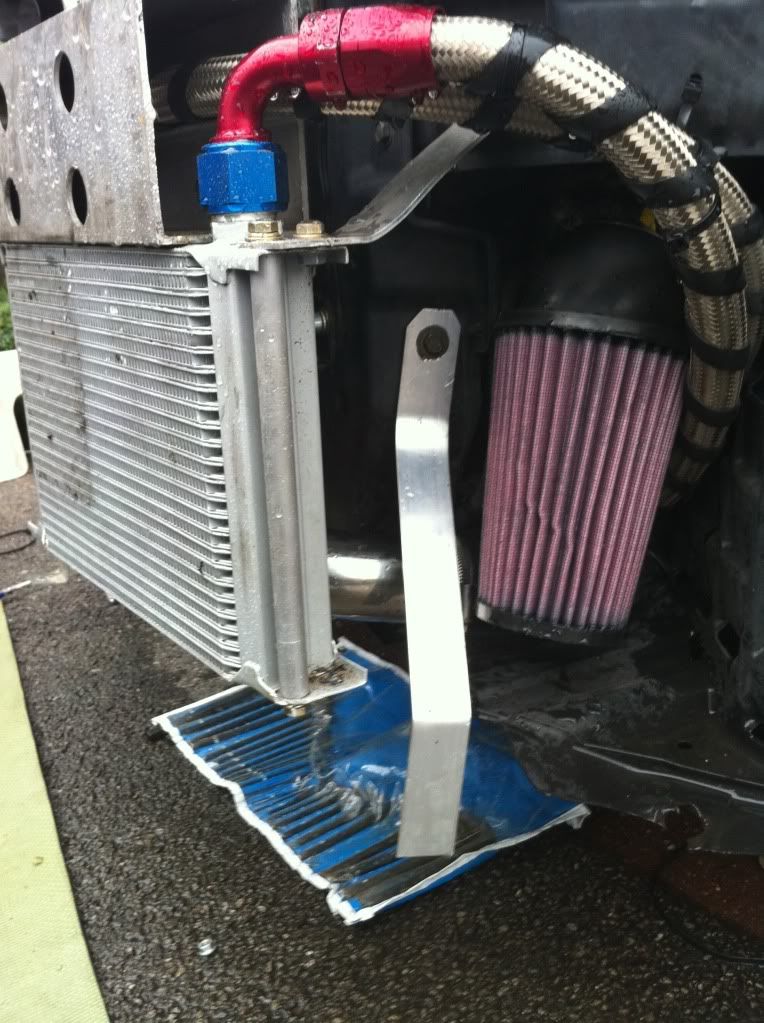
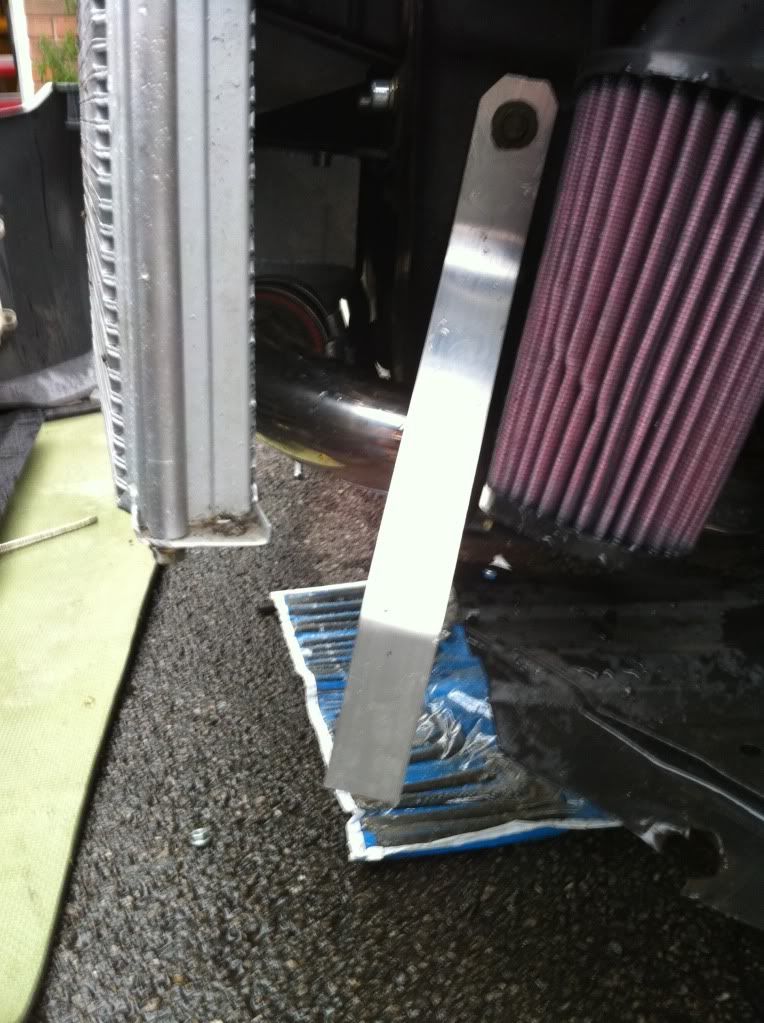
Driver side mount in place.
The cars back together now so the next job will be mocking up the splitter on the car and sorting out more mount points.
My bodies sore now from working on my back for too long
-
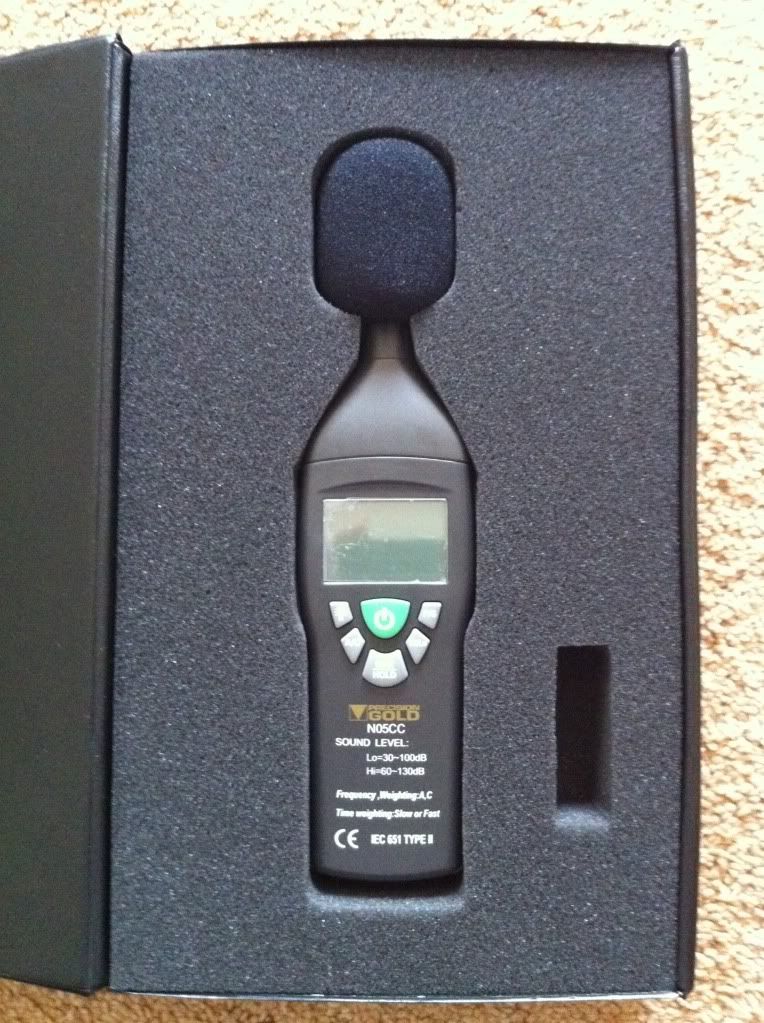
Picked up a little gadget I've wanted for a while today. A cheap and cheerful SPL meter.
Its a calibrated one so I should be quite close to what you would get as a track side reading. The readings were taken at 50cm away at a 45 degree angle.
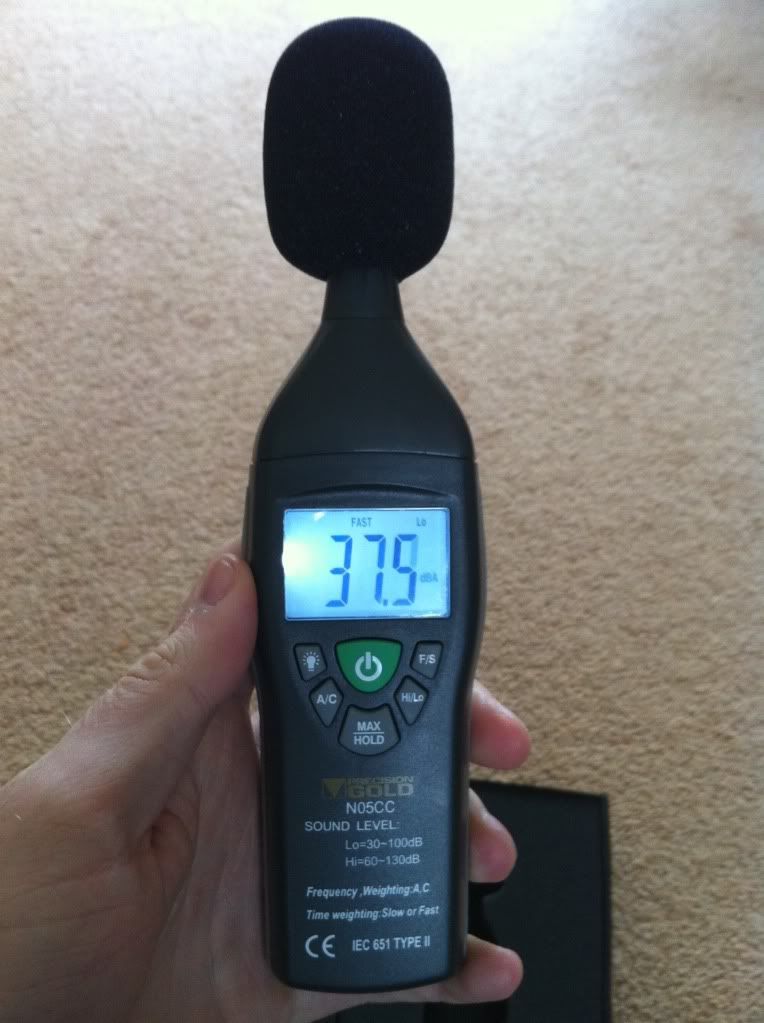
As you all know the car is noisy I think it's a bit quieter now its been mapped but its still loud as hell really. I have no idea what sort of drive by SPL it would make as its louder on boost than just rev'ed with no load too.
Anyway, First vid is a cold start still on high idle around 1500 RPM.
This vid is a hot idle around 1000 RPM.
This vid is 4000 RPM (noise test for thunder road!)
This vid is 4750 RPM the standard noise test RPM (3/4 max rev's) The SPL meter is set on peak and hold so the 112+ decibels was the max it read.
This is as above but on the other exhaust pipe.
So as you can see I have failed all the UK noise tests!!!
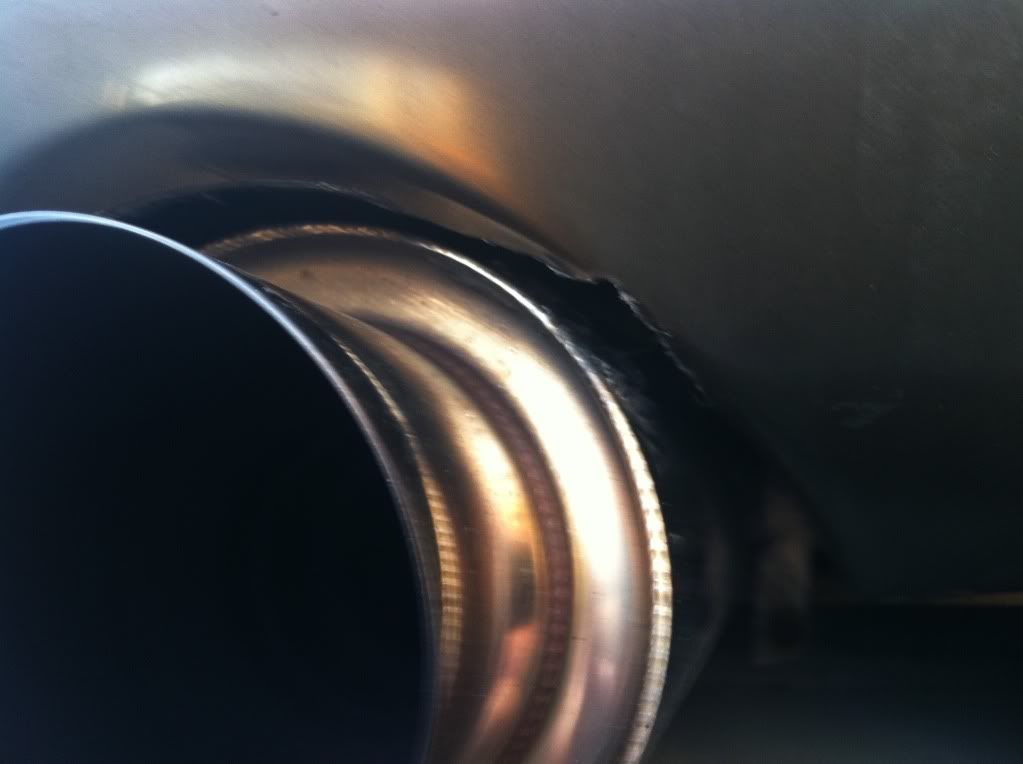
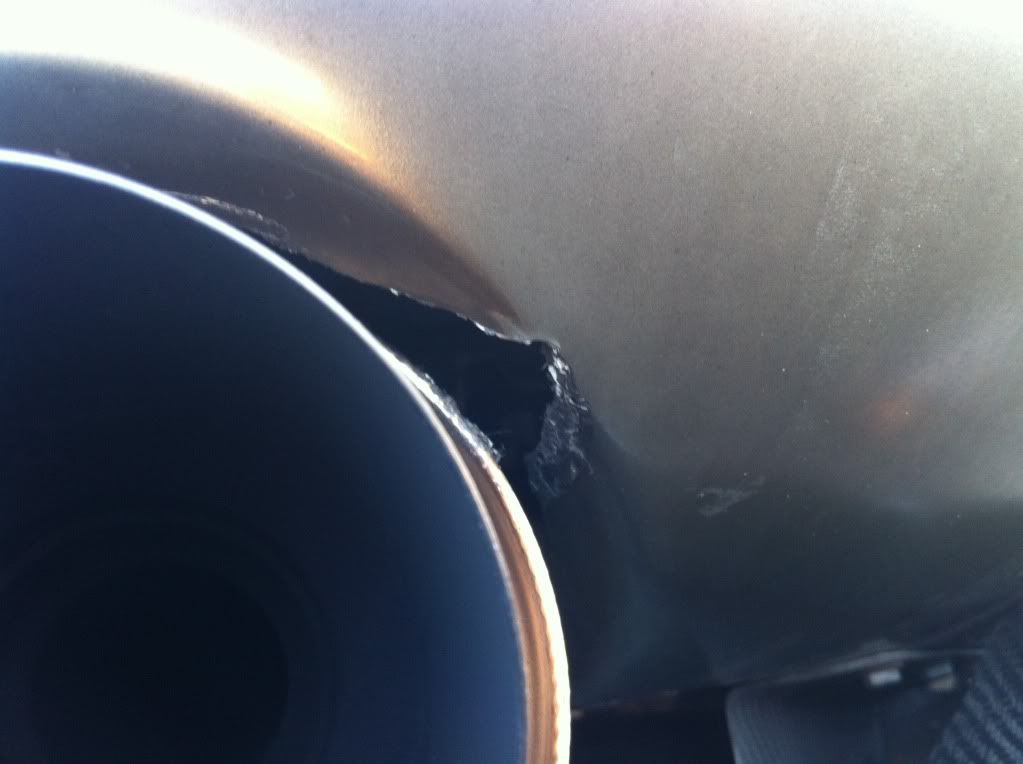
Im looking to add 4" diameter magnaflow silencers but Im not sure how long they would need to be to get me down under the 105dB limit most UK tracks have?? I was looking at 14" long but Im now thinking more like there 22" long version? Any one have any ideas??
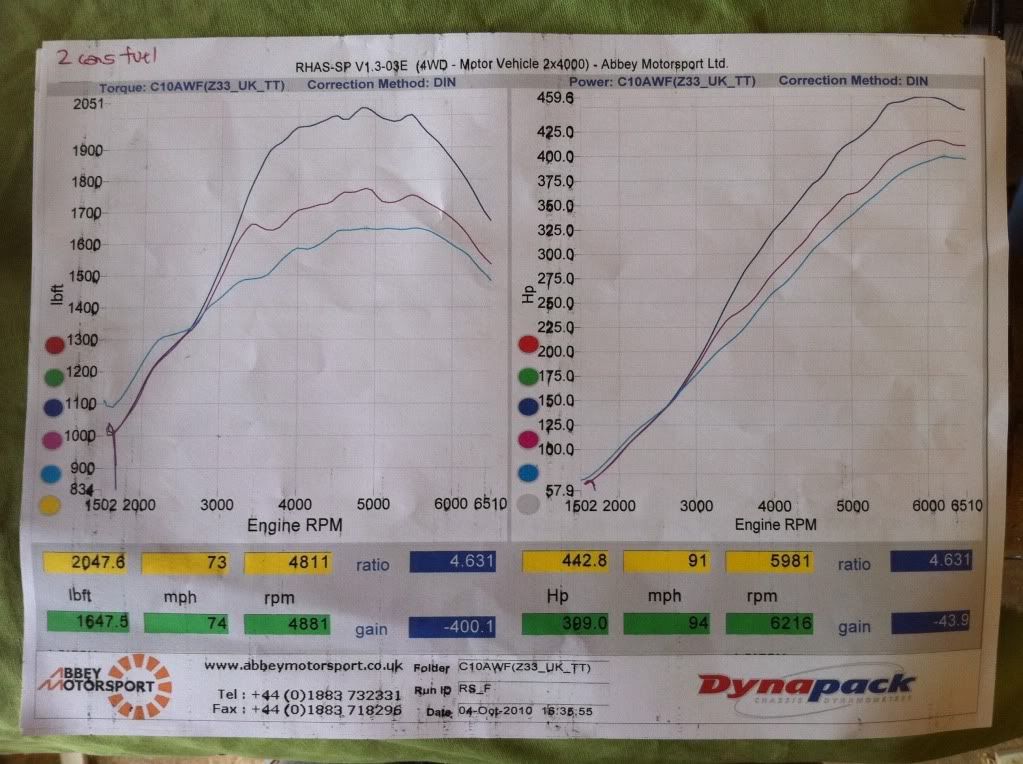
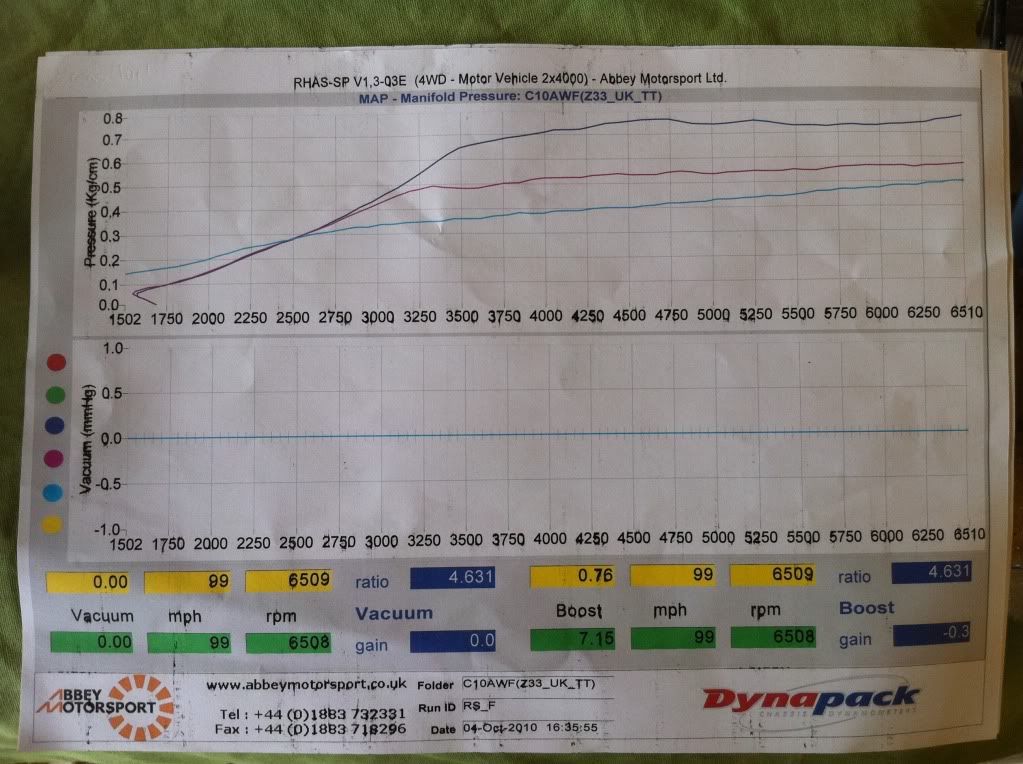
Also I have finally got round to getting the dyno's plots. There not very good pic's as there just quick phone photo's but you get the picture.
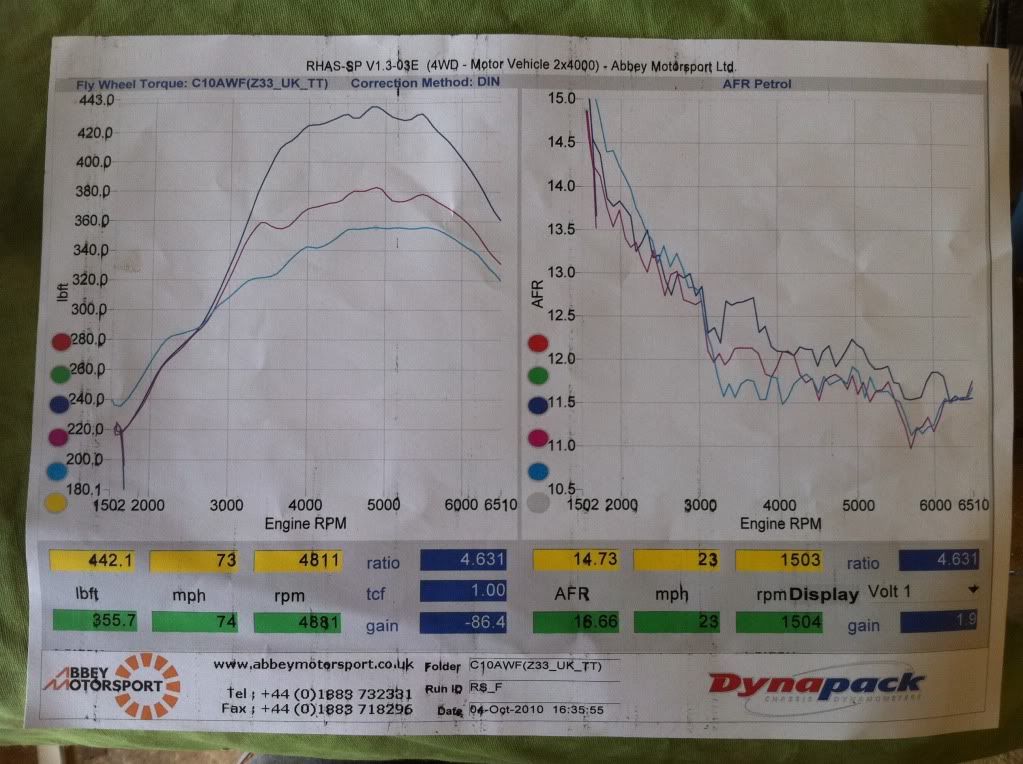
-
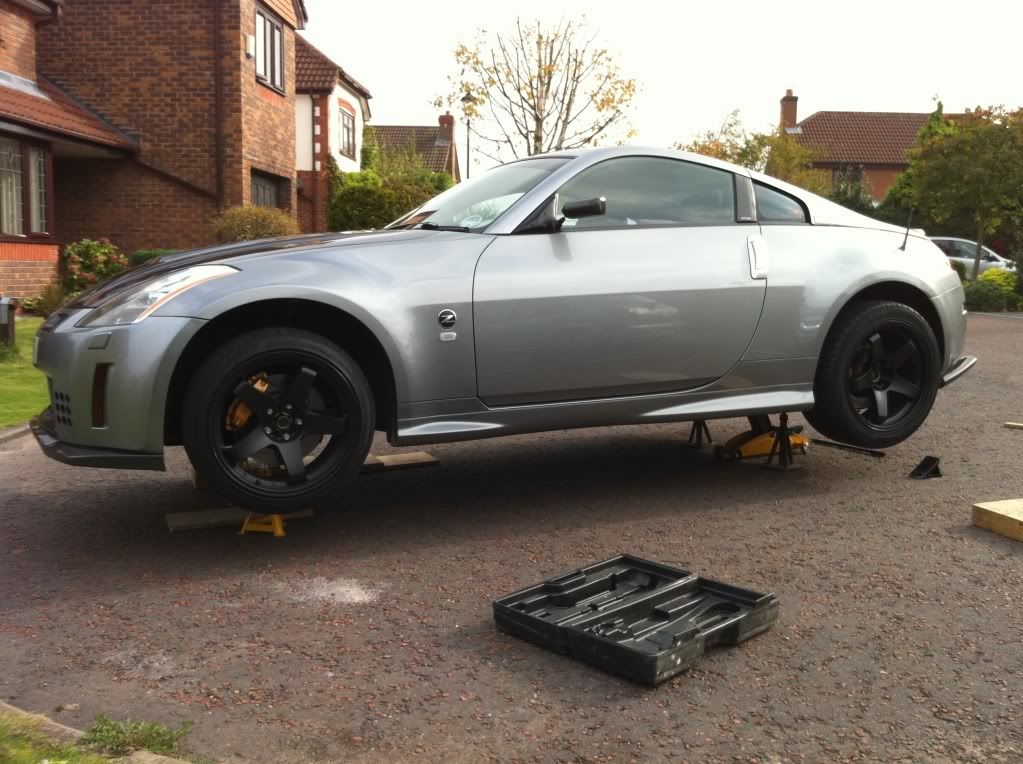
Thanks guys! It's nice to finally have the zed back in full working order too! LOL.
Jut a few pic's of today's tinkering!
First job was to get the bloody thing off the floor! Oh how I HATE jacking the zed up, it's got to be the worst part of any job! LOL.
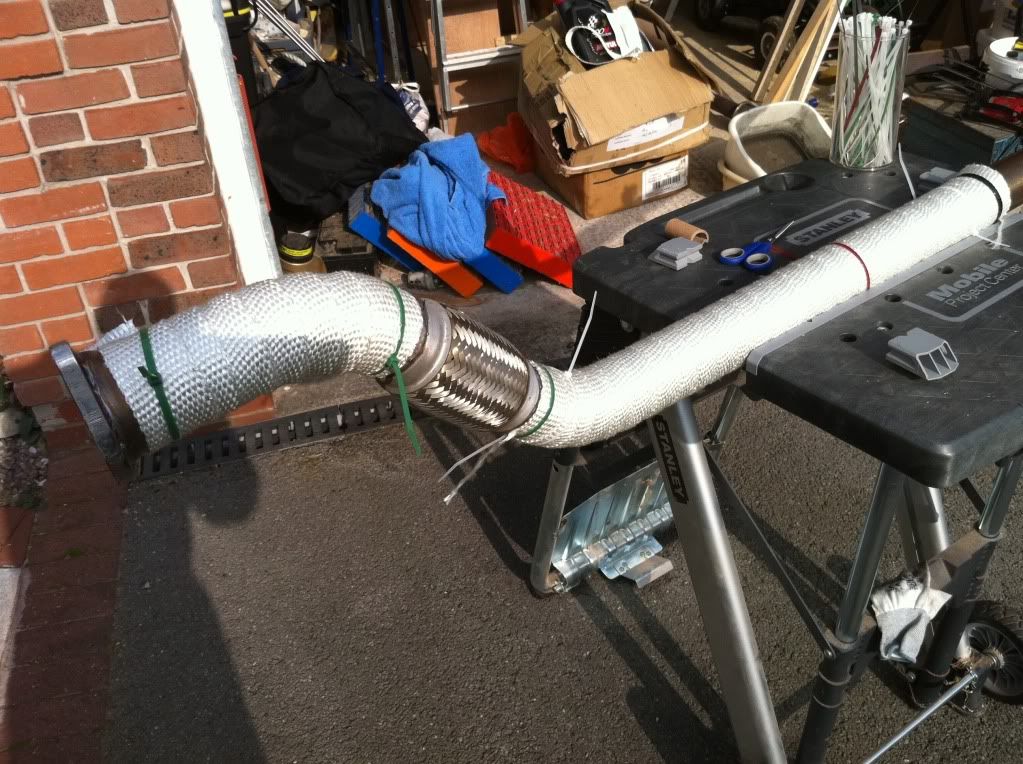
I whipped the full exhaust system off again to get on with heat wrapping the system. I used what was left from my down pipes that managed to get me to about 12-14" from the rear axle so most of the exhaust is now wrapped!
Few pic's o the job.
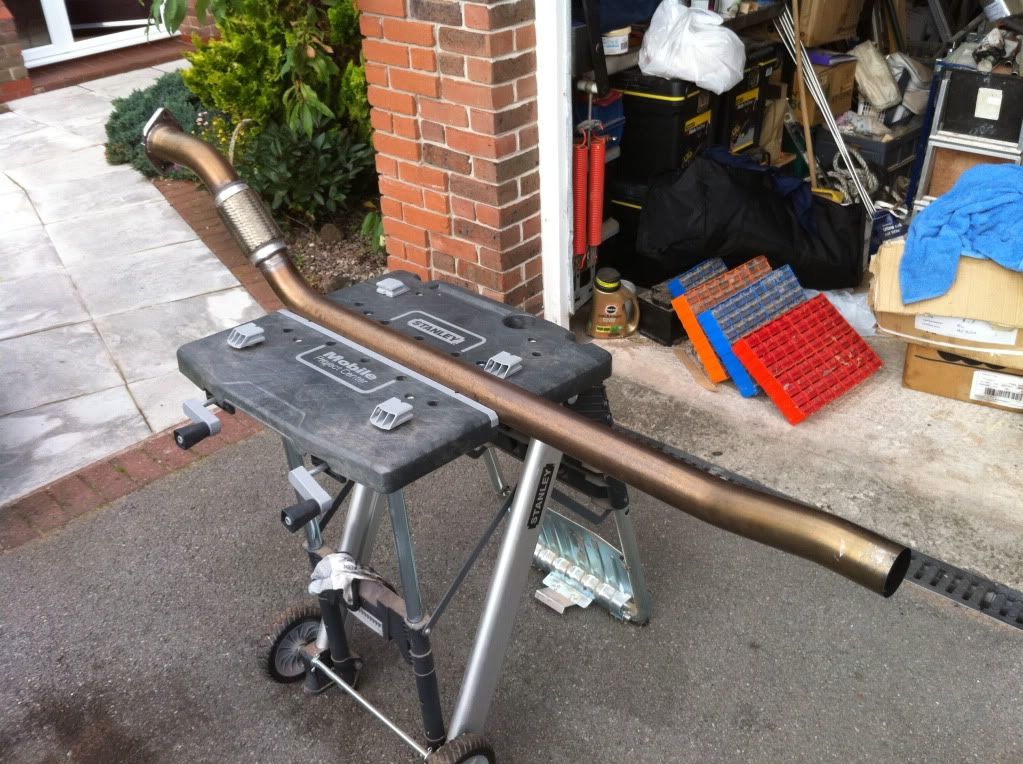
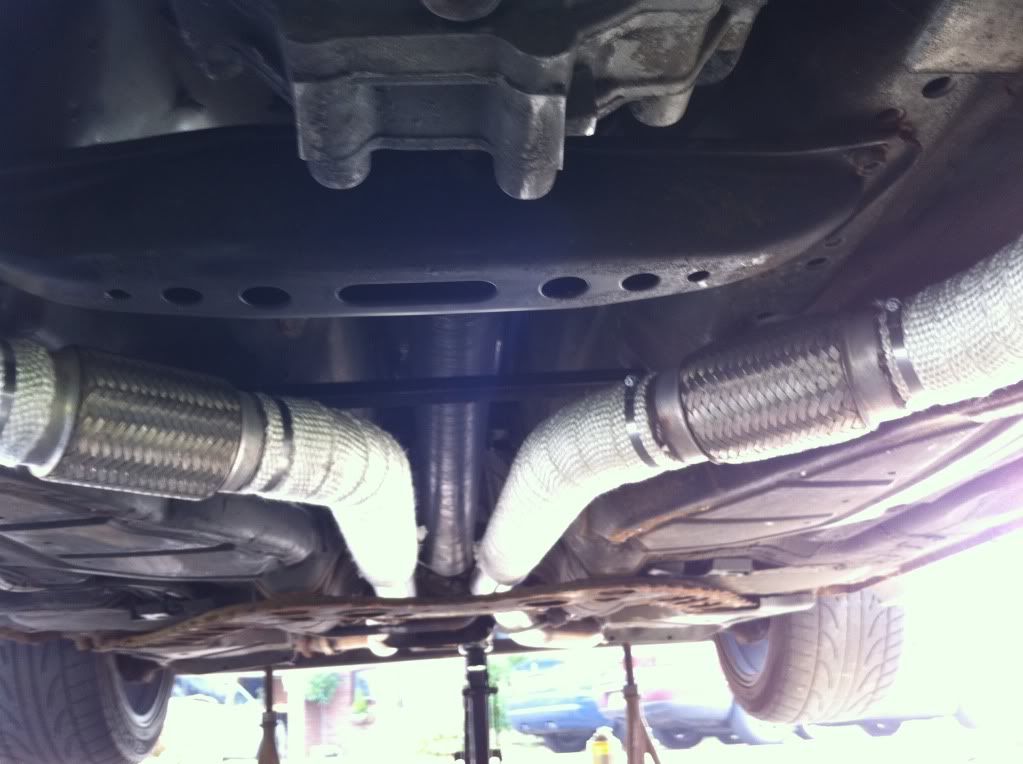
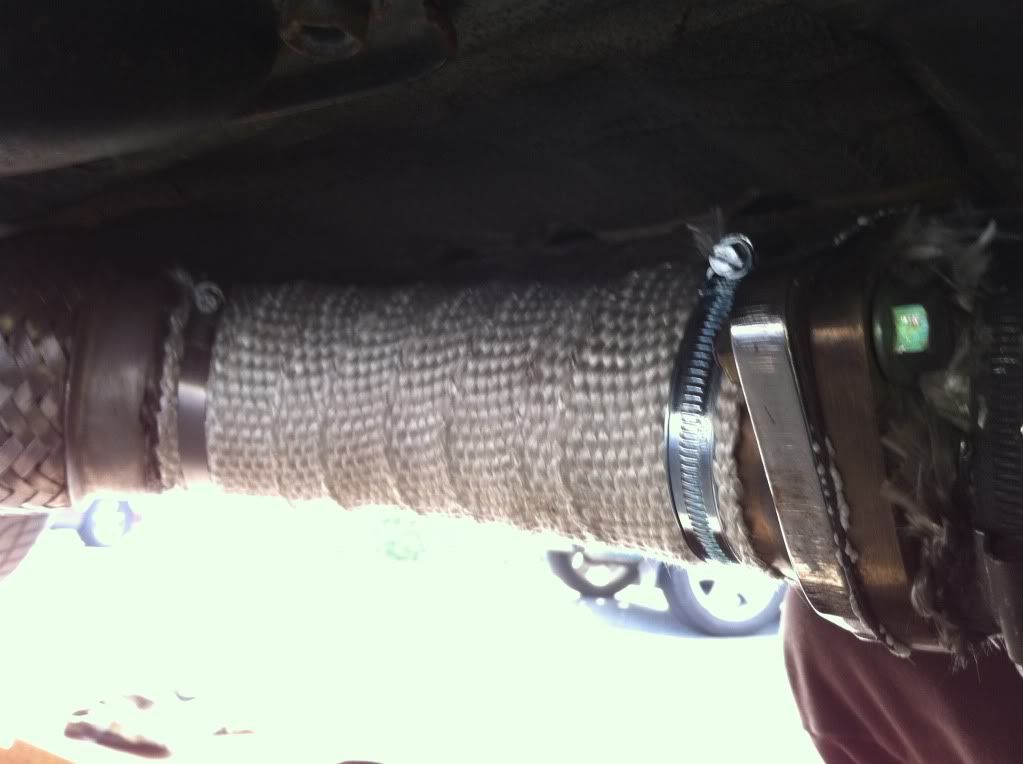
Ive not had much time to see what difference it's made yet but I would say the car was a little quieter at idle? LOL.
-
Getting close to 700 likes now people!! Thank you lot for the continued support with TC MEDIA!!!
I now have stickers so if any one fancies reping one let me know

-
Its a grey metallic powder coat mate, not sure of the colour code

-
This looks promising
My Little weekend project.....
in Member Build Projects
Posted
Pre-TOTB wash this afternoon along with an oil and filter change!
And a few art shots while doing the oil change! ha...