


ShaunLCG
-
Posts
2 -
Joined
-
Last visited
ShaunLCG's Achievements
Z Newbie (1/7)
9
Reputation
-
They look great Olly. I have a growing job list without doing things to the car, sadly, so this is probably the thing to do. Is the clear coat UV stable?
-
They look great Olly. I have a growing job list without doing things to the car, sadly, so this is probably the thing to do. Is the clear coat UV stable?
-
Nice!
-
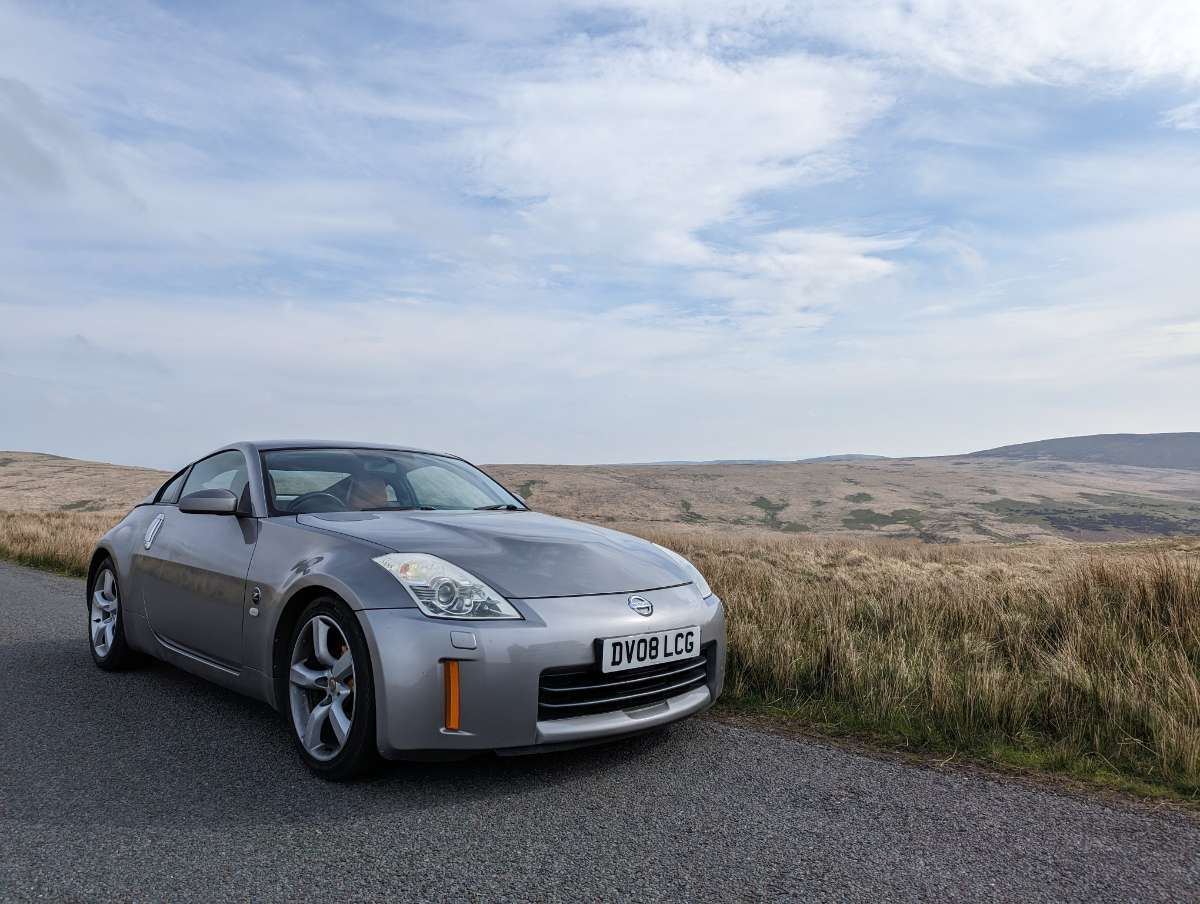
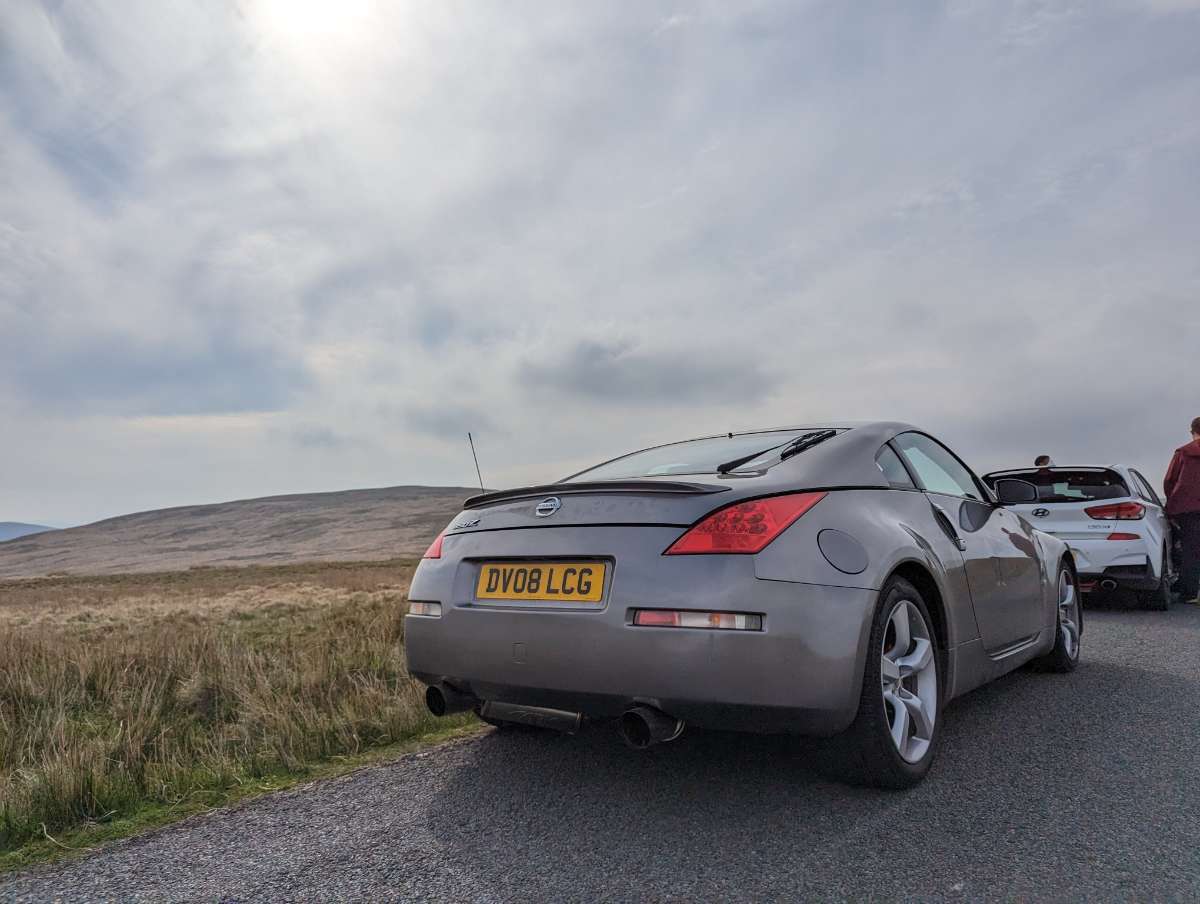
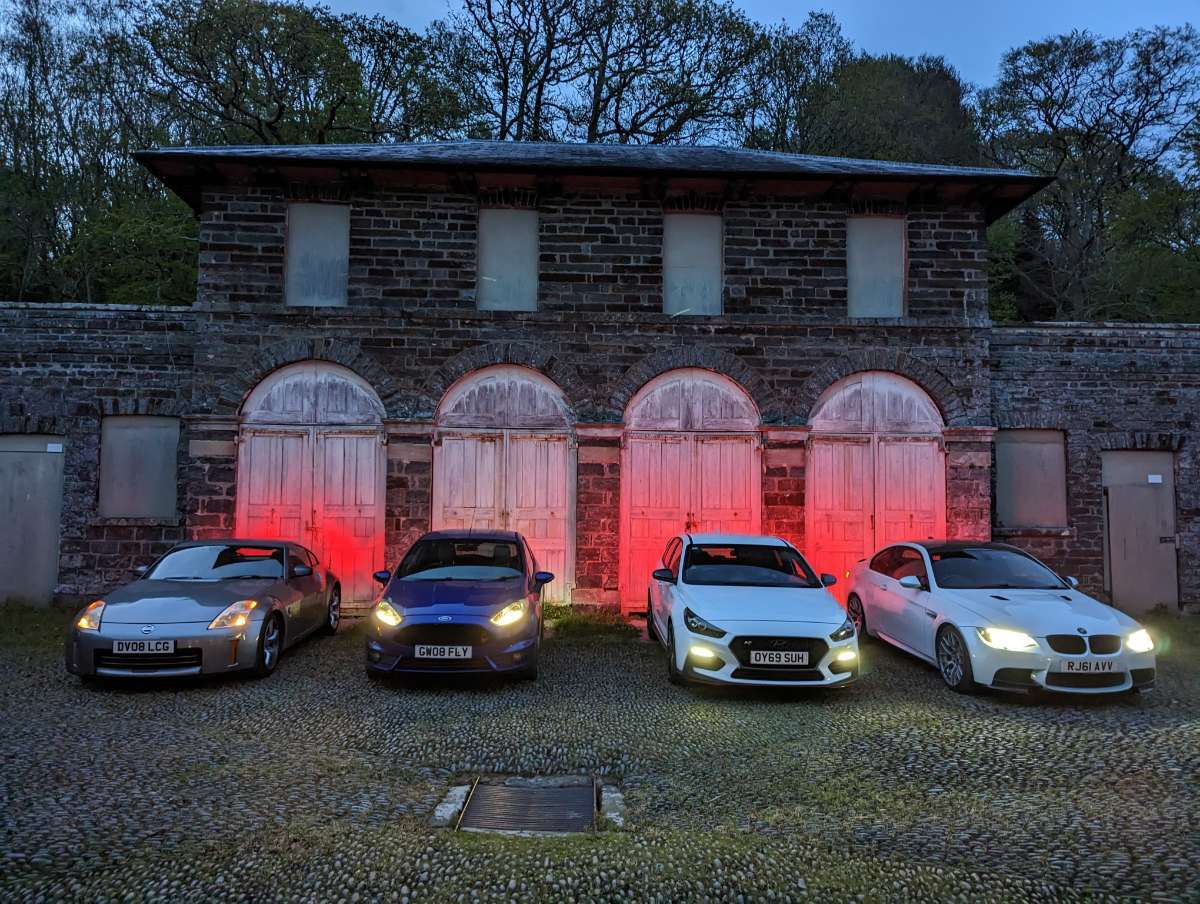
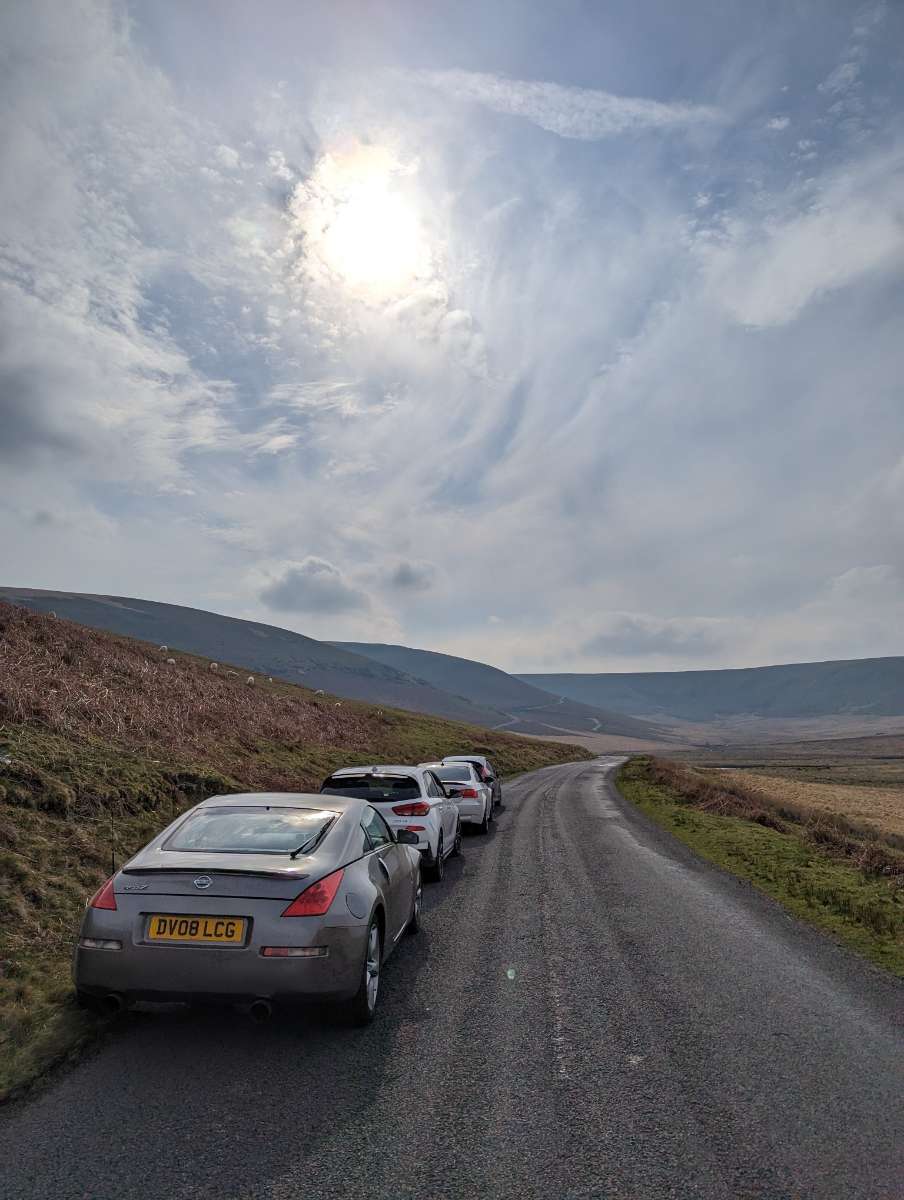
I promised some photos when it was clean, which I forgot to take after I last washed it, but instead I'm including some photos taken on a road trip across Wales and back last week - which was ****ing great by the way.


-
Cool, I'll try and look for it, thanks.
-
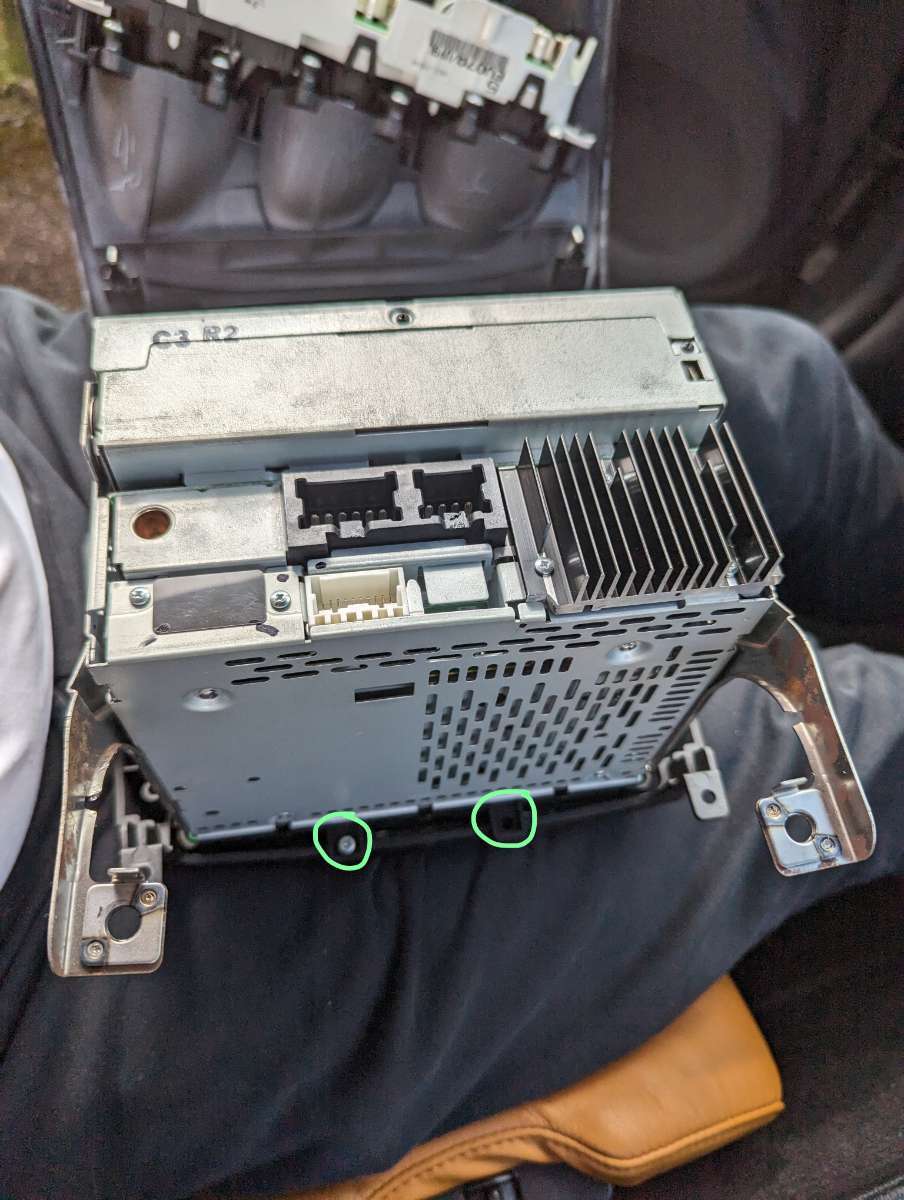
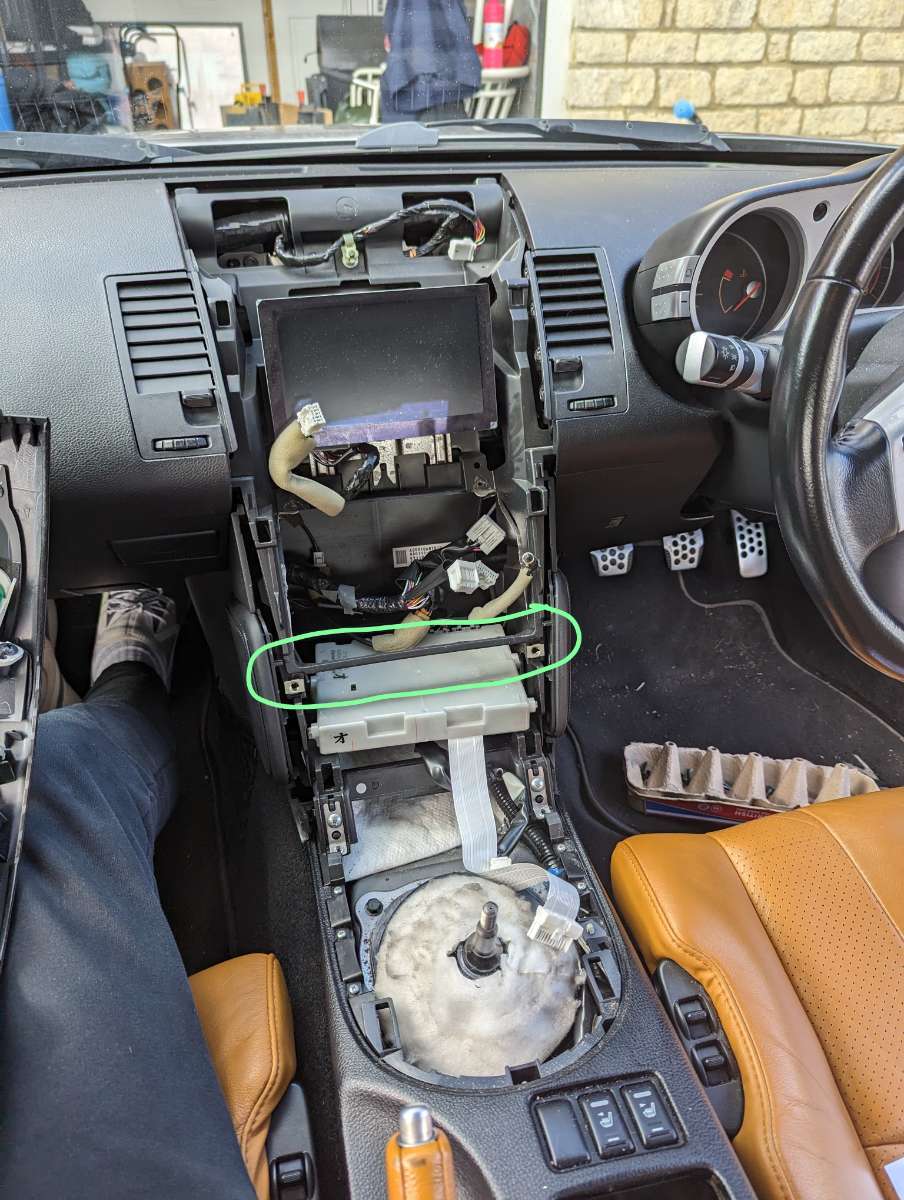
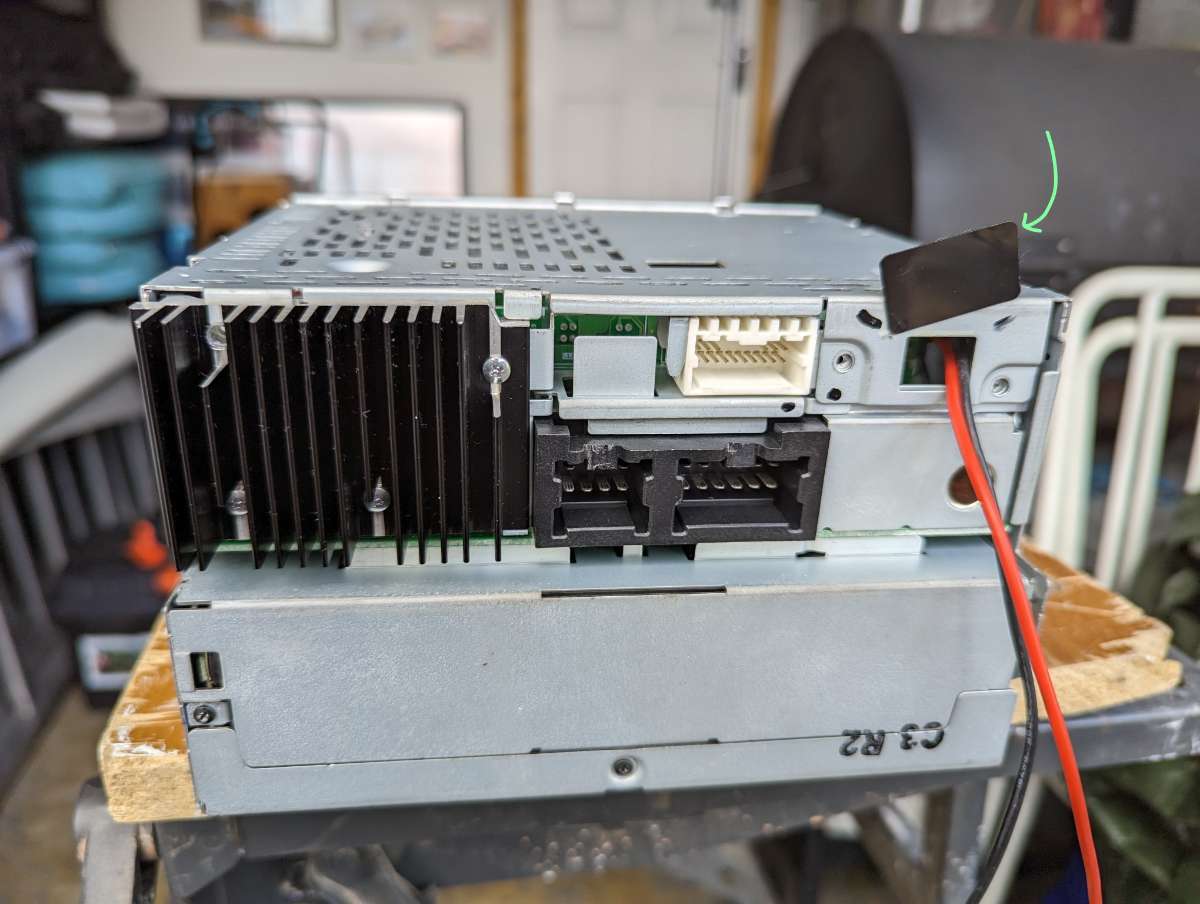
I installed the below Bluetooth kit from Z-Tech at the weekend on my 2008 350Z GT and I thought I would make a post about it to help others, as being a later model it has some variation to the guide that is supplied to with the kit, which I think was based on a 2004 model. https://www.cs2000-z-tech.co.uk/products/350z-bose-bluetooth-upgrade-kit If anyone finds this post and needs some help, I’ve made some notes below where my install differed from the guide (that I can remember). If there’s anything you’re still struggling with, send me a message and I’ll see if I can support. Sadly, I didn’t think to photograph everything. Firstly, the gear gaiter surround is different, but still pulls up with relative ease. I found it much easier to unscrew the gear knob and remove this piece altogether, to give more space to work. There are two connectors on the back that need unplugging to remove it, one of which is the AC control unit ribbon, as noted in the guide. The next difference is the satnav screen instead of the cubby hole. The screen can stay in place, but the button panel below it has to come out to reveal screws that hold the centre console in place. To remove the button panel you need to take off the plastic insert between this panel and the screen. I can’t find the thread on here now, but at the weekend I found a post on here explaining this, so thanks to whoever provided that. As a side note, I don’t know if it is age of the materials or just the general finish, but this insert and the button panel will scratch with a fingernail, let alone any type of tool you use to remove it. Once the insert is removed, there are two screws holding the button panel in place that need to be undone and then the button panel should pry up quite easily, but has a rather tricky connector to remove, as the wiring is very short. If yours is like mine, careful not to scratch the button panel on the dash trim whilst trying to remove that connector. Once that button panel is out of the way you can get to the screws for the centre console per the guide. I found there were additional screws to remove to get the head unit free from the console trim (image 1) and also found it easier to remove the two bits of metal on either side of the head unit that attach to the centre console trim; the guide has you take the 4 screws on each piece out, but I also removed the single screw on each to free it up altogether (image 2). I’m not sure if you can fully remove the dash with these still in place, but I couldn’t get it past the bit of plastic that remains spanning the width of the centre console and the AC control unit (image 3). Final thing that was different from the guide was the hole to pass the red and black cables through on the back of the head unit, but it is only in a slightly different position and shape. There was a small plastic sticker over a rectangle that I removed to pass the cables the sticker is in the photo below for reference, at an angle above the revealed hole. It probably took me 4.5 to 5 hours, which is way longer than the guide but then I’d never attempted anything like this before. I also spent ages fiddling around trying to undo the various electrical connectors and as noted above, took off a couple more bits than the guide suggested. I wasn’t particularly confident going into it, but the guide is good and Chris who created the module responded to a couple of emails I sent in advance, really helpful. Overall, I would say if you’re expecting a simple slot-in-place type install then get some help from someone who has a bit of knowledge for these things, especially if you’ve never used a soldering iron before, as this is the critical bit. It was a bit unnerving at times, but with a bit of lateral thinking when the guide didn’t quite match what I was looking at, it was not too bad. I would definitely recommend something to keep all the screws organised for each step - I used an egg box. The main thing is that it is all working really well,and I can now play music, podcasts and up to date navigation through my phone. There are little pops of audio feedback when I first start the car up, which is probably something to do with the way I installed it, but no interference on the audio after that. So, I’m happy and chuffed I managed it. Big thanks to Chris at Z-Tech for developing it!

-
That's interesting, thanks. I had read about the Gtechniq C4 coating and thought that would be the way to go. Did you have your vinyl wrap before yours had yellowed, or did you polish then wrap? I've polished with the Meguiars kit / buffing pad, which made a big difference but it's wearing off now. It came with the 4 grades of sanding pads, so was going to have a go at that next.
-
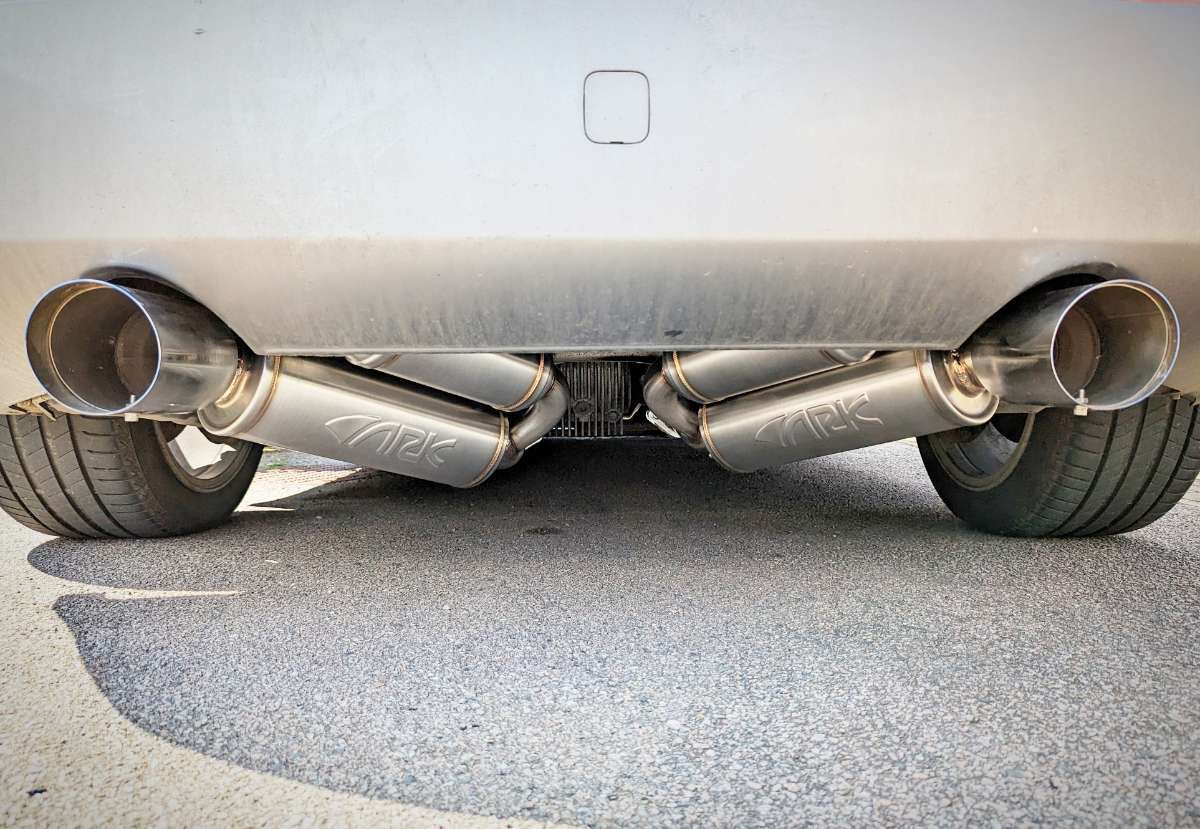
Hi guys, I've owned my Z since August last year and stalked the forums for bits of advice here and there since, but only signed up today since I've done a couple of things to the car recently. I recently had the ARK Grip exhaust fitted and the UpRev remap, all done by Horsham Developments (great guys btw). The remap was done to solve the low rev jerkiness that I've seen others have suffered with, and it has done the job. The exhaust sounds great to me, so I'm well happy with that too. Yesterday I fitted the bluetooth module sold by Z-Tech (forum member cs2000), which works really well too. I'll put some notes up soon on differences between the supplied guide (I think based on a 2004 model) and what I found with my later model 350Z. Future jobs I hope to do are: 1. Either fully sand & polish the headlights or just replace them, subject to positive or negative research on that subject. Any immediate thoughts welcome. 2. Get the wheels refurbished. 3. Upgrade suspension. 4. Sort out some bodywork defects. 5. Possibly respray to Midnight Blue. She's done about 110k miles now, so if anyone has any general advice for things to look out for at that age that would be welcome. I made a lot of notes on that topic before buying, but would be good to get some recent knowledge from fellow owners. Proper recent pics to follow when I've cleaned it! Here's the ARK exhaust on it for now.
-
I ordered one from here a couple of months back, so assume they're still available. https://www.cs2000-z-tech.co.uk/products/350z-bose-bluetooth-upgrade-kit
