

Dipper
-
Posts
106 -
Joined
-
Last visited
Content Type
Profiles
Forums
Events
Gallery
Store
Everything posted by Dipper
-
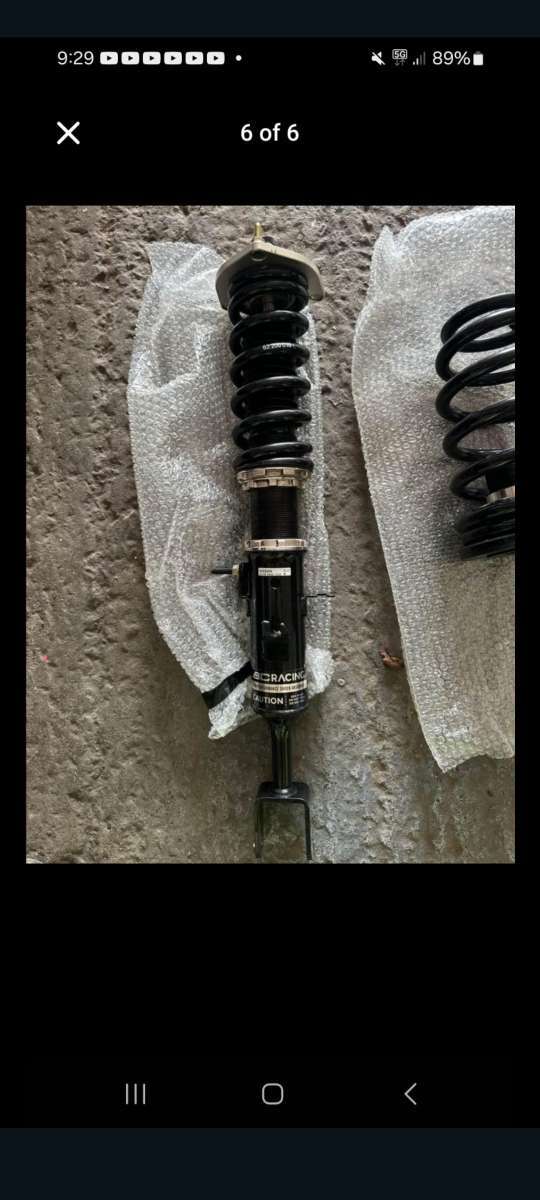
So I bought an ALMOST set of coilovers. A set of BCs for the 350z. They were going really cheap. But are missing some parts. Ie. the rear dampers! (Lol) I've got the adjustable rear springs and seats. Now I contacted bc to see if i could buy separately and they were looking well over 500 pound just for the rear damper assy (non true coilovers) So I was exploring other options, For rear damping. The Tein enduro pro plus seem to have a a rear damper that you can adjust too. And I can get a pair for like 300 euro. So I might go down this route. Any thoughts? Unless some random is breaking a set of BCs. ?
-
Yeah I'm in northern ireland so slightly different mot set up here. But I failed mine on the rear cross member mentioned. I bought a new one. But seen that it would be a mare to fit. So I just ripped the old one out and never replaced it. Fitted new kidney brackets and a whiteline w brace. And took it to a different mot test center. They have a look. They see shiny new parts. It's passes. Even if they've mentioned "rear cross member" most mechanics are not familiar with 350z. They can just see if it's rusty or not. If it ain't present. It ain't rusty. And it won't fail. Every 350z owner bins them.
-
Heat gun might work better. I didn't have one. The glue however runs the entire perimeter of the lens. So I'm kinda thinking all the glue would need to be heated in unison to get the lens moving at all. So yeah maybe someone with a heat gun can try. But oven worked well. No melting of plastic or browning of the clear lens.
-
Yeah same here. It scared me a bit. But now having a spare light made me less fearful. Little to lose. Glue doesn't need long in the oven at all to soften. So risk of things melting is low as long as you leave it in for a minute at a time. My process I had it in and out maybe 5 times. The glue would get hard again quickly once out of the oven.
-
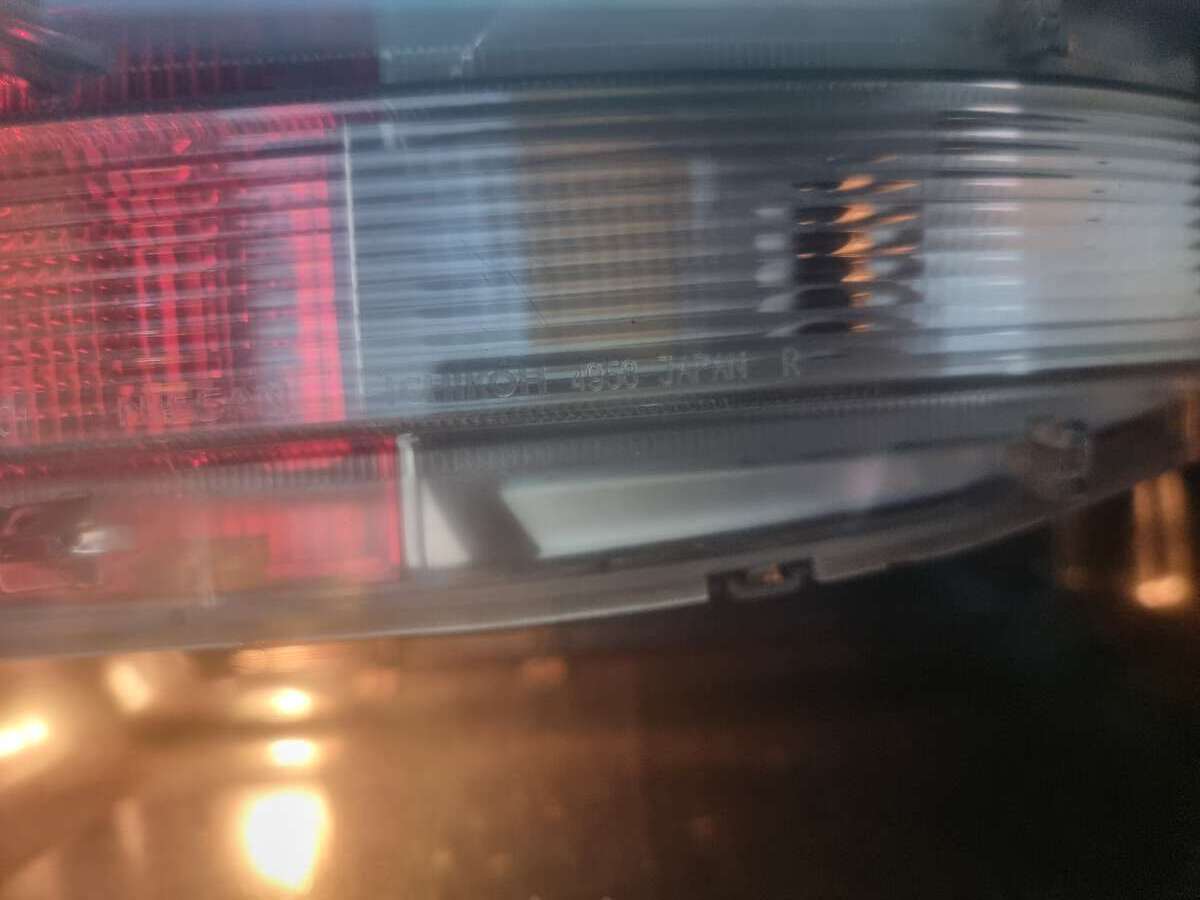
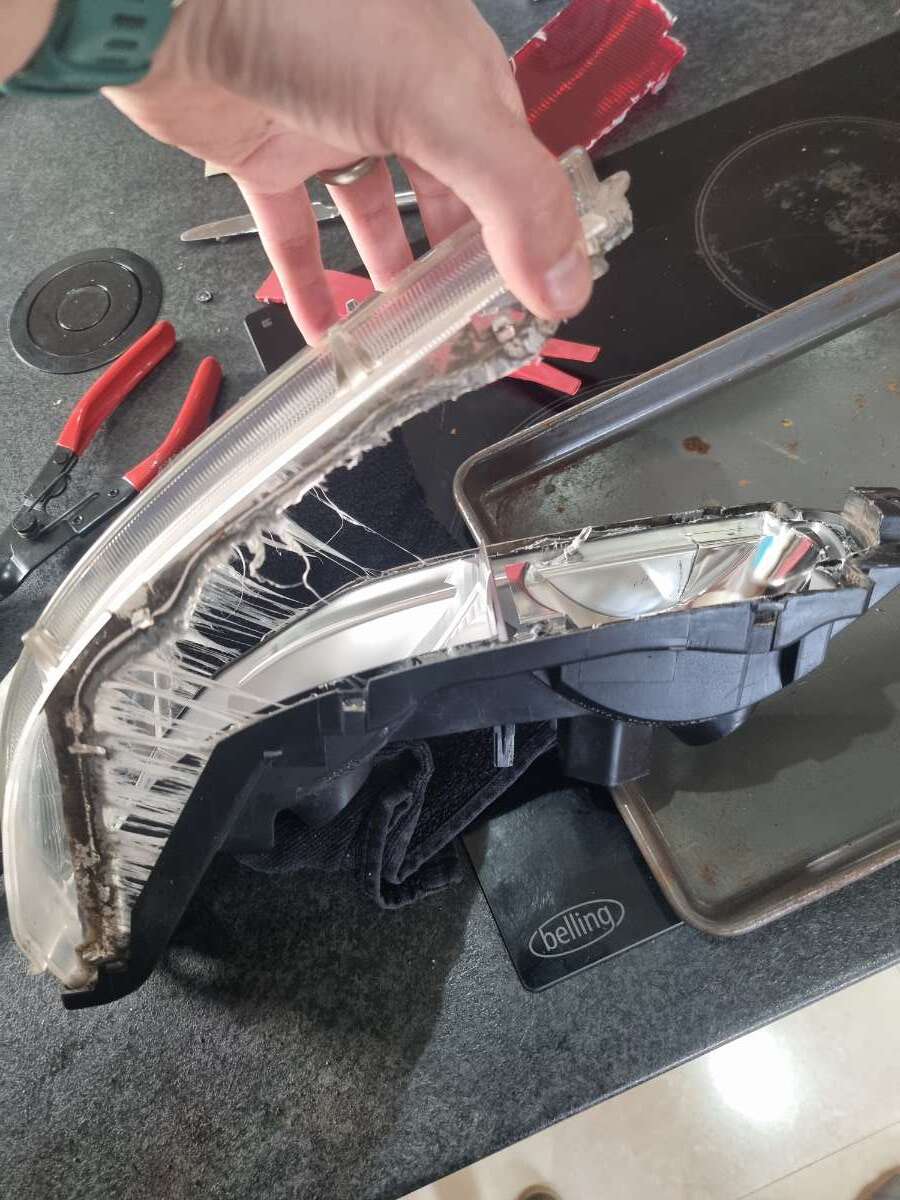
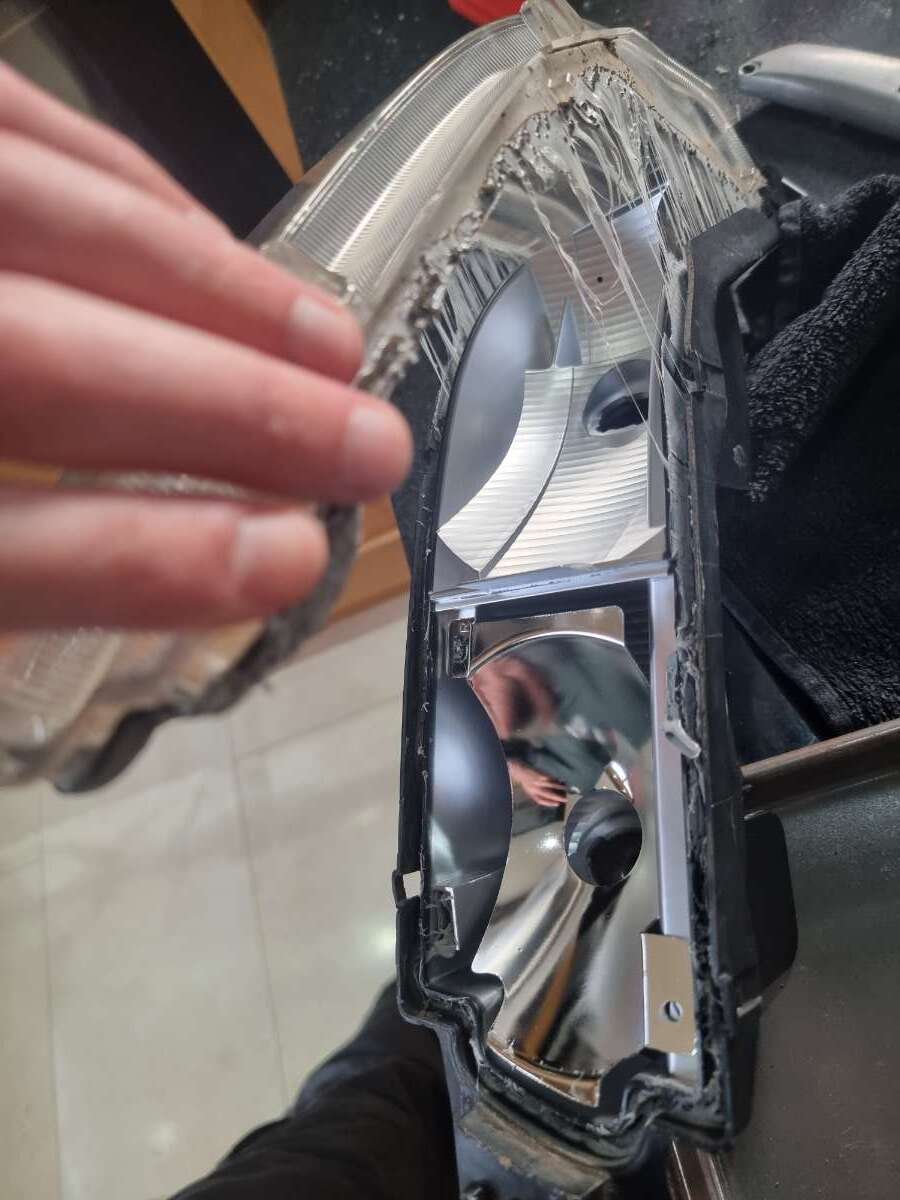
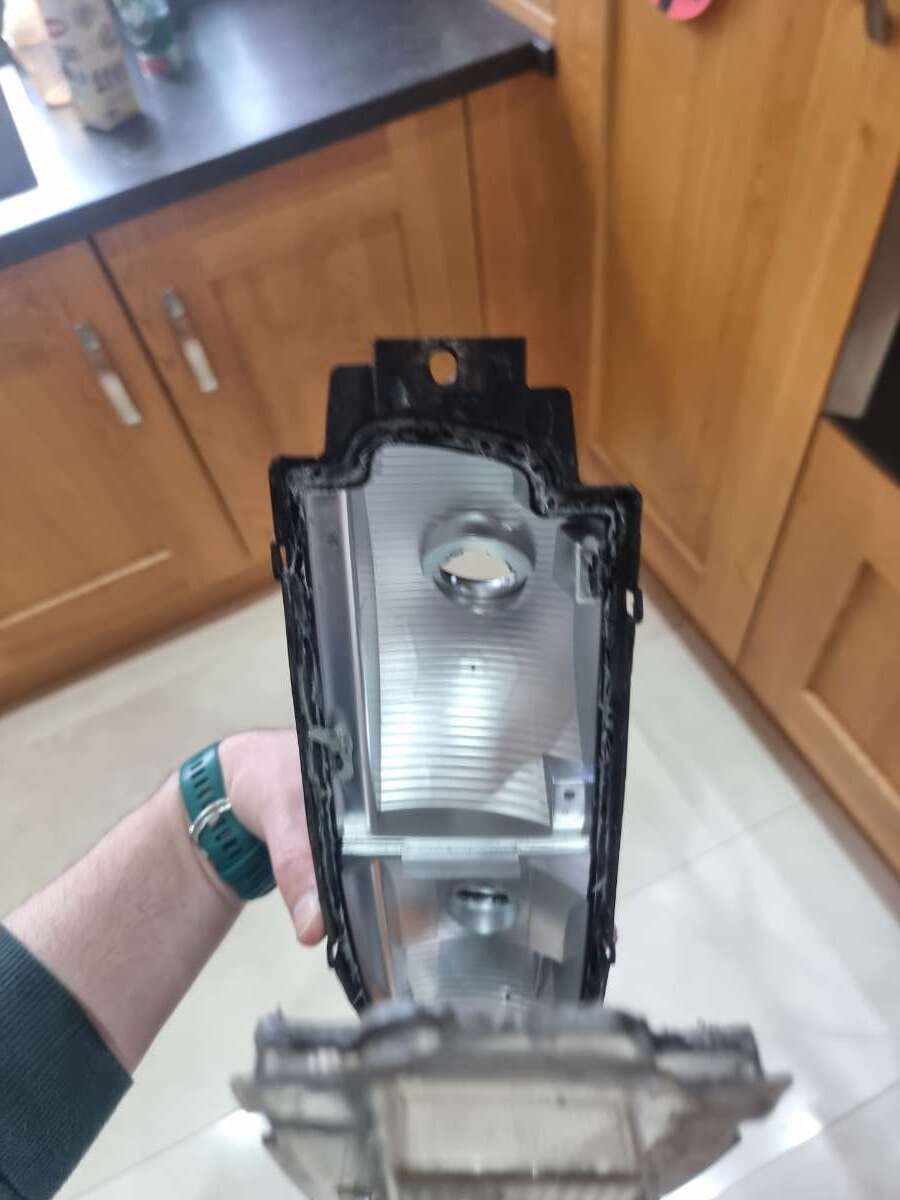
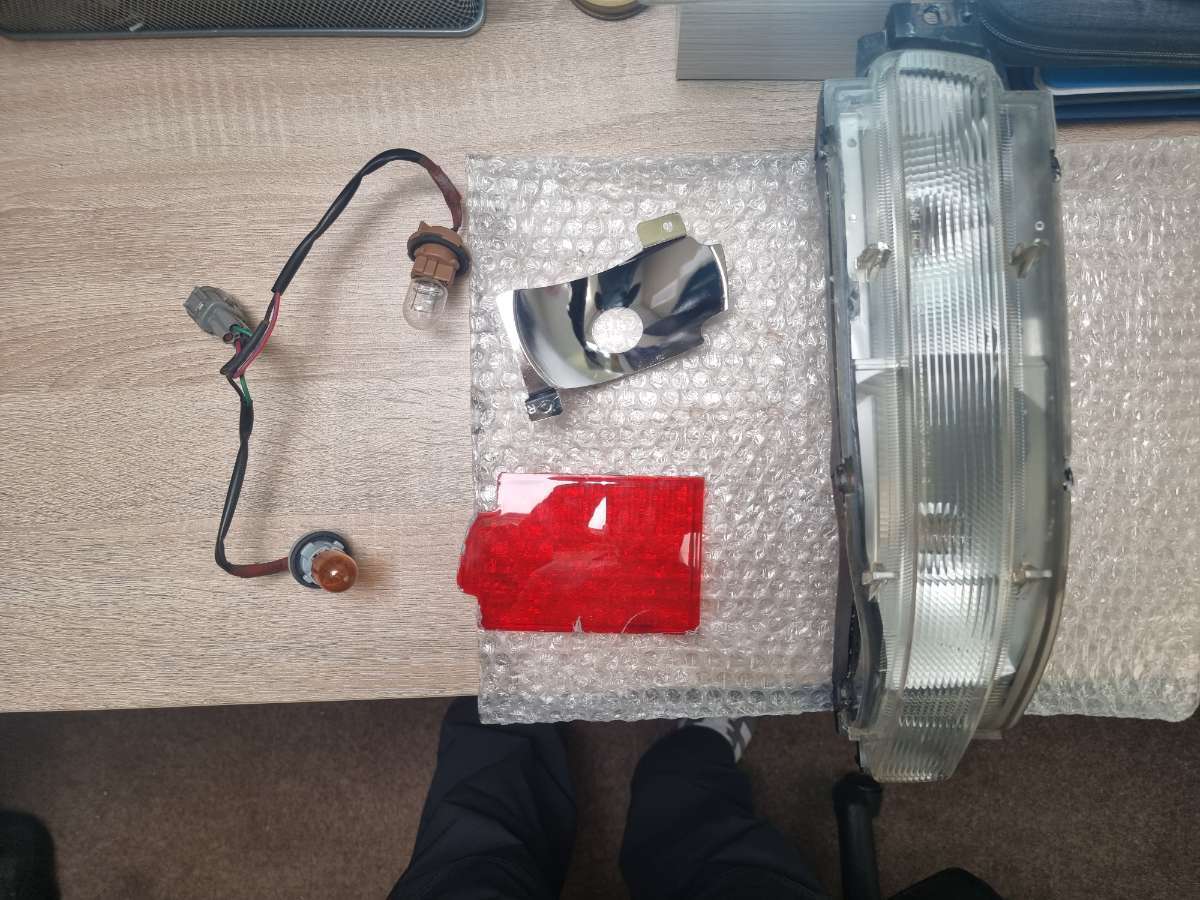
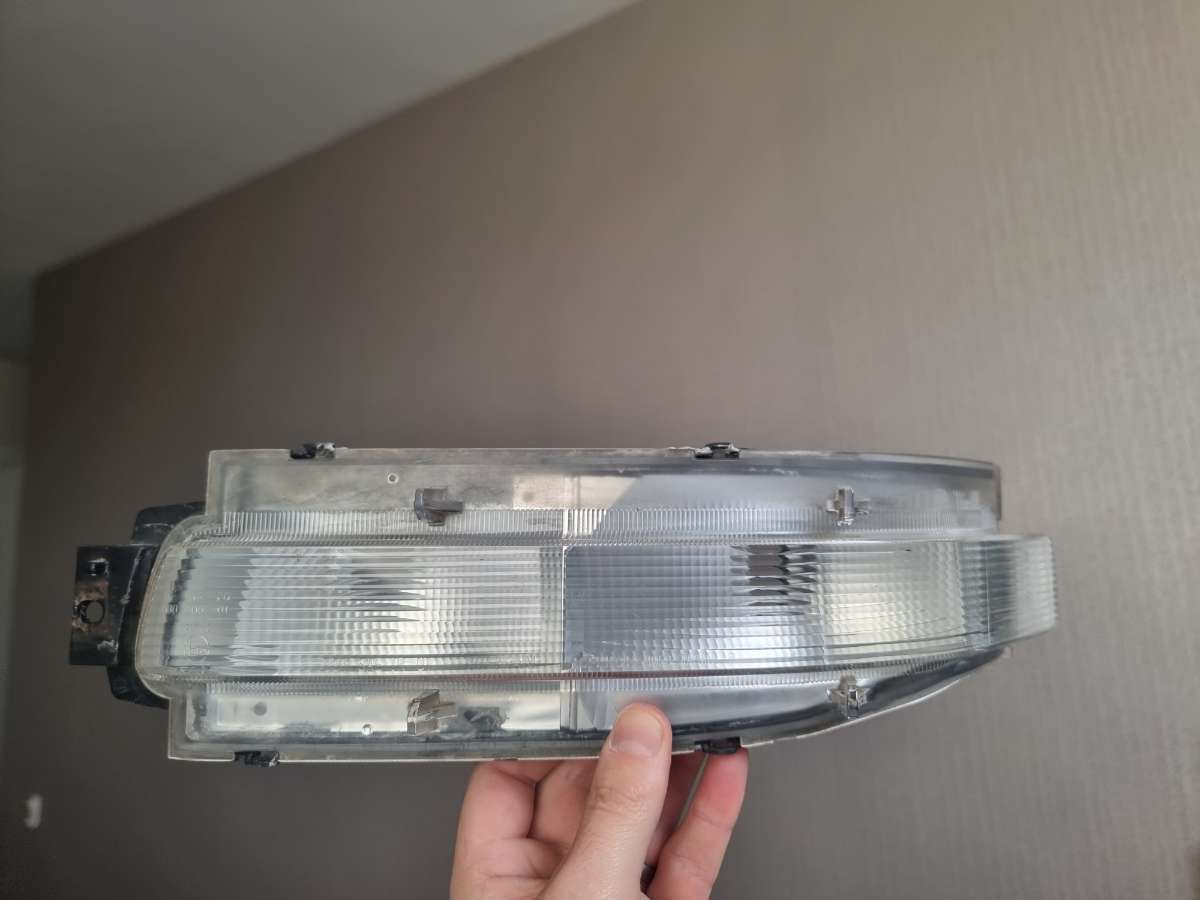
Next mod on the list: Rear red lens fog light removal. After following a previous "how to" guide on this site. I stuck the rear bumper light cluster in the oven. And using some trim removal tools.pried the lens away from the black housing. Once opened and clearing away the sticky glue. I took out the red lens and the mirrored backing. Both of which came away easily. Back in the oven for a minute to make the glue tacky again. And resealed the unit. Confession. I was worried about wrecking my lights. So I bought a cheap 2nd hand unit off Ebay to try this mod. Since it was successful. Next I just gotta get a red bulb to replace the affected fog light, take off the rear bumper and fit the new clear lens. Which hopefully add some symmetry to the rear of the car
-
Another sneaky little mod. The black Zunsport grill added. Still a little bit unsure about it. But will leave it on and see if it grows on me.
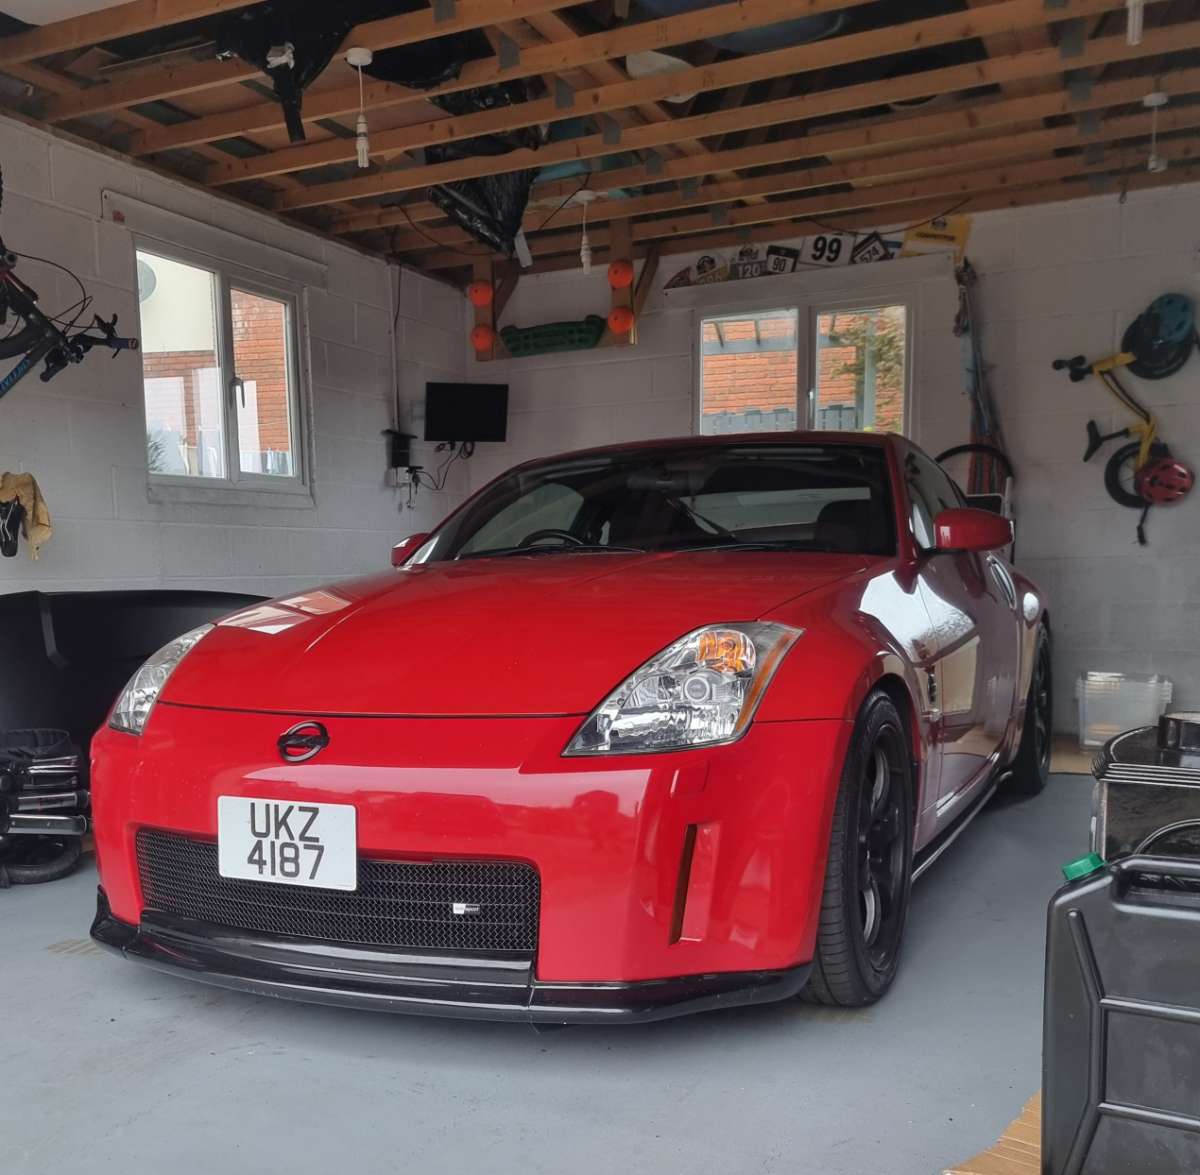
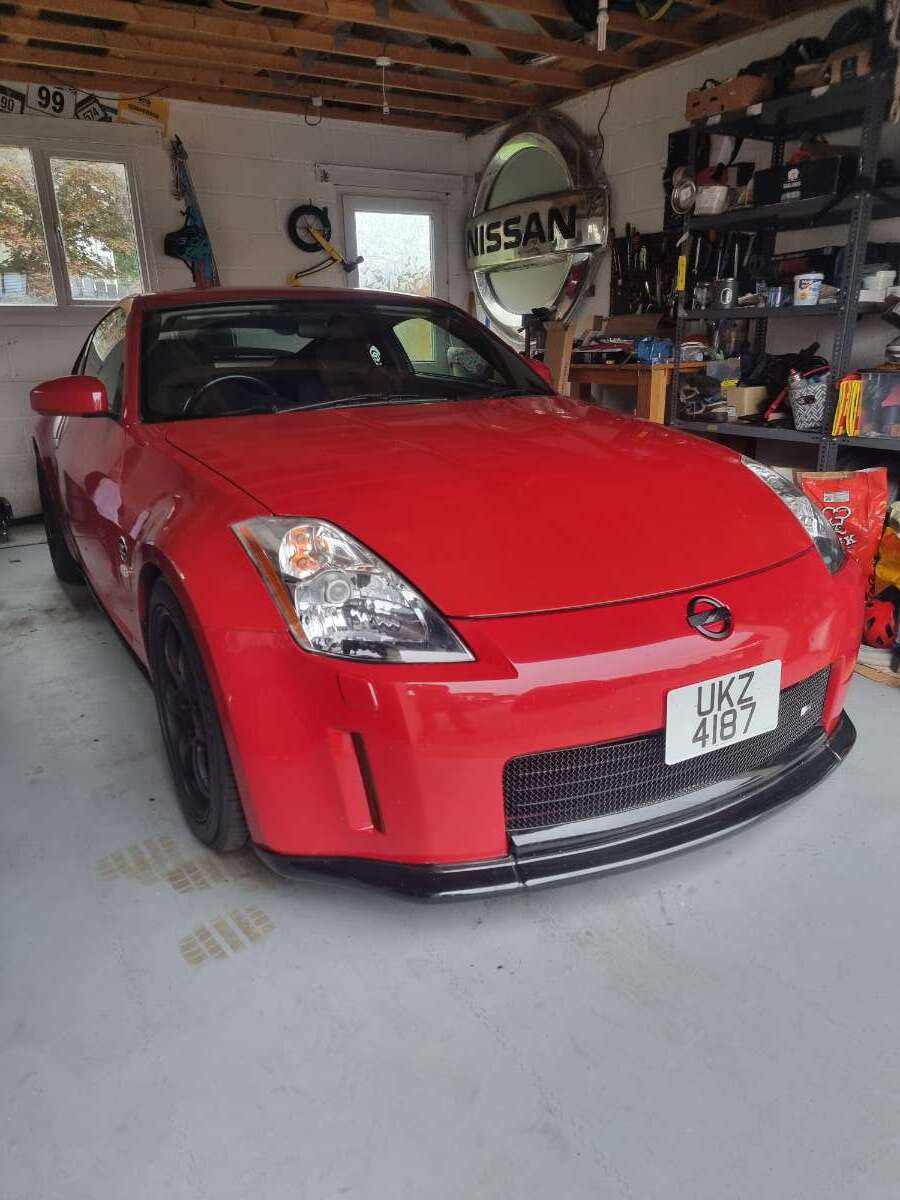
-
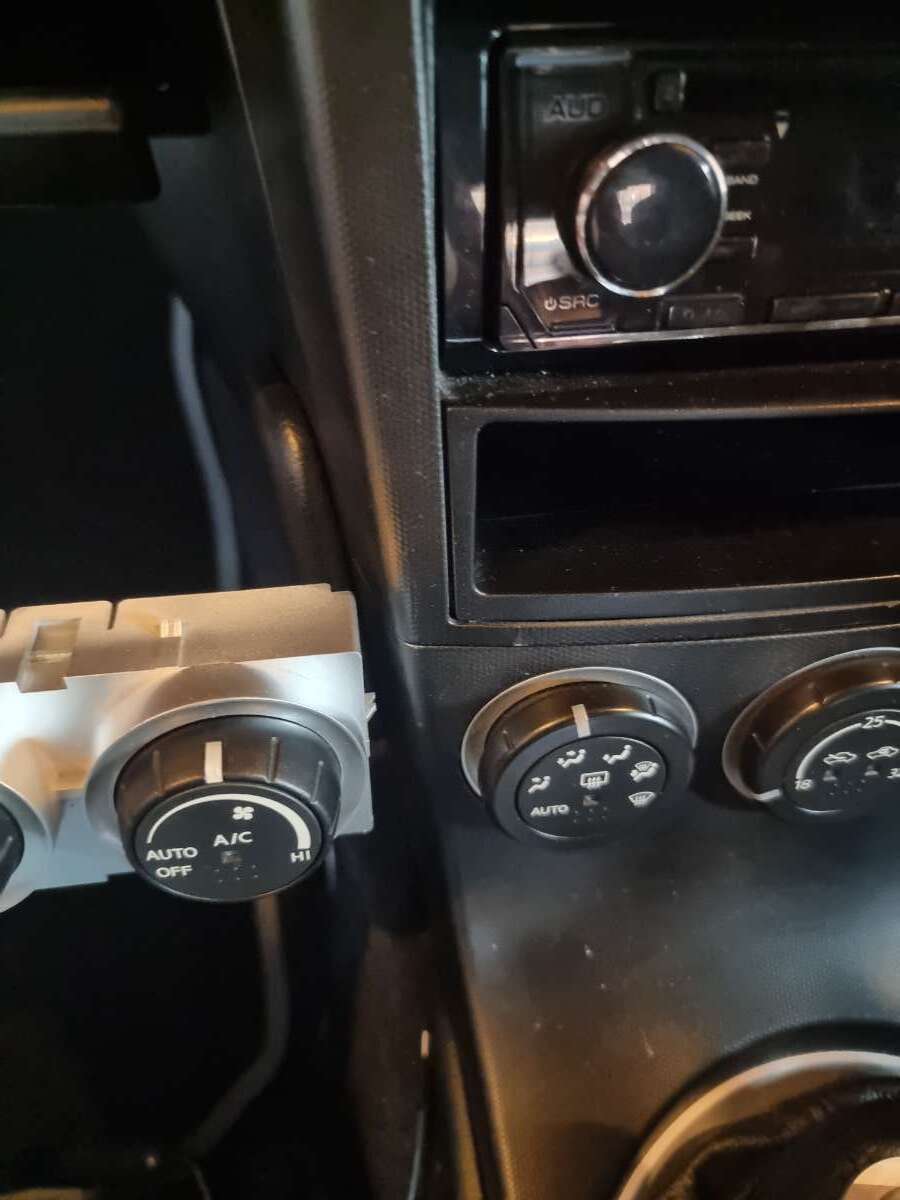
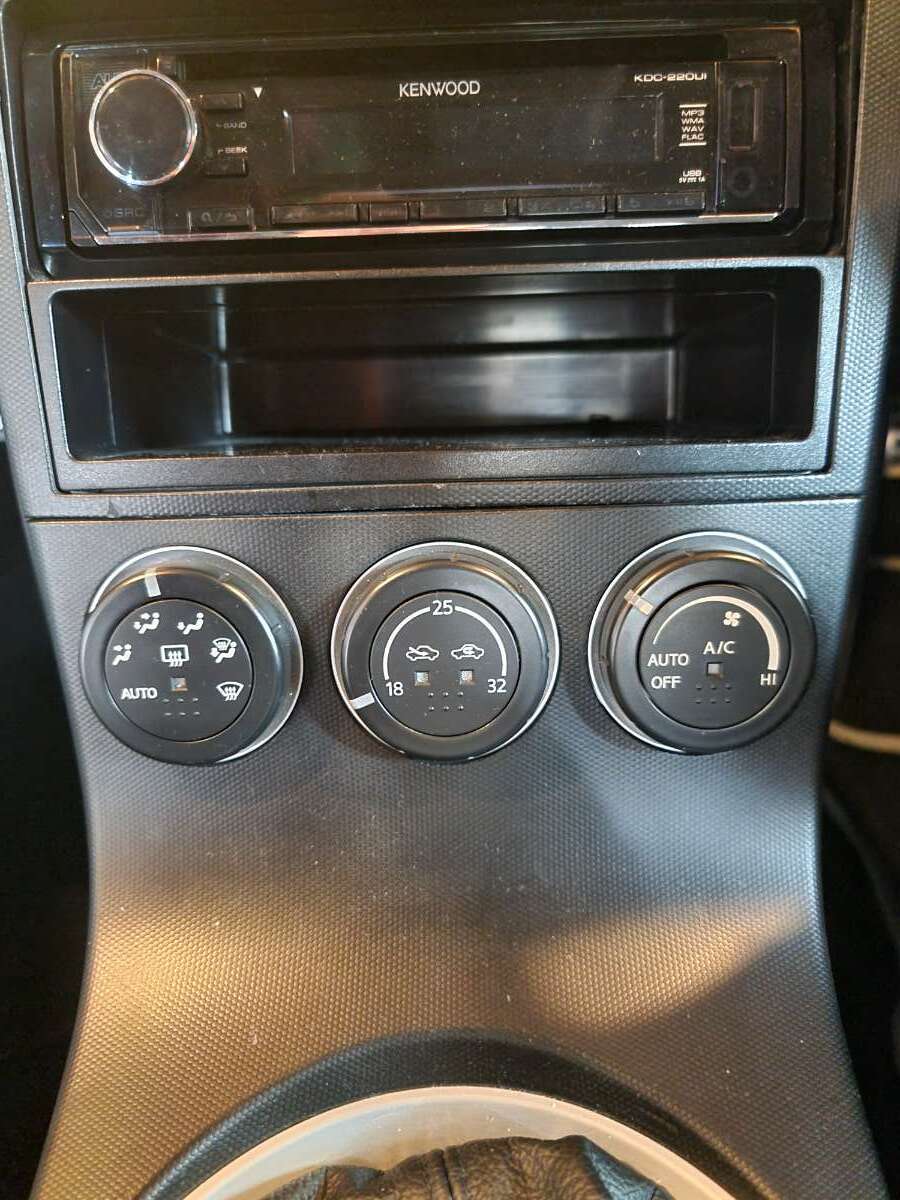
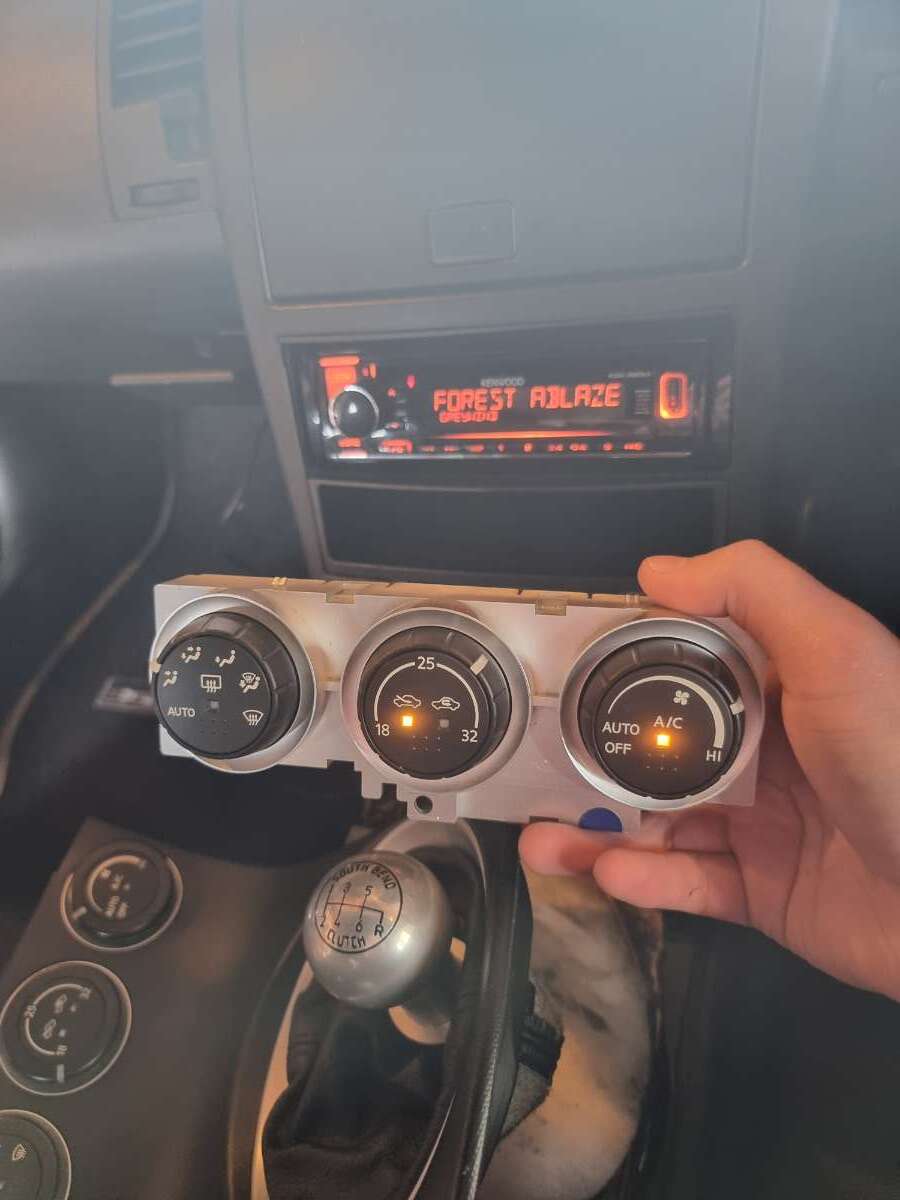
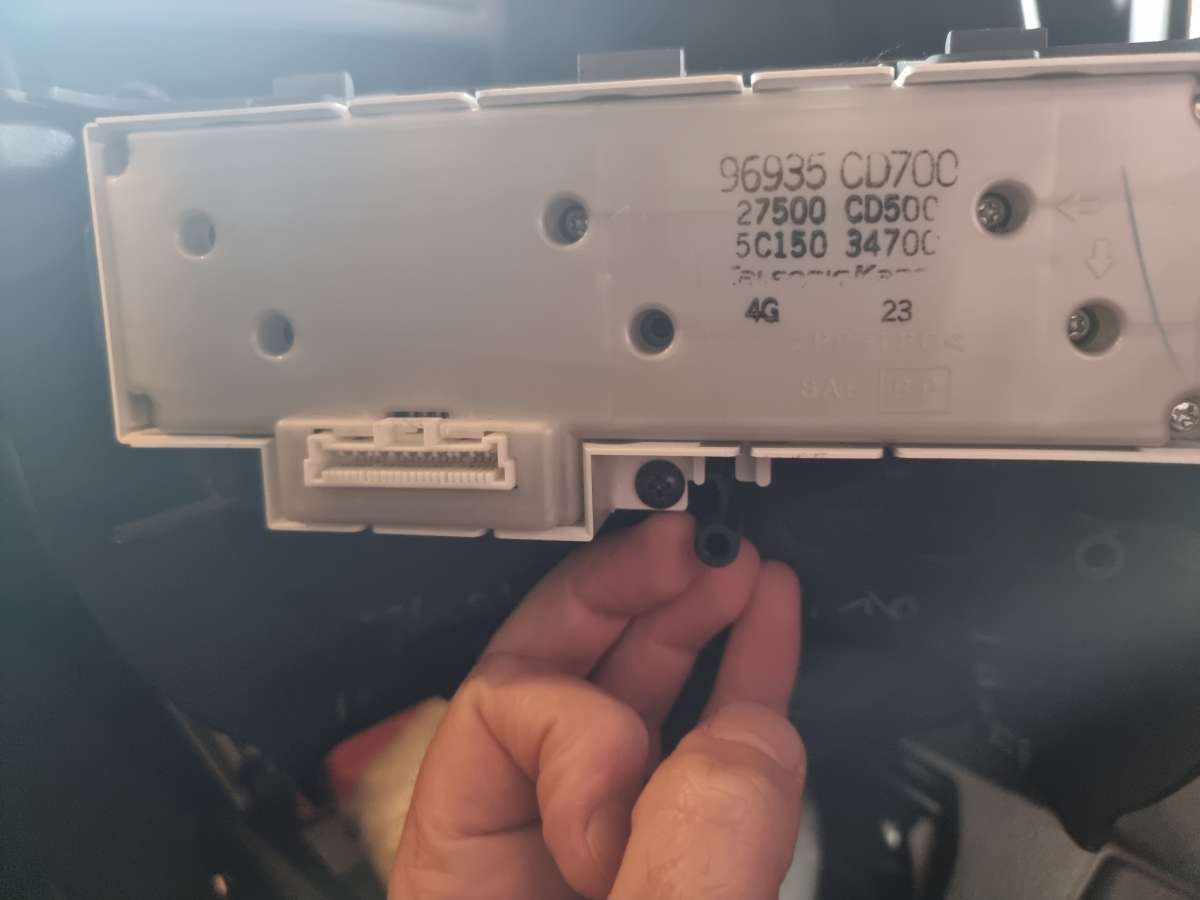
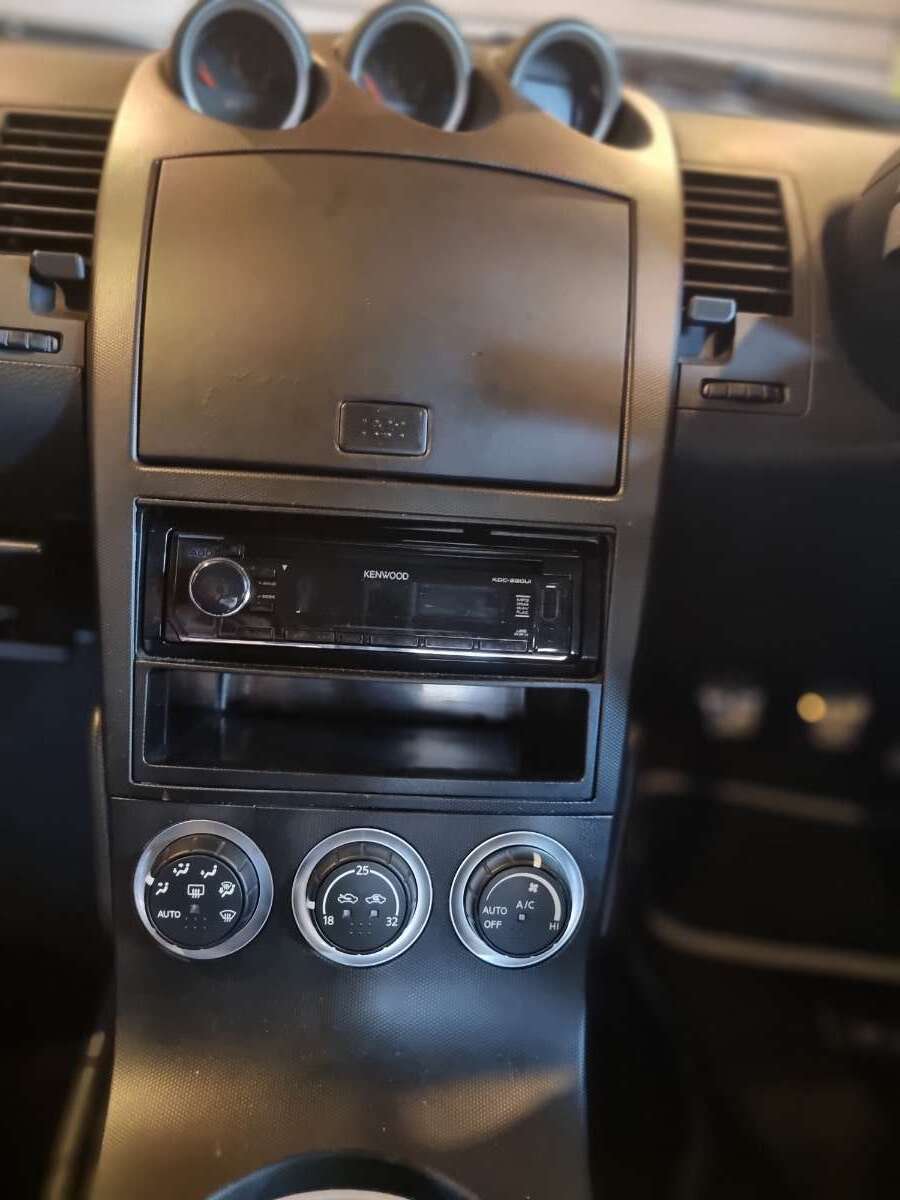
So popped up the gearstick surround bezel. Disconnect the ribbon style harness wire connecting them. The dials are held in by a single black screw and clips you have to pry back. Two on top and two on the sides. (I didn't spot the side ones at first.) Lever them out with a screw driver and they pop out. I did a quick function test before reassembly. All the controls seem to work so I reassembled them and voila. A little more bling added to my interior.
-
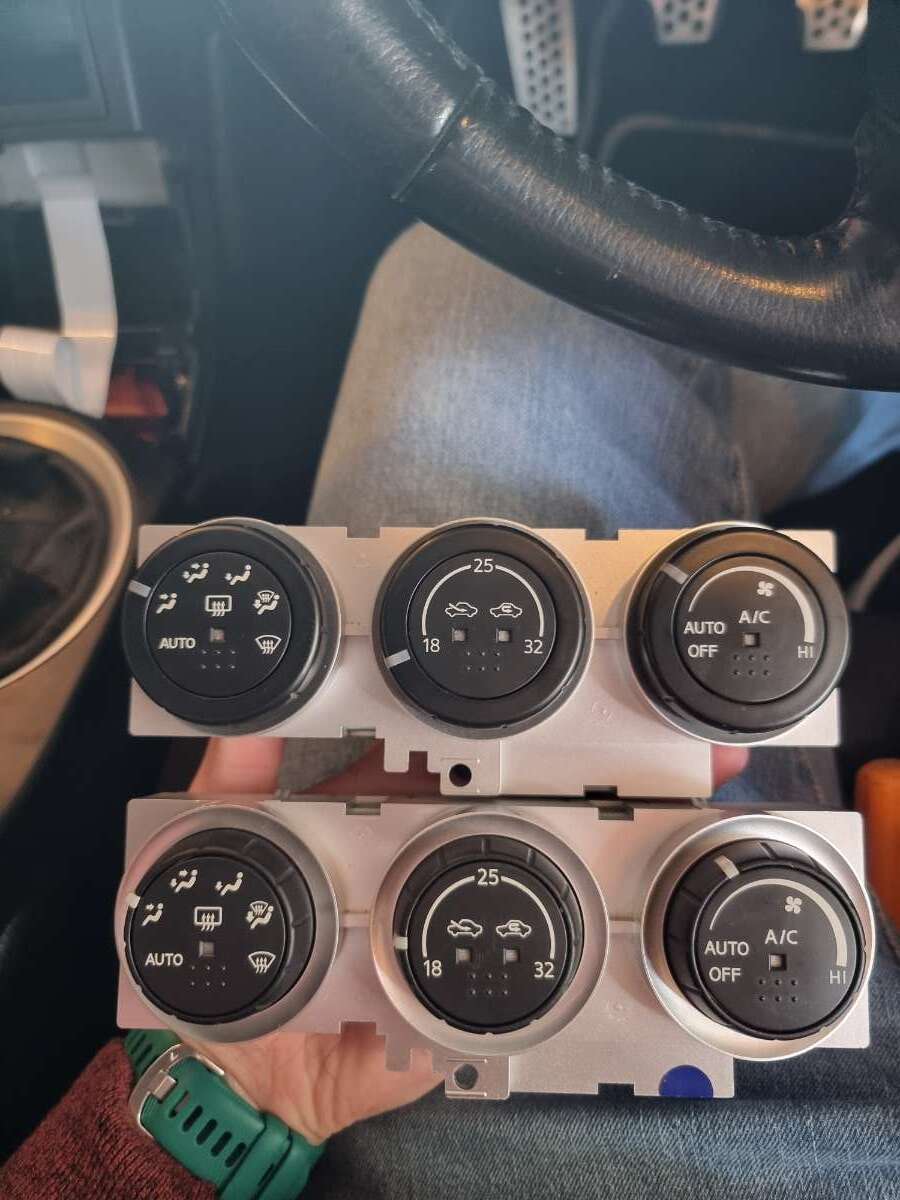
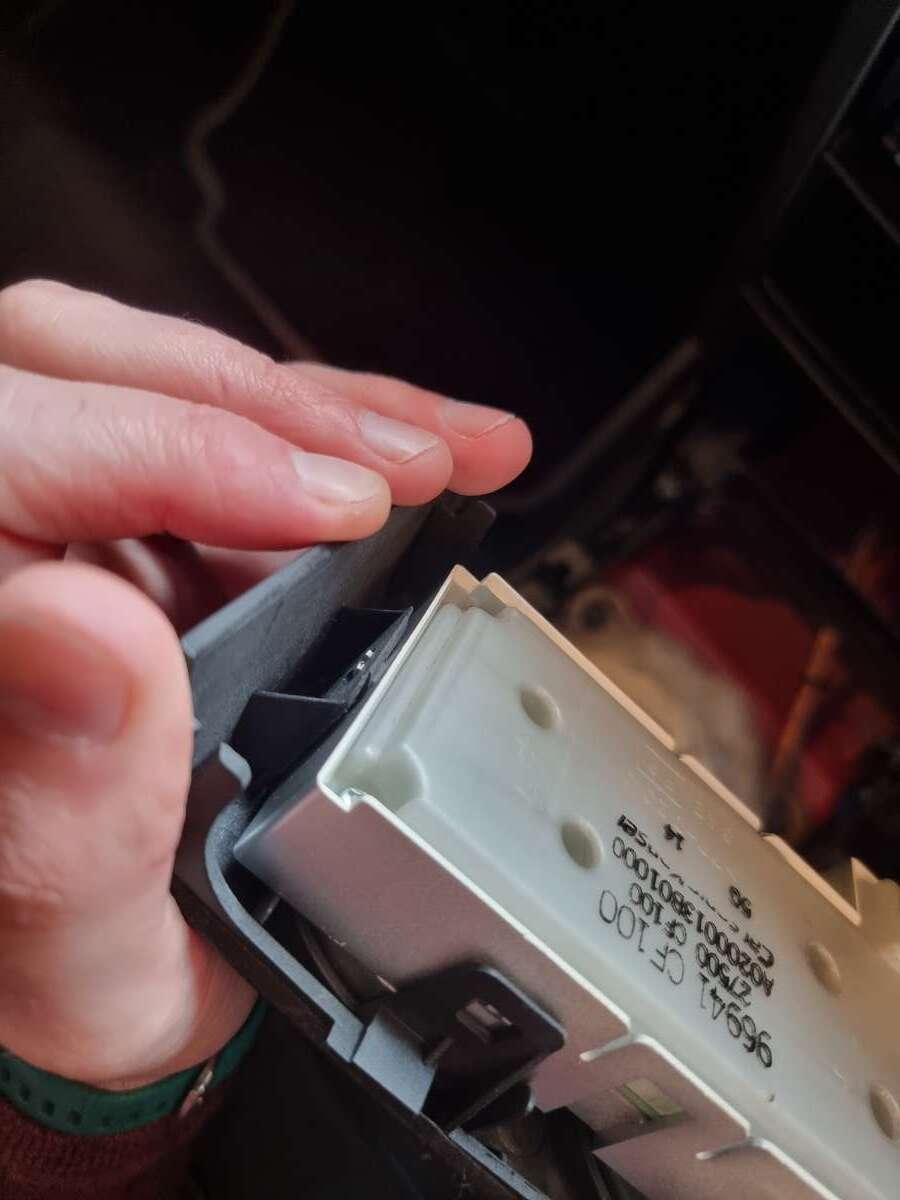
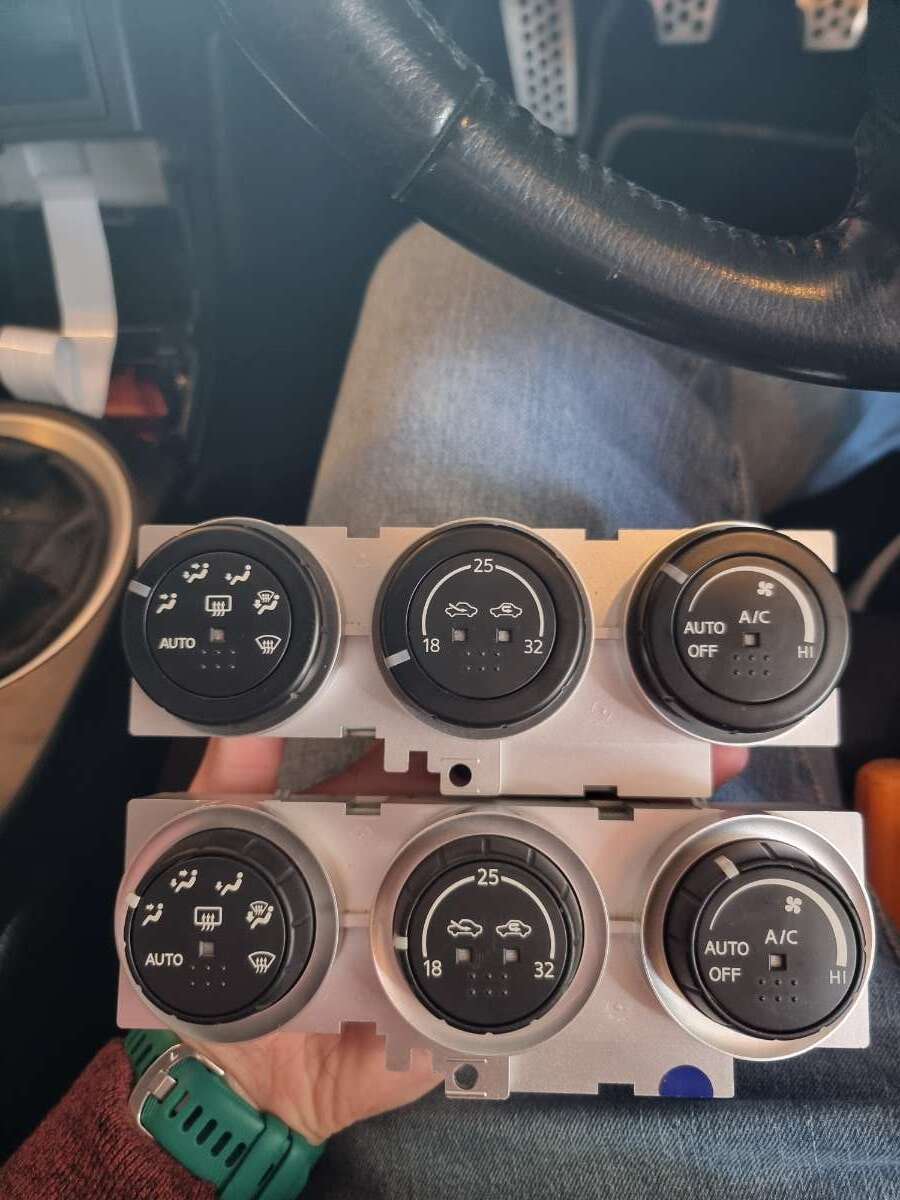
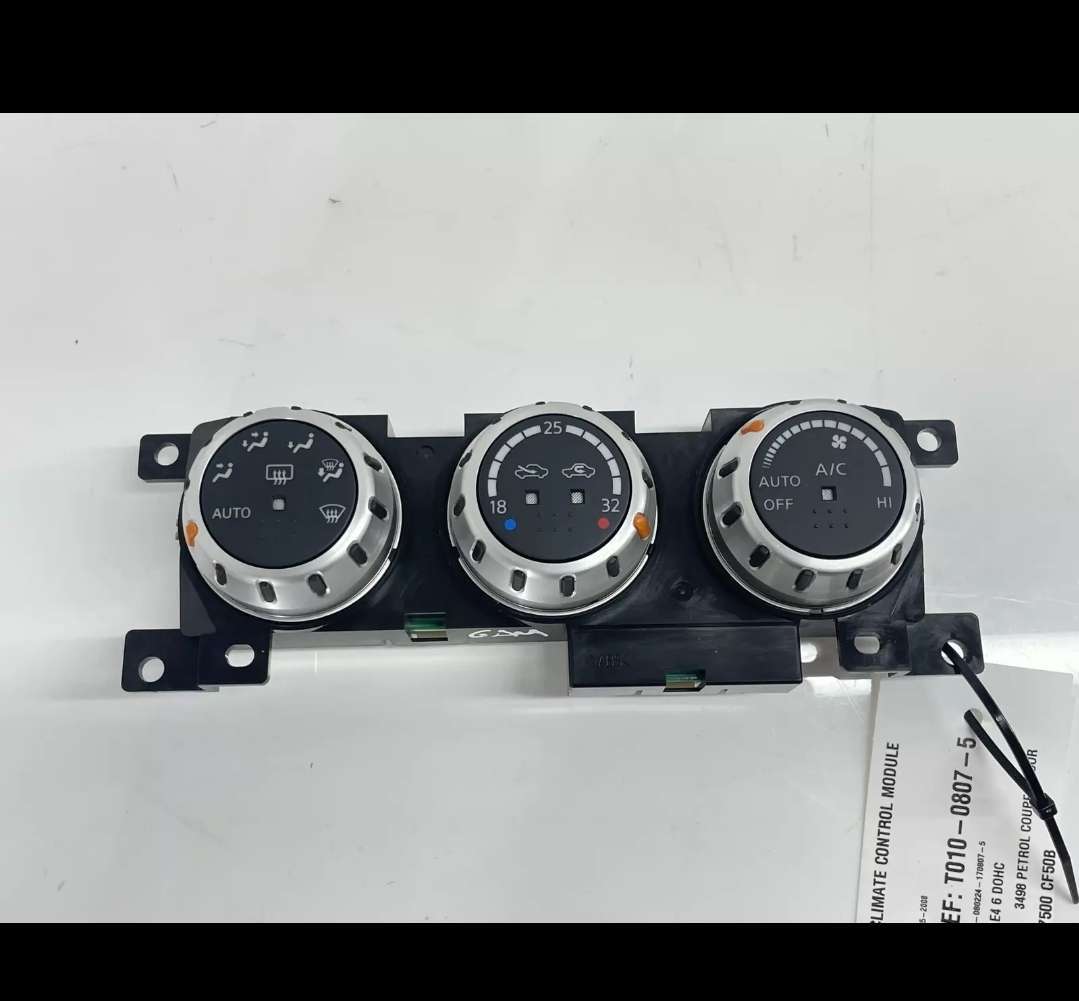
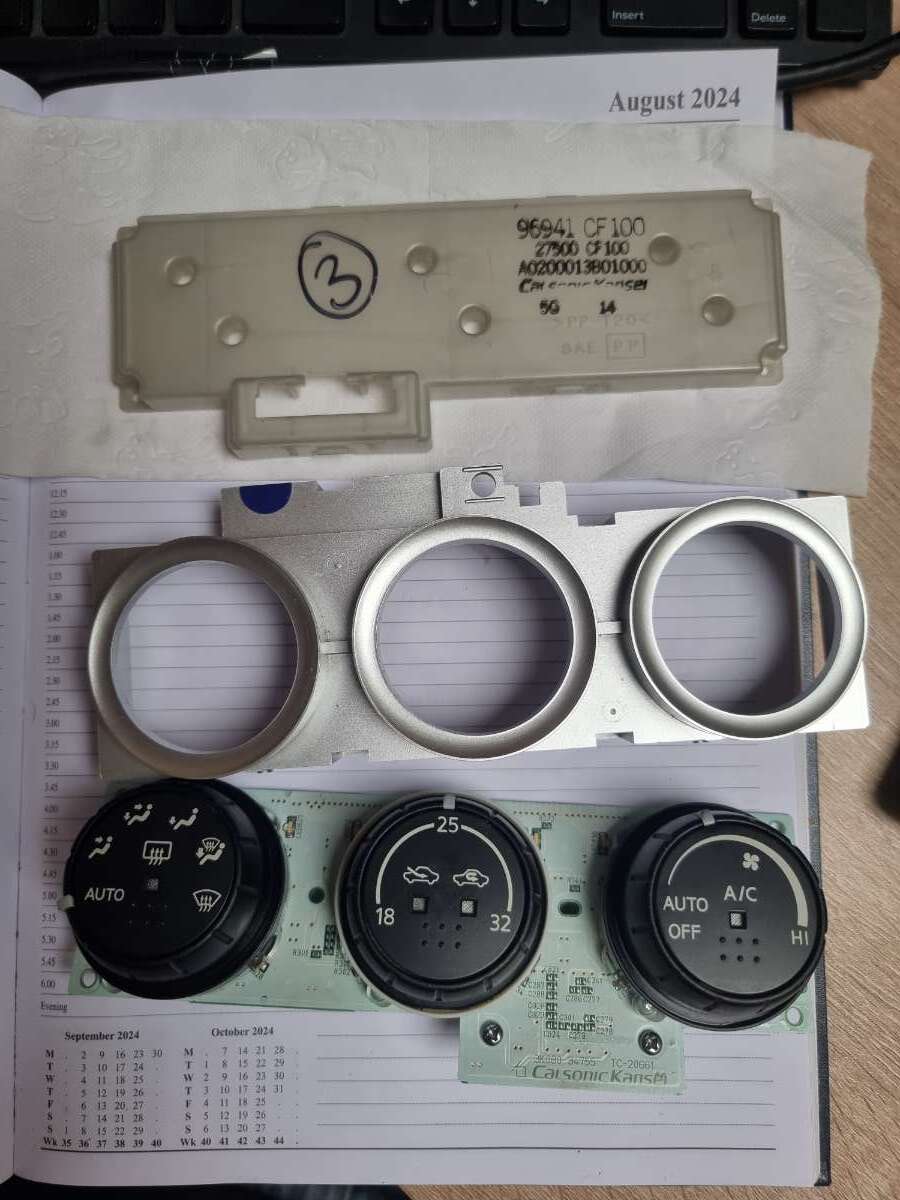
Oh good question. I know there is 3 types of heating controls. The ones that came in my early 2004 350z. Then the one with the slightly larger silver rear bezel. (I assumed this was a rev up change. But maybe it's a japan import thing) And then the ones that come on the interior facelift models on the HR and such with the silver rotating parts and black rear housing. The 3 types I know of pictured here:
-
Yeah some wet wipes, q tips and then some tissues to dry it off and reassemble.
-
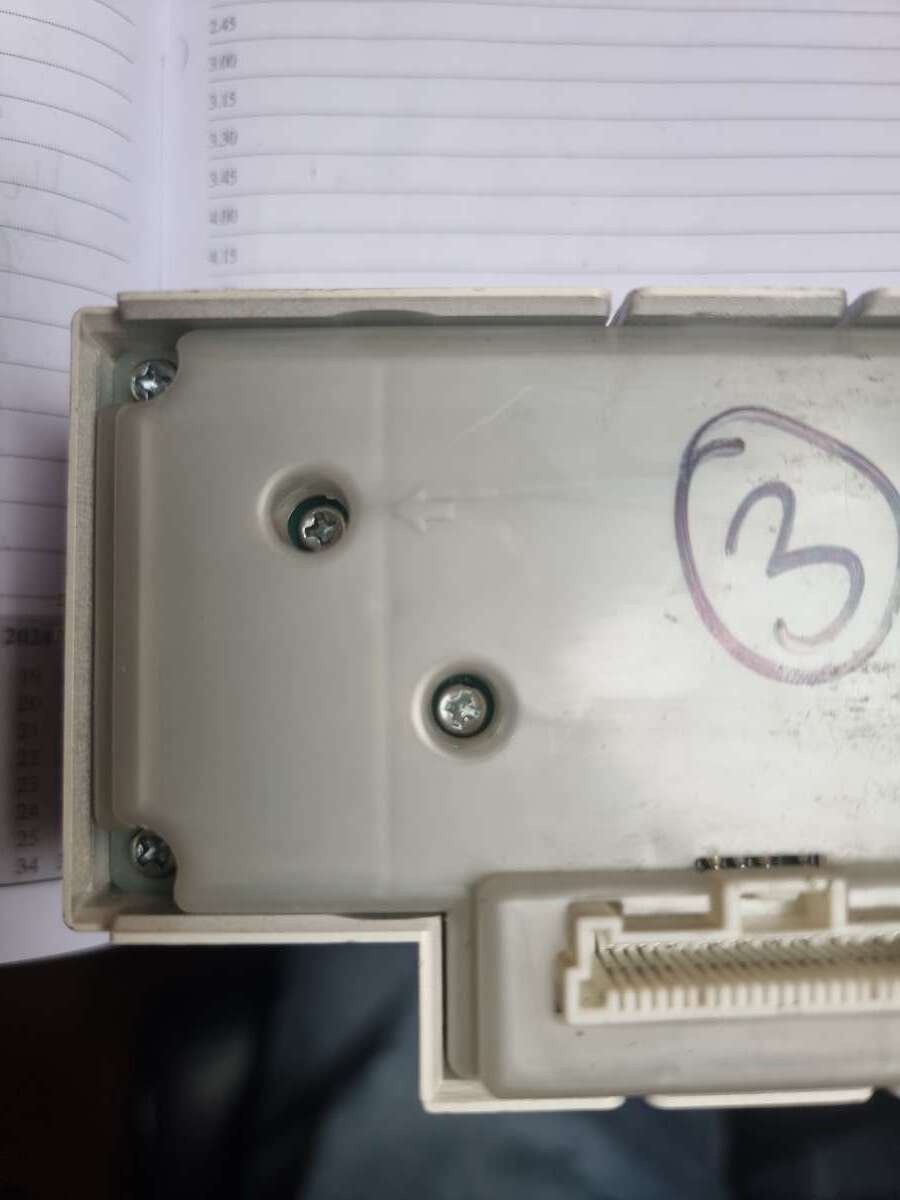
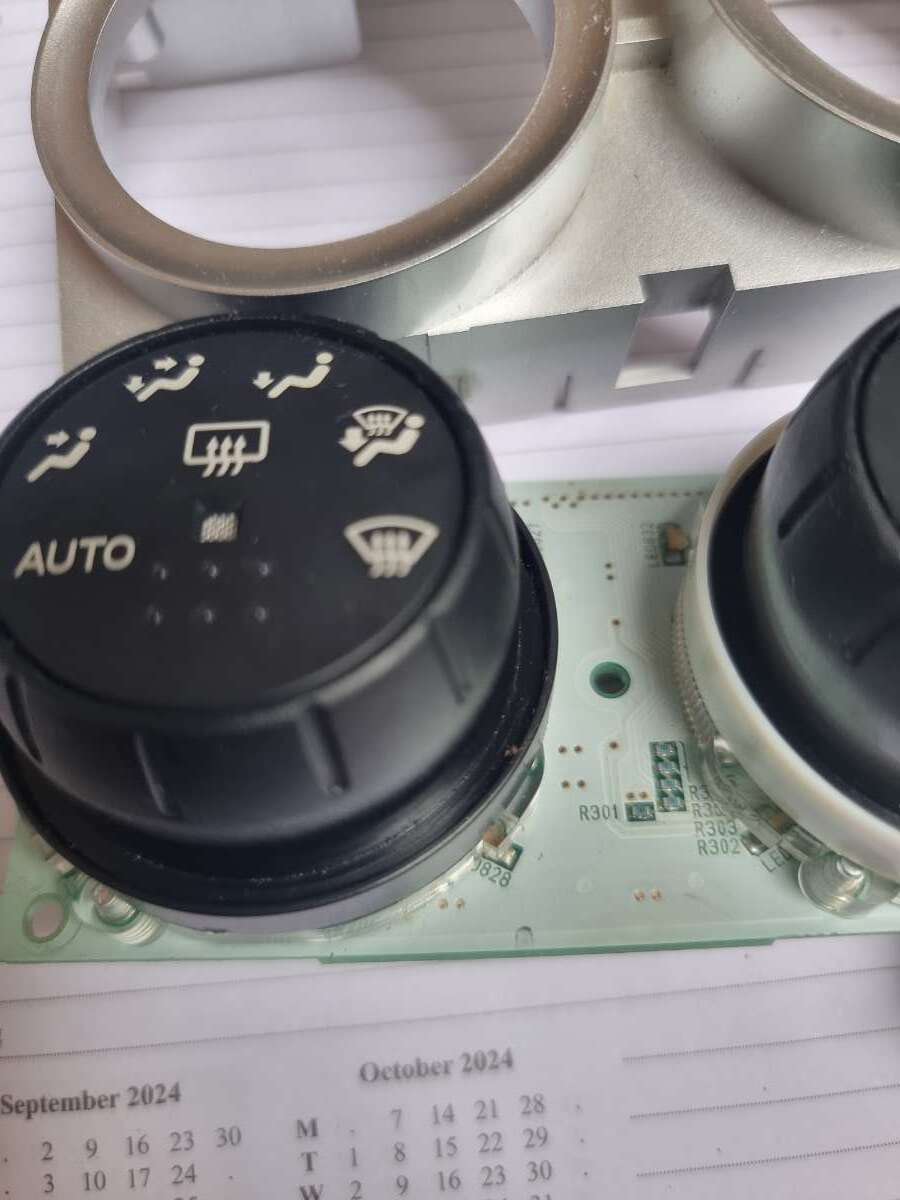
Next up on the list is the heating dials. Mines an 04 so has the 1st gen dials. A little flatter and wider. With a smaller chrome bezel. So I snagged some of the newer dials off Ebay. They felt a bit gritty to turn and not smooth. So a quick rebuild and clean out was on the cards first before fitting them. I'm doing all this assuming they work once fitted.
-
No stress. Il get something yet. Lol
-
Did the carbon engine cover survive? If so I'd be interested
-
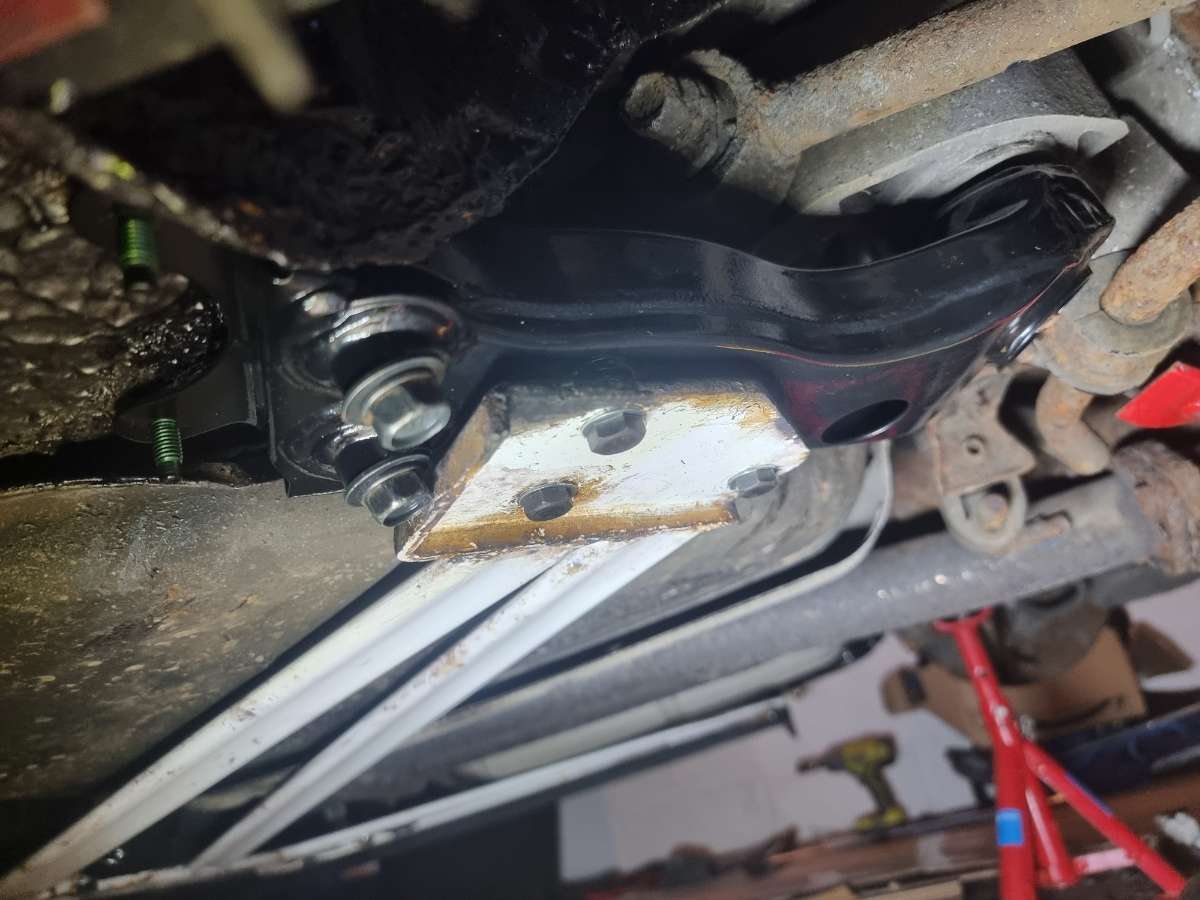
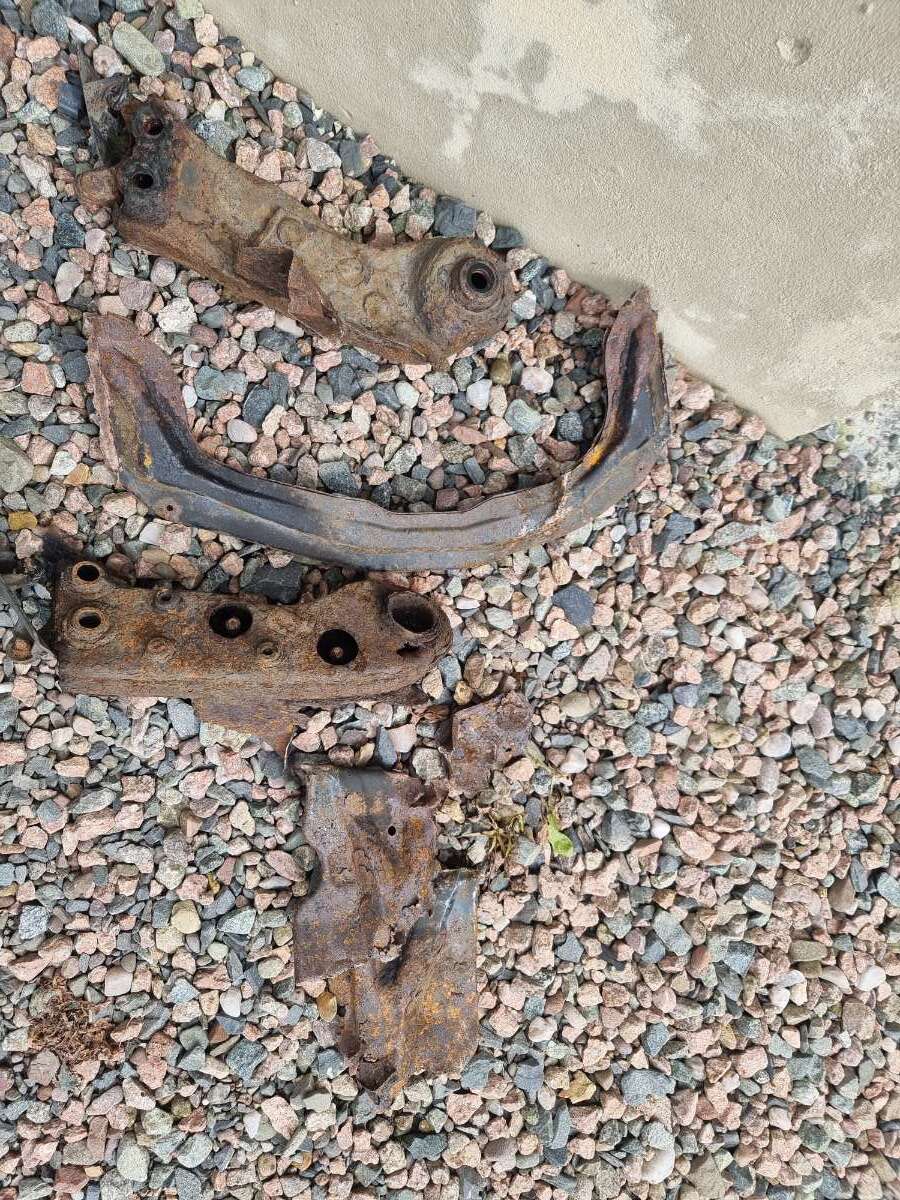
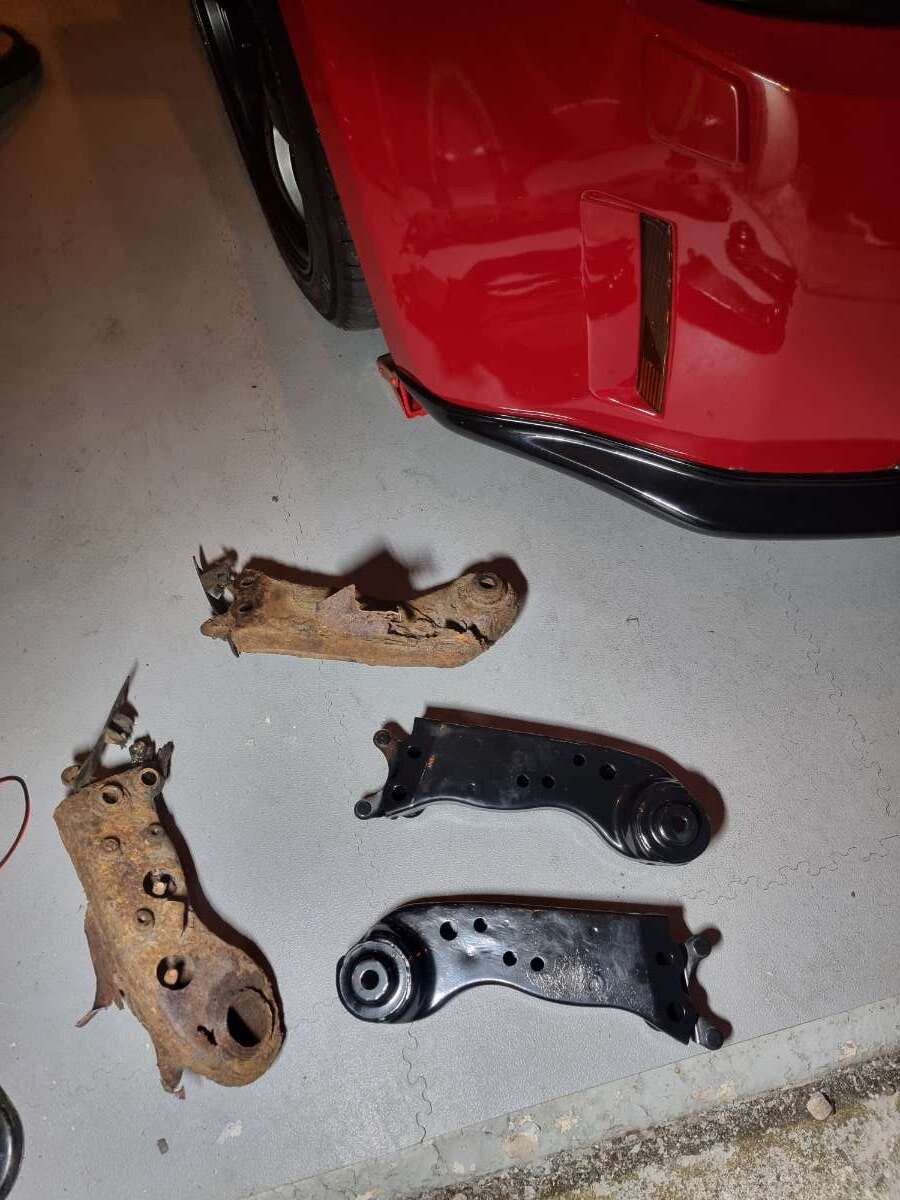
Mot passed and the red zed is back on the road. I think changing rusty kidney brackets is basically a rite of passage for a 350z owner...you should get a badge or something
-
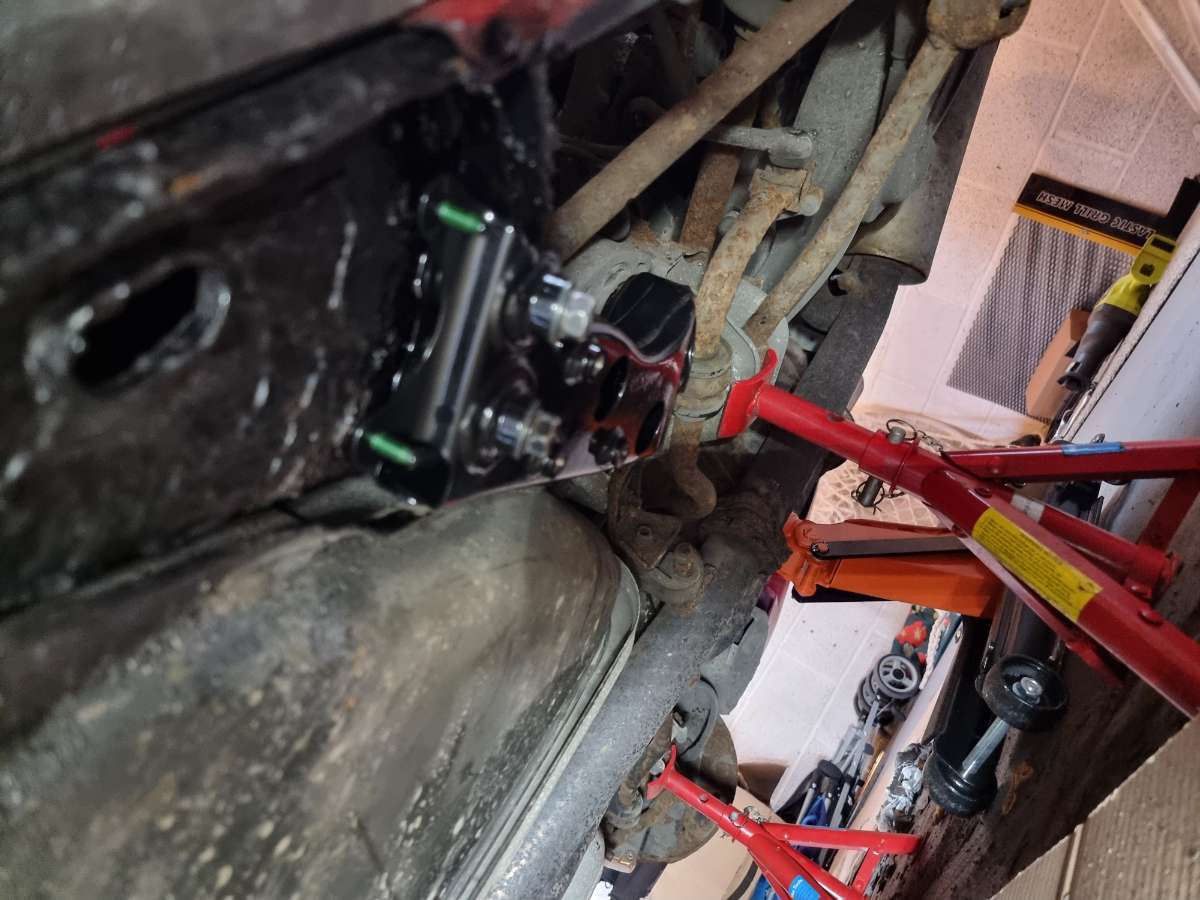
New kidney brackets on. All new bolts and hardware. As well as new hardware for the previously installed white ultra racing brace. MOT rebooked for tommorrow. Fingers crossed this time it's a win.
-
Yeah it's better to bite the bullet. Make sure to check under the plastic side skirts at the rear arch. That's where my rust journey started unfortunately
-
Nice work here. Unfortunately they do love to rust. It takes real effort to keep them alive in our climate. I was impressed by how well the rust converter works to be fair. But it can only do so much. Yeah not knowing thread pitches put me off the taps. I only have standard pitch taps. Not the fine ones
-
So I wire brushed the underside of all the mating areas and treated it with rust converter. Leaving it to sit over night now before giving it a lick of paint. Before re assembly with new parts bolts and nuts. Also as for the splash shield. I'd bought a replacement part but yeah. I havnt the patience to fit it. It's not structural and it was a seige of a job to rip it out. As like most people I didn't want to remove the exhaust and the drive shaft. So I ripped the rusty thing out and If anyone wants to buy a cheap new unused splash shield you're welcome to it.
-
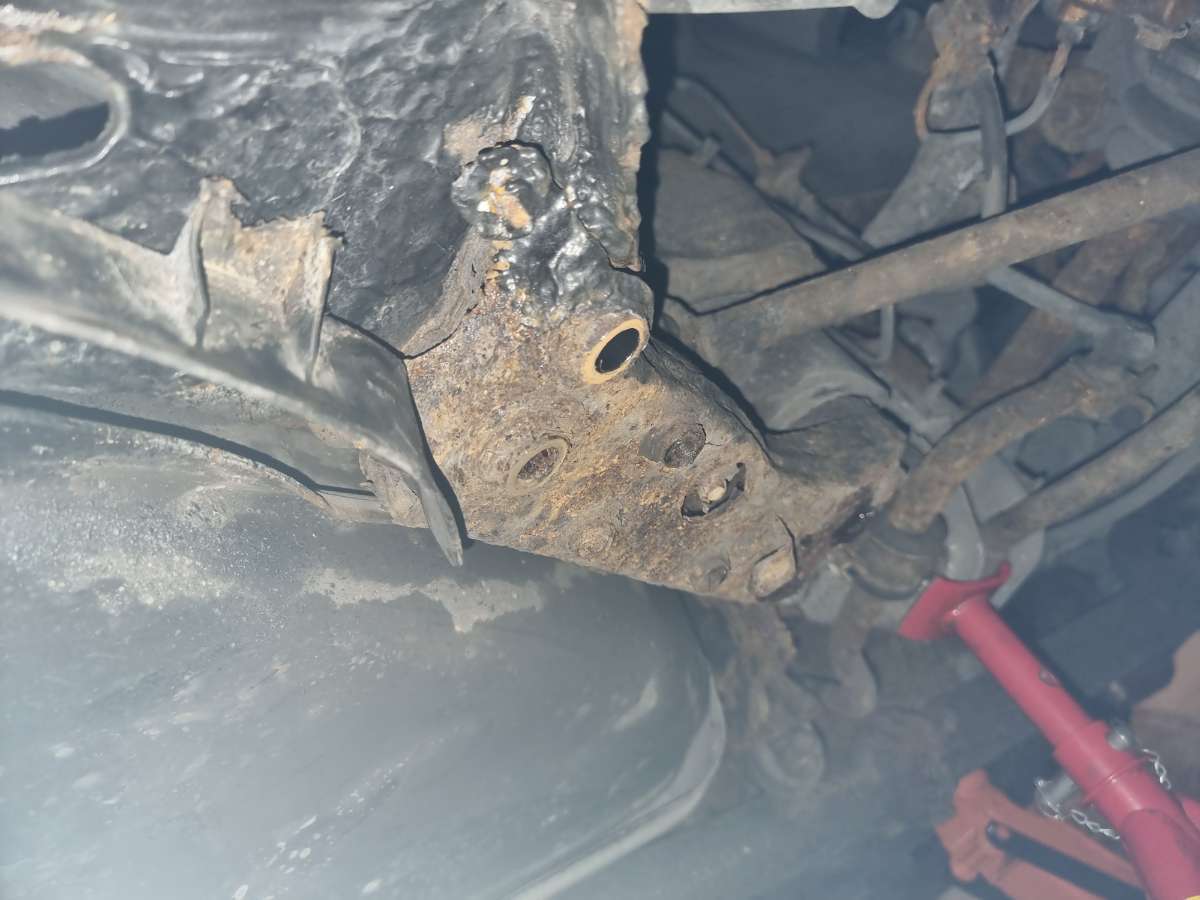
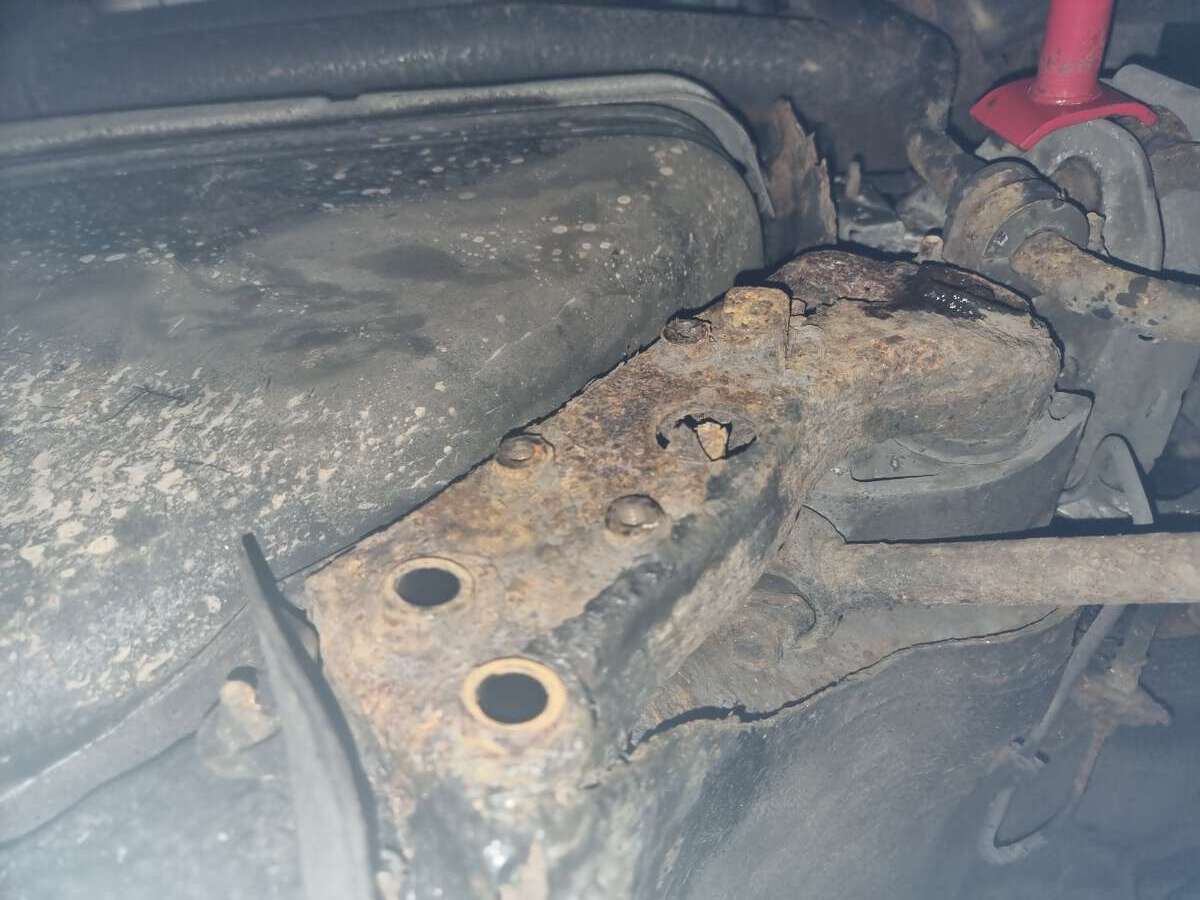
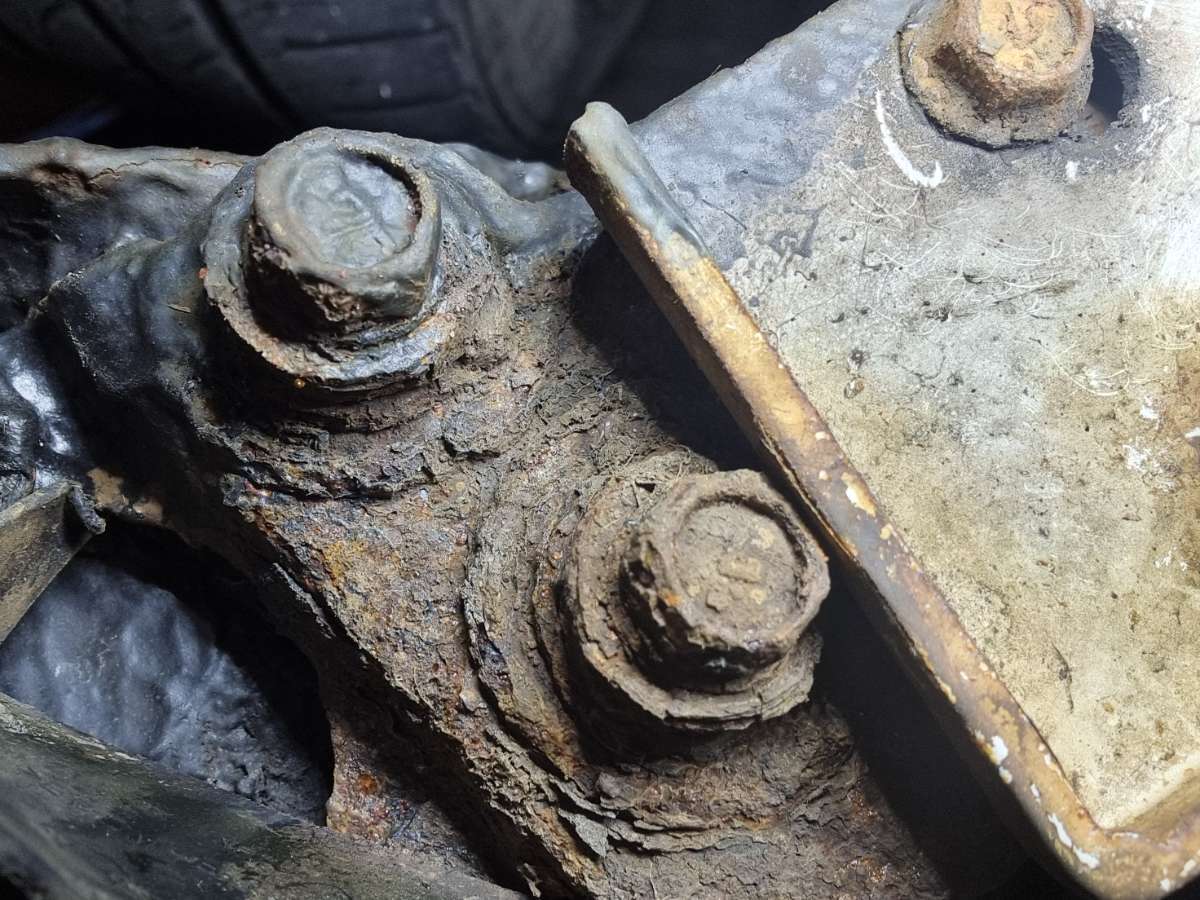
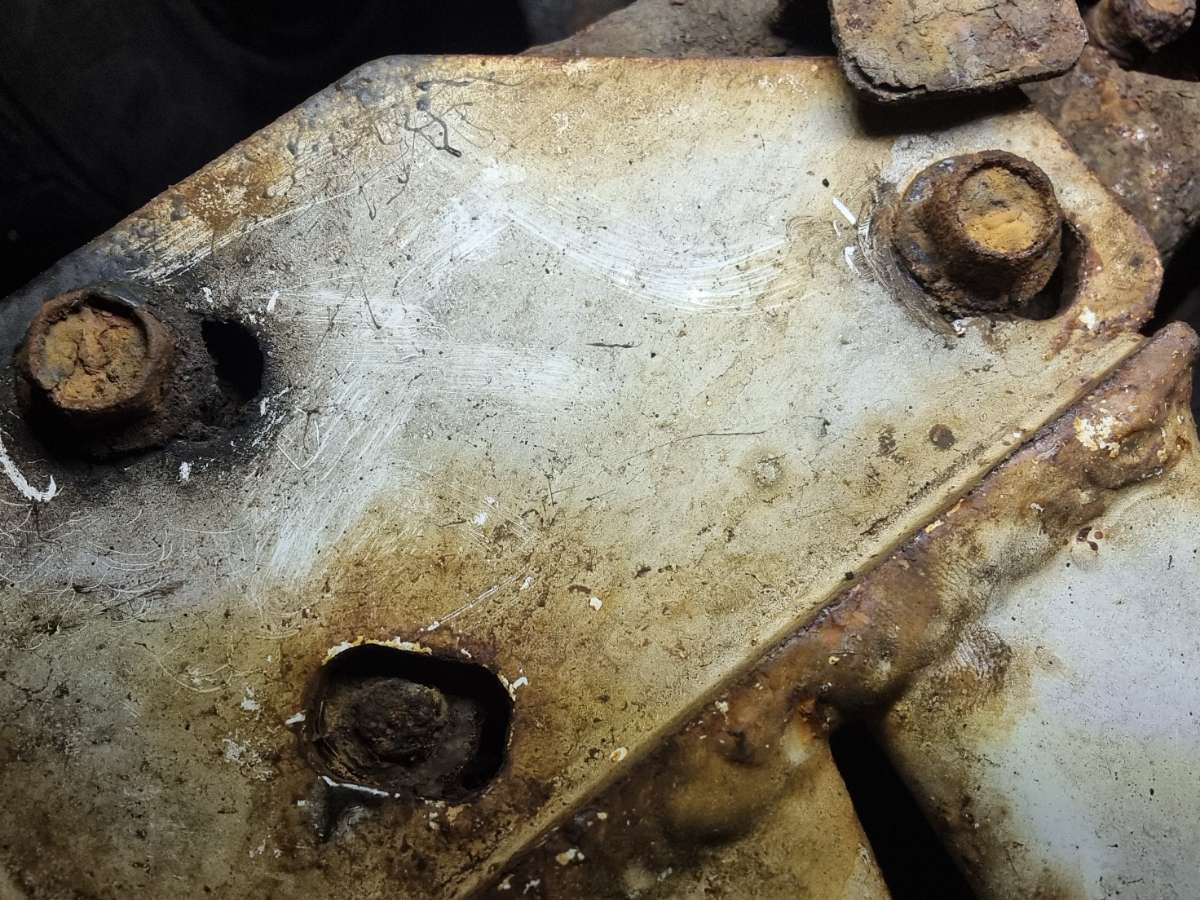
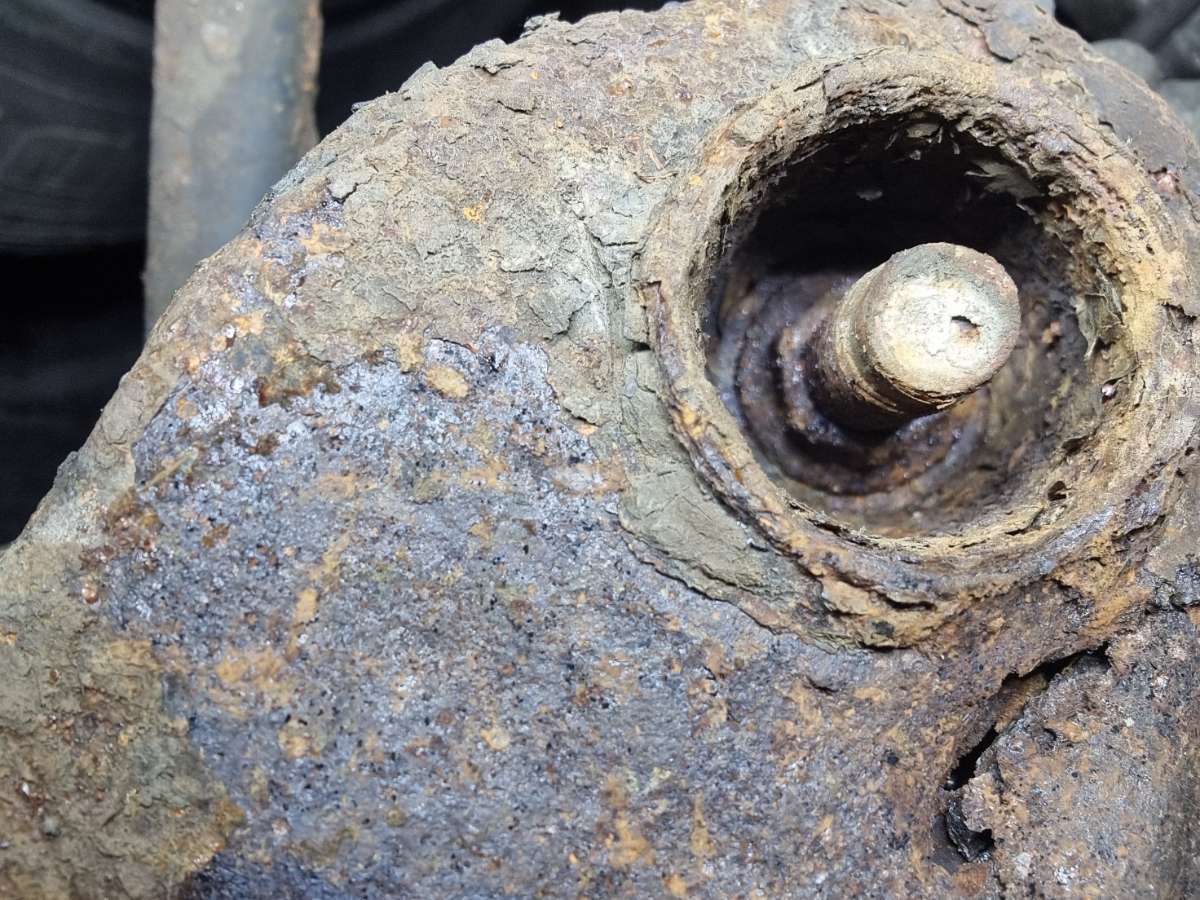
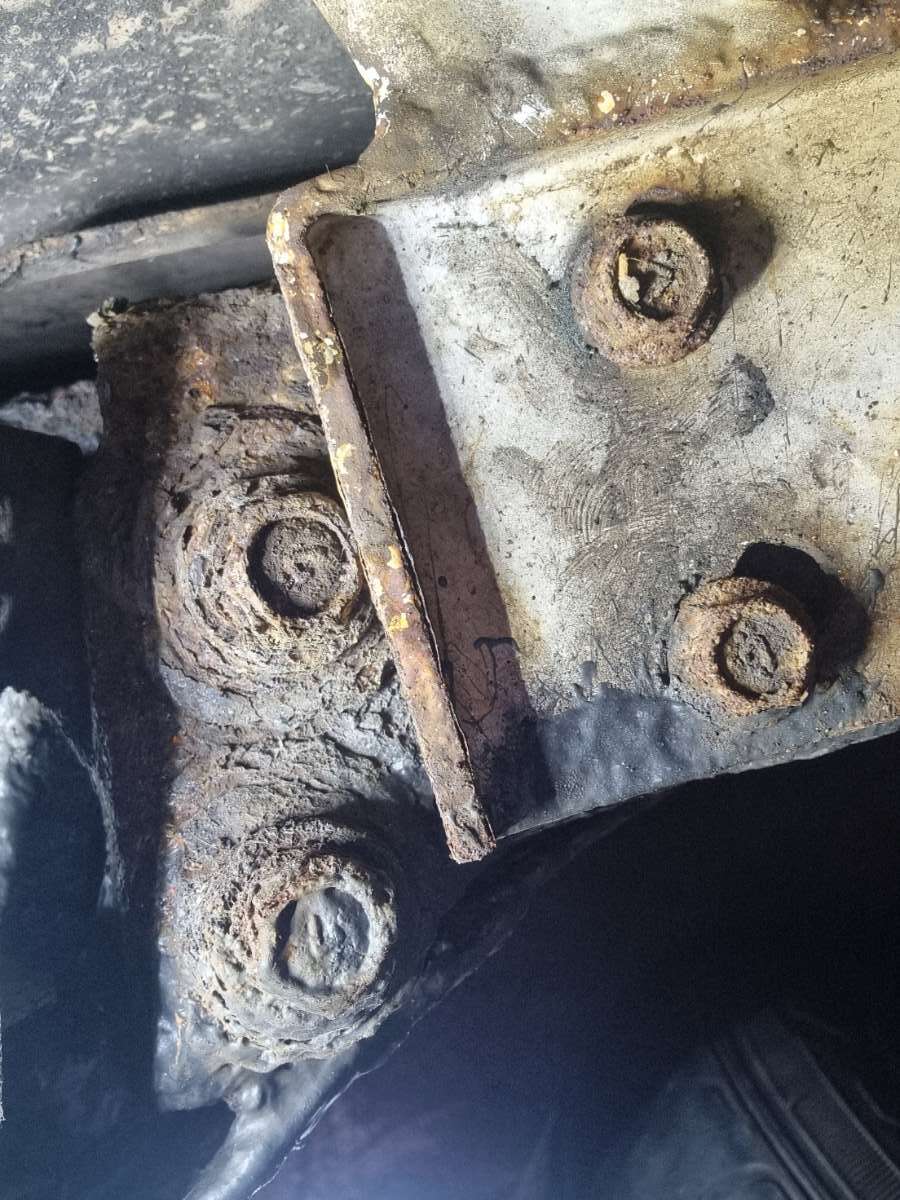
After allot of very careful work on these bolts I managed to get them all out successfully. It was a game of patience. Wire brush. A good set of hex sockets. And being really gentle with the breaker bar. One thing I learned during this job was the importance of loosen untill you feel pressure. Then re tighten. And repeat. Over and back over and back (basically forever) to clean the threads as you go. And never forcing things too hard. That and wd40 helps. Also for the big nut in the kidney bracket the impact gun. To loosen and then tighten over and back over and back. Which also made the nut hot and easier to take off. It wasn't easy though. But so relieved to have the whole thing disassembled without breaking any bolts or captive nuts.
-
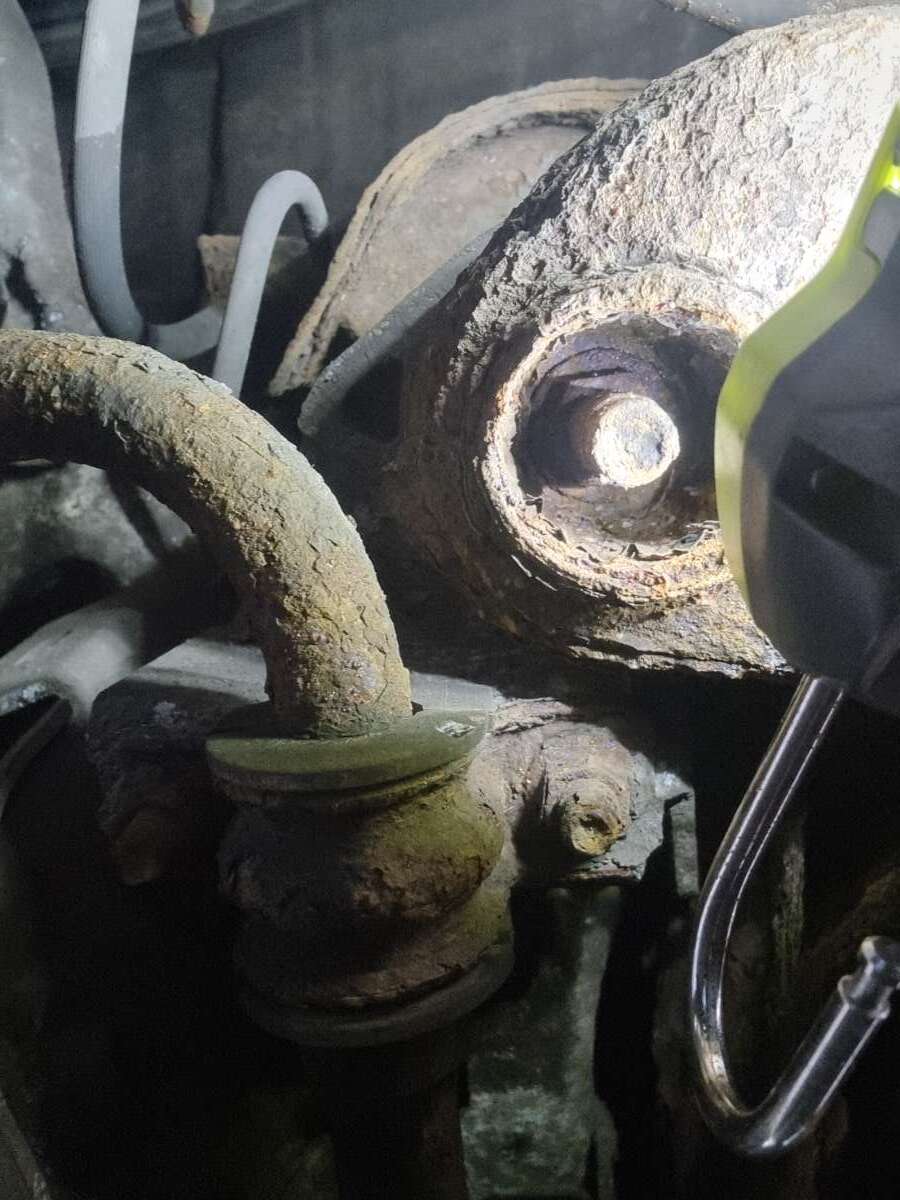
So the car failed mot for the first time in my ownership. The kidney brackets and the "splash guard" piece that runs between them. A previous owner had already changed the w brace to the ultra racing one. But the kidney brackets weren't in great shape and I had been waiting for thos to eventually happen. When I had a look the bolts were really rusty and il be honest I was nervous. Especially as I could see that one bolt had already been broken by previous owner...
-
No worries. Thanks all the same
-
I've founds before shipping stuff over the usual best for here is DHL. As they have their own plane that flies into Belfast. Sure il give you a nudge on Facebook messenger
-
I'm interested in the seats if we can organise shipping to Northern Ireland?
-
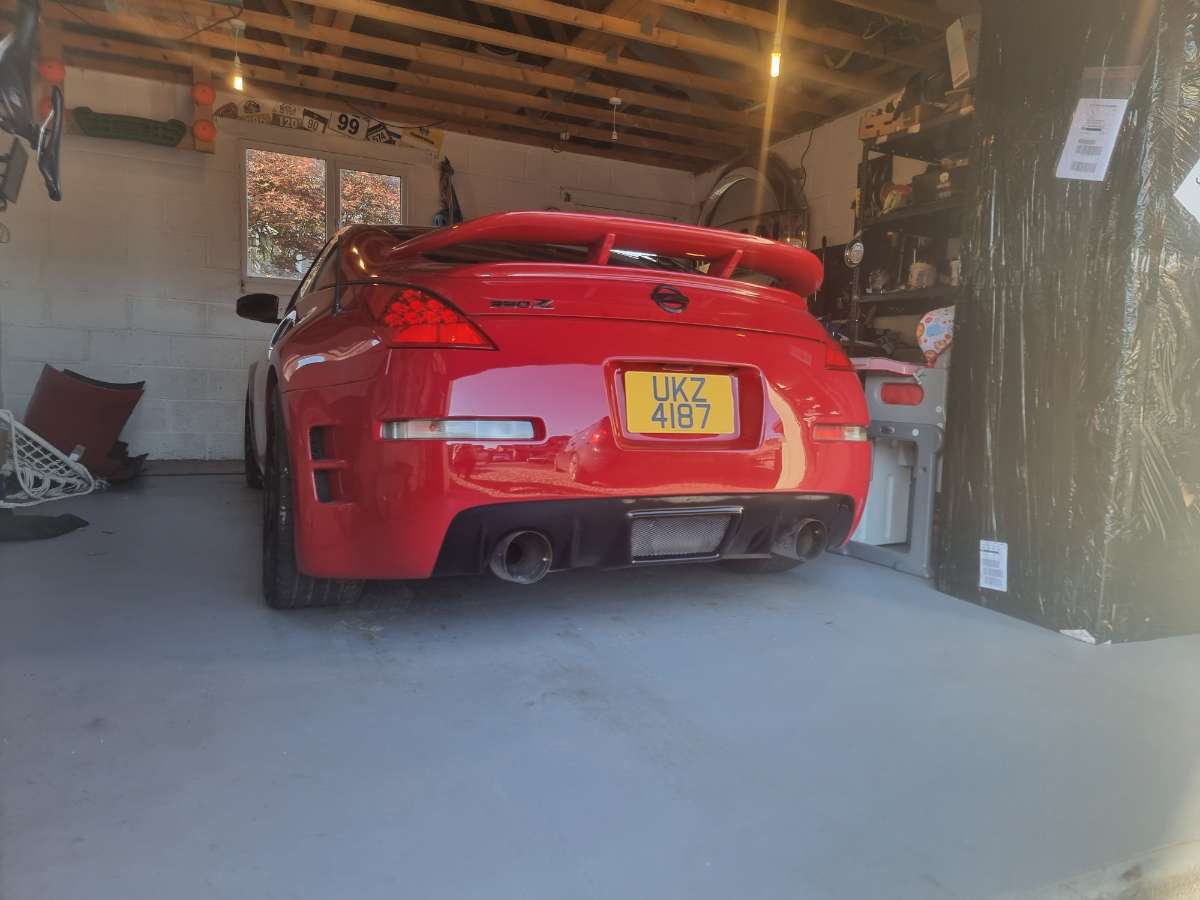
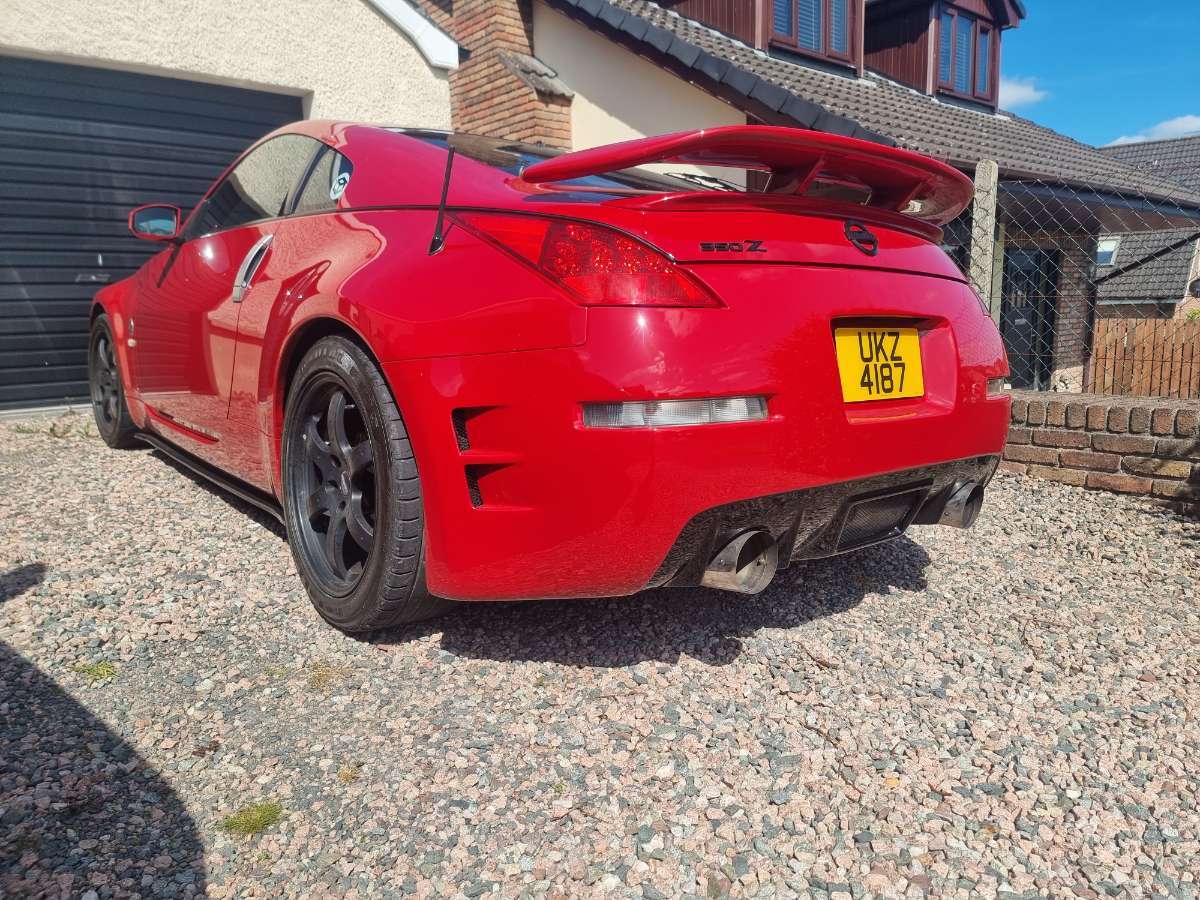
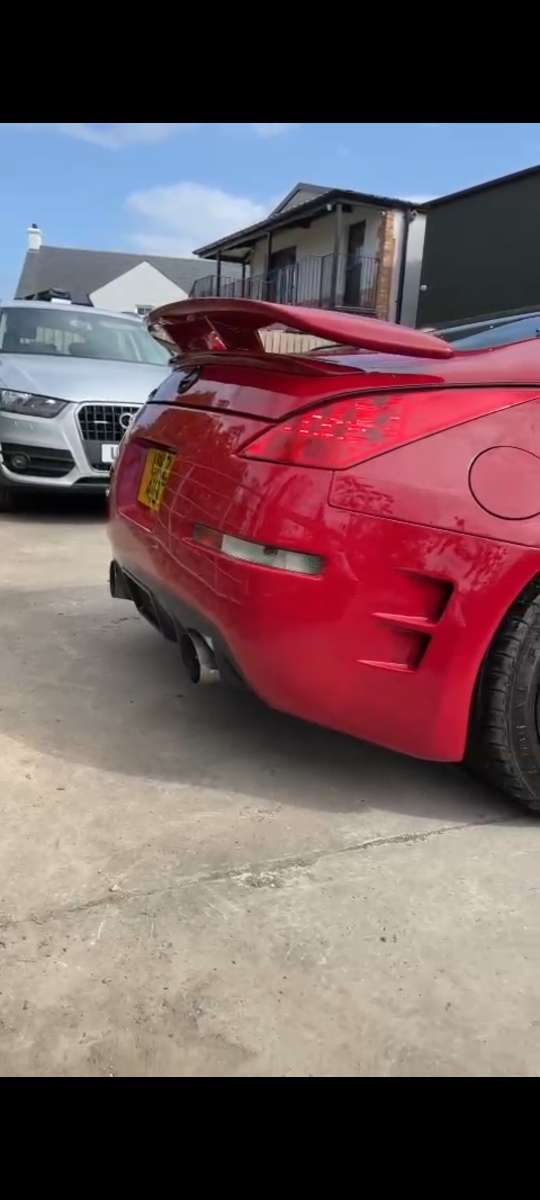
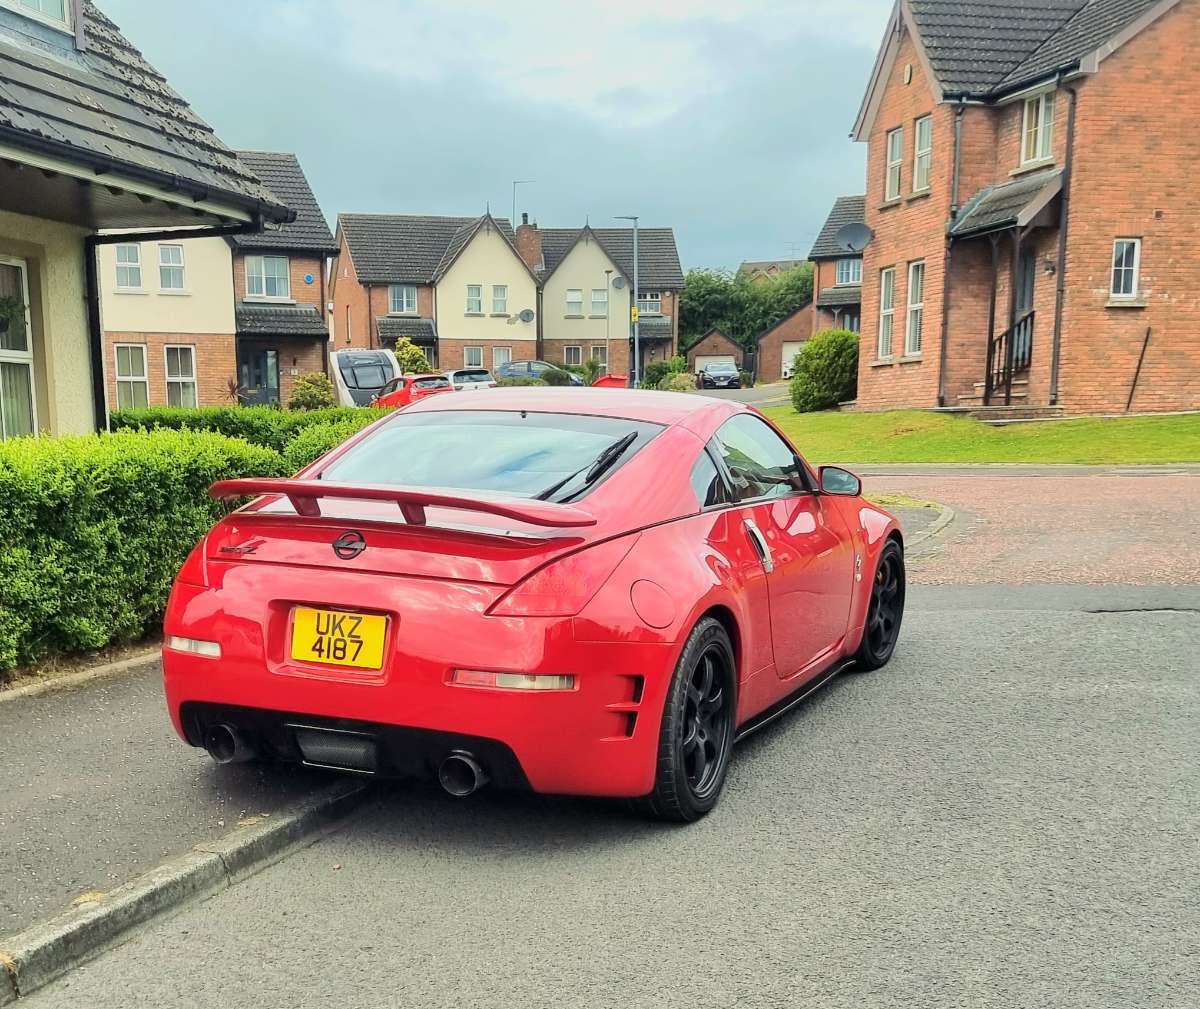
Got the car back from Perfected Paintwork Ni. Aftet having the chargespeed rear bumper fitted. What a fantastic! They did amazing work! Highly recommended as these fibreglass bumpers aren't easy to for and make work with the body lines etc. For me this is the best rear bumper that's available for a 350z.
-
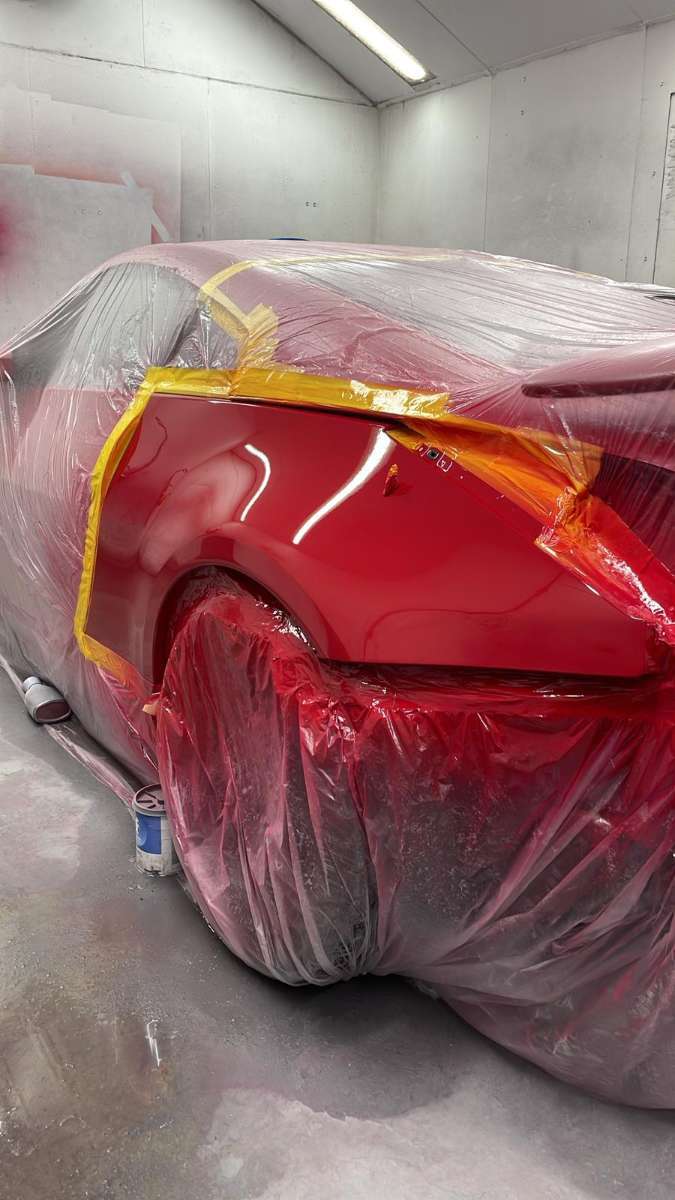
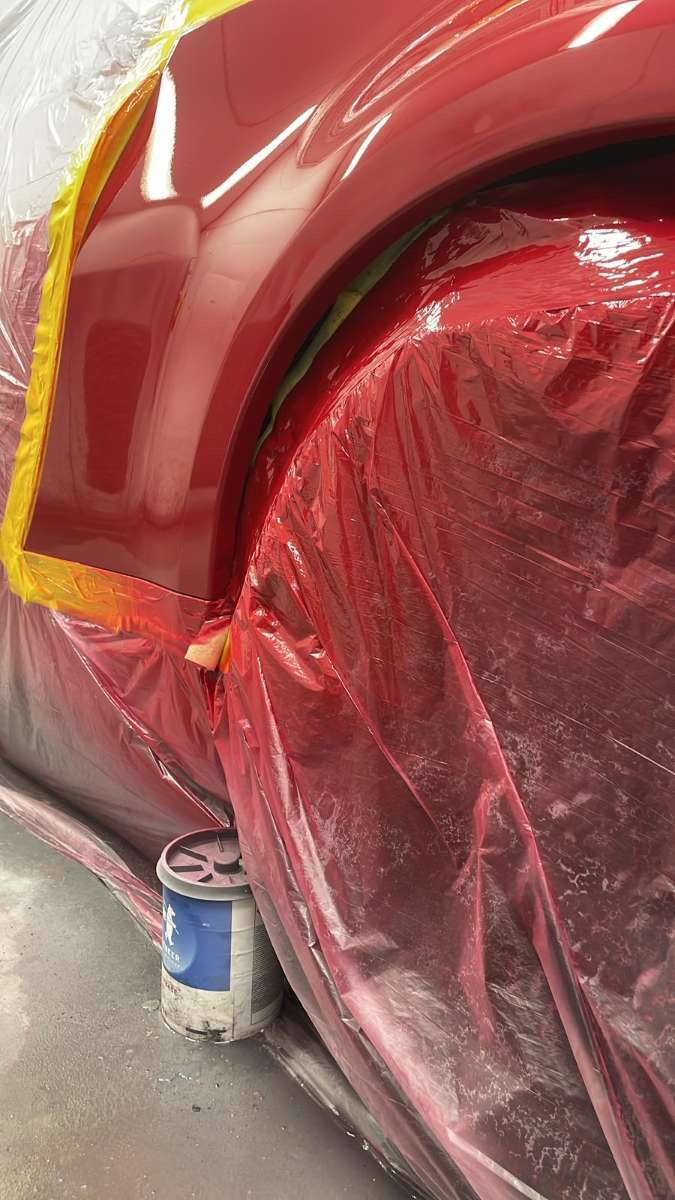
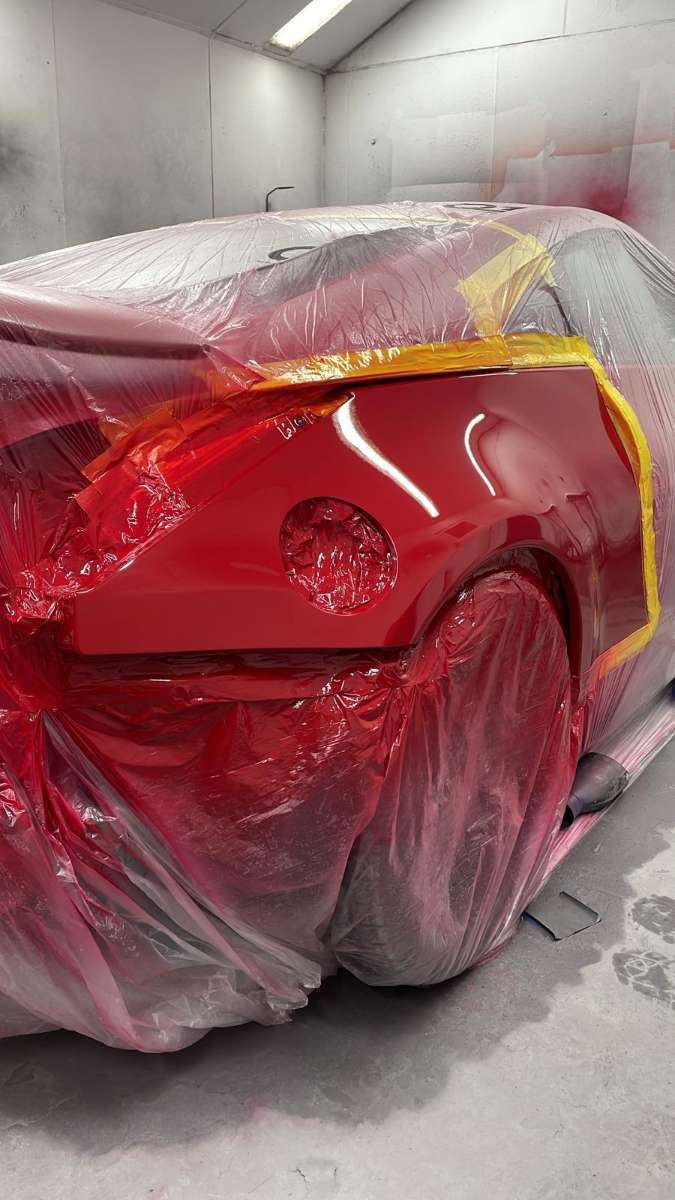
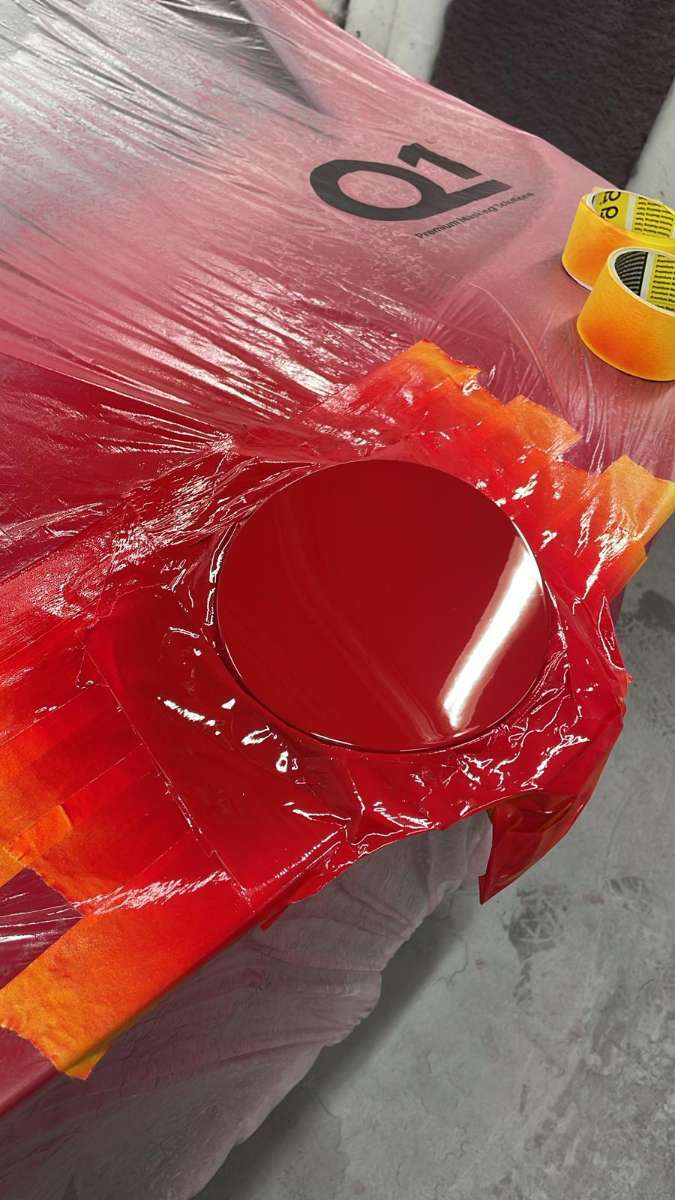
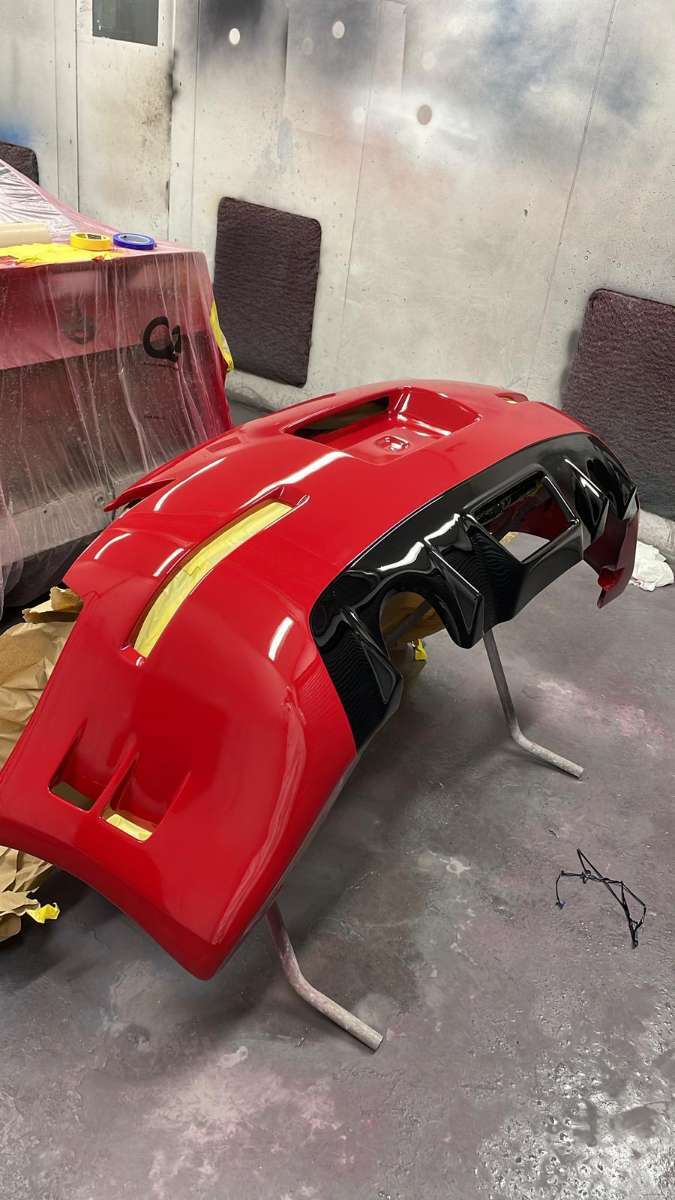
Big shout out to Perfected Paintwork Ni for doing all the fabrication,prep and paint work on the new bumper. Always take loads of pictures of progress for me and do a great job with the details and fitment too.(Especially with a fibre glass bumper in this instance) I'm getting excited to see the car fully assembled. But for now here's a few pics of the work in progress.
-
Chargespeed rear bumper So I spent way too much money. Got myself a replica Chargespeed rear bumper from Chris at Tarmac. It was actually reasonably priced. But...had to ship it here to Northern Ireland, also It's a bare shell, So needs allot of the brackets to attach fittings. The cutouts for the number plate lights needs added. It needs some fabrication to allow the indicators to mount also. Plus prep and paint. So i bit the bullet and sent it to Perfected Paintwork Ni who did the awsome work on my rusty sills 2 years ago. It's with them now. And in for paint now. Excited to see the results next week. I've never seen a Chargespeed rear bumper in red before.