


zxrjohn14
-
Posts
74 -
Joined
-
Last visited
Content Type
Profiles
Forums
Events
Gallery
Store
Posts posted by zxrjohn14
-
-
 i may have a go. I'm quite a "right let's do this sh!t" kinda guy, but am always willing to help.
If anyone ever wants any help in my area (Bourne, Lincolnshire), i can always assist and lend my small bit of knowledge and hands.
-
Probably £60-£80 ish
A friend in our area charges £40 per hour and this loom is only 4 wires really.
-
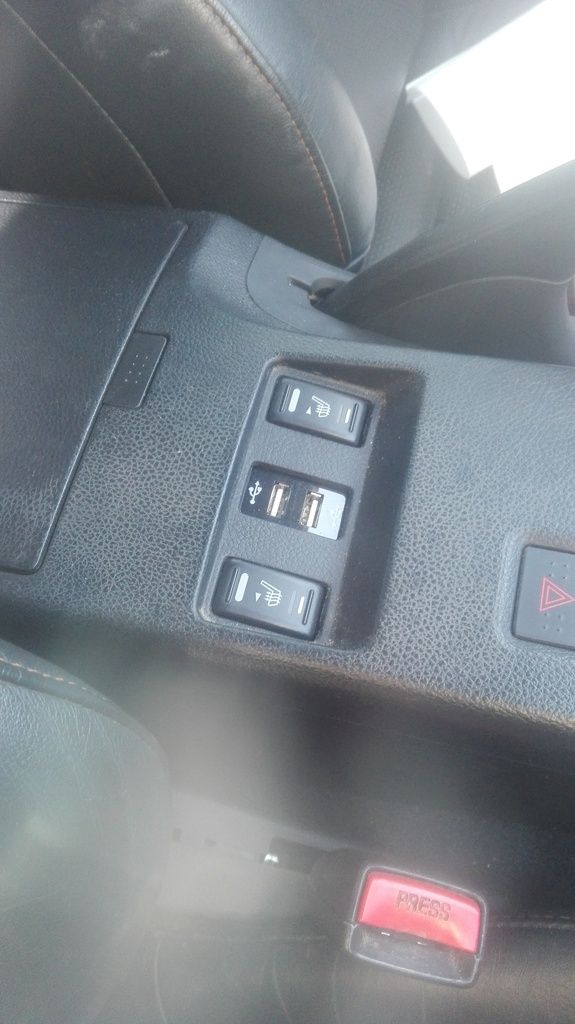
How did you go about fitting the USB charging point ?
The charger is from a Toyota and is a similar shape. I removed the plastic from the switch housing just leaving the clip tangs and put a small cable tie around the tangs. The hooks are just in the right place to hold the bottom of the switch and hold it nice and tight against the top, the wiring got put to a switched live on the stereo.
-
All i did to get the seats in and change the position was temporarily put 2 wires with spade connectors on from the cigarette lighter. I'm sure everyone has a spare phone charger or something they can cut up. Just take the resistor out and bridge it so you get 12v.
The spade connectors​ go to red 12v and green earth on the seat... I will confirm this later by looking at my plug under the seat
-
Thank you all.
It arrived 13th February and I've been working on it most weekends, some evenings and a few days off work here and there.
I've checked all of the car over to make sure everything is ok on it.
It does seem to be a very well looked after car and has benefited from a recent service by the looks of it.
-
 1
1
-
-
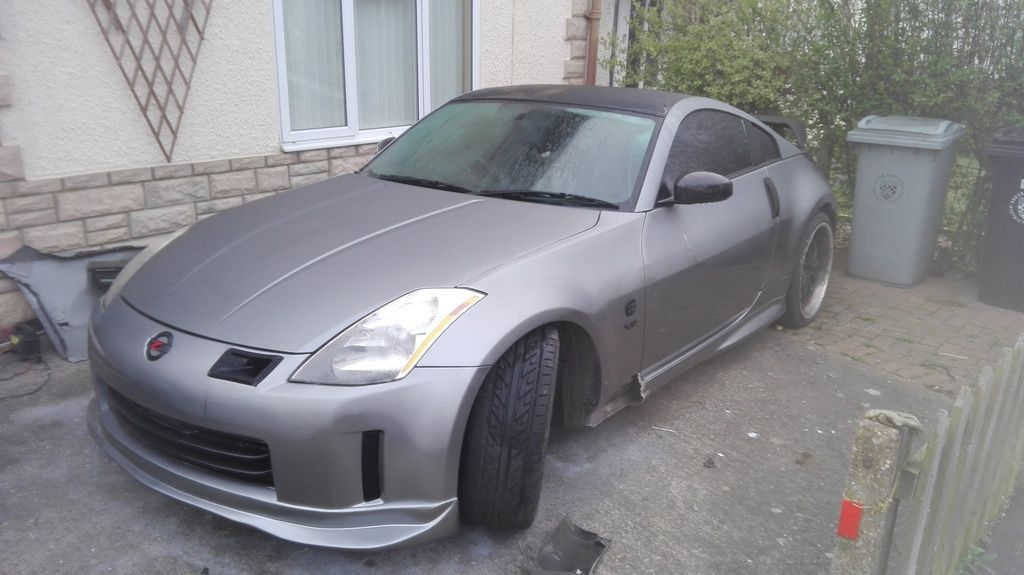
As a few of you know, i was after a 350z project and bought a nice example from eBay for £2150 delivered to my door.
It was a crashed, Cat C car and a JDM import.
I am waiting for the guy i bought it from to send me the pictures, as stupidly, i was that excited i never took any pictures of it with all the broken bodywork on
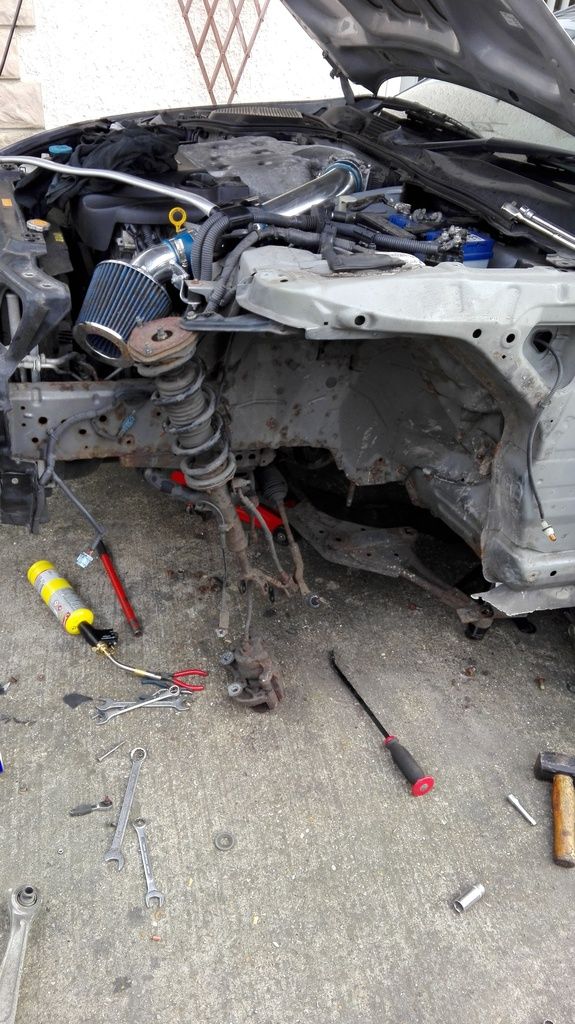
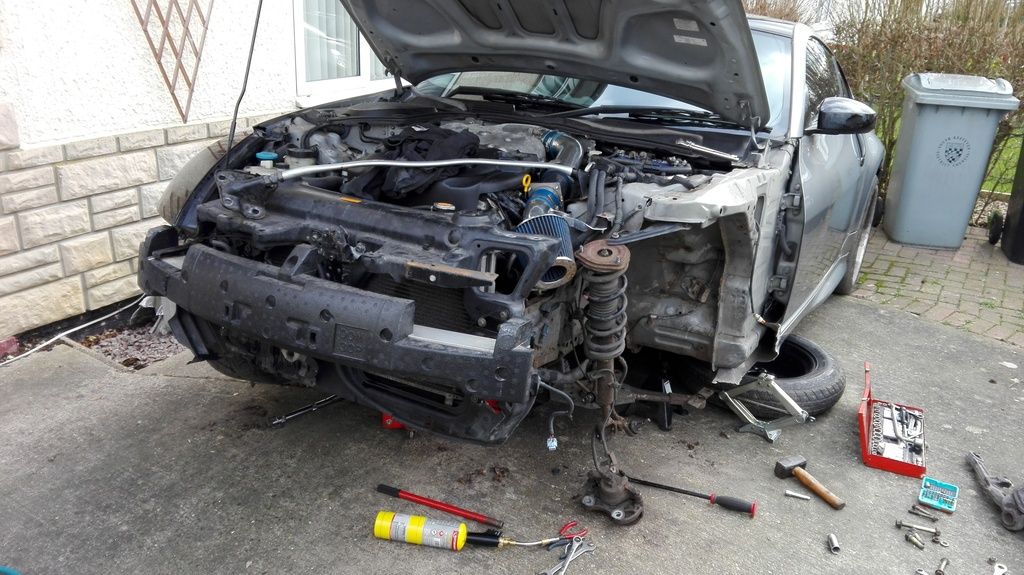
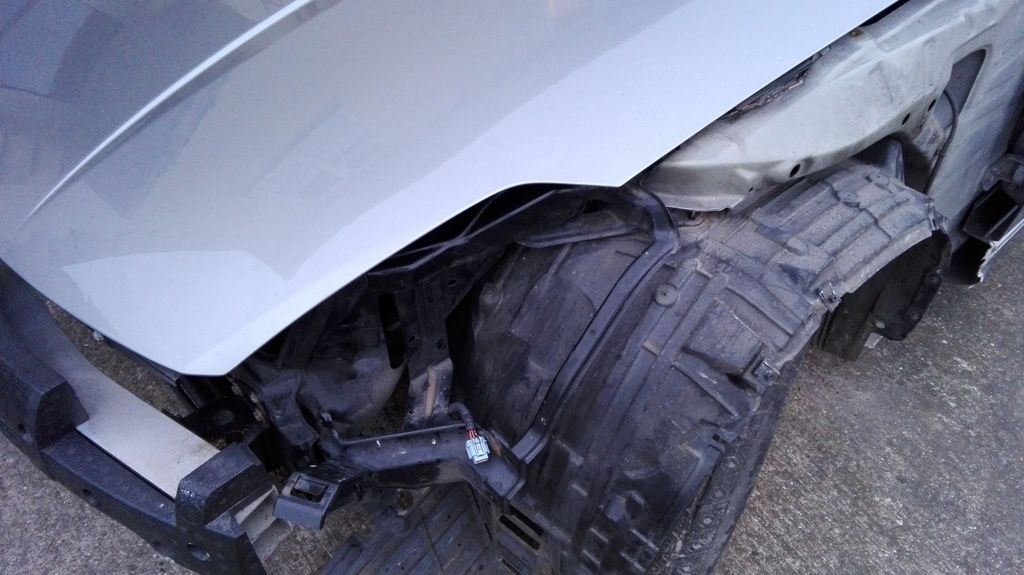
Anyway....this is it mid strip
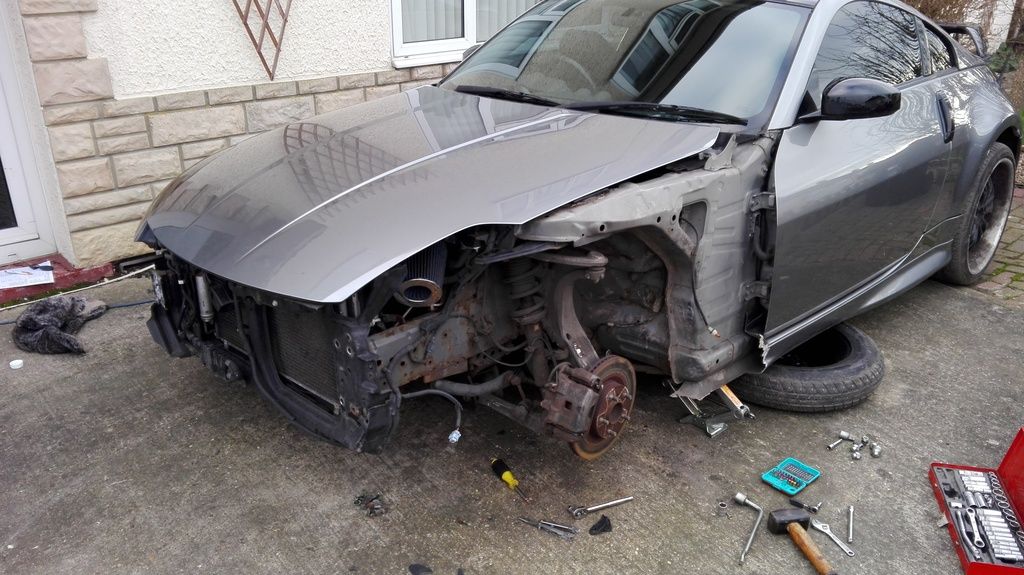
The damage was:
Wing
bumper
wheel
wheel assembly
nudge bar
headlight
radiator surround
wheel liner
headlight frame
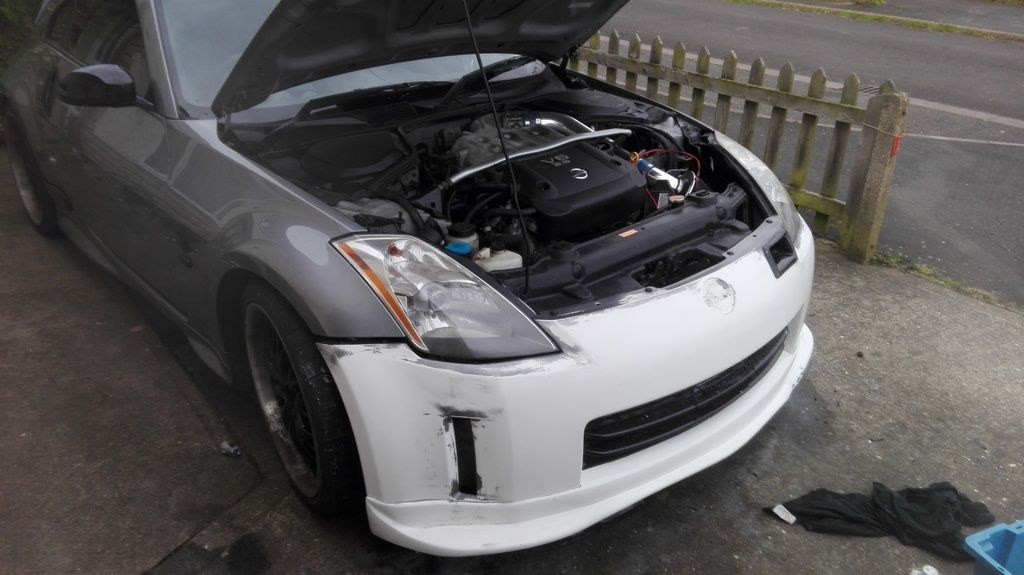
for fun, i fitted:
leather interior and built my own loom for the heat and electrics
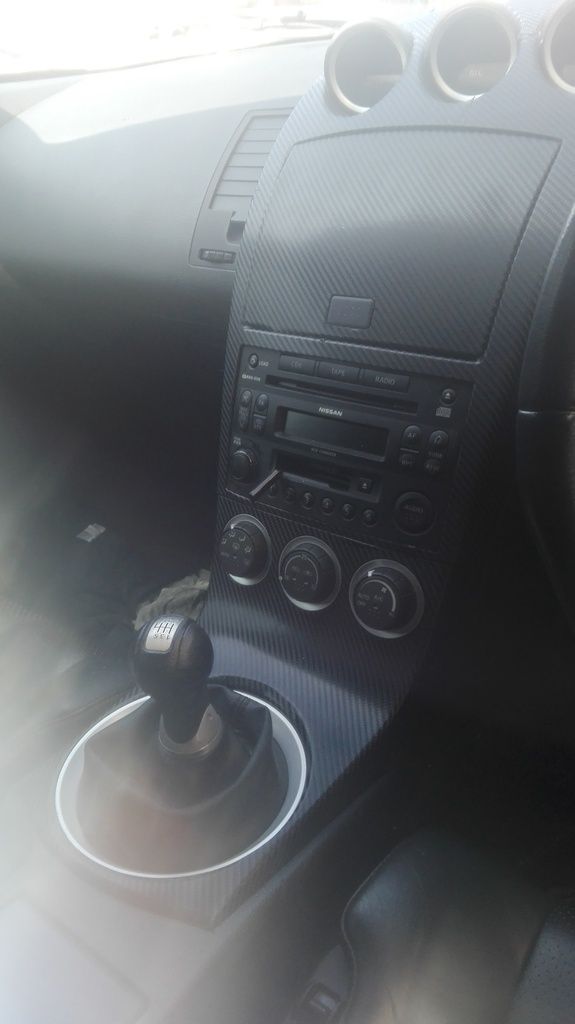
fitted a full Bose system (i think it's awesome!!)
fitted a UK pod for MPH and MPG
fitted a USB charger
carbon wrapped the centre console
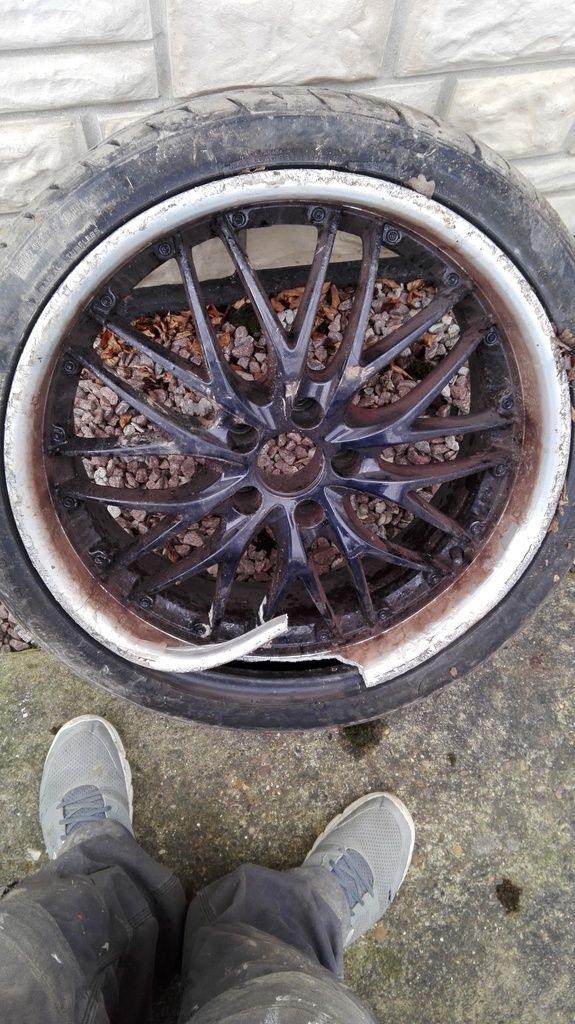
wheel before
wheel after
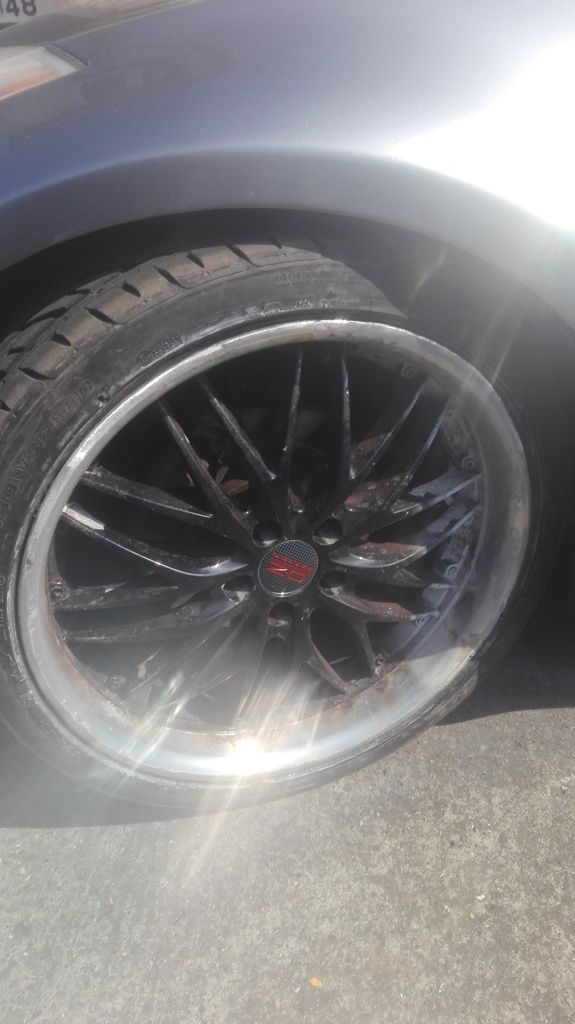
i bought a 20" damaged wheel from Shpock for a fiver, cut a good piece out to the shape and size required, cut the damage out of the original the same shape and TIG welded away!!
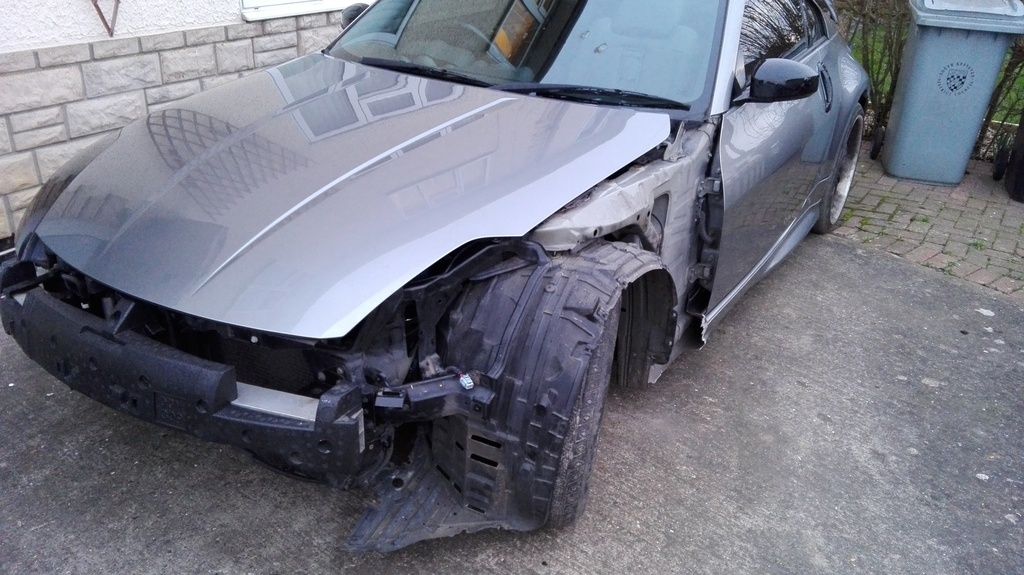
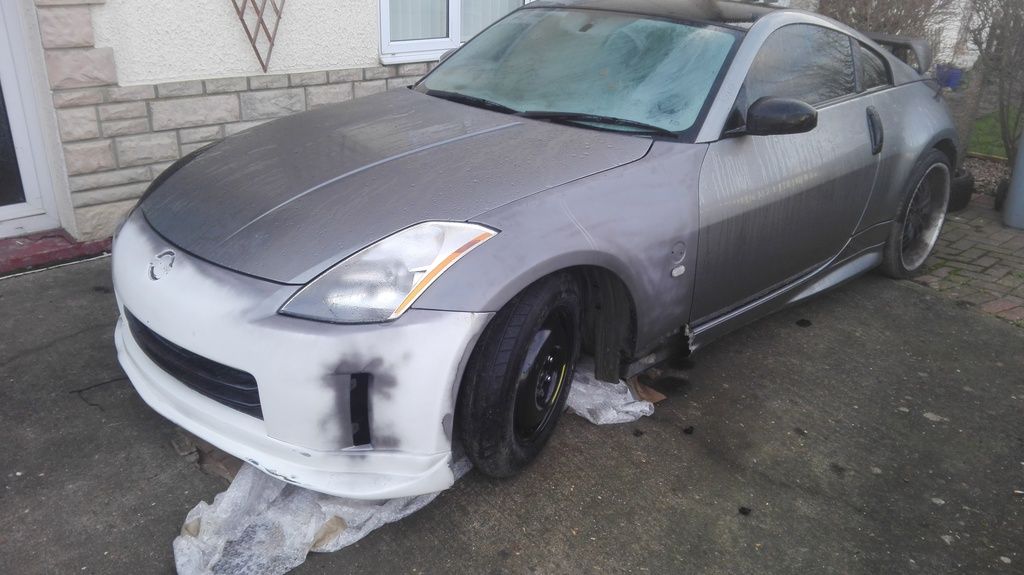
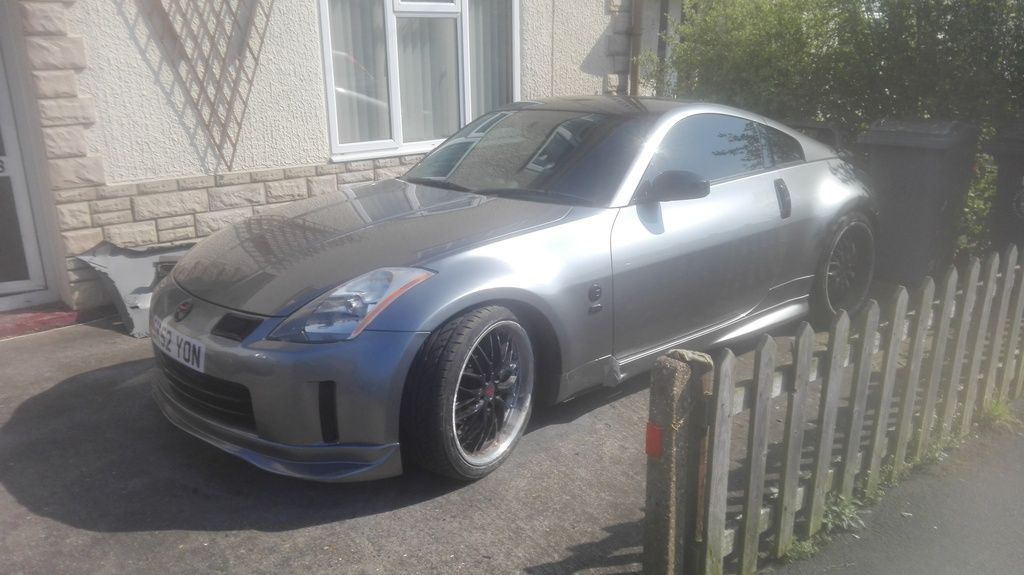
this was a project to keep my mind occupied and have somethink nice to play with once done. I normally build motorbikes to occupy my mind but a 350z is an itch that needed scratching since they come out.
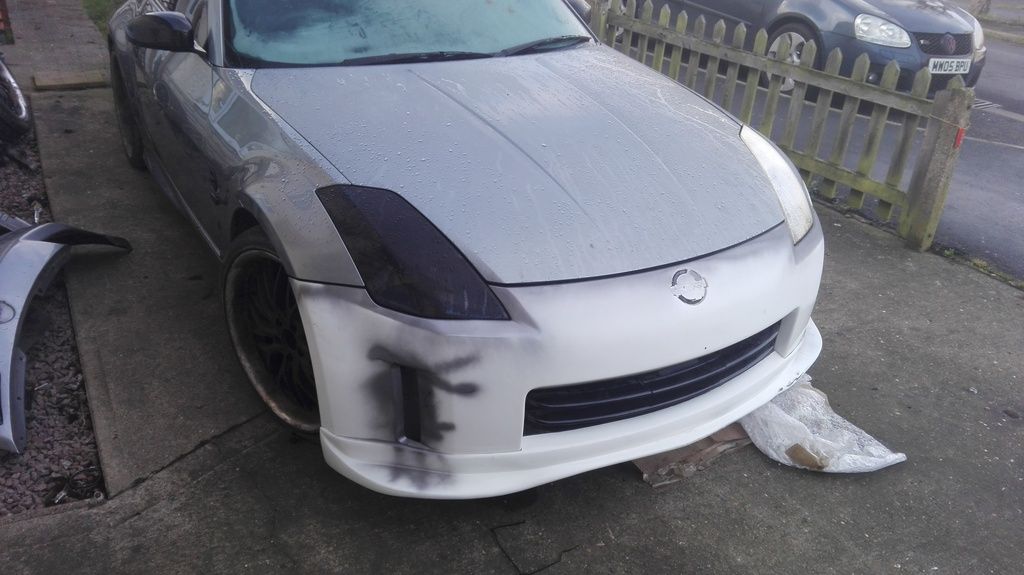
i've done all the work on this myself, including the spraying, which i think, has come out remarkably well for doing it in the shed
Today i took it for an MOT and it passed, i am so happy

i'd like to say a massive thank you to Jon at Emporer for his help advice and supplying some of the bits for my build
the things left to do are:
wheel refurb
make the sill skirt up where its broken
excuse the halo effect on some of the pictures, this is because i dropped my phone and cracked all of the glass around the camera lens
-
7
-
-
No wiring on my 2002 JDM either.
I swapped to leather and got the seats and heaters working by building my own loom with relays etc as shown on the schematic drawing in the manual.
-
-
Depends what you call cost effective?
I think the torches idea would be very cost effective
-
Have you contacted jon@emporer?
-
1
-
-
A couple of good torches is what you need.
-
Ask jon@emporer on here.
And he's in Cambridge.
-
-
Payco, i know exactly what you mean and how you feel.
-
2
-
-
Thank you, stevoD.
An absolute pleasure to meet you and thank you very much for the money

If you require anything tomorrow at Rockingham, give me a shout and I'll pop it over.
-
1
-
-
I have one and am in Bourne Lincolnshire.
-
What sort of wheels are these? As in the maker and model name?
-
any good, Simon??
-
a massive thank you to Davy (ebsop) for taking the time to send me the manual.
this will be so helpful with my project.
-
Googled it and tried to download, but they don't.
And I really don't want to take a survey and give my email address.
-
Boom nice sale Johnny
Hopefully Simon will have them. He's not given me a yes or no yet.
-
Measurements, pictures sent your email address.
-
I have a pair to sell.
PM inbound
-
I might be able to mould one from the one I have and sell that.


350z project, now done...almost (pic heavy)
in 350Z General
Posted
Awesome
I'll pm you my number and if you're around Bourne, pop in for a brew