


RGK Detailing
-
Posts
33 -
Joined
-
Last visited
Content Type
Profiles
Forums
Events
Gallery
Store
Posts posted by RGK Detailing
-
-
Hi Scobie
I'm based in Lanarkshire, but also cover Edinburgh and Falkirk, I haven't had dealings with any body shops near you s can't comment.
Give me a call or drop me an email if you would like more information about the Detailing services I offer.
info@rgkdetailing.com
07500903249
Richard
-
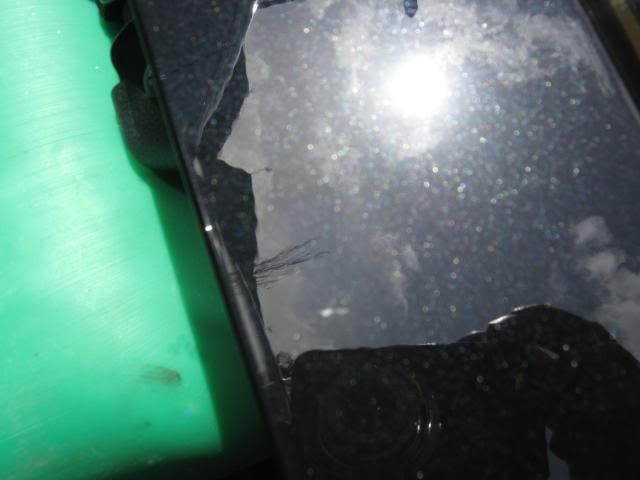
Do you have any pic's of the defects?
best product I'm finding for filling light scratches is Chemical Guy's EZ Creme Glaze.
Richard
-
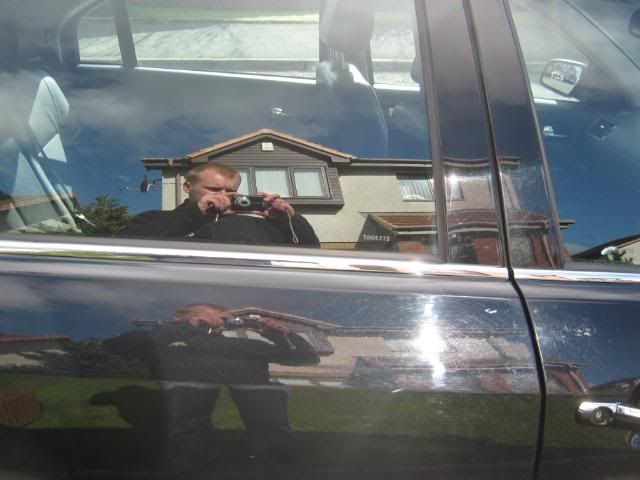
Cheers for the comments guy's, I really enjoy what I do

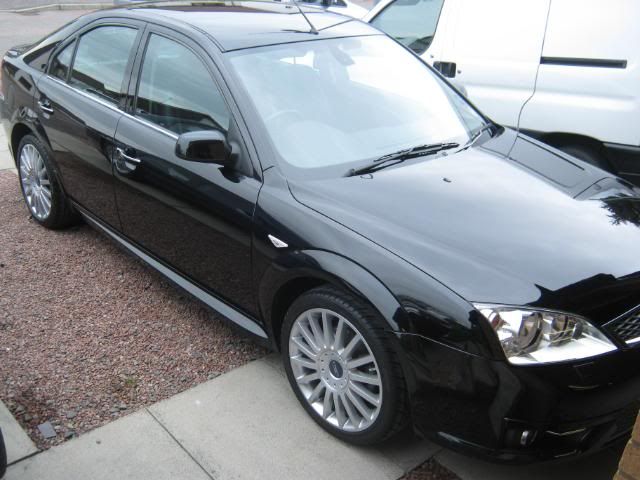
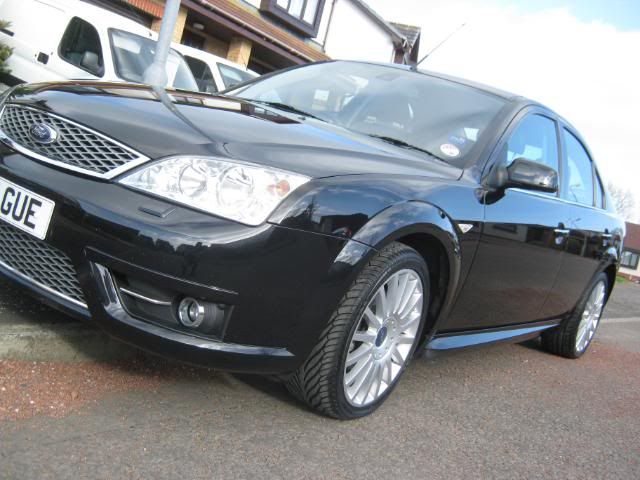
Thats my 2000 Mondeo ST200 in the background, currently hibernating in my garage untill I decide if I'm selling it or not lol.
The Paintwork Correction on the Mondeo cost the owner £300, will be £270 for anyone who books before the end of August.
Richard
-
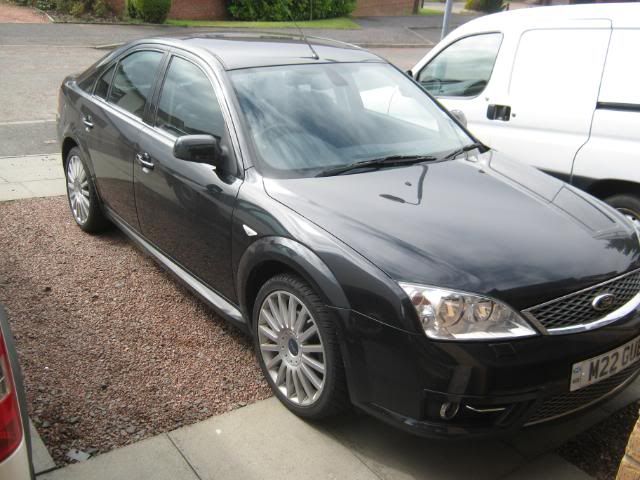
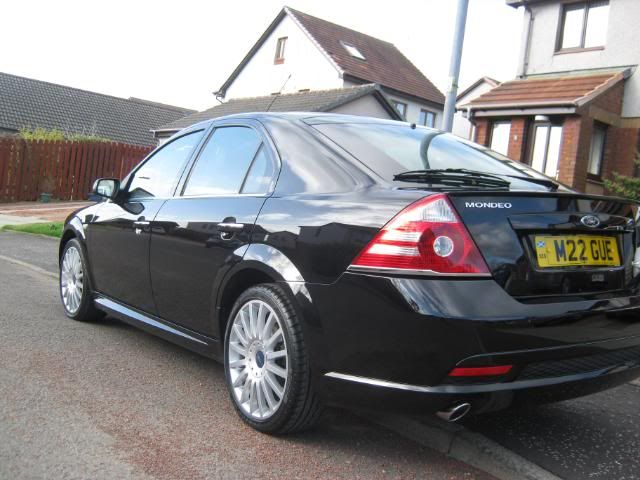
Hi folk's
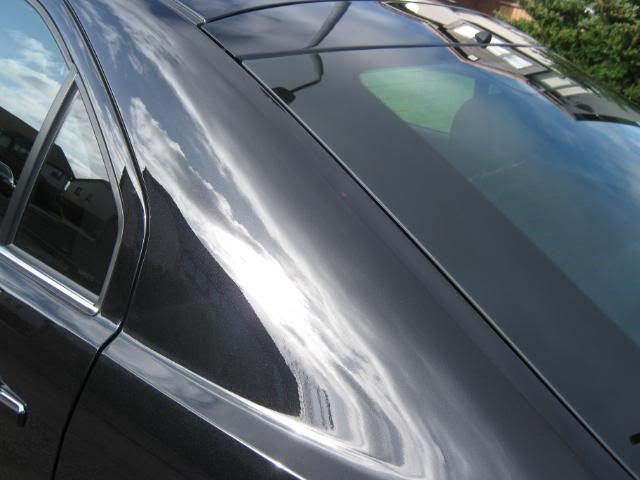
This is a 2005 Mondeo ST TDCI that was booked in for a full three day Paintwork Correction Detail, to remove the mass of swirls and scratches robbing the paint finish of its true clarity.
Some before shots
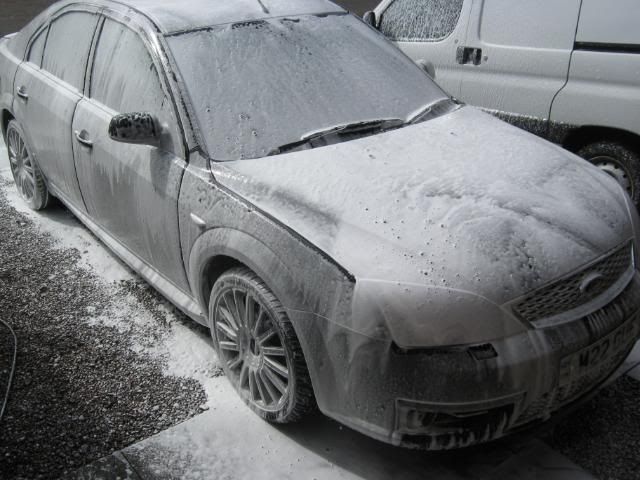
Foamed with G101.
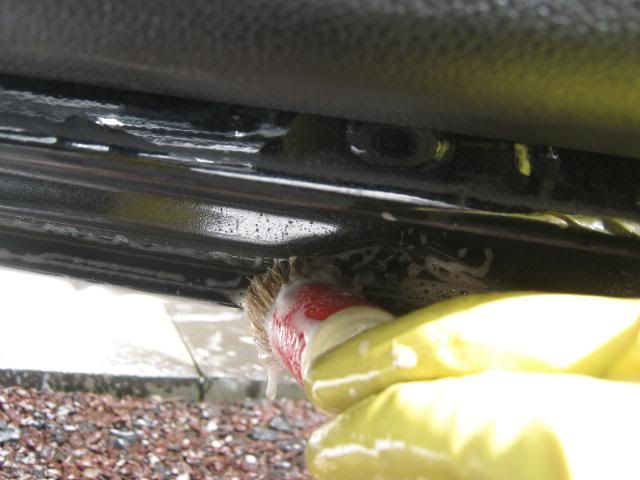
Intricate areas receiving attention.

After a thorough wash and de tar, all paintwork and glass is clayed.

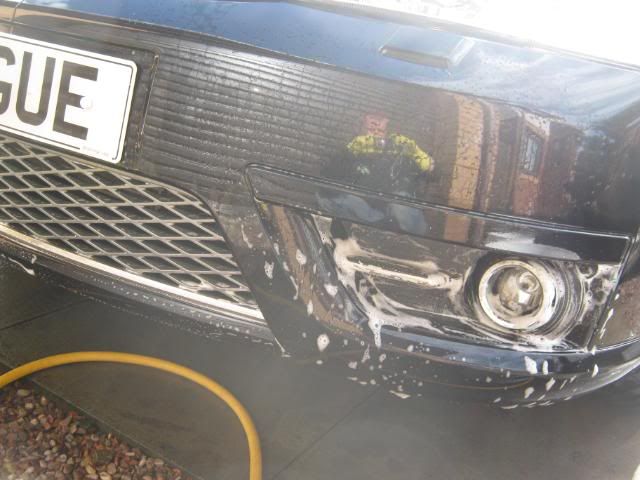
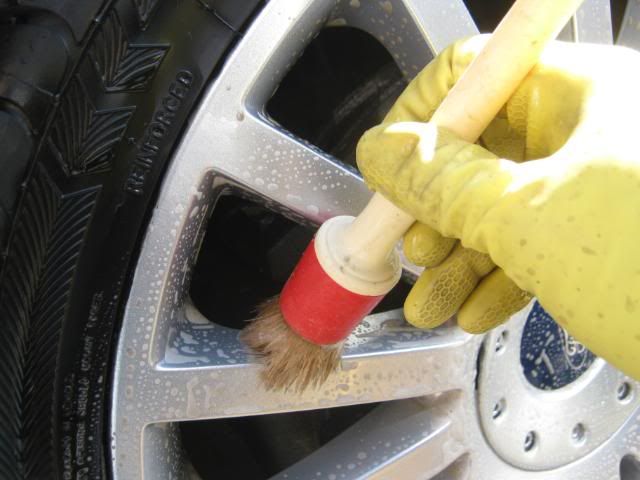
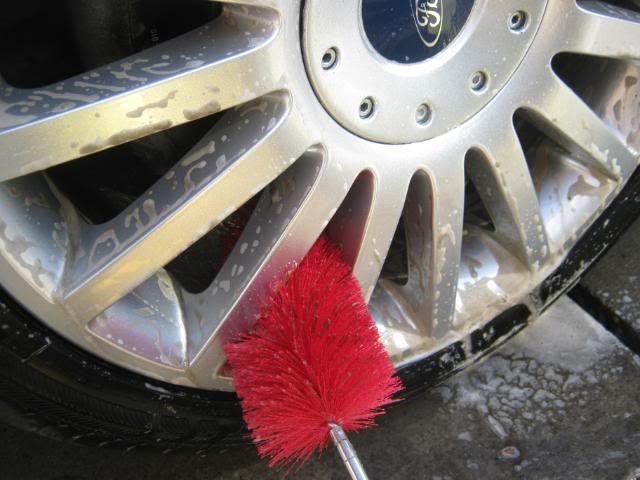
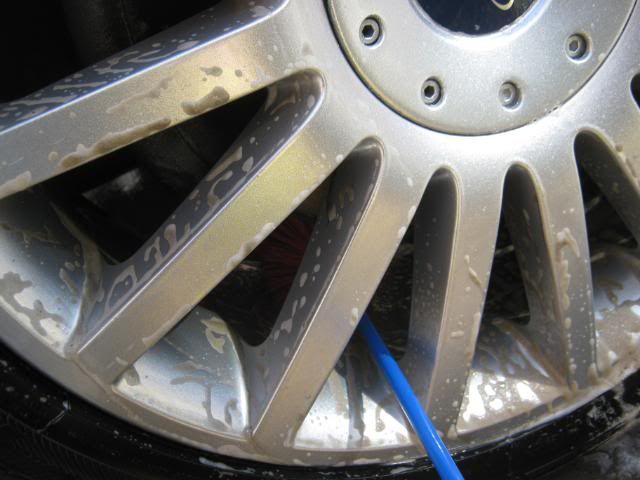
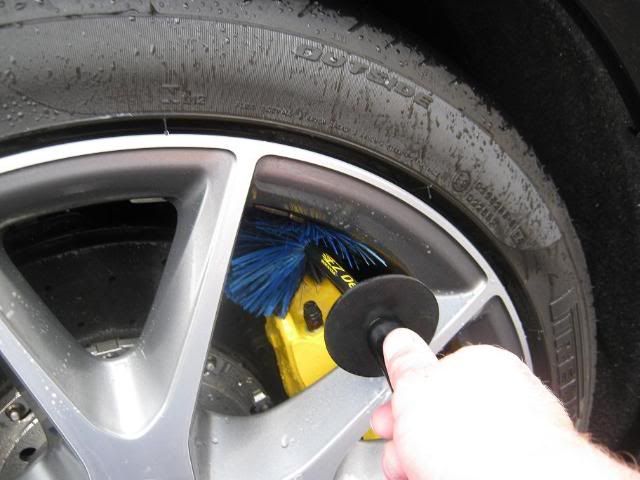
Wheels cleaned in multiple stages.
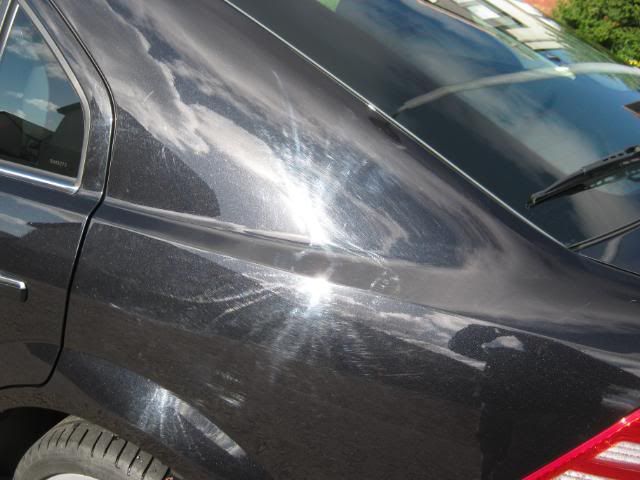
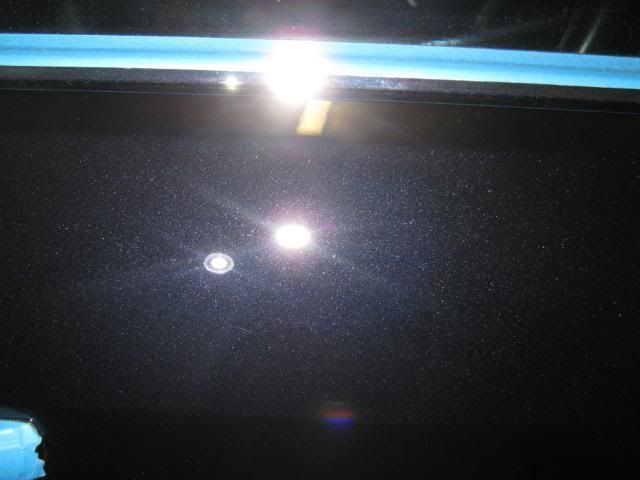
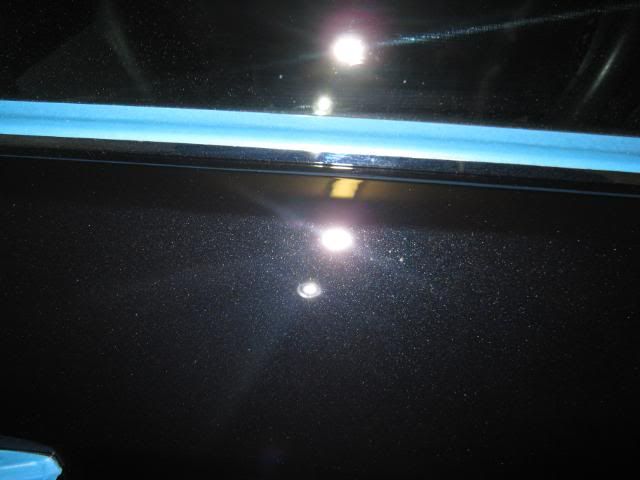
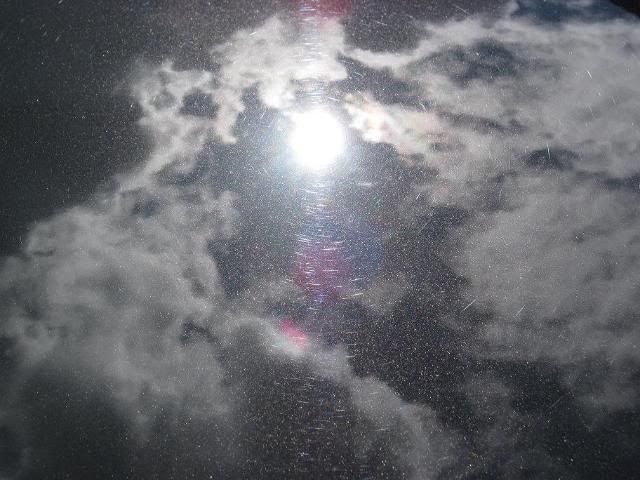
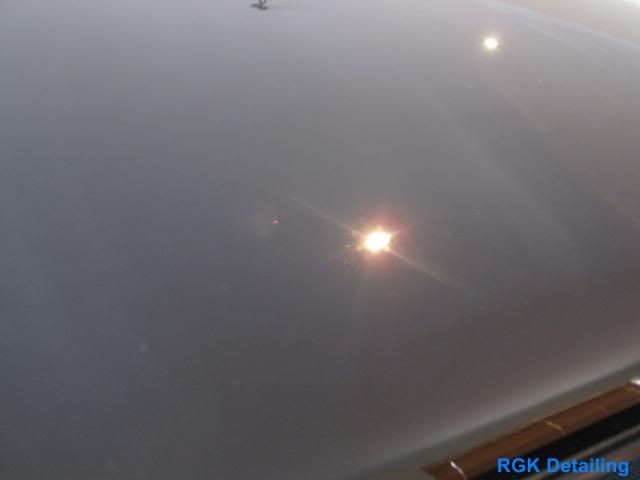
After a final rinse and towel dry this how the paintwork looks in direct summer afternoon sunlight!
this is the results of a few trips to the local hand car wash.
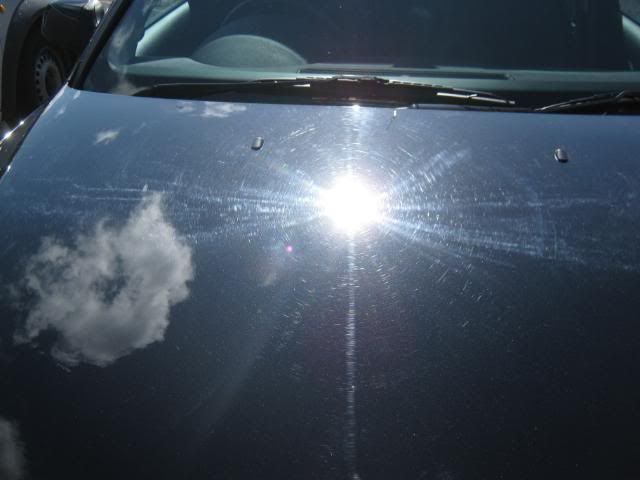
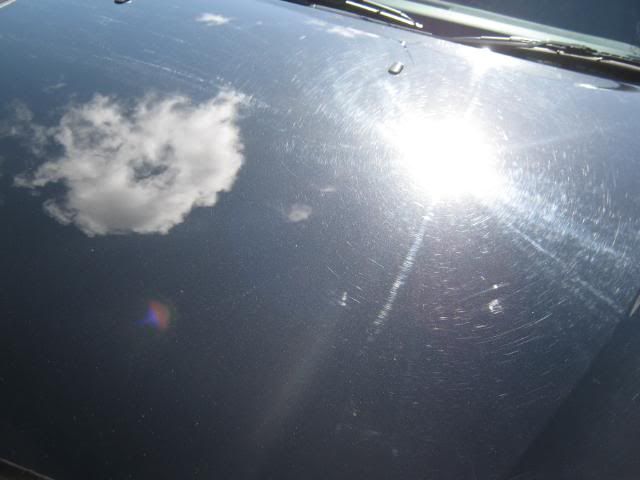

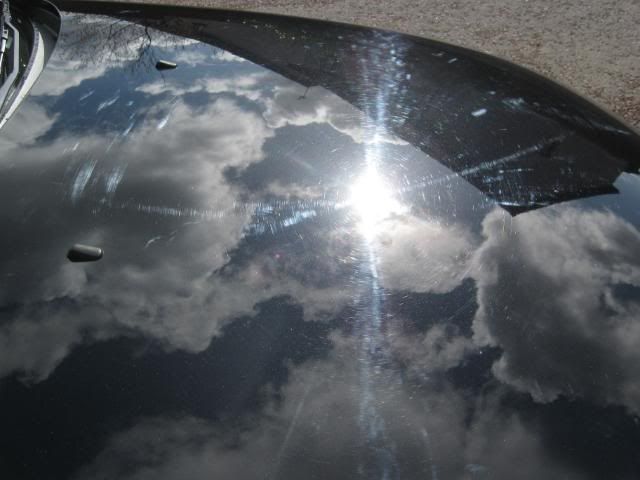
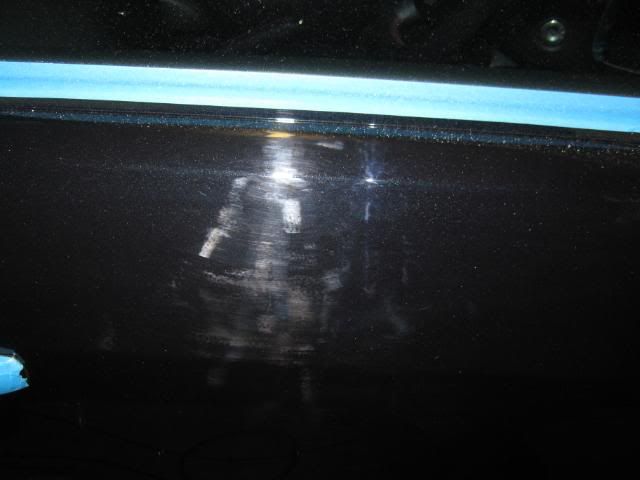
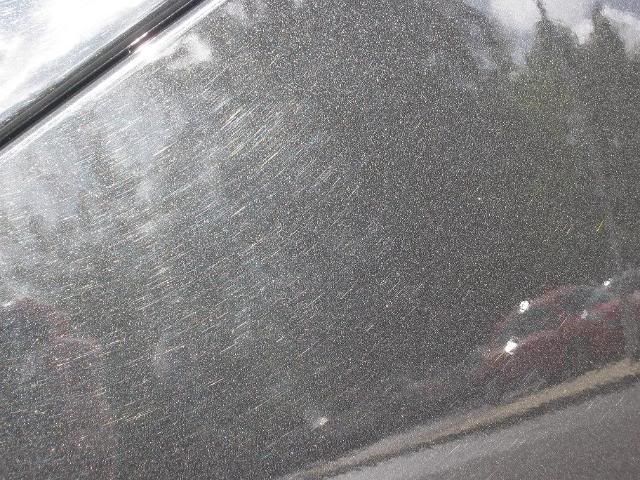
Wash marring giving the paint finish a dull grey appearance.
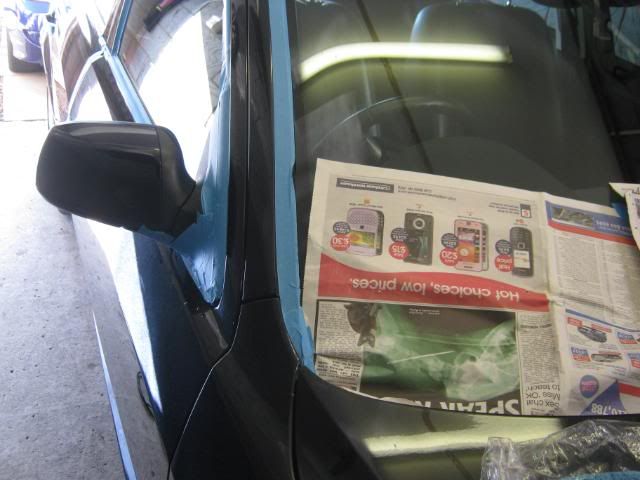
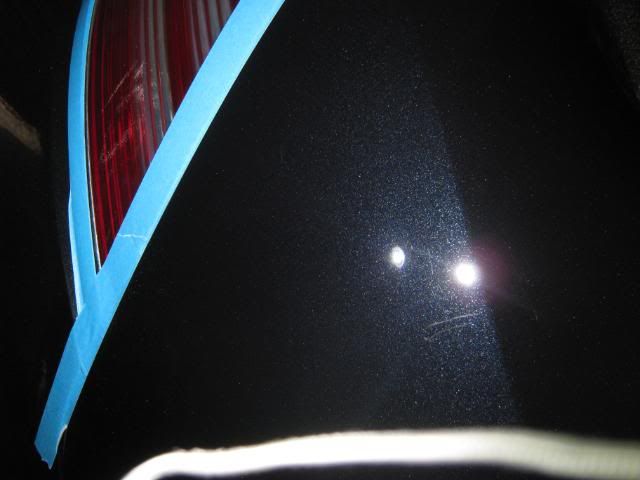
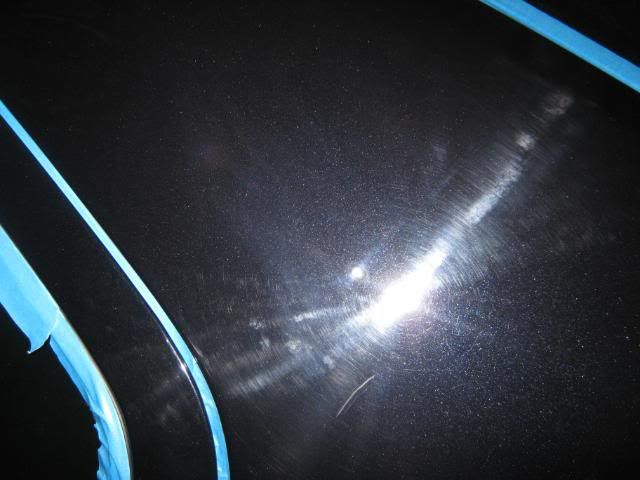
Ok into the garage and taped up ready for machining.
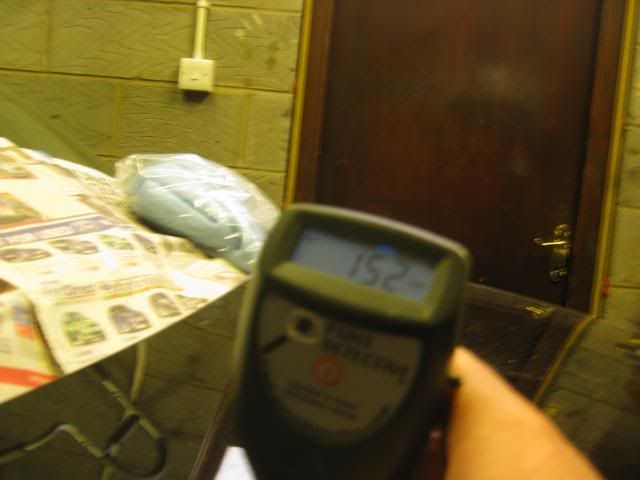
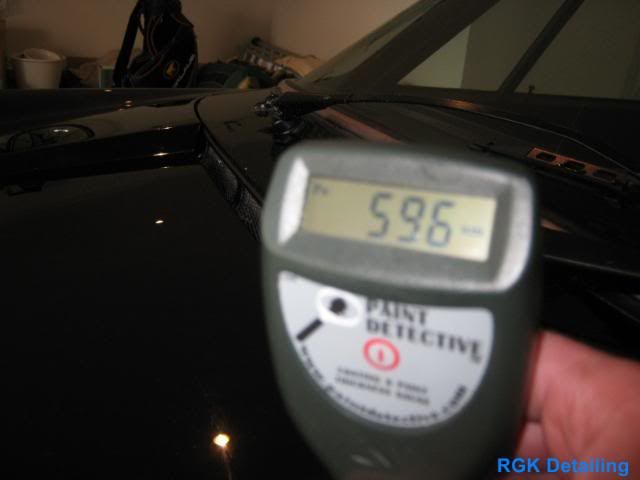
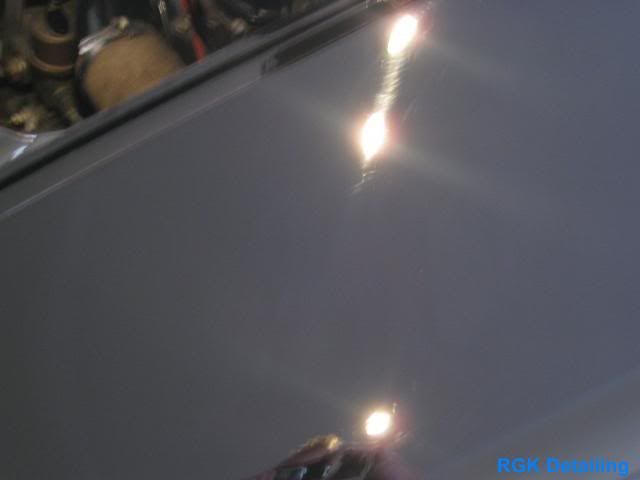
Few paint measurements taken.
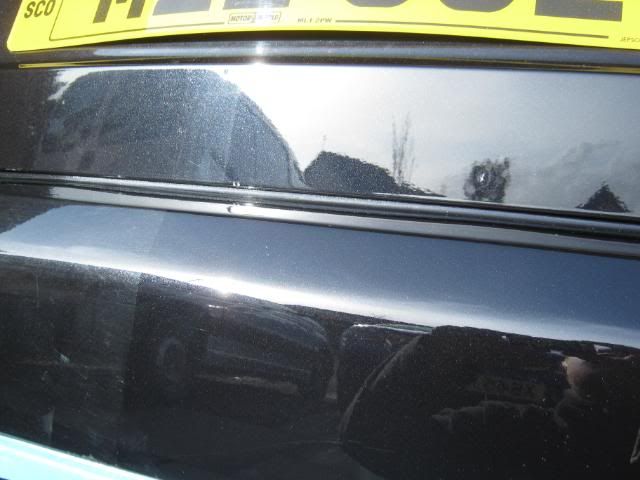
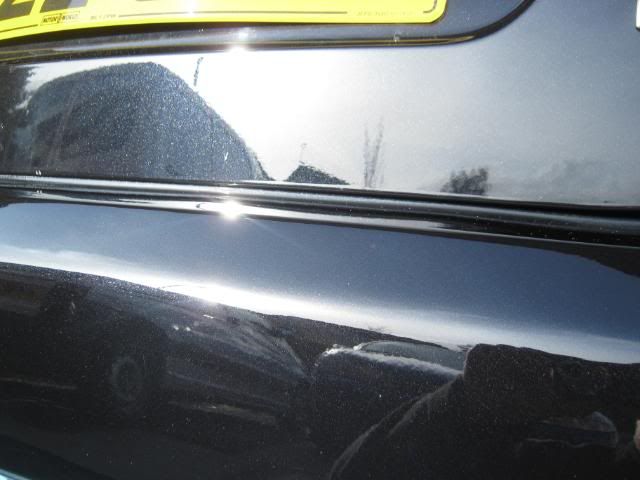
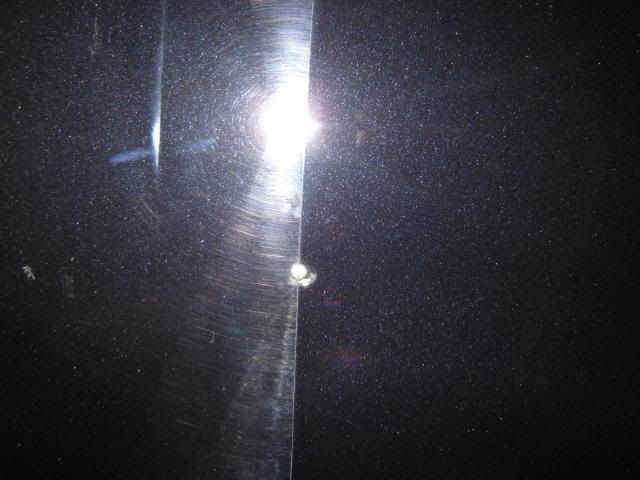
Before Paintwork Correction.
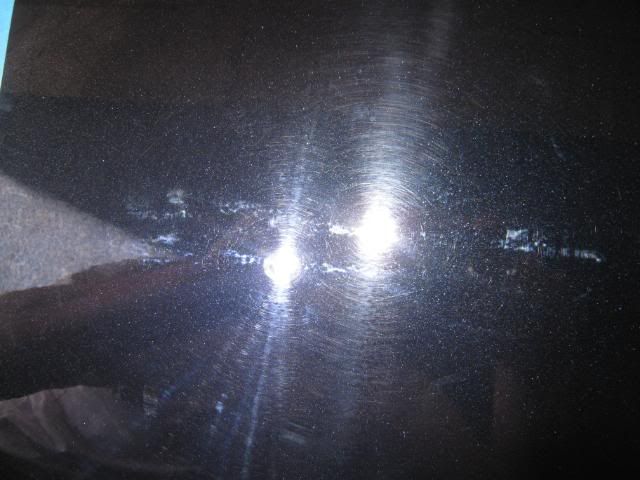
After Paintwork Correction (still to be refined)
Before.
After.
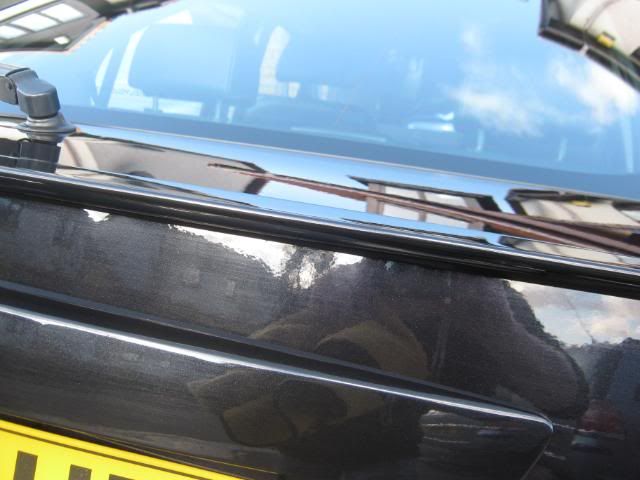
A pillar before.
A pillar corrected.
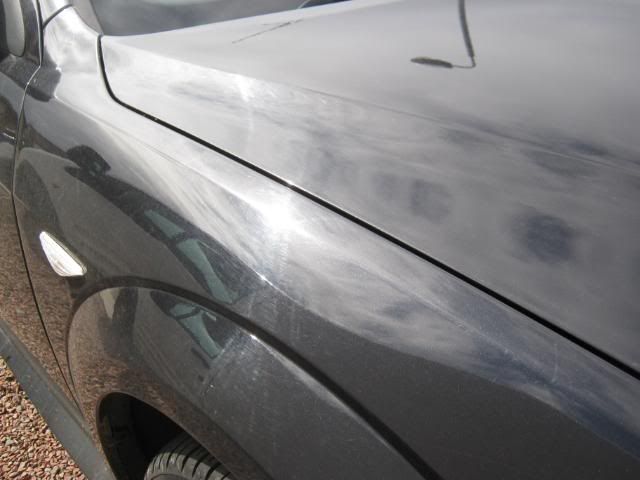
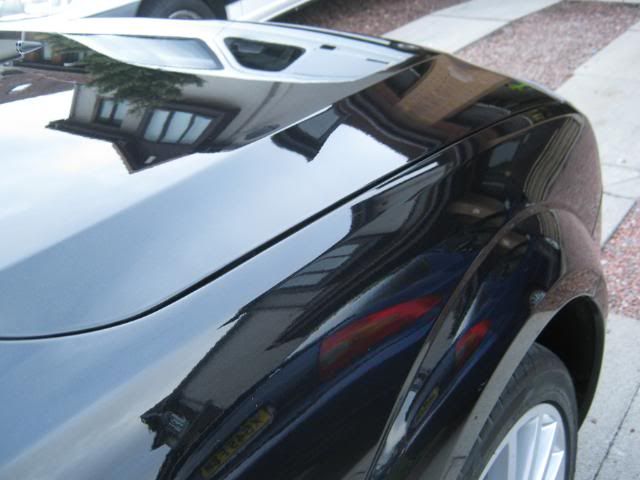
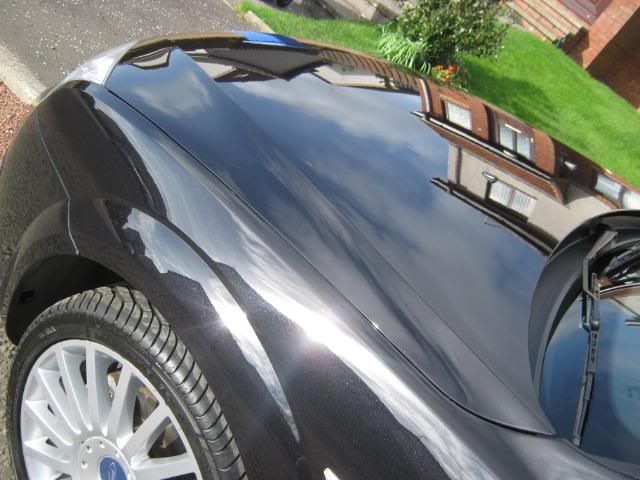
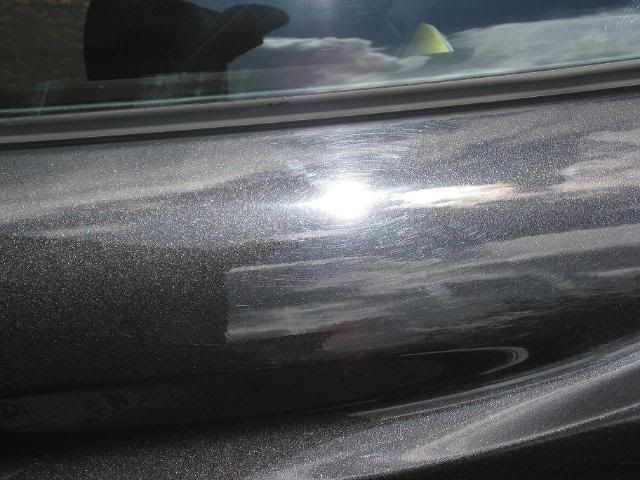
Front wing before.
Front wing after.
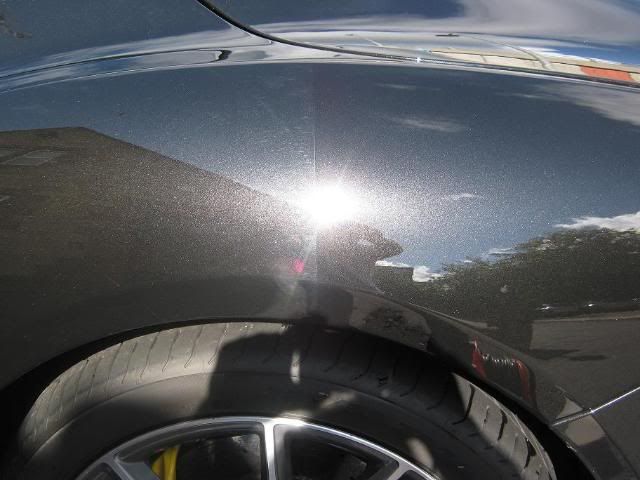
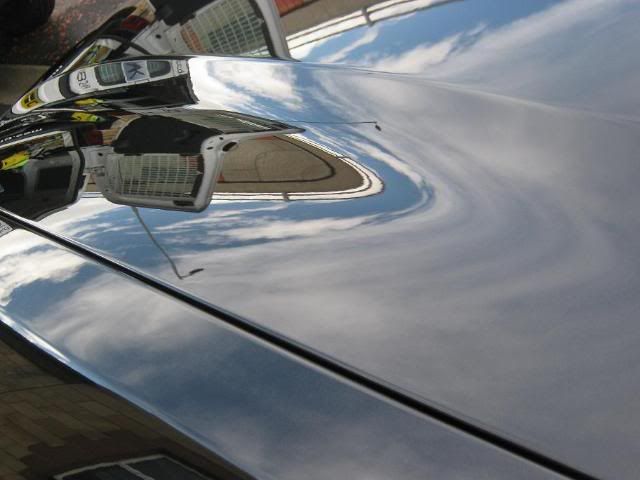
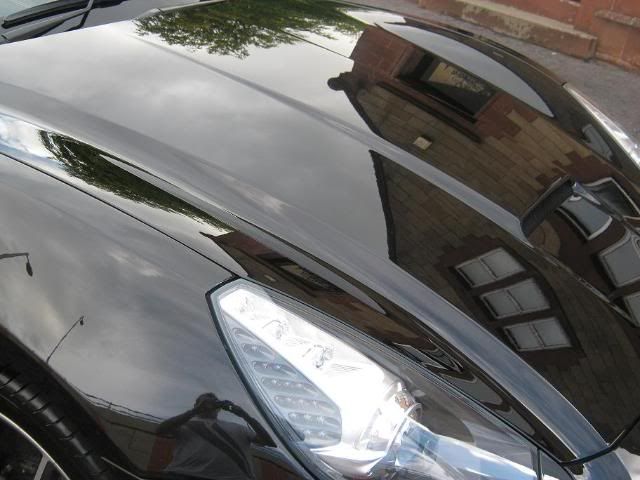
Bonnet before.
Bonnet after.
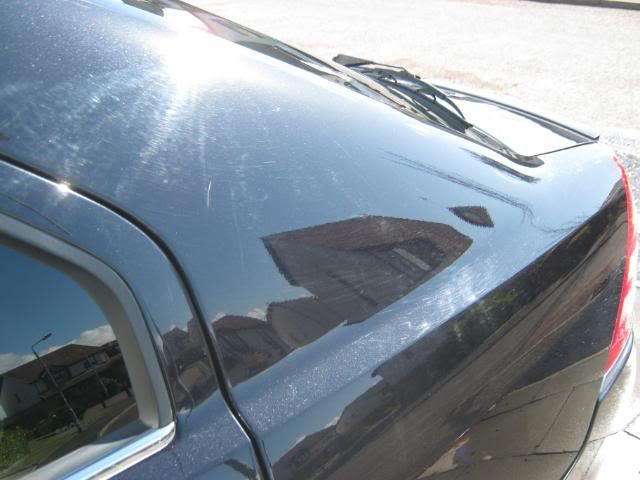
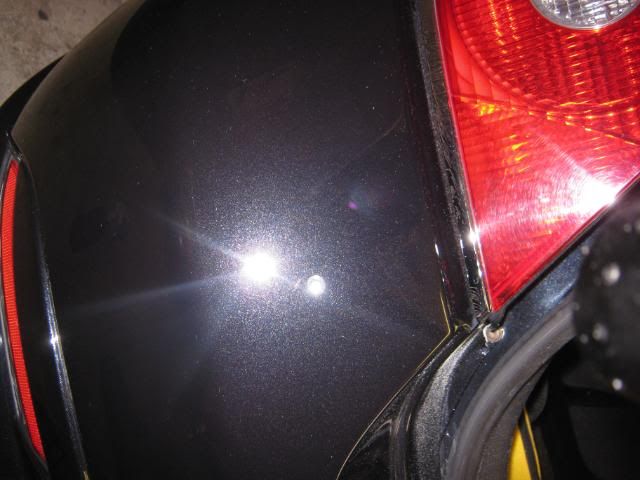
Time to sort out that scratched rear end.
Before.
50/50.


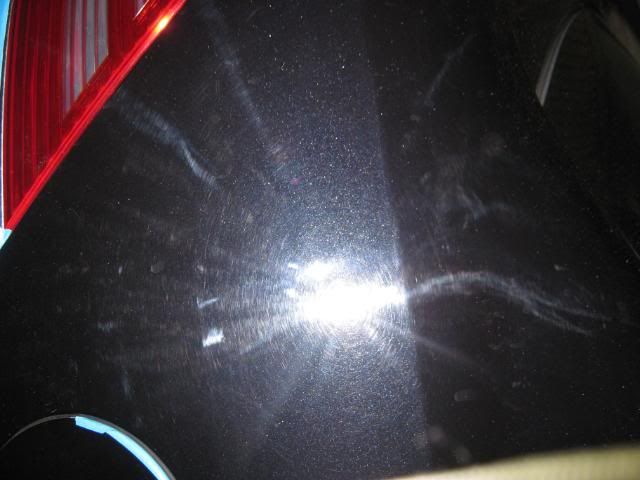
Deep scratches and swirls removed.
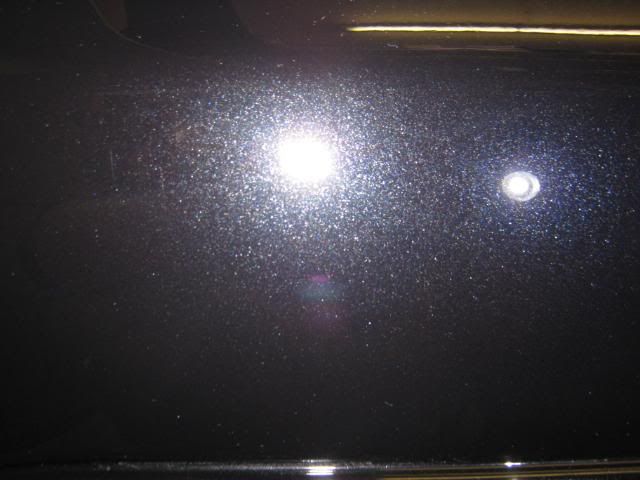
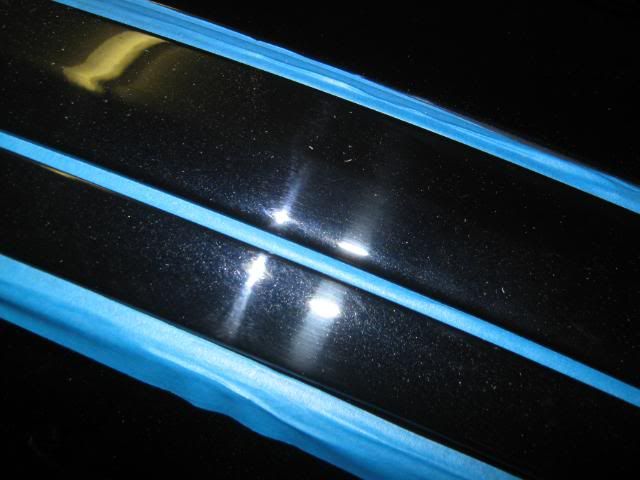
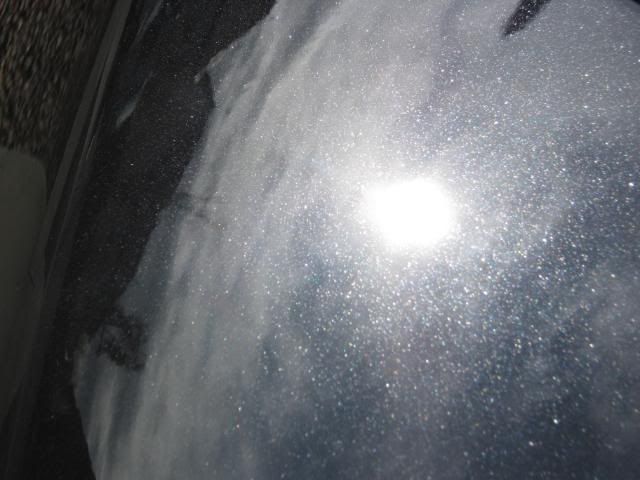
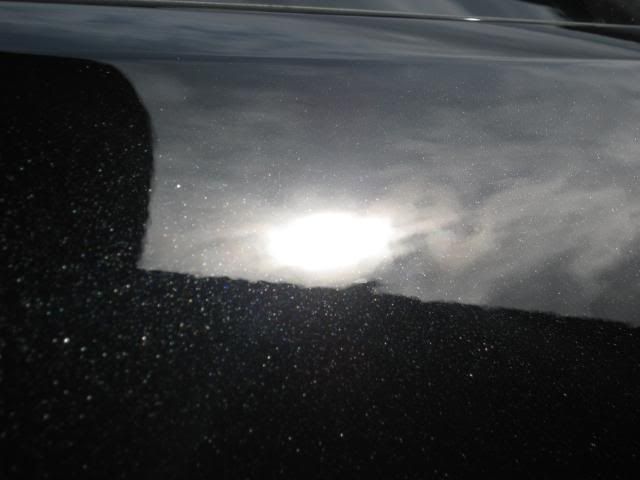
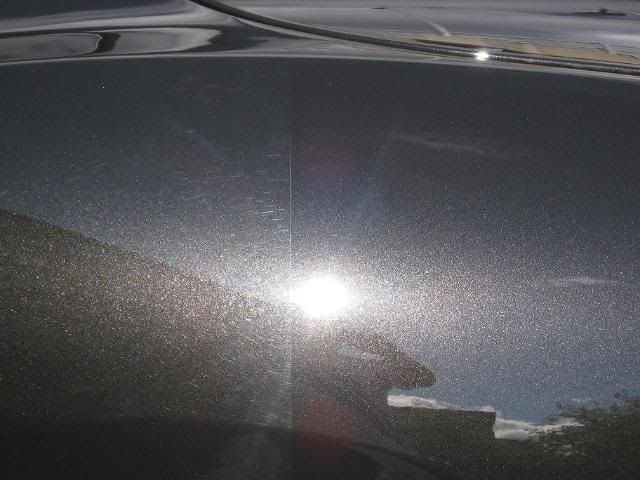
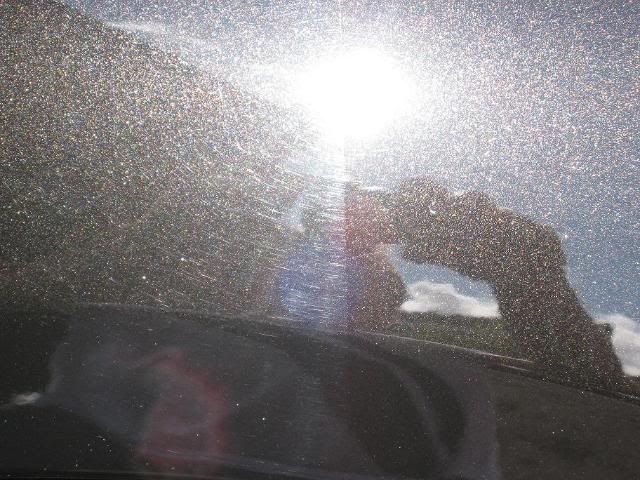
Nice flake popping through even in low light

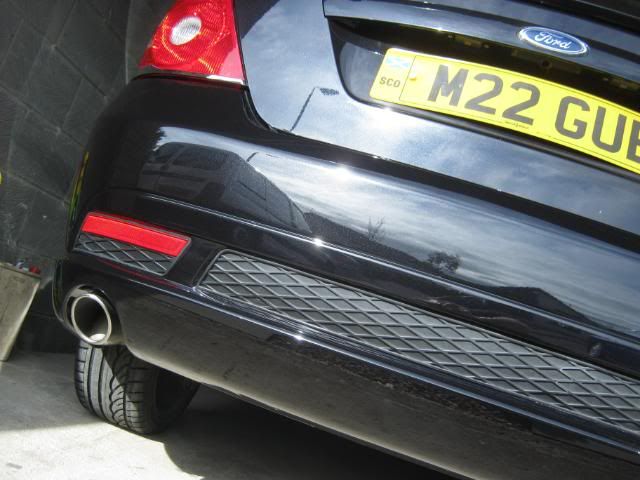
Rear bumper after 3 stage correction.
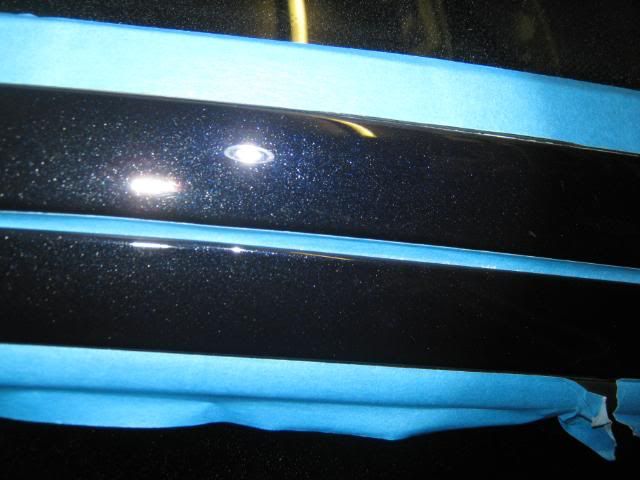
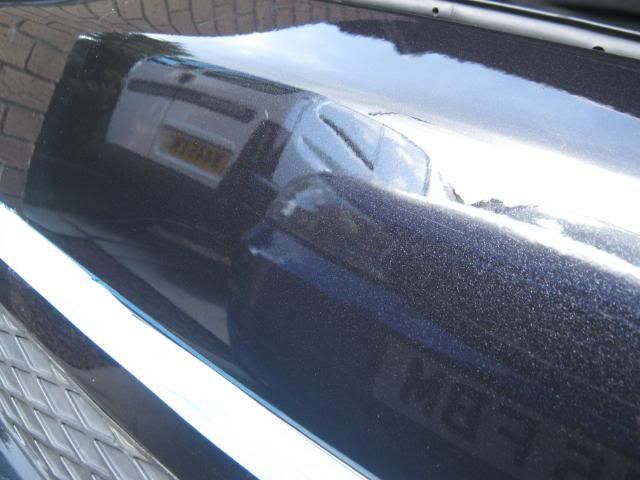
Leading edge of the boot.
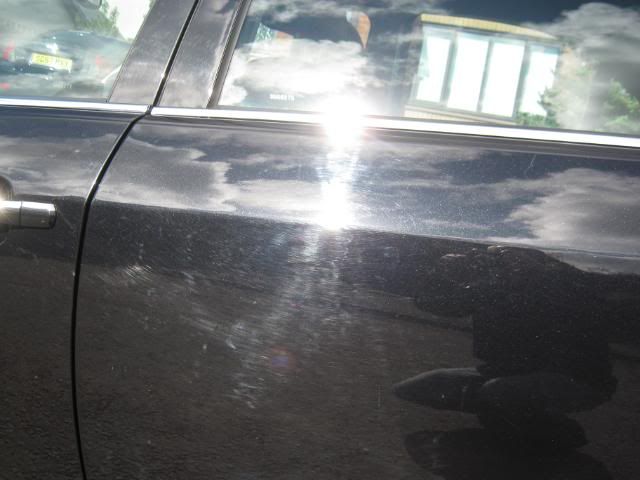
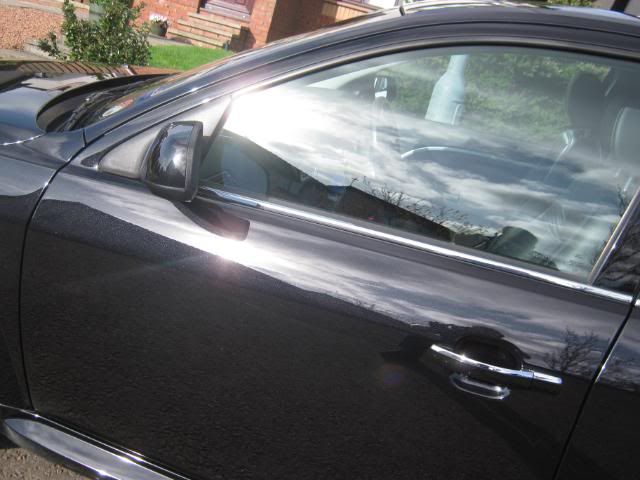
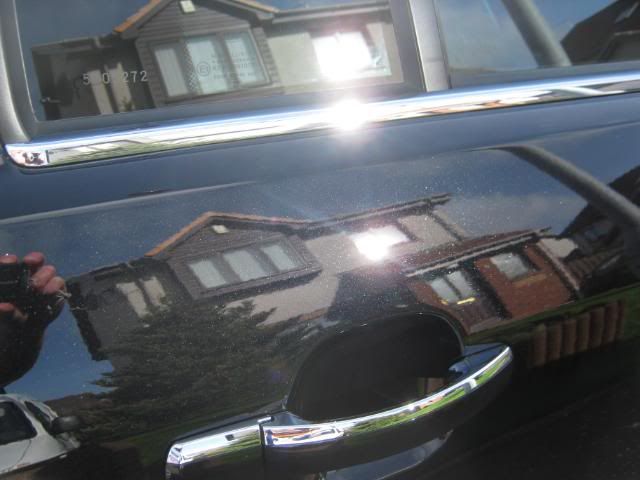
Offside door before.
Offside door after.
Quarter panel before.
After.
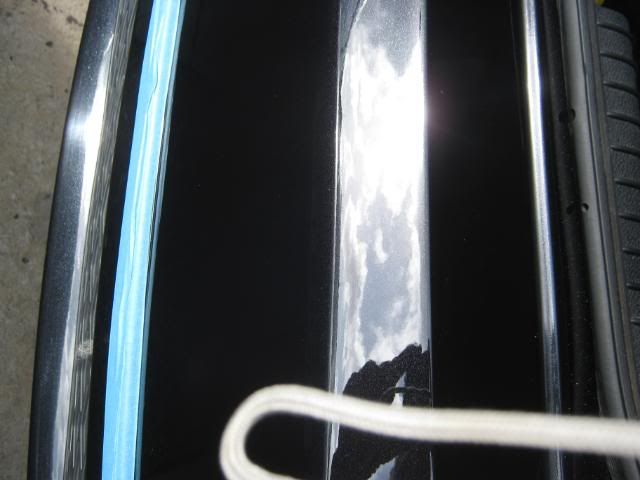
50/50 on nearside rear door.
Corrected.
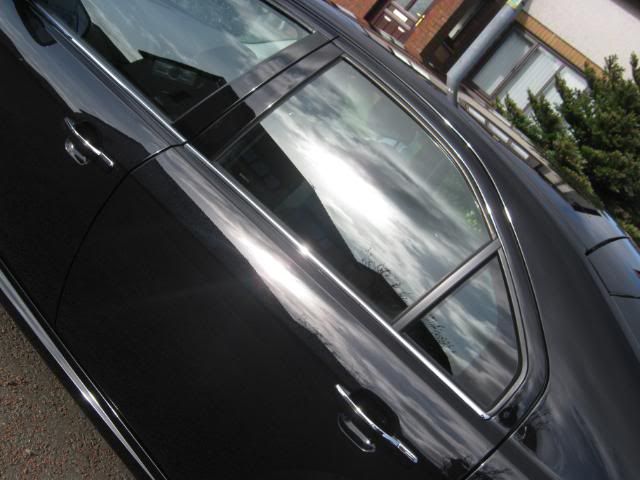
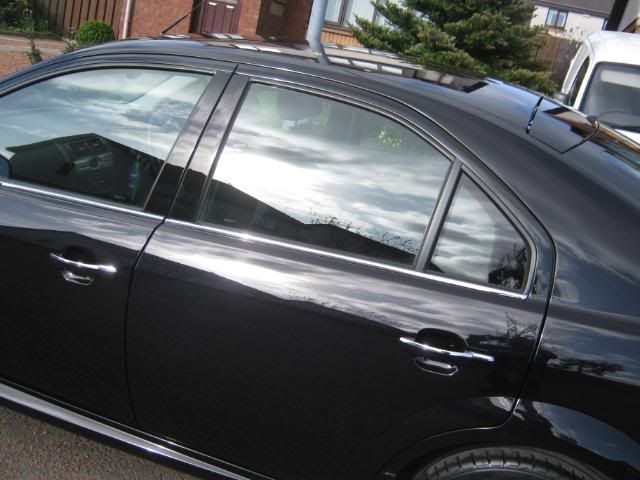
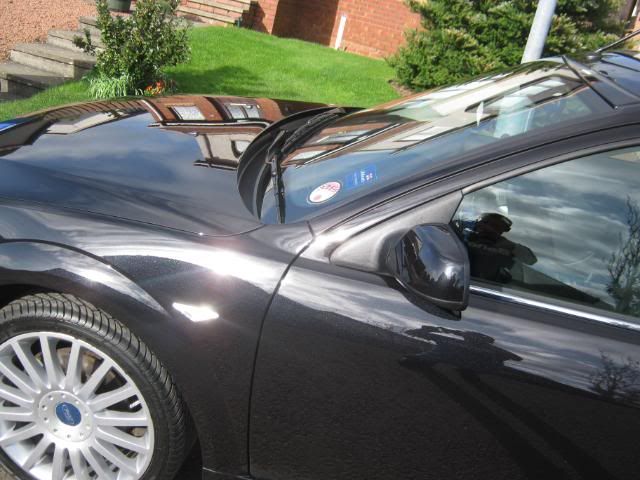
After machine work all paintwork was refined and burnished with a 3M blue finishing pad and Megs 205, waxed with Dodo Juice Purple Haze Pro with a final wipedown of Zaino Z8, plastics dressed, windows polished, wheels sealed, and tyres dressed.
And the end result on day three, scroll down for direct sun shots just before the delighted owner picked the car up.
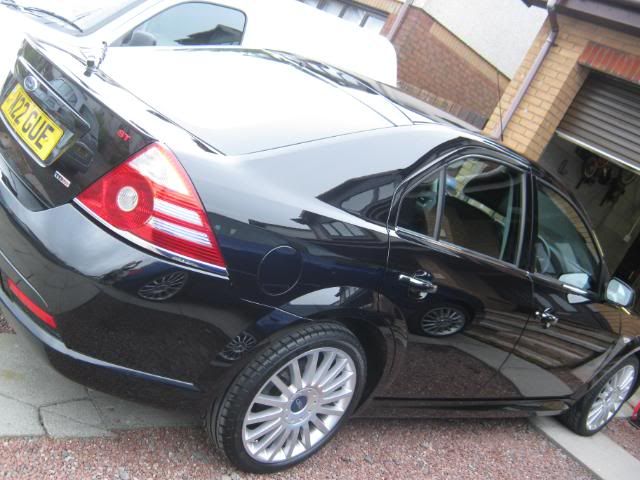

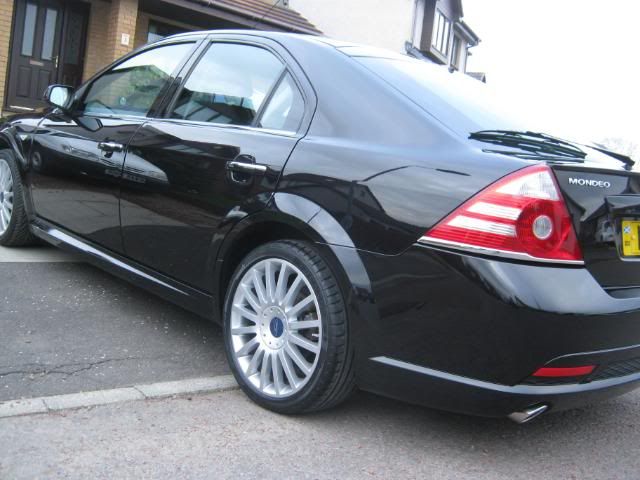
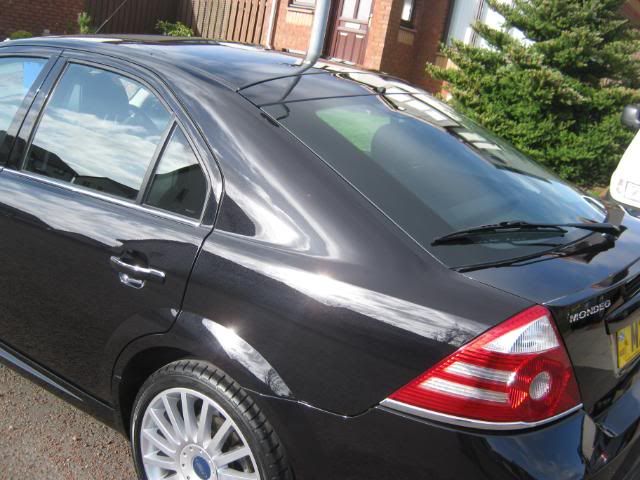
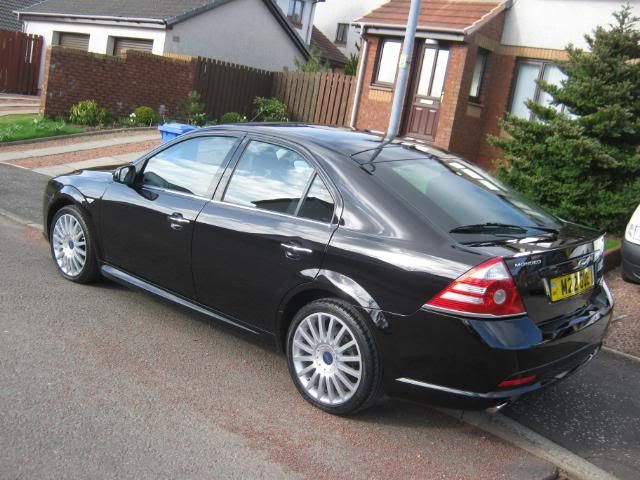

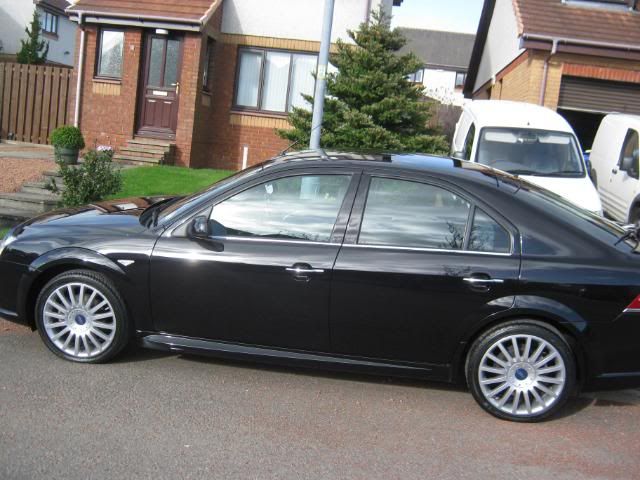
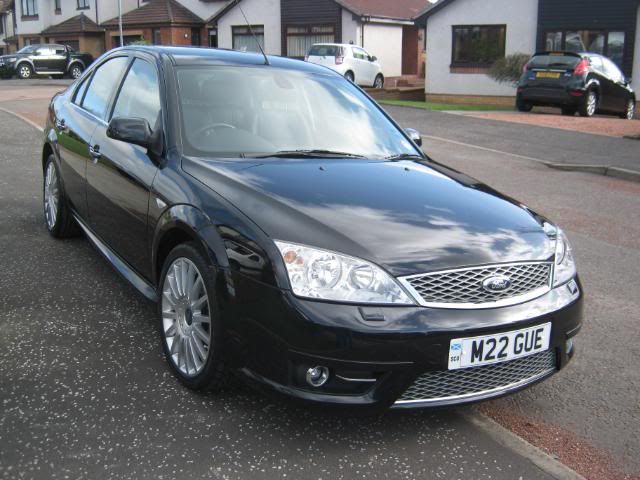
A very enjoyable car to work on, and the owner was delighted with the finish!
Thanks for reading
Richard
-
Hey Richard, a guy from my work was so impressed, I believe he's booked your services for his new car
 He'll annoy you with a million and one questions
  , it'll save me a half hour everyday if you answer them
Hi George, He called me on Monday, gets his new car this Friday, so will wait and see what condition it is in then get it booked in, advised him to tell the dealership not to wash the car in case they inflict some swirl marks.
Richard
-
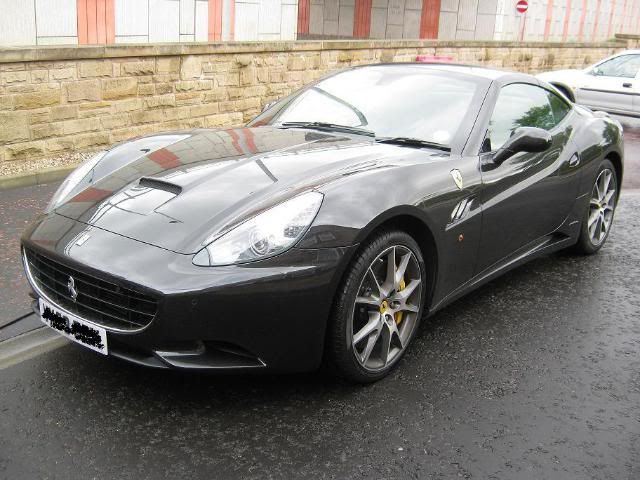
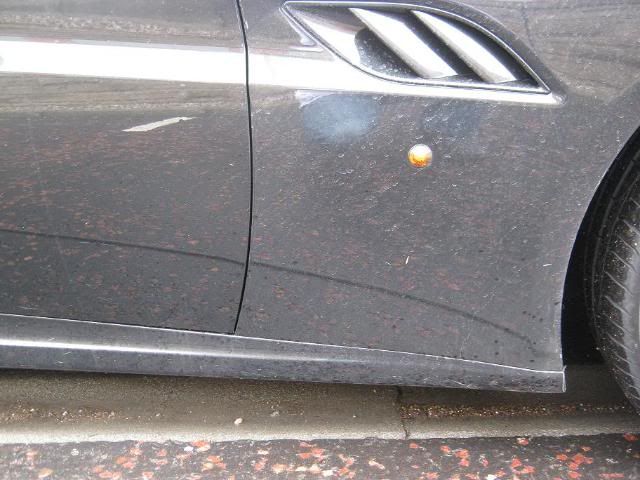
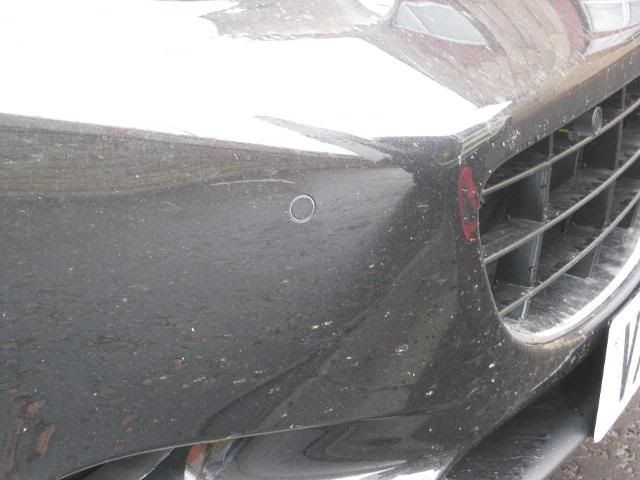
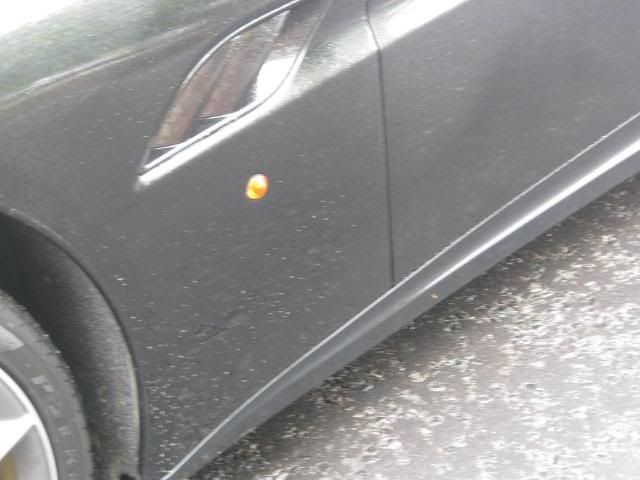
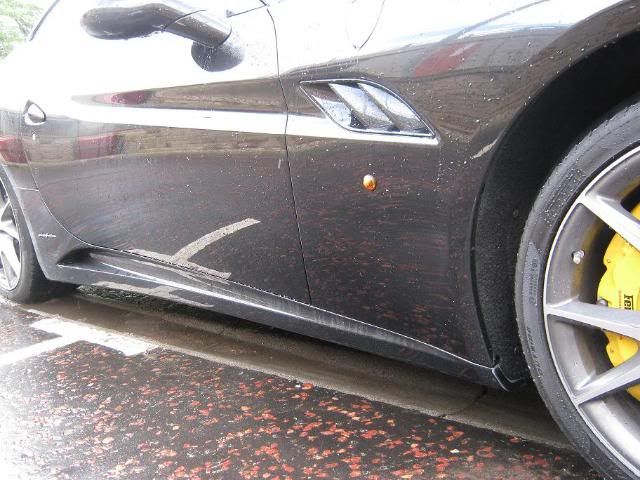
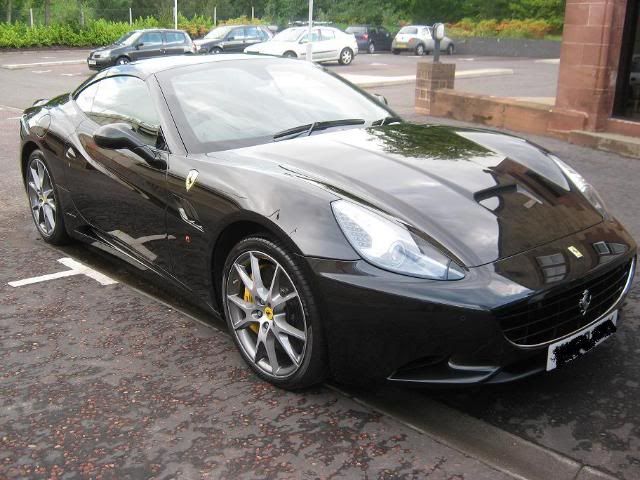
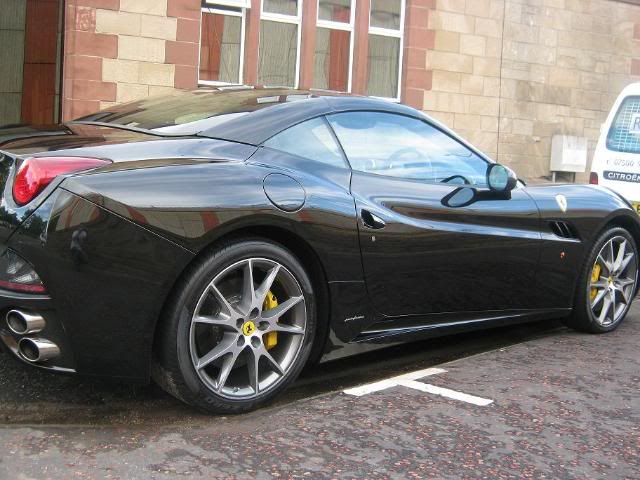
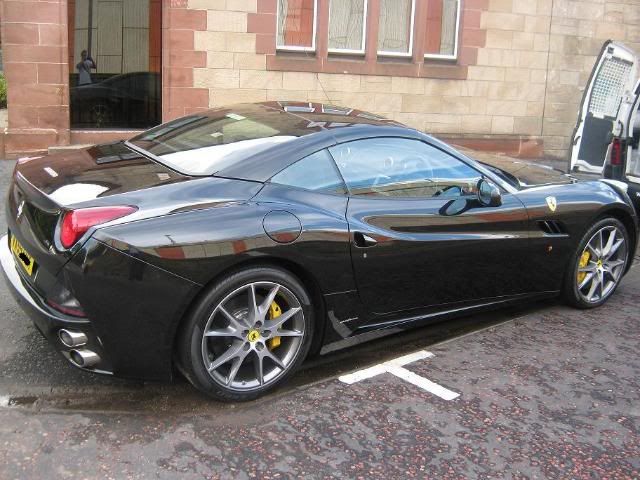
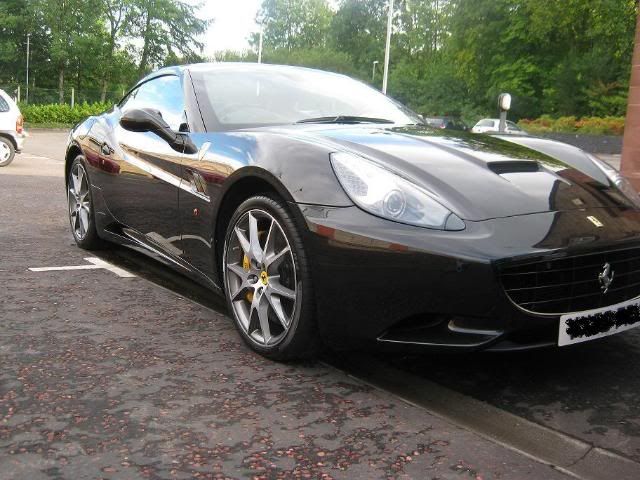
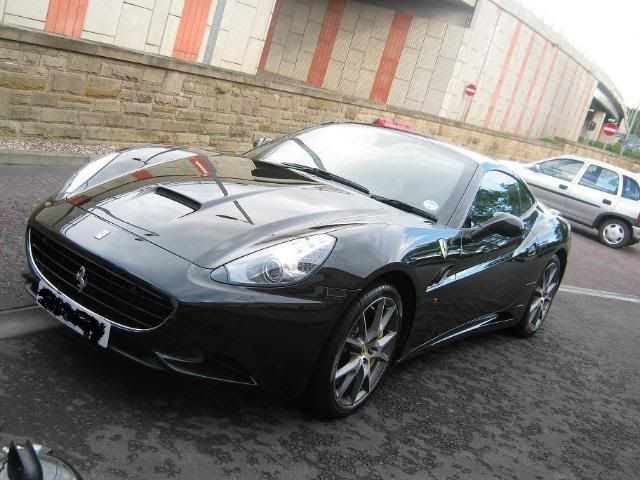
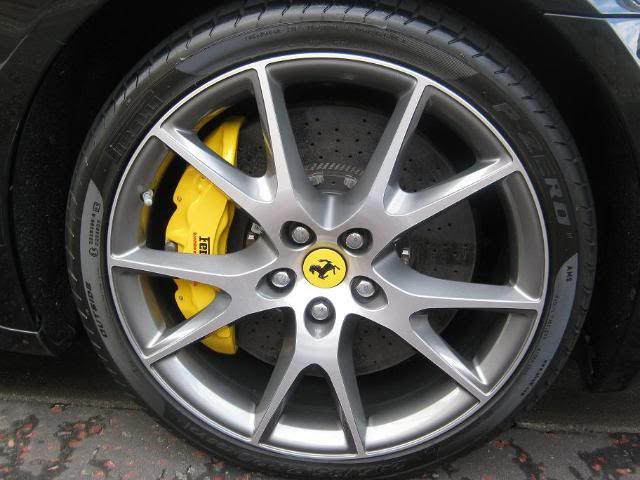
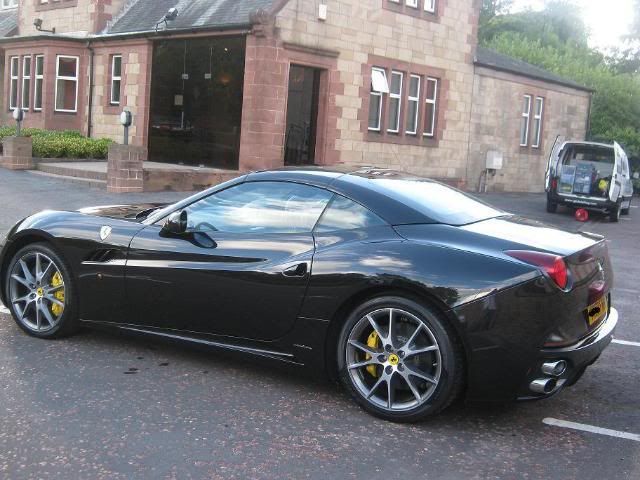
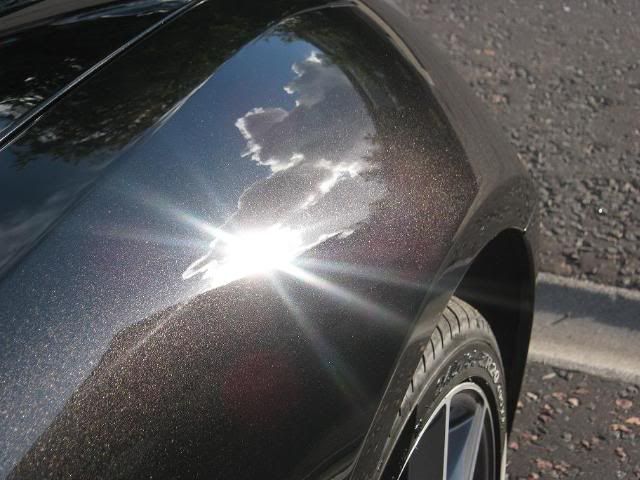
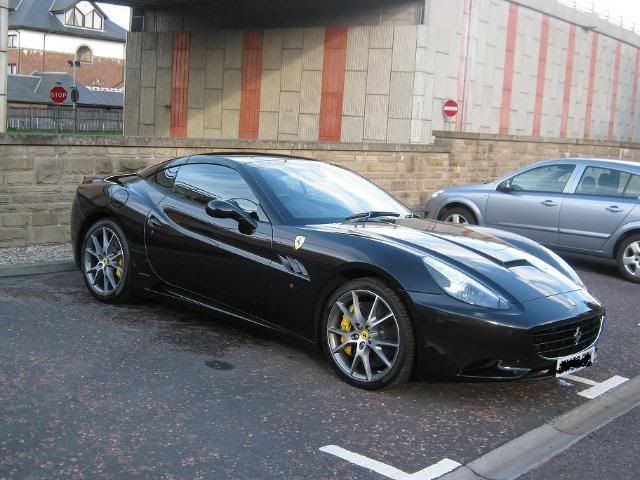
A few months ago I detailed this rather tasty Ferrari California.
The car gets used regularly and hasn't seen a wash in two weeks, so there was a fair bit of traffic film and bug splatter, there was also a fair few swirl marks showing in the afternoon sunlight.
The car on arrival.
G101 mixed 10:1 was sprayed on all lower parts, including wheels
Then rinsed
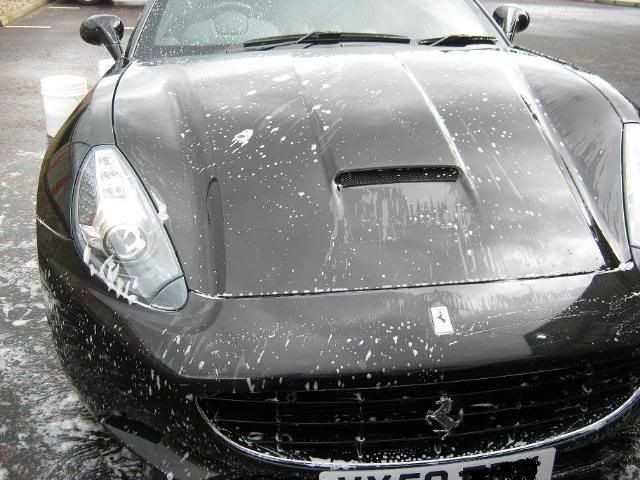
Full car then snowfoamed (not pictured)
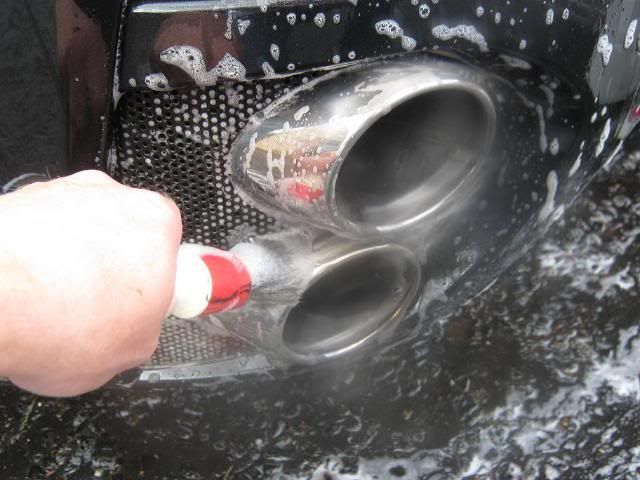
The tailpipes and all other fine details were then cleaned with a soft detailing brush.
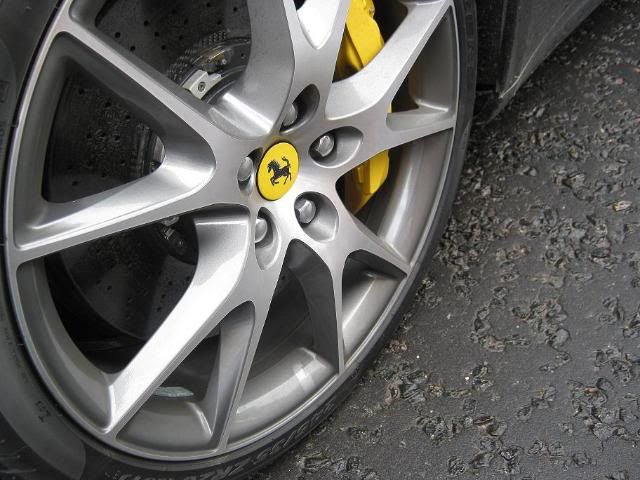
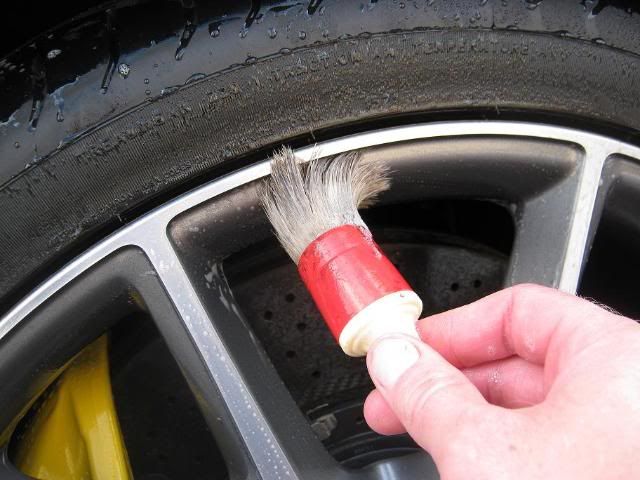
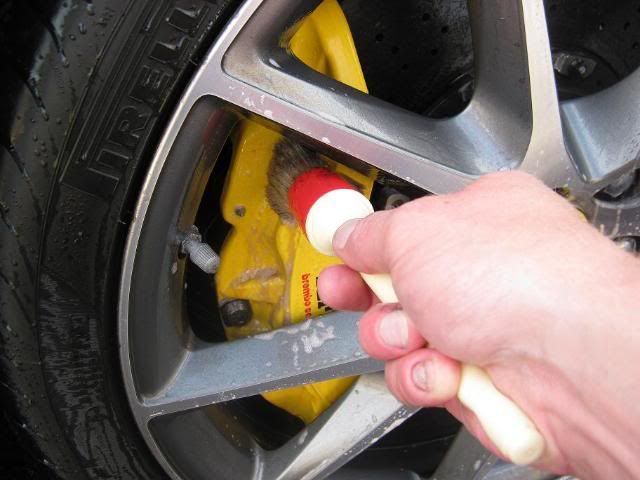
Wheels then cleaned with soft detailing brushes, Ez detail brush to clean the backs of the wheels, and Billberry mixed 18:1
The full car was then bathed in Meguiars Gold Class shampoo, using a Meguiars Sheepskin mitt and two buckets.
Then rinsed and clayed using Sonus Green and Gold Class shampoo mixed 10:1 in a spray bottle as lube. (not pictured)
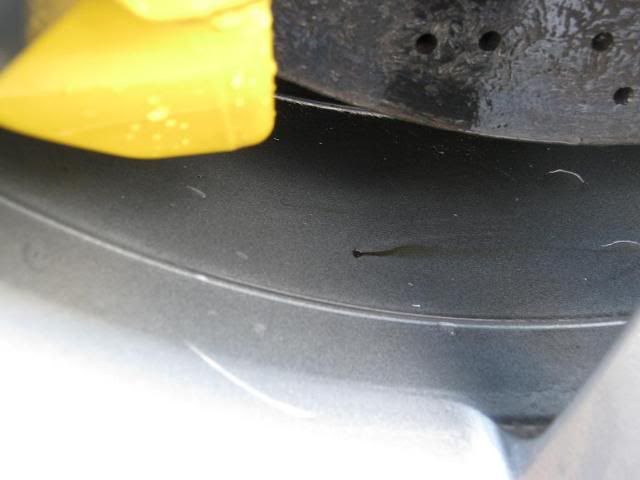
tar remover sprayed onto wheels, then removed with a soft microfibre.
one of the few tar spots I could find.
With the car fully washed, clayed and dried, it was time to assess the condition of the paintwork.
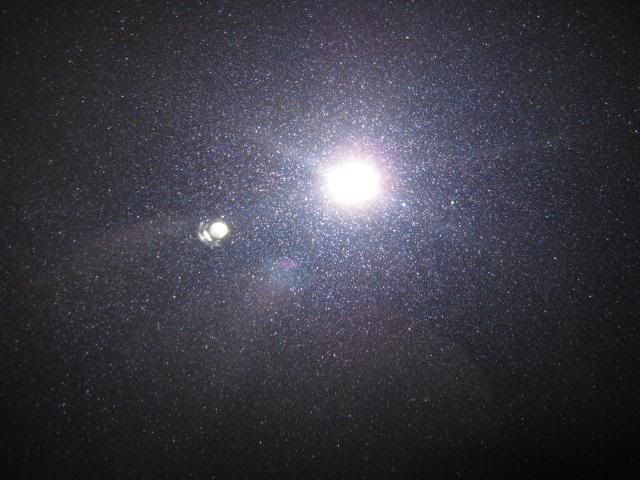
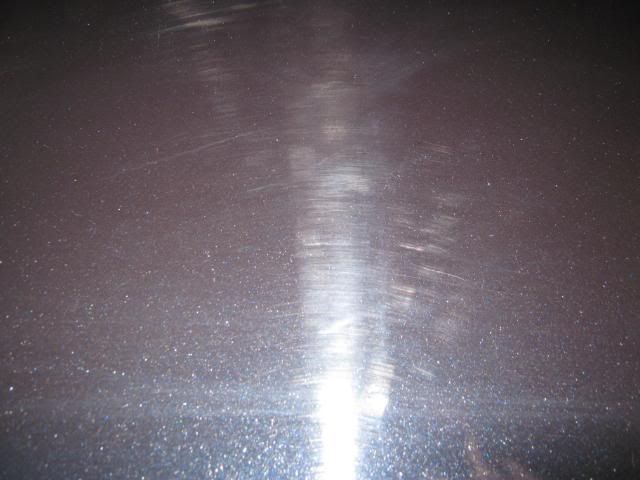
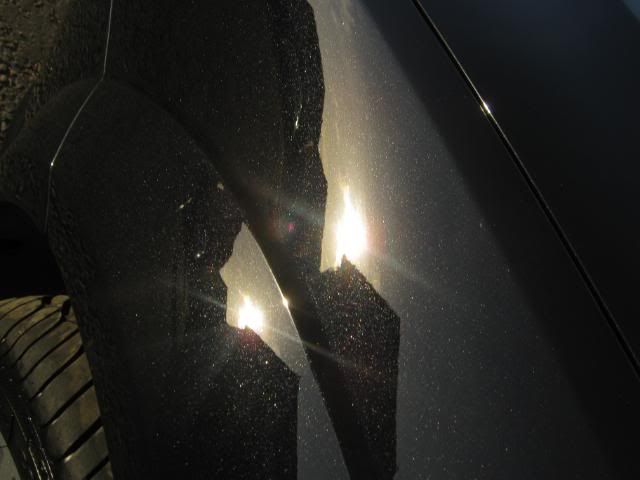
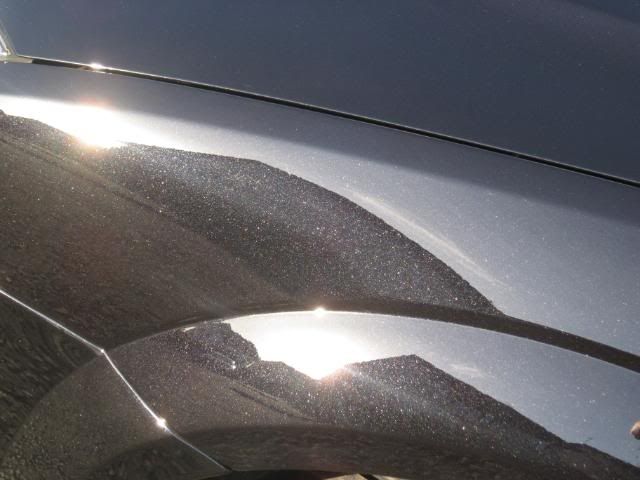
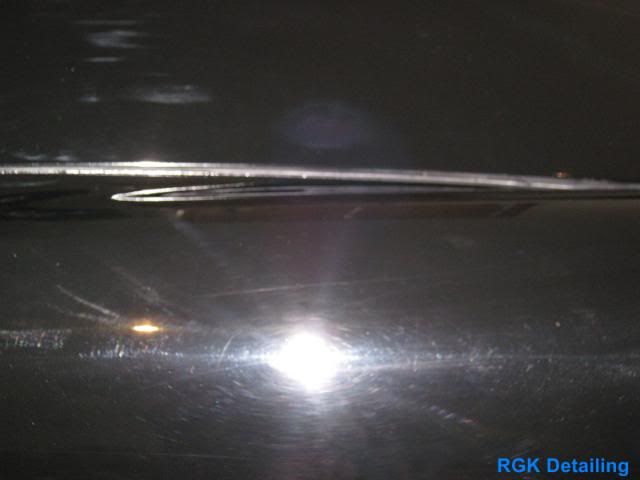
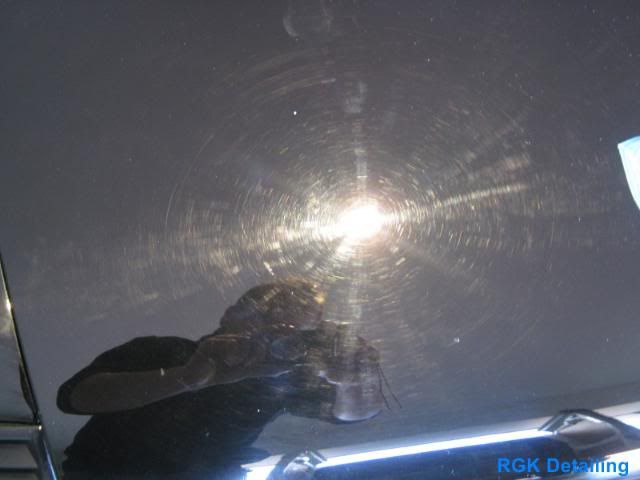
Swirls!.
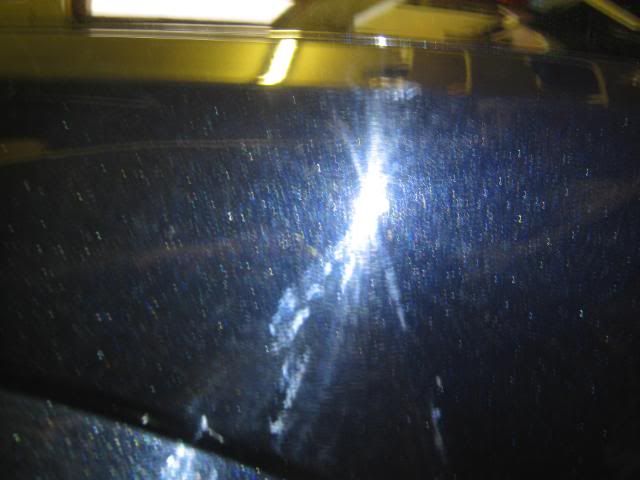
The odd hologram.

Being an Enhancement detail, a single stage of machine polishing is carried out then the paint cleansed ready for waxing, in this case Meguiars 205 was used on a Yellow 3M, this knocked back the majority of swirl marks and holograms leaving only the RDS, finishing down nicely allowing the metal flake to "pop" through!.
50/50
Full panel polished and ipa wipedown
Being chuffed with the results I continued to move round the car using the same process.
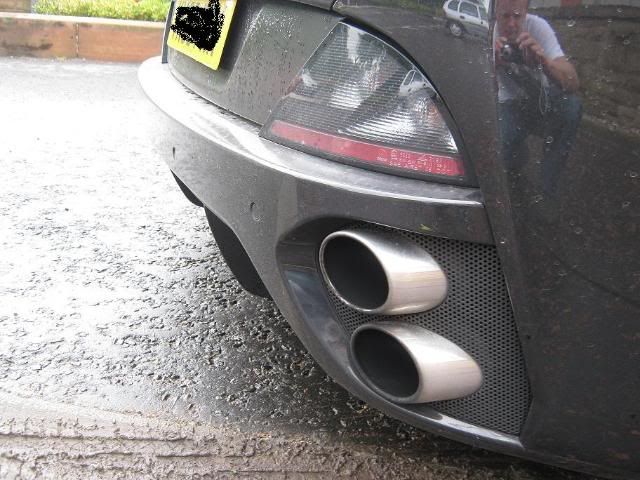
After polishing, Dodo Juice lime Prime Lite was applied using a 3M Blue pad by rotary, followed by another ipa wipedown, this process added extra gloss and wetness to the finish, two coats of my favourite wax at the moment Dodo juice Purple Haze Pro was then applied, the wheels were also given a coat of FK1000p, tailpipes polished with AG Metal polish, then protected with FK1000p.
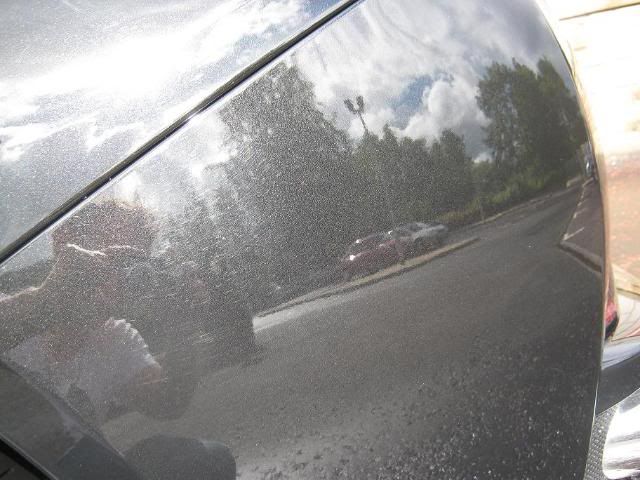
you can just make out the wax hazing in these two photo's.

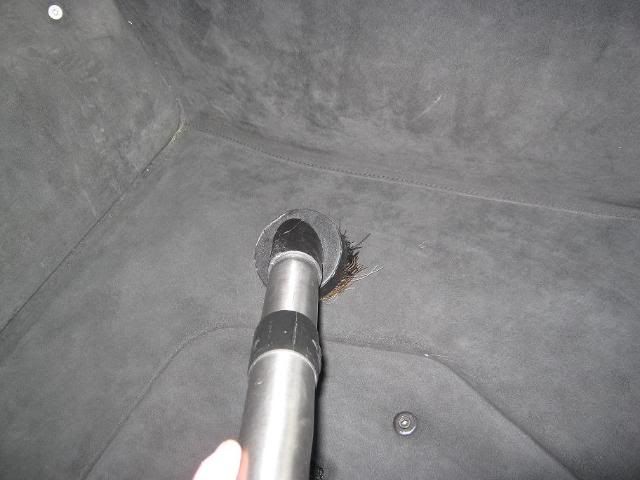
This was left to cure for 20mins or so whilst the interior was vacuumed.
with Suede carpets extra care was taken using a soft brush attachment.

After the wax was buffed off the tyres were dressed with AS Highstyle applied with a tyre applicator and windows polished with AG Fast Class.
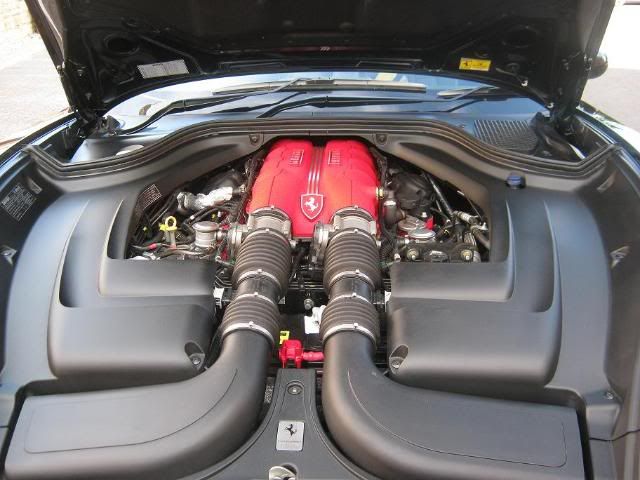
Engine given a wipe down with G101 and plastics dressed with Aerspace 303 Protectant.
460bhp 4.3 V8.
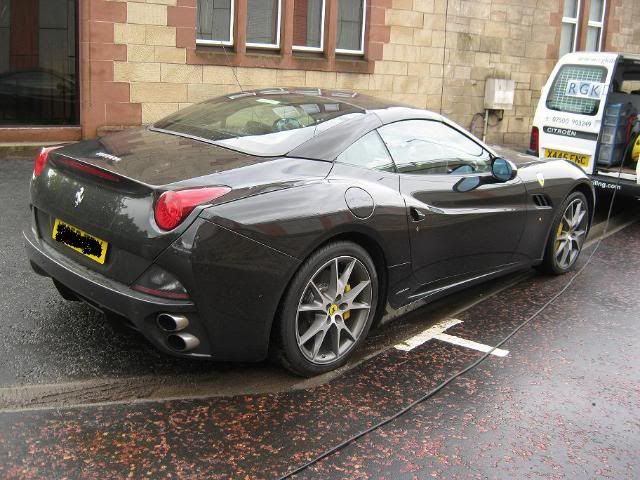
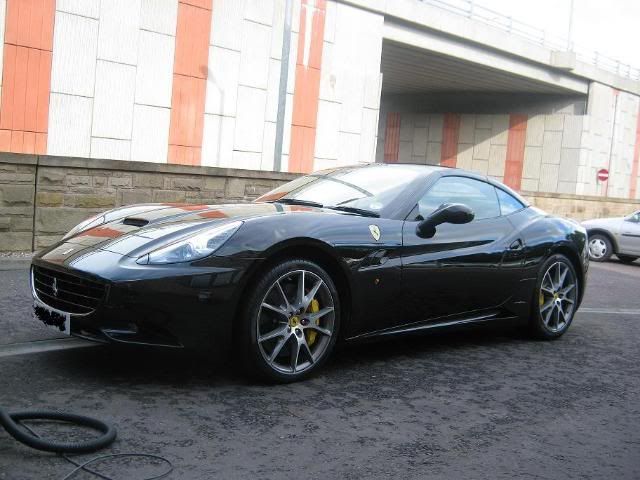
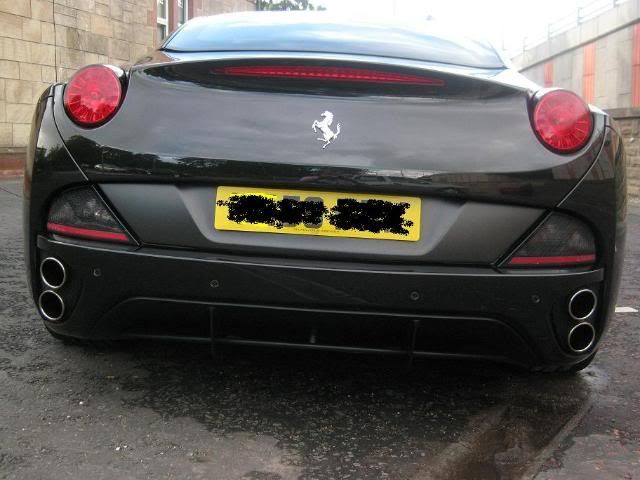
The finished article, I'll let the pictures do the talking :thumb:


Hope you enjoyed reading.
Richard
07500903249
-
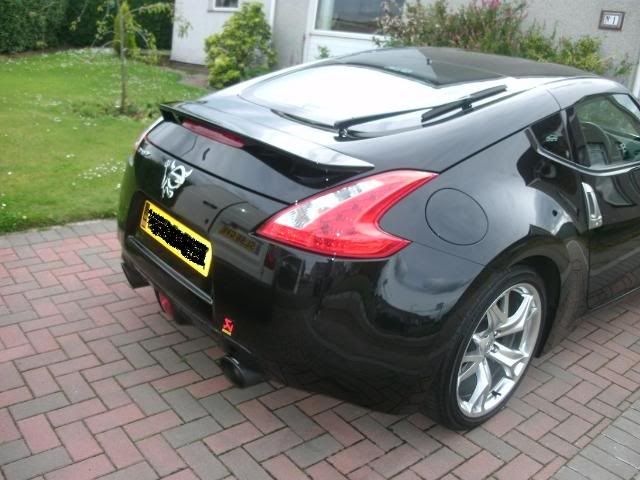
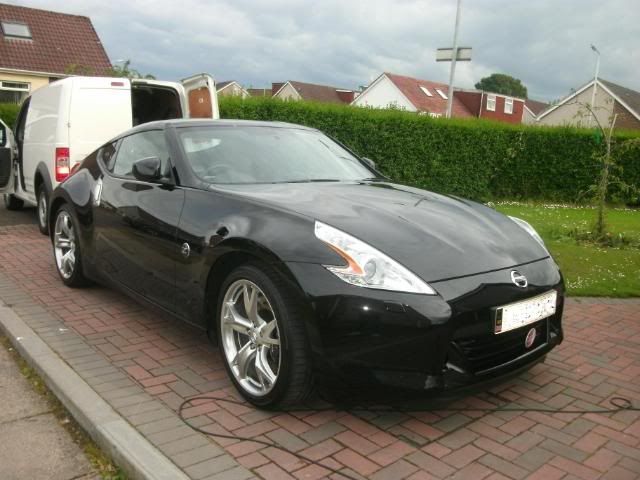
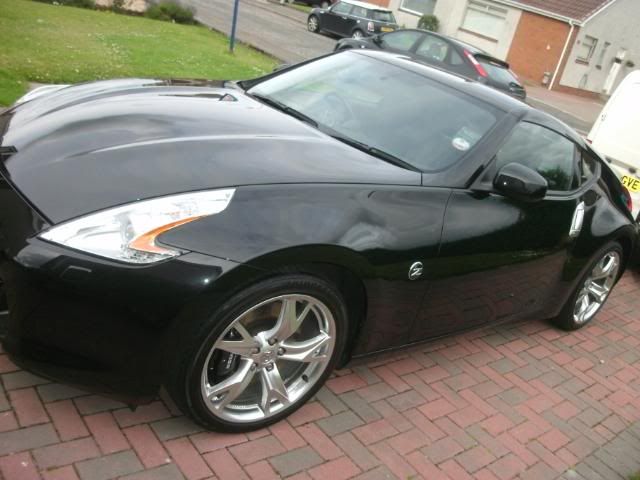
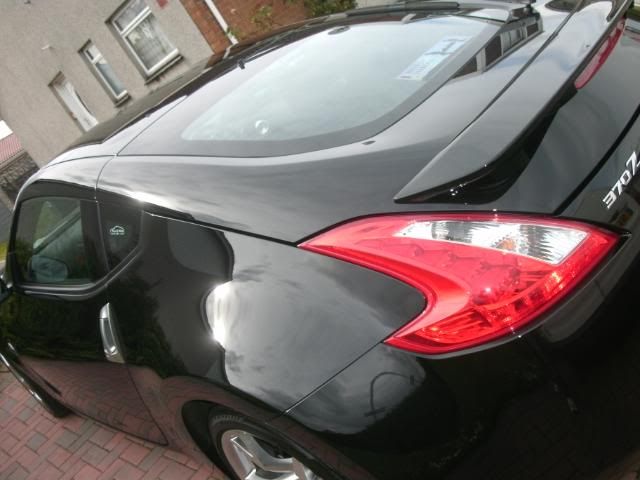
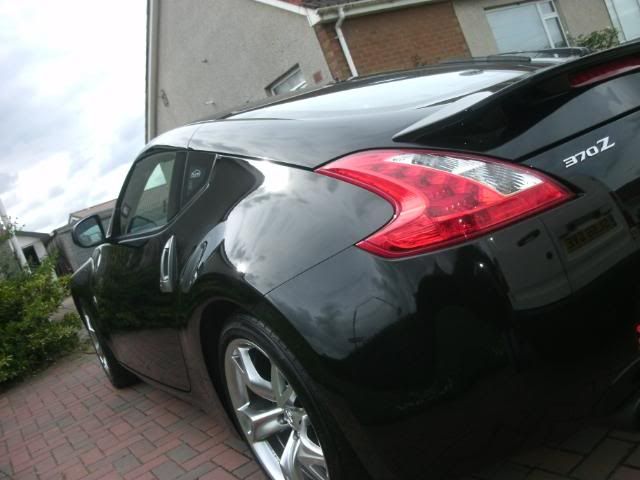
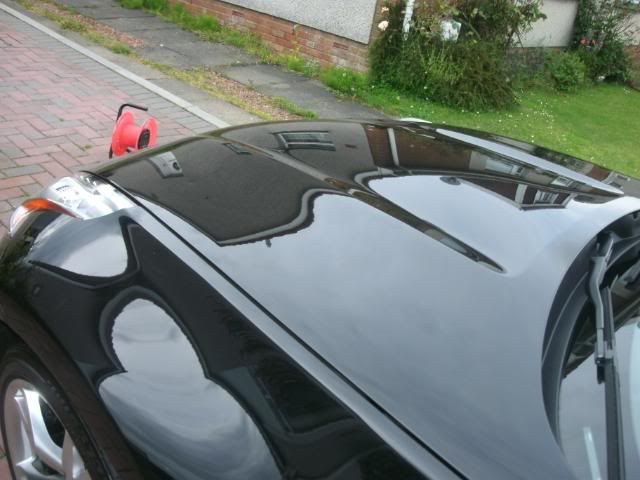
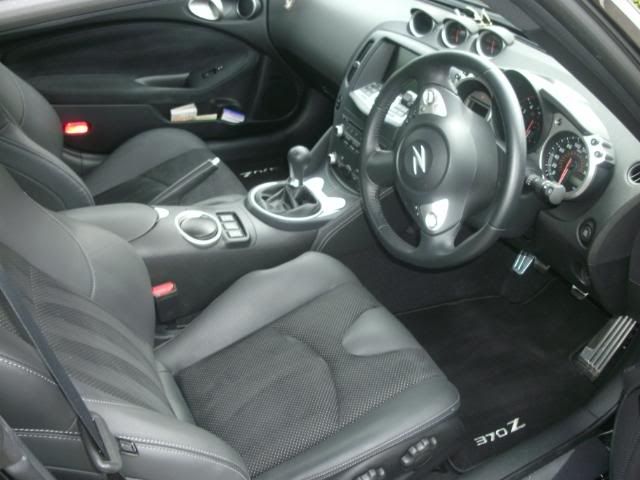
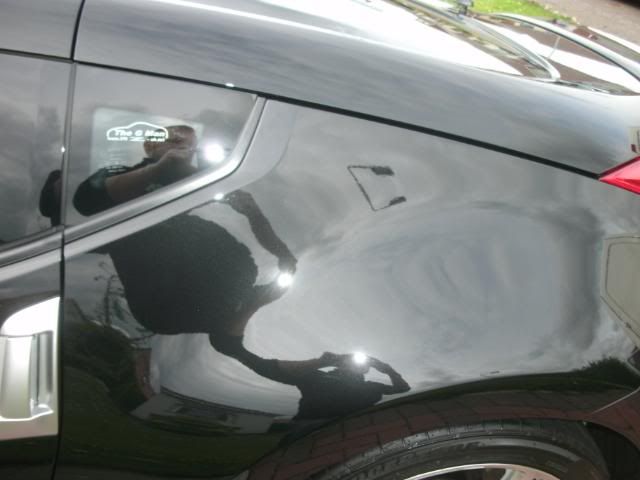
Thought I would share a few pic's of George's lovely 370z which I detailed prior to Lakez last week
This was treated to a one day Gloss Enhancement Detail to remove some light wash swirls in the paintwork and give it a dripping wet finish! sealed and waxed using Blackfire Wet Ice over Fire Kit, enjoy
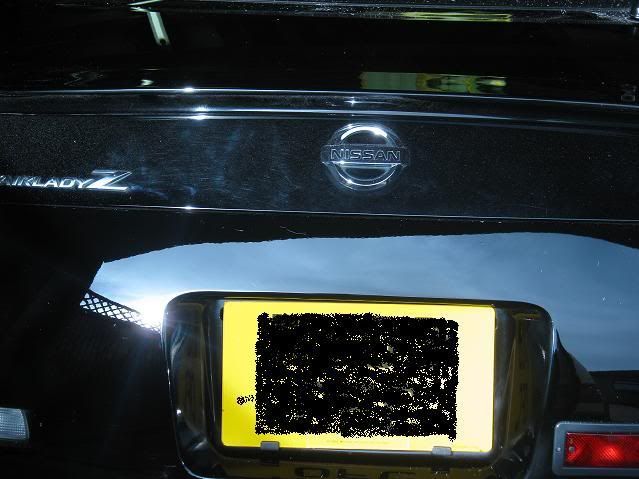
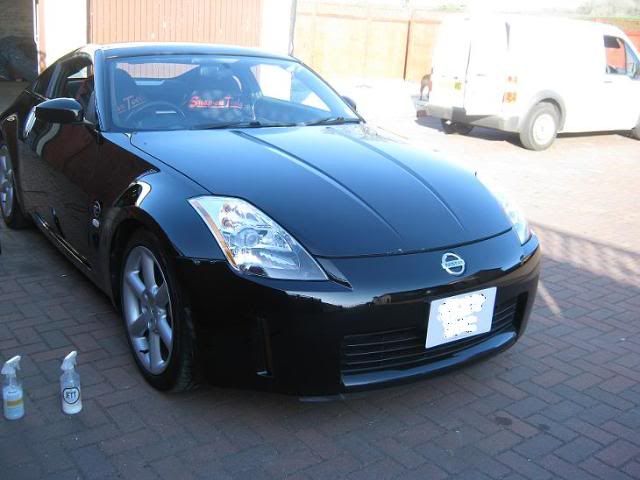
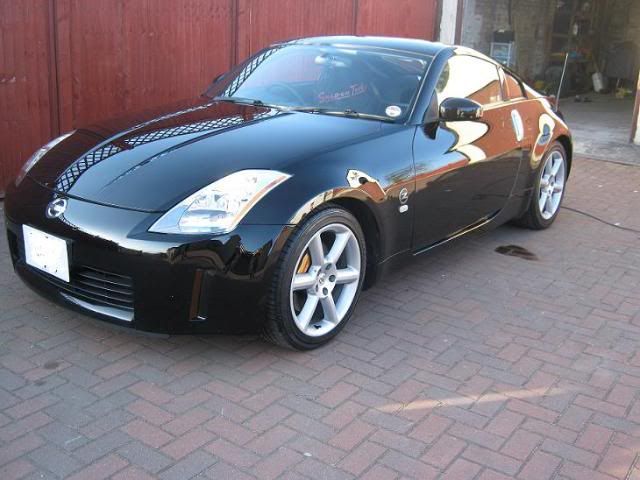
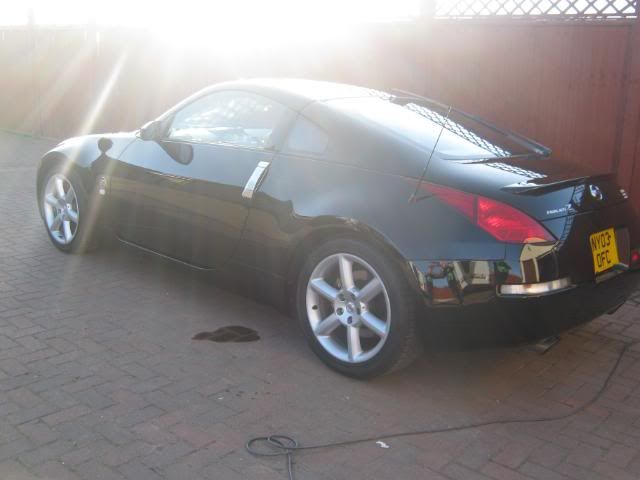
And a 2003 Fairladyz, treated to a two day Correction Detail just over a month ago
50/50 between the bootlid and rear bumper
Richard
07500903249
-
Thanks for the comments guy's
Nice work
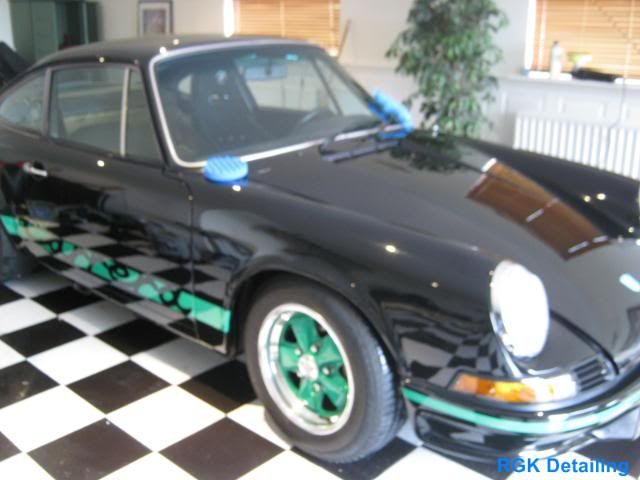
................but why have a Porsche in the Bathroom
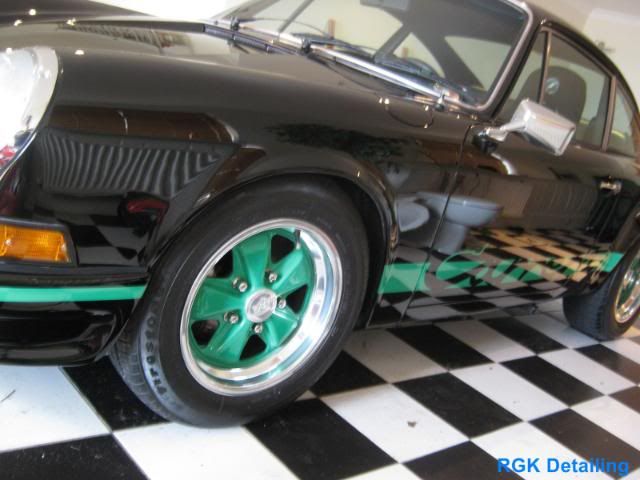
If it was me, I would not be able to pee

lol, I thought it was a fixed toilet in the garage when I first saw it.
-
Evening folk's
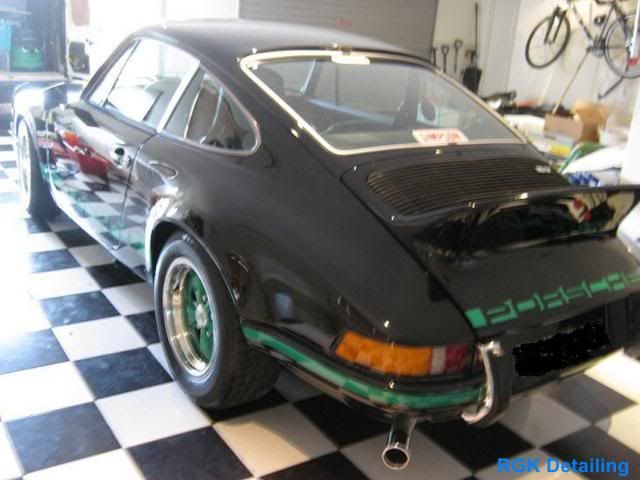
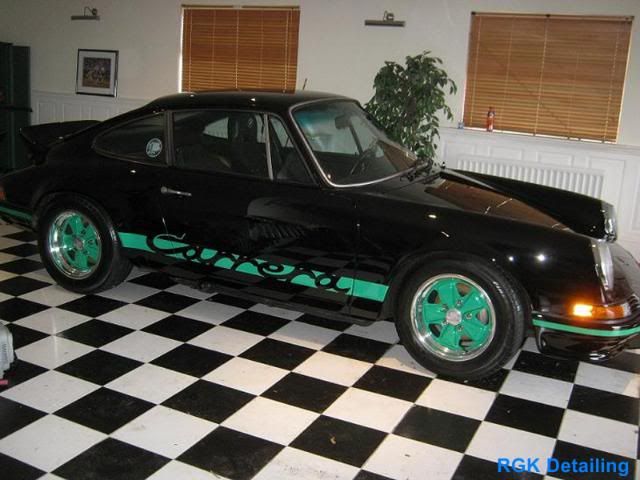
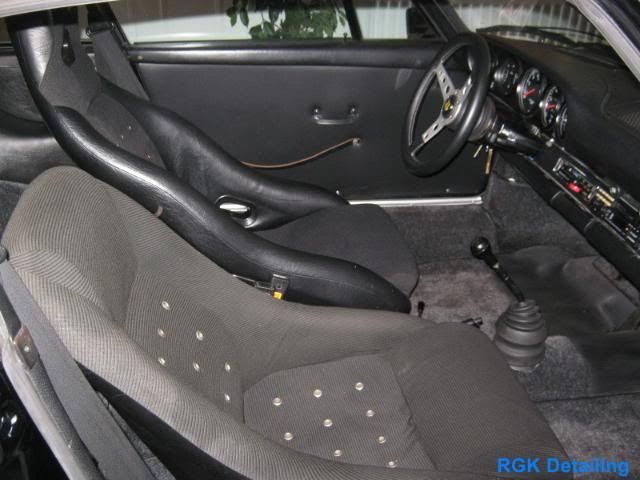
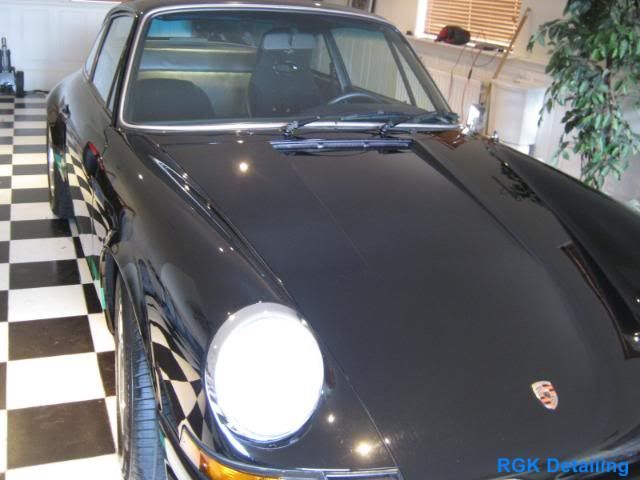
This rather stunning 1973 Porsche 911 Carrera RS was booked in for an Enhancement detail just over 6 weeks ago for a very good regular customer of mine, before I go on its worth mentioning that the paintwork does need more time spent to remove many of the RDS (Random deeper scratches) in the finish, the aim was to get the car looking the best I could in a day so the owner could proudly show it off at a rally that weekend.
No before or wash stage pic's were taken as in traditional Scottish tradition it was chucking it down with rain outside! so I just got cracking on with the job before moving the car into the owners garage,
the car had been restored just over 12 years ago and only used in dry weather was already fairly clean,
the usual safe washing process was used using two buckets and a plush wash mitt, with all the finer intricate details being cleaned using AS G101 and soft detailing brushes, the wheels only had light brake dust on them, so were cleaned using and older wash mitt, soft detailing brushes and Meguiars Gold class shampoo, the full car was then clayed, rinsed and dried ready for inspection and polishing.
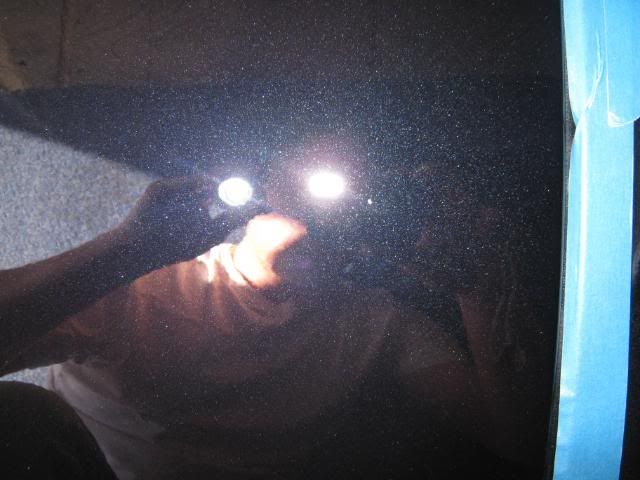
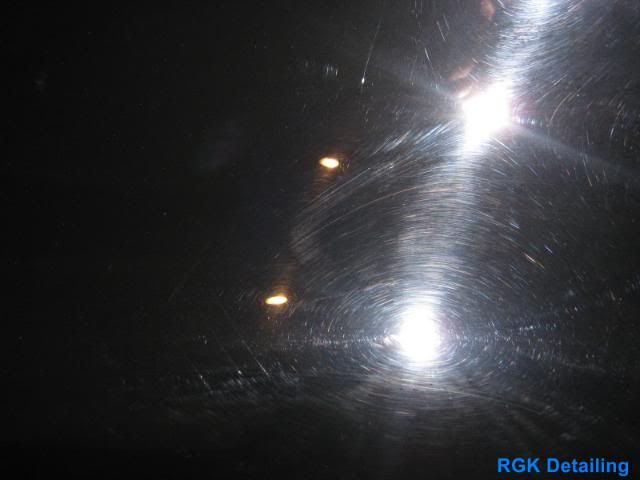
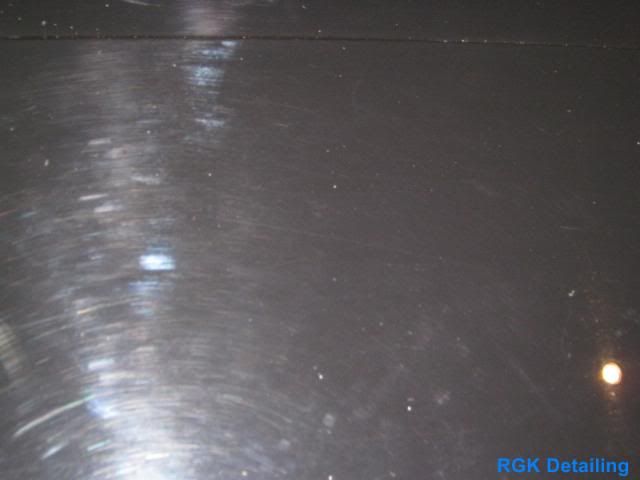
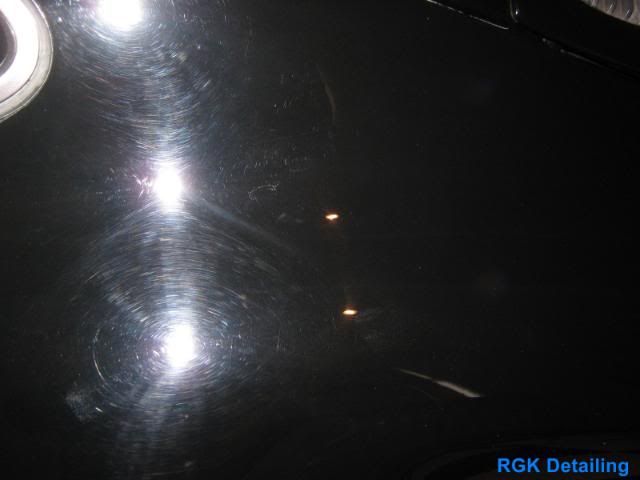
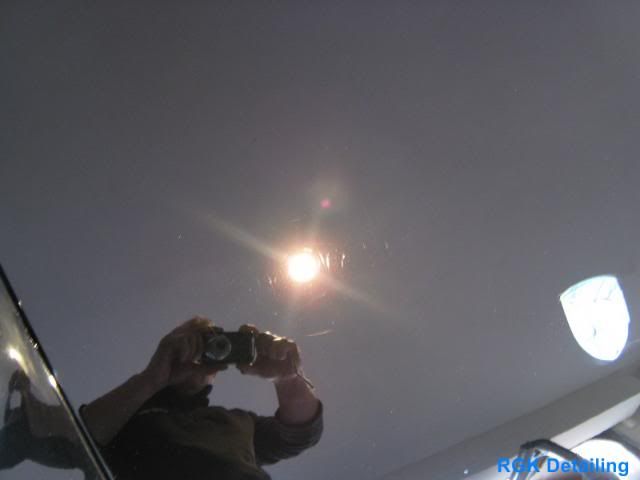
after drying it was clear that the paintwork was sporting a number of scratches and swirl marks.
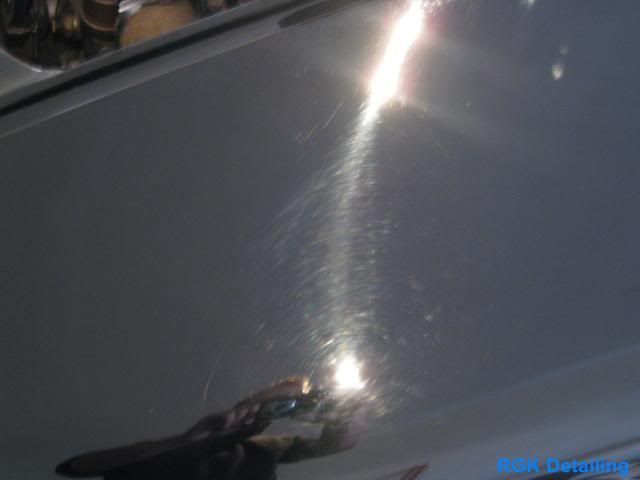
few paint depth readings taken, this was consistent throughout the whole car.
Megs 205 and 3M polishing pad was used with the rotary and refined with a 3M blue finishing pad, to remove the swirls and improve the gloss of the finish, the paintwork was fairly hard so required two or more sets on some panels to make a noticeable difference.
Bonnet before
after two sets of polishing.
still some RDS remaining but still a massive improvement!
O/S rear wing before
after
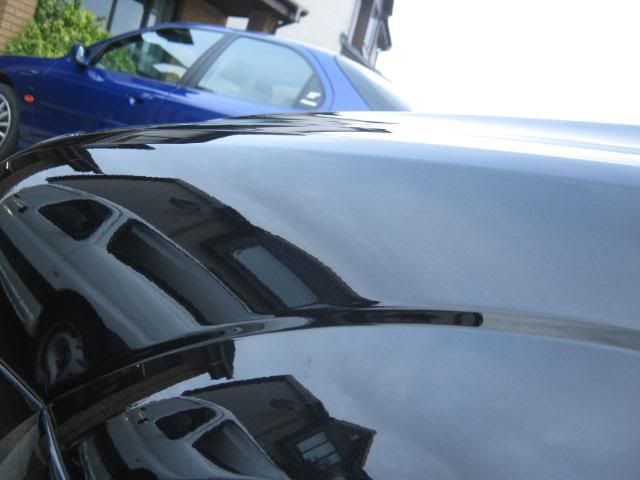
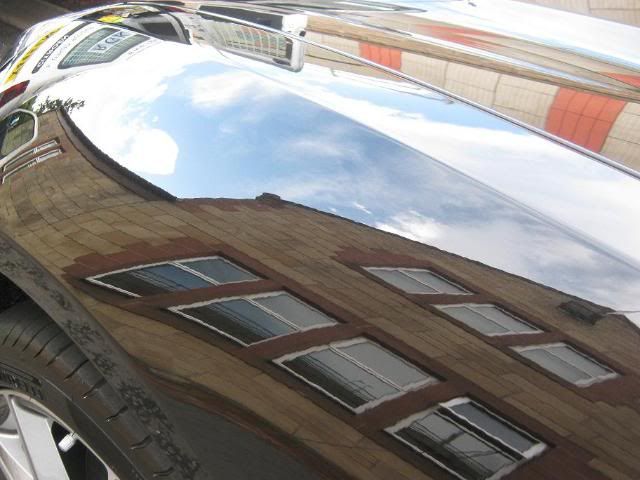
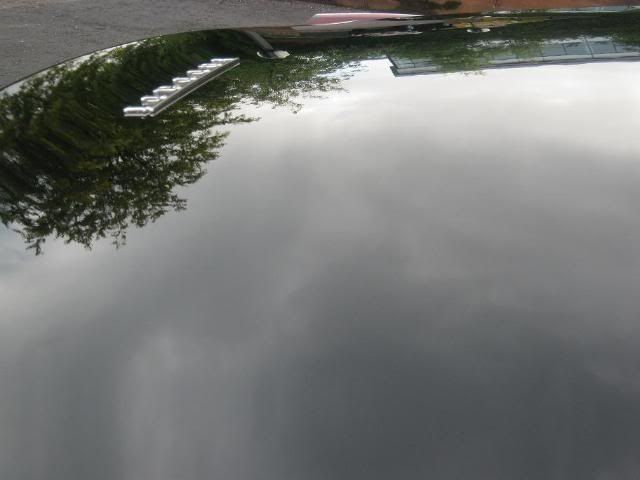
Roof before.
after
after all machine polishing was completed the paintwork was treated to two coats of Dodo Juice Purple haze pro, windows cleaned inside and out using Auto Finesse Crystal, all trim dressed with Autoglym bumper gel, wheels sealed with FK1000p, tyres dressed with AS Highstyle, all metal trim polished with Autoglym metal polish, interior was given a thorough vacuum and dust down and the exterior a final wipedown with Zaino Z8
...and the finished product

Thanks for looking
Richard
Wolfs Chemicals Winter Protection - RGK Detailing
in Car Detailing
Posted
Hi Folk's
I treated my runaround Clio to its Winter Protection on Thursday, its very important the paint work is perfectly clean and free of contamination before applying Body Wrap, so the car was washed, De tarred, iron deposits removed with Iron x, then given a full ipa wipedown to ensure the previous lsp was removed (the car was clayed and machine polished a month ago so this wasn't needed again so soon).
I prepped the paint surface with Werkstat prime Acrylic, then applied two coats of Wolf's Body Wrap, leaving an hour in between, all plastic trim protected with Trim Coat and glass sealed with Glass Guard, the trim was already in good condition and very clean after last months detail, so took well to a coat of Trim Coat, leaving a very nice satin finish (unlike my van which required several coats to soak into the dried out plastic arches)
I have to say I'am very impressed with how easy the products are to use, and how little you need to use, but most of all the slick feel of the paint finish and water sheeting behaviour of all surfaces of my car now! :thumb:
some pic's after I completed the treatment in Thursday afternoon.
Loving the glassy look to the paint finish after applying Body Wrap :thumb:
Here is how the car looked yesterday after completing a 30 mile journey on wet roads.
Not the best pic's,but only a few very small water marks on top of the tailgate after the journey.
and a quick video showing the impressive water sheeting abilities of the sealant, the video was taken after the journey
Some beading pics for you.
And my van...
This was applied a week ago
I'am currently offering Winter Protection Treatments like this from £100
Cheers for looking
Richard