


Leon@EPRacing
-
Posts
302 -
Joined
-
Last visited
Content Type
Profiles
Forums
Events
Gallery
Store
Posts posted by Leon@EPRacing
-
-
V35 you have PM.
 your item will be send out today as we have been away for the JAE show.
-
If you dont want to plug it in the obd2 port you can always rewire the wires to a positive and negative point on the car, I have see a few members did this before.
-
if its the 350GT then it will be ok.
There is 2 plugs. one is next to the accelerator pedal that you unplug and plug the controller on and the other is the obd2 port where it feeds power from and then just a simple set up and thats it. -
they are £95.00 delivered there is no queue for this.
I have 2 in stock at the moment. -
Yes we still bring them in
but not as much as we use to... now most of the time they are usually sold out quite quickly. then it goes back to waiting game again.. 
-
Finally we have had our oil cap arrived.
Some of you if you came to the japshow finale at pod in the week end may have see this item showcase. As this item has only just arrived on friday and in the weekend we have had a very good feedback from it and has sold quite a few in the weekend.
Currently we are only have Honda and Nissan fitment at the moment, as the Mitsubishi, Toyota and others will follow shortly.
The Oil cap comes with a Real carbon fiber EPR Sticker label on top.

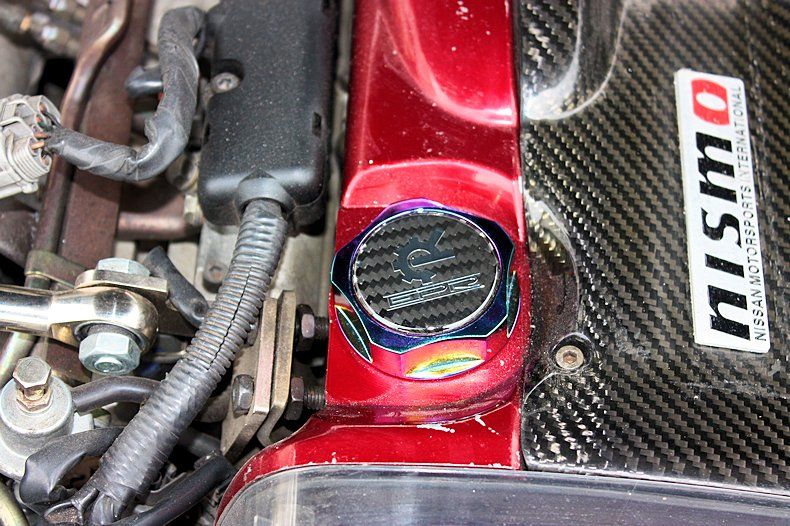
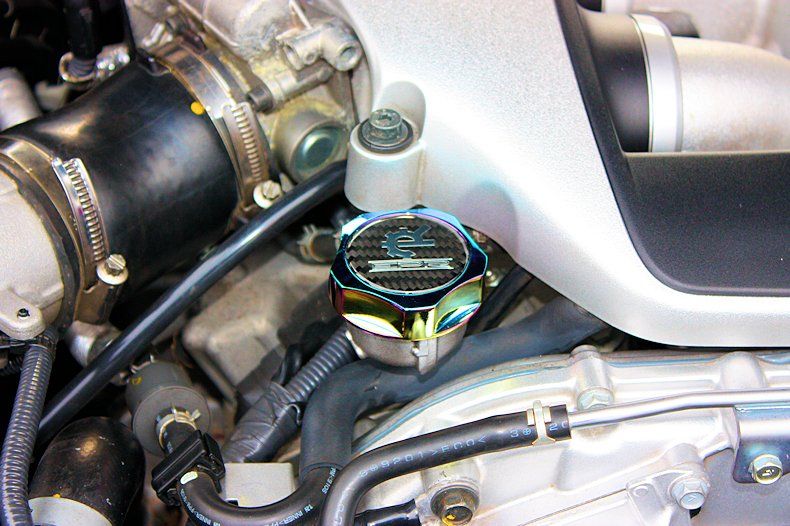
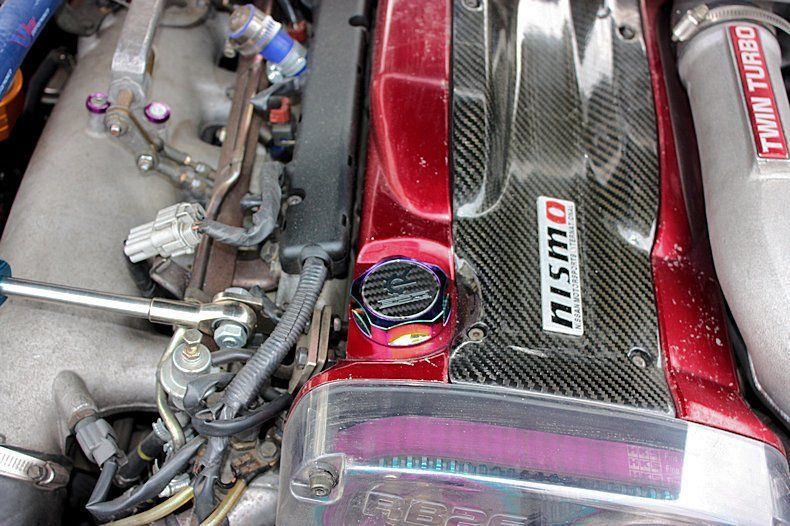
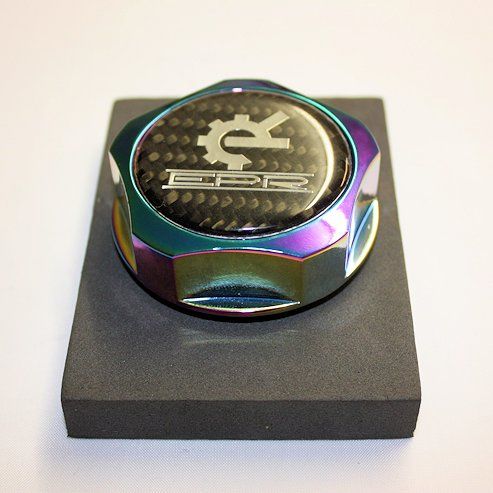
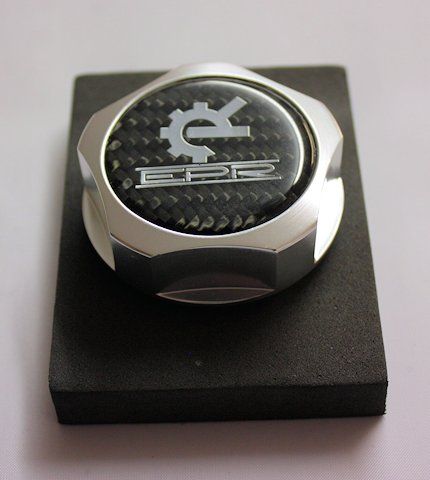
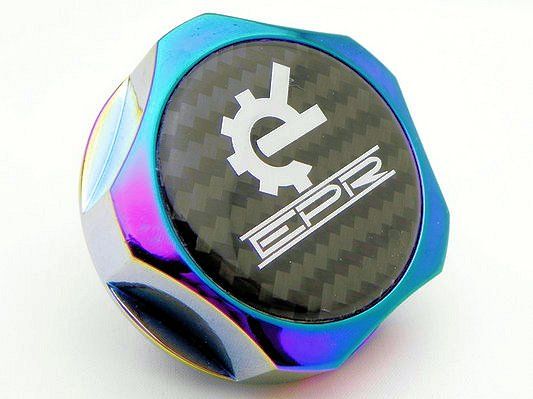
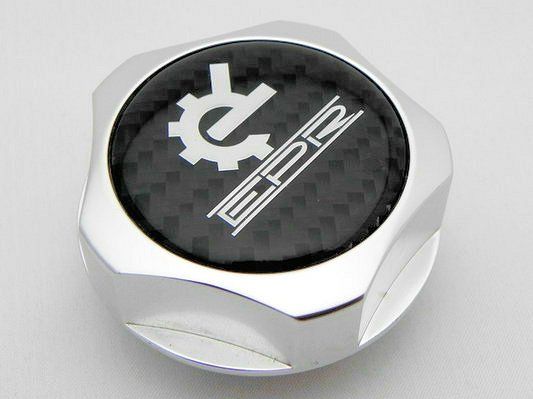
The price for the oil cap will be £25.00 each
if you are interested in the item or have any questions please feel free to contact us.
-
hi mate
we usually use tanvic as most of the guys knows me there. if you tell them that Leon from EPR send you they will look after you mate.
I usually use them to fit my tyres on my new rims for the pass 5 years and as of yet they have not scratch one. Leon.
-
I have now got a few more in stock
if interested please send me a pm and will sort one out for you no probs Leon.
-
yes its always good to have it on top of the thread as, I have customers had trouble finding it so just thought I will put one on our area just incase members need them and come in handy.
-
ere is a quick way to reset your ECU. It is also known to clear codes thrown, and turn off the "Service Engine Soon" Light. It's a little tricky, but works.
Confirm that accelerator pedal is fully released, turn ignition switch “ON†and wait 3 seconds.
Repeat the following two procedures quickly five times within 5 seconds:
Fully depress the accelerator pedal (HARD).
Fully release the accelerator pedal.
Wait 7 seconds, fully depress the accelerator pedal and keep it for approx. 10 seconds until the CEL starts blinking.
Fully release the accelerator pedal (while the CEL is still blinking)
Wait about 10 seconds.
Fully depress the accelerator pedal and keep it for more than 10 seconds.
Fully release the accelerator pedal (The CEL light will continue to blink).
Turn ignition switch to “OFF†position and now you can start the car.
The CEL light should be gone.
-
the auto will work. it just doesnt work on the late HA engine. but hopefully soon they will make a wiring loom that make it fit as I have bomb them with emails on the HA fitting.

-
to be honest I never counted when I had it as I alway use sp4 on the car as everyday as I dont drive far to work 4 miles return trip a day
but from what I know from the Members the Eco mode does reduce your fuel consumption but that really depends on the way you travel. -
yes you can pick up no problem
-
I now have a few more back in stock
if anyone still interested please let me know -
I have a large shippment arriving End of July and I will have a very limited about of this Bonnets available.
As far as I can see in the List I will have:
3 X Carbon 07 Model OEM Bonnet Arriving
2 X FRP 07 Model OEM Bonnets Arriving
The fitment on this item is excellent as I have tested it on my 350Z before.
The Prices for the following items are:
Carbon £495.00 + £35.00 delivery
FRP £280.00 + £35.00 delivery
If you would like one of those babies please let me know and I am happy to take a small deposit and reserve it for you. As the next batch of this item will most likely be 2011.


-
We are happy to announce EPRacing are now the Authorised European Distributor for Dmax products.
all the Dmax Aero Kits now are Genuine item and we will provide full support on all Damx item that are sold through us also Dmax Susension setup items and Exhaust will be available soon!! 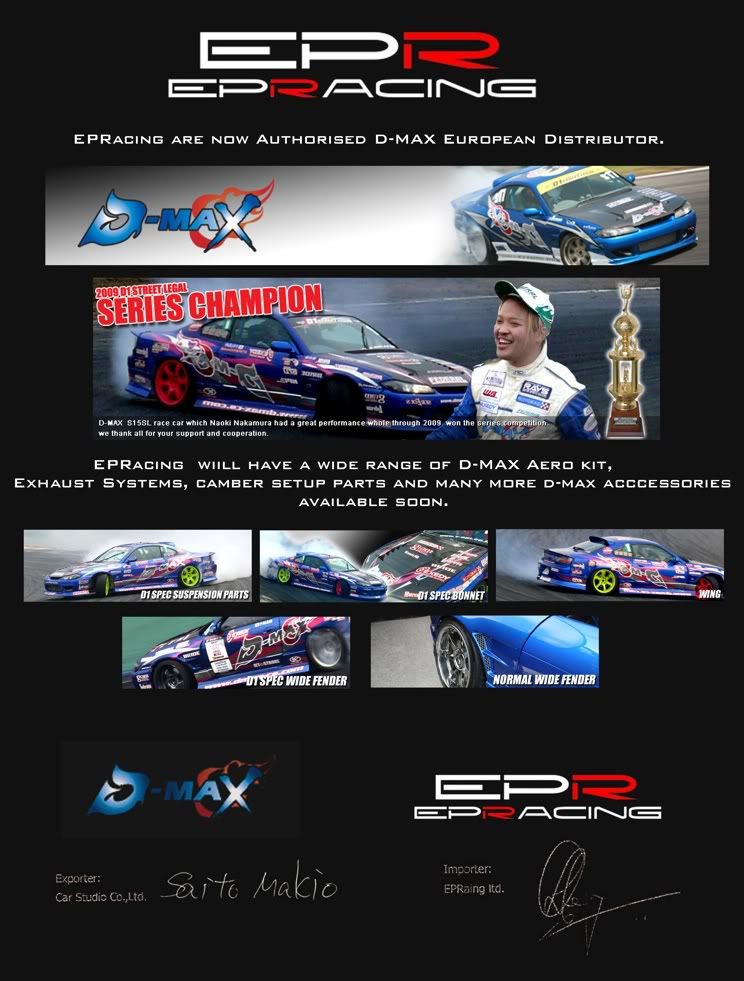
Many thanks For looking.
Team EPR
-
eco mode is a difficult setting to find on those controllers.
:D -
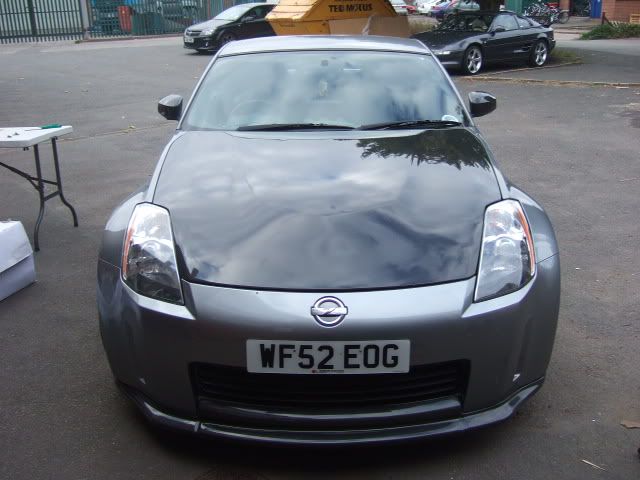
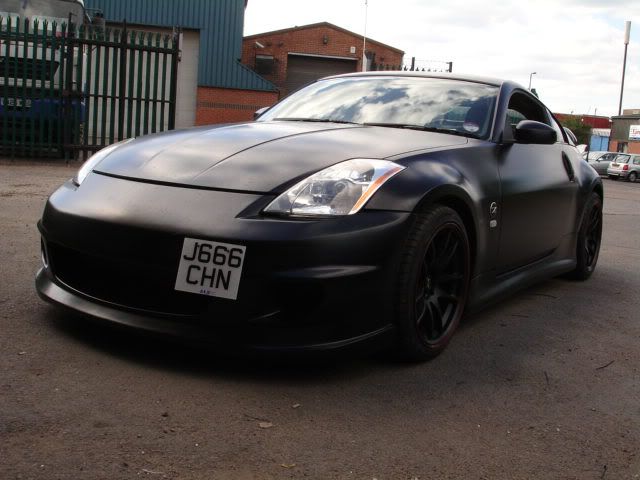
I know the plate is out of place as I couldnt get a smaller plate made in time for the customer (also *cough* Illegal *cough*) plus I dont want him got get pulled while he drives another 3.5 hours home because of the plate so the customer and I decided to use his original plate until he gets home and then get a smaller plate made.
-
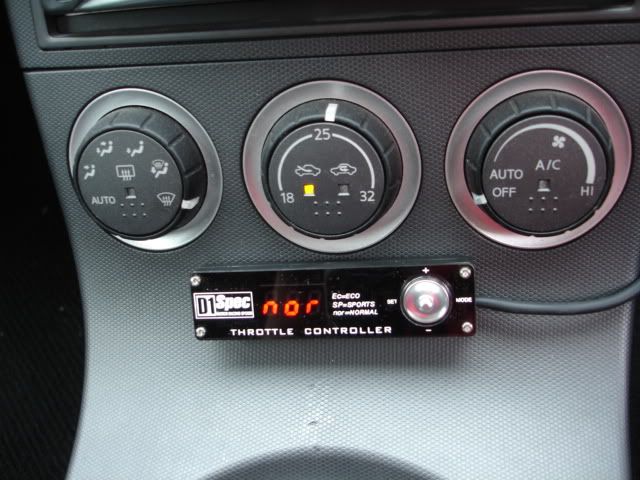
Part 2 Setting the controller up
1. once you installed the controller turn the key to ignition 2 and the throttle controller should light up.
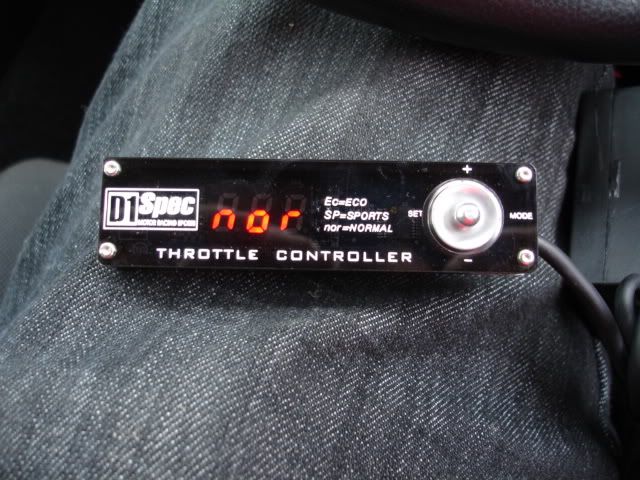
2. make sure is on NOR (Normal) and then press and hold set. if you done it right the controller will do a count down while you still holding the set button. (make sure you hold it till it gets to 0 )
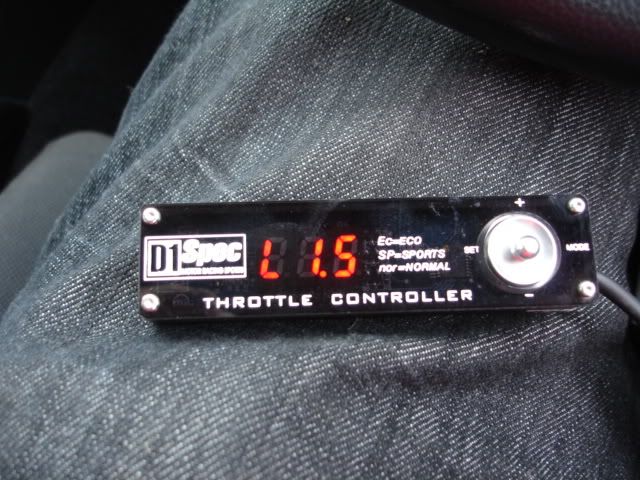
3. Once you done it right the controller will display L0.0
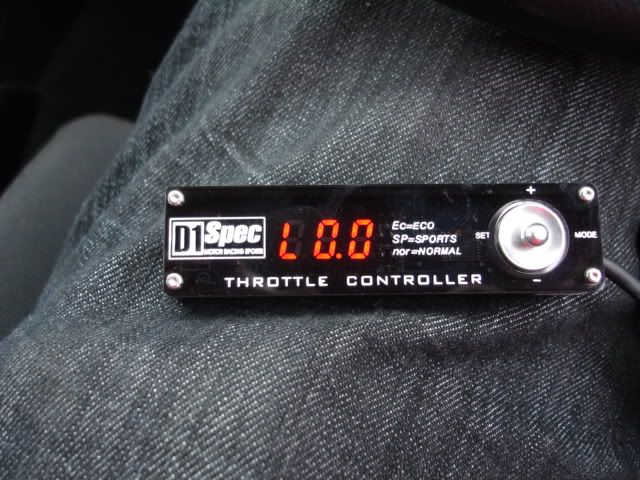
4. then put your foot on the throttle and get it to L1.5 this is just to test the voltage single on the accelerator just to make sure you have connect the plugs correctly. once you have hit L1.5 release the throttle it should go back to L0.0
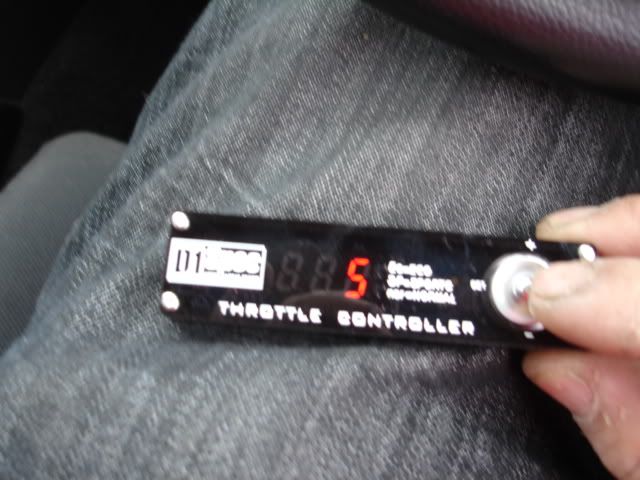
5. after that press "Set" button then the throttle controller should turn to H0.0 now press your foot on the accelerator to the max you should see the controller read H2.0
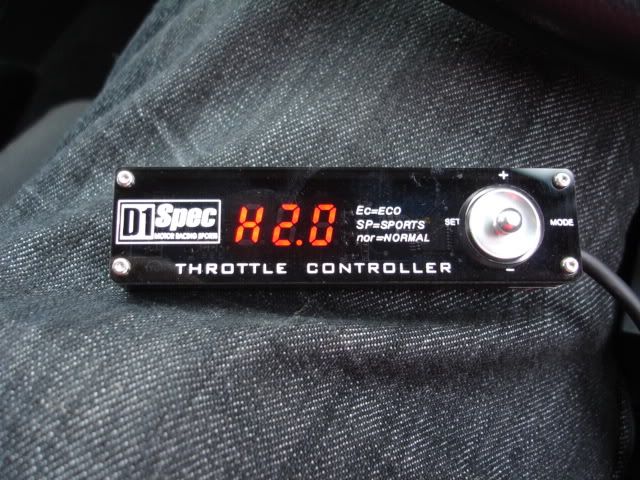
6. then press the set button while your foot is still max on the accelerator

7.after that you should see it display 100 on the controller (which means your throttle is at 100%)
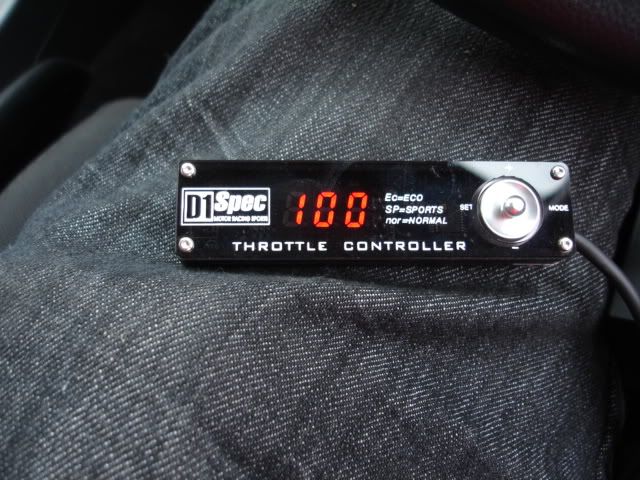
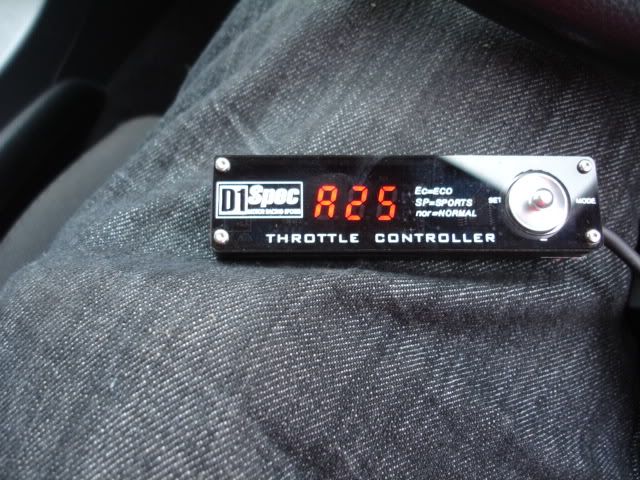
8.after that just press the accelerator and you should see the display with an letter A and numbers moving. (this shows you your acceleration % when driving)
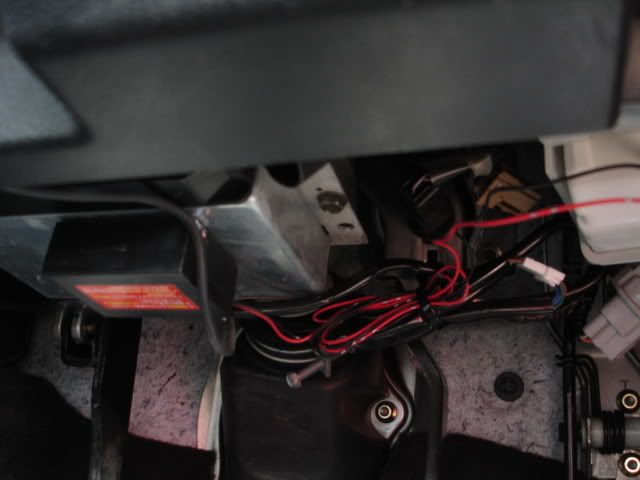
9. once that is all done the controller is all ready to go. but you will need to tidy it up and see where you want to put it. here is where I put the customers.
10. here is where I tidy all the wiring and tie the wires together so its out of the way and its tidy.
11. after that take the car out for a drive but be warn not to use sp7 stright away. get use to it first on lower setting then experiment on sp7. (remember your spare pair of pants!!
:D ) and enjoy :D hope this will help all of you
if there is any problem just give me a shout and will do my best to help. Leon.
-
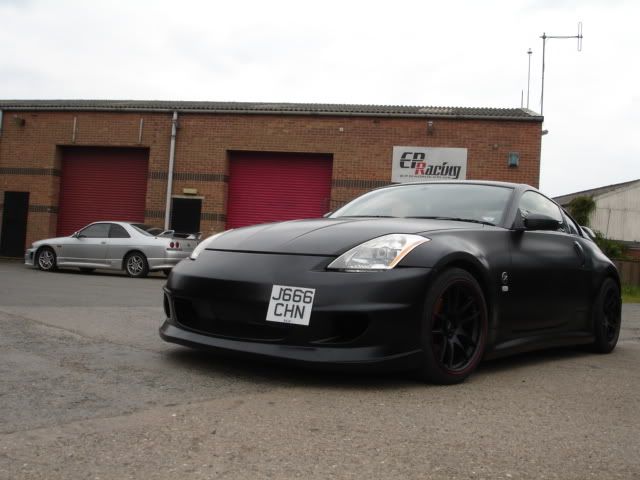
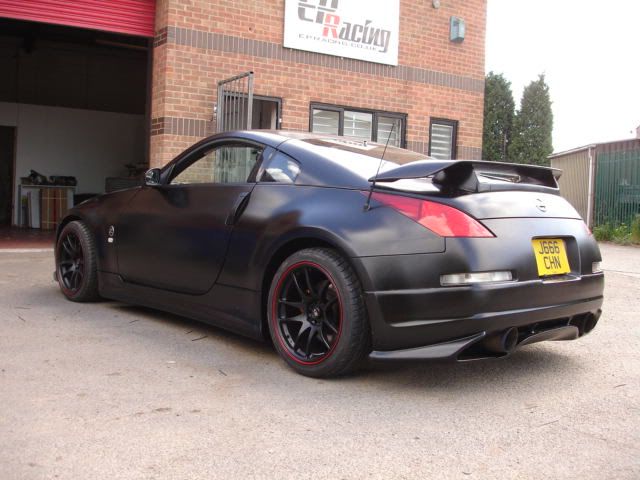
RIGHT!!!!!
:D I have been doing a customers project car recently and have been doing loads of work on it and this is what we have done
the car was silver originally and now is painted Matt Black with our ES style Body kit on it with the NI 1 Spoiler and a new set of wheels tom match
:D(customer picked up the car today and he was over the moon and to be honest its a great feeling to see a customer so happy when picking up the car as he is from Devon and he have spent 5 hours on the train to come and collect the car.)
Any way back to the main bit.
recently I have a few members and customers having problem fitting the throttle controller so while I was fitting it to the customers car I did a step by step photo on it to help everyone out.1. Throttle controller out of the box
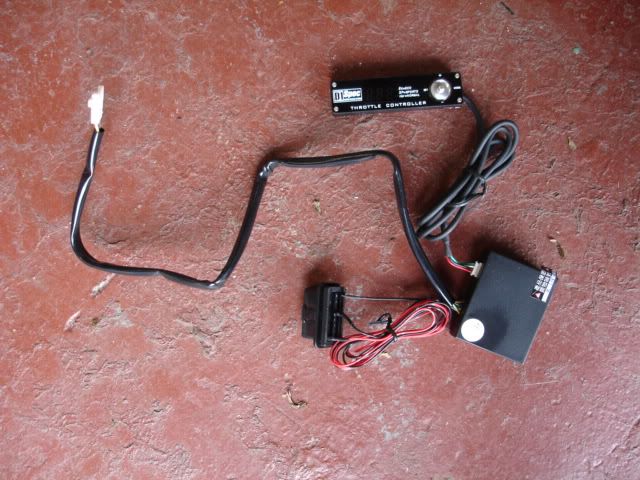
2. Wiring loom for 350Z.
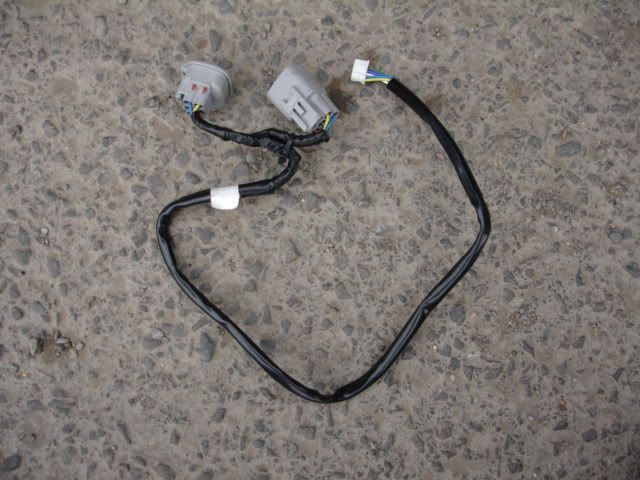
3.Connect the wiring loom to the throttle controller.
4. find the adaptor that is just above the throttle peddle (see pic the little round thing in gray!!
) disconnect it.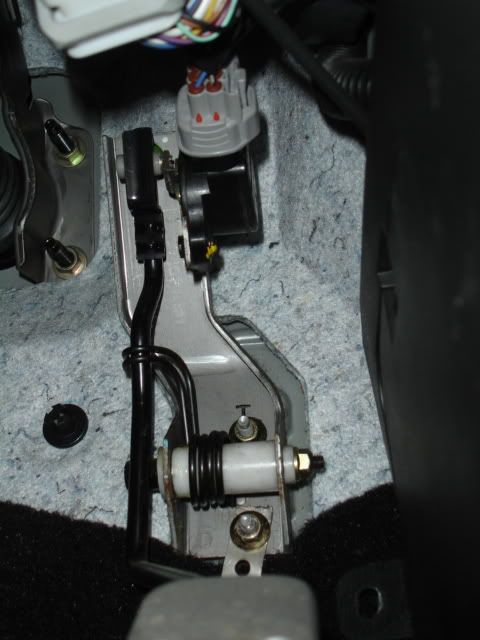
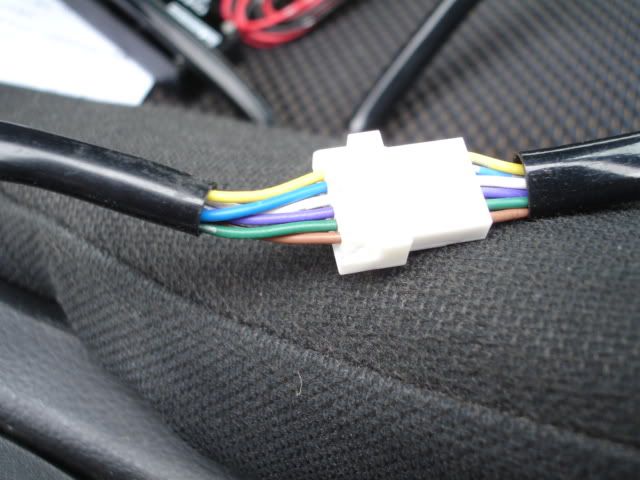
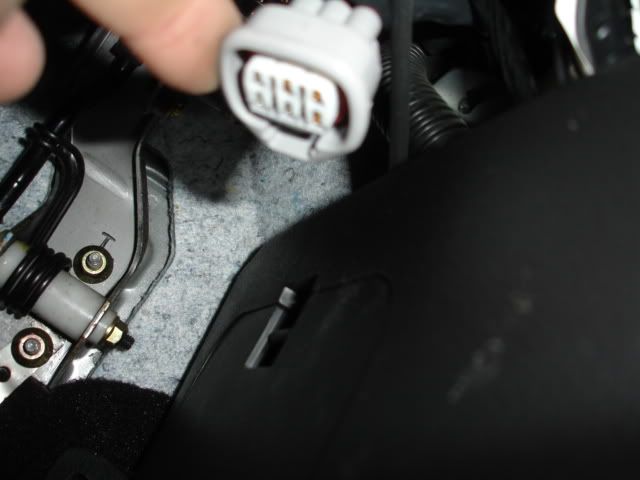
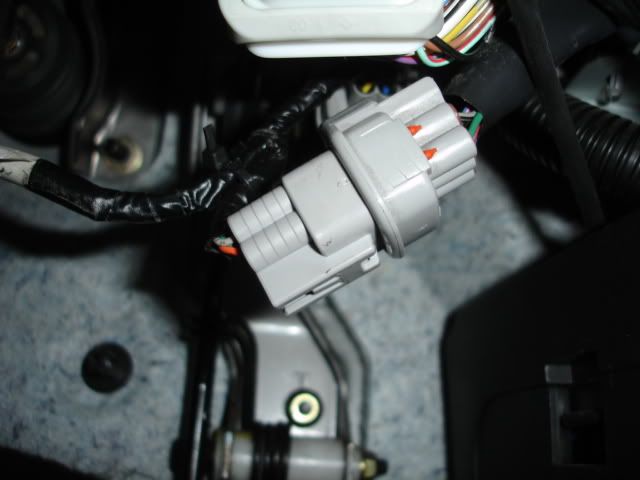
5.On the throttle controller wiring there is a gray plug that is the same as the one that you just unclip on the car. Plug that in to the socket.
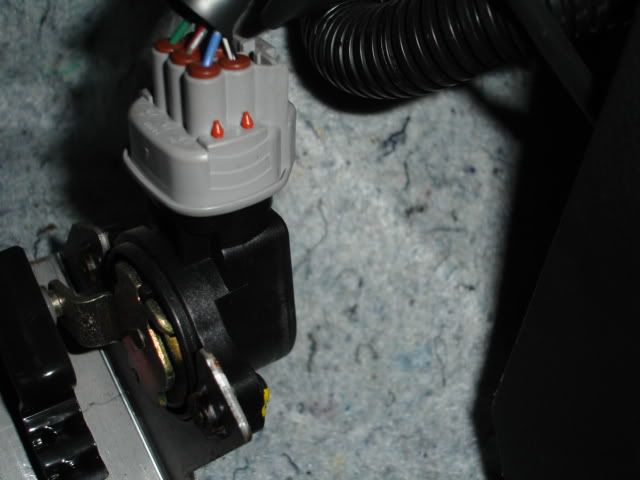
6. Then on the other side of the wire on the throttle controller there is another plug with no ends on it. you will need to plug this on to the plug that you remove from the peddle. (make sure you push it in nice and hard also make sure is the right way round because if its the wrong way round you will bend the connectors in wiring loom on the throttle controller.)
7. Undo the little panel a the bottom of the dash and you will see the OBD II Port.
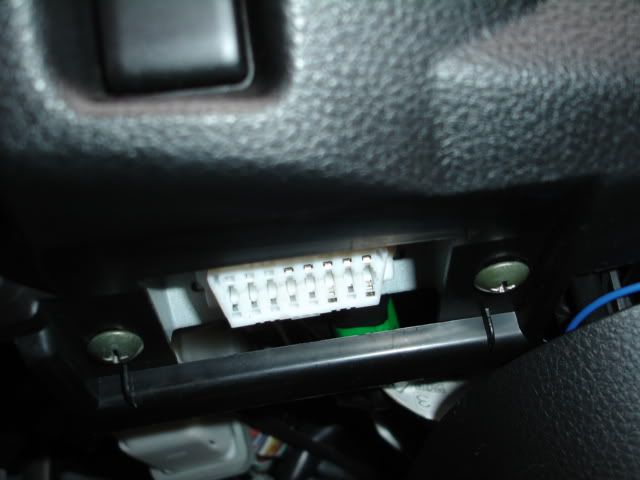
8. Connect the Black connector on the throttle controller to the OBD II Port. (this is the power cable)
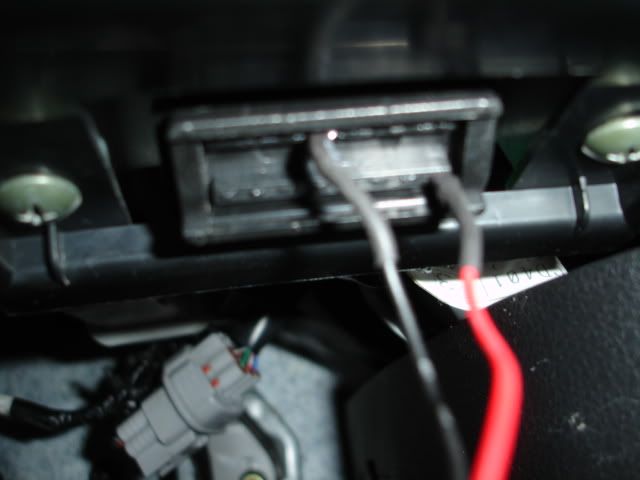
and thats it fully installed.
-
thomas glad u got your ok and enjoying it.
I still have 3 instock if anyone still interested in one please let me know.
Leon.
-
hi there
Jim C2, if you have the New revise model it wont work as the the wiring on them are different.
This item is only for the pre face lifts at the moment.
Toy boy your item has been send out mate
Leon.
-
HI there
sorry for the delay in reply, the new unit is taking alot of my time for the last few weeks as is a completely new layout and everyone here is trying to get use to the place.
The next batch of controllers will be send out next week so should have some arriving very soon.
Leon.
-
haa haa will alter that soon
to be honest we have been waiting for this move for a long time, as for the pass two years all our funds has been eaten up in the factory to make it better over there and now everything is better we can now afford a bigger and better unit. :D our current unit is about 1300sqft the new one is about 3300sqft so I am looing forward to it
:D also it will allow us to hold a much larger range of stock as this has given us so much trouble before as we run out of stock so quick on some items purly because we dont have enough space to order more in.Leon.
Wheel Spacers Group Buy!!
in EPRacing
Posted · Edited by Leon@EPRacing
Hi all.
We have Been email a numerous of times regards to Wheel spacers group buy and again today another member has ask us to come on here to reignite this.
It will be easier if we come on here and launch this and have it done right.
What we can offer is:
5 sets 10% off RRP
10 sets 15% off RRP
20 sets 25% off RRP
The Current RRP prices for the wheel spacers are: (item comes as a pair of 2)
15mm £69.99
20mm £79.00
25mm £84.99
30mm £84.99
50mm £94.99
For 350z if you have OE Wheels the best one is 20mm Front and 25mm Rear. this should make your wheels seat flush.
If you have any questions please feel free to contact me.
Leon.