


Keyser
-
Posts
9,958 -
Joined
-
Last visited
Content Type
Profiles
Forums
Events
Gallery
Store
Posts posted by Keyser
-
-
Absolutely mad - I love it

Keep up the good work

-
 2
2
-
-
-
Life has a way of slowing down the fun projects

At least you managed a bit of progress, all my projects have been very slow this year!
My track toy hasn't got as far as the dyno yet and we blew the engine the year before!
Keep up the good work and keep the updates coming (when you can)
-
-
Looks like a fun project mate
-
The dedication shown here not to mention the attention to detail..................... its awesome
-
1
-
-
Looking awesome
")
-
annnnnnnnd I'm late to the party
All causght up now though
Amazing build sir
Will be following along with intrest, please keep the updates coming.
-
1
-
 1
1
-
-
16 minutes ago, DoogyRev said:
This is the big question that needs an answer, what projects prey tell?

-
First post ammended with whats here and whats gone
-
5 hours ago, Zalas said:
Eibach Front and Rear Adjustable Anti roll bars with White line drop links - £150 Collected
Still available? Does "collected" mean they've already been collected?Yes I can see that is confusing - it meant collect from me here not posted but they have gone sorry.
-
I think I have replied to everyone, we have an ordely queue going just waiting for yes/no answers before I move onto the next in line
-

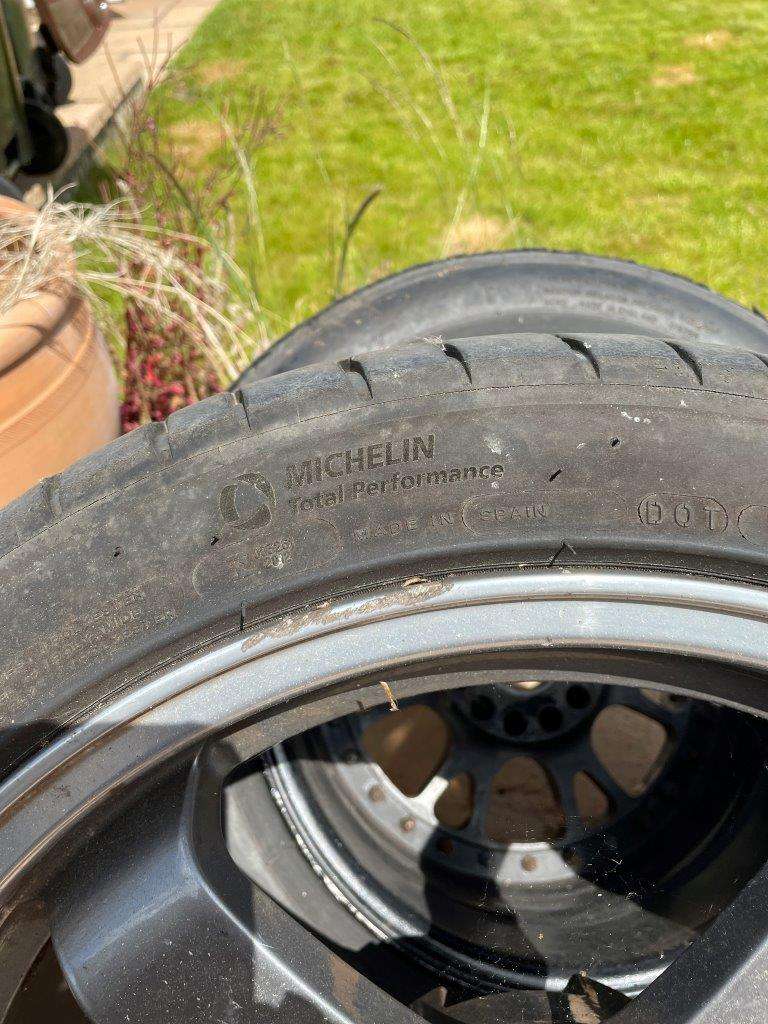
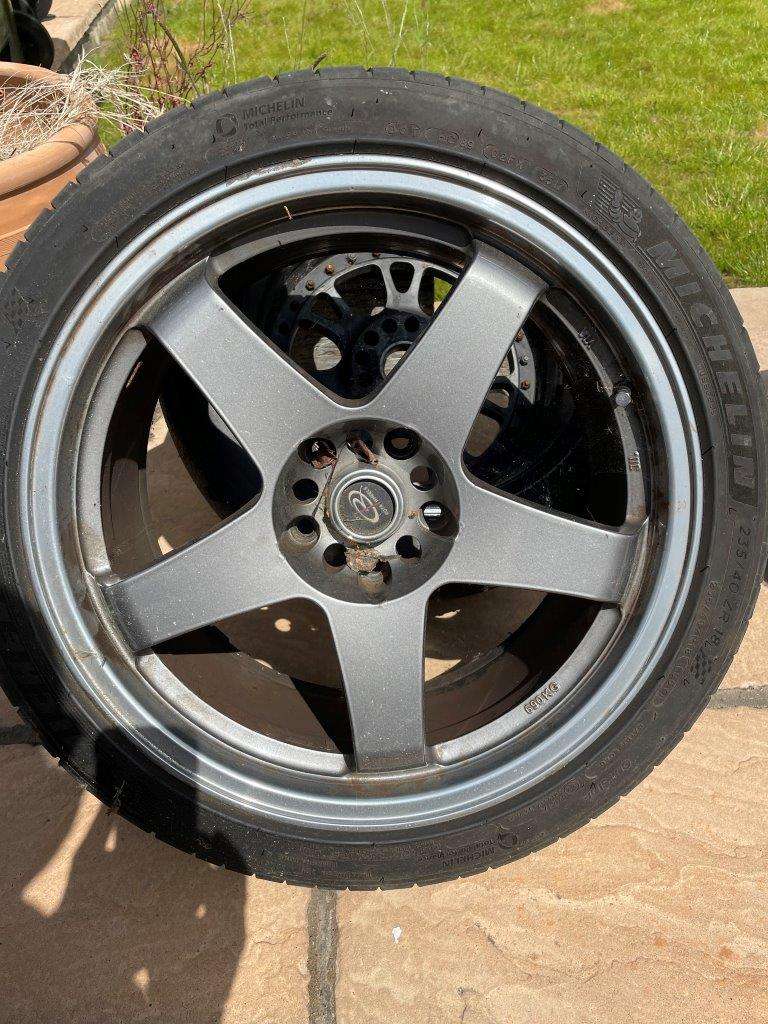
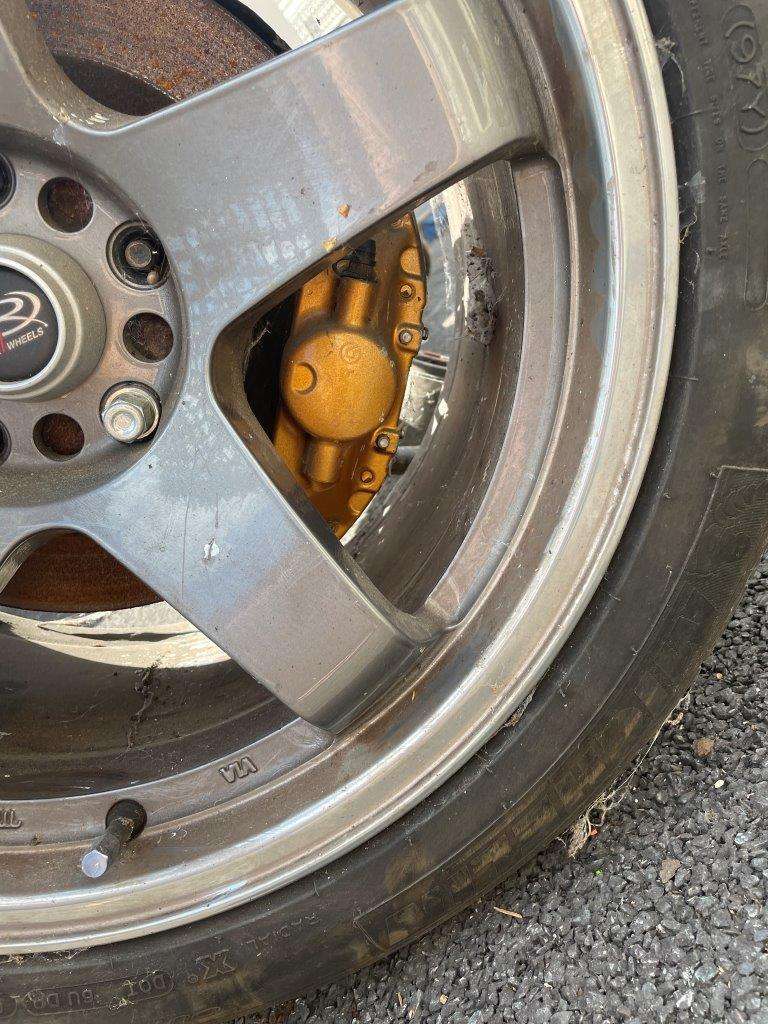
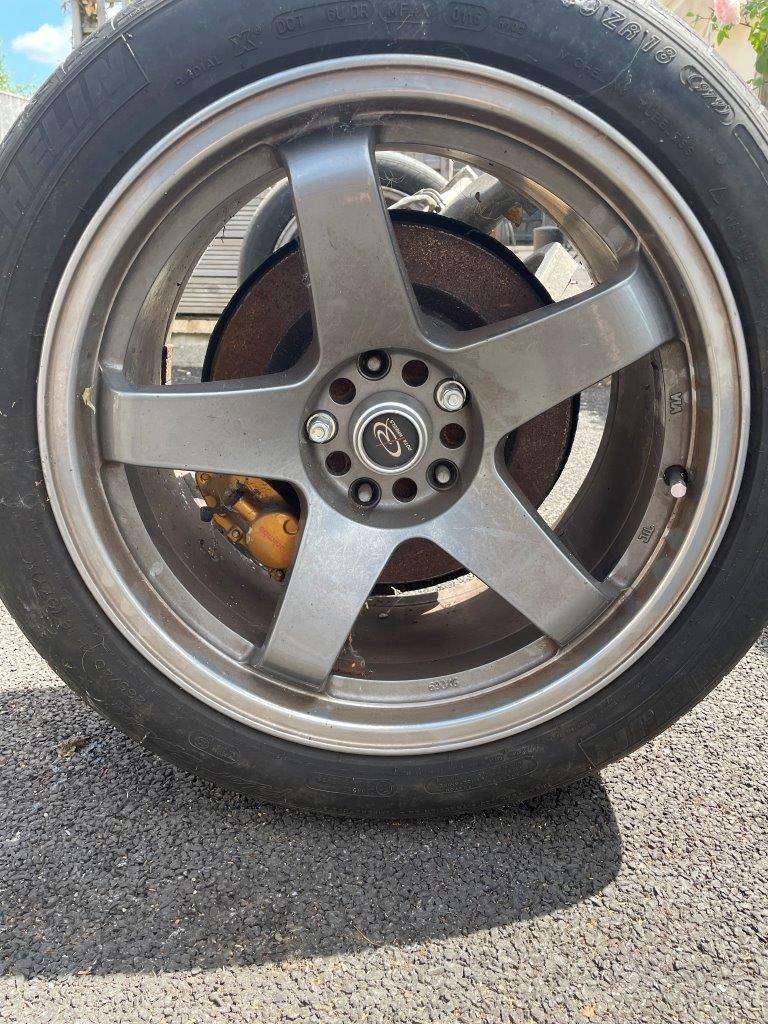
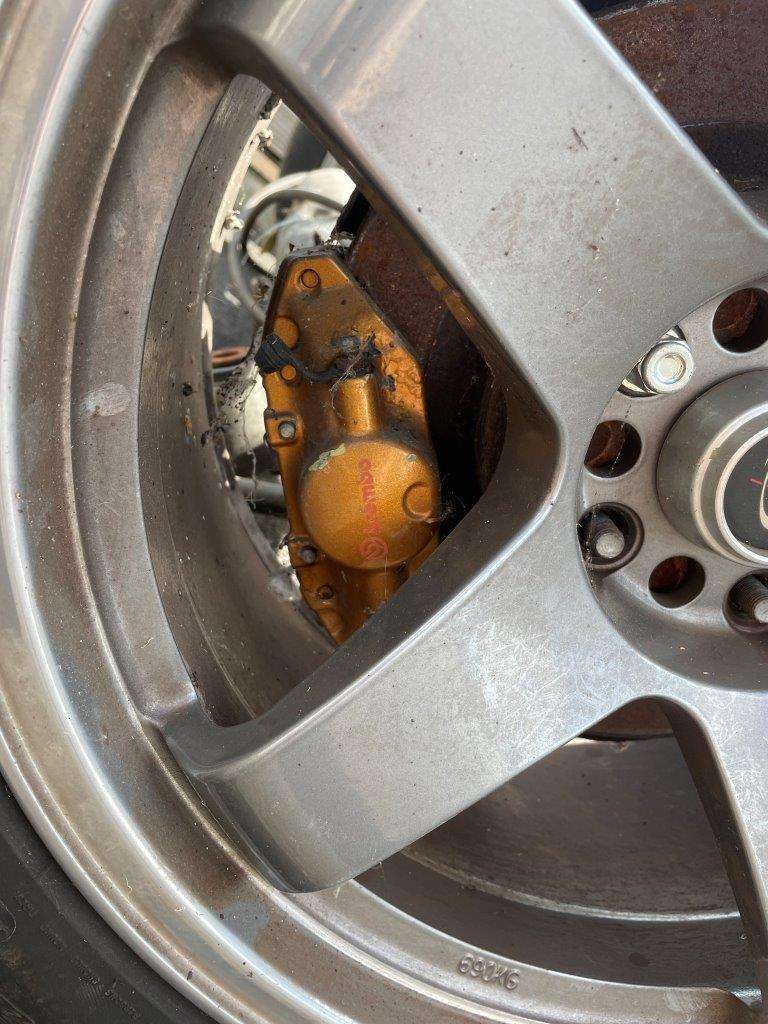
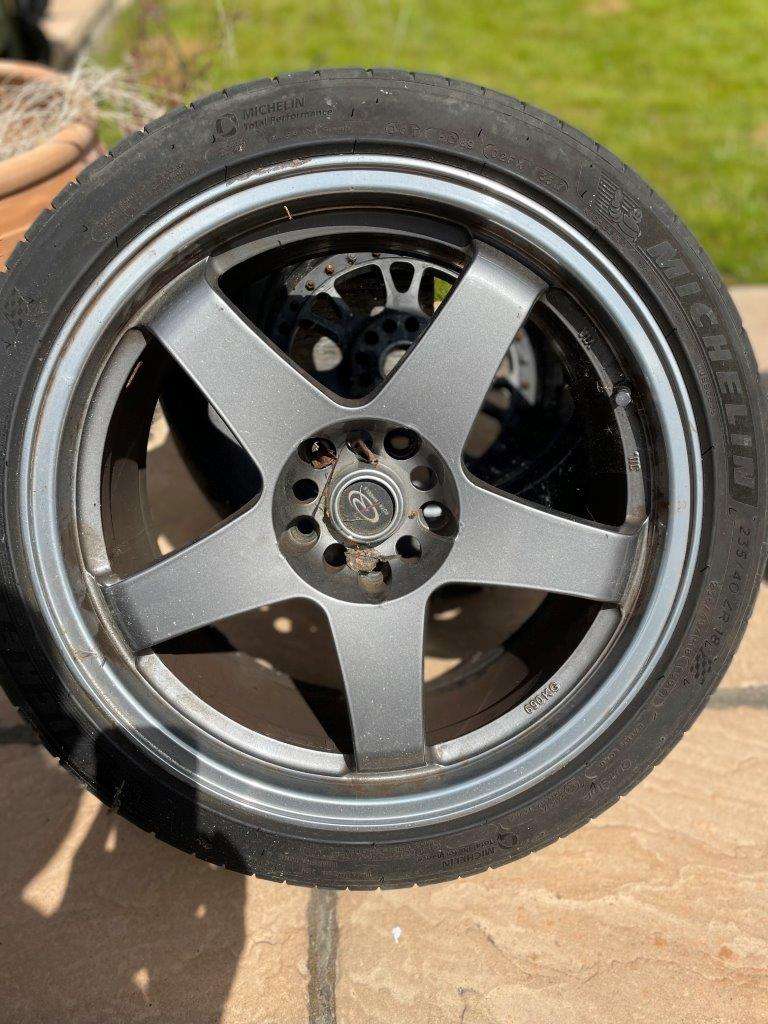
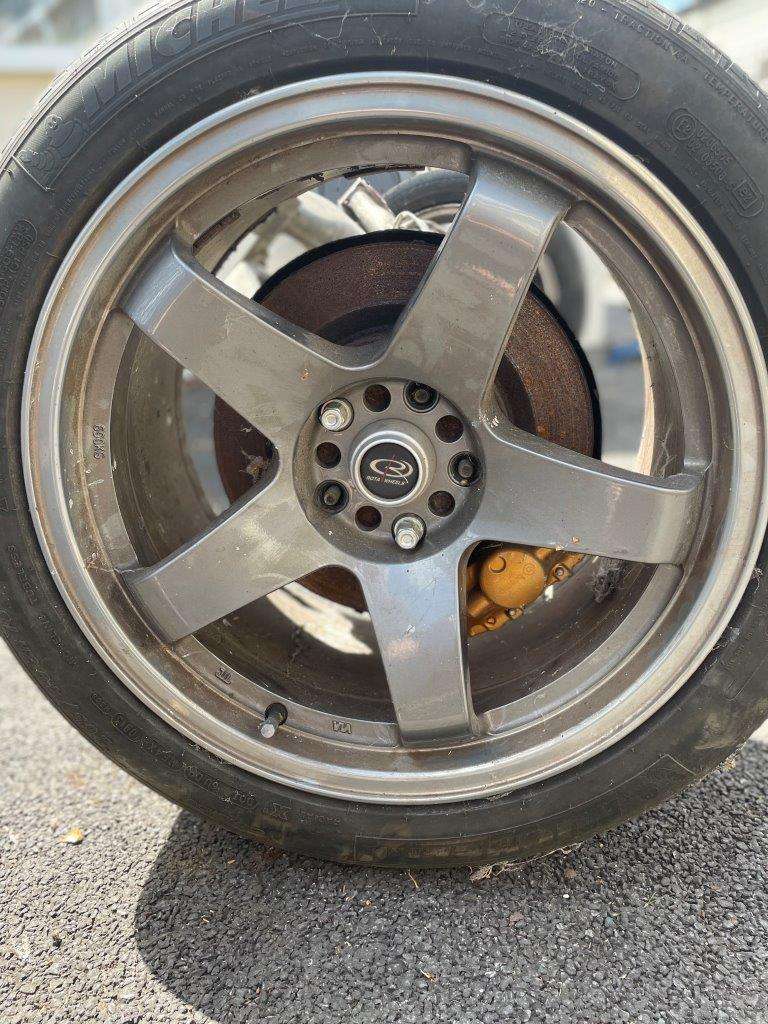
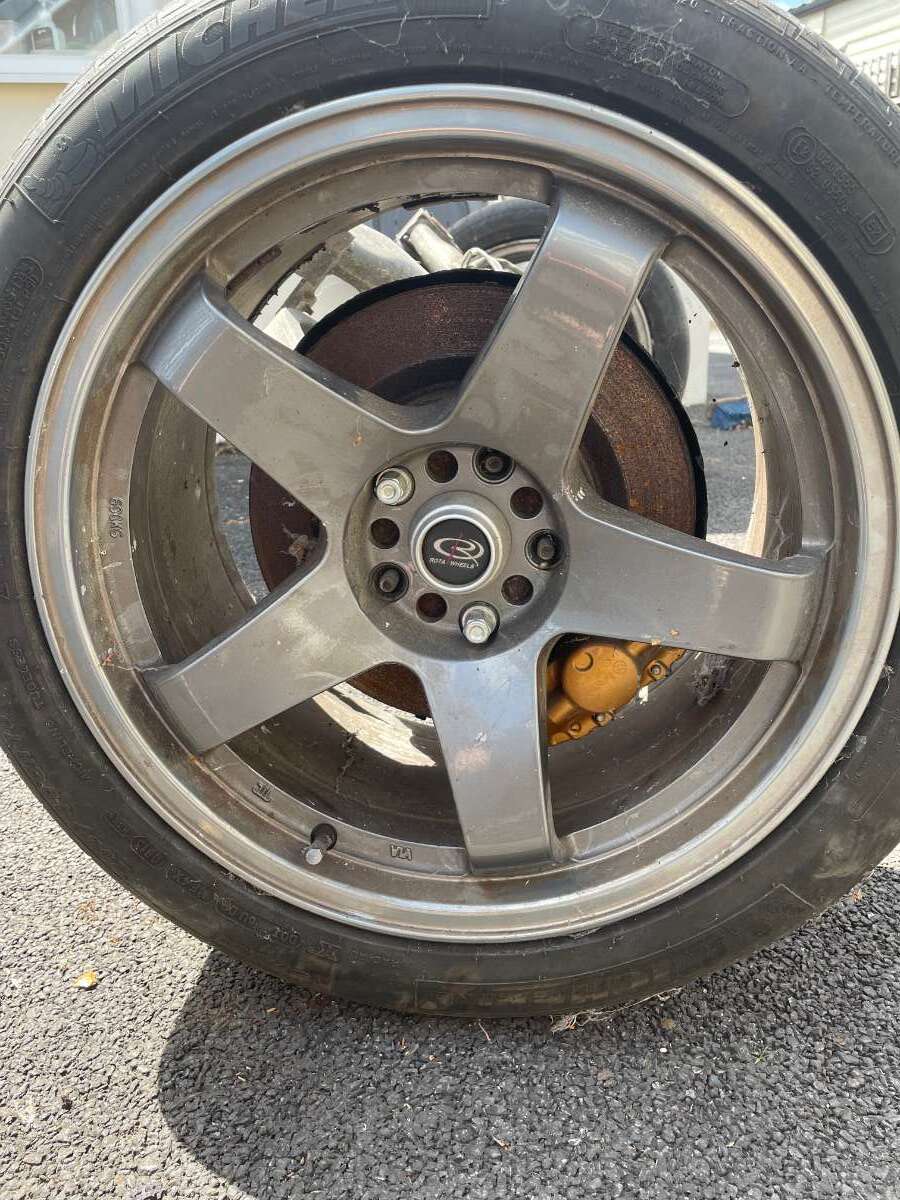
Loads of intrest I'll get round to the PM's in order as soon as I can, been asked for more info on the wheels. they were on @Beb Zed
I think (I could be wrong) they are Rota GTR 18" Not sure of offset but they fit a 350z fine.
J size estimate
Rear - 9 - 9.5"
Front 8 - 8.5"
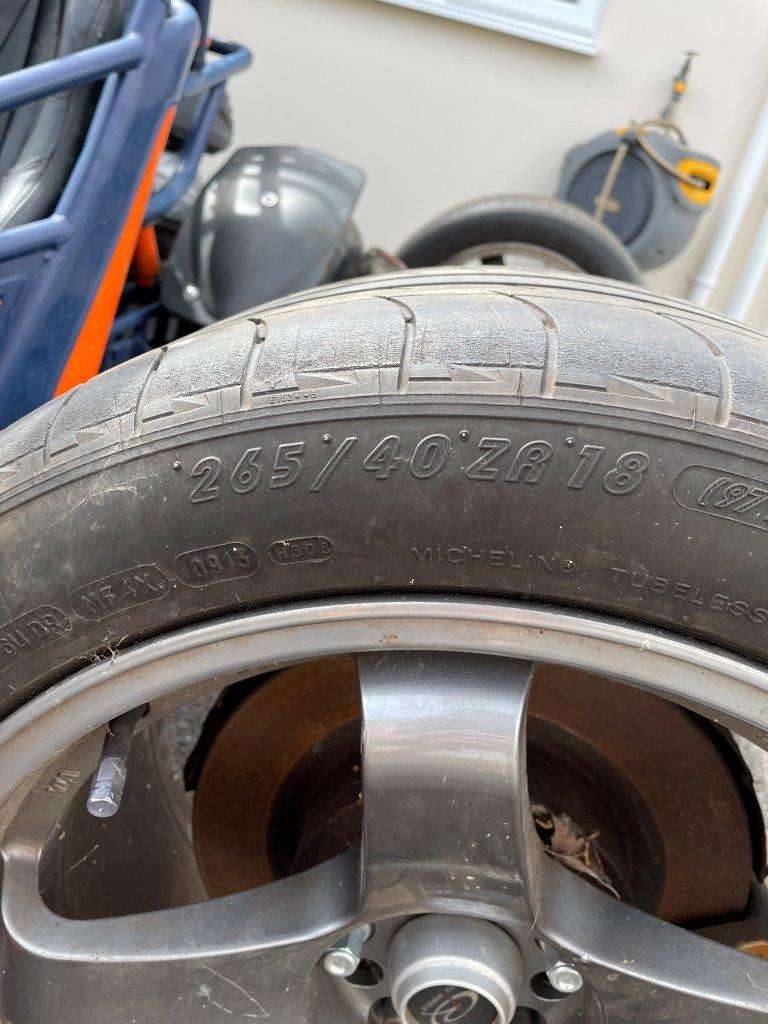
Currently running 235/40 on front and 265/40 on rear.
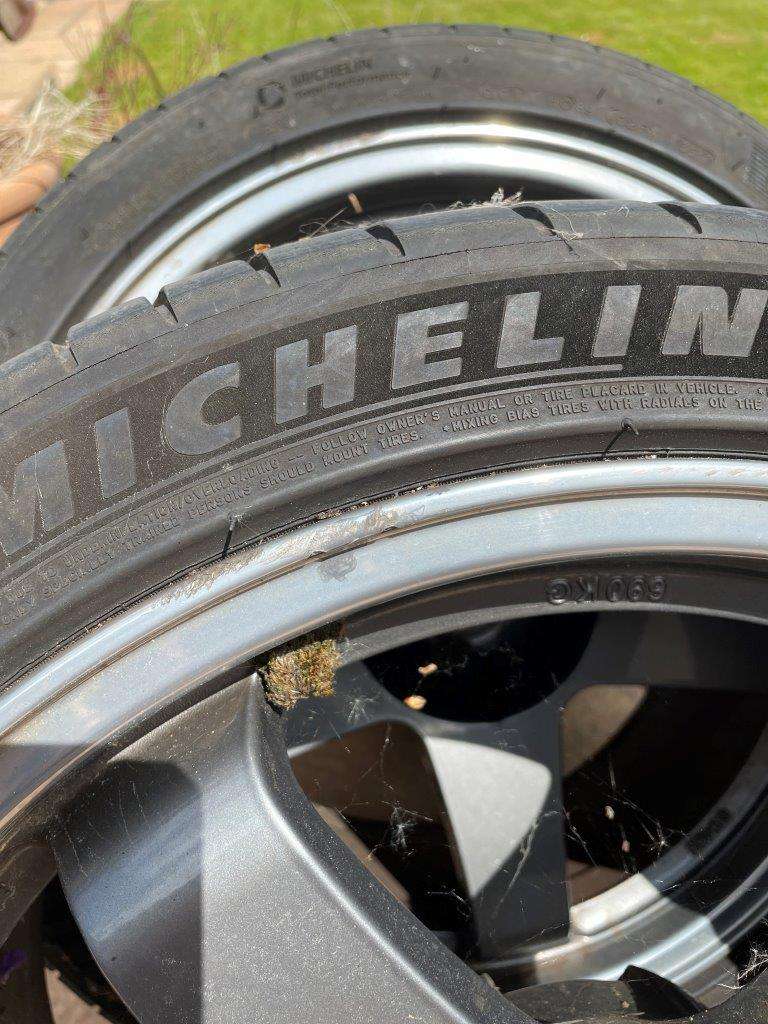
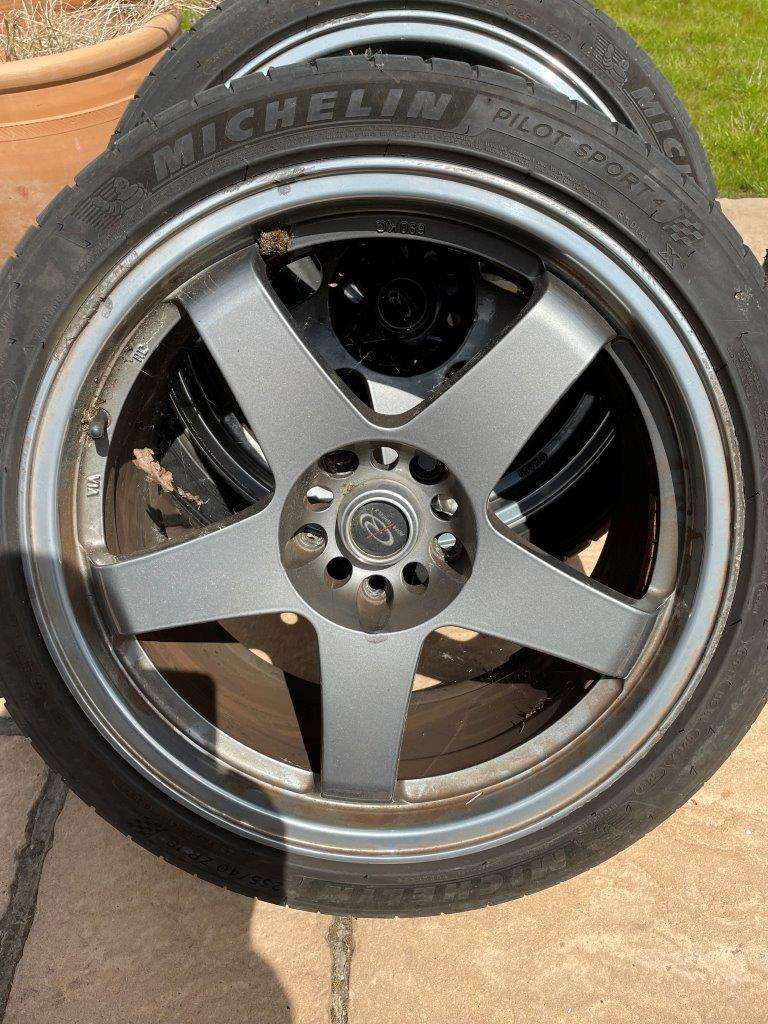
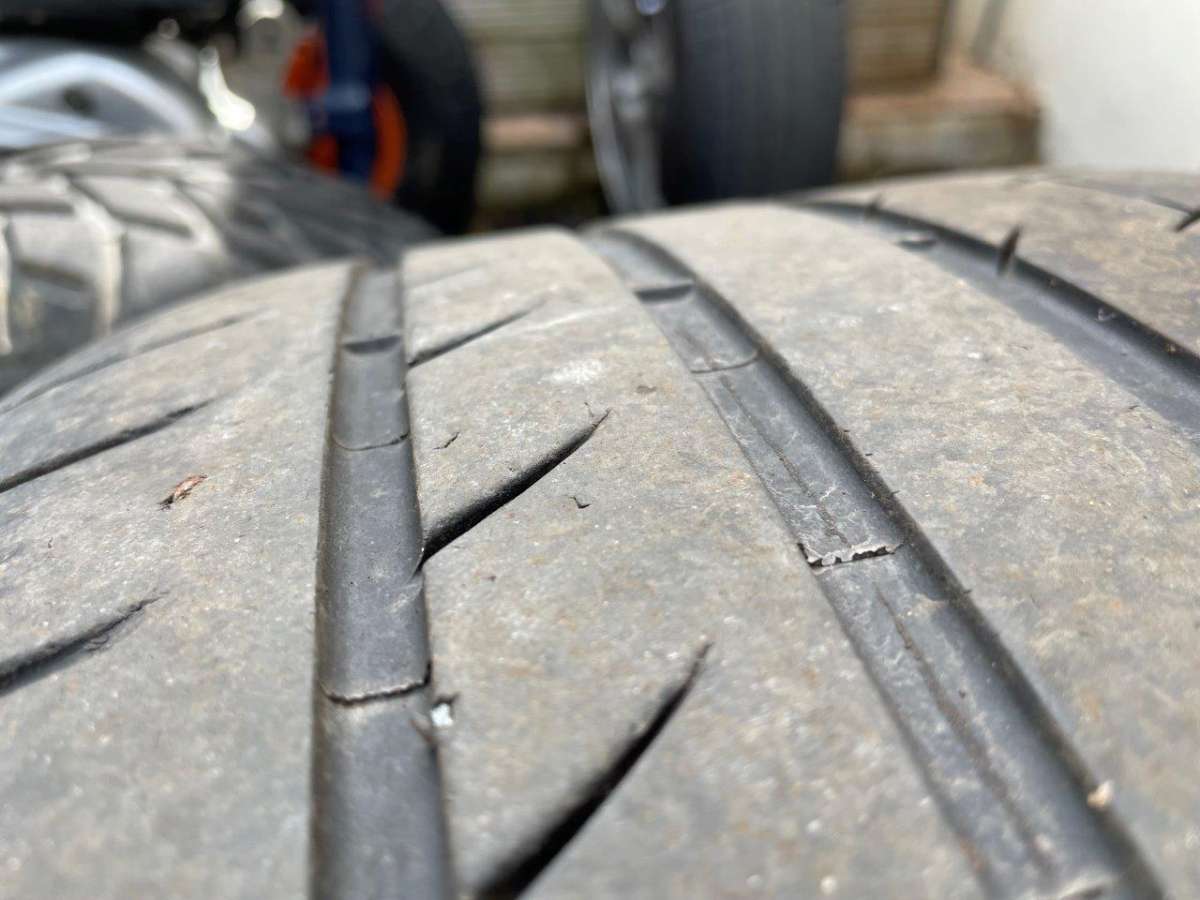
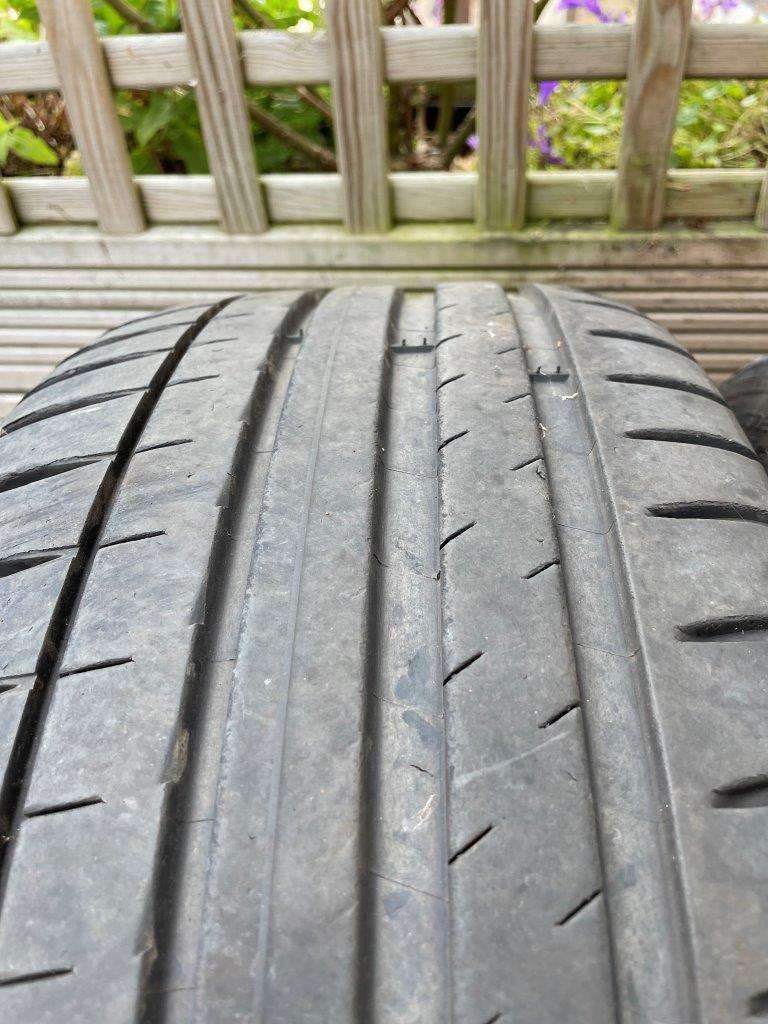
Michelin Pilot Sports fonts have a few mm rears are close to markers.
They are not perfect hence the price, few pics.
On Bebs Zed

More pics -


-
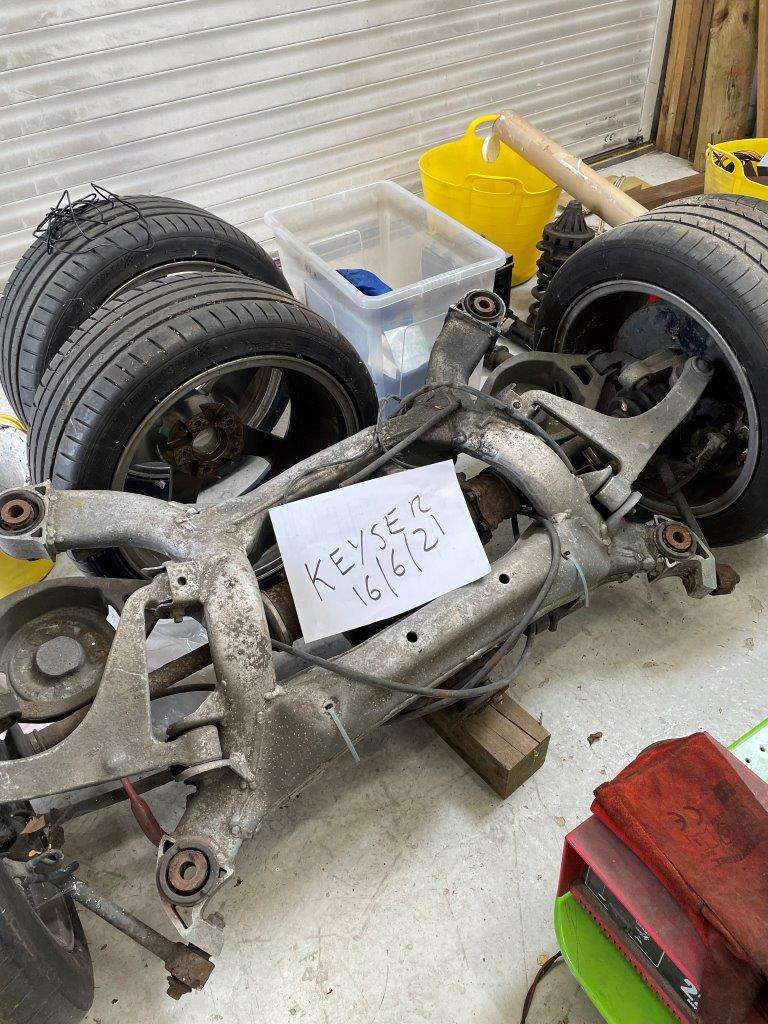
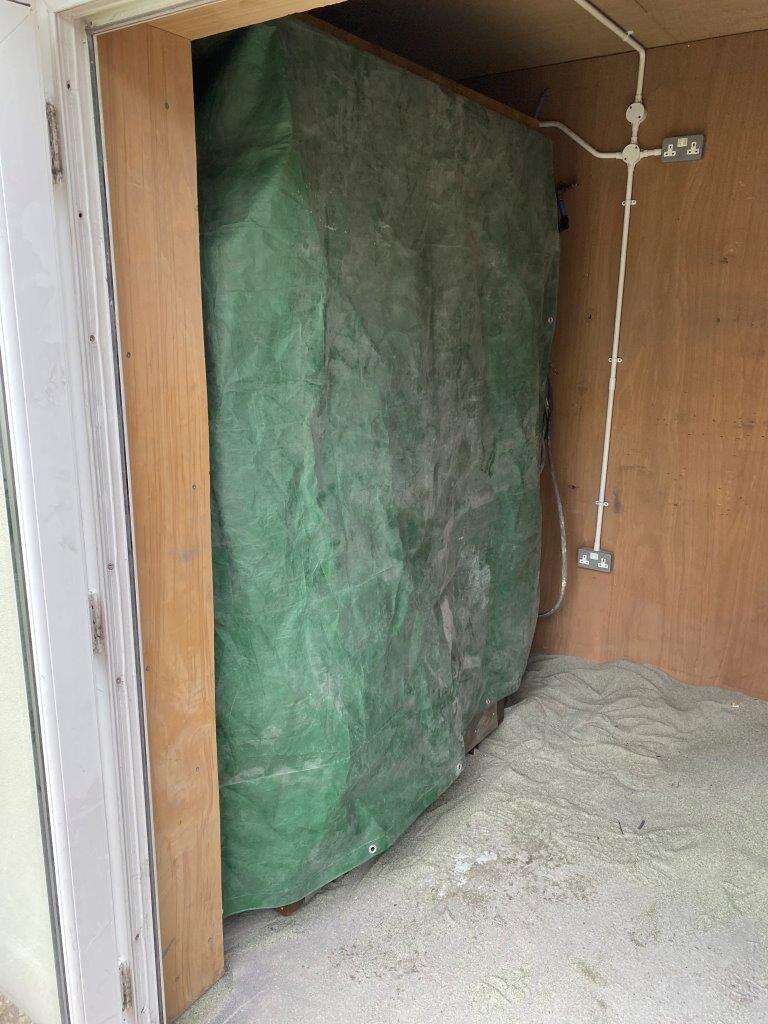
Hi All,
This lot has been in storage for over a year under tarps or covers in the Garage, need to clear some space for my new projects
Mods - Took some pics a week or so back but didn't get round to posting so took a couple of pics today with new date hope that is OK.
This is all for collection I can ship but the price goes up!
Looking for offers to get it shifted ASAP
More photos available just ask.
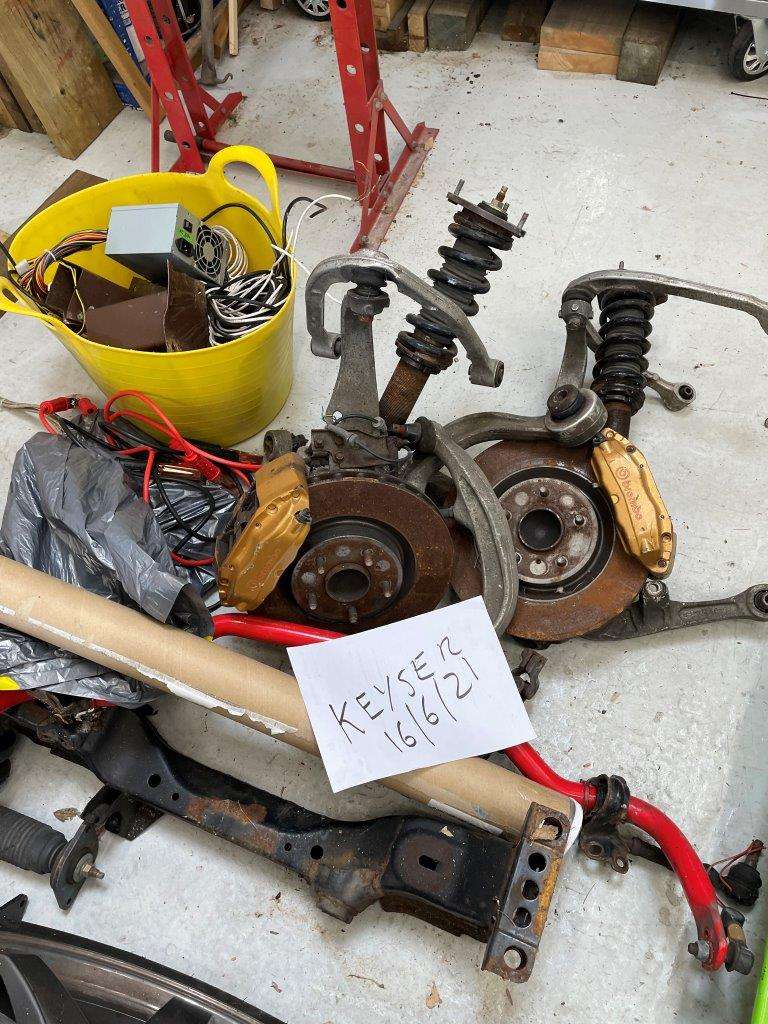

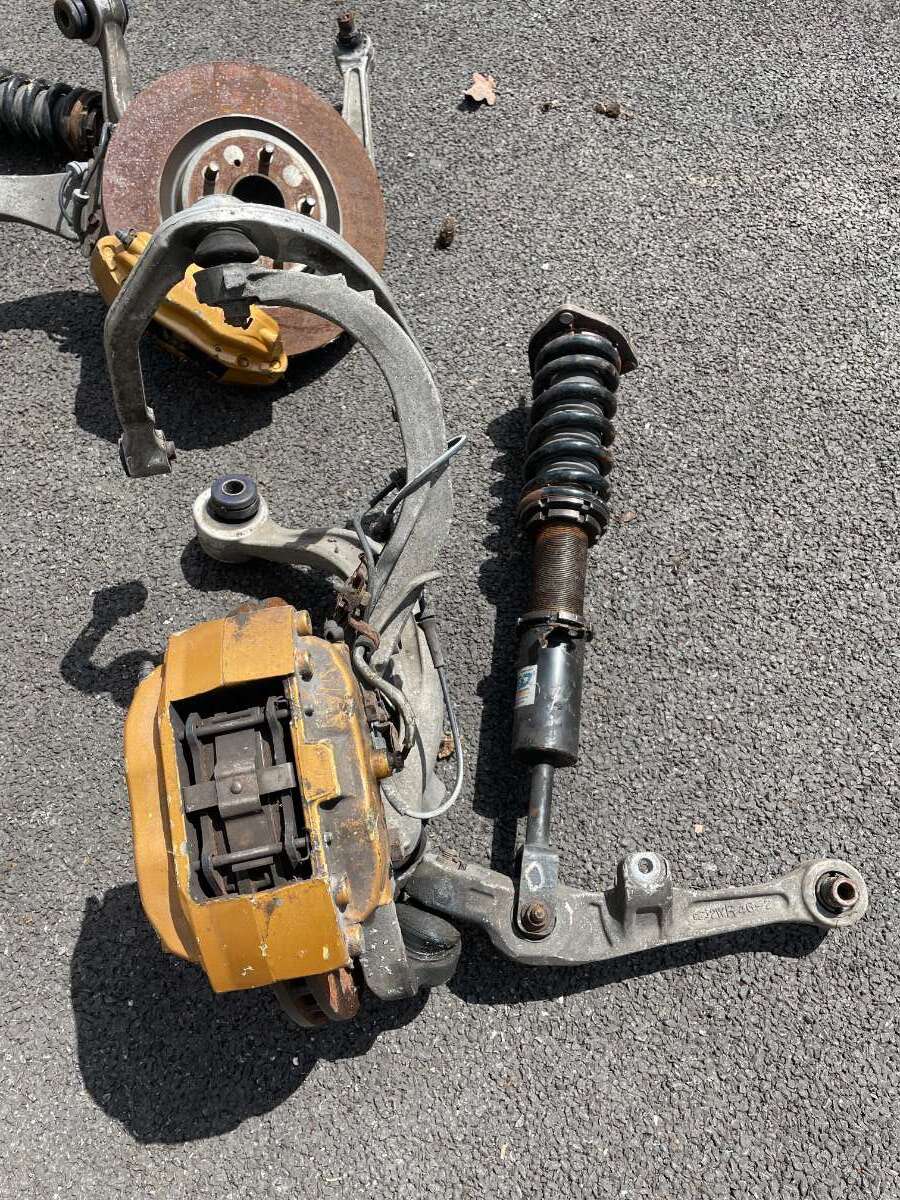

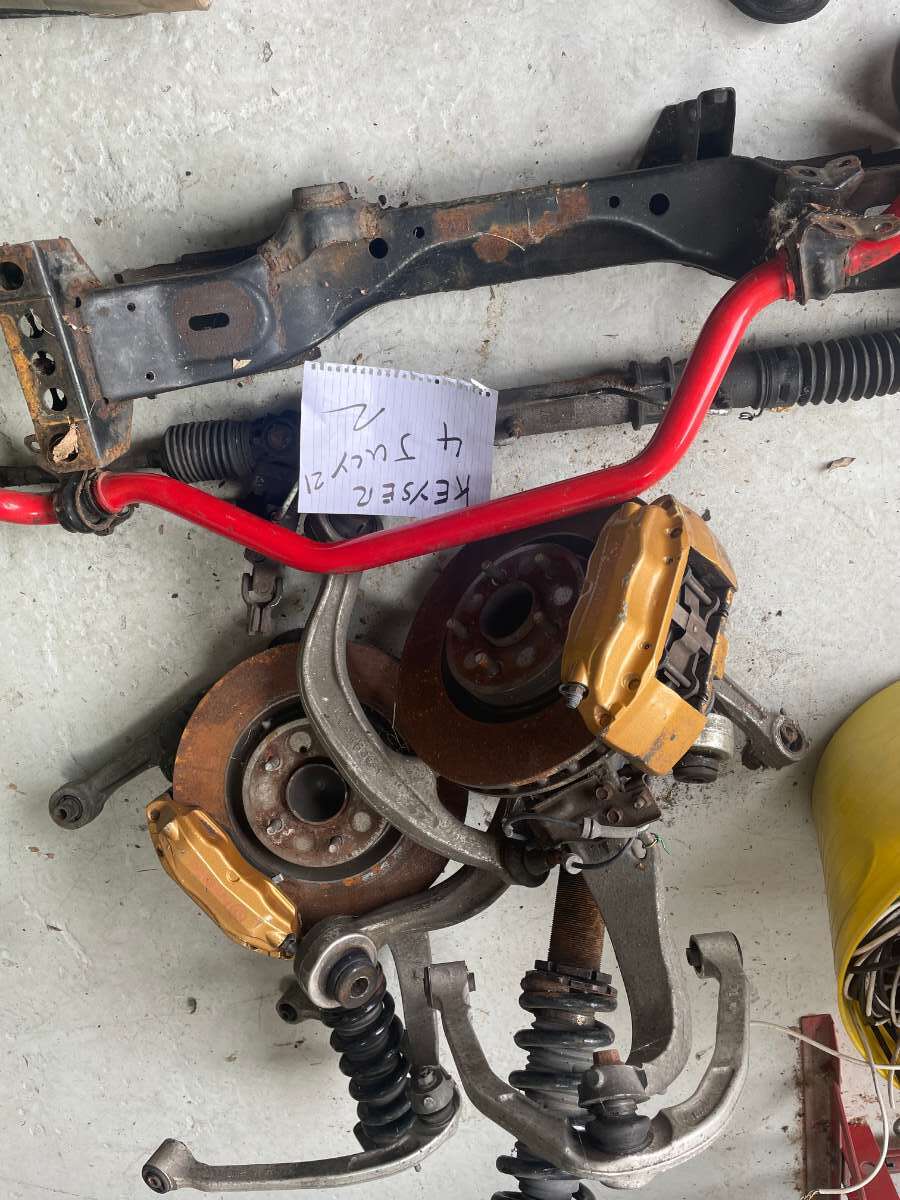
Brebo Brakes full set - SOLD
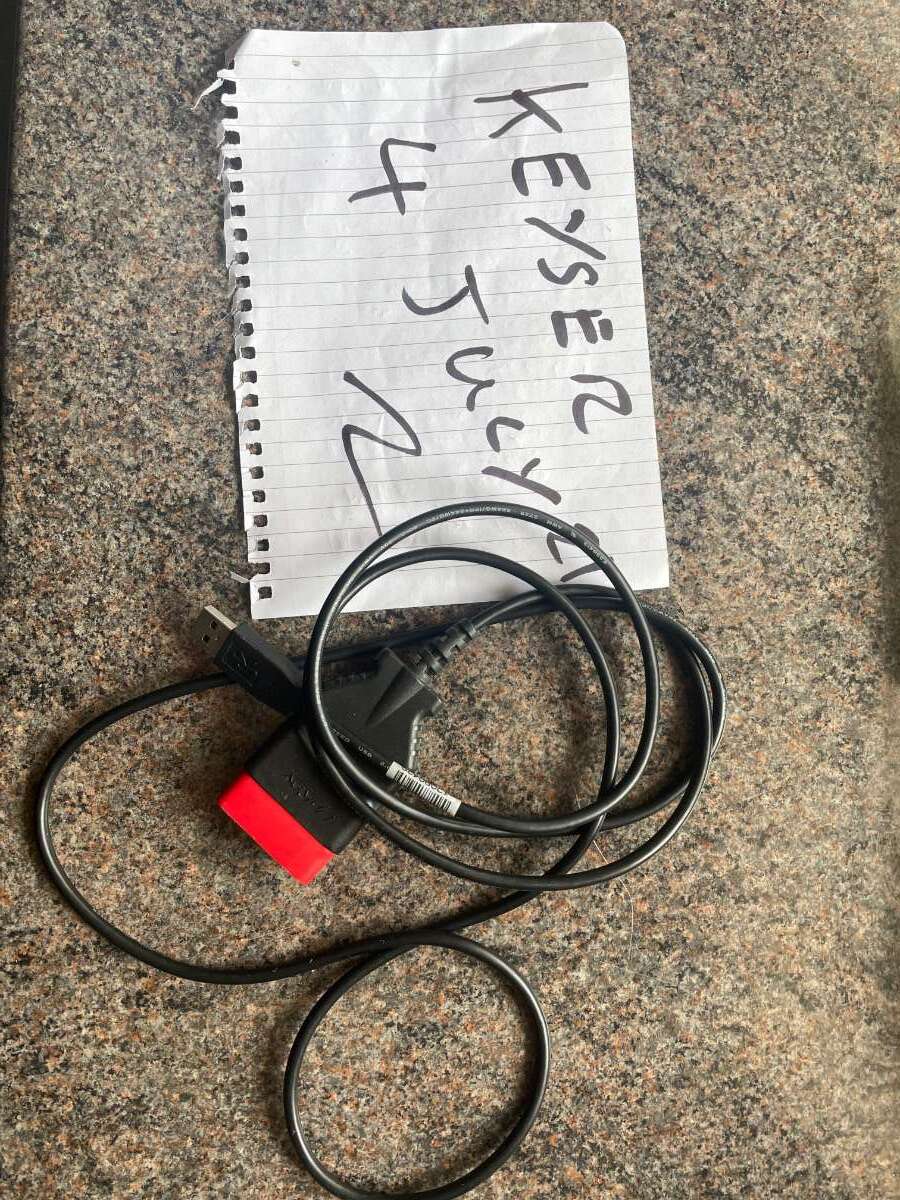
UpRev cable no licence but I used it for fault finding and code resets - SOLD
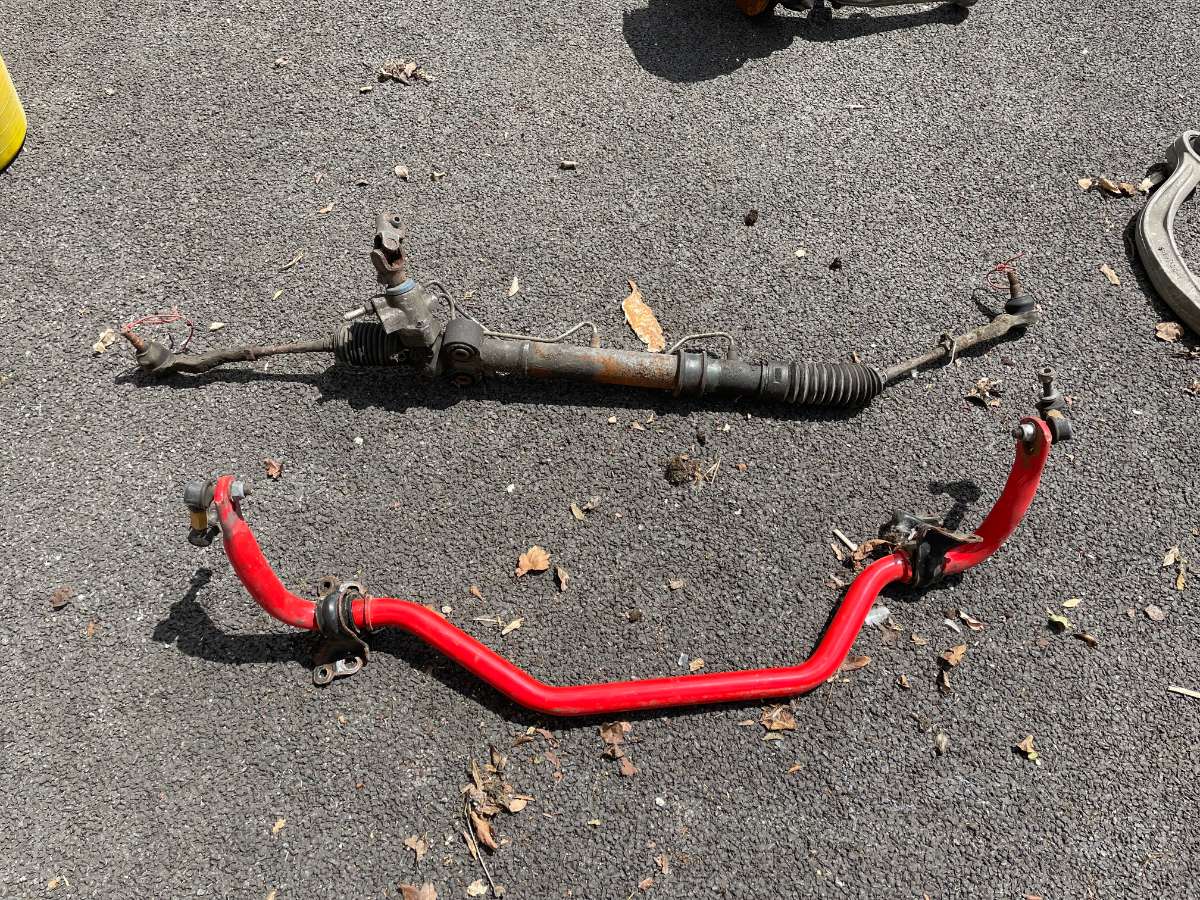
Eibach Front and Rear Adjustable Anti roll bars with White line drop links - SOLD
Full rear subframe with pumpkin and drive shafts - SOLD
Steering rack - SOLD
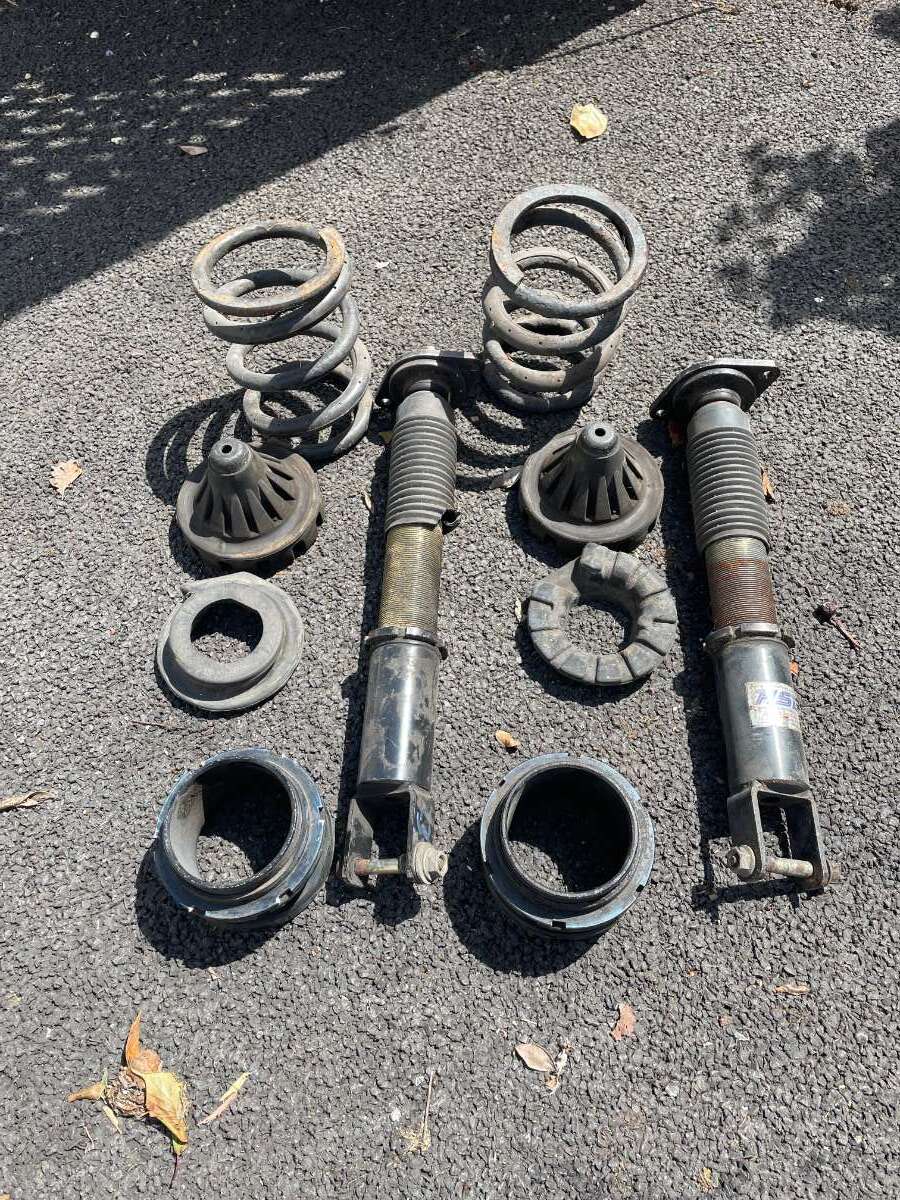
Set of HSD suspension origion unknown - SOLD
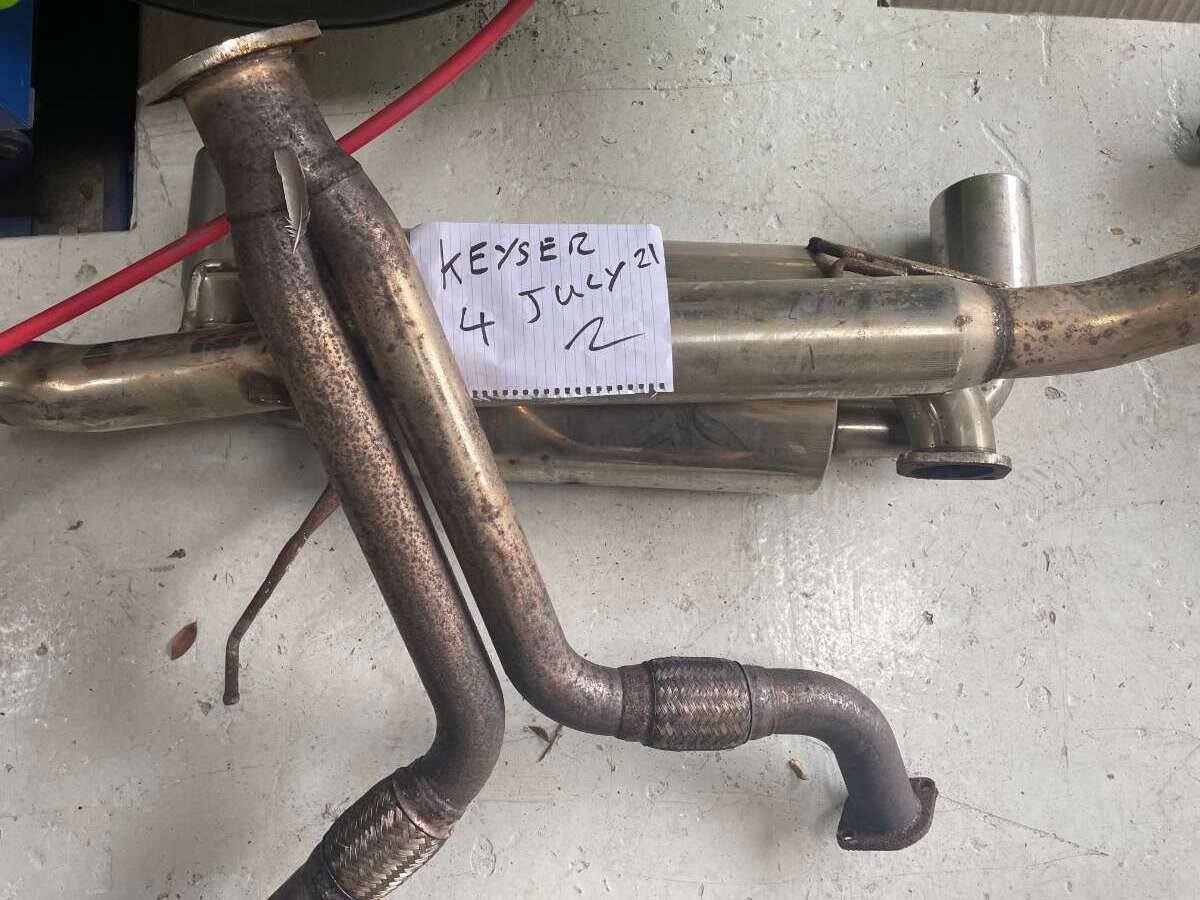
Unknown Zorst no idea where it came from - SOLD
Remaing
Set of Rota Wheels £300 - Collection prefered can post at buyers expense
Pumpkin on it's own £75 - Collection prefered can post at buyers expense Its vey heavy probably need a half pallet!
Plus -
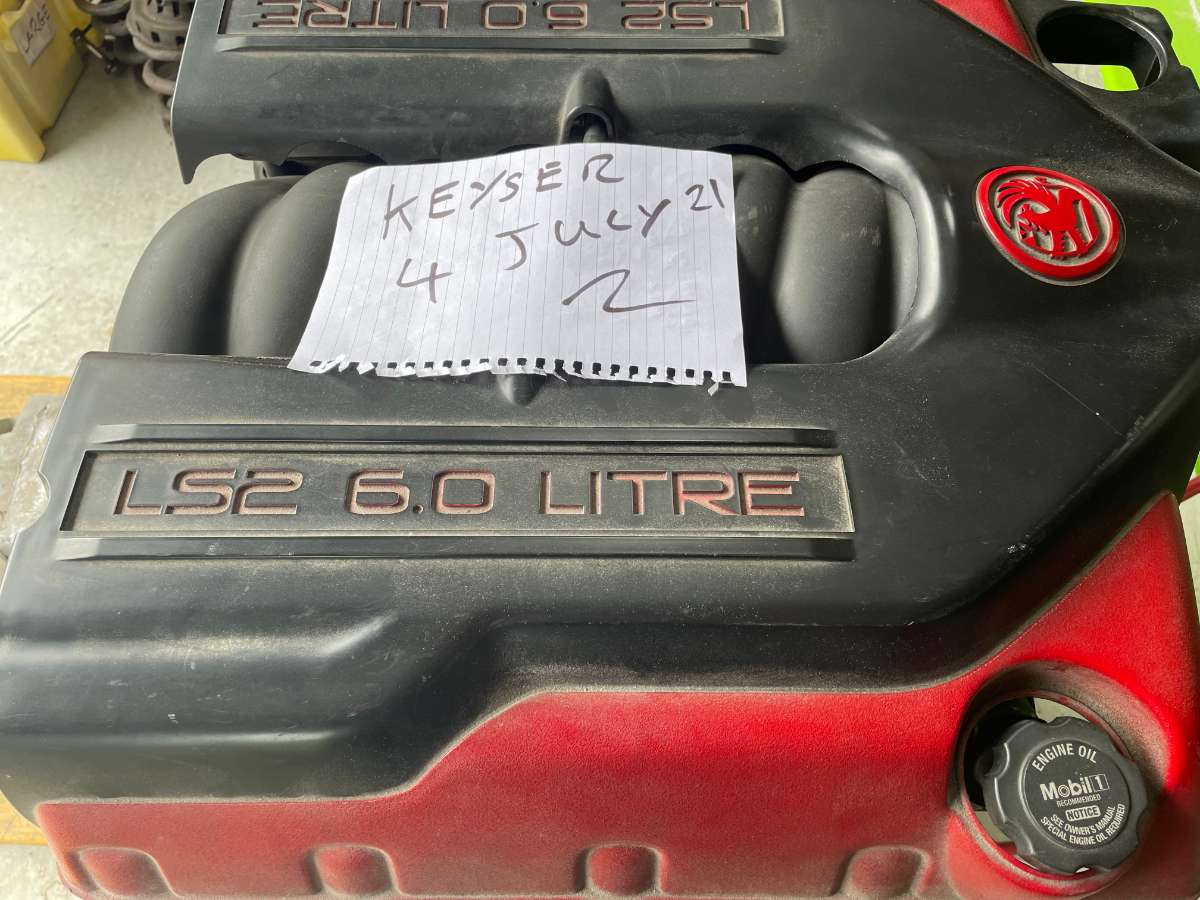
6 Litre LS 2 Engine with 350z Engine mounts and full Loom, needs headers, sump gearbox mount and prop shaft (basically a sikky kit) and good to go.
£4000 Collected - Cheaper than an SC
If you want more info on the LS PM me
Keyser
-
1
-
-
On 17/06/2021 at 13:55, Humpy said:
How many miles you done in the dark side so to speak 😂
Not enough!!!!!
I hate lock down
-
You sure it's oil?
If you drove on a wet day and the water got in the disks it could literral be rusty water spinning out of the vents - thats why it would be in line with the disks.
On the other hand you could have washed her and let the water stand a bit before driving, would be more likley to happen if she was parked up for a while before a good old wash as well.
The big dots are when you stop - hopefully it will clean off if you get to it quickly.
-
2
-
-
Very nice Steve - The things you miss when you turn to the dark side aye
-
1
-
-
Mods Please lock still getting PM's from this.
Thanks
-
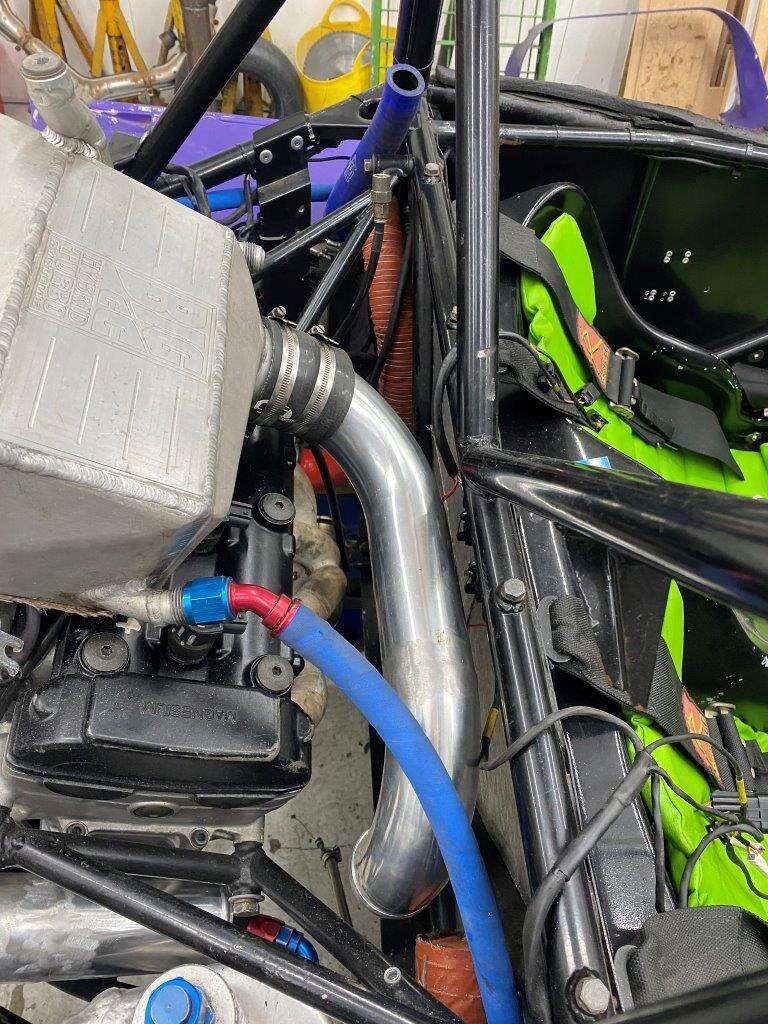
Morning all, hope you all had a great weekend, I’d like to say that I have already learnt a lot of ways to not fit a rear mount turbo, it’s been quite a learning curve already!
We, Tim the co-owner has been helping where possible although Covid and his imminent house move are keeping him busy, spent the first day trying to come up with a suitable location for the turbo that allowed clearance, we also had the added constraint of trying to keep the original outlet. This is because the Hayabusa kit we have uses a specific design and modified turbo, Shaun at Big CC racing who supplied and dyno'd the original kit has had issues with boost creep when not using this design and length so we thought we would try and keep it.
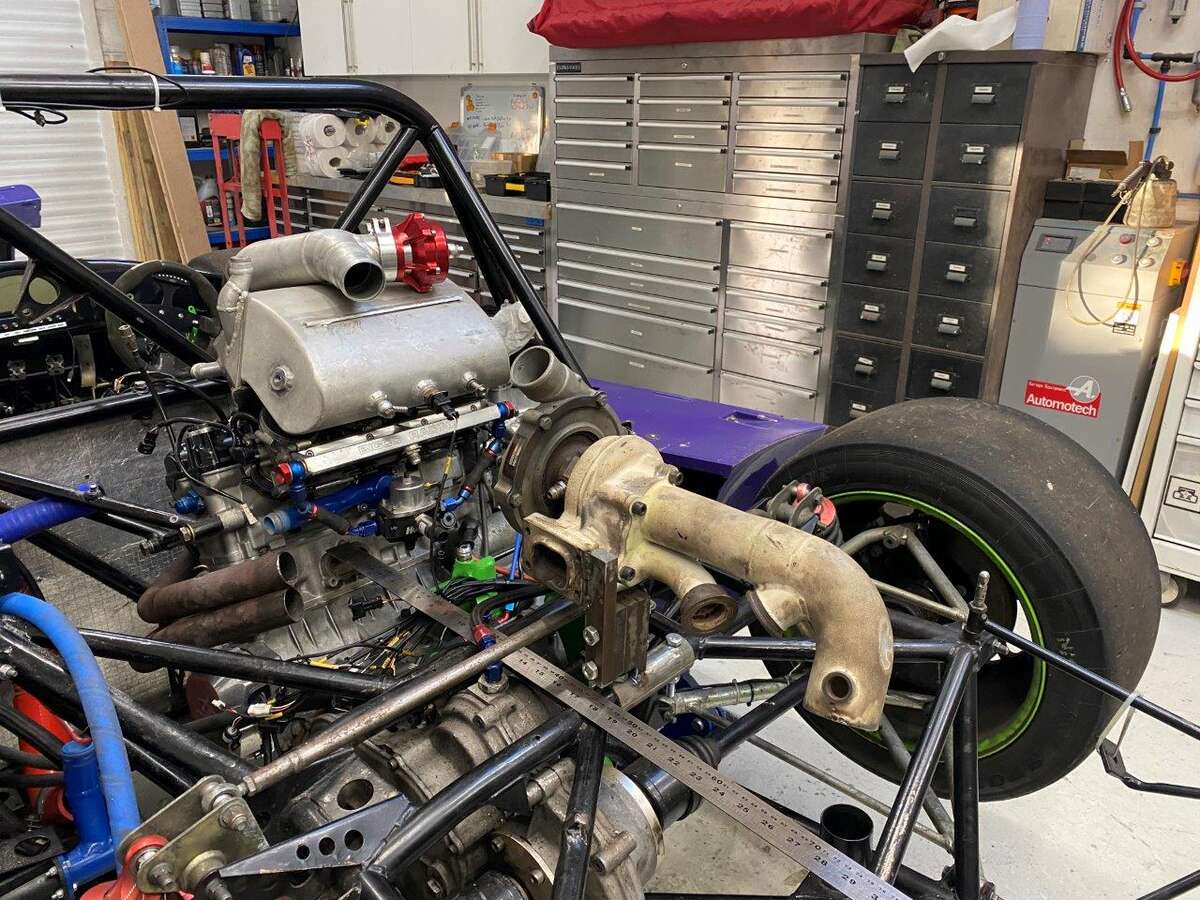
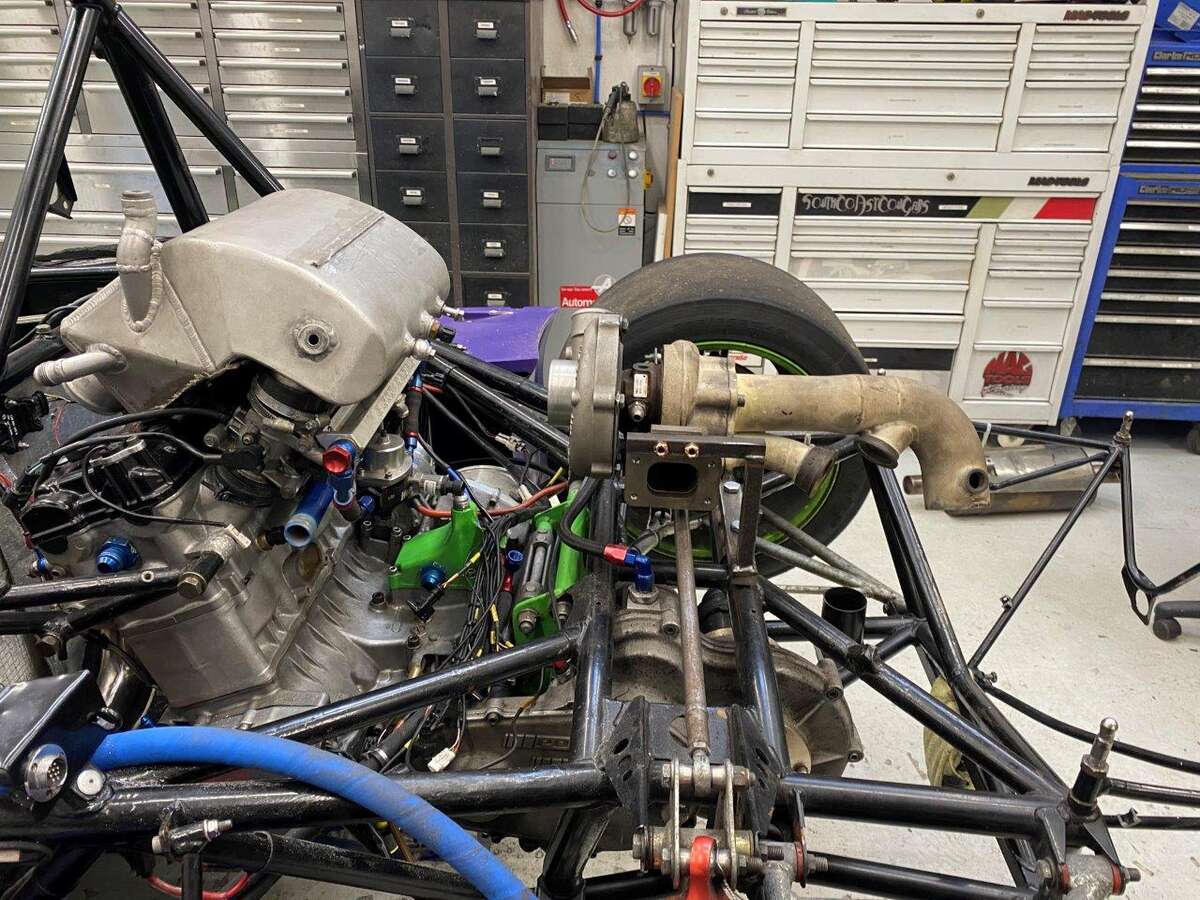
Location testing

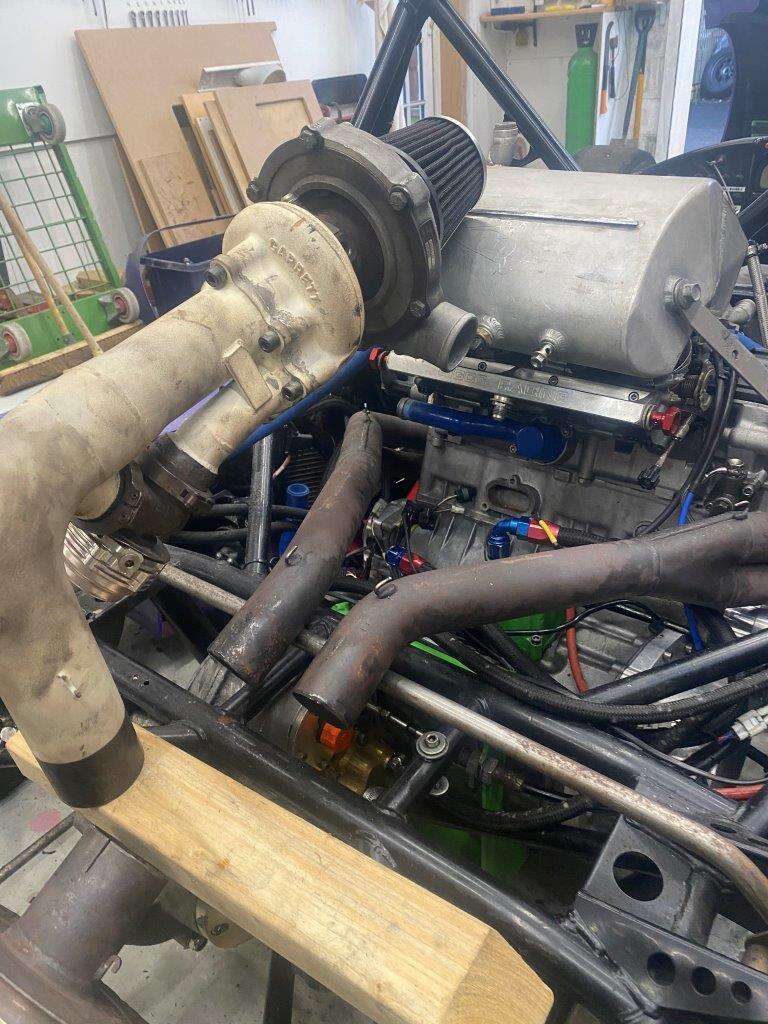
Decided that this was too high, obviously with any “race” car you want a low centre of gravity and the closer to the rear axle we can keep the weight the better.
I eventually gave up trying to balance the turbo on blocks and hold it in place with bits of wire as we kept knocking it when testing the engine cover clearances. Eventually I welded a temporary mount up as you can see, we then added spacers to get the location right.
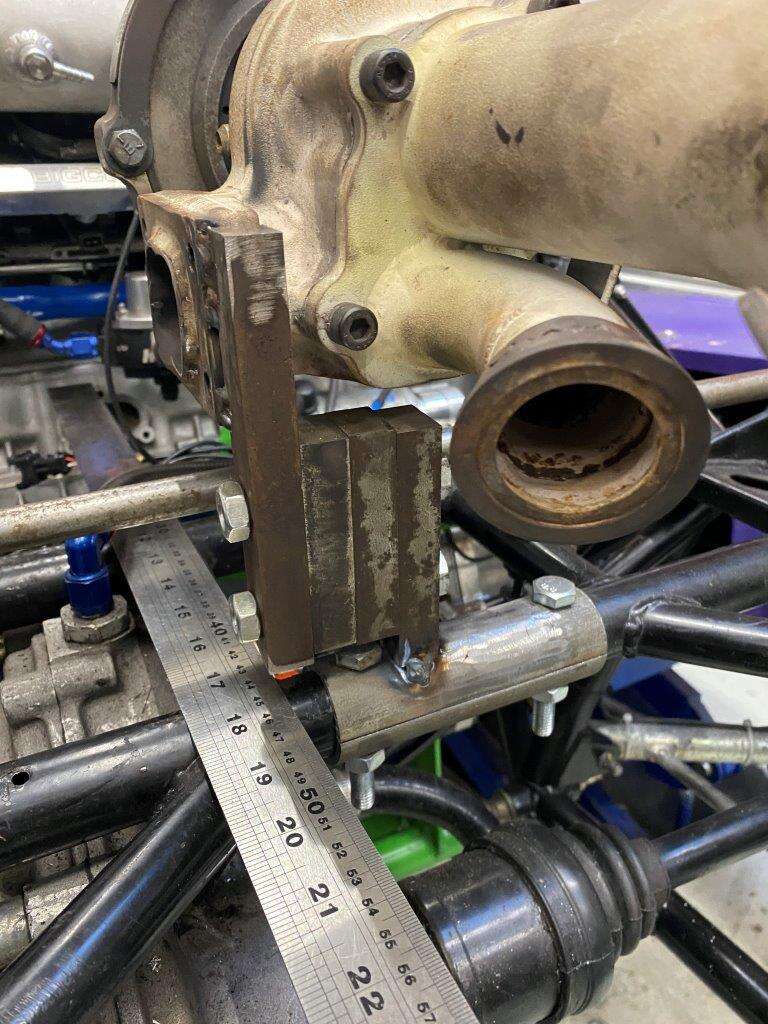
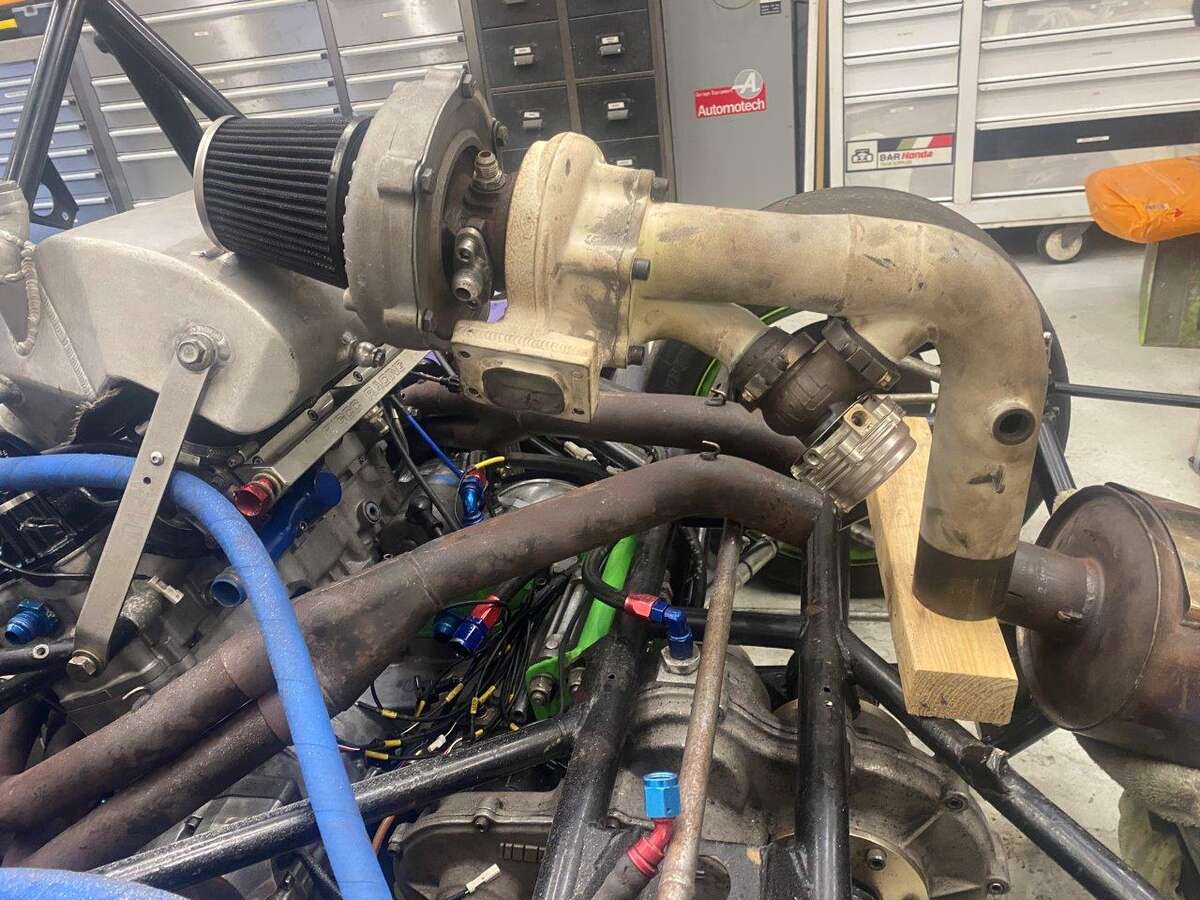
This is what we settled on
That was basically a weekends work. I ordered a few parts one of them being a new flange as ours was welded on to the turbo due to constantly blowing gaskets, this flange also has a built-in mounting tab. I then started on what will be the proper mount and it now looks like this.
Then I made a start on the pipe work to get from the manifold to the turbo inlet
There I was looking at how neat it was when it struck me that the pipes looked huge, well they looked like all the other turbo pipes I have seen which worried me as they were all on 3l and above V6 and V8 engines! I have a 1300cc engine, this lead me to a bit of research about the size of the pipe I should be using for the rear mount setup, I had already looked into long flow V short flow headers but not the actual size of the pipe. Yer it’s to big, although it will work it will most likely cause lag and we don’t want that! Velocity beats flow pre turbo on a rear mount setup, I stopped work on that and switched my attention to the outlet side.
We decide to go for a new silencer as the Radical is very loud and our back box rattles as the baffles have come loose, I went for a Magna Flow from Profusion Exhausts as it is supposed to handle the hotter exhaust temperatures from a turbo setup. We went for the same size as the current silencer and ………..
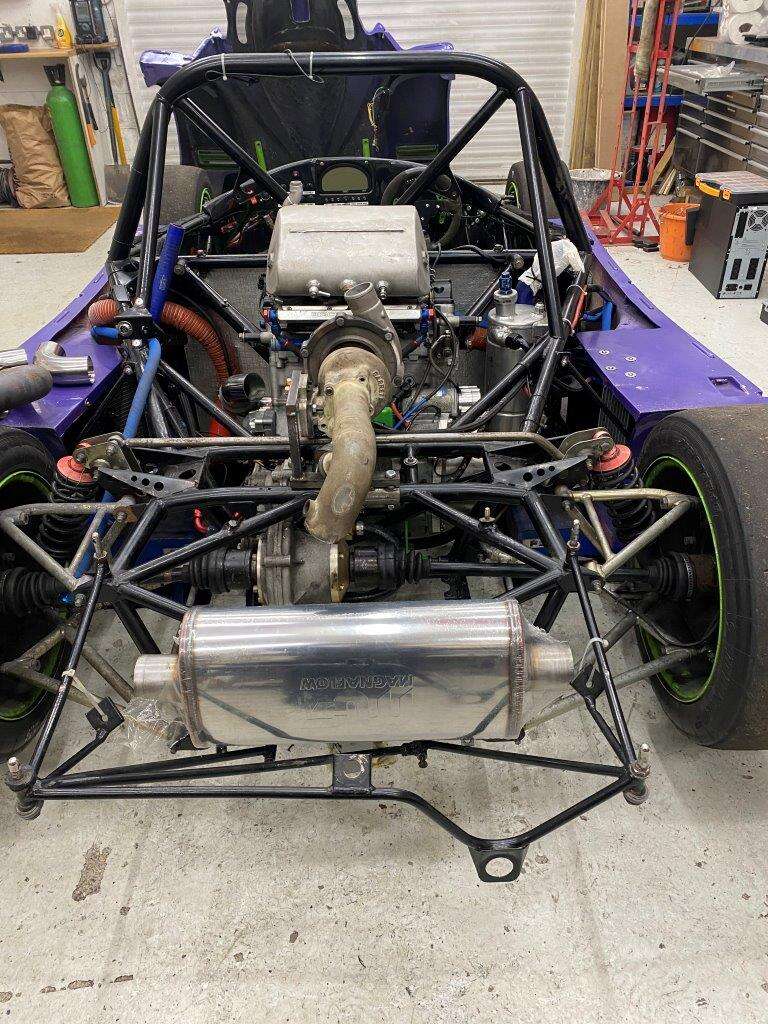
It doesn’t fit
Mainly because the outlet is now much further back the only way to get it in is transvers as per the picture origionally above it was straight out. The problem is the framework gets in the way.

Something else to ponder on.
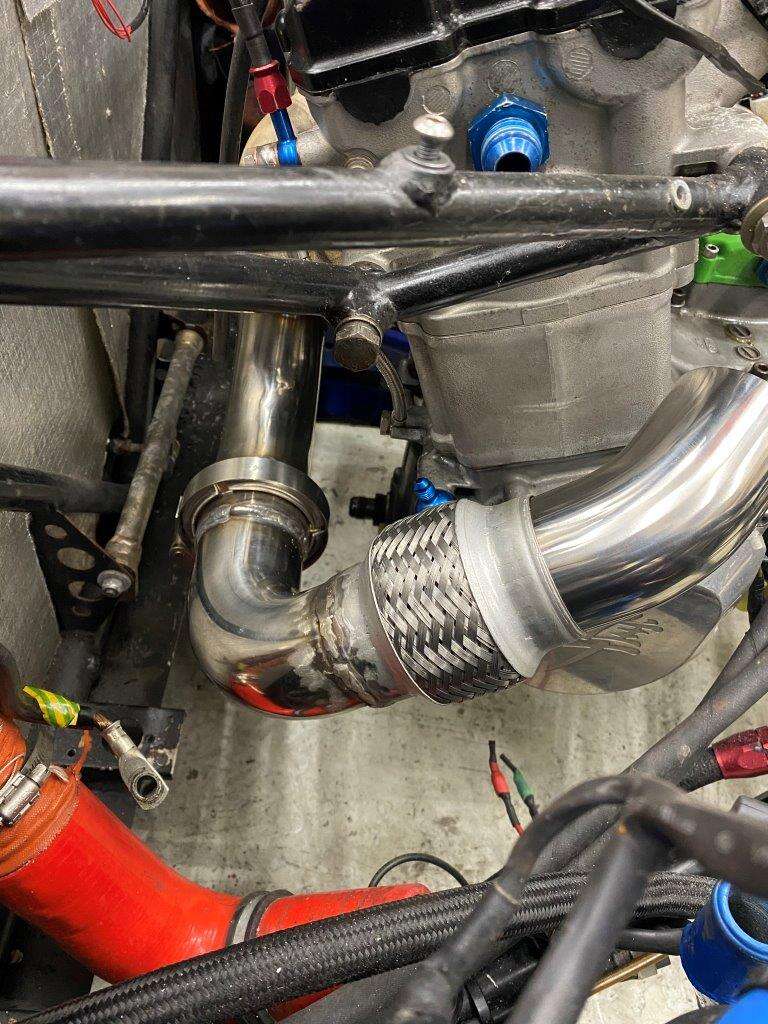
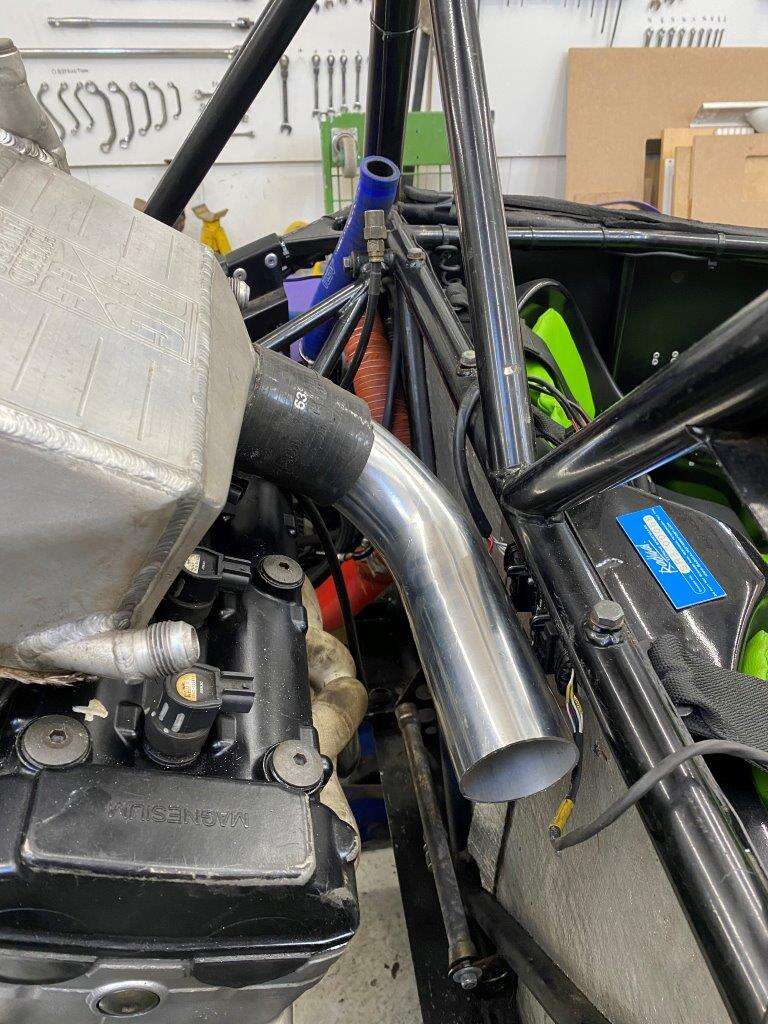
Bugger it I’ll work on the cold side and get the inlet from turbo to plenum sorted instead!
First pipe on
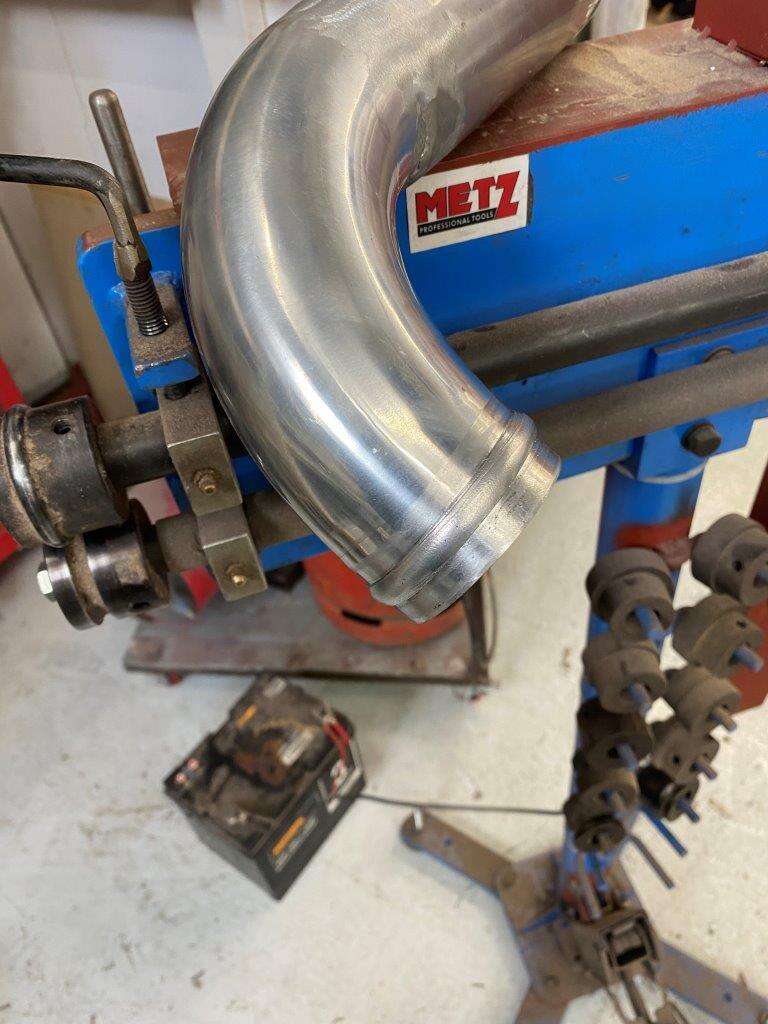
Then I made a new pipe up and even managed to swage the end using my bead roller
Remodelled the original inlet by cutting it and rotating the BOV 180 and re-welding, I also added a mount and extended it about 150mm
or 6" for the old school amongst us
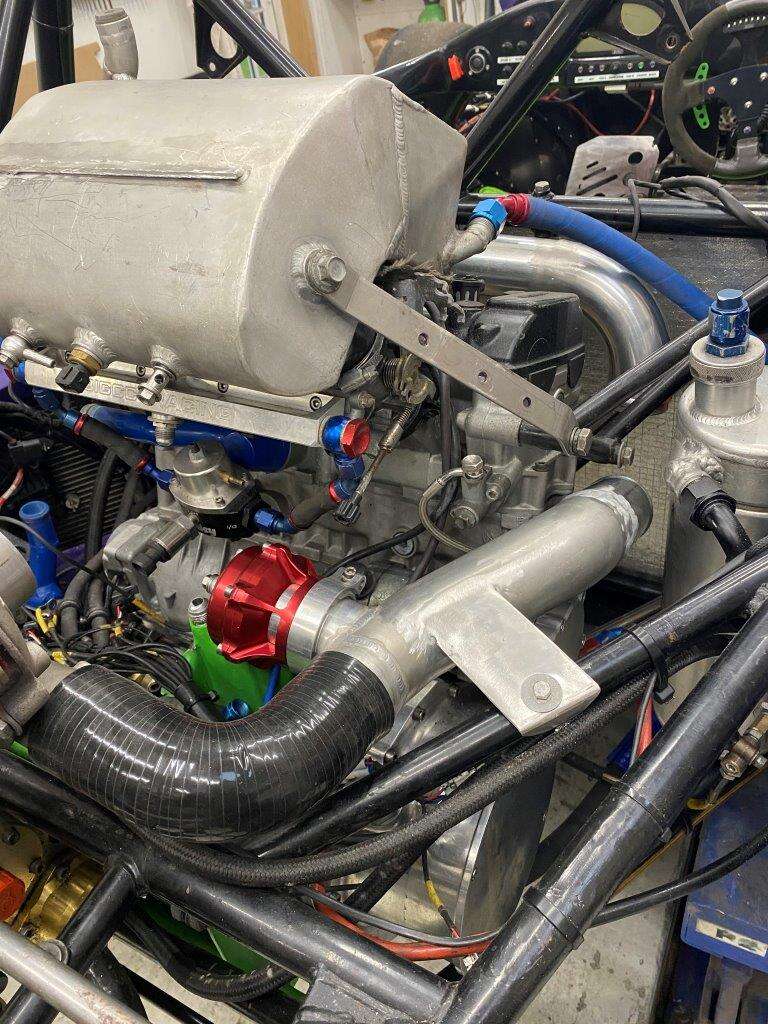
the top pipe completed
Just have to order a 90-degree silicone pipe to join them together
Yayyy something done.

I had an hour or two left of the weekend so I did some work on the manifold, it had split above the flange so initially we cut it off and tac welded a 90 bend into it but now we are going to use thinner pipe I cut that off leaving an inch or so to fit a reducer when it arrives, then I finished the welds
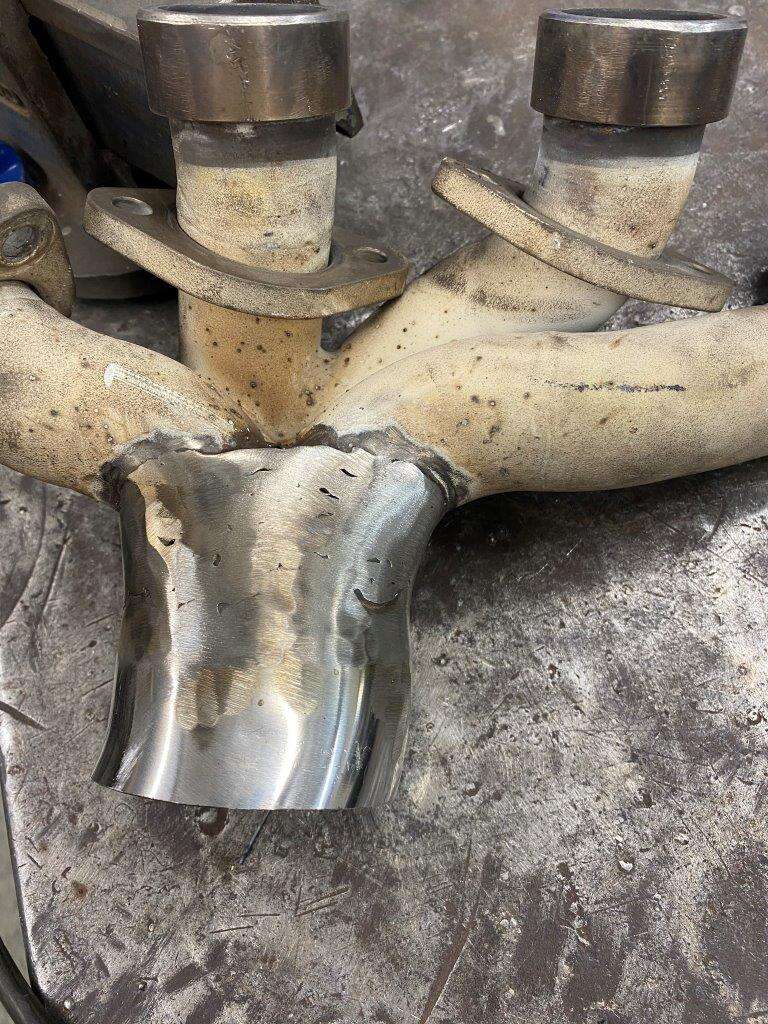
Sanded it back
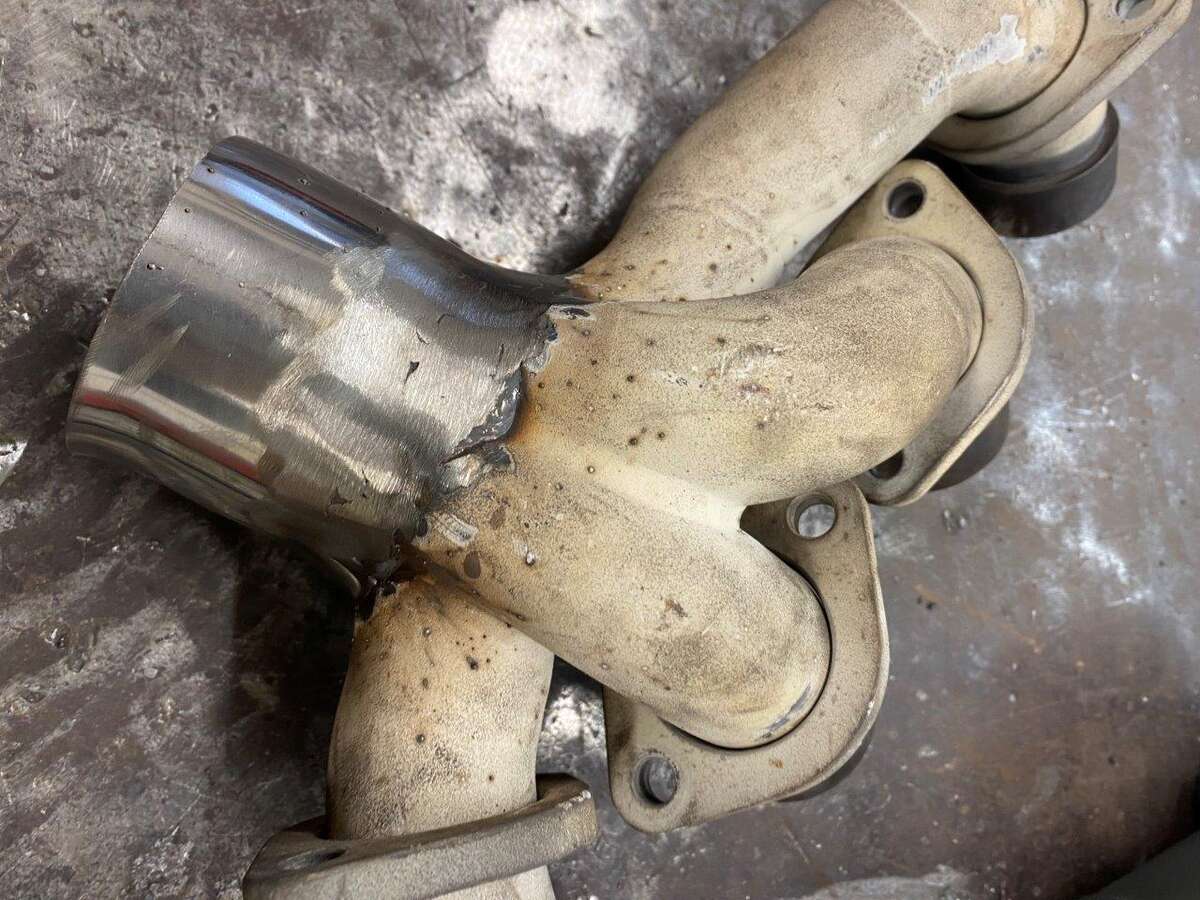
And added a collar to make it stronger as this is where it split last time
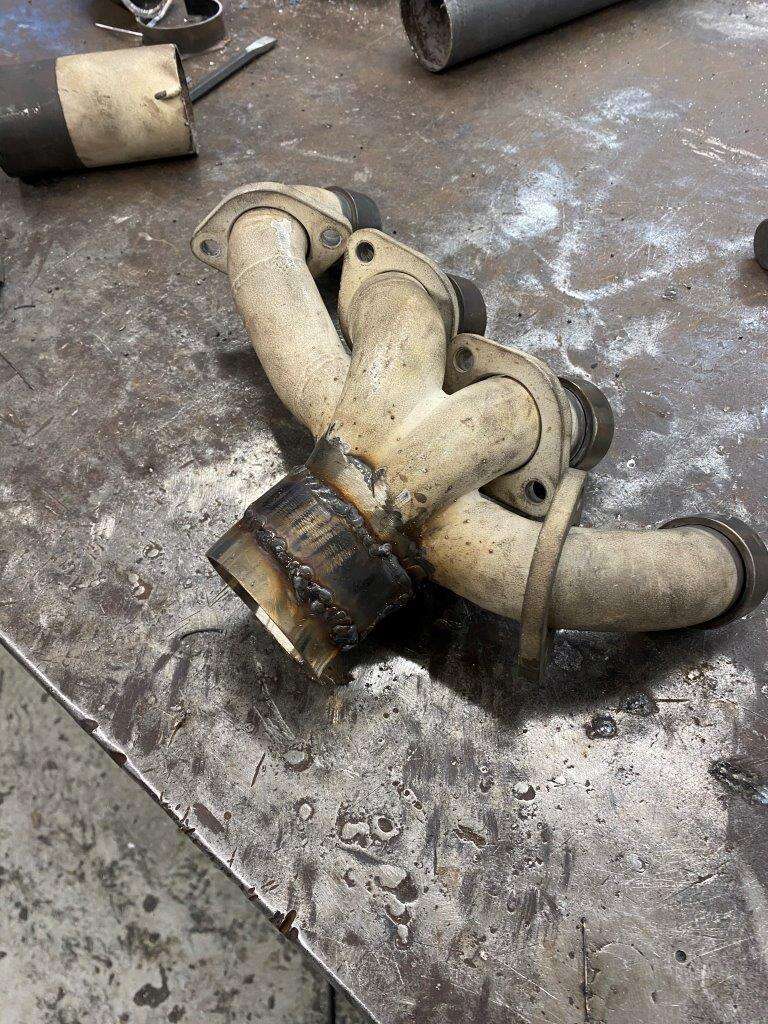
My stainless welding is not the best but I’m getting lots of practice!
Loads more parts ordered and more to come soon.
Keyser.
-
8
-
-
Hello Again,
Yes I’m back

I’m sure you have all missed my updates and my apologies for dropping the ball on that, normal excuses apply mainly life, nothing to bad I’m pleased to say just hectic with work as Covid has caused many changes for us and we have had to restructure to accommodate them. Also, even though it is hopefully a decade away I have started making retirement plans ……………. Yes, I am that old!
 This has resulted in a company merger with another company I have worked with for about 15 years, the amount of paperwork, solicitor and accountants etc required to sort this is ridiculous!
All the above has resulted in less time to do what I love which is playing with cars, but never fear I have been having some fun and although we have had no track days and only 1 meet this year I can’t leave you lot over these cold winter nights without something to look forwards to! Assuming anyone actually looks forwards to these update
So a lightning catch up ……………………..
The Bug. a recap.
After the strip down and powder coating of the chassis I got round to doing all the rest of the bits, starting with the actual reason we own it the blown reversing box,
Everything was cleaned
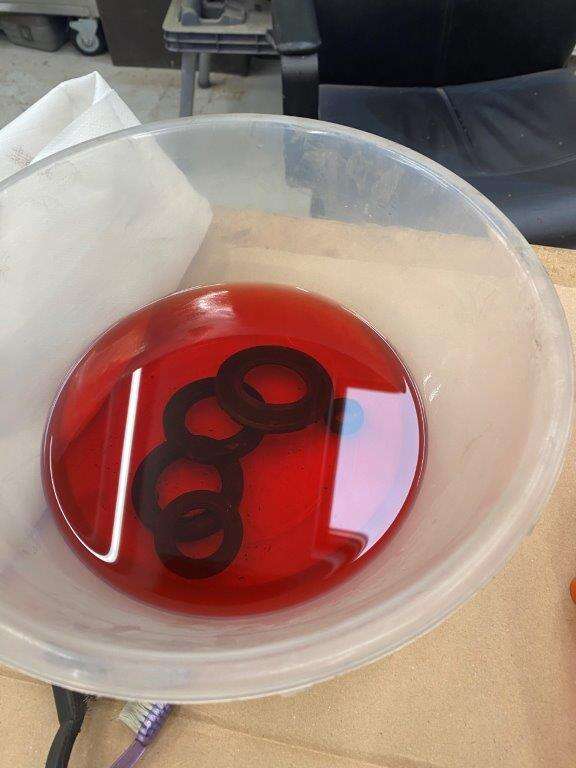
Reassembled
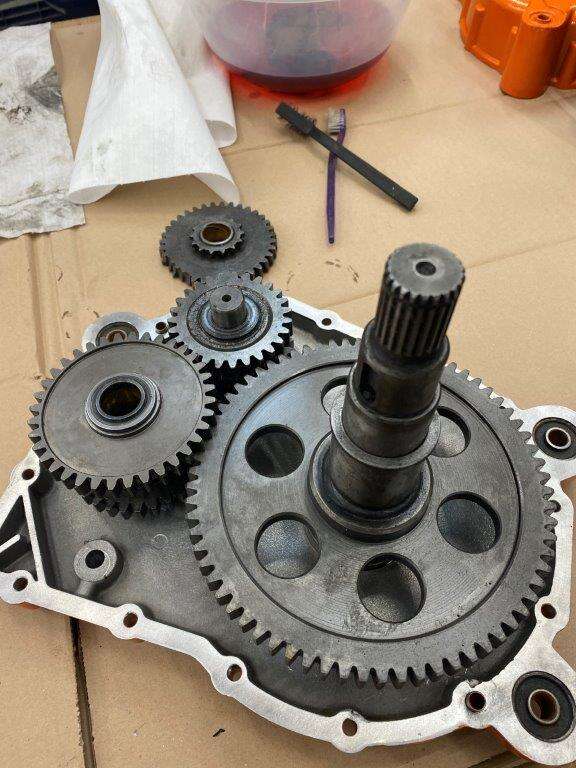
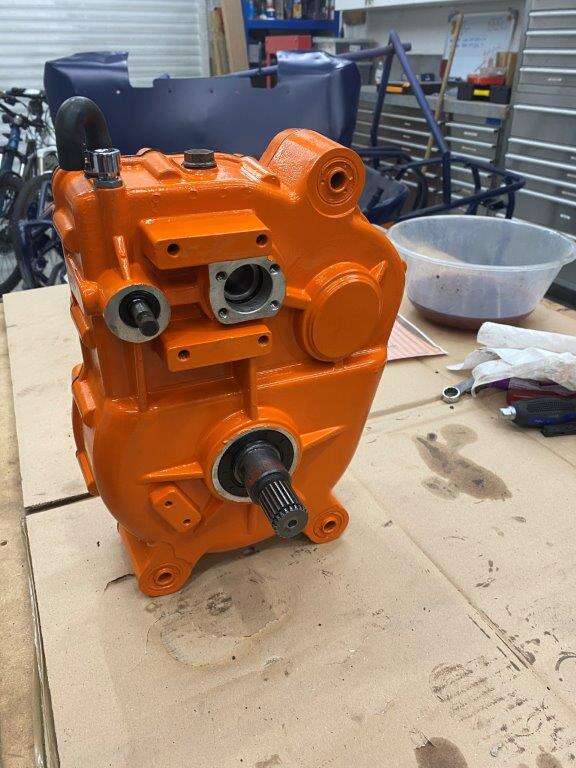
And mounted
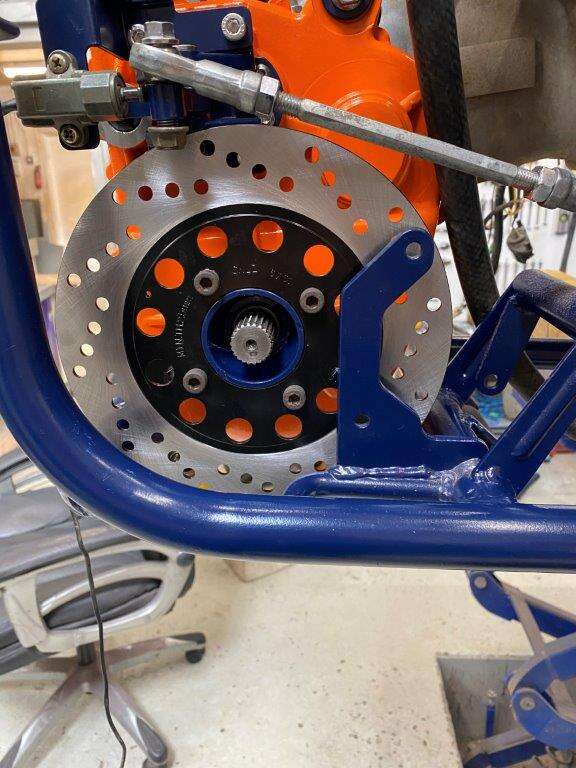
The custom undertray was powder coated and I added a protective edging
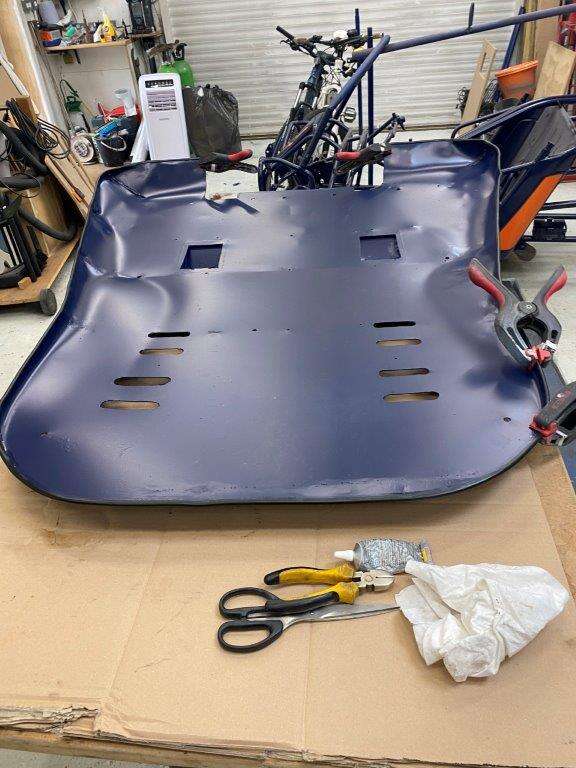
My new plate had the grommets added
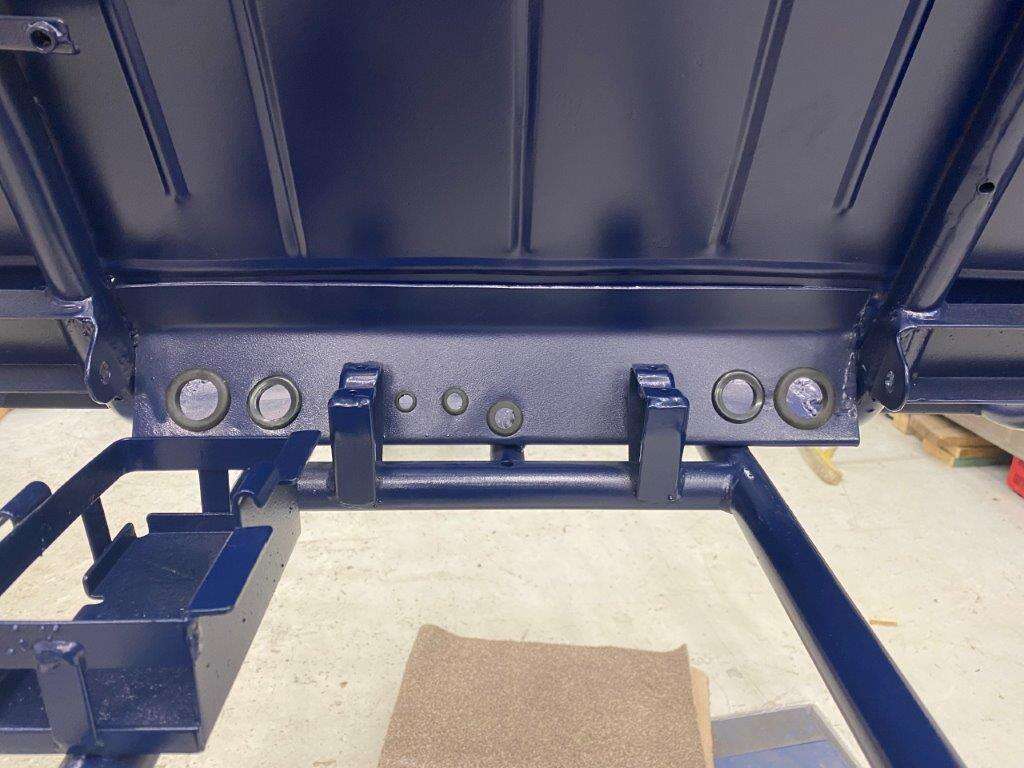
Some more powder coating
Sub assembly rebuilds
Gator replacements
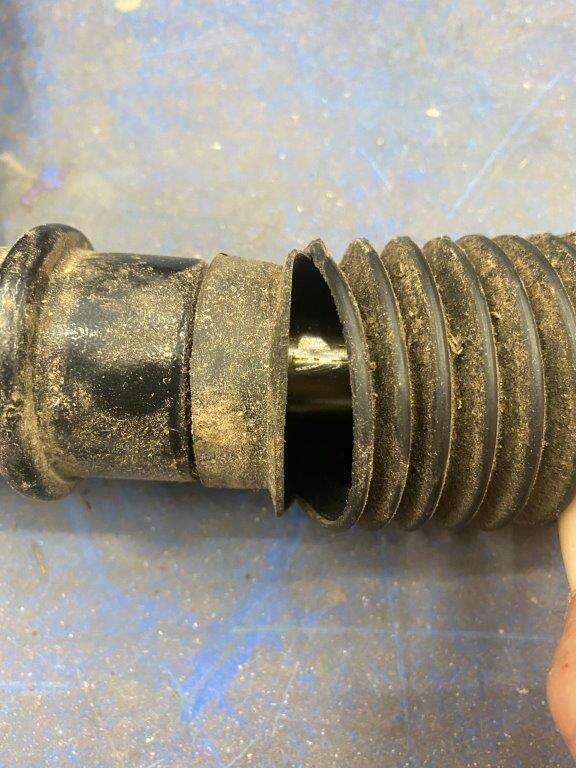
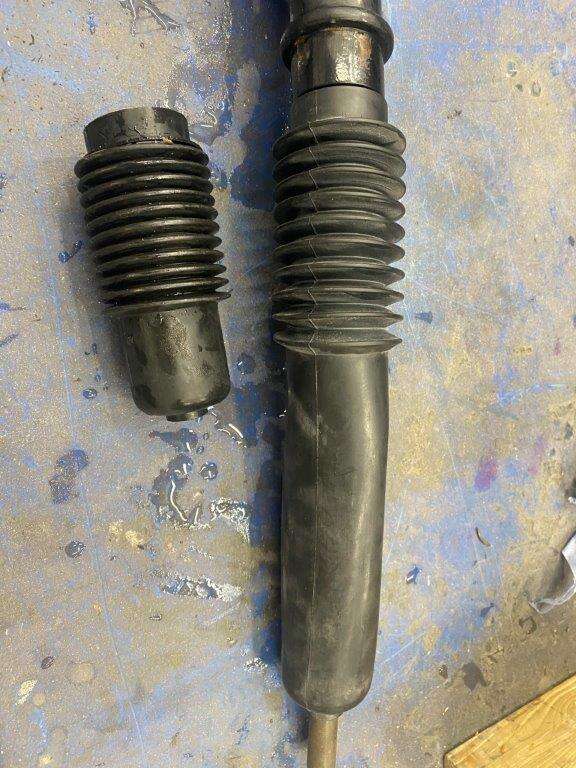
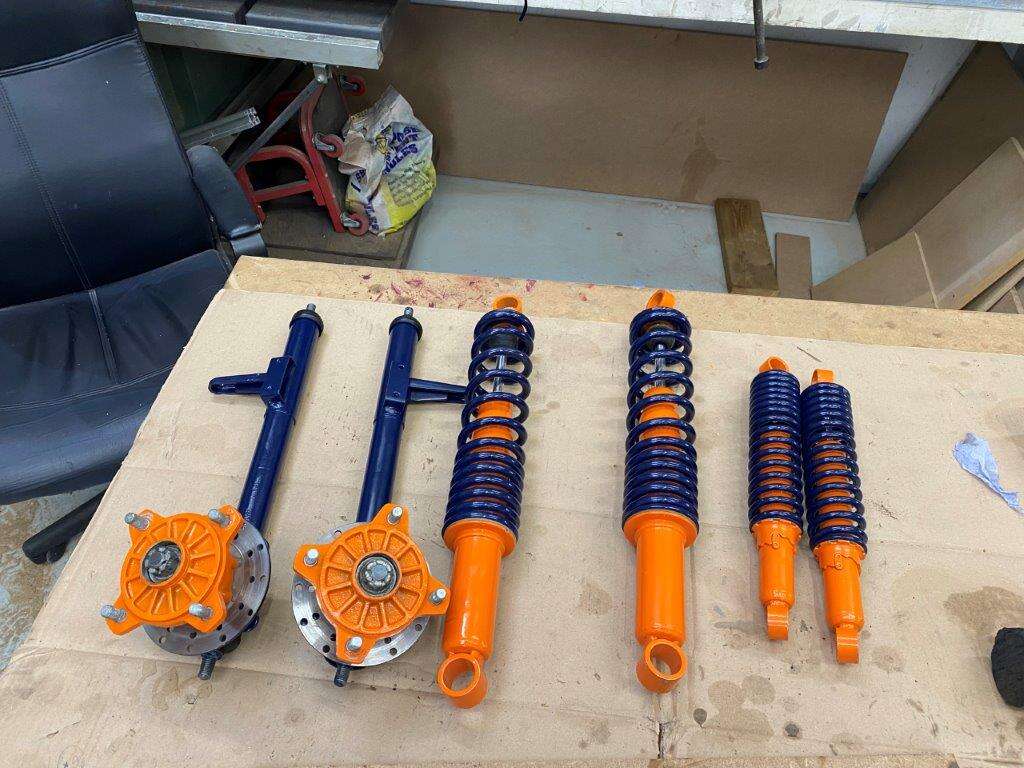
Suspension rebuilds
New dash installed and wired
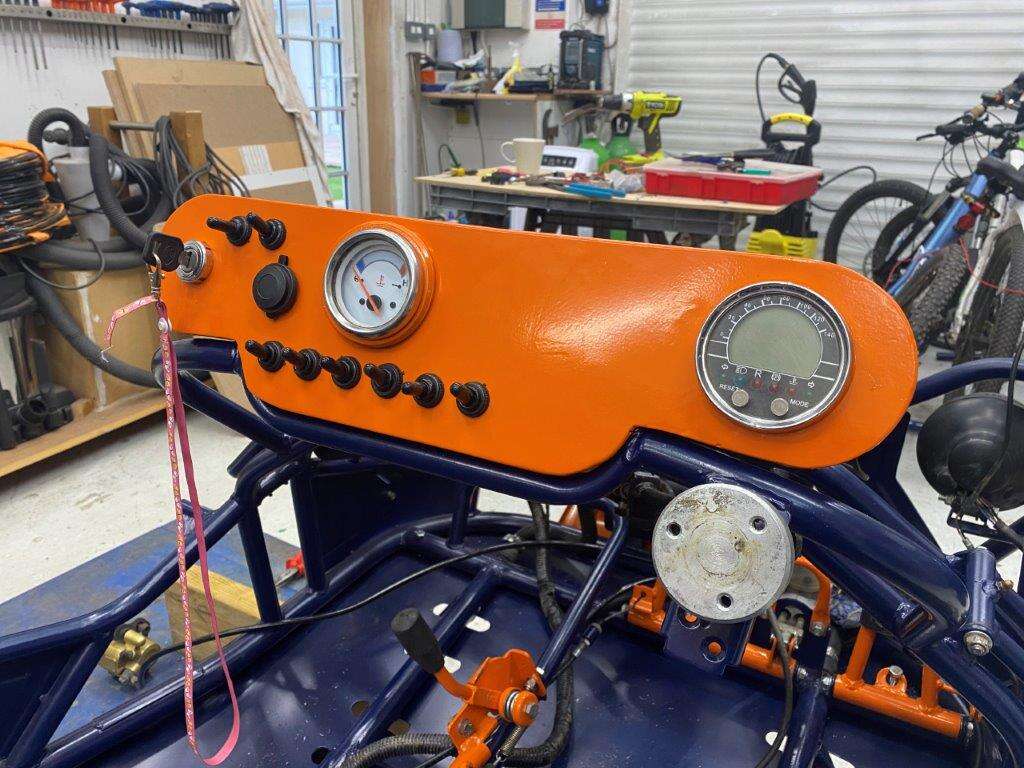
Along with the custom electrics box
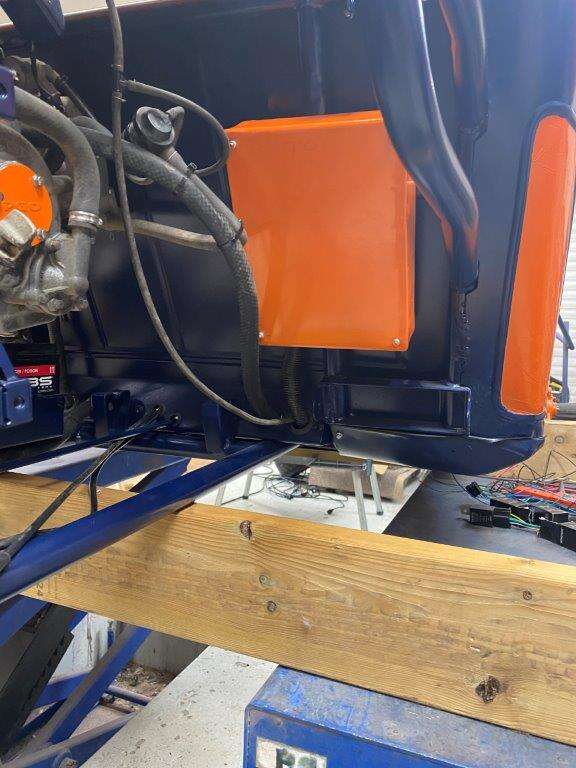
Shout out to Beb for the assist with the rewire – cheers mate
Then it was done, here she is with the battery on charge at the beginning of last week
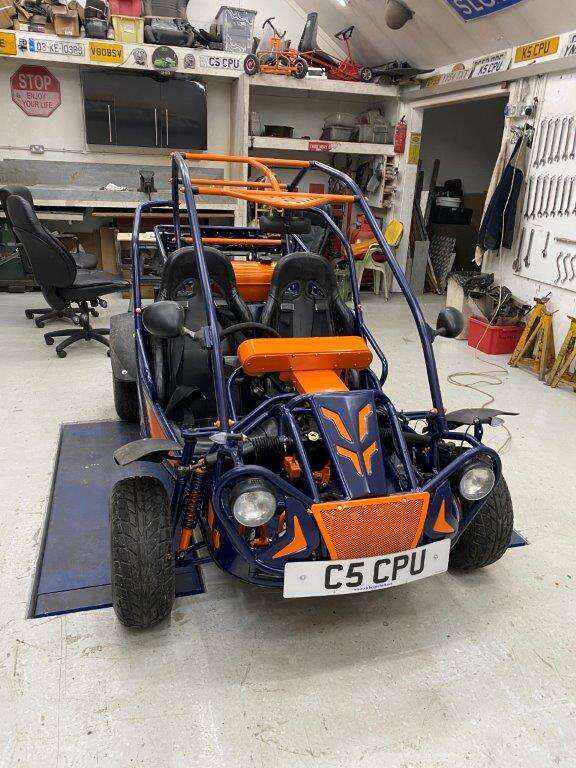
Next stop was the MOT station
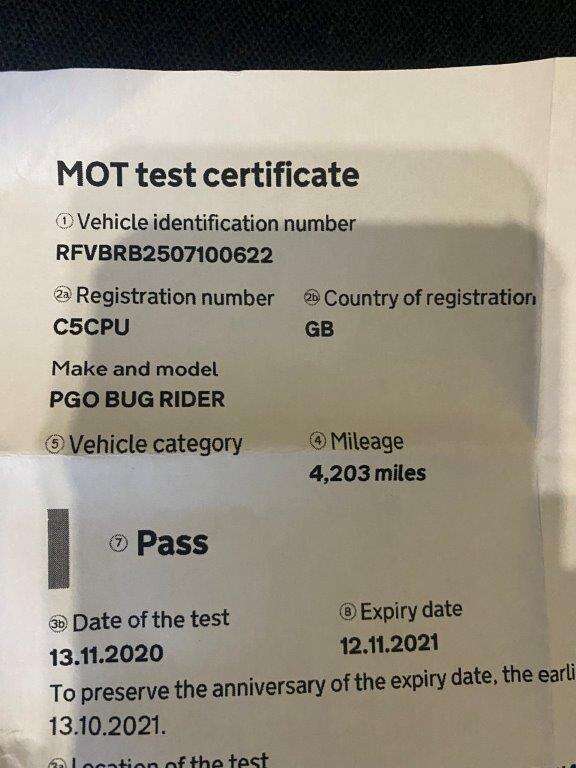
And here she is outside Beb’s house on the way home from MOT (we bought this as a joint project)

We have no idea what we will do with it but it was fun although Covid meant it wasn’t quite as “joint” as we hopped
So there ya go all caught up on The Bug
Next up we have this …………….
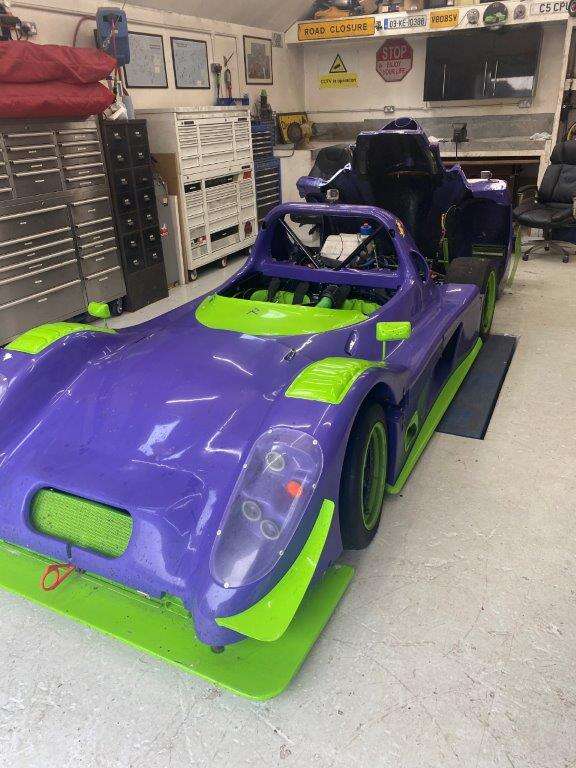
So join me as we continue in our so far futile attempts to show that we can build a better race car / track toy than the manufacturer
Since adding the turbo charger to her, she has suffered huge heat issues we have melted wiring looms, exhaust parts and even the paddle shift magnetitic shifter in our first troublesome season.
The plan is to try a rear mounted setup, and as I have loads of experience in this sort of work (this is my first attempt) I’m sure it will go well…………. Or not.
Anyway, plenty of challenges to engineer my way in and out of and hopefully I will now have enough time to regale you with my antics, what else are we gonna do for socially distanced festive season?
Great to be back
Keyser
-
9
-
-
22 hours ago, SuperStu said:
How are you still alive?
Very pleased you are though
Pure dumb luck is my guess
21 hours ago, Beb said:It's definitely not from a lack of trying
I've had a few attempts, pretty sure Kim must've tried too. Somehow, he's still going...
The mad scientist has supplied made me some HUGE battery packs for one of our electrical projects, they may be yet another attempt on my life
38 minutes ago, neo said:packed a lot of tinkering around in a short time
Thanks mate
To be fair the posts are about 2 weekends behind where I am actually at as I missed a week posting, I usually post one week behind, but as I'm not getting every weekend in the Zed Shed you do catch up from time to time. Last weekend which was basically Sunday morning in the shed will be a very short post
It's coming along though and plenty more projects waiting in the wings
-
Morning all,
As is now normal I’ve been to busy to post, I’ve been to busy to do anything! Ended up working this Saturday but got a quiet afternoon on Sunday so took the R8 out for a spin – That was fun, decided to go and find an ice cream in the New Forrest, beautiful surroundings gorgeous weather and I got to drive my toy
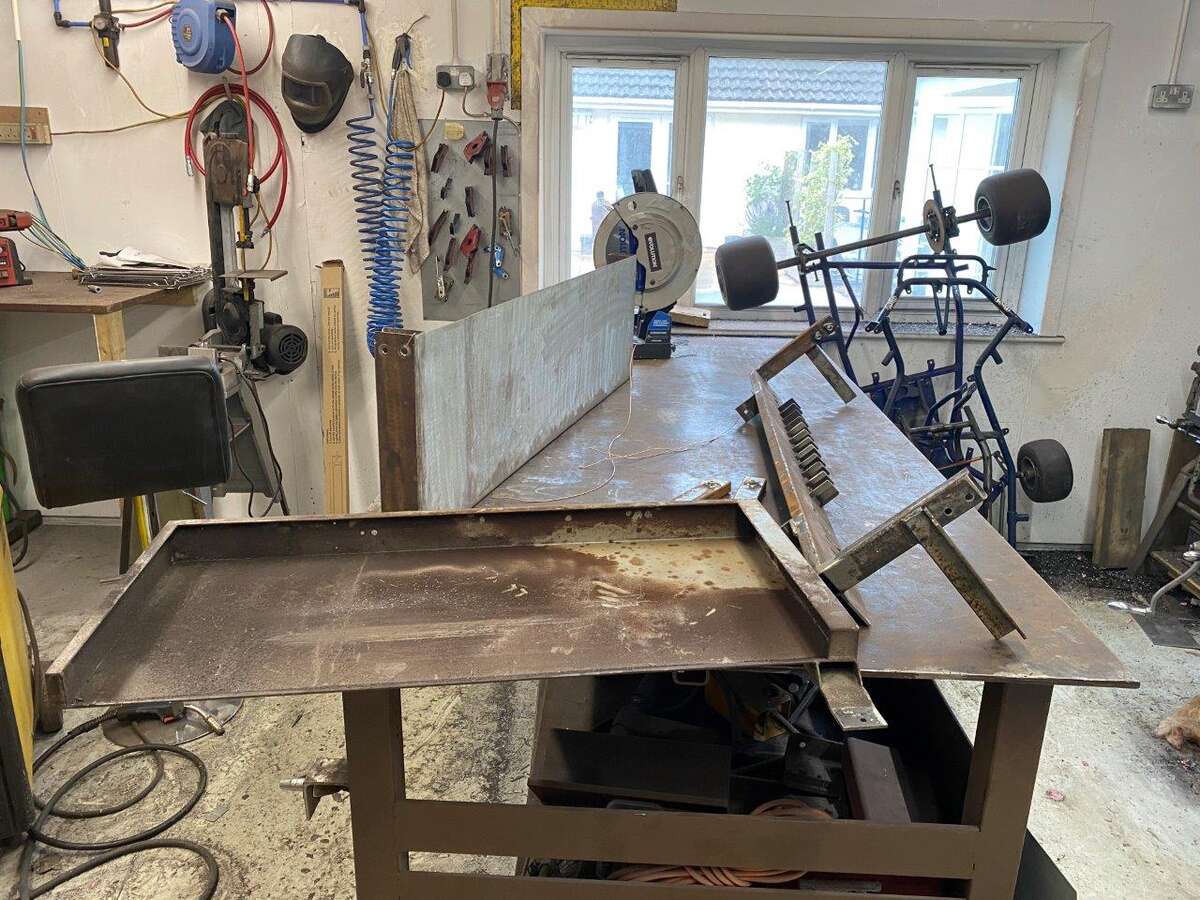
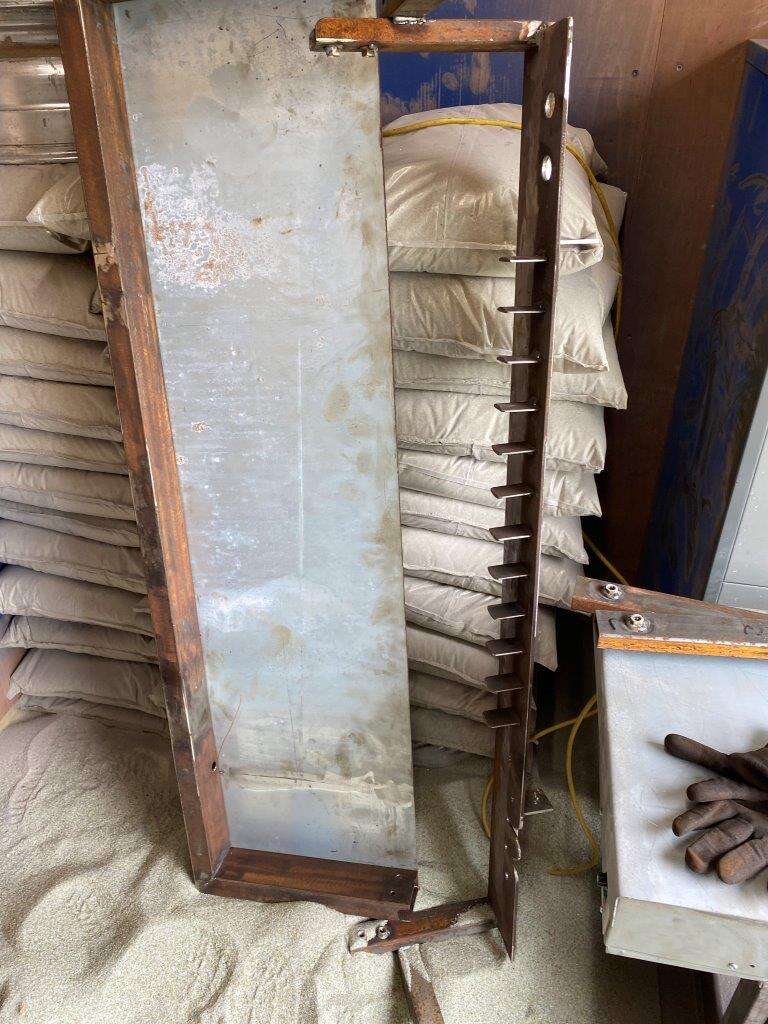
Meanwhile back at the Zed Shed I am back on The Bug,
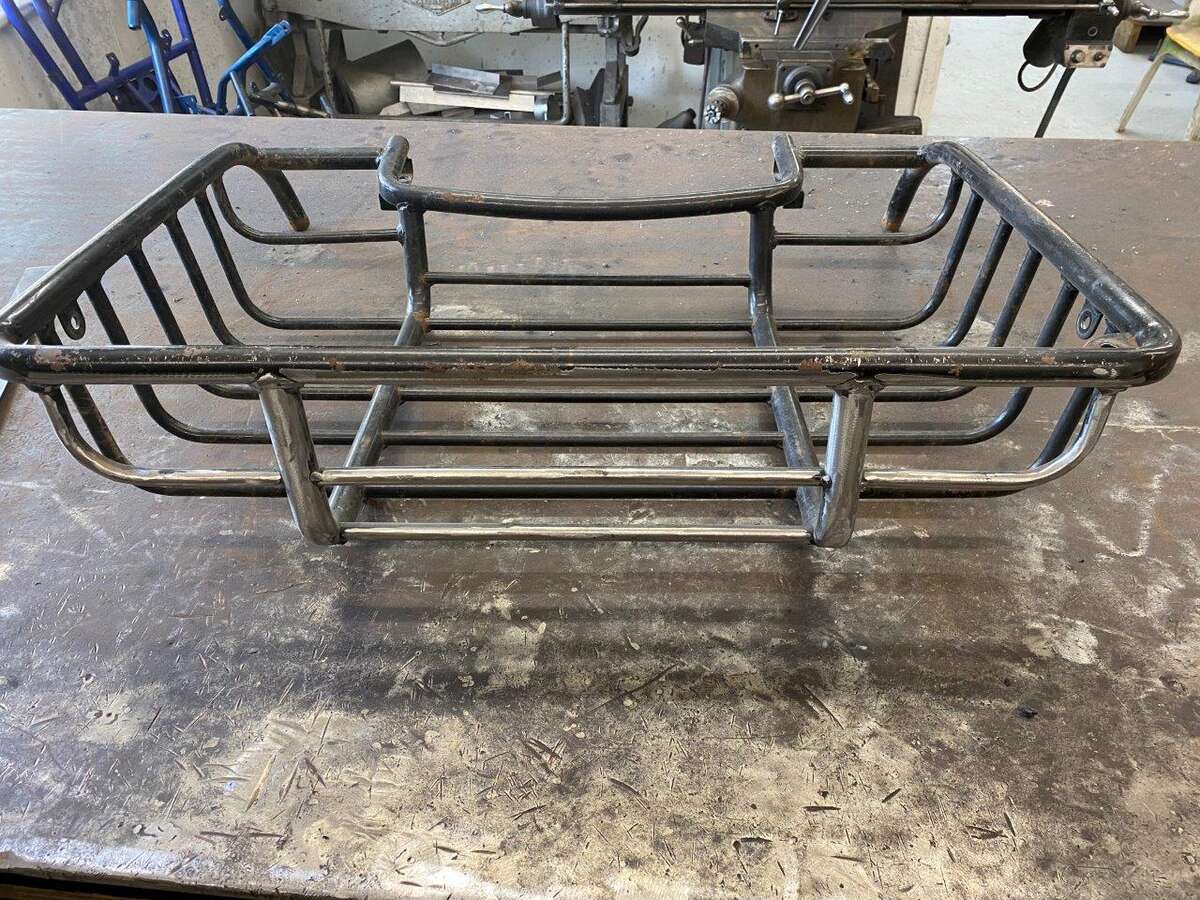
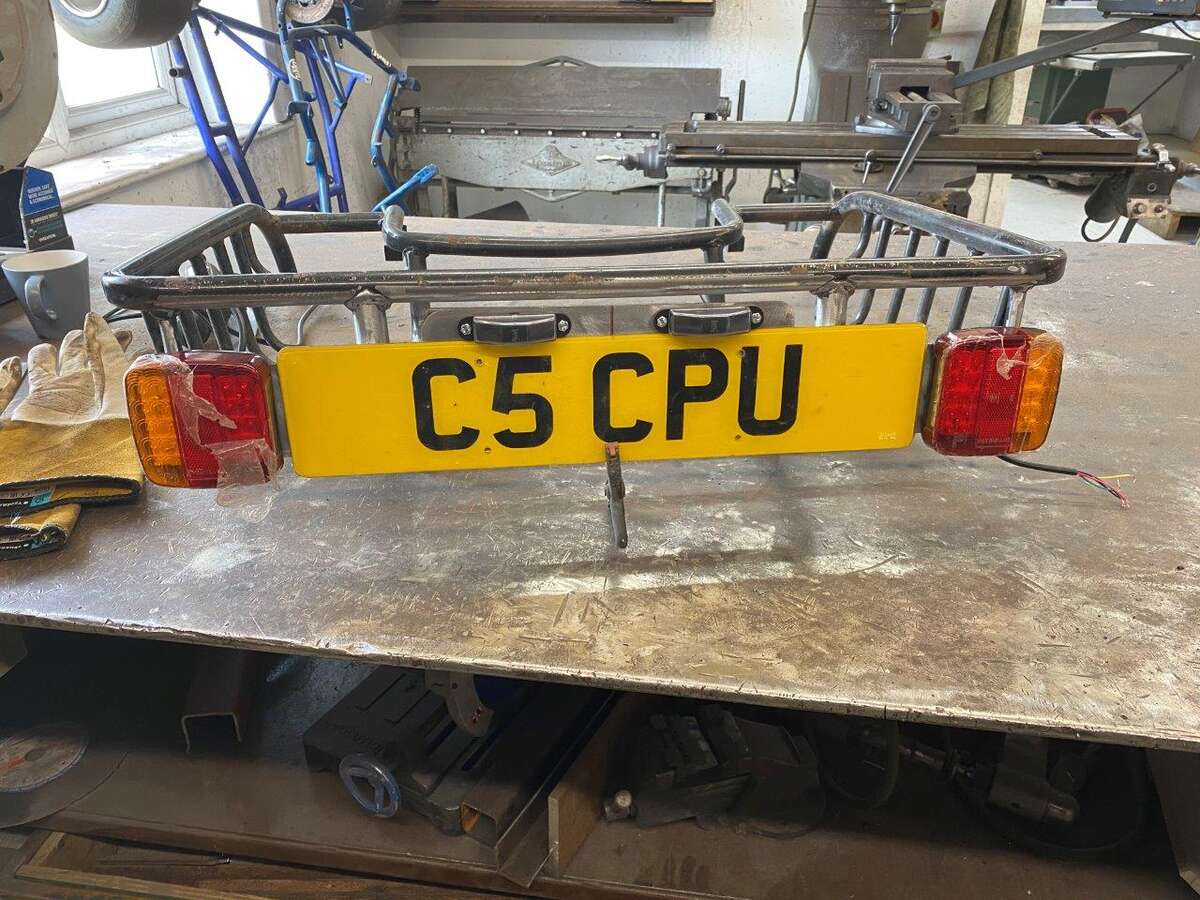
Still lots to do but you have to start somewhere so I started at the back with the luggage rack as this holds the rear lights which all need replacing,
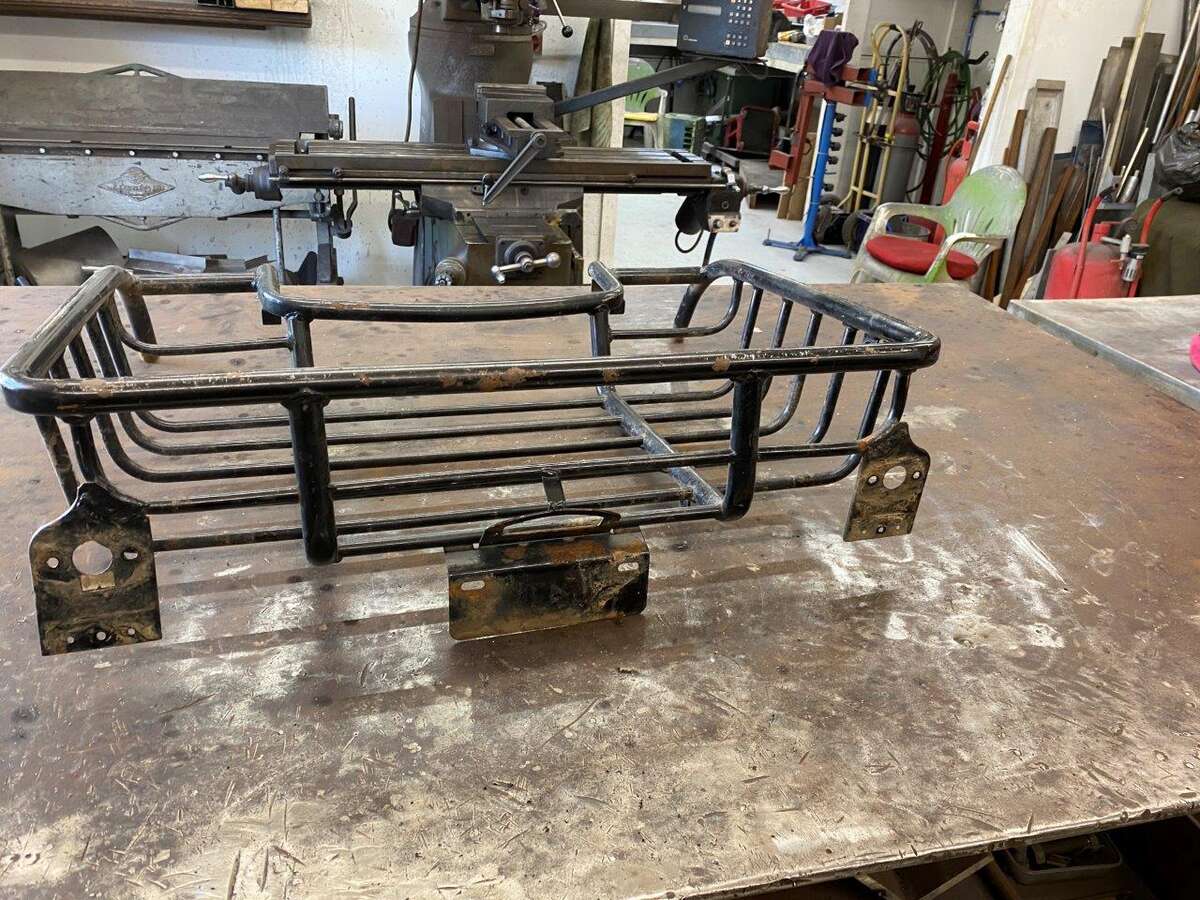
Not impressed with the old light holders and it was more work to modify them than to just start again so they went
Gone
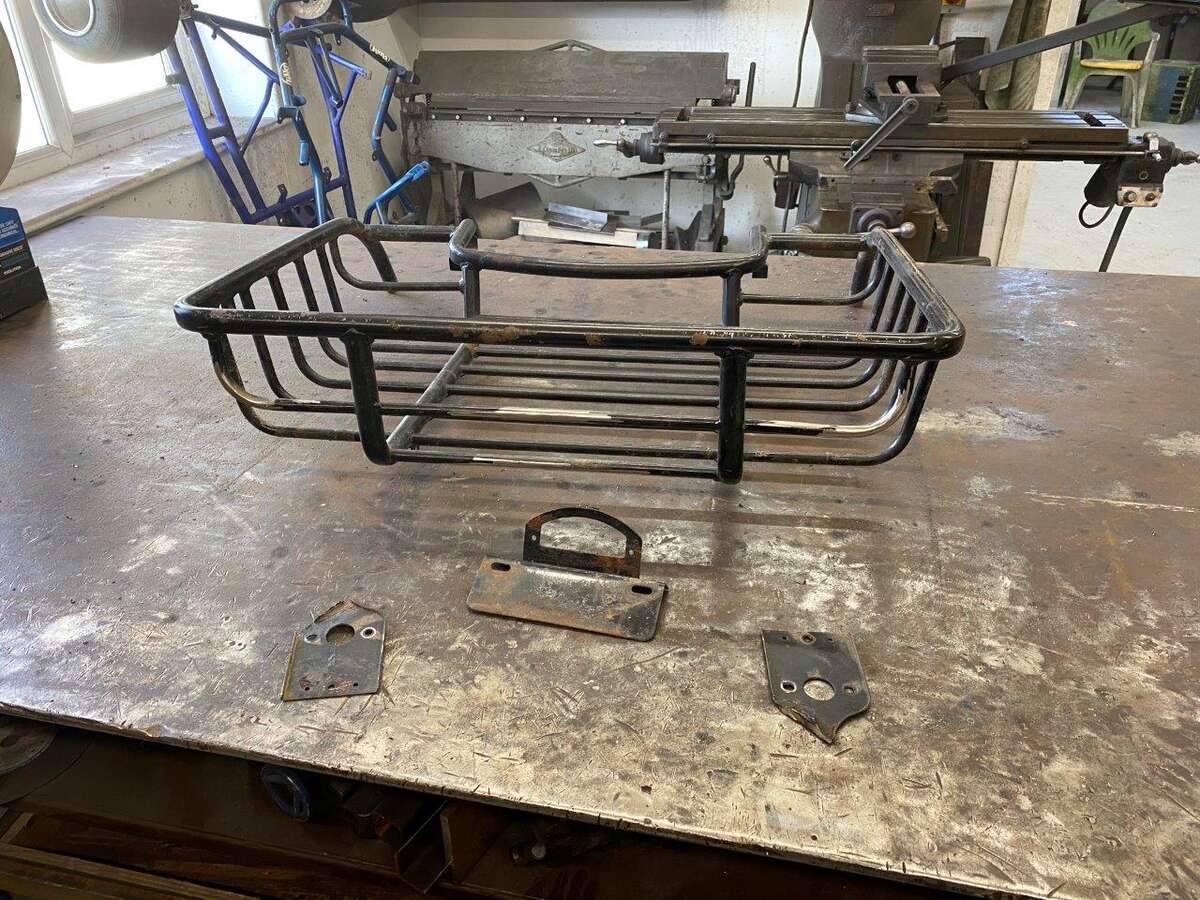
Bit of metal
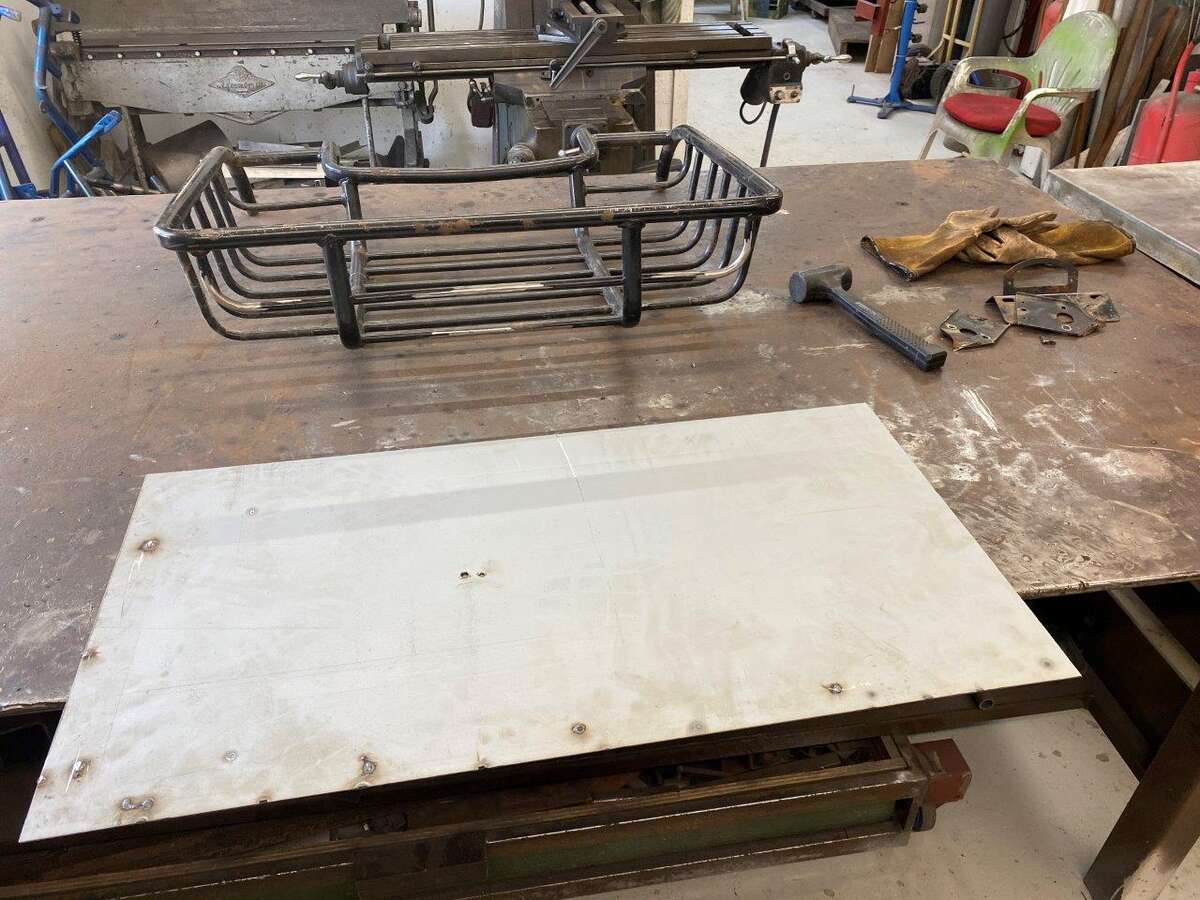
Number plate for size
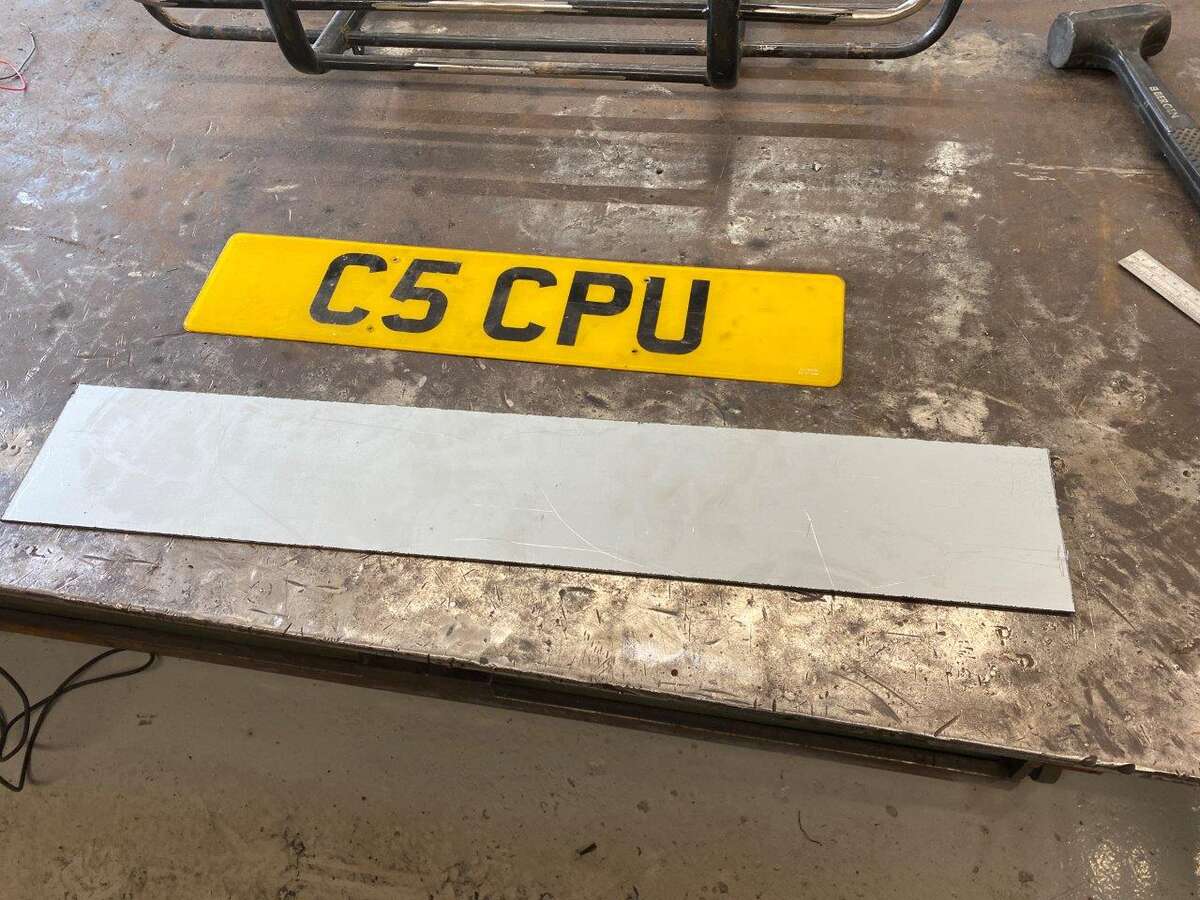
Mark it out
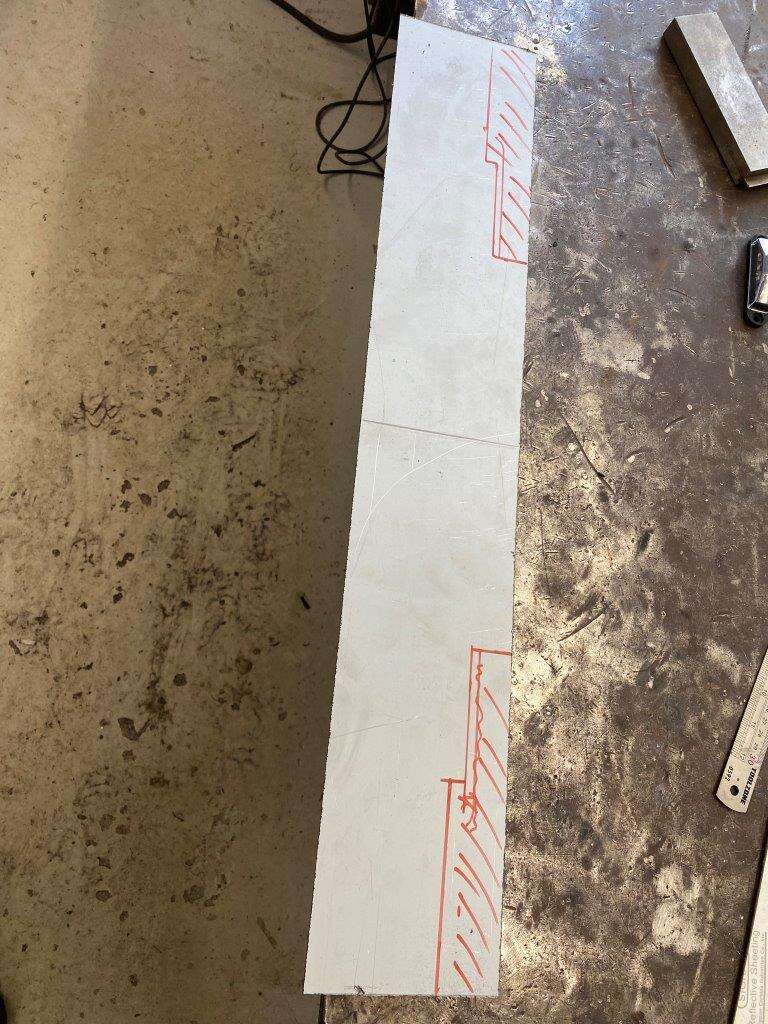
Cut down
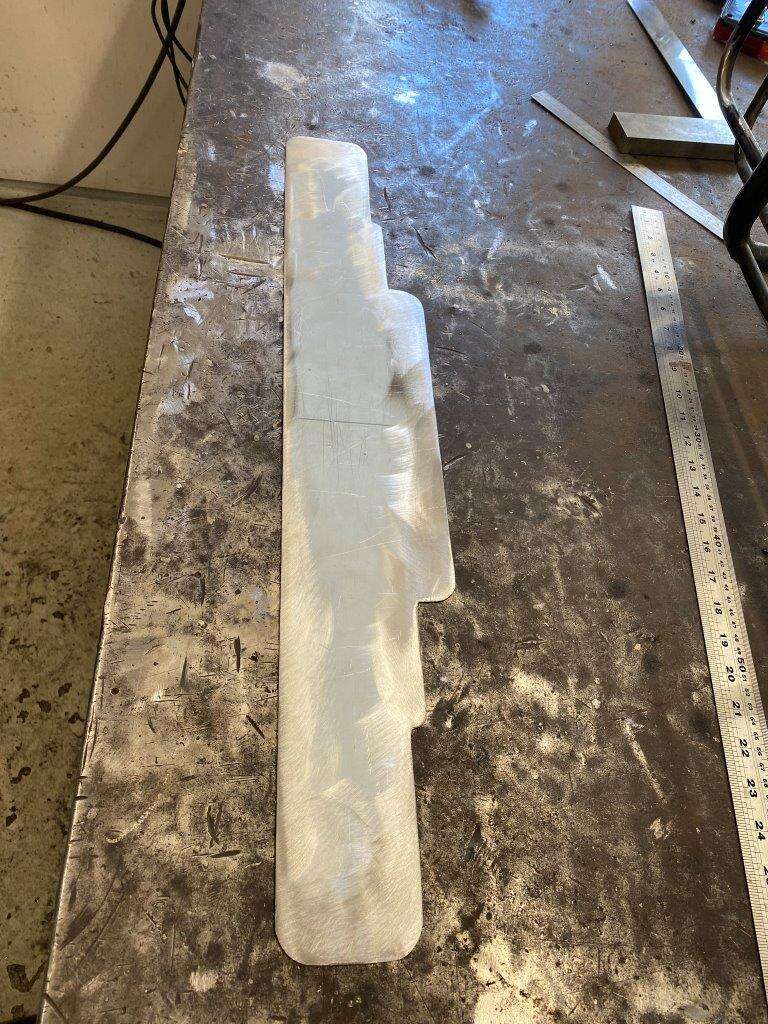
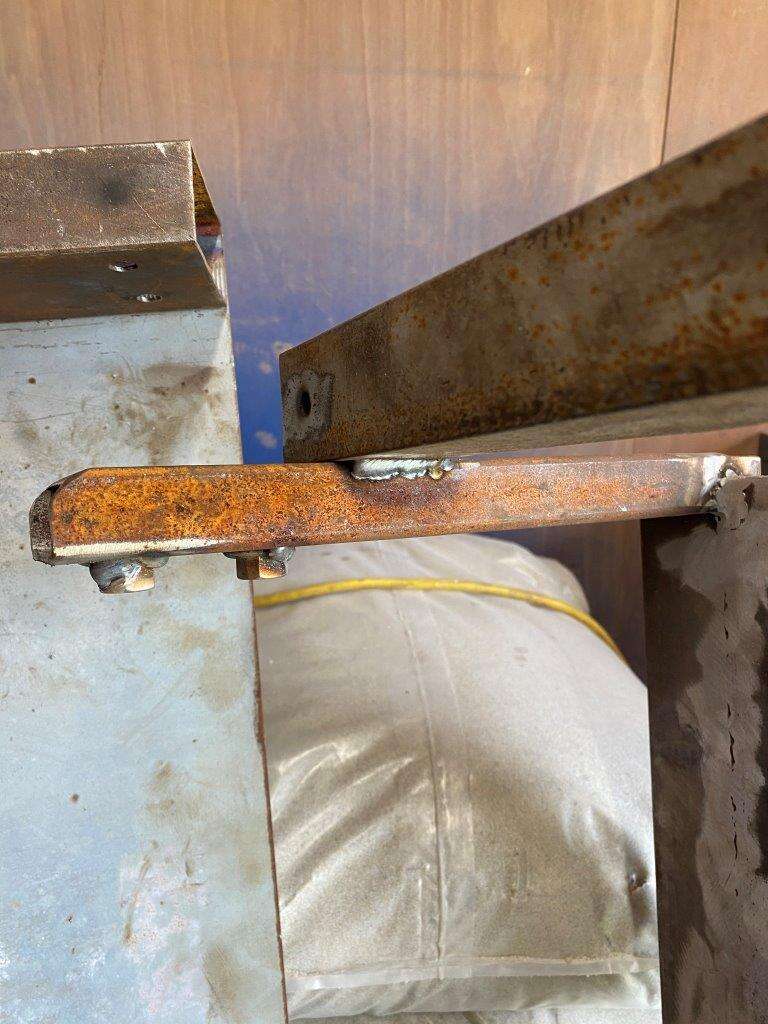
Cleaned up the metal as I won’t be able to get at it with the sand blaster when the new mount is welded on.
Missed some pics but all together it looks like this
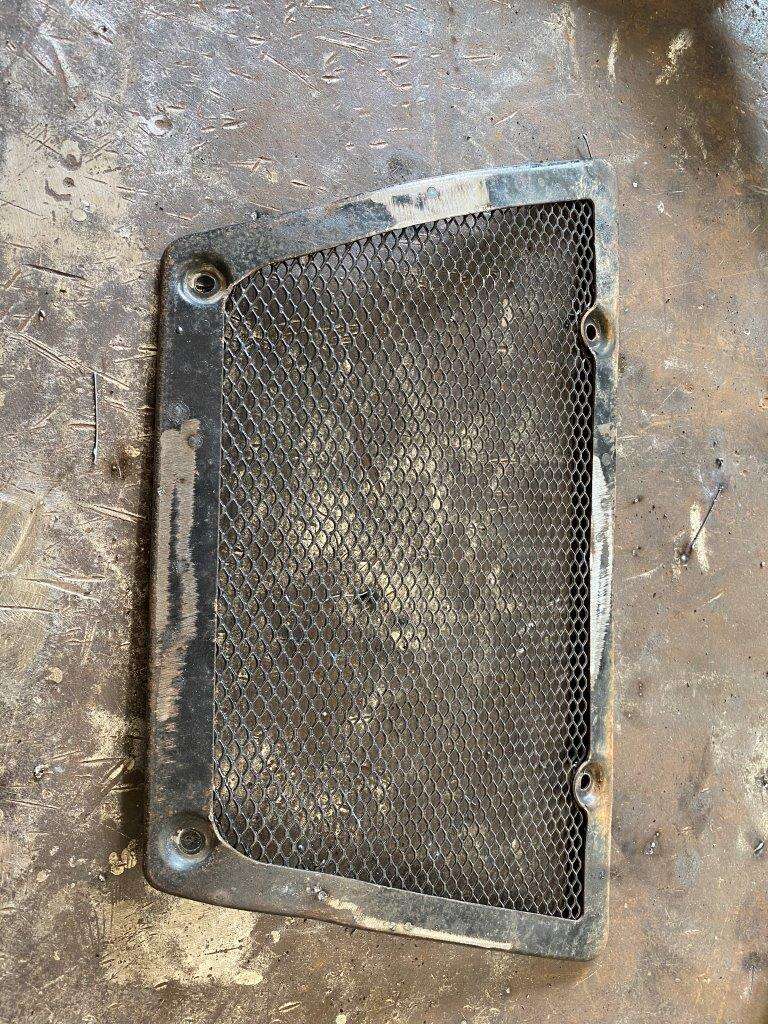
Then onto the front grill
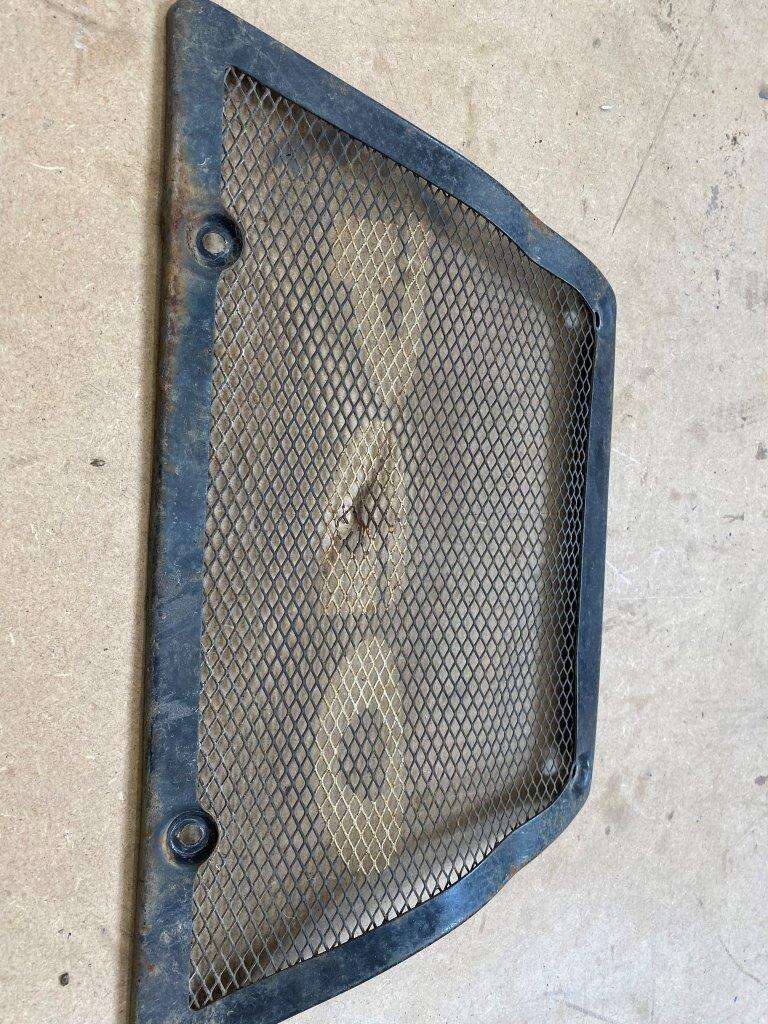
Its hammered
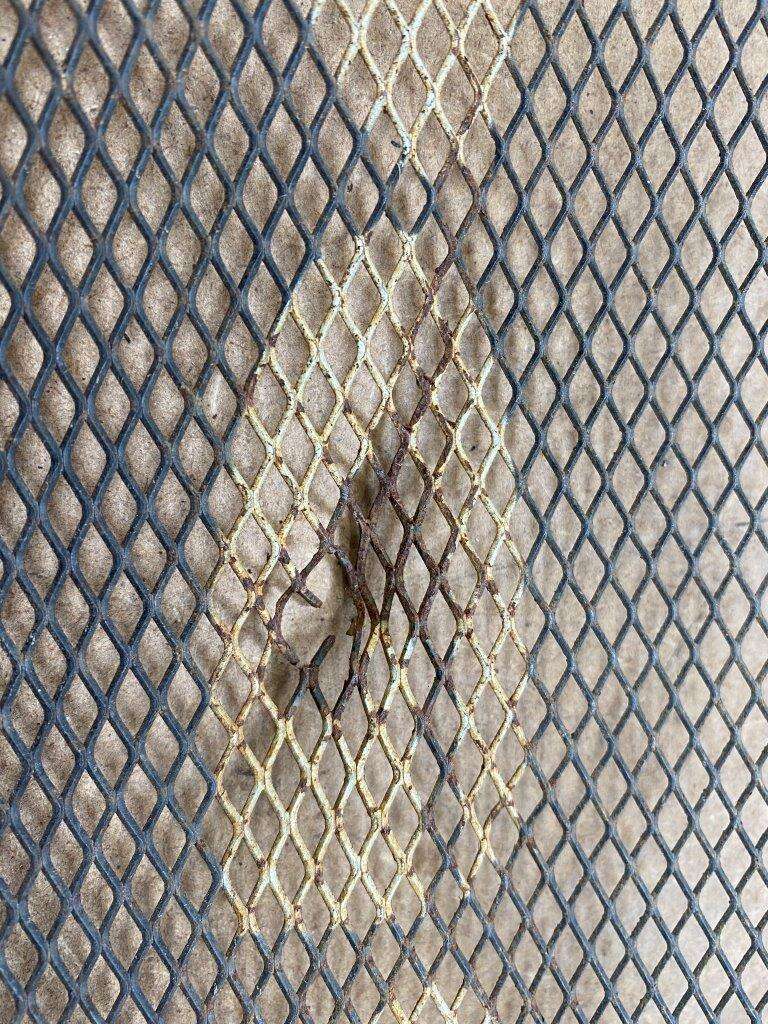
So I cut the old mesh out and straightened the frame
Then put in a new bit of mesh
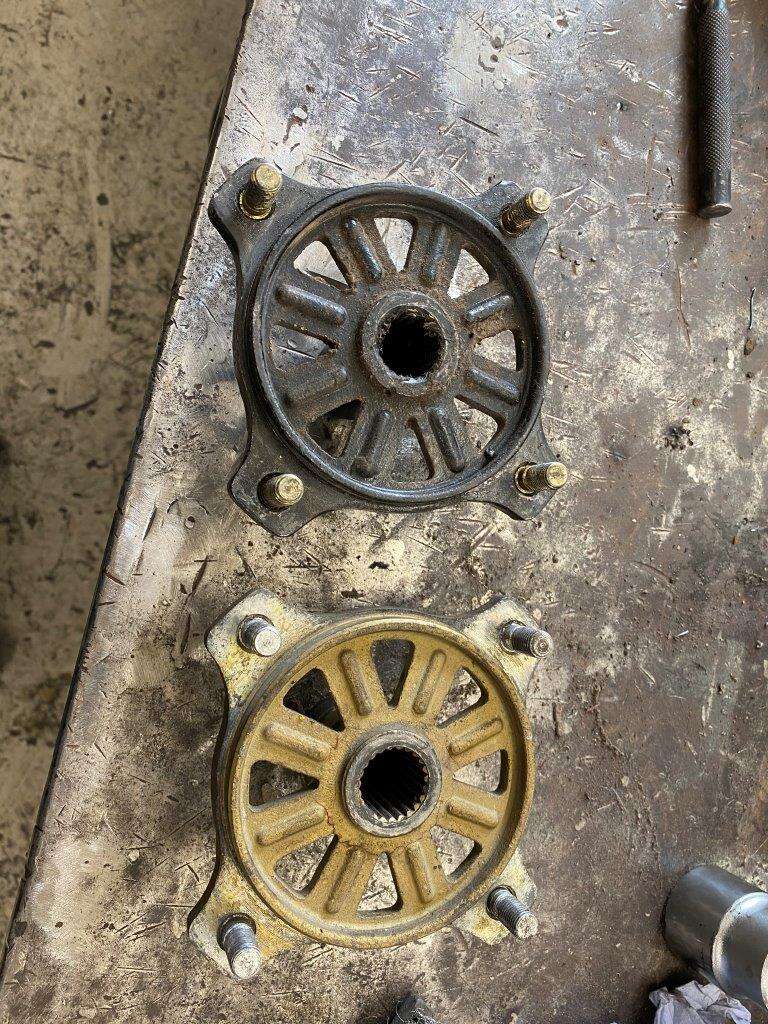
Now to remove the bearings (they need replacing anyway) and hub from the rear arms before sand blasting

Hmm no idea how they come out, lets assume they work like any other hub and simply apply pressure
Yup that works
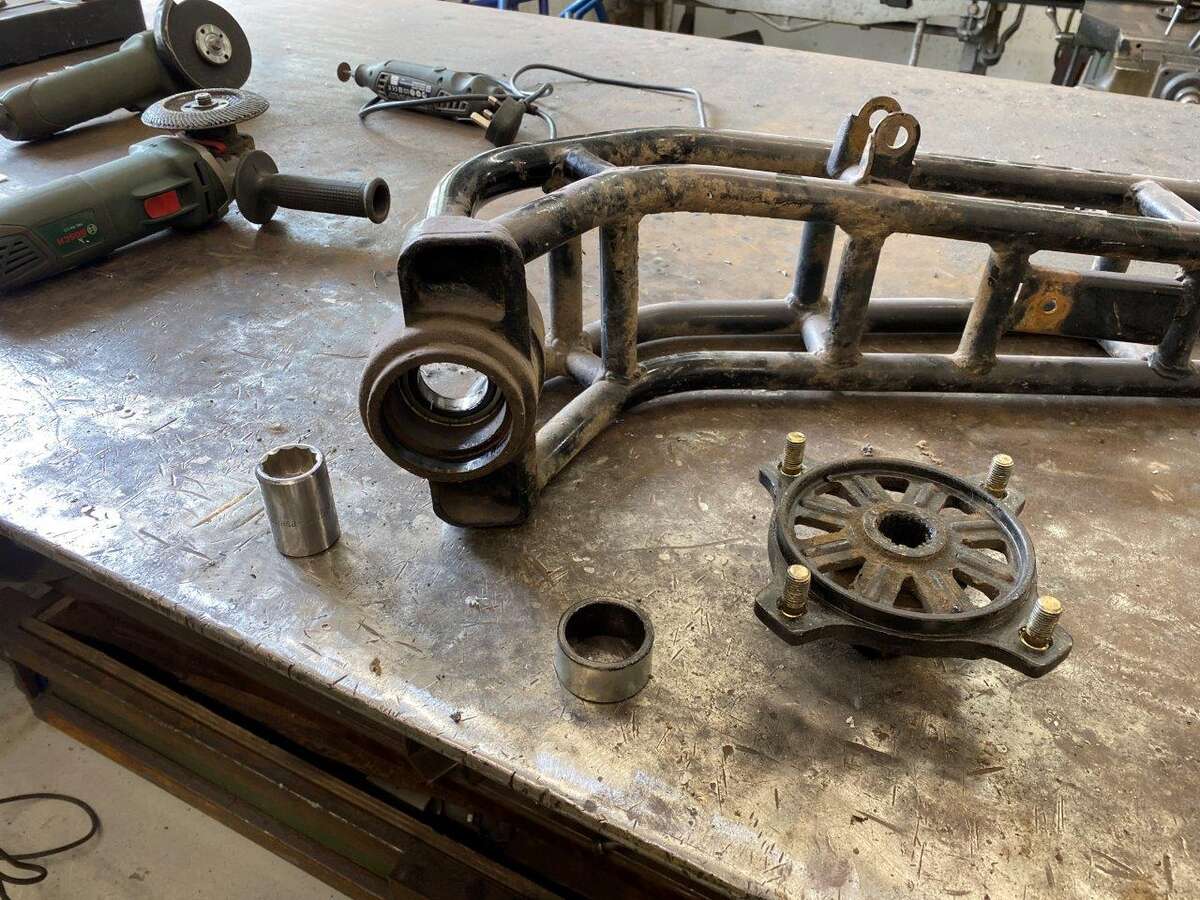
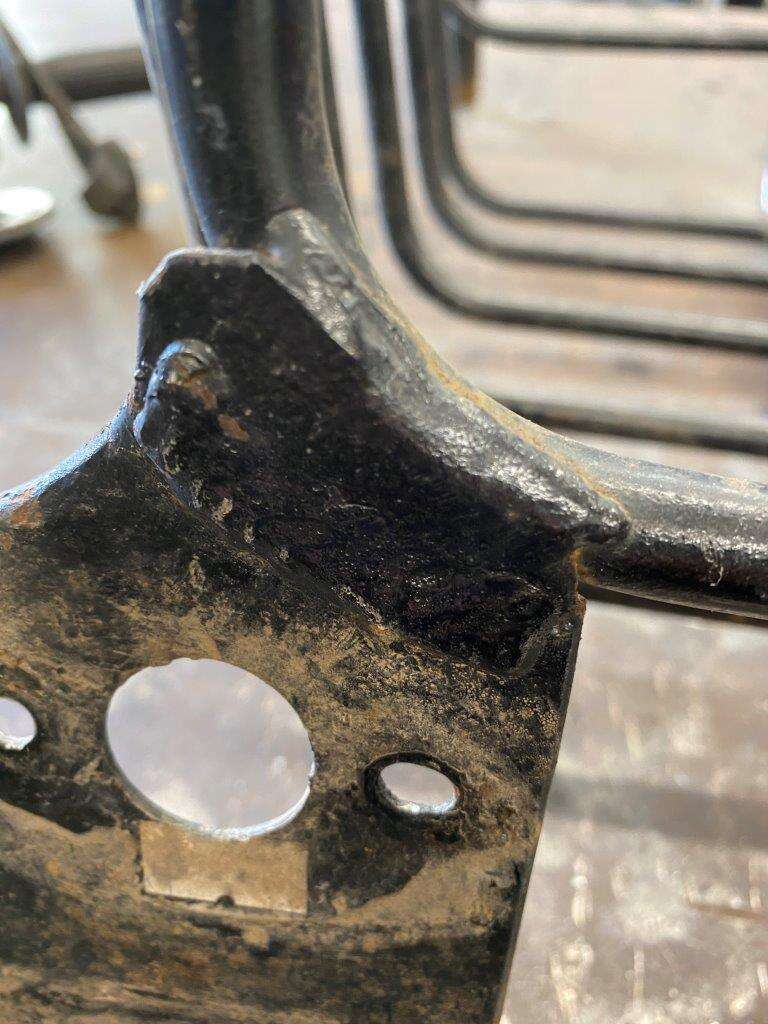
I found this crack in one of the hubs
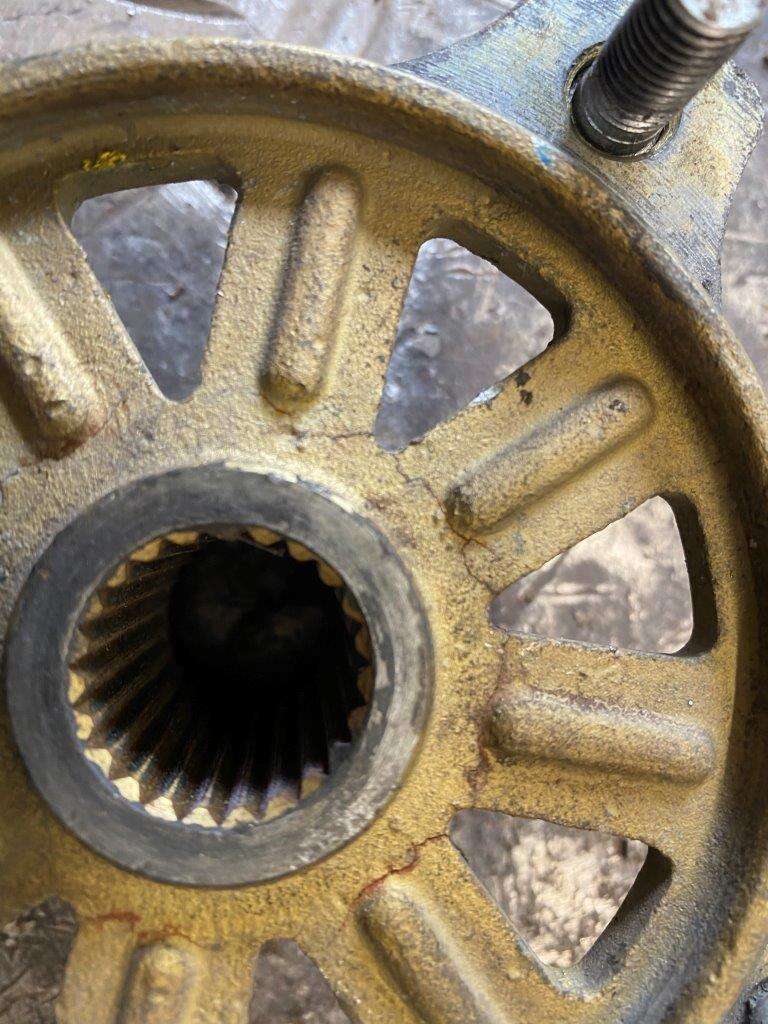
It goes all the way through so a new one has been ordered, the fact that it is a different colour to the other one leads me to believe it was also damaged in the crash that this Bug most definitely had at some point in the past.
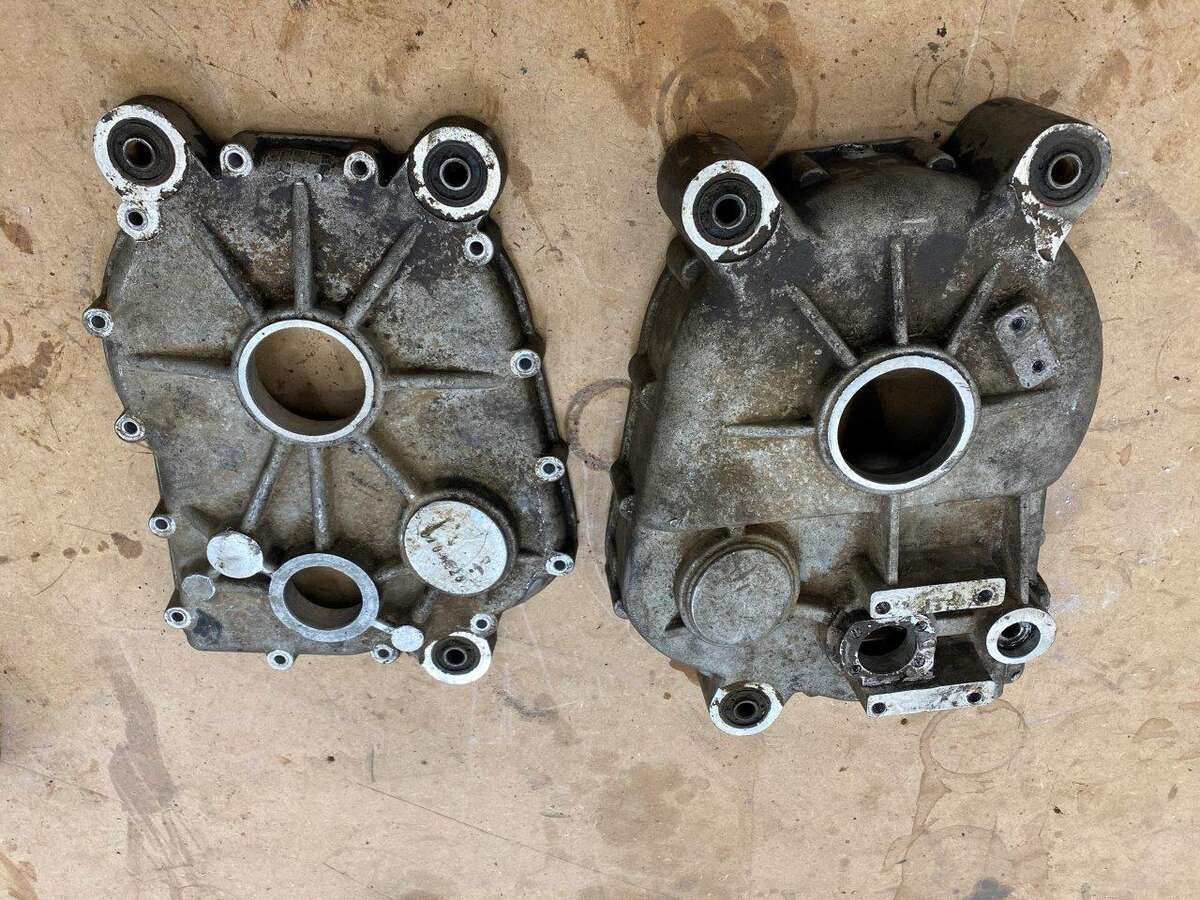
Then I stripped the reverse box
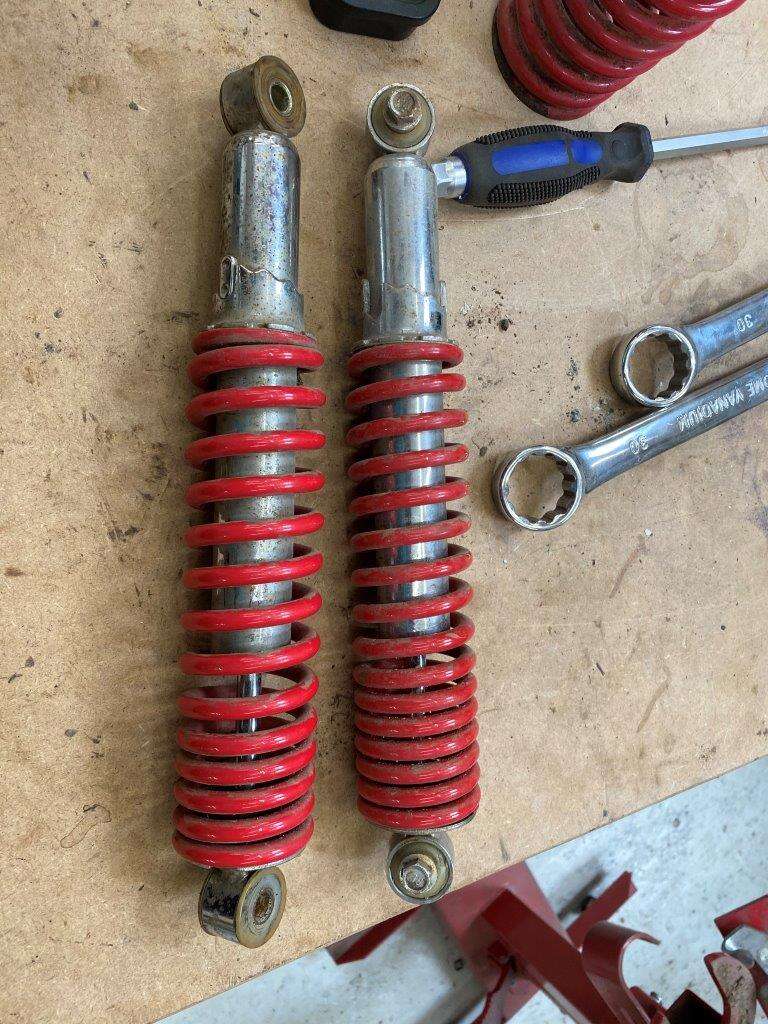
Then the suspension strip down, but they are so small my spring compressor won’t fit them
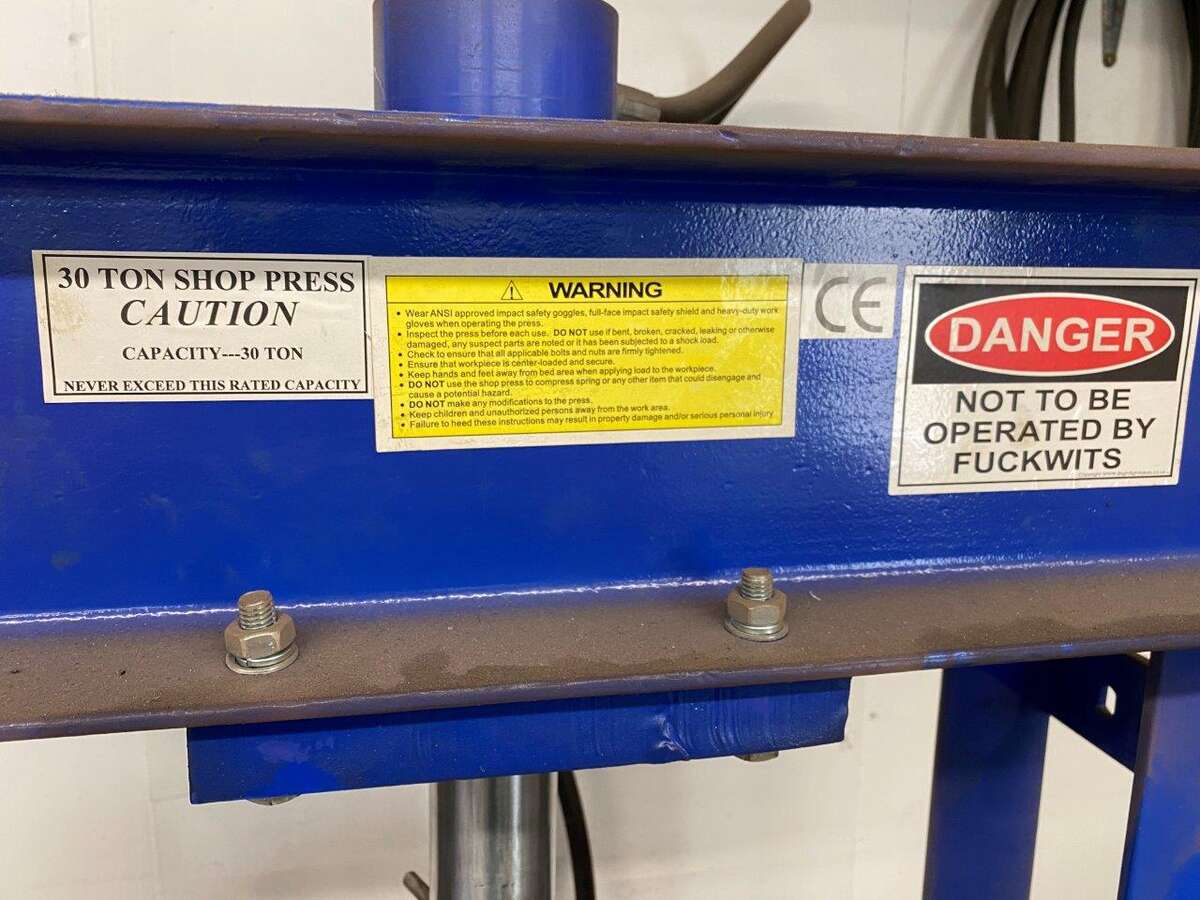
Here is a stupid idea,
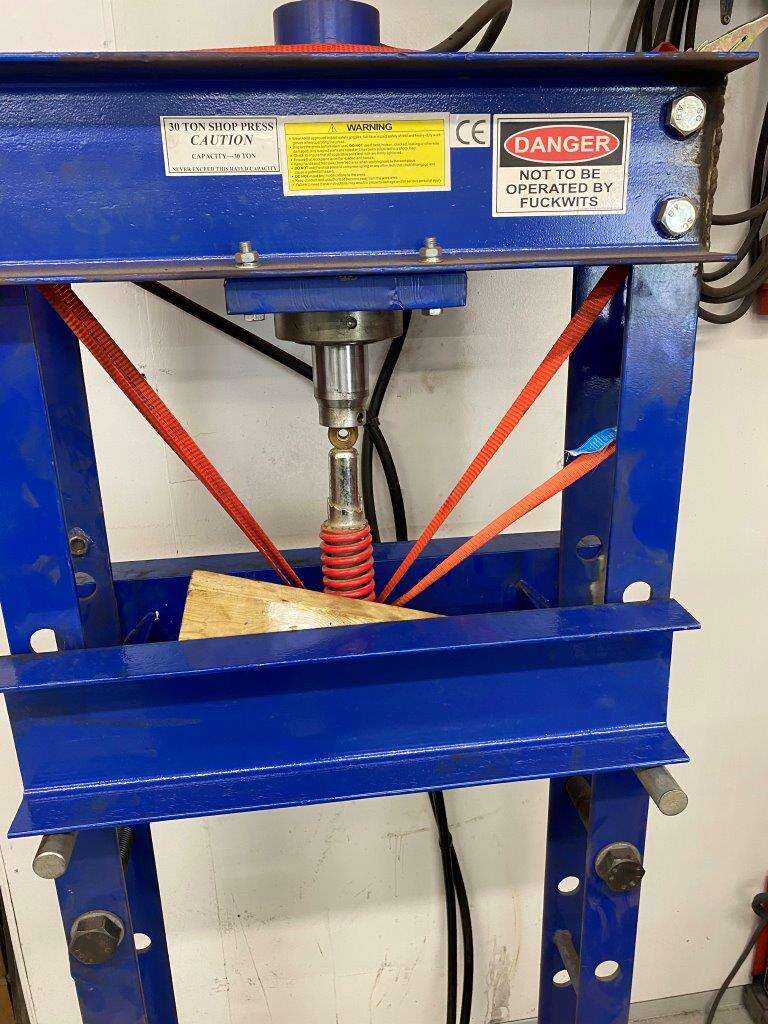
Yes, I ratchet strapped the spring to the top of the 30 Ton press then pushed the shock down

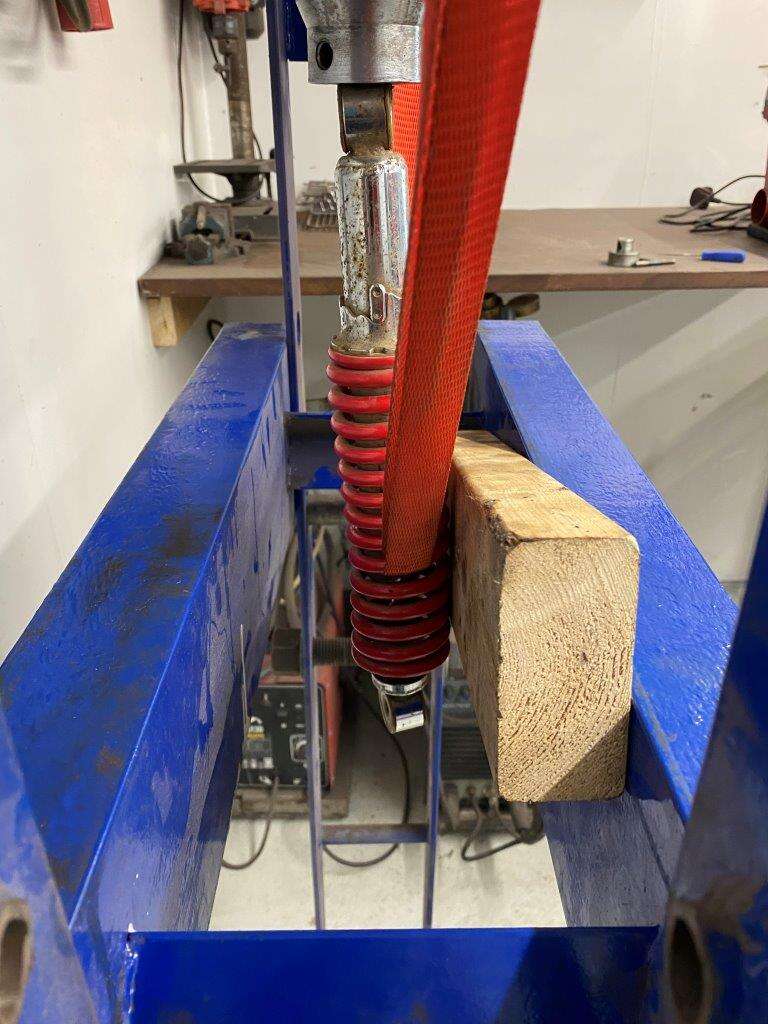
Worked though
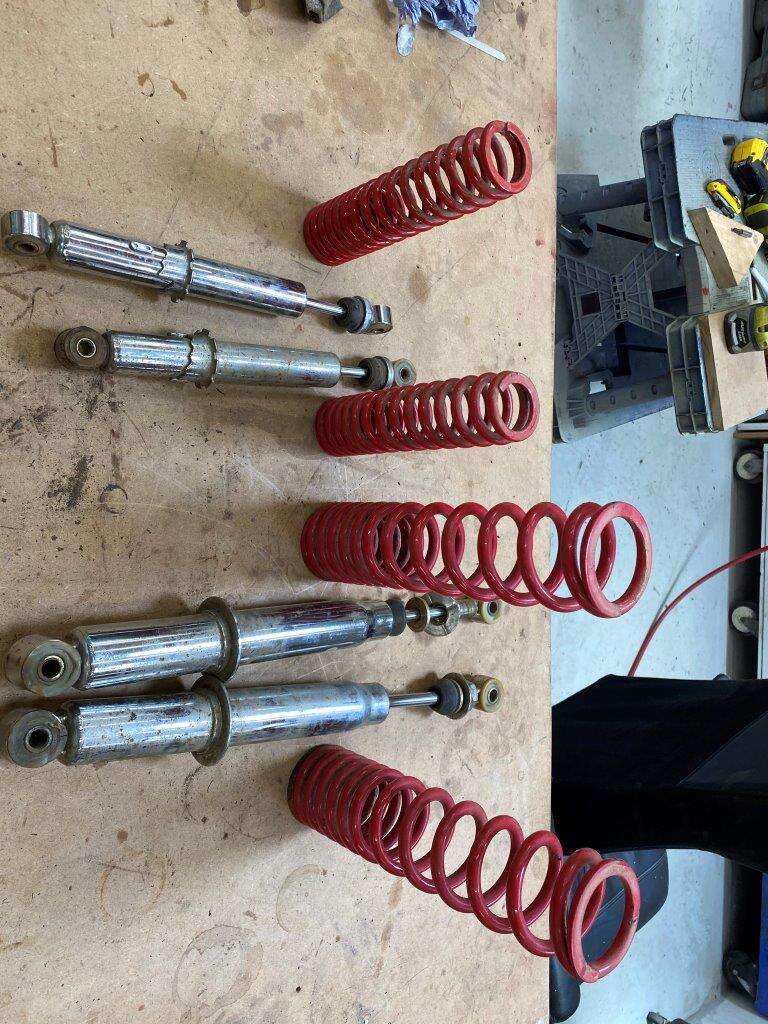
That will let me clean this up
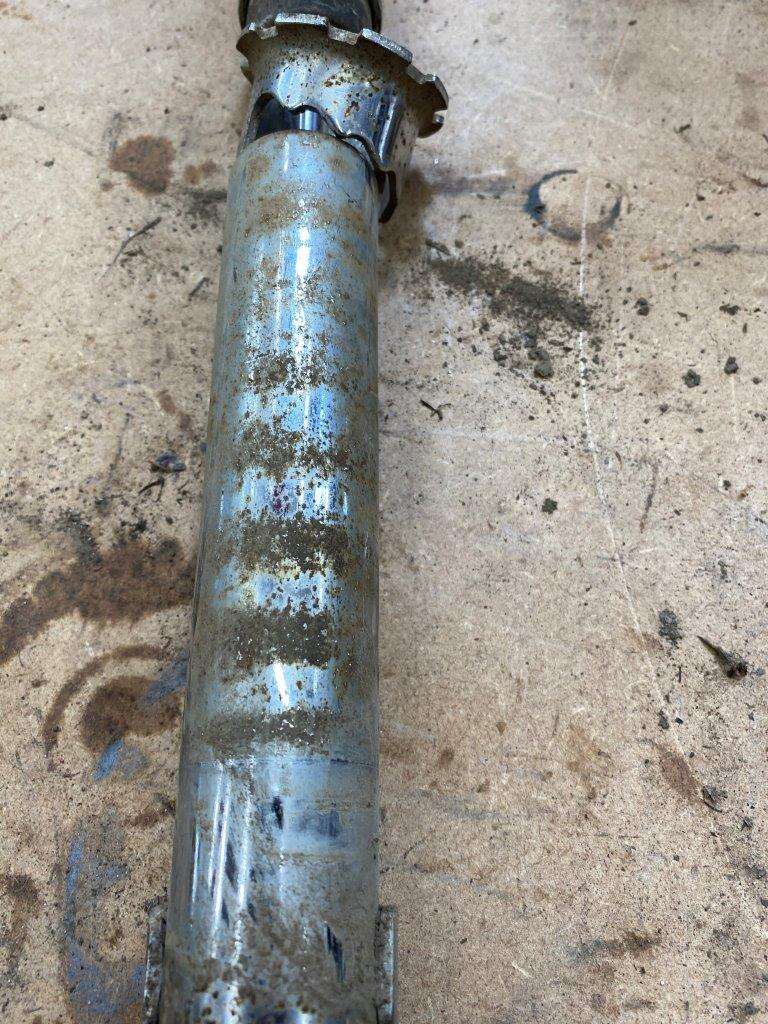
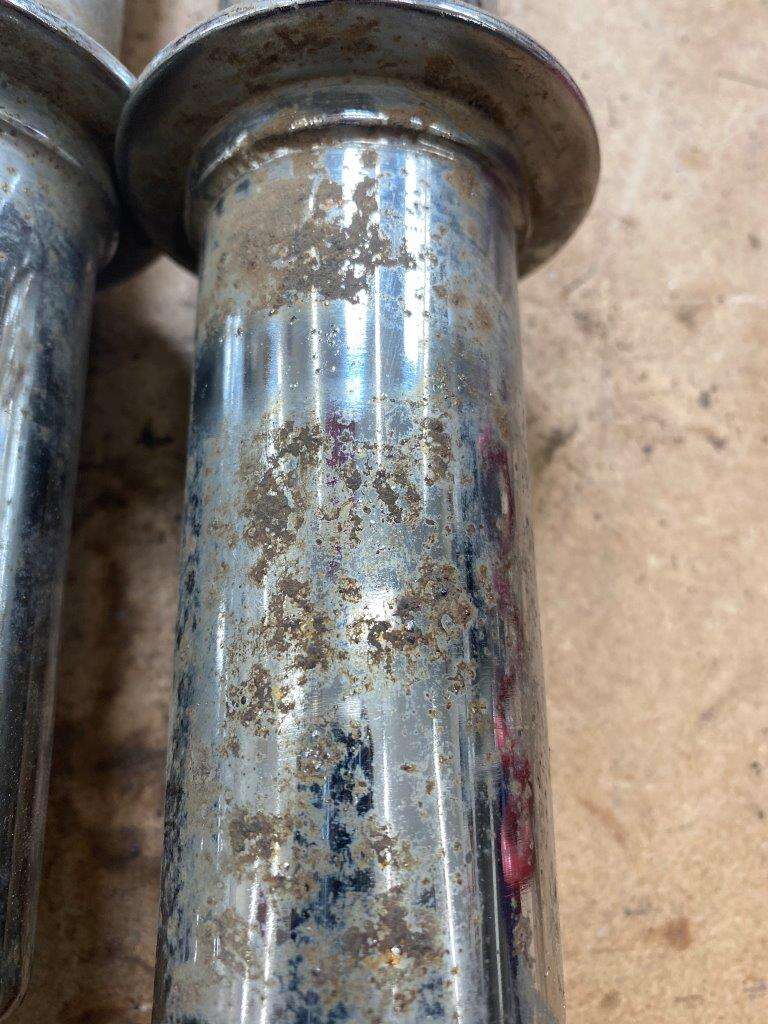
Not sure if they will be painted of re-plated yet

That’s all for now
Keyser - Why is Monday so far from Friday, and Friday so close to Monday?
-
7
-
-
A very good morning to one and all, I’ve been manically madly stupidly busy! Both with work overload and I’ve managed to get all those projects that spiralled out of control during lockdown back in some semblance of order

So sorry I didn’t post last week far too much on, but to catch you up;
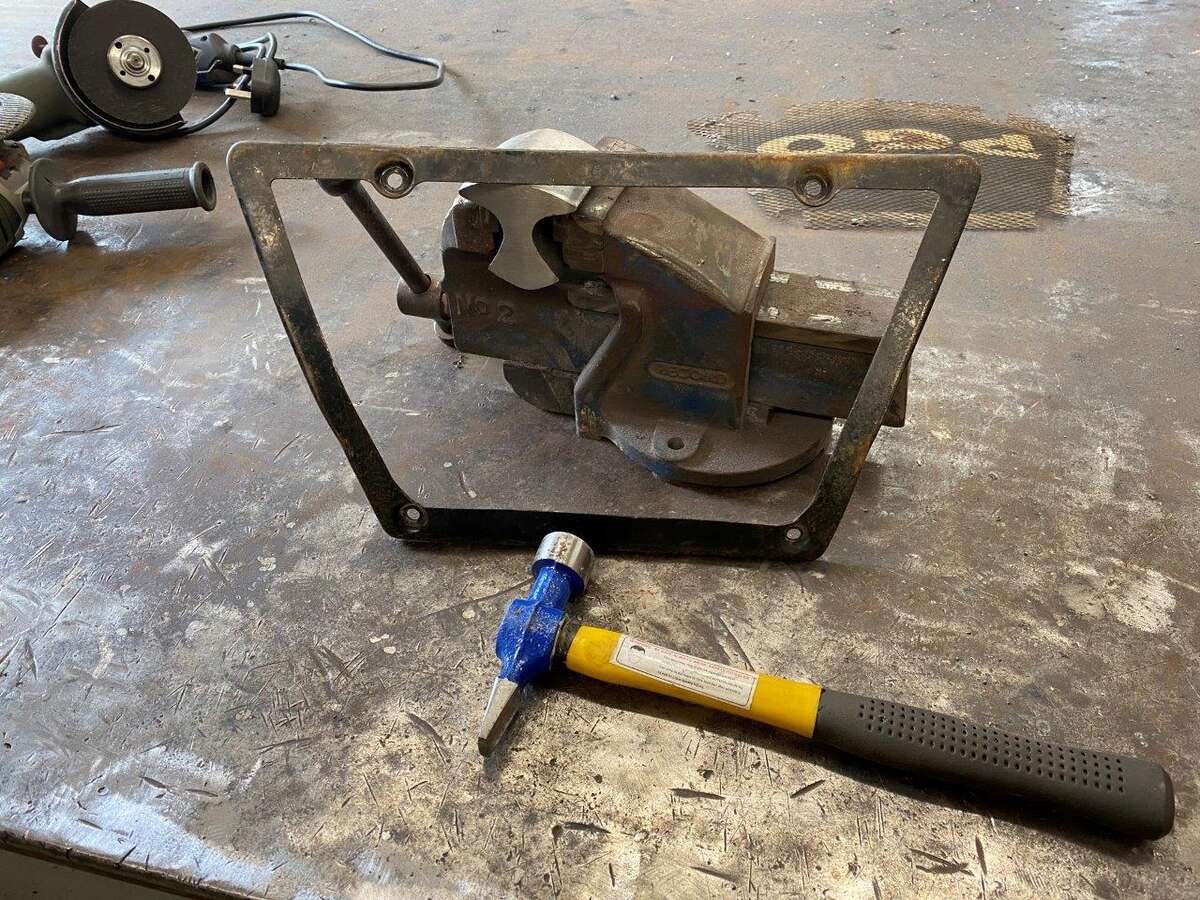
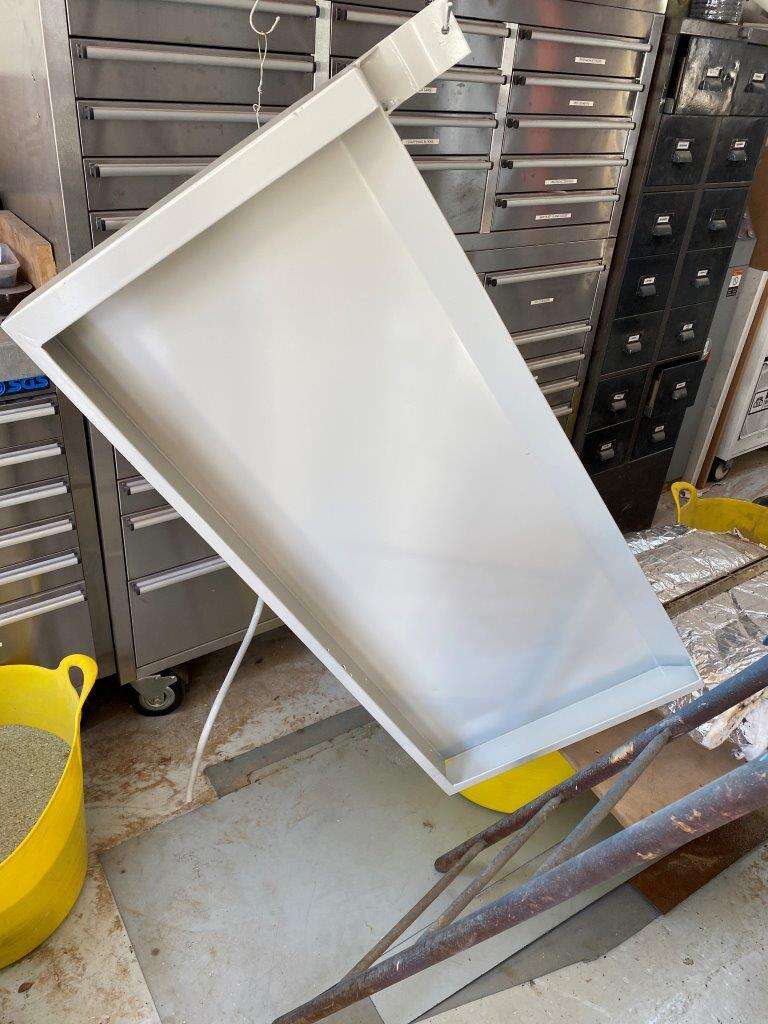
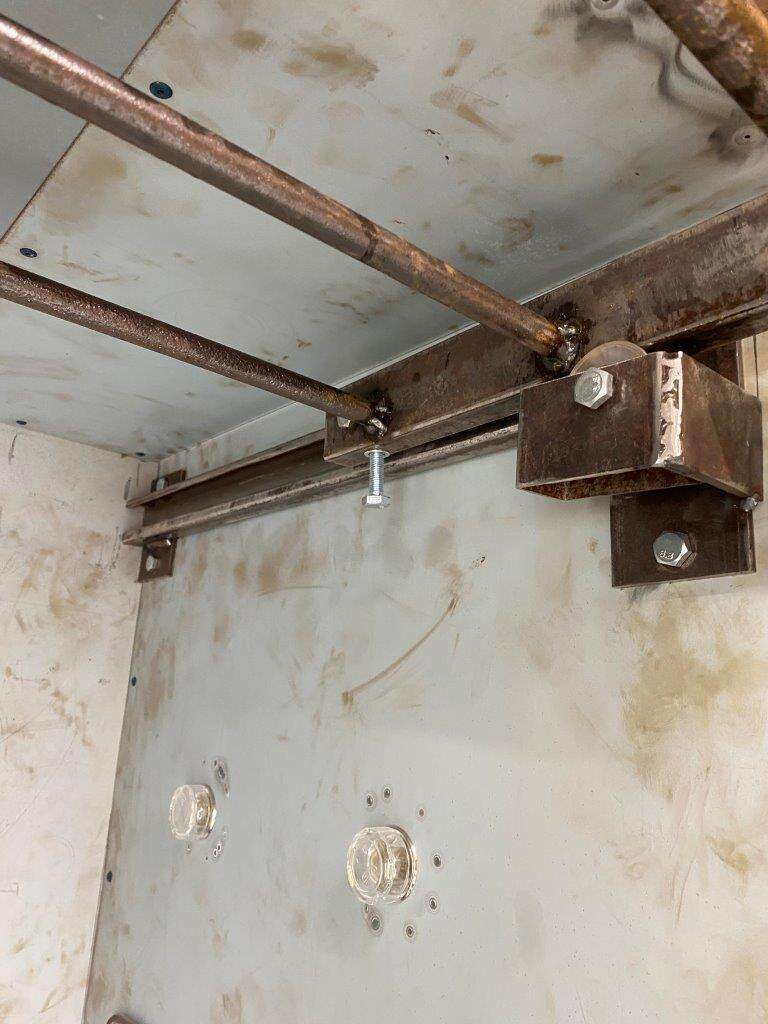
I took the new shelf and tool holder that I made for the lathe apart
I also took the back cover off as it is hammered

Then I had to pop out shopping
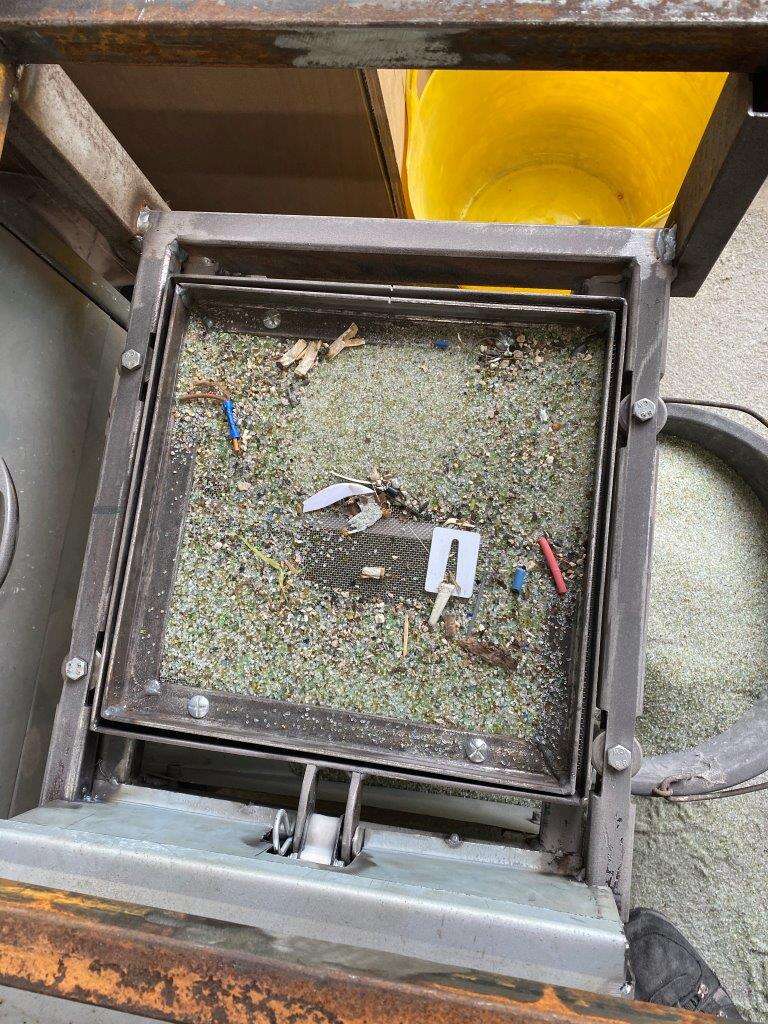
Got the vibrating sand sifter out – worked well
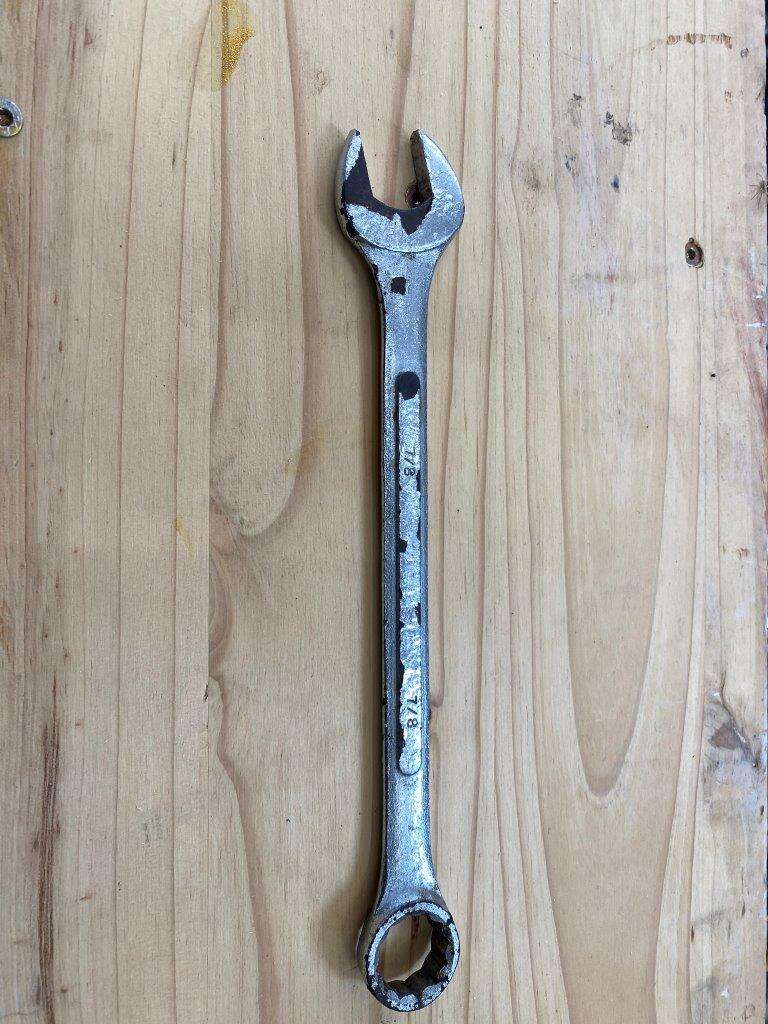
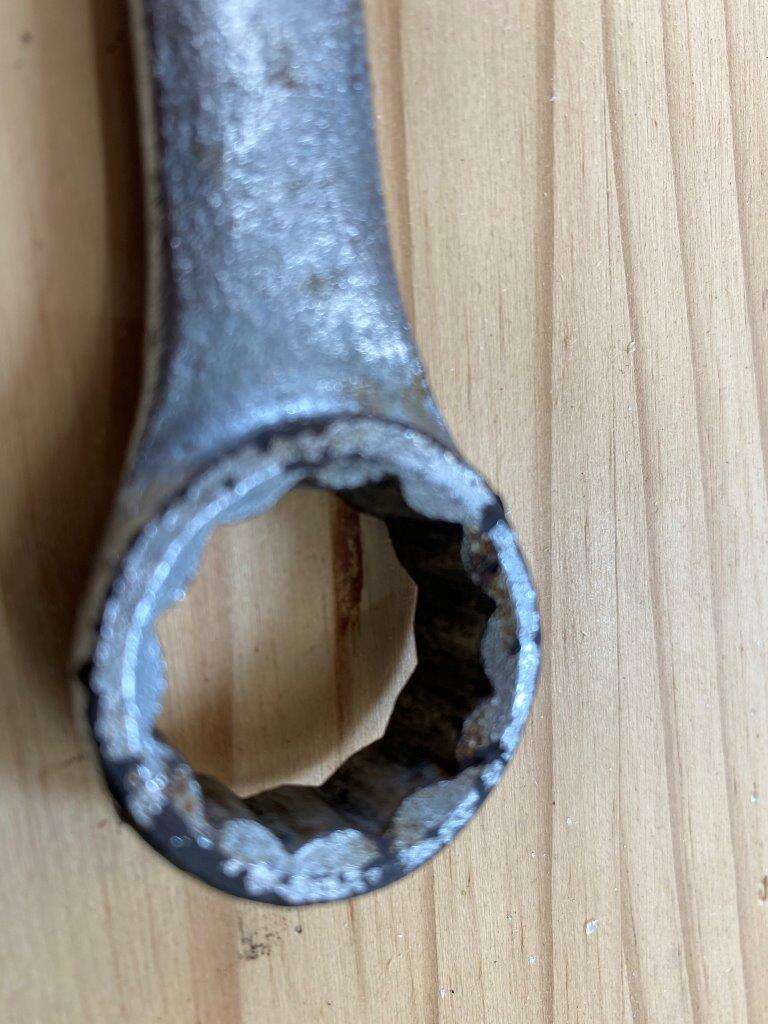
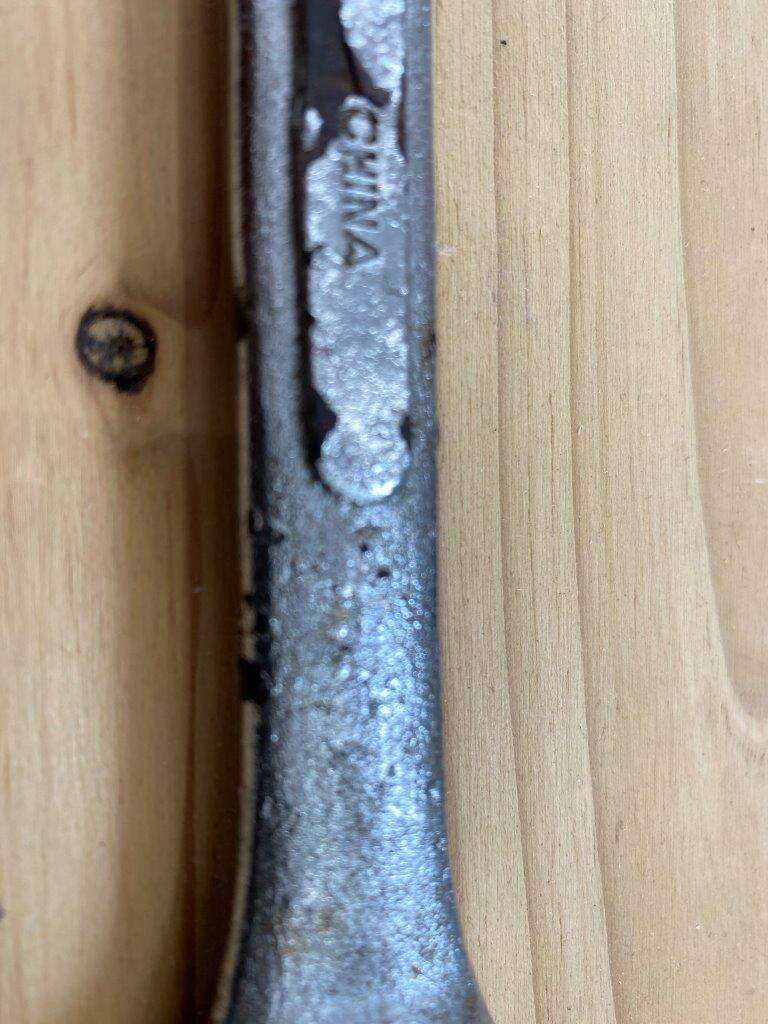
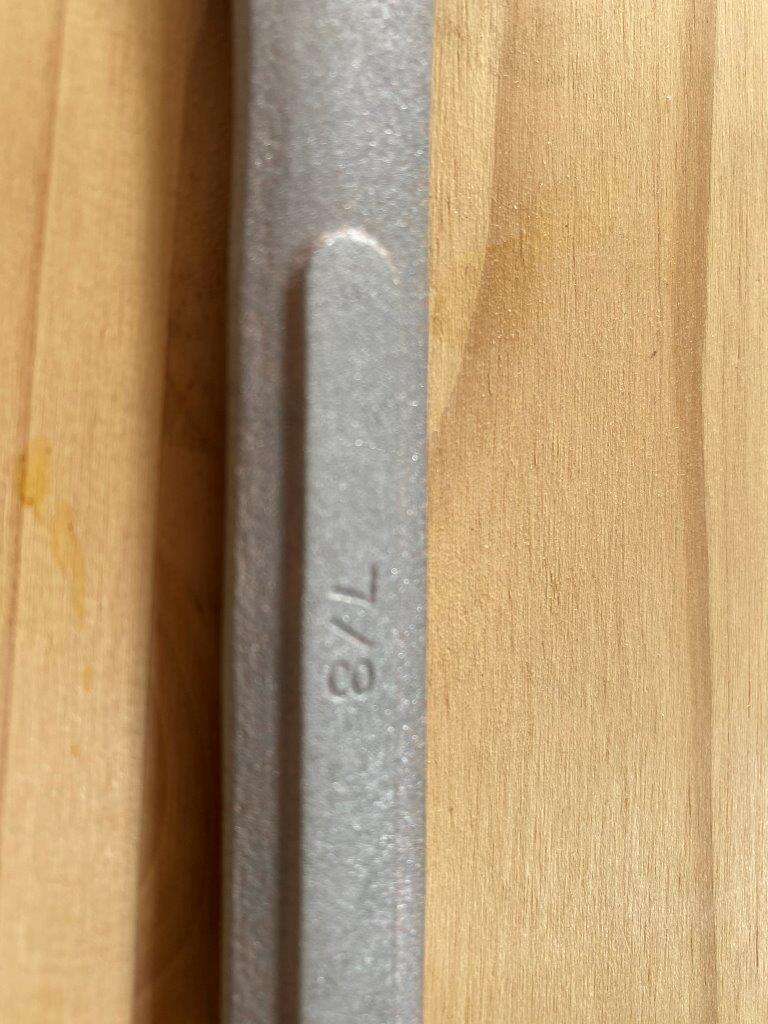
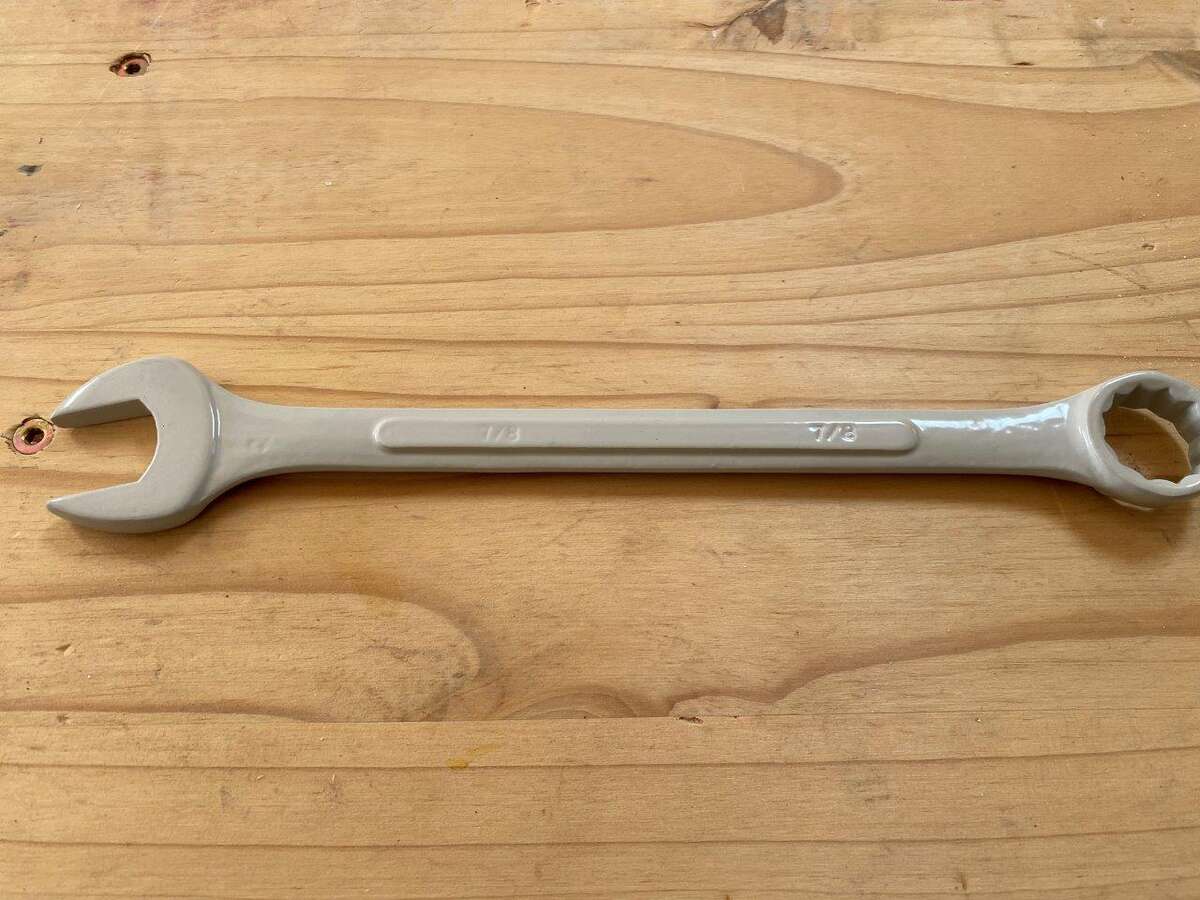
I had this old spanner that is the right size for the Lathe tool holder, I thought I’d keep it with the lathe instead of keep taking a spanner from my set and leaving it with the late
After blasting
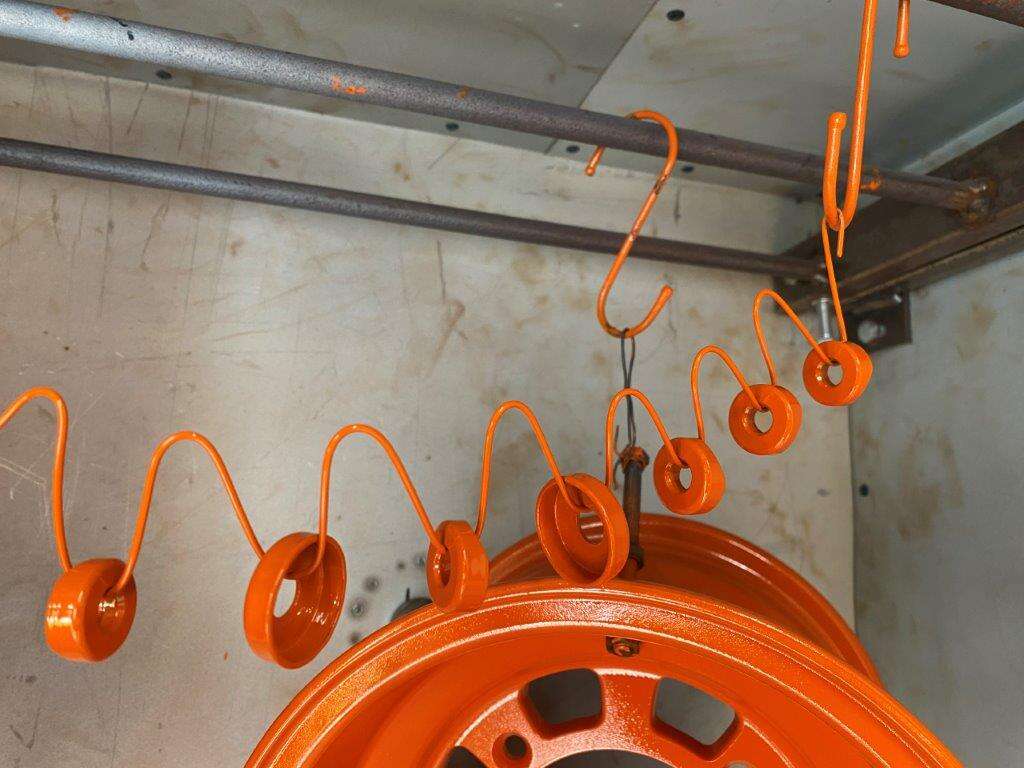
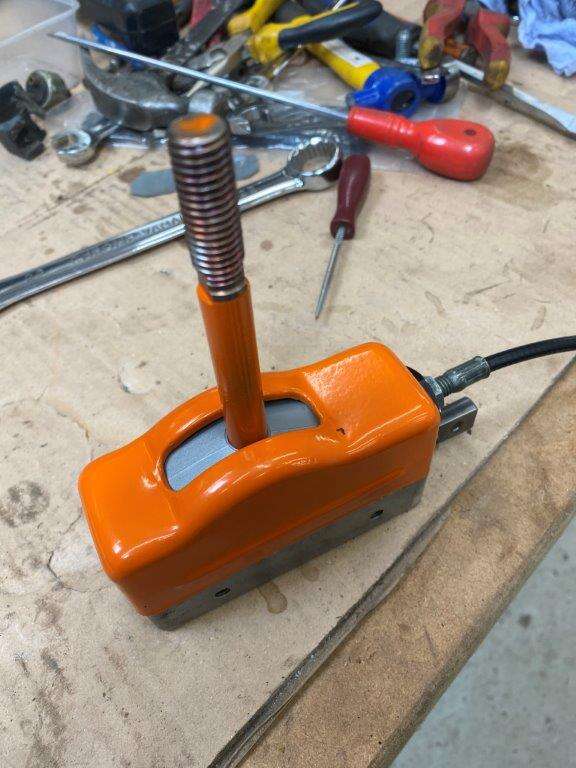
And powder coated
Came up well, I did lash out on a new powder coat setup though, a proper one, I have been using a cheap Chinese one with OK results up until now but this came up at the right price and I do like powder coating so I thought why not
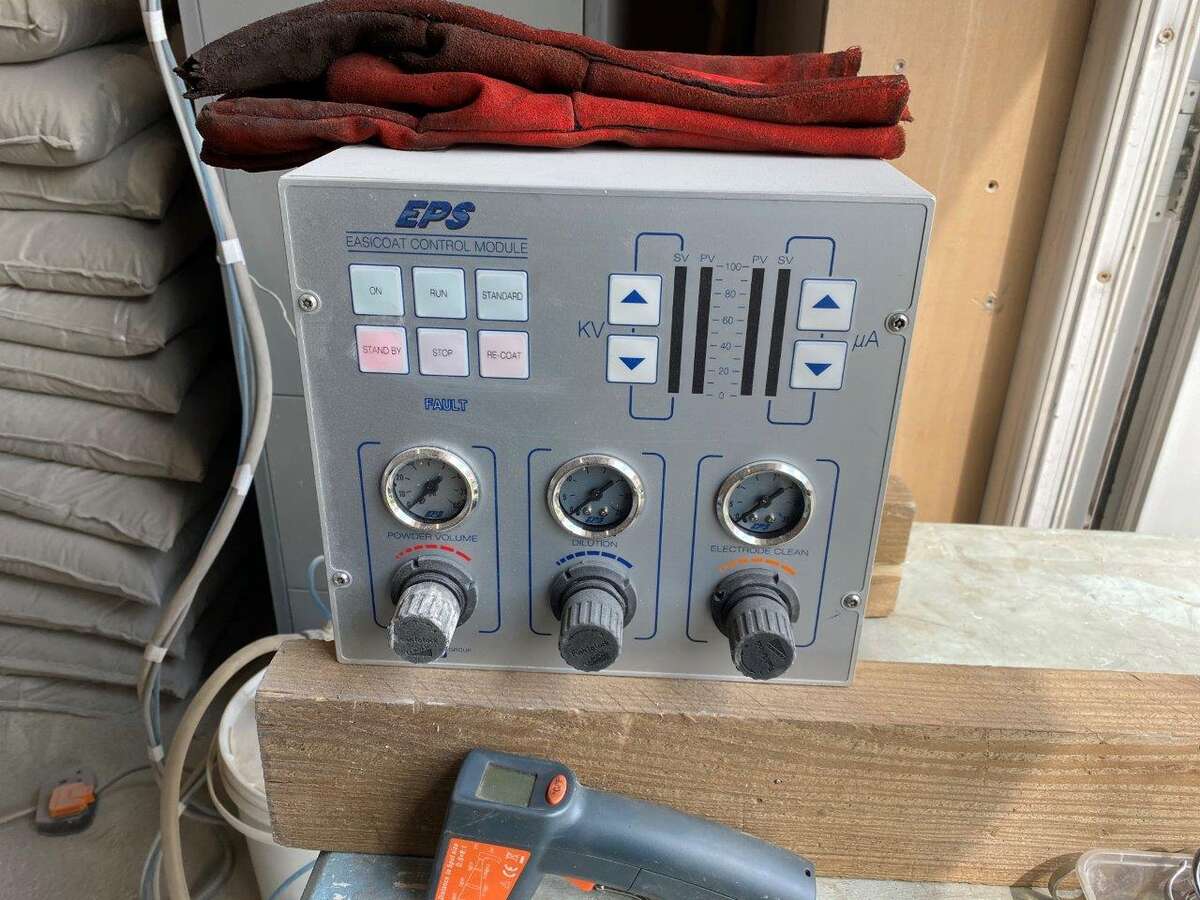
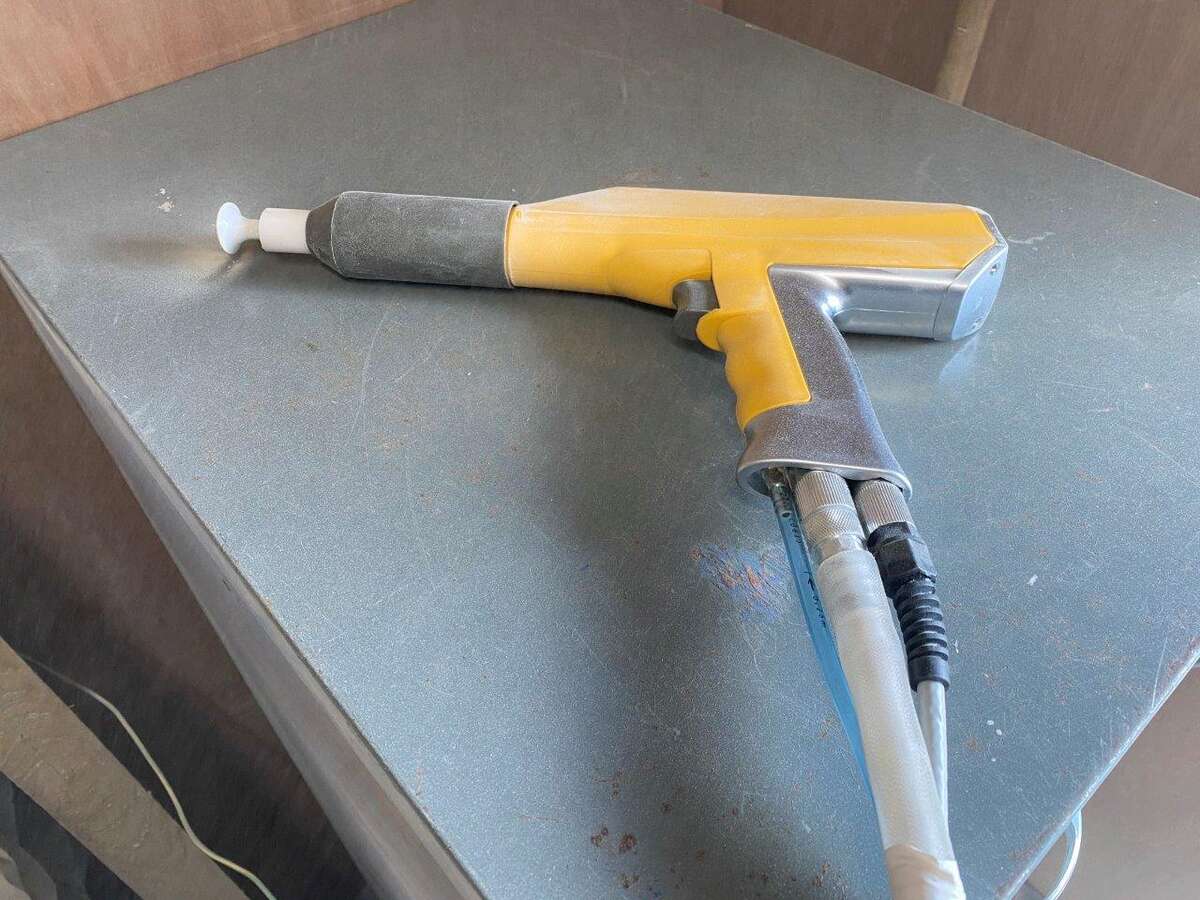
It is so much better than the last one, even coat, better “dust cloud” and the powder sticks a lot better as you can control everything it has settings for recoat etc as well, it does not however have a stand or a back so another project coming soon
The finish between the new gun and new oven was very good though!
This is the back panel (again)
And now
Then I put the lathe back together
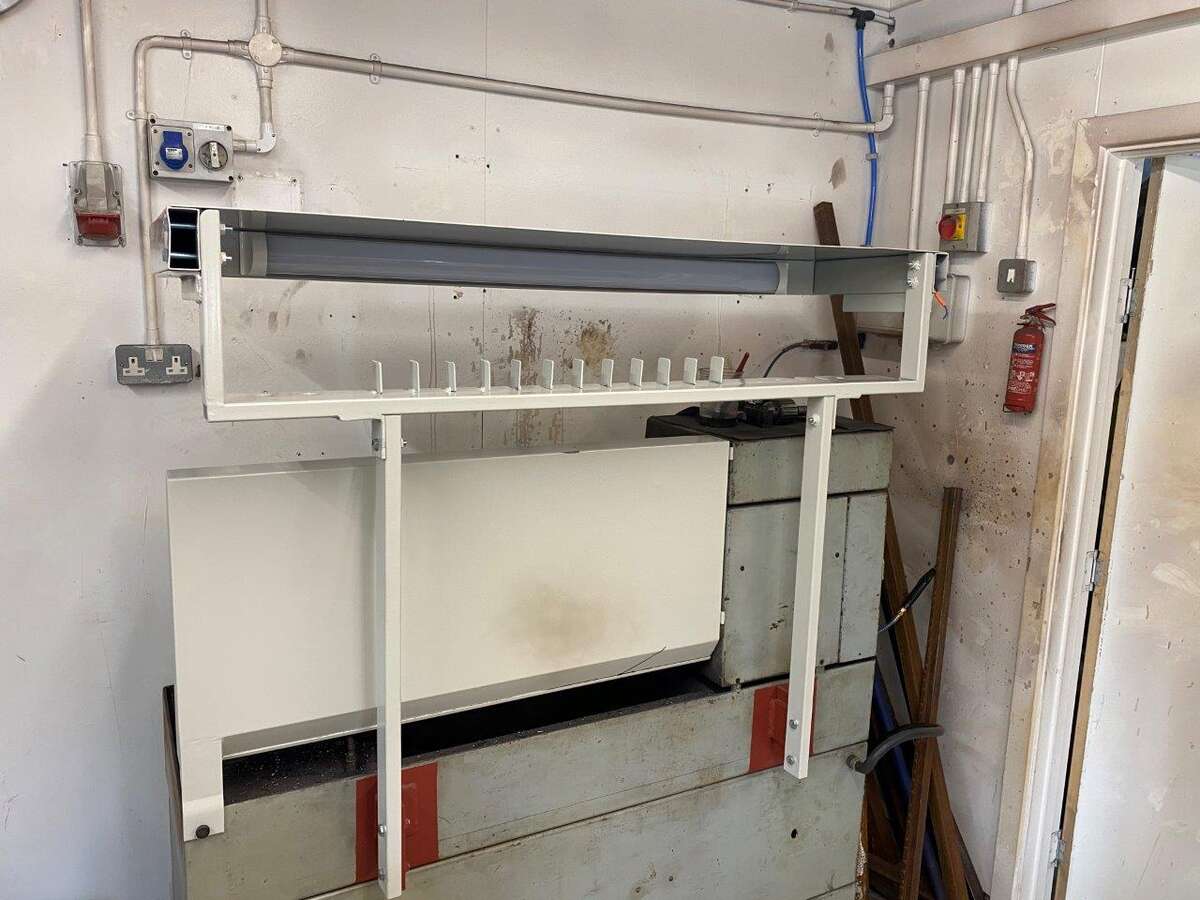
Added the wire tune
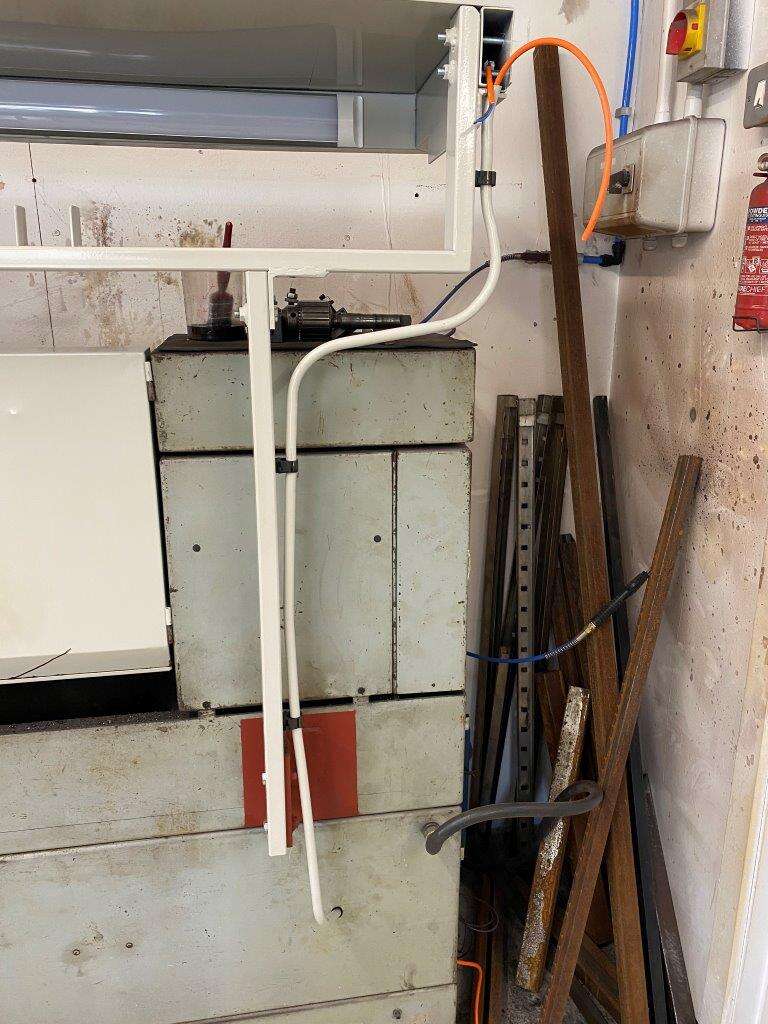
And the light
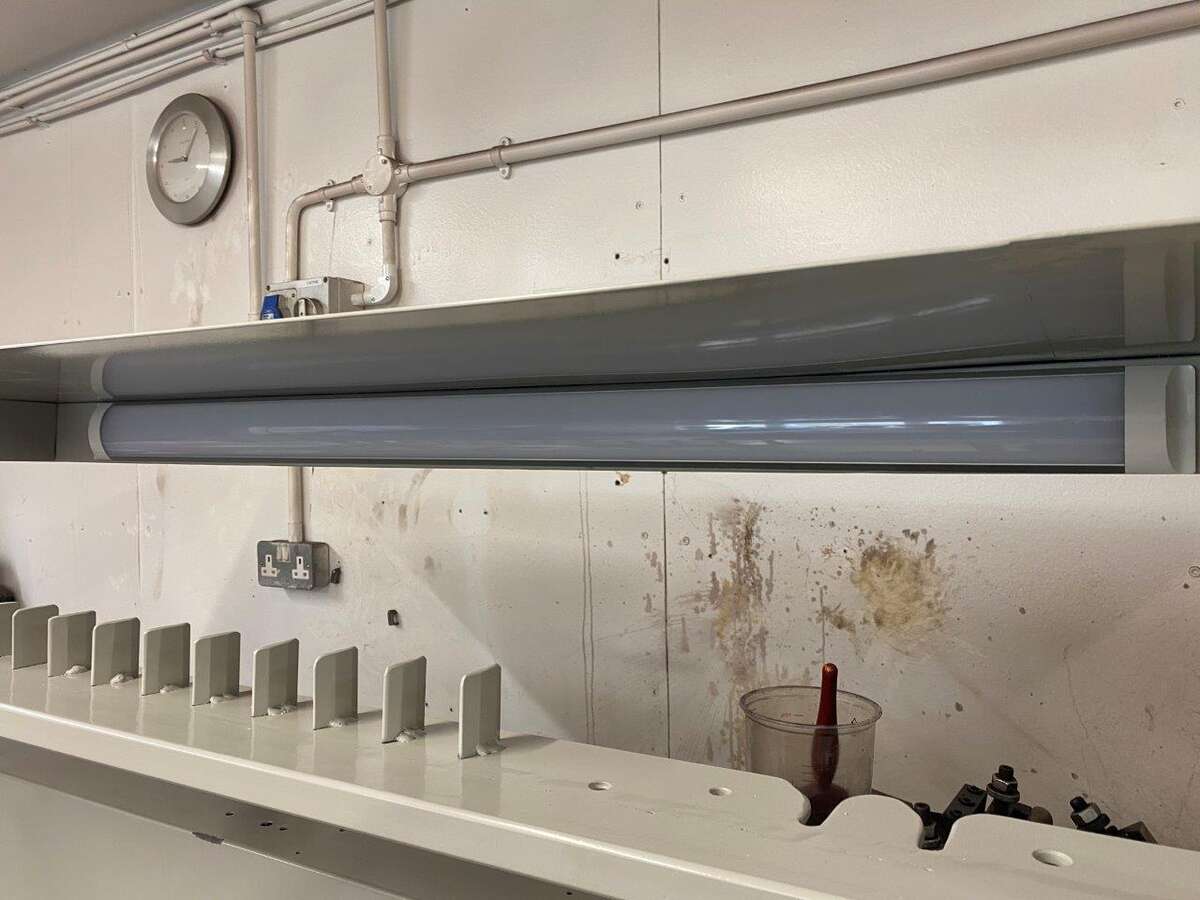
The finished (at last) project
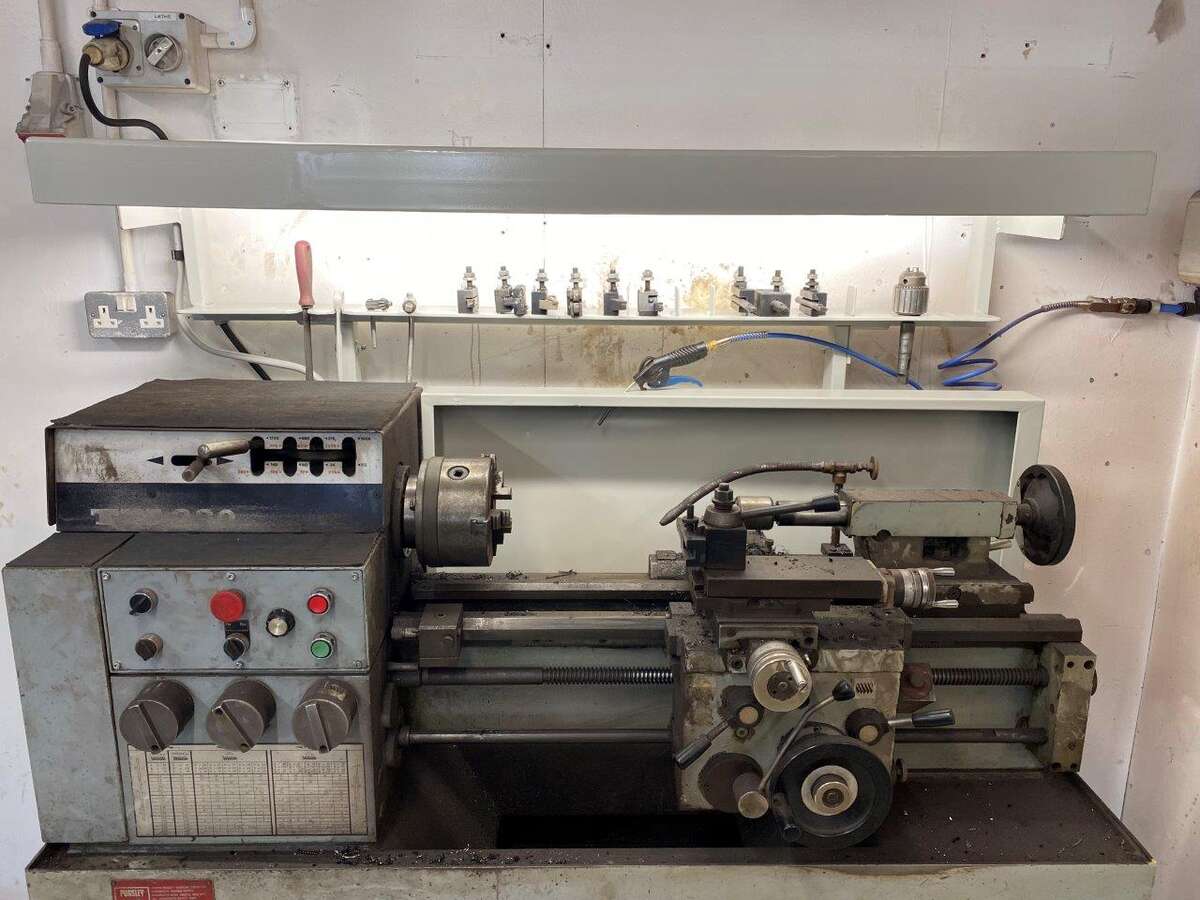
Back on “The Bug” next
Keyser - You never realize what you have until it's gone. Toilet paper is a good example.
-
12
-
-
Morning all,
Back to normal with work 5 days a week and only weekends to do all the normal stuff around the house associated with being an adult (I don’t do the adult thing very well
) Did manage to get the powder coat oven finished this weekend
I put the top bar in and added stops, so it won’t fall out
Then a nice big bolt to keep the doors shut
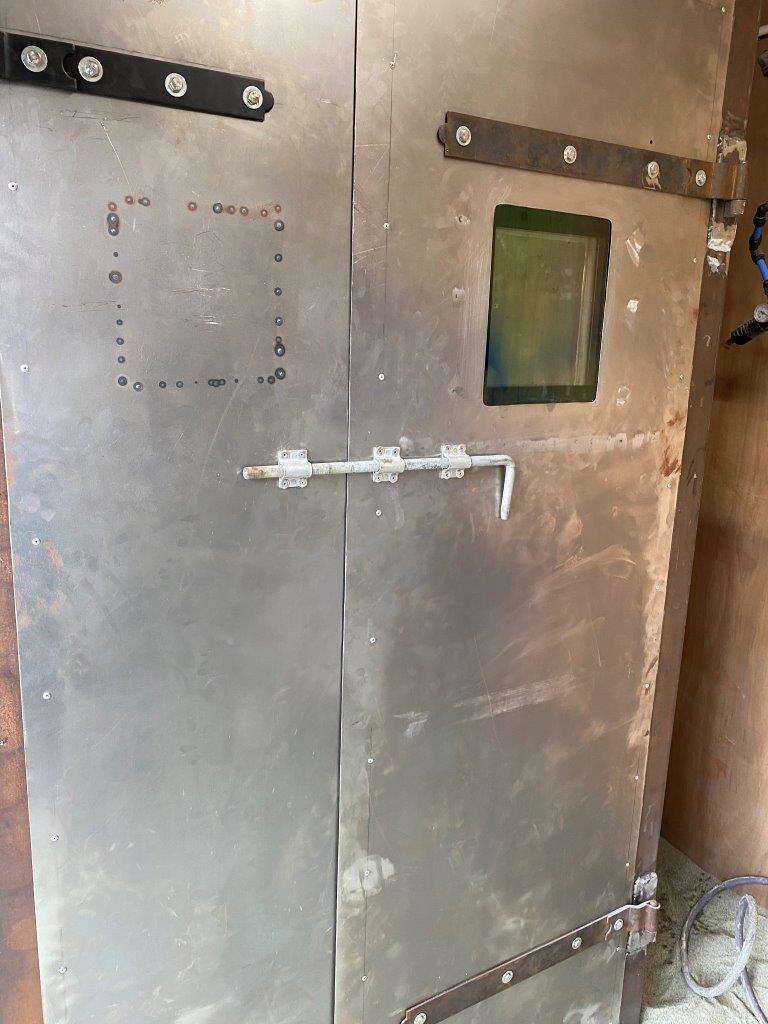
Needed handles but the SMEG ones are different lengths
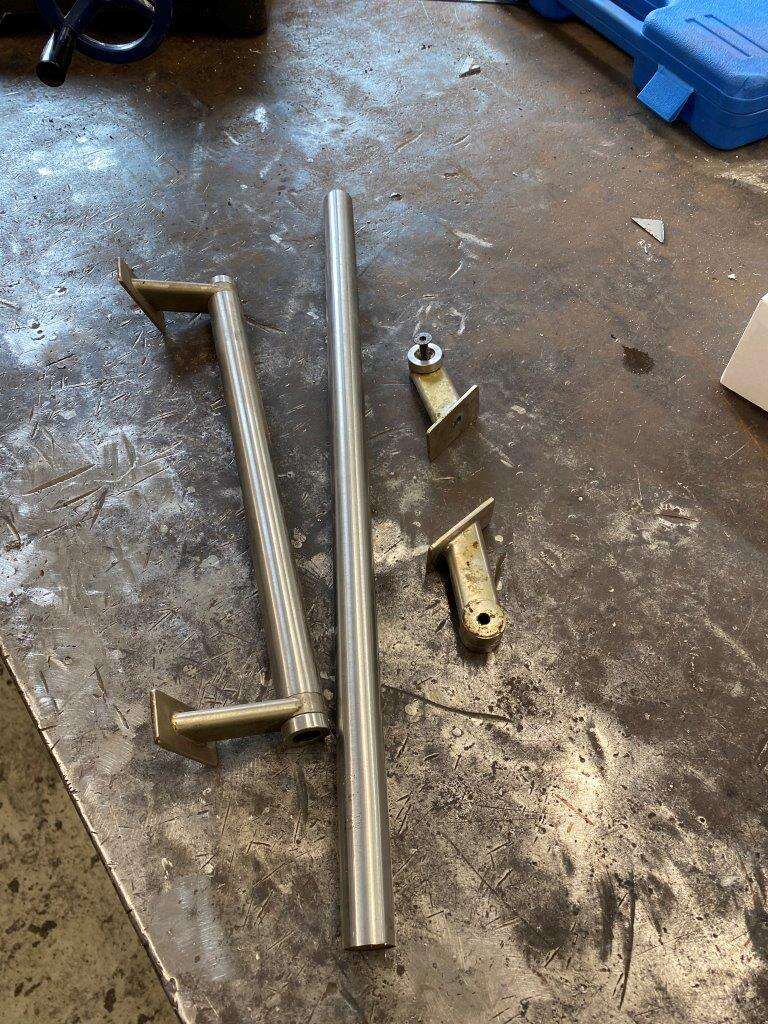
So I cut them down pushed the end fitment out and put it back in the now shortened tube so I have matching handles

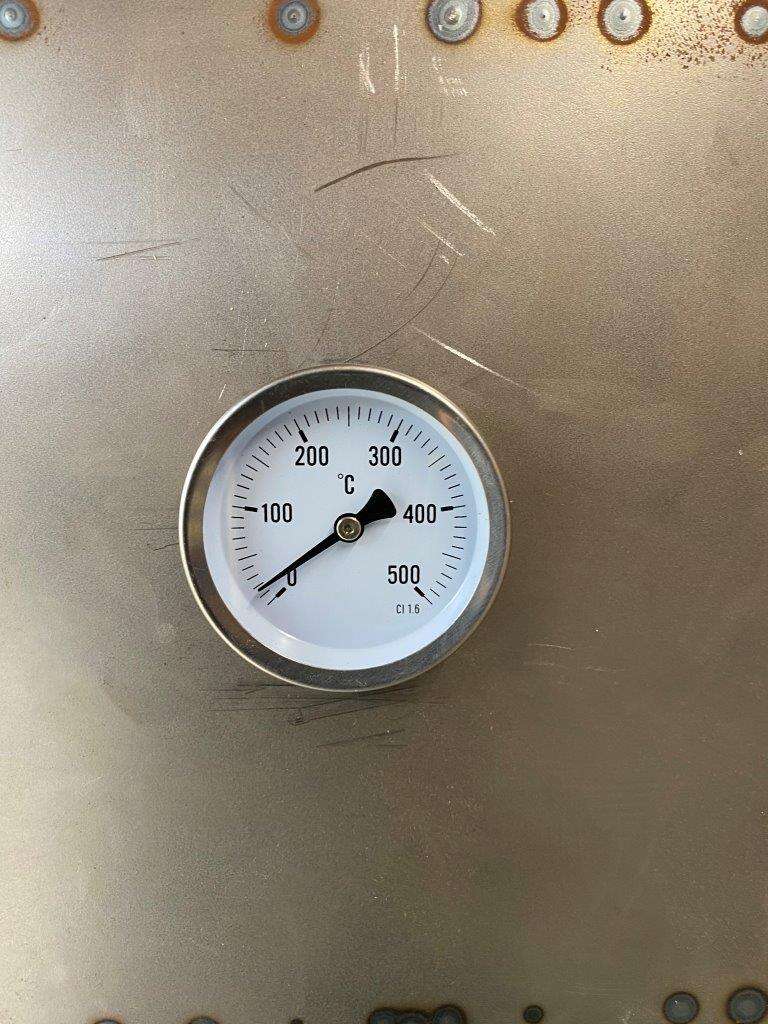
Installed the thermometer
Here she is all in place wired up and ready for a test before I decide if I need to anything else
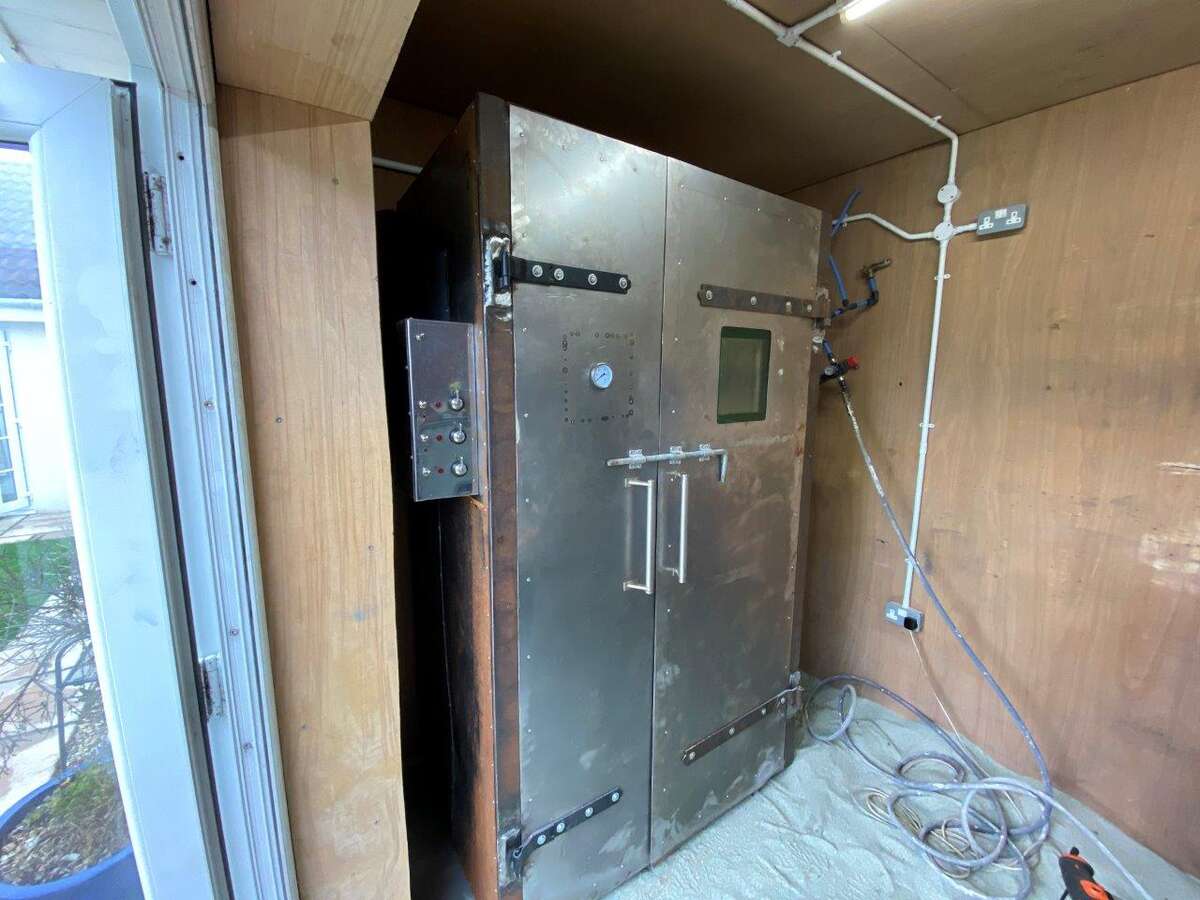
I do want to make some accessories like a middle shelf and some more hangers but nothing that stops me using it.
For now, I added a cover
That’s so I can sand blast the shelf from the lathe and get it powder coated, that will let me finish another project
Keyser - “Facebook just sounds like a drag, in my day seeing pictures of peoples vacations was considered a punishment.” – Betty White
-
9
-
Space Savers
in 350z Parts For Sale
Posted
Yes I am still alive despite doing strange provects in the Zed Shed")

Having a tidy up and I thought I'd got rid of all things 350/370 but found some bits round the back of the shed.
Namley 5 350Z space savers, also can be used on the 370Z but you need a spacer to fit them on the rear so be careful.
There is also a Pumpkin in unkonwn condition, Its a 350Z UK LSD and been outside for a few years, buy hy you keep them under a car outside so
All free to a good home, I'm not posting them just thought I'd see if anyone here had a use before they go to the skip.
Regards to All
Keyser